When you make purchases through links on this site, The Track Ahead may earn an affiliate commission. Also, these posts are based off my own experiences. I am not responsible for any action you take as a result of reading this. Learn More
Rear Coils on the 4th Gen Toyota 4Runner
There are a variety of reasons for needing to change out rear coils on any car, but there are typically two main reasons for changing them out on the 4Runner. One is to simply replace damaged or worn coils for factory stock coils. The other is to lift the vehicle to a higher ride height.
Changing out the rear coils is very easy to do and doesn’t require much time nor tools. On my 2003 Toyota 4Runner, I had previously had FJ Cruiser coils installed which had raised the rear of the vehicle by about an inch. However, I had the unfortunate luck of purchasing some defective coils from the dealership and so I had one side sitting lower than the other.
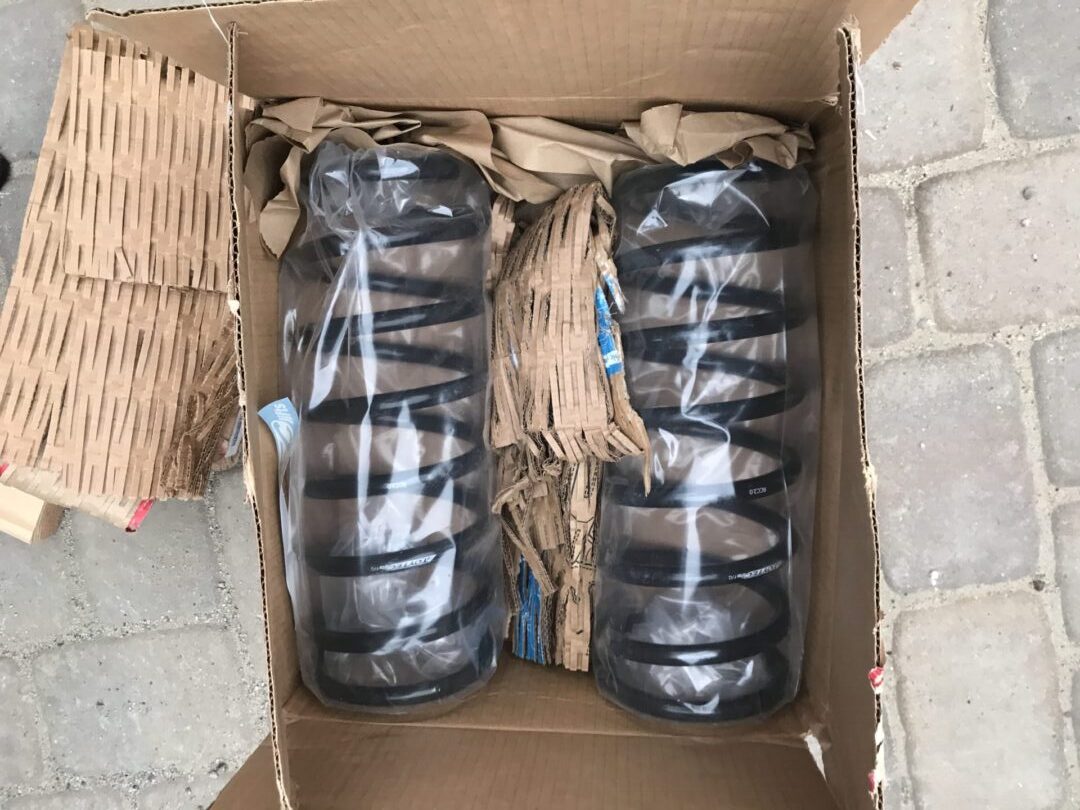
Since I was going to change out the FJ coils anyway, I figured I would upgrade the coils to a set of Toytec Superflex Rear Coils. These coils would raise the rear about 2 inches and bring the ride quality back to new.
Tools/Materials Needed
Rear Coil Springs: There are plenty of options out there and only you can decide what option works best for you. On this post, I replaced my existing OEM FJ Cruiser rear springs with Toytec Superflex rear coils.
Jack Stands: Instrumental in keeping your vehicle propped up and secure. Find on Amazon
Floor Jack: Needed to jack up the vehicle–get one that will support the weight of your vehicle. Find on Amazon
Wheel Chocks: Even if your vehicle is support on jack stands (in this case the rear of the vehicle), your vehicle can still roll on the front wheels. Therefore it is imperative to having wheel chocks on your front wheels which are still on the ground. Make sure to have one in front and in back of one of the wheels still on the ground since the vehicle can roll forwards or backwards. Find on Amazon
Removing the Rear Coils
First, jack up the rear of the vehicle and support it on jack stands. Remove the wheels. You may set them aside, or place them below each side of the vehicle as an extra safety precaution in the case the jack stands fail. Finally, make sure to chock the vehicle with wheel chocks so that the car will not roll and cause the car to come off of the jack stands.
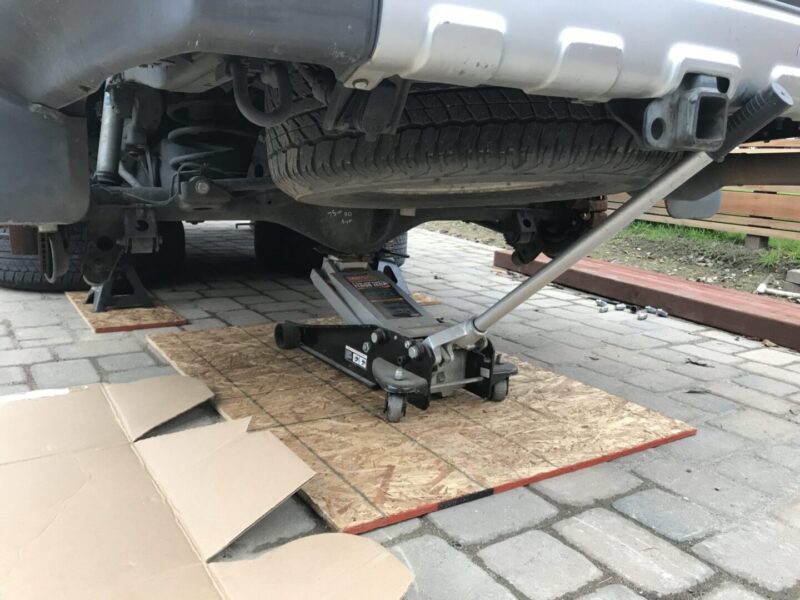
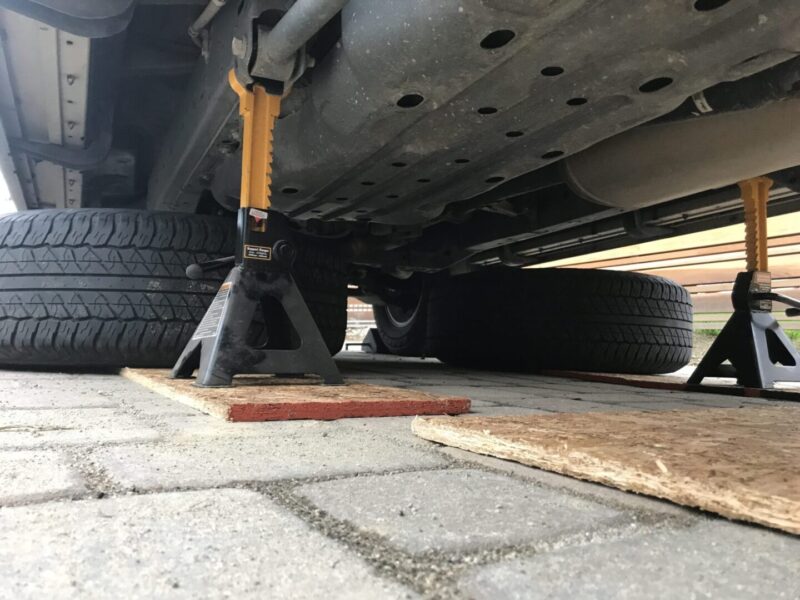
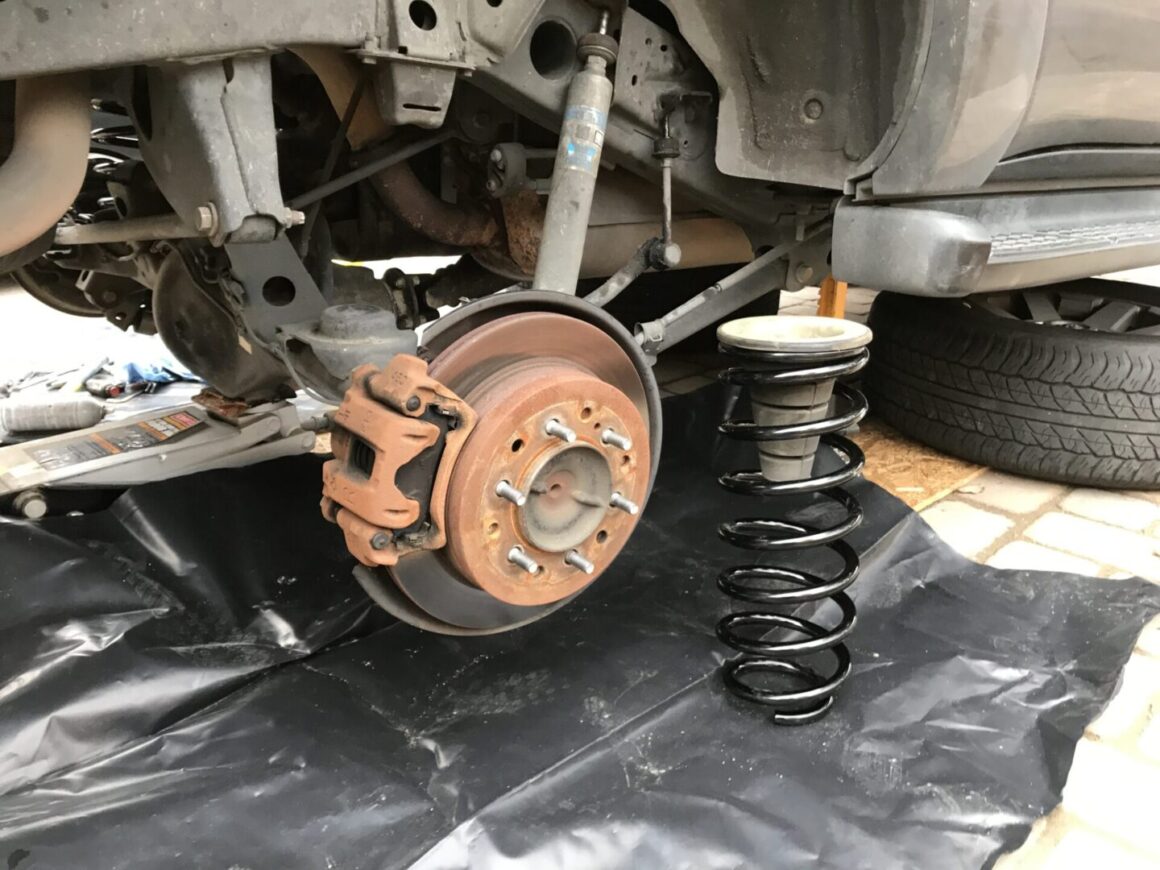
Now, with the wheel well exposed, you will have access to the rear coil.
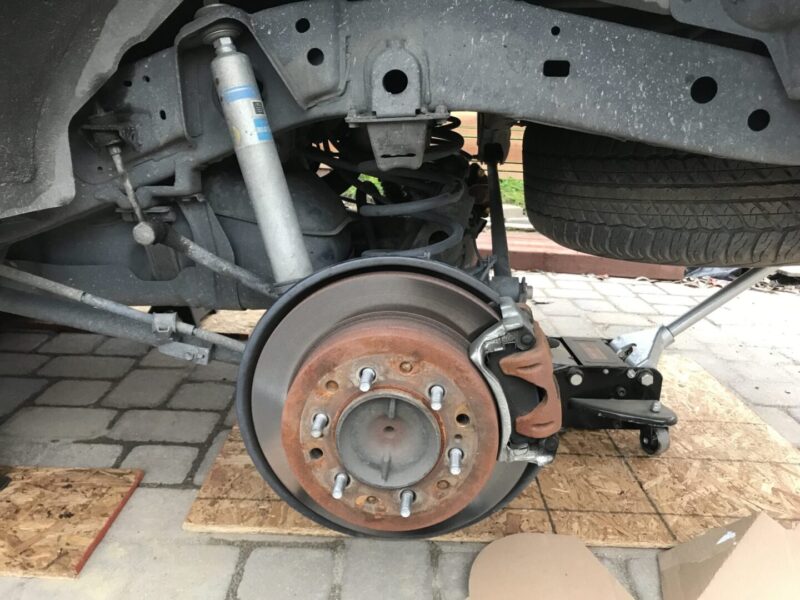
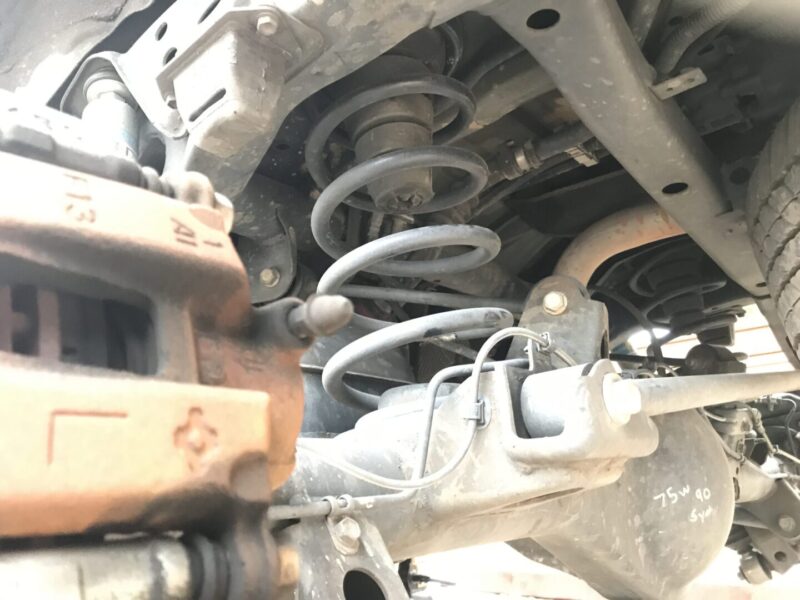
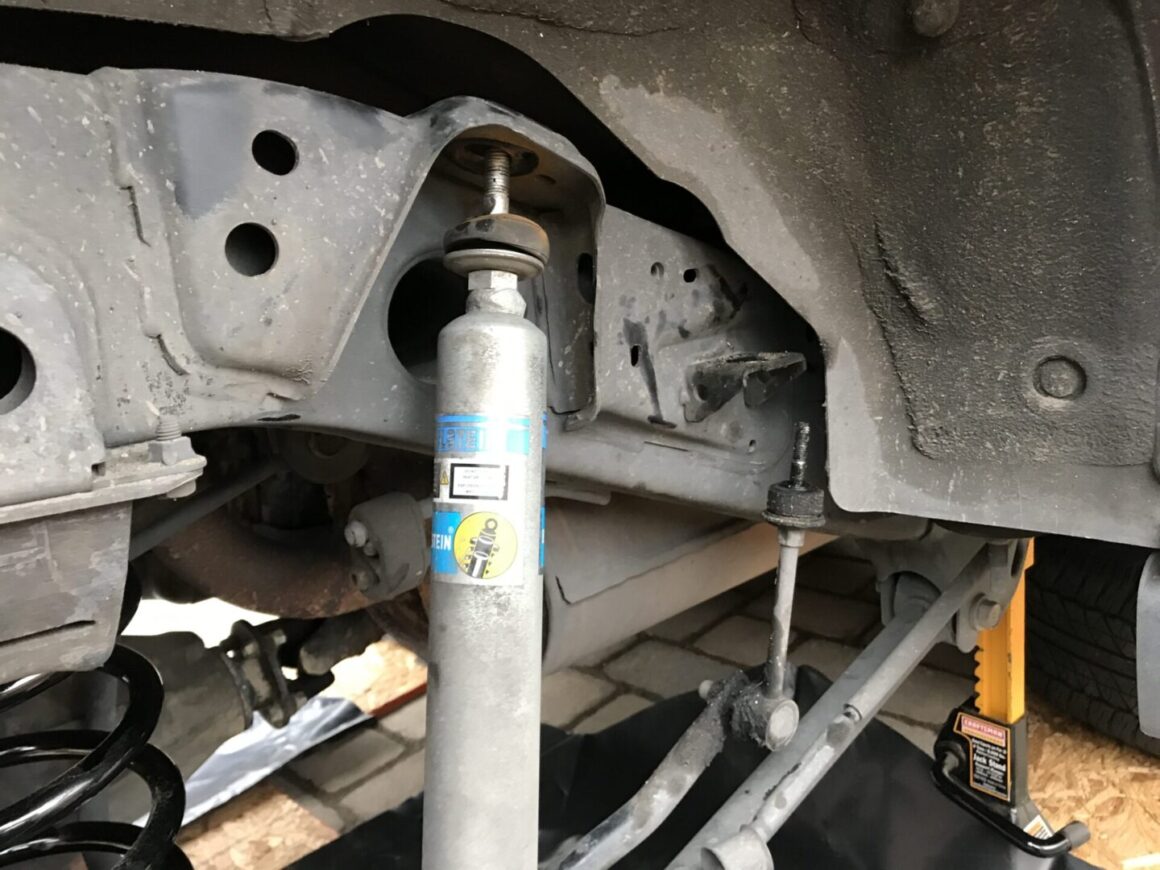
Since the vehicle is no longer behind held up via the rear axle, the rear coil springs are under minimal compression. You will need to be able to press the rear axle down even further in order for the rear coil to be removed out of its retainer/perch. In order to do this, you have to disconnect the shock absorber from the frame as well as the rear end link from the rear sway bar.
First use a 17mm combination wrench (box end to break loose) to loosen the top nut of the shock absorber. After removing the top nut, you’ll be able to take off the top washer and top rubber bushing. With those parts removed, the shock absorber (which is still connected to the rear axle) is no longer tied to the frame.
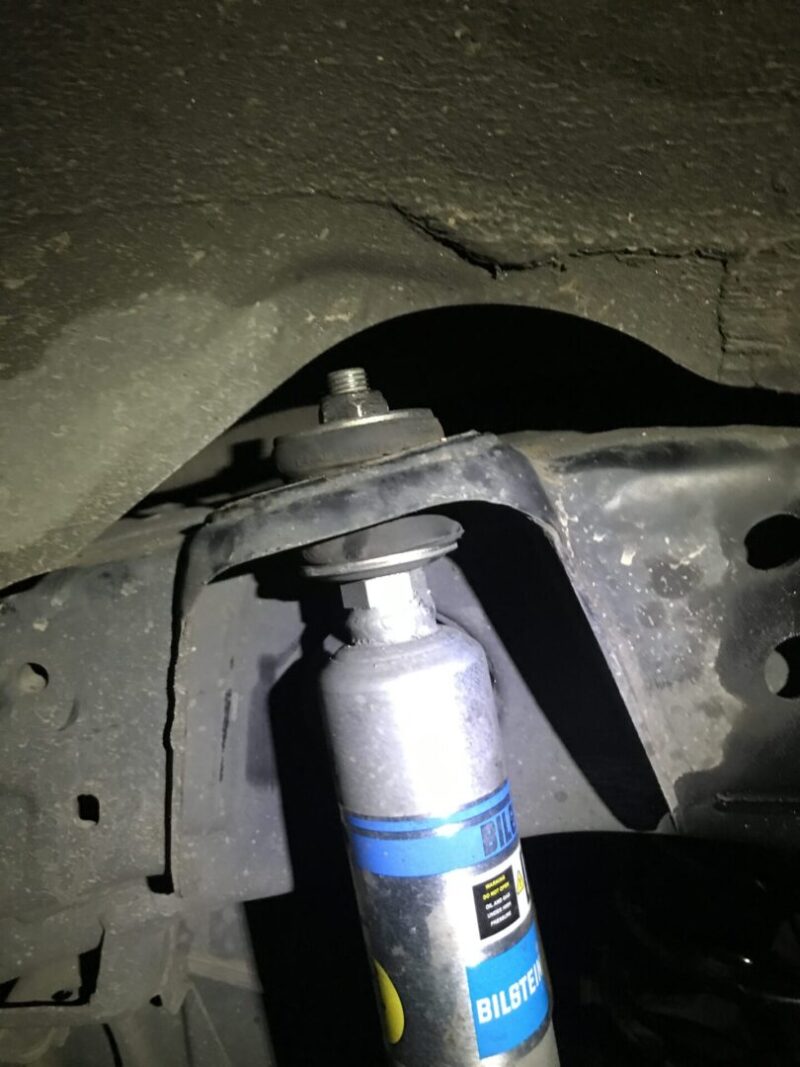
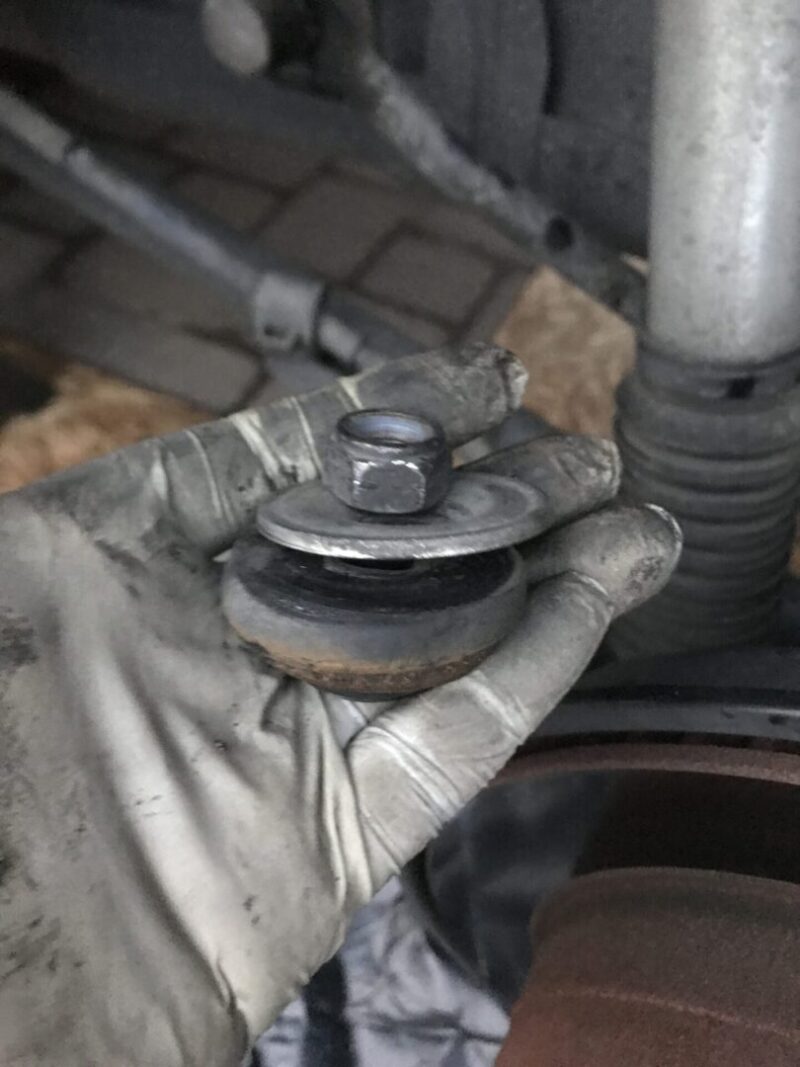
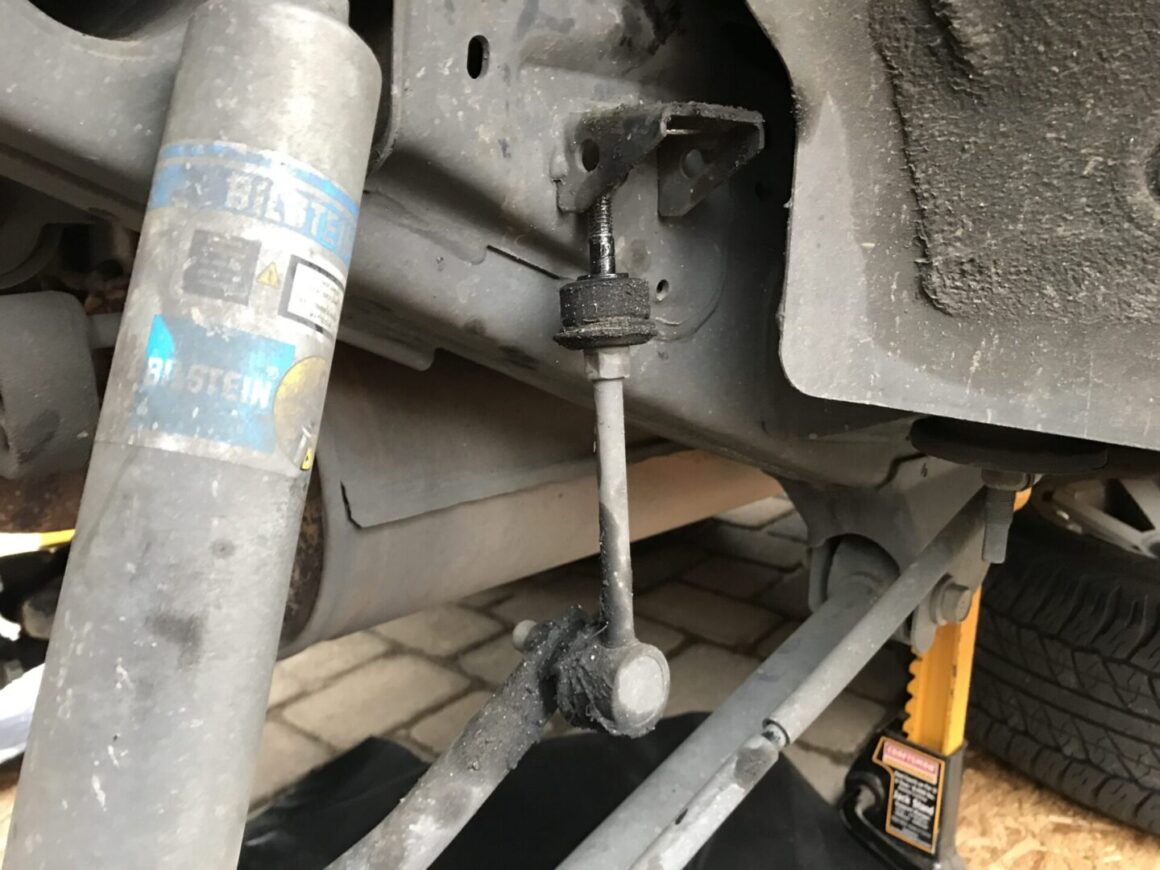
The next thing that will facilitate the ability to remove and install the rear coil is disconnecting the rear sway bar end link to the axle. This is done easily by loosening the 12mm nut from the frame. This nut along with the washer and upper rubber bushing will need to be removed in order to allow the axle to move more freely from the frame.
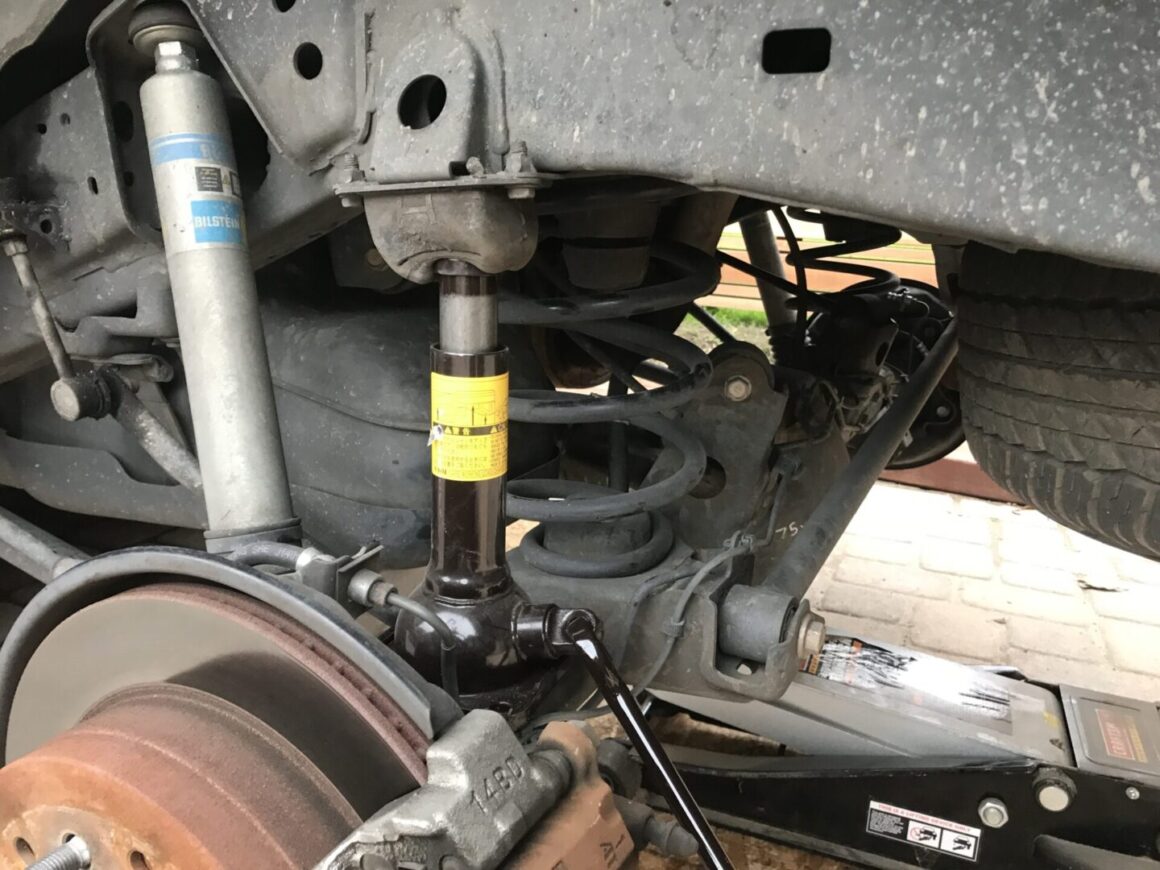
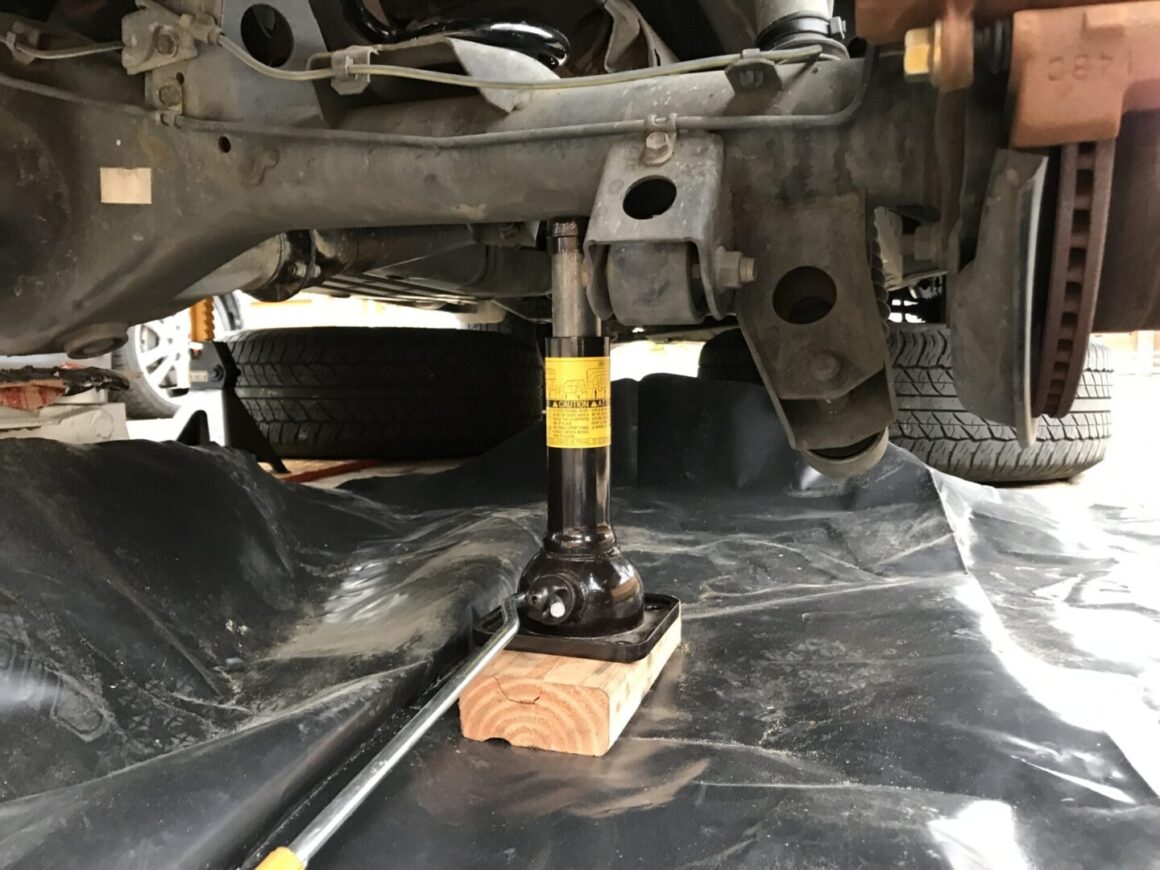
Now, the axle will have more freedom to move lower so that the rear coil can be pulled out. It’s possible to use a large pry bar to move the axle lower, but an easier way is to use the jack that came with your 4Runner and jack up the axle from the frame. I placed a few wood 2×4’s under the jack and removed the bump stop to help stability and improved reach.
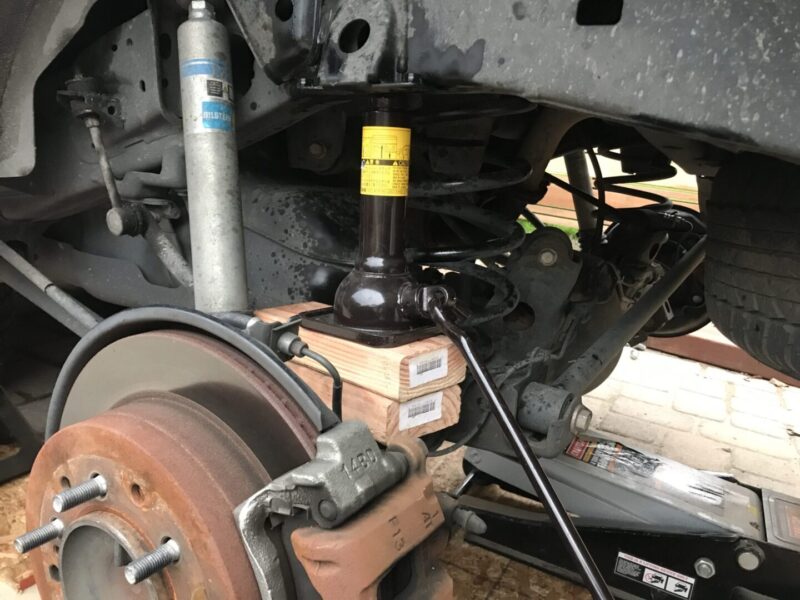
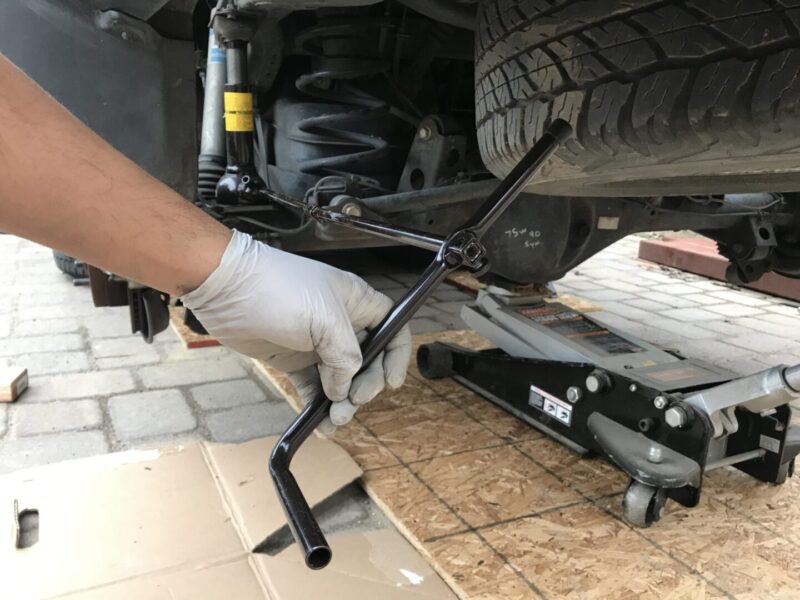
Using the factory jack to separate the axle from the frame in the photo above is, in my opinion, a secure and safe way to do this.
There are some people out there that will support jacking up against the bump stop, but I don’t recommend this. Depending on how old the rubber is for your bump stop, it may deform and cause some potential for slippage. I even tried it this way and you can see below that it’s just not a good way to safely and securely jack the axle from the frame. So take the time to remove the bump stop via the mounting bolts and jack up against the frame.
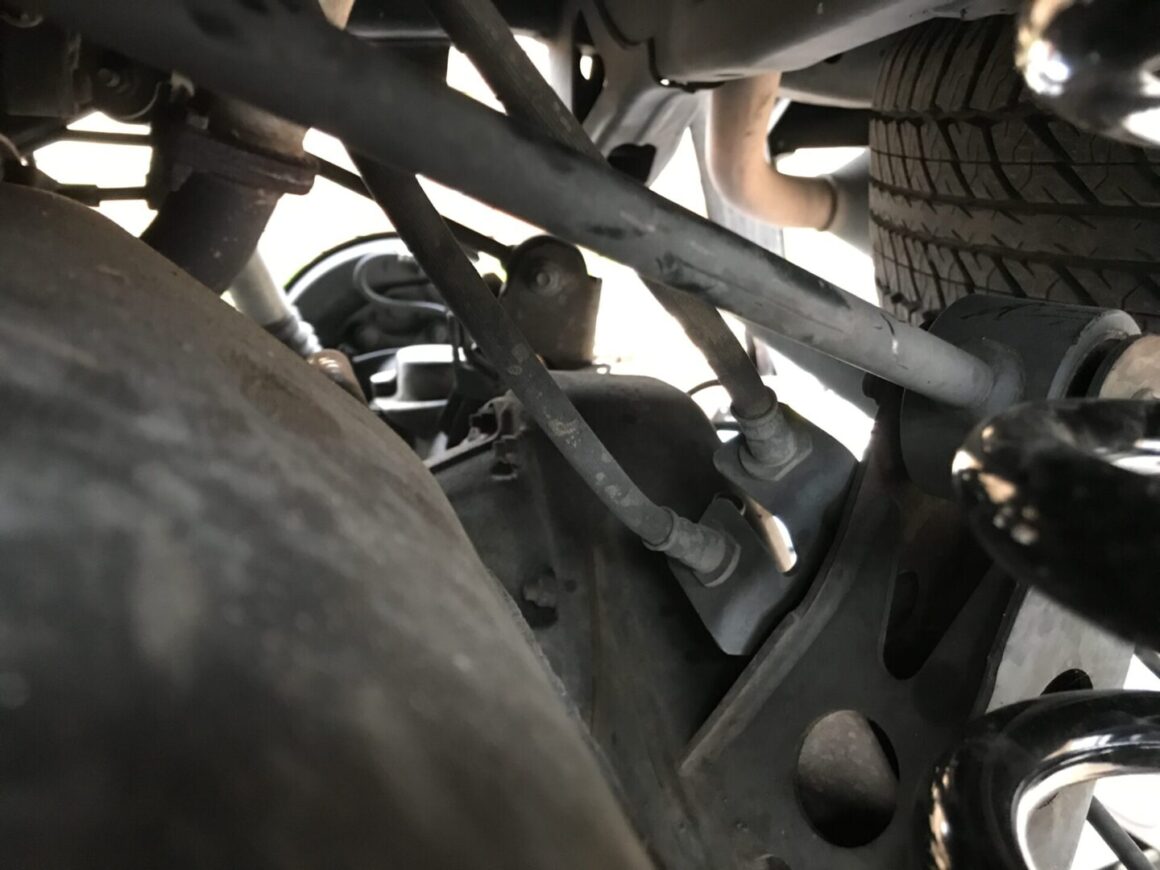
Ensure that all of your brake lines, abs wire, and emergency brake cables are not overstretched while using the jack.
The existing rear coil spring and bump stop can be removed. You can then take the existing bump stop and transfer it over to your new coil spring.
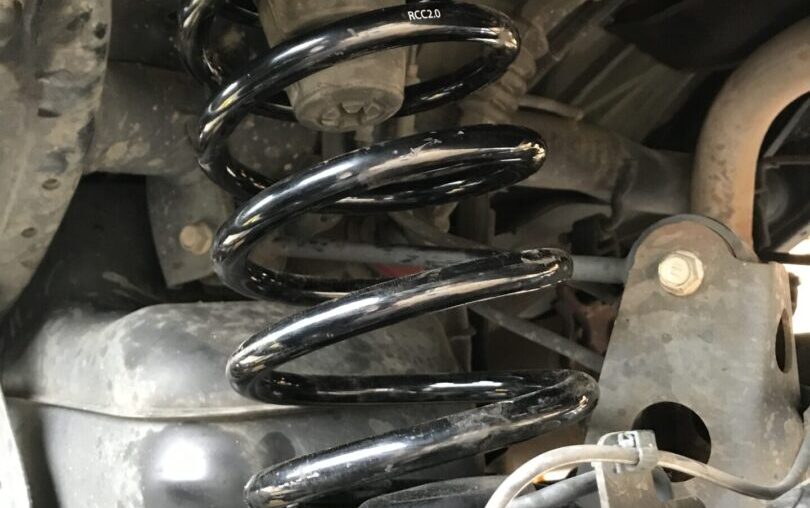
Now, you can take your new rear coil spring and get it prepared to place back into your car. I bought a set of Toytec Superflex Rear Coil Springs (RCC2.0-P) to replace my existing rear springs.
If your new rear springs are lift springs (providing additional height on your vehicle), then you’re likely going to need to further jack your axle so that you have enough room to insert the coil spring.
When inserting the new coil spring with bump stop, place the top into the coil bucket. Then swing the bottom part of the coil into place. Jack up the frame further (while carefully watching your hydraulic lines) if you do not have enough room to get the coil to fit.
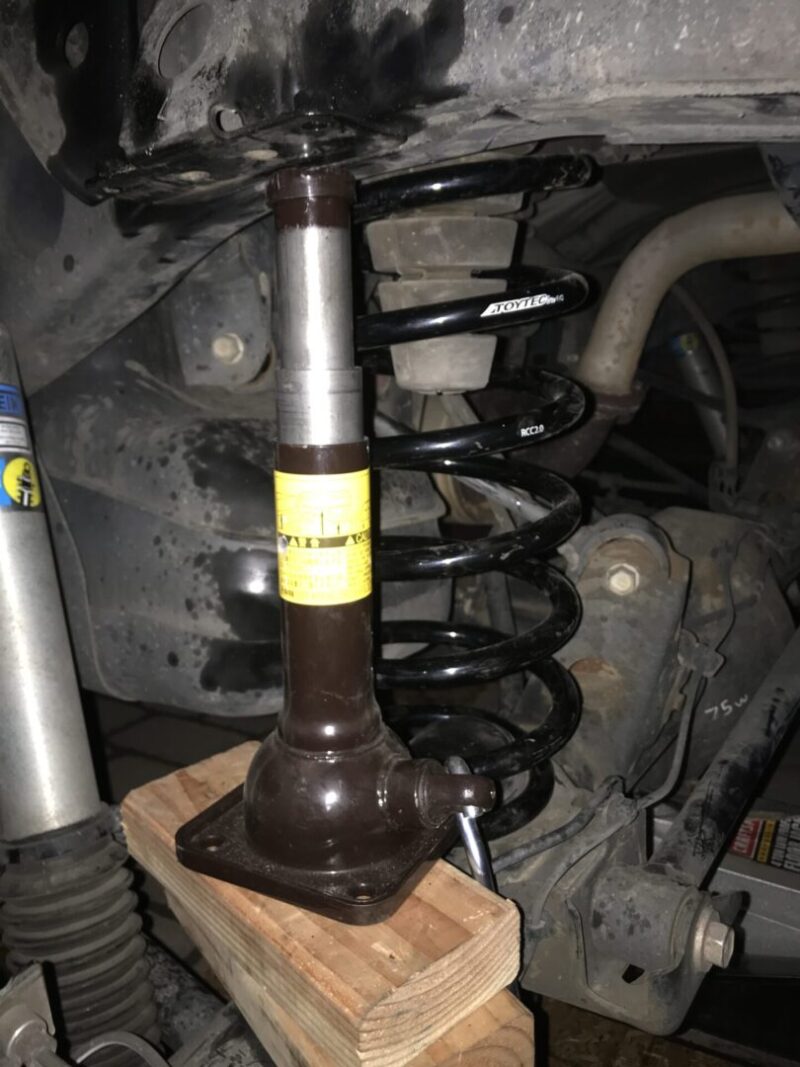
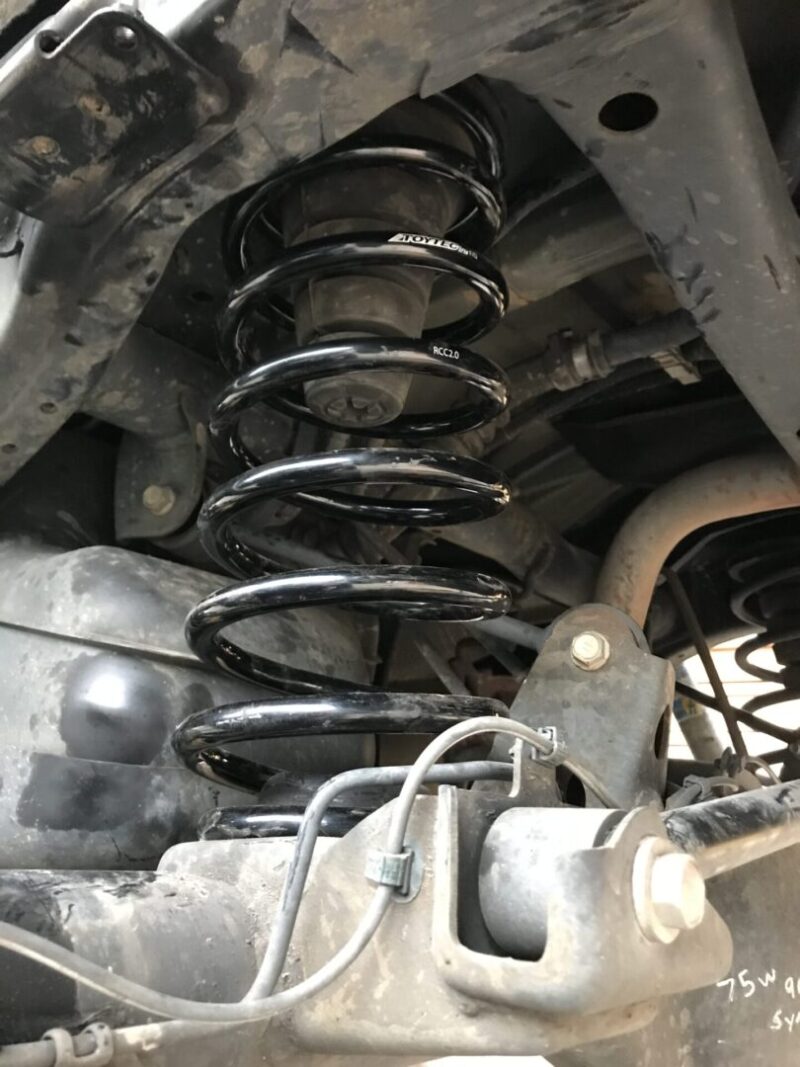
With the coil in place, rotate it until the bottom of the coil end until it matches the bottom seat. You can see how it should fit below.
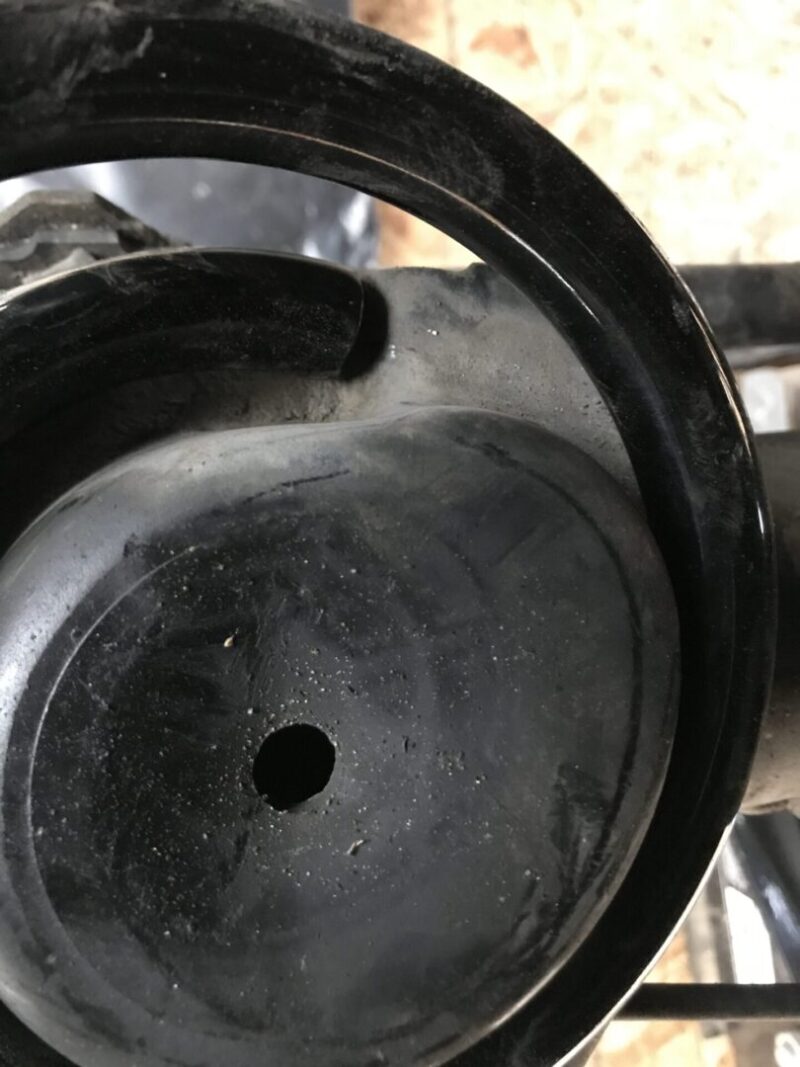
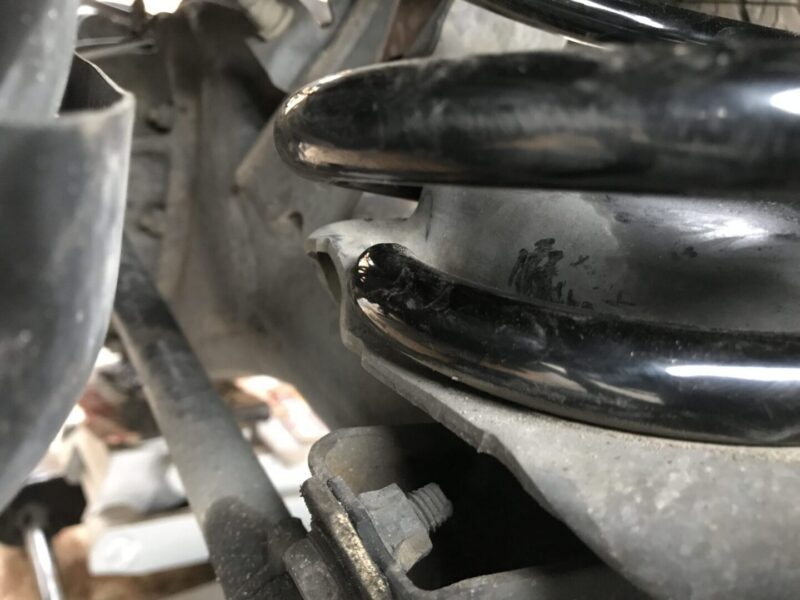
With the rear shock in place, you can now take the jack and lift up the axle so you can the axle back in place.
Begin guiding the shock back into place while slowly jacking the axle back up into place.
Continue jacking up the axle until the stem goes far enough through the upper shock mount to allow for the bushing, bushing retainer washer, and nylok nut). I chose to add a bit of blue threadlocker, but the nylok nut does already increase the friction on the screw thread.
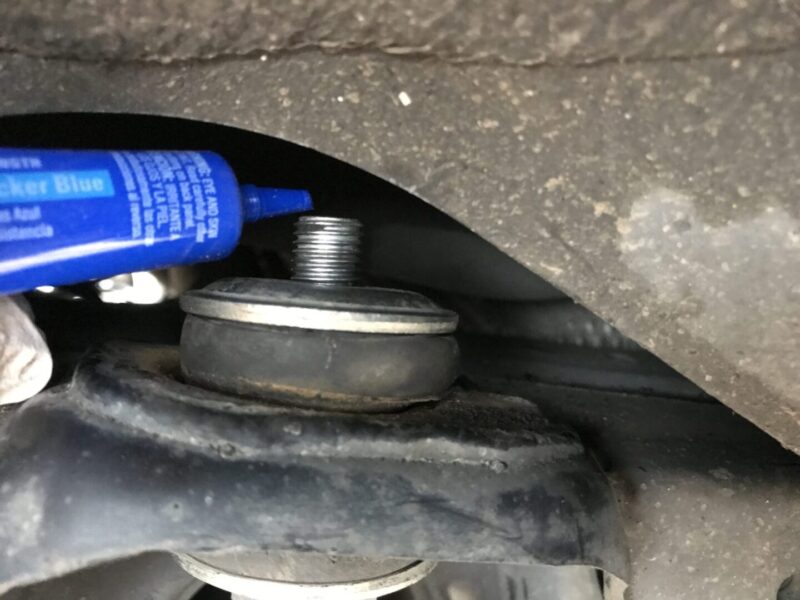
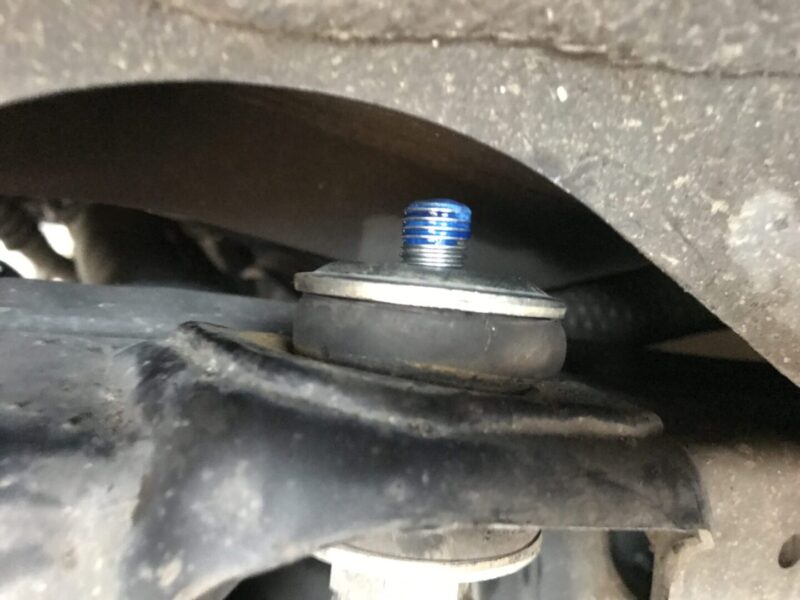
I’ve seen a range of recommended torque values for this nut; they can range from 18 ft-lb up to 30 ft-lb torque. You won’t be able to get a torque wrench in here anyway, so most people tighten down the top nut until the upper bushing deforms a bit, or until the bushing becomes the same diameter as the washer.
Keep in mind that it is better to torque the nut to spec once the car is back on the ground and the axle in its resting position. So tighten the nut down by hand, then bring the vehicle down to the ground, and then torque them down at the end.
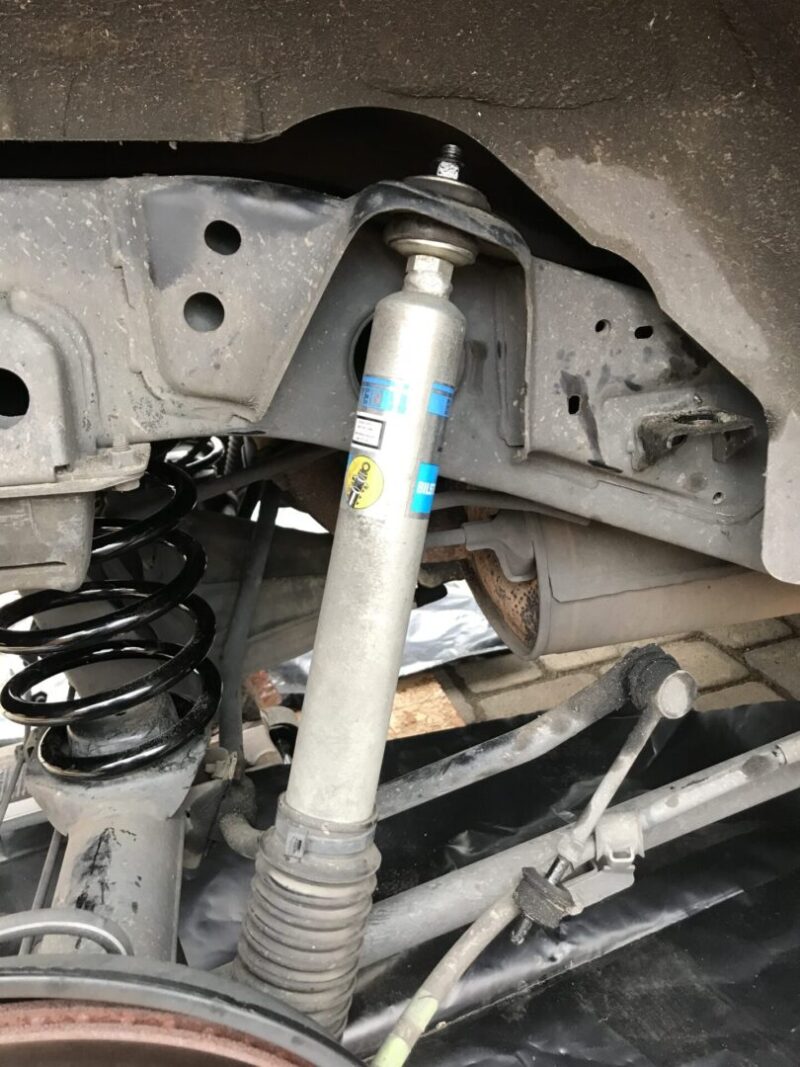
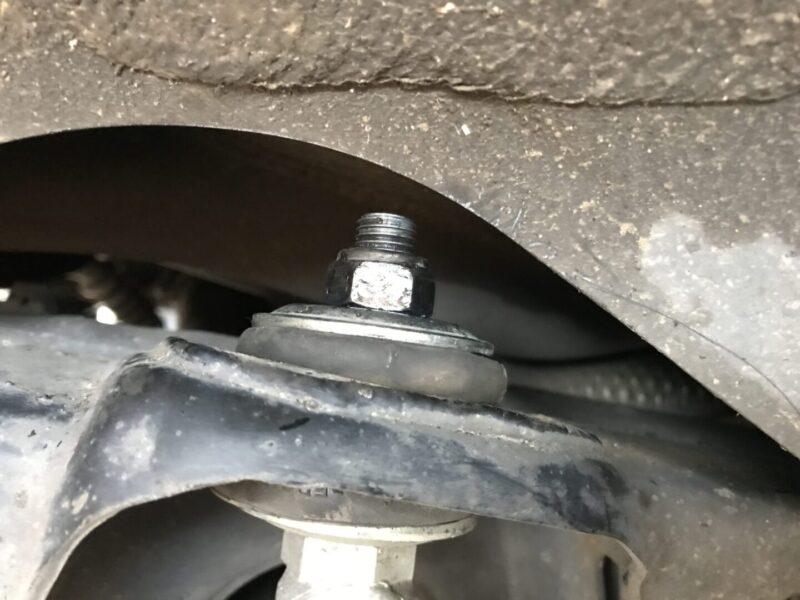
Here are the final installation pictures:
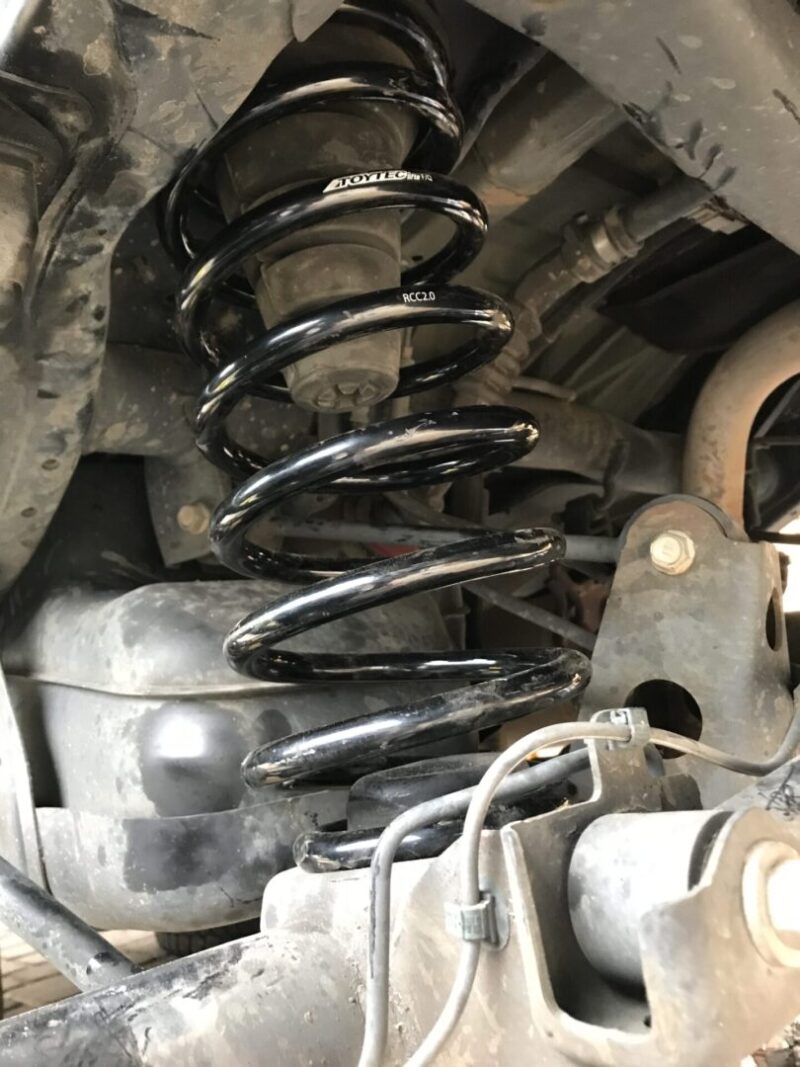
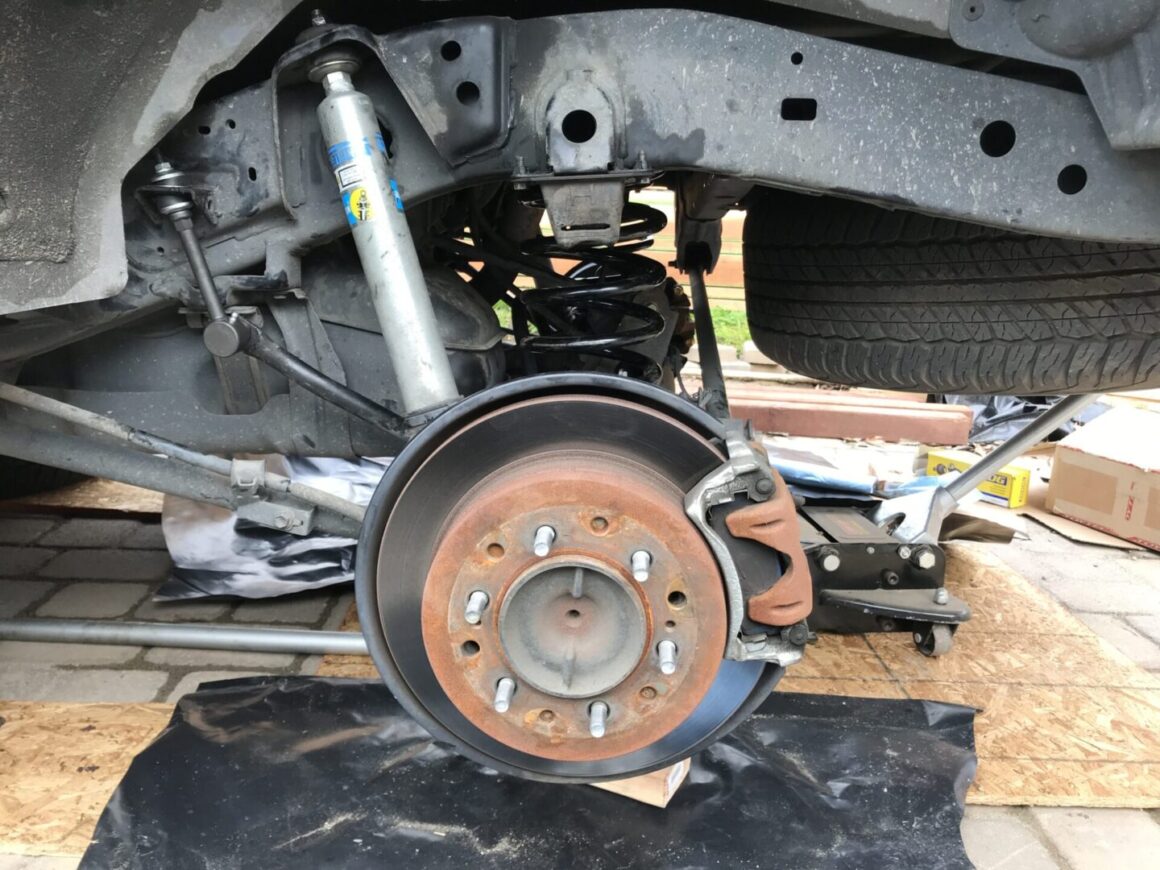
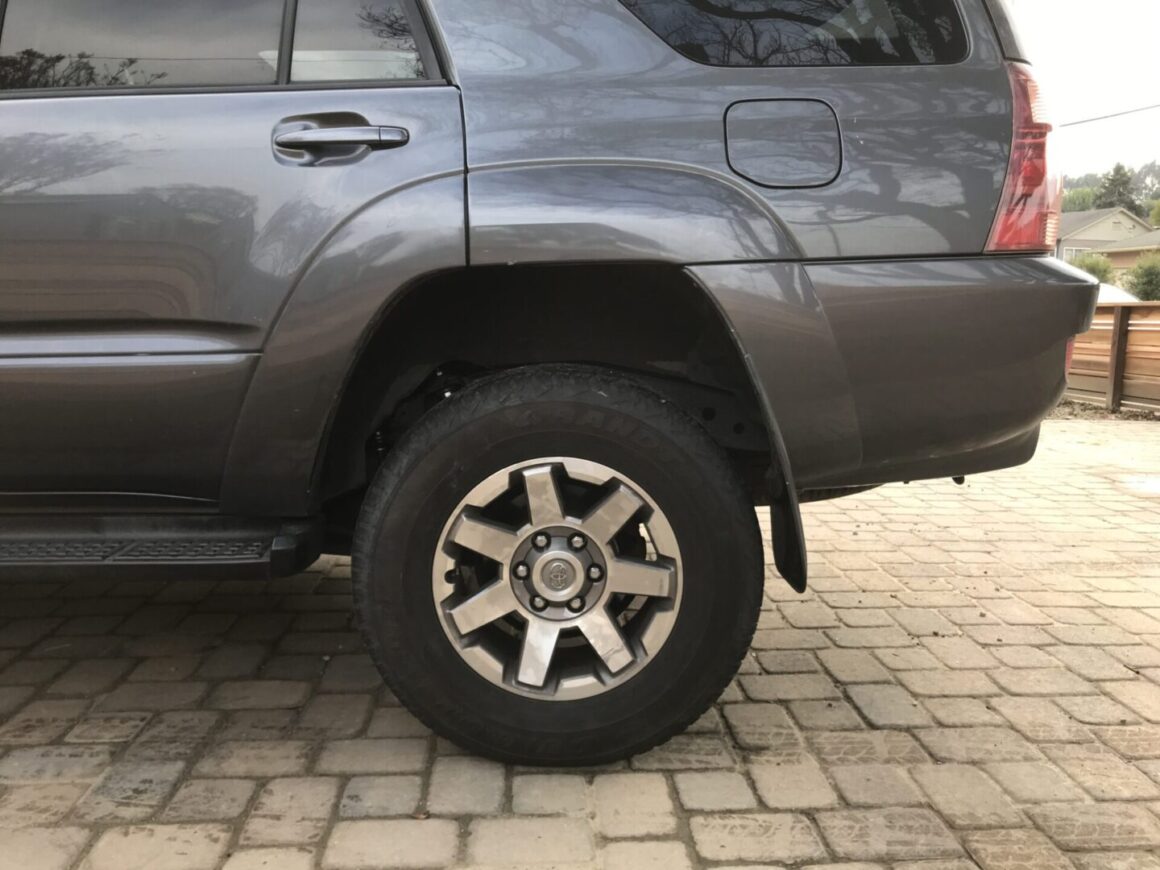
My Toytec rear lift springs gave me an additional 2-3″ of lift and gave new life to my existing defective springs. I’m extremely happy with the turnout and impressed that it did not take very long to do. The first side took me about an hour to do, and the other side took me 30 minutes.

