
When you make purchases through links on this site, The Track Ahead may earn an affiliate commission. Also, these posts are based off my own experiences. I am not responsible for any action you take as a result of reading this. Learn More
I Just Picked Up A Brand New Car, How Do I Protect My Investment?
You’ve just picked up your brand new car from the dealer and you want to figure out how to protect your brand new vehicle. First off, don’t opt for any of the services that the dealership offers you in terms of car care or paint protection. These services are highly overpriced, and in my opinion, you can do better. If you want to hire someone, there are many reputable businesses who will do the work for less and offer higher quality.
If you want to protect your car yourself, it’s a much more rewarding experience to perform the work all on your own. You’ll probably spend more time and care since you’ll be working on your own vehicle. It’s not terribly difficult to care for your own car, but there are certain steps you need to take to ensure that you prep and detail your car properly.
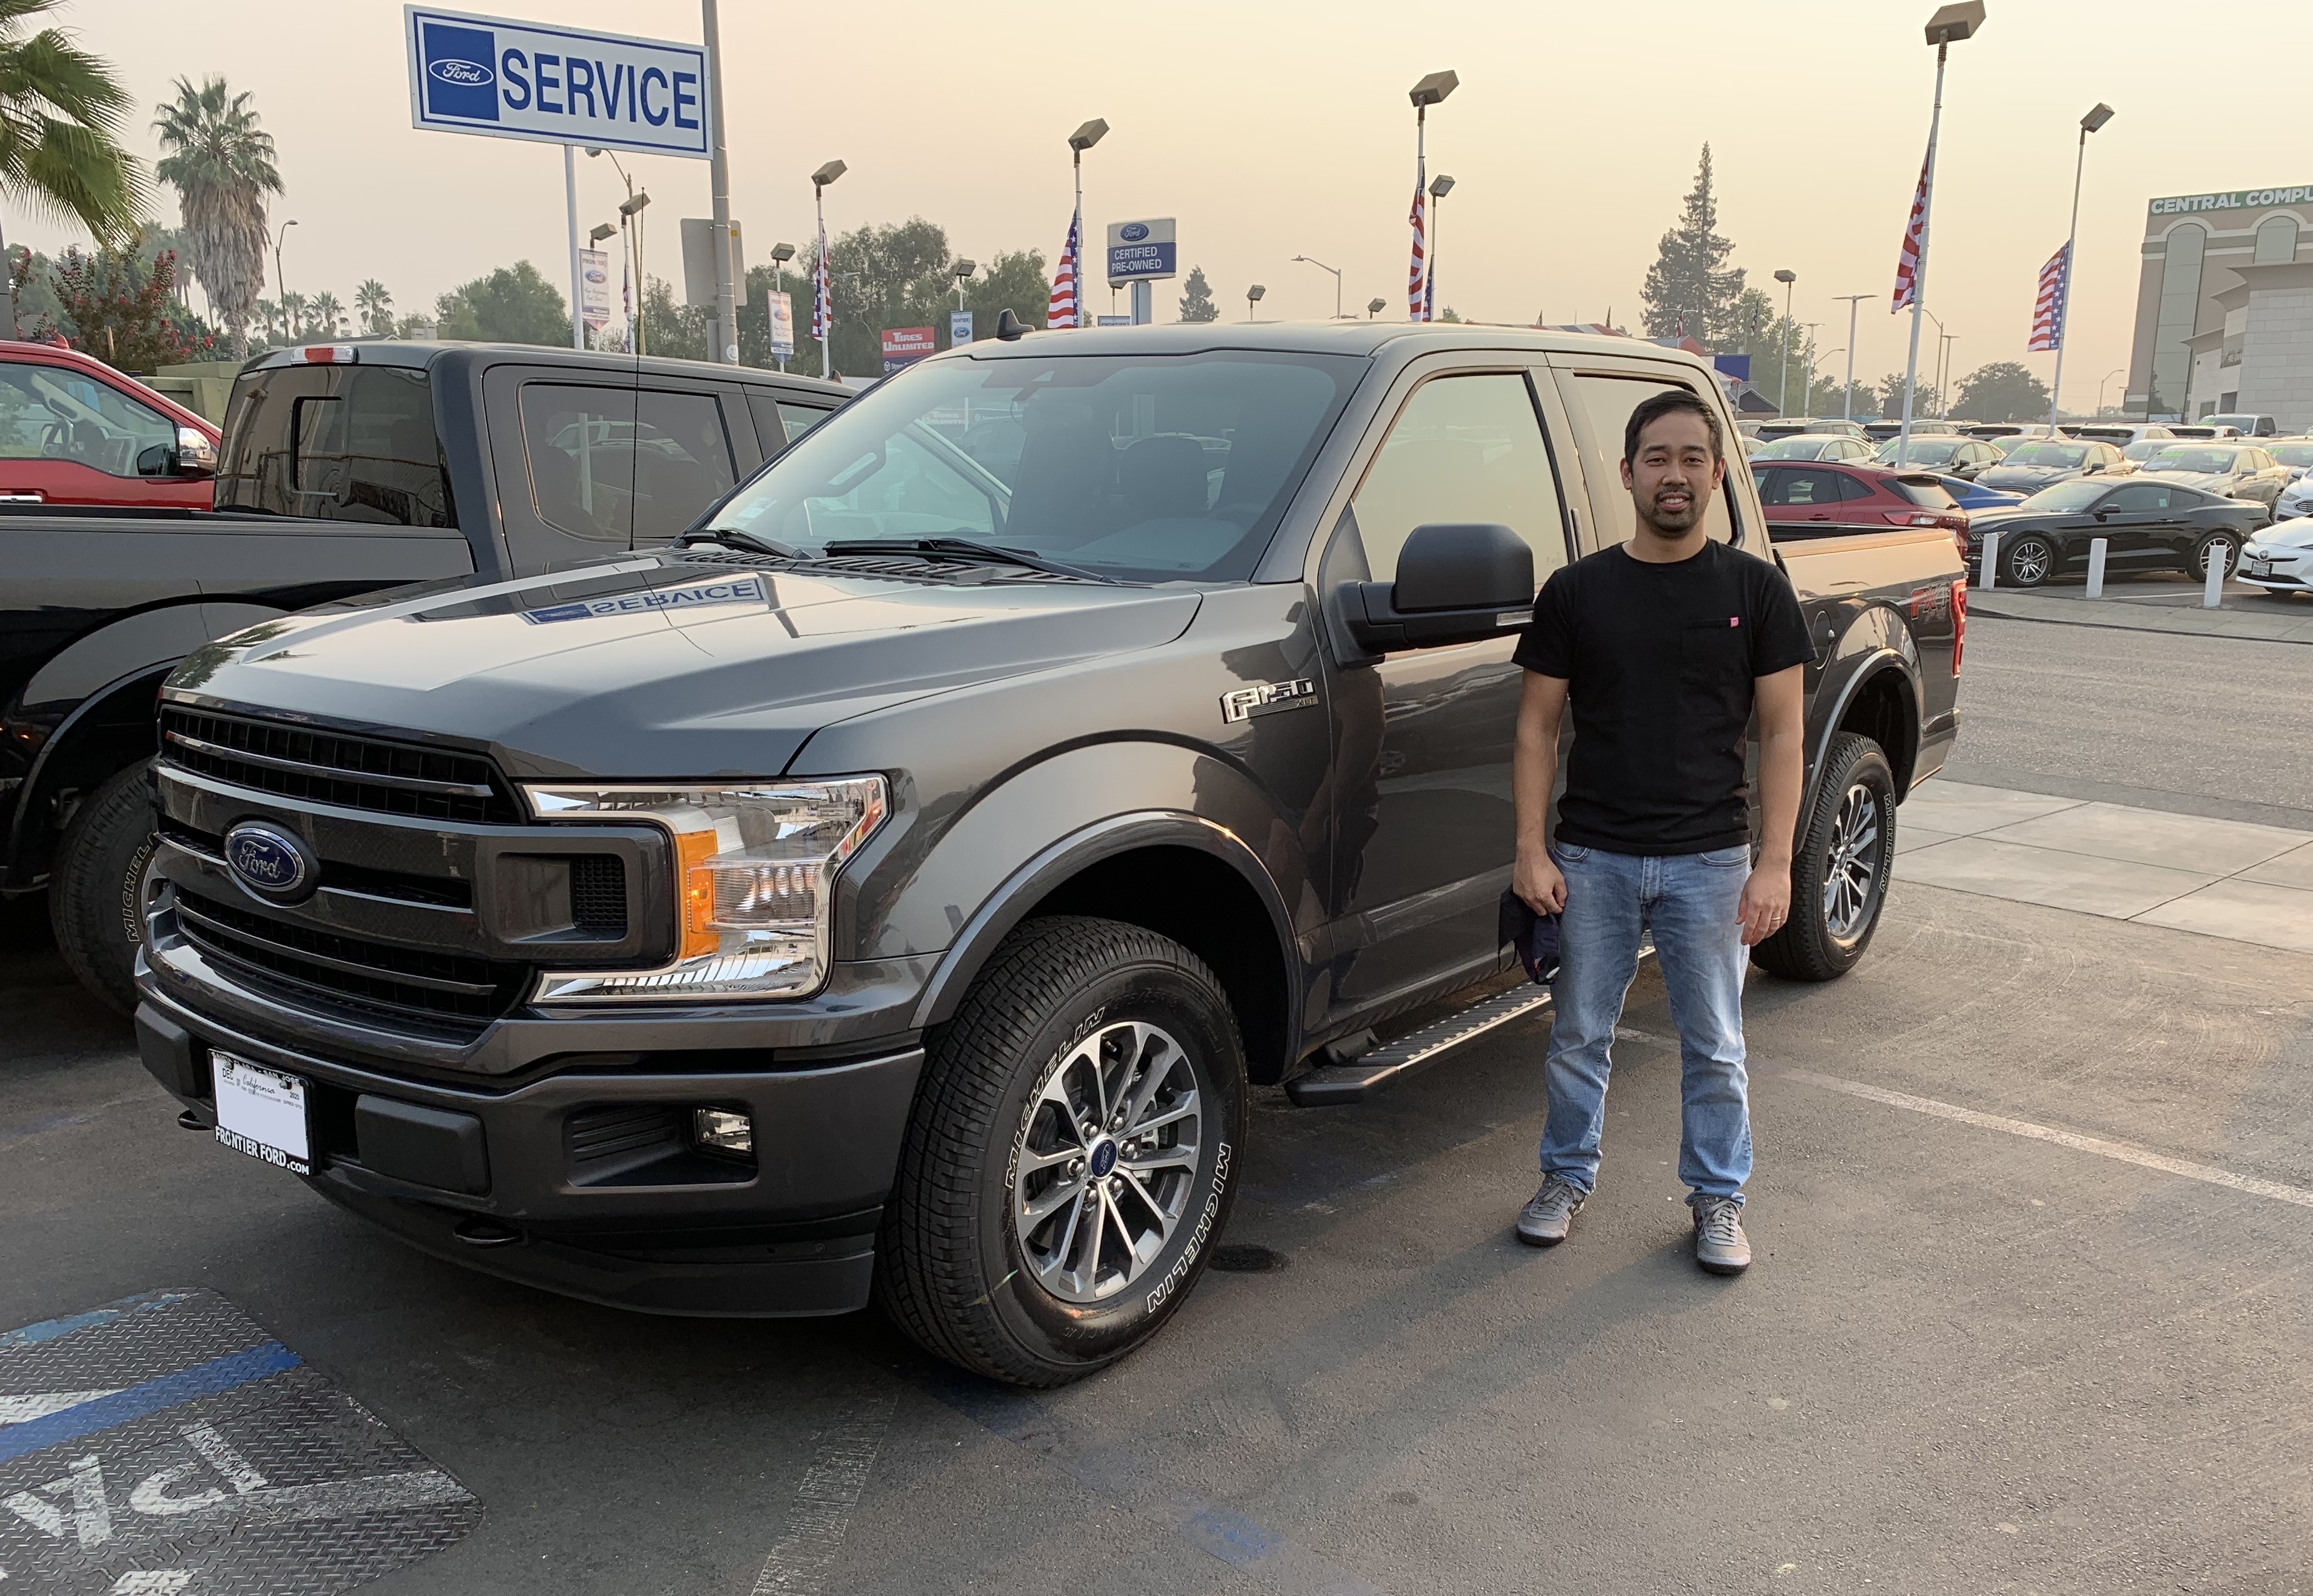
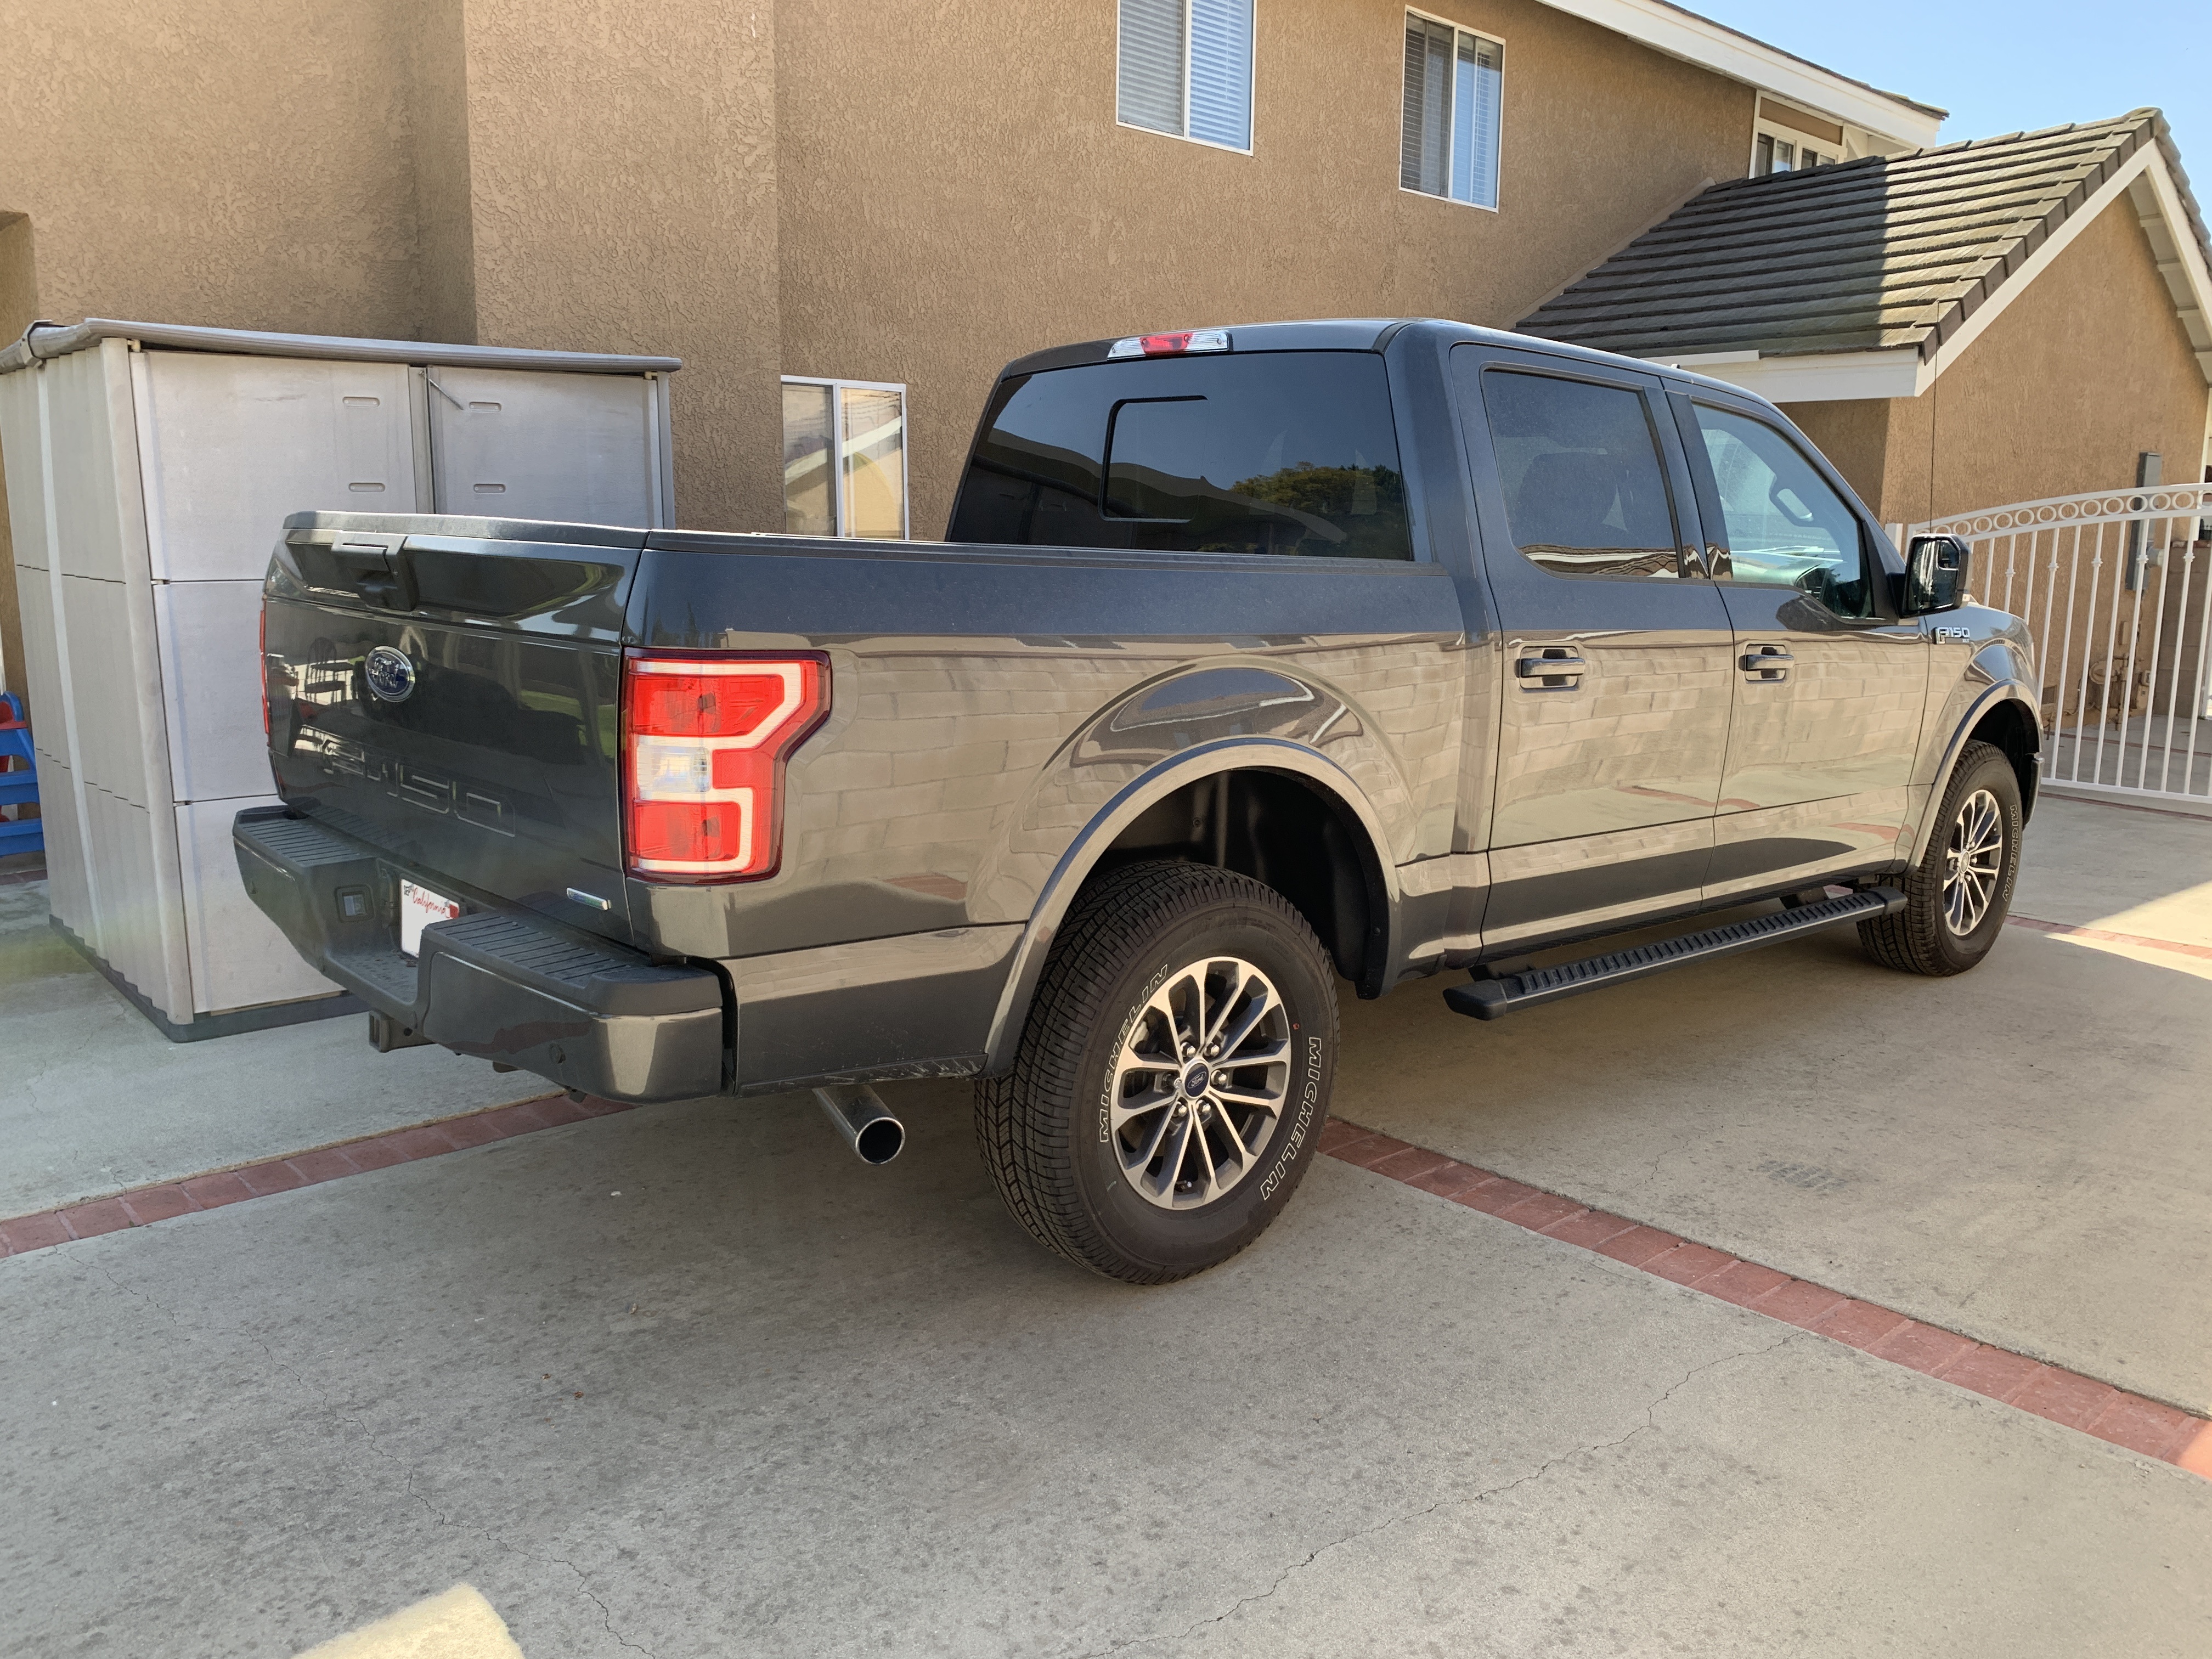
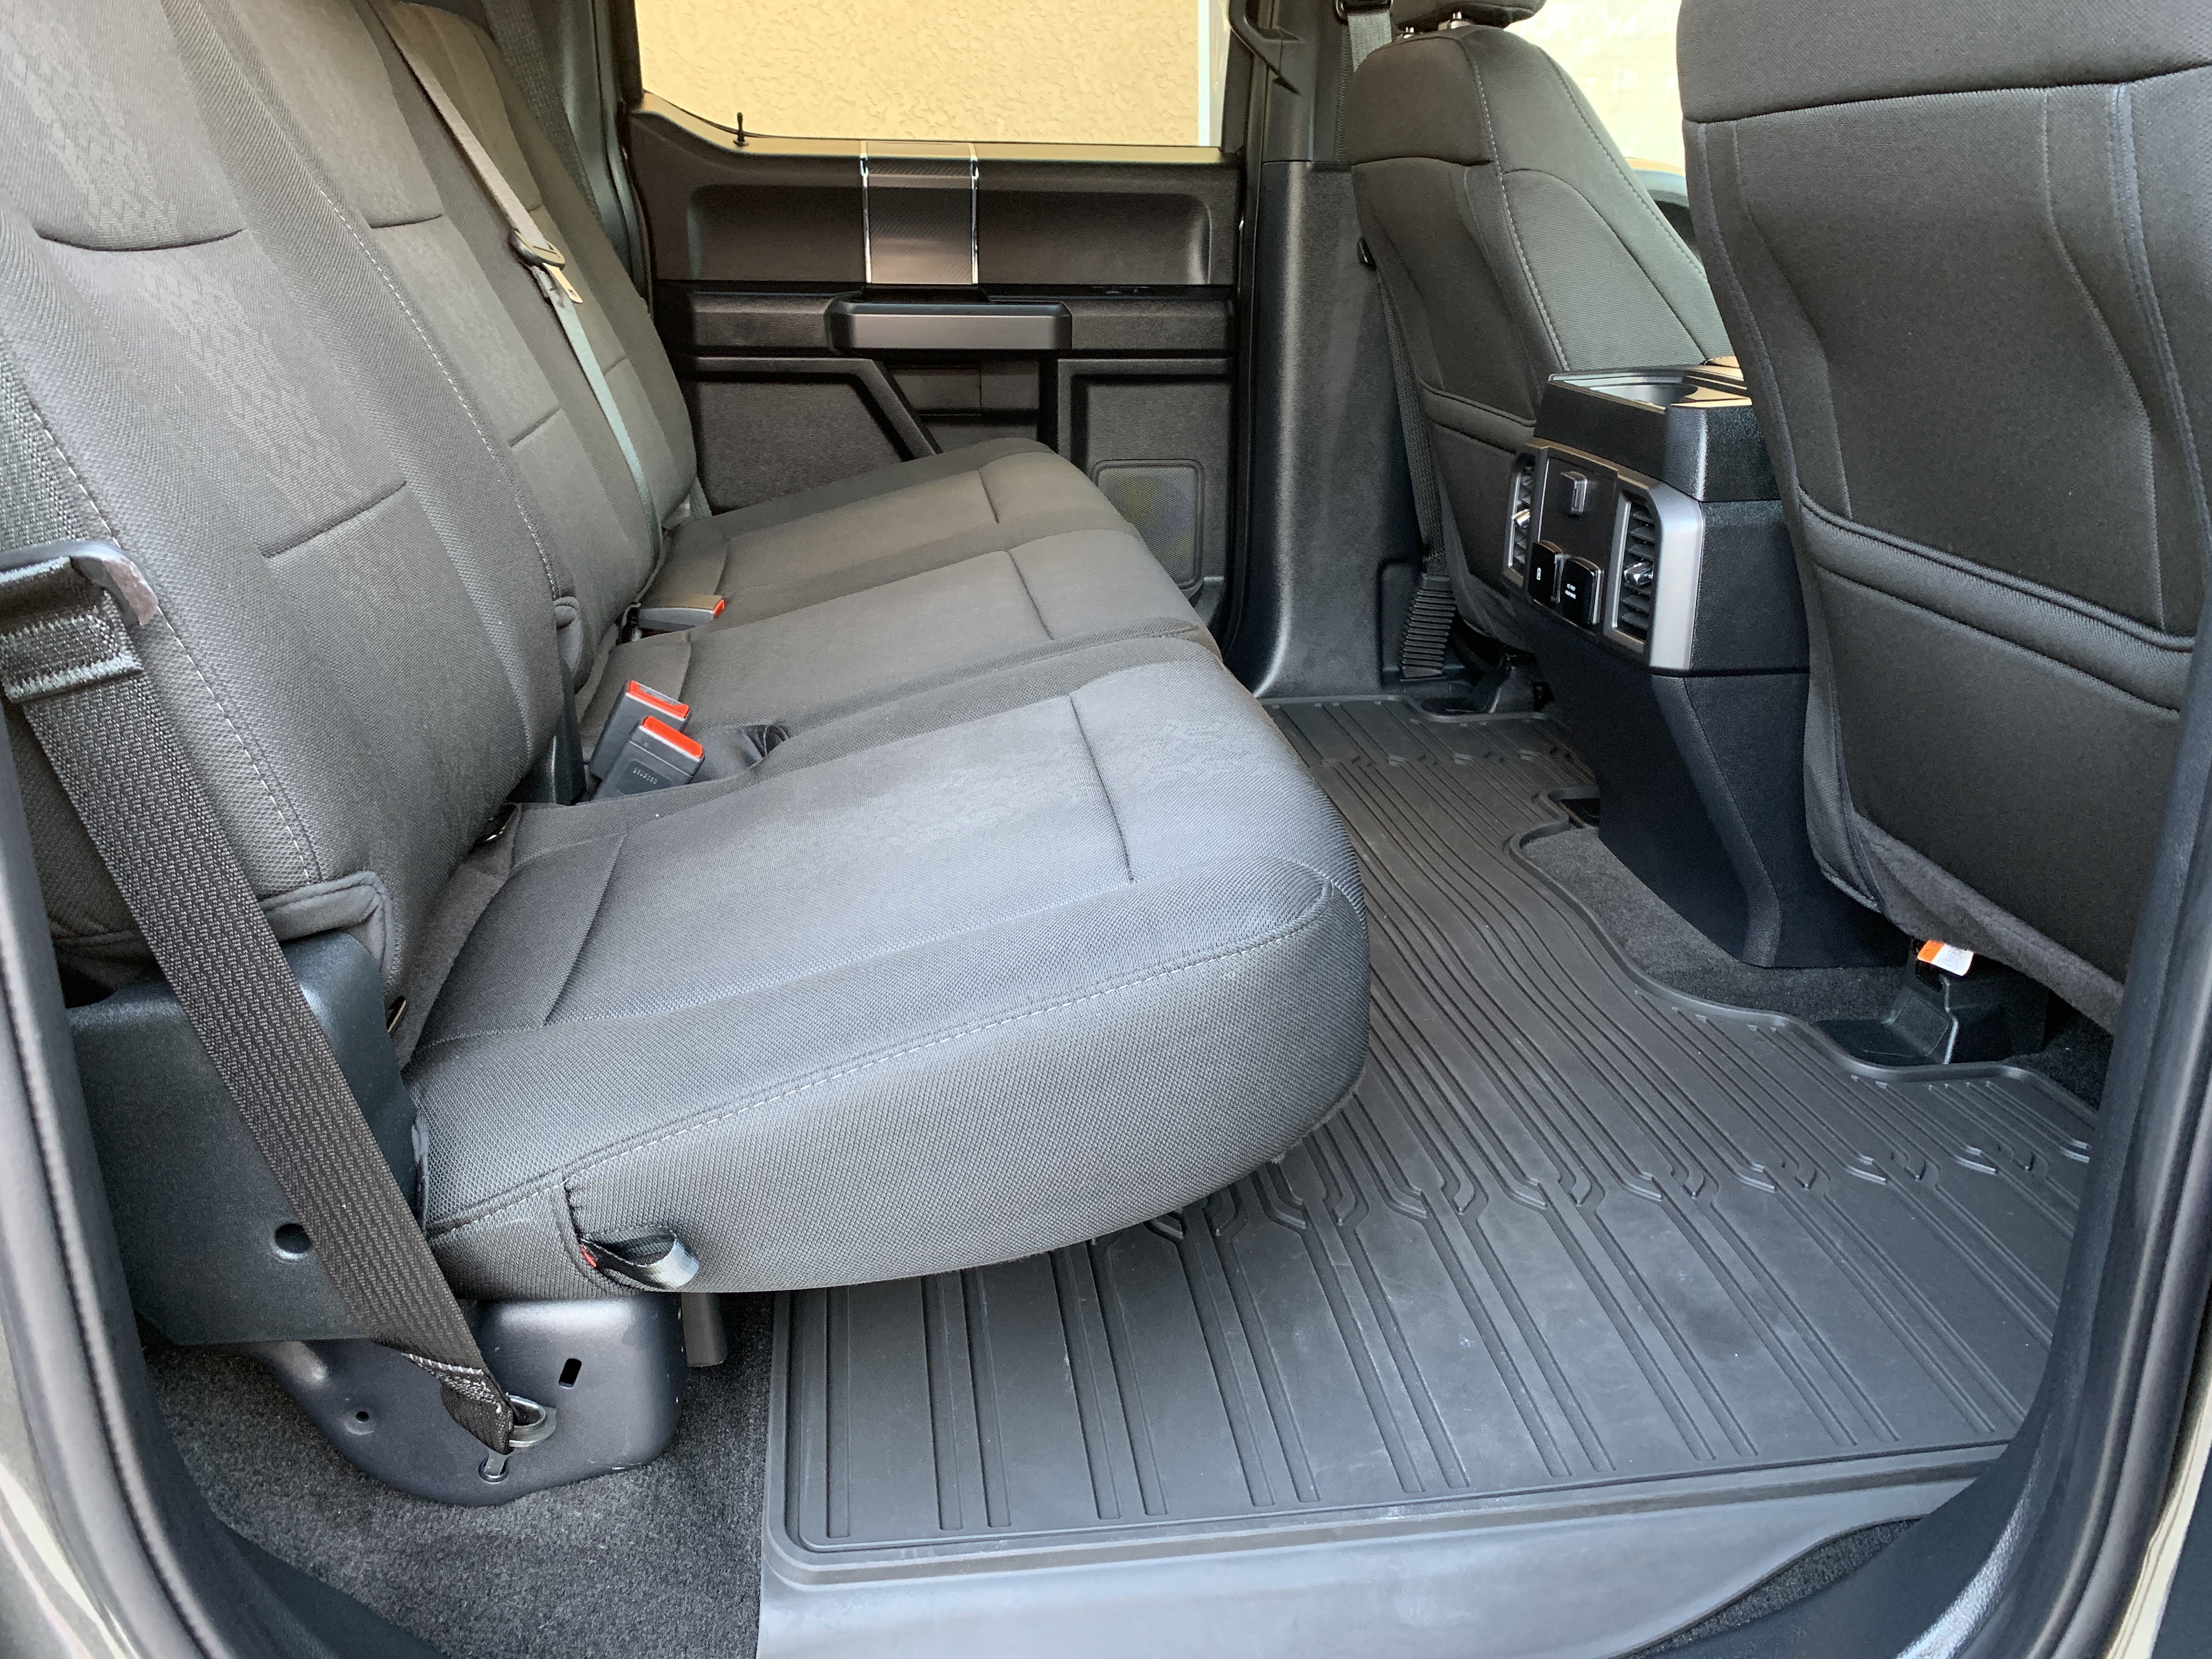
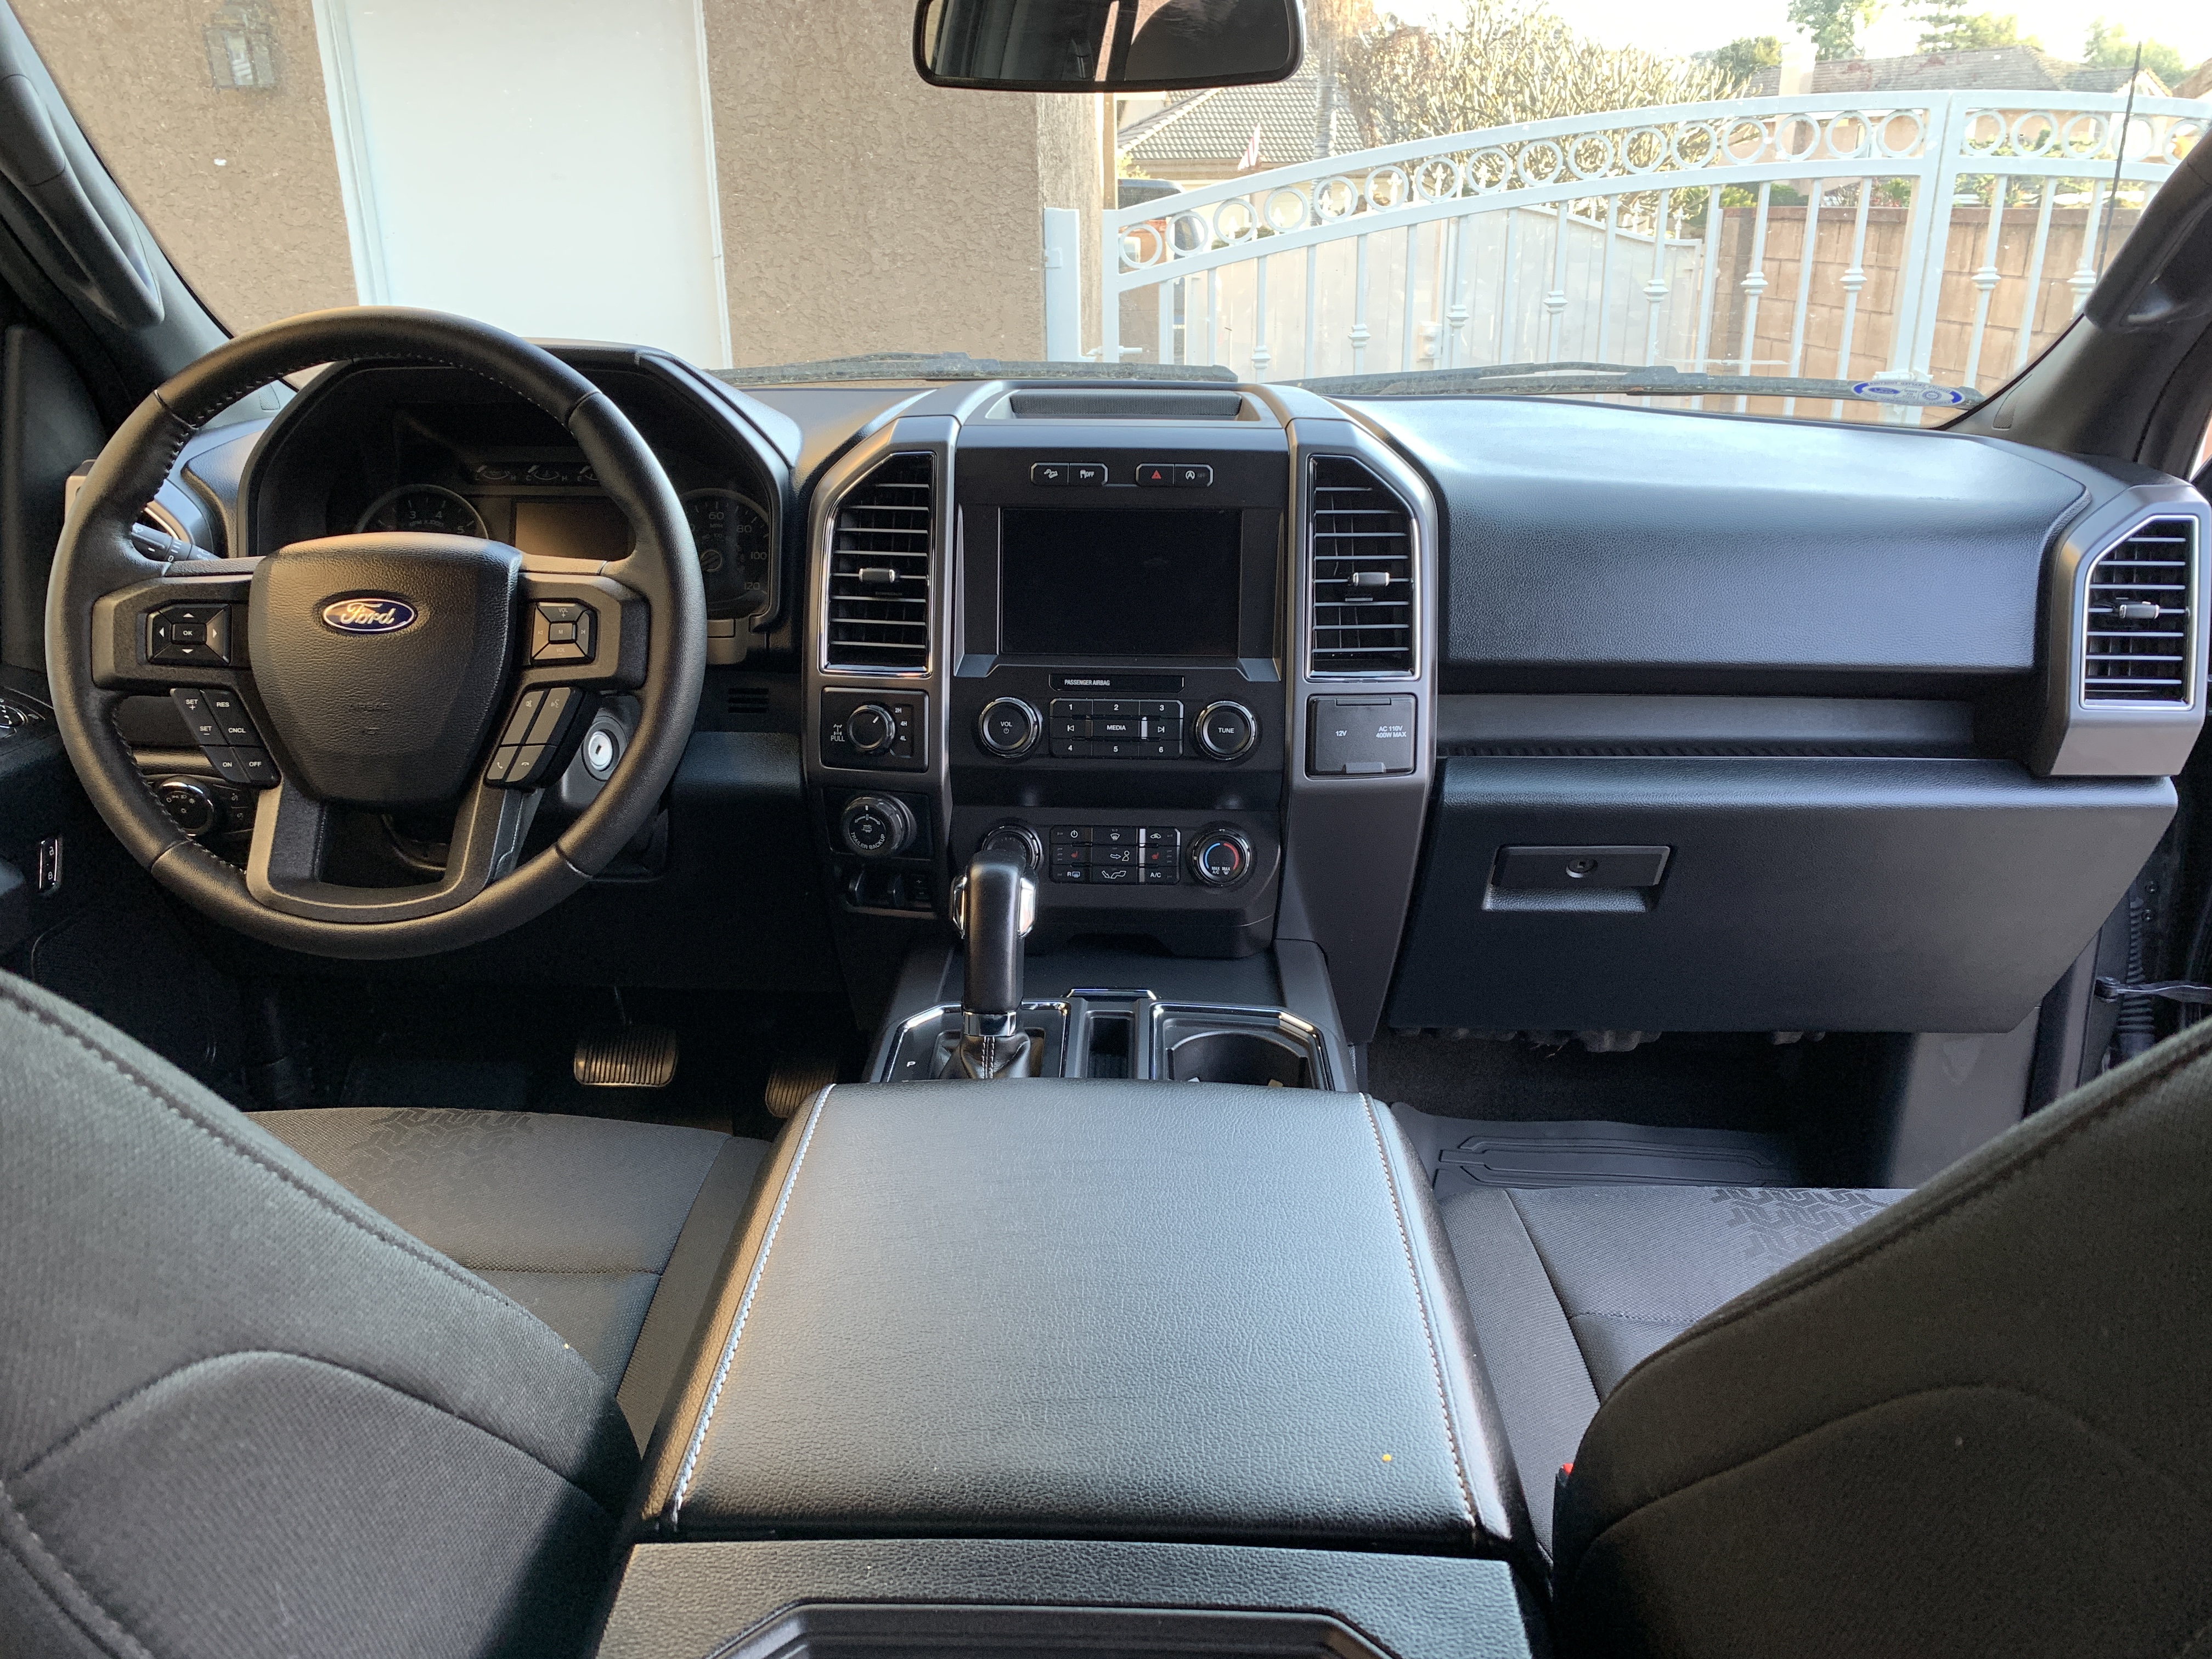
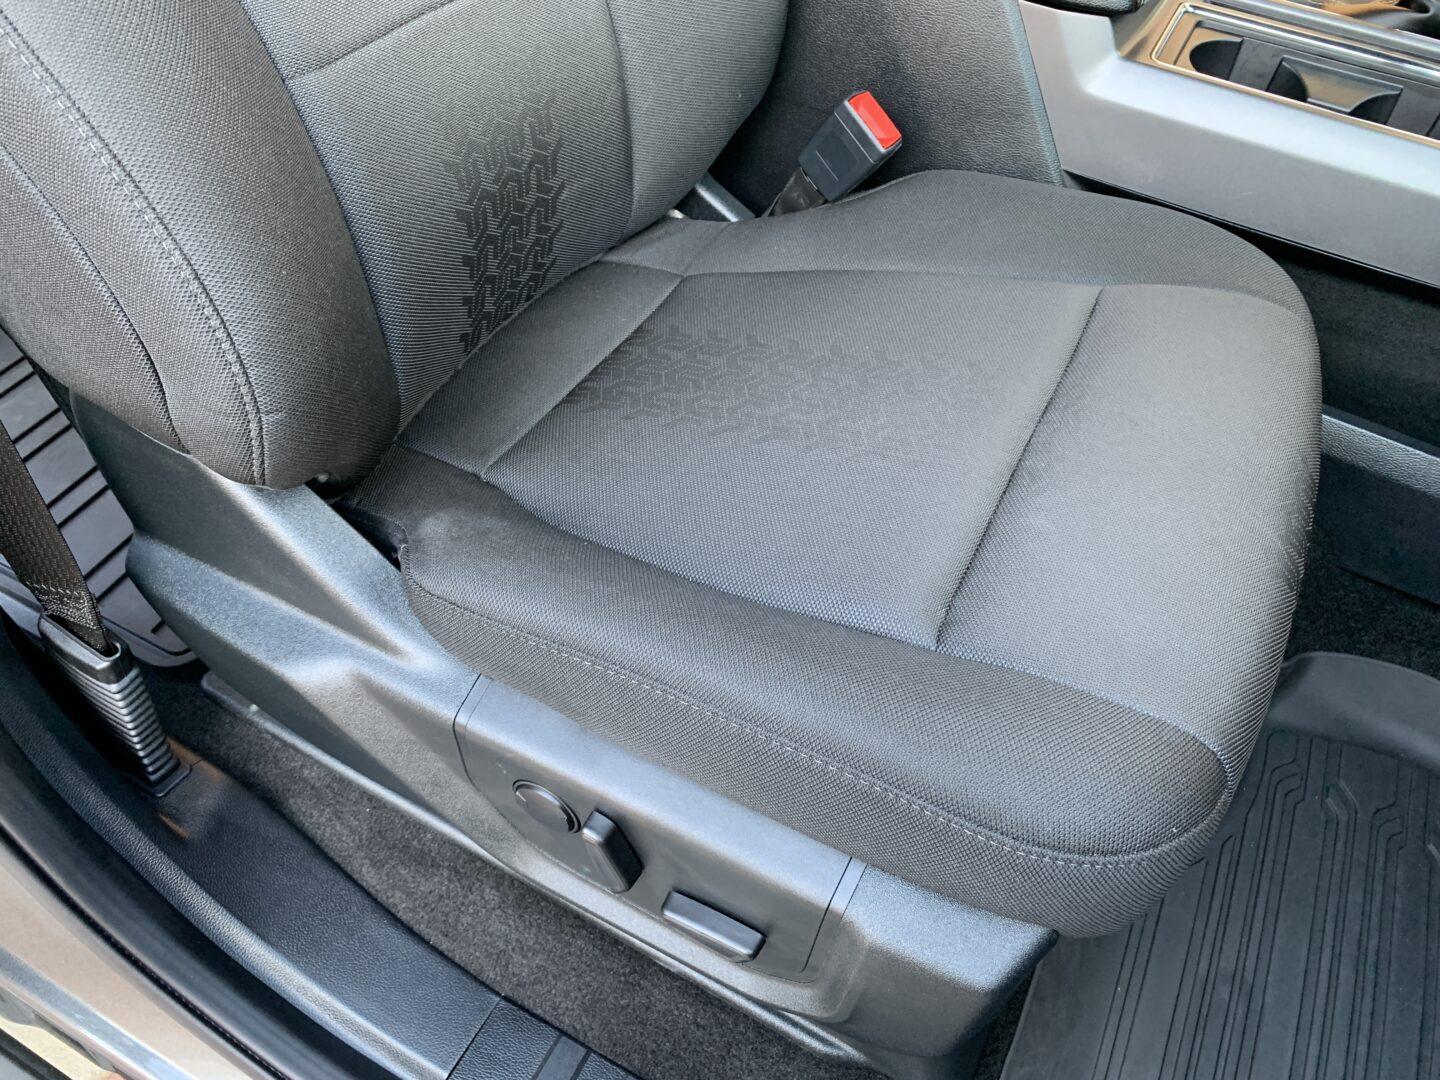
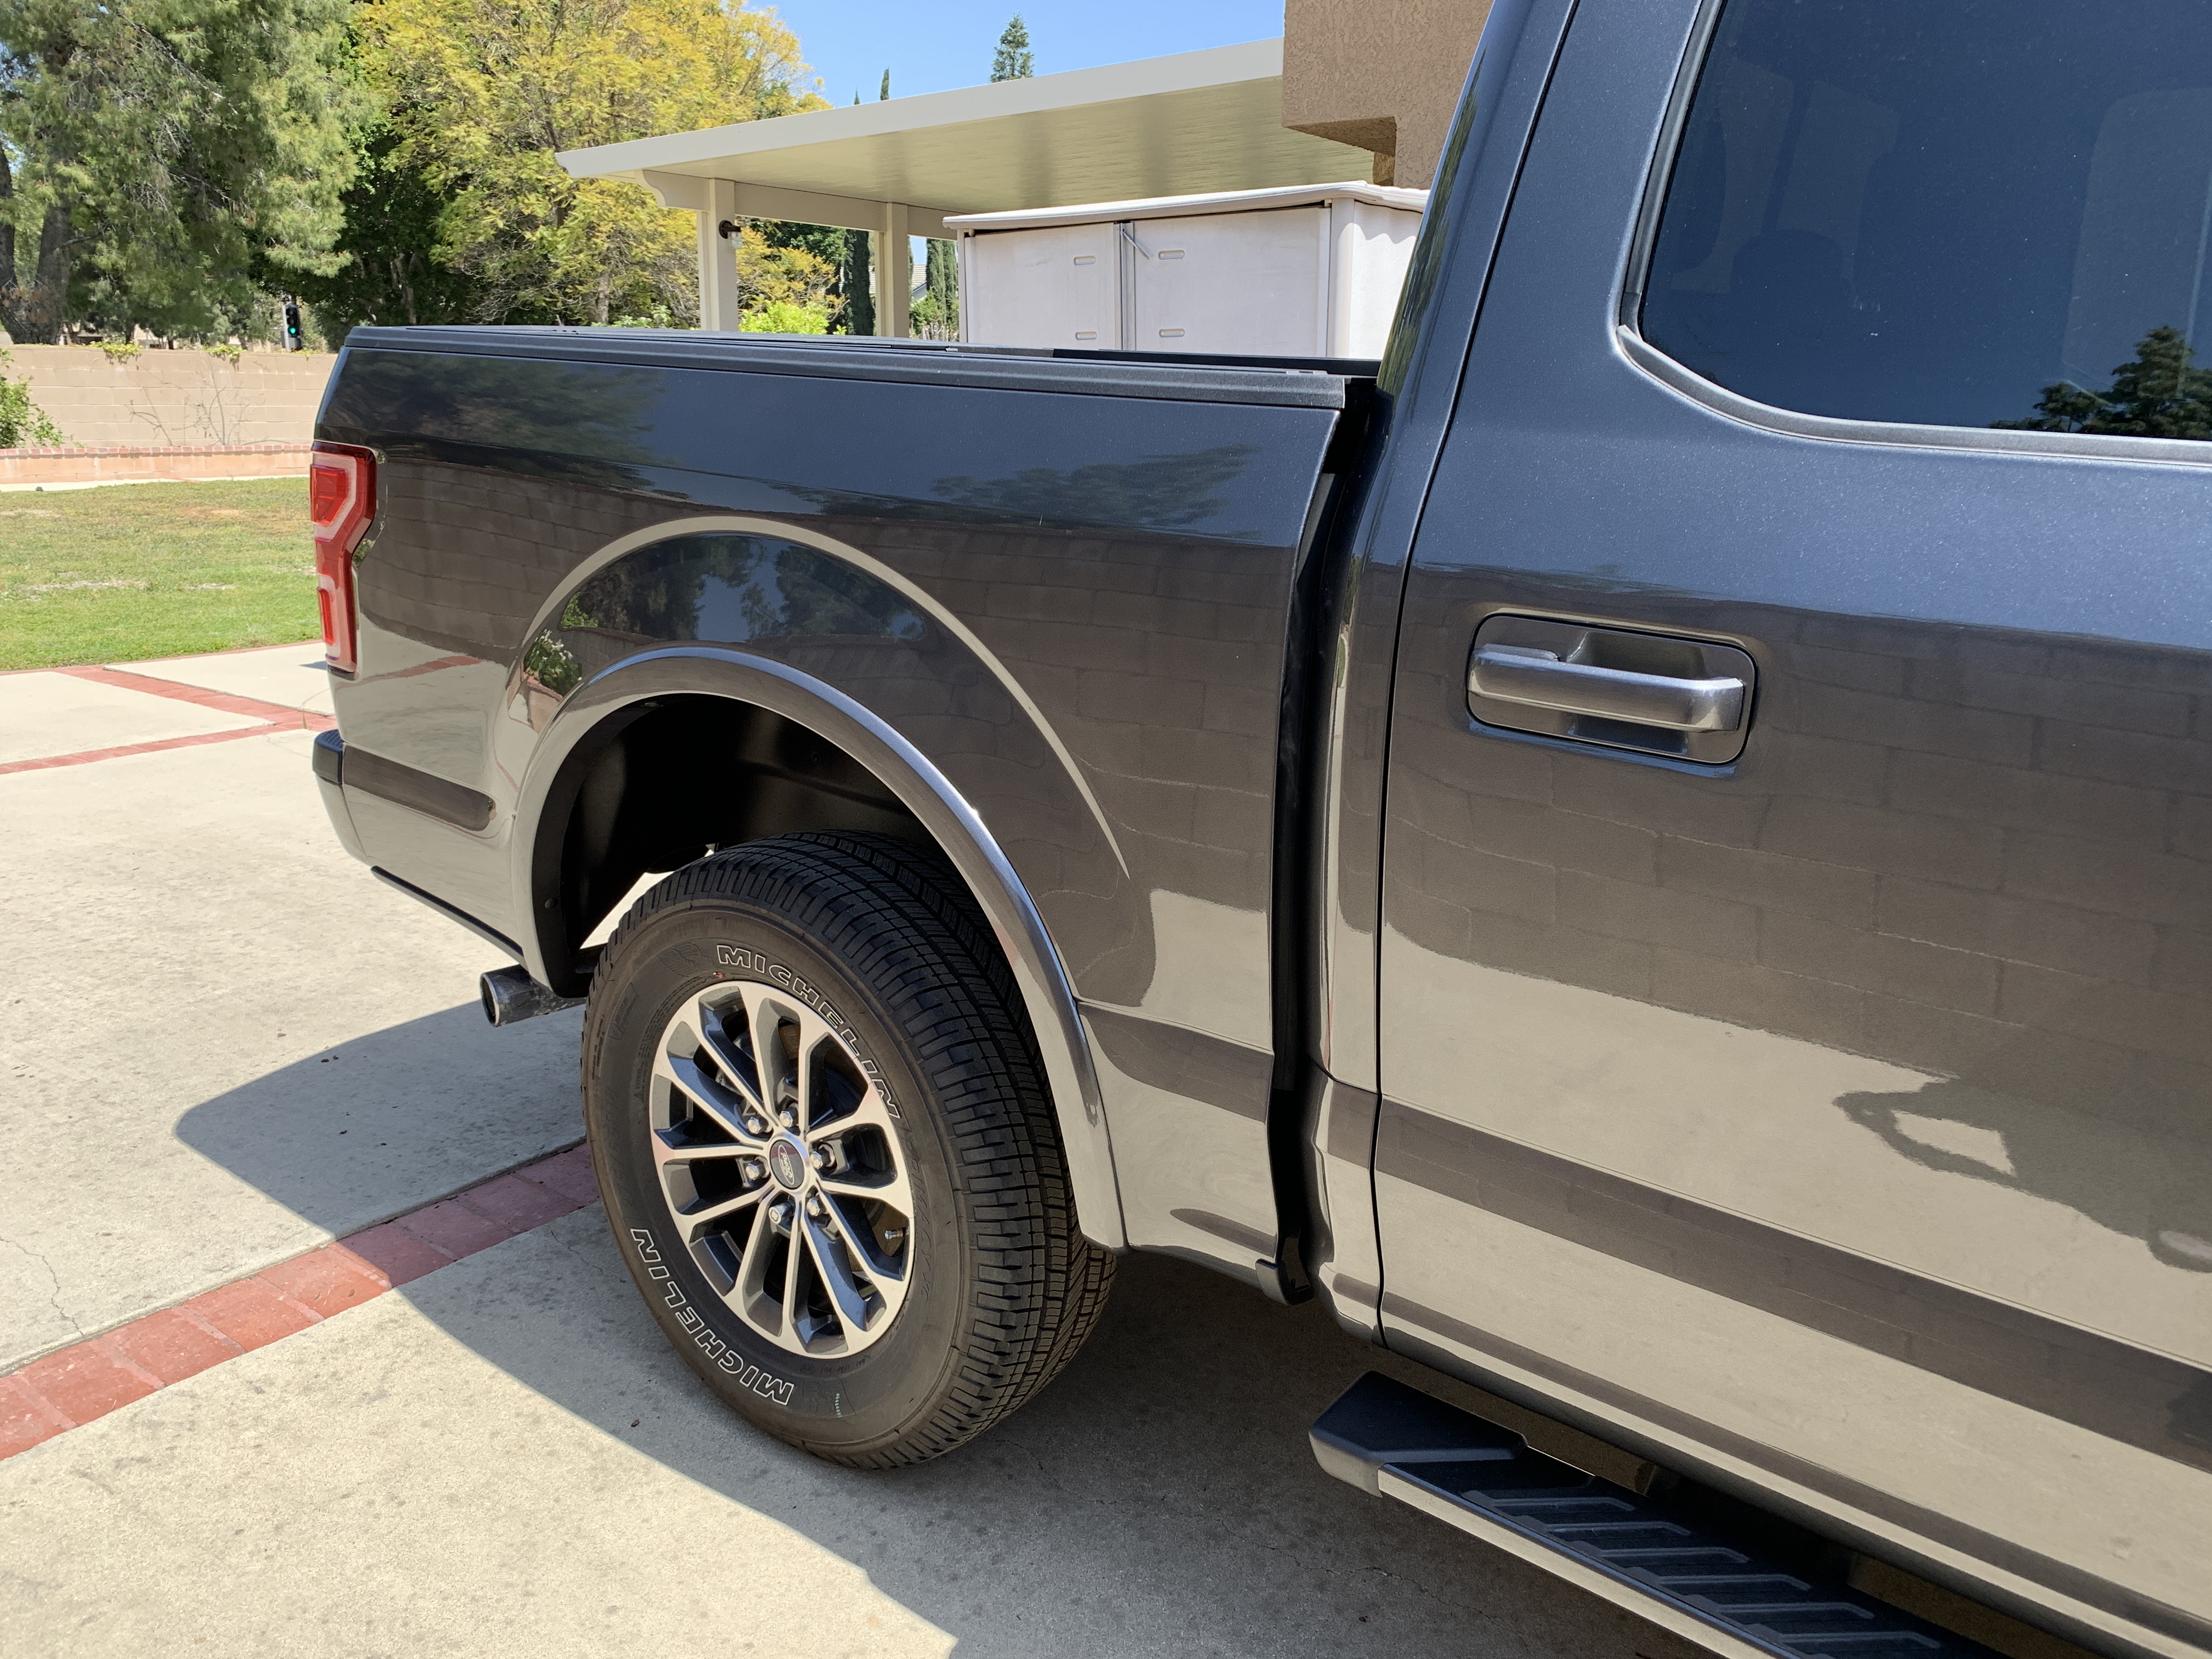
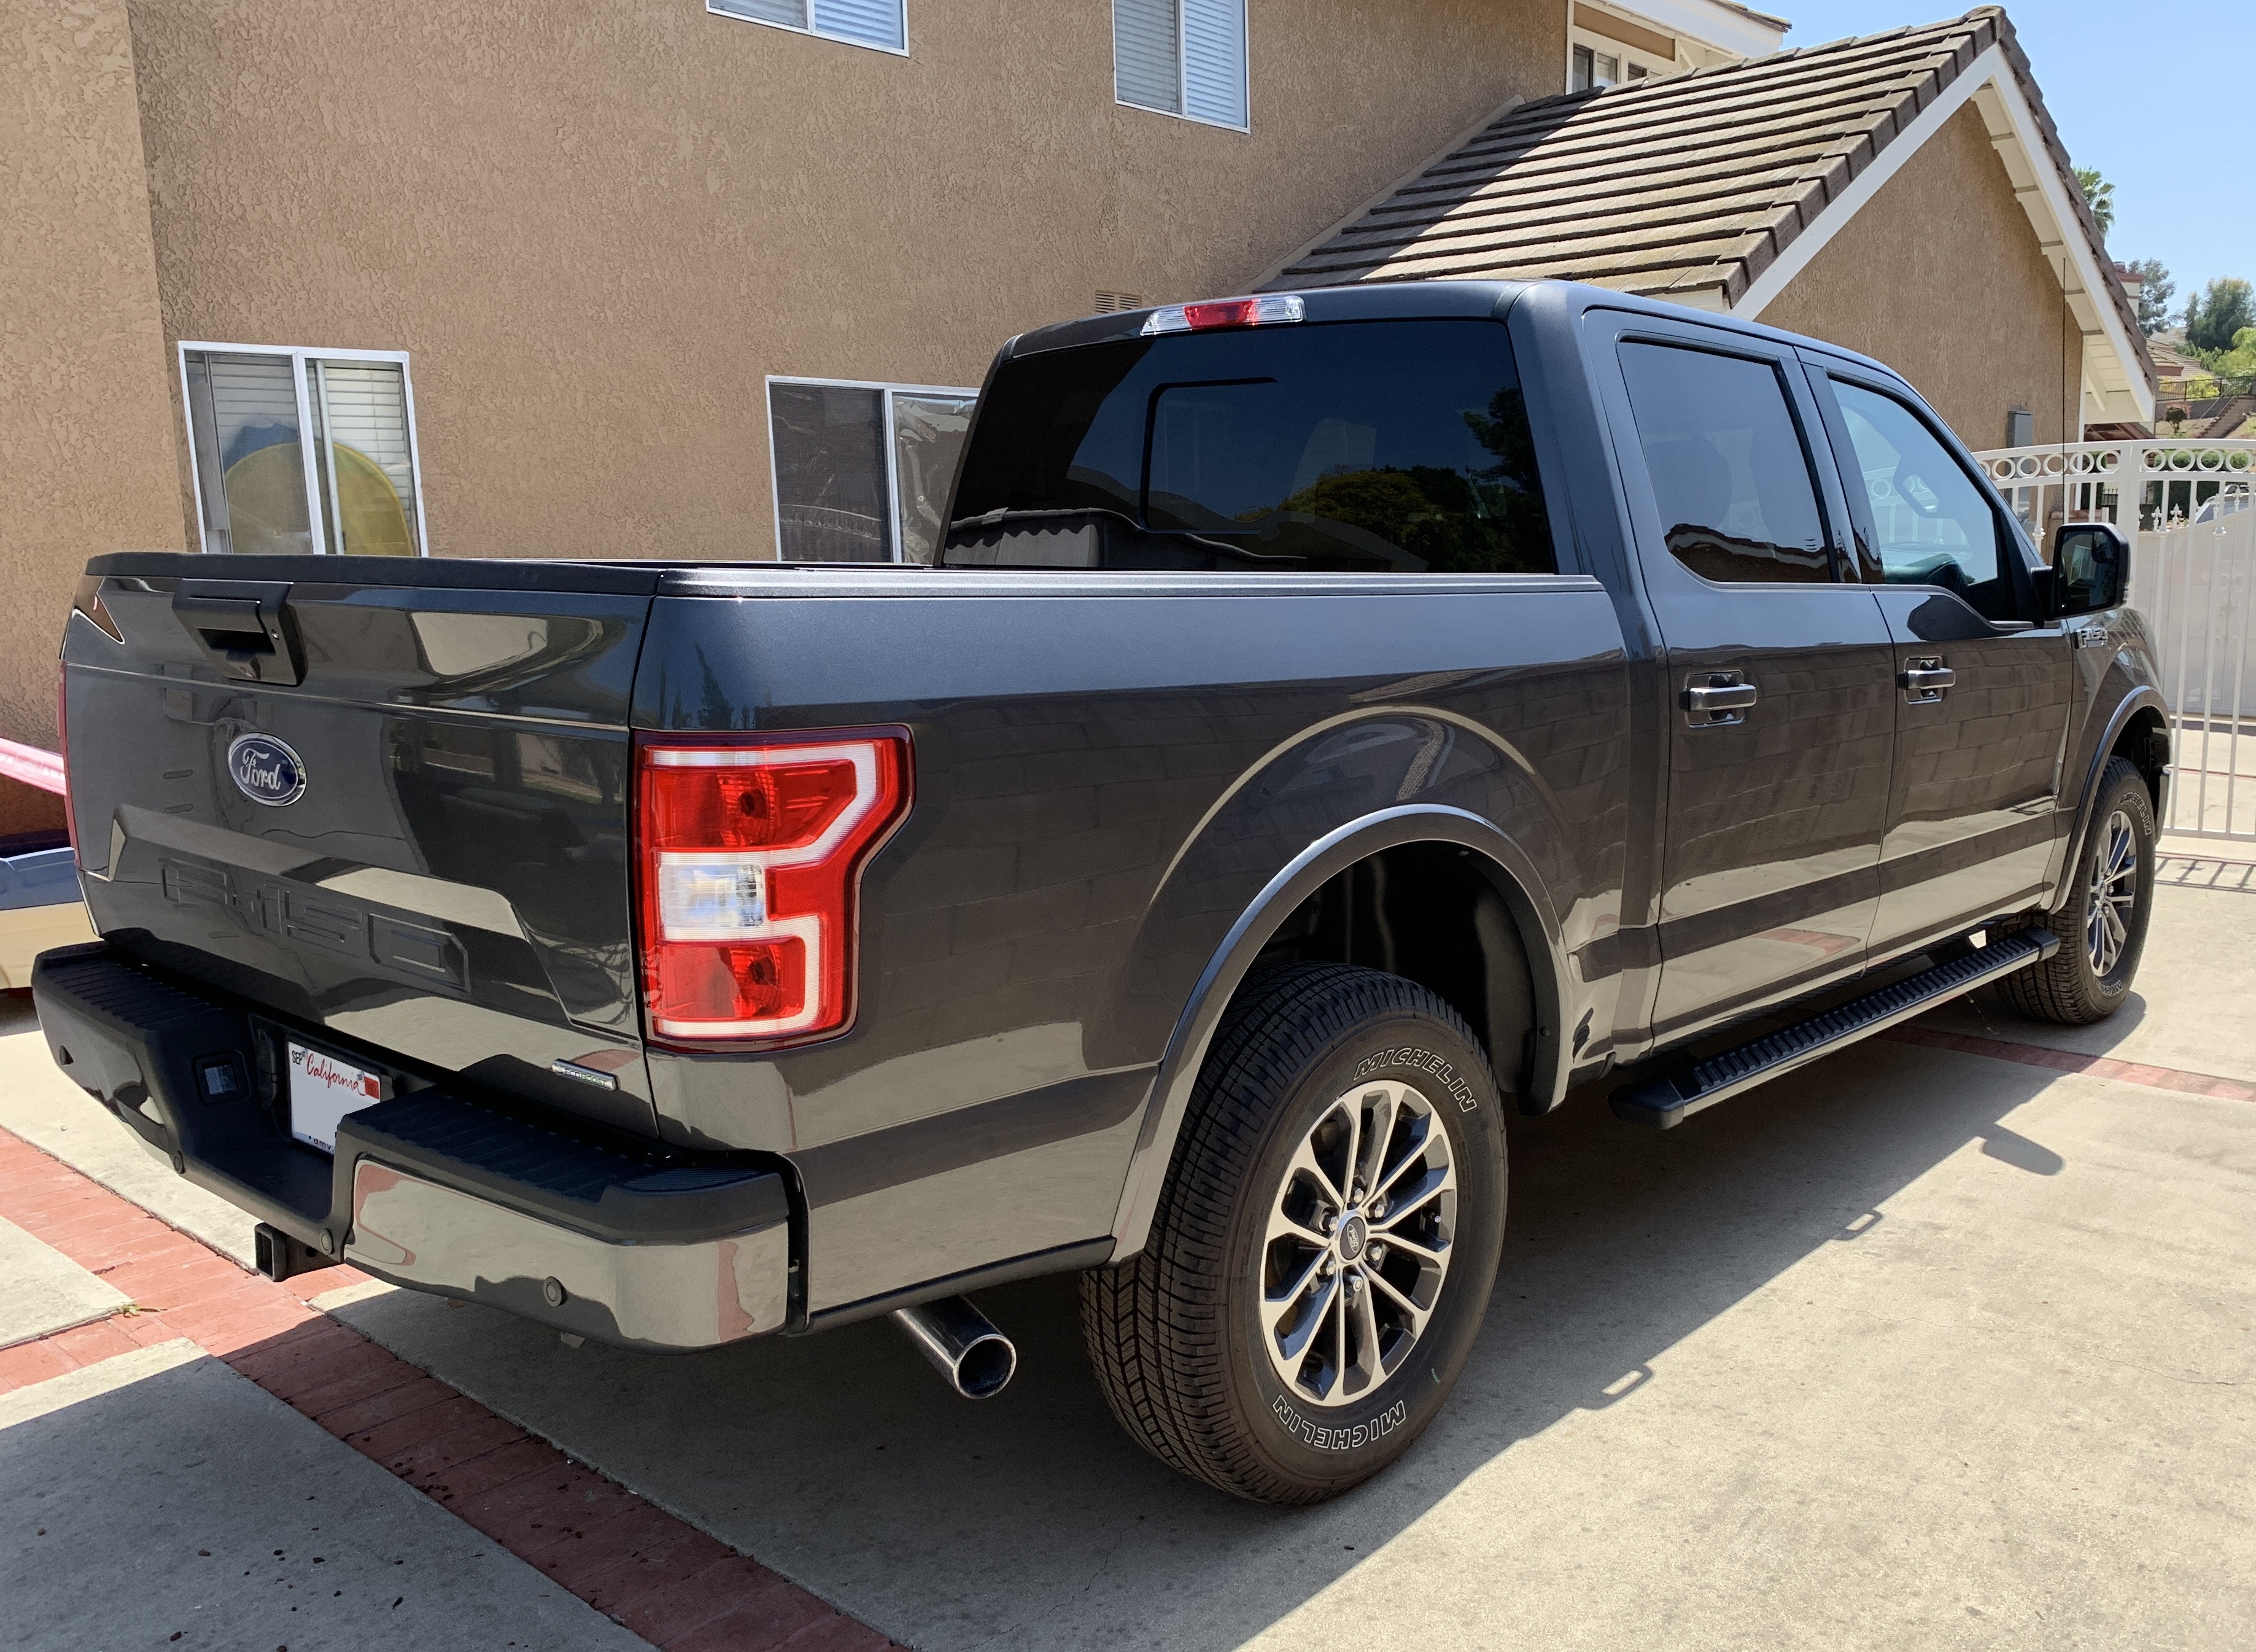
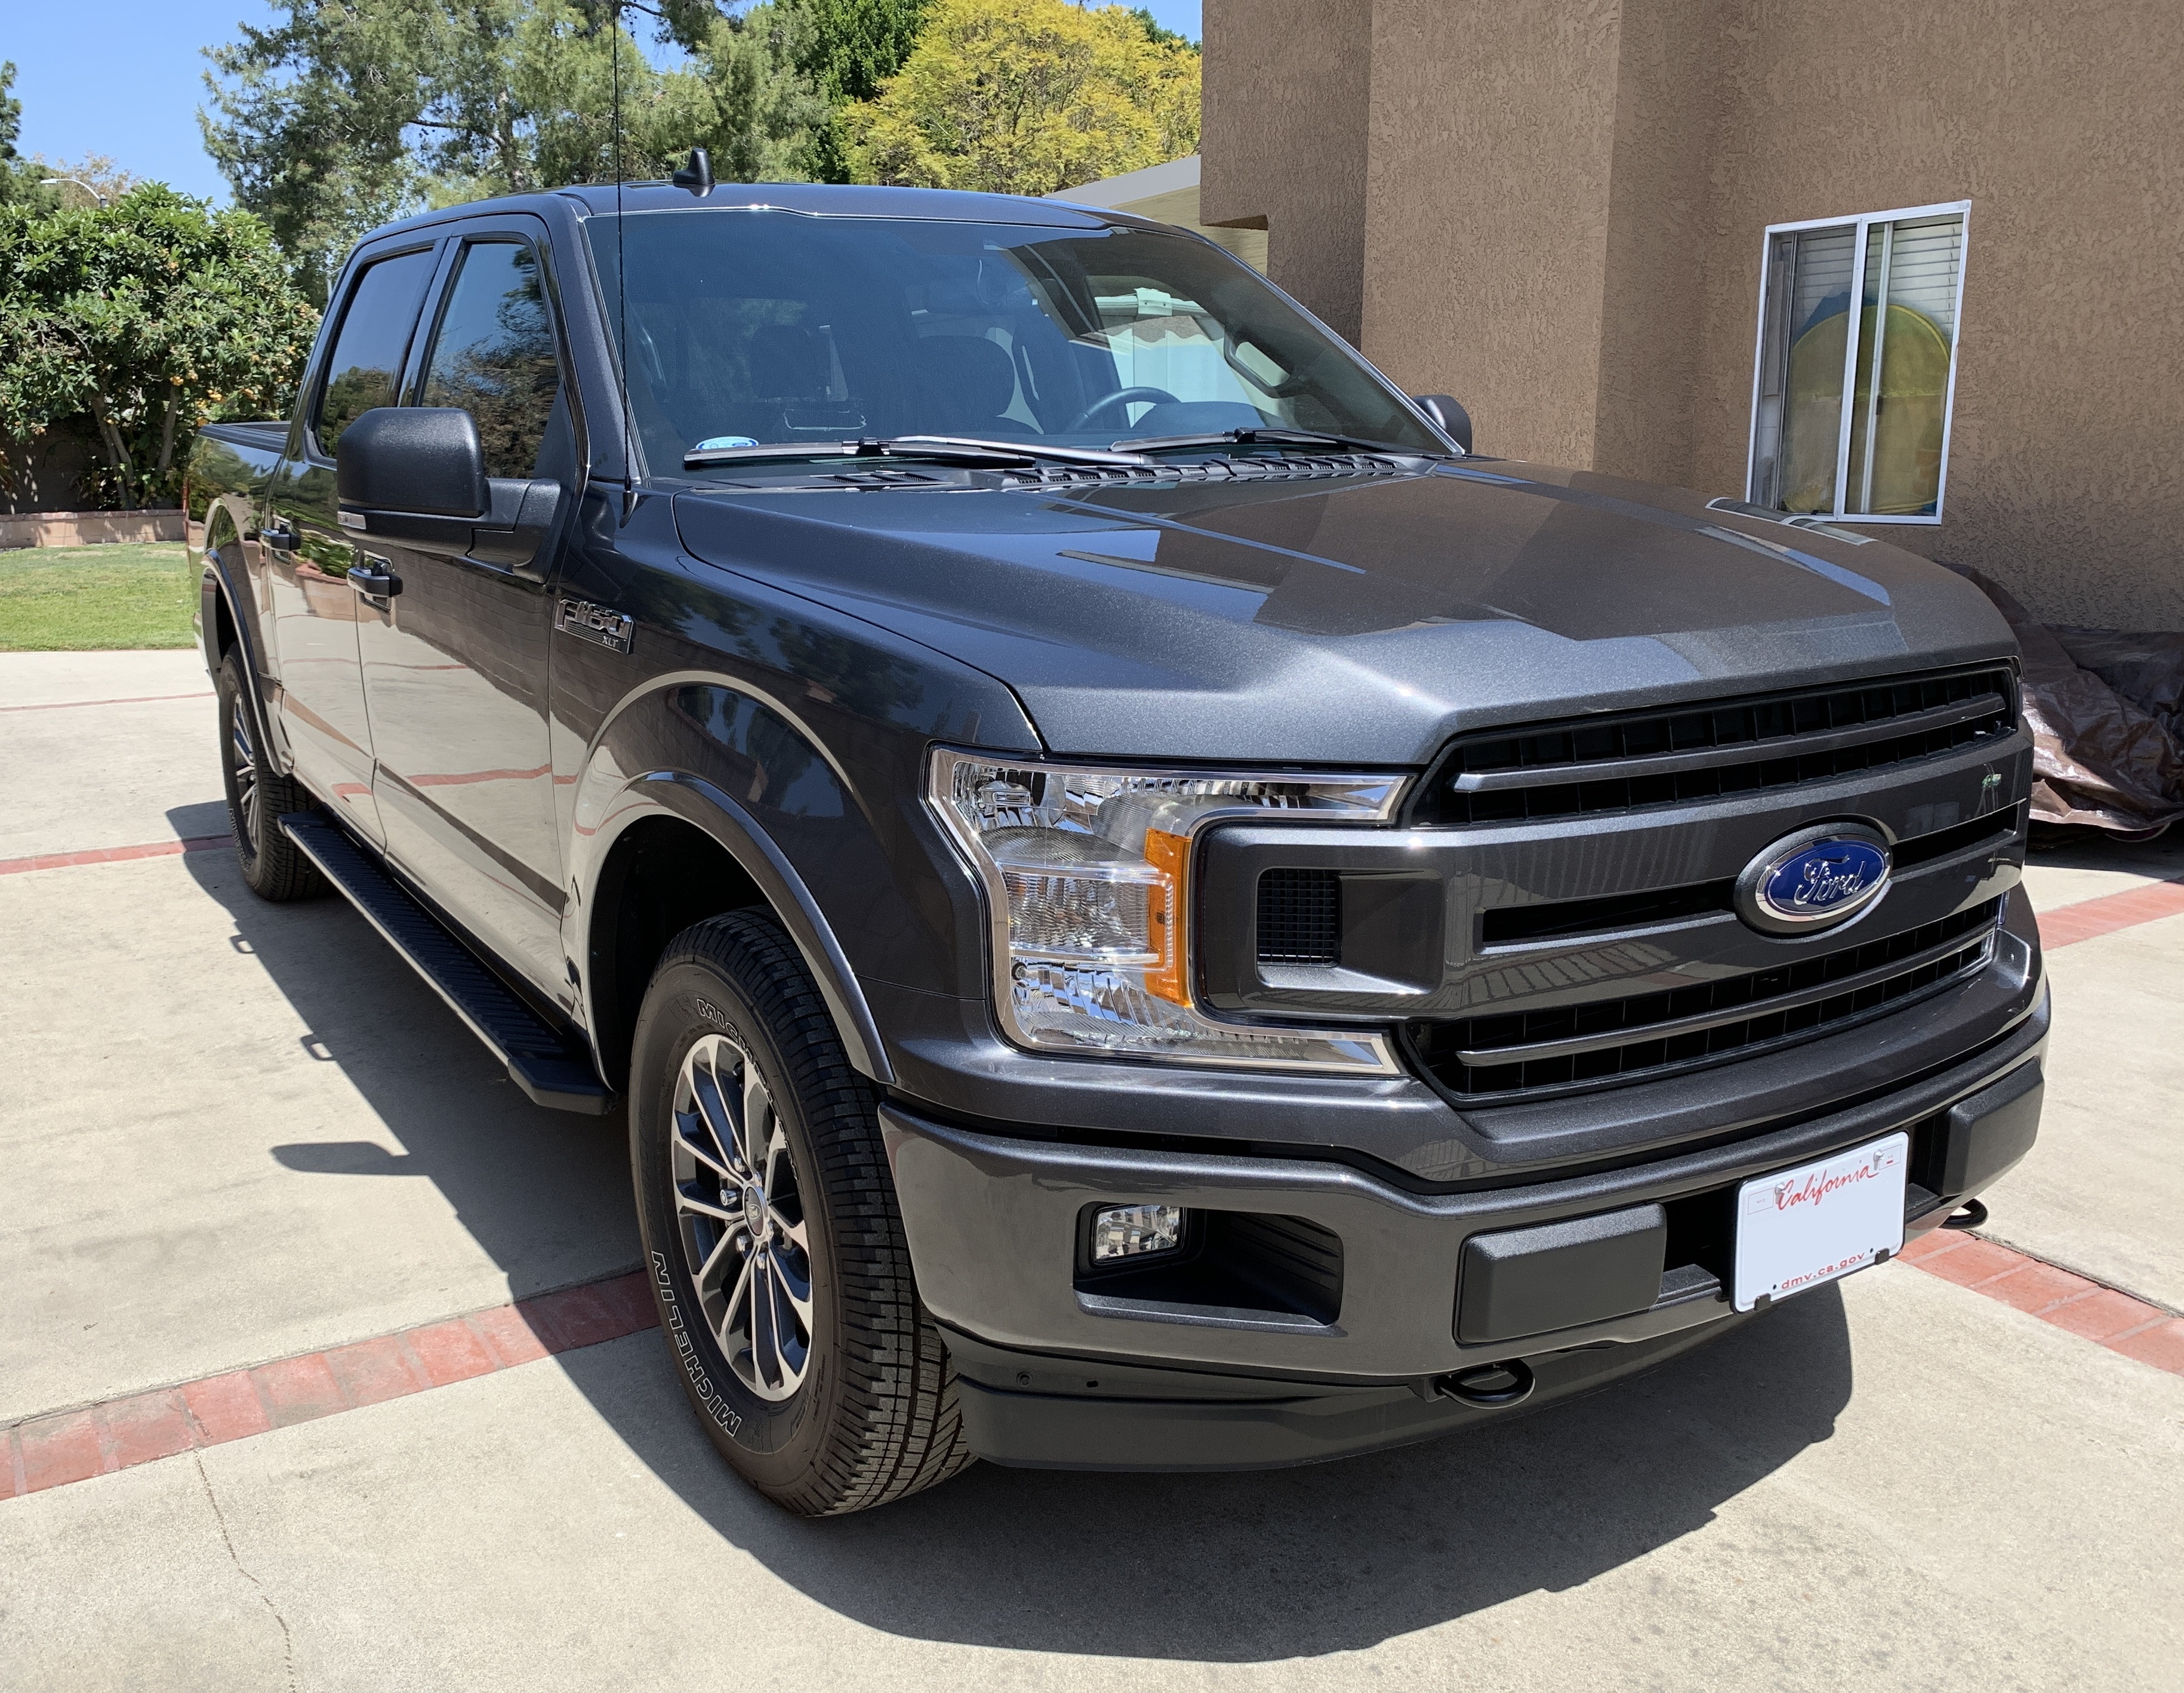
I’ll be using my new 2020 Ford F-150 as an example for the purpose of this guide. Out of all the cars I’ve owned, this is only car I’ve ever purchased new (back in 2021). I’ll be going through the different things you’ll need to do to fully clean, prep, and protect your car.
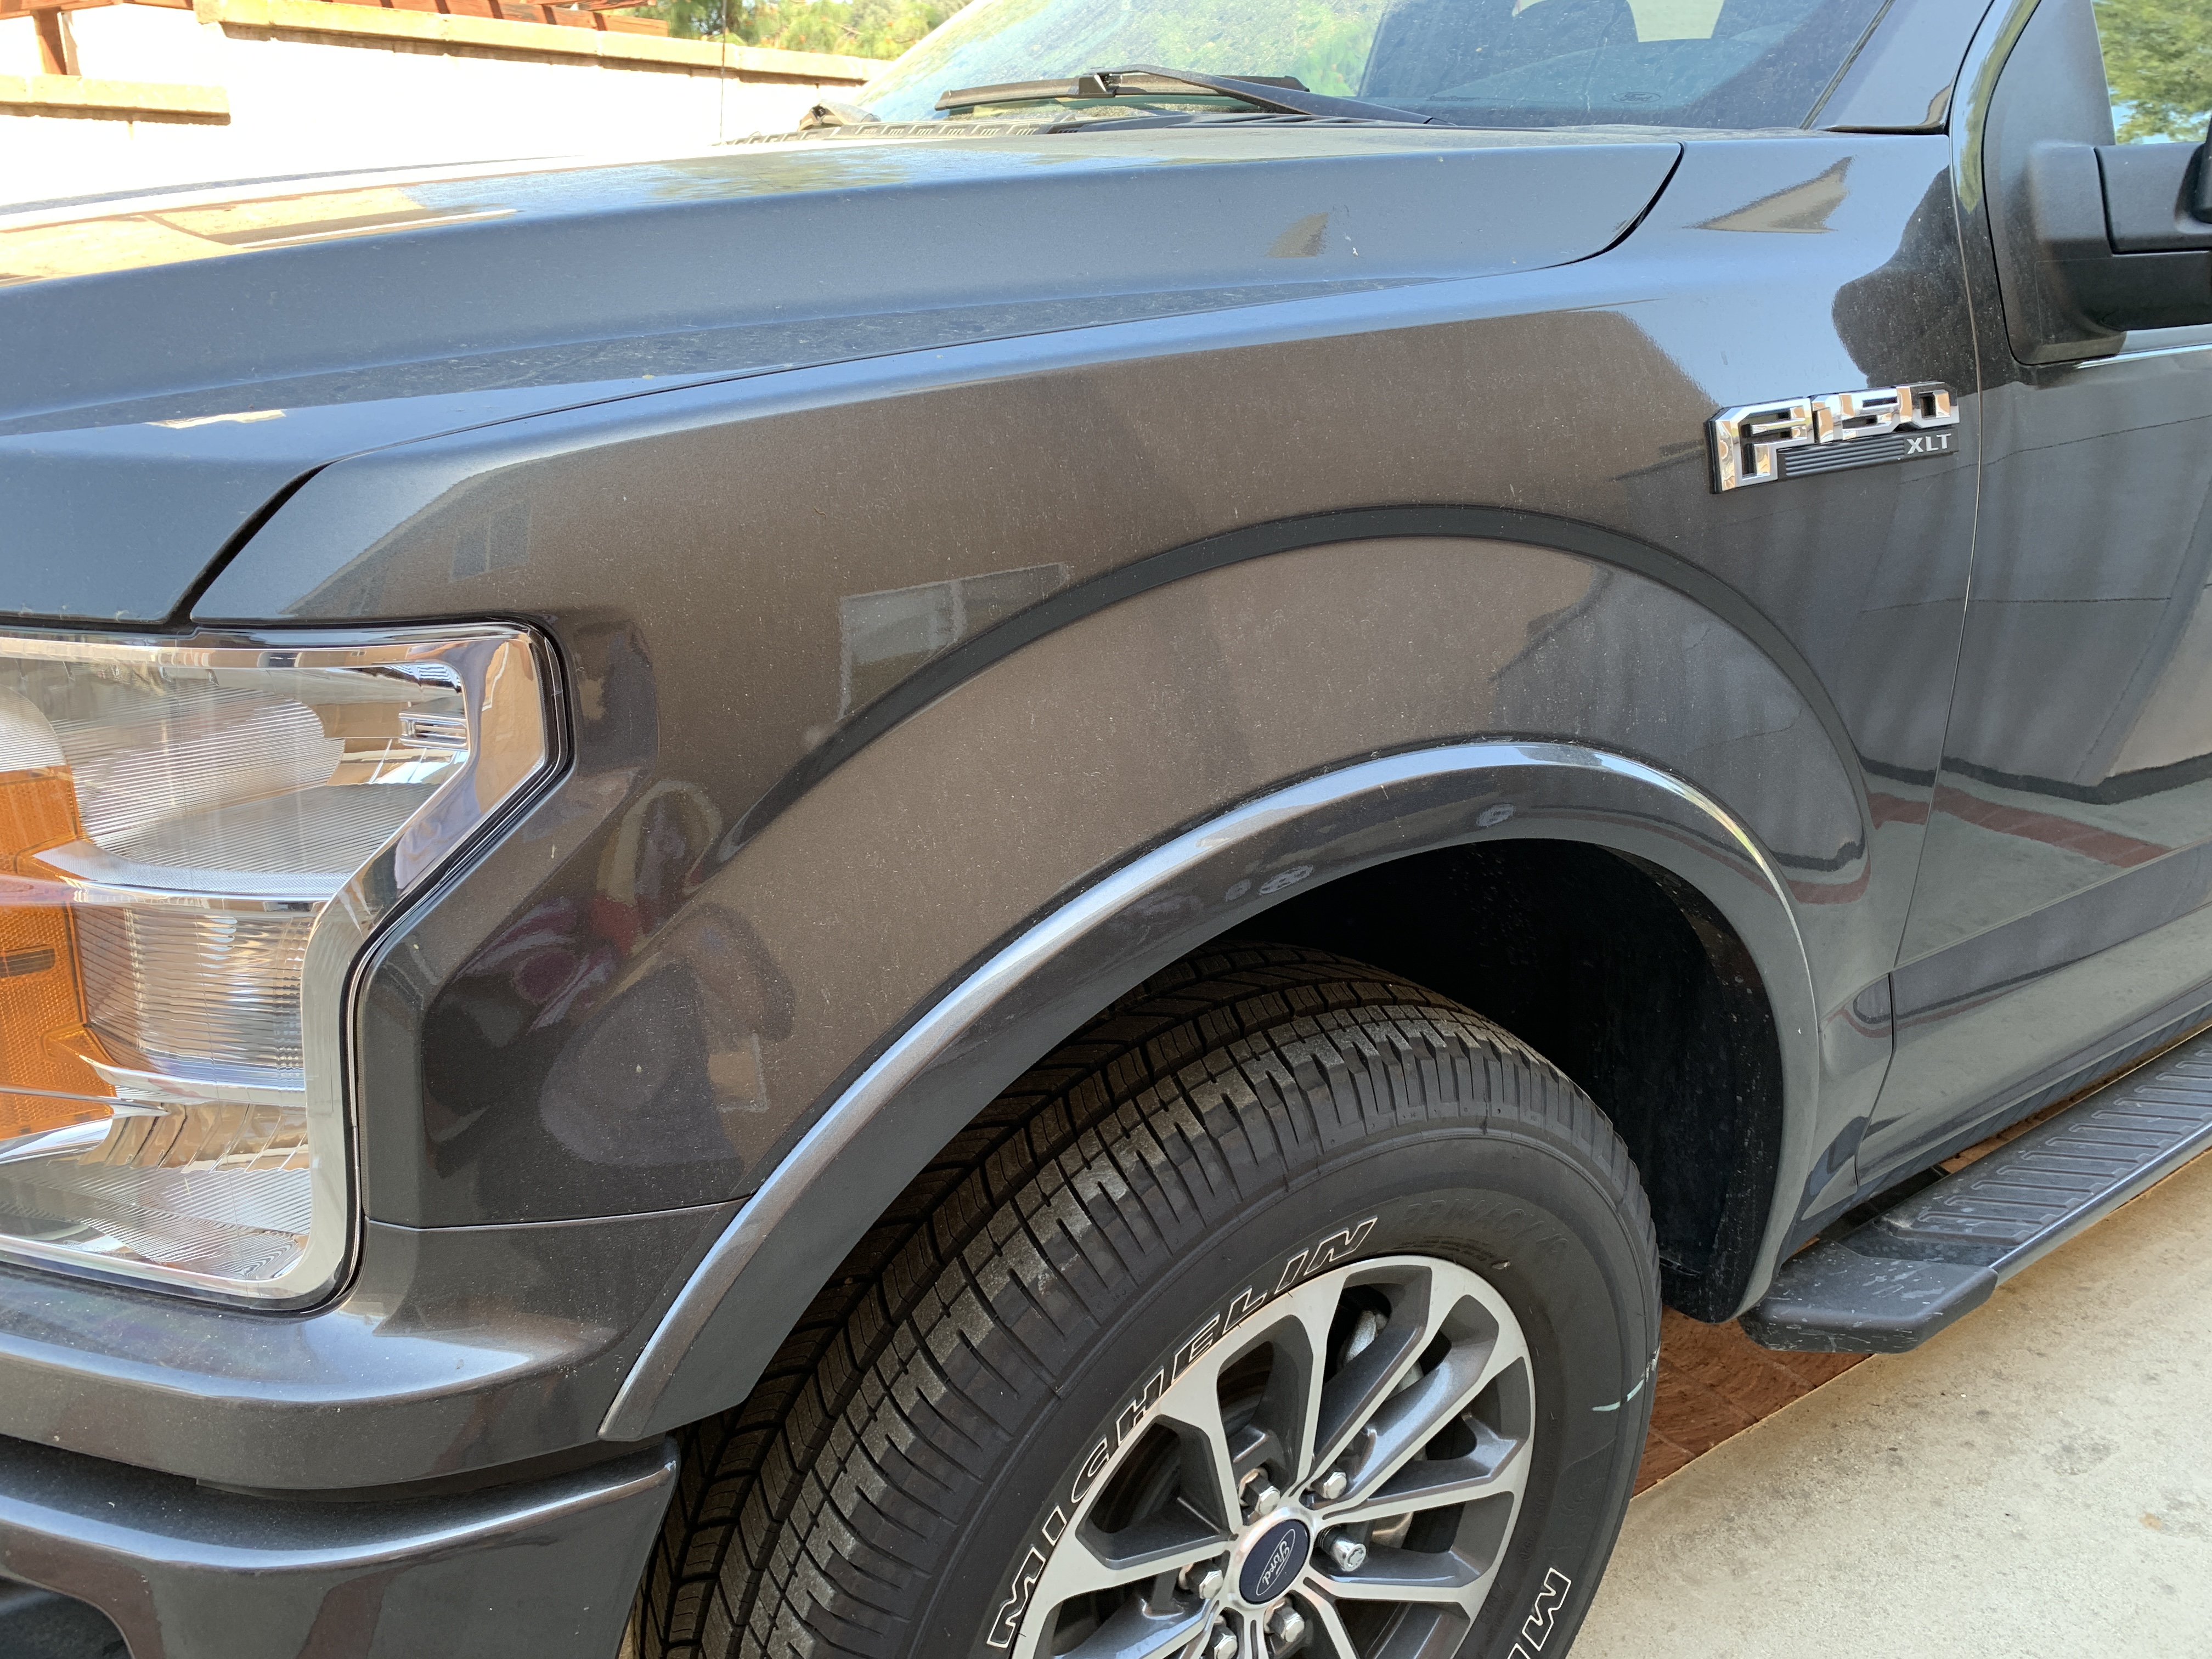
My Ford F-150 looked pretty clean from the dealership, but soon after a ton of dirt would collect on the surface of the vehicle. Washing it would get it clean, but the dirt was still difficult to clean off. It would also get dirty pretty quickly after washing it, which was frustrating. Fully cleaning and protecting your vehicle creates a protective layer that repels contaminants, making every future wash quicker and easier.

This guide is meant to only graze the surface, providing the steps needed to clean, prep, and protect your vehicle. Within each task along the way, there is a lot more information to consider and to learn more about. In an effort to keep this post more concise, I’ve posted more in-depth guides within each section if you’re interested in diving in deeper.
Table of Contents
Types of Vehicle Protection
What is the purpose of protection on your vehicle? If you think that something like a ceramic coating is going to protect your paint from dings or dents (even scratches), think again. Any sort of protectant like a coating, wax, or paint sealant, will not protect your paint from scratches, dings, or dents. What this type of protection will do, is put on a protective layer on your paint that will simply make it harder for dust and dirt to get stuck to your paint, resulting in making it easier for you to wash your car for as long as the protection lasts.
If you are concerned about protecting the bpaint, your best bet would be Paint Protection Film (PPF), which is outside of the scope of this guide. I’m not a huge fan of PPF for a number of reasons, mainly because it still doesn’t protect you from dents and severe dings, but it can be helpful for scratch prevention and minor dings. Other concerns are that it can be expensive, the installer could accidentally cut into your paint during the installation process, and it can be unsightly after removing the PPF due to paint color differences between protected areas and non-protected areas.
As for applying a protectant for your paint, what should you use? Well depending on the type of paint protectant you use, durability varies. Waxes last the shortest amount of time, maybe about 1-2 months. Paint sealants (also known as synthetic waxes) will last around 2-4 months. And coatings will last approximately a year or possibly longer.
Coatings, specifically ceramic coatings do require some training to apply properly, while waxes and paint sealants are generally pretty beginner-friendly. For those who enjoy the process of cleaning their car and applying a protectant especially by hand, you might be totally fine applying wax every month or two. If you prefer to spend more time upfront and have the protectant last for a year or more, you might opt for applying a ceramic coating. Paint sealants (a.k.a. hybrid waxes) are in-between, but closer to a wax– it offers you the ease of application like a traditional wax, but lasts a bit longer.
Interior Care
With the interior, vacuum everything out and wipe down all the surfaces with a cleaner. At this point, if you like the look of a flat or non-shiny interior, you could simply just leave it there. Every 2-3 weeks, you could go through the interior again to maintain it following the same steps: vacuum and then wipe everything down again.
If you prefer to protect the interior, you would follow up the wipe down of all the surfaces with protection. There are all kinds of protectants out there made for different surfaces. You can protect leather, fabric, vinyl, etc. You can even protect the carpet if you wanted to with fabric protectant. The purpose of applying protectant to your interior is to make it less prone to staining or getting sun damaged, and making it easier to clean when it gets dirty.
How to Clean and Detail a Car Interior
Interior Cleaning
I suggest starting your car cleaning process with the interior before doing the exterior. The reason being that if you cleaned the ouside of your car and then proceed to the interior, you’ll get all the dust and dirt all over your clean exterior. This happens just from vacuuming and cleaning the interior; yes, dust will get everywhere. So my recommendation: fully clean the inside, and then do your exterior detail.
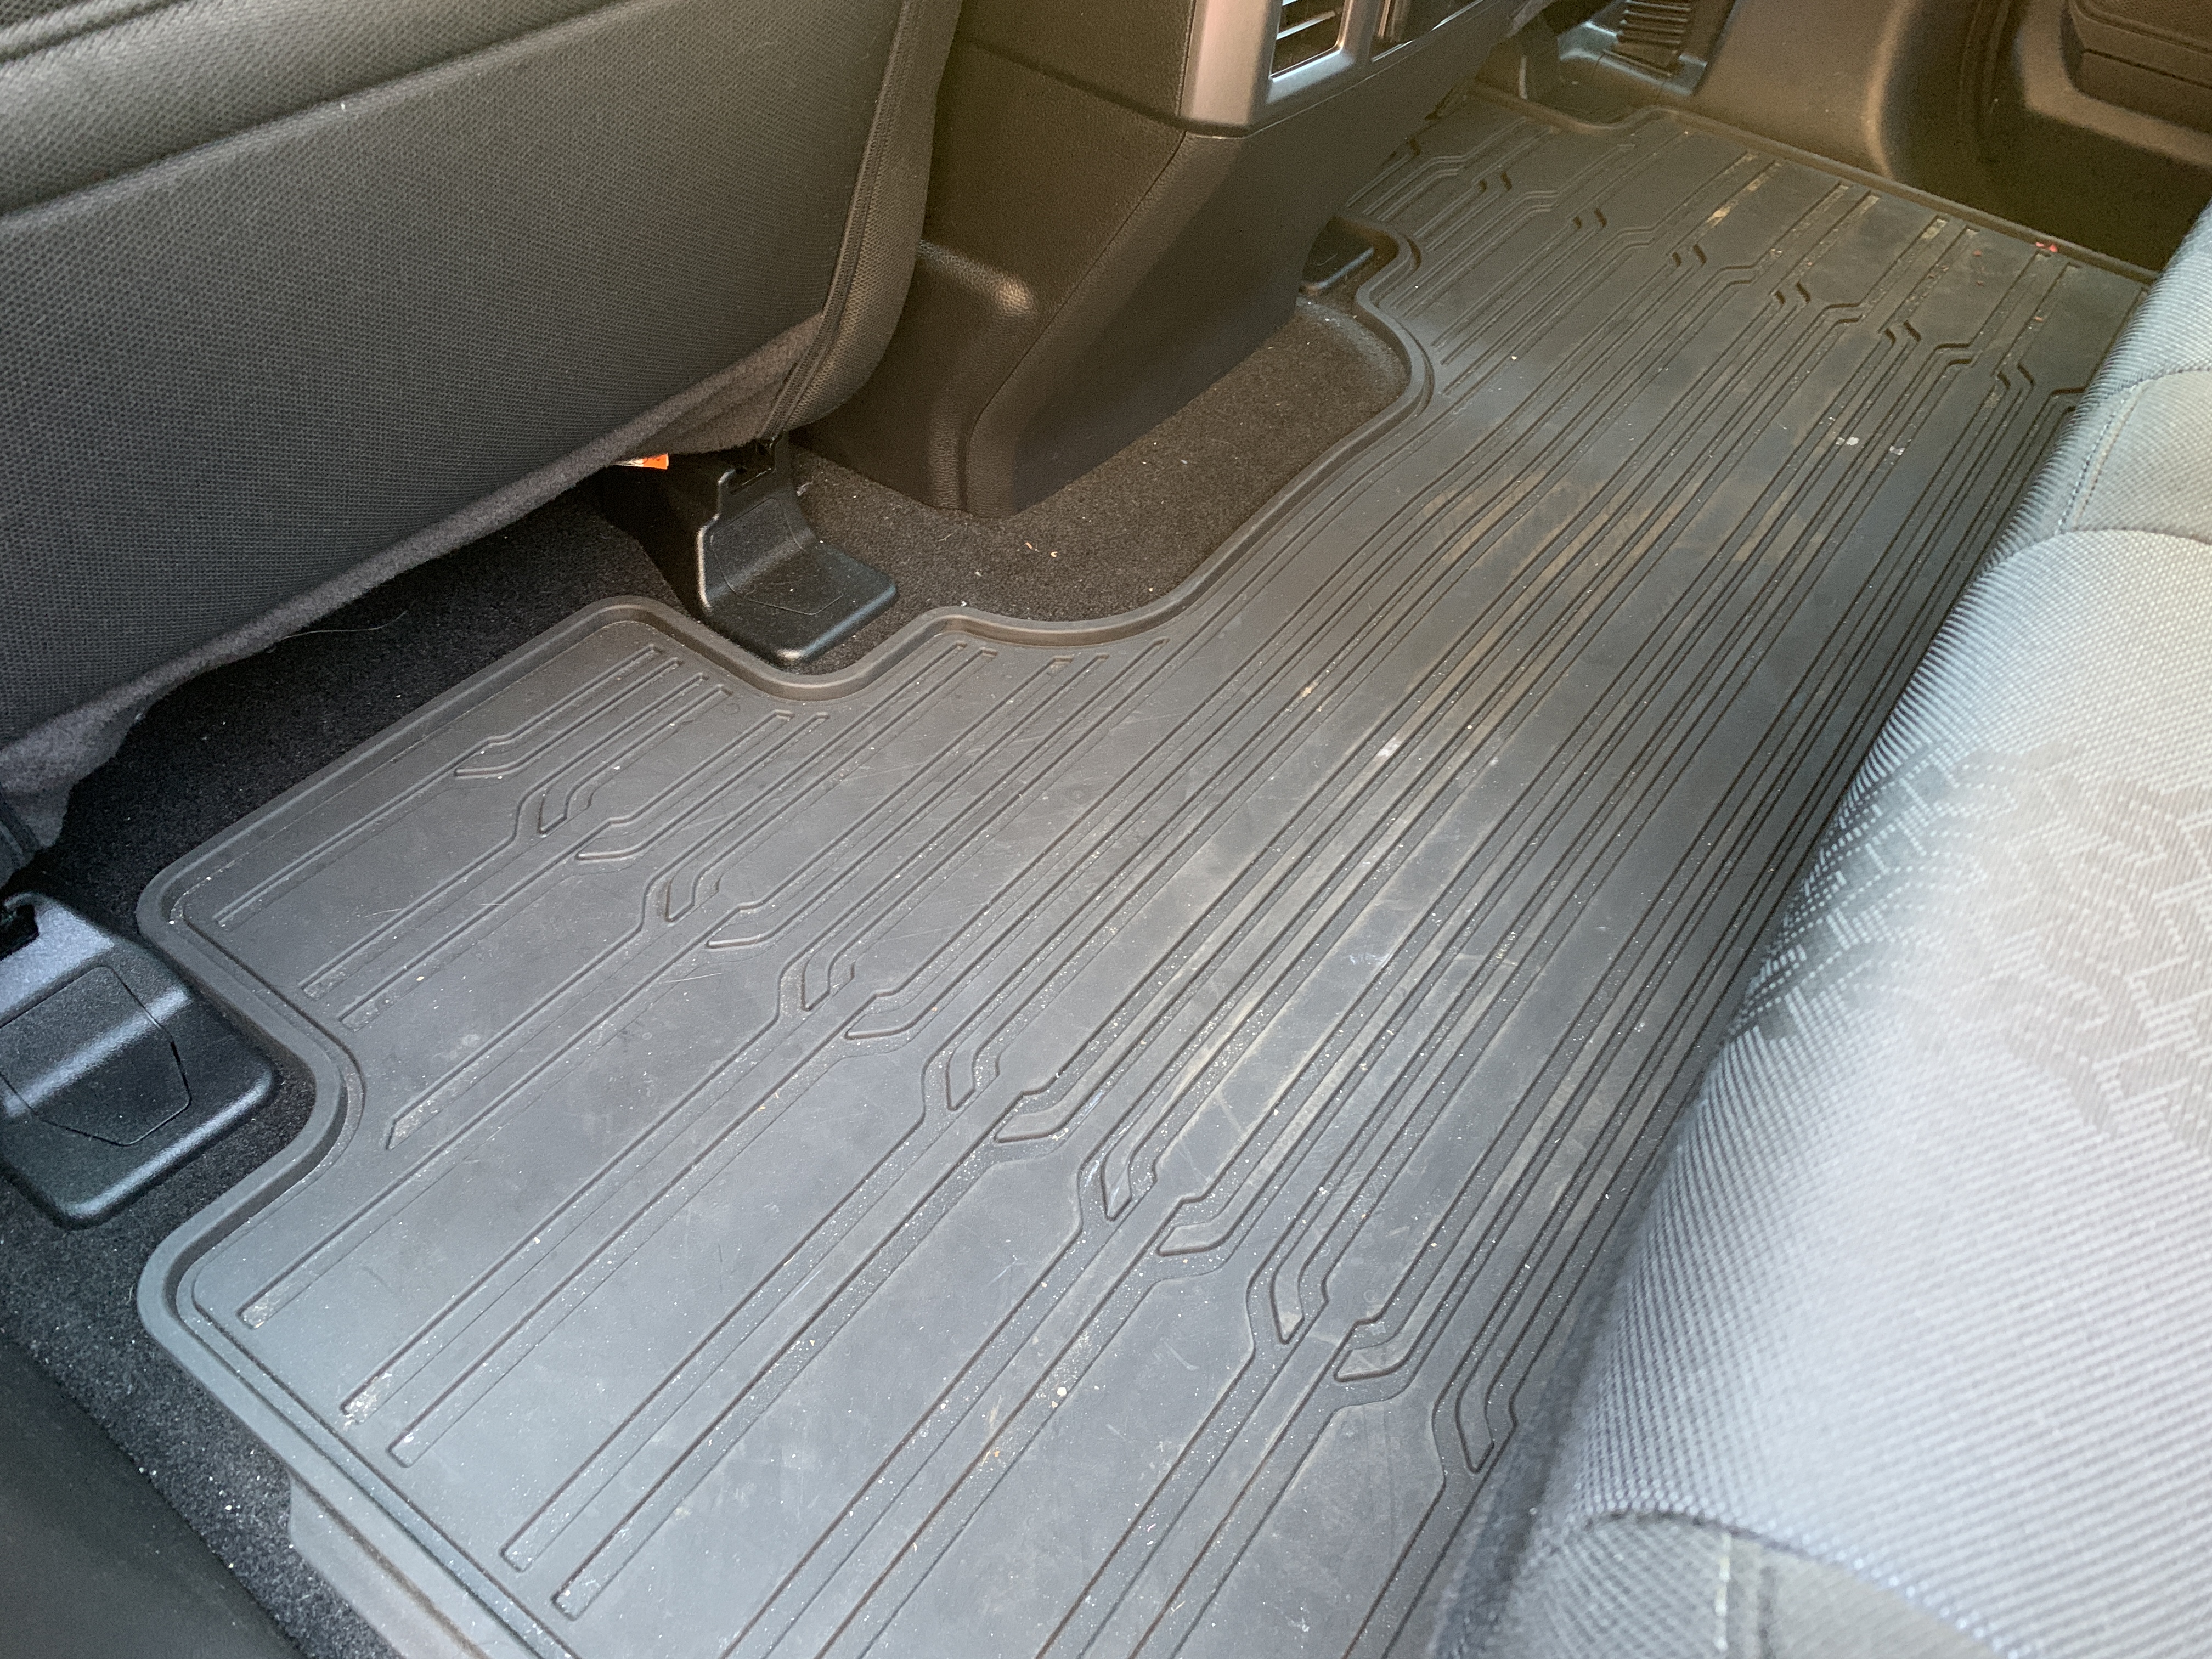
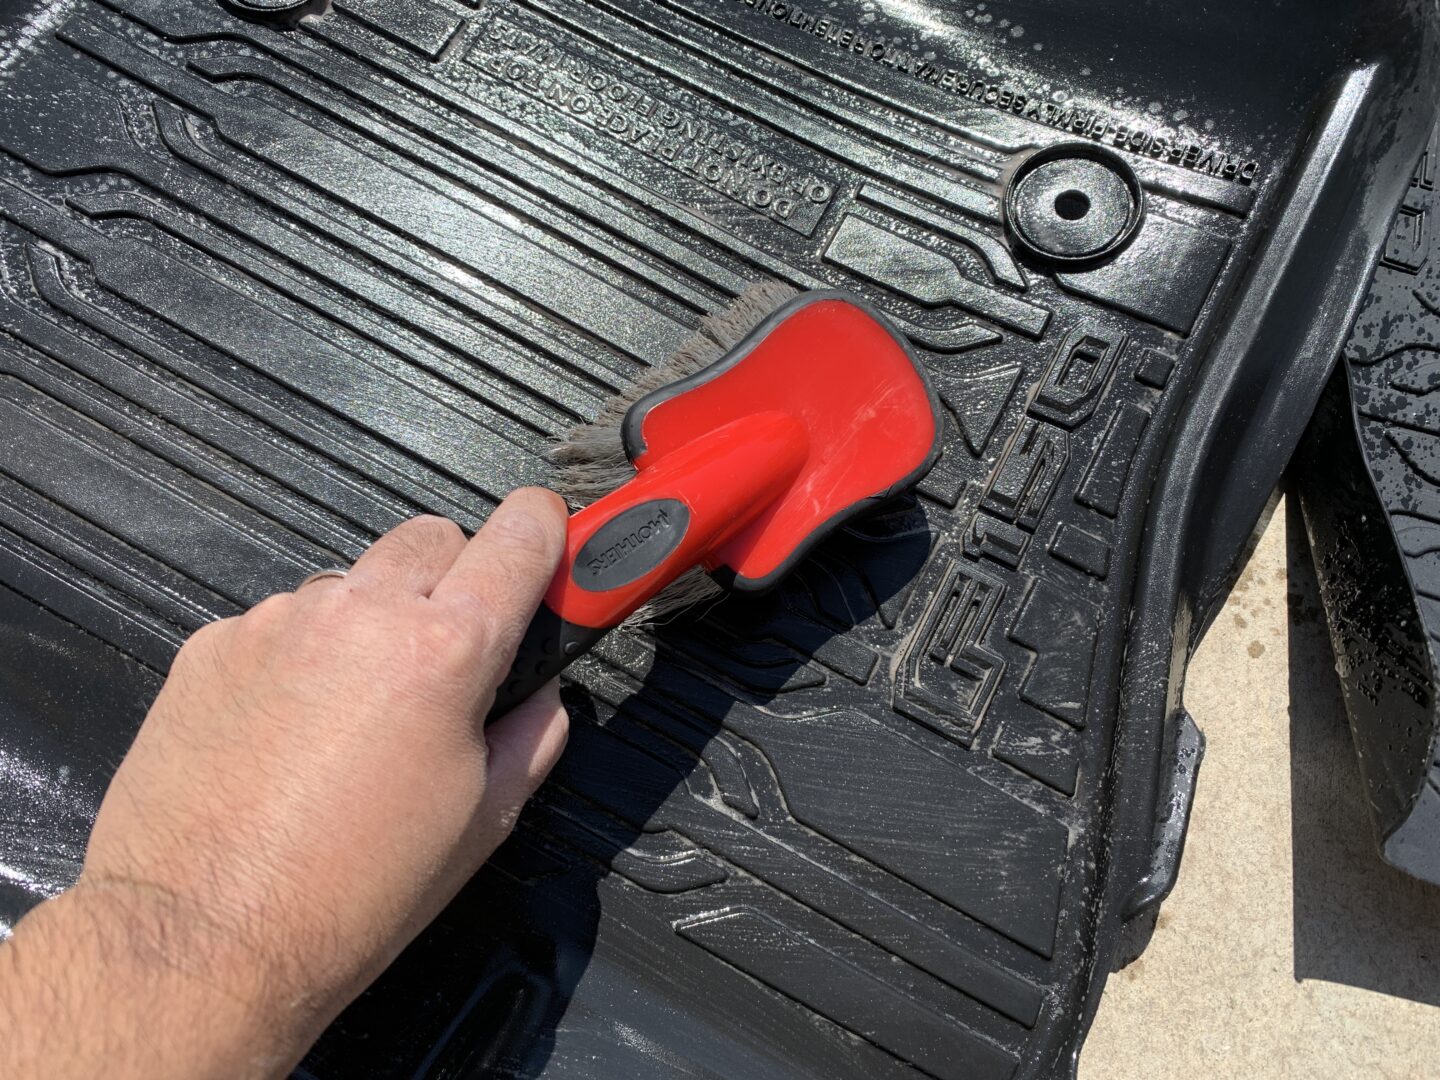
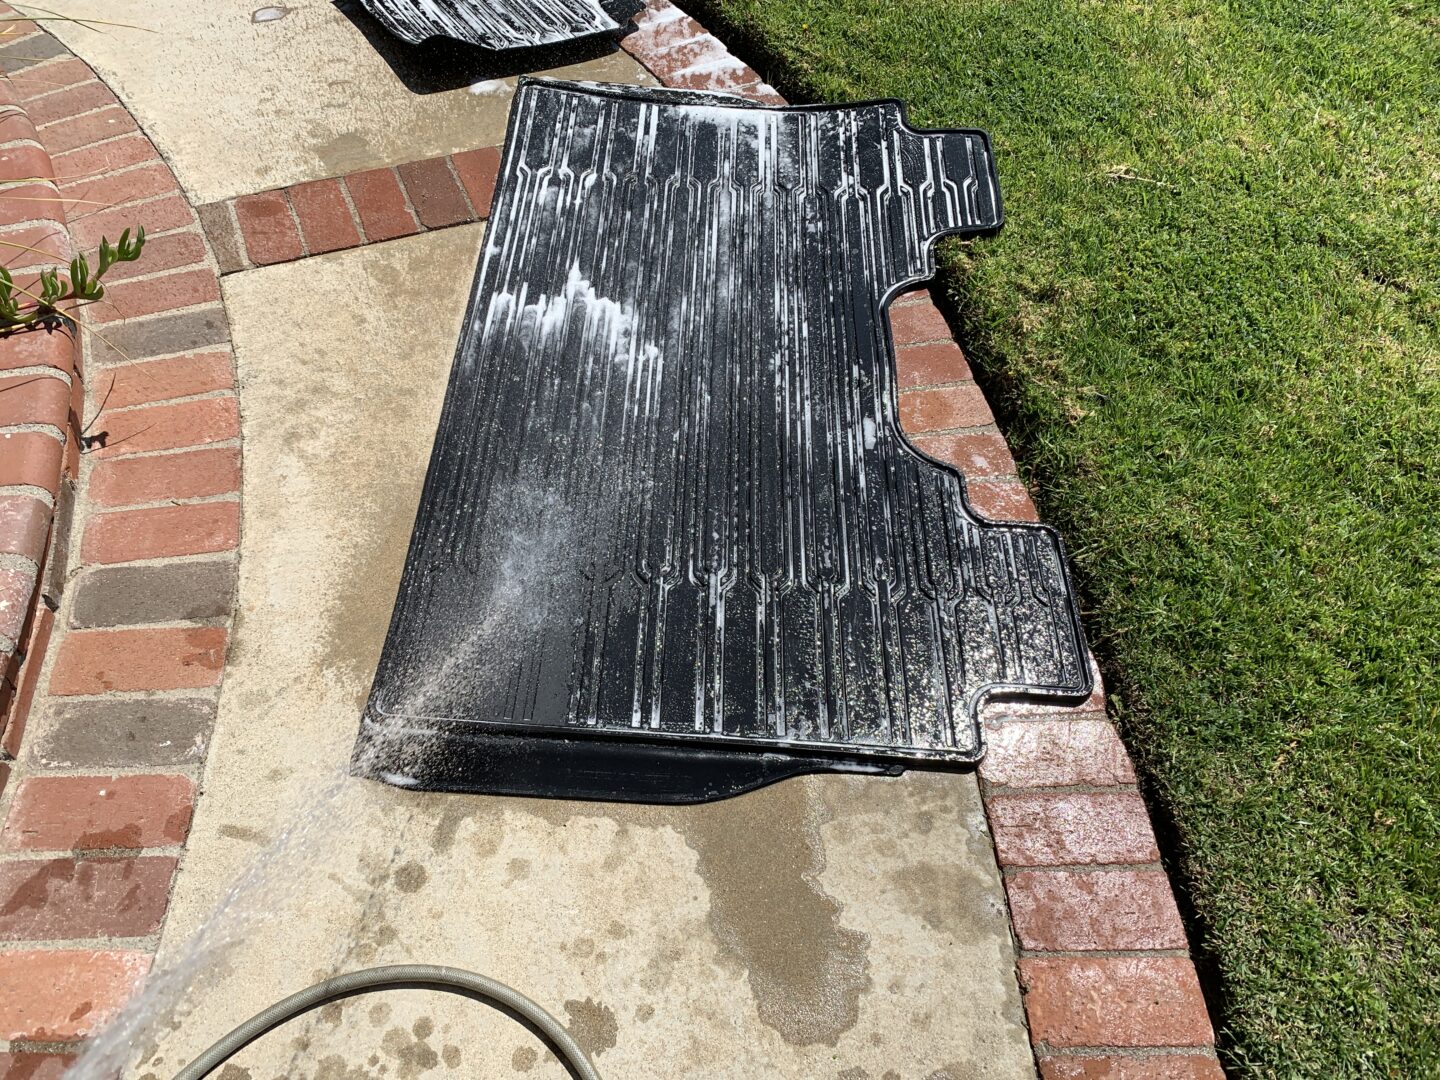
If you have floor mats, the first thing to do is to take them out of the car and clean them. If you have rubber floor mats, just clean with a cleaning solution like an all-purpose cleaner or car soap with water, rinse it off, and then set it outside to dry. A regular wheel/tire brush works just fine here. If you’ve got carpeted floor mats, then you’d simply remove them from the car and vacuum the floor mats. While the floor mats are outside of the car, you can now vacuum the inside of the vehicle.

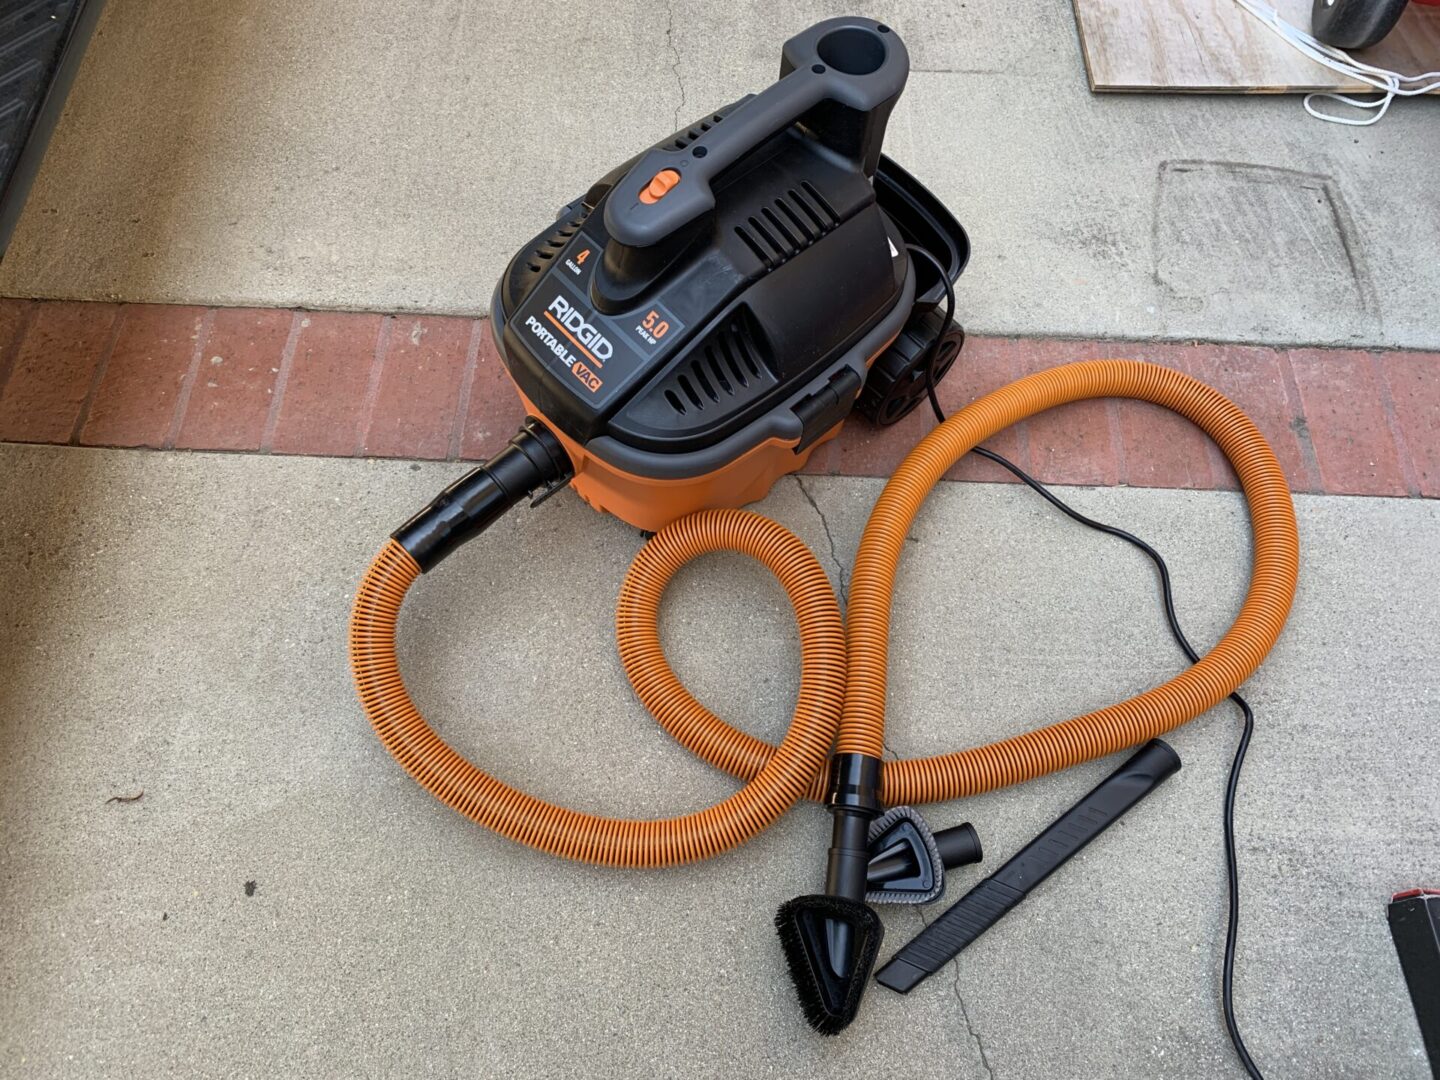
You’ll need a decent vacuum cleaner with various attachments to be able to adequately vacuum the interior. Using a cordless vacuum might be okay, but it’s better if you have one that can be plugged in and has those different attachments to reach into different hard-to-reach areas.
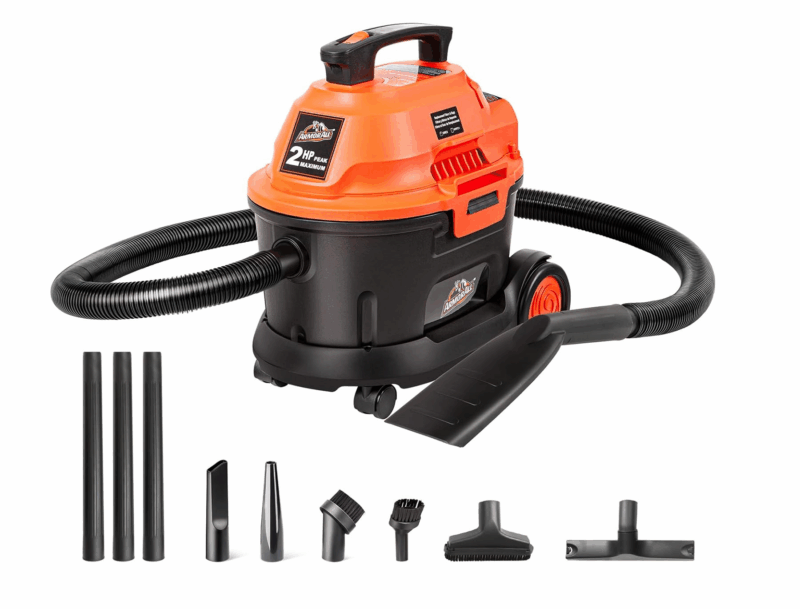

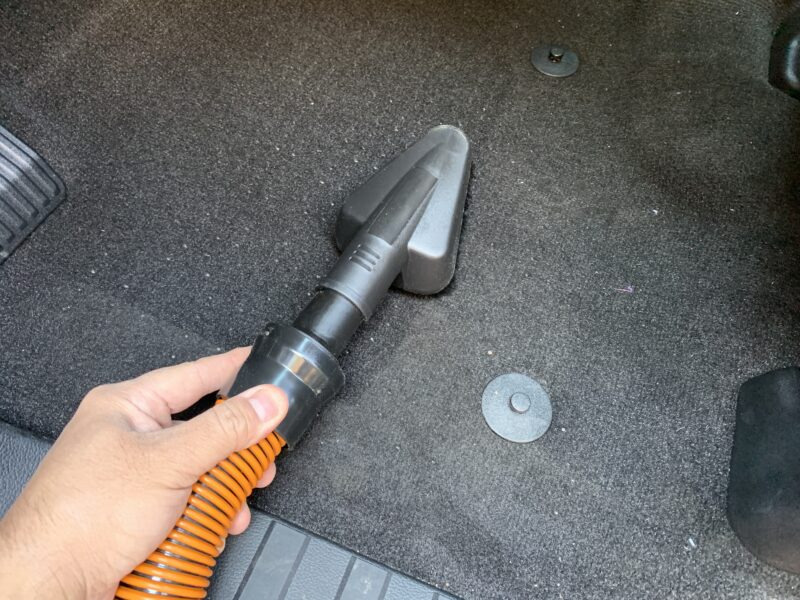
Use your vacuum to fully vacuum up the entire interior: the carpet, the seats, cupholders, door panels, etc. To make things easier, you can move the seats all the way back to have access to the front and move the seats all the way forward to get to the back. Use the right attachment for the right purpose: skinny attachment to reach in hard-to-reach areas, soft-bristle attachment for delicate surfaces like seats, and stiff bristle brush for carpeting.
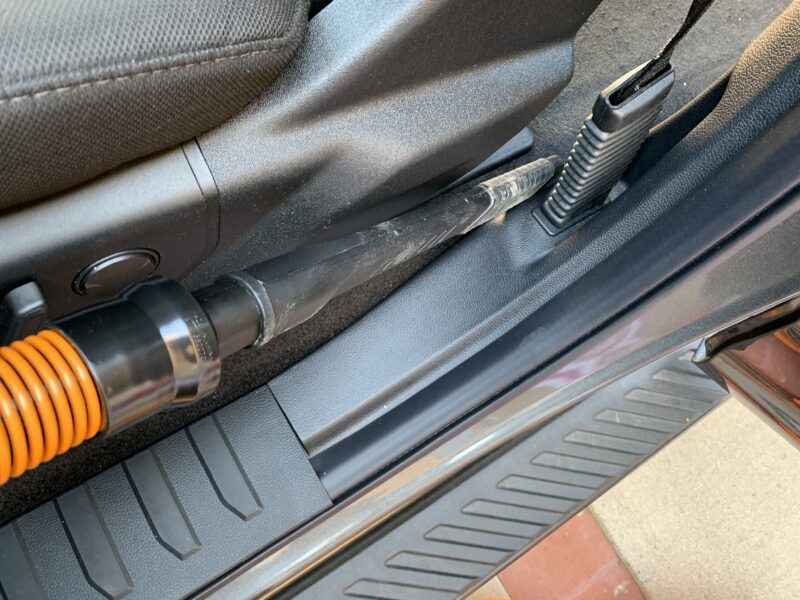

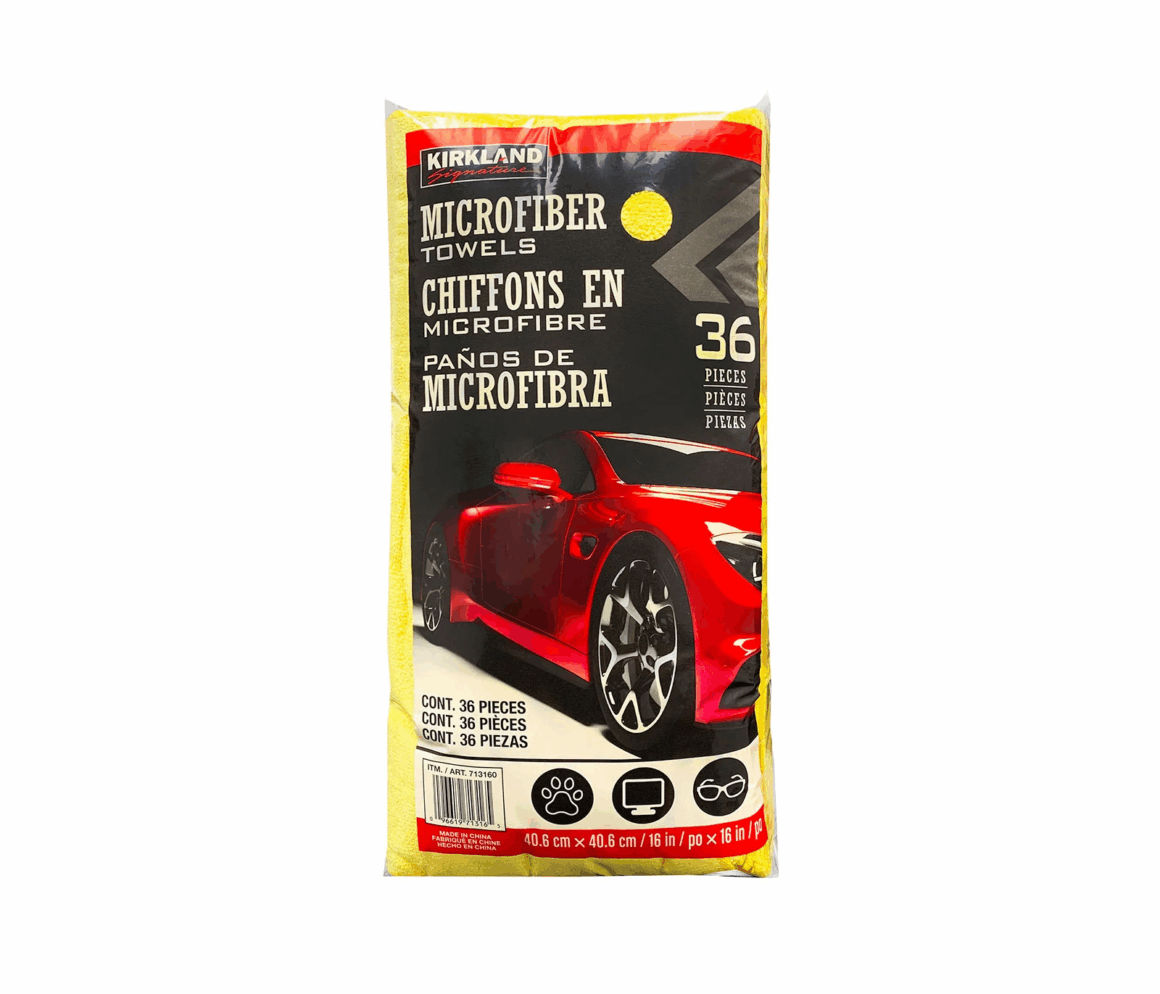
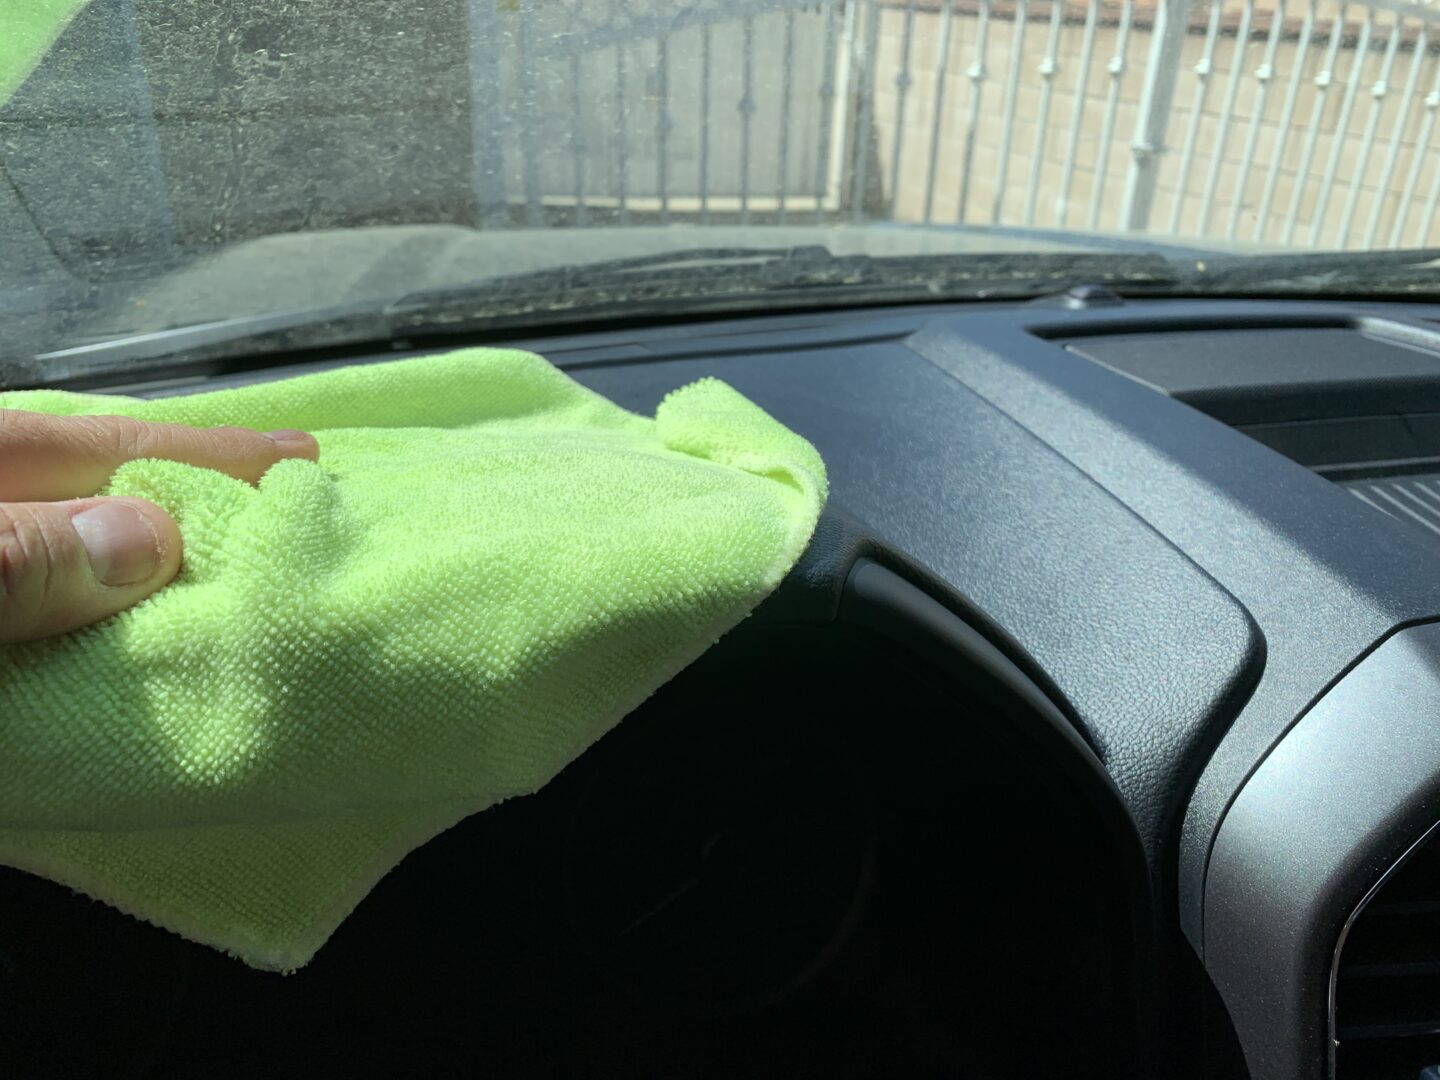
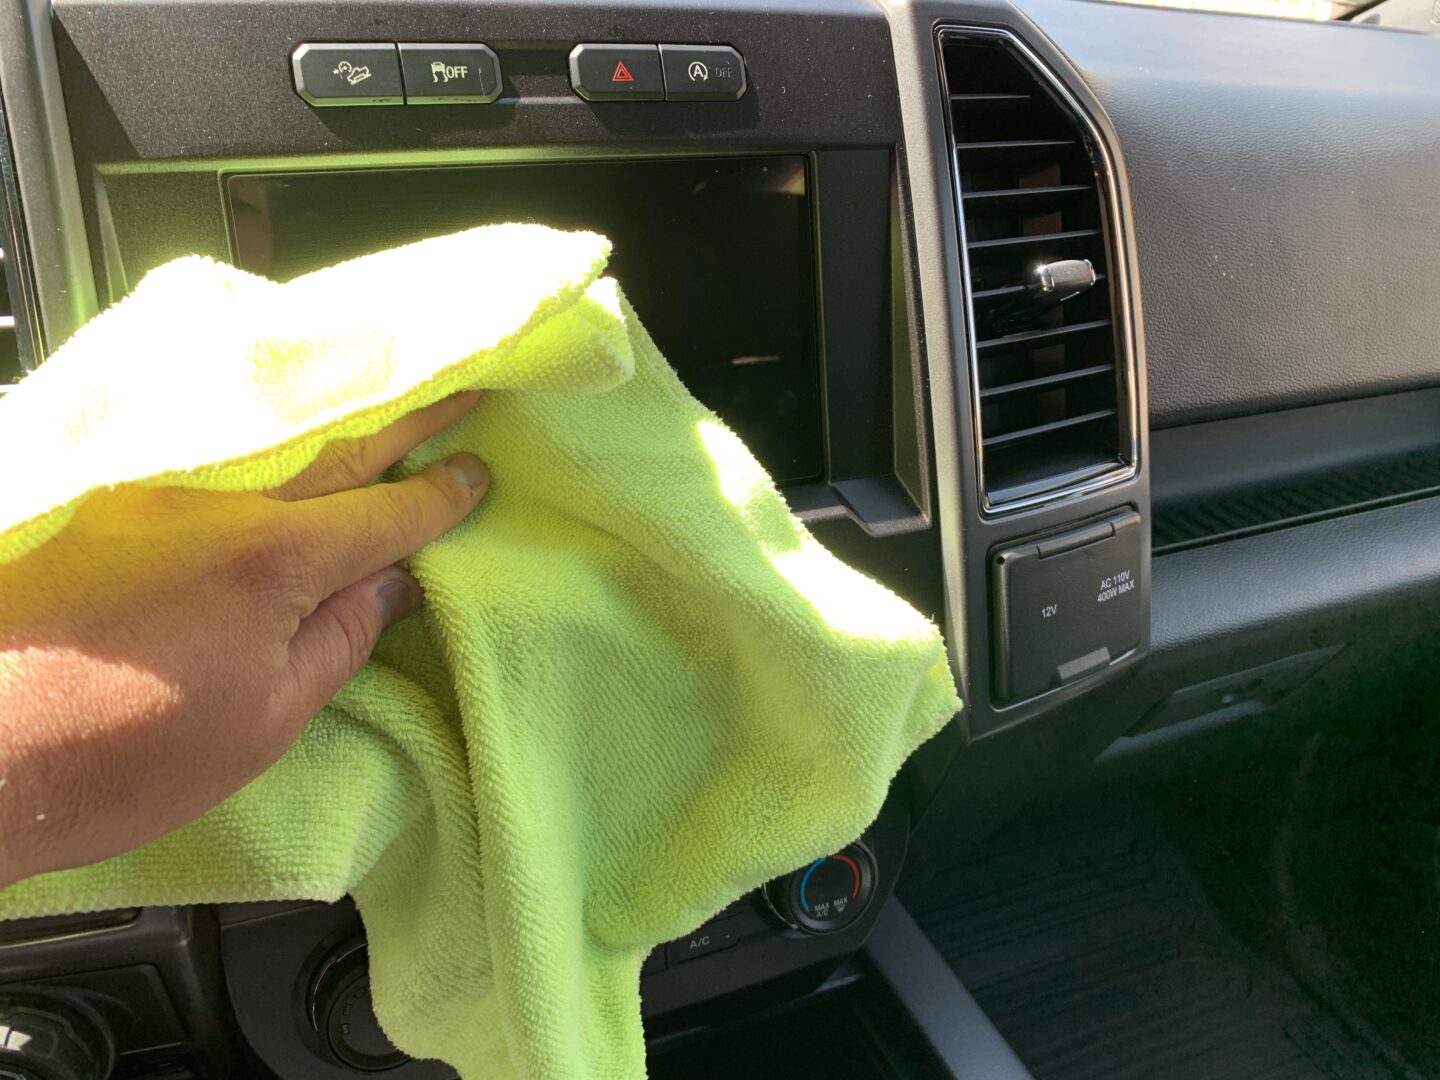
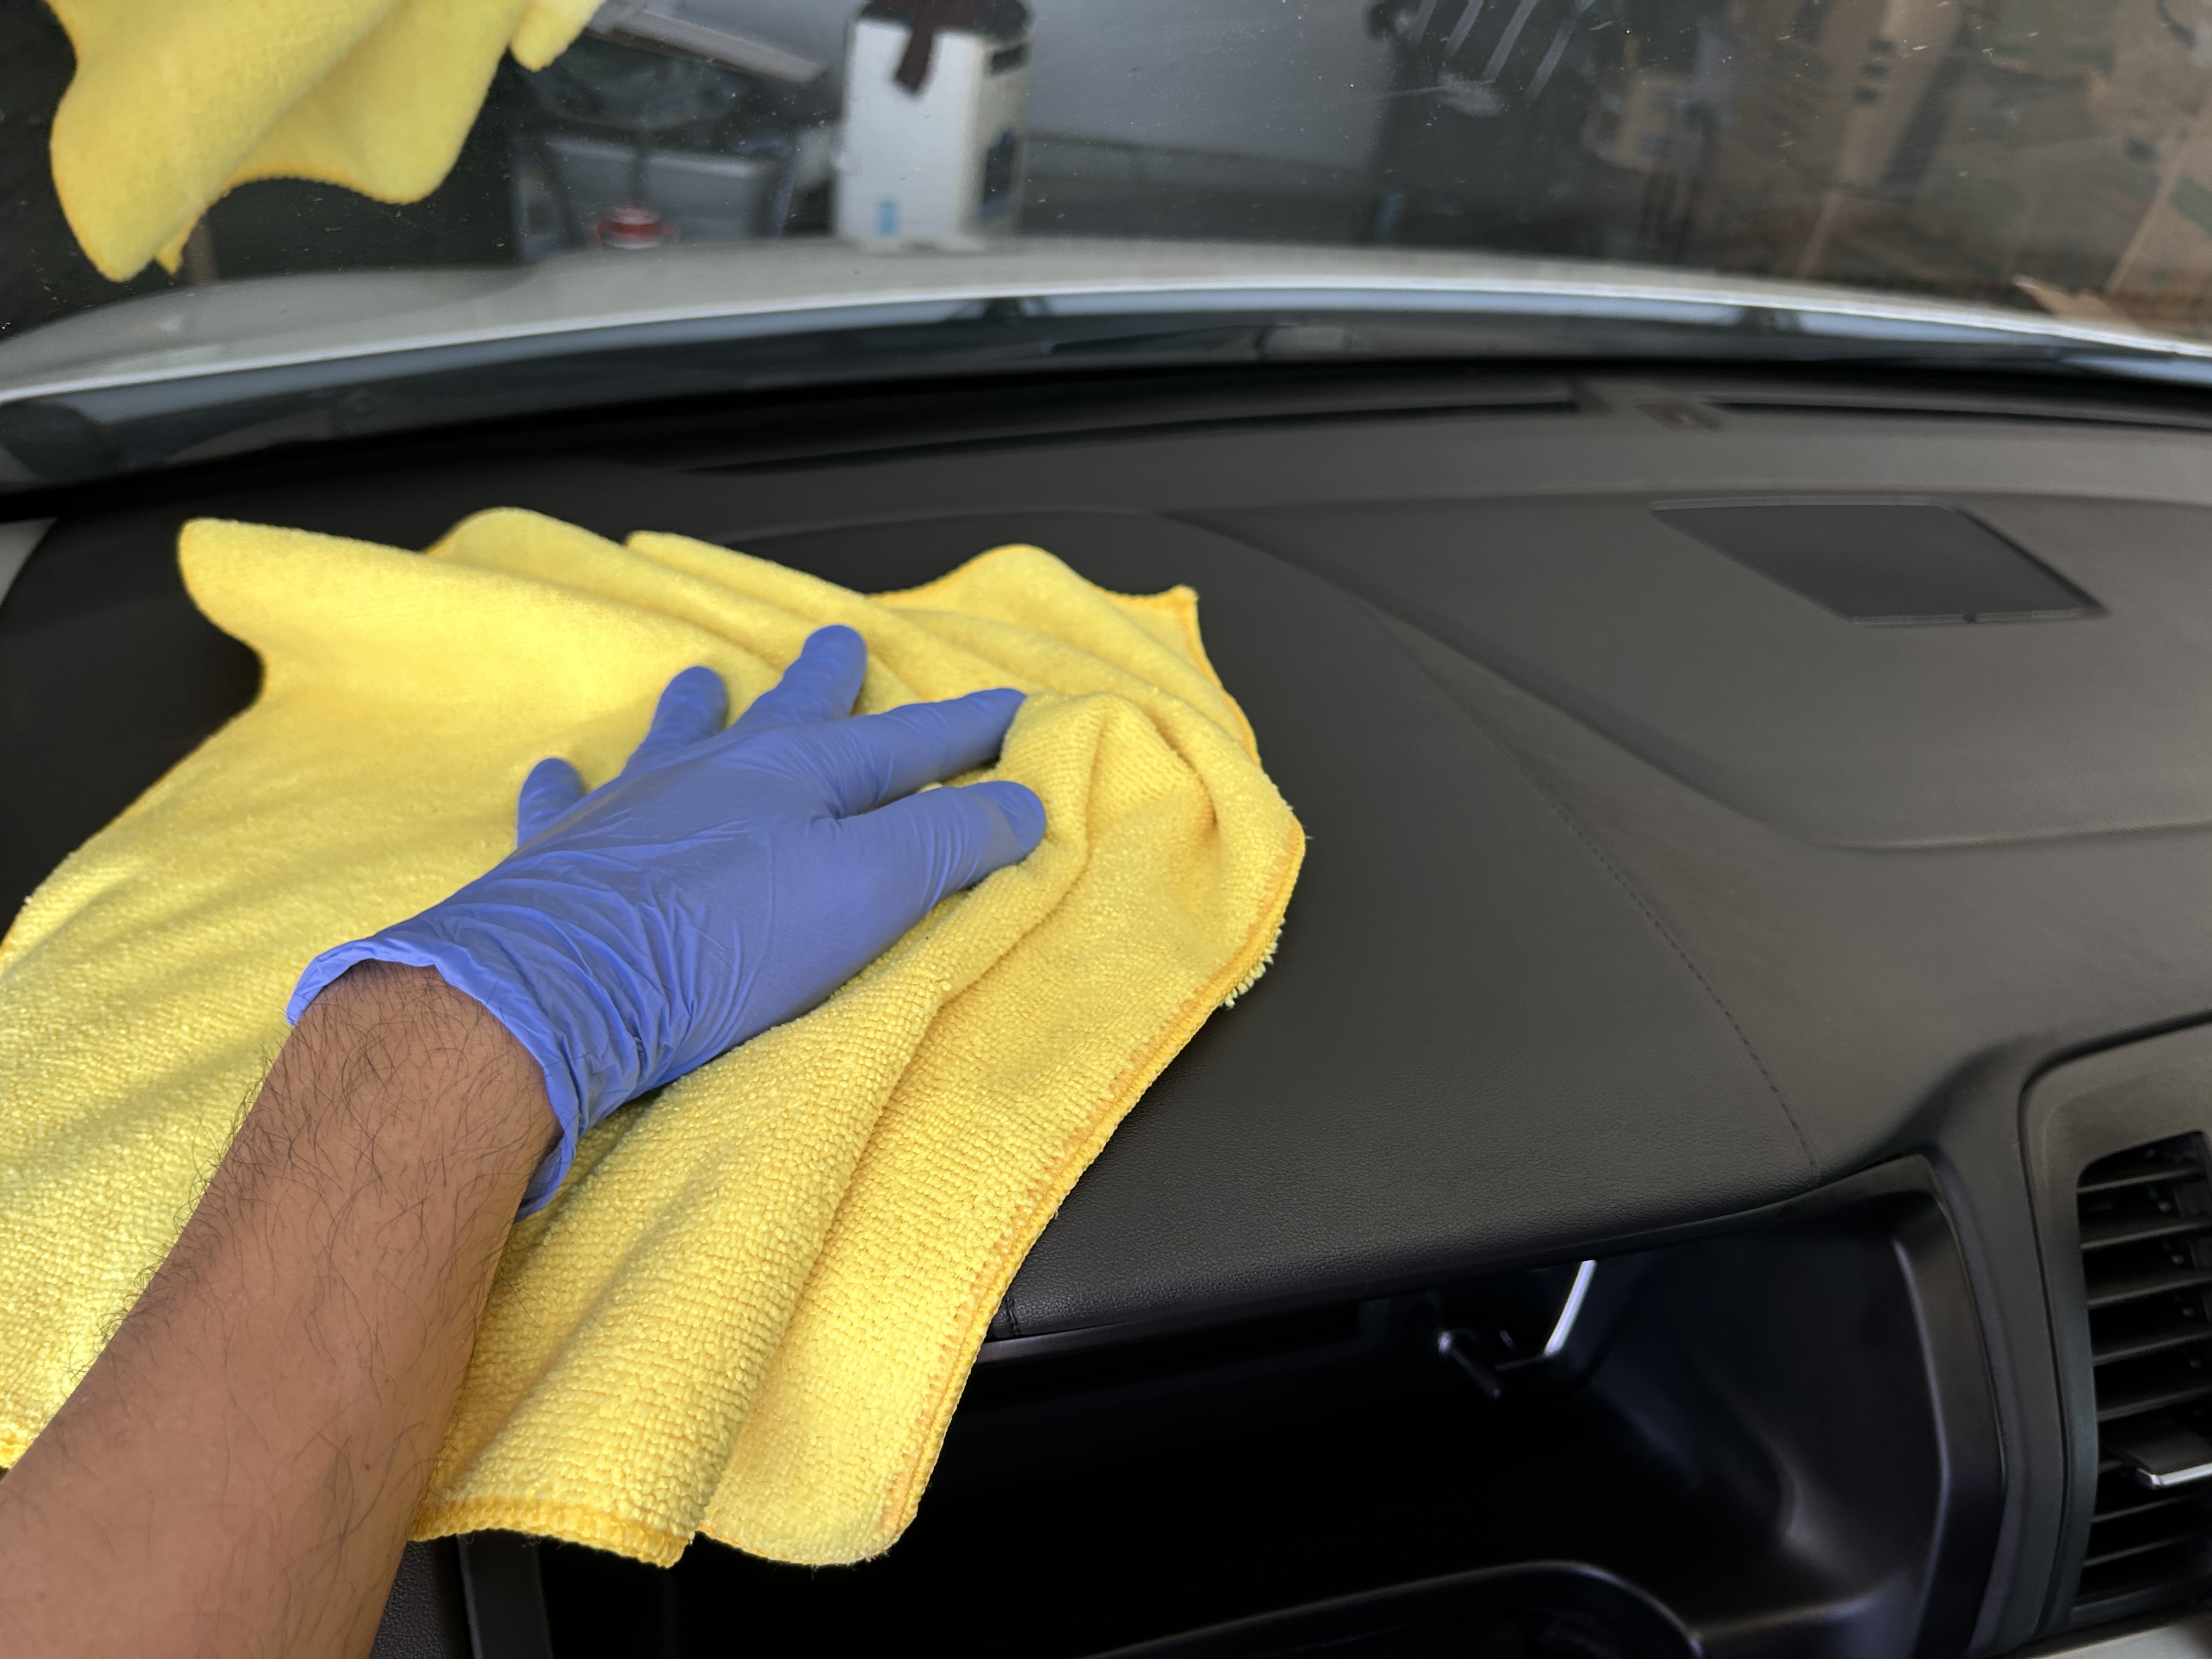
After you’ve vacuumed everything, you’ll go through the rest of the vehicle and wipe down all of the interior surfaces. It’s best to use an interior cleaner solution, spraying it into a microfiber towel and then wiping the interior surfaces. You never want to spray directly onto your interior because if you don’t wipe it away right away (or you miss a spot when wiping), then the chemicals can burn in and it will be very difficult to remove.
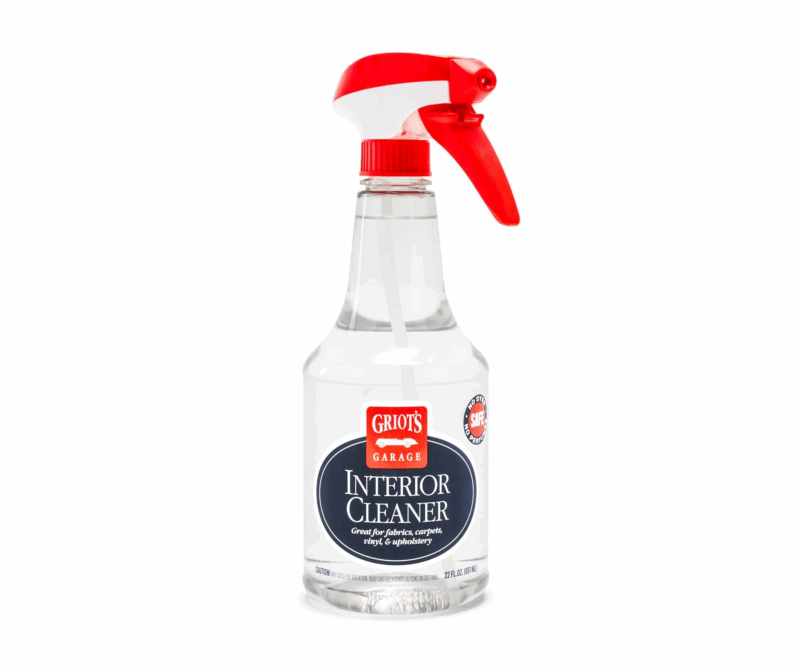
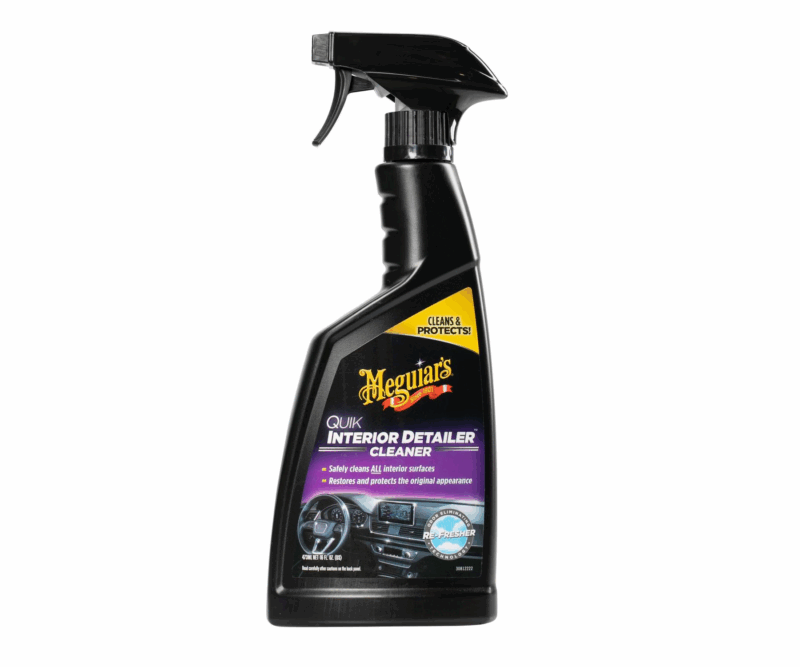
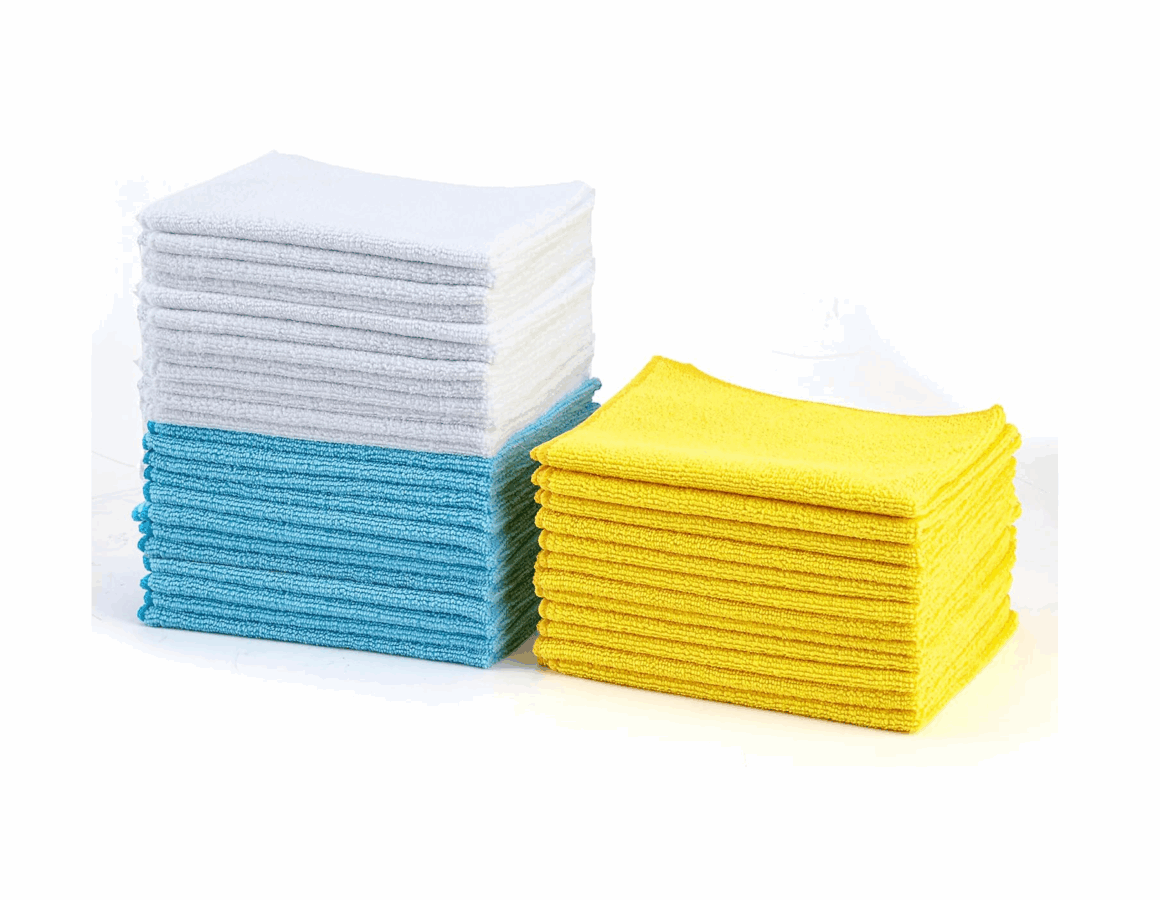
Steer clear of using all purpose cleaners, as there is a higher likelihood of causing burn-in on your interior surfaces. All purpose cleaners can be used if diluted to the correct dilution ratio, so there is always the potential for an incorrect ratio which could cause more permanent damage. The safest approach is to use an interior cleaner, and to always spray into your microfiber towel before wiping your interior surfaces.

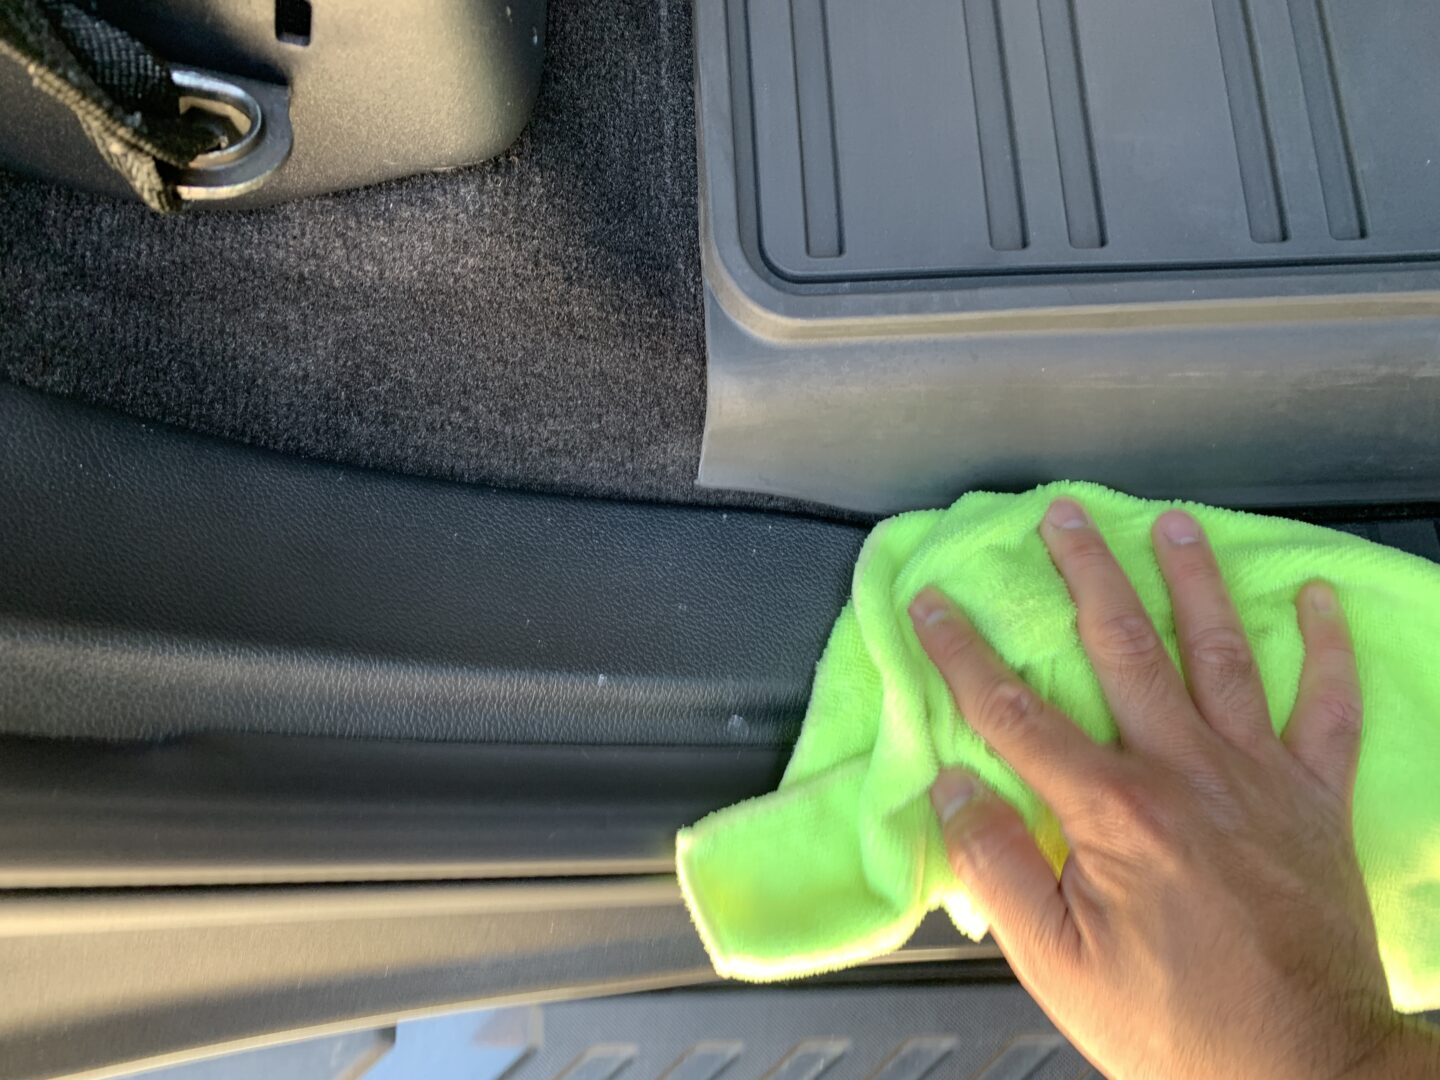
I’d suggest wiping all of your interior surfaces that won’t hold a lot of dirt, because if you wipe these up, you might end up wiping these particles all over your other interior surfaces and scratching them up. The areas that are dirtiest would be your inside cup holders, center consoles, inside door panel openings, and the trim near the floor. Save these areas for last. Also keep a few microfiber towels on hand to swap out, which will minimize the amount of damage to your interior surfaces.
Interior Protection
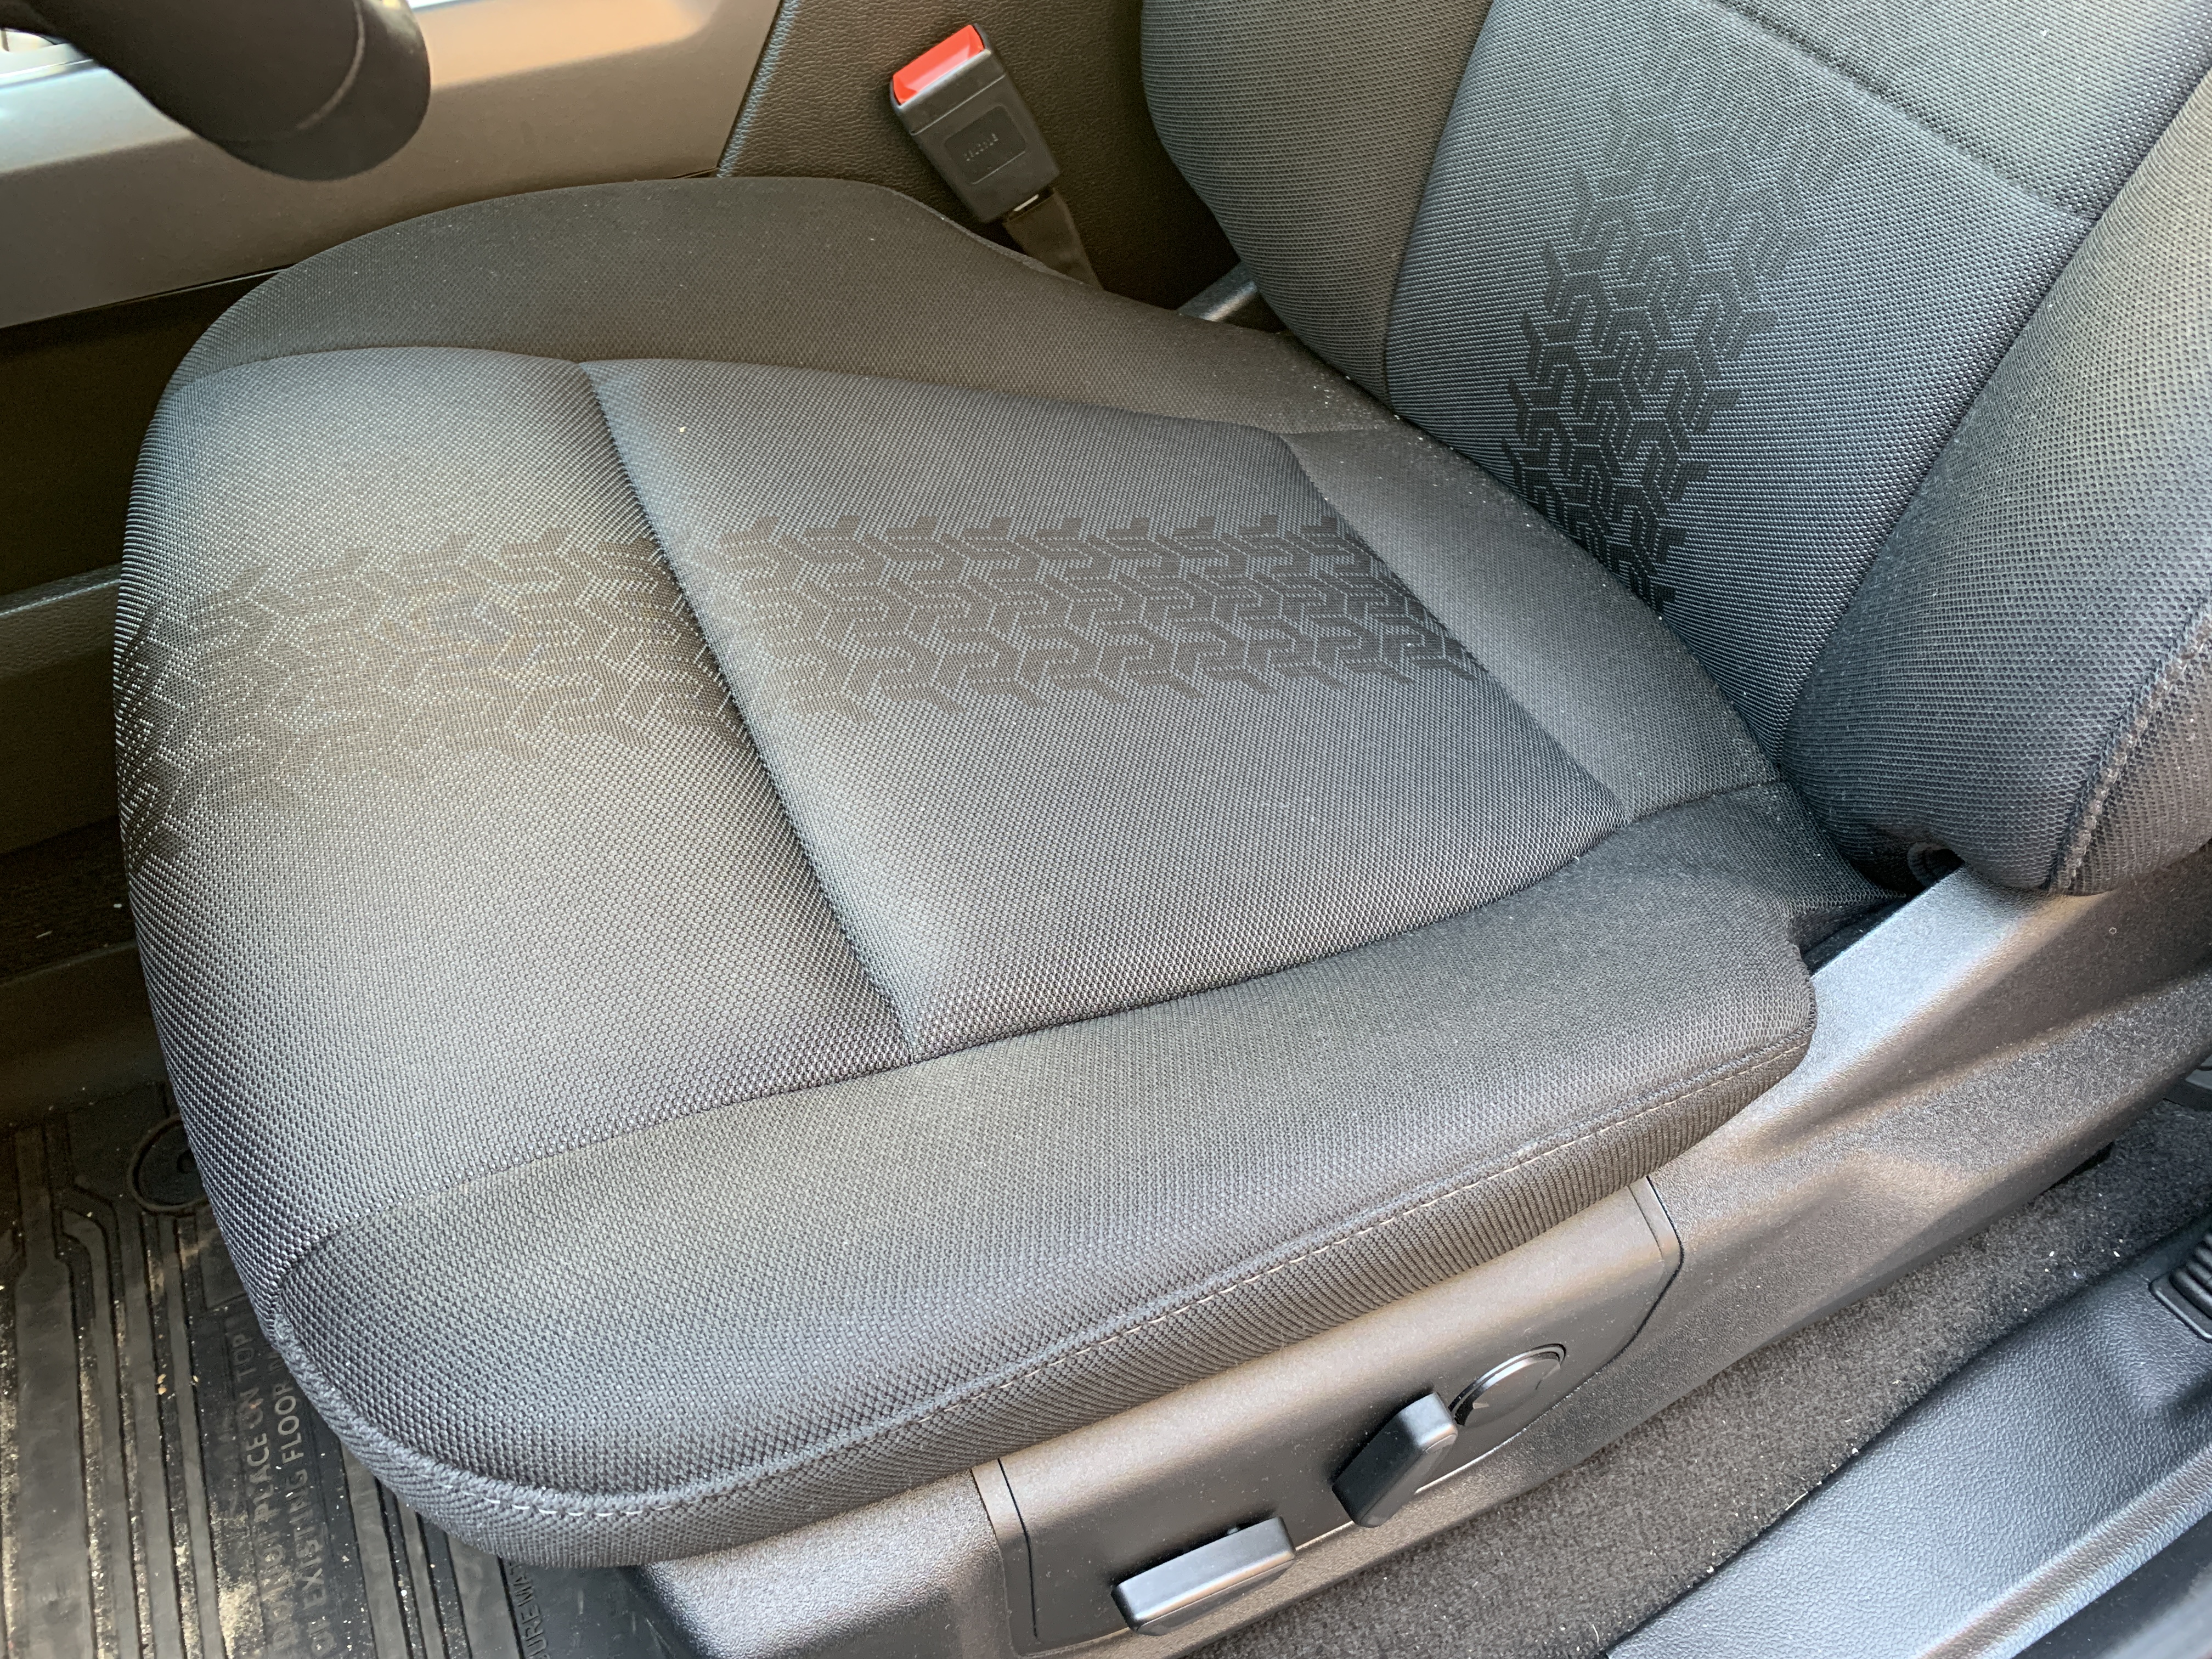
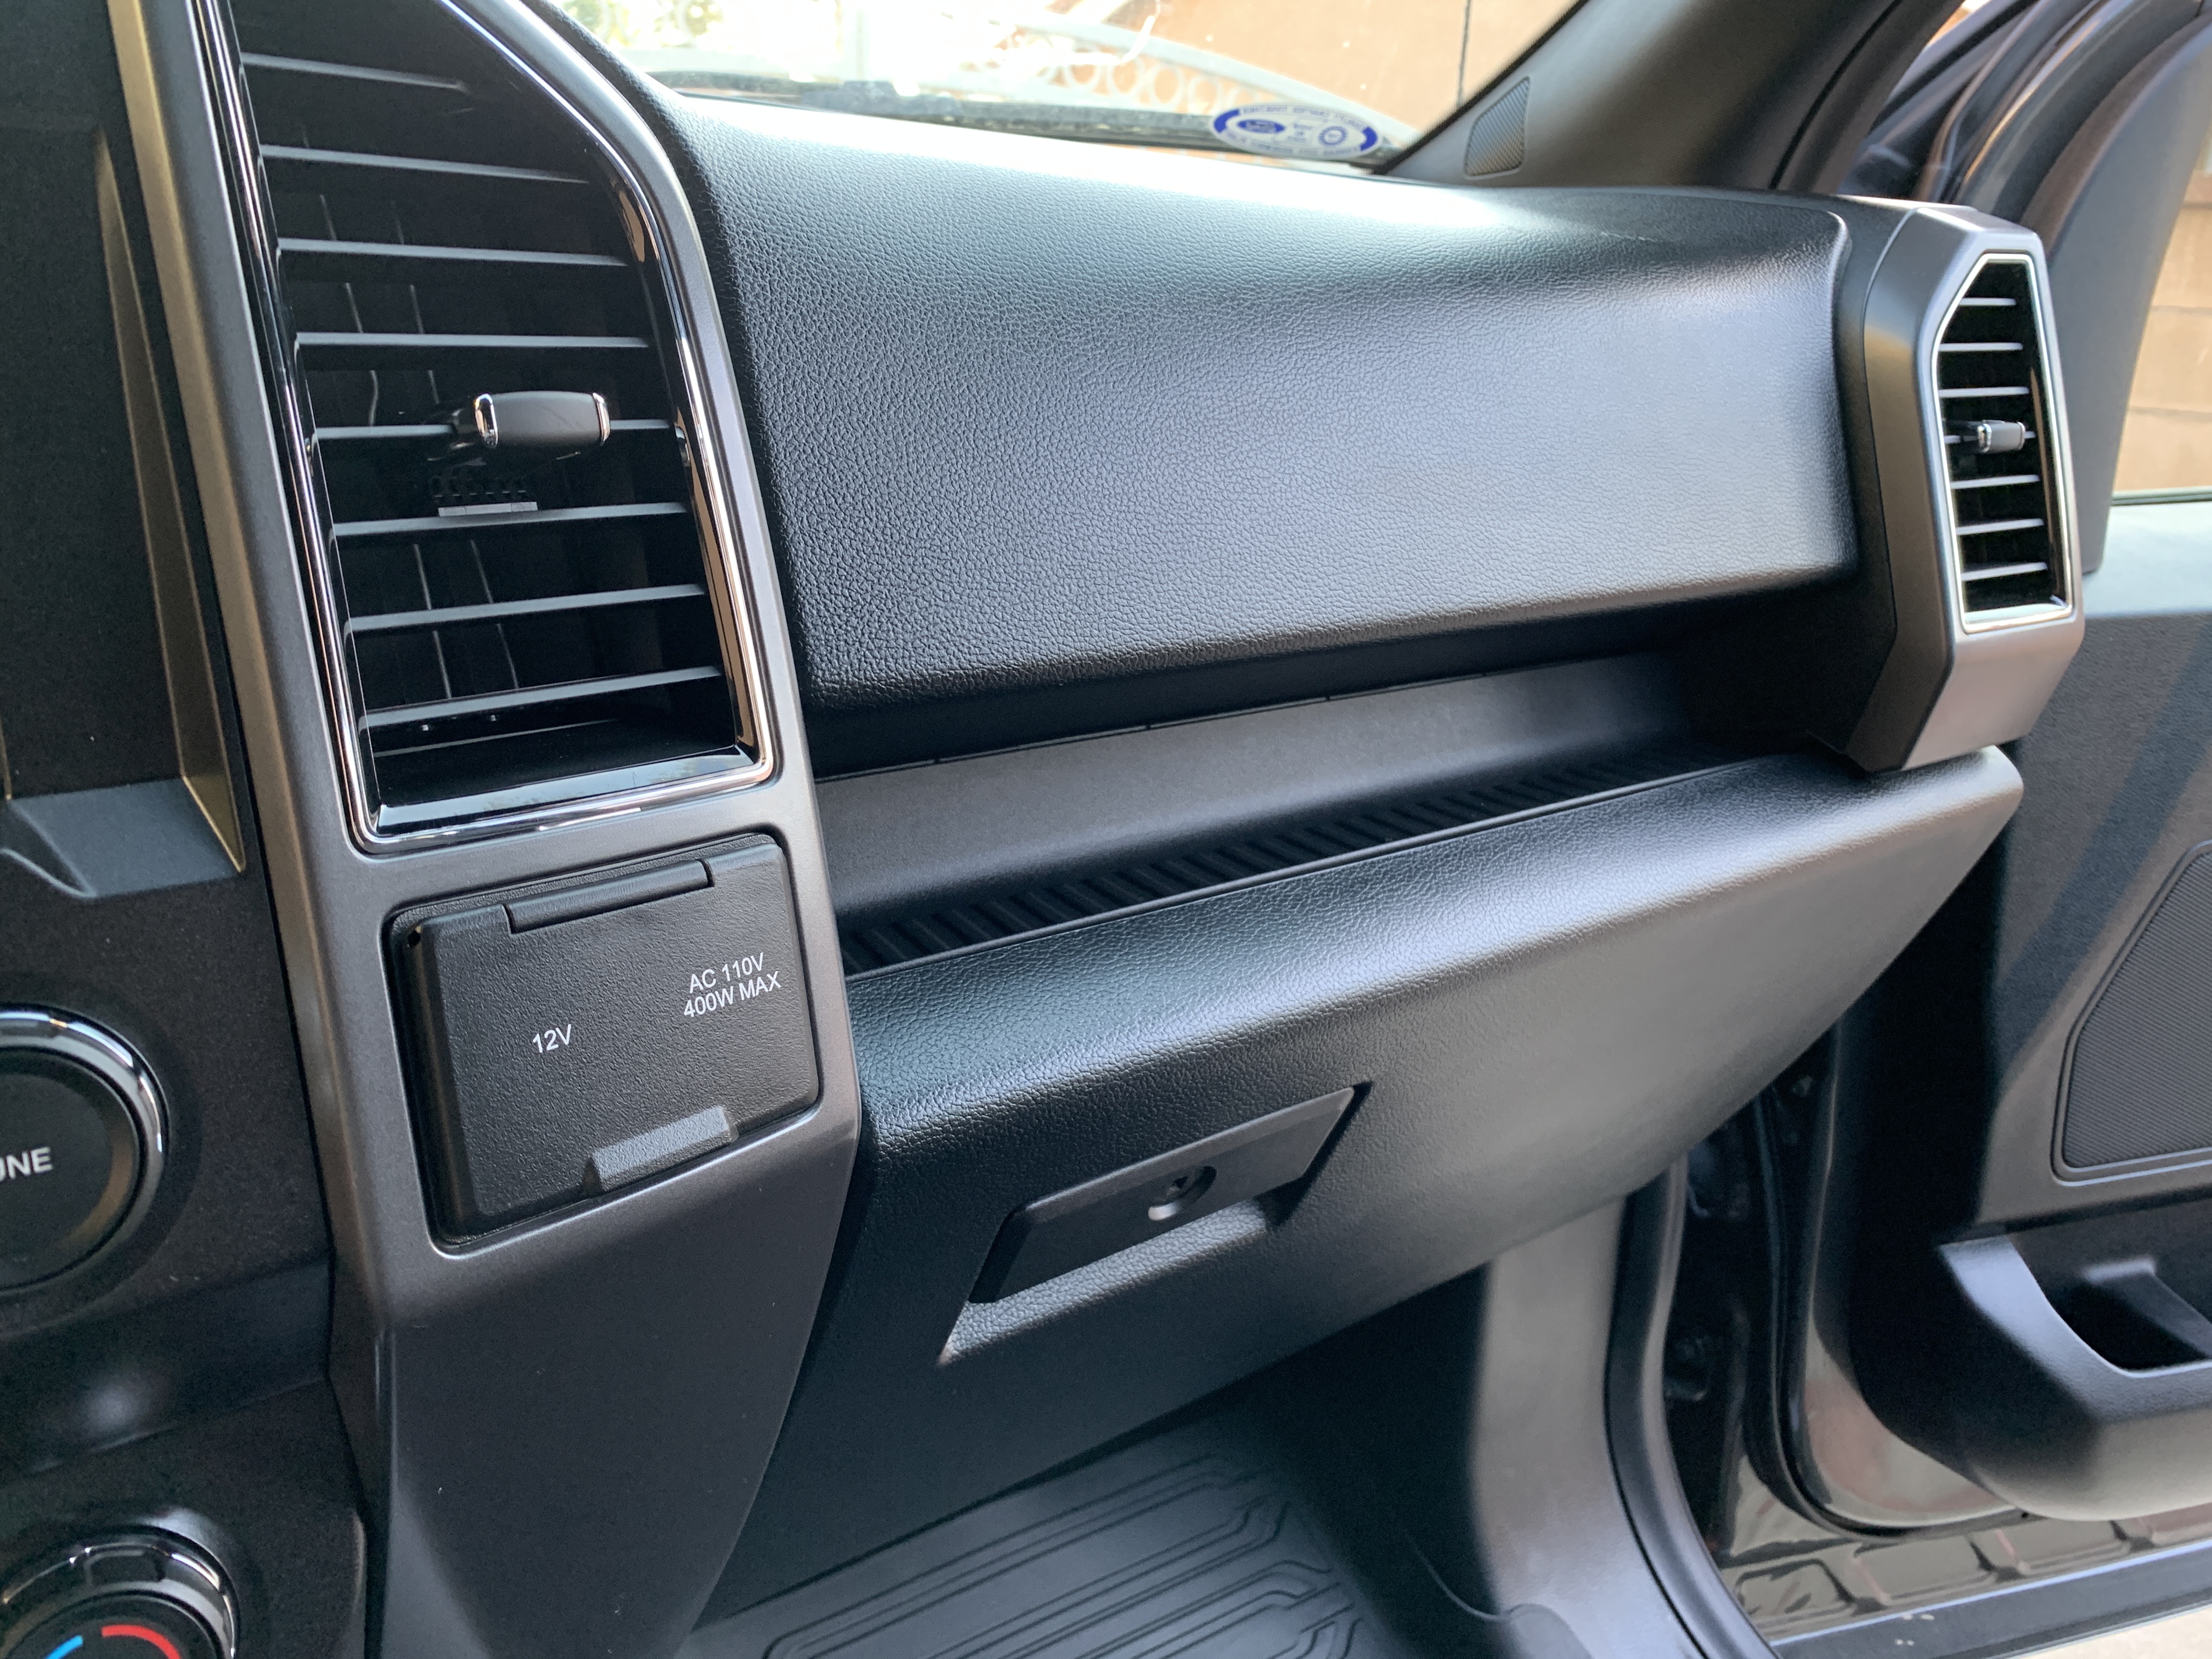
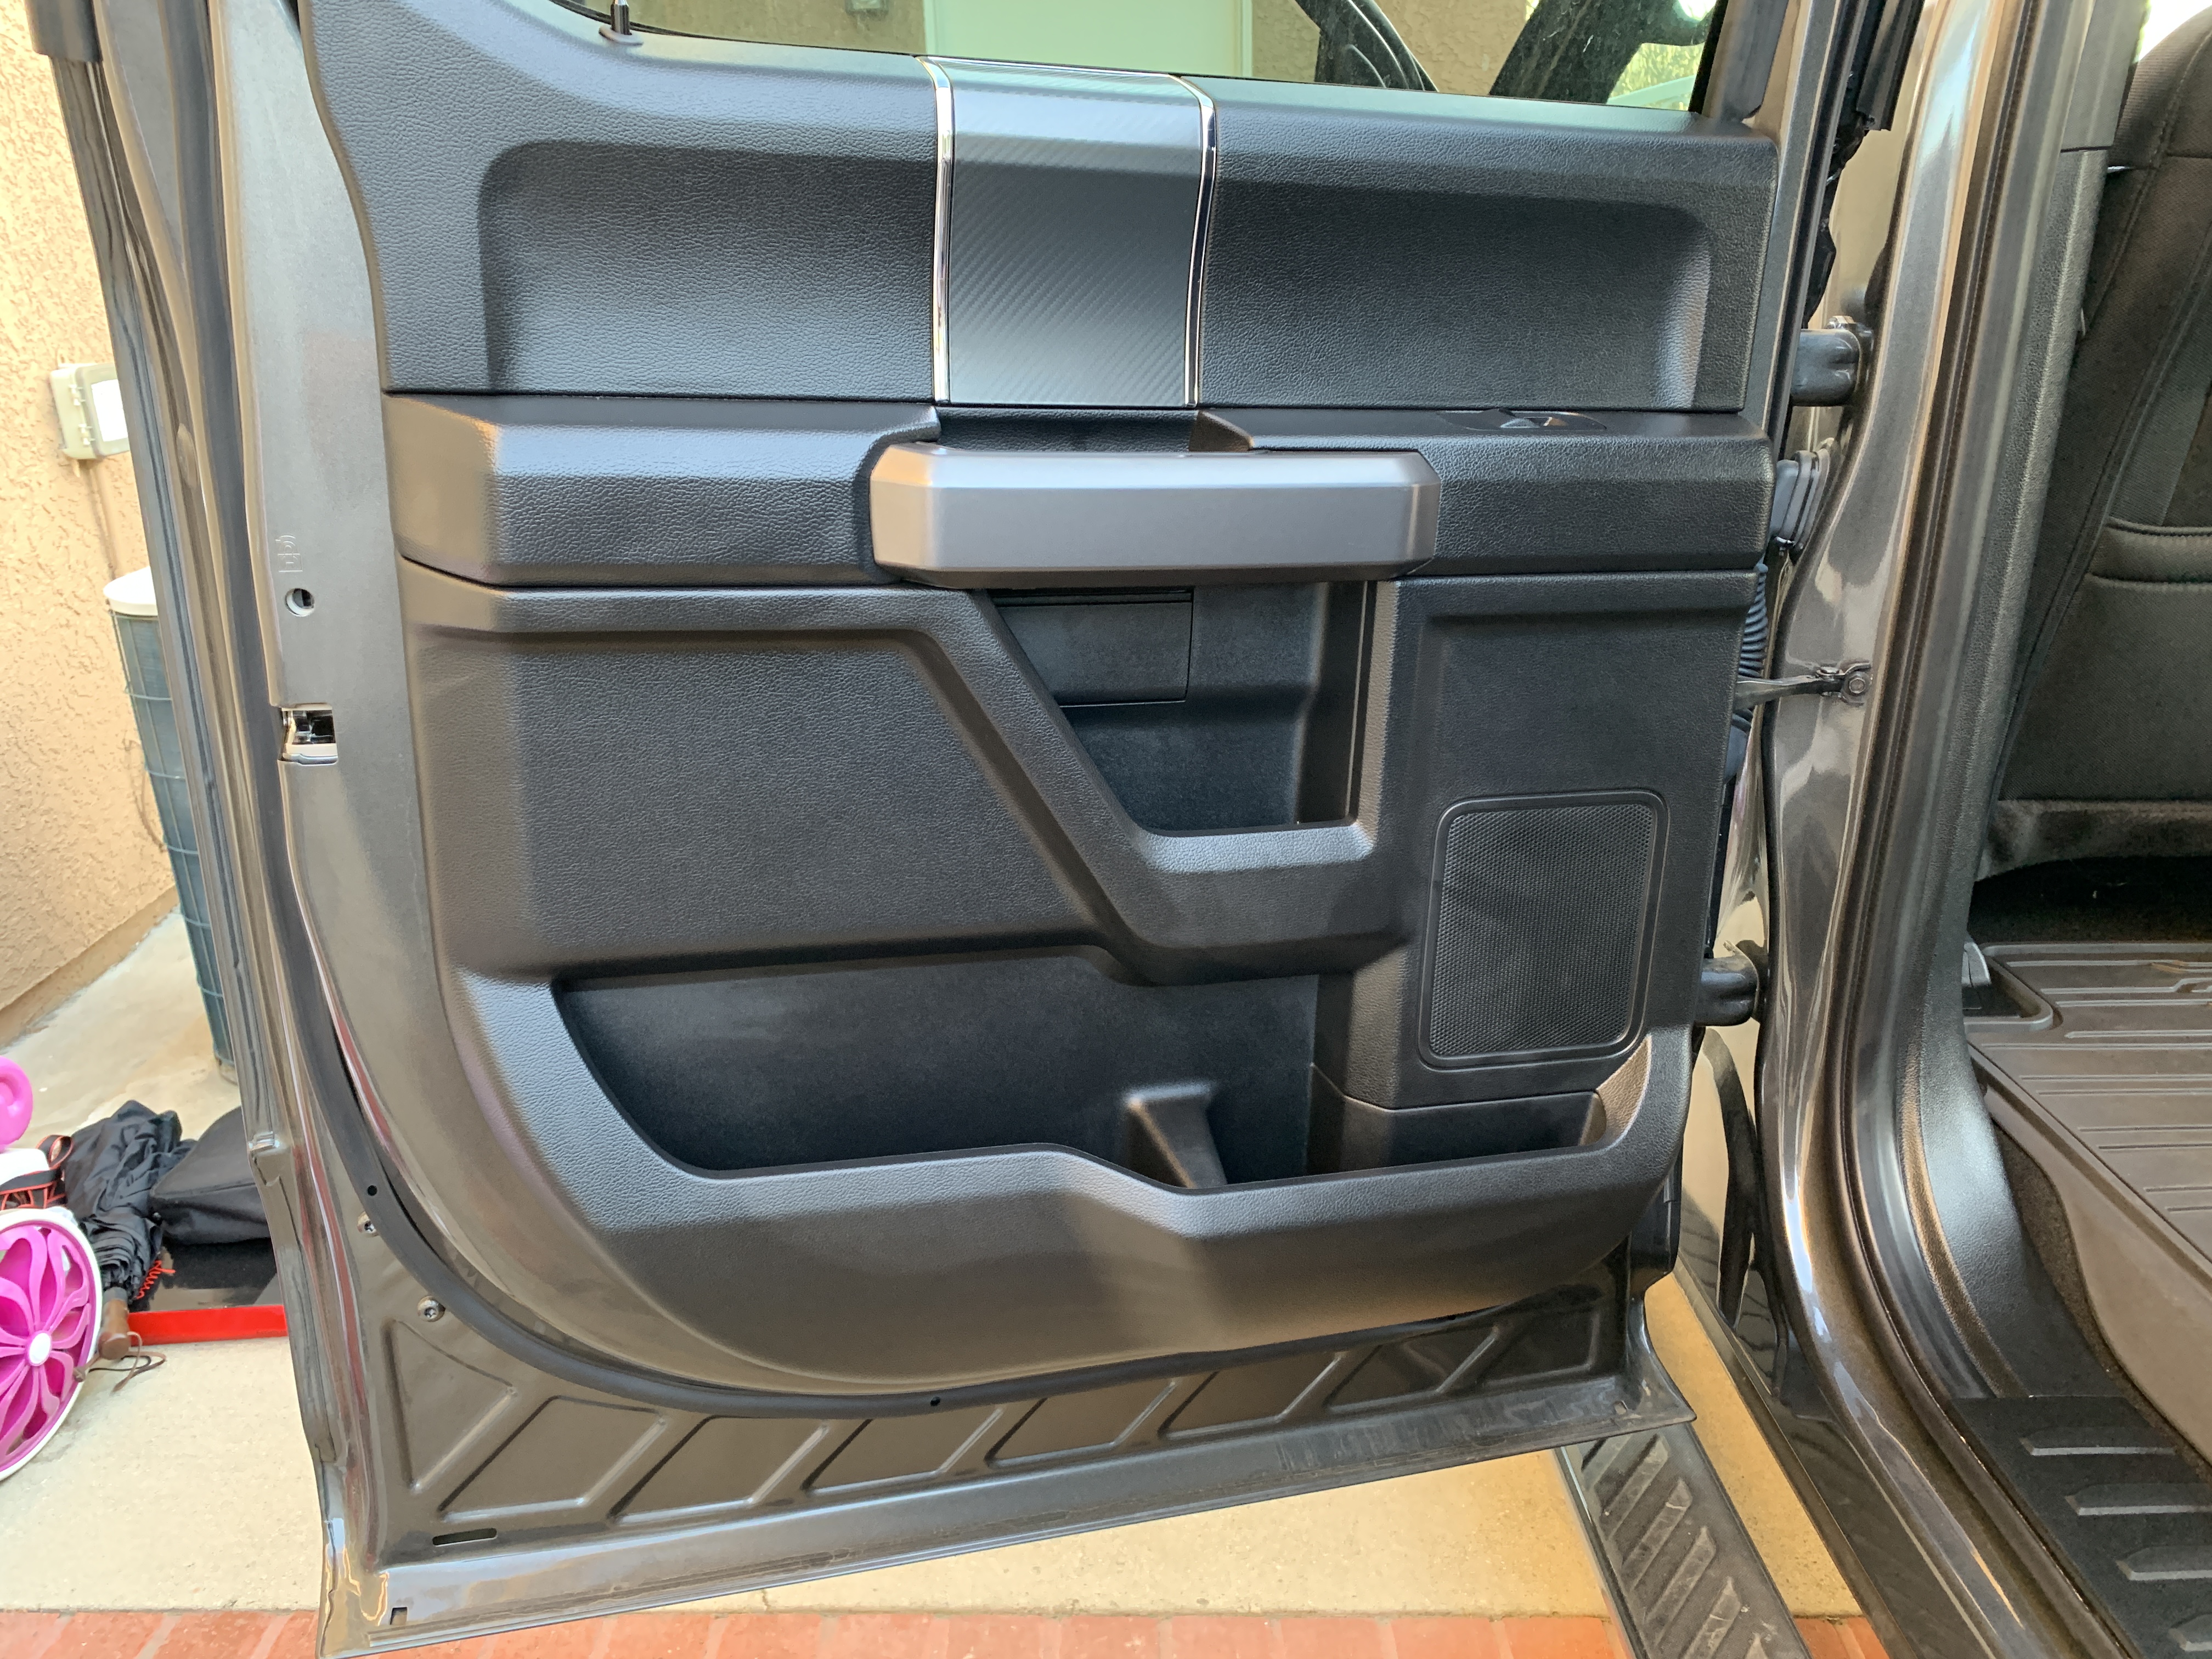
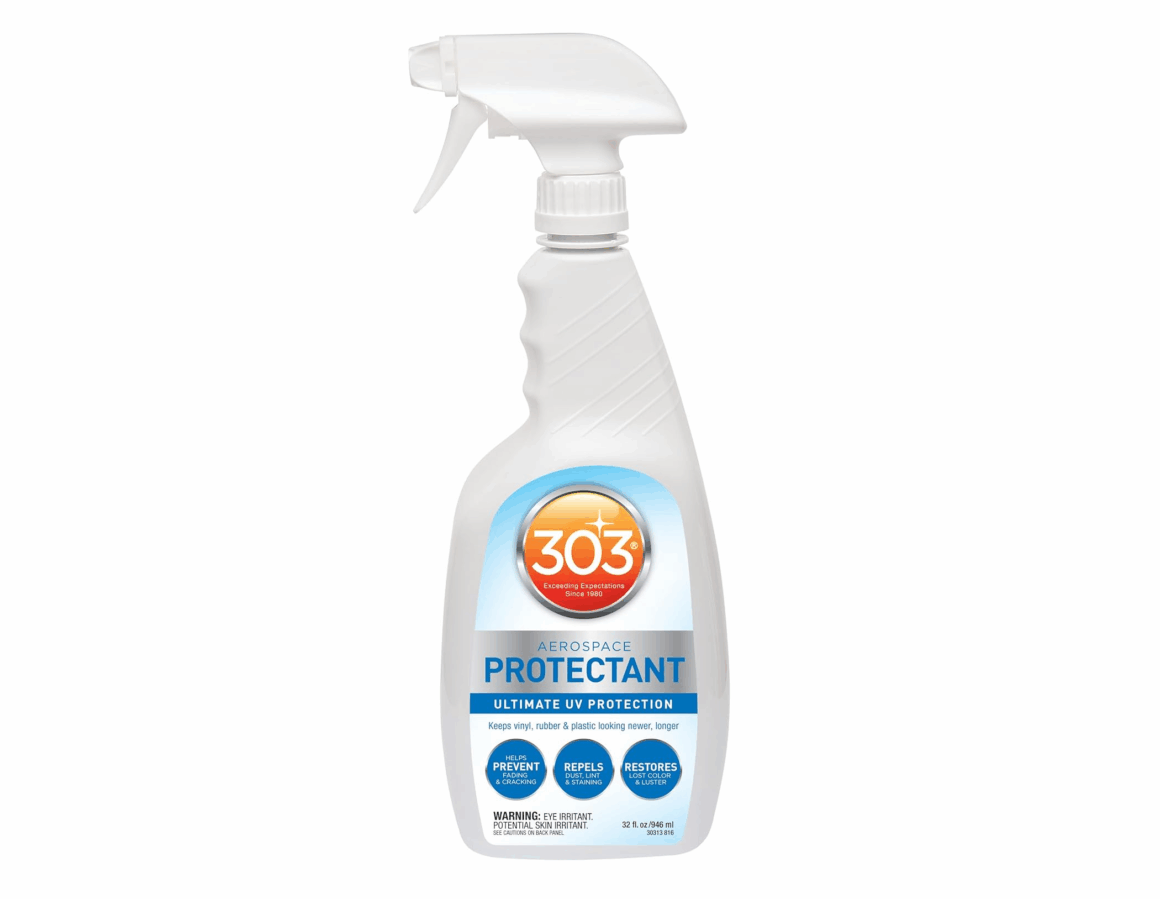
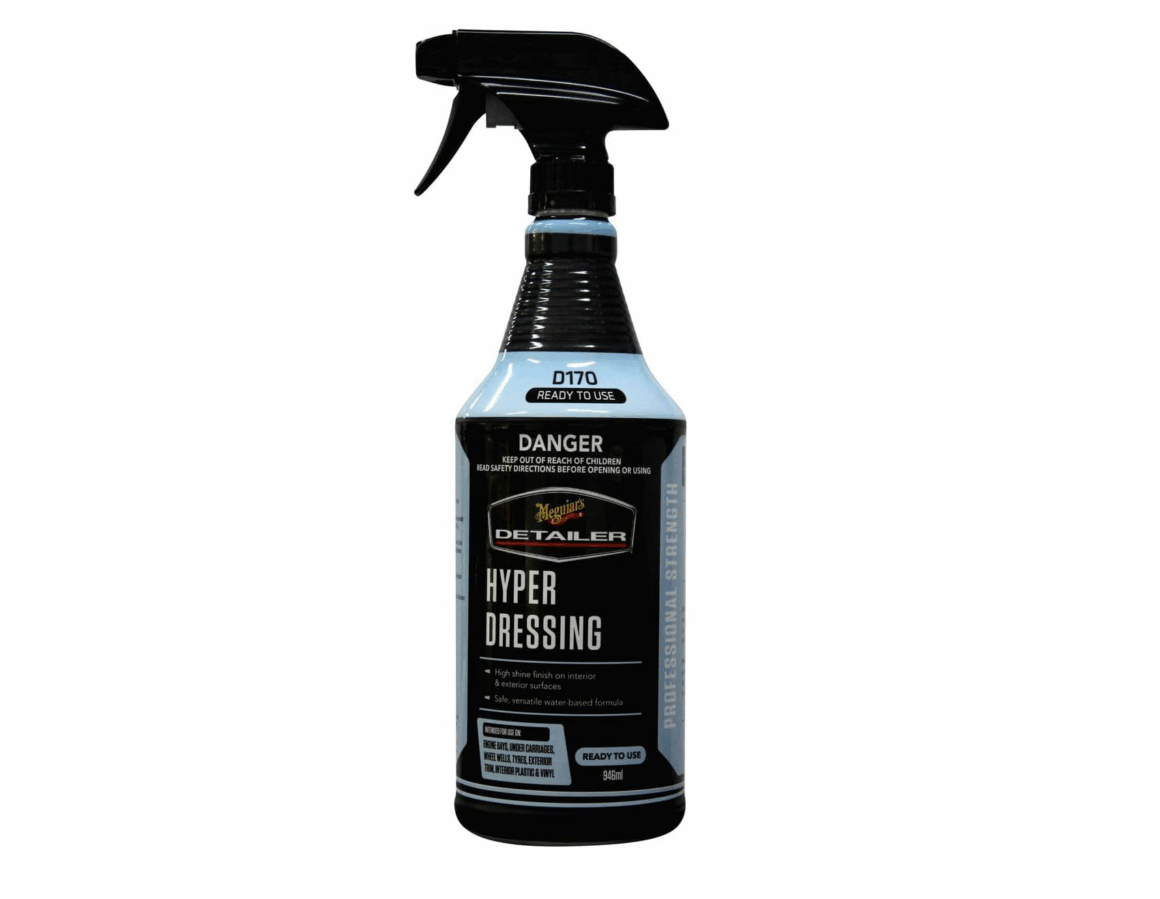
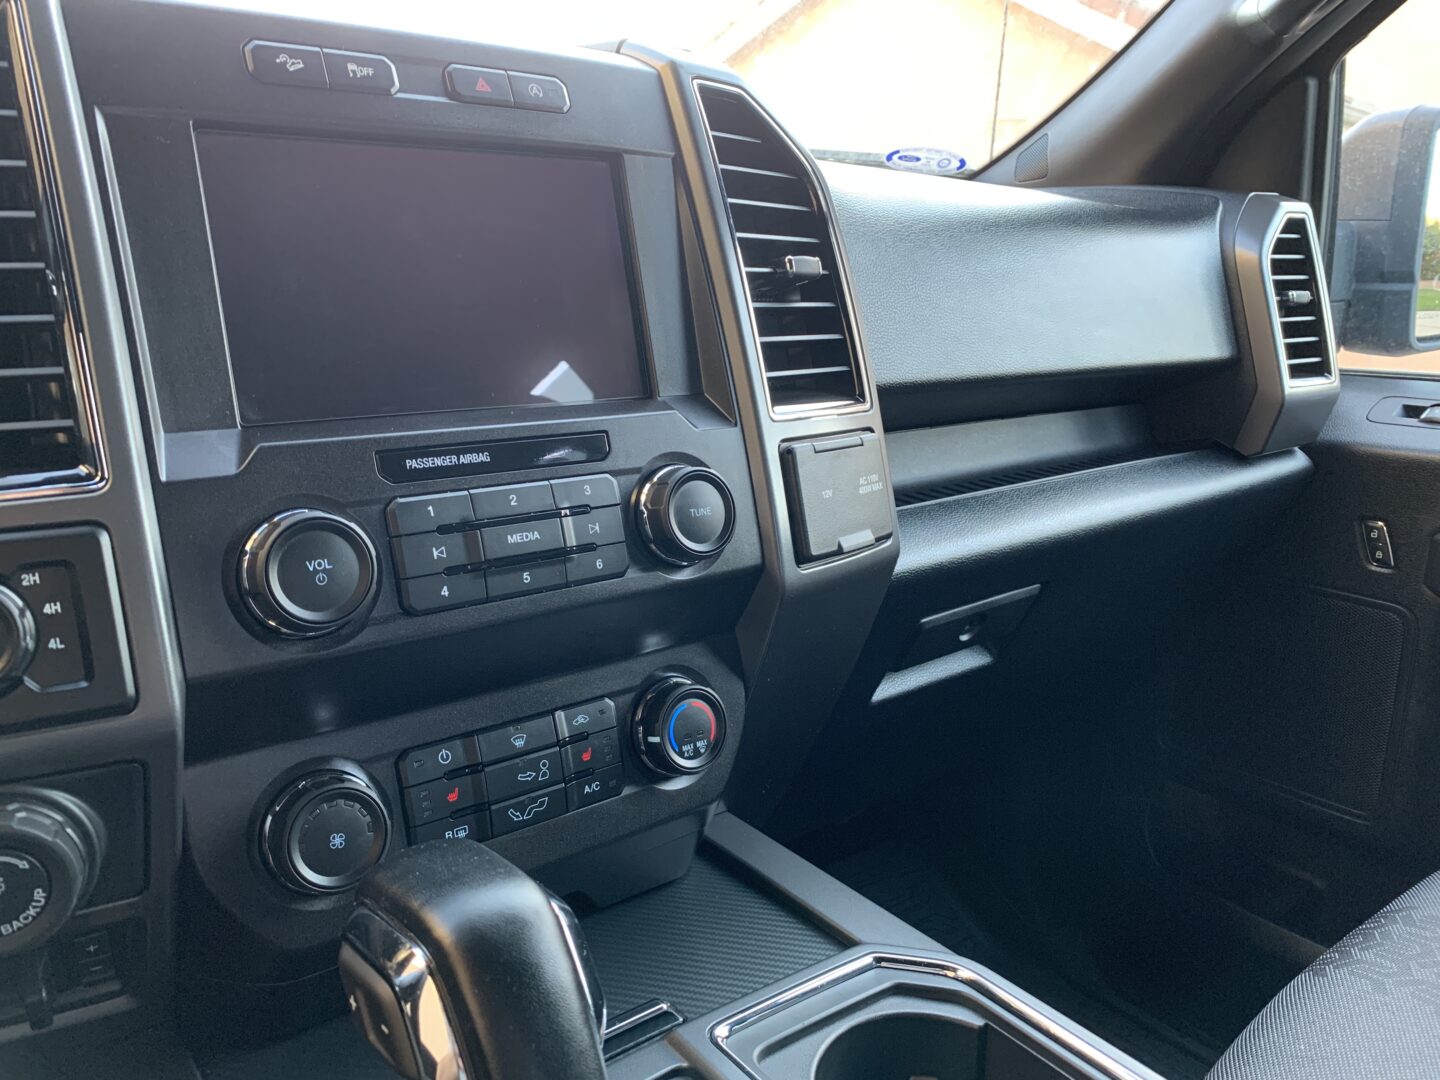
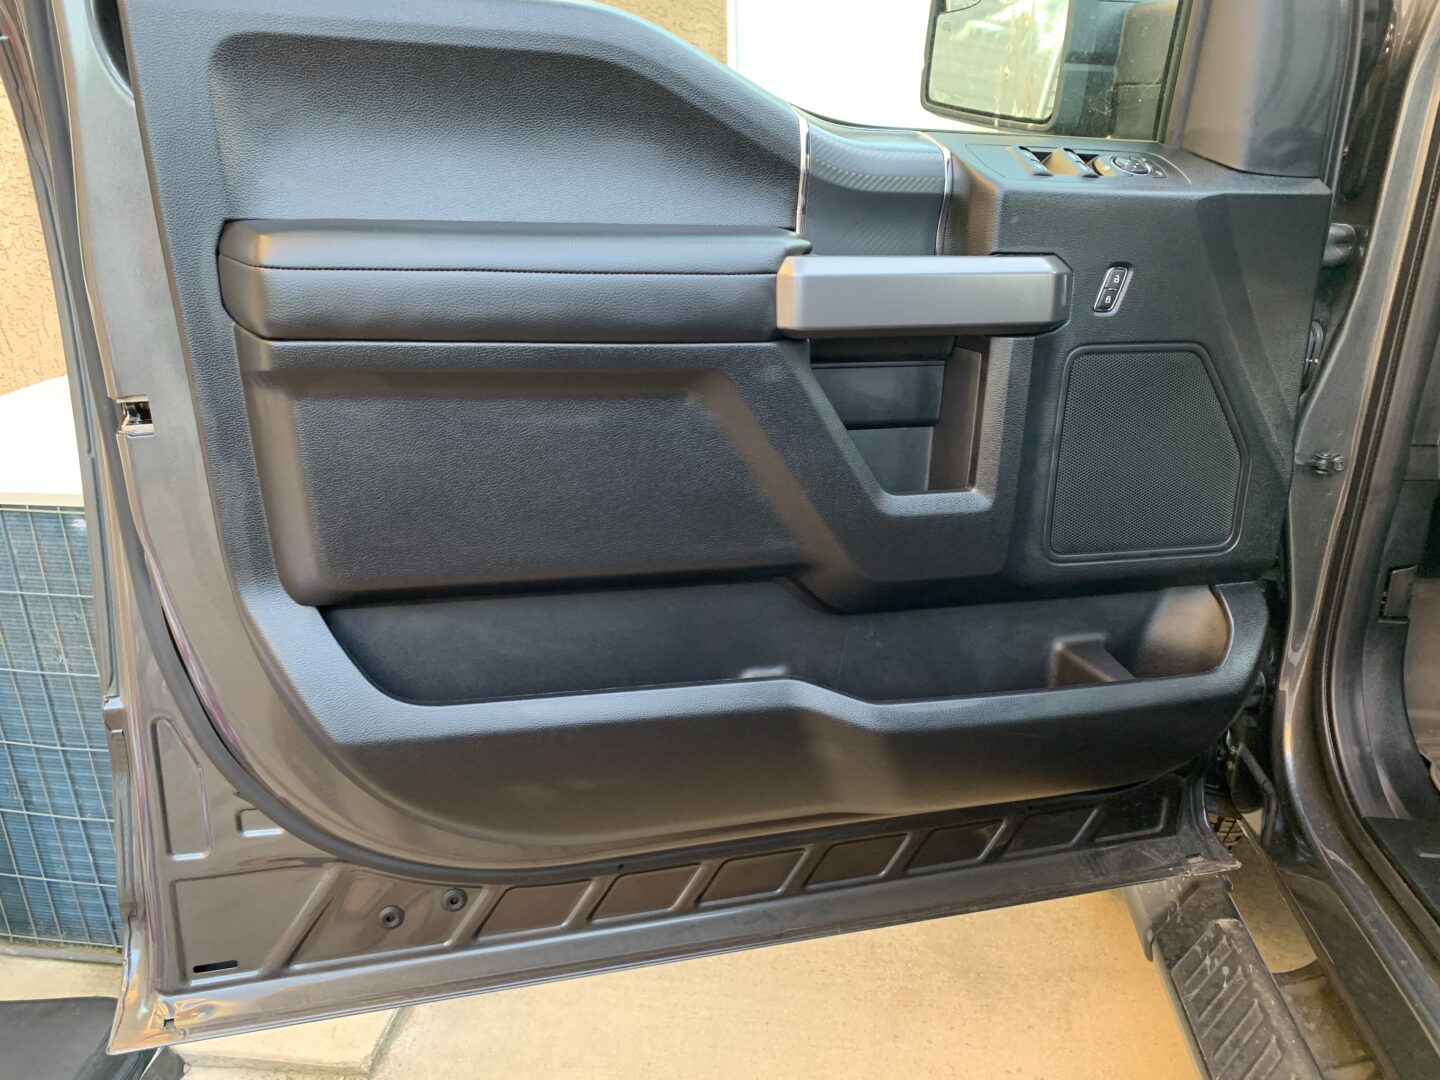
Almost every surface of your interior could potentially have some kind of protection applied. If you have leather seats, you could use leather protectant on it after you clean the leather. If your dashboard and door panels are made of vinyl, then you could use a protectant that is safe on vinyl materials. If you’ve got fabric seats, you could even apply a fabric protectant that repels water.
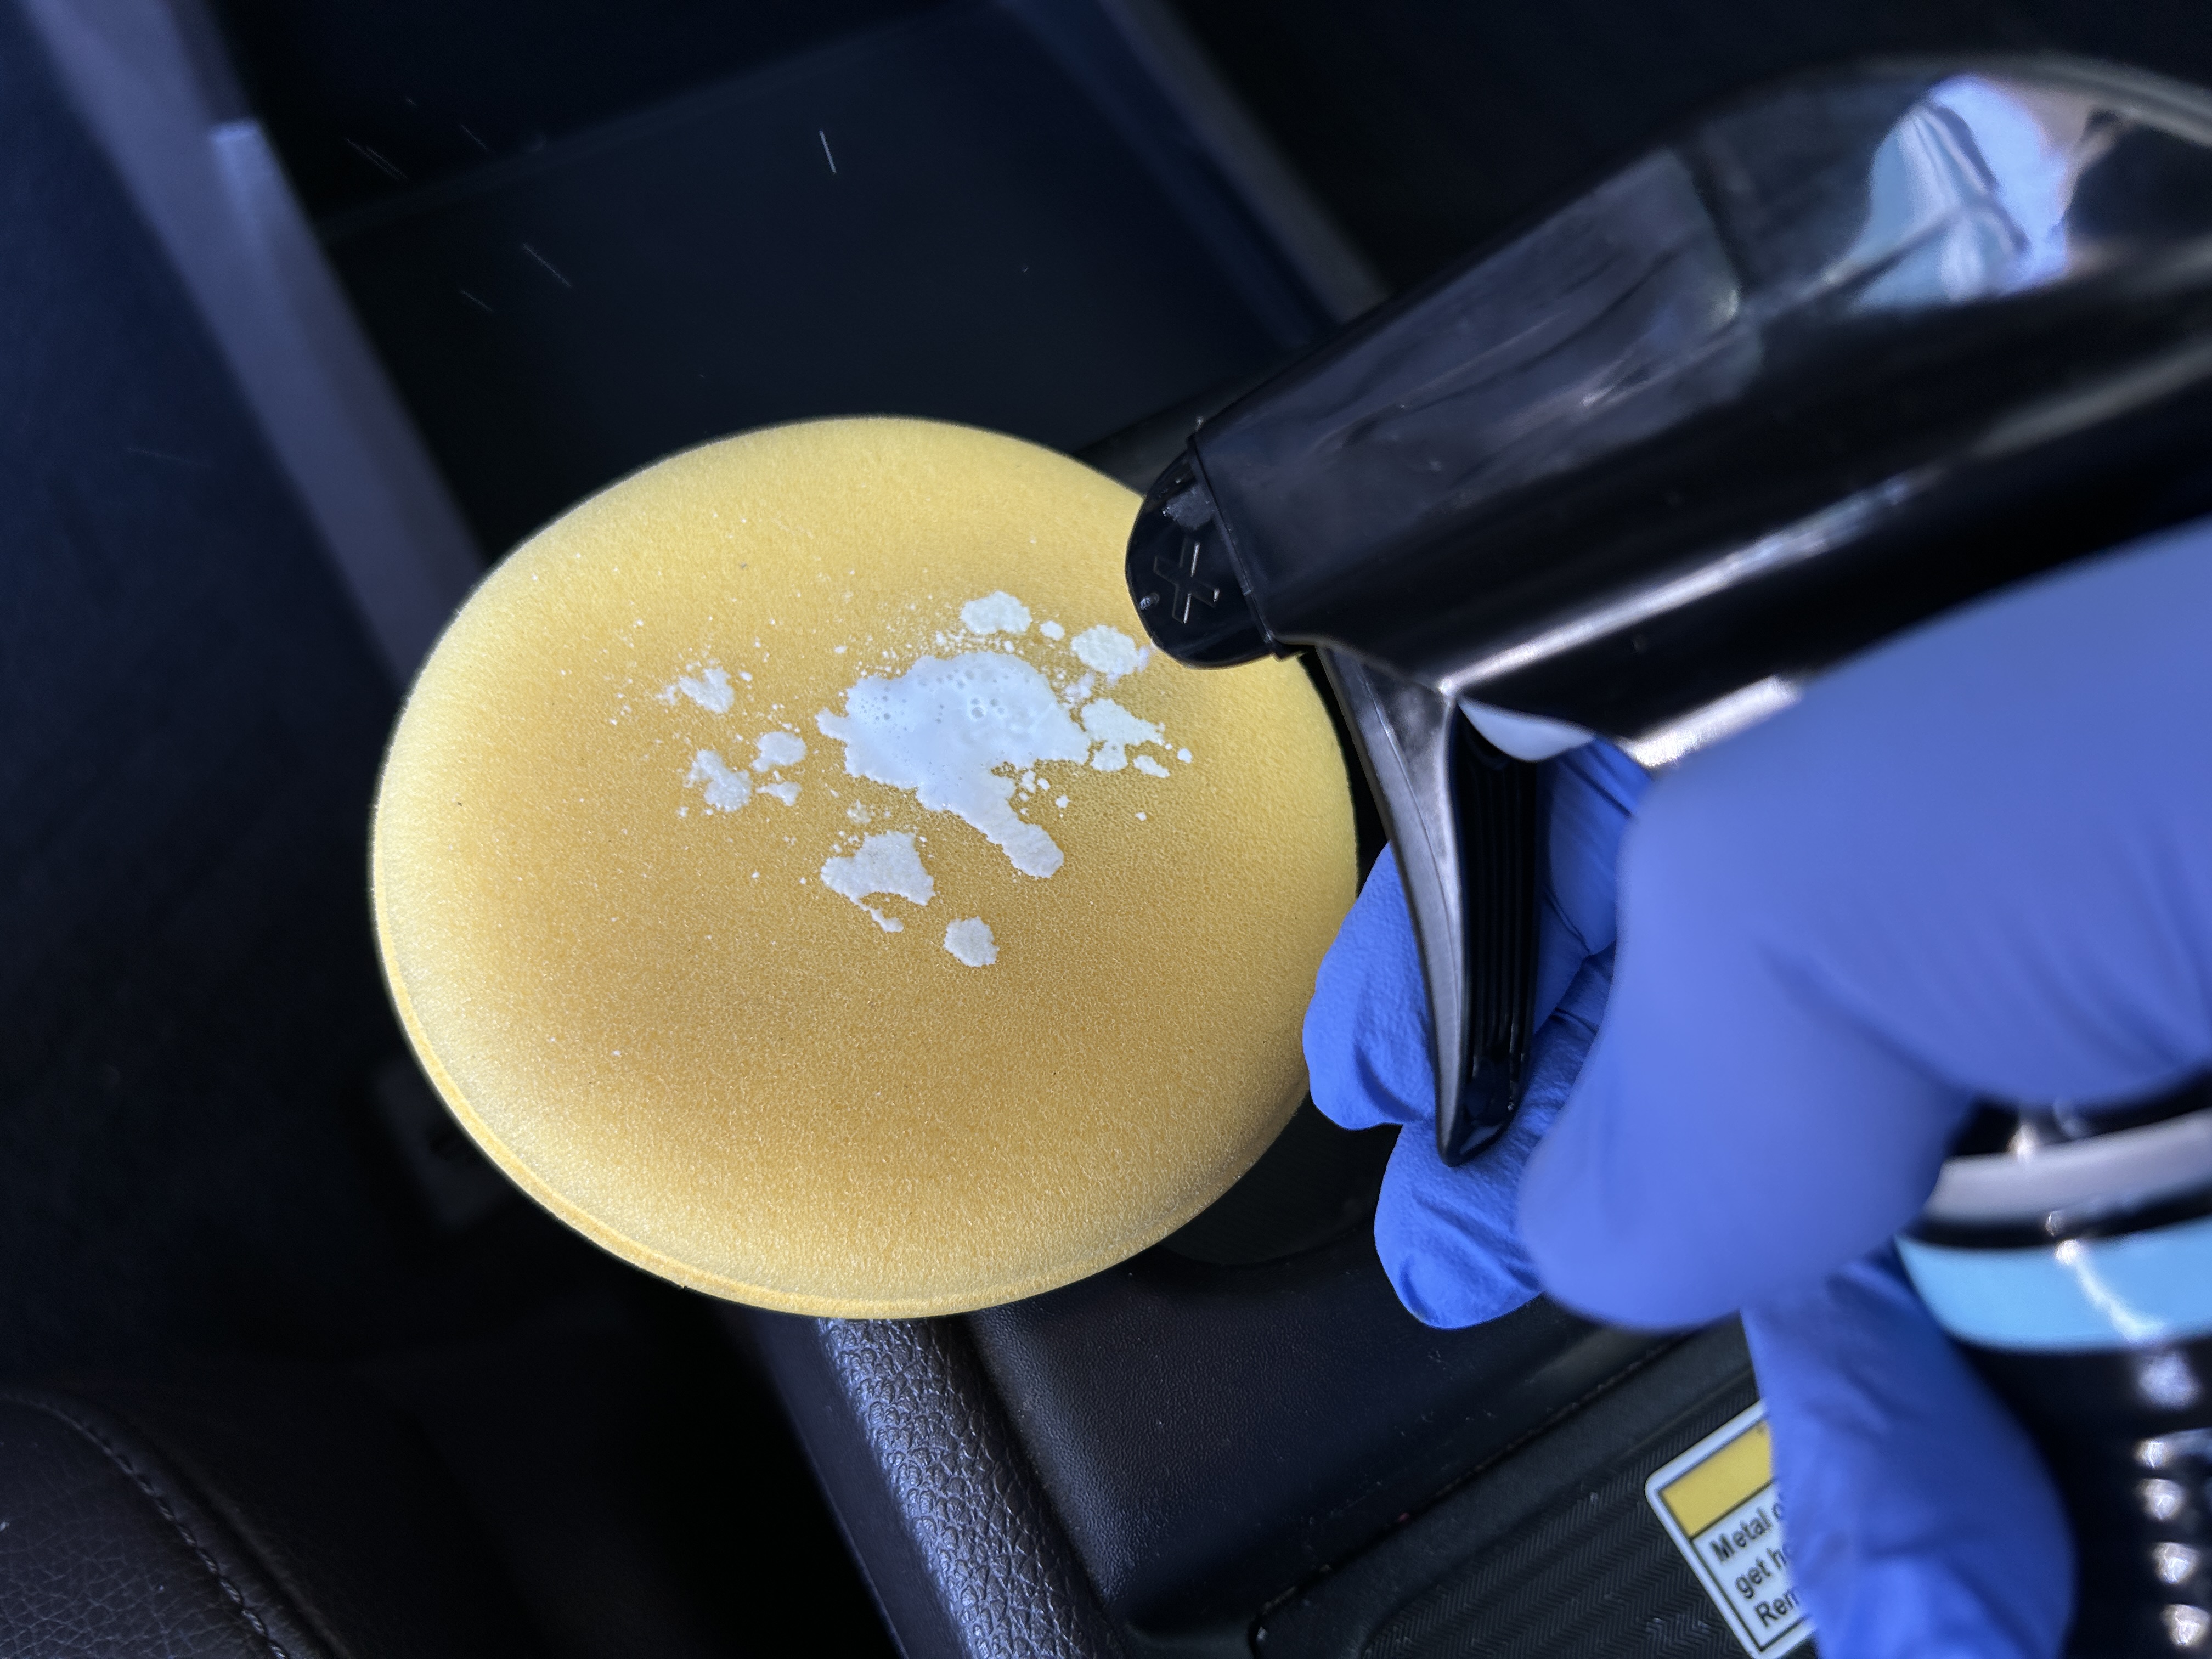
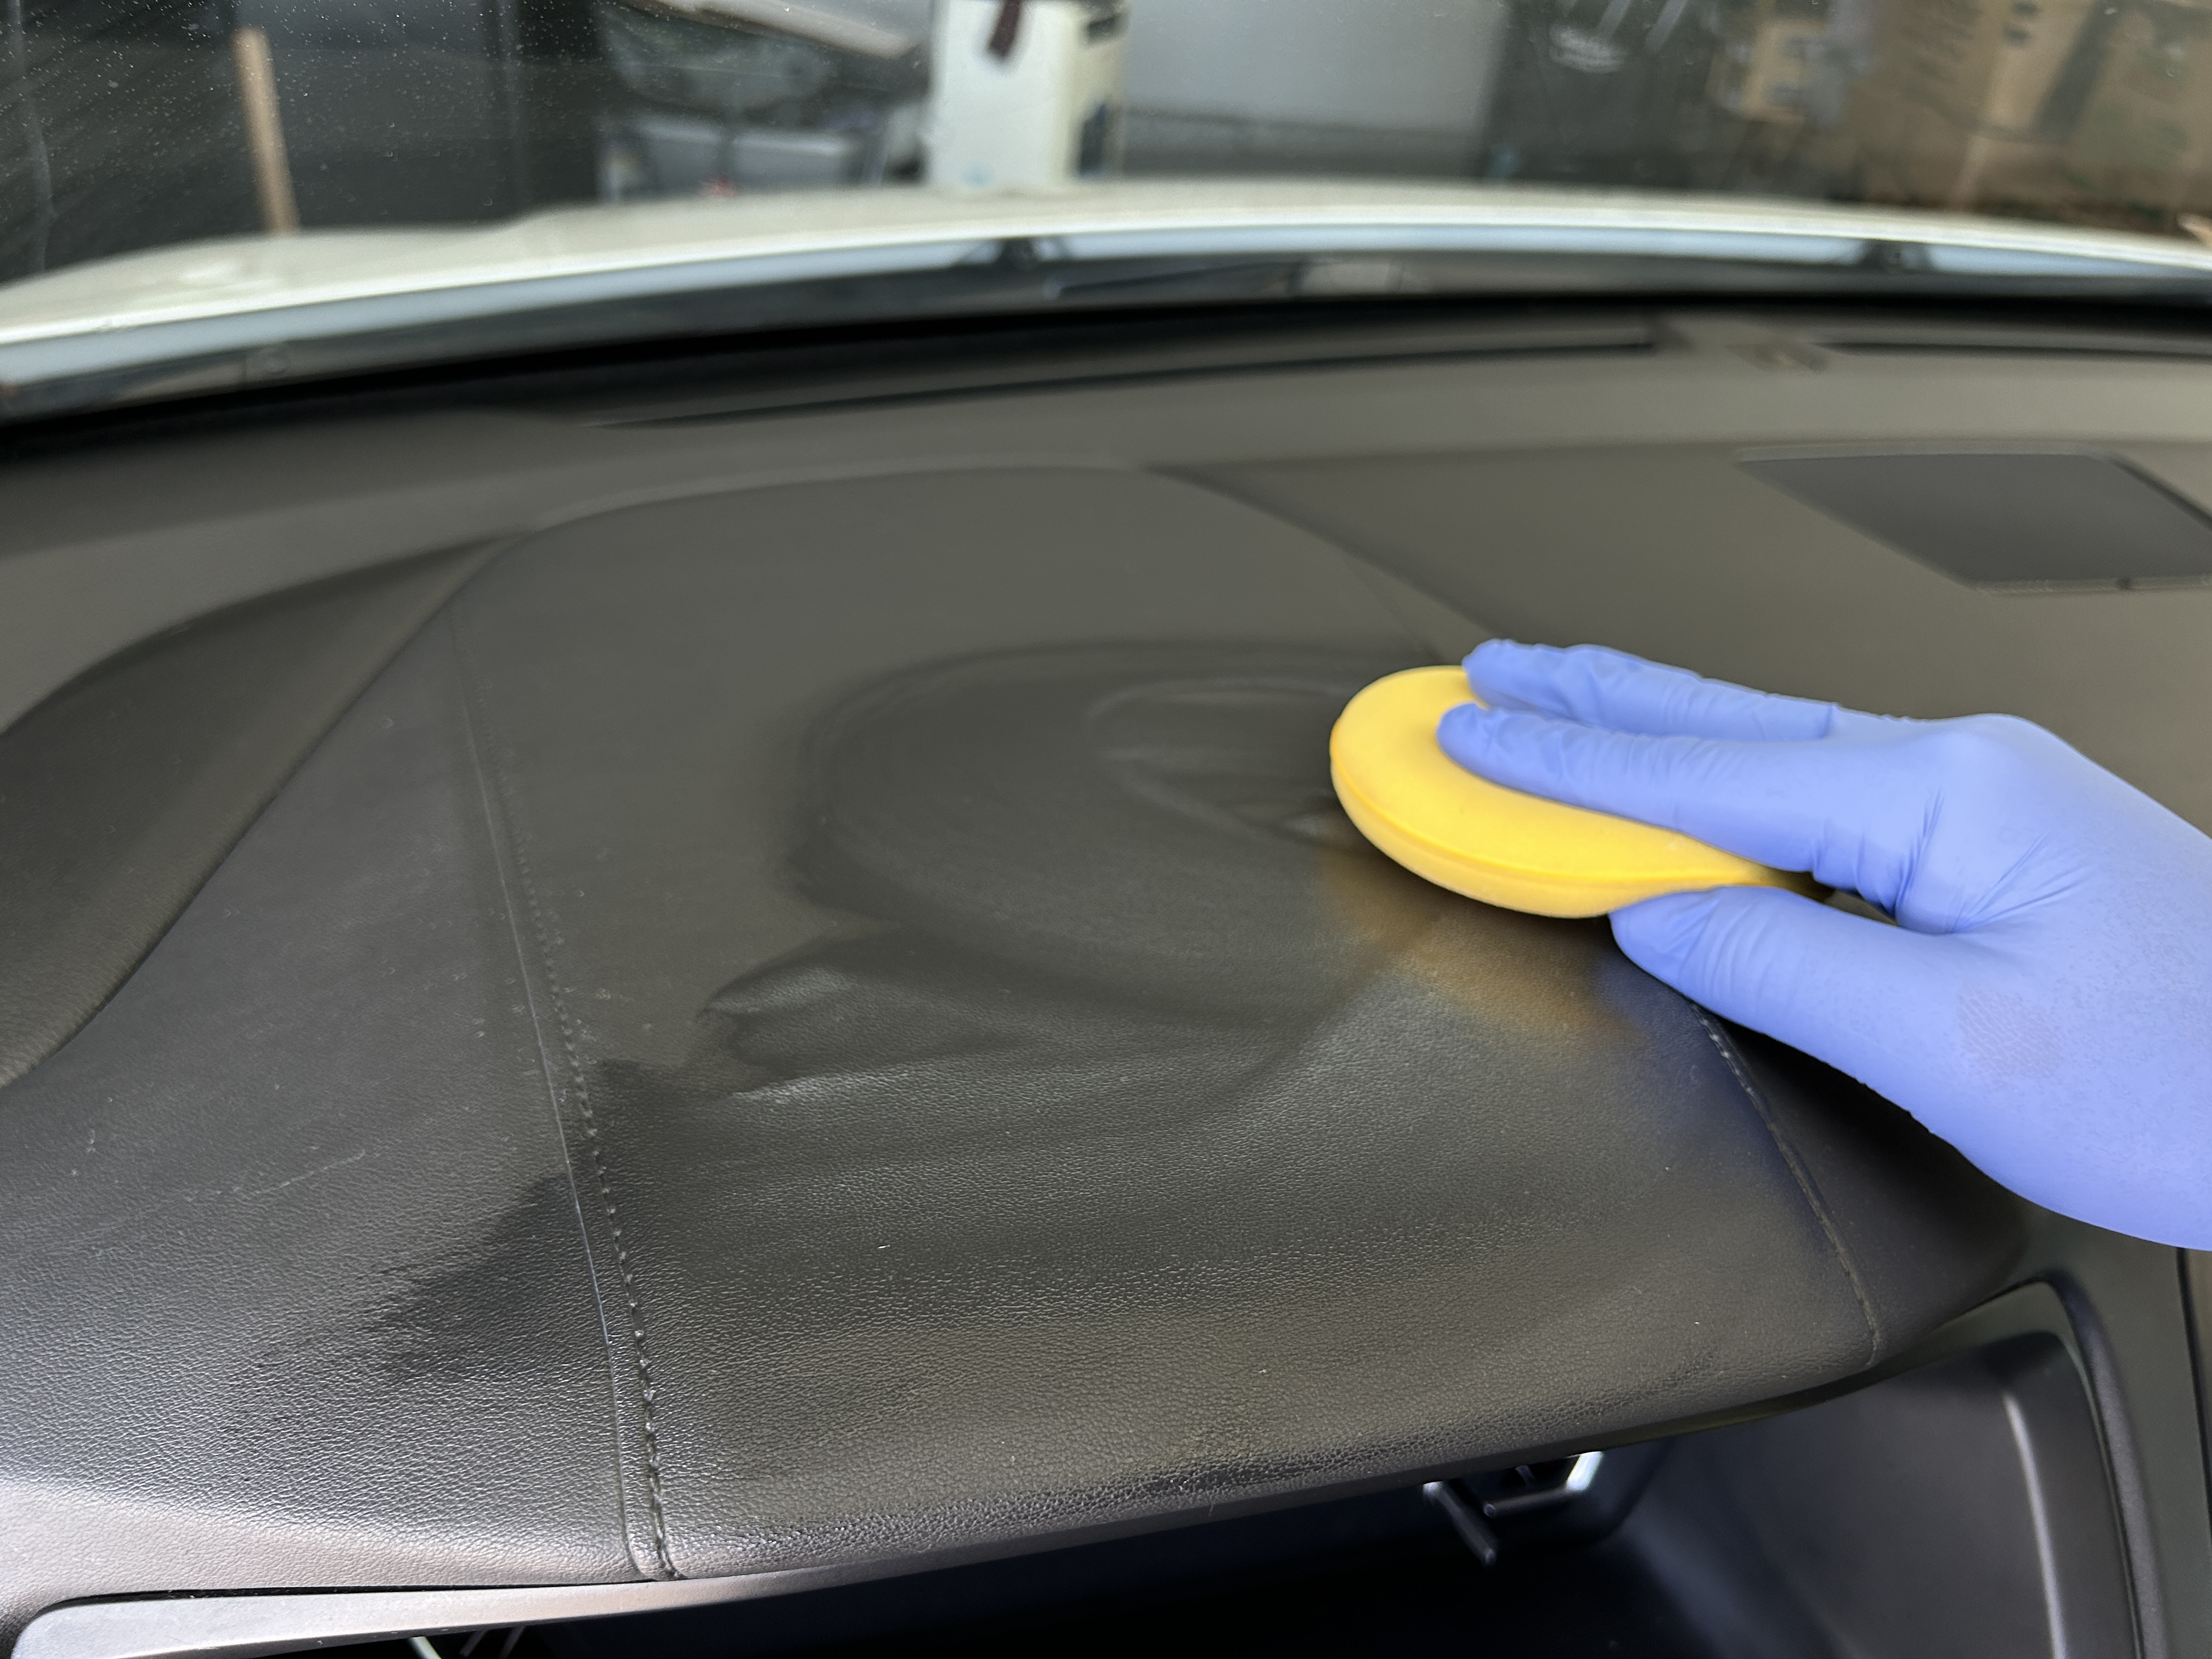
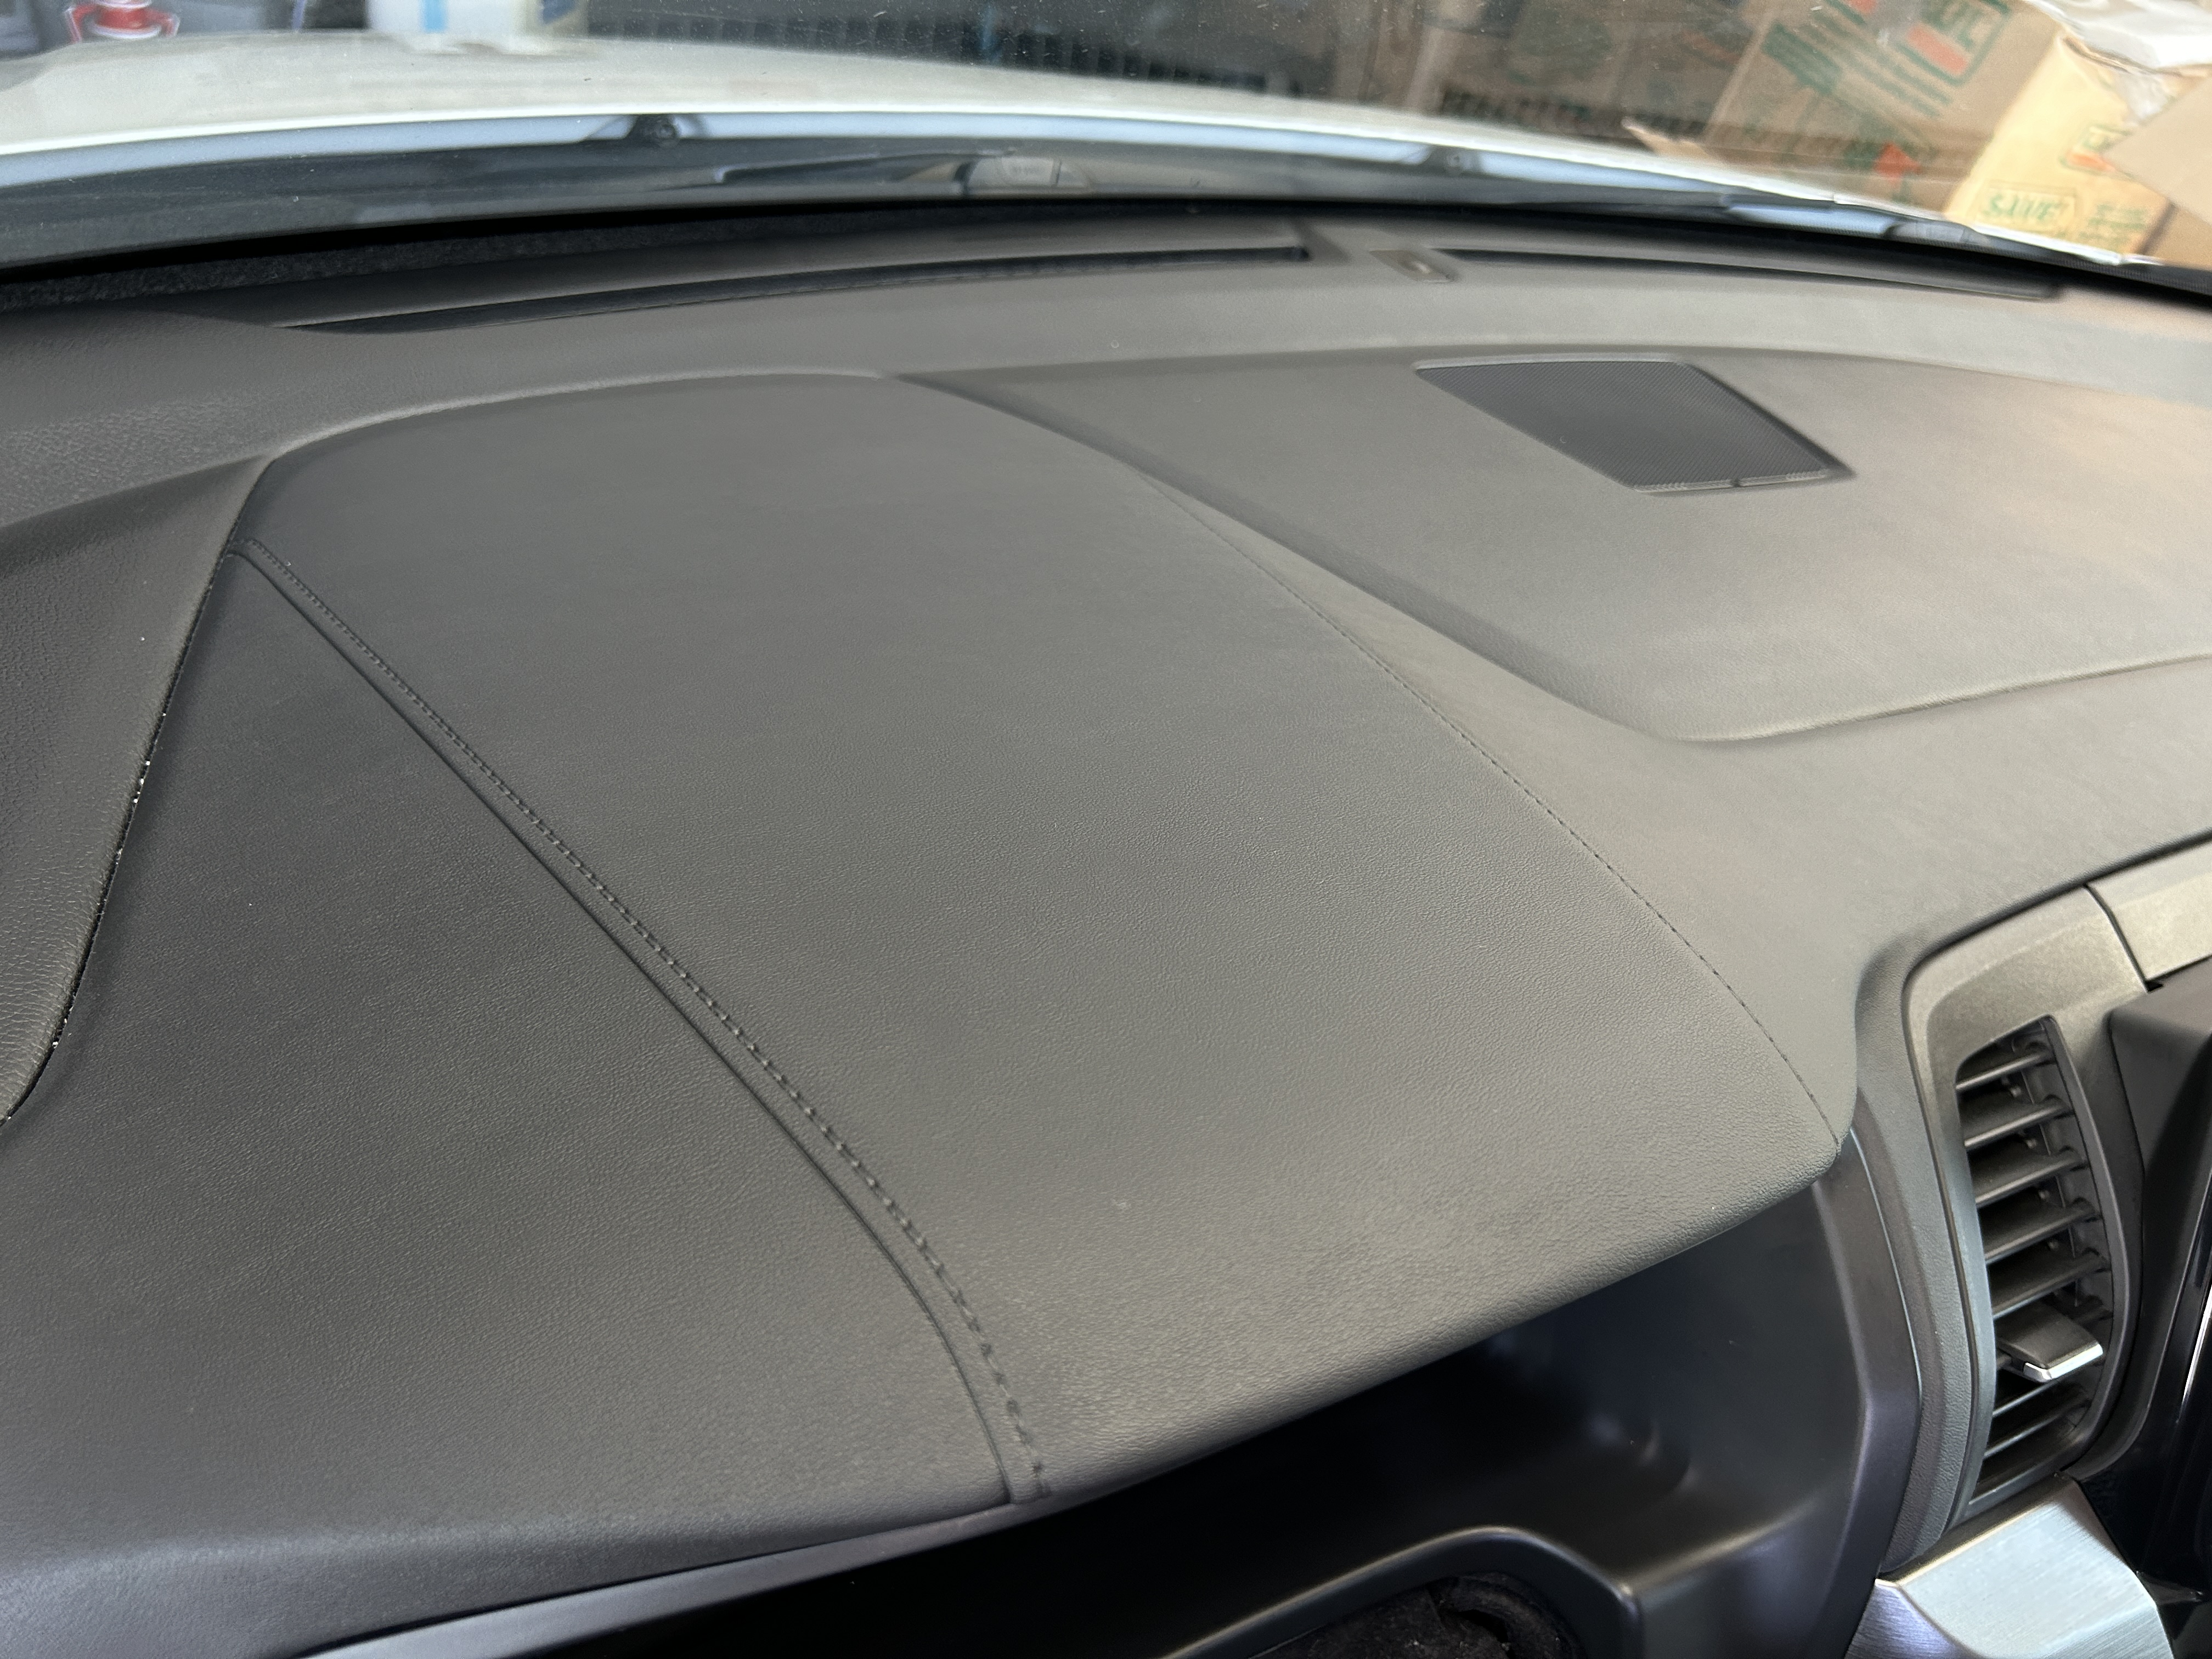
Out of all the interior, I would say protecting the dashboard is not a bad idea. It will protect your dashboard from the heat of the sun, and it may make it a bit easier to clean off when you wipe down the dash. You can also use various interior protectants to protect other parts of your cabin if you wish.
There are varying levels of gloss offered by different products, ranging from matte all the way to glossy. Personally I prefer a flat or matte texture to my interior as I don’t anything too shiny inside. I also find that the more glossy a product ends up being, the more greasy it is and leave an oily residue behind if anything touches it.
The parts of the interior that I would not recommend applying protectant are areas where it might cause a safety issue. For example, applying protectant on the steering wheel might make it hard to grip and easy for your hand to slip. Another example is applying protectant on rubber floor mats where it could cause your feet to slip while driving.

Finally, if you don’t want your carpet to get dirty and don’t mind the look of rubber floor mats, this will be the best way to protect your carpeting. If you don’t like the look of them, opt for carpeted floor mats. This is just a quick-and-easy way to fully protect a majority of your carpeted interior.
When you are done cleaning the interior, you can now move onto the exterior of the car. If your floor mats are dry from cleaning earlier, reinstall them in your car. Don’t worry about your door jambs for now, as this area will get wet during your exterior wash. Typically, you’ll wipe down the door jambs after washing your car.
Exterior Care
On the exterior, you will simply start with washing your car. You will then go through the decontamination process for both chemical and mechanical. Basically, this means using an iron remover and something like a clay bar. After that, you’ll do a wipe down or wash the car again. Optionally, you could polish your paint if you want a better finish. Finally, apply your protectant. It’s up to you what you want to apply: a wax, paint sealant, or coating.
I highly recommend applying some kind of protectant on your car’s exterior because it makes it a lot easier when you wash your car thereafter. Just like your interior, you can protect all kinds of surfaces on your exterior. You could apply specifically-formulated protectant products to your glass, tires, wheels, rubber, and more in addition to your paint.
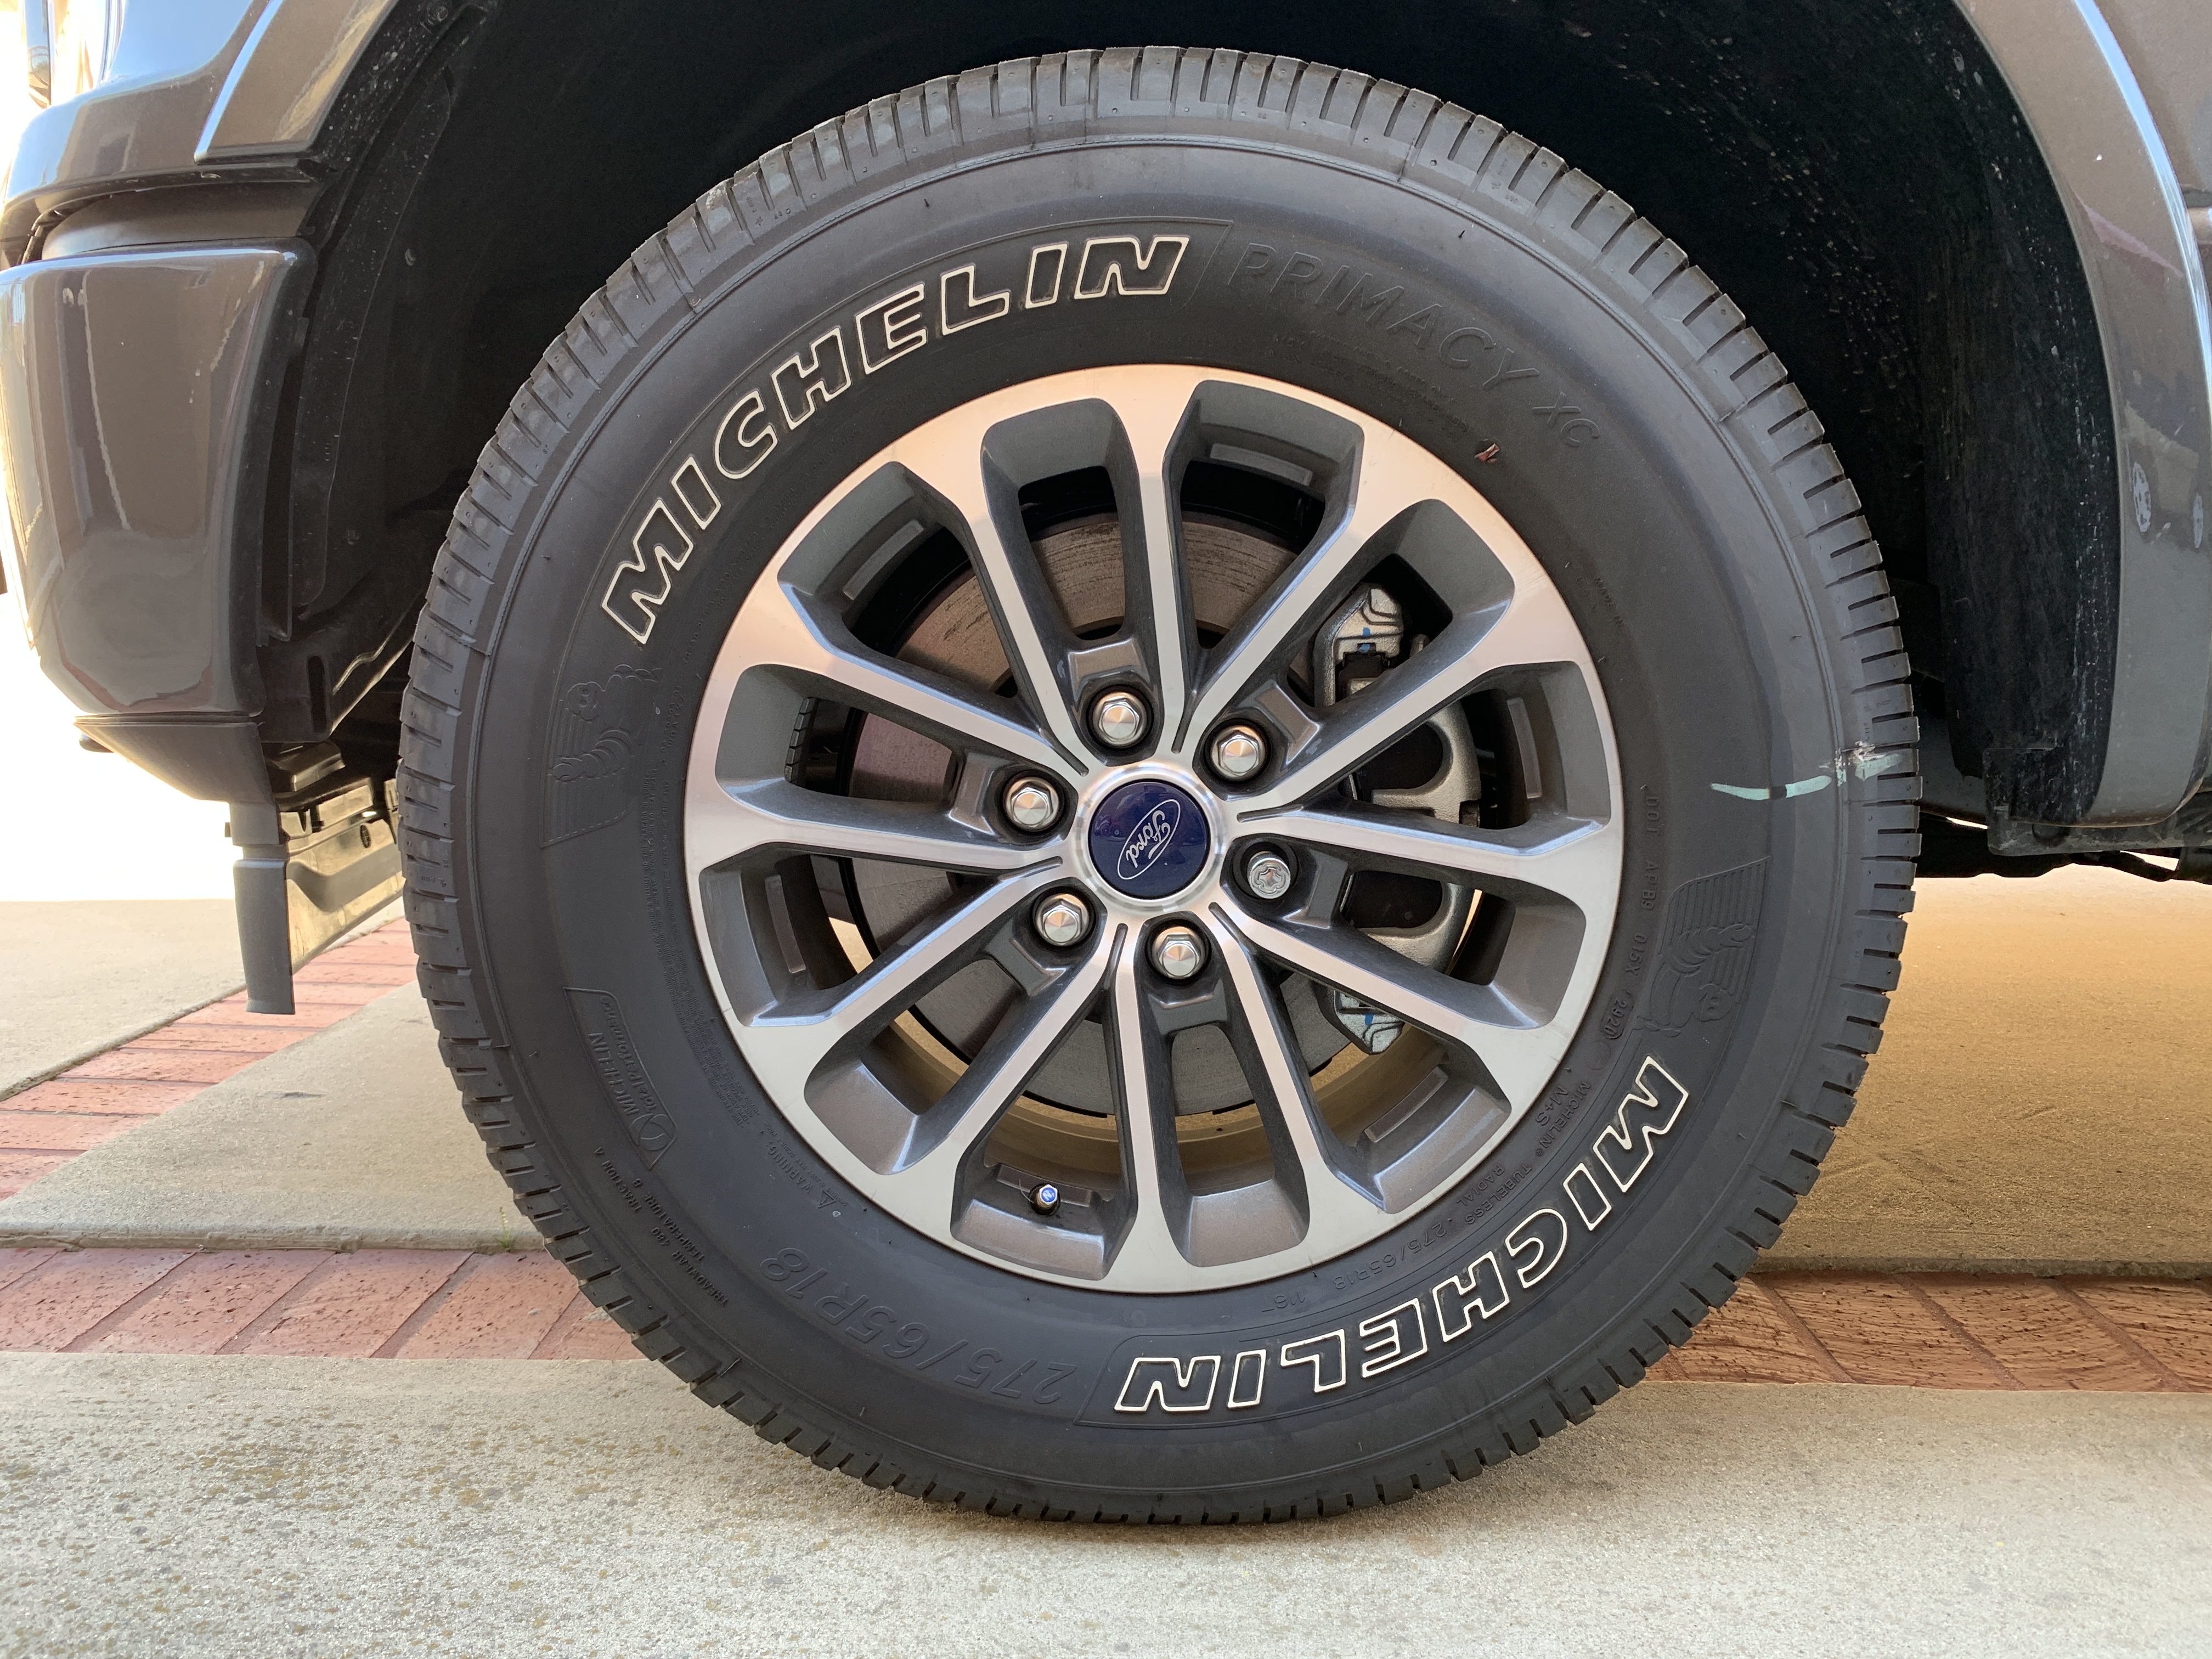
Wheels and Tires
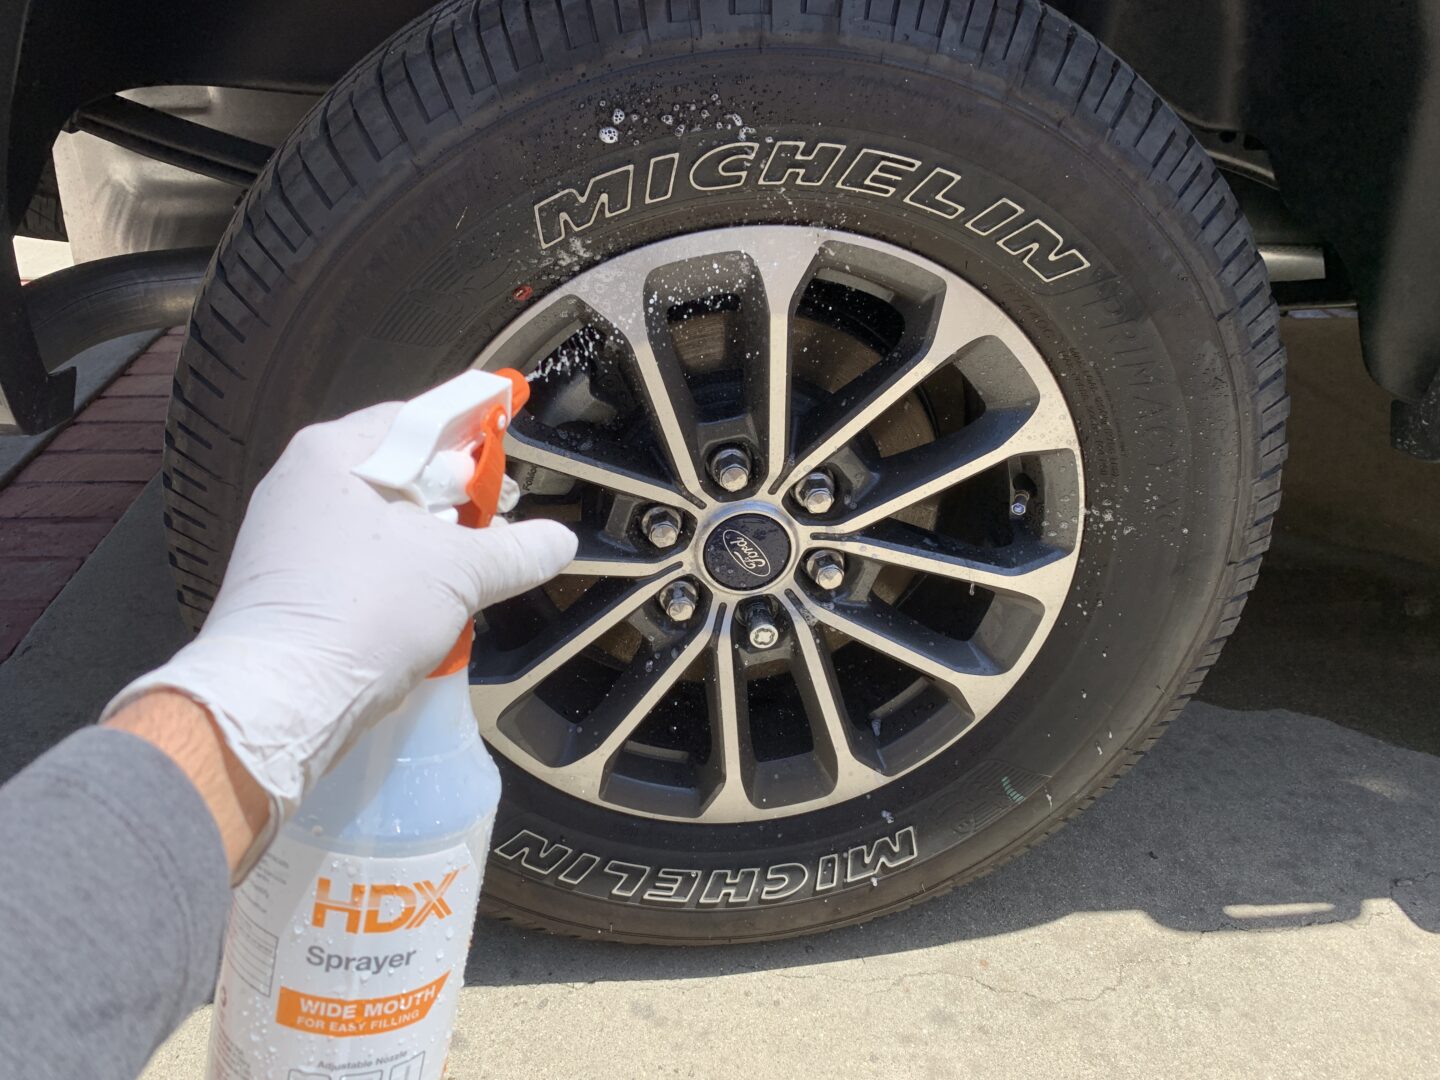
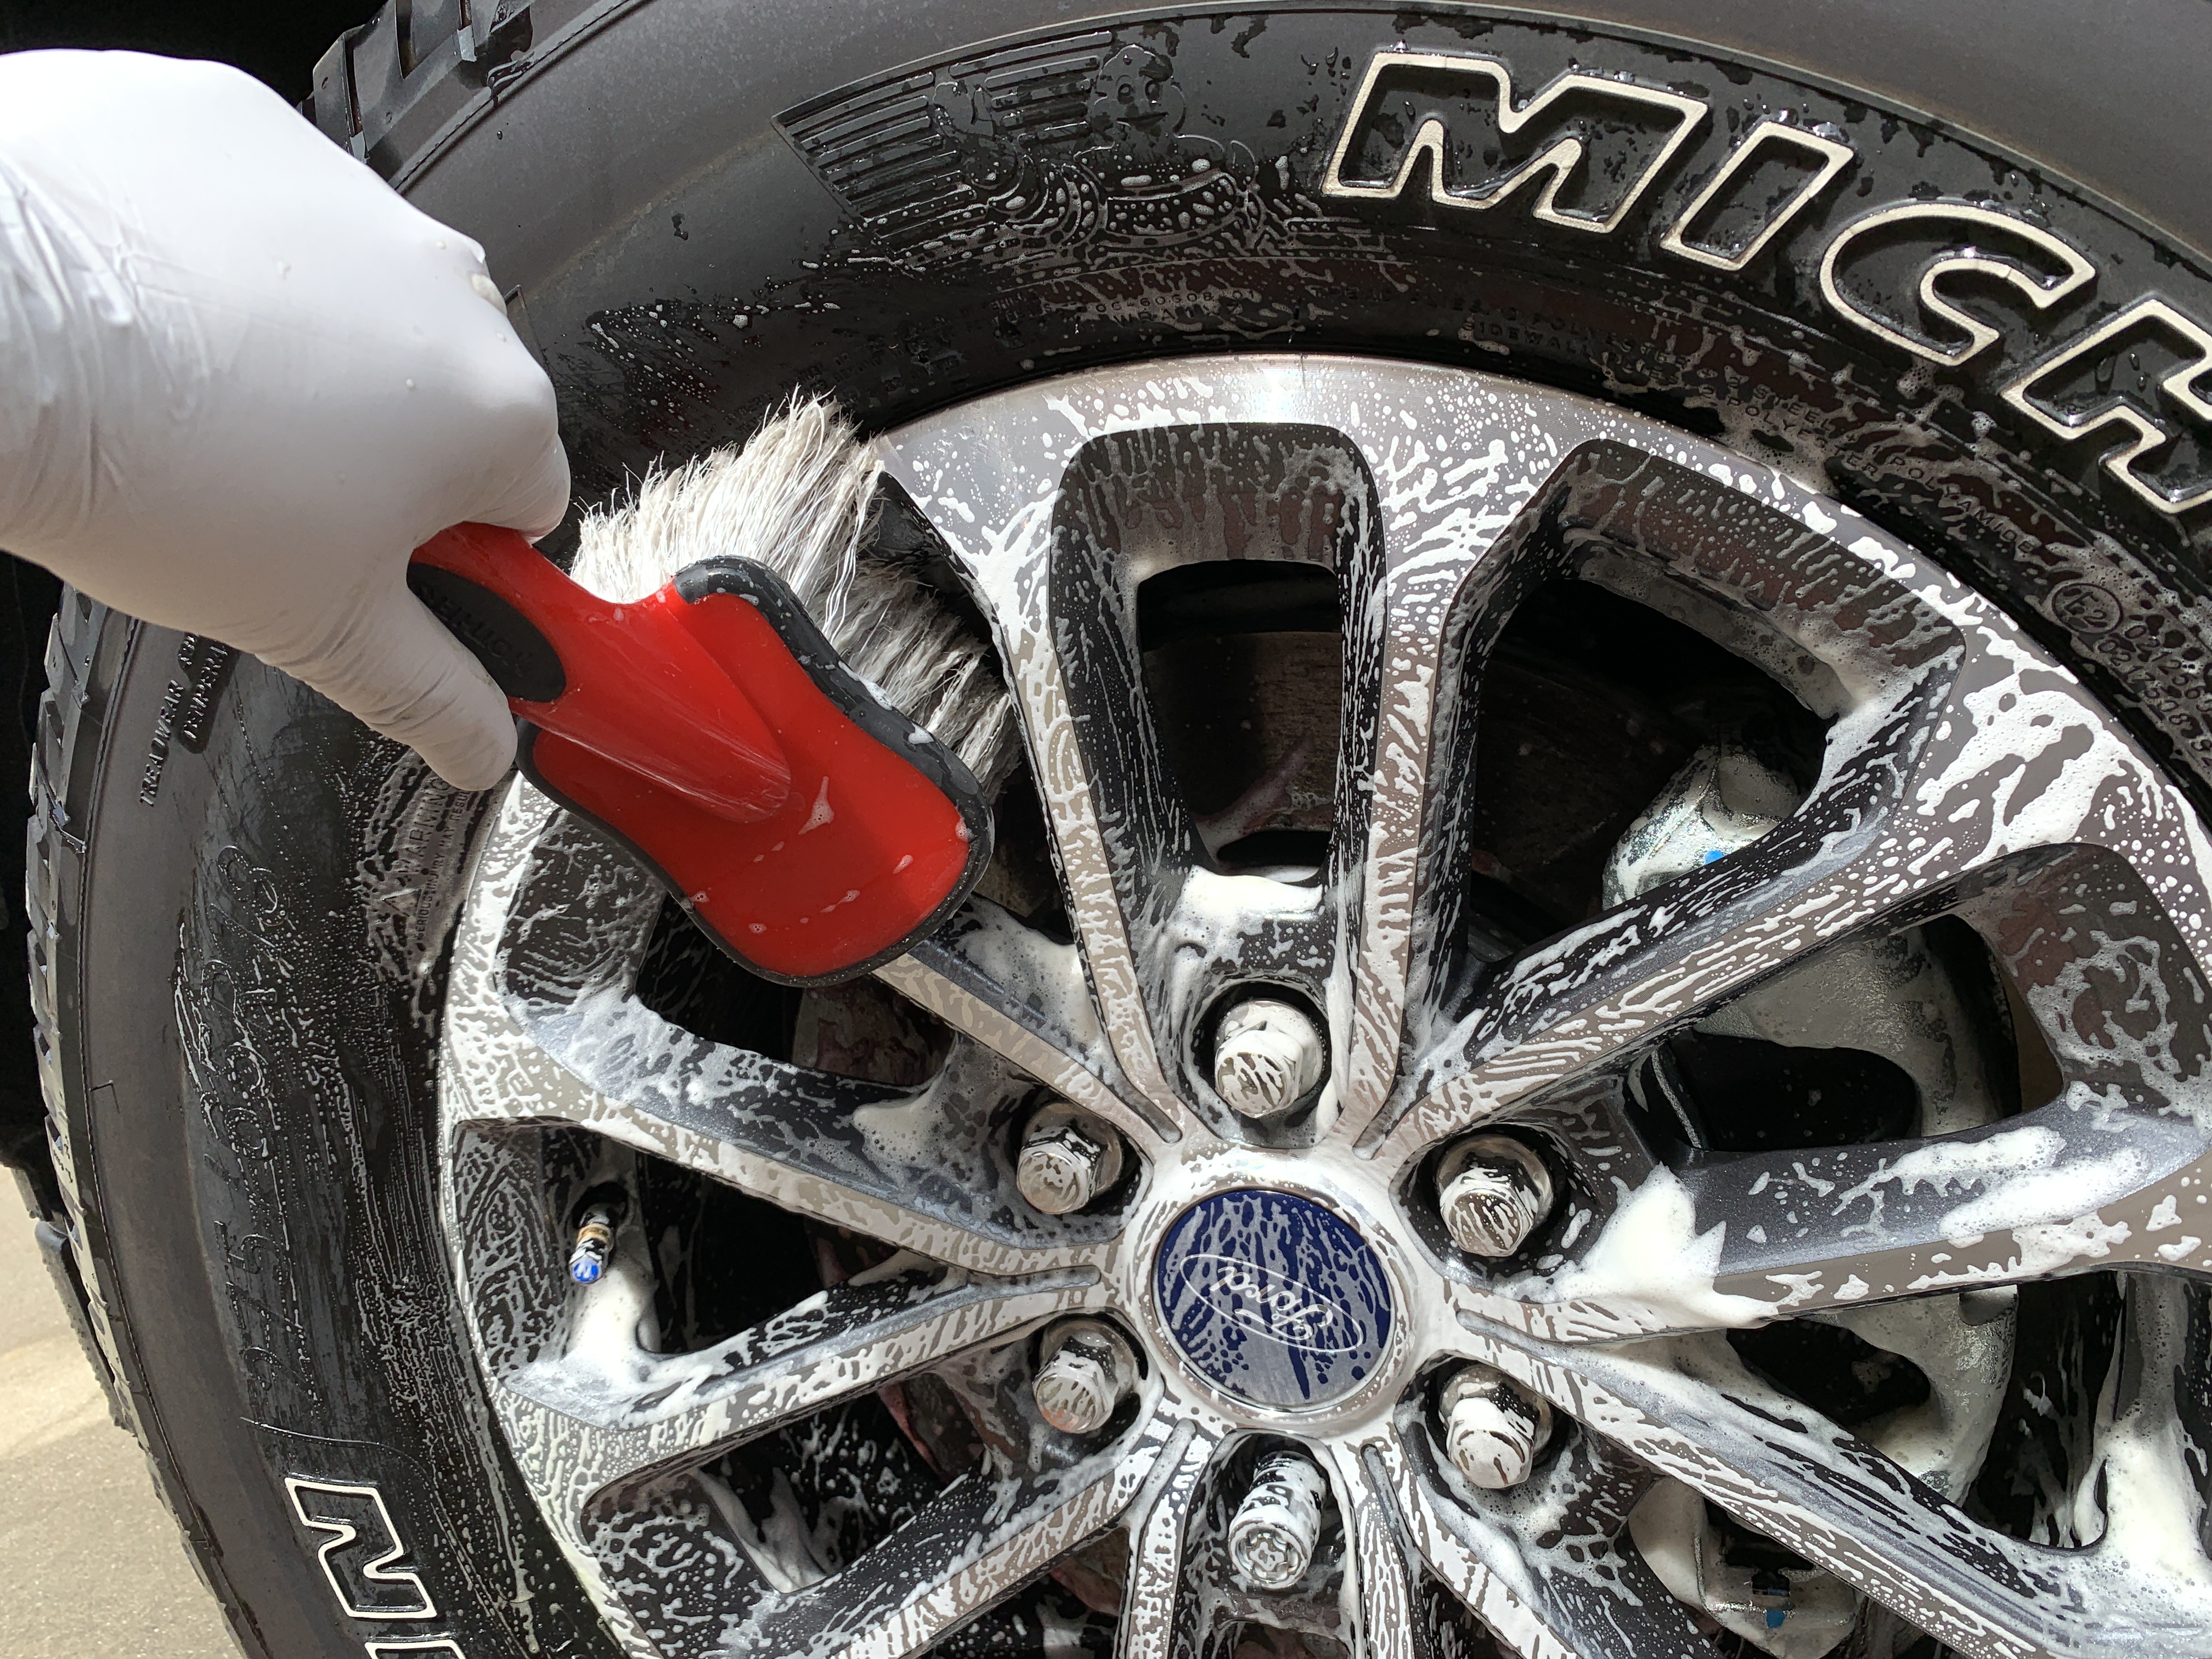
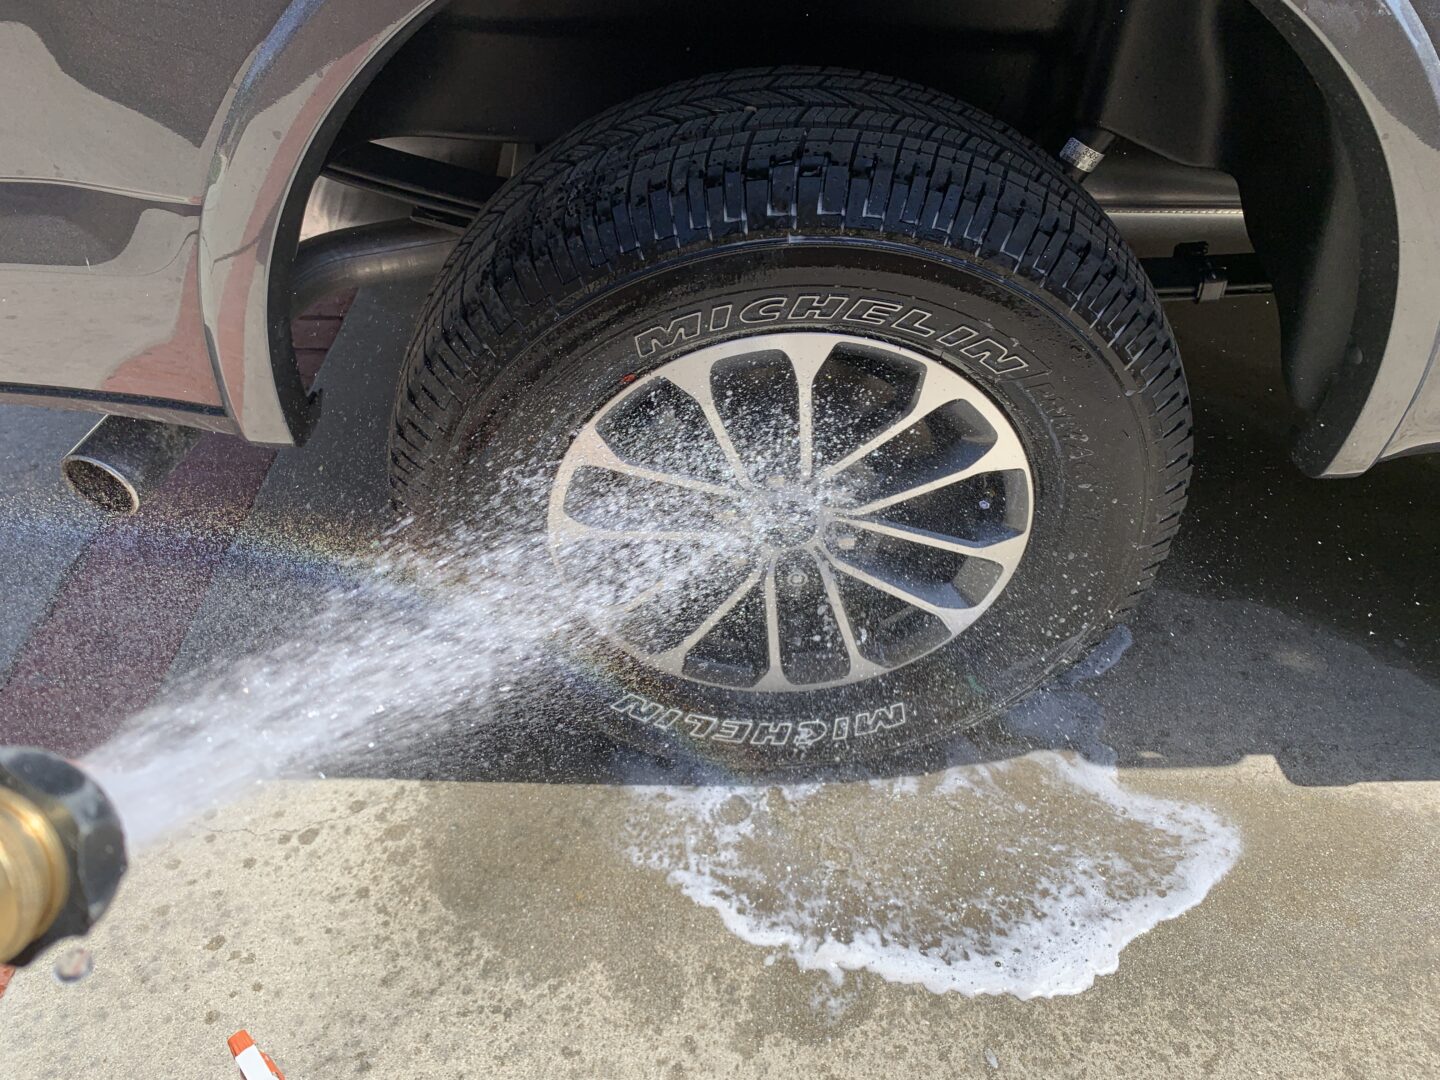
Usually the first step of washing your car will be to do a deep cleaning of your wheels and tires. The reason this step goes first is because wheel and tire cleaners are typically the most caustic chemicals used in the car cleaning process. These chemicals are usually used because of the harsh contaminants that end up on your wheels and tires due to brake pad dust. The last thing you want is to wash your car, and then be cleaning the wheels and tires with harsh chemicals–letting them splash back onto your newly-cleaned paint.

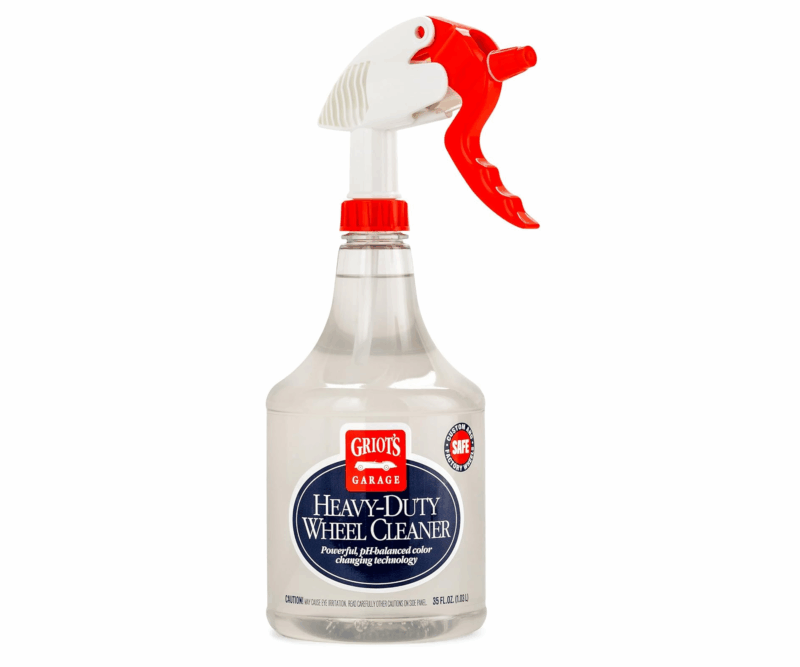
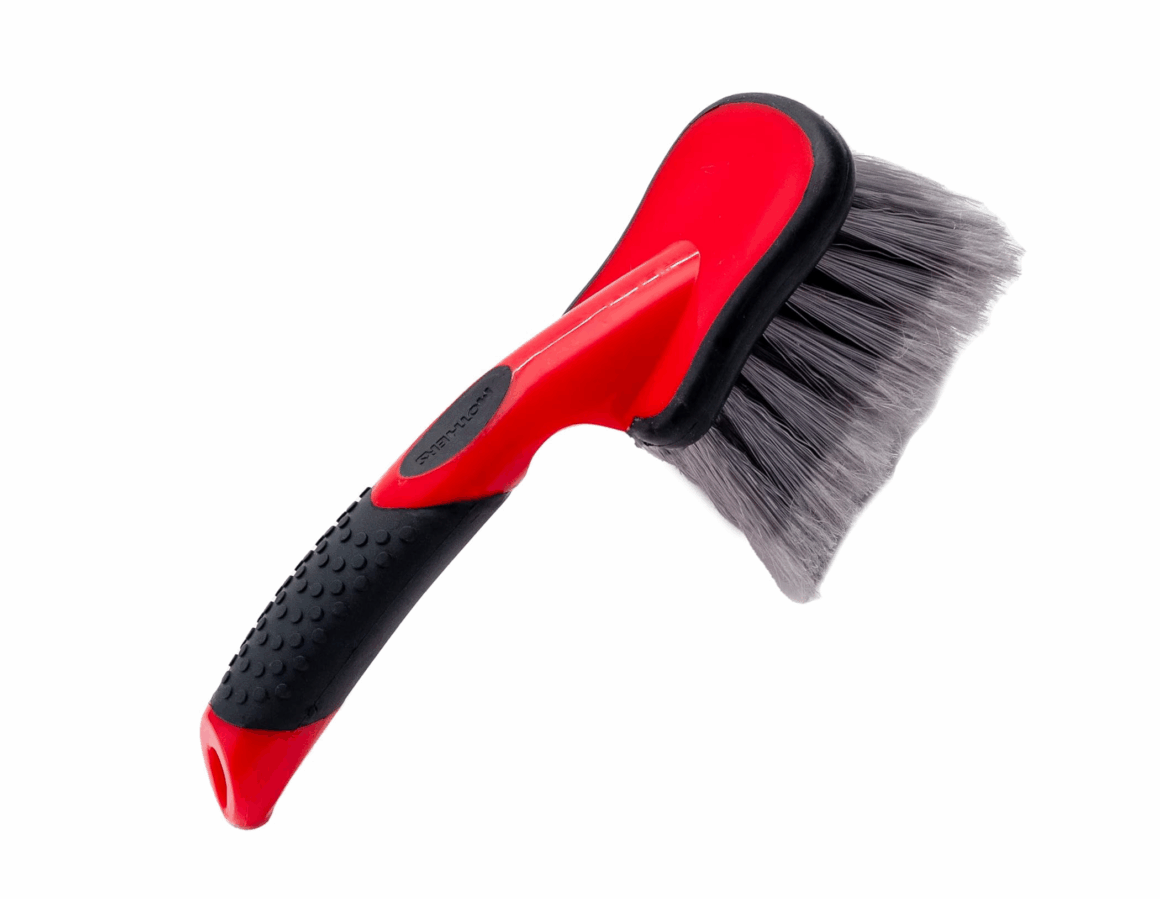
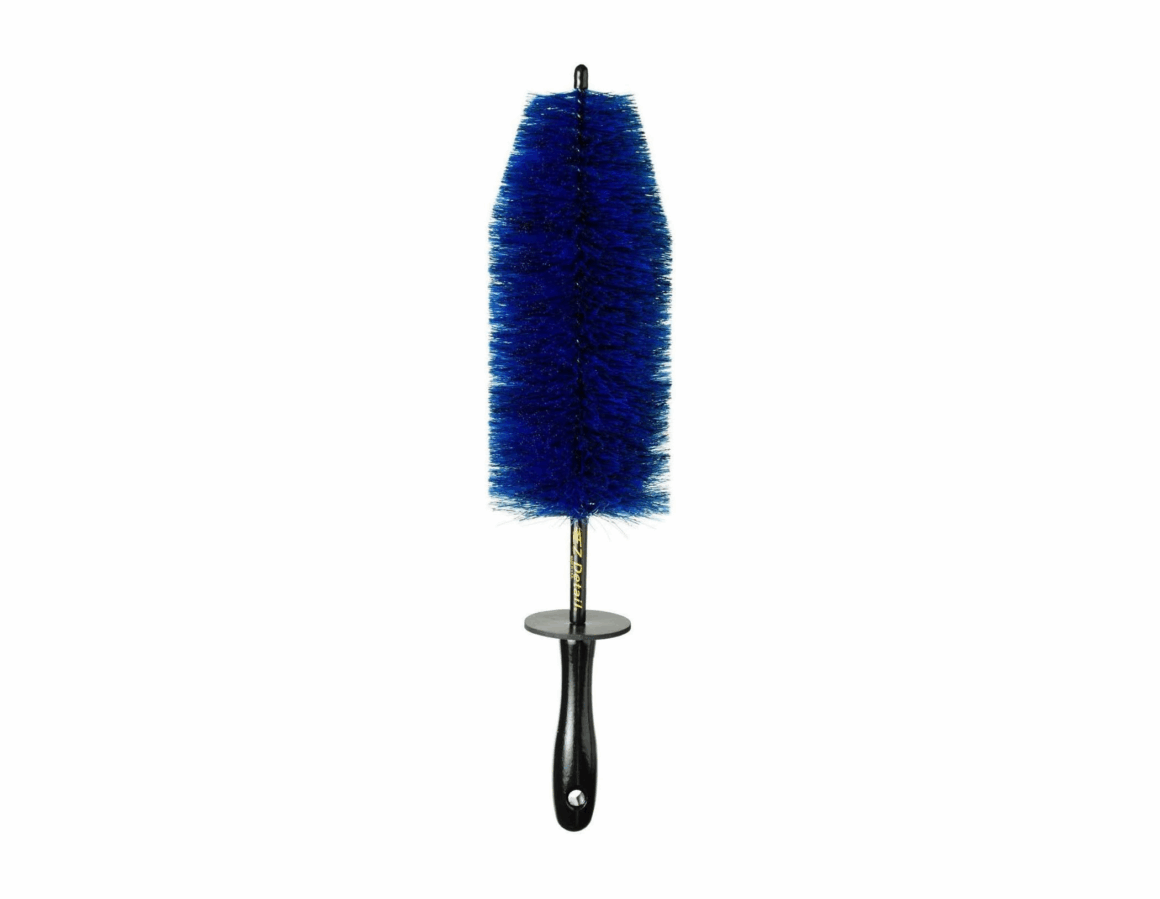
Usually the cleaner used to clean wheels and tires are combined, and you will simply spray them onto the wheels and tires, and then use a variety of wheel brushes to scrub them clean. An all-around wheel and tire brush can be used to clean both the wheels and tires, while a wheel barrel brush gets in between the spokes and can clean the barrel of the wheel. It helps to add a bit of water along with your cleaner to lather up the soap for easier cleaning. Finally, rinse all of the dirtied soap away. You might need to repeat the steps if the wheel or tire is still dirty.

How to Clean & Protect Wheels
How to Clean & Dress Tires
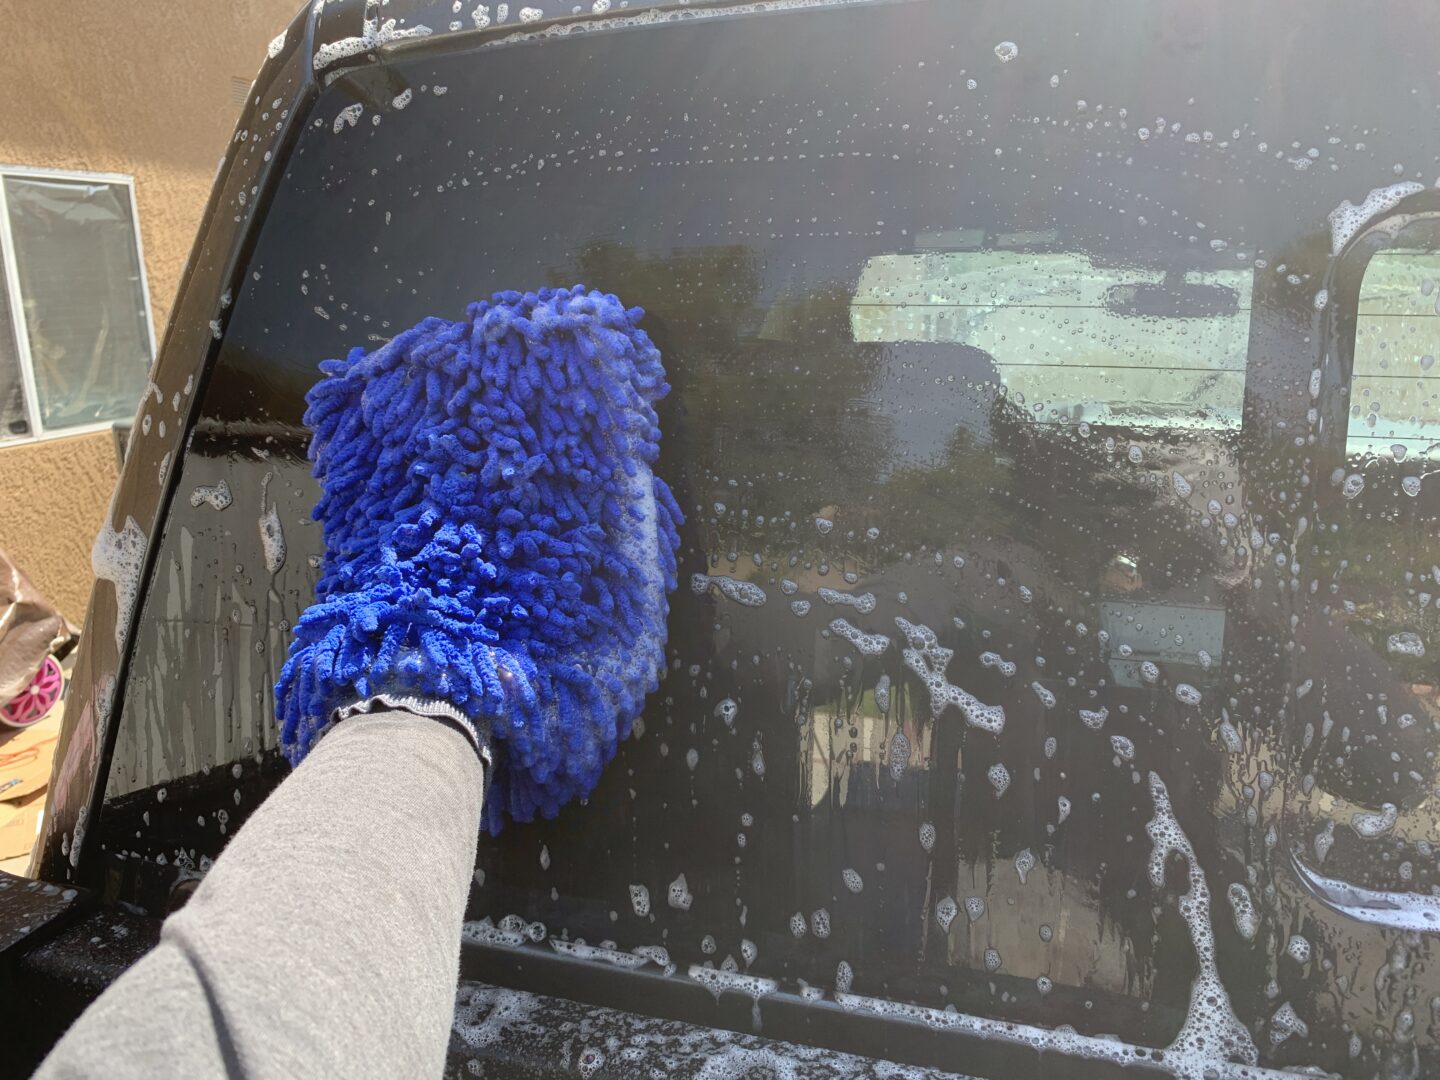
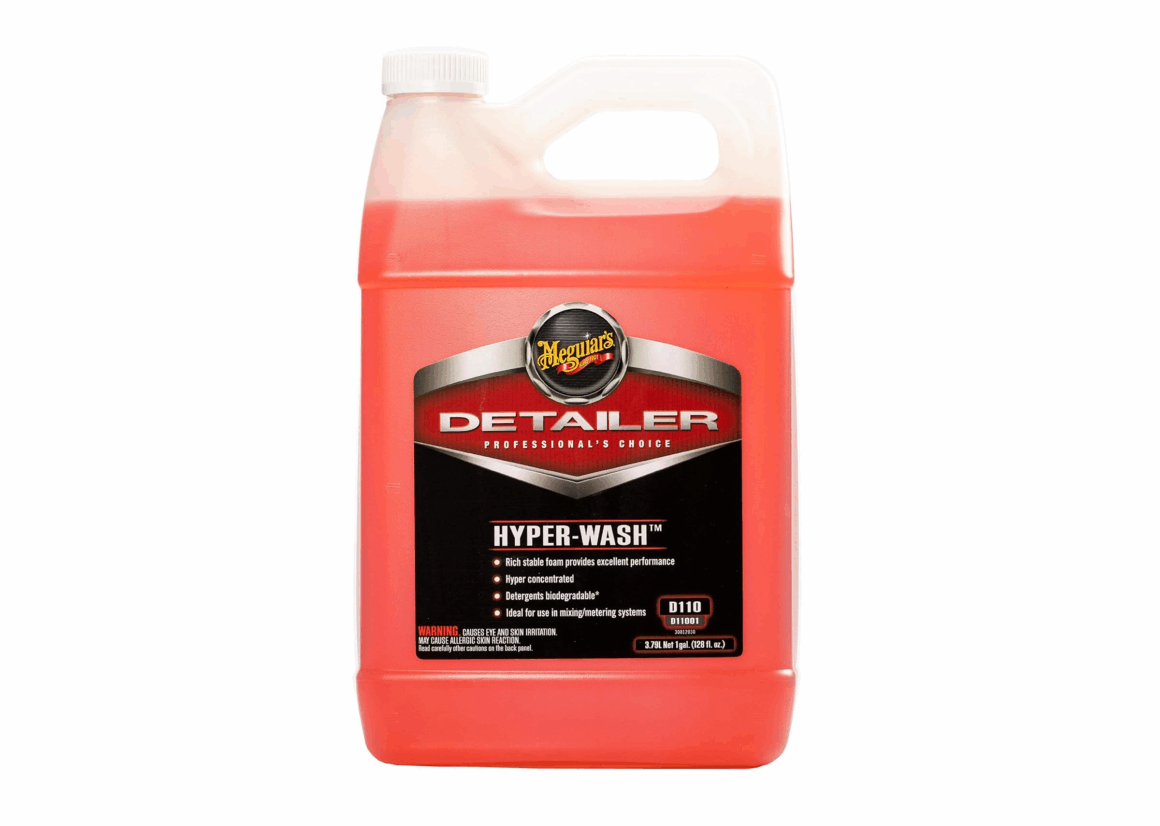
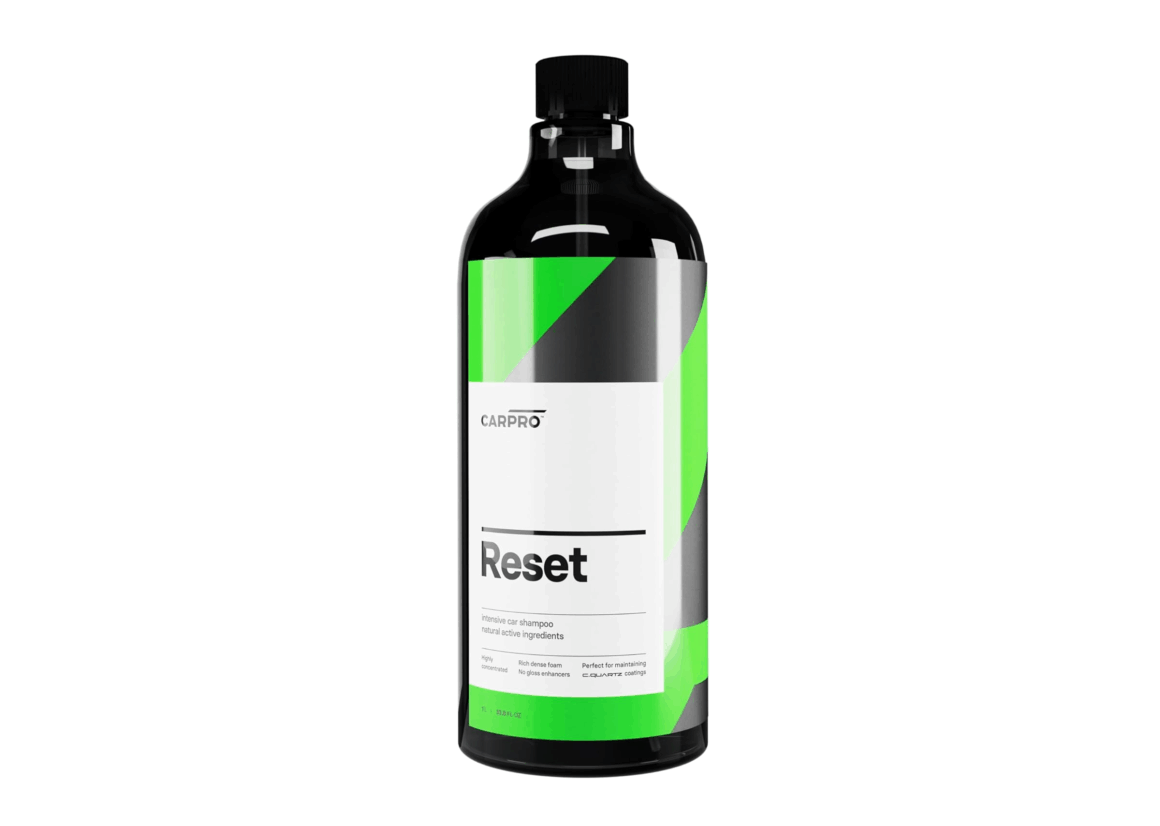
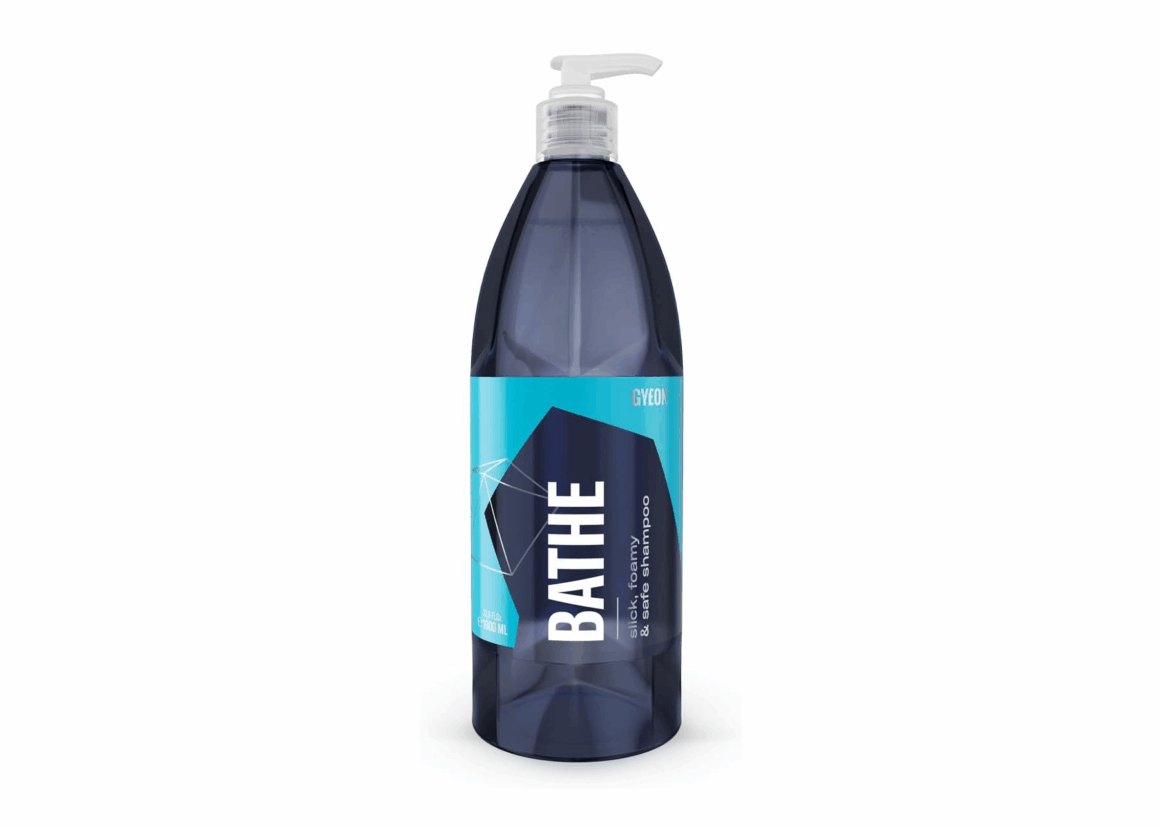
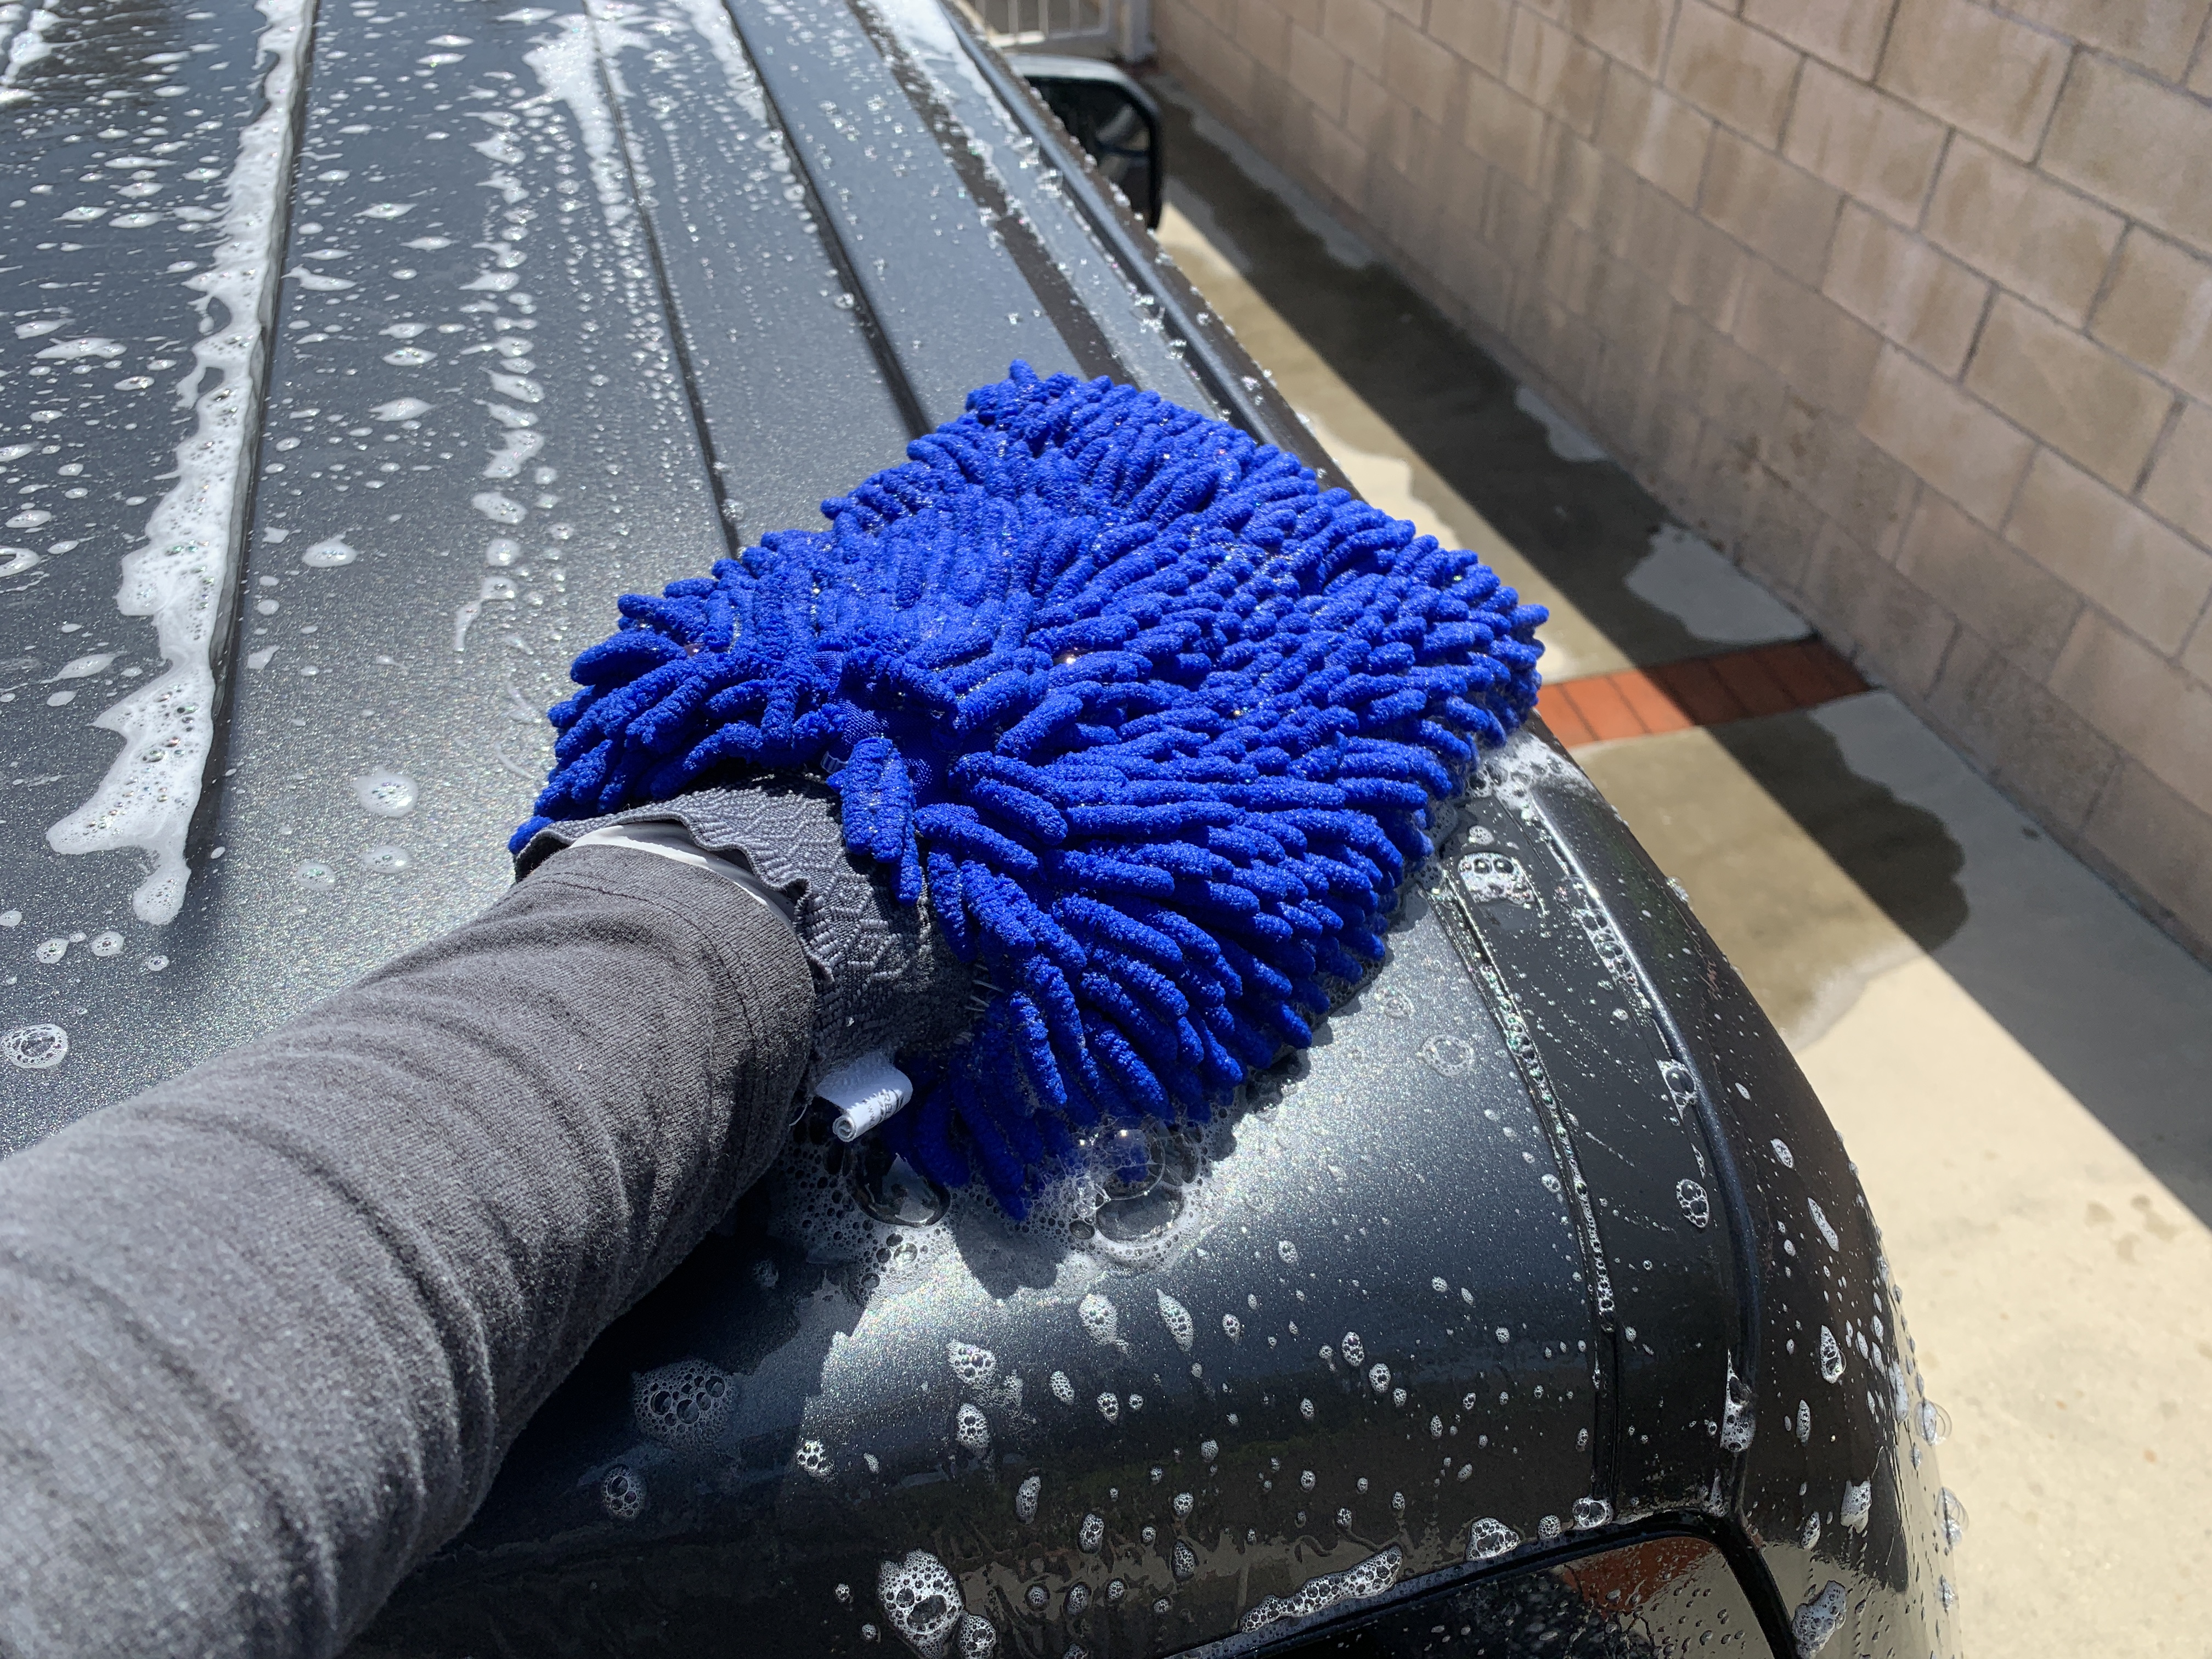
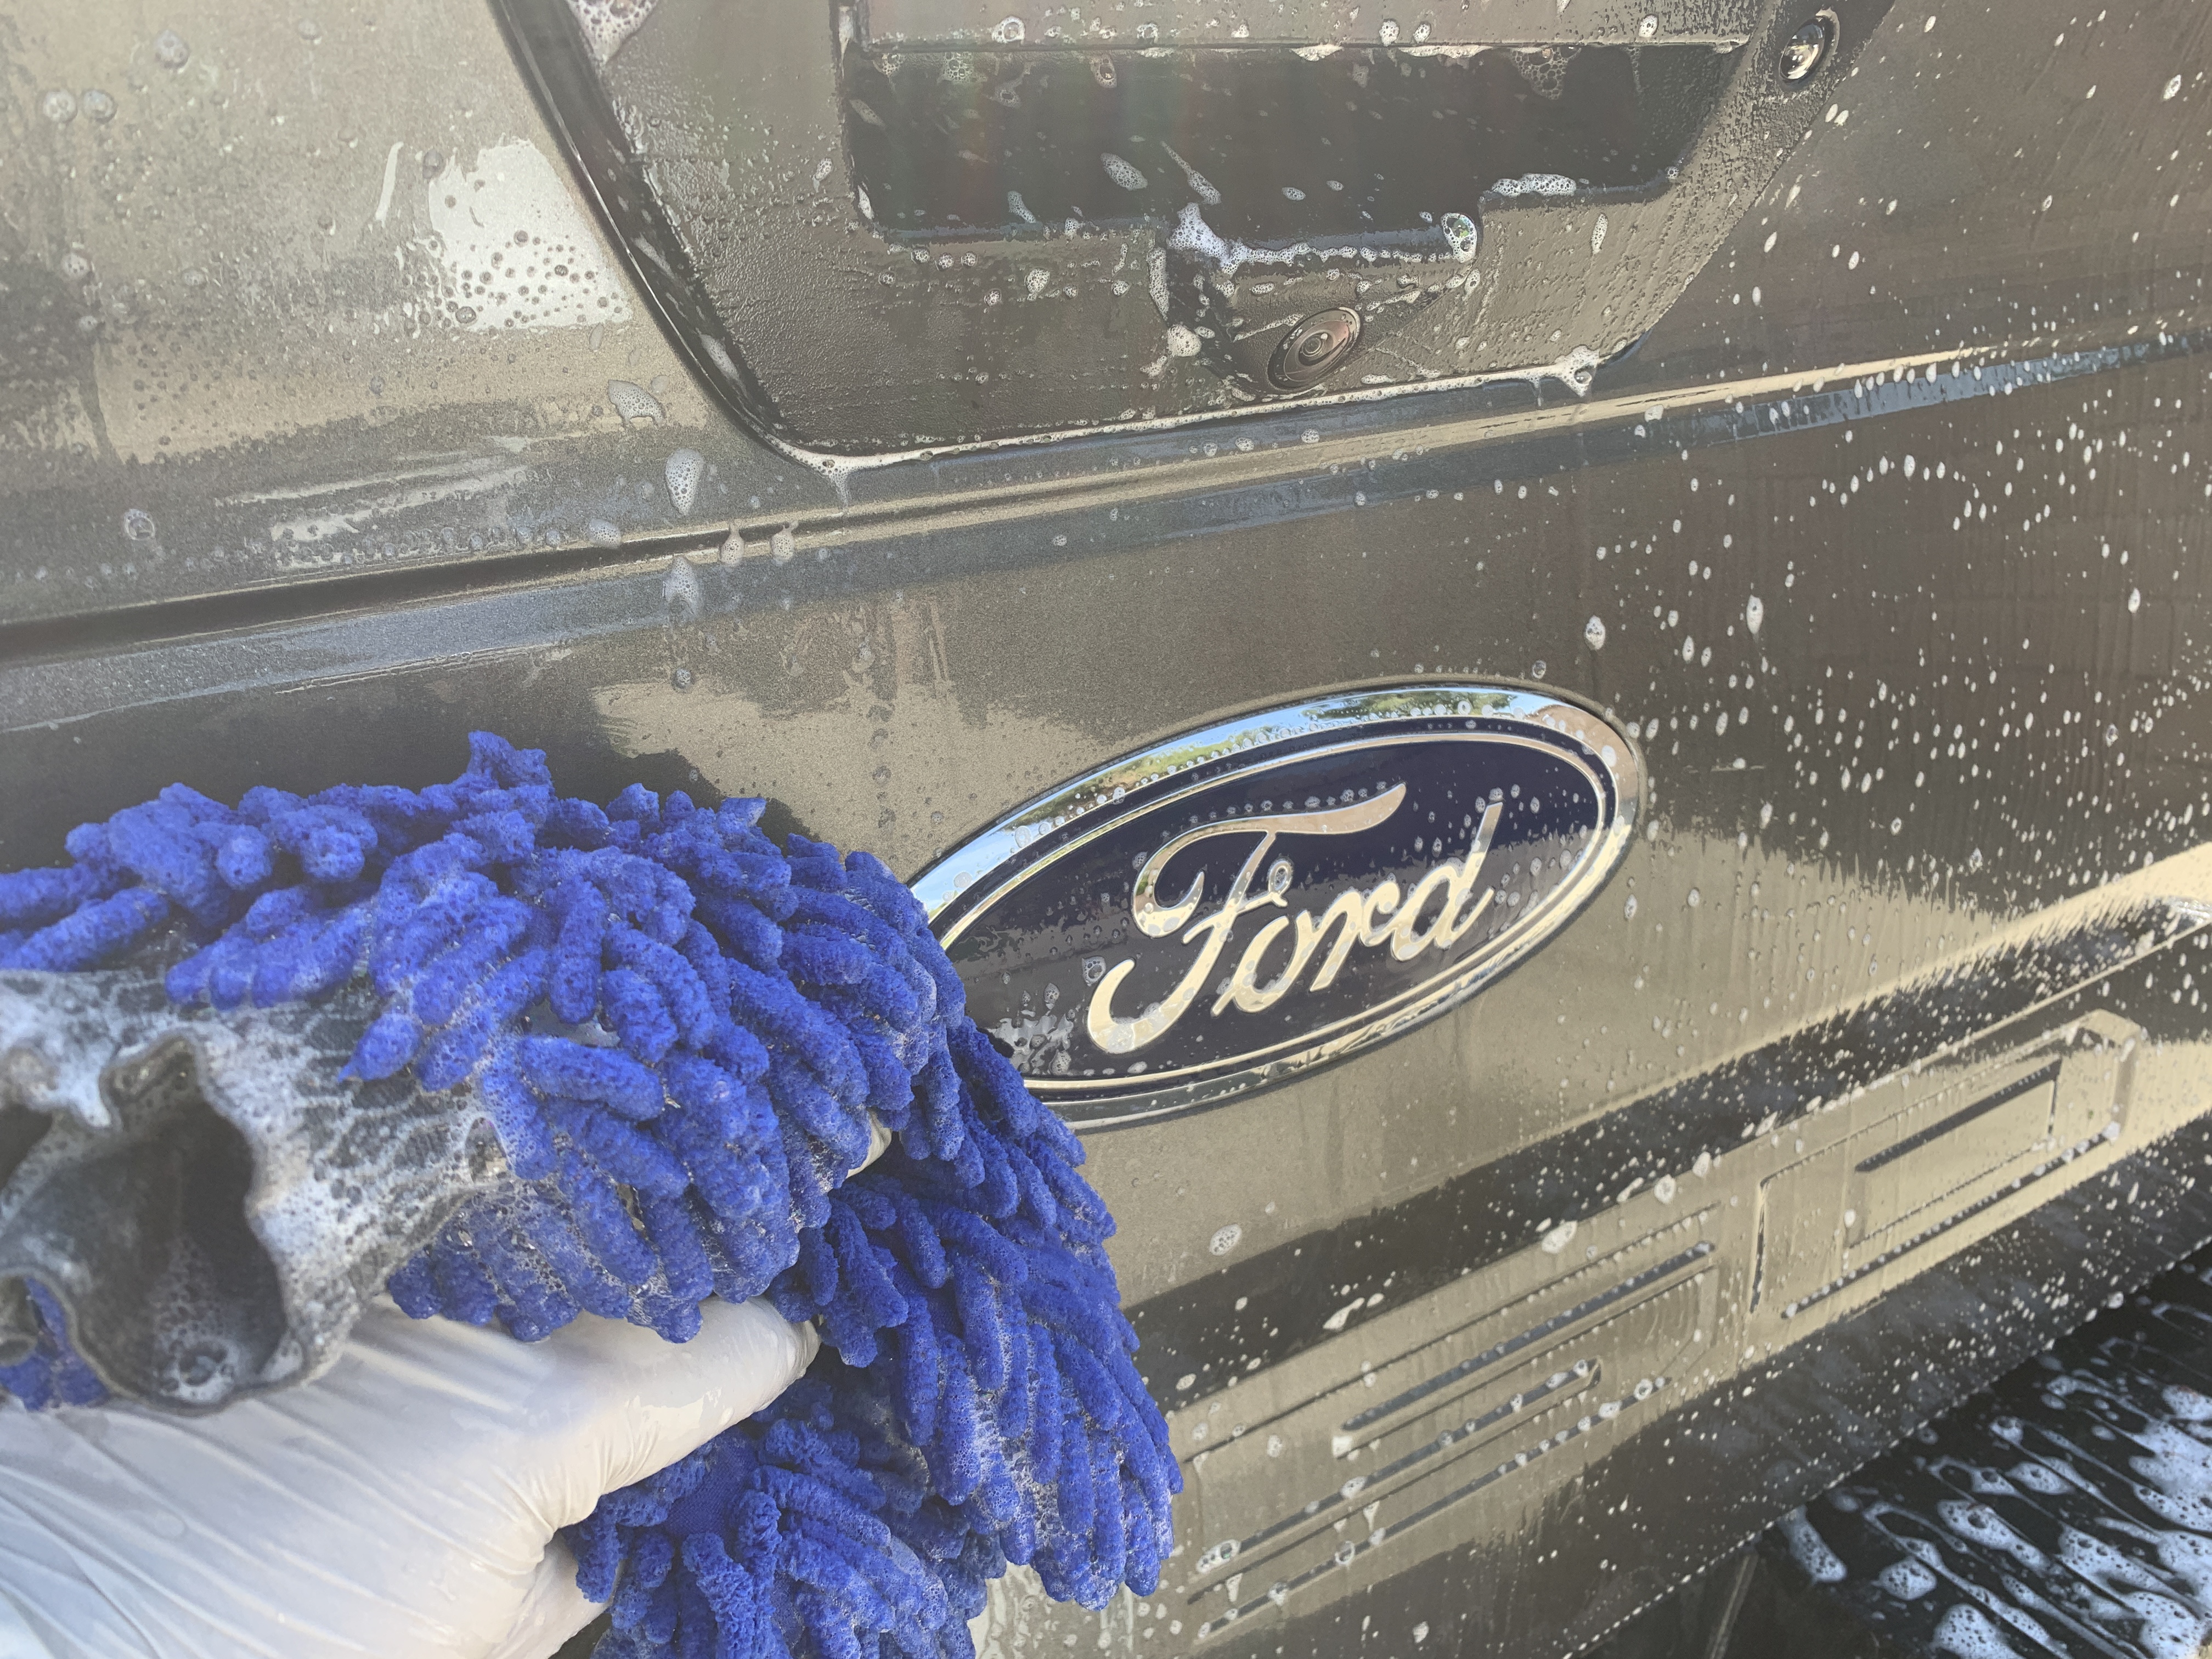
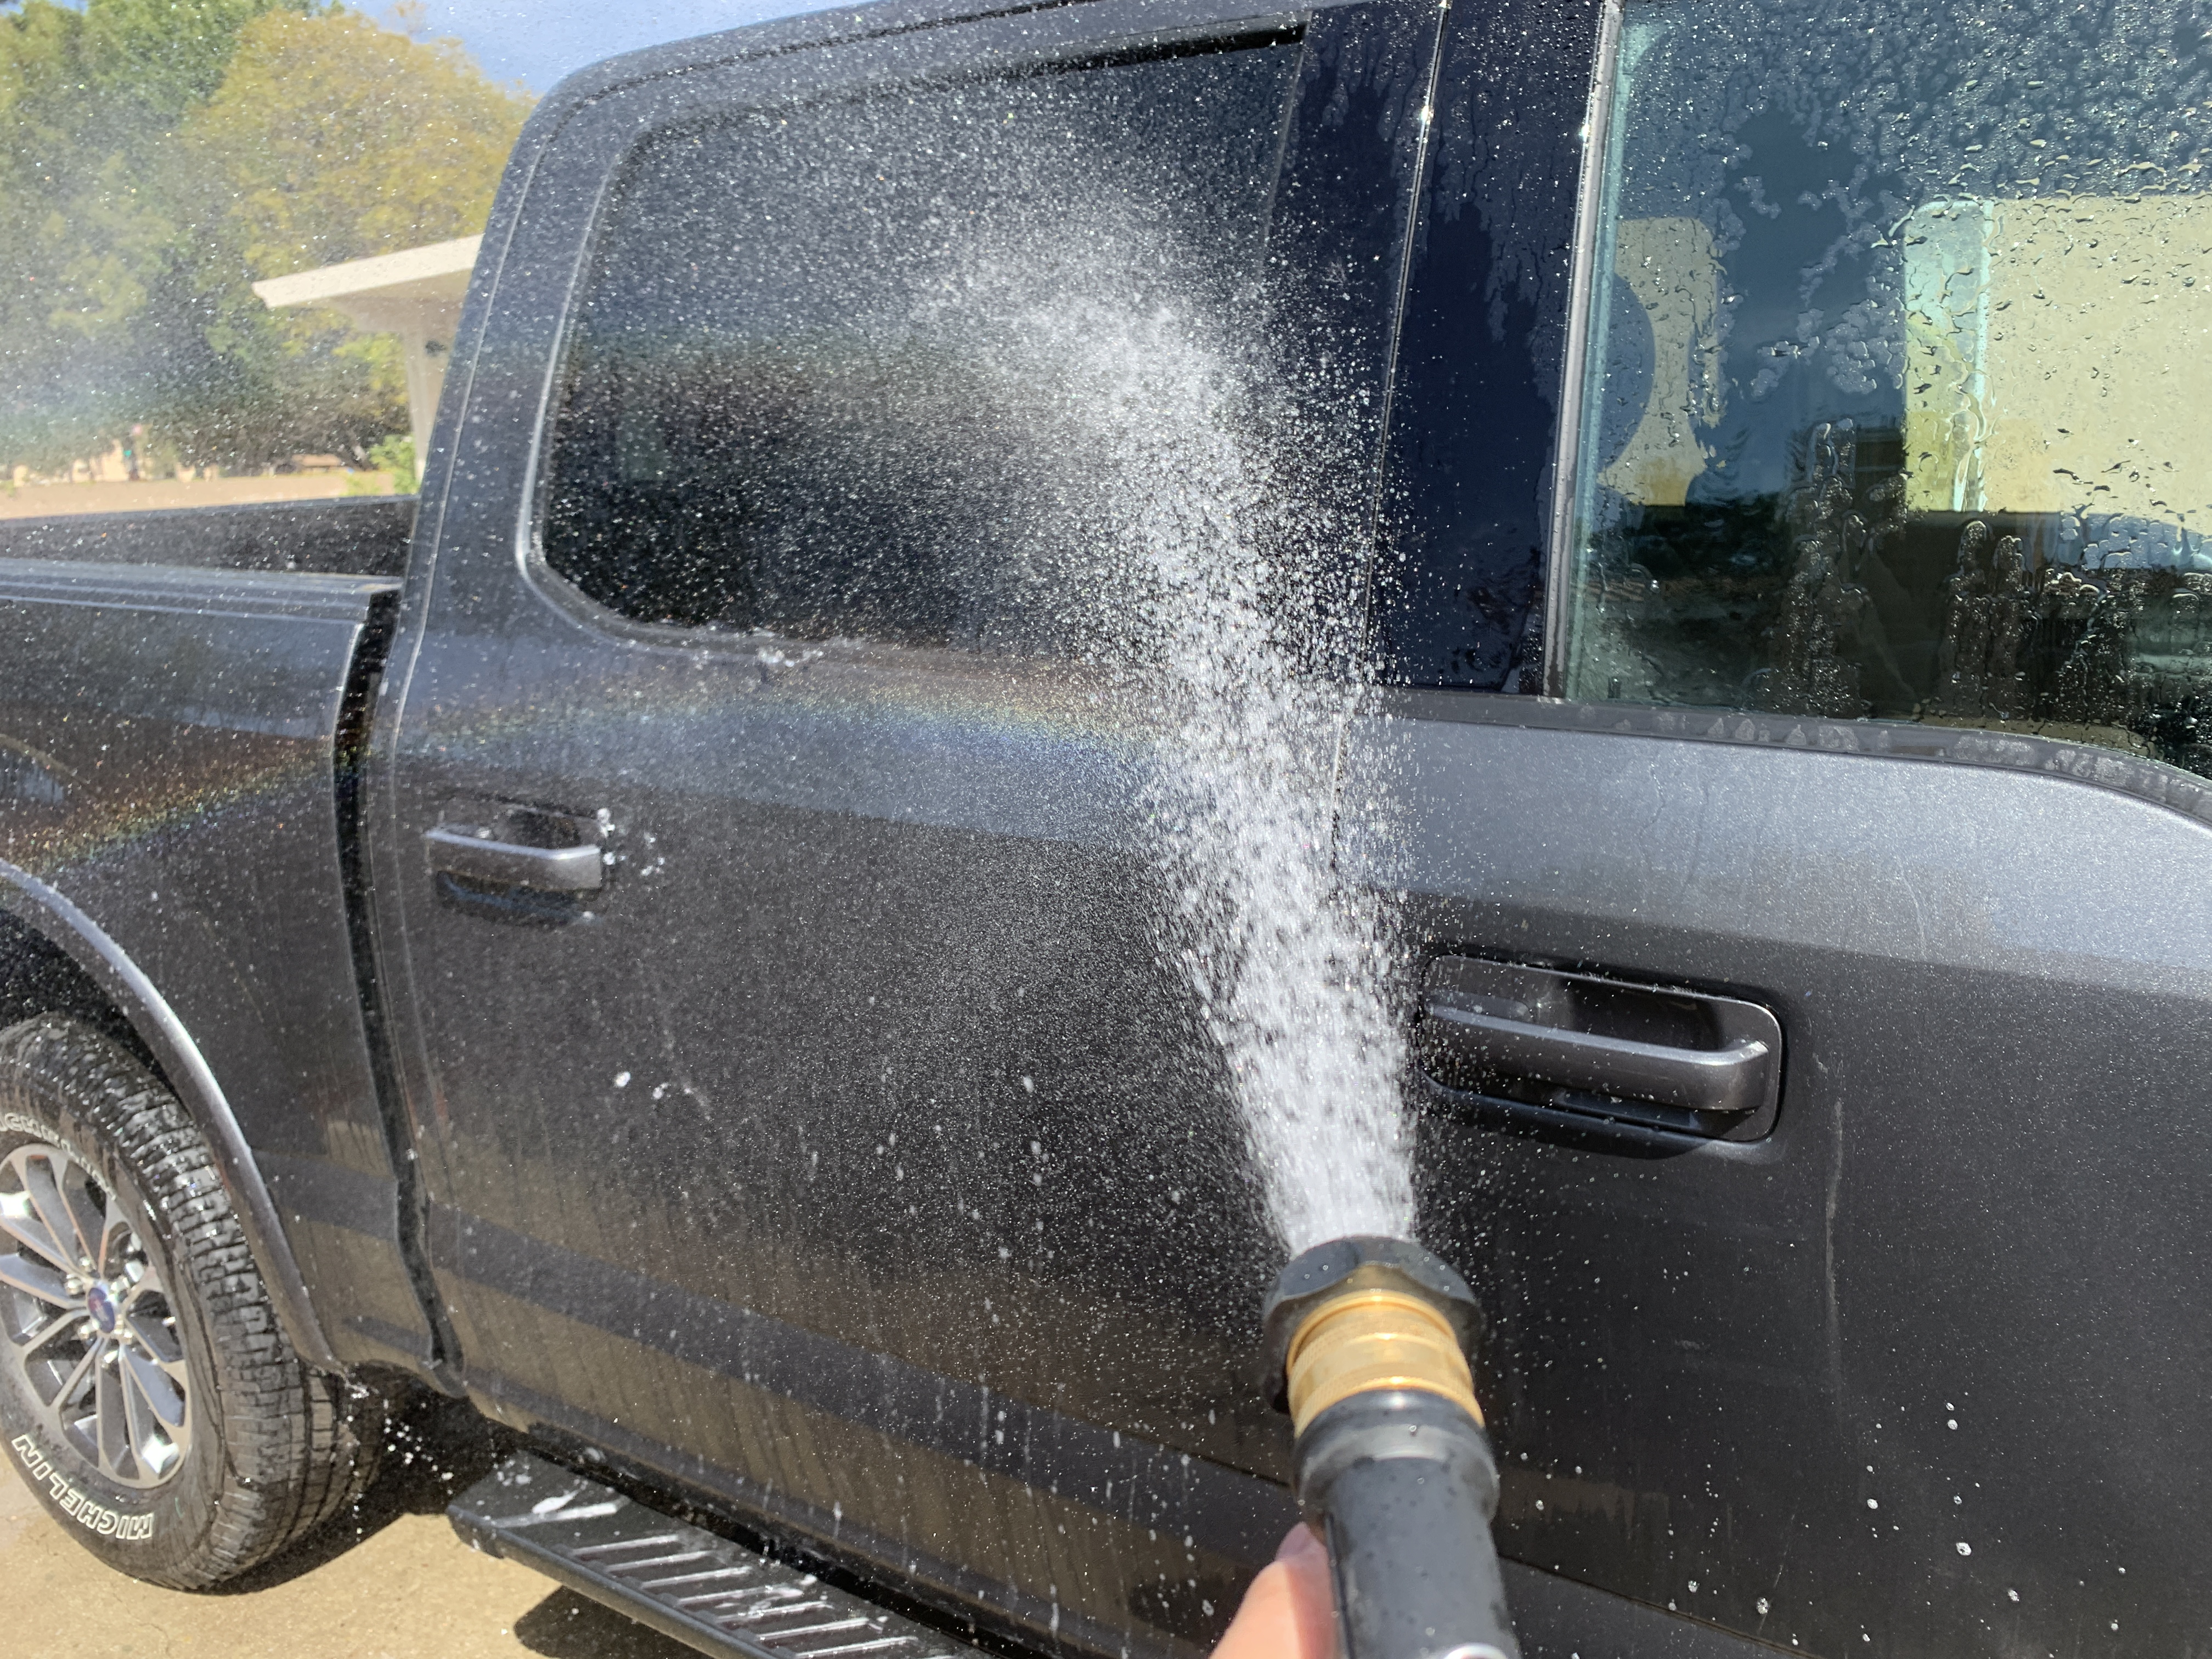
Car Wash
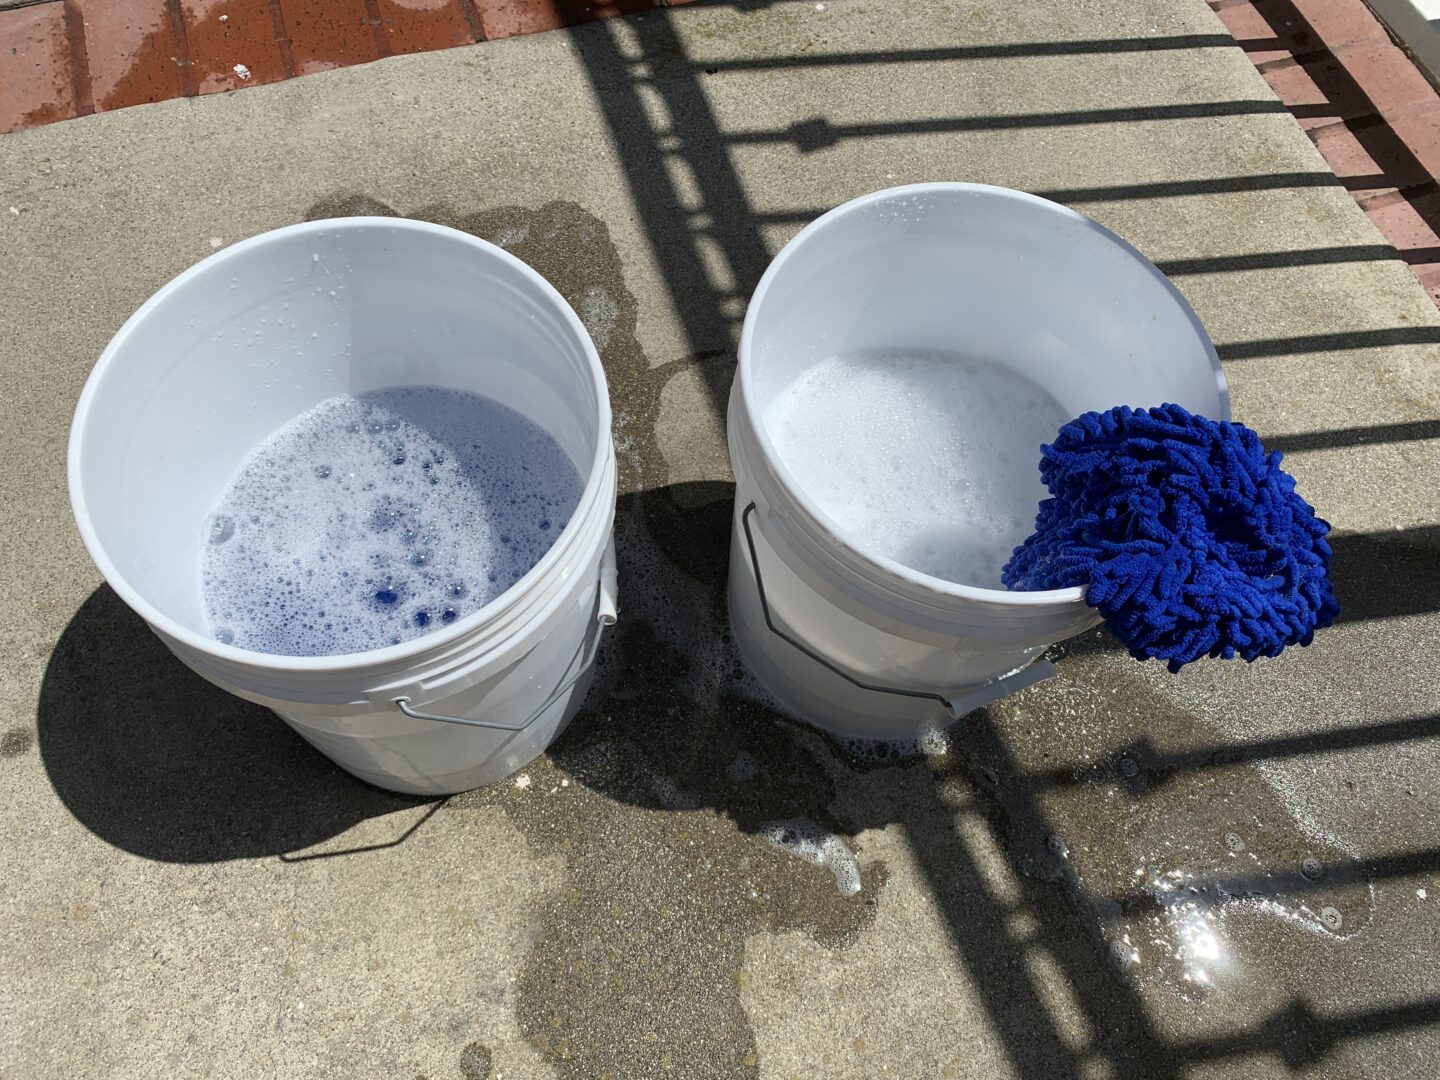
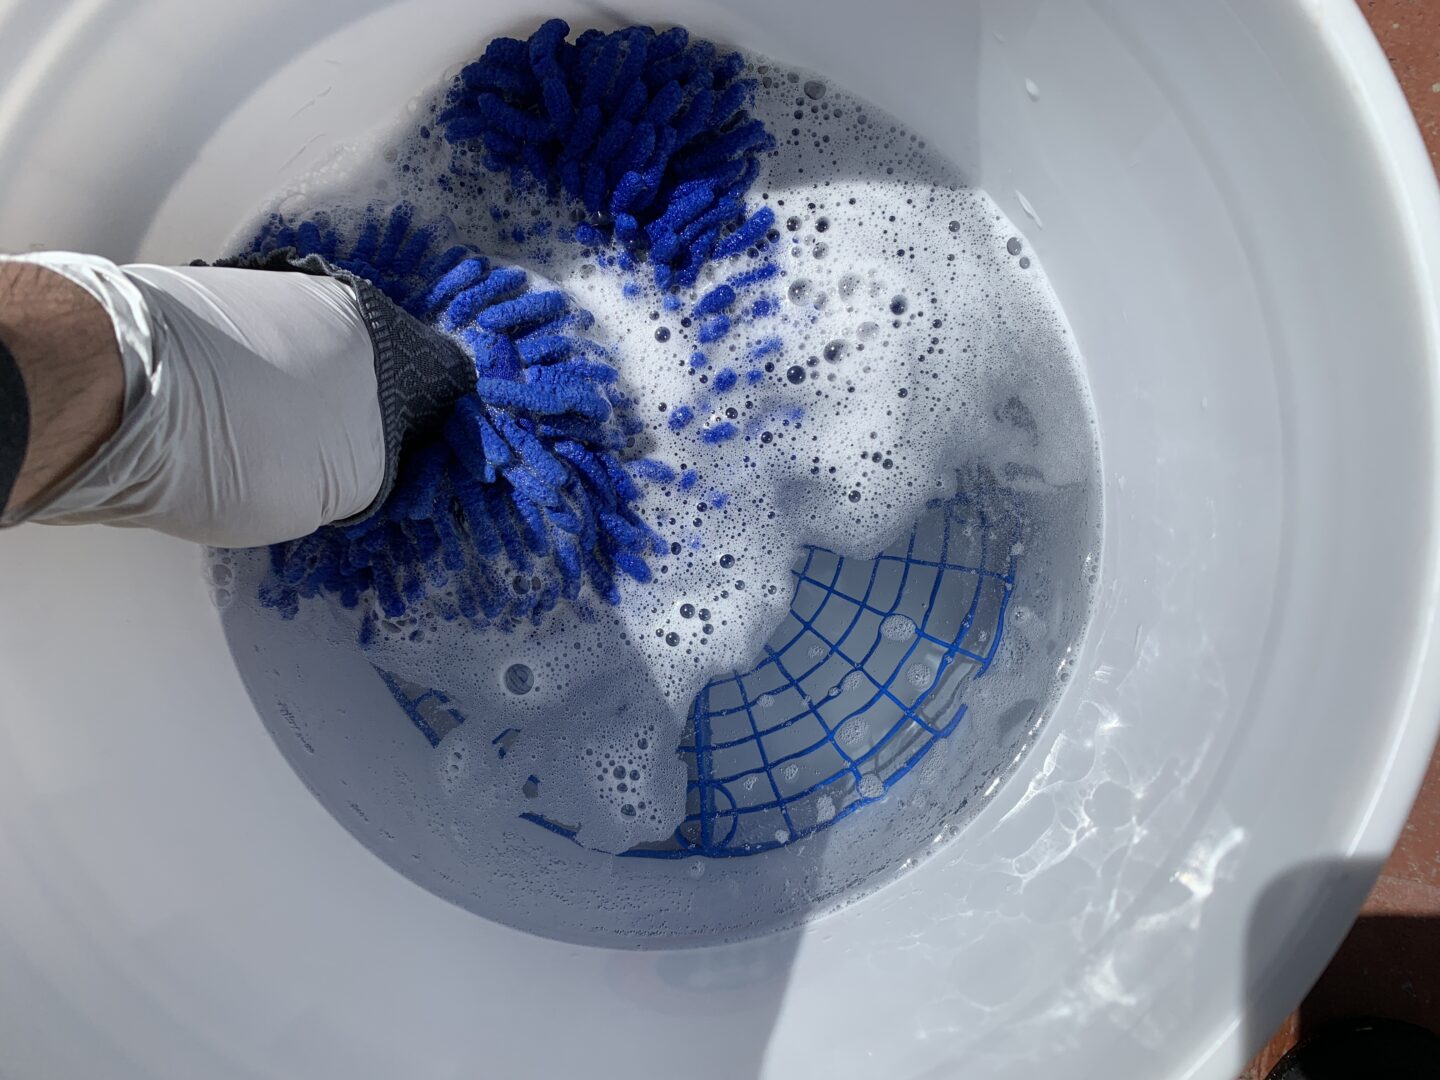
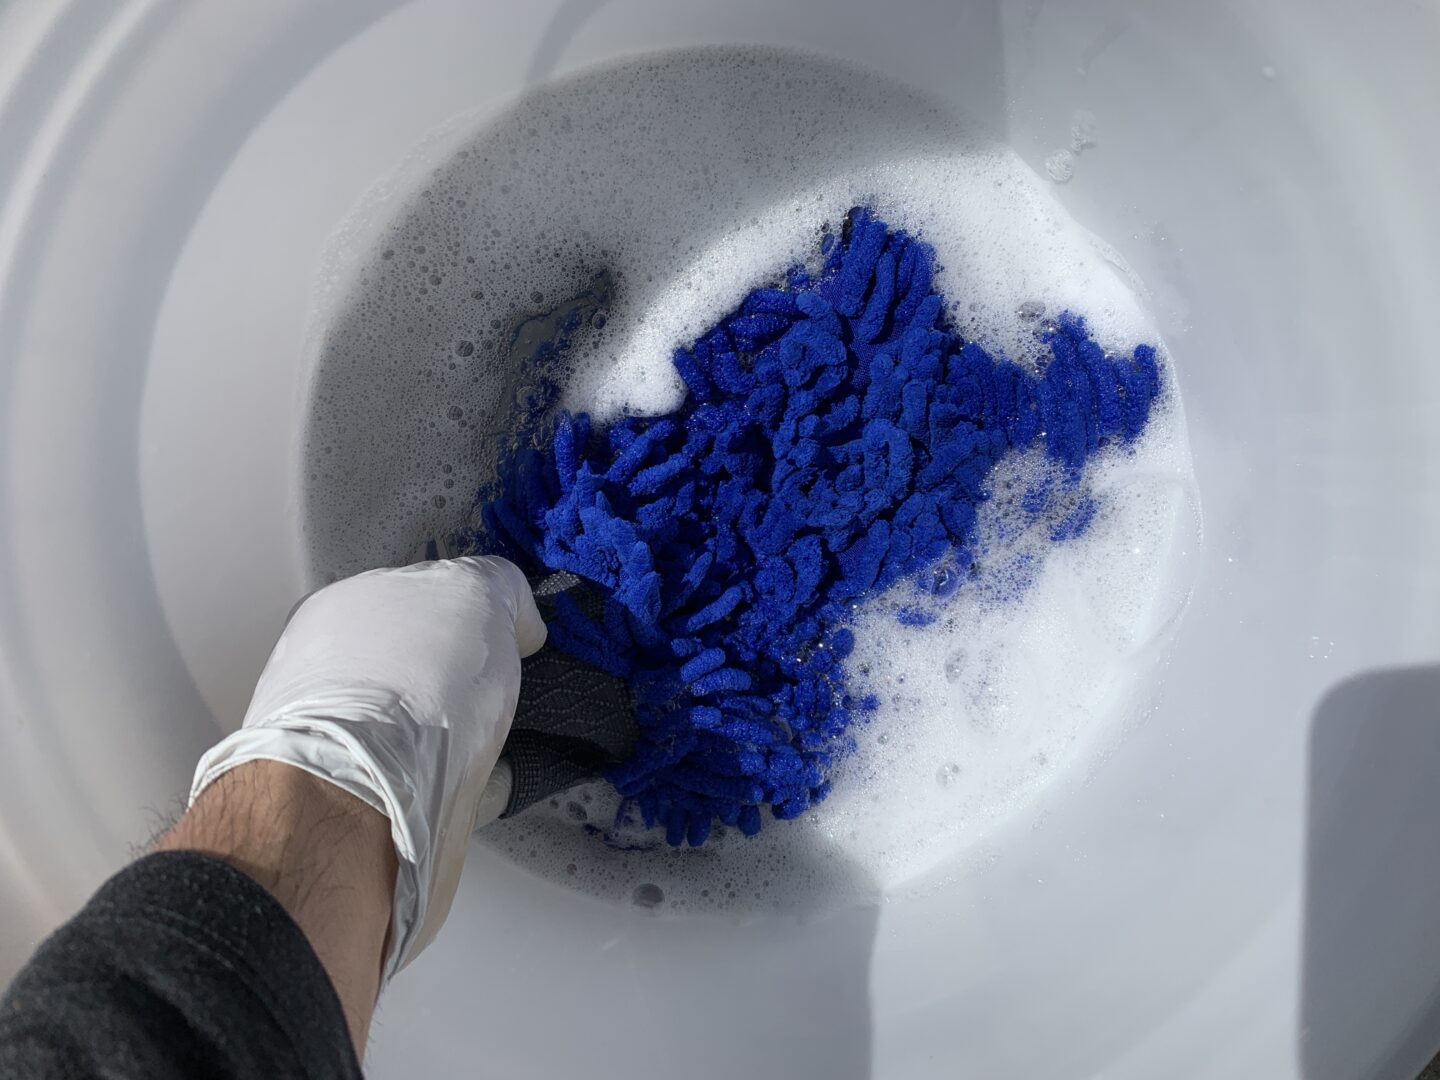
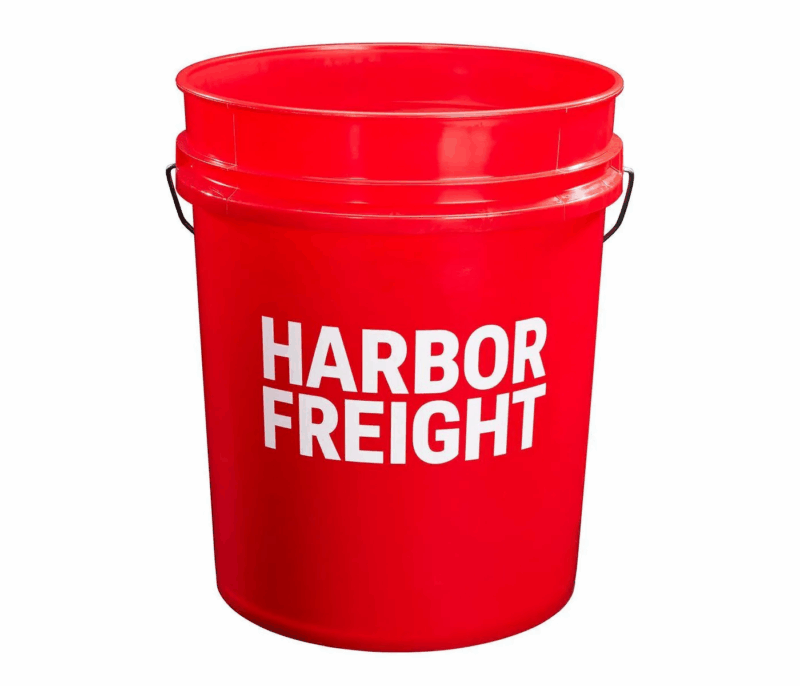
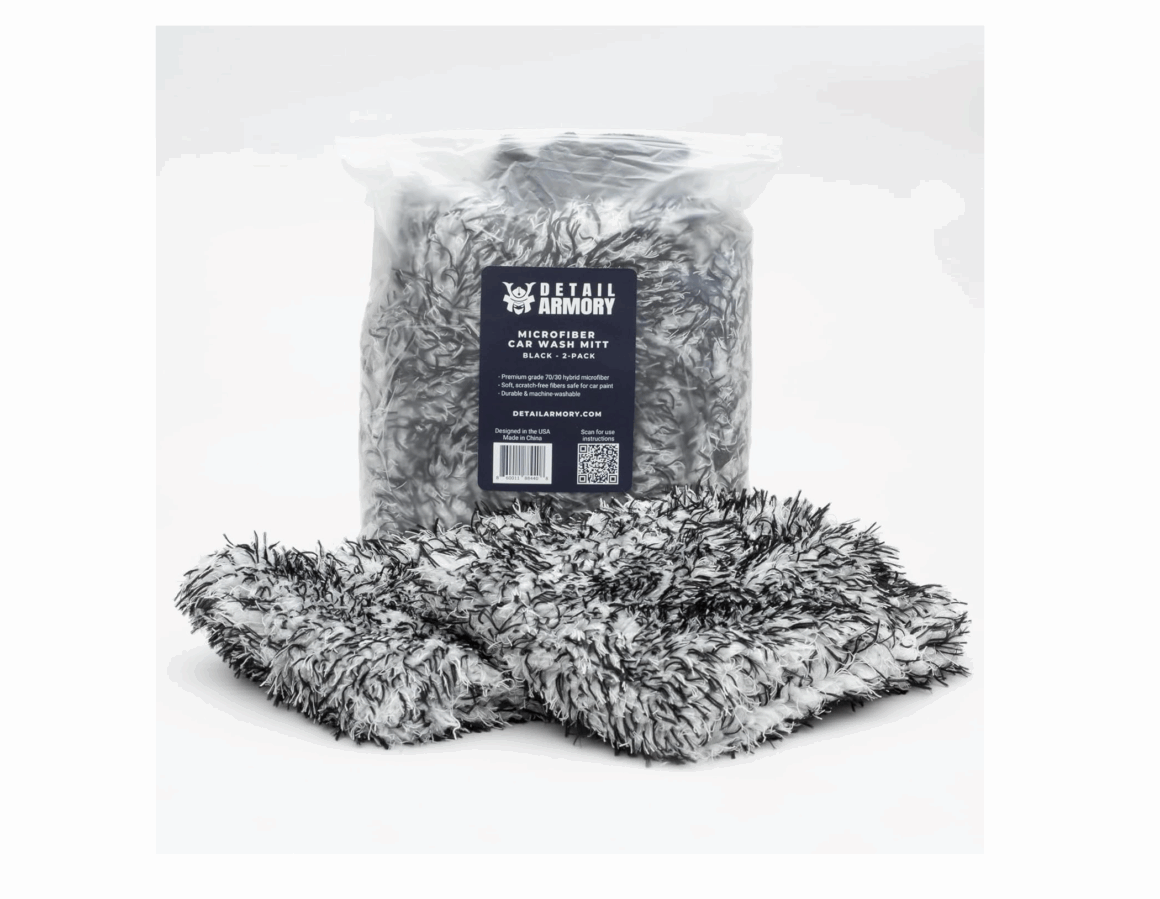
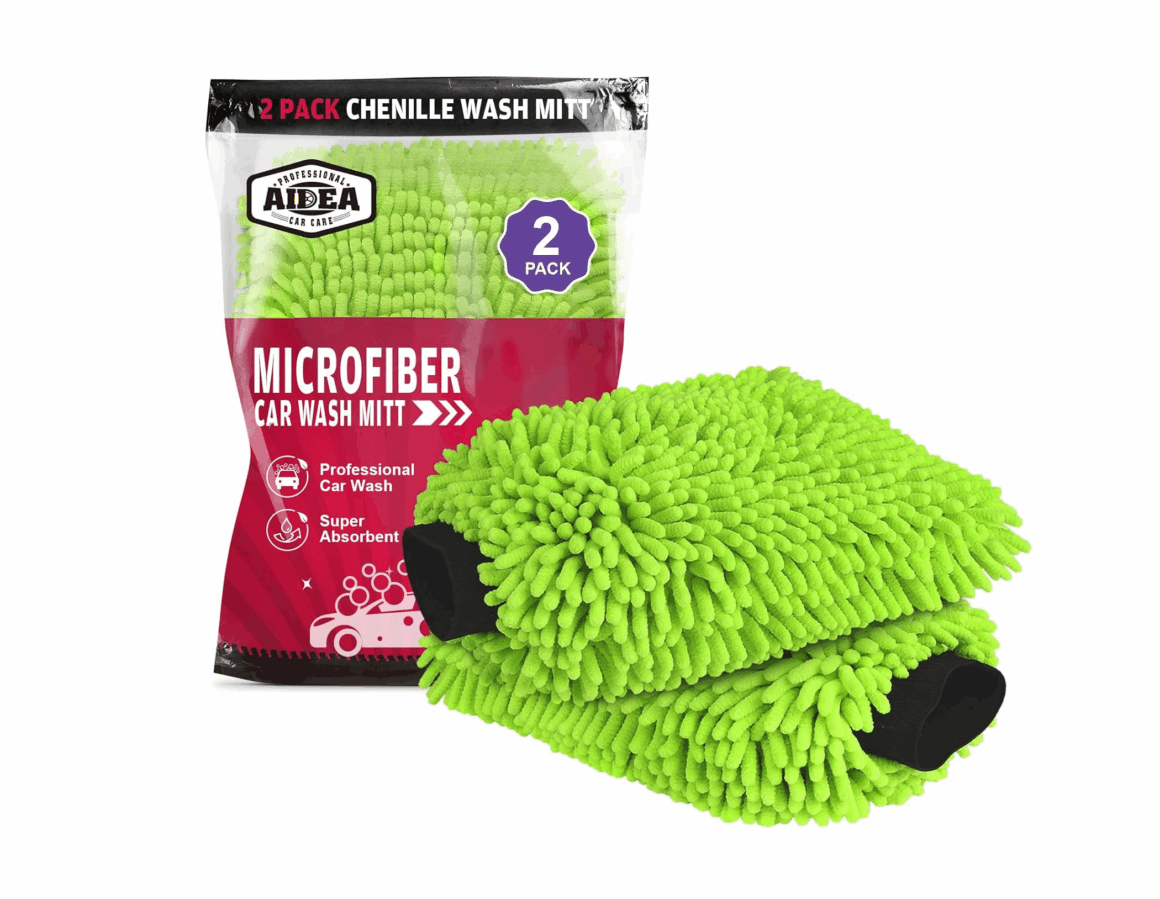
Washing your car is straightforward, but the goal is not only to fully clean the outside of your car, but to also minimize the amount of scratching of the paint during the process. I recommend using a grit guard in your car wash bucket of soapy water bucket and also using a microfiber wash mitt. These two things alone will help minimize the amount of grit that could get rubbed back on the paint during the car wash process, resulting in scratches over time.
What is the 2 Bucket Wash Method and How Does It Prevent Scratches?


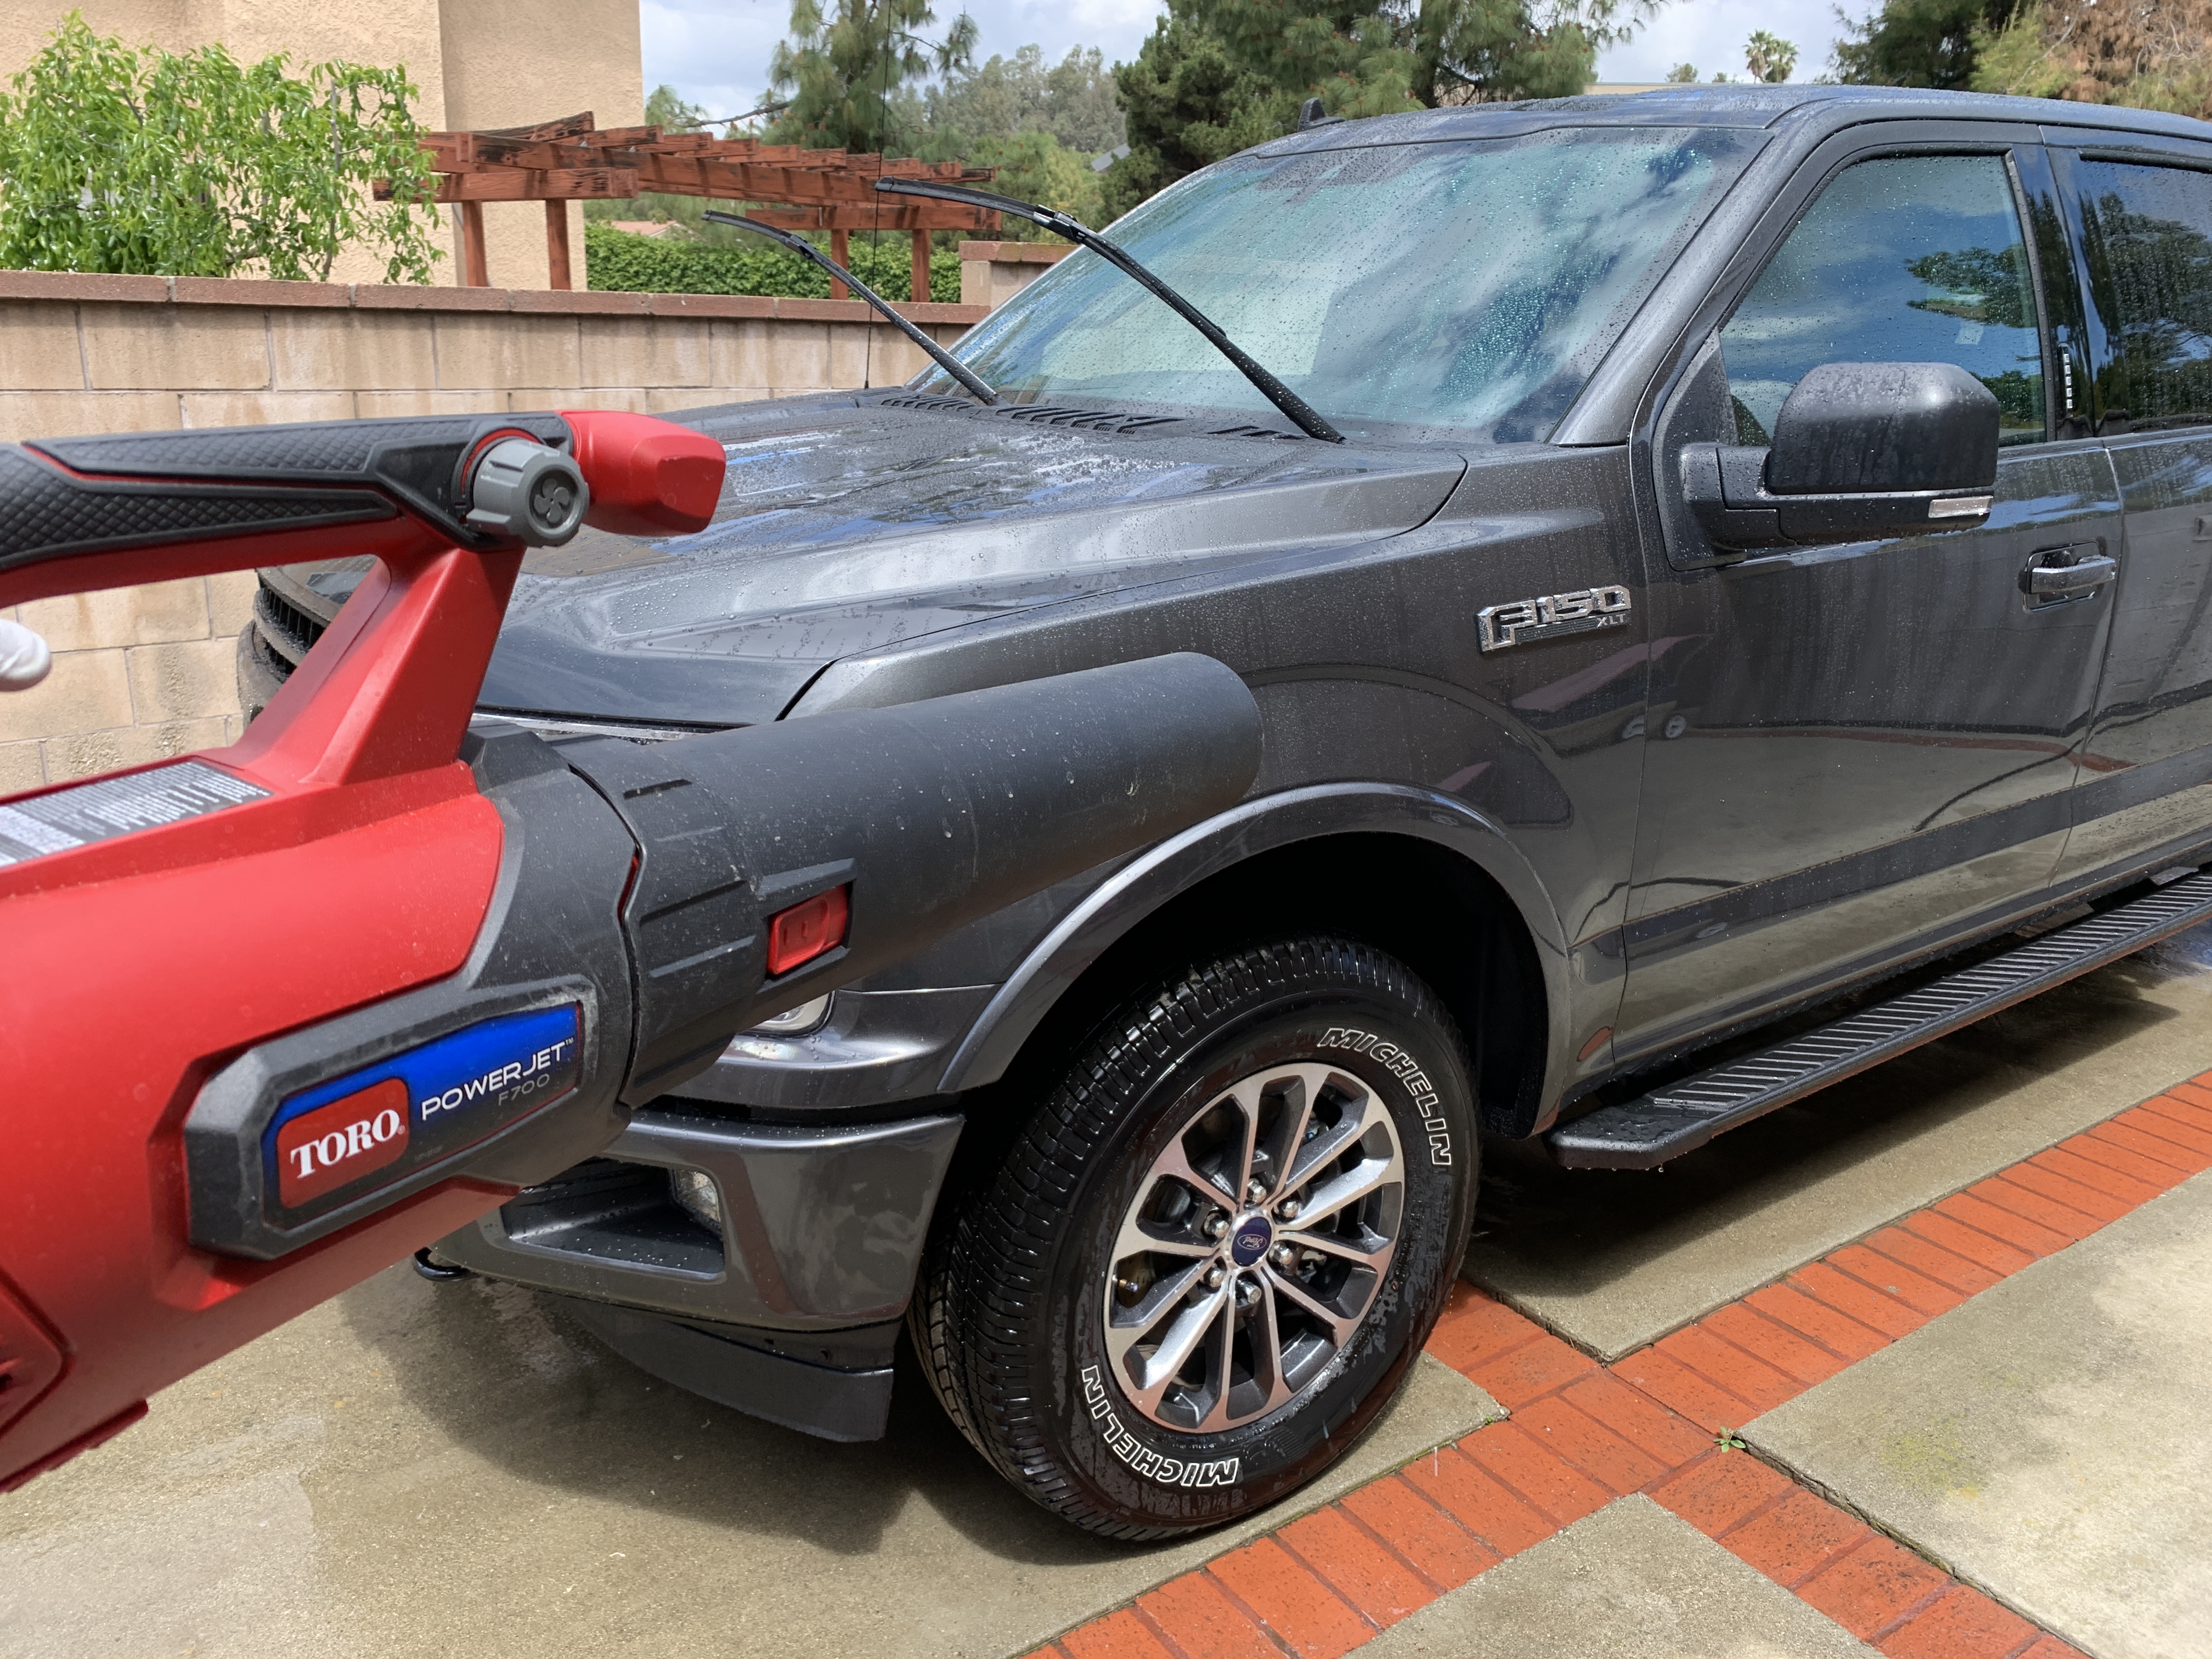
Foam cannons and pressure washers are all the rage these days, but they are mostly used for detailers and enthusiasts to look professional. It’s not necessary when a simple hose and bucket wash will do. The only time I would recommend a foam cannon is if your car is extremely dirty and you need to do a pre-soak to get as much crud off as possible as a first step. I would also use a pressure washer only in some cases where I need that pressure to remove certain difficult-to-remove contaminants; I steer away from using pressure washers because they can actually cause damage to your paint if your paint or clear coat is not 100%, and plus they don’t always rinse as well as a hose.
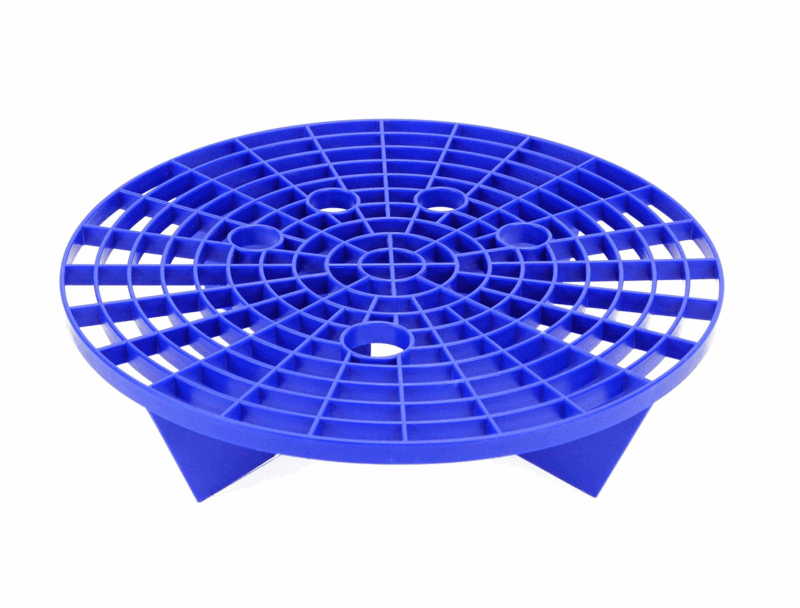
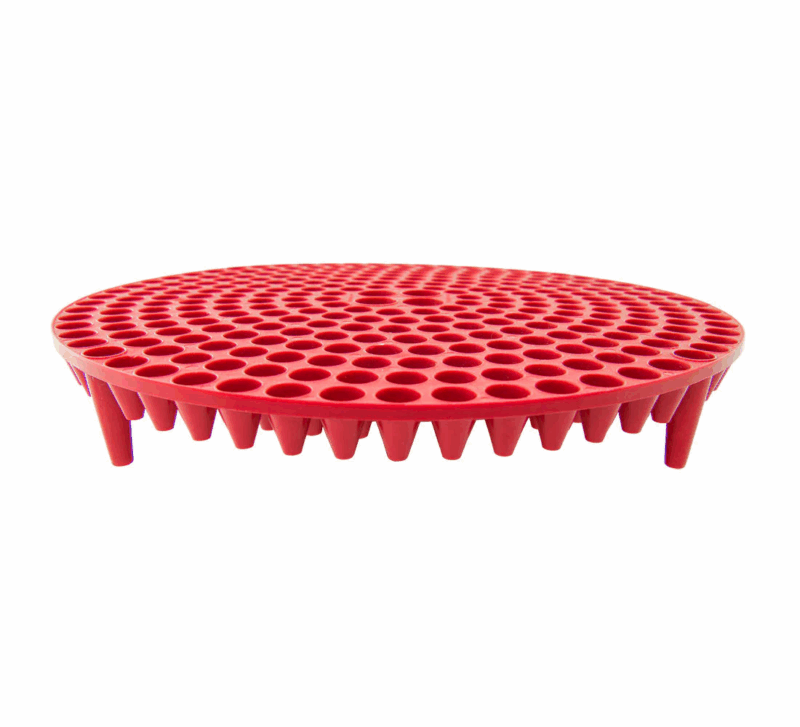
Make sure to wash your car from the top-down. This means start cleaning from the top part of your car, then go down the car all around until you are cleaning the bottom-most portion of the car. This is done because the dirtiest parts of the car are generally at the bottom of the car, where all the road debris gets kicked up to most. Again, constantly return the wash mitt to the bucket, running the wash mitt against the grit guard, so that the dirt falls down and gets trapped below the grit guard.

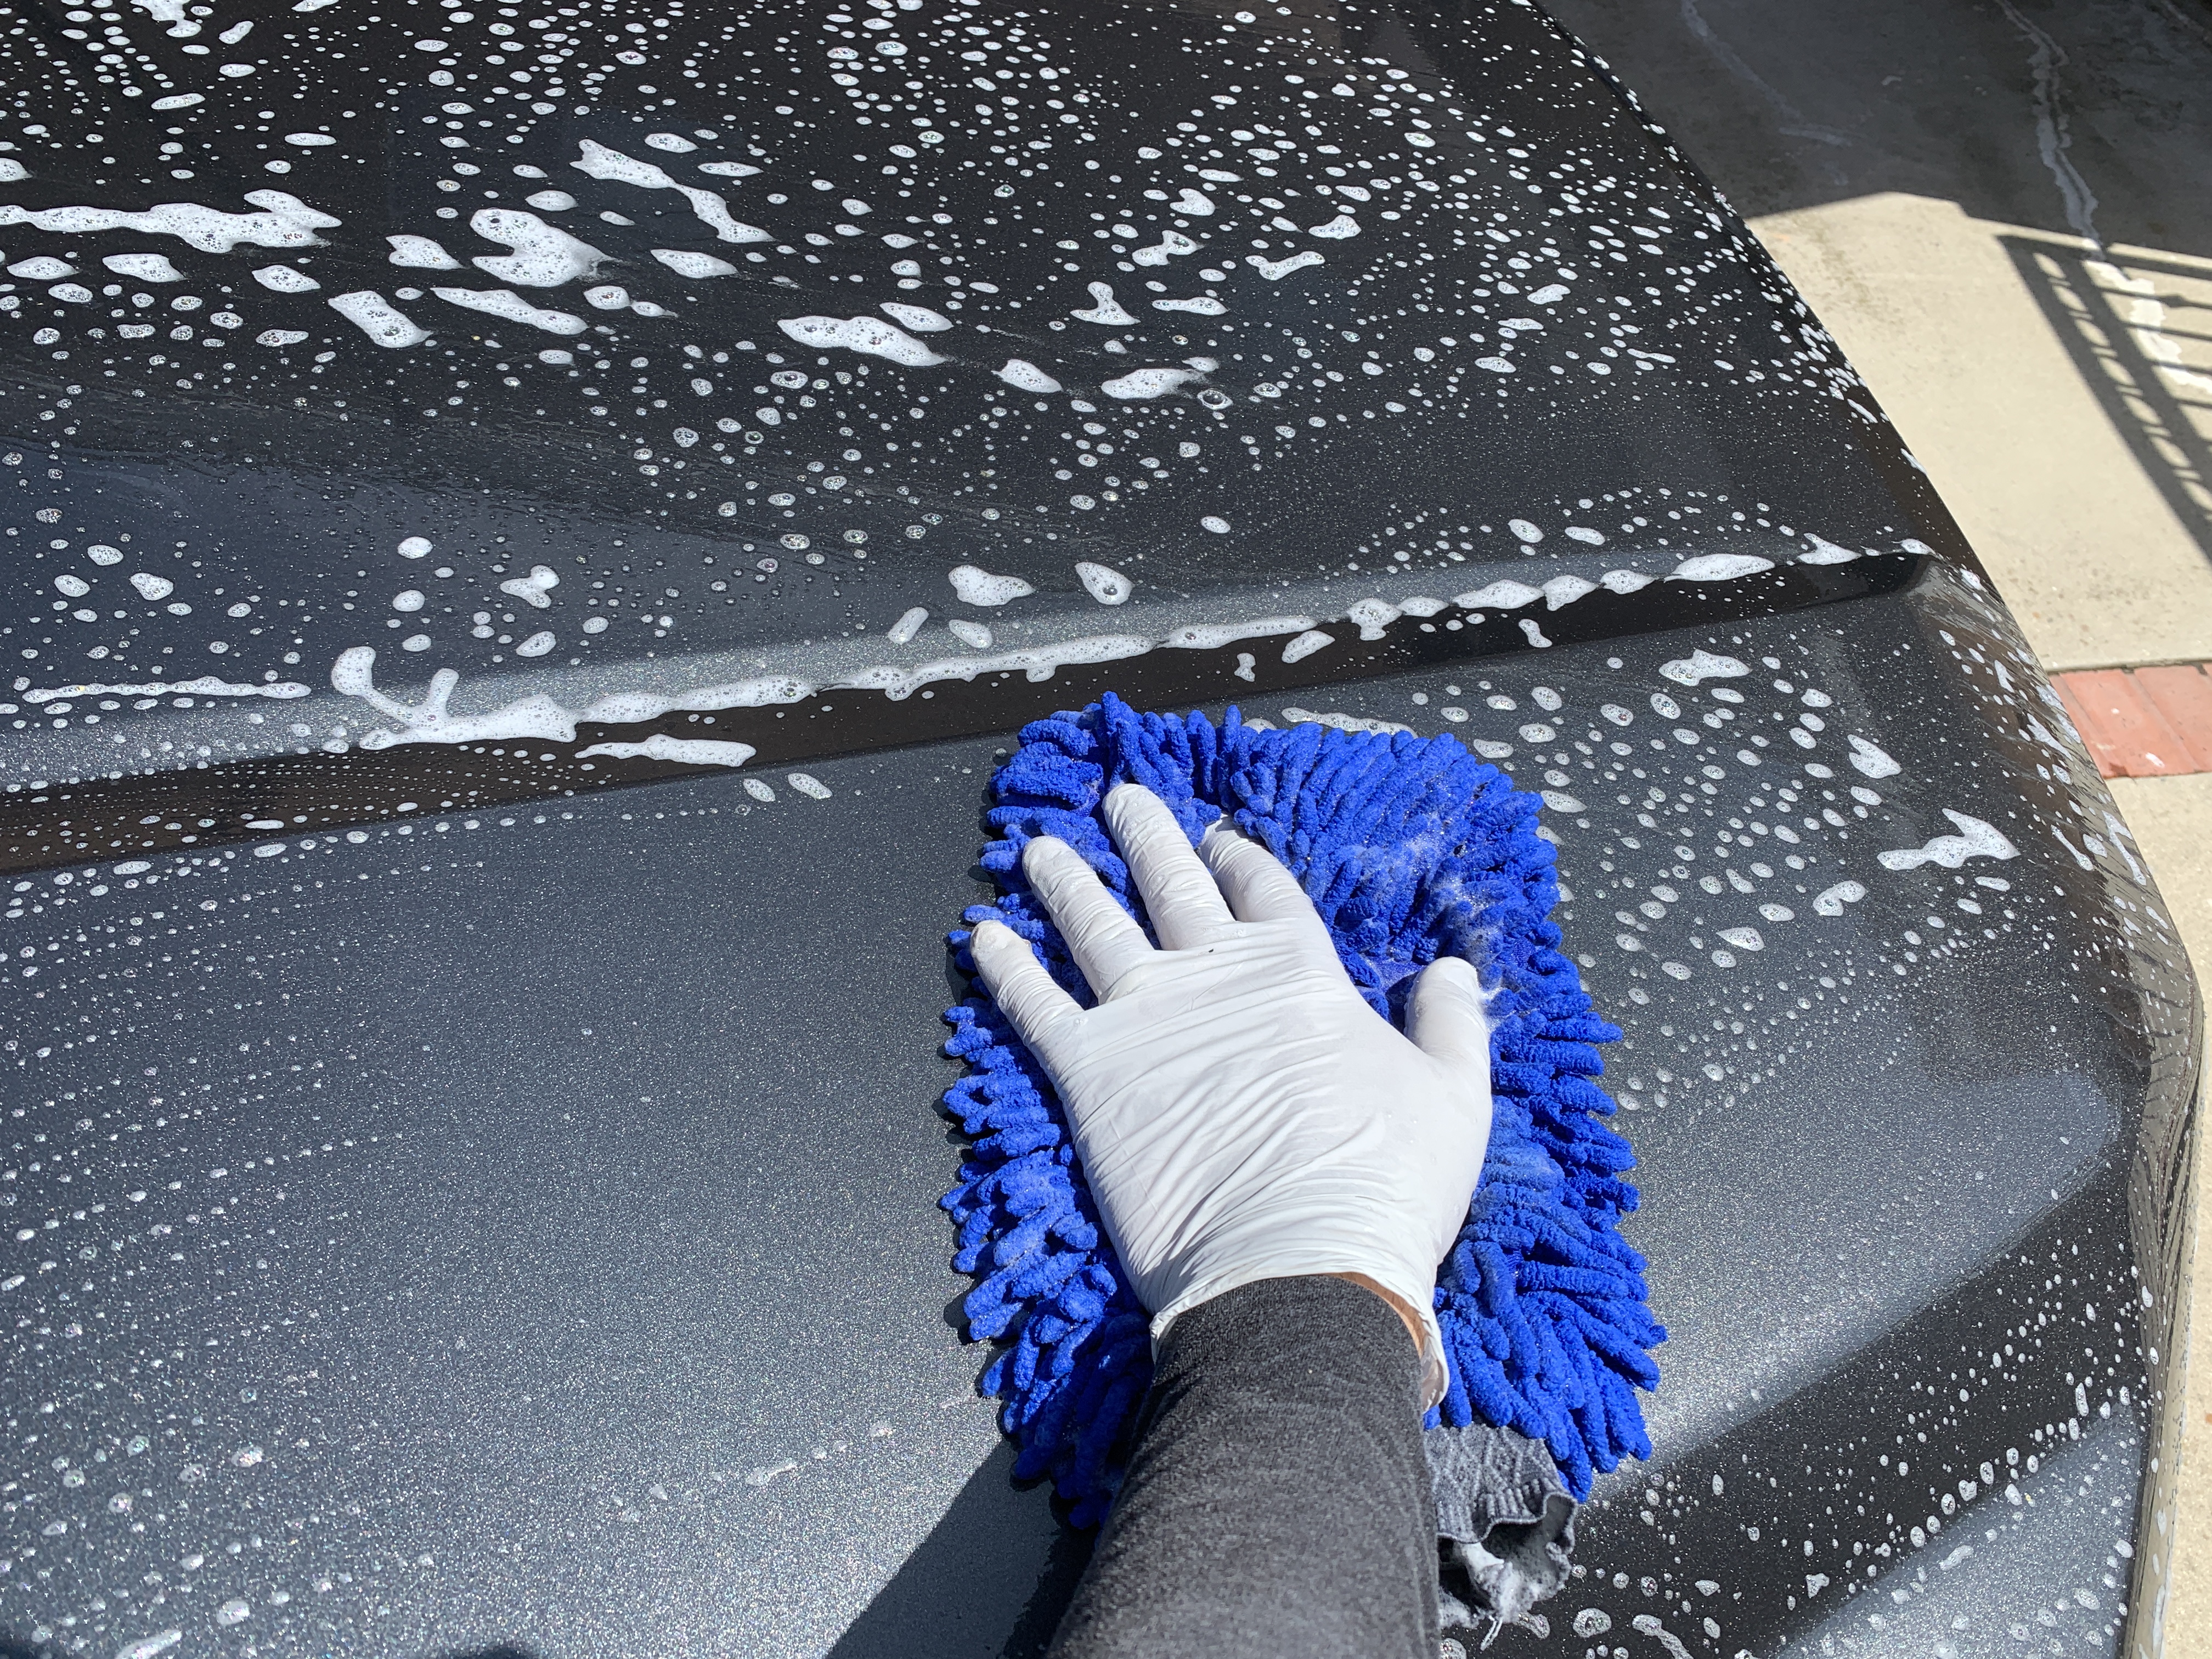
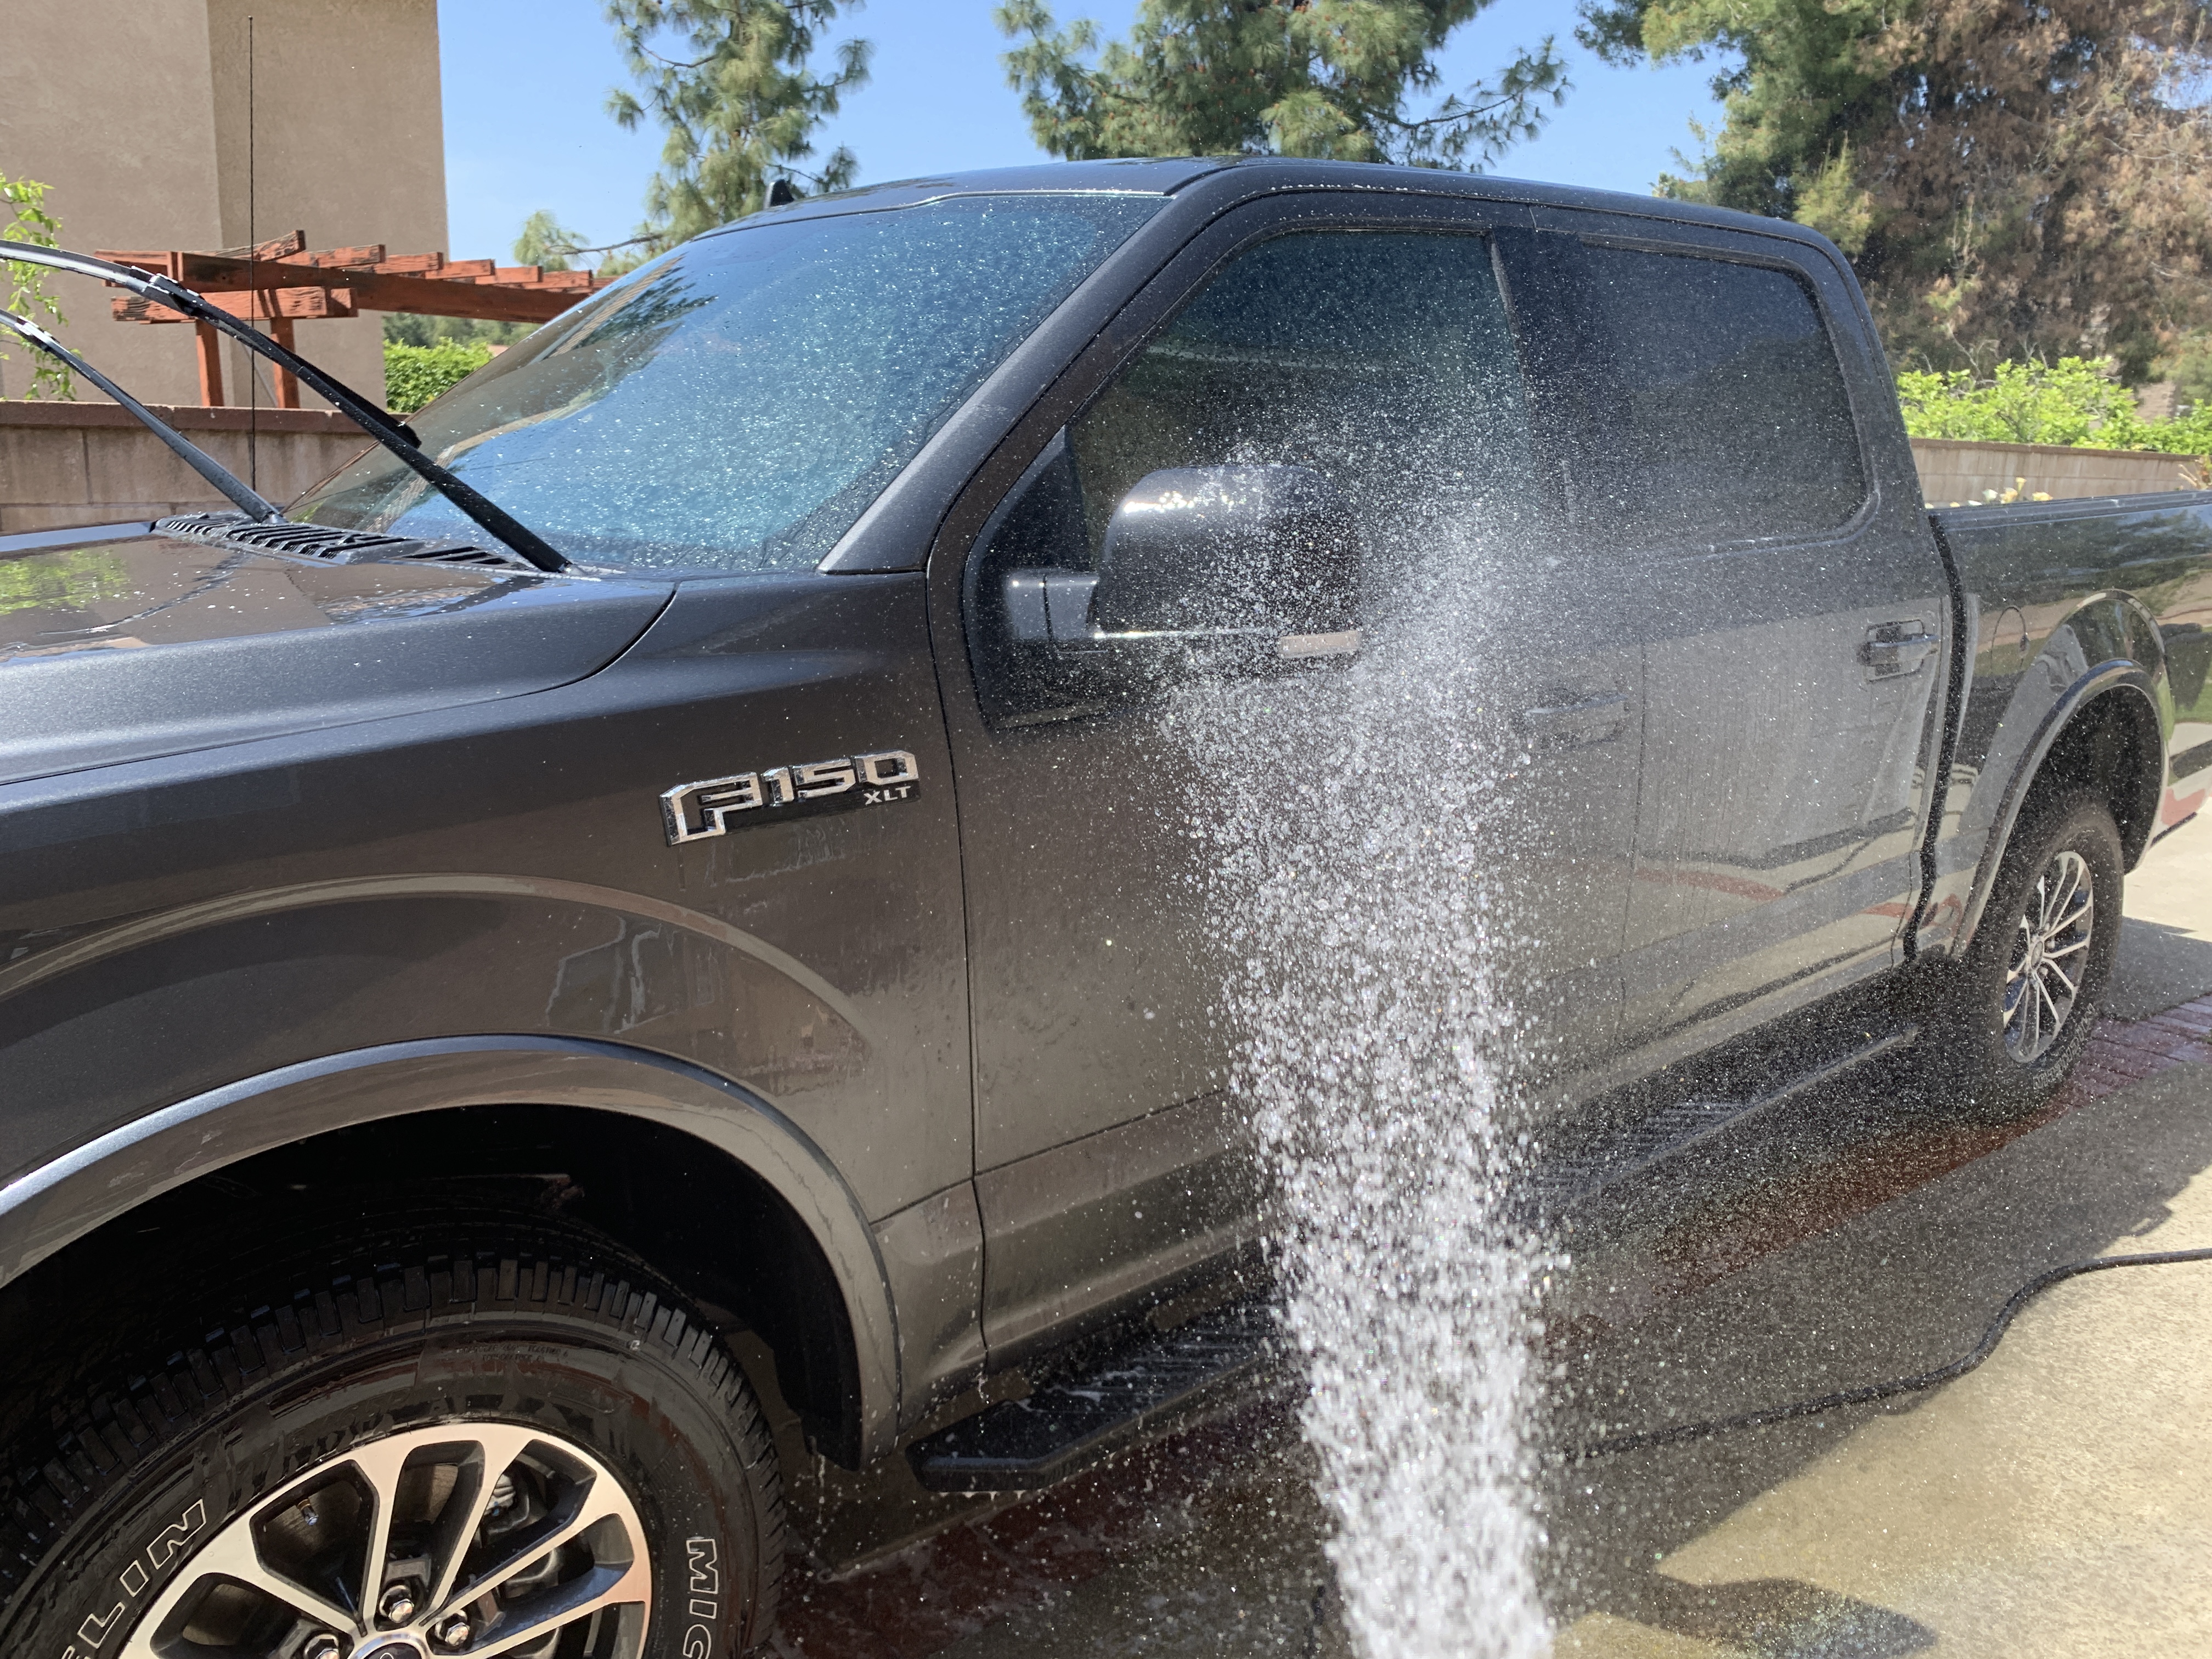
After scrubbing your vehicle clean, rinse off the dirty suds. If you’re washing your car in direct sunlight, soap up only a part of the vehicle, rinse off, and continue with the next section. Doing this, keeps the surface wet so that the soap suds don’t dry up in the sun while you’re trying to soap up the entire vehicle at once.

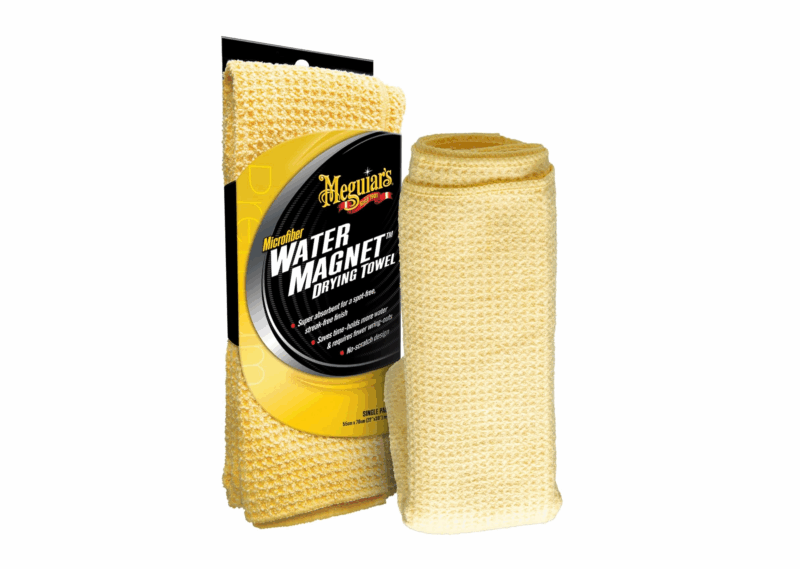
Typically, you’d dry off your vehicle after a car wash but in this case you’re going directly to spraying on an iron remover anyway so there’s no need to dry off the car. If you do wash your car later on, I recommend these drying towels to quickly dry off your car and preventing water spots from forming on your car.
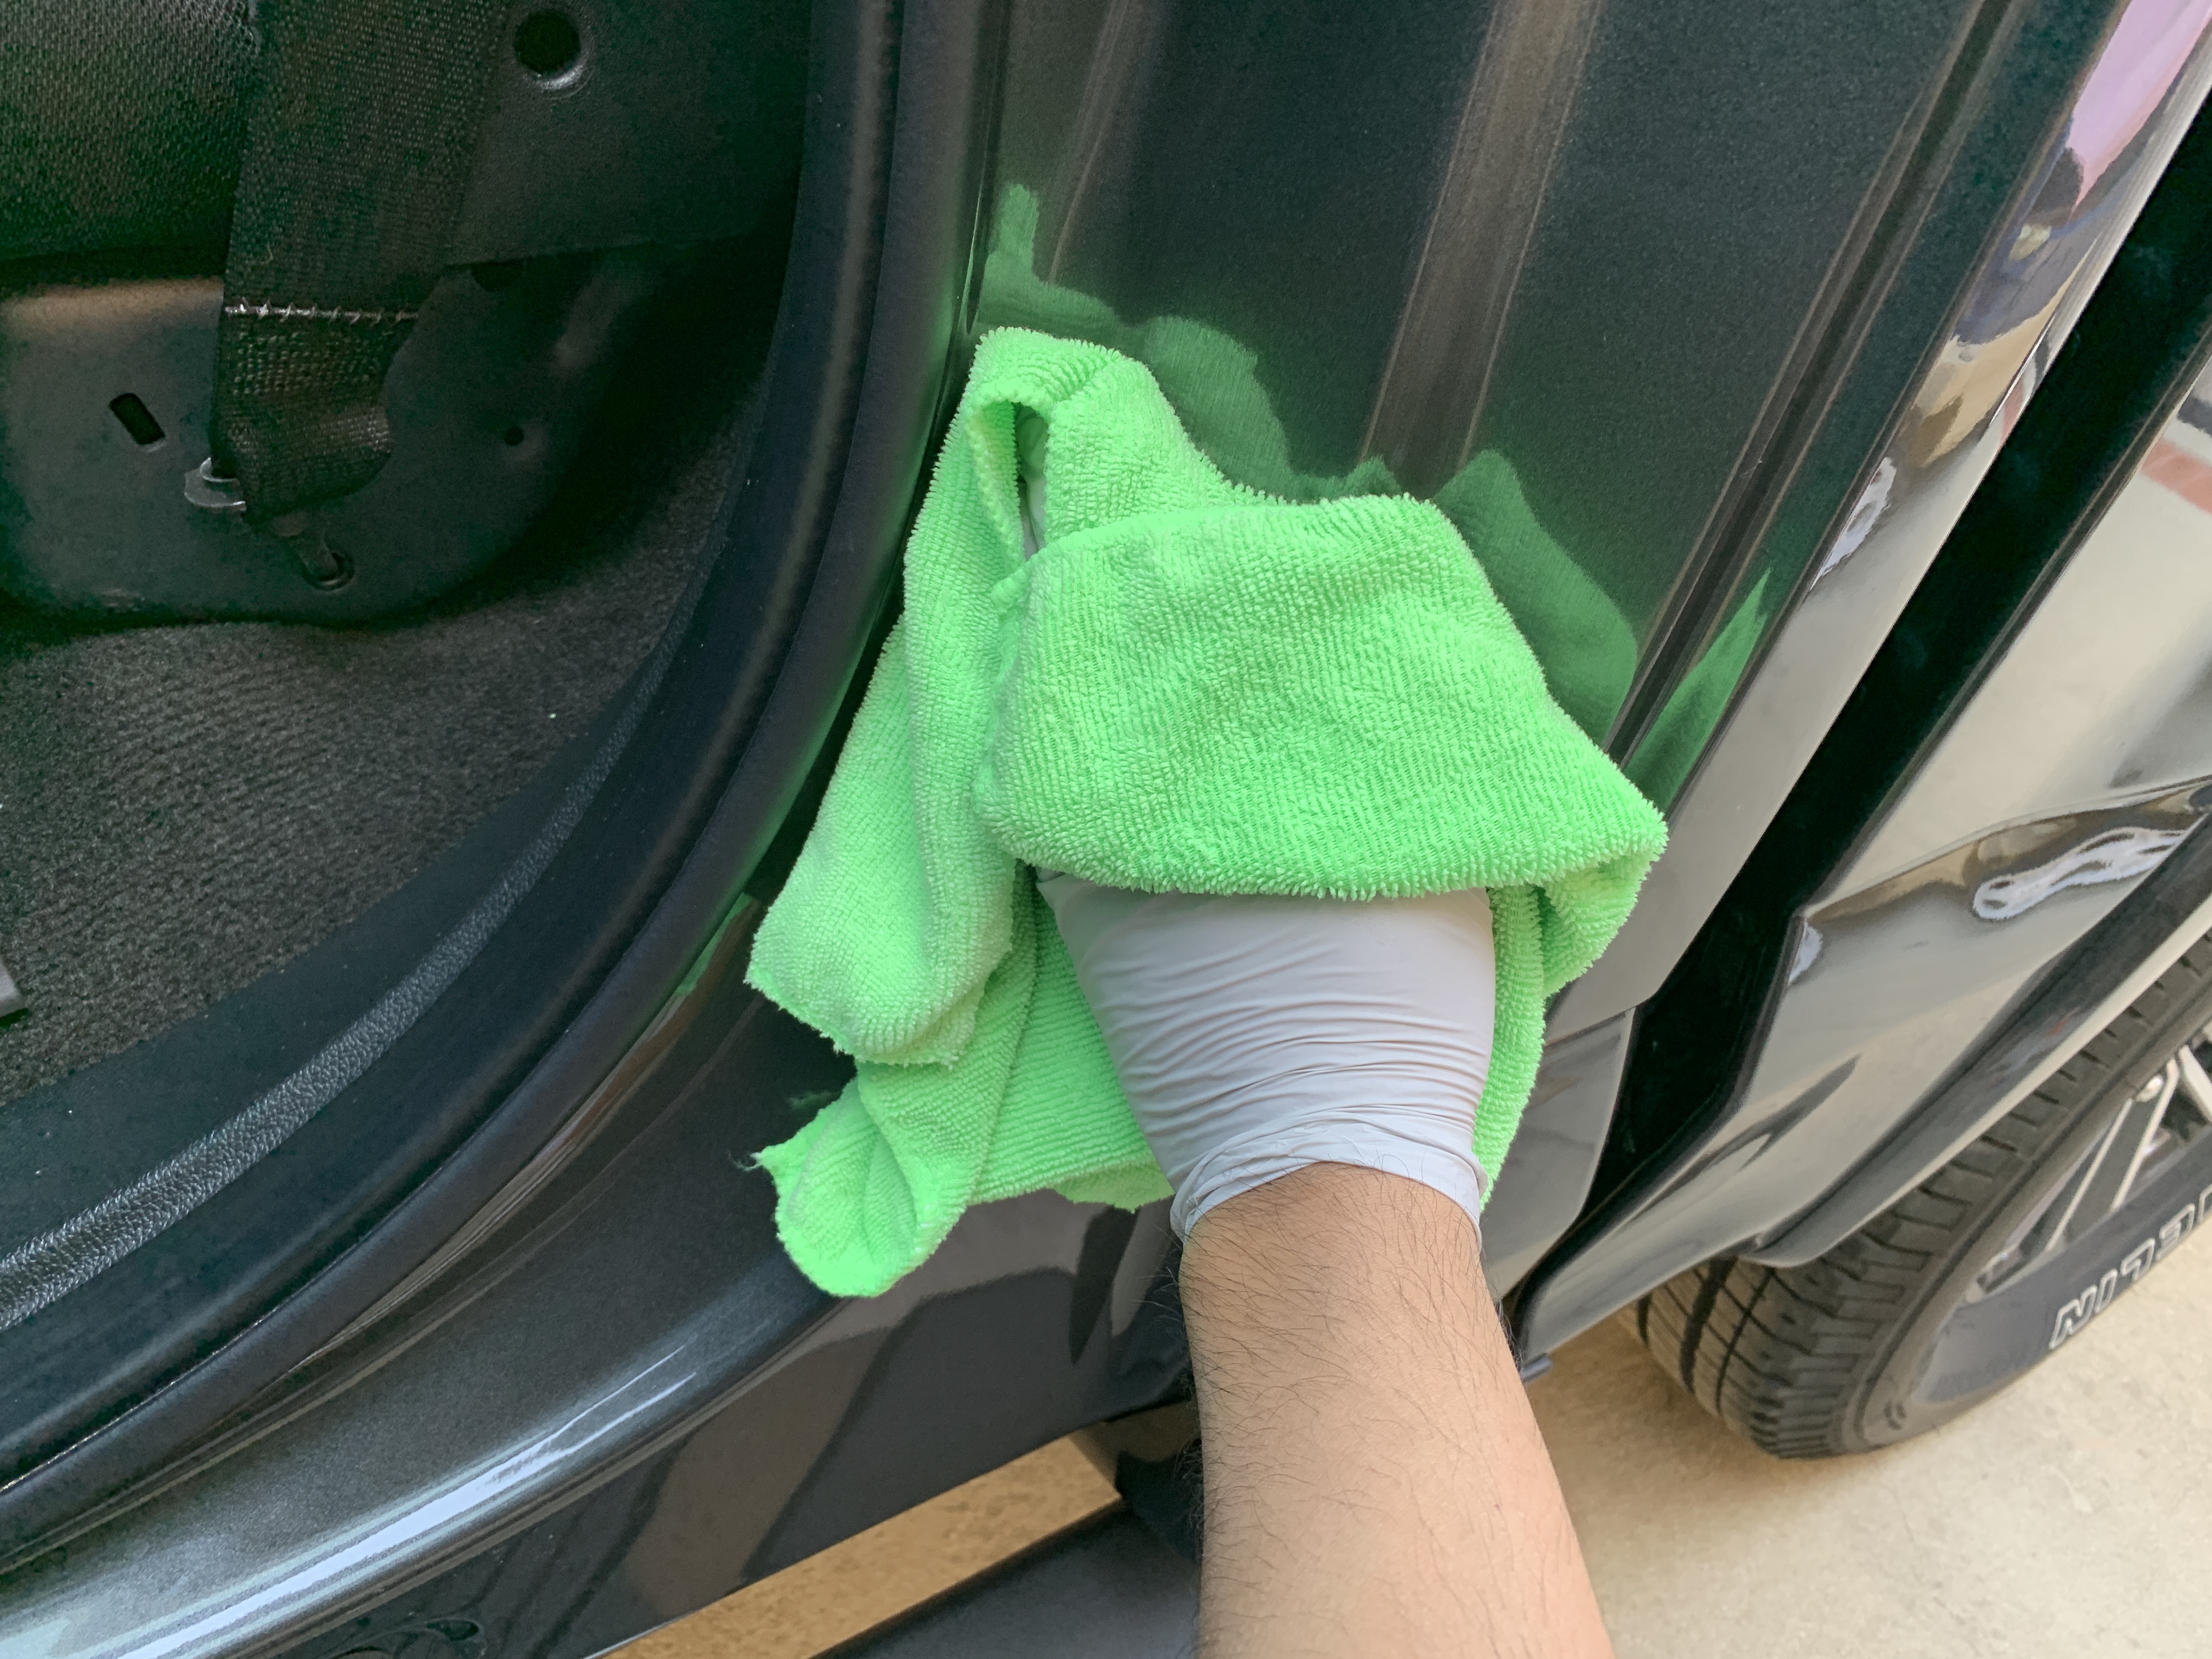
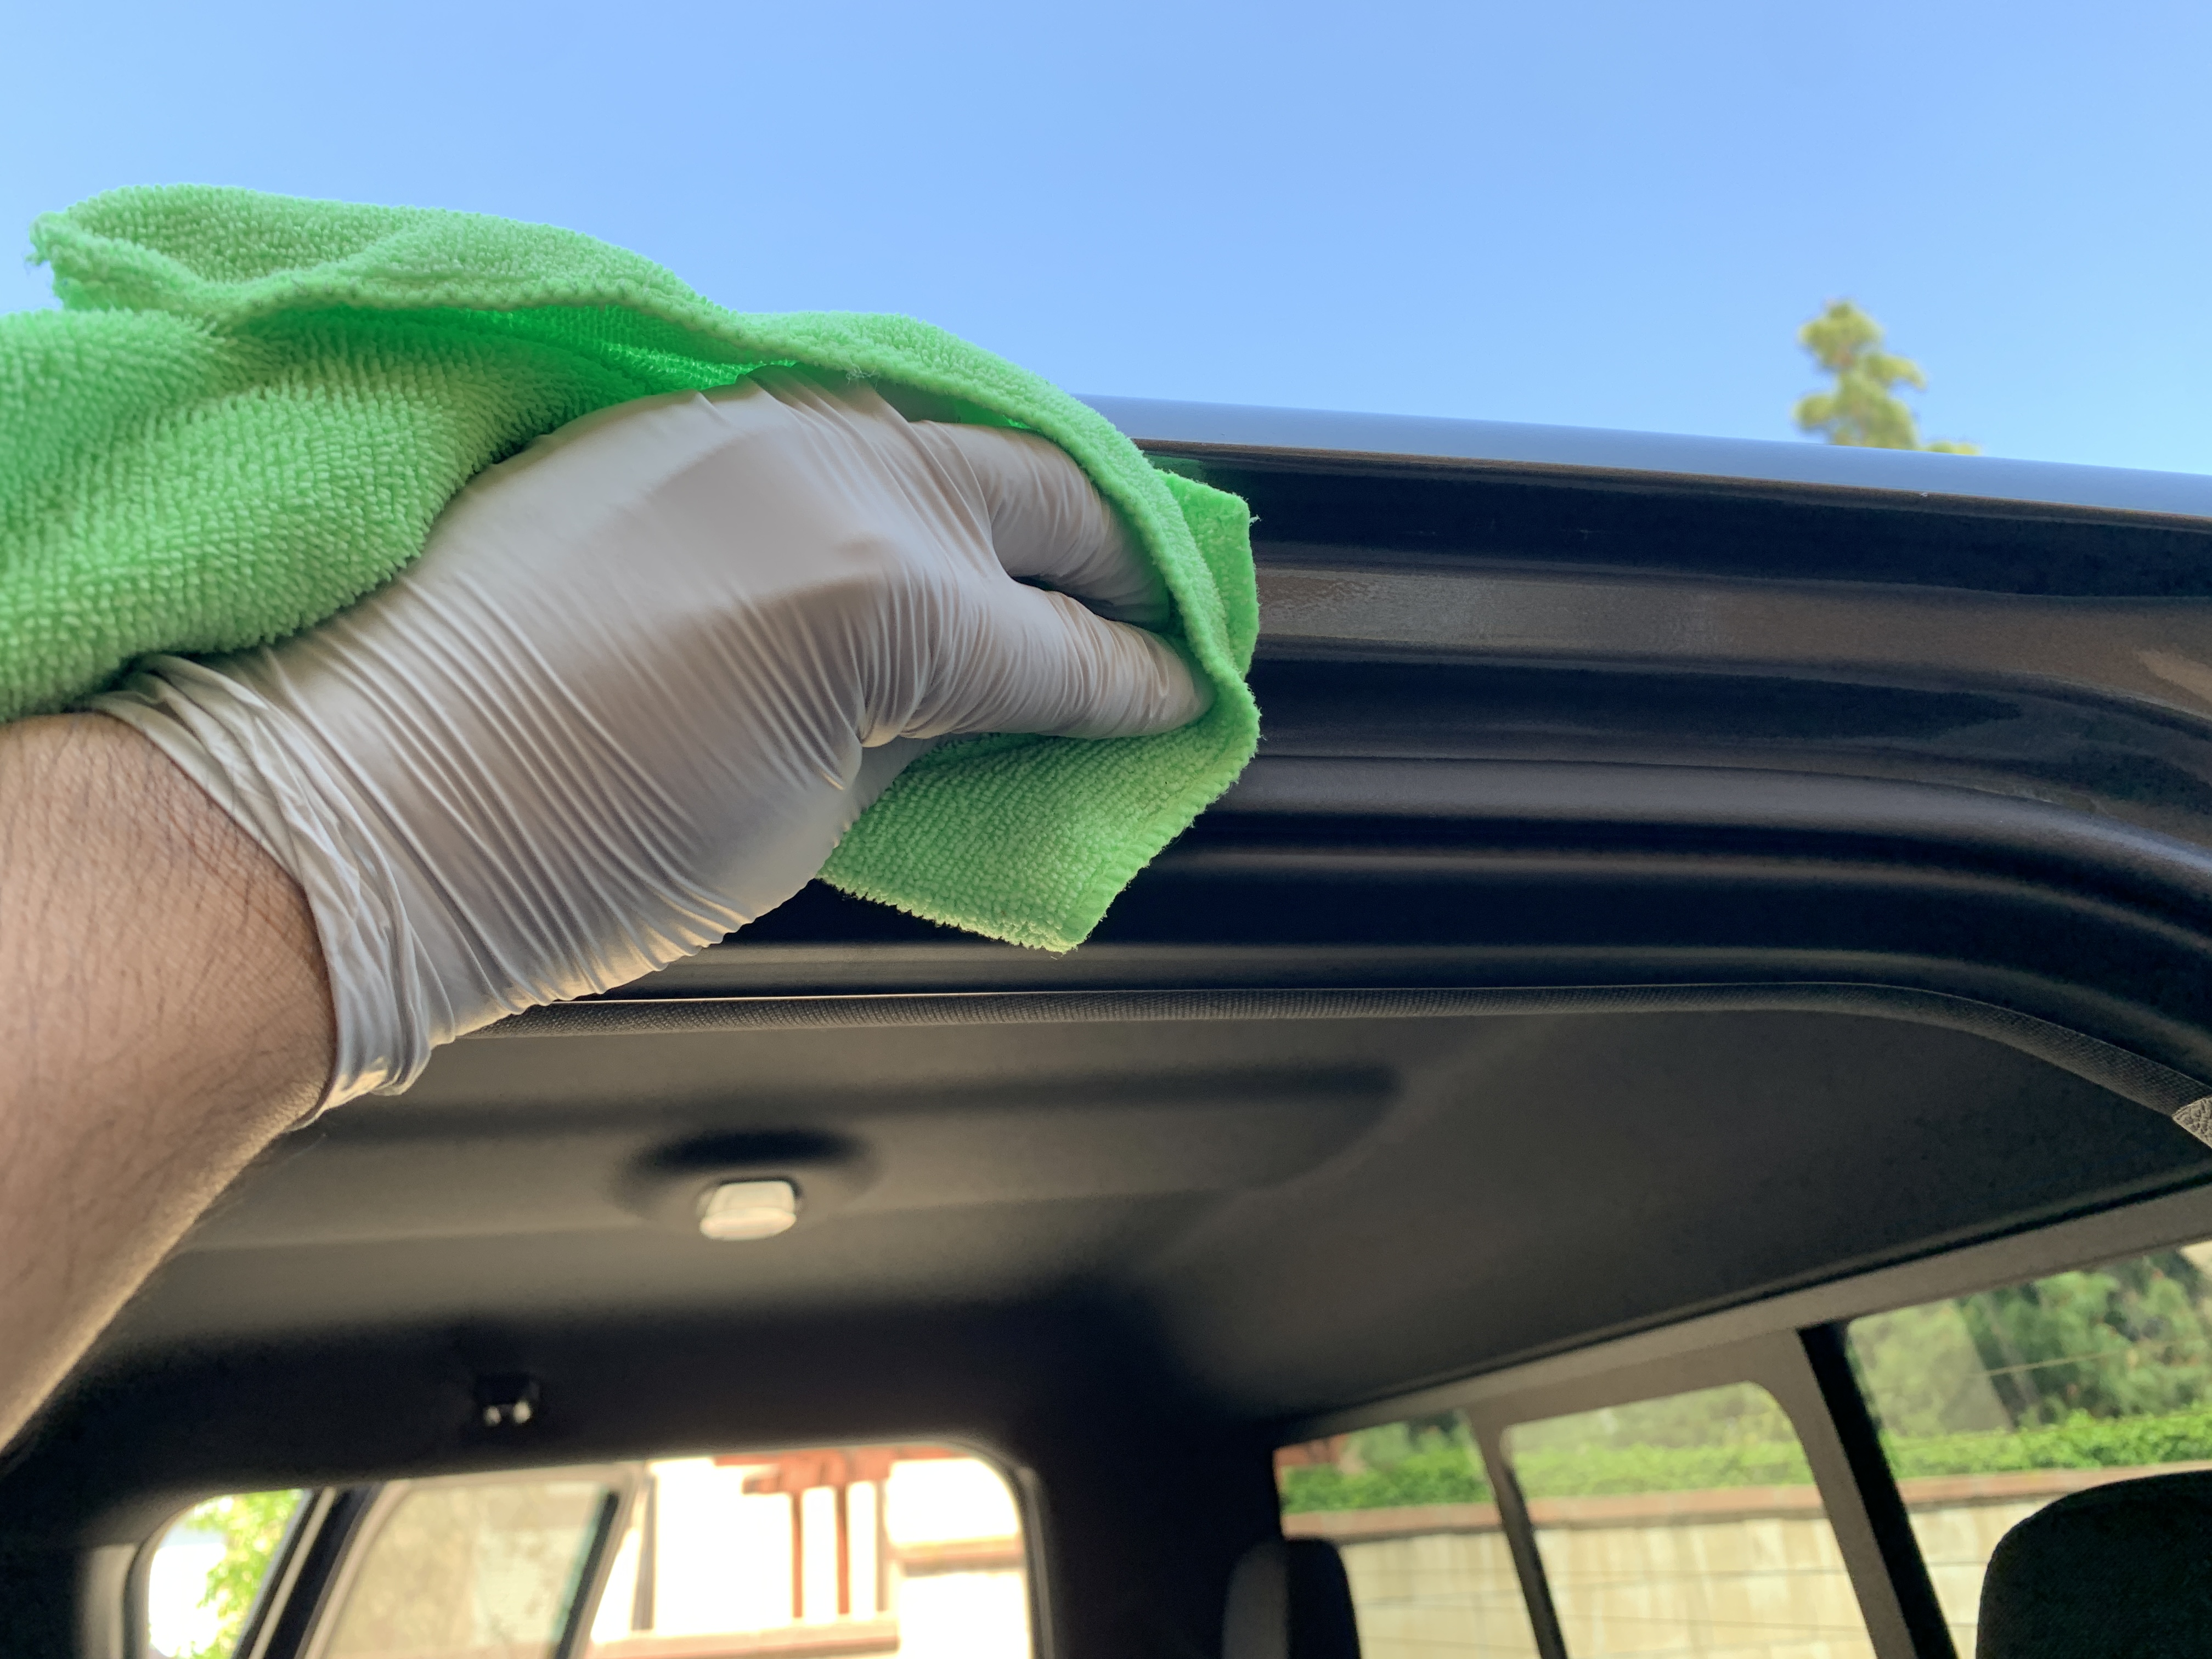
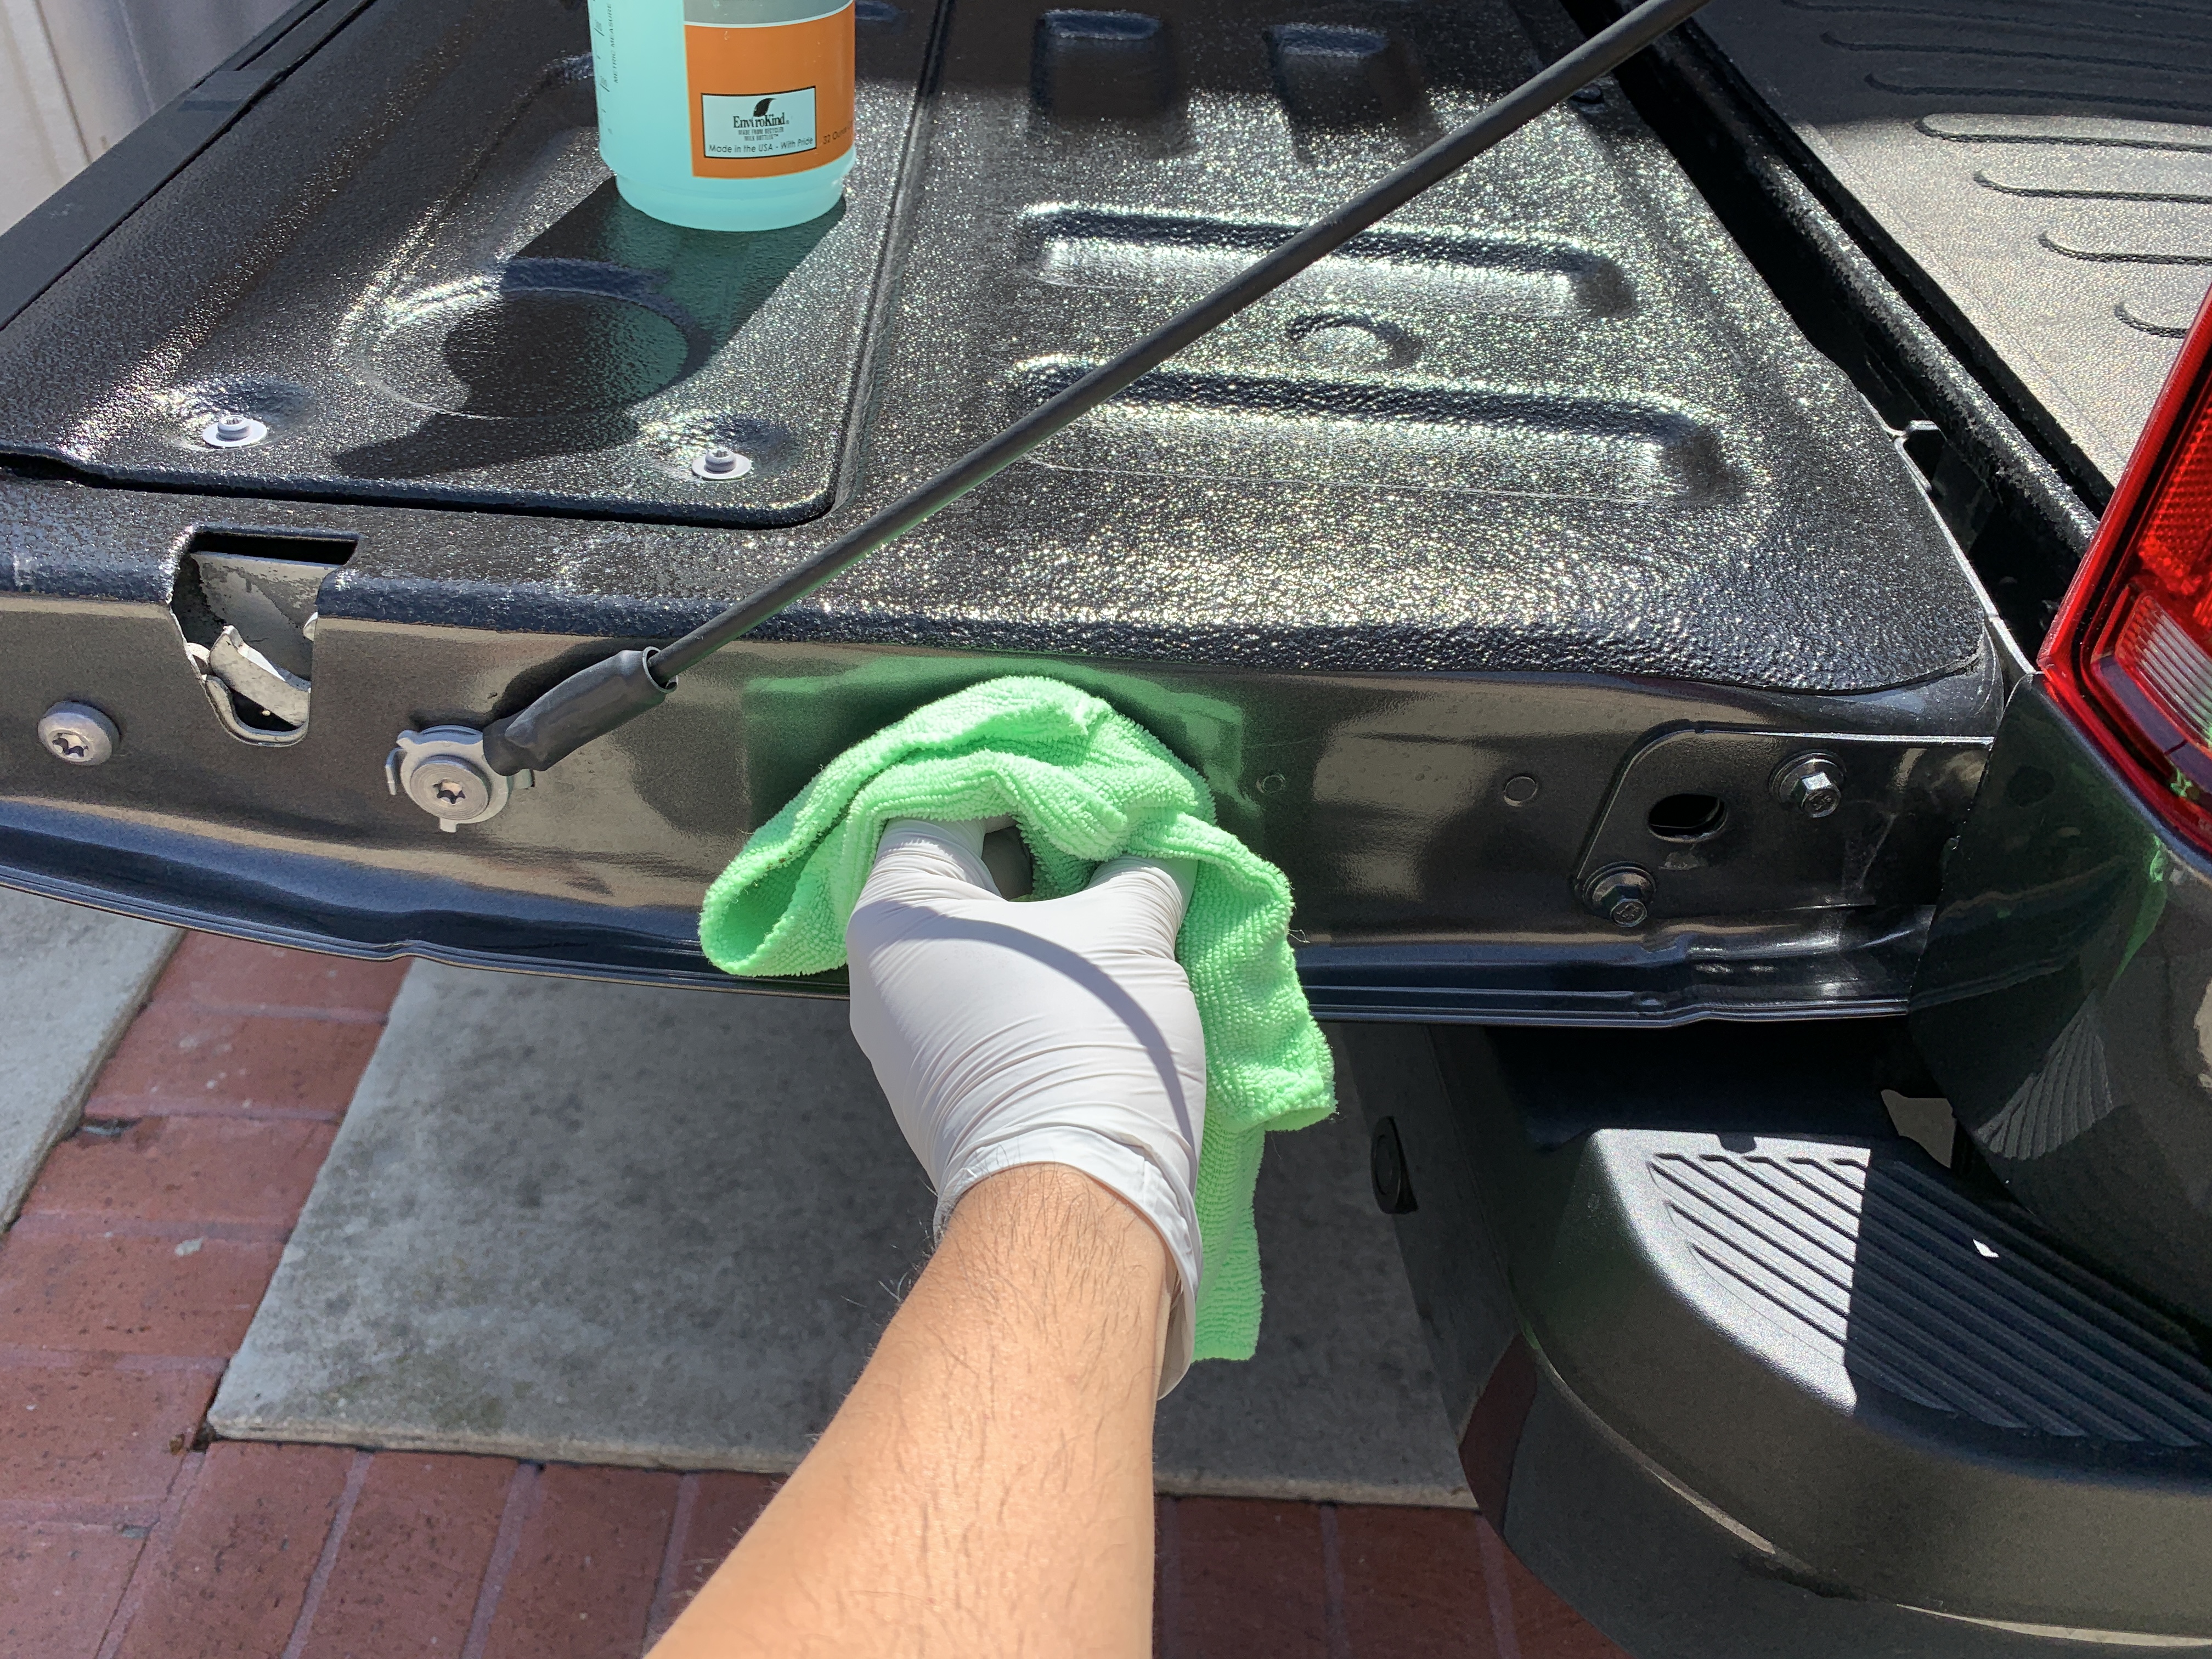
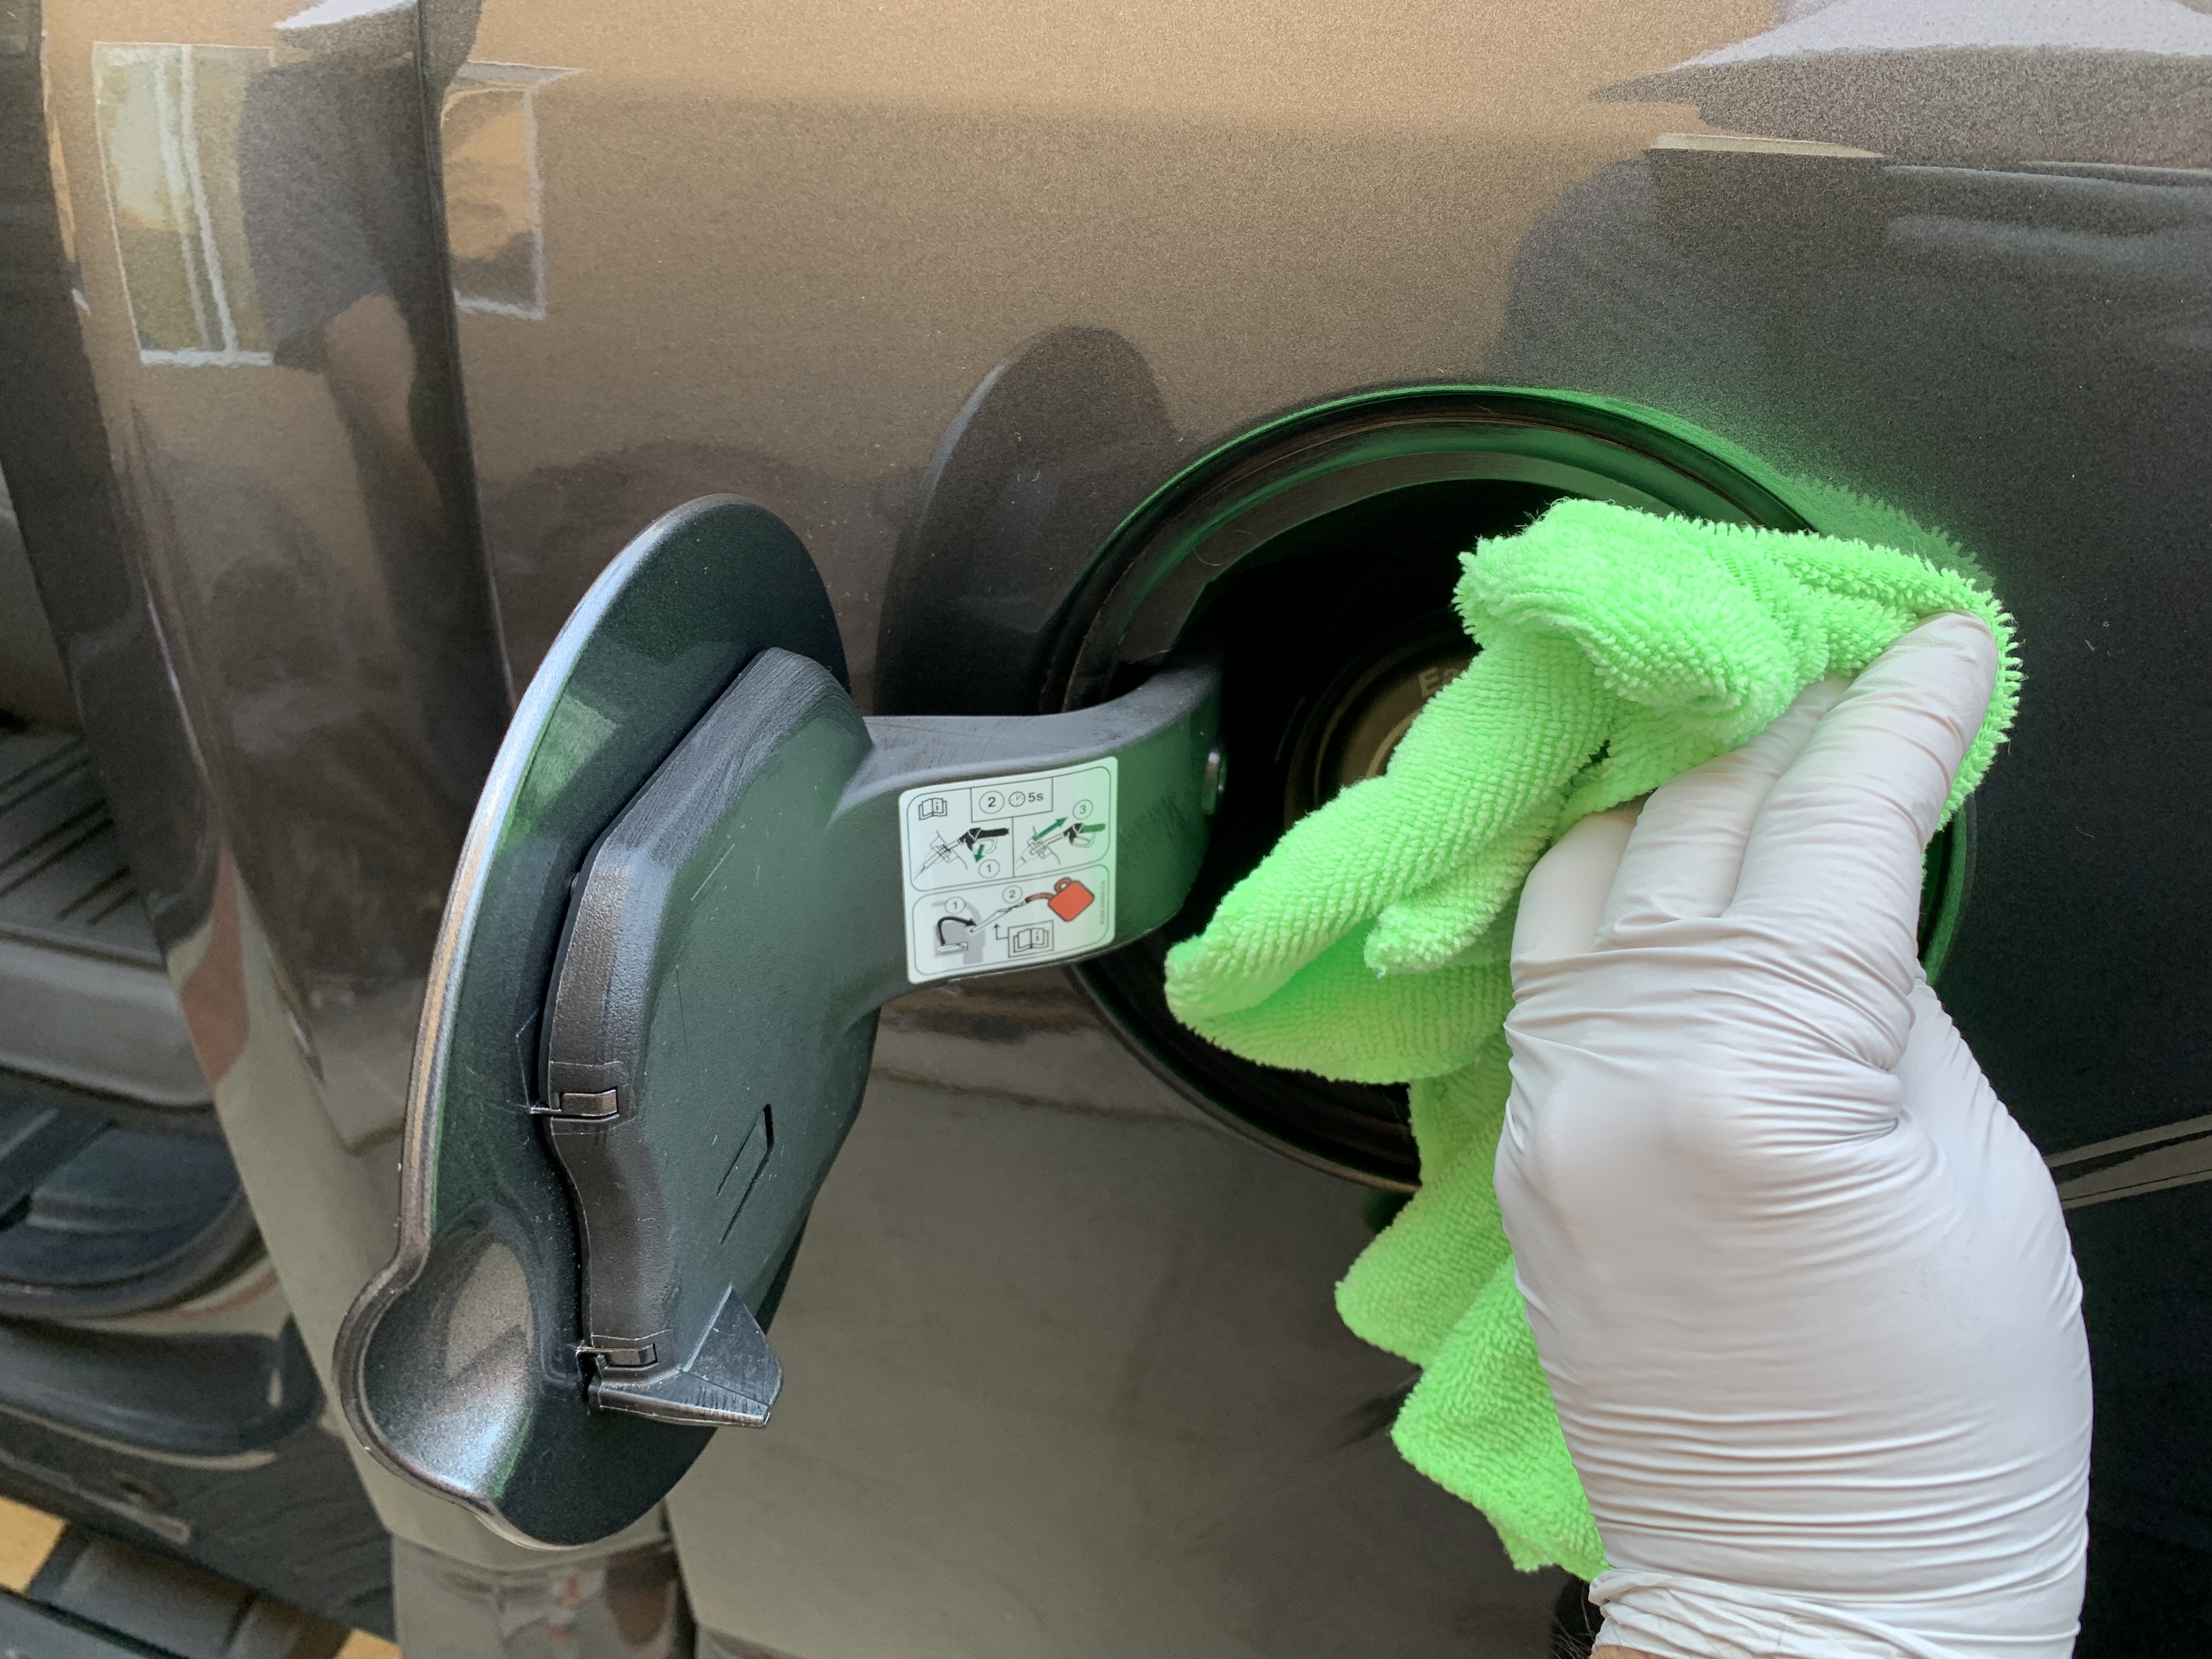
One last thing to do after you’ve finished washing your car is to open up all the doors, trunk, hood, gas cap, and any other doors that open. Then, clean the door jambs with a microfiber towel or rag dedicated for cleaning these dirty areas. I recommend using an all purpose cleaner with the rag or towel as these areas can get quite dirty. I would just save the gas cap last as it would likely be the dirtiest area.
Washing & Detailing the Exterior
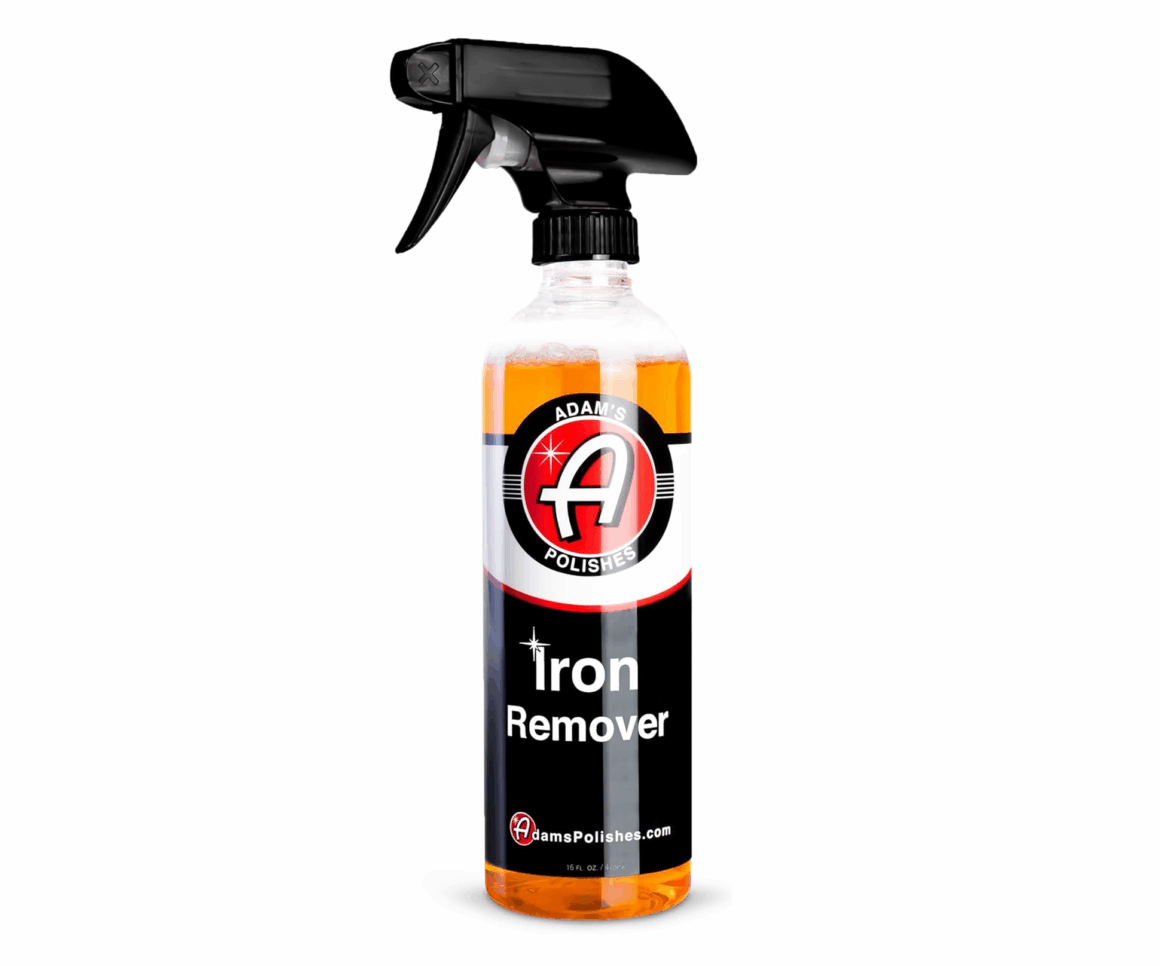
Chemical Decontamination (Iron Remover)
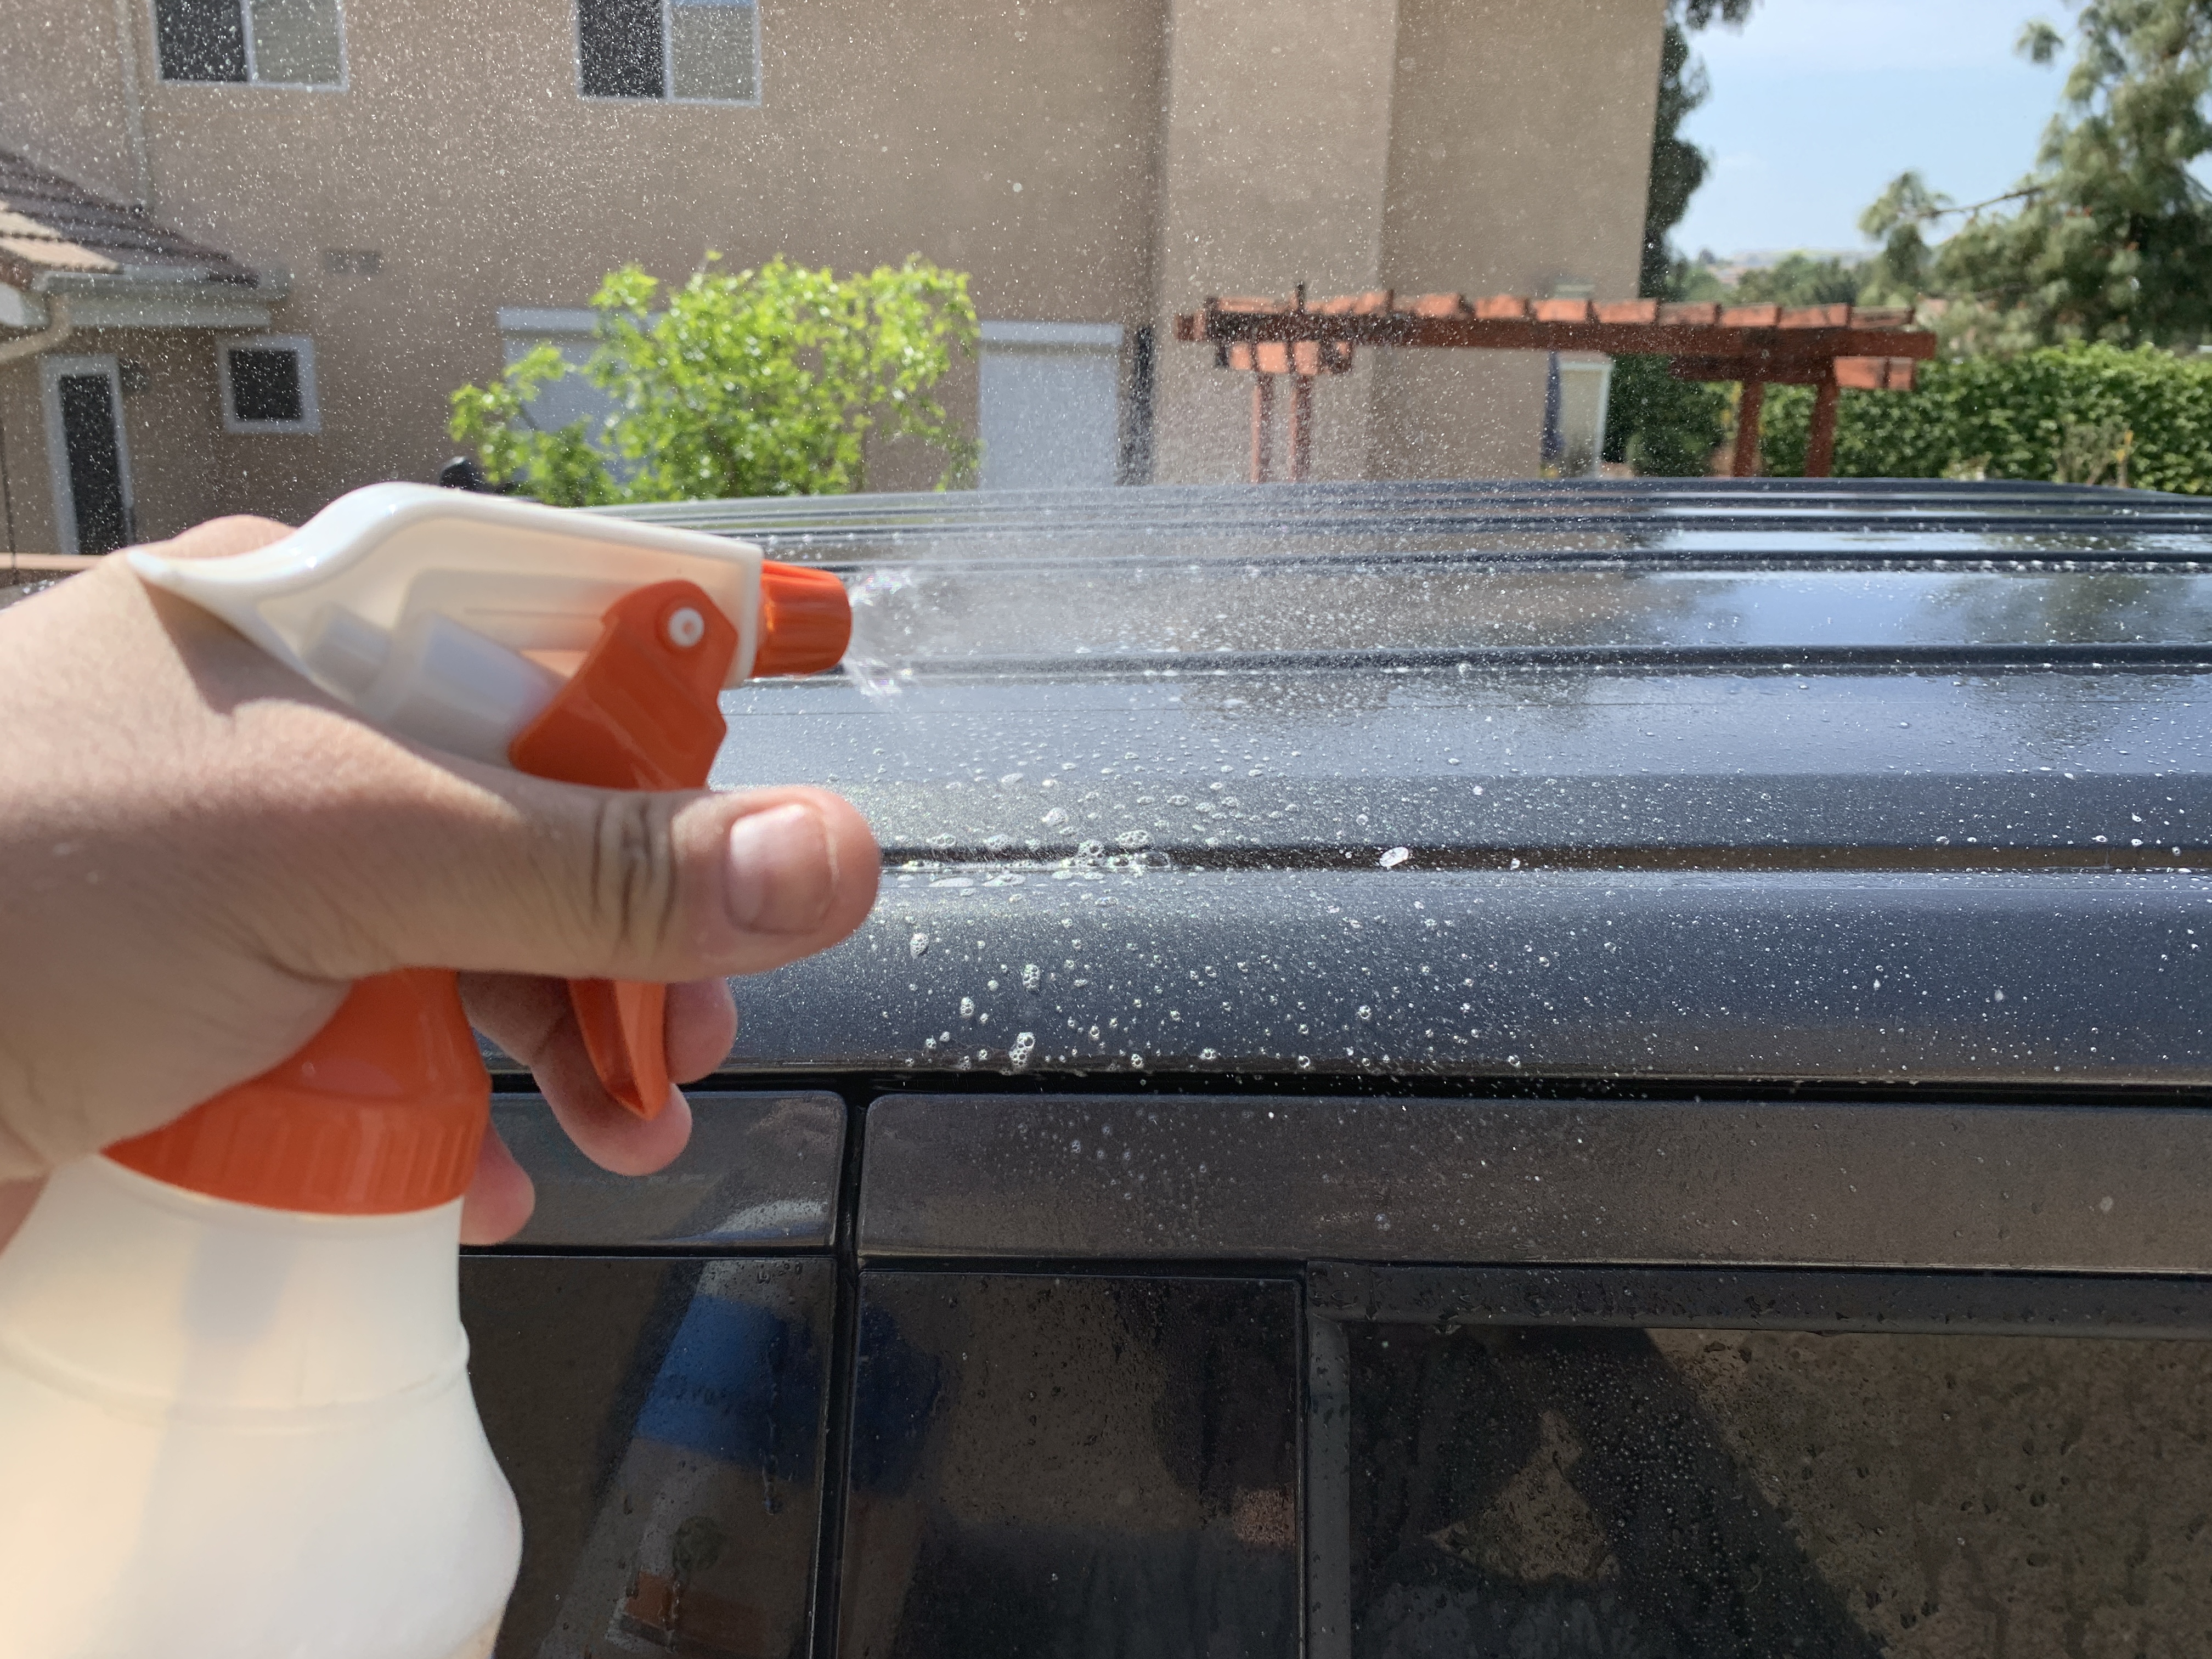
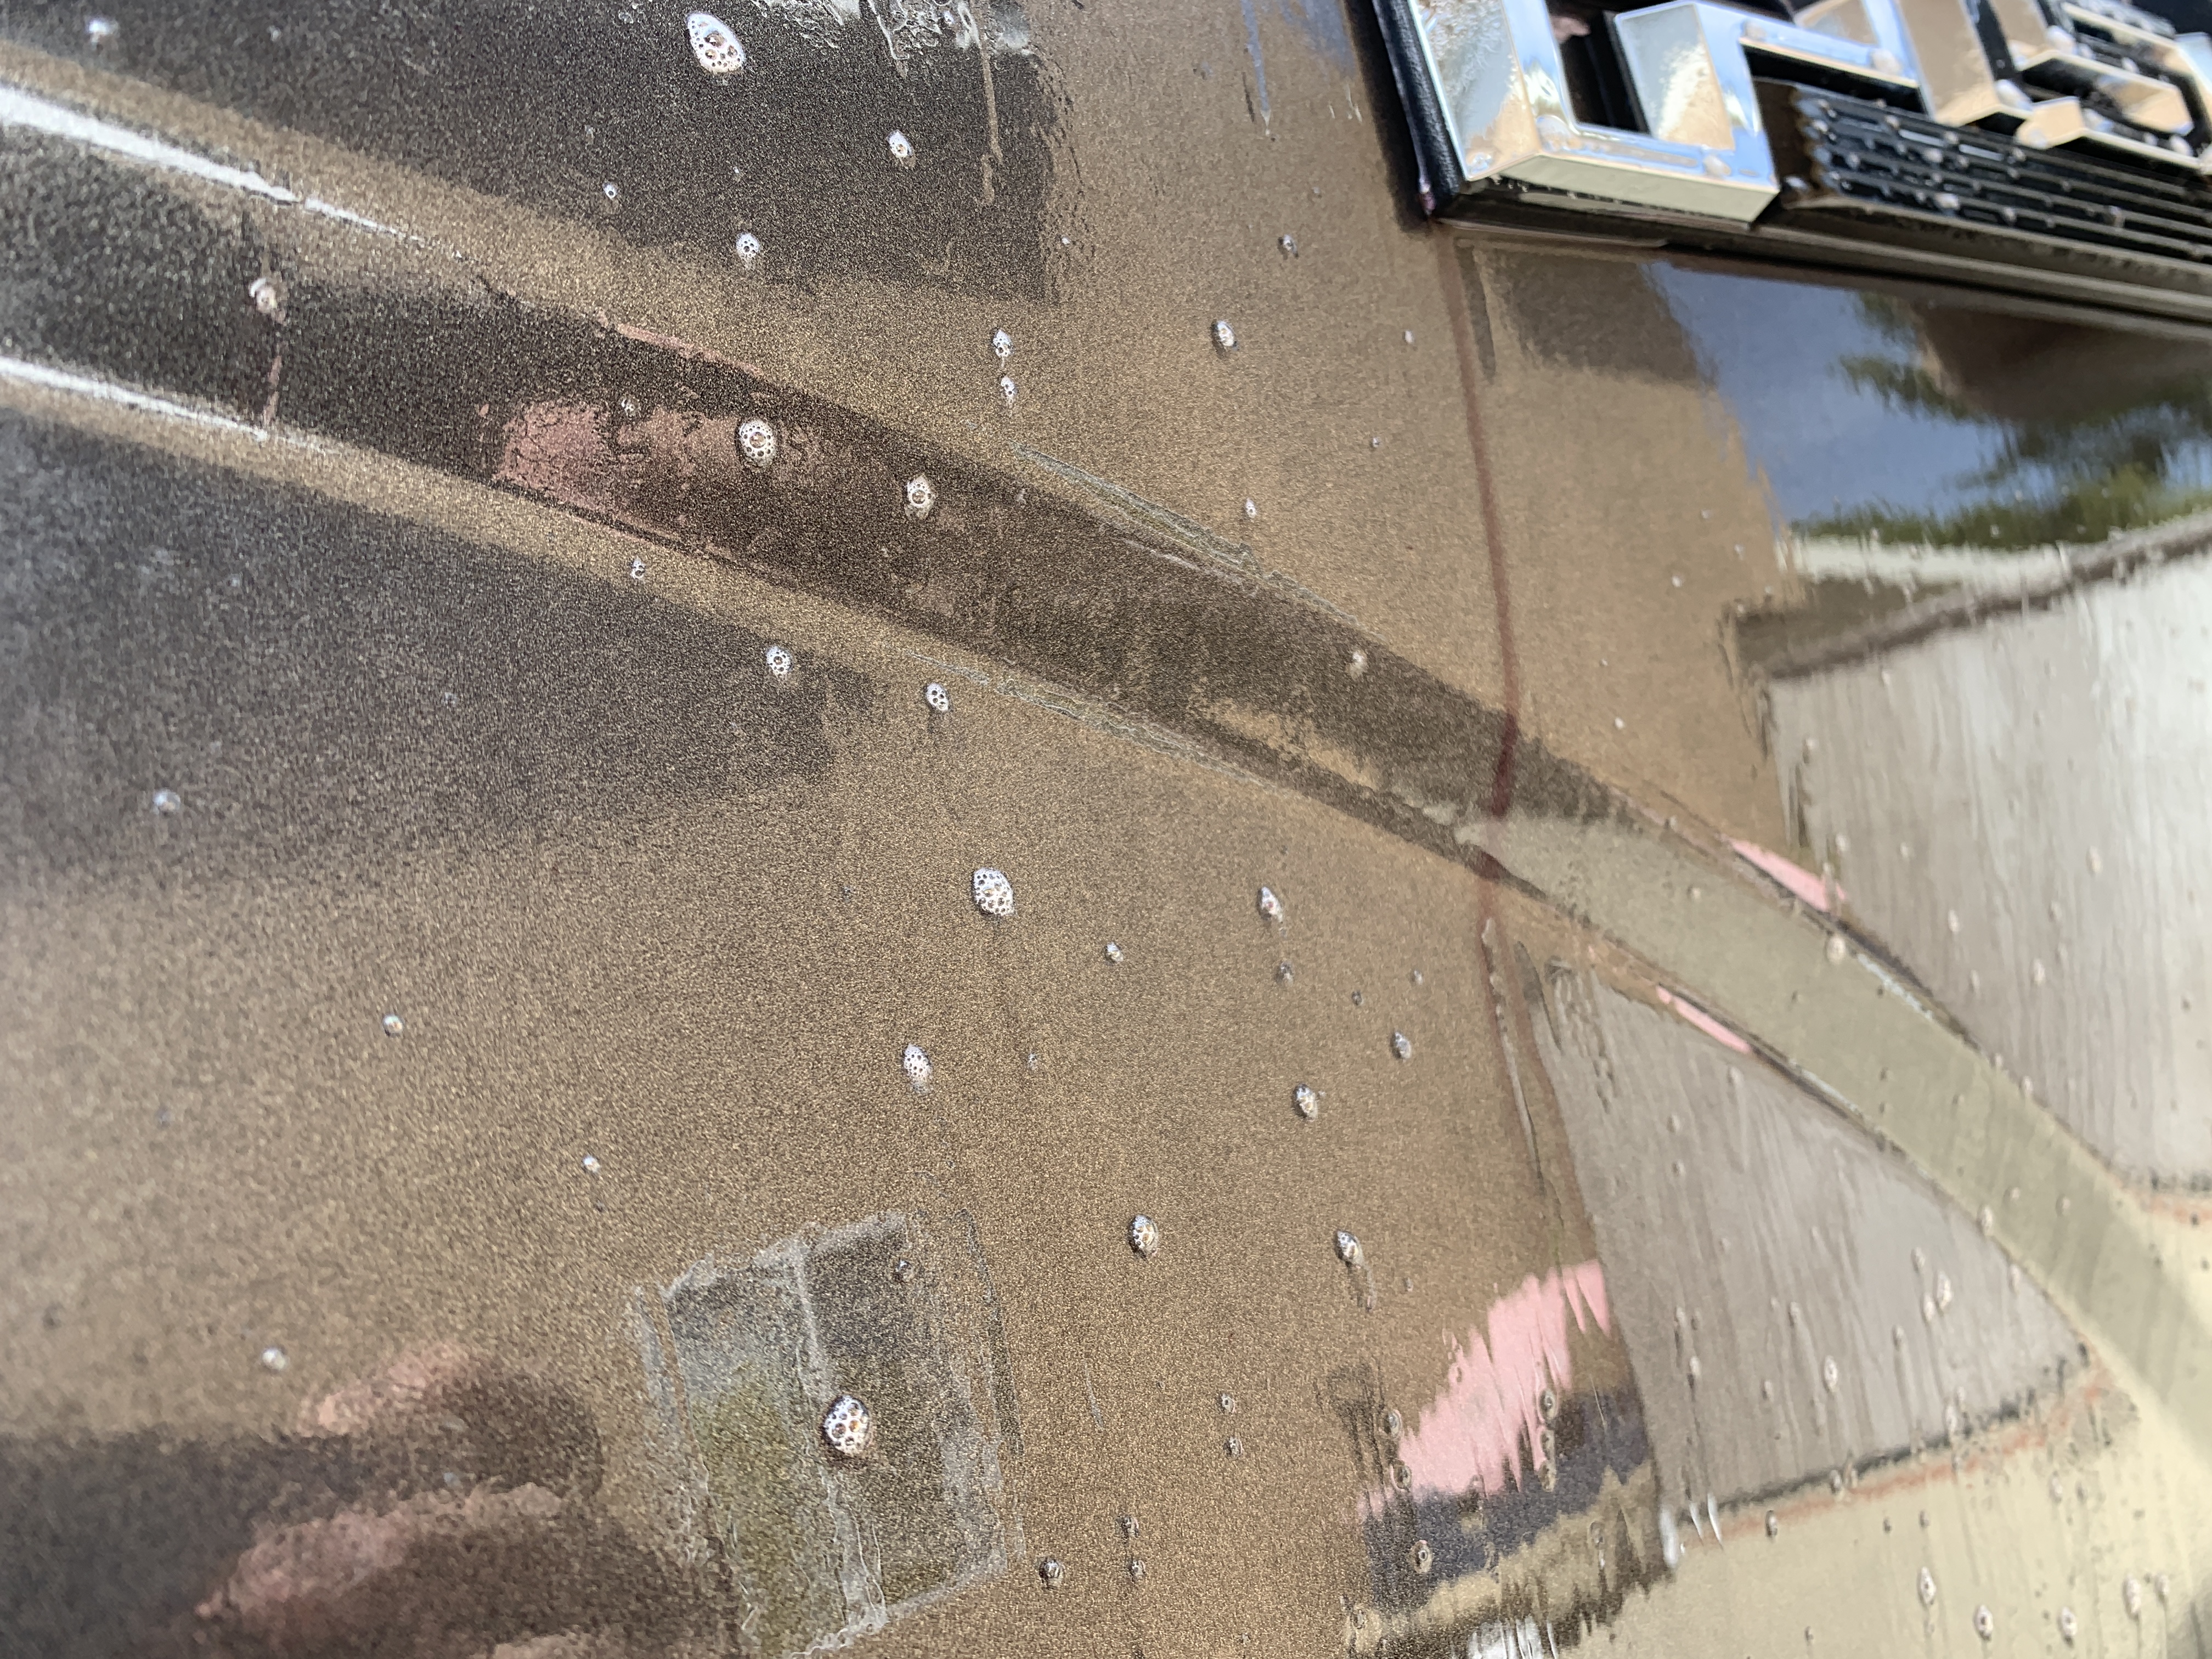
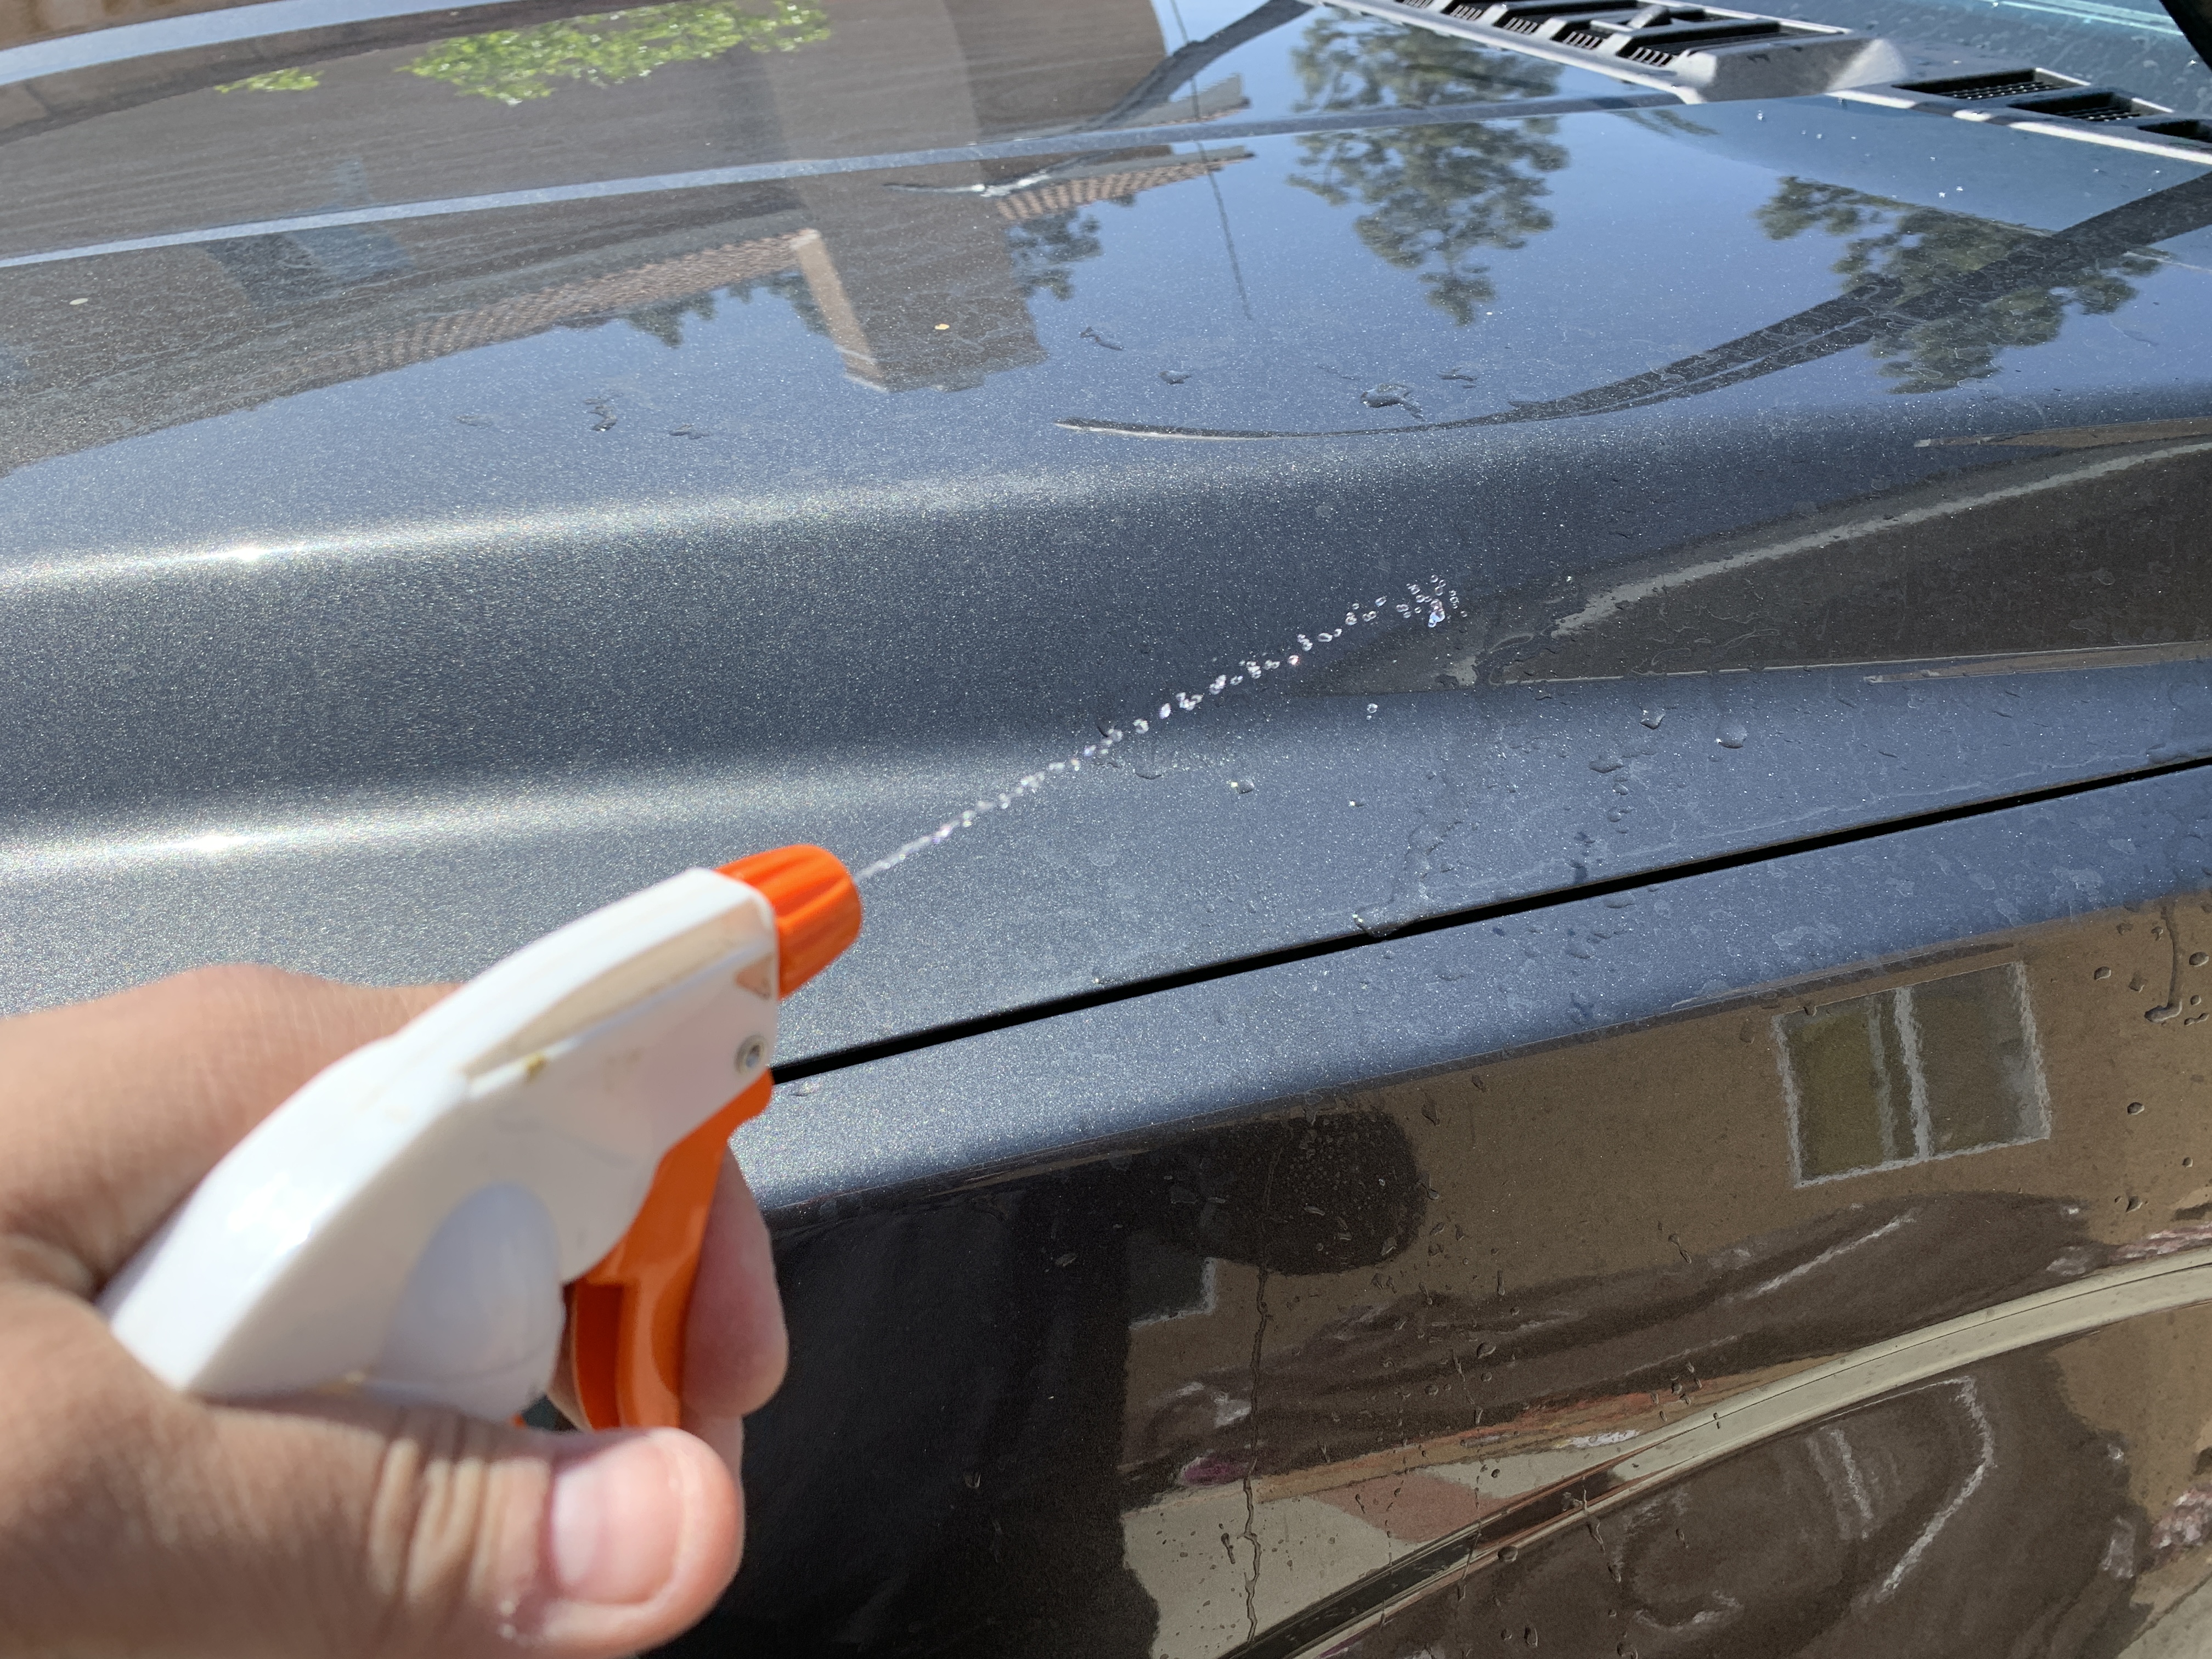
The next step is the chemical decontamination of the paint. This is the sophisticated way of saying, spraying iron remover all over your car and rinsing it off. Iron remover is a type of acid, which speeds up the oxidation process of iron. The reason why you spray this on is because you are trying to loosen any iron particles that are embedded in your paint.
You literally use this product and spray it all over your vehicle, and you will see the chemical reacting to the iron particles because you will see the chemical change into a purple or pink color. As the chemical reactions with the iron, it loosens it from the paint. You usually let the chemical dwell for about a minute or two before you rinse it all off with water. Make sure not to leave it on longer because it can leave marks all over your paint.

Iron remover have an active ingredient, thioglycolic acid (a.k.a. mercaptoacetic acid)– the same chemical that is used in hair perm products. You’ll find that same unpleasant odor when using iron remover on your vehicle. Some products smell really bad, and some smell just somewhat terrible. Either way, they are irritaing to the eyes & skin so try to wear a respirator, gloves, and clothing that covers your skin when using it.
How to Perform an Iron Decontamination
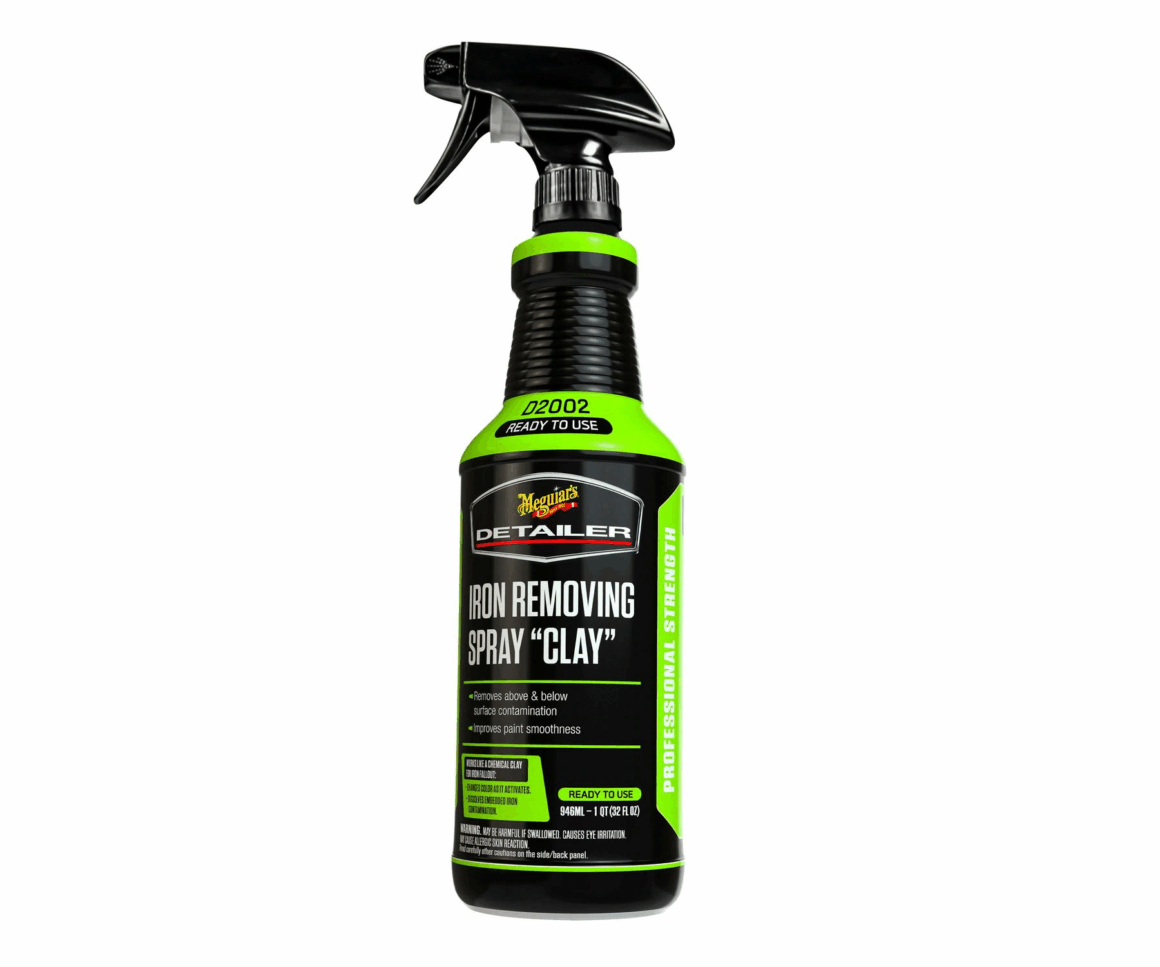
Mechanical Decontamination (Clay)
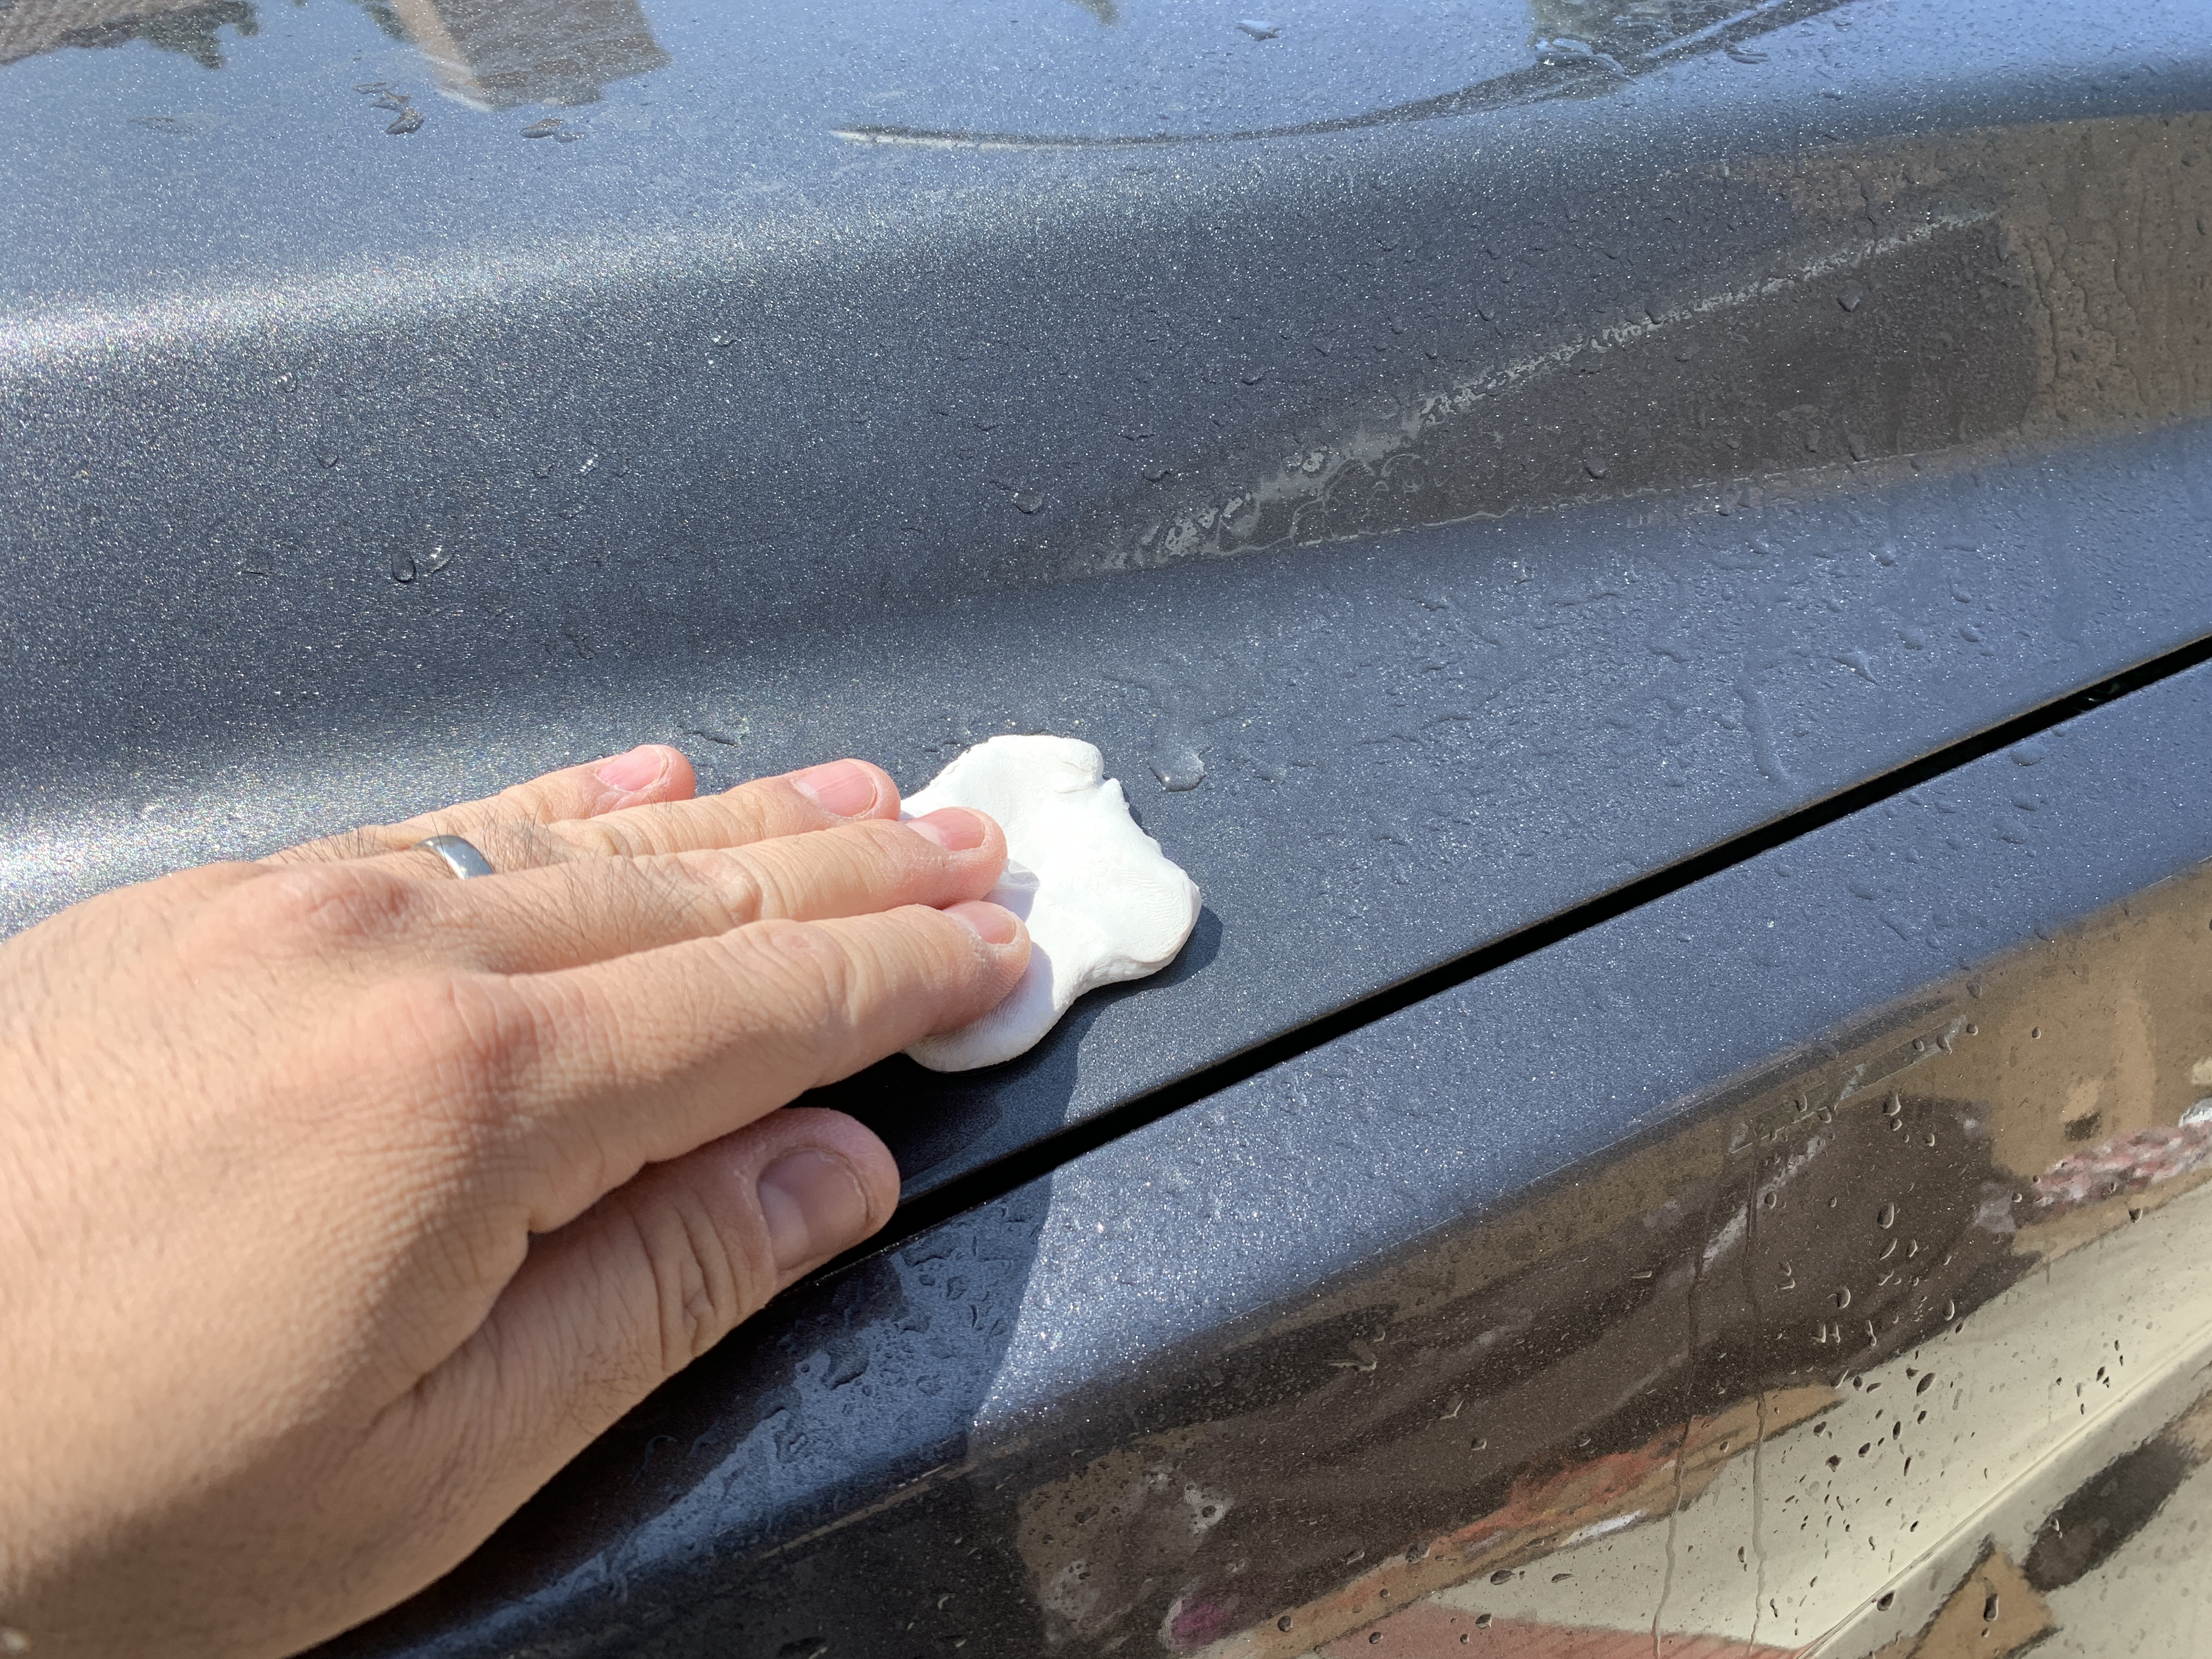
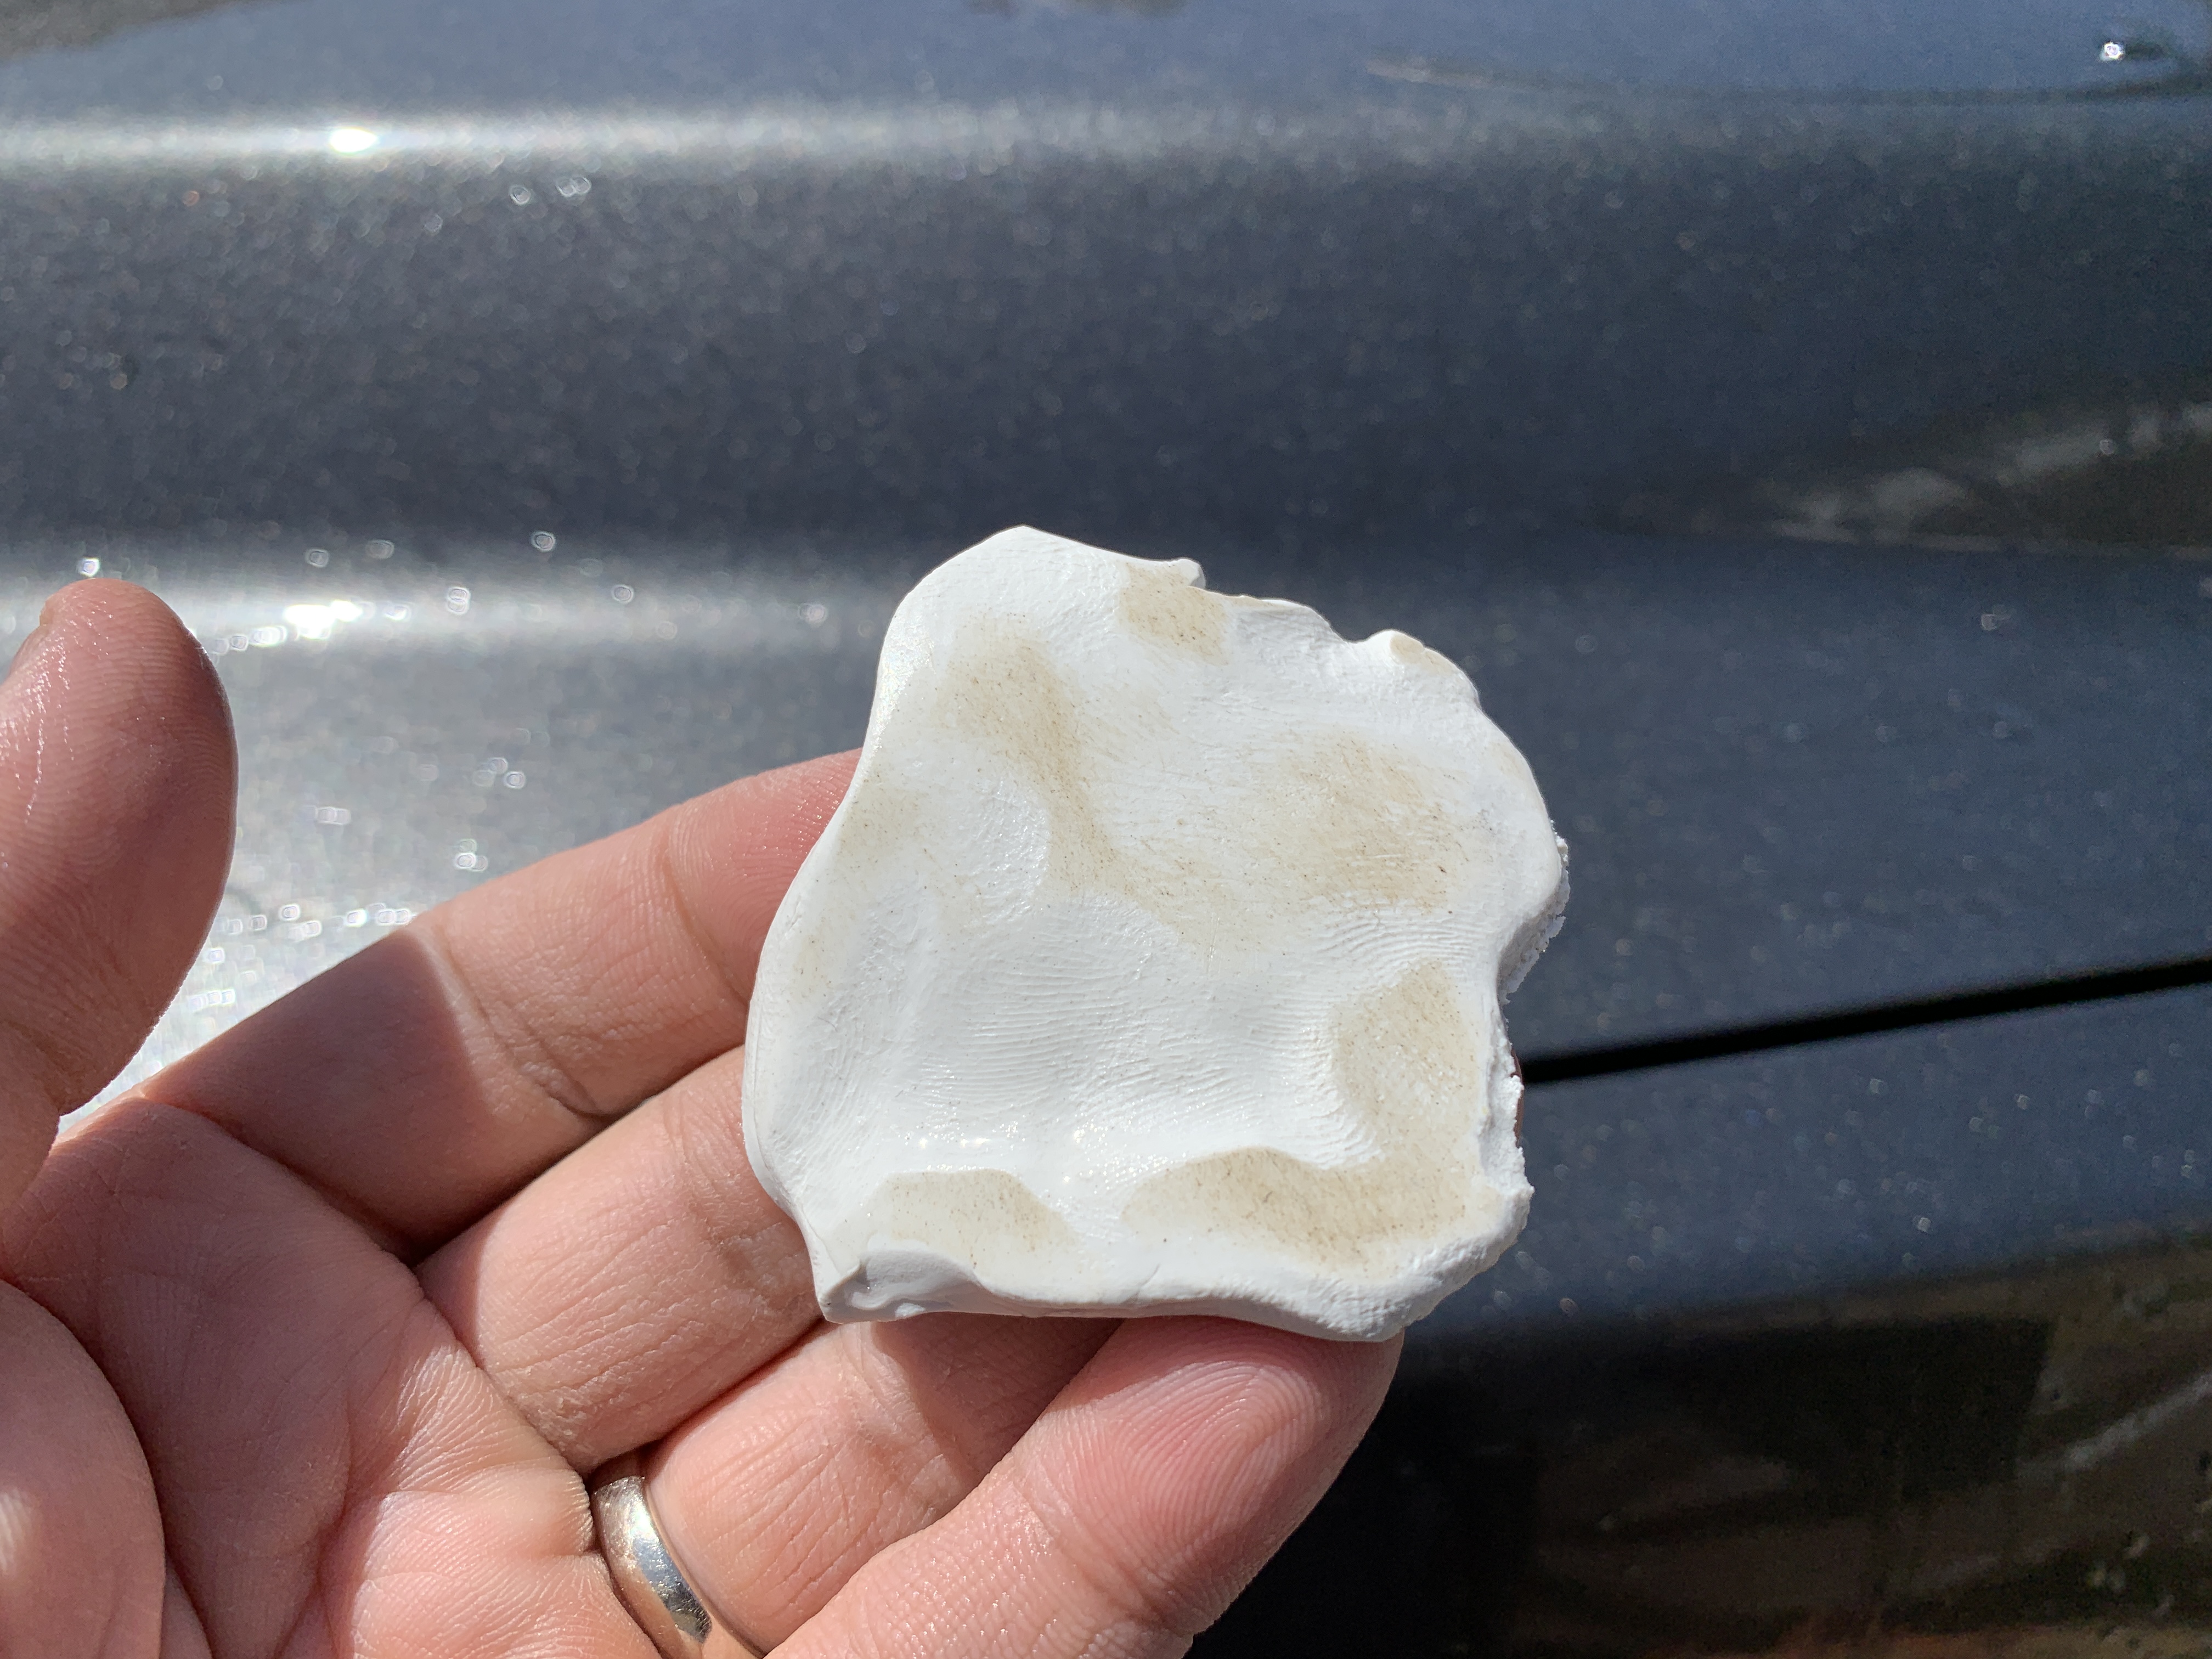
Mechanical decontamination is yet another complex sounding term that just means to use something like a clay bar to run along the surface of your paint (and even other surfaces) to pull additional contaminants from the paint. The reason why you do the chemical decon first is because you want to loosen up as much of the contaminants from the paint initially before you do the clay. If you clay without performing the chemical decontamination step first, you will more quickly clog up the clay material.
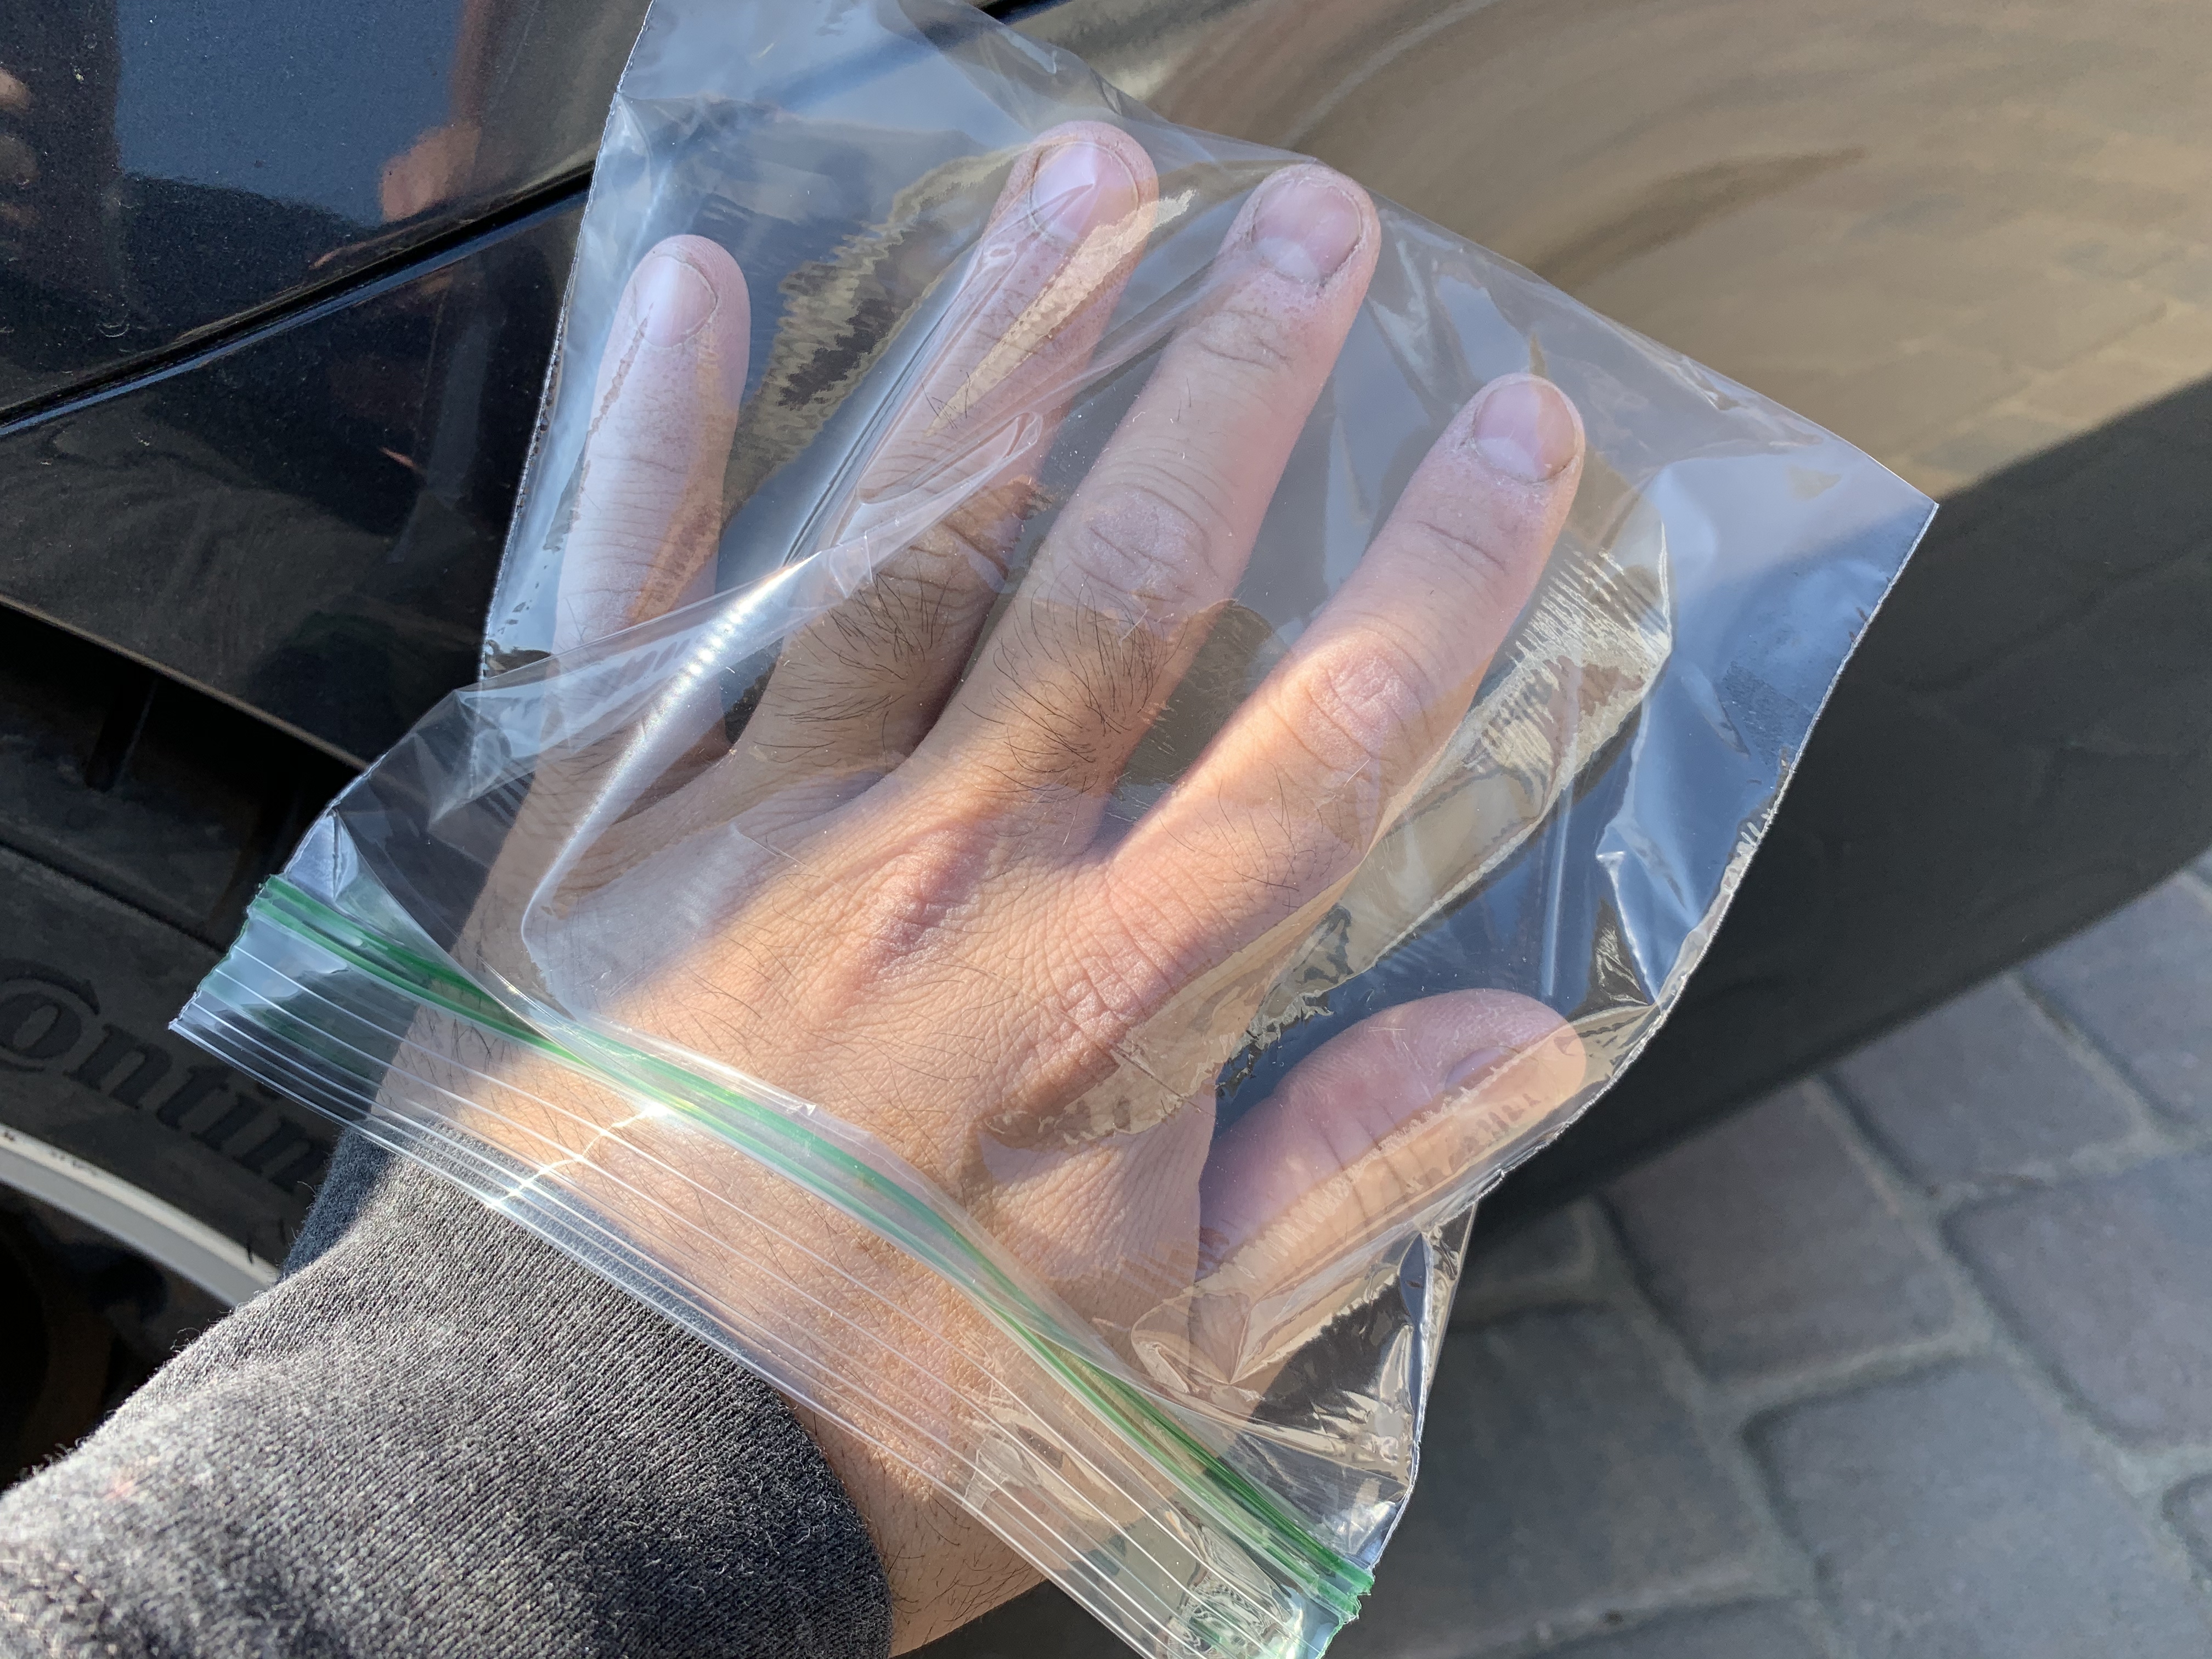
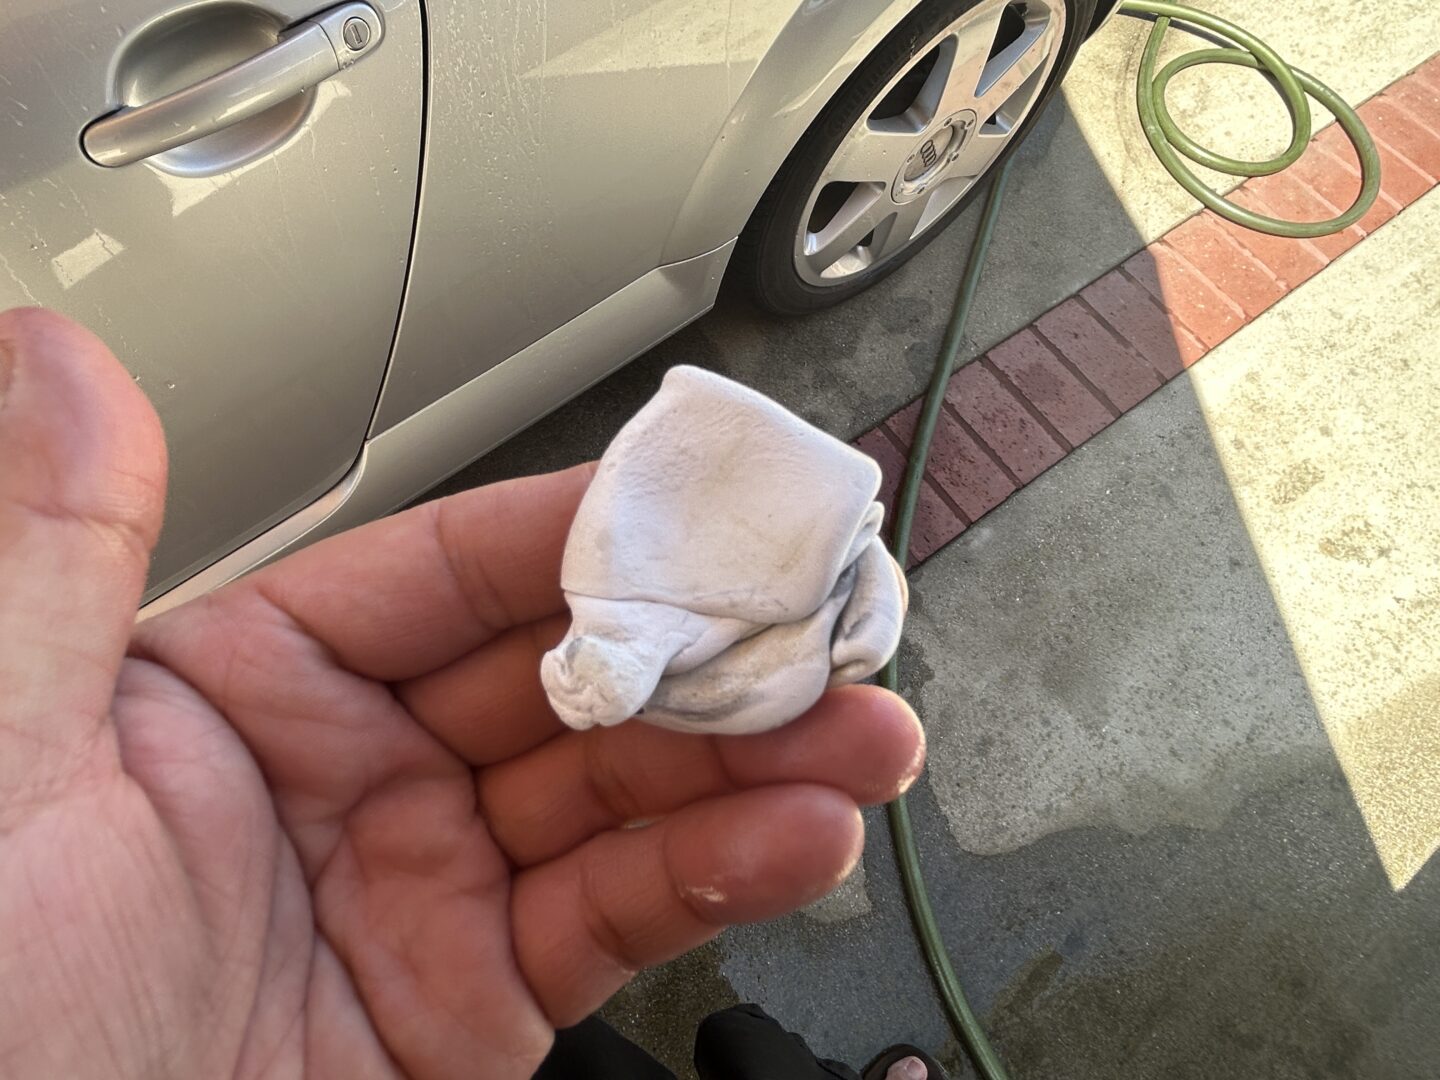
The standard test to tell if you if your car needs to be clayed is by putting your hand inside of a Ziploc bag and running your hand along the paint. If it feels smooth, then your car doesn’t need a mechanical decontamination. If it feels gritty, then using clay will help pull those contaminants off the paint.
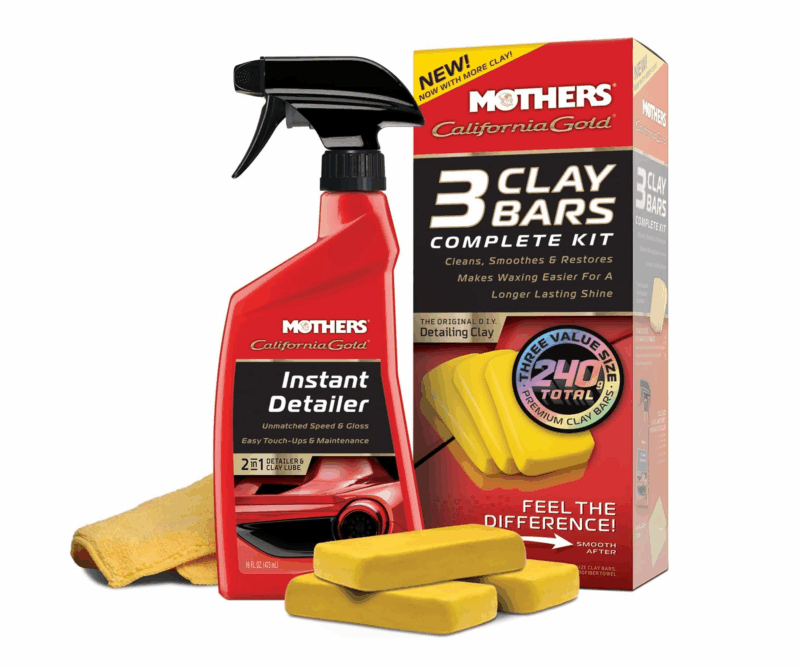
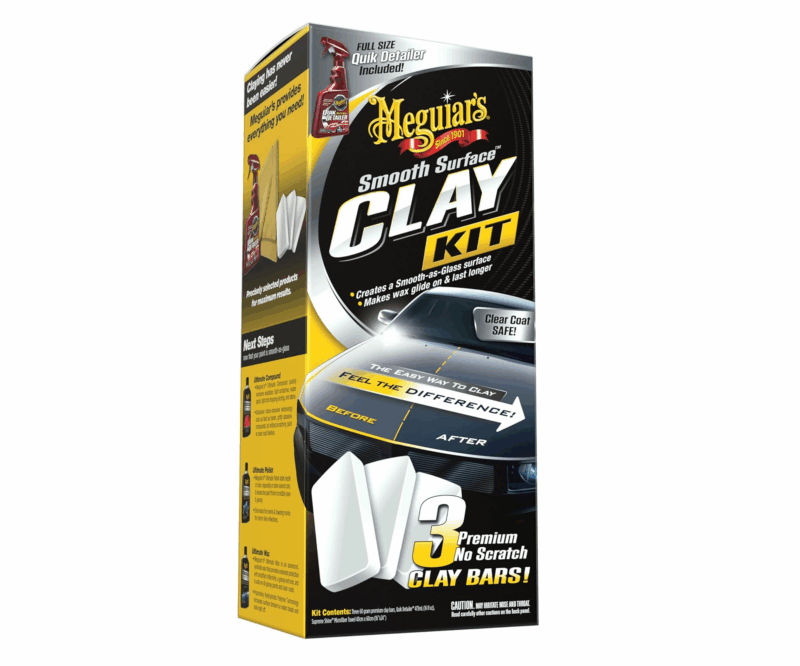
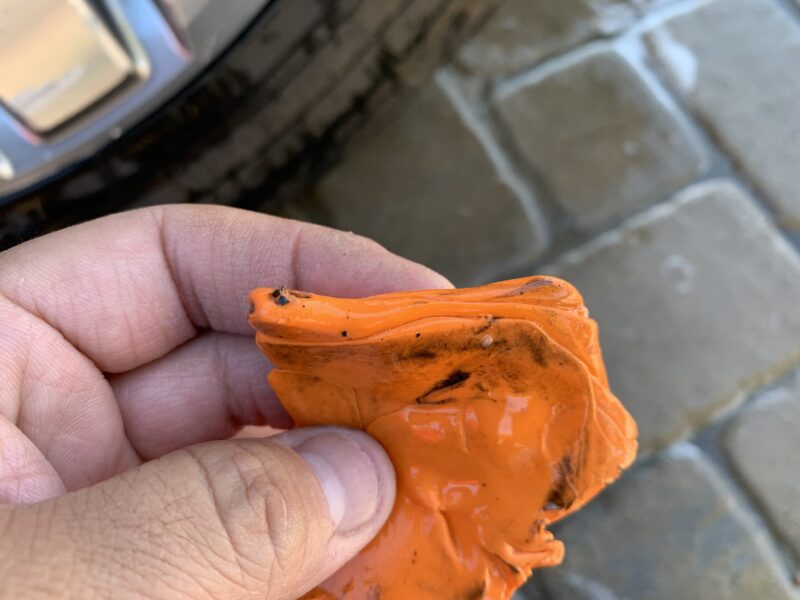
There are a few different products that perform this claying step. You have your typical clay bars, and then you’ve got clay towels, clay mitts, clay gloves, and more. My experience is that clay bar will always work out well (use a known brand name clay, not an unknown brand). I’ve used no-name brands and they tend to be very stiff clays that don’t mold well.
When using clay, you simply rip off about half or less of your clay bar, and spread it out with your hands. Use this spread piece of clay to run back and forth along with some clay lubricant on your paint moving panel-to-panel. As you use the clay, it will get clogged up with contaminants. When this happens, simply fold it over onto itself and spread it out until you have a clean surface and continue to work.
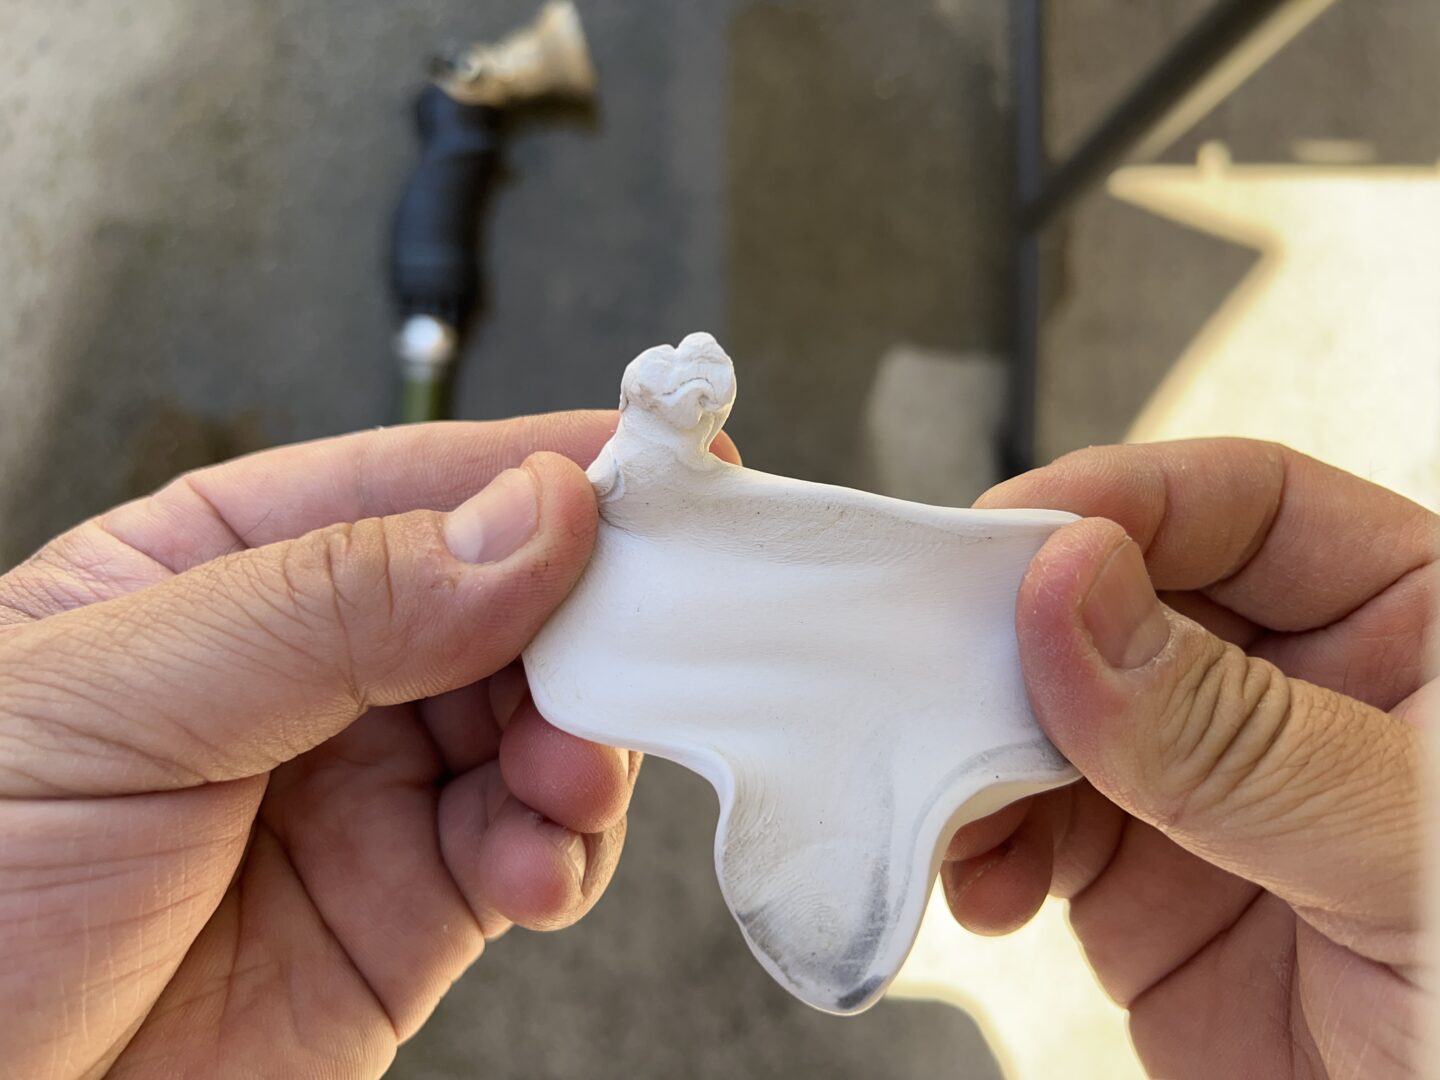
You’ll need to keep applying clay clubricant along the whole process as you never want that clay bar to run across your paint dry or else it will scratch and marr your paint. Clay lubricant can be purchased as clay lubricant, but you can also use a diluted waterless wash. Basically you need something to keep the clay lubricated when used on the car’s paint.
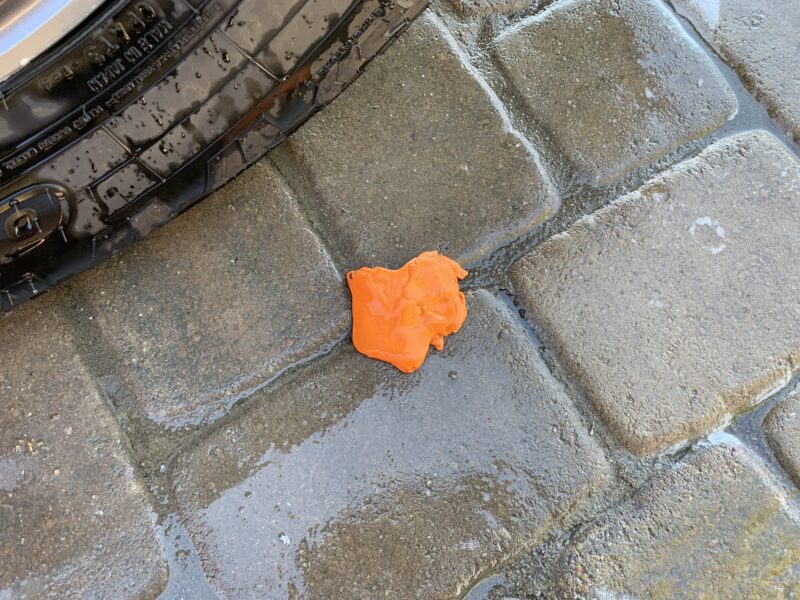
Remember if you ever drop your clay bar on the ground, call it done and throw it away. Once it hits the ground, it will collect all the dirt and particles off the floor. If you try to re-use it, it will be guaranteed to scratch your paint.
With the other clay products, they are typically rubberized materials sprayed onto the mitt/glove/towel, and just like the clay bar, is run along the paint. The benefits of these products is that if you drop it, you can just rinse it off with water and continue working. The downsides are that they don’t work as well as clay bars, and the rubber material can sometimes melt, rendering it useless.
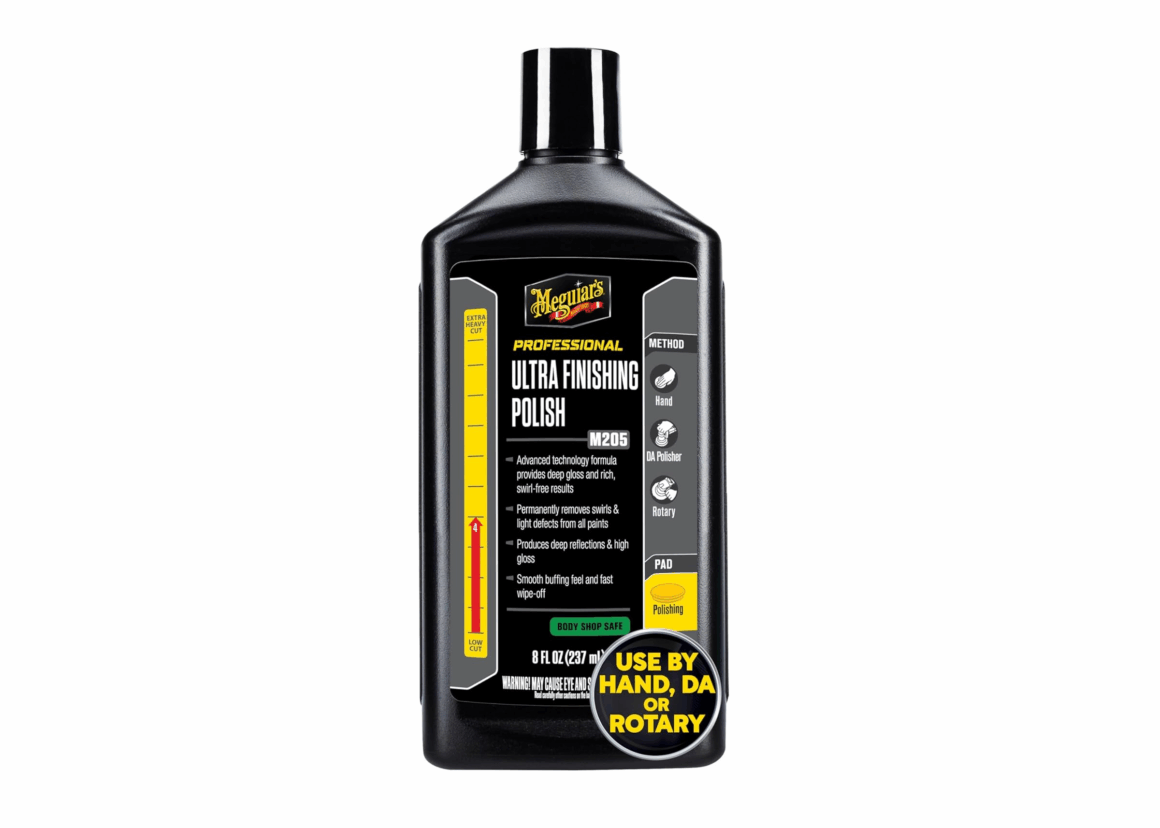
Polishing The Paint *Optional
This stage of polishing the paint is highly debatable. Some say you must always polish the paint to get the best shine and to prepare a more uniform surface for the coating to adhere to. I do agree with this, but what I disagree with is that you have you do it before applying a coating.
There are other things to consider whenever you perform any sort of paint correction such as polishing the paint. Anytime you physically polish the paint, you are actually abrading the surface of the clear coat with a polisher. Even if you are polishing away just a few mils of clear coat, it’s still eliminating some of that protection you have for your paint.
So it all boils down to, do you want that extra clarity in your paint at the expense of a very slight reduction to your clear coat protection, or are you okay with decent shine but keeping that extra bit of protection of your paint. This is decision is totally up to you depending on what you are looking for. If you are not extremely particular (i.e. you are looking for scratches or examine paint in the light), then it might not matter to you as a new clean car may still look nice and shiny to you.

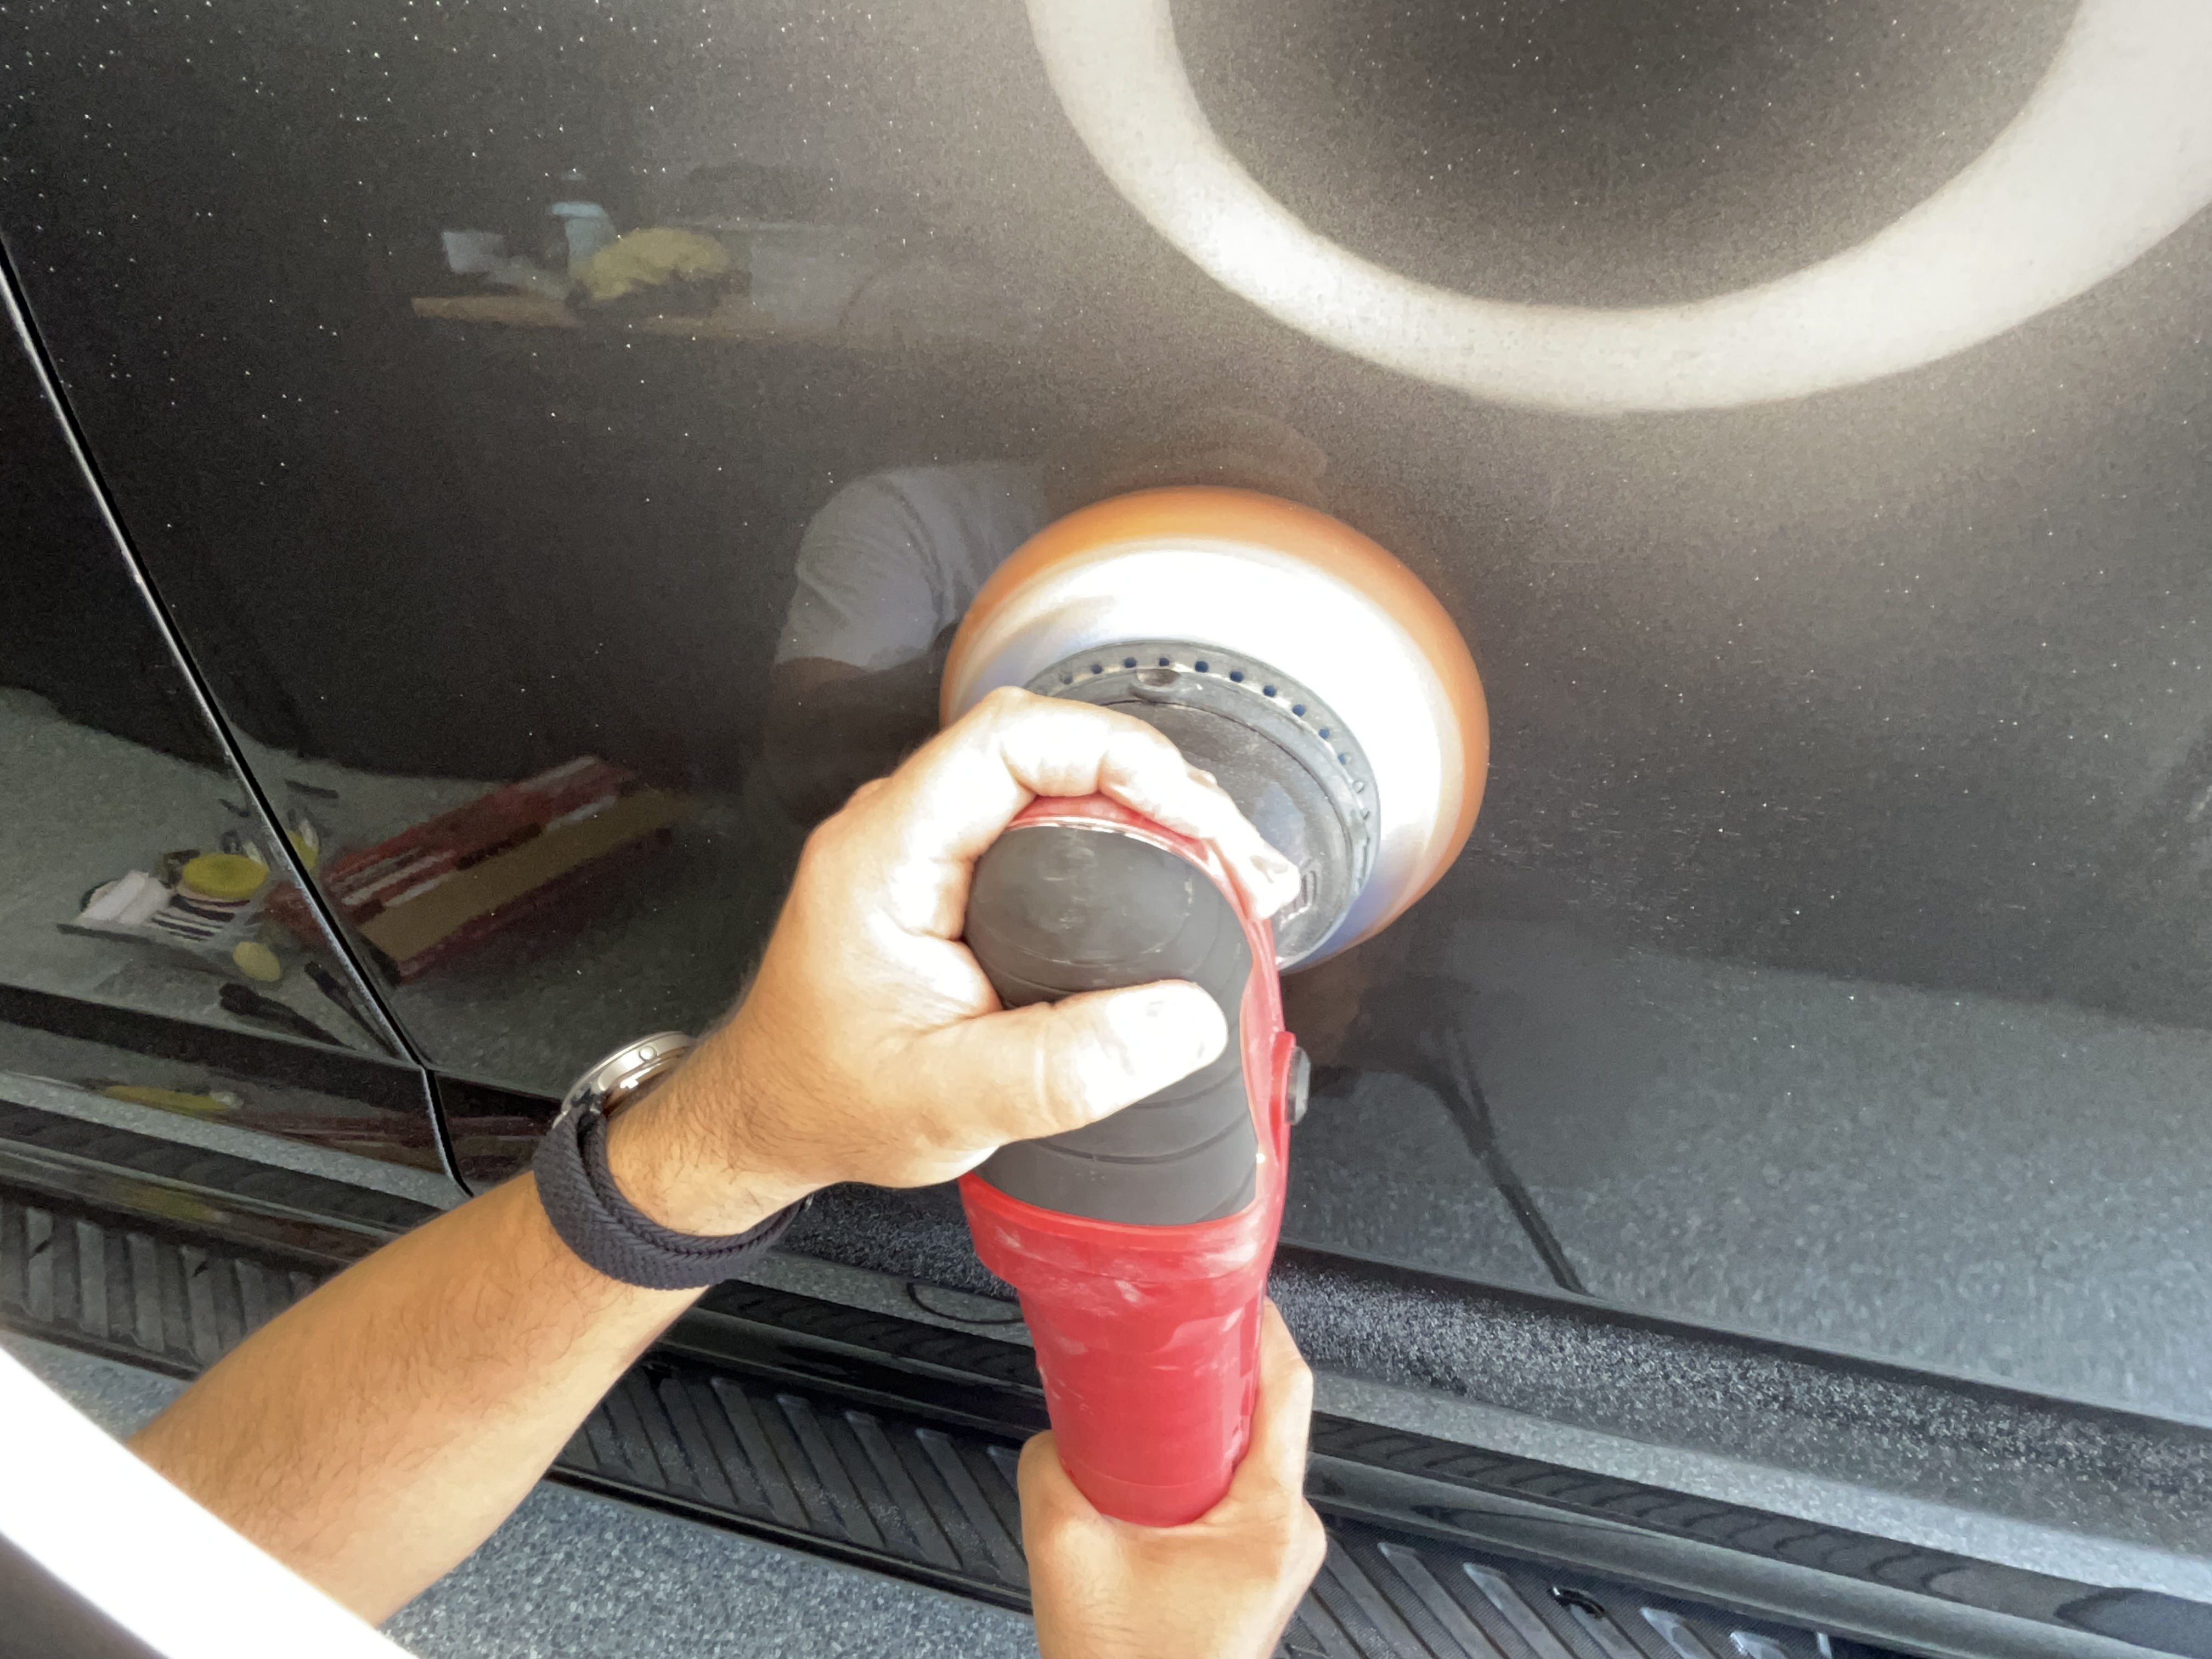
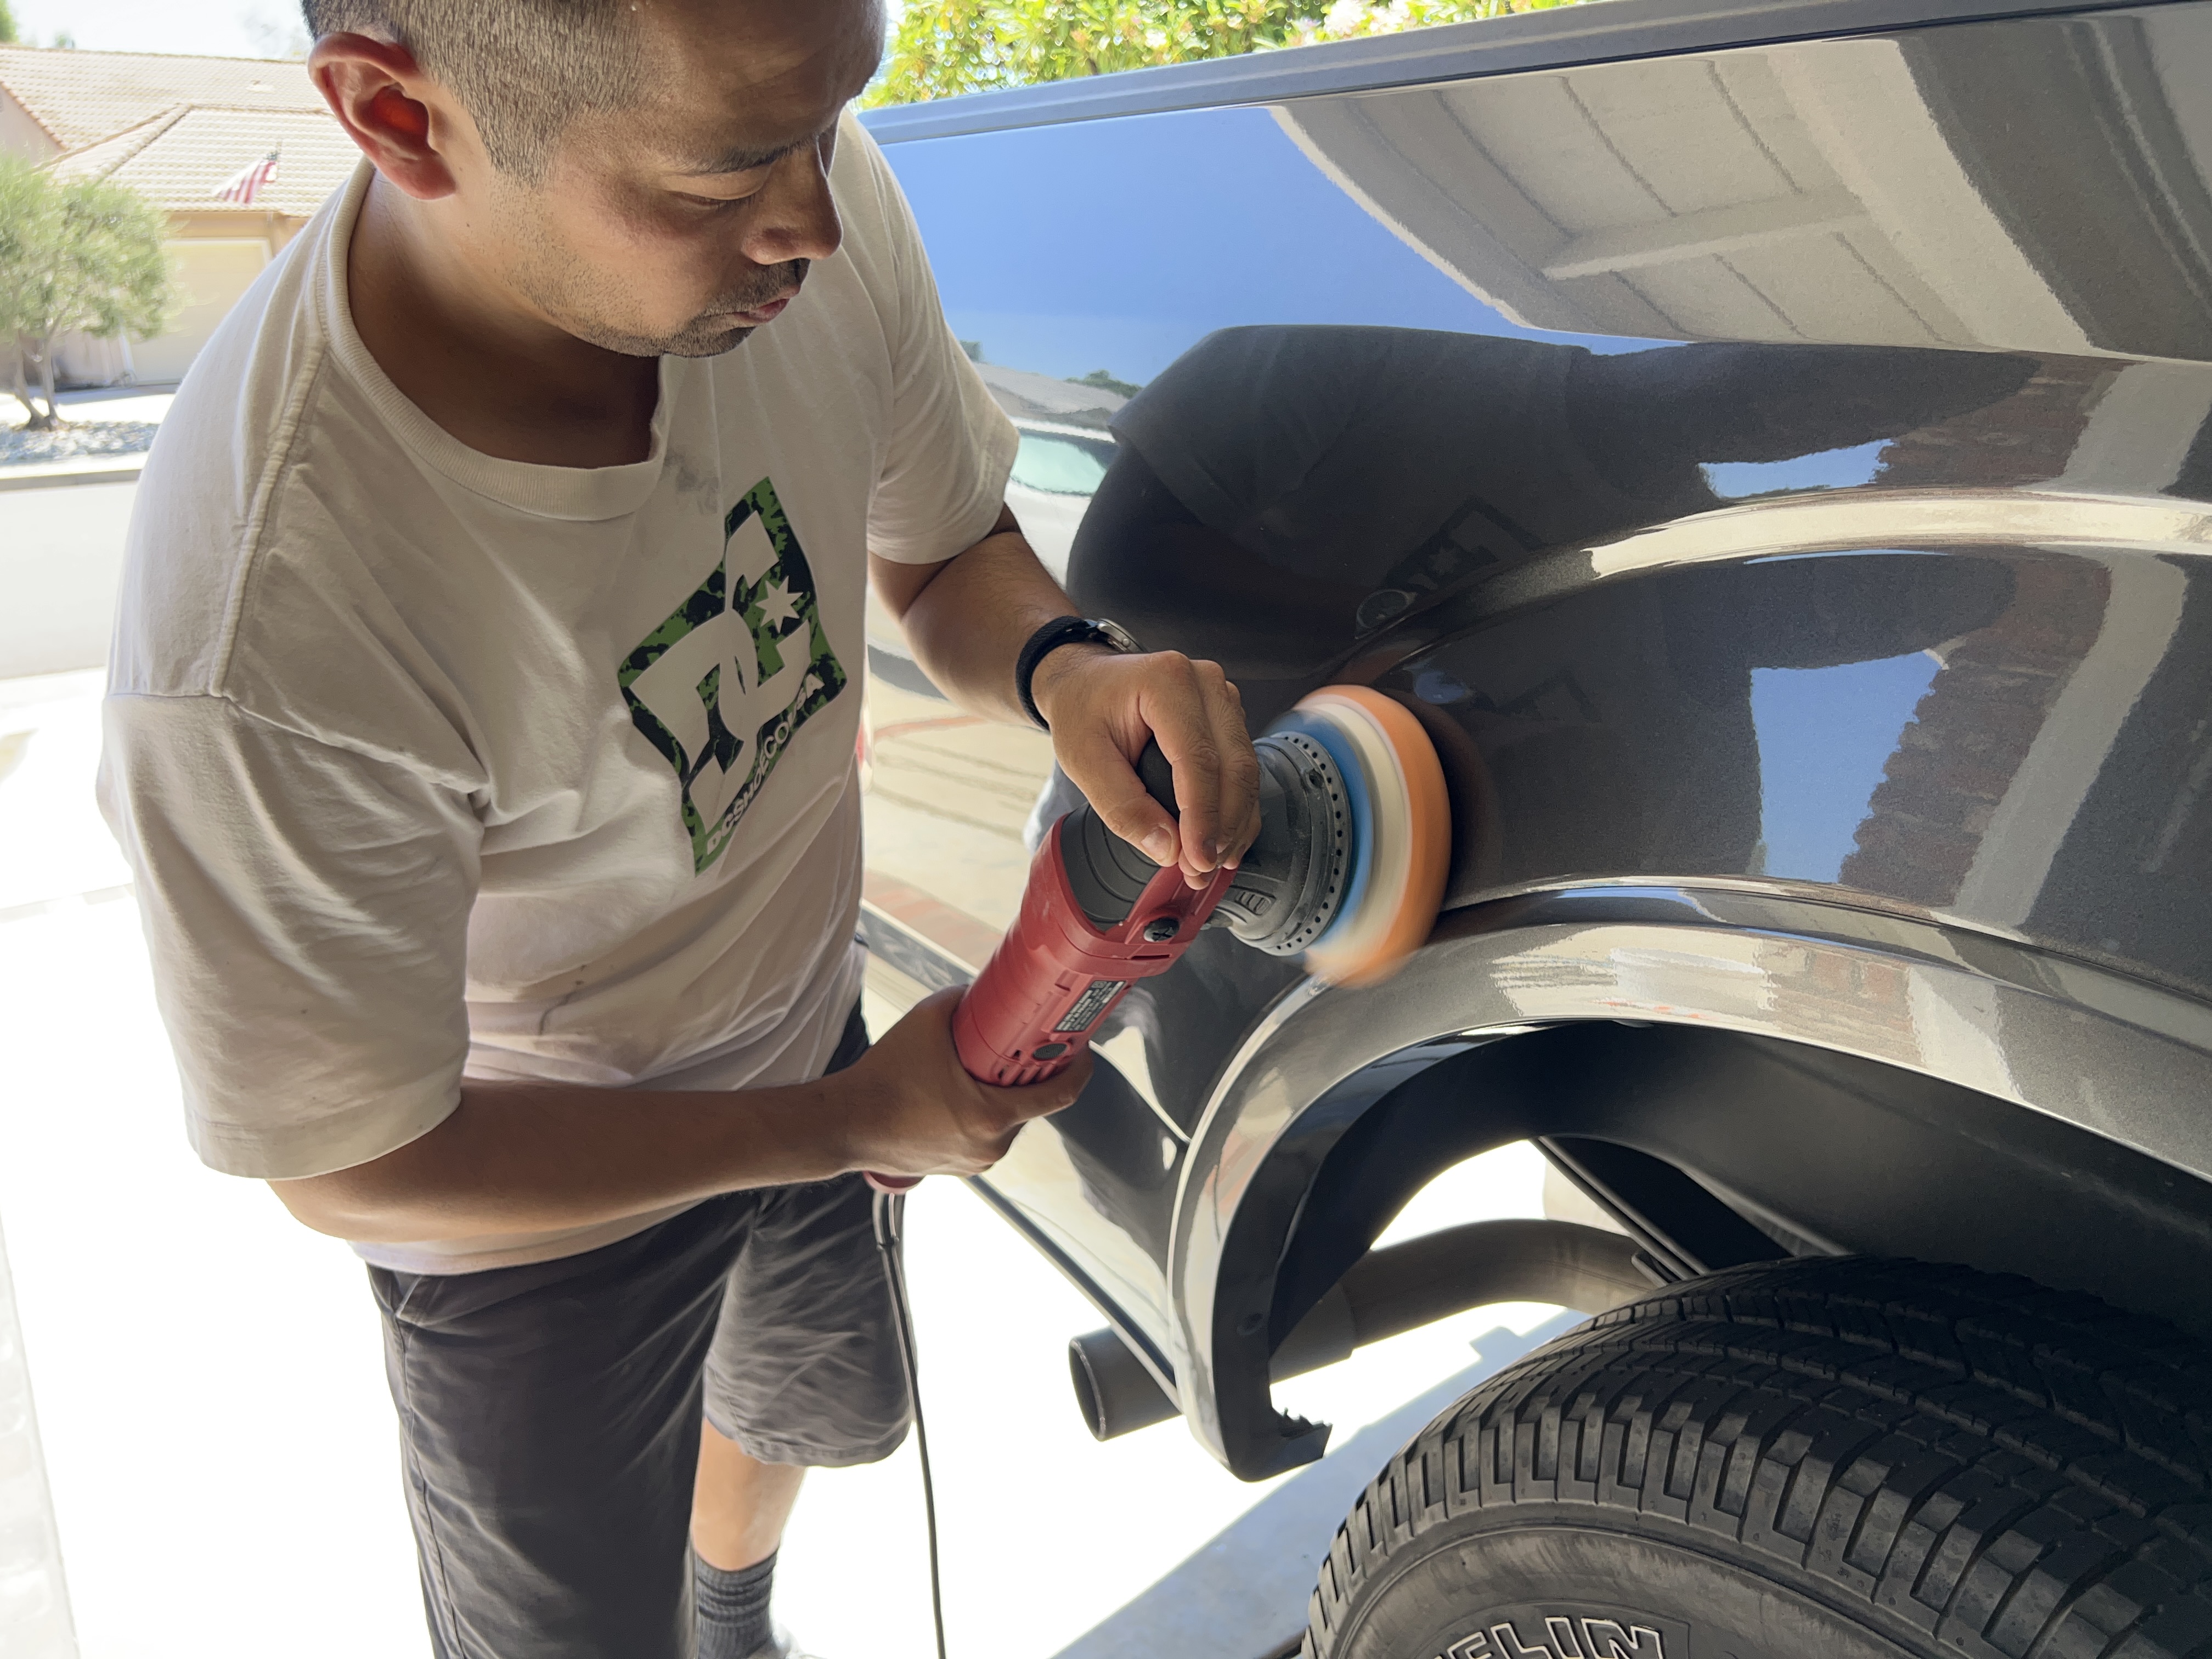
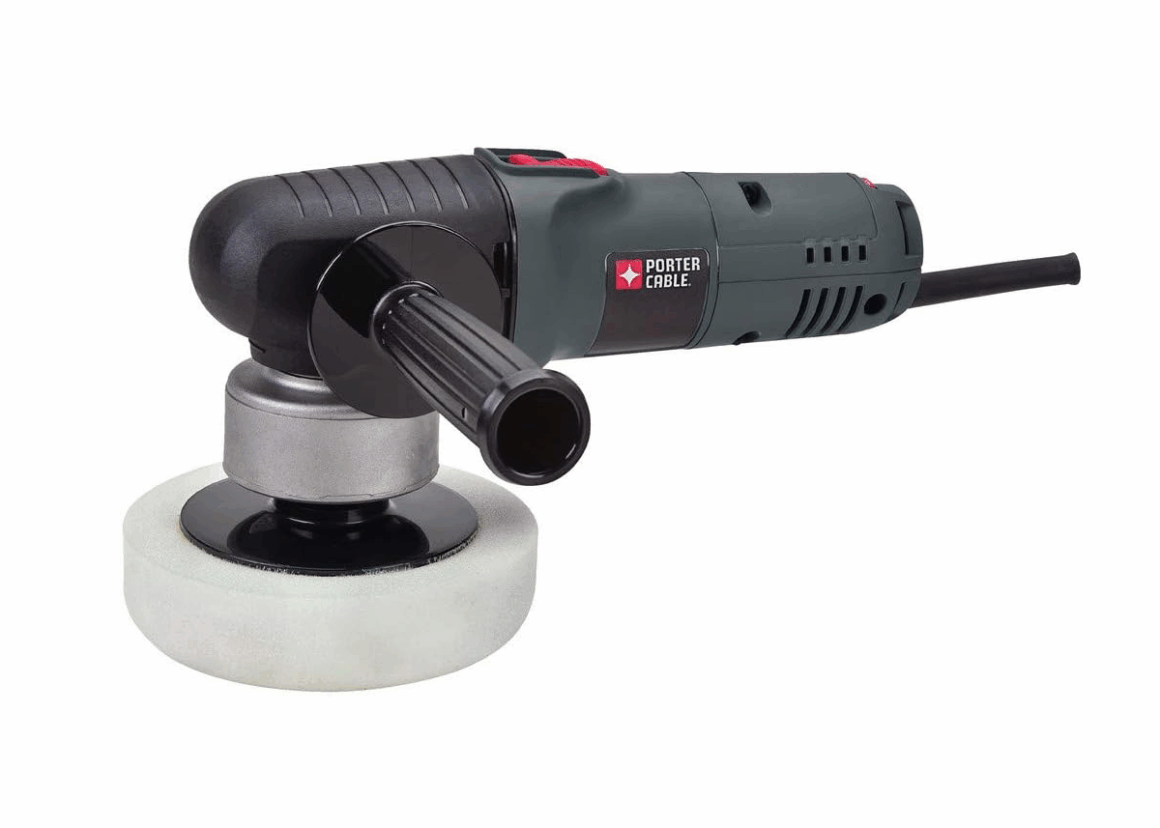
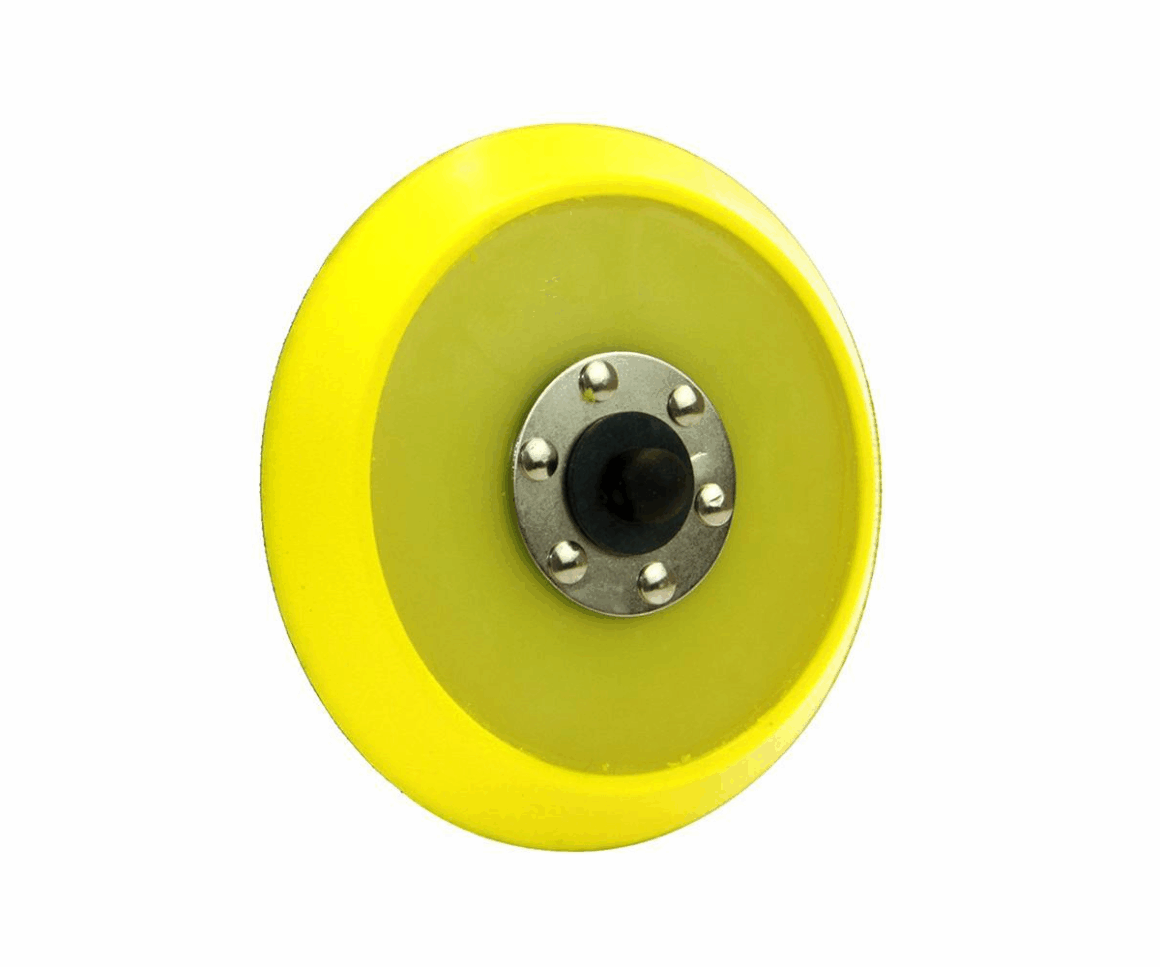
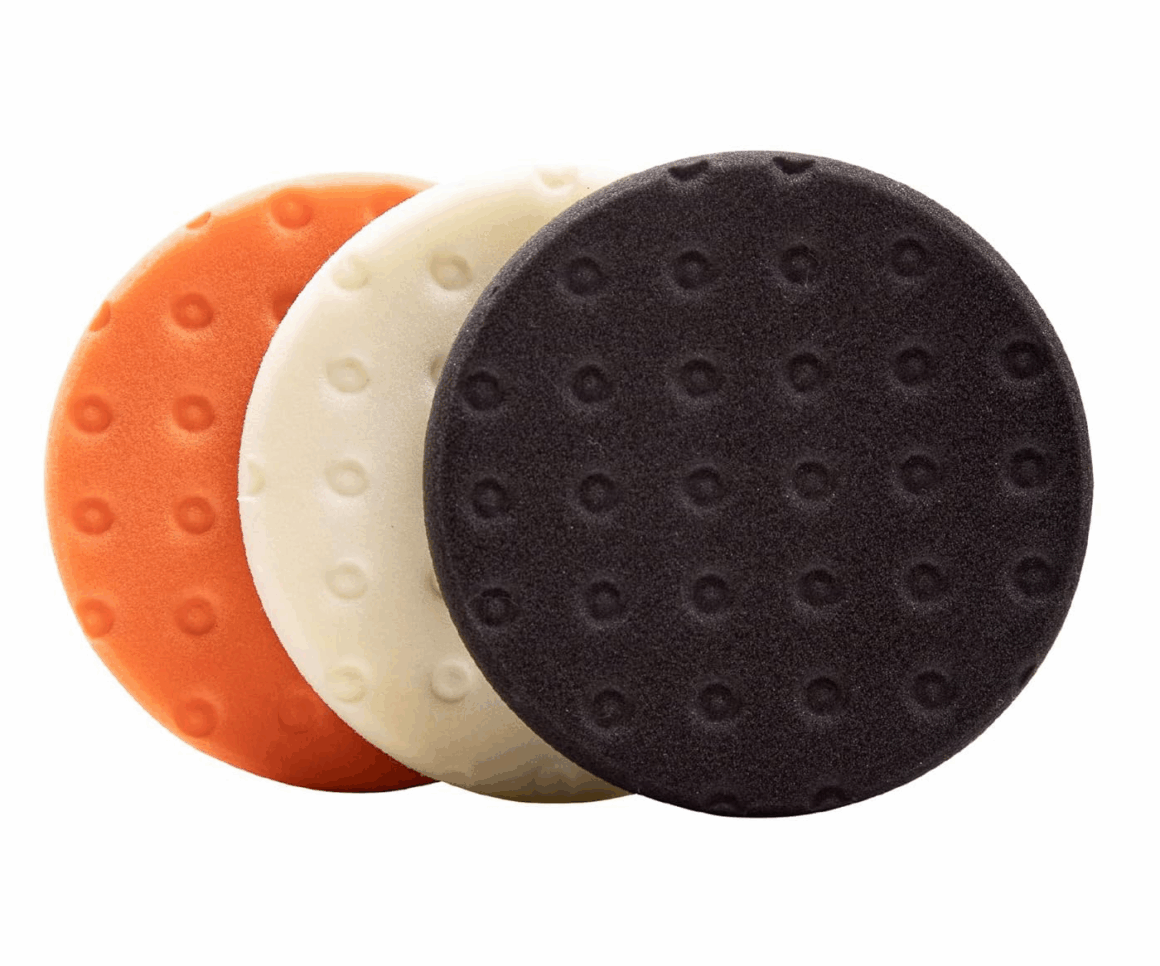
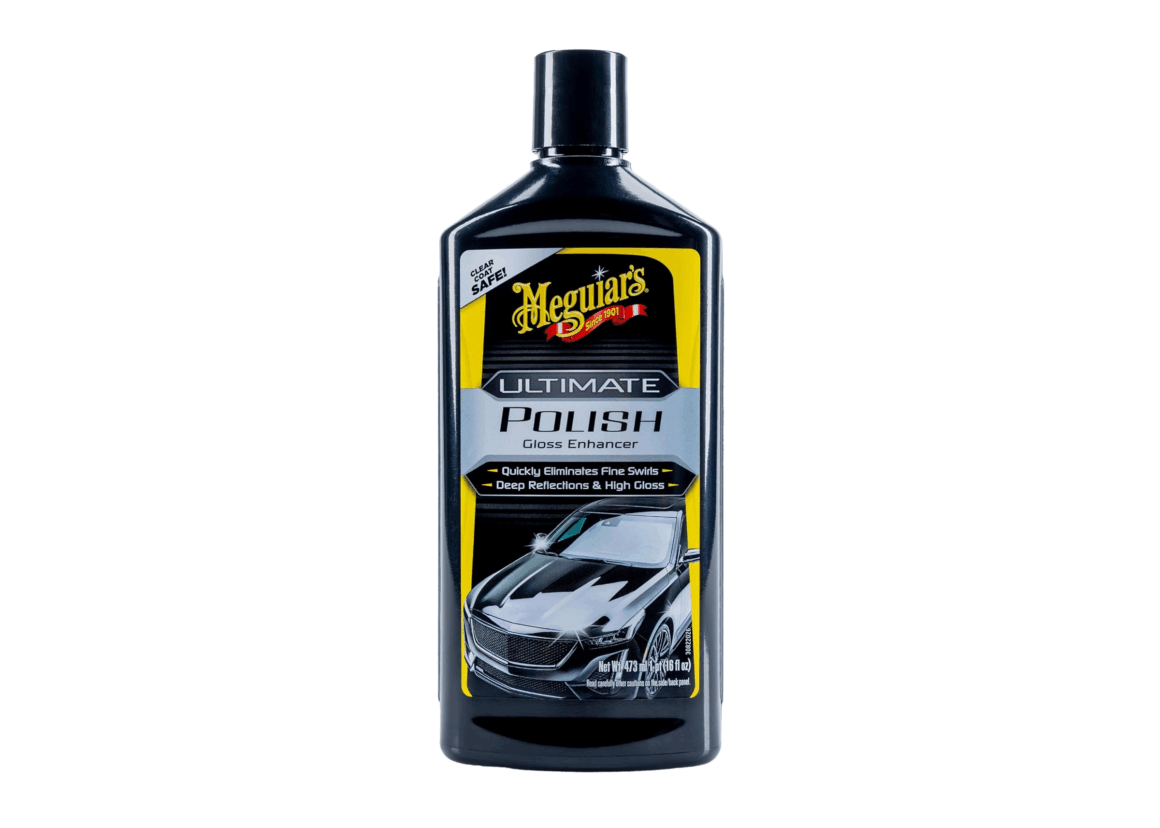
If you choose to polish, a random orbital machine is more than enough for polishing your paint. Since the car is new, you probably aren’t trying to polish out scratches, but improving the clarity of the paint. If I were to polish a new car’s paint, I would avoid going aggressive, and stick to a random orbital polisher with light-to-medium cut polishing pads, and a polish (not a compound) to keep things mild. There is a lot to go through regarding paint correction and polishing itself, if you want to go in-depth into paint correction, you can really go down the rabbit hole as there is a lot of information to know.
Surface Prep
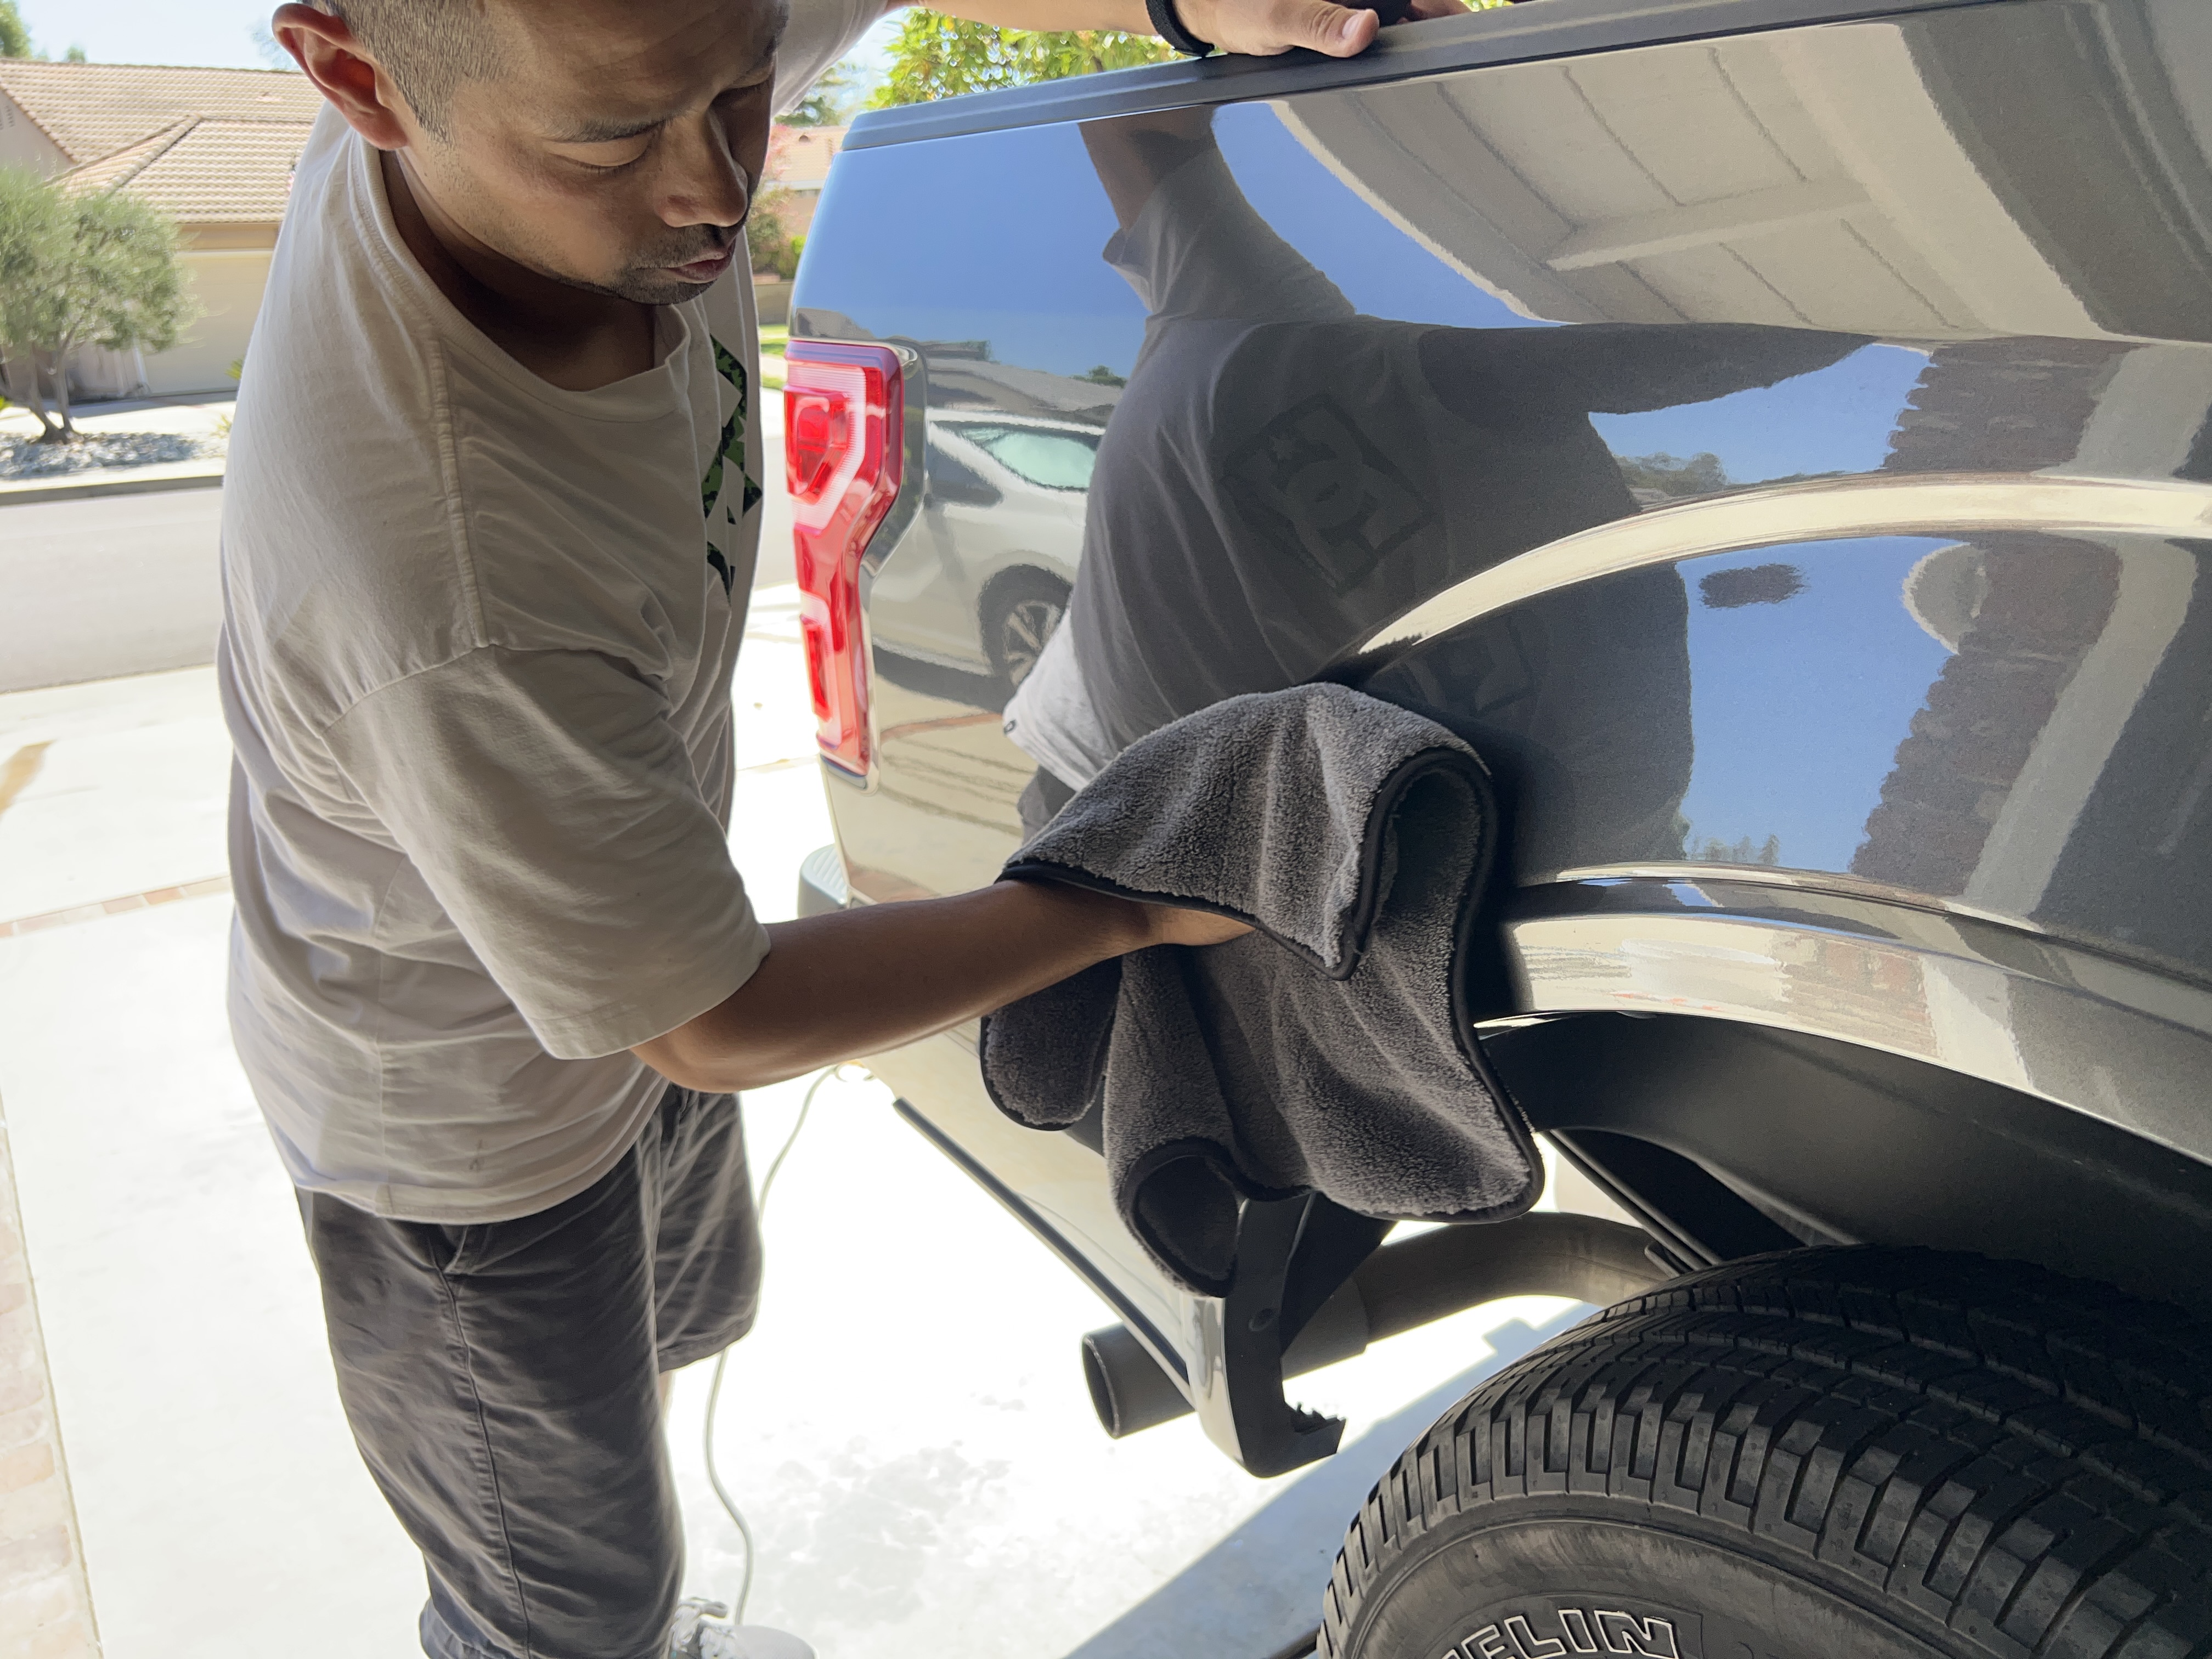
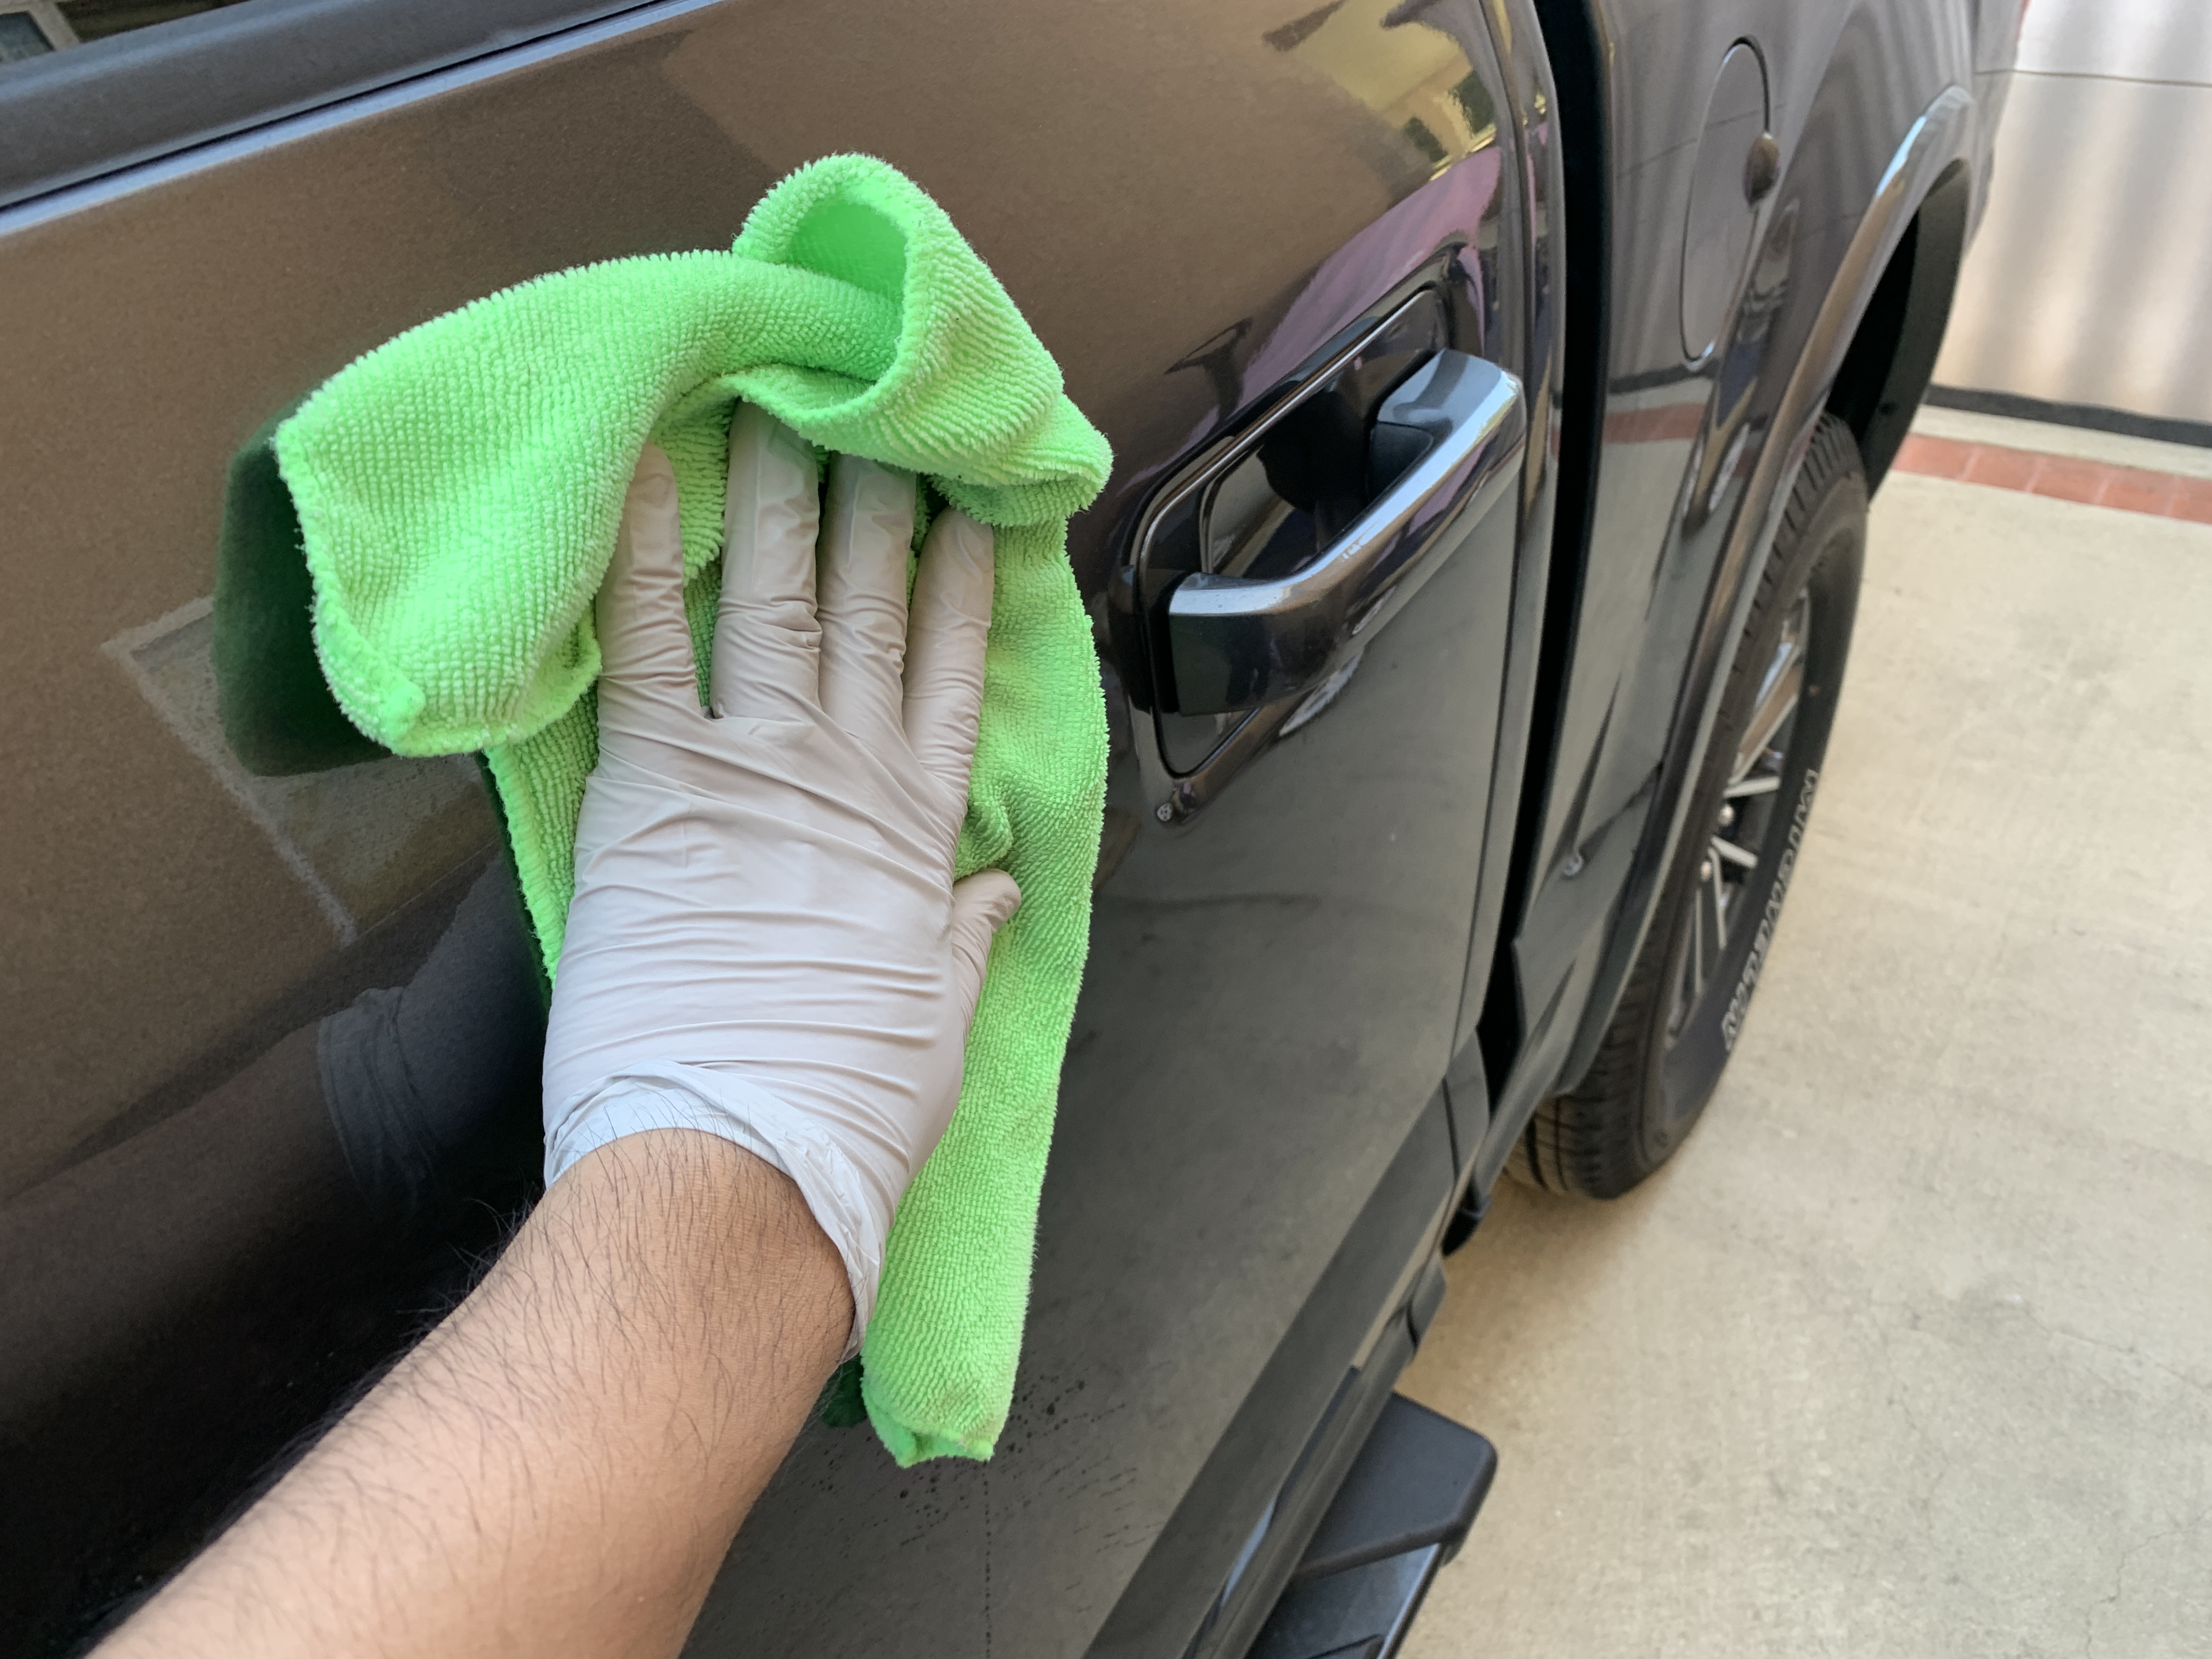
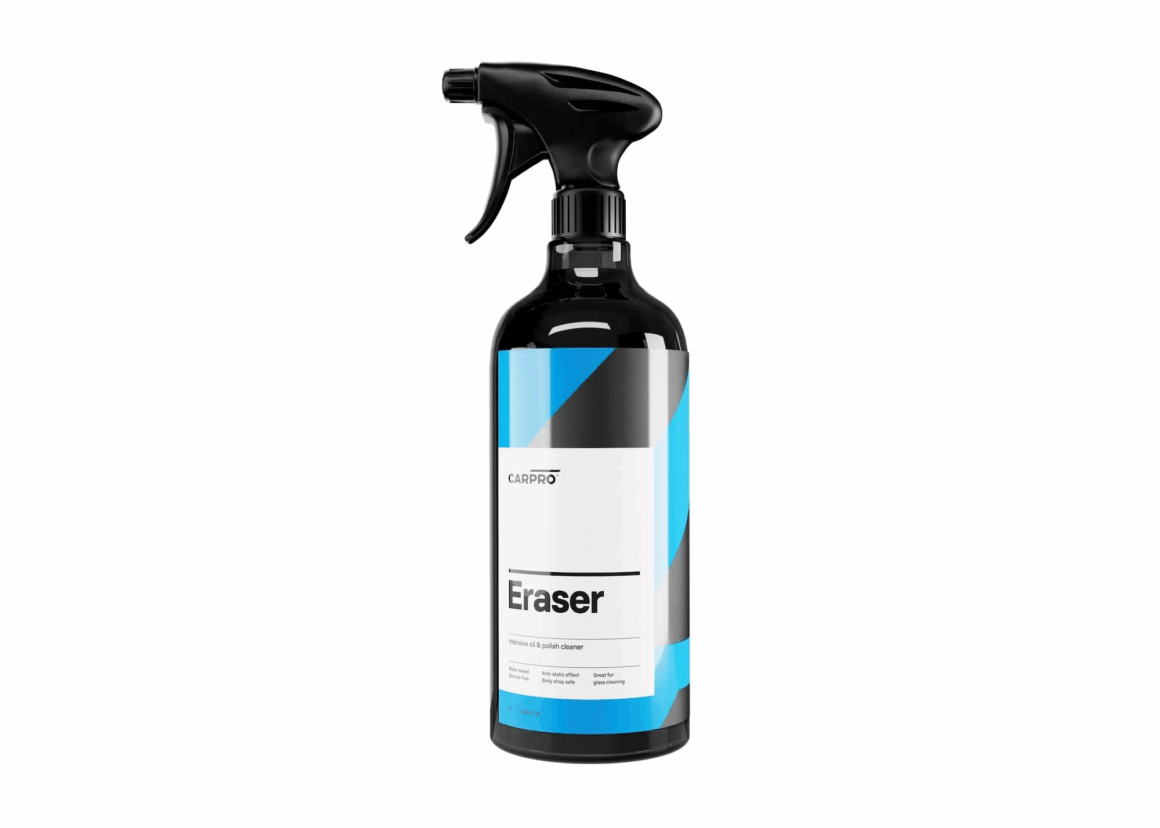
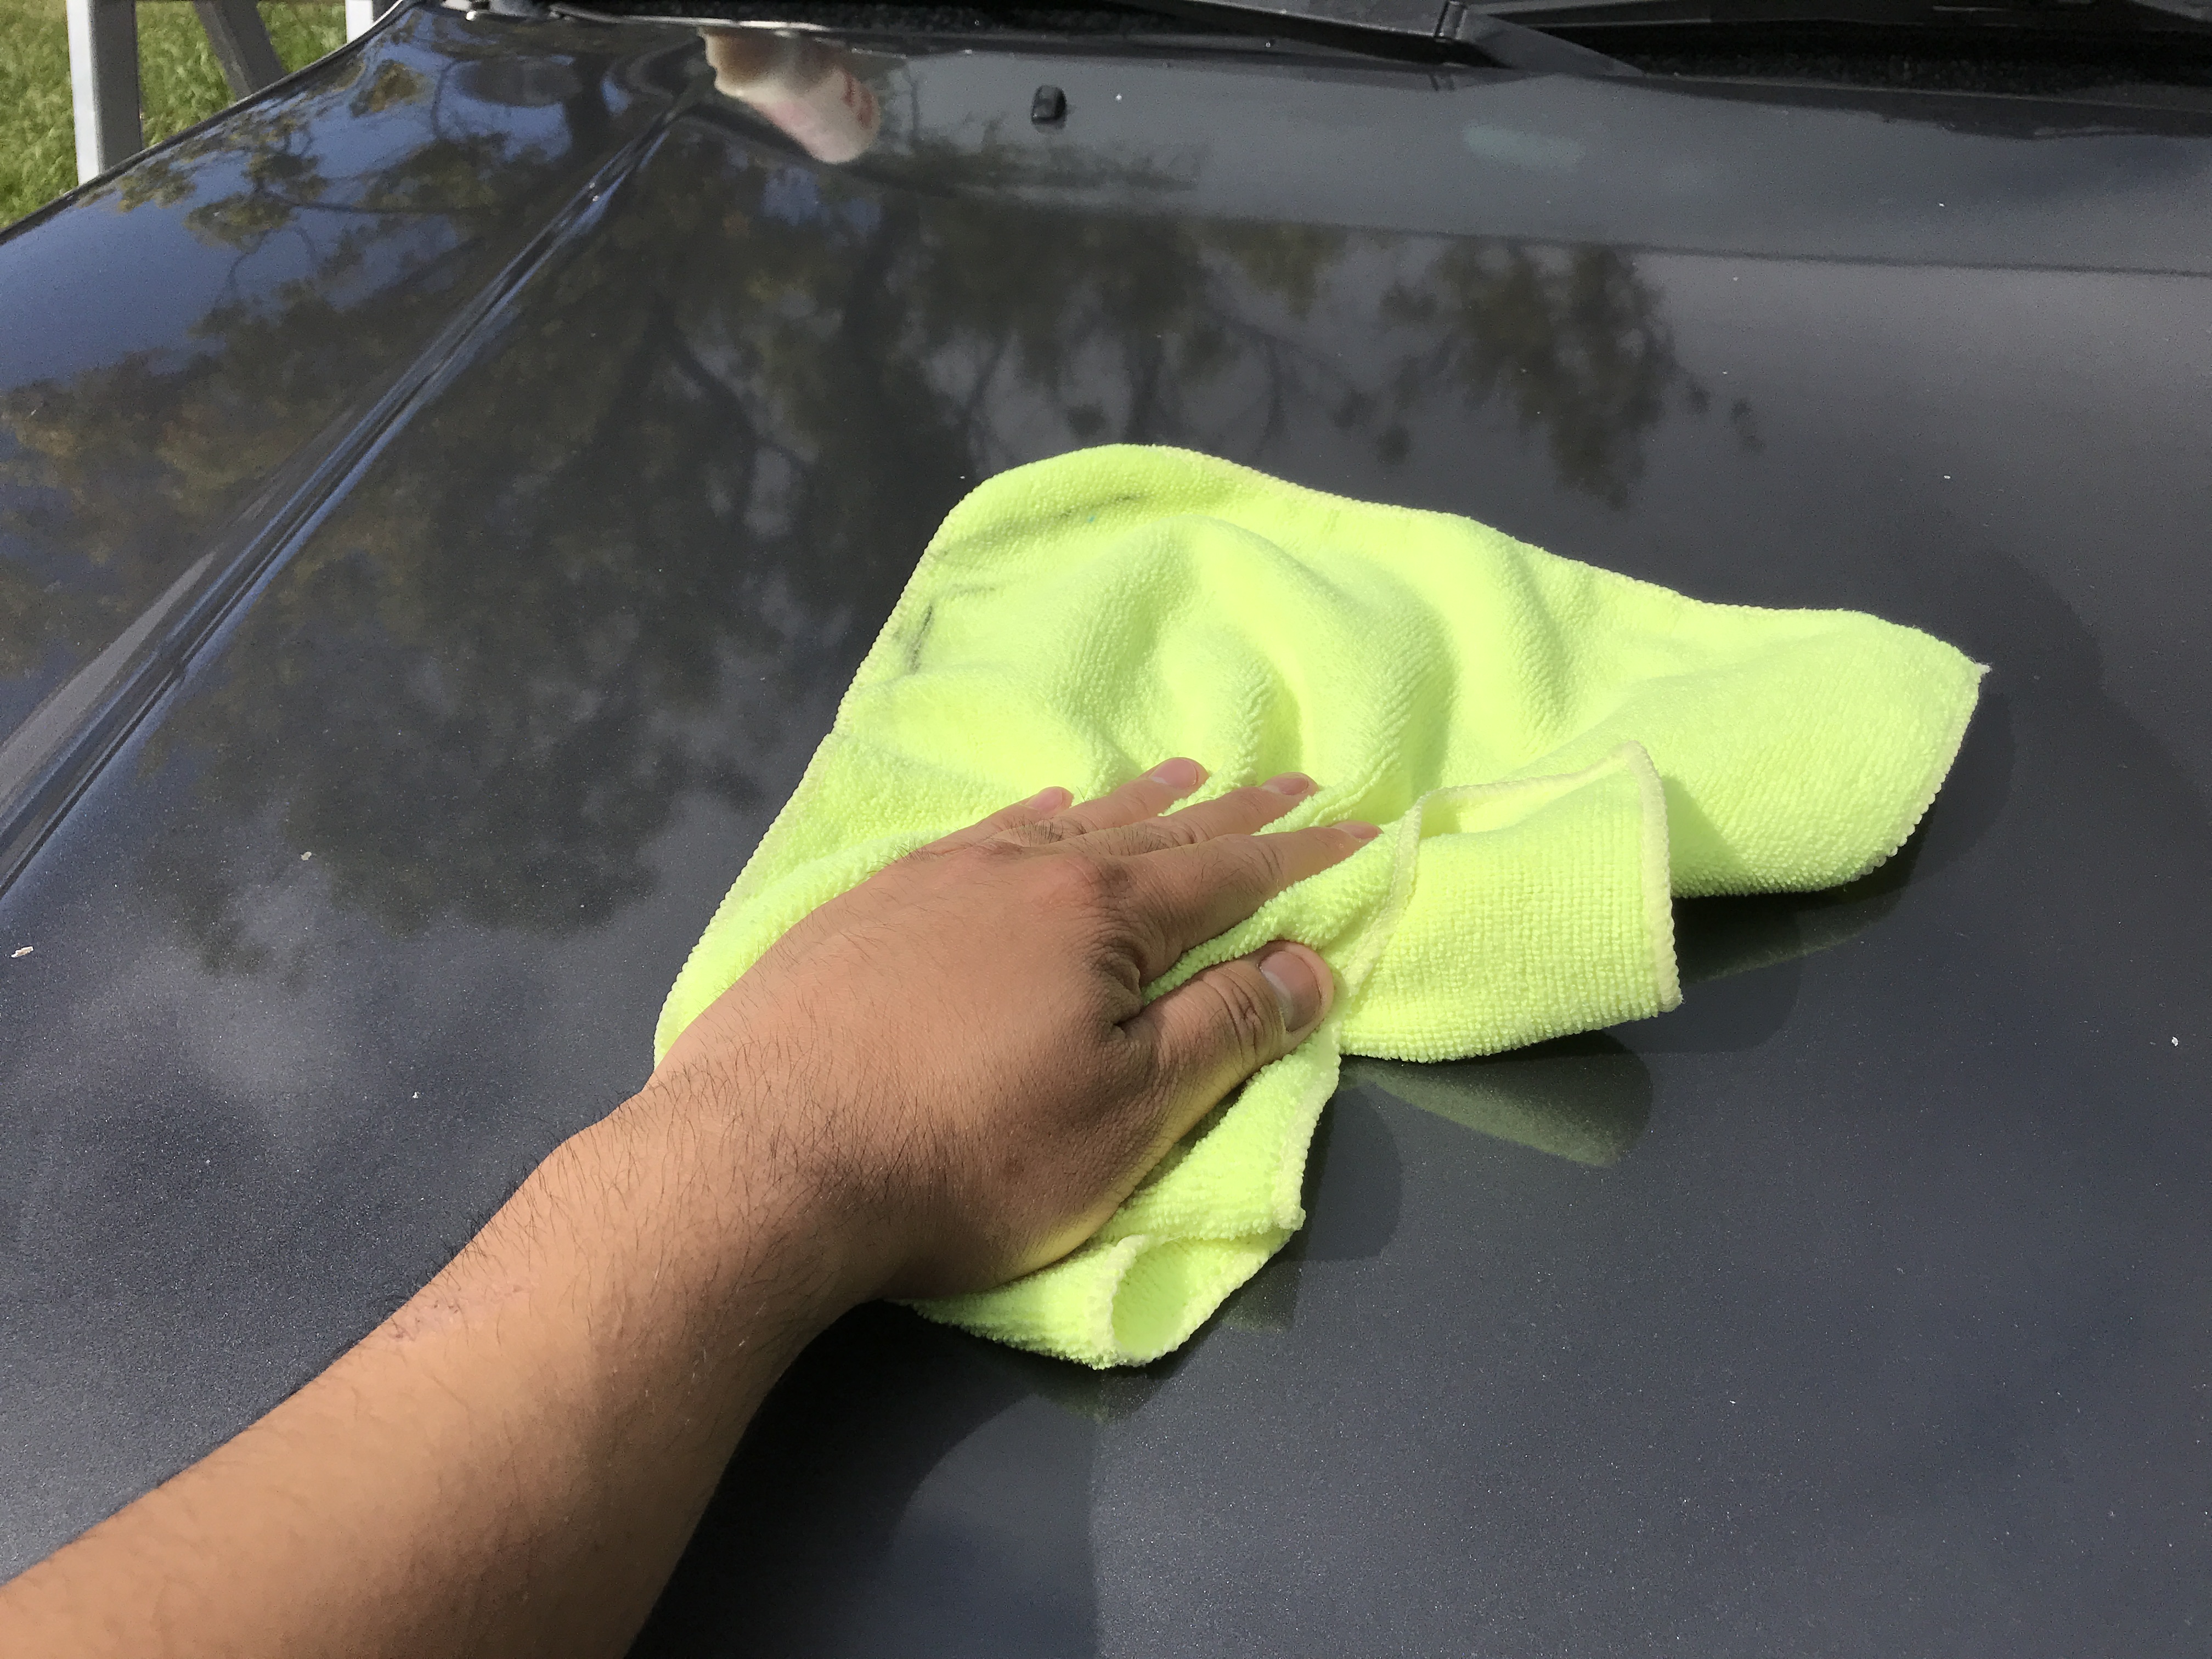
At this stage, you’ll be cleaning off any residue that is leftover from your previous optional polishing step, or from the other steps you’ve taken to get here. If you polished from the previous step, I’d recommend using either an IPA wipe-down or a Panel-Prep product to remove any leftover residue from the polish. If you did not perform a polish step, you could probably get away with washing your car again using a car wash soap that doesn’t leave behind any residue.
IPA is Isopropyl Alcohol, which is typically diluted 50/50 with water. The IPA wipe-down involves spraying this mixture onto the vehicle and wiping it dry with a microfiber towel. This cleans up any leftover residue from car wash soaps, polish, clay material, etc. from the previous steps so you are left with a pristine surface to apply protection to.
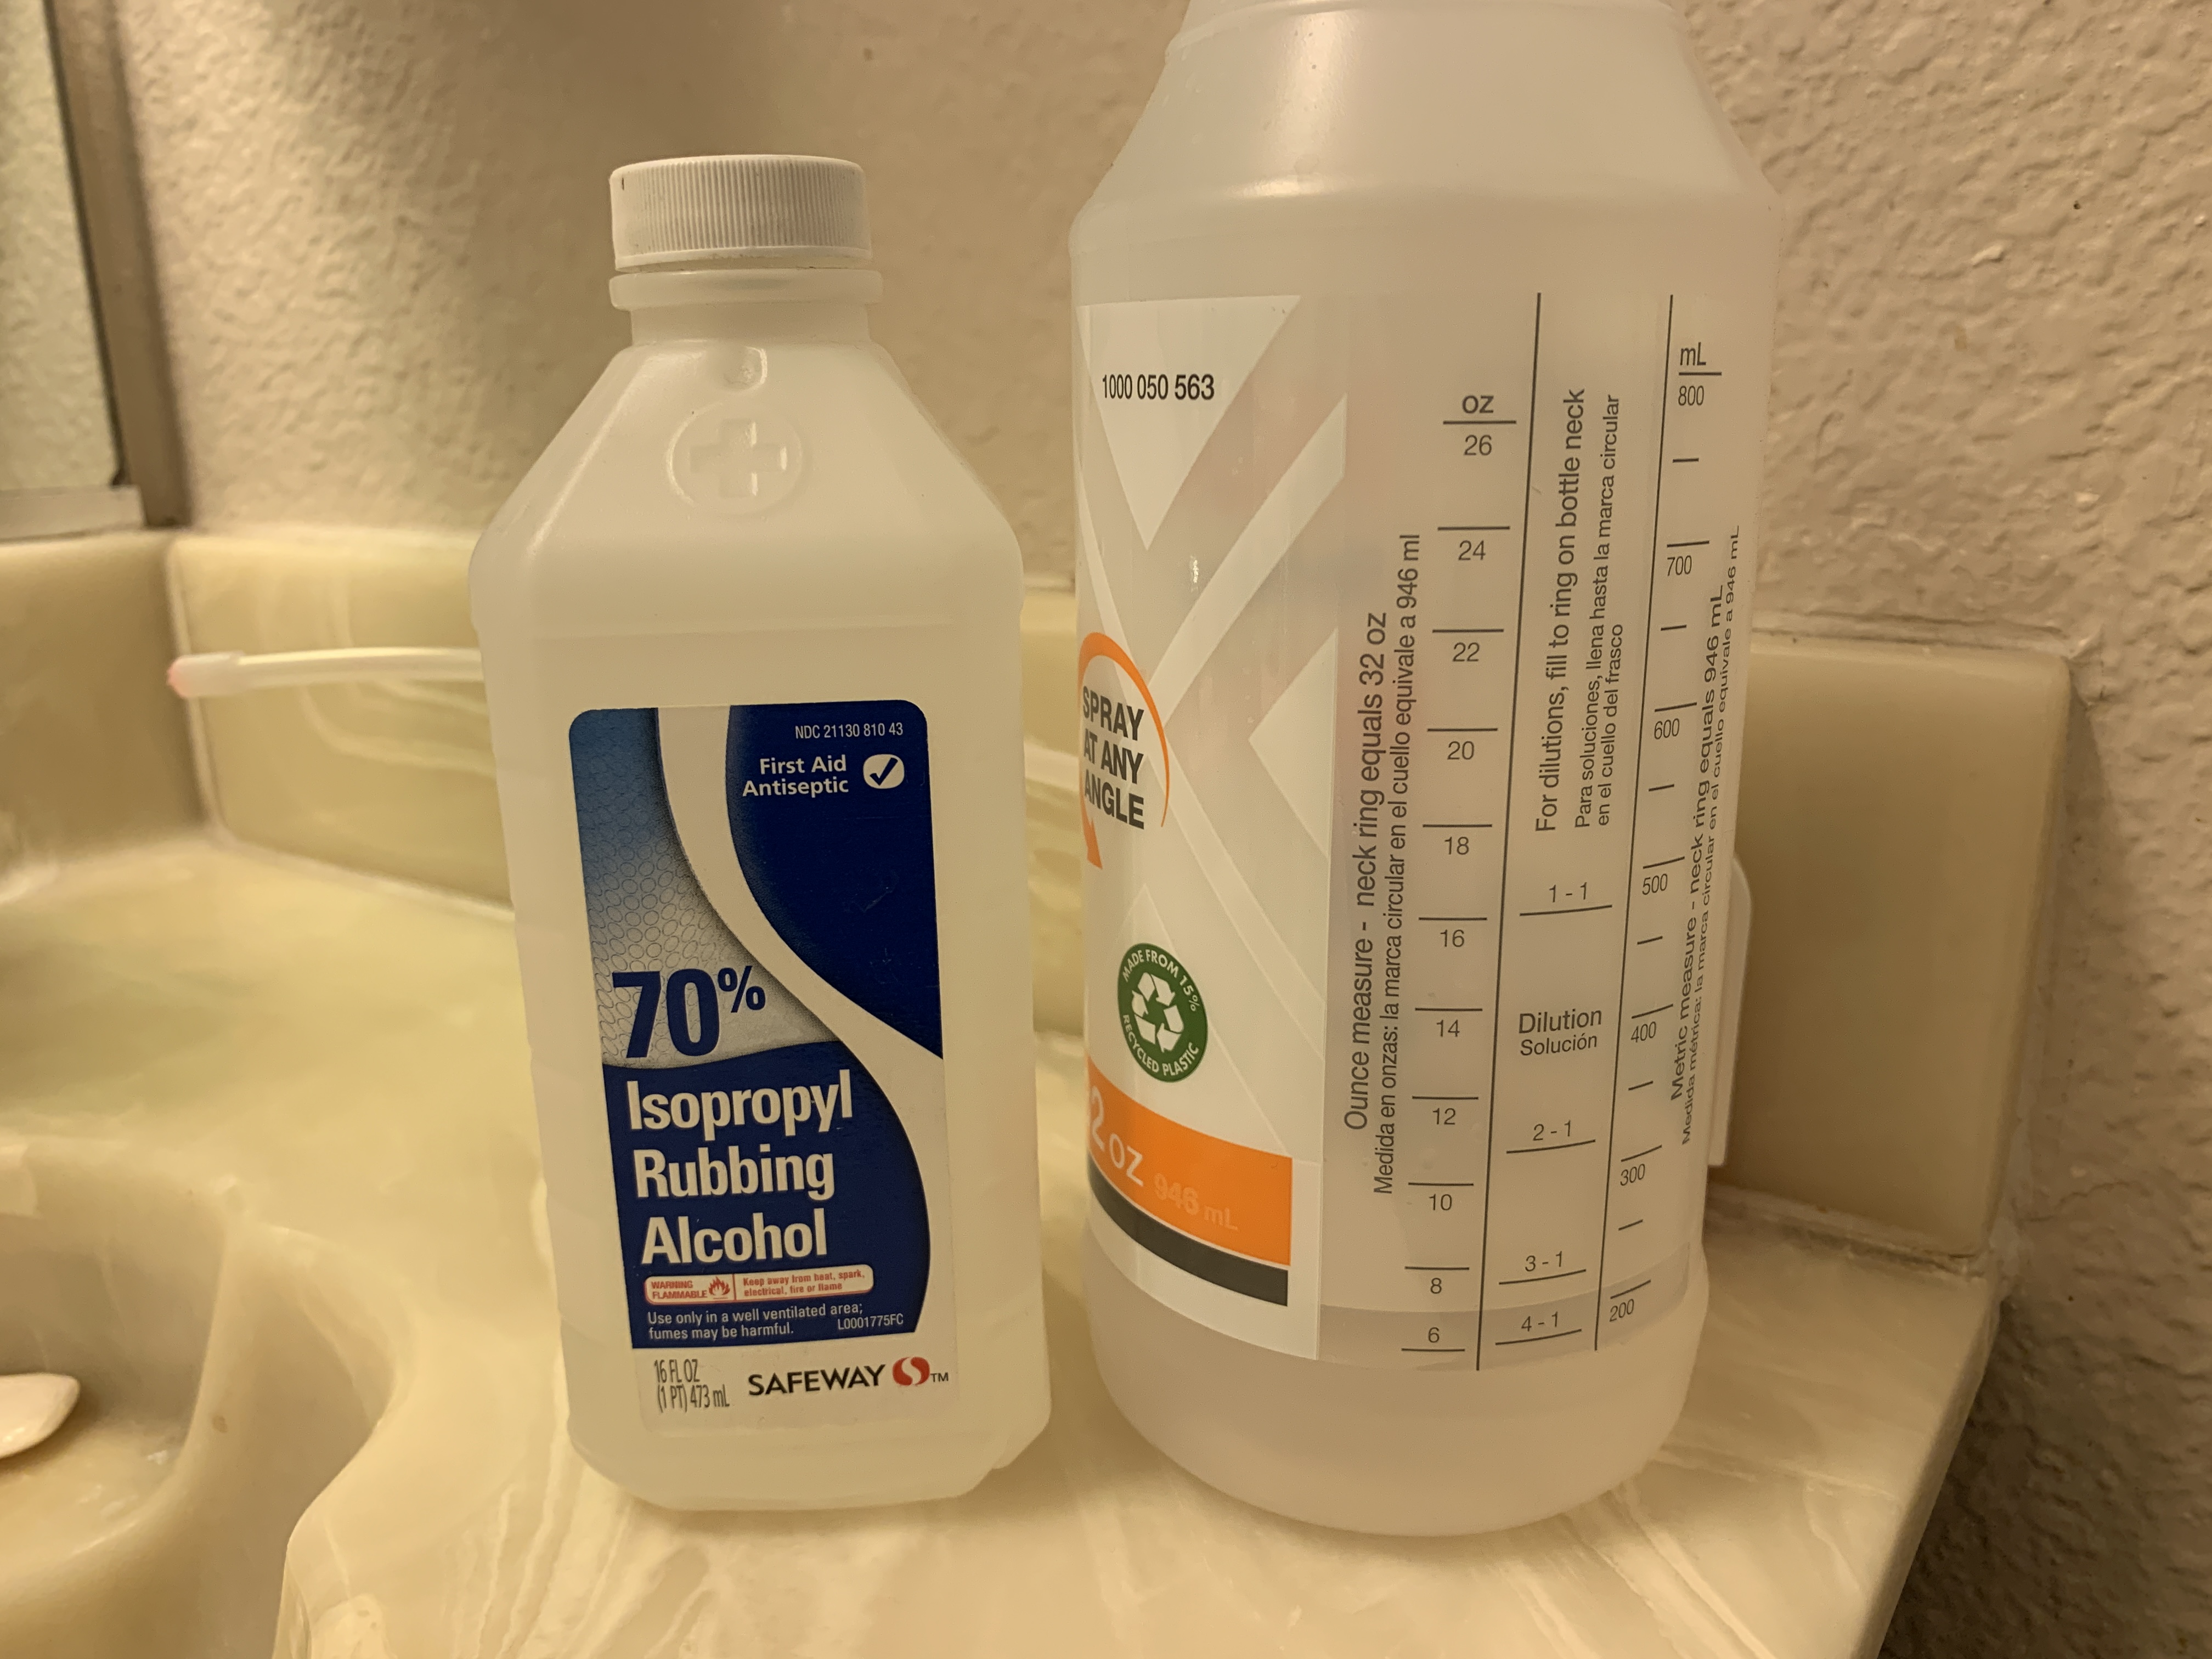
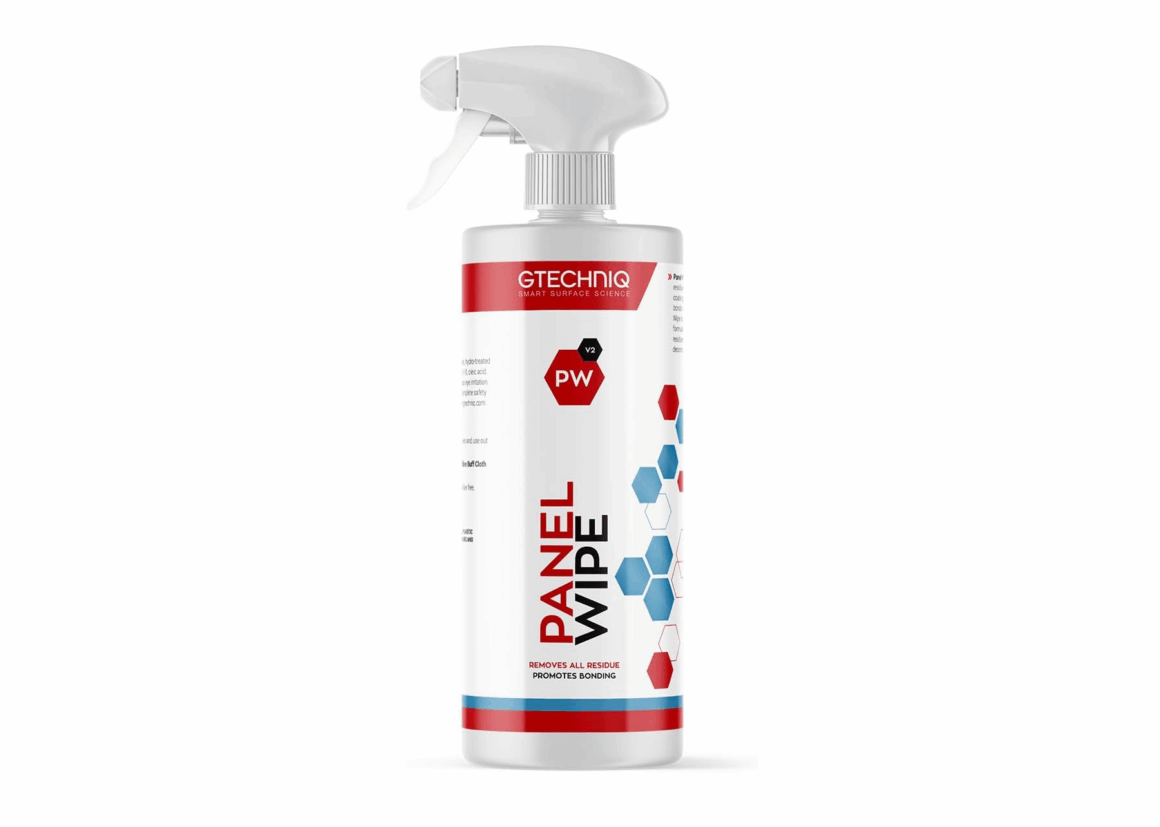
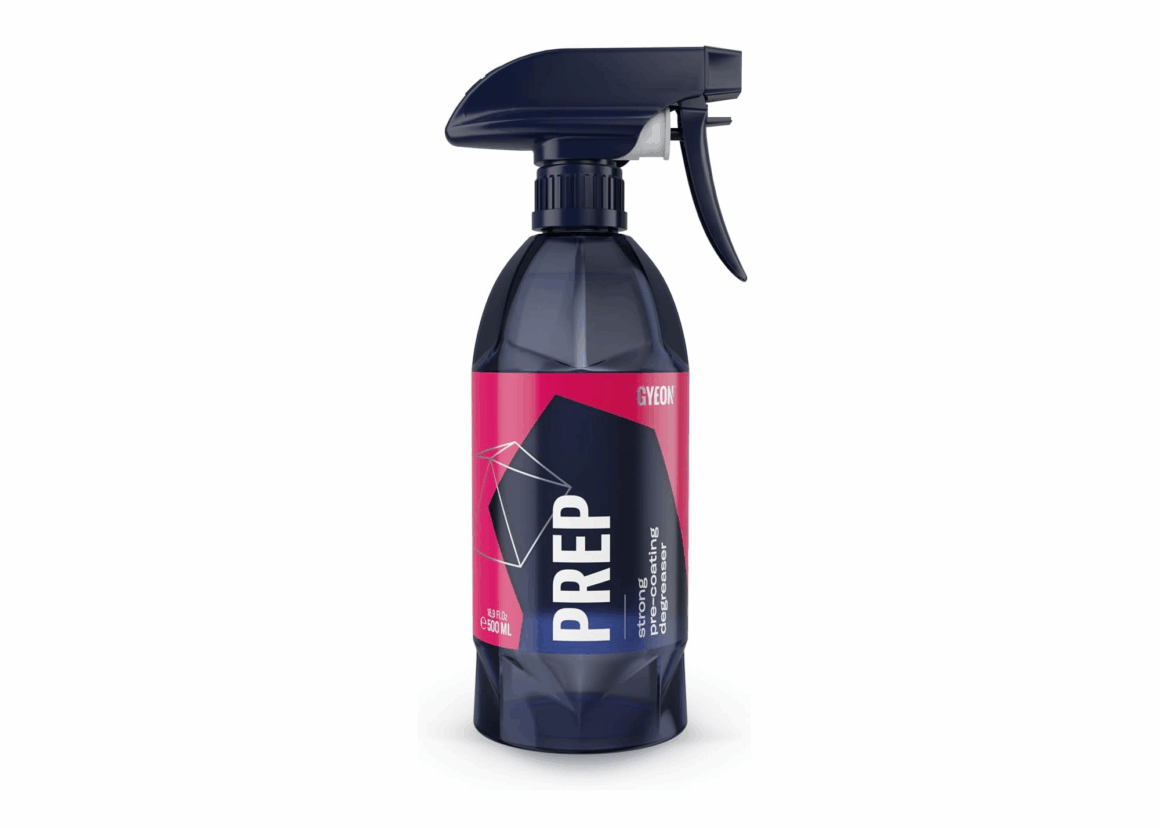
Panel-Prep is specifically formulated product to remove leftover residues just like the IPA solution does. If you don’t want to mix up the Isopropyl Alcohol yourself, you can simply purchase a ready-to-use Panel-Prep to do the job.
Another option is to simply wash your car again at this point to make sure any residue is completely cleaned off. The important thing to note here is that if you wash your car again, you’re using a car wash soap that doesn’t have any additives that might leave behind some gloss that would impede the adherence of the protectant that you choose to apply.
Protectant
Finally, now that your vehicle is fully prepped and is ready for your choice of protectant to apply, you just need to decide what you want to go with. There are a ton of good products out there and some not-so-good ones, but I’ve put my recommended products that you can’t go wrong with below. I’ll go over a bit about the main three: wax, paint sealants, and coatings.
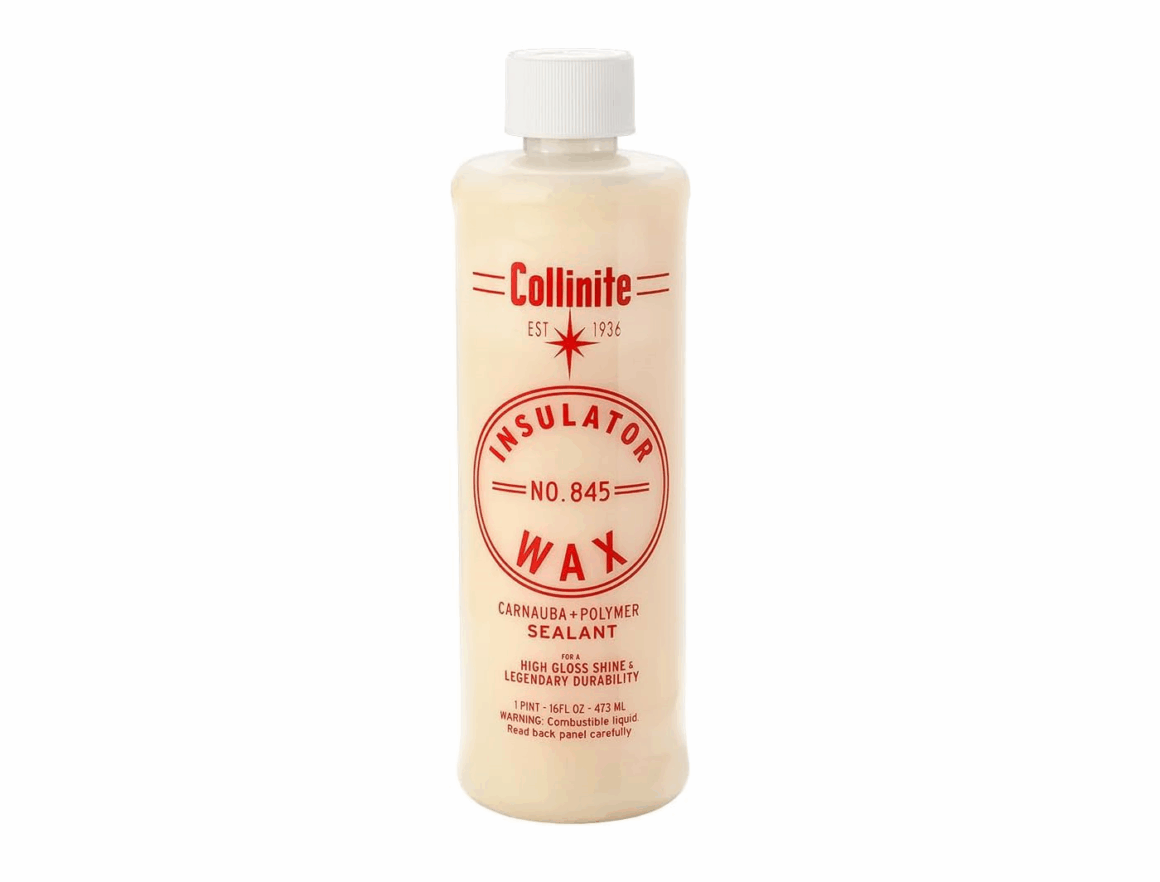
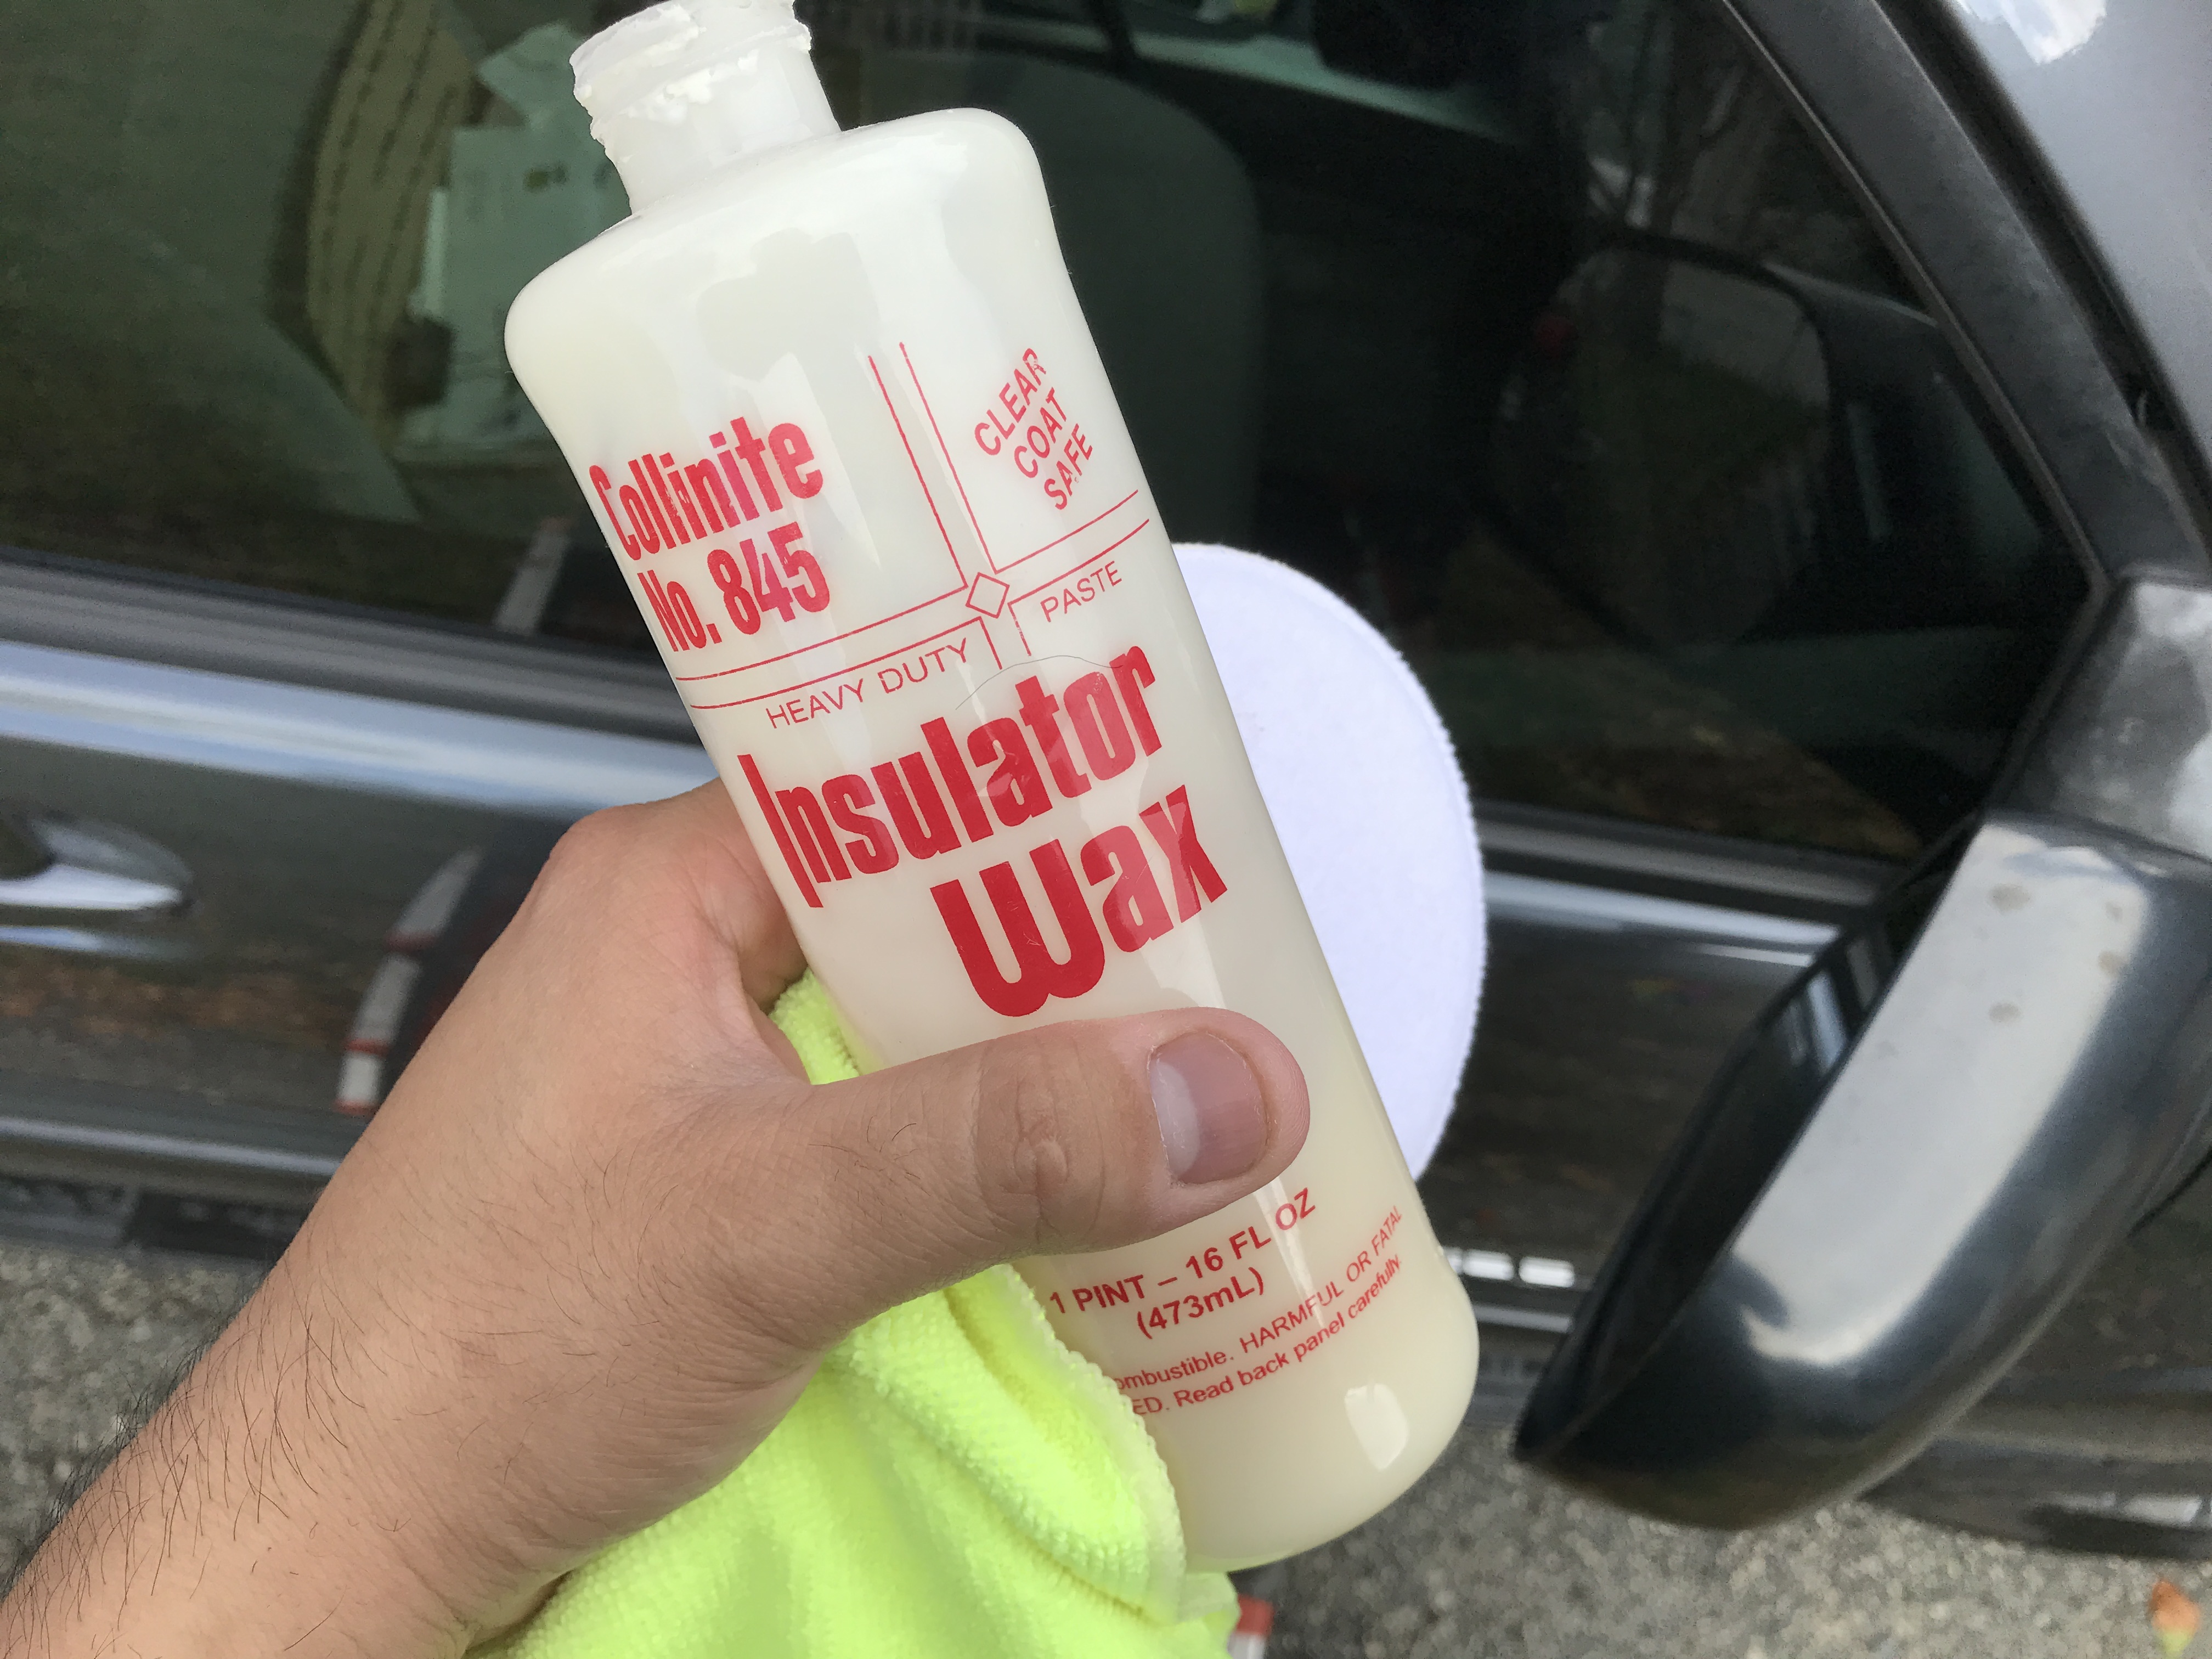
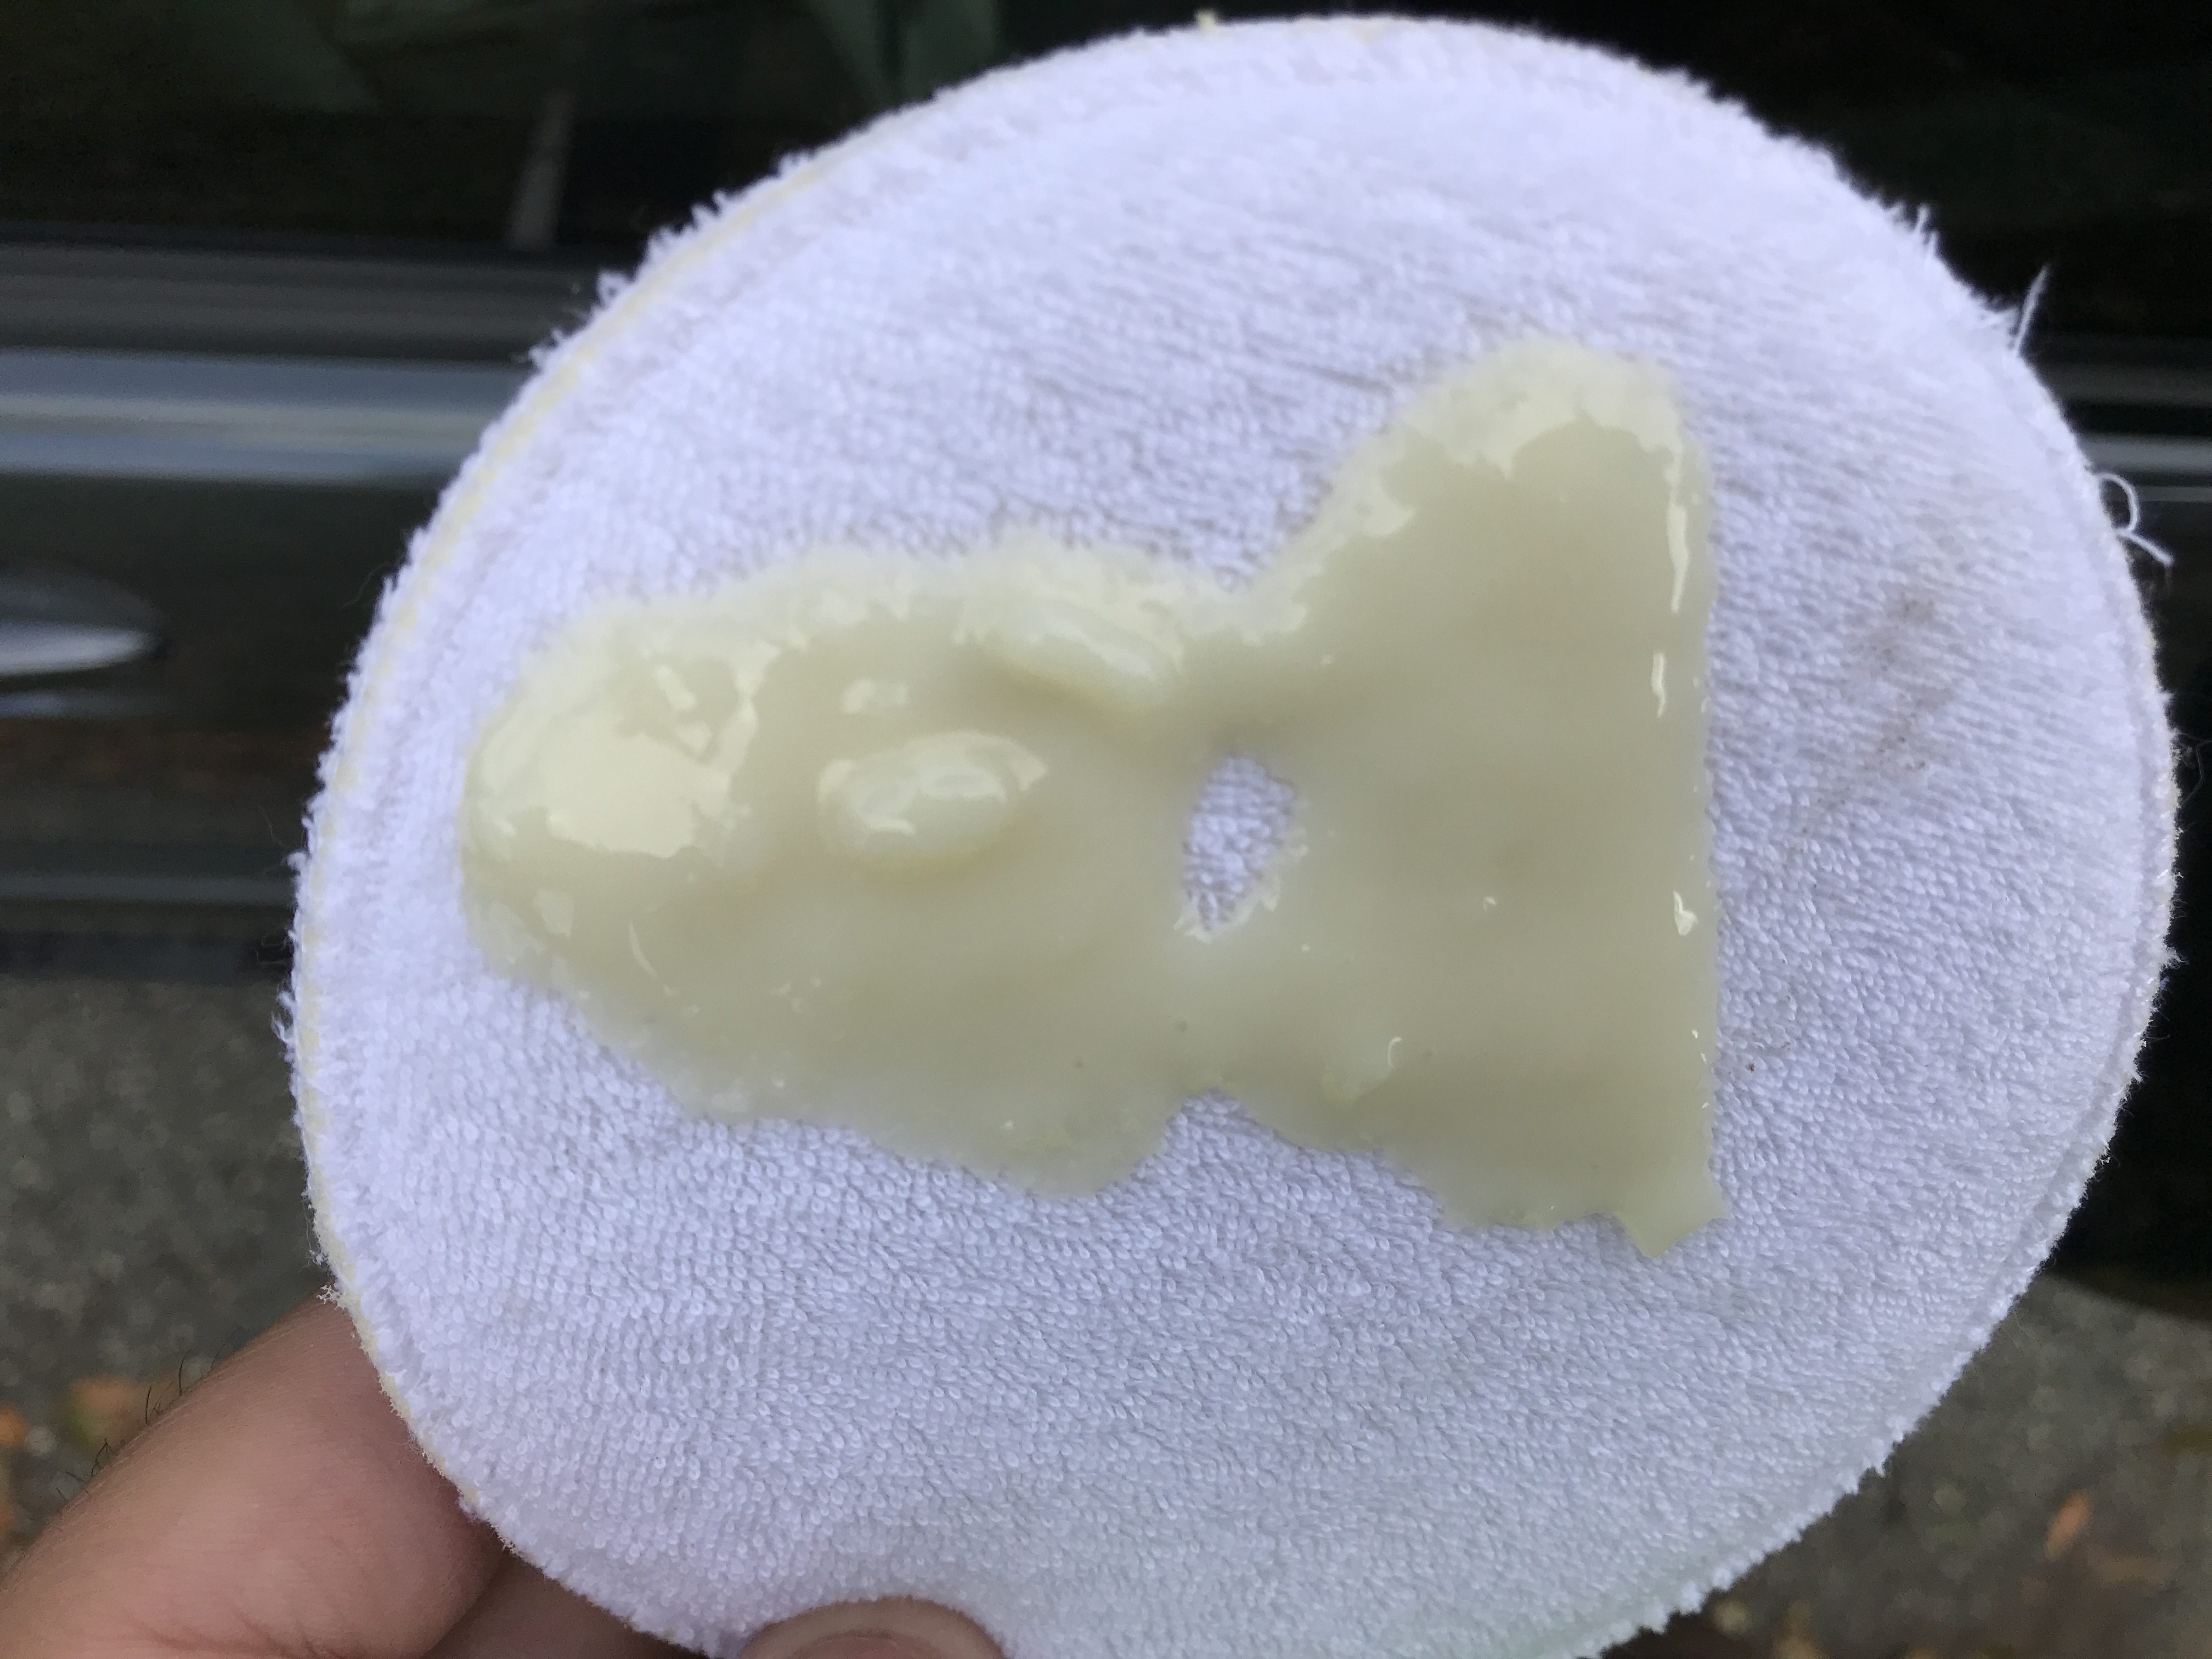
First, let’s start off with wax. Wax these days are primarily carnauba waxes, which offer good protection and is very easy to apply. Wax might get a bad rap these days, but not even for good reason. Because there are other options now that will last longer than traditional wax, people tend to dismiss wax as an option.
But I think wax is still a good option, especially if you enjoy maintaining your car regularly. Wax typically only lasts on a car for about 1-2 months, so you’d have to re-apply accordingly. Wax can be very easy to apply, literally “wax on, wax off”. It’s probably the most beginner friendly option. There are also paste waxes that come in tin cans and can sometimes offer some additional durability.
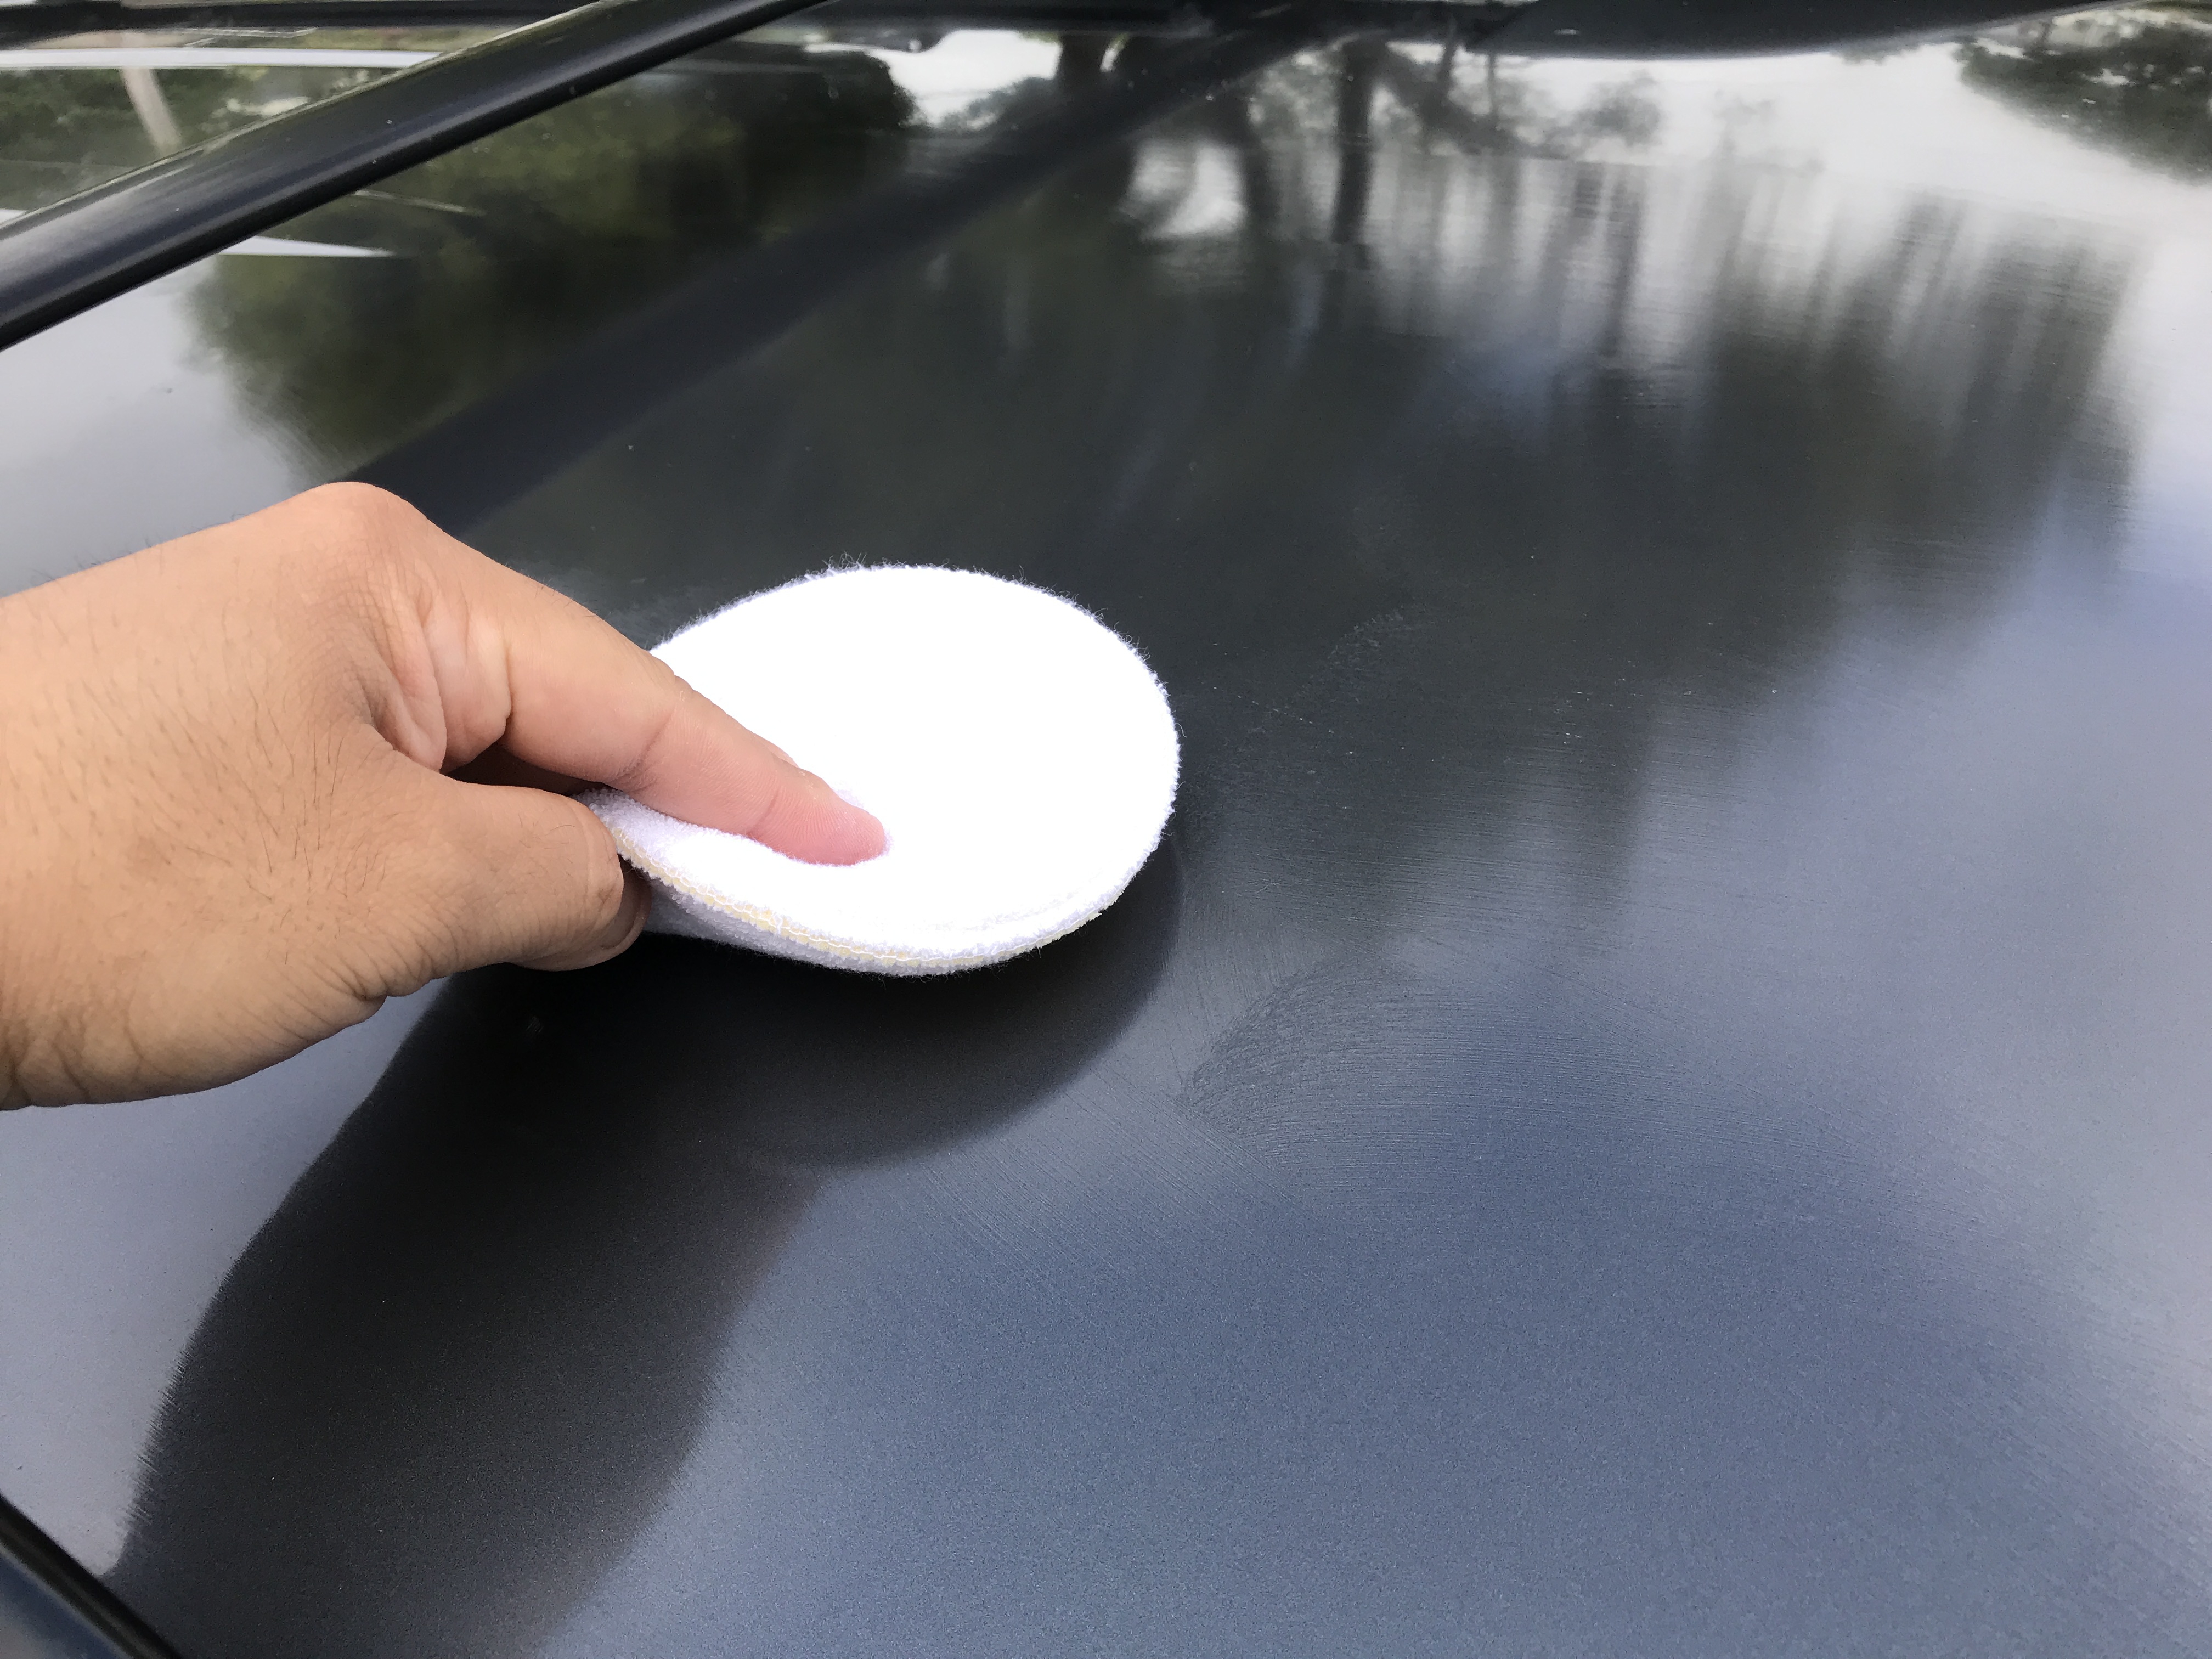
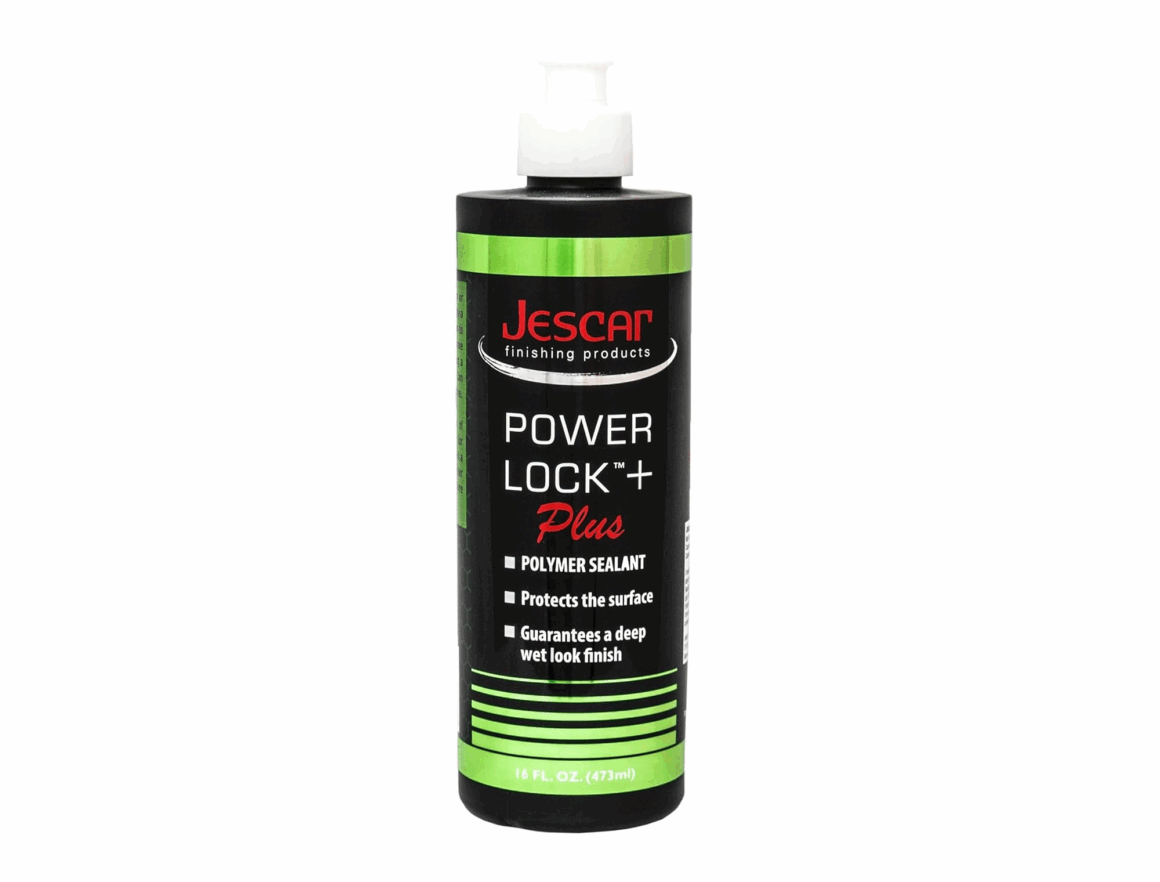
The next option are paint sealants. These are also known as hybrid waxes or synthetic waxes. Paint sealants are similar to waxes in the way that they are applied and buffed off. The main difference with paint sealants is that last longer than waxes: around 2-4 months. With both waxes and paint sealants, they can be applied by a polisher and a non-polishing pad, however they can be applied by hand as well. Using a machine polisher will be more effective than doing it by hand.
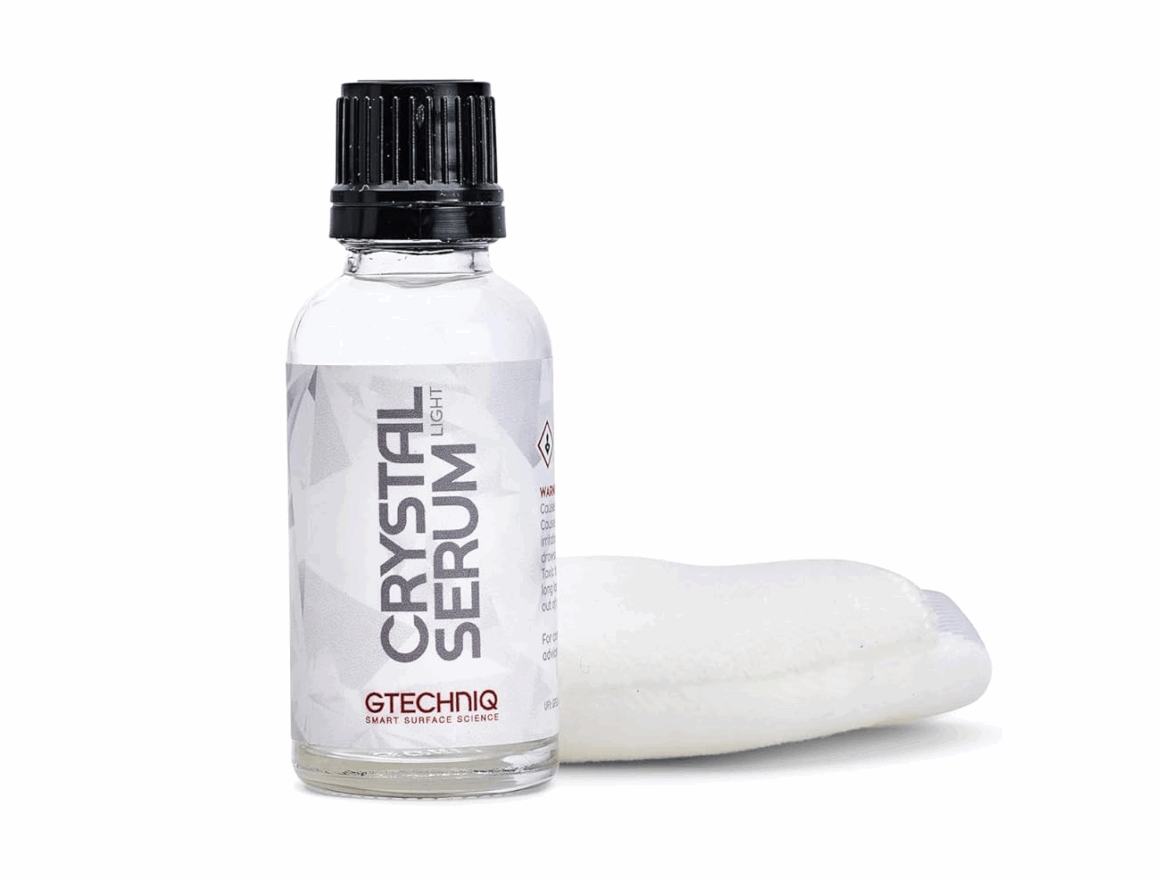
Finally, you have coatings. The most commonly known coatings are ceramic coatings, and these are generally the most popular and effective coatings. Other coatings can be made of teflon, , and other chemicals. Ceramic coatings are typically known to last about a year, the longest lasting protection out of the three options. You may hear all kinds of outrageous claims of 5 or 10 year ceramic coatings, but they simply just won’t last that long.
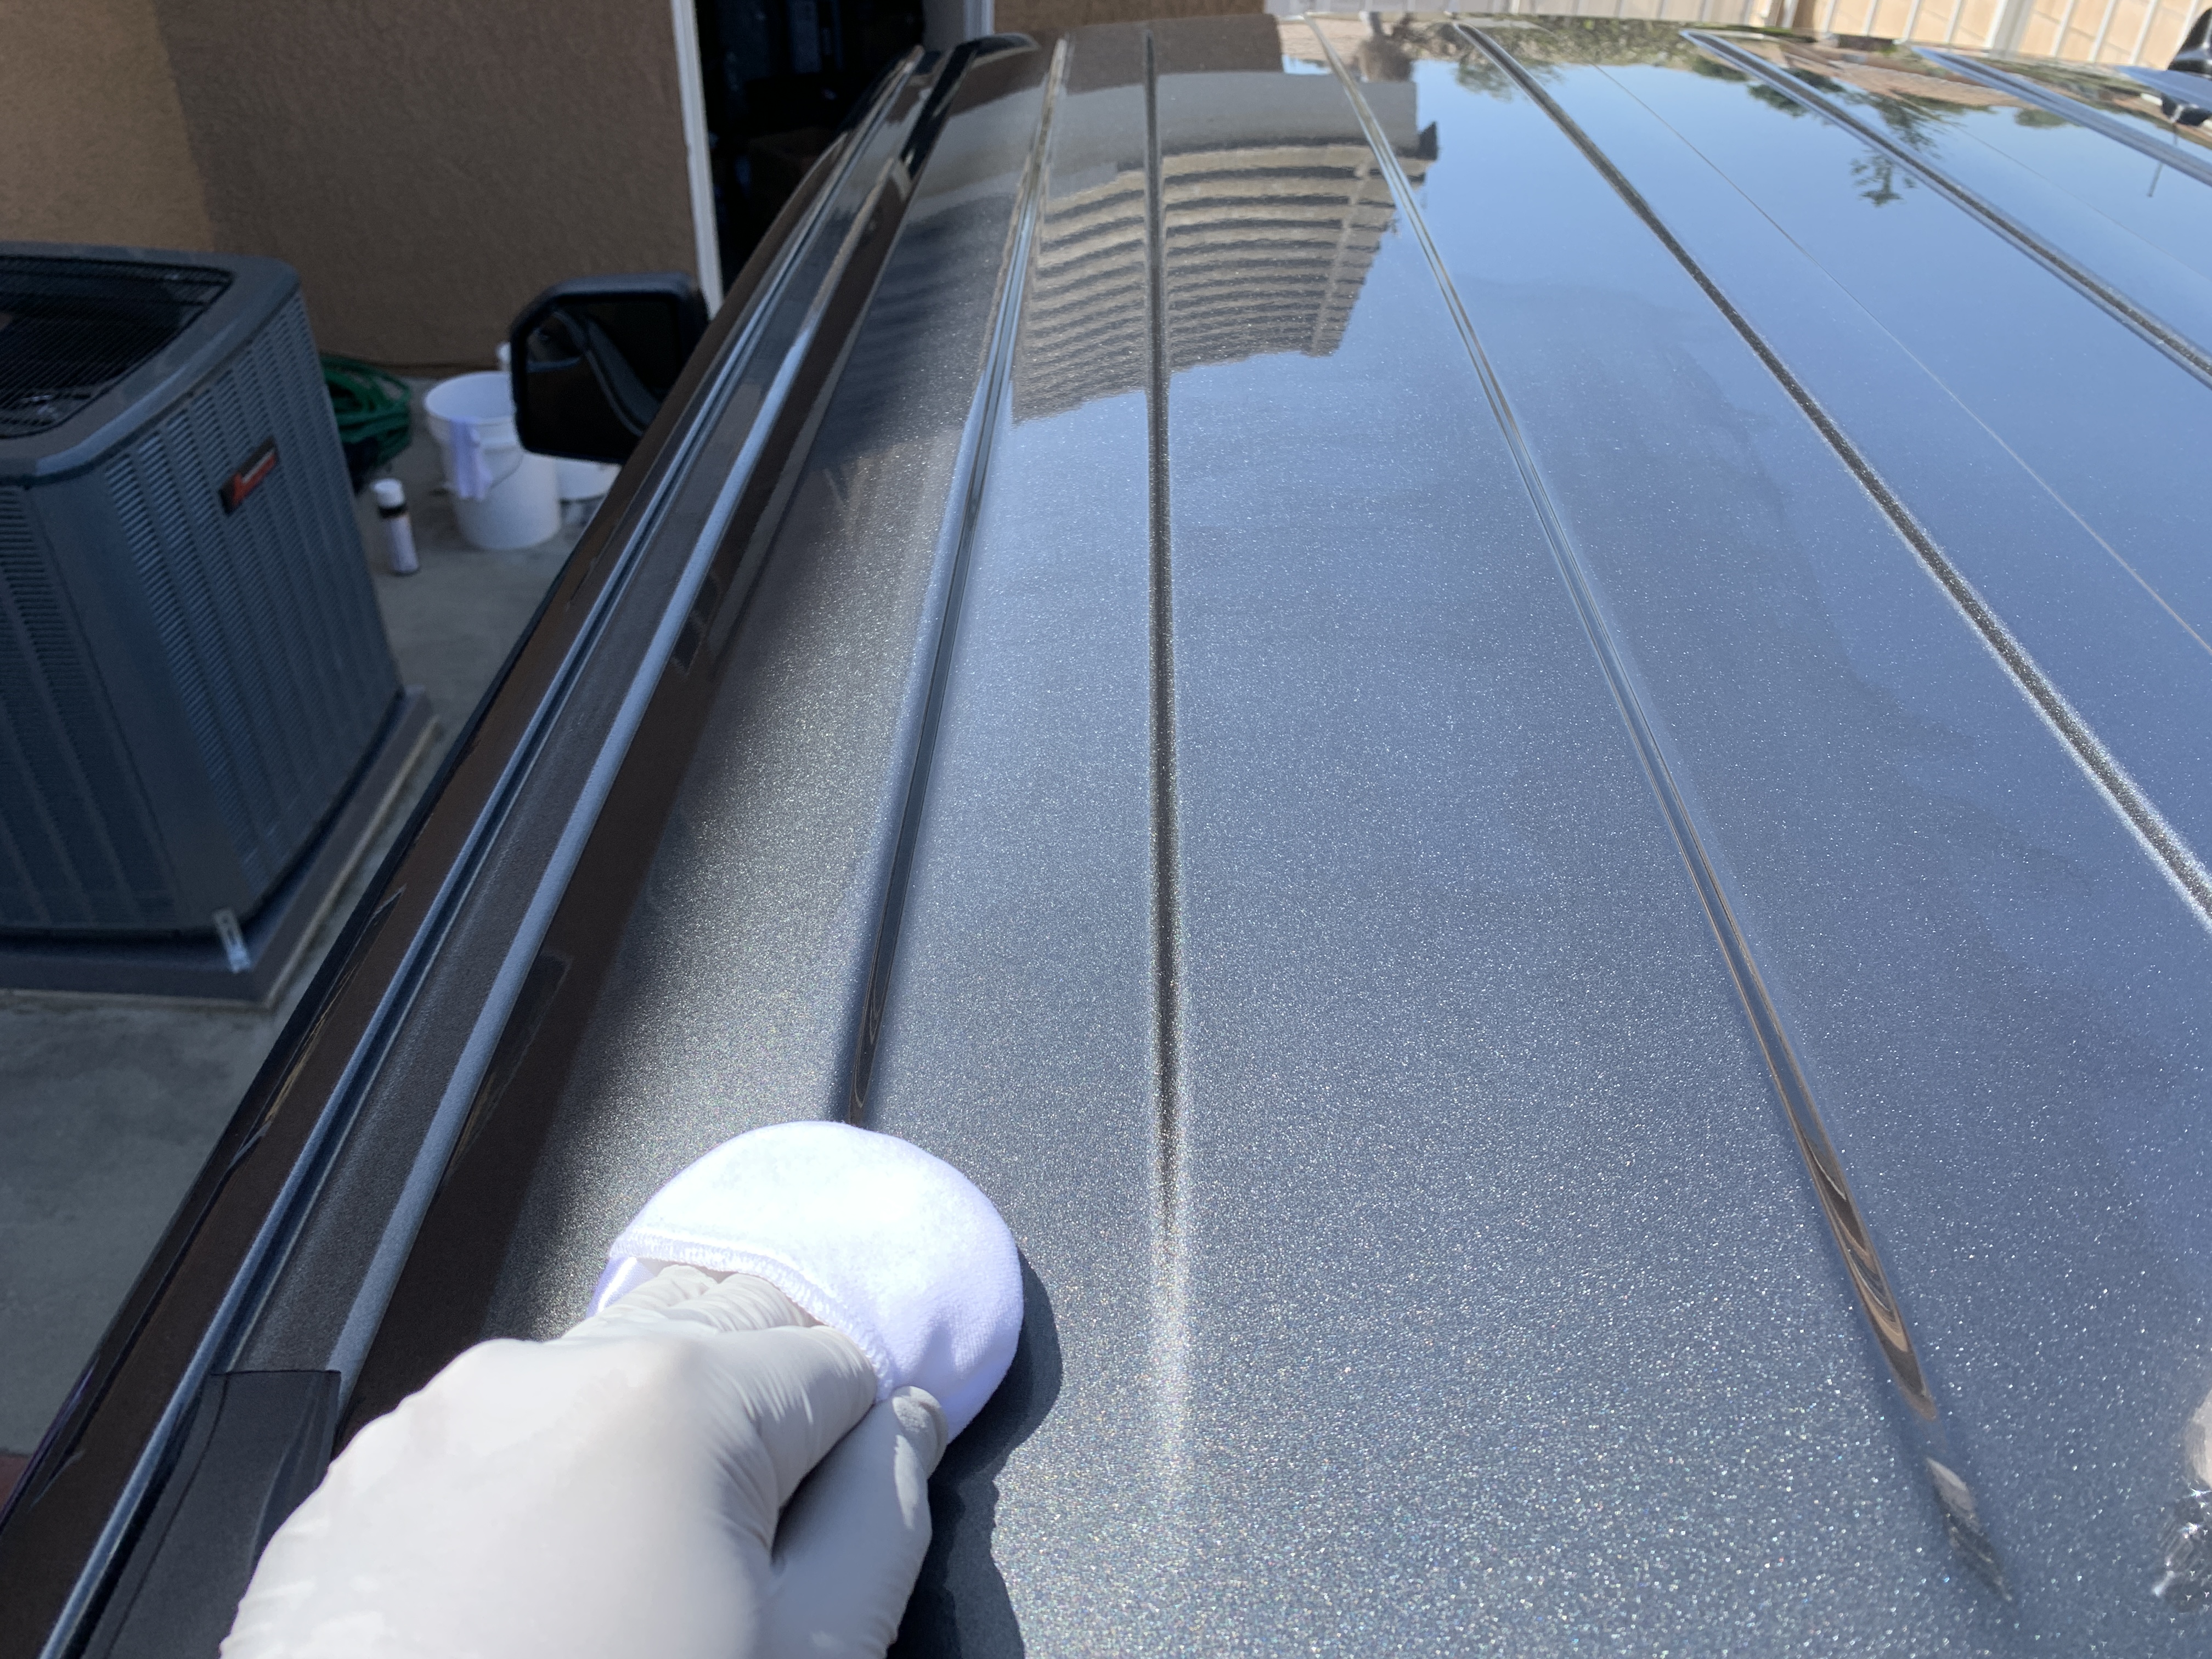
Applying a coating, namely a ceramic coating, is a bit different from the other options. Ceramic coatings come in a glass boltle and is applied to a n applicator and then carefully wiped onto the car’s paint. After application, you need to watch the applied surface until the coating flashes, which you can tell when the wet surface turns dry. You’d use a microfiber towel to wipe the material off–leaving it on too long will cause you to have high spots or an overall uneven appearance.
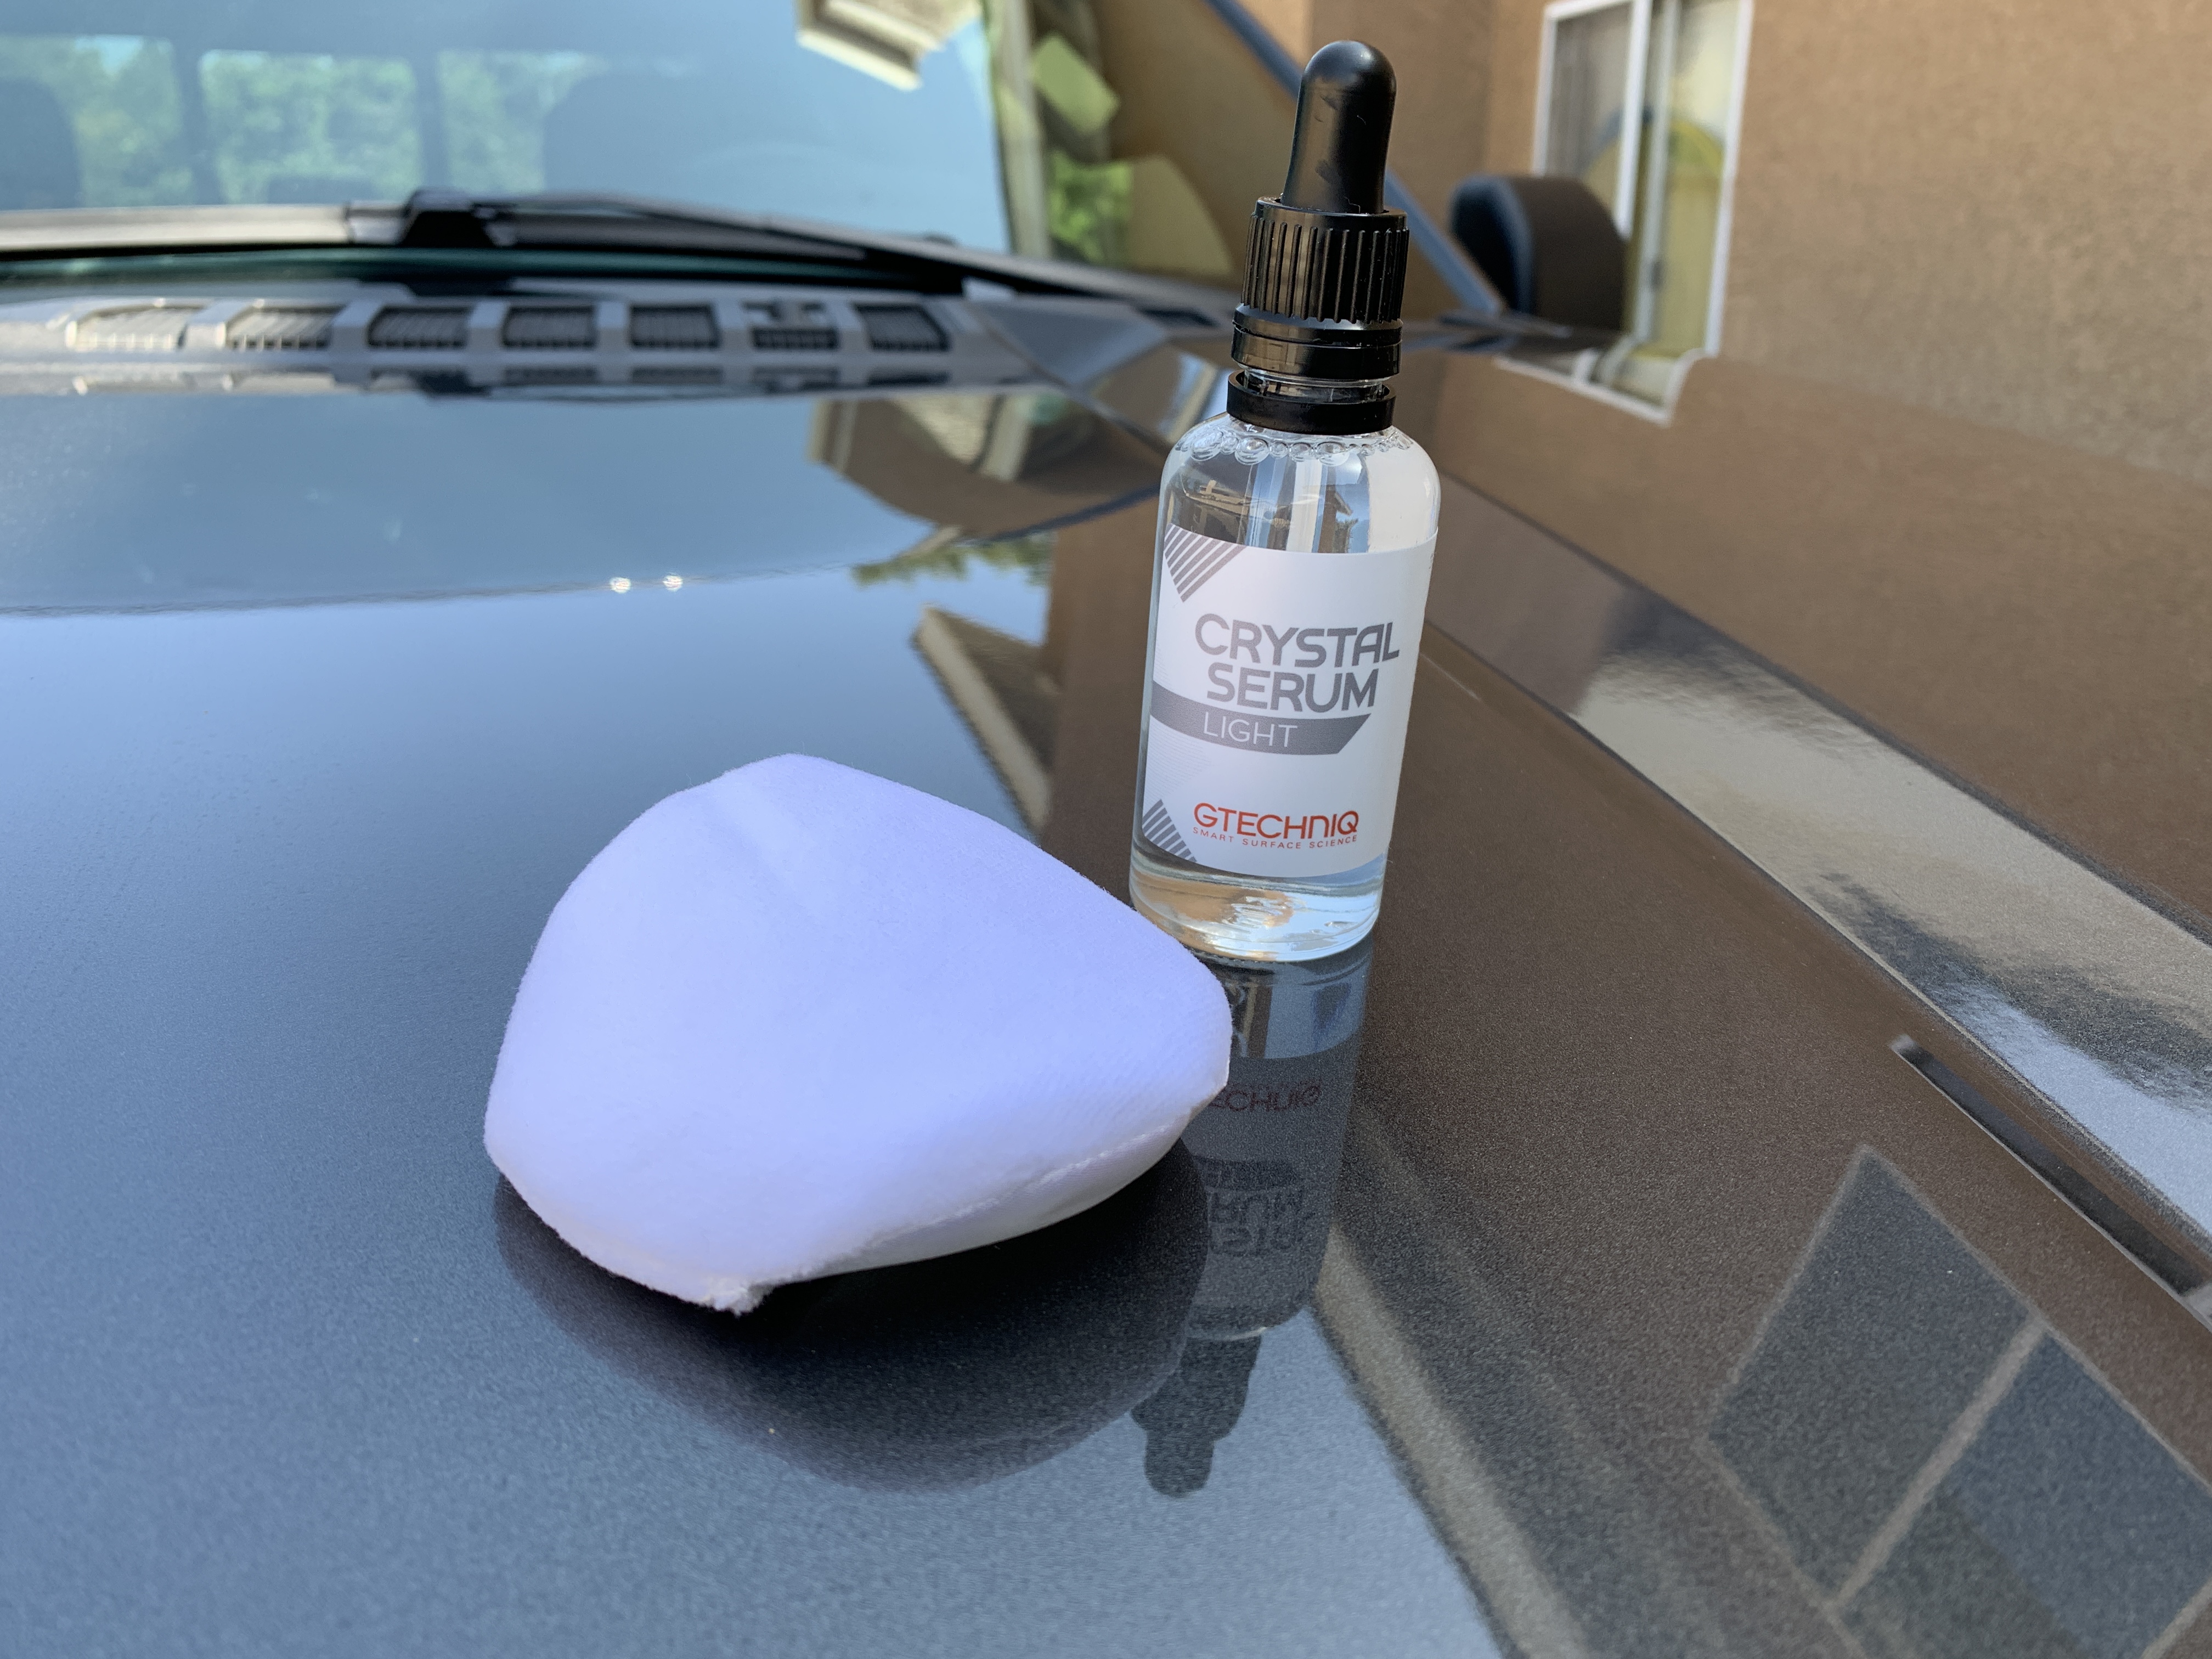
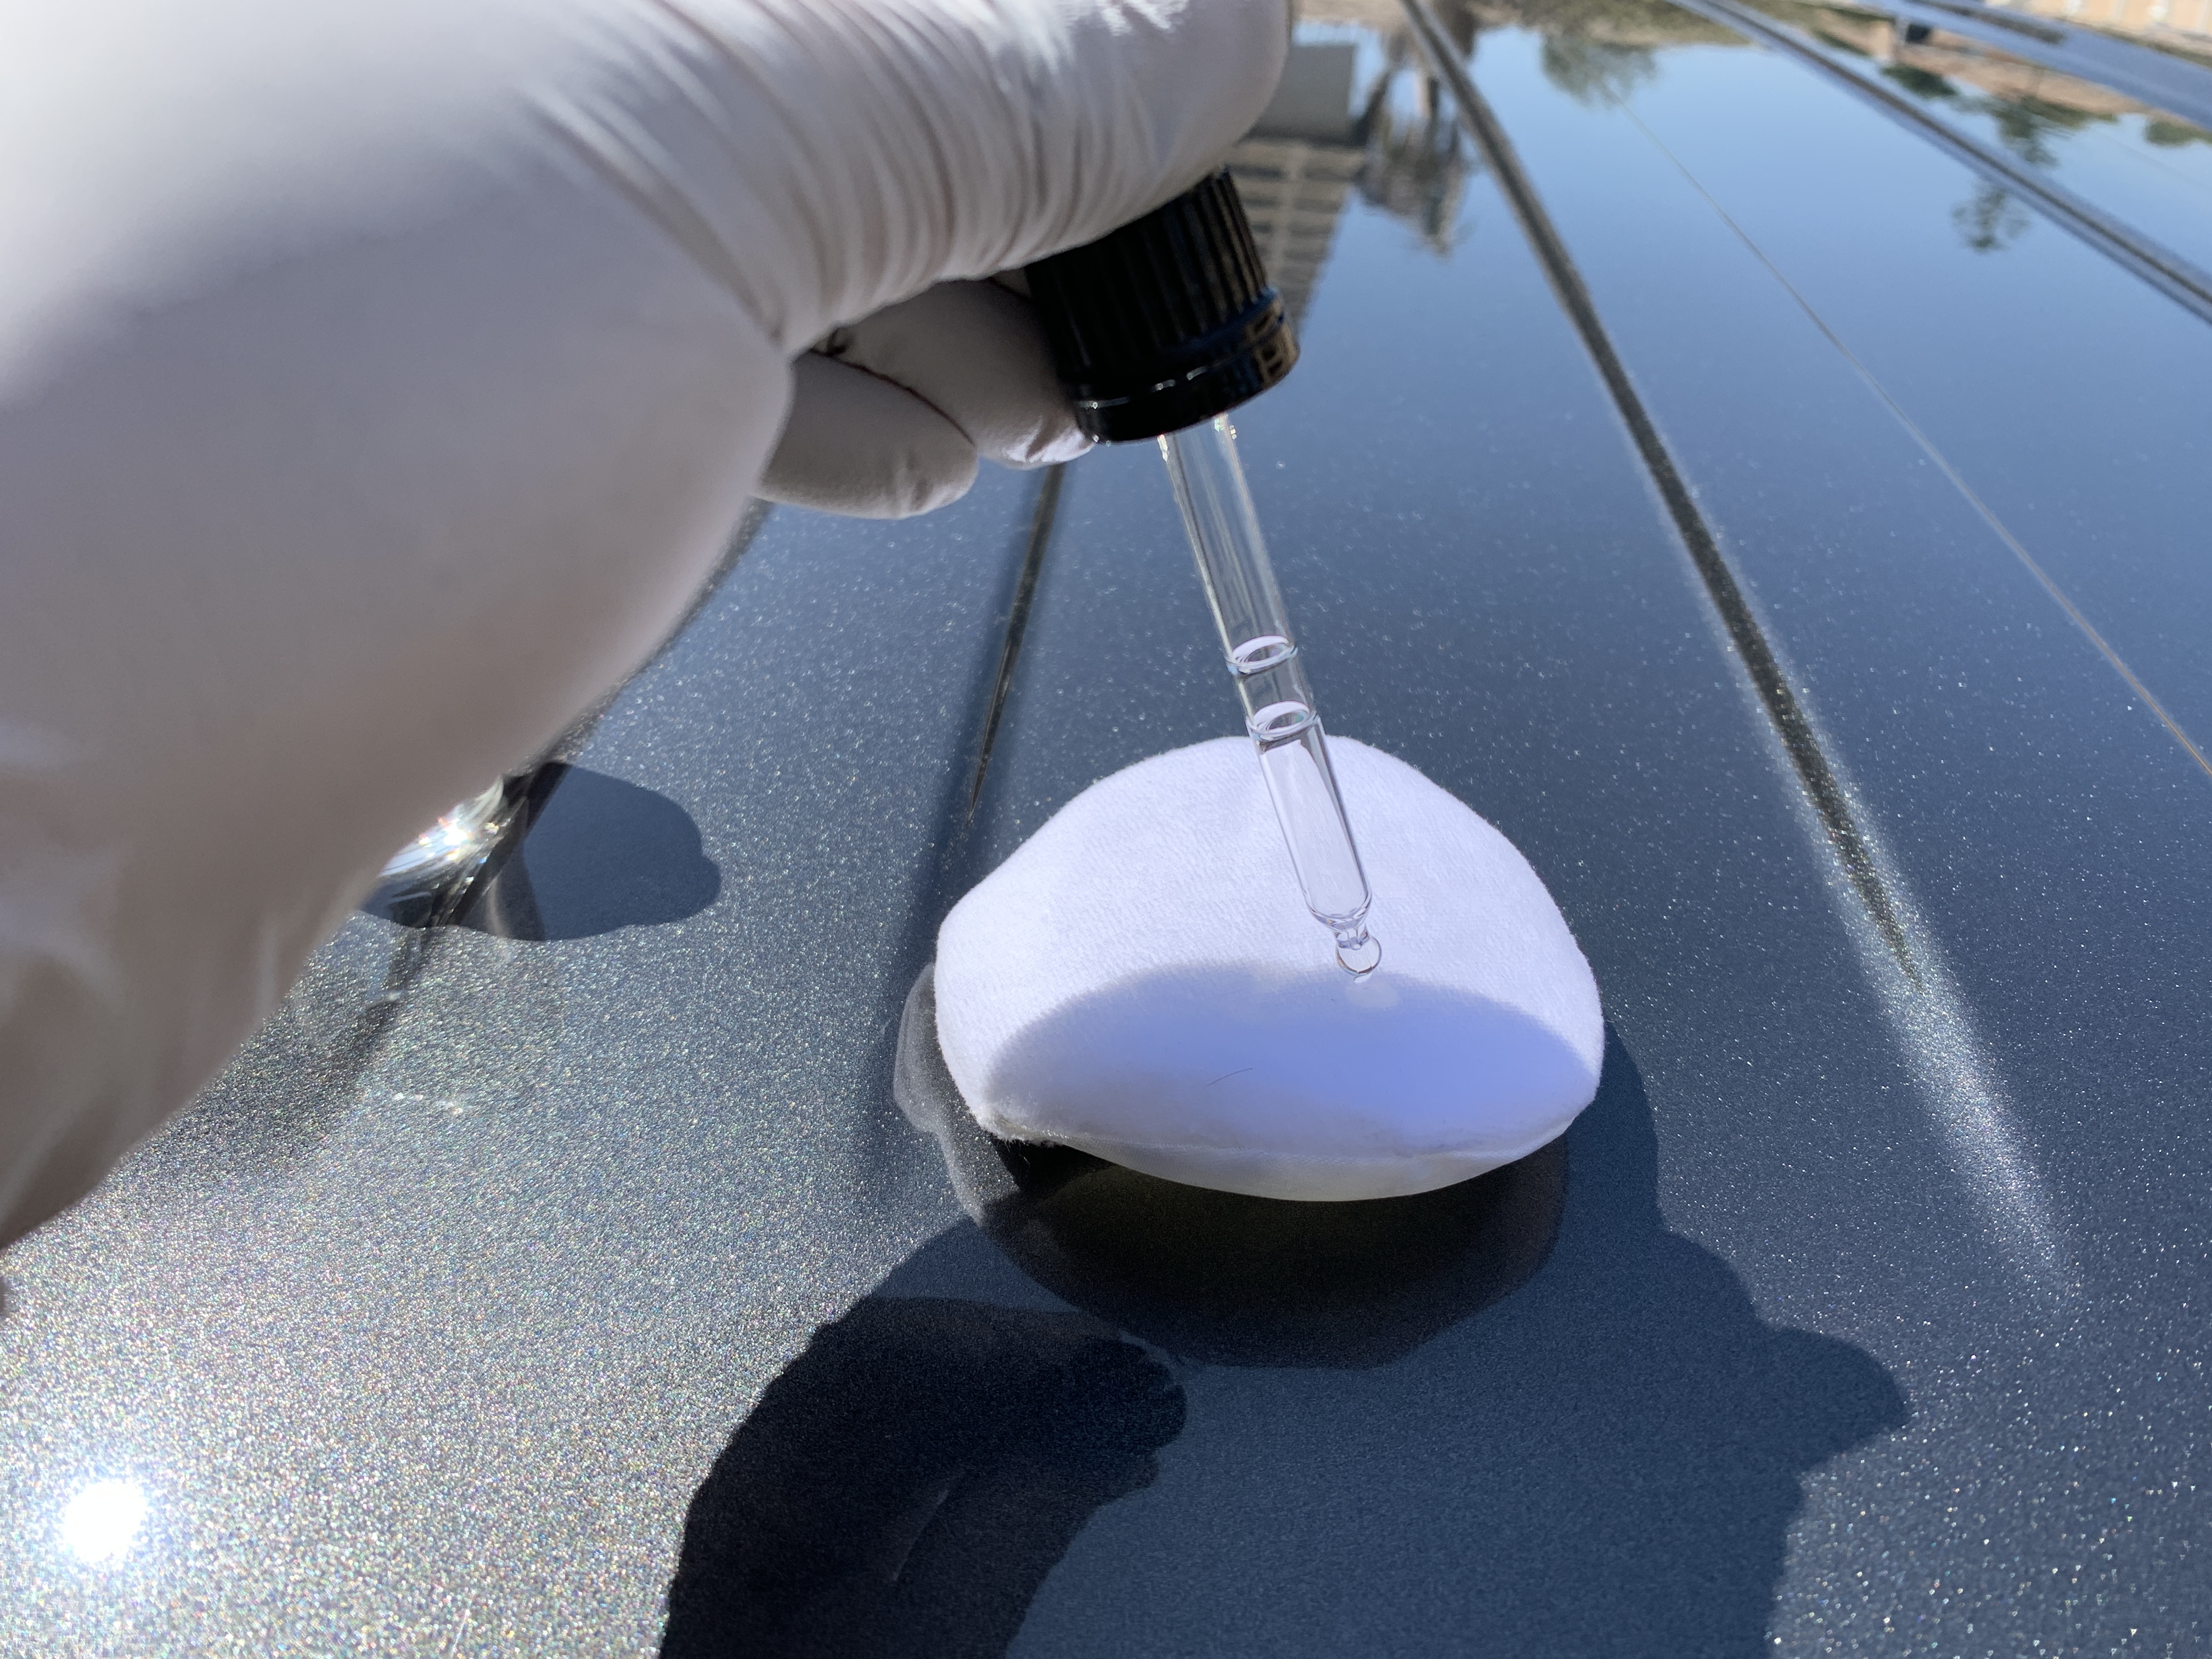
If you have a small to medium-sized car, opt for the 30mL coating. If you have an SUV, truck, or larger vehicle, go for the 50mL sized coating. It’s best to work in a covered space and certainly not in direct sunlight when applying the coating. You simply apply the coating to an applicator, wipe it across a section, allow it to dry and once it flashes, you wipe it off dry with a microfiber towel (you might need several towels). Once you are done with the vehicle, discard the microfiber towel as the coating will dry up and potentially scratch your car if you use it again.

How to Apply a Ceramic Coating
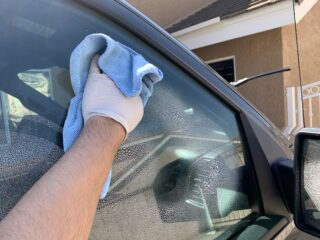
Window Glass
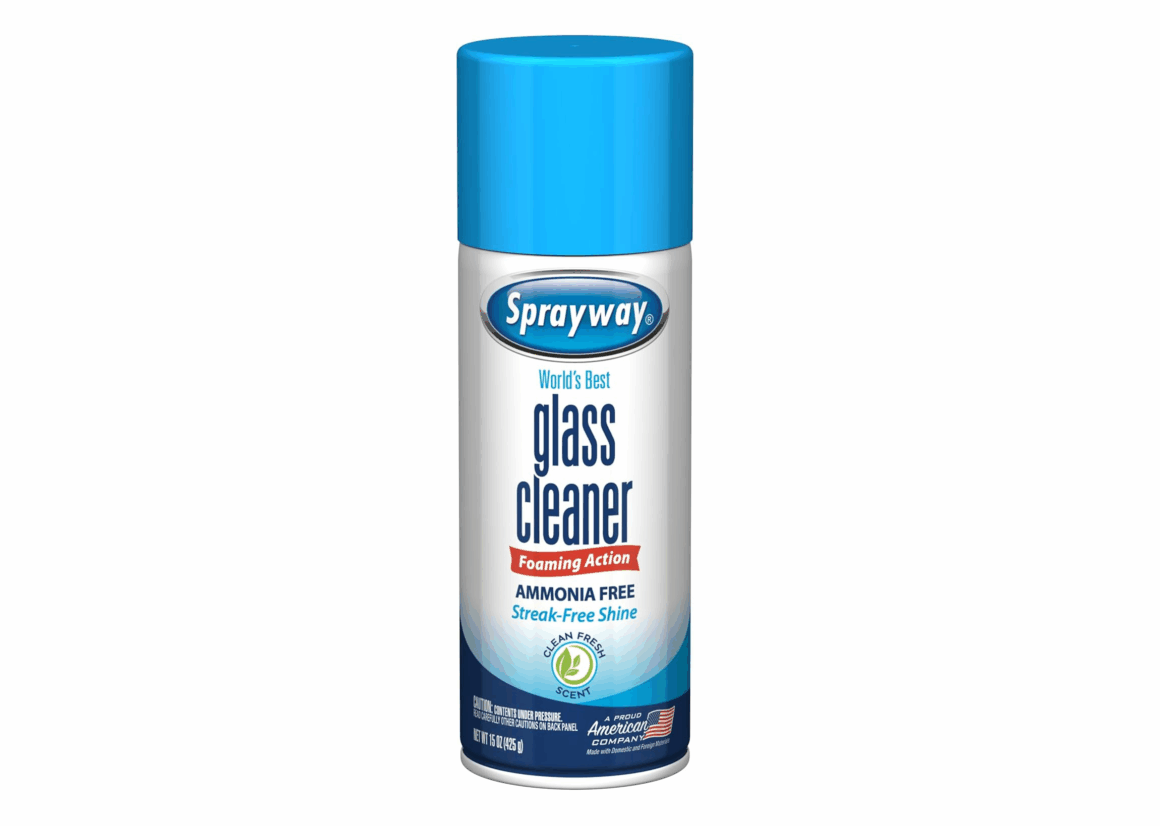
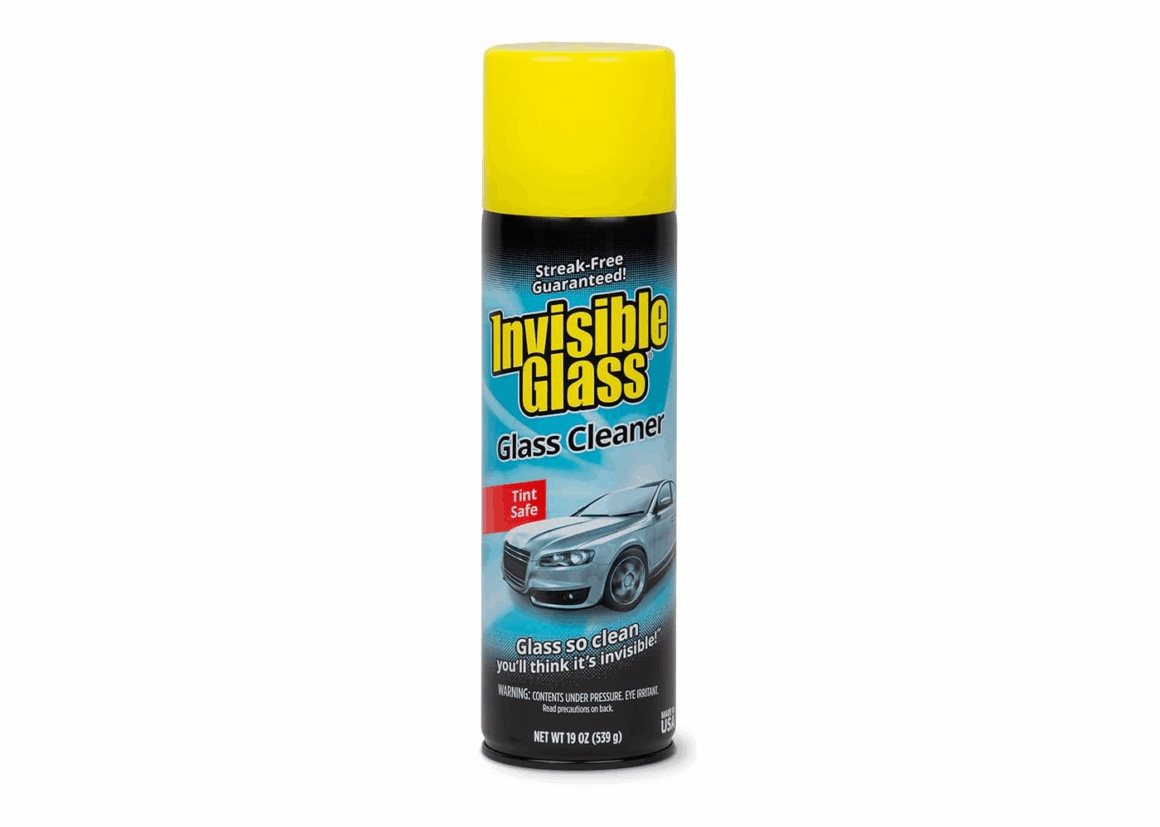
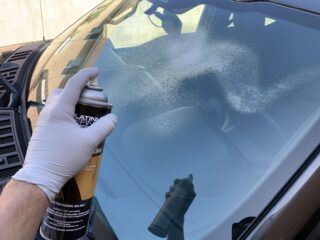
Cleaning windows is pretty straight forward, simply spray your windows with glass cleaner and clean it with a microfiber towel. If you don’t want to worry about potential overspray, spray the glass cleaner into your microfiber first.
Normally, I clean the windows at the very end of any car wash, or detailing work that I do. Don’t forget to clean the inside, as well as the outside of the windows and use multiple microfiber towels as needed.
How to Deep Clean Car Window Glass
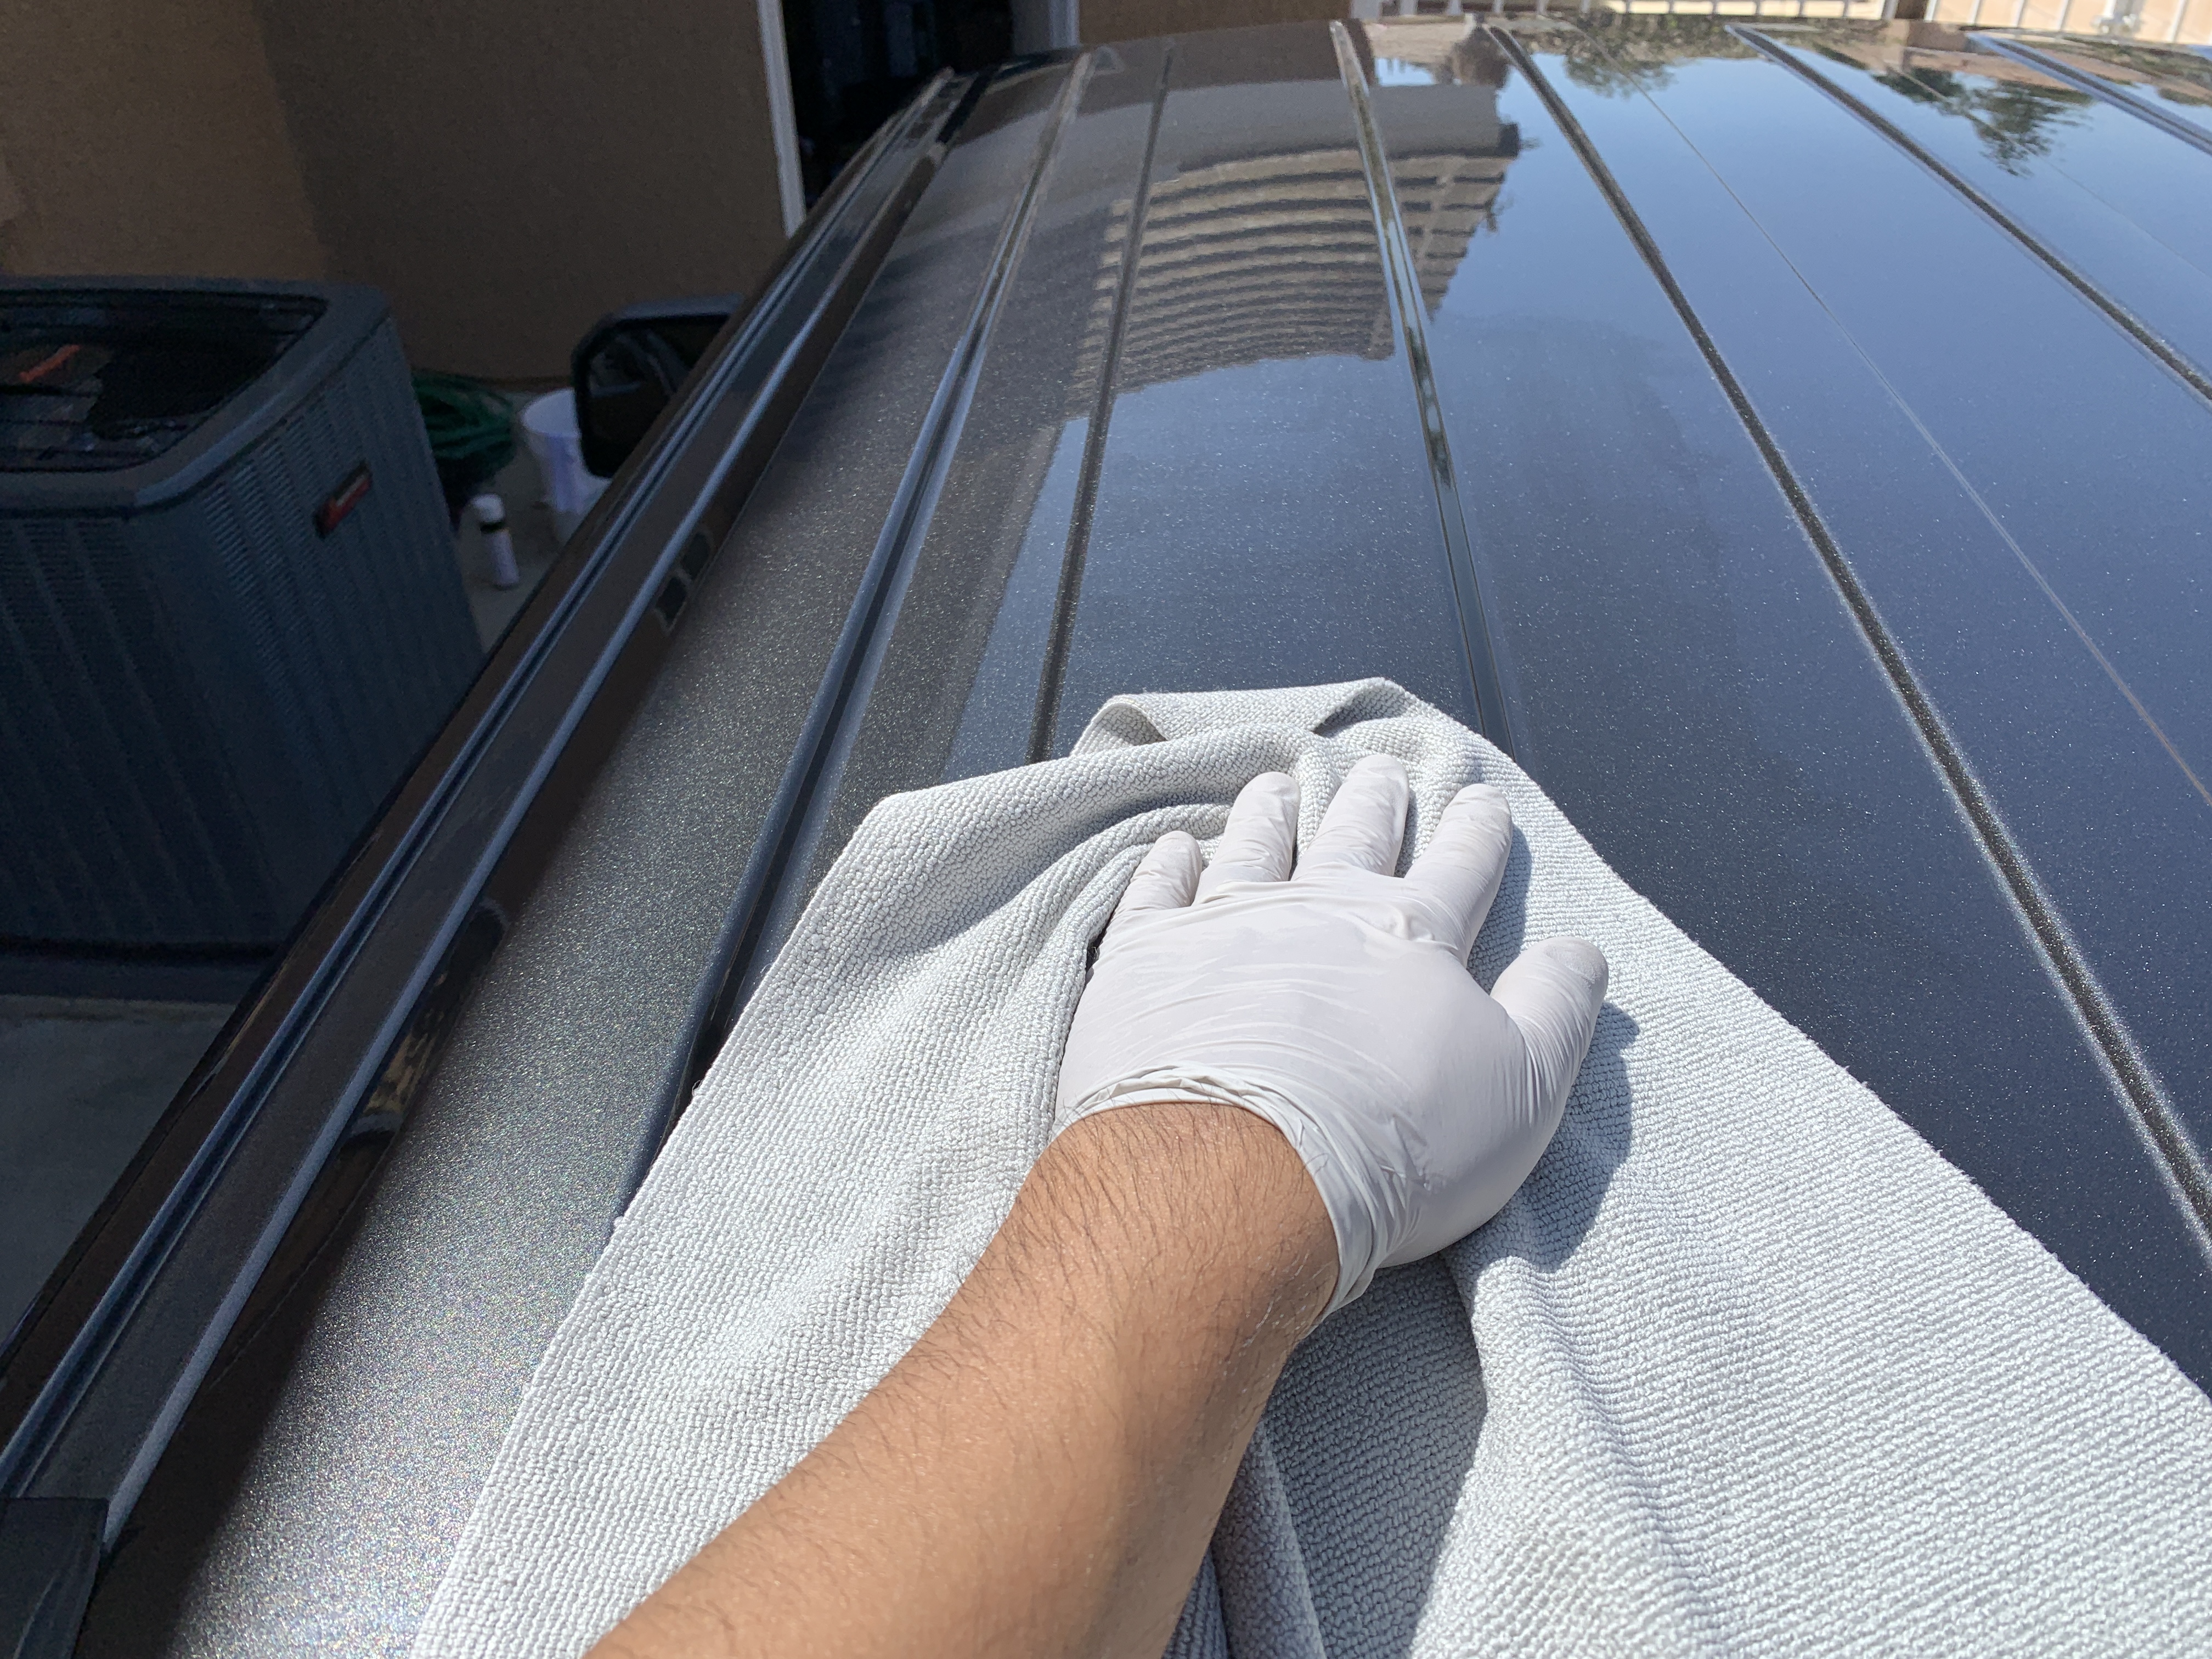
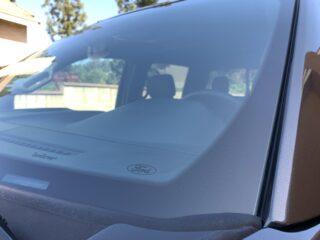
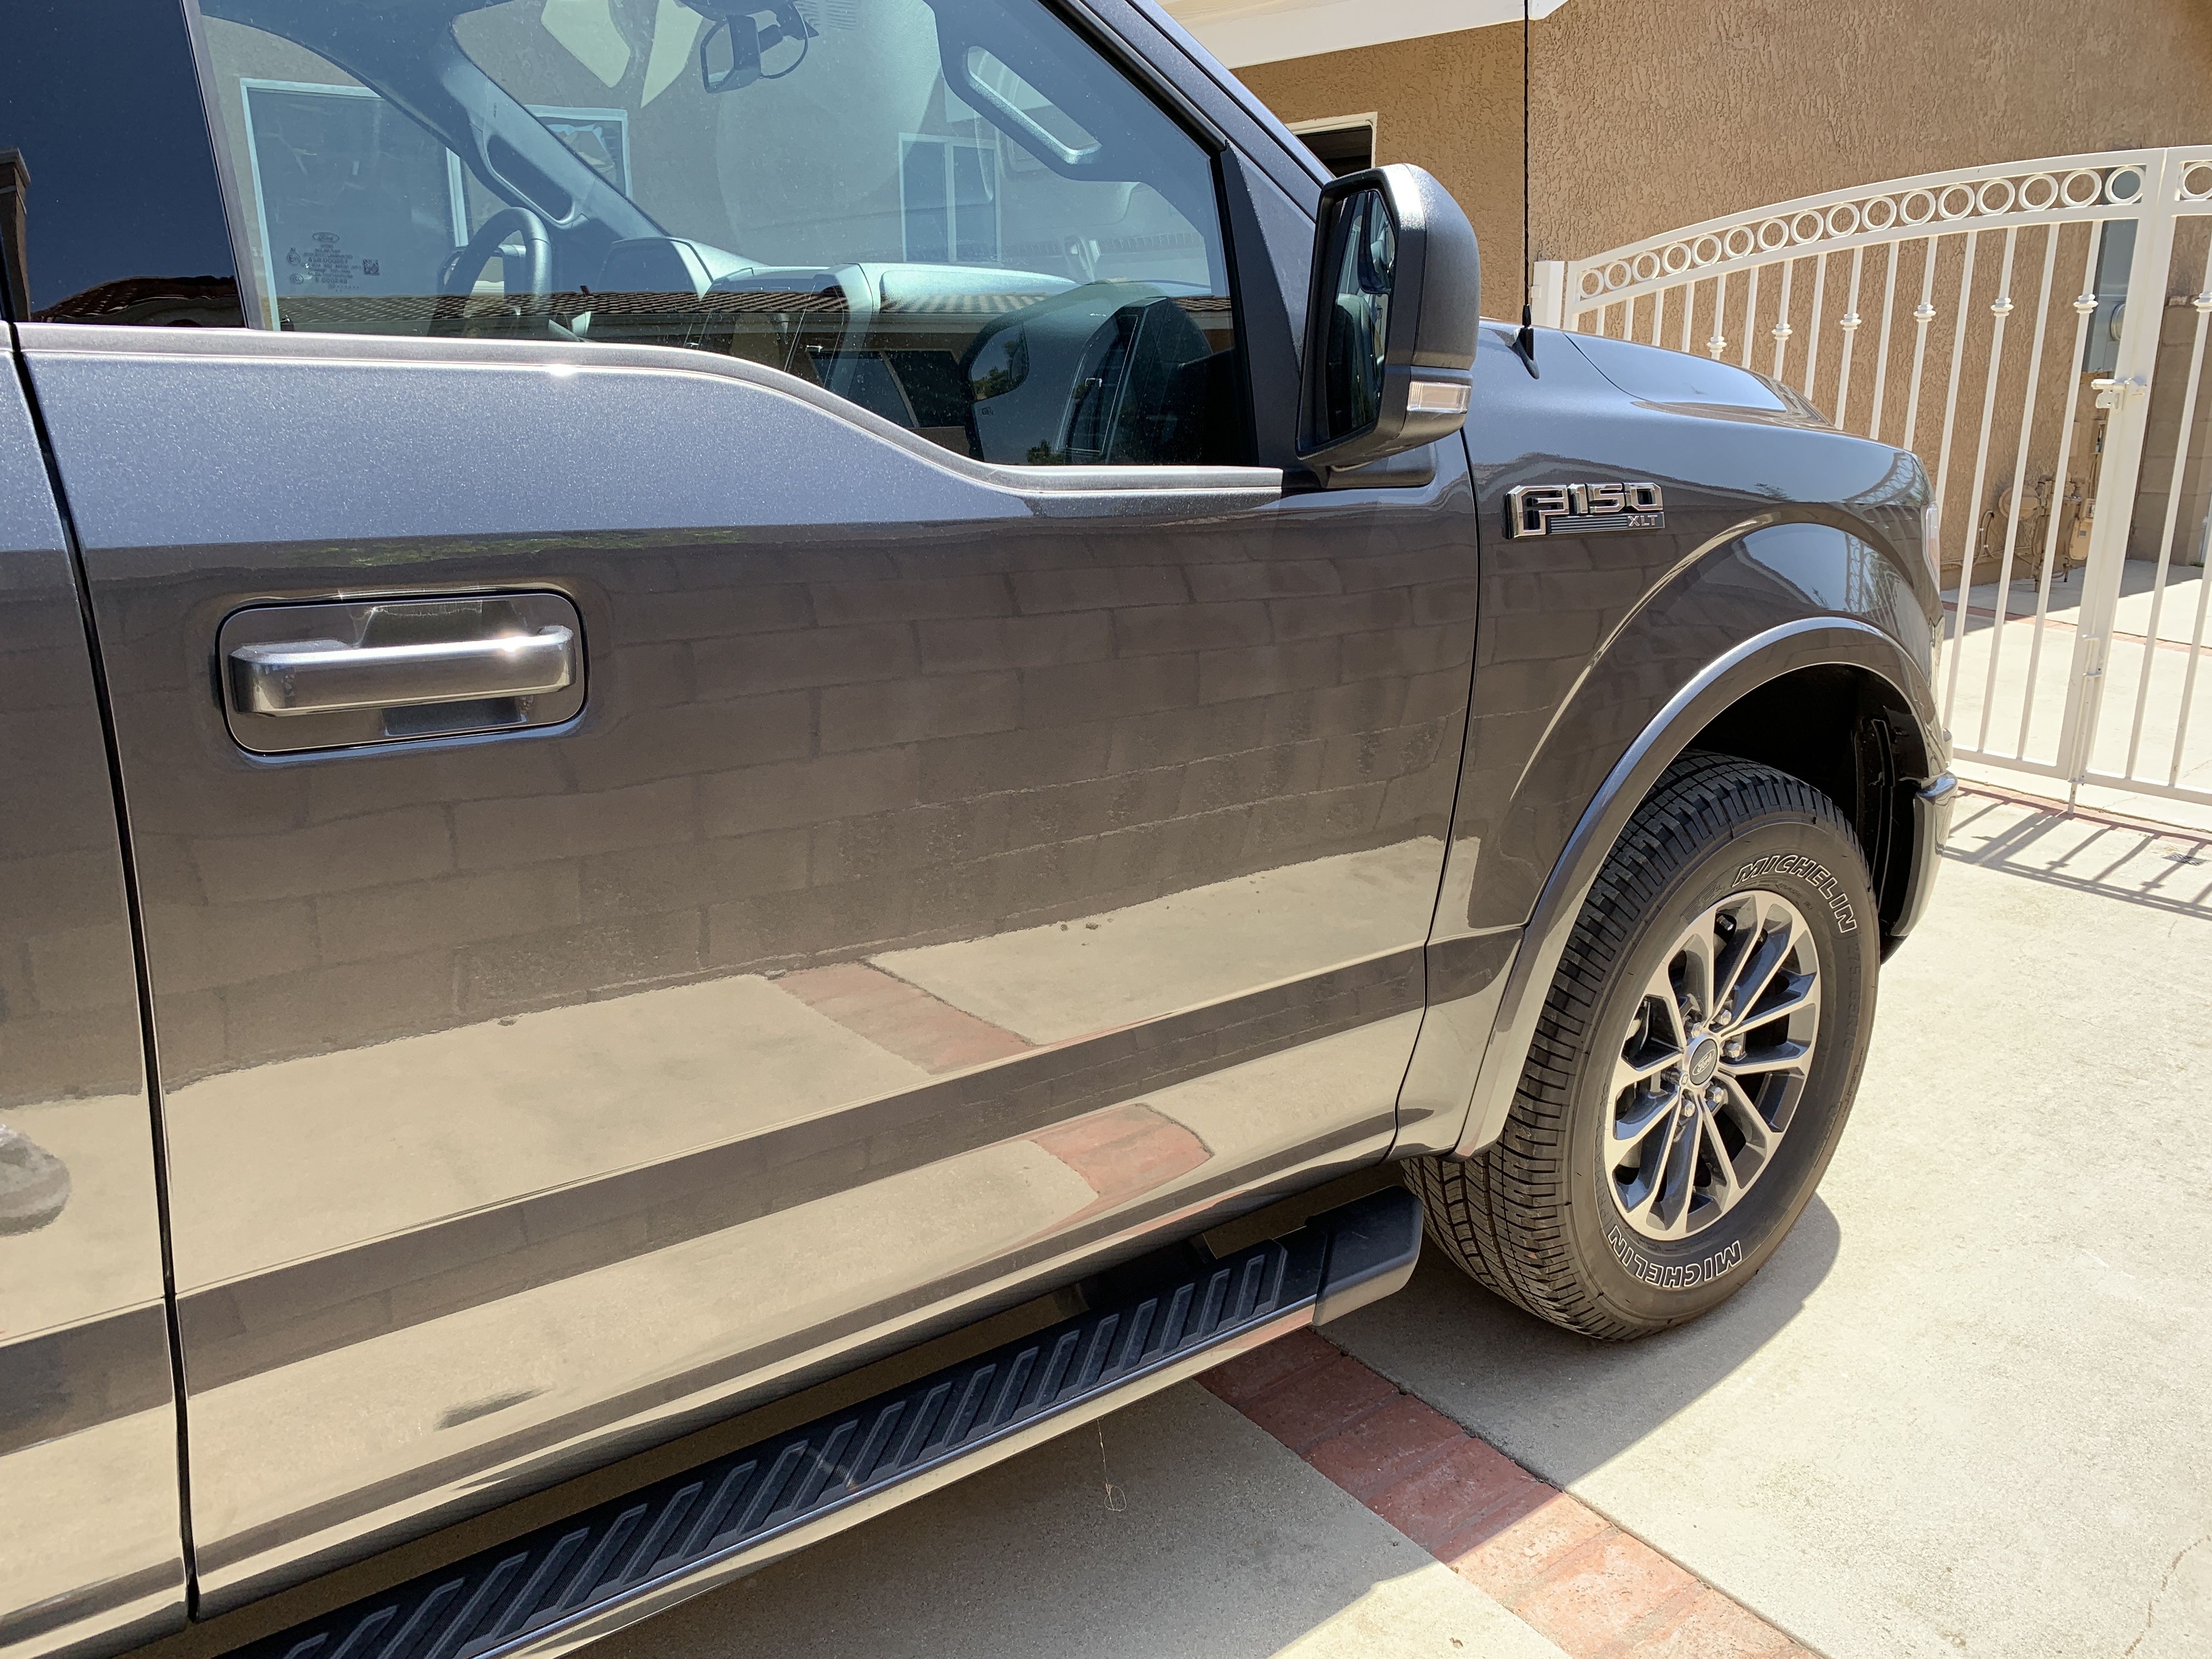
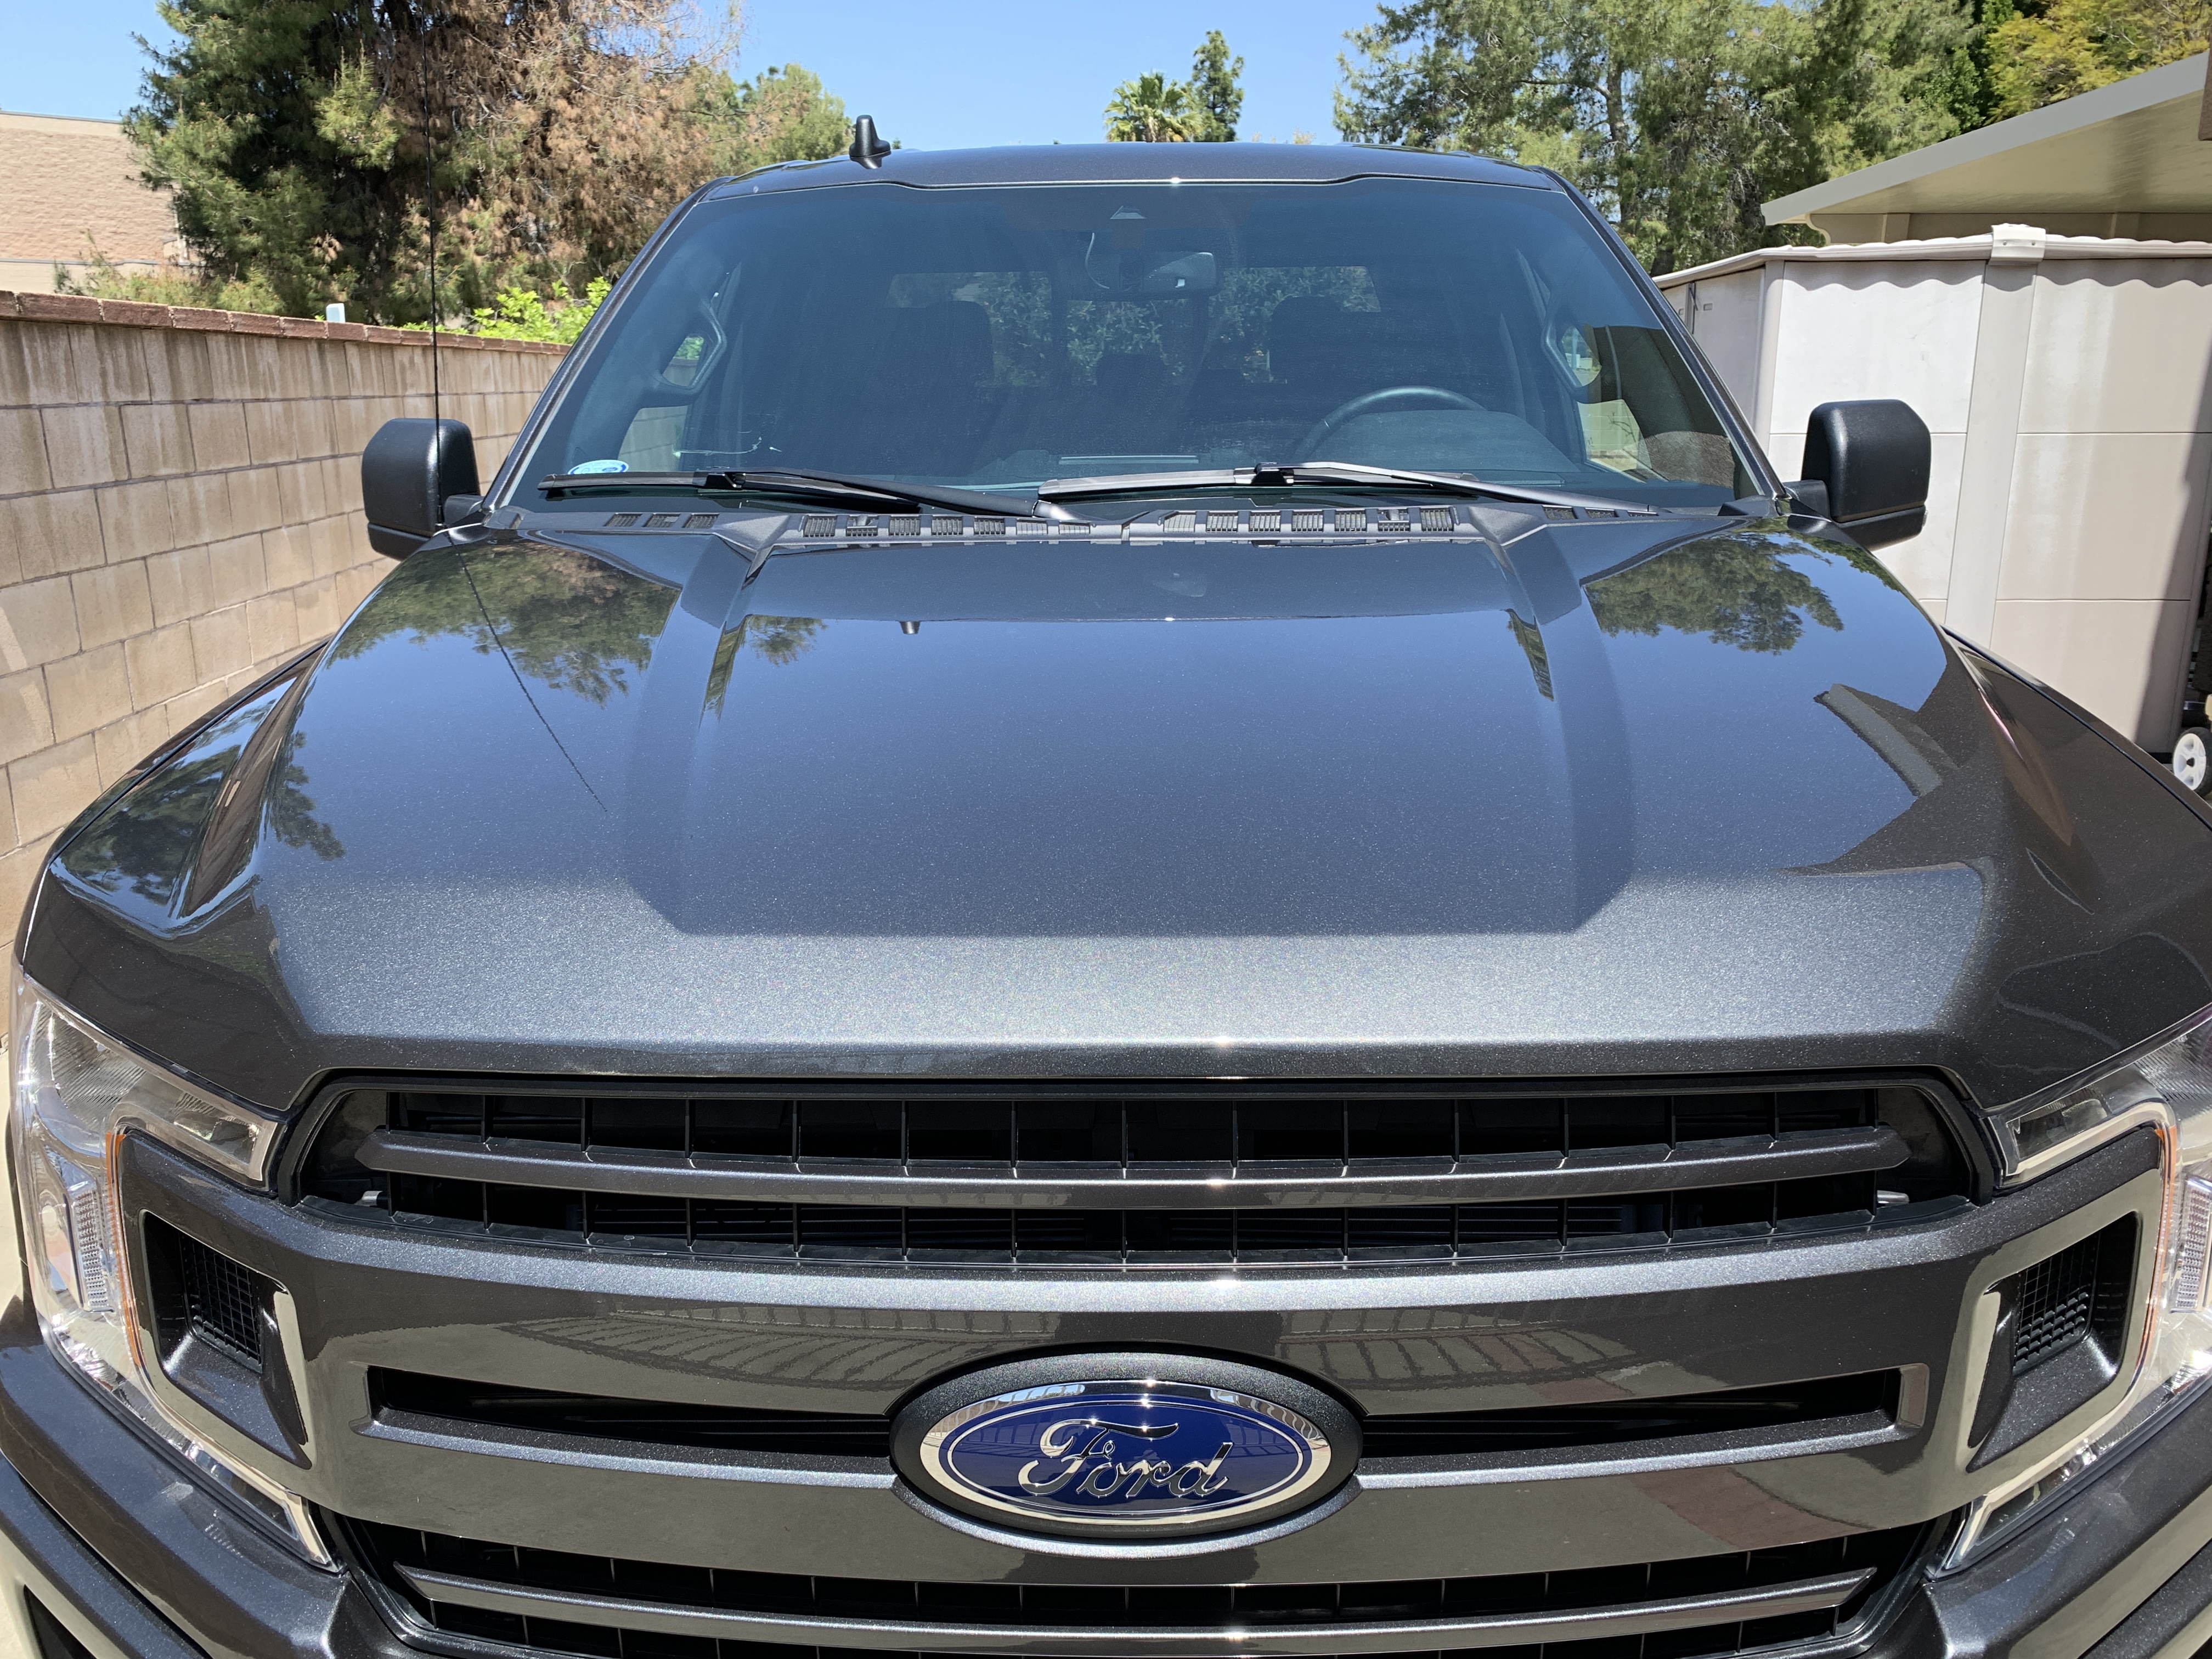
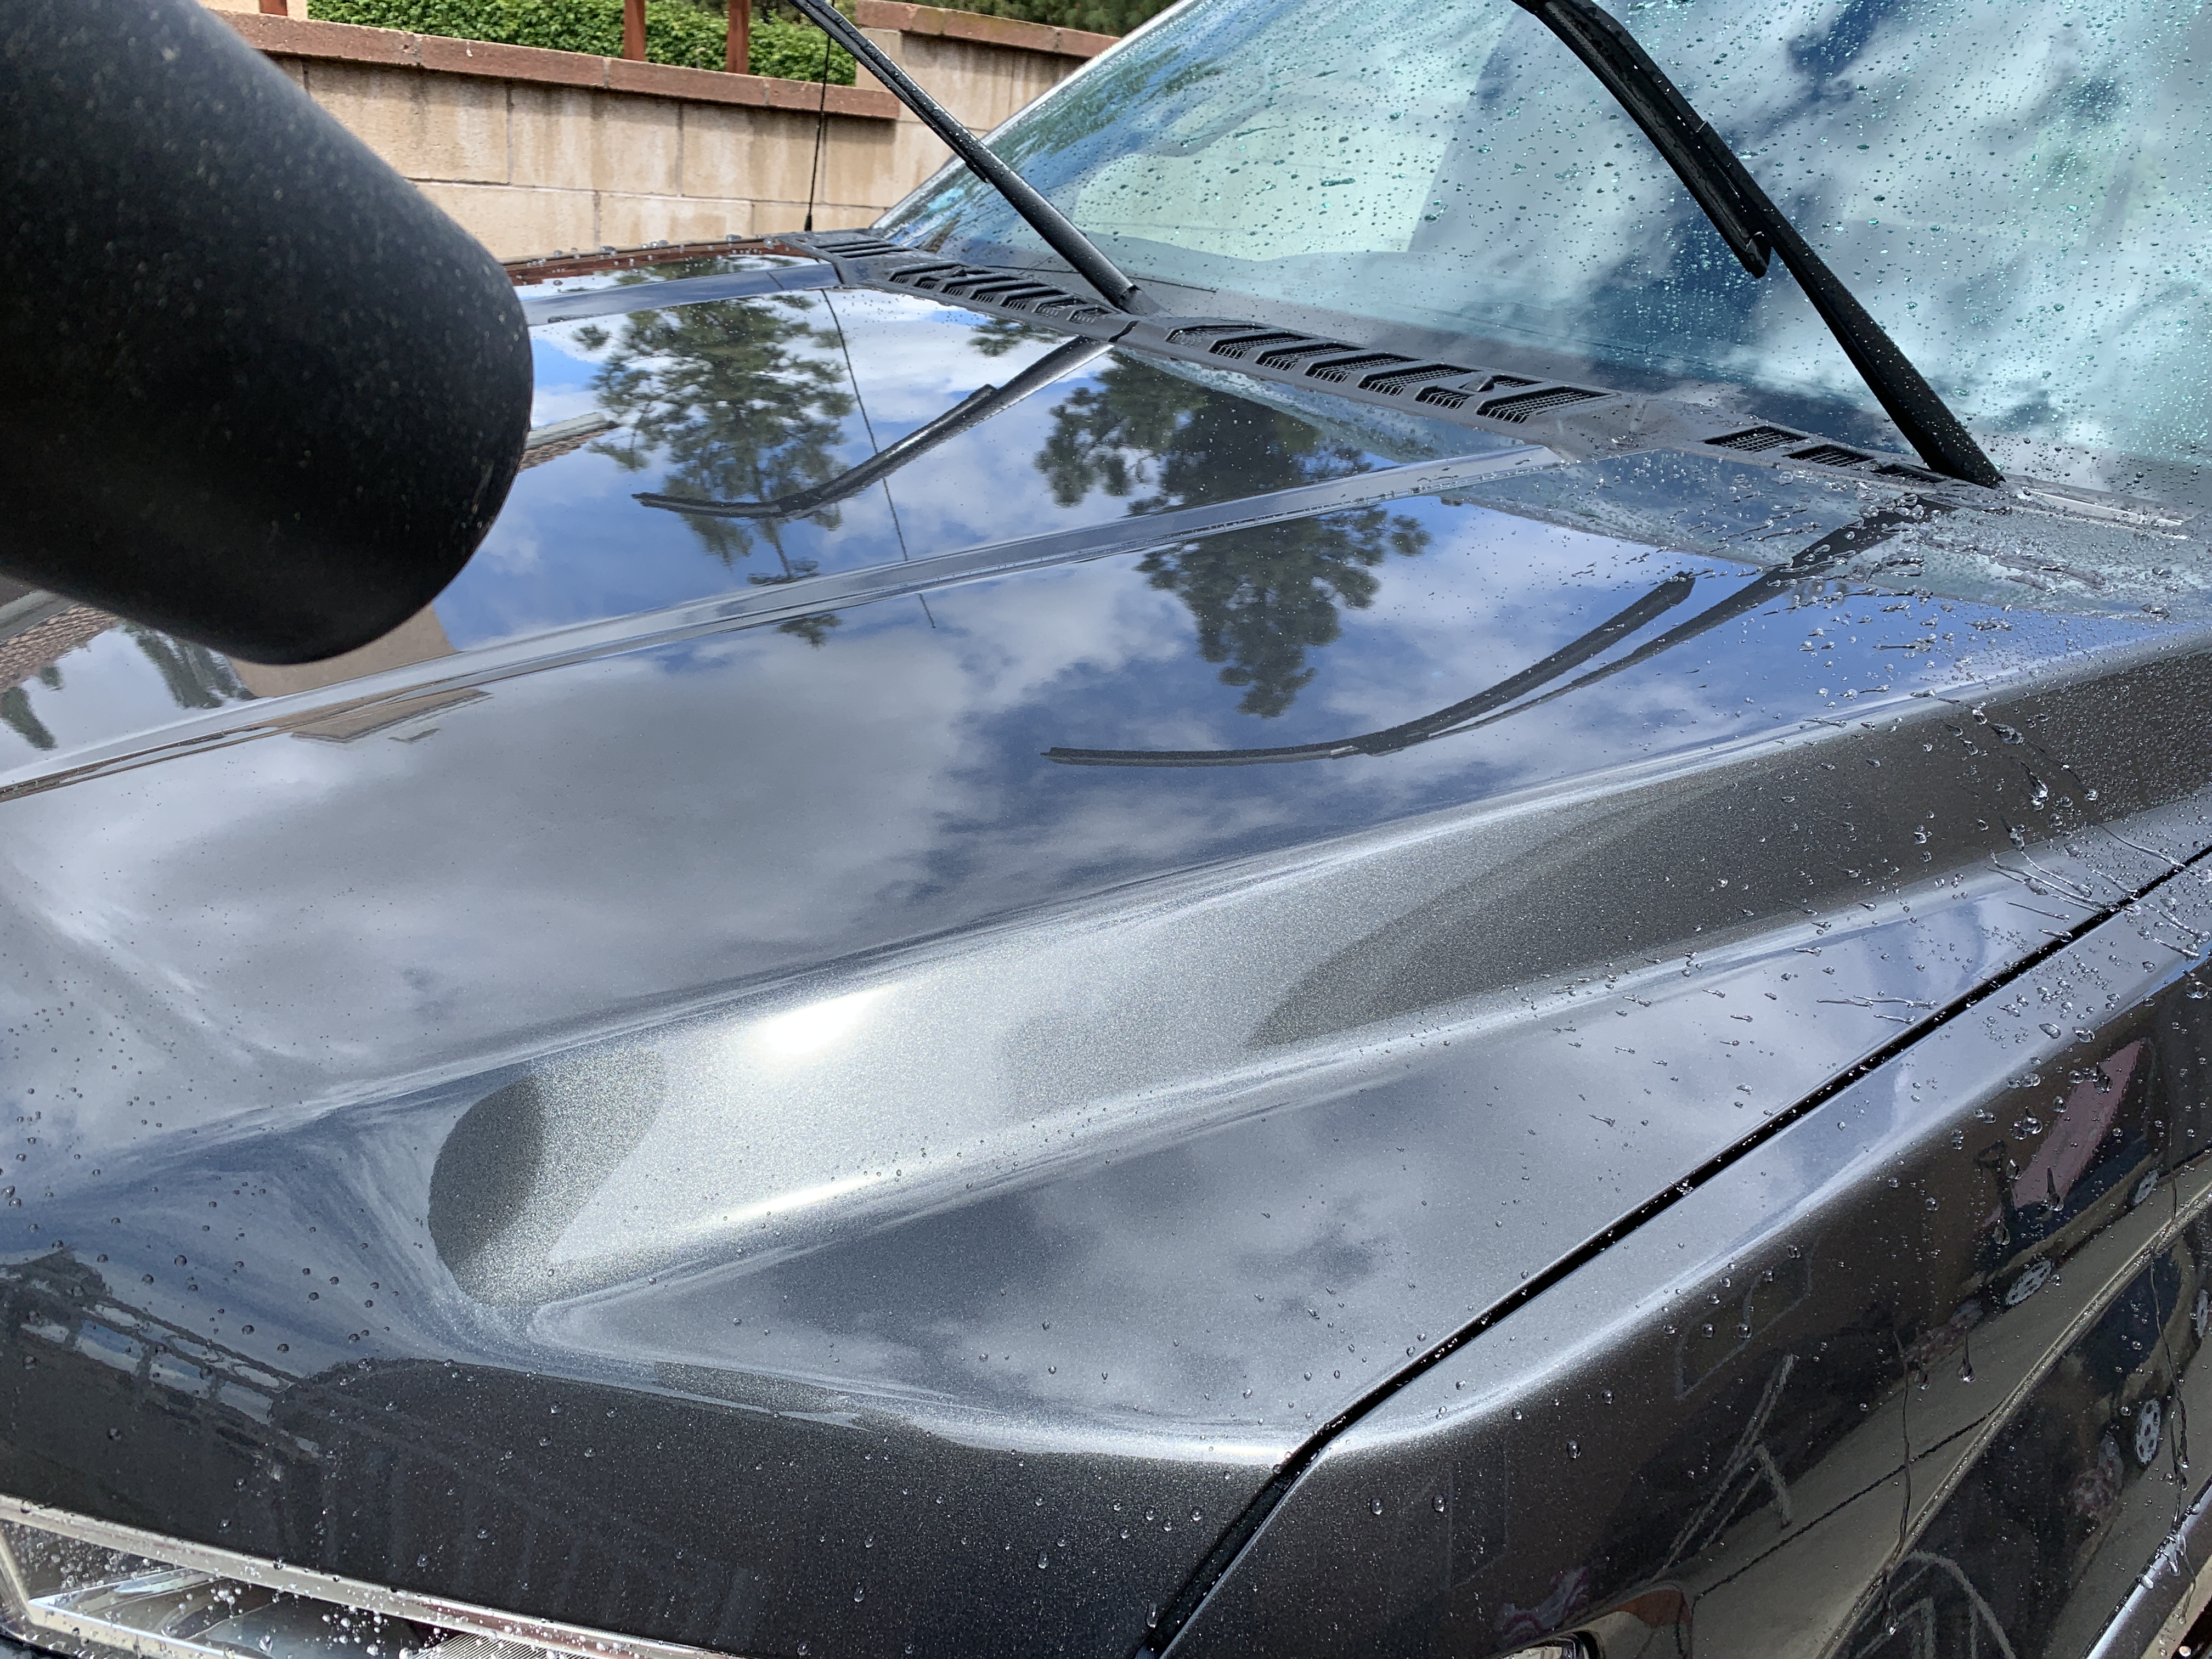
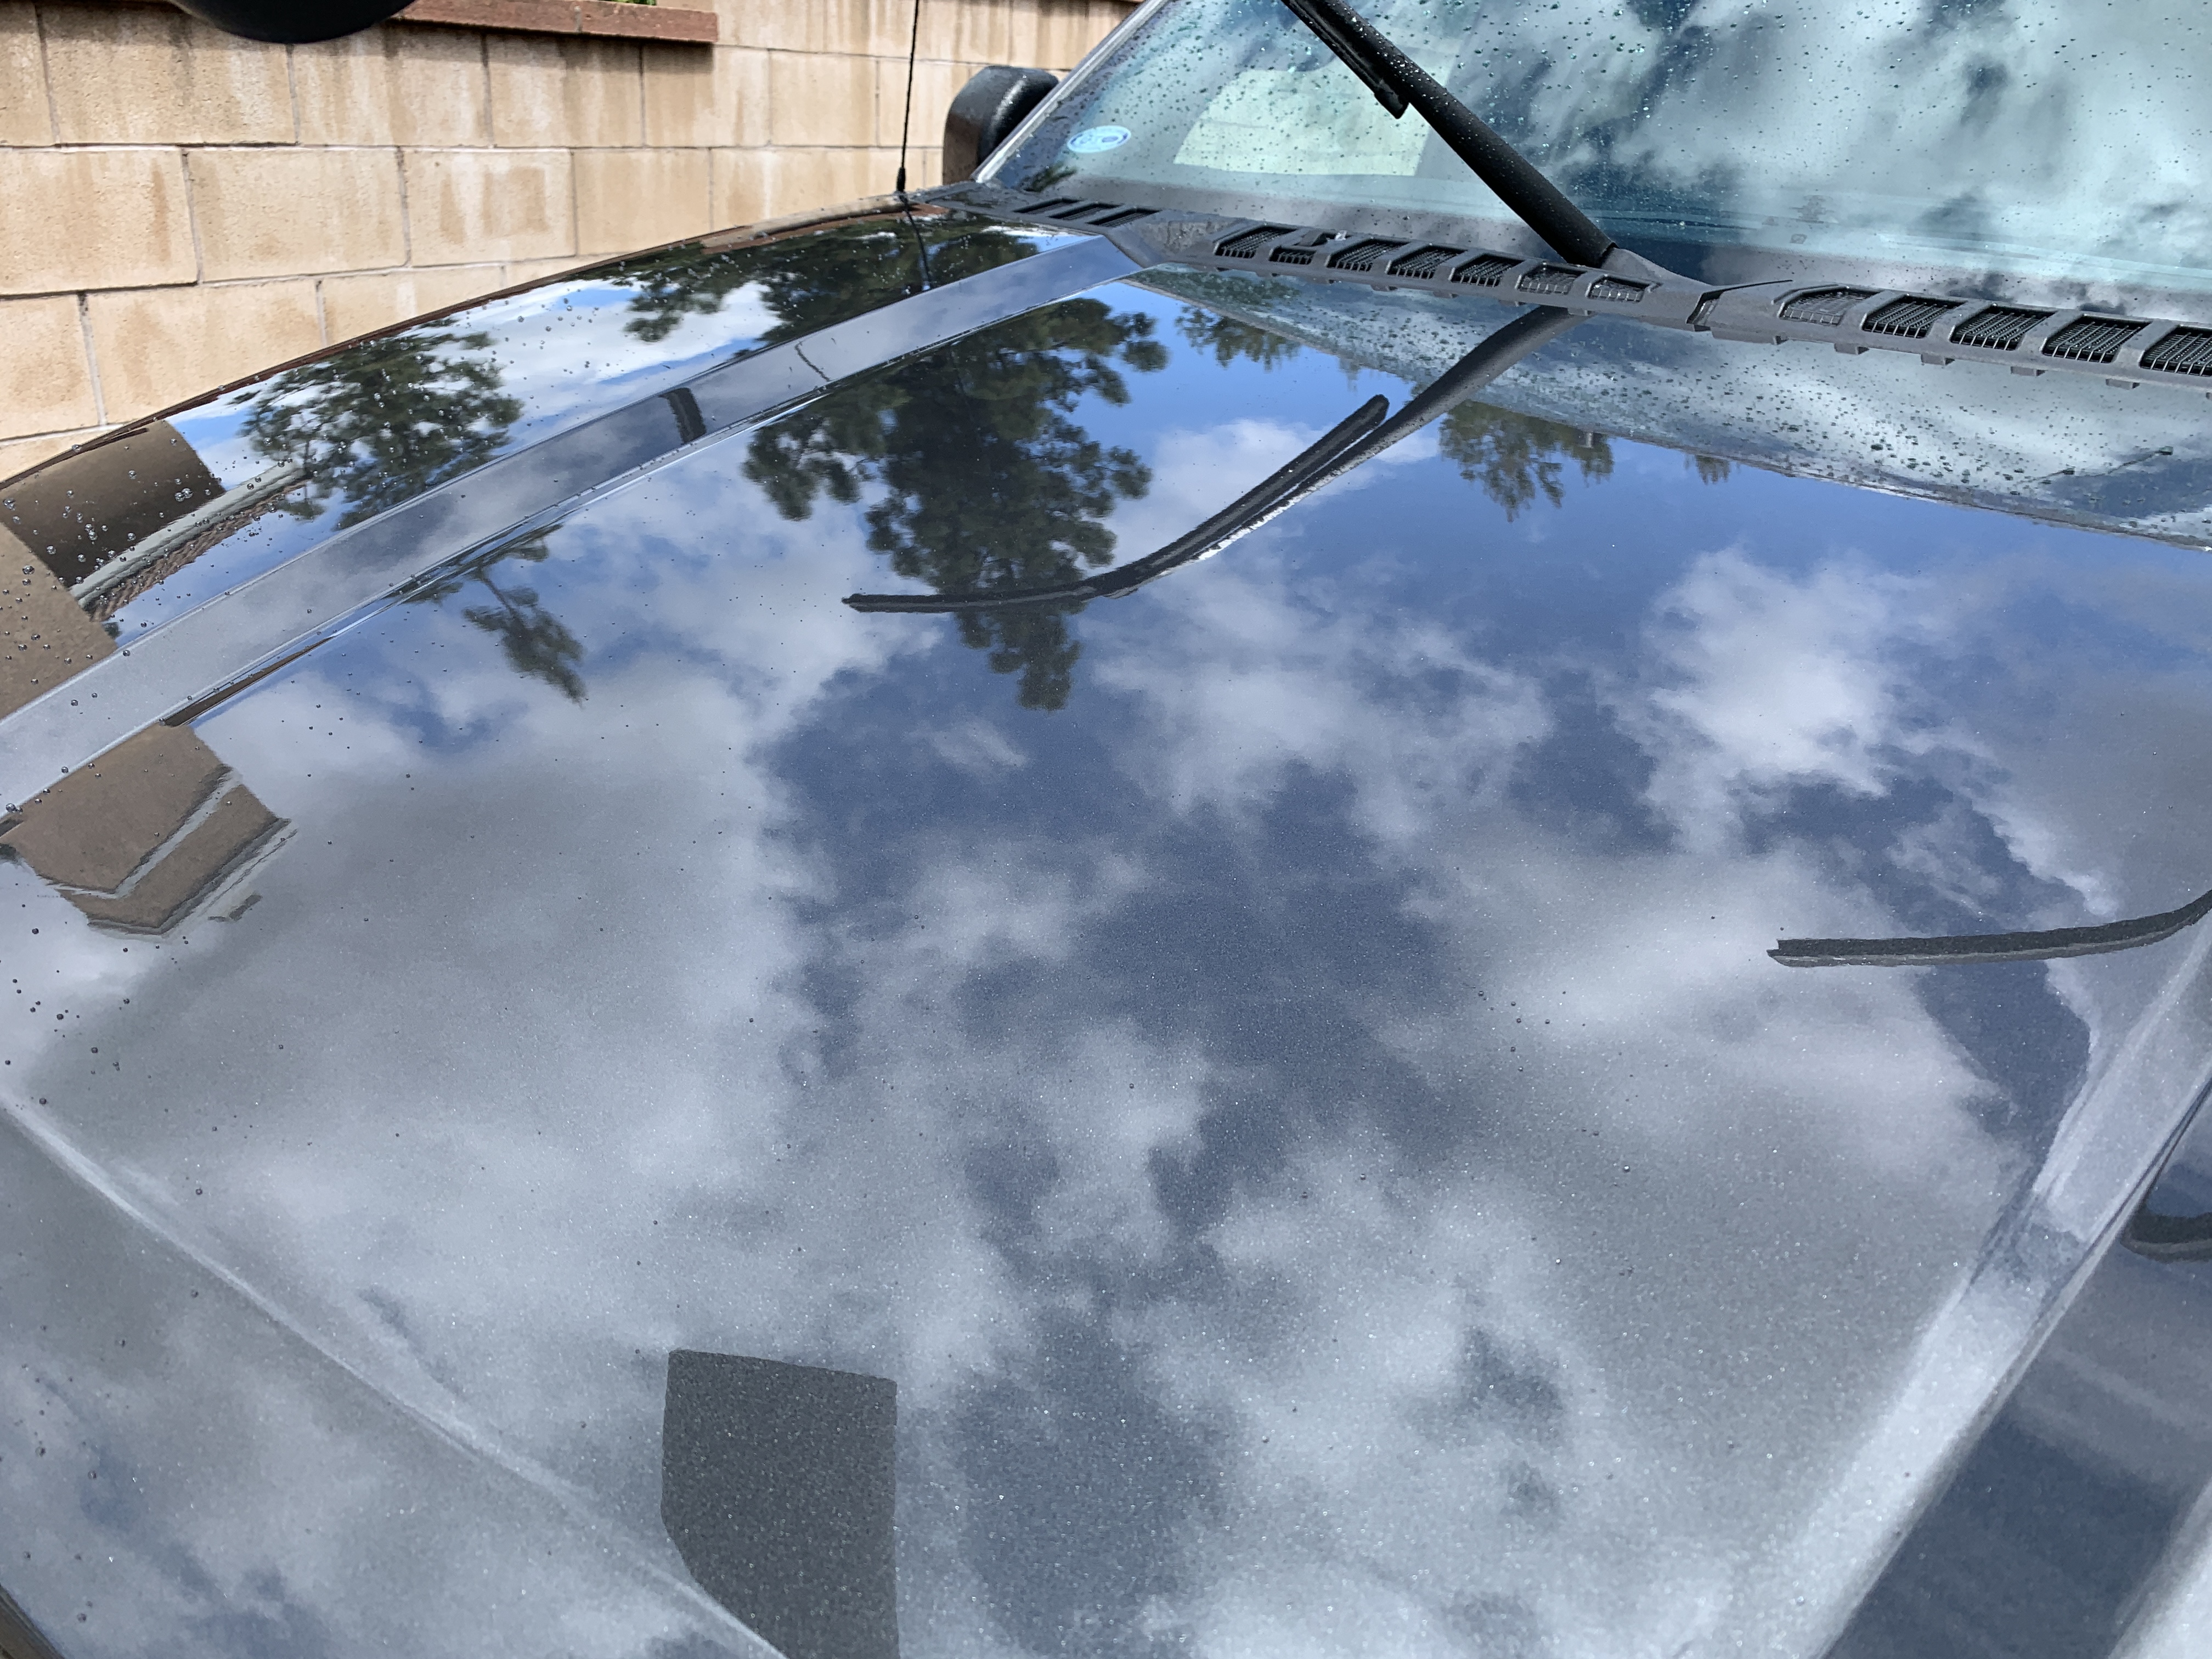
The Final Product
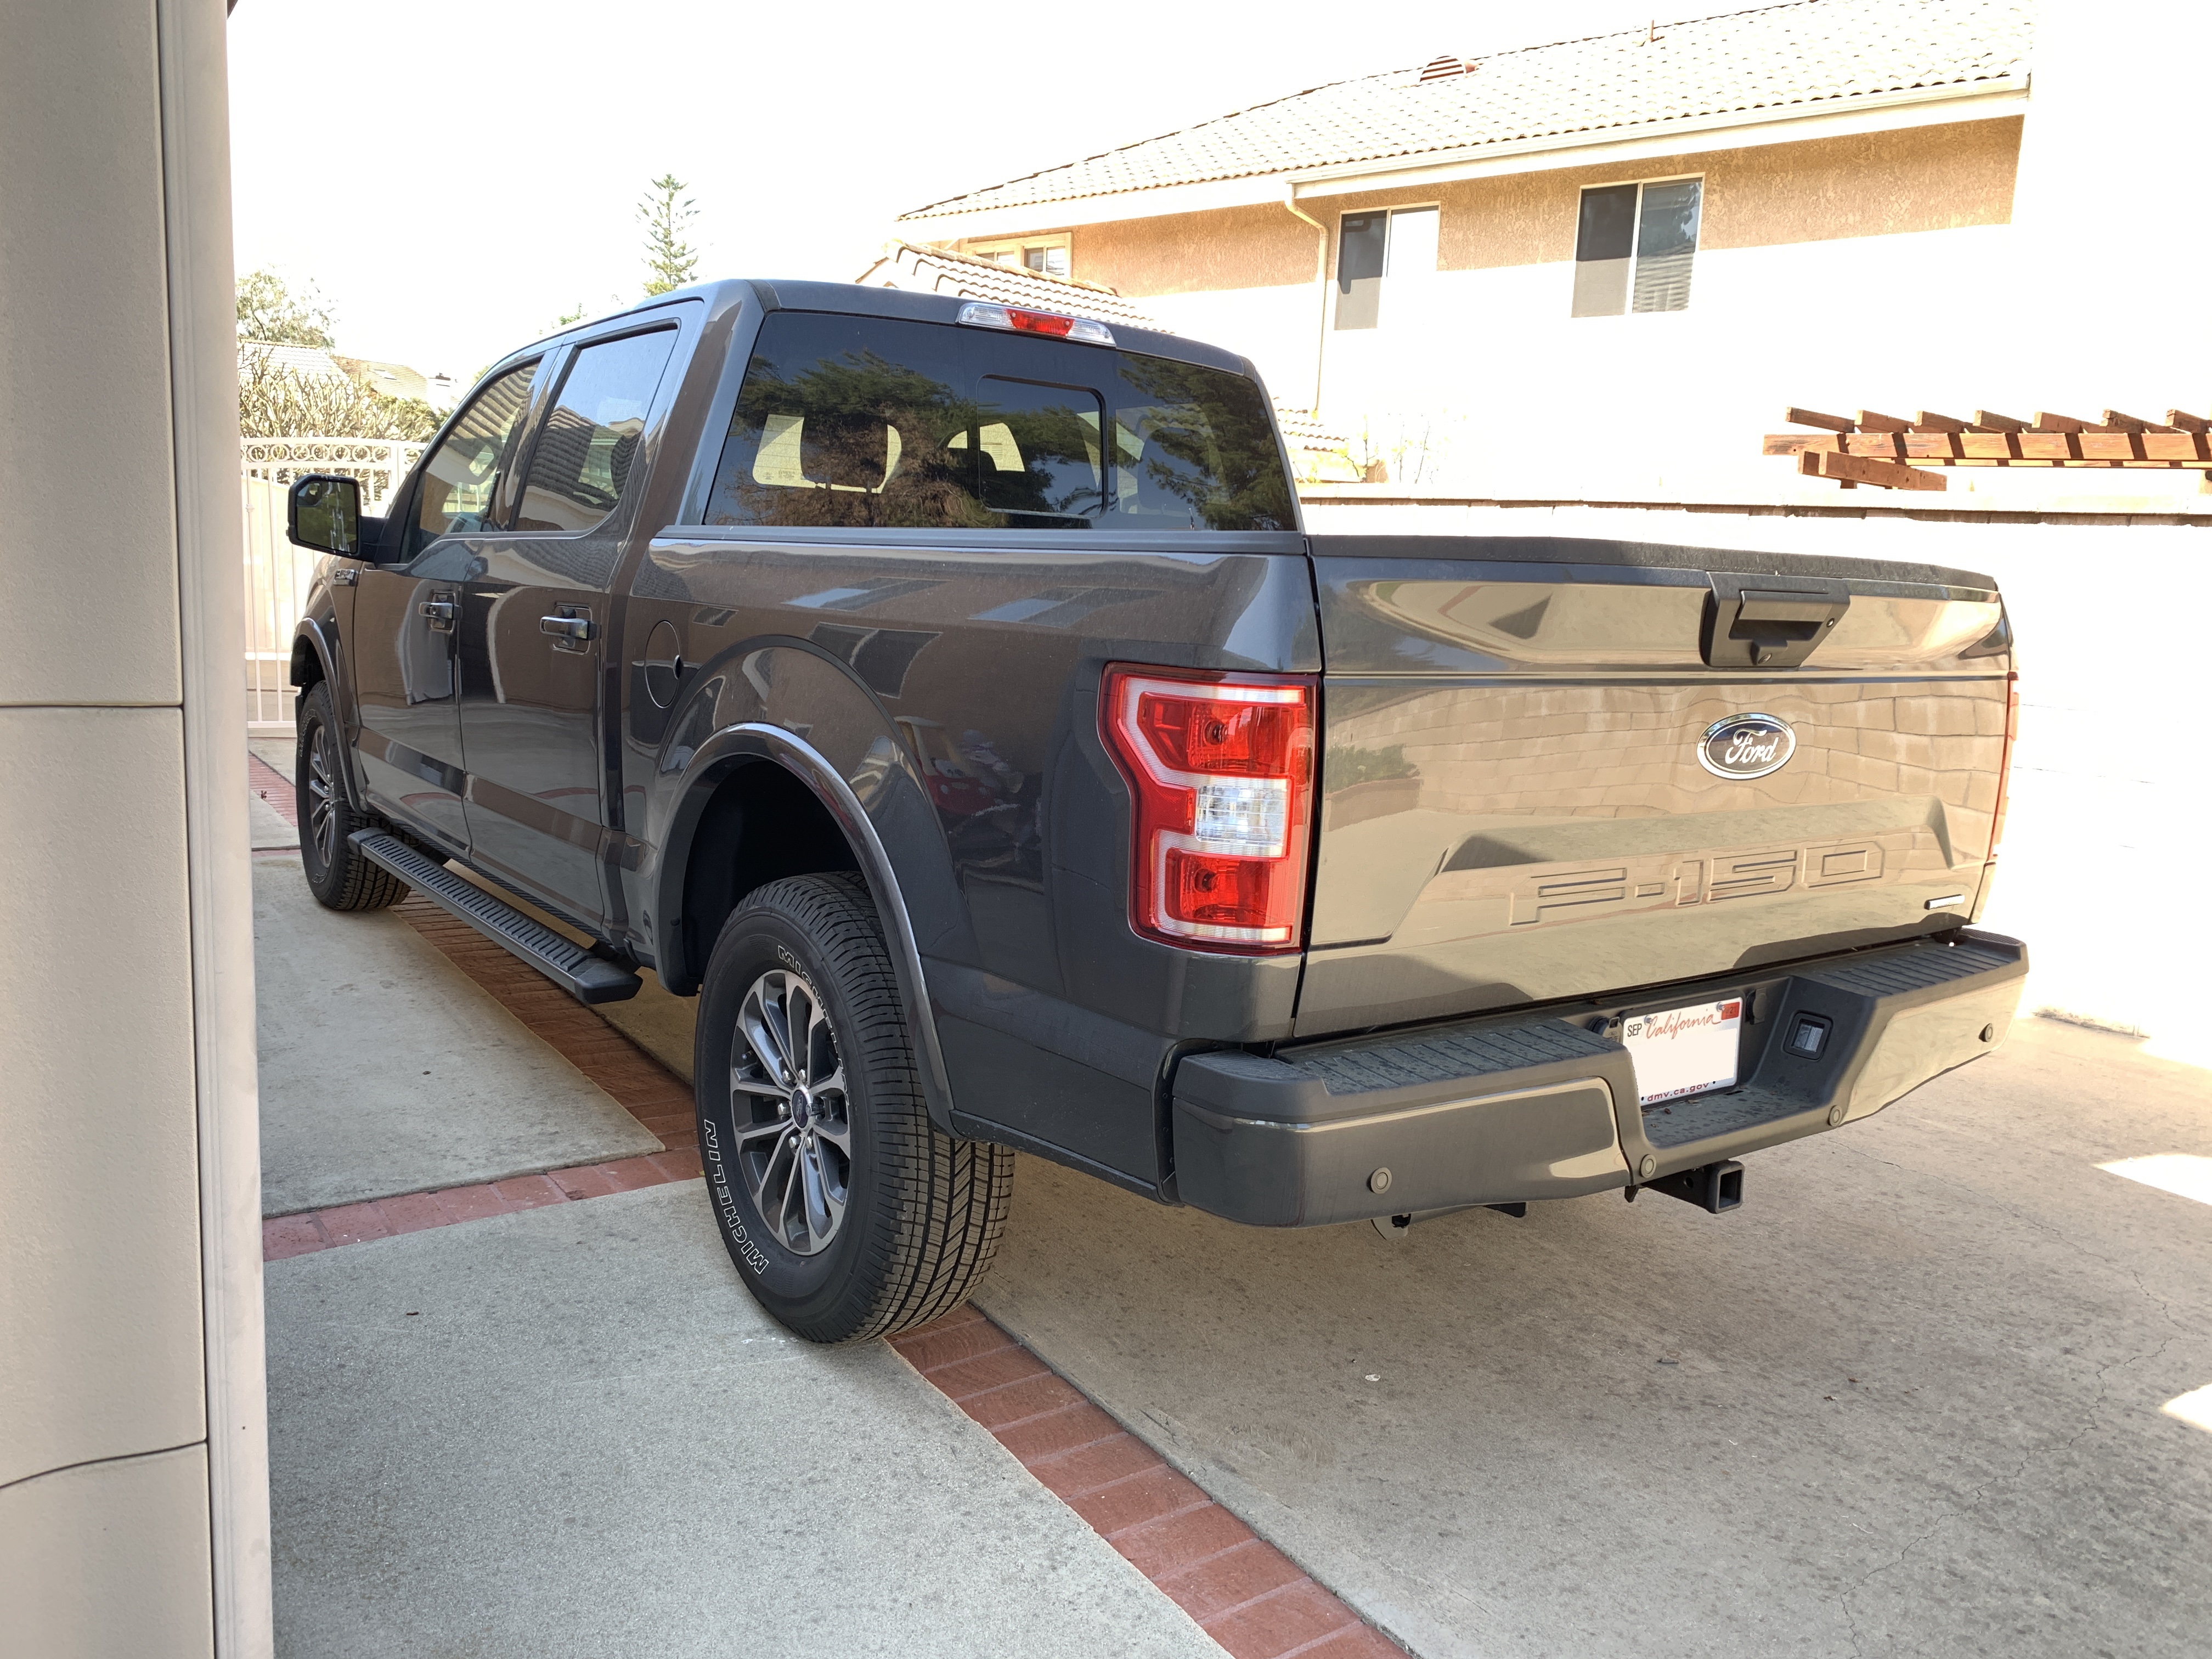
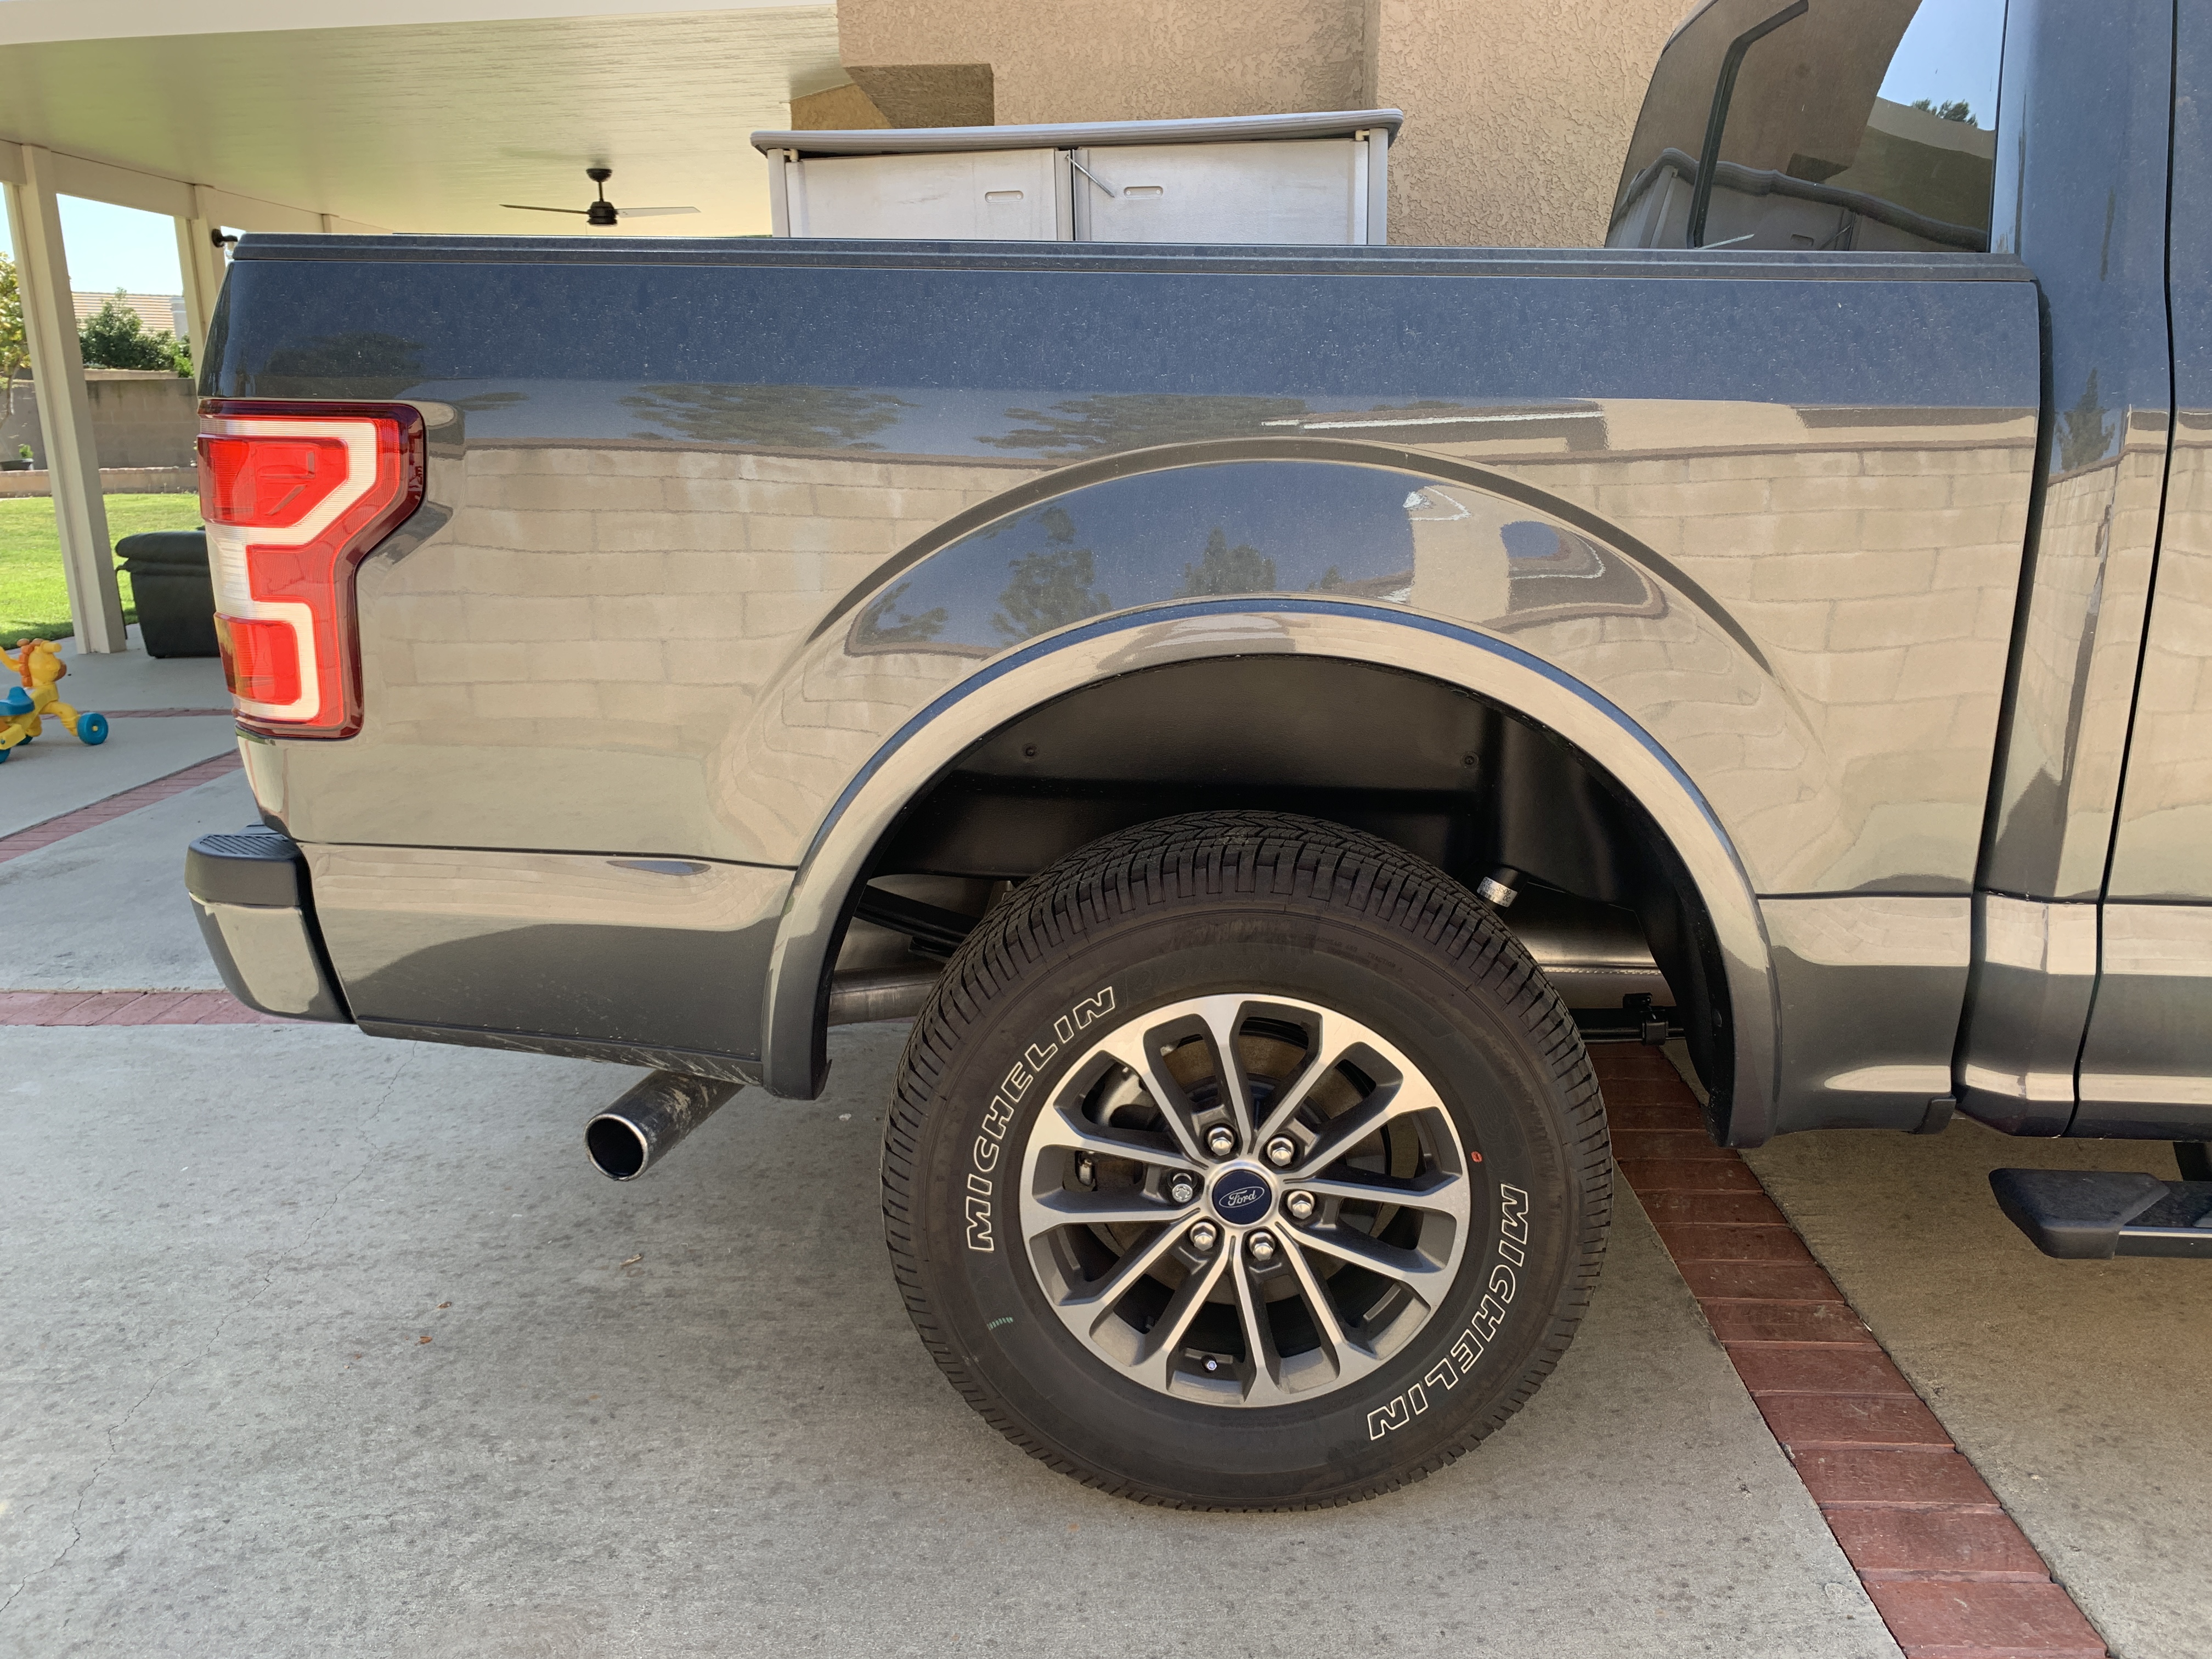
Here’s how my truck came out after following this process with the exception of polish. I wanted to preserve as much clear coat as possible, so I skipped the polish stage. I also did this whole detail completely outdoors, with some shade at certain times of the day. Not everyone is going to have a readily available garage or covering for them to do all of this work, and that is totally okay. Some people say things like you must polish before you apply a ceramic coating, or you have to work in a covered area to do this work.
It certainly makes it easier if you have cover to protect your car from the elements while doing this work, but if you don’t have access to cover, it doesn’t mean you cannot adequately clean and protect your vehicle. However, I will say at the very least if you are applying a coating, specifically a ceramic coating, you should have some access to shade. This might mean parking in a certain spot to have shade; even using a shade umbrella or pop-up canopy to get the shade. Waxes or paint sealants may do just fine if applied in the sun. Coatings can be finicky and may not cure adequately nor evenly if applied in direct sunlight.
Maintaining Your Vehicle
Depending on what kind of protectant you apply to your vehicle, you will need to reapply at the appropriate interval or when you start to see that the protectant is no longer beading water like it did when you first applied it. You’ll still need to wash your car every 2-3 weeks so that there is not too much build-up, making it more difficult to clean the longer you wait.
If you keep up with your maintenance washes, you’ll find that the protectant does its job at minimizing the amount of contaminants that end up on your car, and making it a lot easier to clean when you wash your car. This is probably the best part of fully cleaning your car and applying a protectant–it makes washing your car so much easier. In fact, after you wash your car, you can even use a leaf blower and dry off most of the water without even reaching for your drying towel.

I know how it feels to want to take care of your new vehicle purchase, as I went through these steps to fully protect my new investment. Five years later, I still have my F-150 and I continue to maintain it and re-apply protection every so often.
There have been times when the coating or wax that I’ve applied had worn off and I did not have time to re-apply protection. Well, after some time of not maintaining it properly, washing the car the next times was not pleasant as I felt like a lot fo the contaminants that would normally be washed off easily were really stuck on. So try to stick to your car wash maintenance and re-apply protection as-needed to ensure that you have an enjoyable experience every time you wash your car.


