When you make purchases through links on this site, The Track Ahead may earn an affiliate commission. Also, these posts are based off my own experiences. I am not responsible for any action you take as a result of reading this. Learn More
Access to the Radio in the 4th Gen Toyota 4Runner
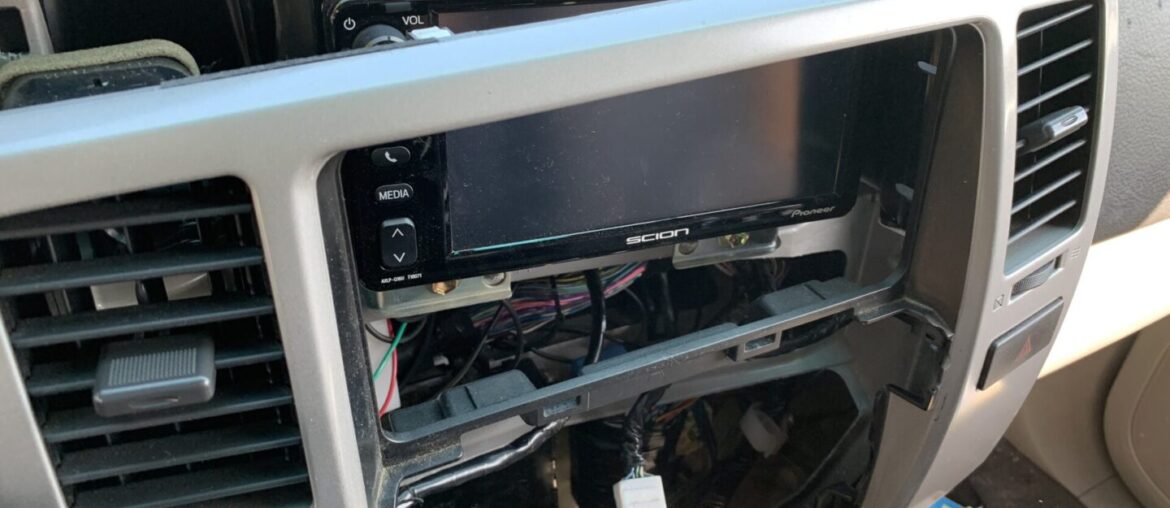
I’ve replaced the head unit/radio in my 2003 Toyota 4Runner countless times for various stereo upgrades, so I’ve gotten familiar with taking the trim apart to get access to the head unit. After doing it so many times, I’ve been able to get my time down to less than five minutes. I figure this tutorial would be helpful for anyone trying to remove their radio and want to get to the head unit quickly.
Tools/Materials
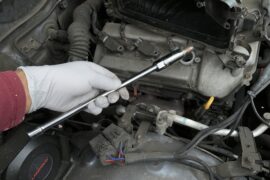
Socket Wrench Set: 10mm sockets are needed in order to remove the interior trim in order to get to the head unit. I throw on an extension to make it easier to tighten/loosen with a ratchet.
EPAUTO 45 Pieces 3/8″ Drive Socket Set with 72-Tooth Pear Head Ratchet
Trim Removal Tool Kit: This is entirely optional, however using trim tools will reduce the chance of damaging your interior trim. Also, if you haven’t removed your trim before, it may take a little convincing to pop these trim pieces out of their place.
Tresalto Auto Trim Removal Tool Kit, Set of 5 Pcs
How to Gain Access to Radio in Less than 5 Minutes
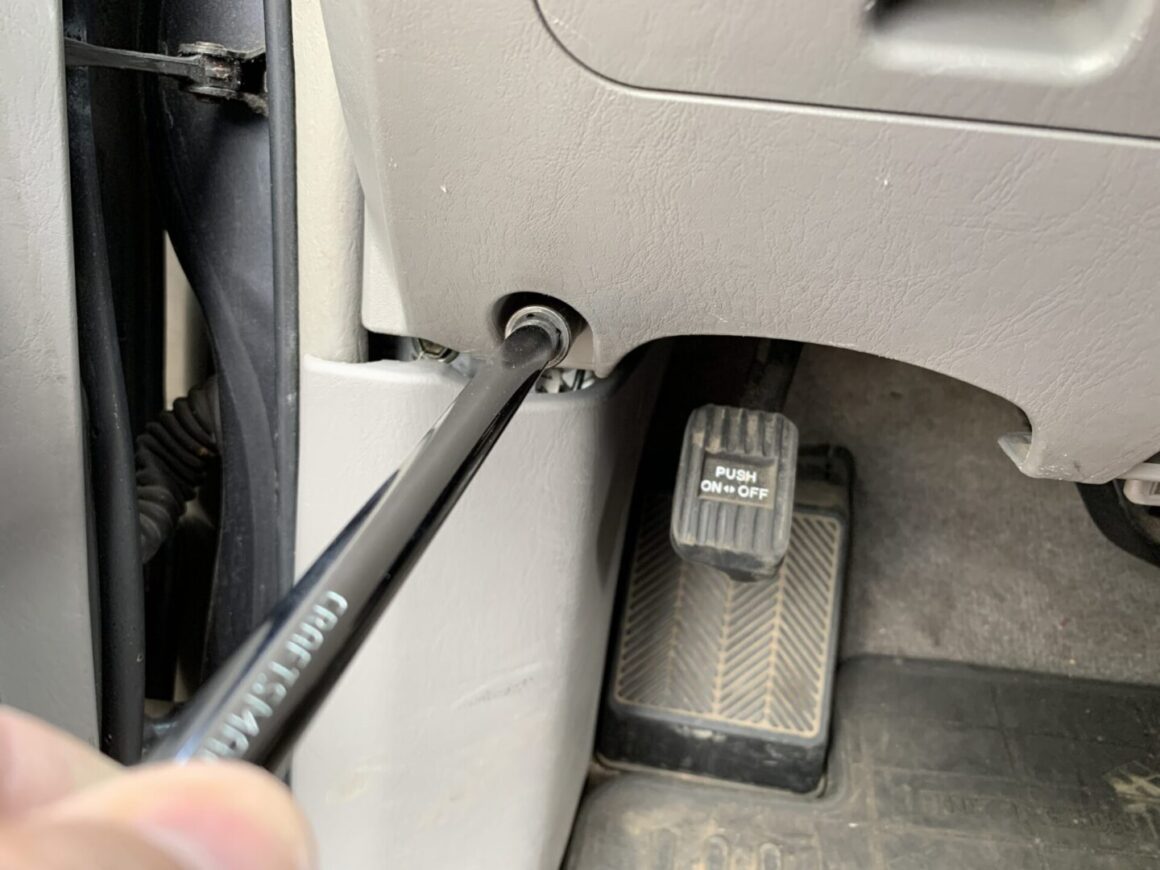
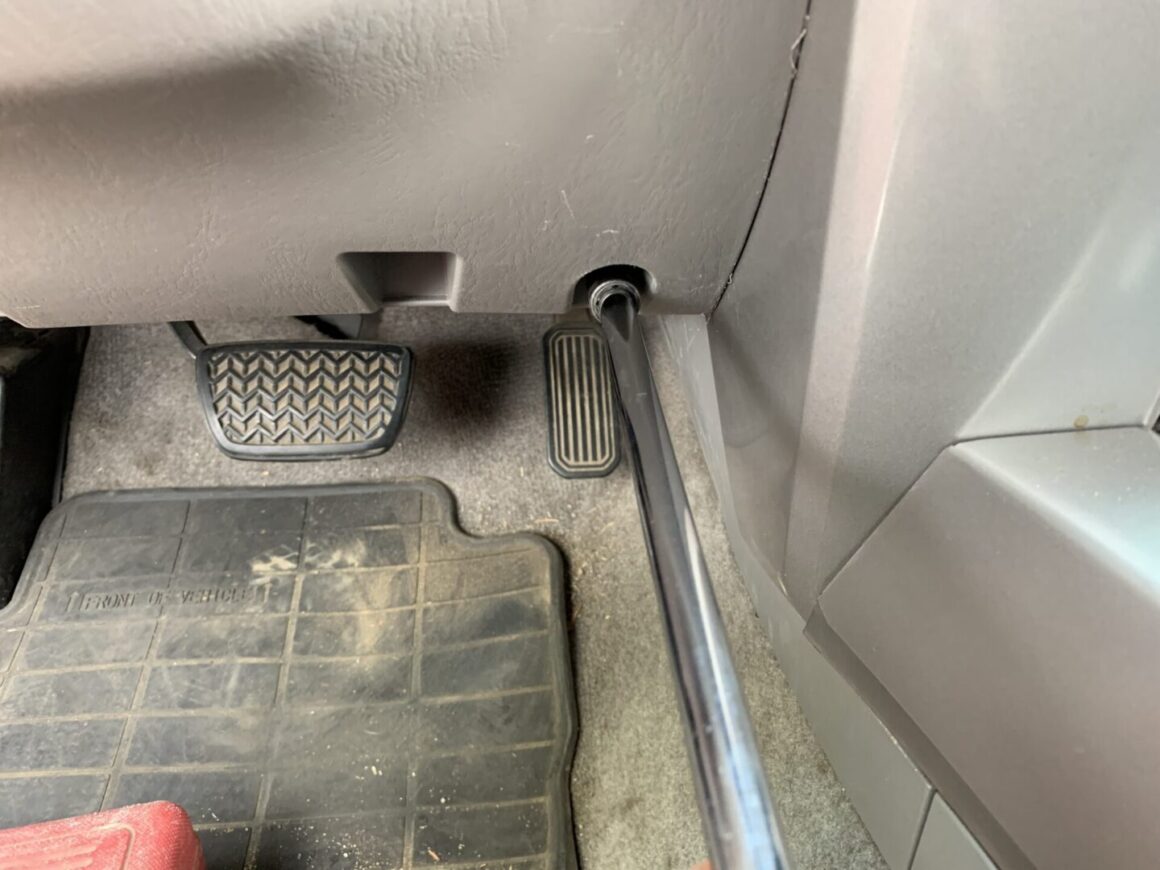
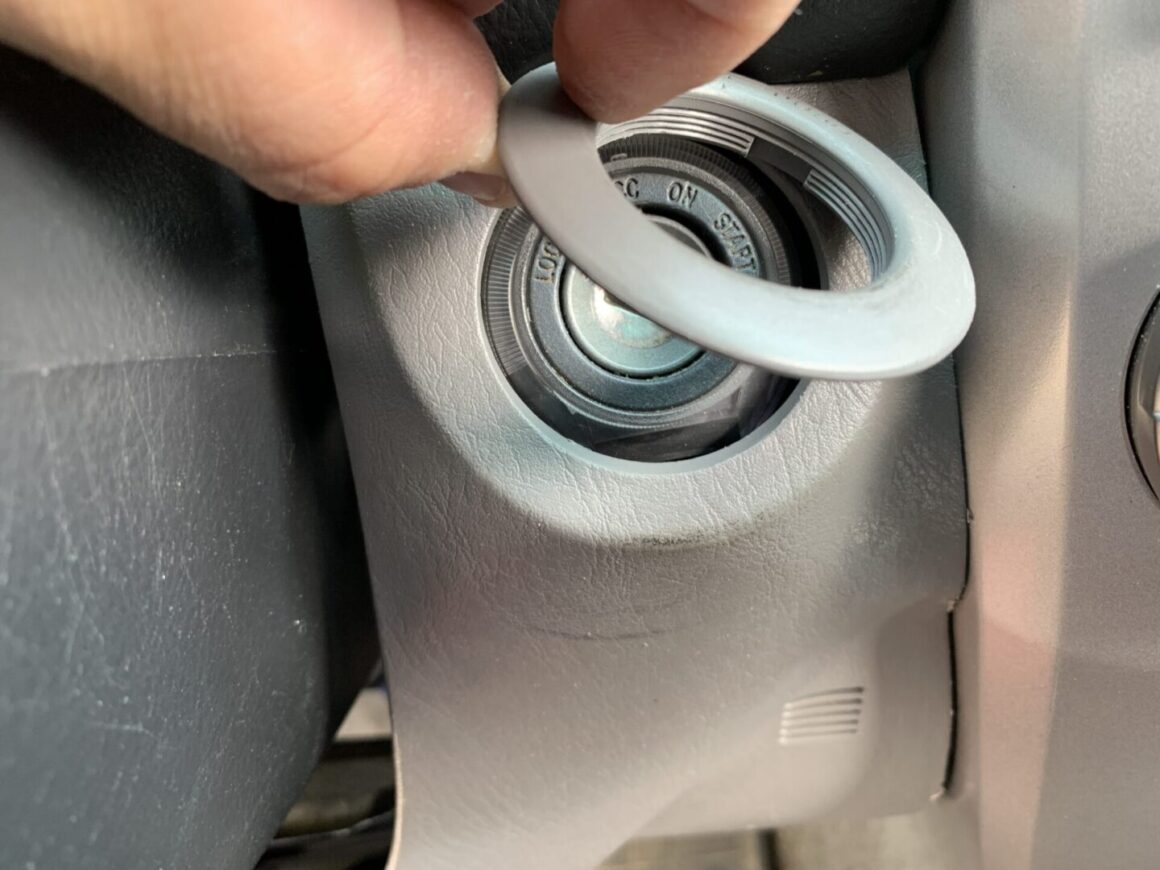
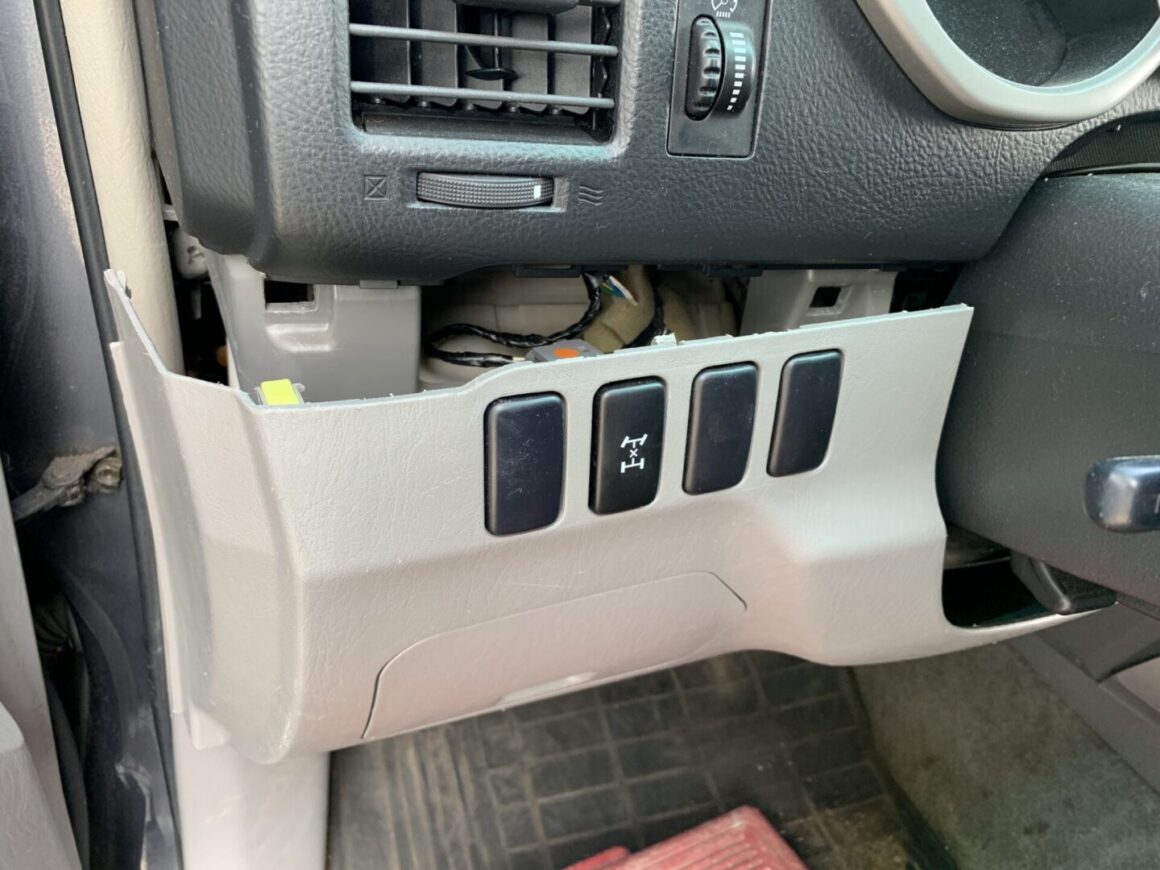
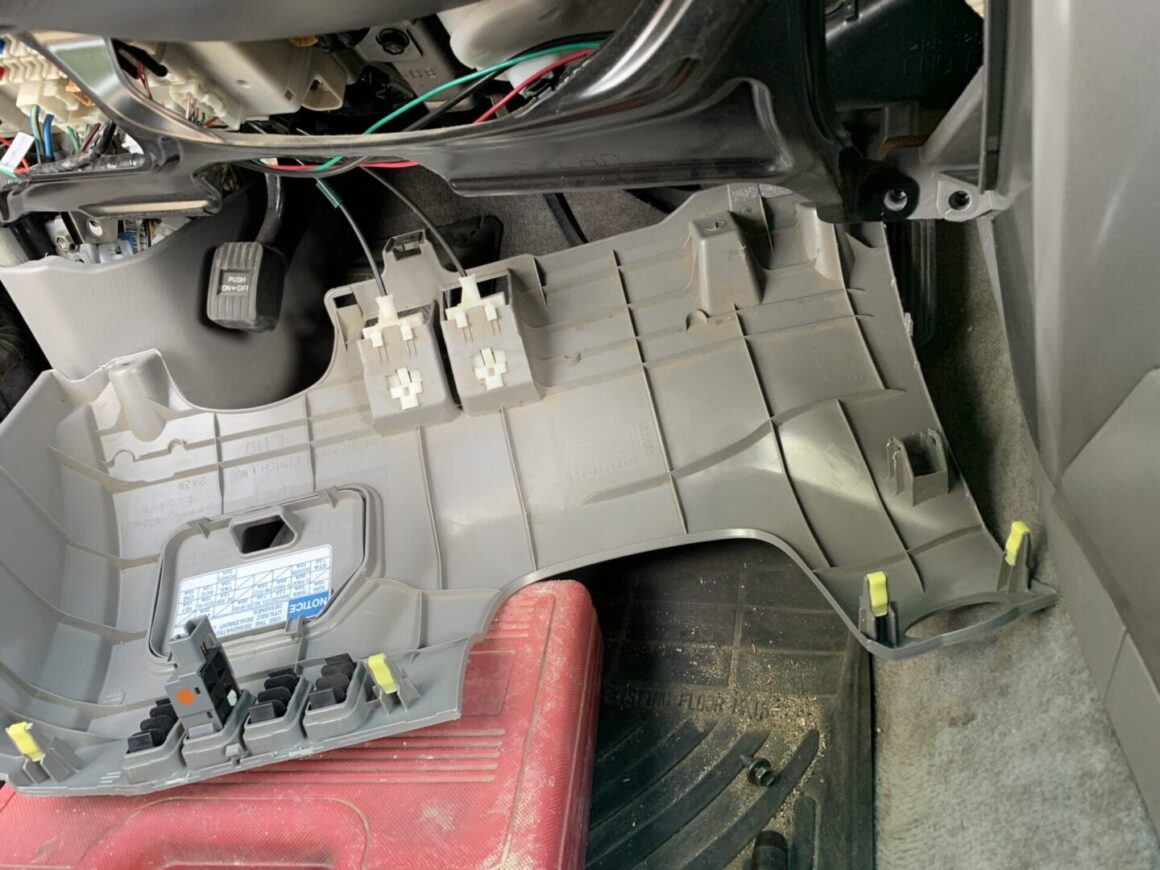
Using a 10mm socket, remove the two bolts holding in the lower trim piece in the driver’s side footwell. Remove the ignition trim piece, and then pull the entire bottom trim piece away from the dash. The whole trim piece will come off, with the exception of the hood and fuel door latches still attached. Leave the trim piece hanging.
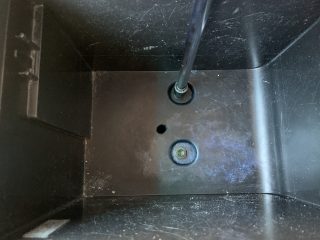
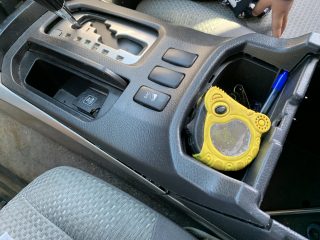
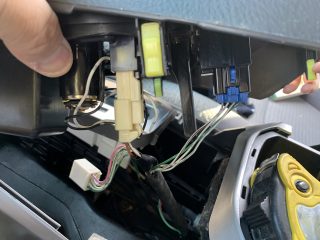
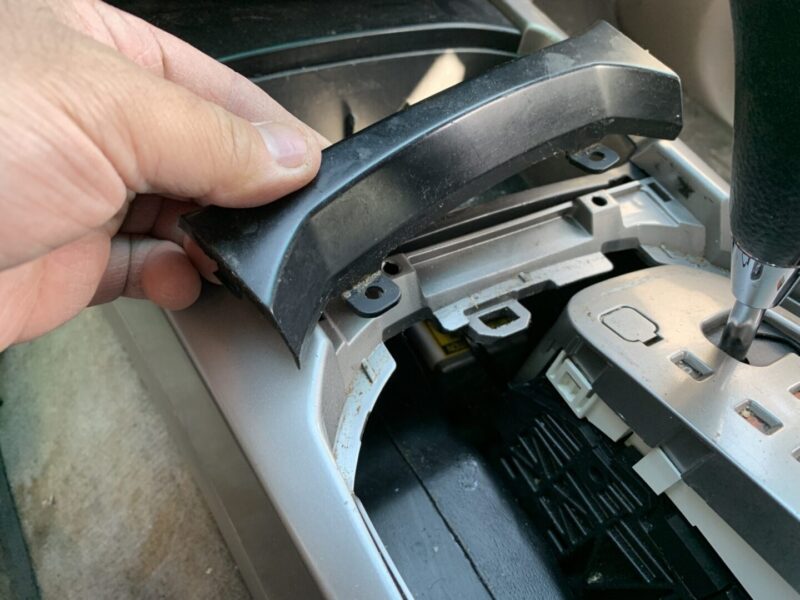
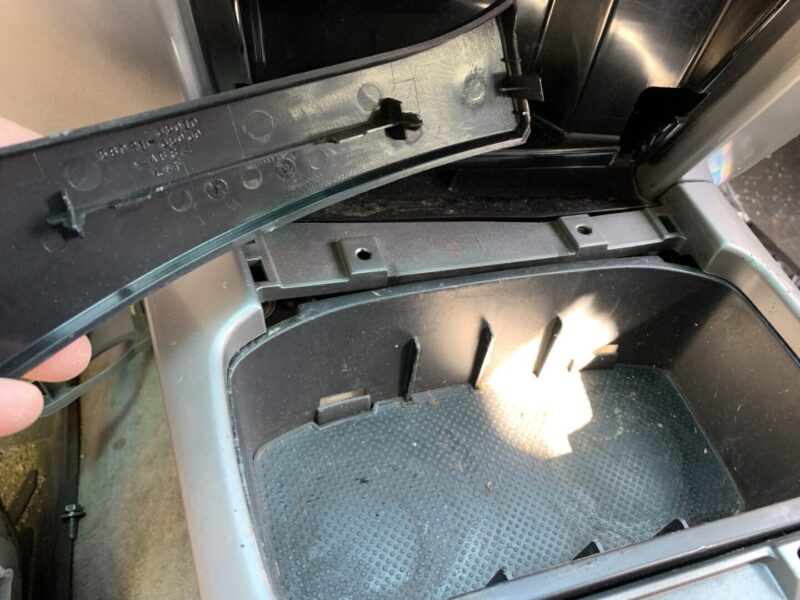
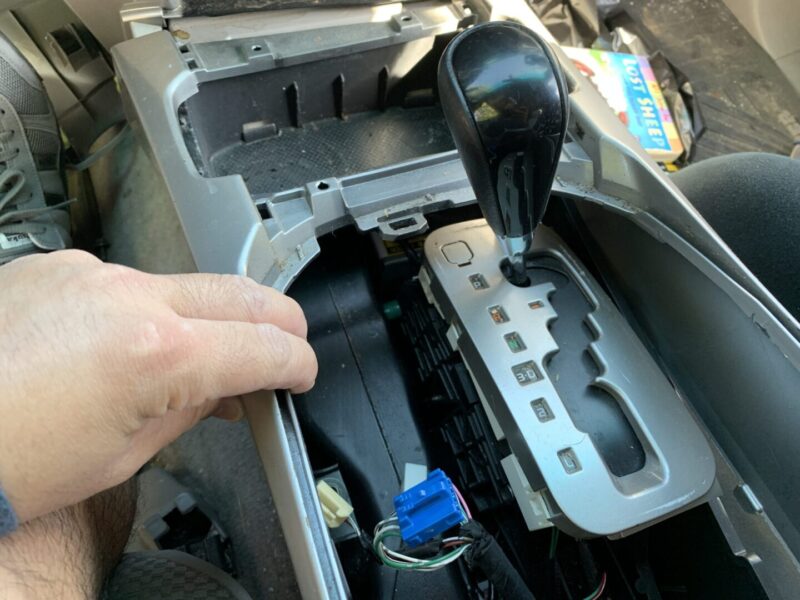
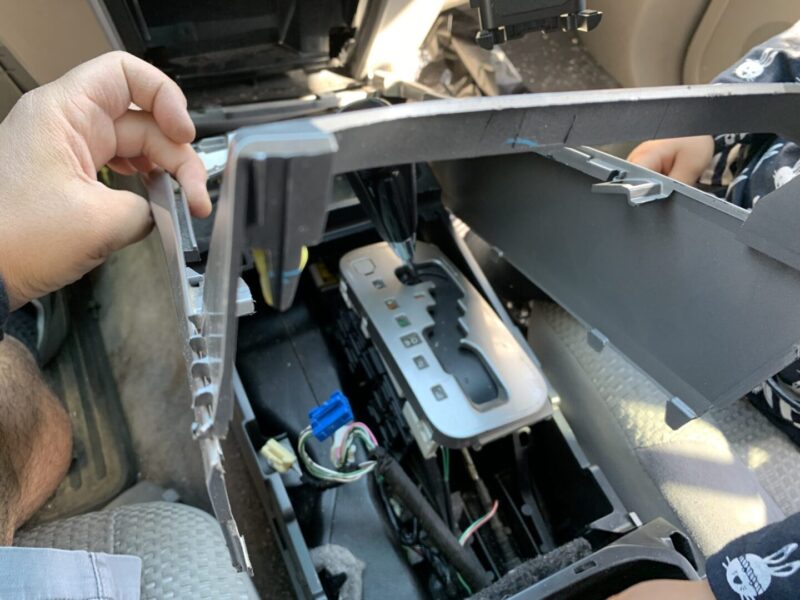
Open your center console and remove the two 10mm bolts inside. Then, with the center console opened, pull upwards on both sides of the center trim piece (the one that surrounds the shifter.) As you pull up on it, make sure to disconnect any connectors before removing the trim piece entirely.
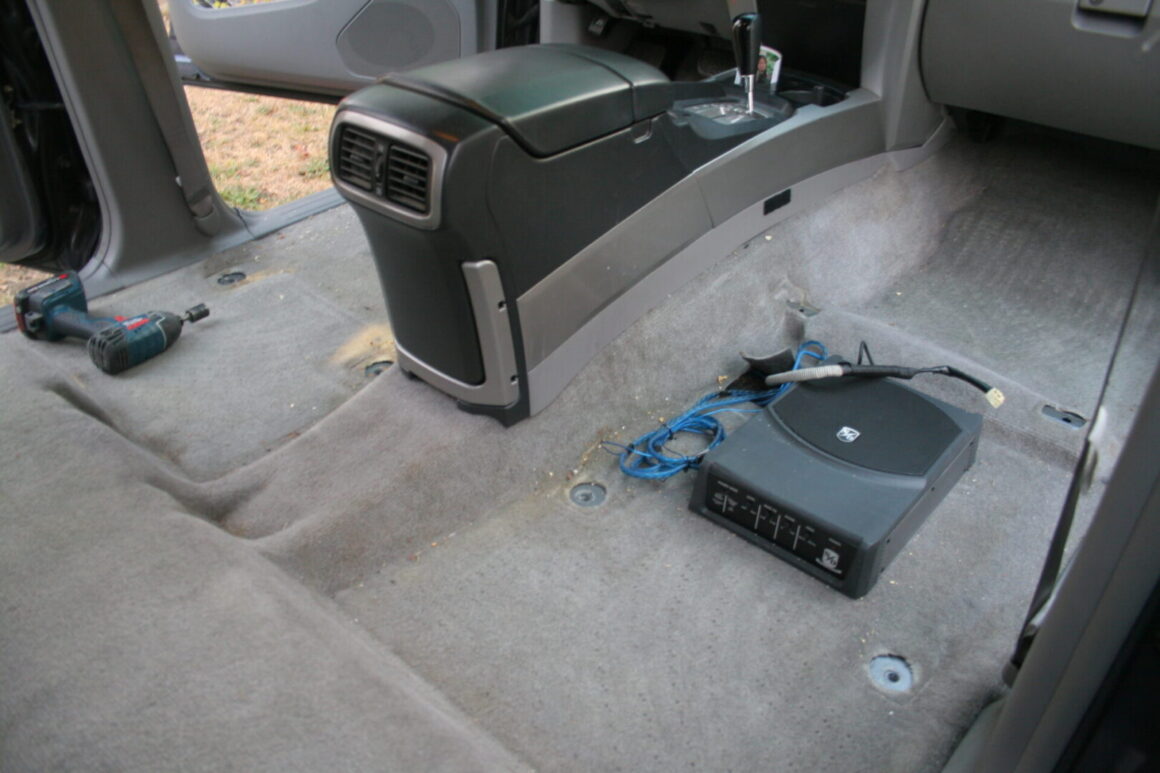
Next, you want to remove the entire center console (this includes the arm piece). The entire center console piece will lift up and you can set it aside.
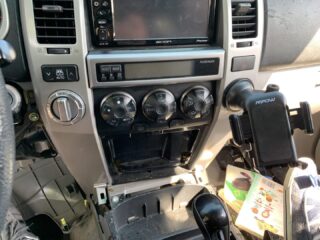
Next, pry up on these two trim pieces to remove them.
This silver outer trim piece can now be removed. This piece can be pulled upwards to pop it out of the tabs.
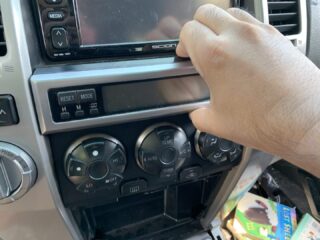
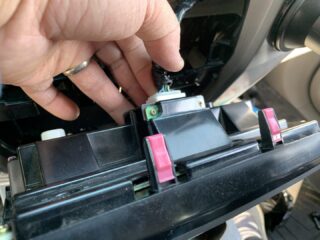
Then, remove the pull out tray. Use one (preferably two hands) and grip the center LCD screen tightly. Pull out away from the dashboard with some force and it will pop out. Then disconnect the connector behind to separate this piece.
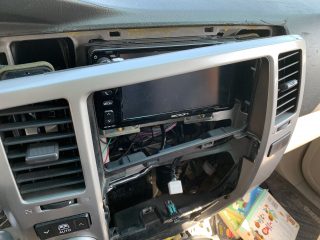
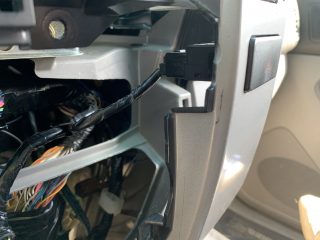
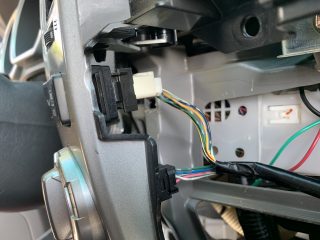
Now, you will be able to remove the center dashboard trim piece. Pull this piece away from the dash, but make sure to disconnect the hazard light, rear window, drive selector, and any other connectors before removing this entire piece.
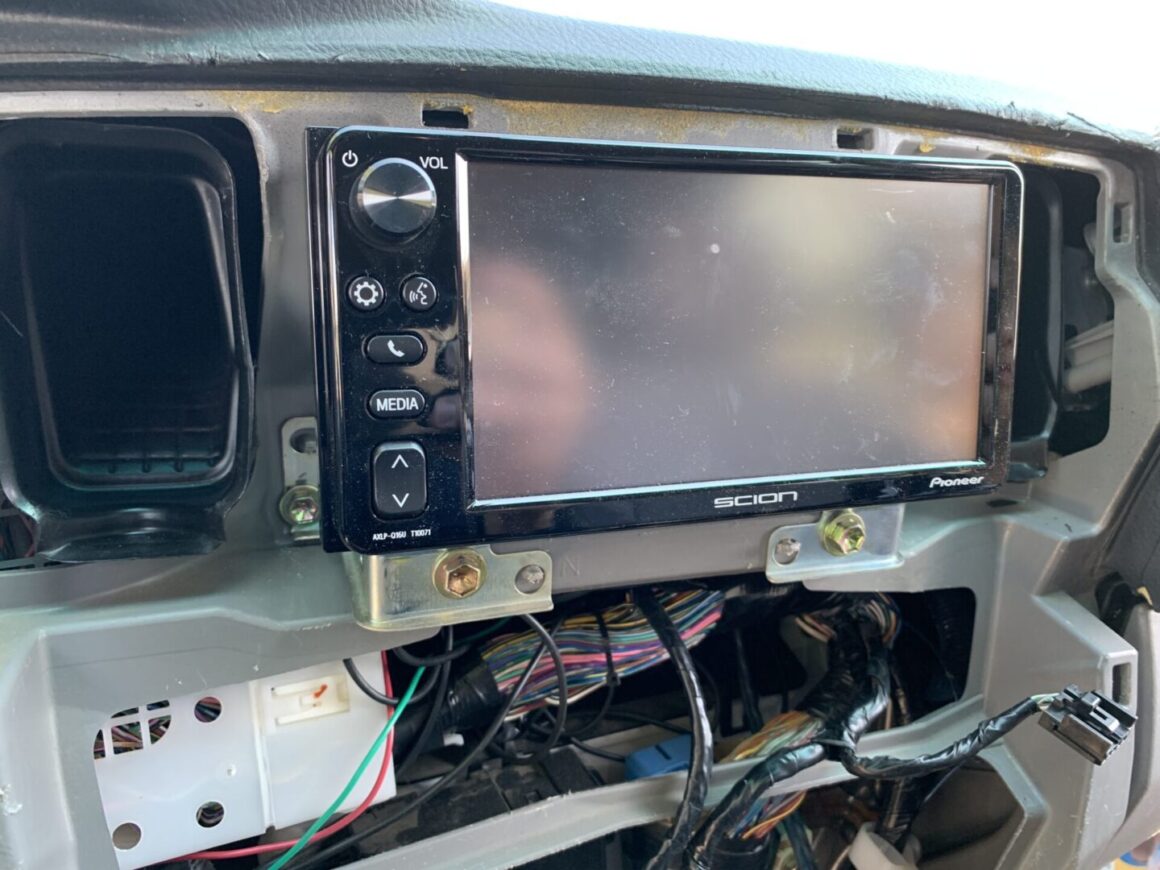
You now have access to the four 10mm mounting bolts for the radio. Removing these four bolts will allow the head unit to be pulled out.
And that’s it! Putting everything back should simply be the reverse of the removal. Just remember all of the connectors that need to be re-connected as I remember forgetting to connect a few in the past.

