Turtle Wax Headlight Lens Restorer Kit on Amazon: Original / Improved Version
I’ve been testing a bunch of different headlight restoration kits lately and one of the recent once I’ve tried out is this Turtle Wax Headlight Lens Restorer Kit. I’ve tried ones before that require a power drill which works well, but it does require your power drill and it makes a bit more of a mess. I much more prefer a kit that doesn’t require any tools, yet hopefully produces the same kind of results.
The kit I’m using for this post from Turtle Wax is considered their “original” version, which is slightly different from their “improved” kit. Both links are provided for Turtle Wax’s products on Amazon above. From what I can tell, the improved version eliminates one of the double-sided sanding discs (I’m guessing to simplify the restoration process), and gives you more wipes to use. However, it does not include the spray lubricant, so you’re expected to use tap water instead.
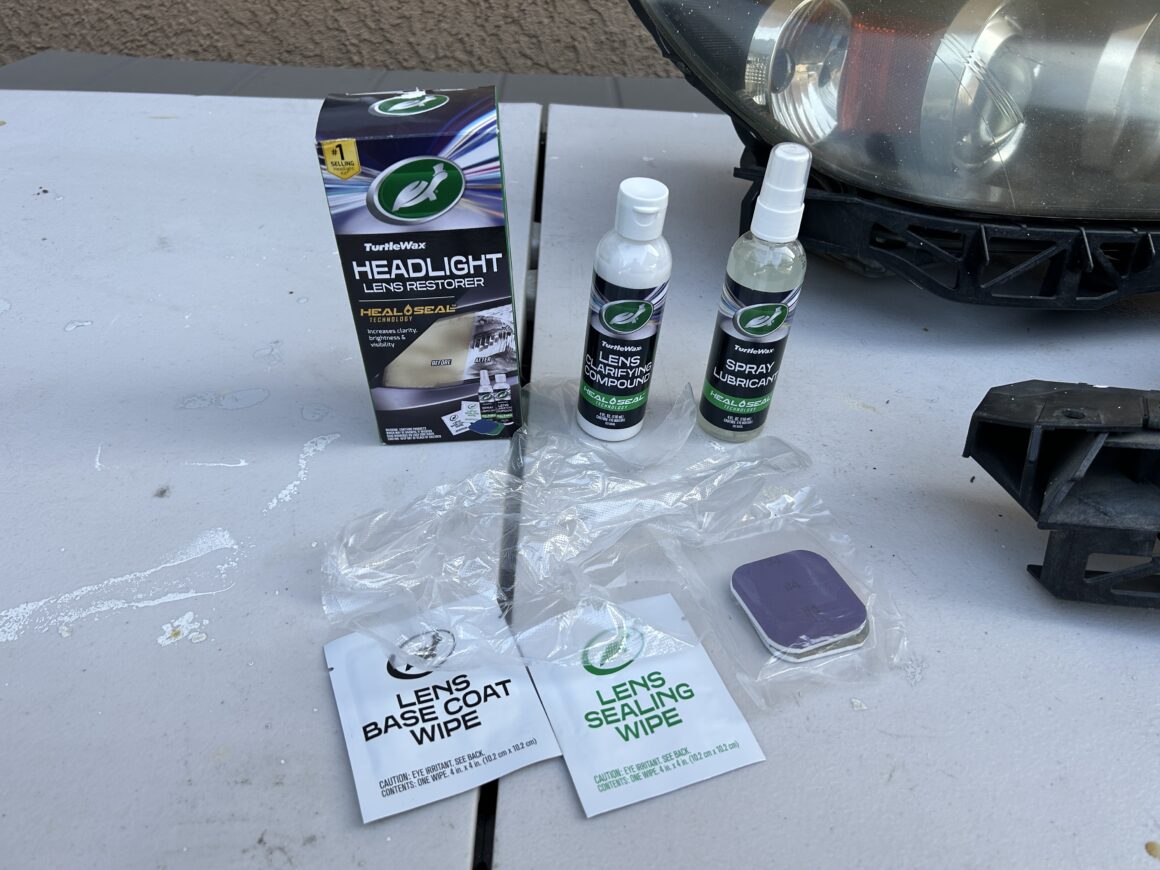
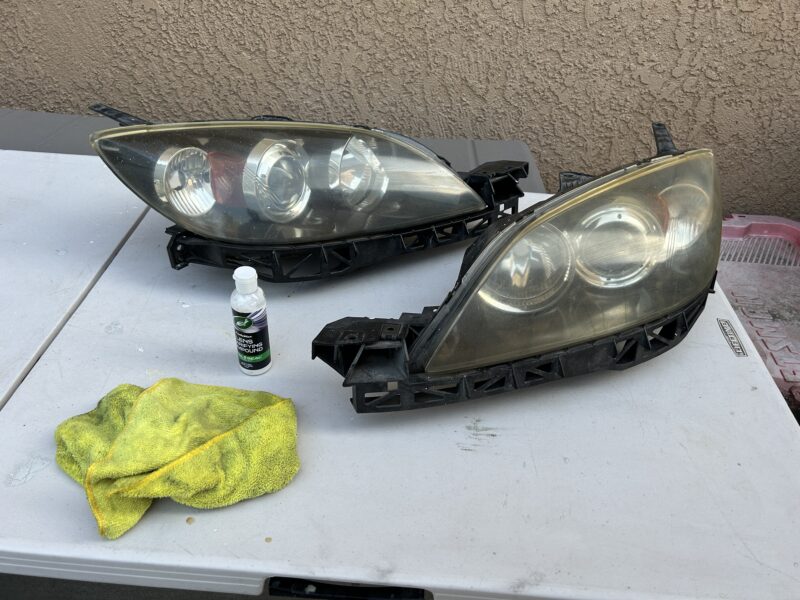
The (original version) Turtle Wax Headlight Lens Restorer Kit comes with a lens clarifying compound, spray lubricant, lens base coat wipe, lens sealing wipe, and a couple of sandpaper tabs. It also comes with a thin glove that I think is just a cheap food preparation glove. I believe the improved version comes with two gloves, but it’s still the same kind of gloves. I don’t even bother with these cheap gloves, I’d just use a pair of nitrile gloves instead.
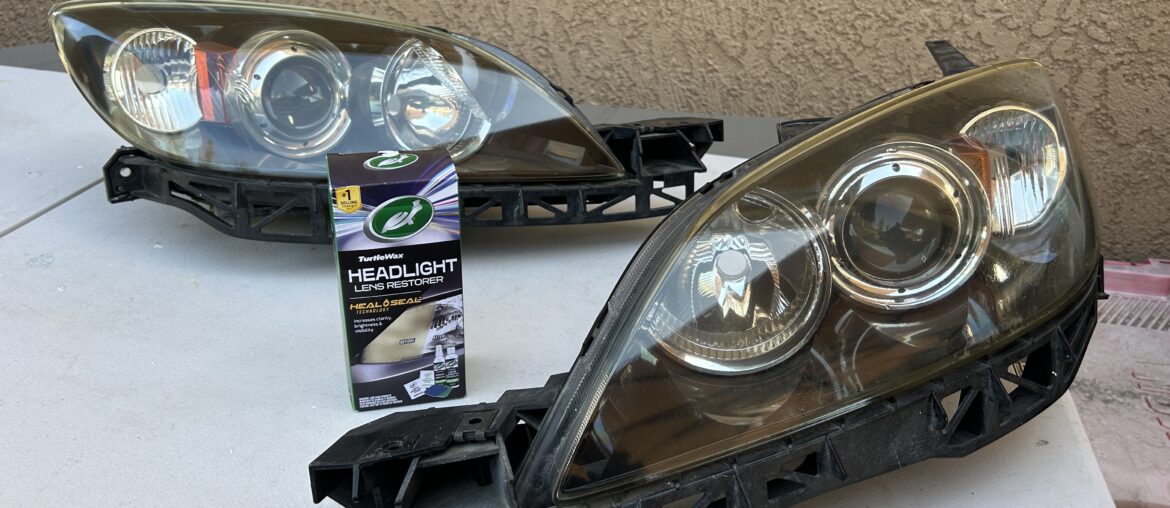
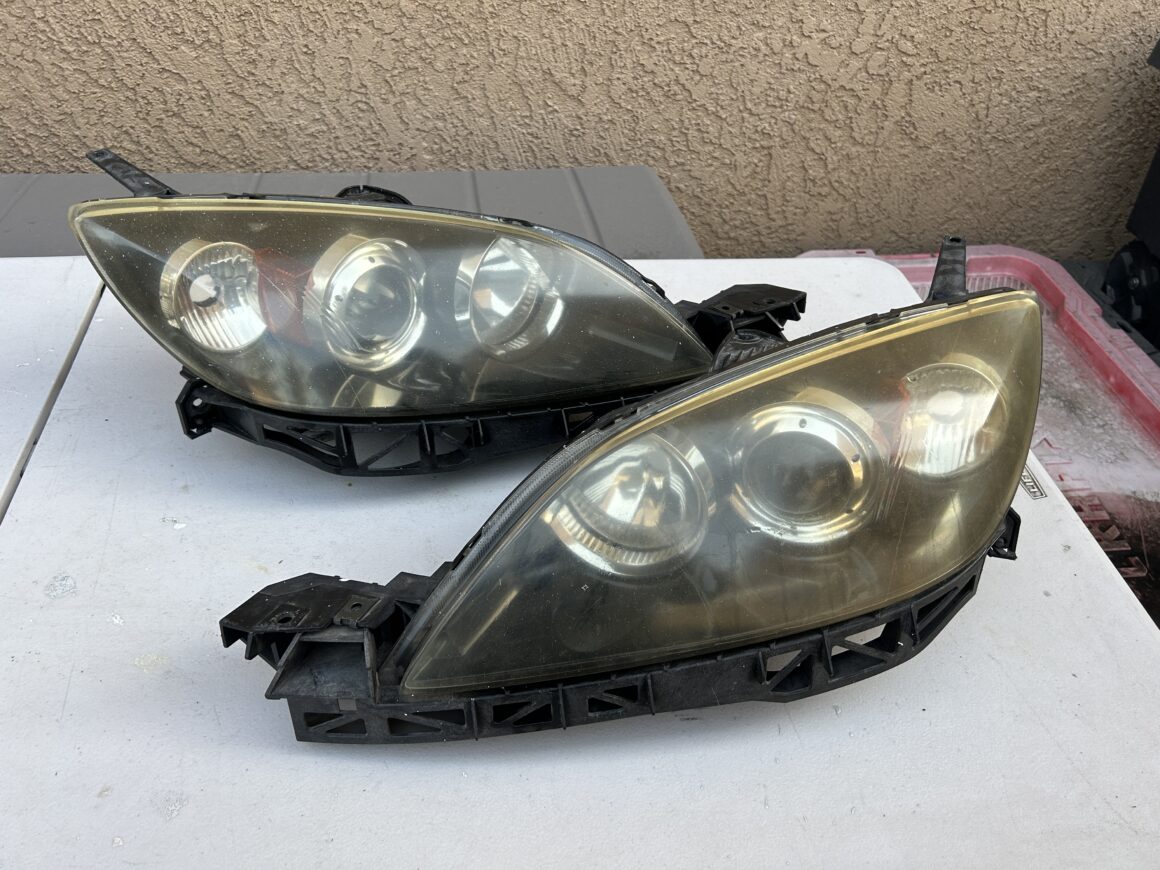
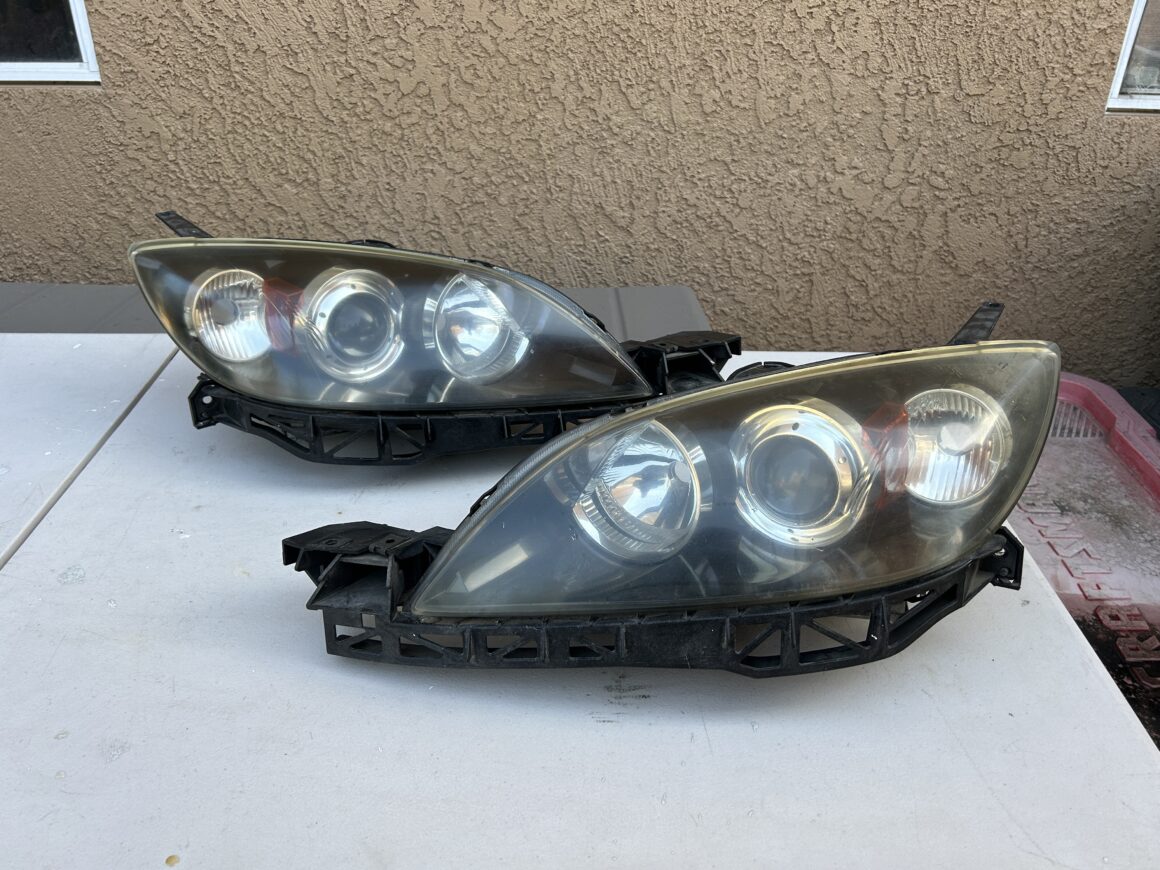
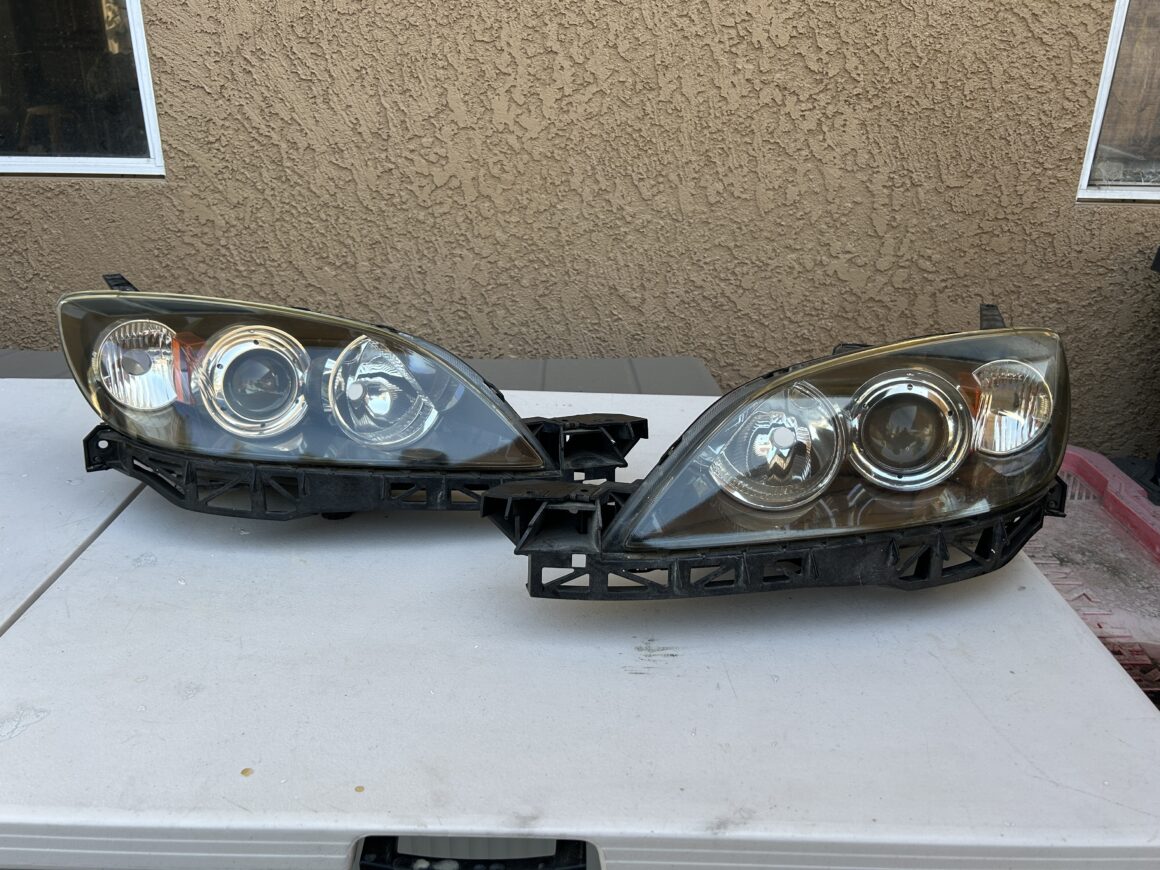
I got a pair of headlights that I wanted to restore, so I restored them while they were off the car. The headlights are not terrible in terms of haziness, but they are very yellow and oxidized, which is really affecting the visibility of the lenses.
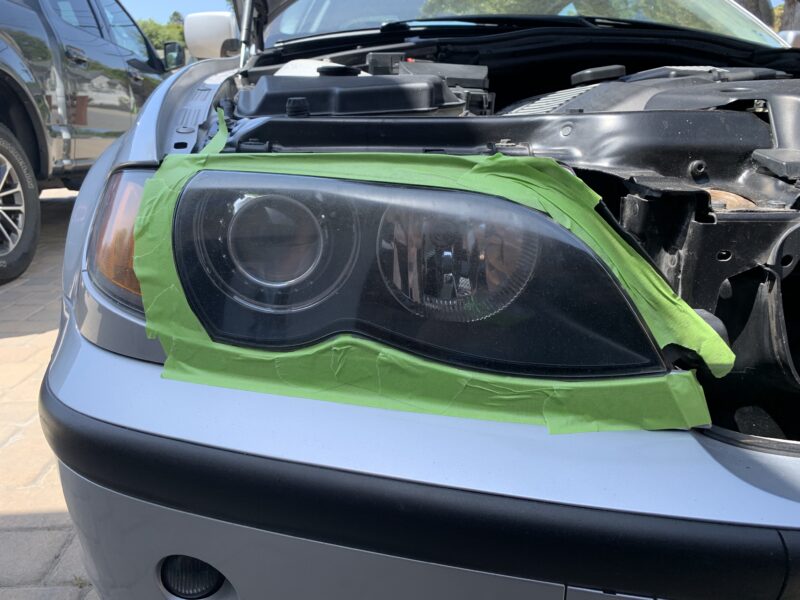
If you are restoring your headlights while they are still on your car, use some painters tape or 3M Automotive Tape to tape off the outside of the headlight lenses. It’s preferable to use the 3M Autmotive Tape because it holds better than painter’s tape. Although both will work and can be removed safely usually without damaging car paint, the painters tape may start coming off during the wetsanding stage when exposed to water. I also recommend using a wider tape, one that is at least 1.5 inches for better protection of the surrounding areas.
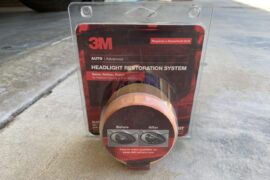
3M Automotive Tape, 1 Roll / Scotch Blue Painter’s Tape, 1 Roll
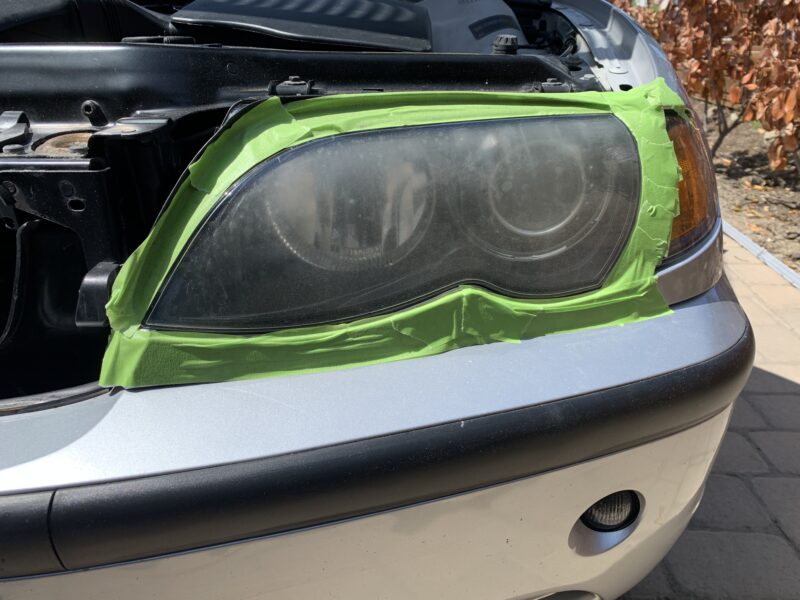
If the headlight lenses are not clean prior to this step, clean it with all purpose cleaner and a rag/microfiber towel. The first step to using the headlight restorer is using the included lens clarifying compound (basically a polishing compound) to rub it throroughly into the surface of the headlight lens. The instructions tell you to use a microfiber towel or rag to rub the compound into the surface of the lens until it is clear. Then, wipe away after you’ve rubbed compound into the whole surface of both lenses.
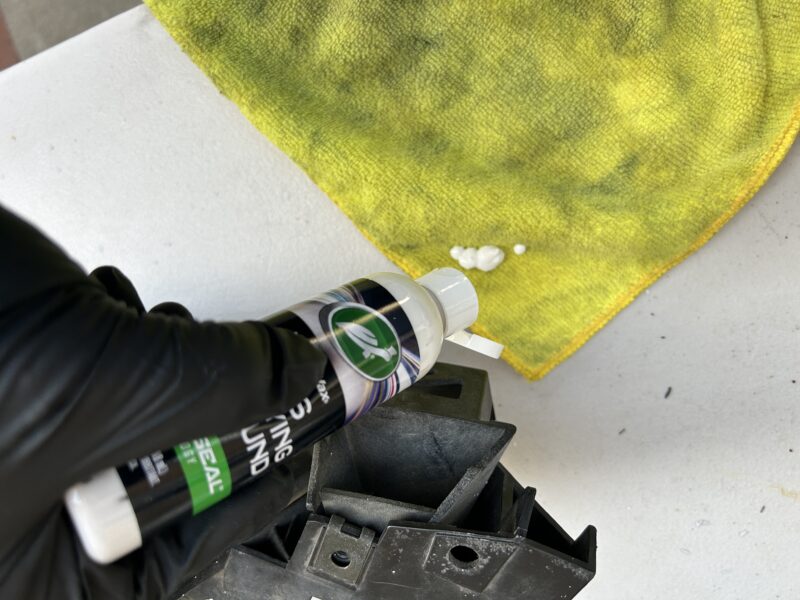
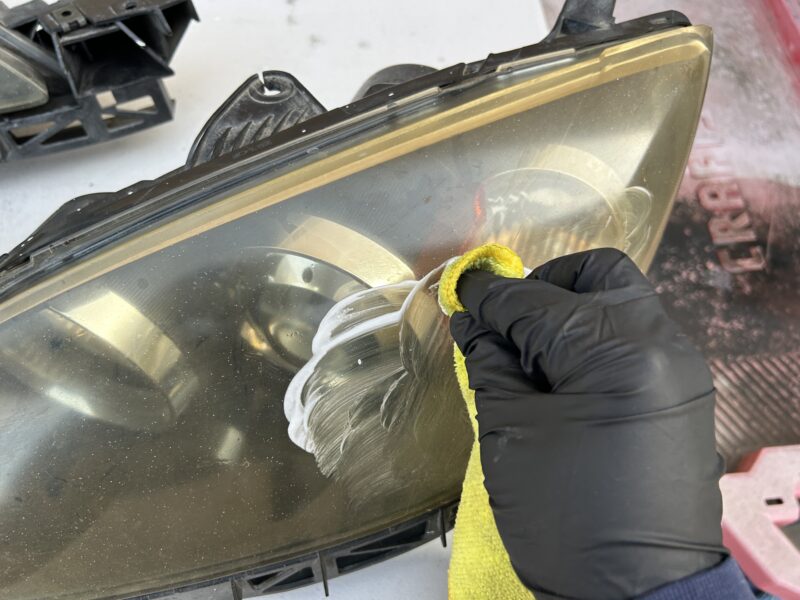
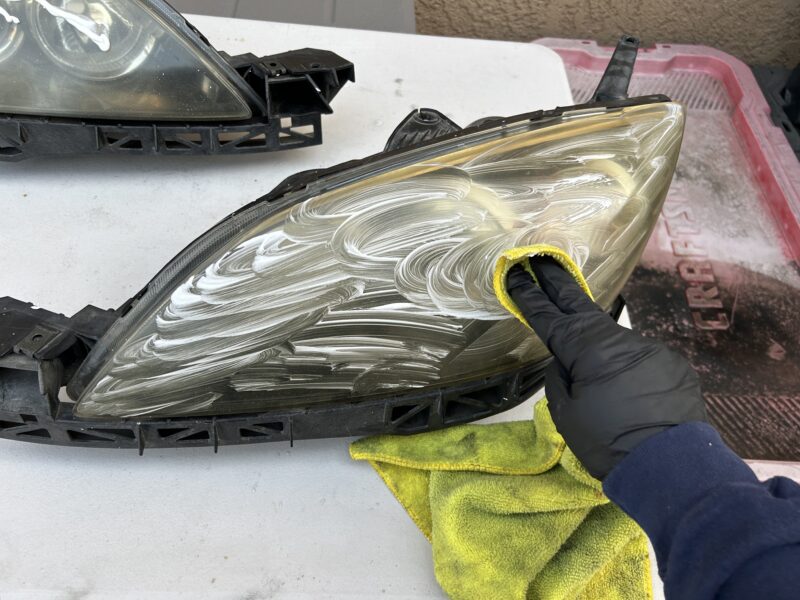
The kit comes with these sandpaper tabs that are double-sided. Each of the four sides has a different level of grit in the sanding surface. You start with the #1 and move through each one until you finish with the #4 sanding tab.
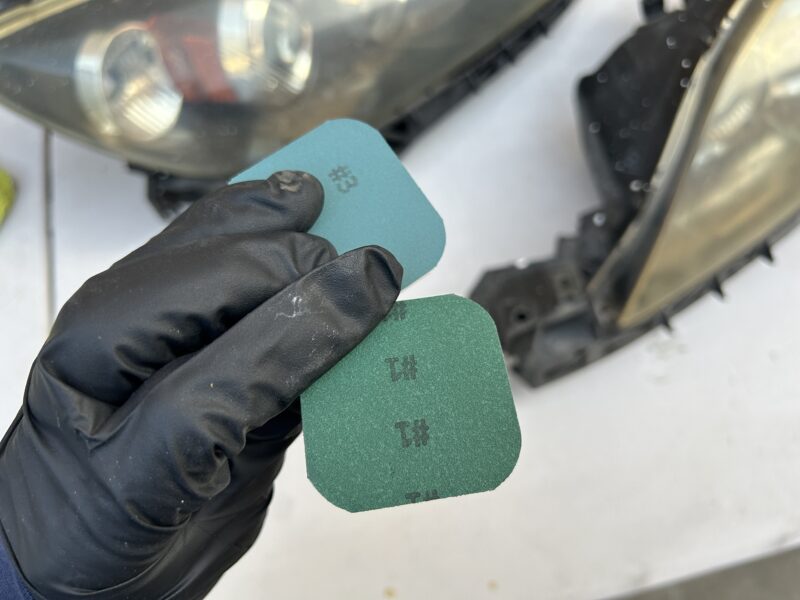
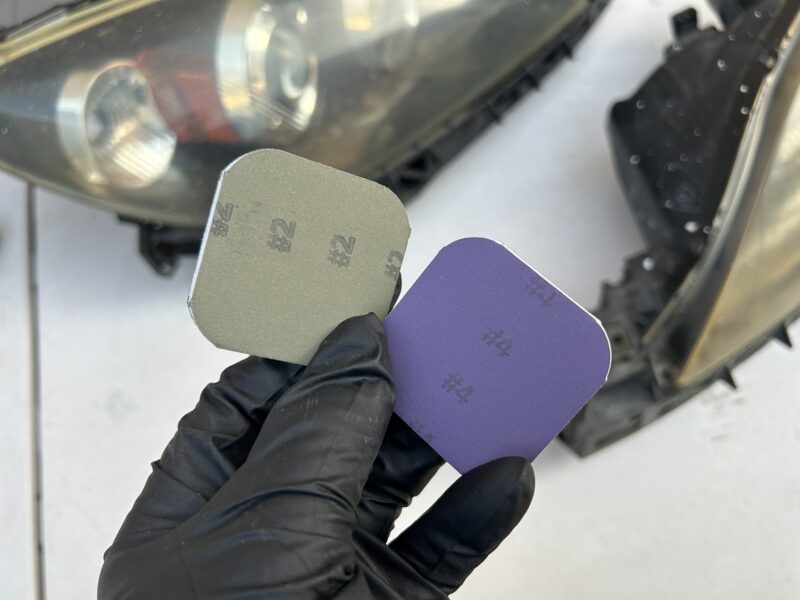
When using each of these four sanding pads, you first spray the lens surface with the lubricating spray and then sand the entire lens surface in a back-and-forth motion uniformly for about a minute, before wiping the surface clean with a microfiber towel or rag. Do this with the #1 disc (green), then the #2 (tan), then #3 (teal), and then finish with #4 (purple).
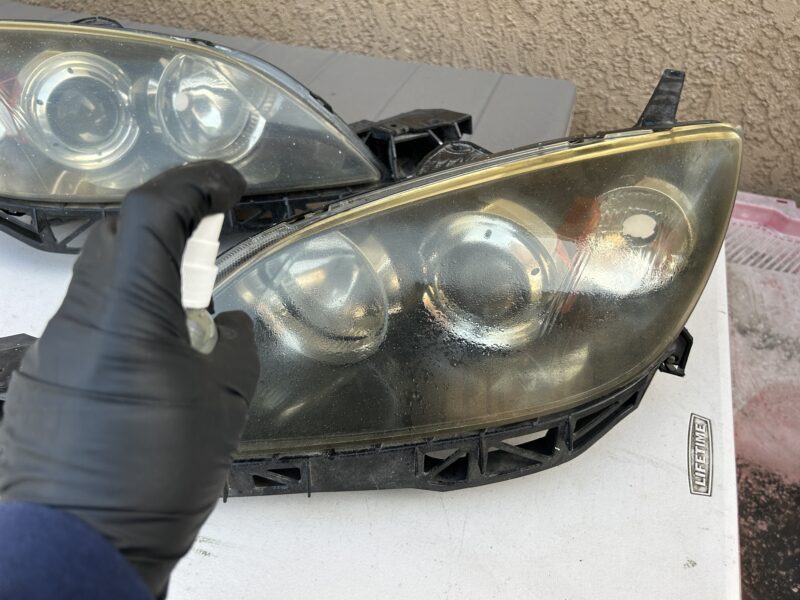
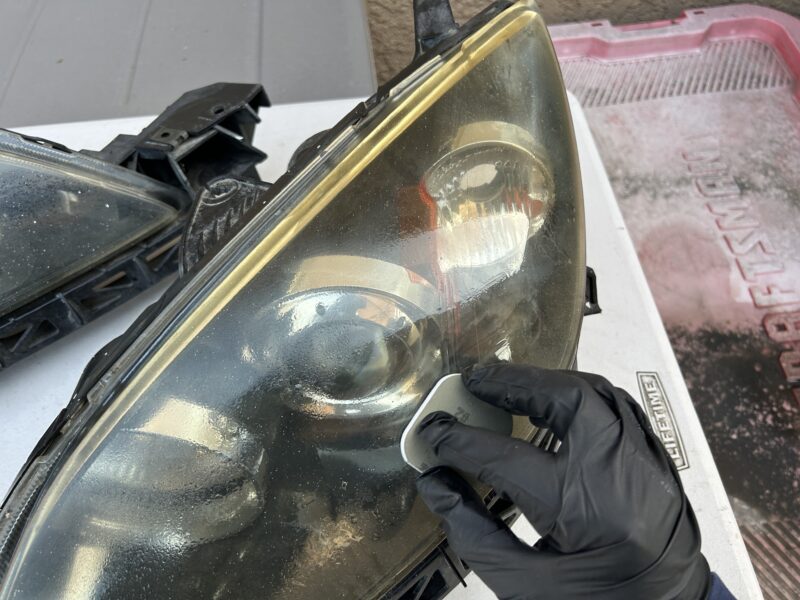
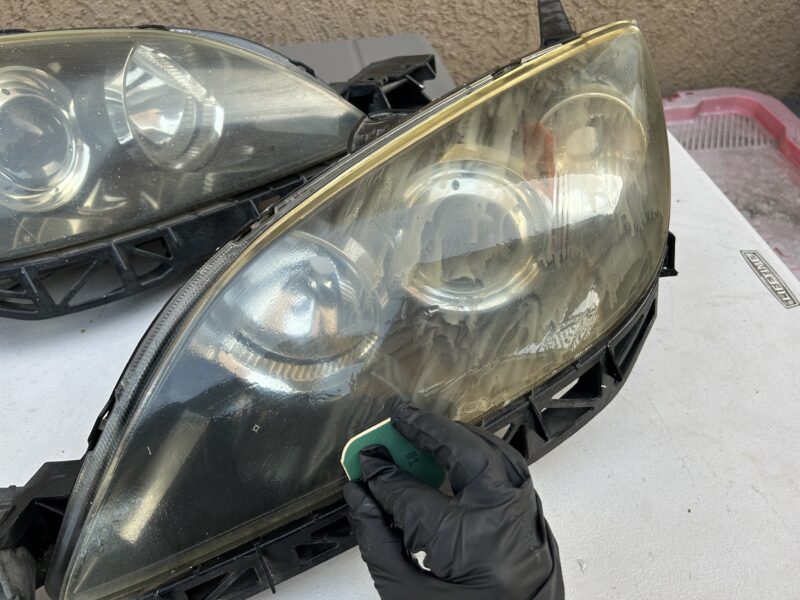
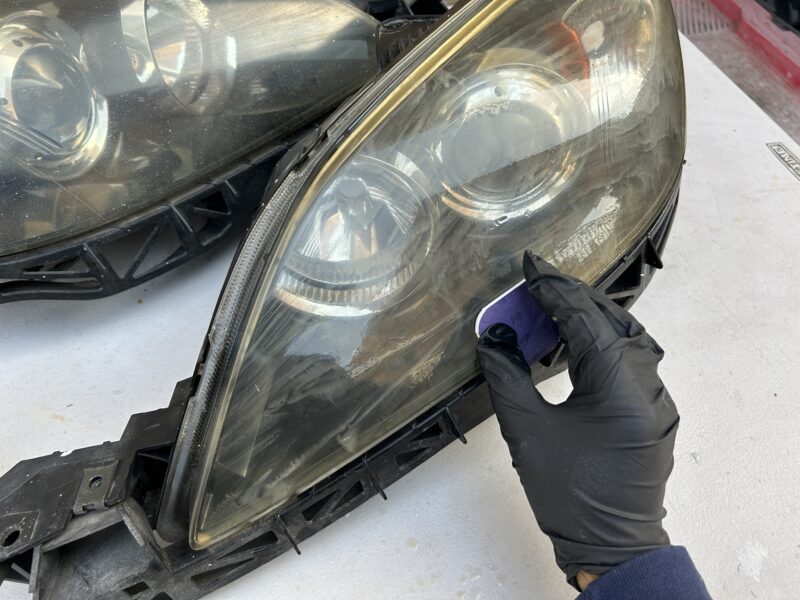
This sanding process takes off a layer of the outside lens down, and step-by-step refines the lens surface down to a very smooth and uniform surface. After this process, you’ll end up with a slighly more clear lens, but there are still a couple more steps to go.
Next, you’ll use the clarifying compound and polish the surface of the lenses with a microfiber towel/rag again. Follow up by wiping it all up again, and now you should have a clean surface. I wouldn’t say the lens are super clear at this point, but the magic is in the next step.
Now is the point you put on your disposable glove(s) from the kit, although I prefer nitrile gloves. I used gloves from the beginning of the restoration process, but the glove is actually intended to protect your hands from the lens wipes at this stage. So, put on your disposable gloves and use the lens base coat wipe to wipe the surface of both headlight lenses so that you apply an even layer onto the entire surface.
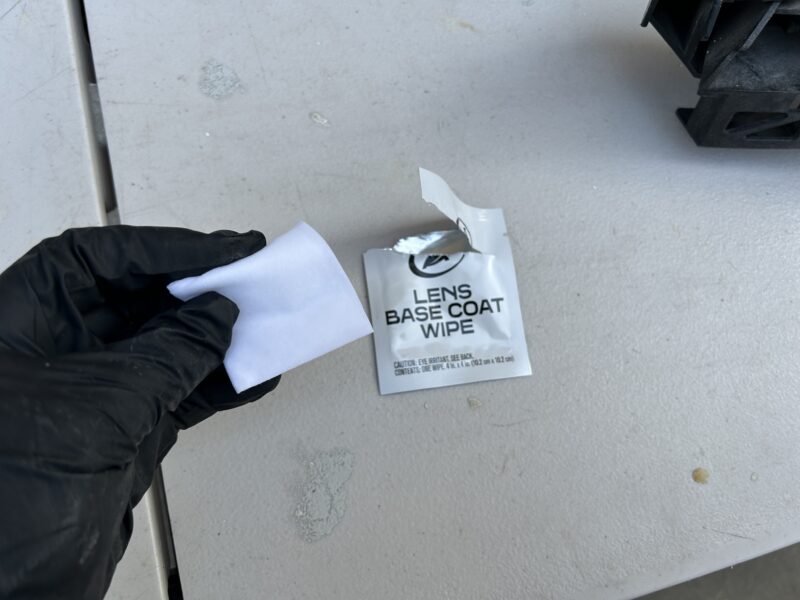
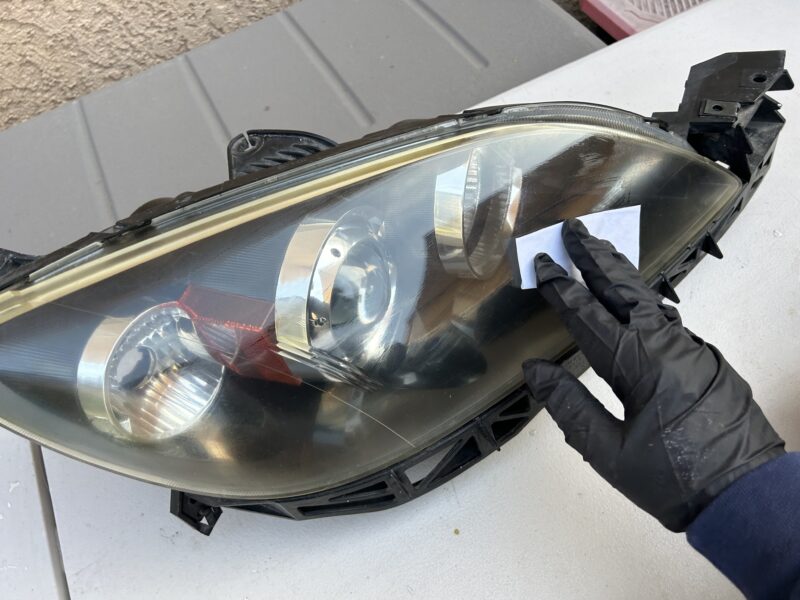
As soon as the lens is dry from wiping on the lens base coat wipe, follow up with the lens sealing wipe on both lenses. Again, wipe it over the surfaces in an even fashion.
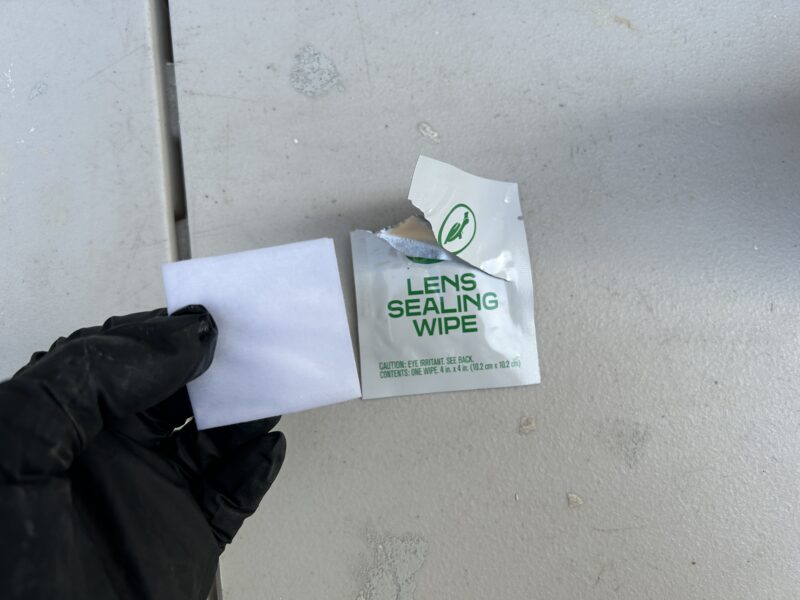
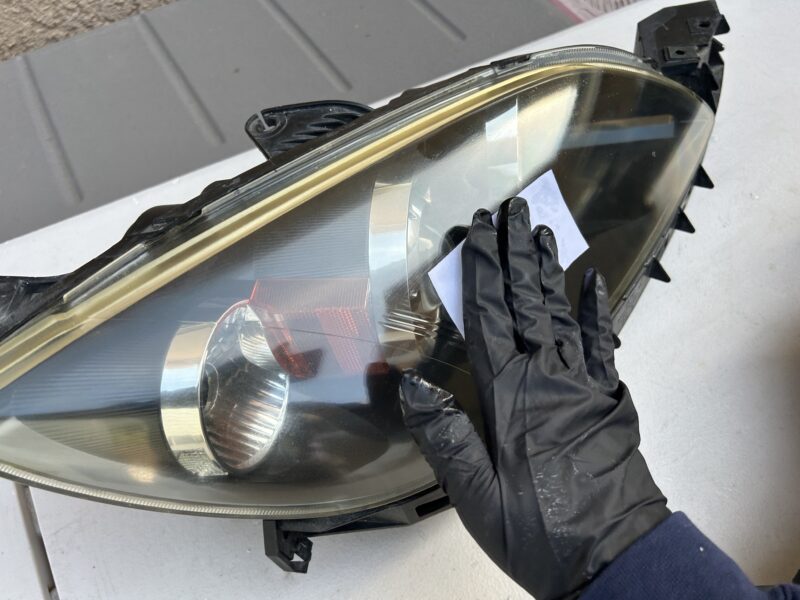
You’ll be amazed at the results after the last two steps of wiping on the base coat wipe and the lens sealing wipe. After the sanding and compound, you may be doubtful of the kit’s effectiveness, but after the last two steps, your headlights will look amazingly clear.
The only downsides for the Turtle Wax Headlight Lens Restorer Kit is that it comes with cheap food-handling gloves, and it only has enough product for a one-time use. Besides that, the product works incredibly well and even though this kit might be easy enough for beginner to use, the results are so good that even professionals could use it as well. If you get this kit, I’d say to go for the improved version as it comes with more wipes and reduces the amount of sanding needed. I think this is better because you should still get similar results, but you will also get the extra wipes, which will allow you to do more than one headlight restoration.
Turtle Wax Headlight Lens Restorer Kit on Amazon: Original / Improved Version

