
Cerakote Ceramic Headlight Restoration Kit: Amazon
One way to quickly revitalize the front end of your car is to restore the headlights. If you get a headlight restoration kit like the one below made by Cerakote, you can quickly and easily restore those hazy, foggy headlights without any tools. The nice thing about these kits is that they are beginner-friendly and are very effective. The Cerakote Ceramic Headlight Restoration Kit only costs $17 at the time of this post, and can restore one pair of headlights, maybe two.
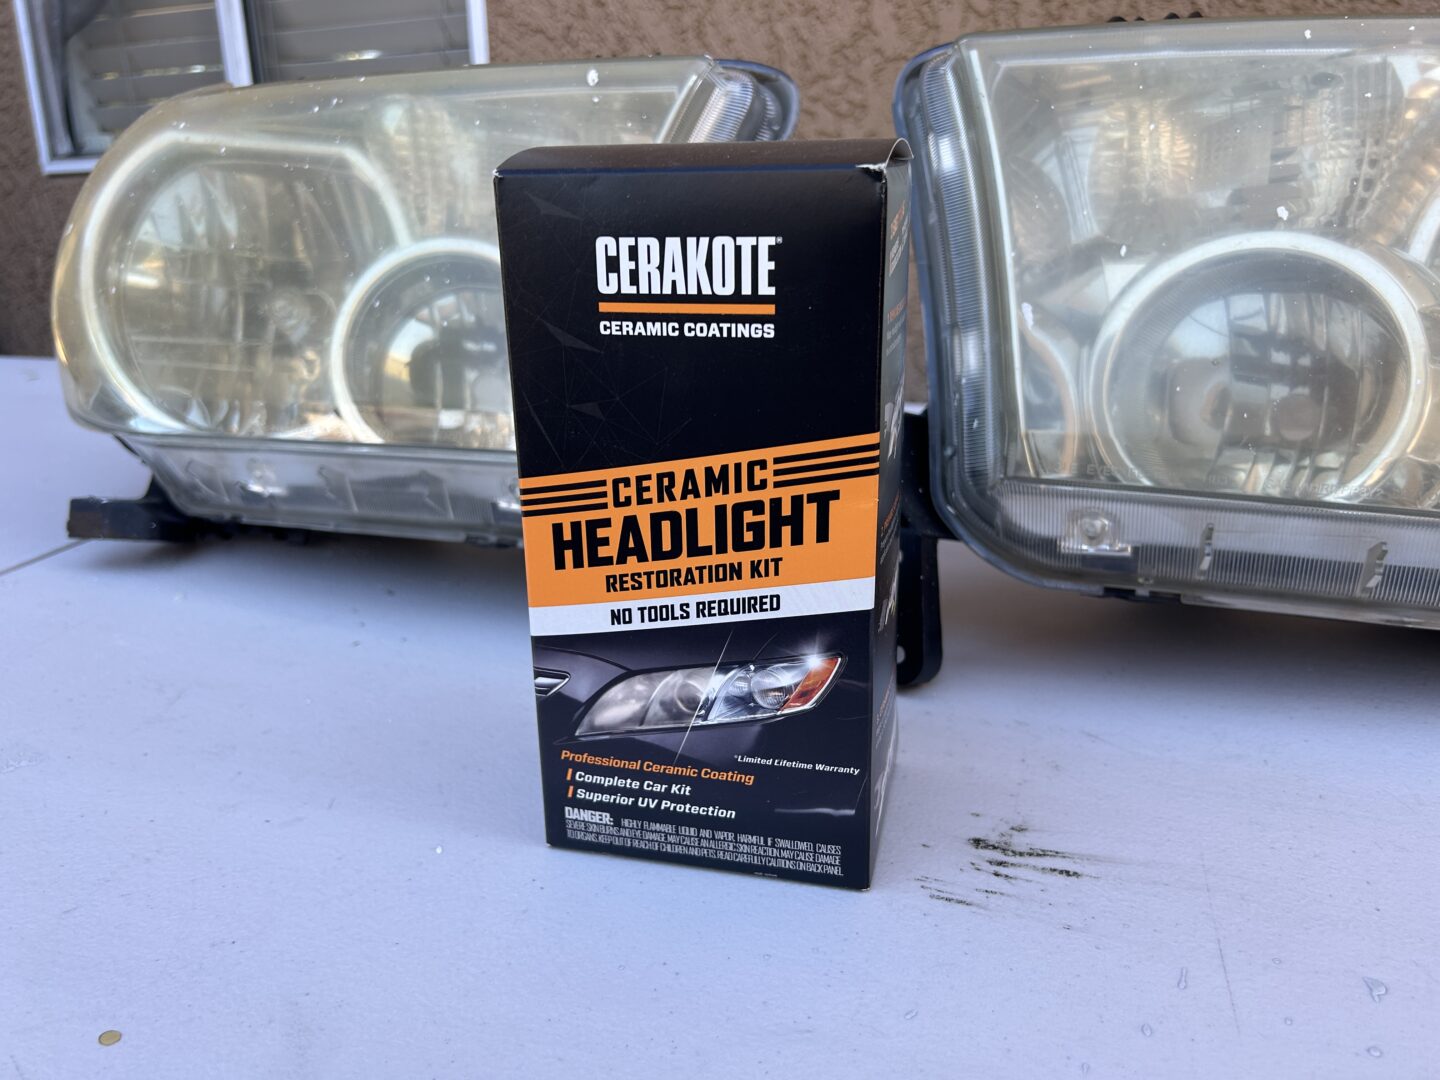
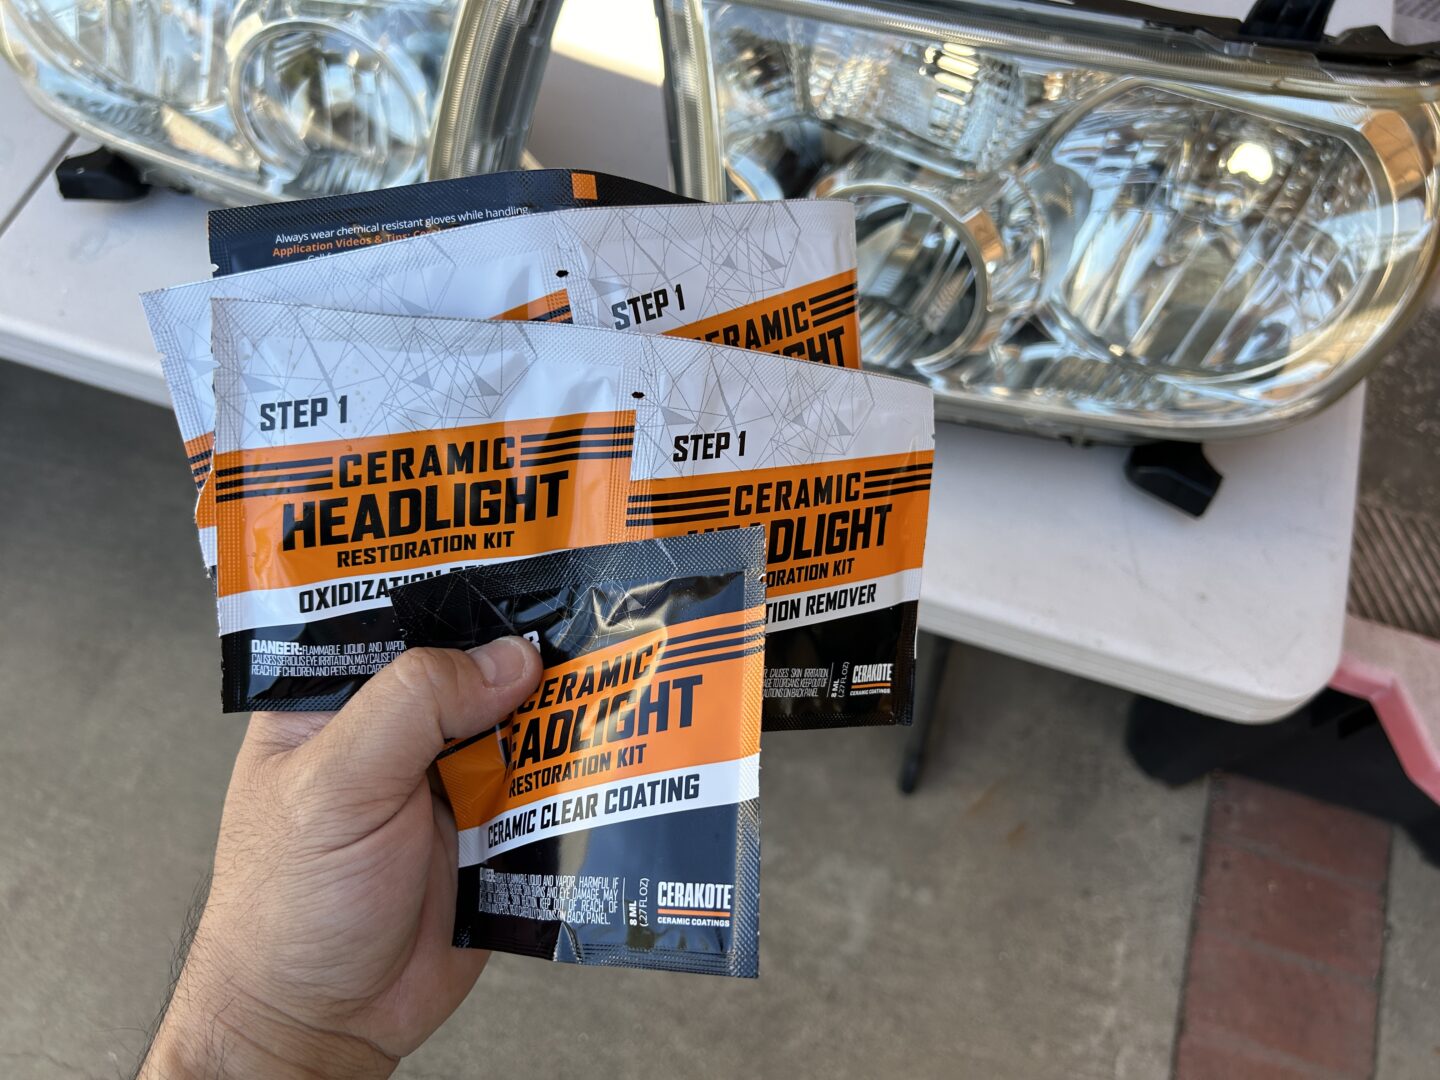
The Cerakote Ceramic Headlight Restoration Kit comes with everything you need for the restoration, including the oxidation remover wipes, sandpaper and holder/grip, disposable gloves, and ceramic clear coating. This kit allows you to do the entire restoration by hand, without the need of anything outside of the kit, with the exception of water and a rag or microfiber towel.

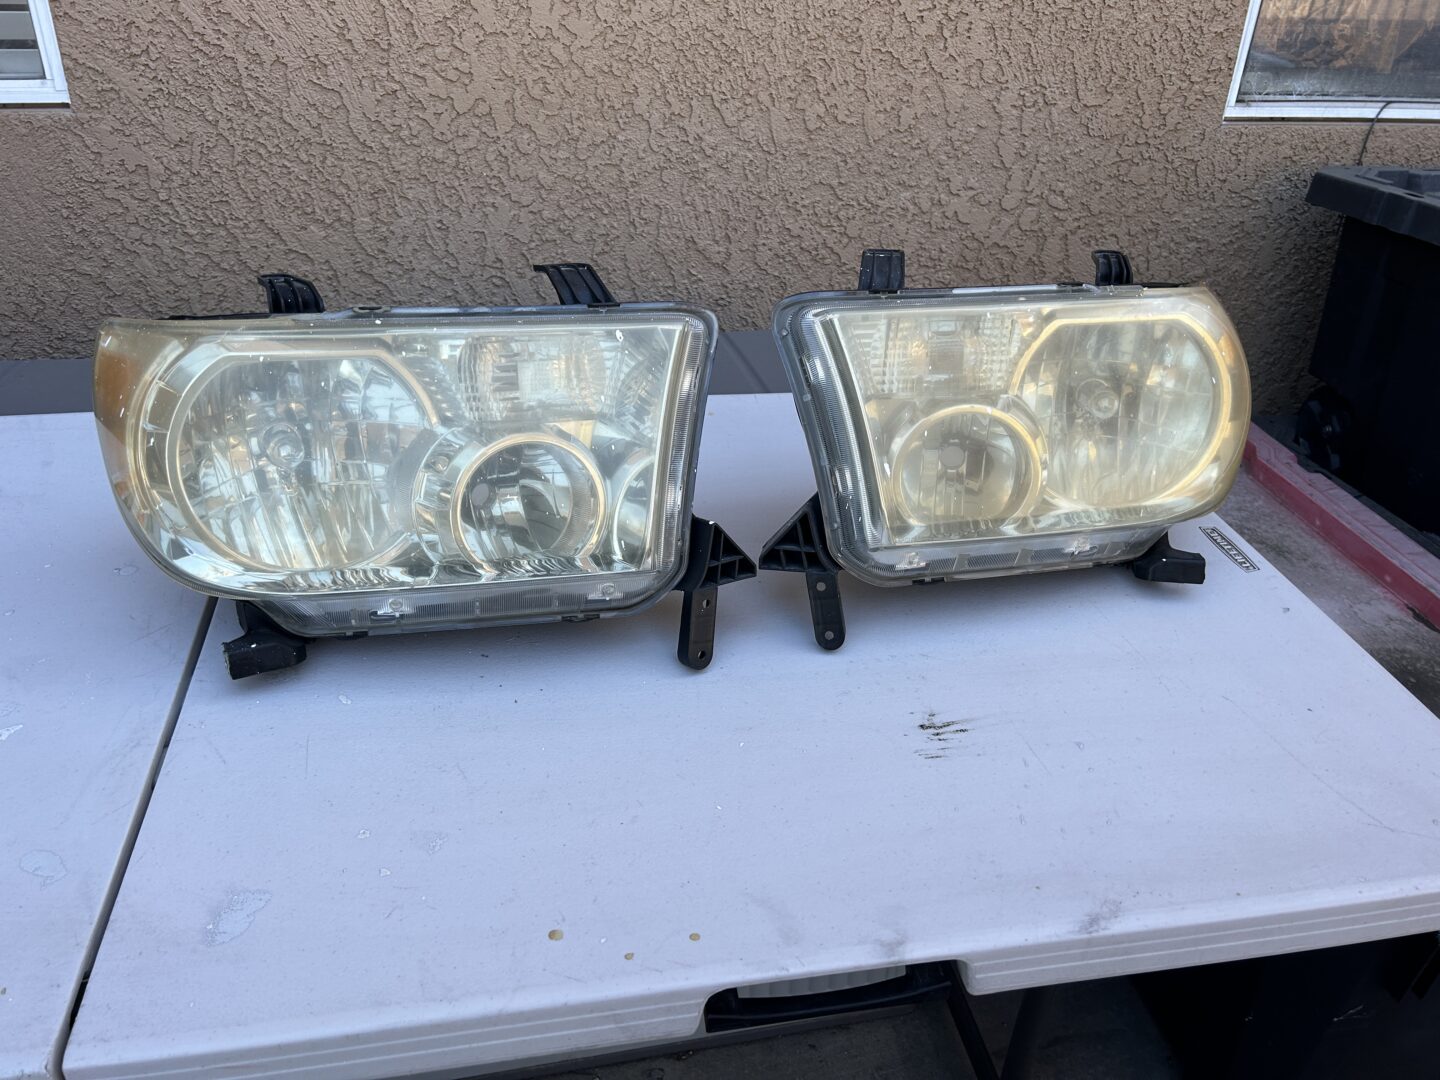
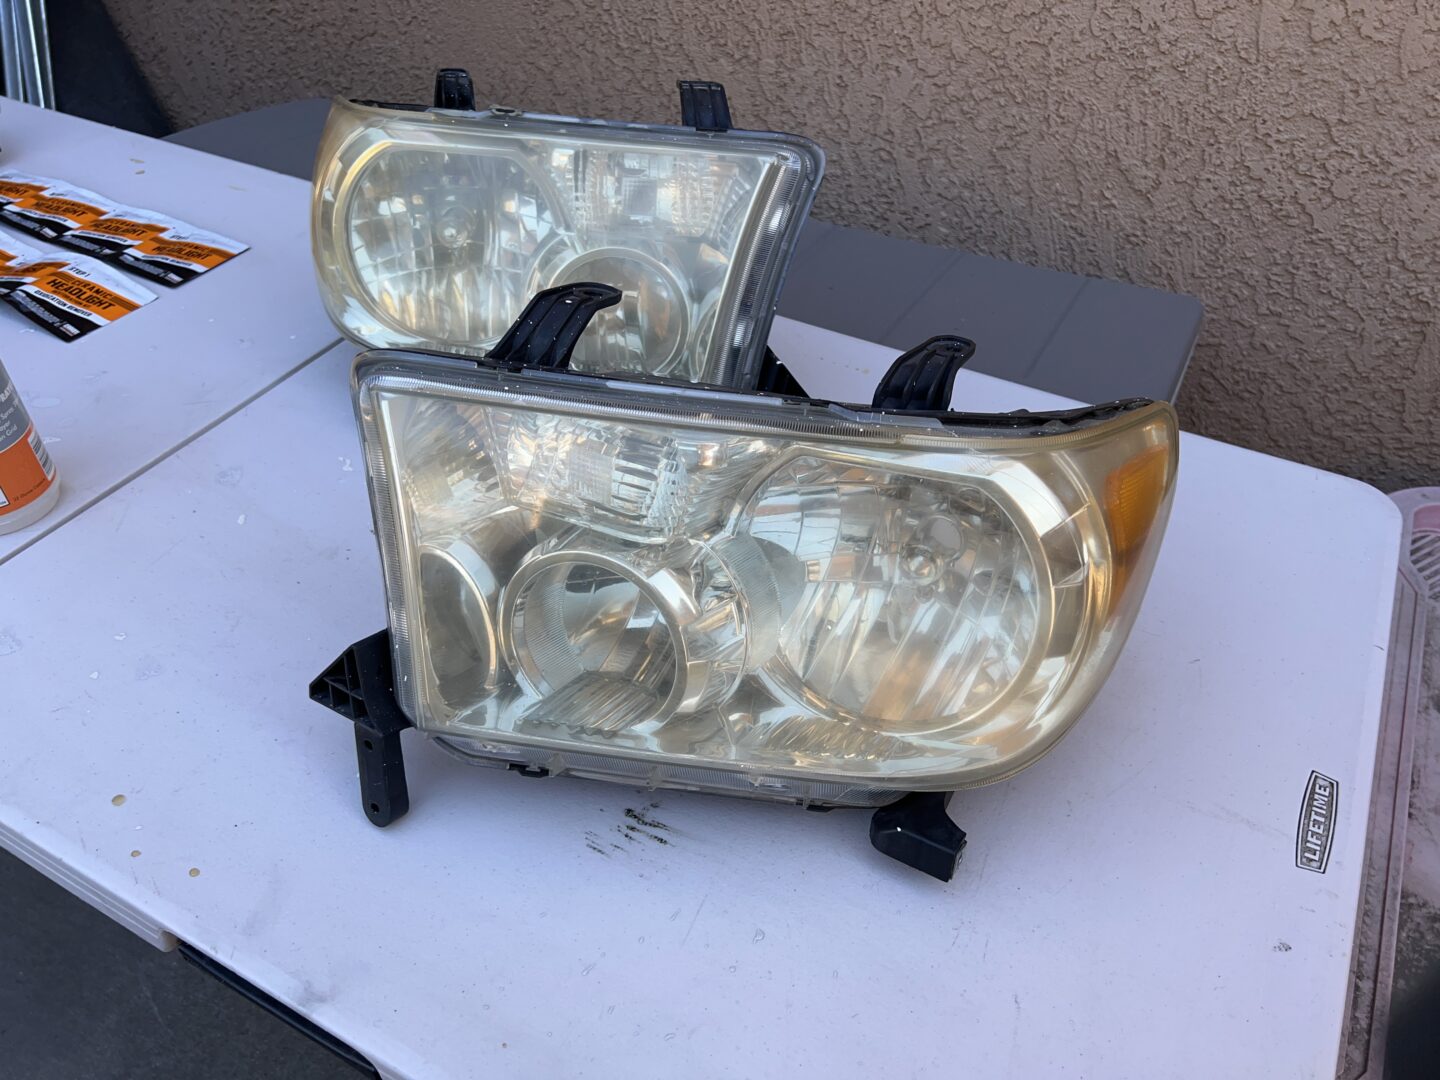
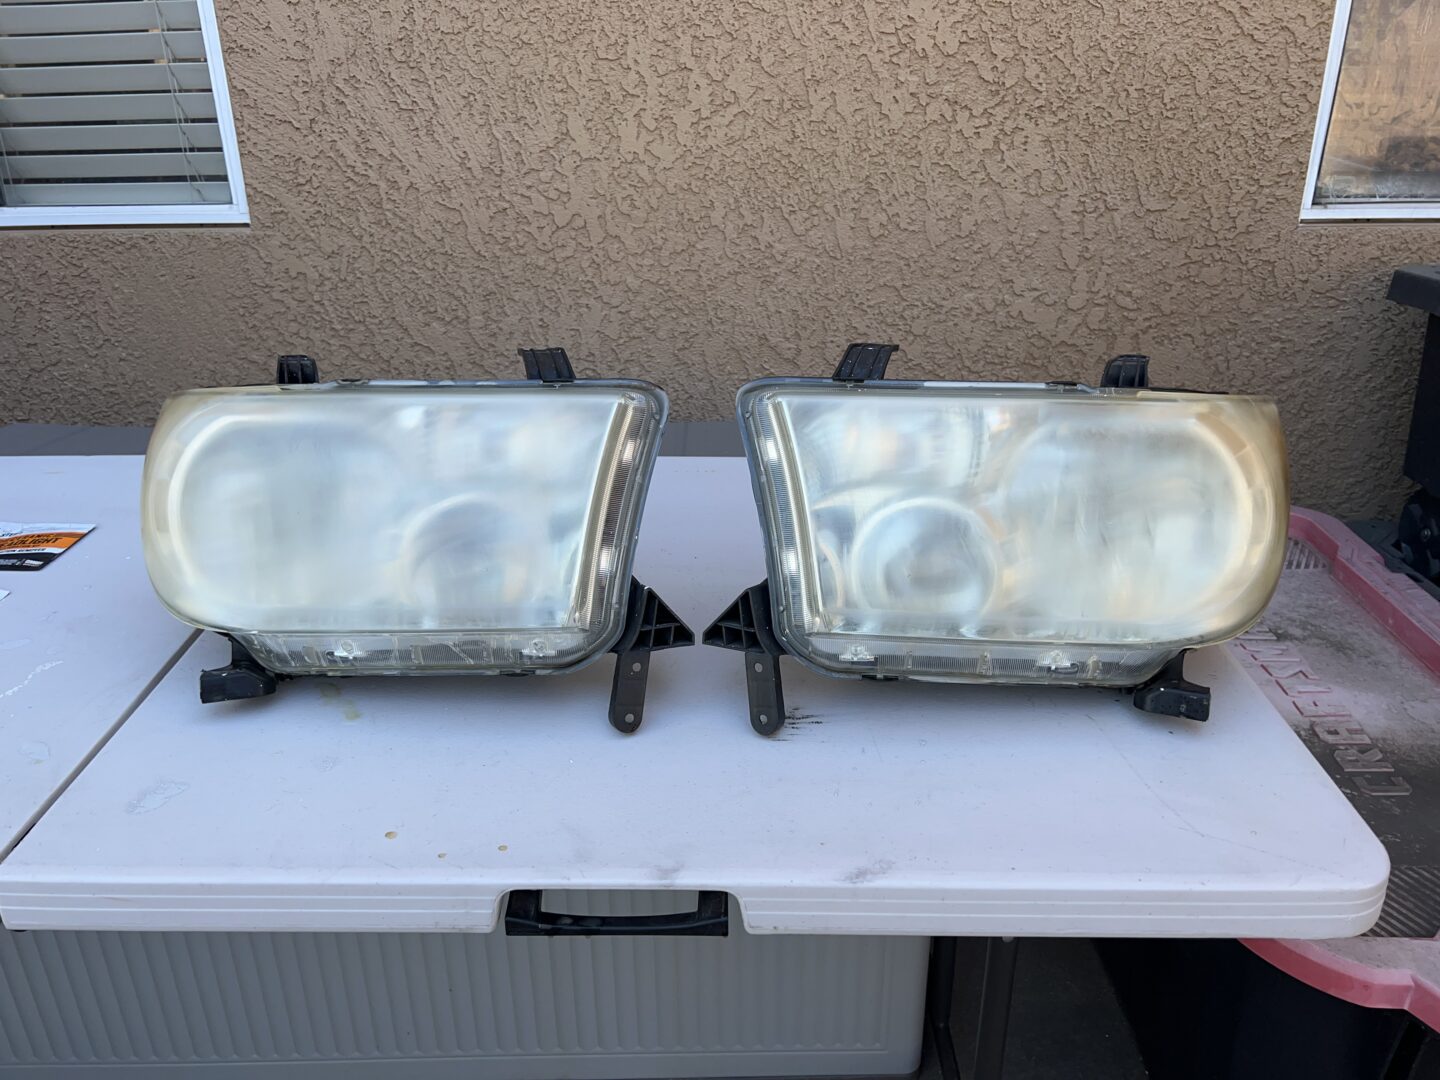
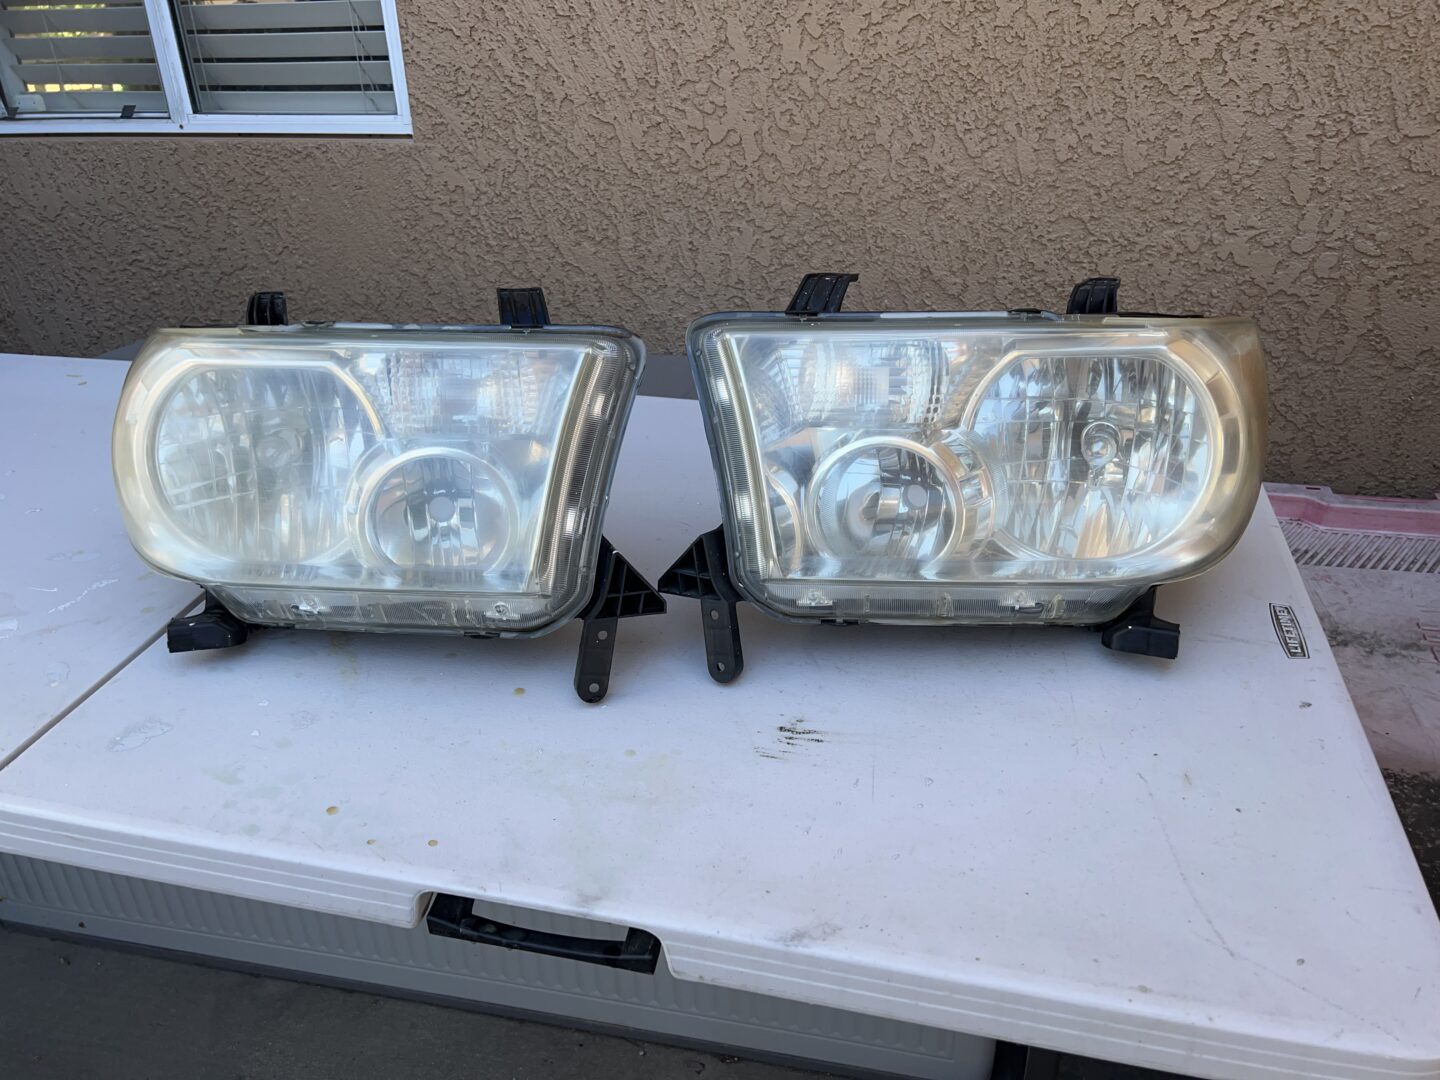
Here are a set of headlights off of a Toyota Tundra that I am restoring. It’s yellowed and hazy, and could really use a good restoration. These headlights are already off the car, so it will be easier to restore.
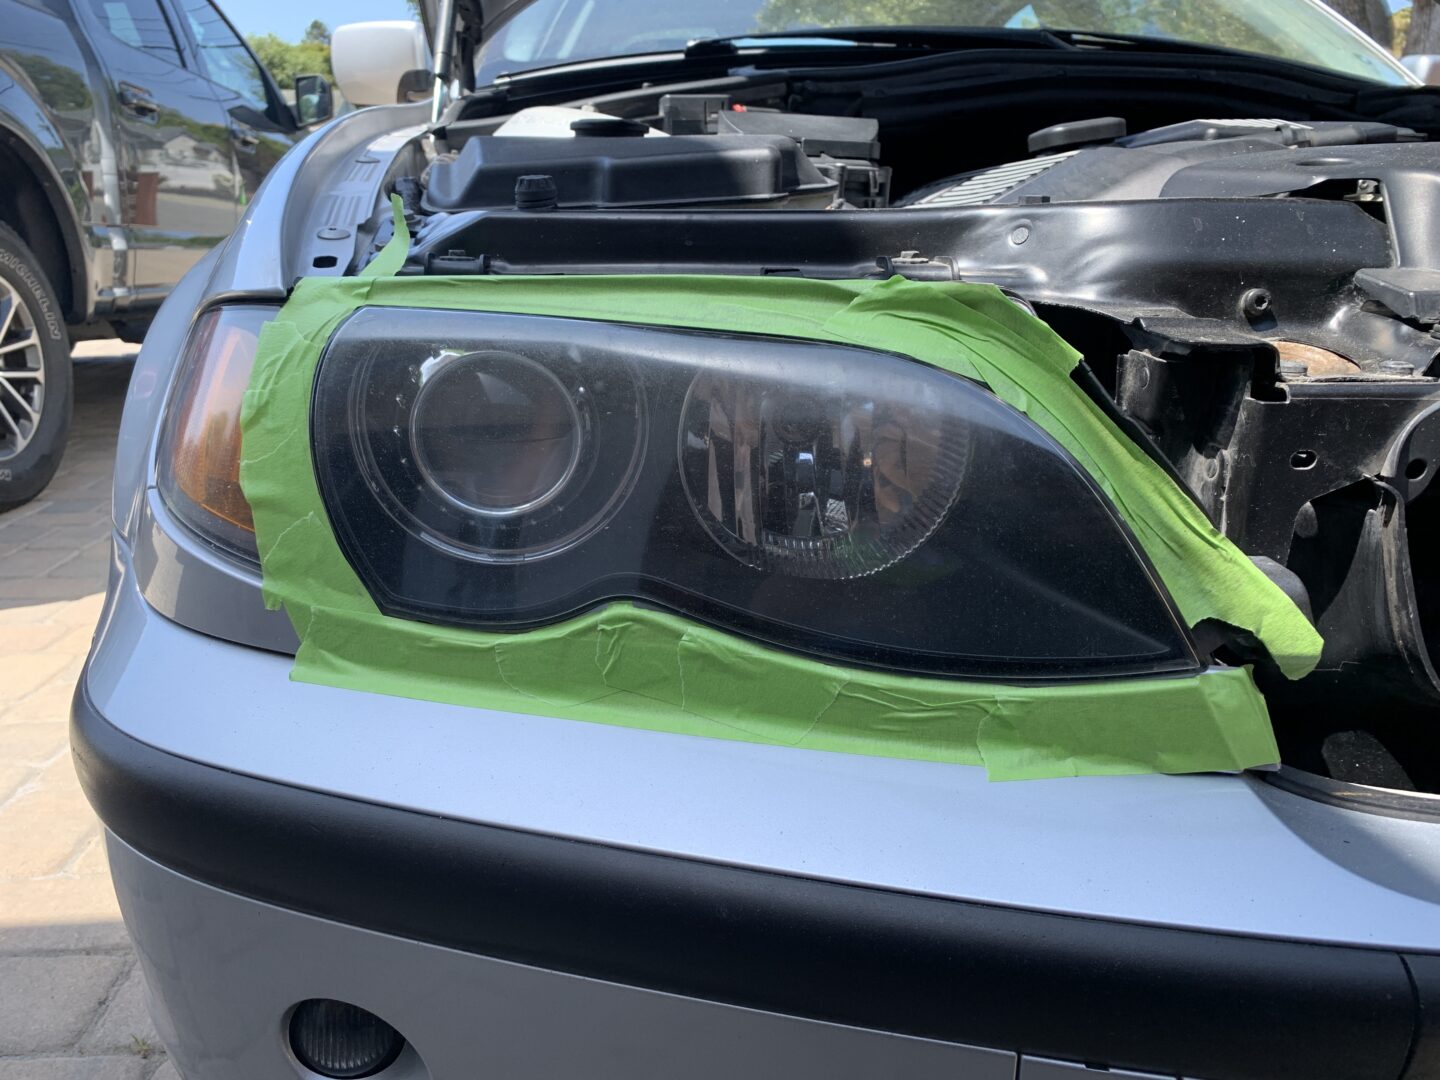
If your headlights are still on your car, pick up some 3M Automotive Masking Tape (green/yellow color), which you can apply all around the headlights without worry of it damaging your car’s paint. Using painter’s tape also works, but it doesn’t adhere as well. It starts becoming an issue when you’re applying water during the wet sanding stage because it starts falling off from the exposure to water.
3M Automotive Refinish Masking Tape, 36 mm x 55 m, 1 Roll
Start off your headlight restoration by cleaning the headlight lenses. Here, I’m using an all purpose cleaner and microfiber towel to clean up the surface of the headlight lenses.
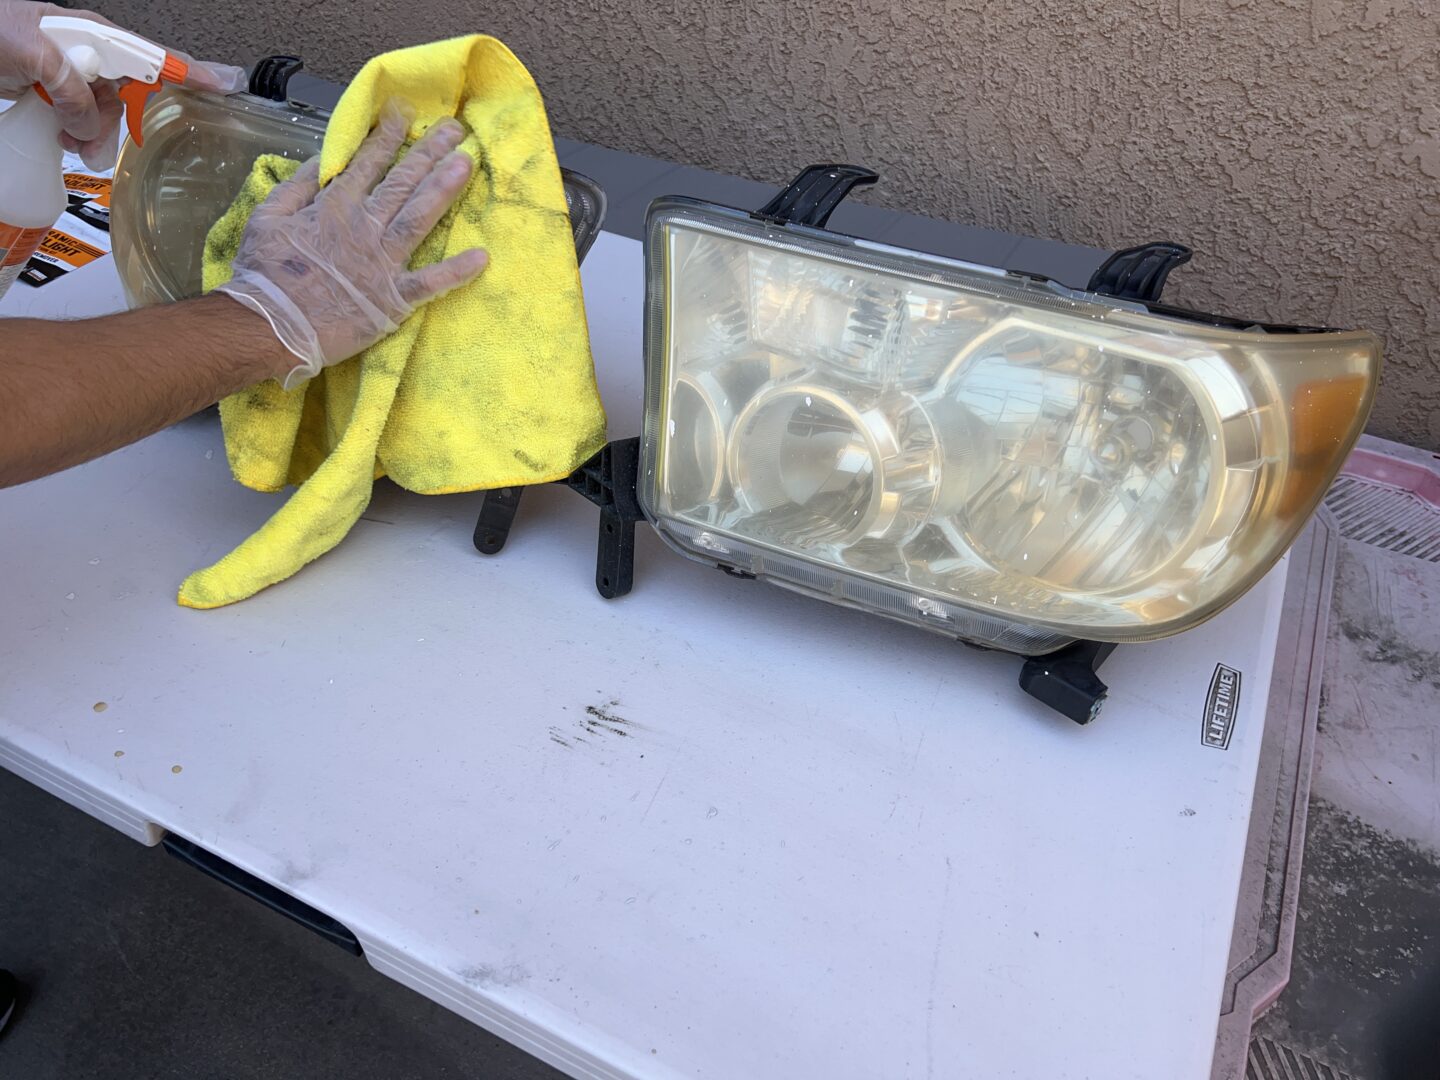
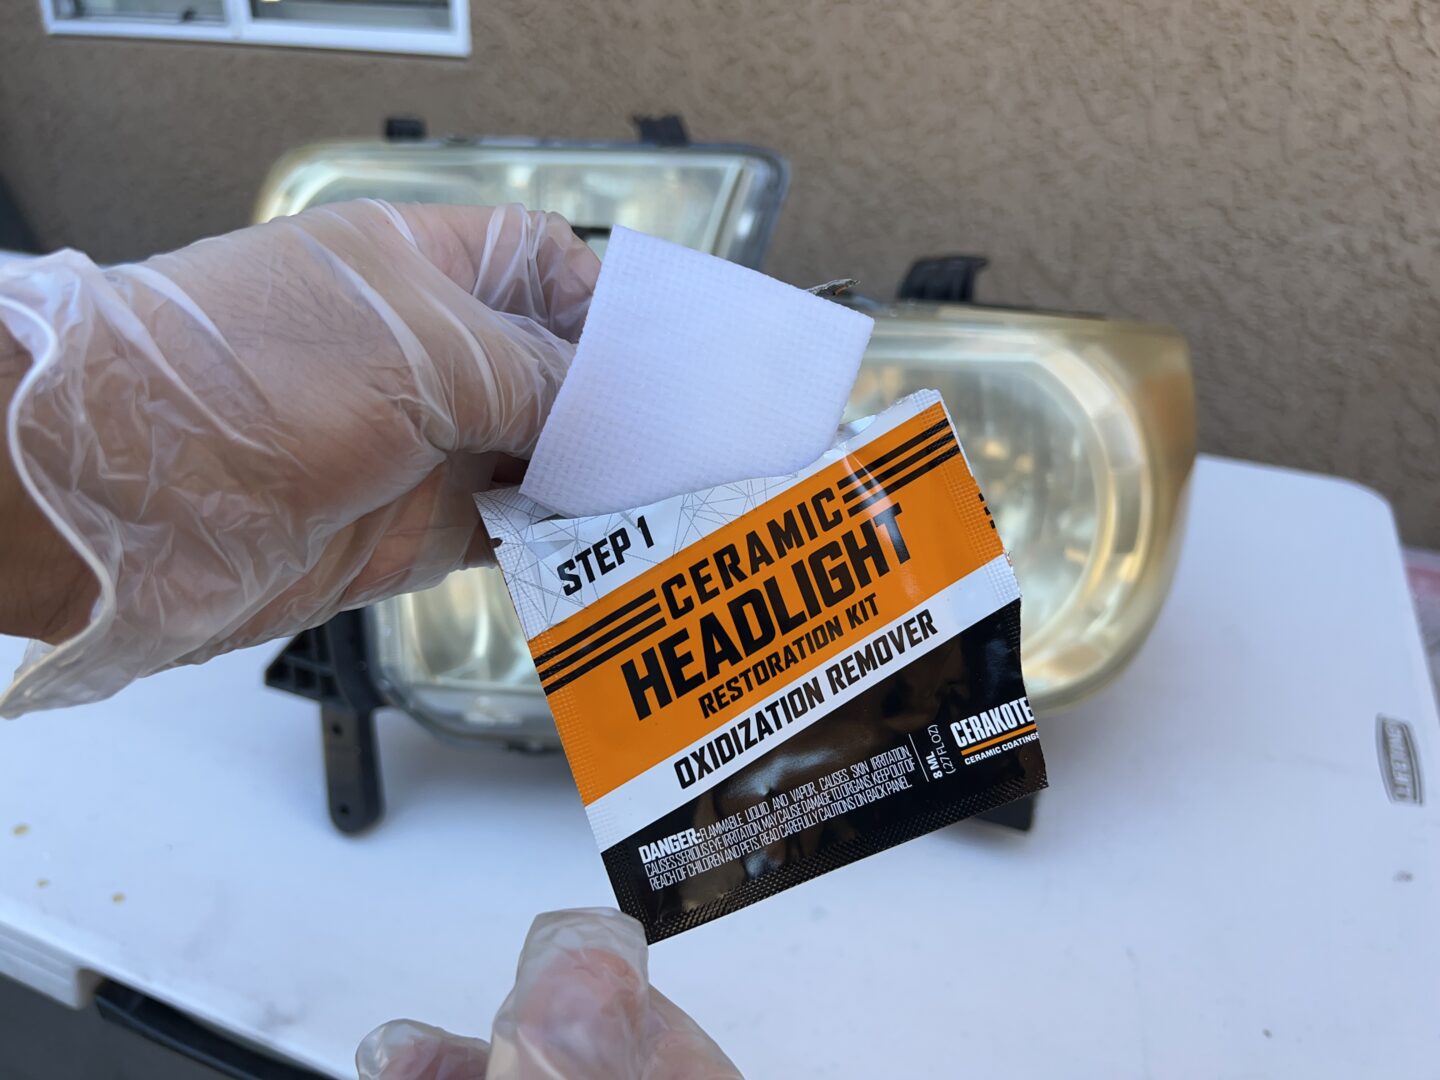
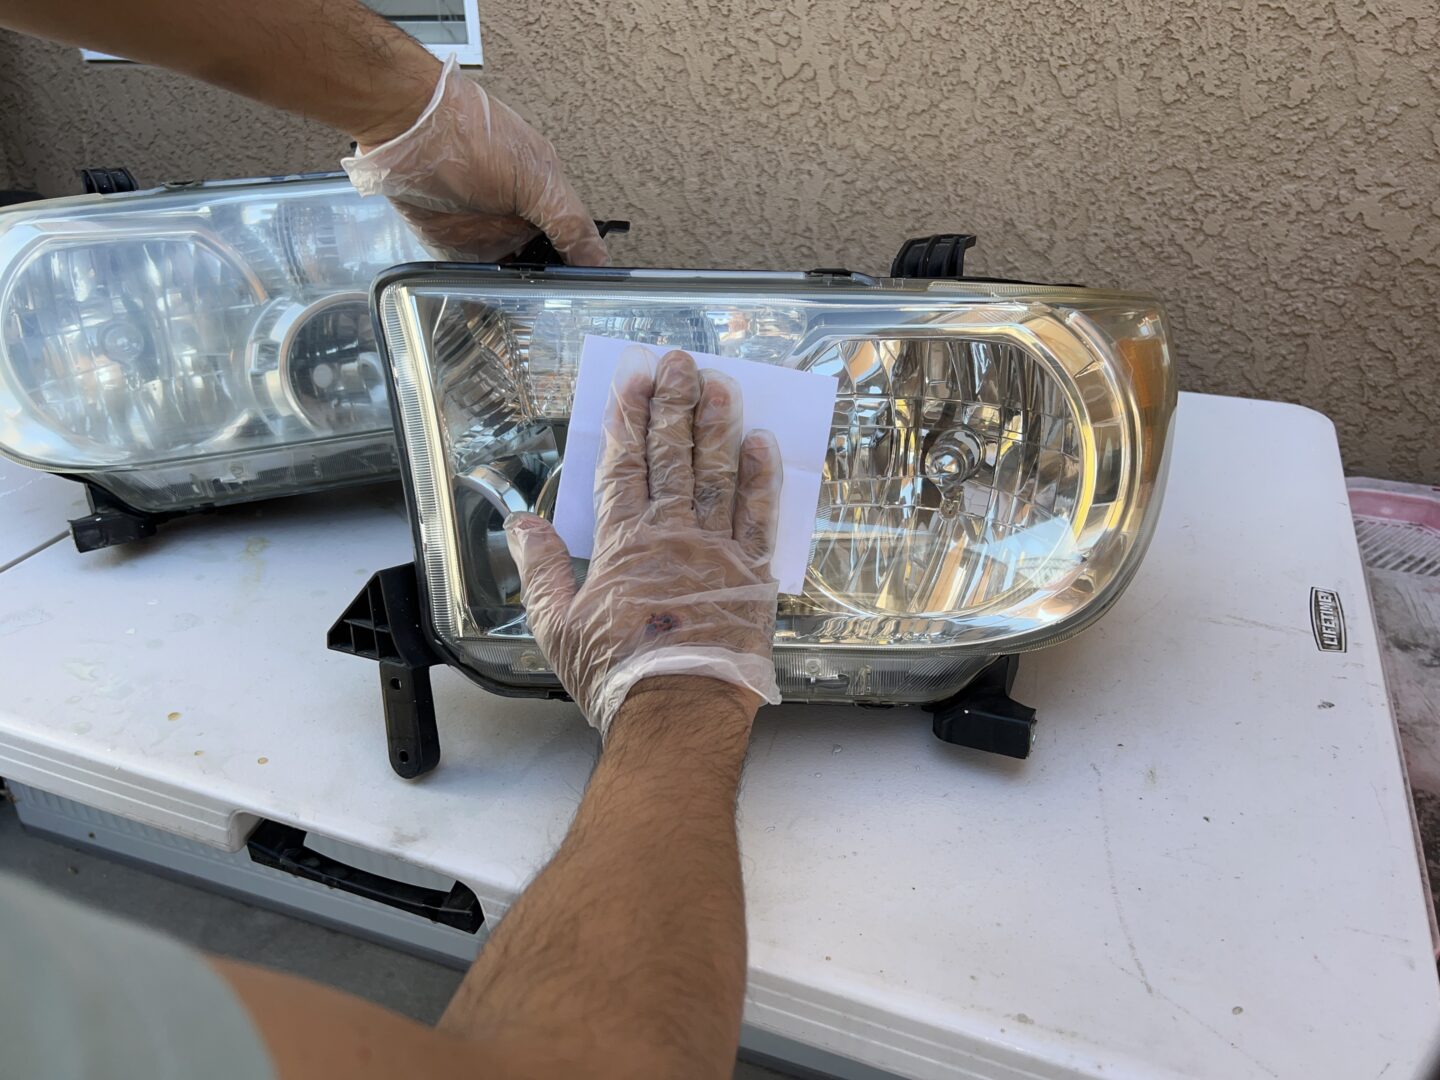
The first step of the Cerakote kit is to wipe the surface of the headlight lens with the oxidation remover wipe. The kit comes with 8 wipes, but I’ve found that each wipe is usually good for one headlight lens. You might use two wipes per lens if the oxidation is really bad.
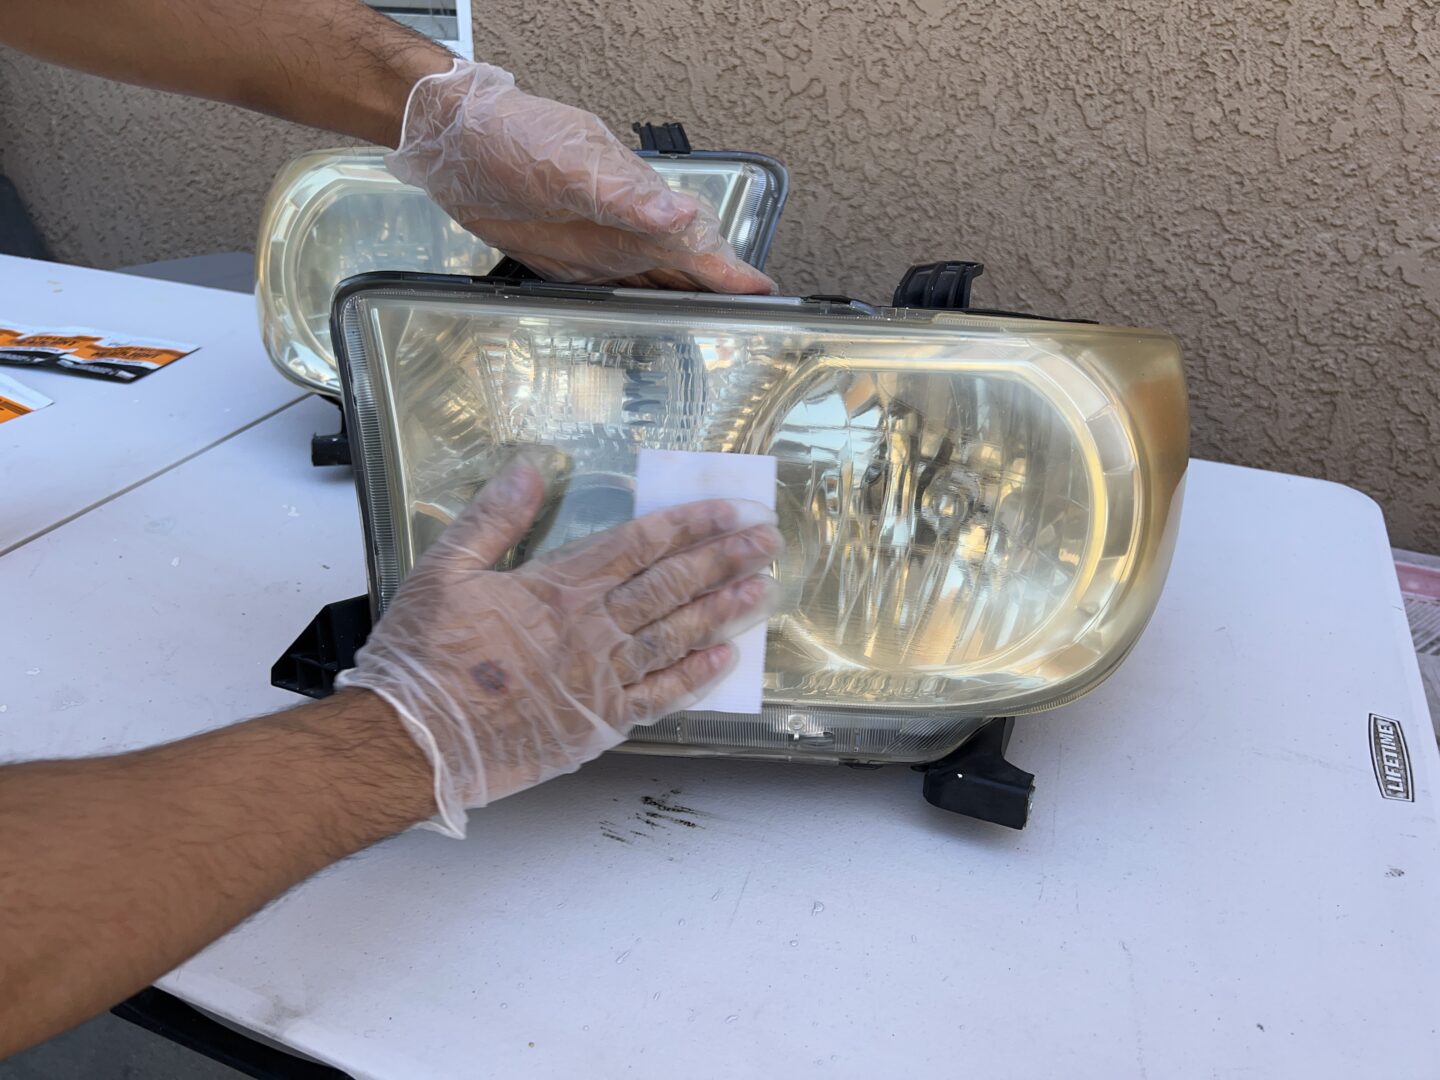
For this pair of headlights, I used two oxidation remover wipes total (one per headlight lens.) Amazingly, just wiping the surface of the lenses with the oxidation remover wipe instantly takes off all of the yellowing and oxidation residue.

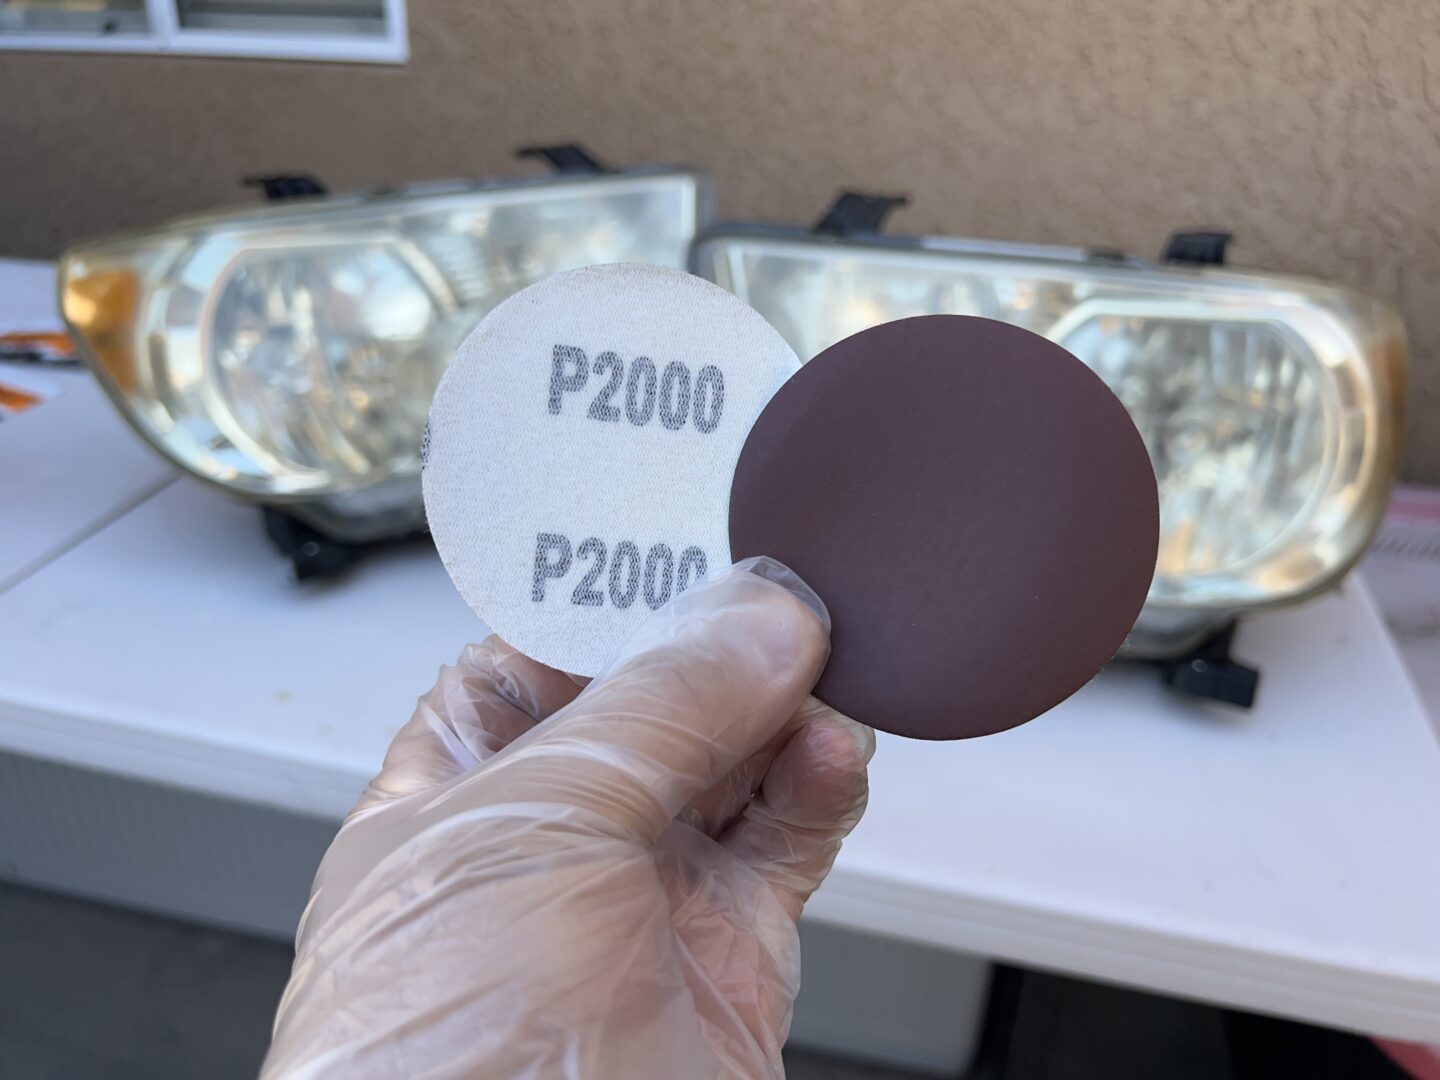
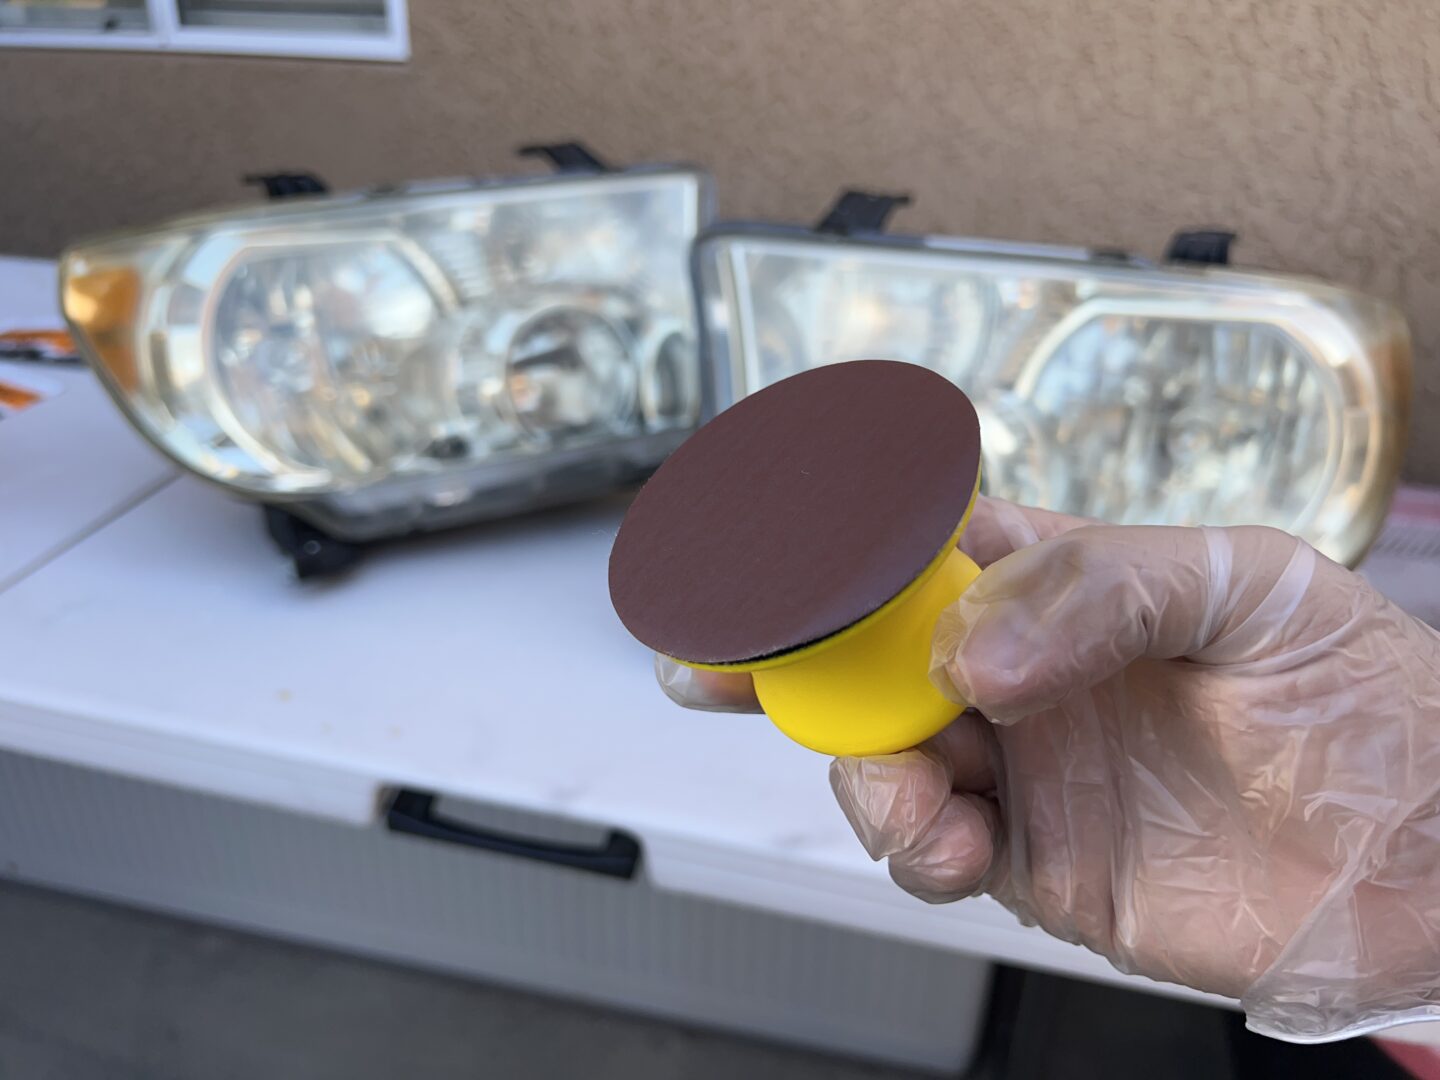
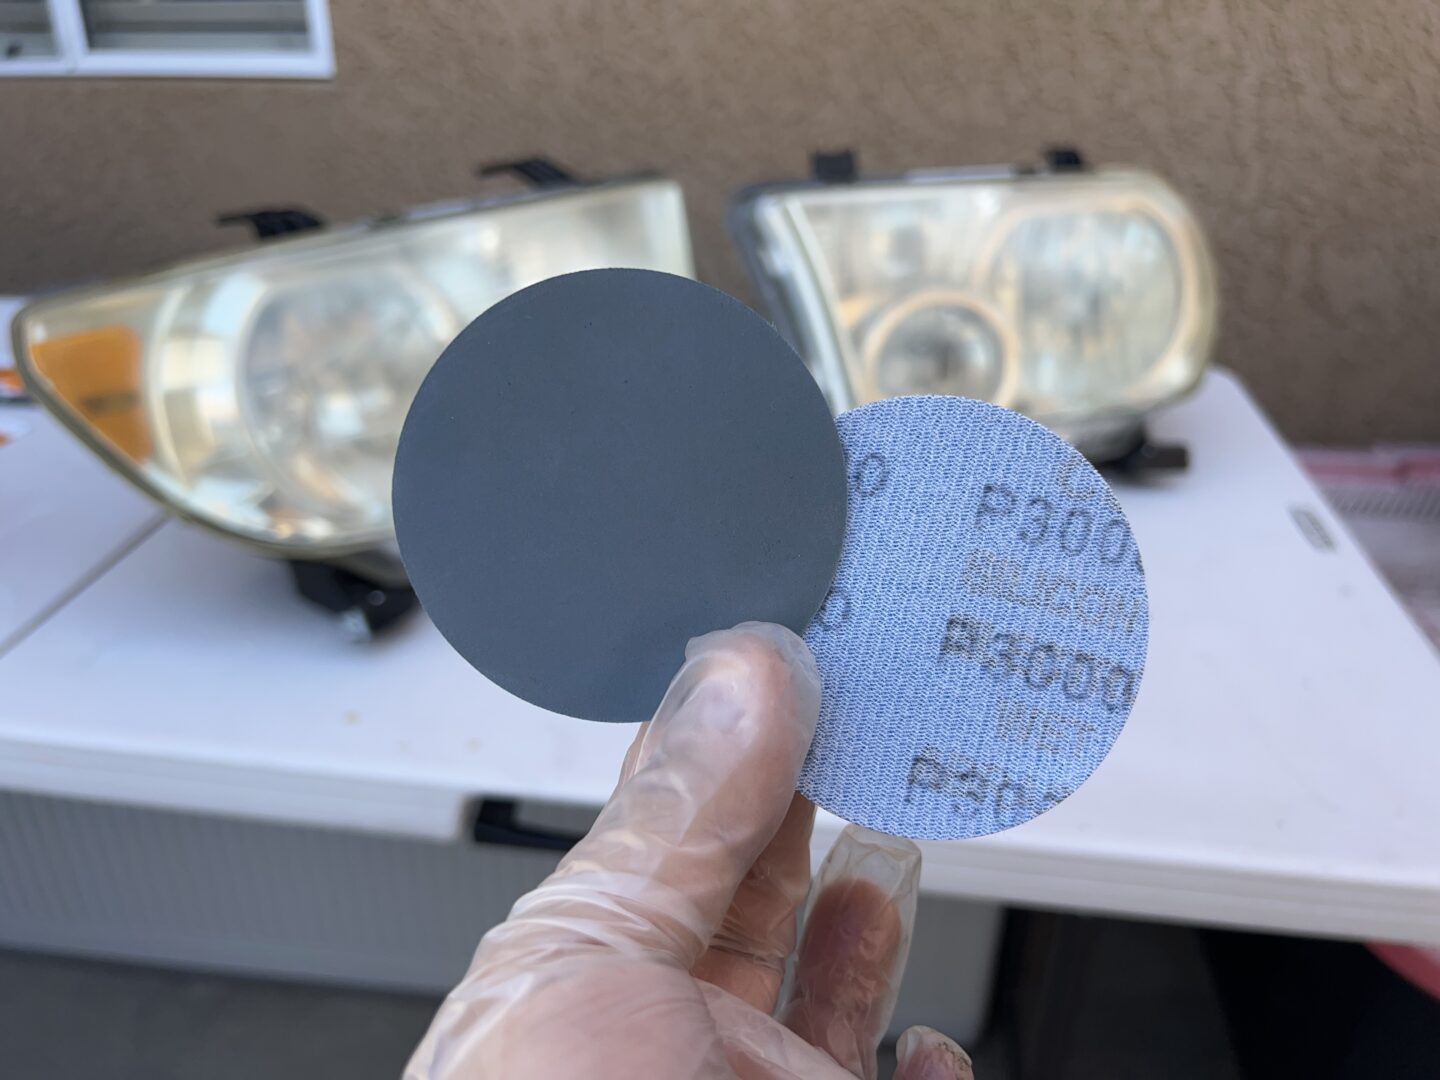
The next step is to use the included sandpaper discs to sand the lenses. The kit comes with a 2000-grit maroon sandpaper (P2000) and a 3000-grit green sandpaper (P3000). Start with the P2000 sandpaper and attach it to the handle. The sanding is intended to be done via wet sanding; this means either dipping the sandpaper in a bucket of water and sanding, or spraying water on the lens with a spray bottle and sanding.
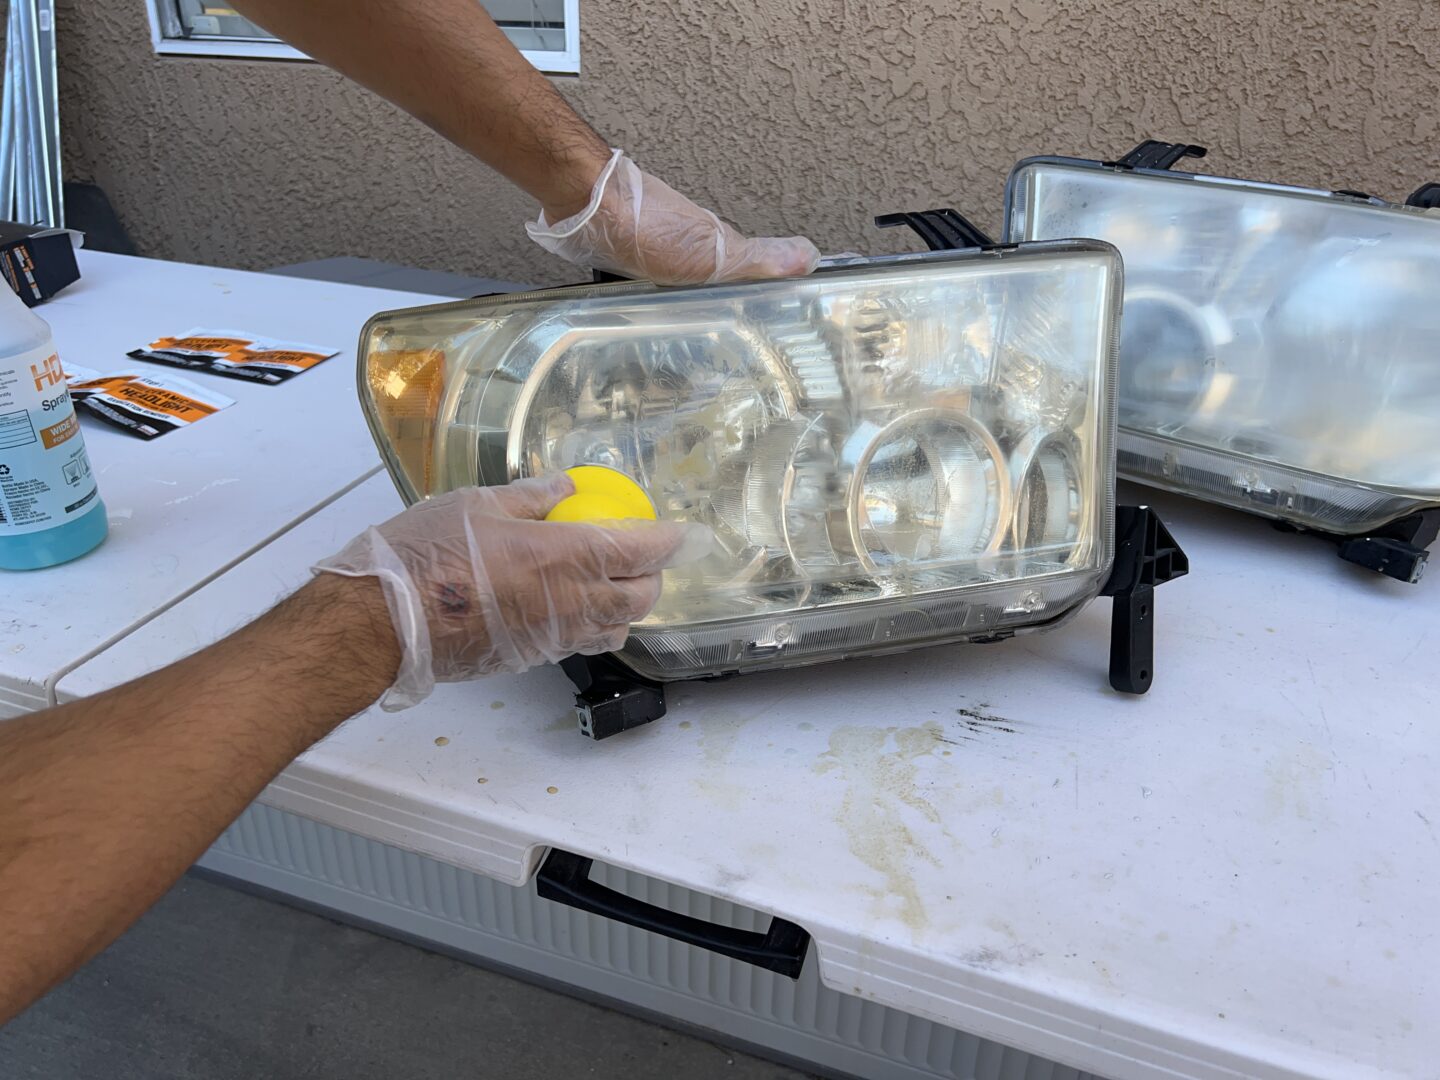
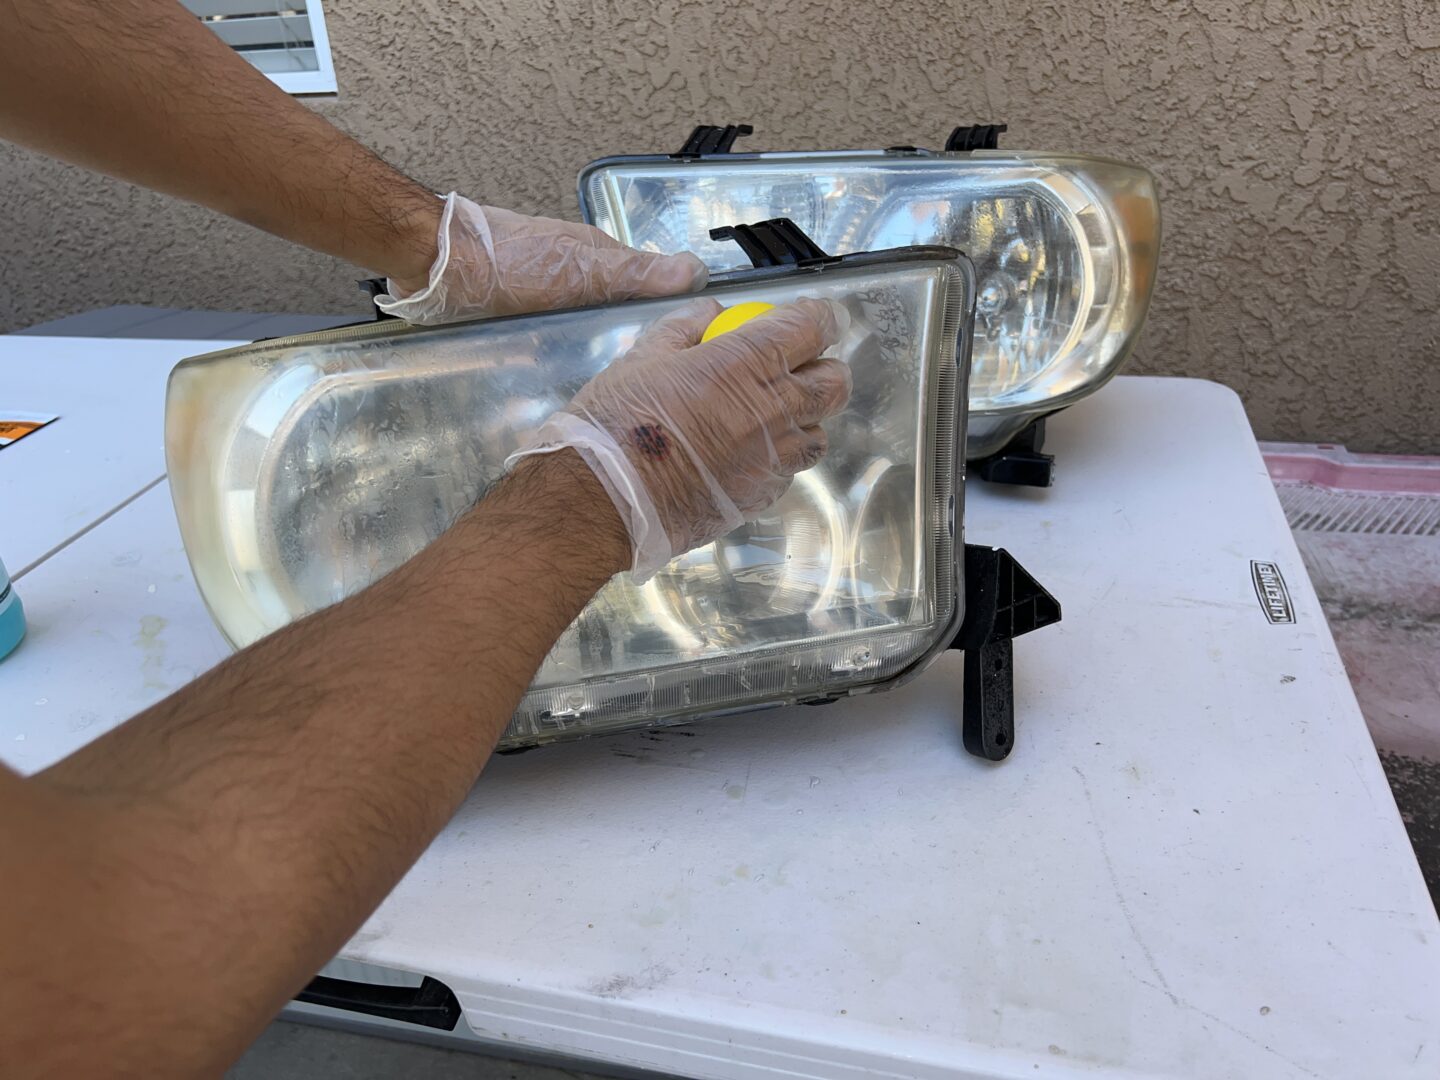
As you wet sand the lens surface, you will notice the outer material of the lens become a slurry from the mix of the sanded lens residue and water. The instructions tell you not to sand in a circular motion, so sand it back-and-forth across the entire lens. Always keep the surface wet while sanding, otherwise the material that you sand off will clog the sandpaper, rendering it unusable. Sand each lens for about 2-3 minutes. After you are done sanding, wipe it clean. You should then see a uniform haze across the entire lens surface from the 2000-grit sandpaper.
The next step is to stand with the P3000 discs in the same way you did with the previous sandpaper. Wet sand the lens surface in a back-and-forth motion for about 2-3 minutes for each lens, then wipe away with a microfiber towel. The lens should still appear slightly hazy, but slightly more clear than after you sanded with the 2000-grit sandpaper.
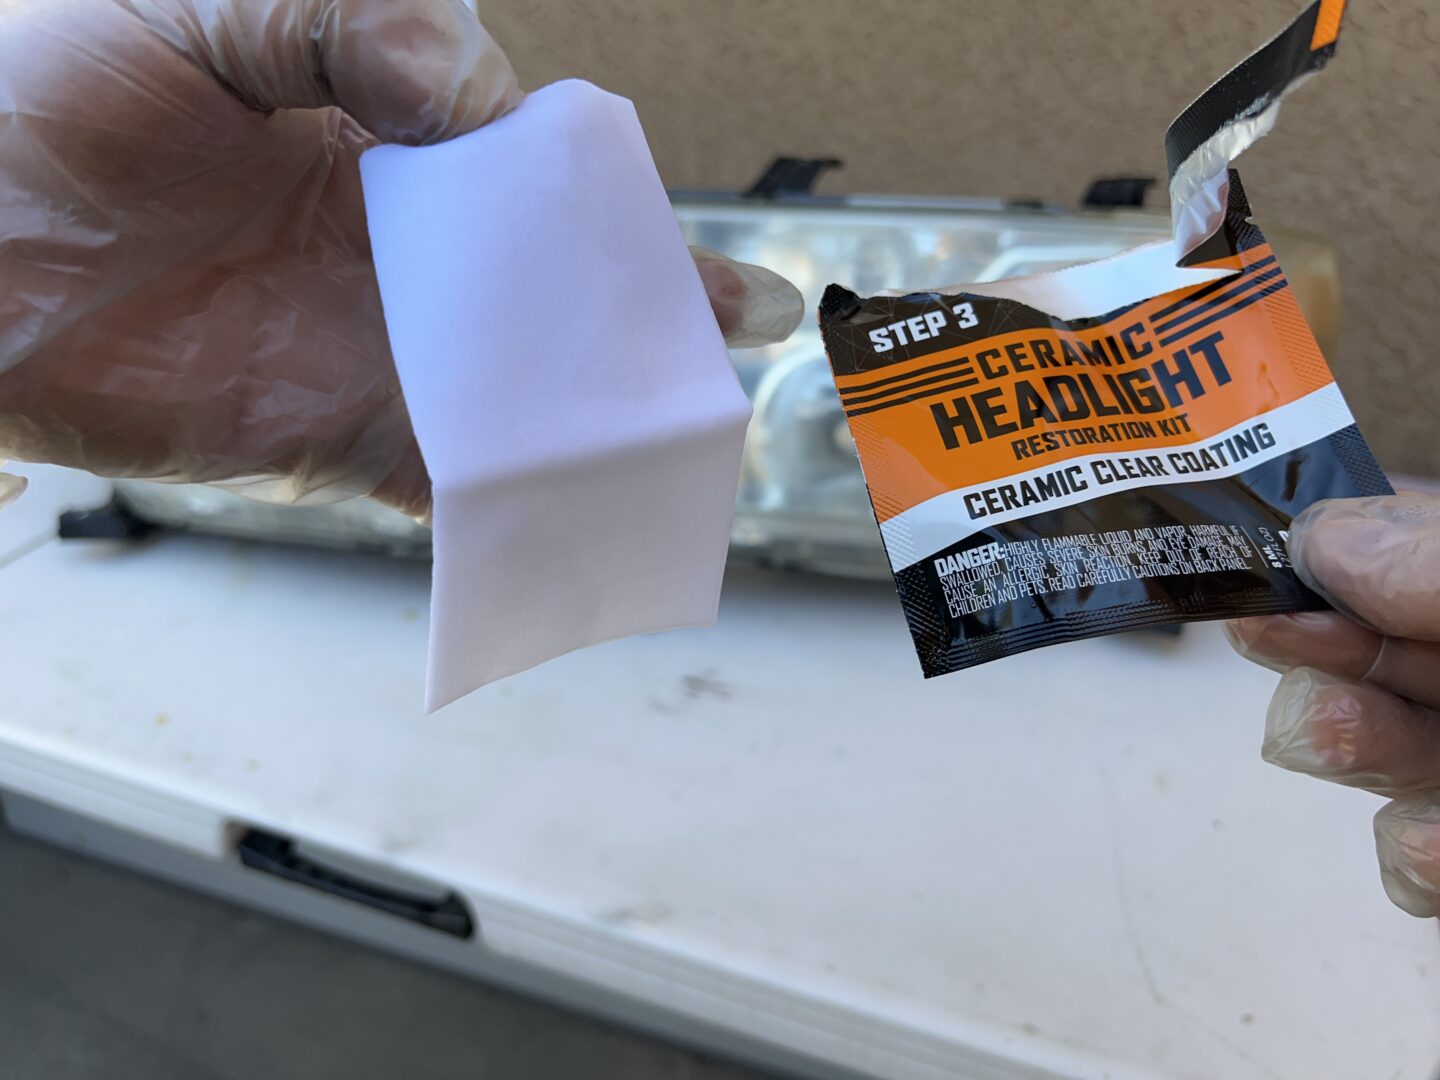
The last stage is to use the ceramic clear coating wipe and wipe the surface of the headlight as a finishing step. I’d suggest using your all purpose cleaner again with a clean microfiber towel to clean the lenses, ensuring that it is completely cleaned prior to applying the ceramic clear wipe.
Wear the included disposable gloves (or your own disposable gloves) to handle the ceramic clear wipe. I found that one wipe was good for a pair of headlights–use one side for one headlight, and the other side for the other.
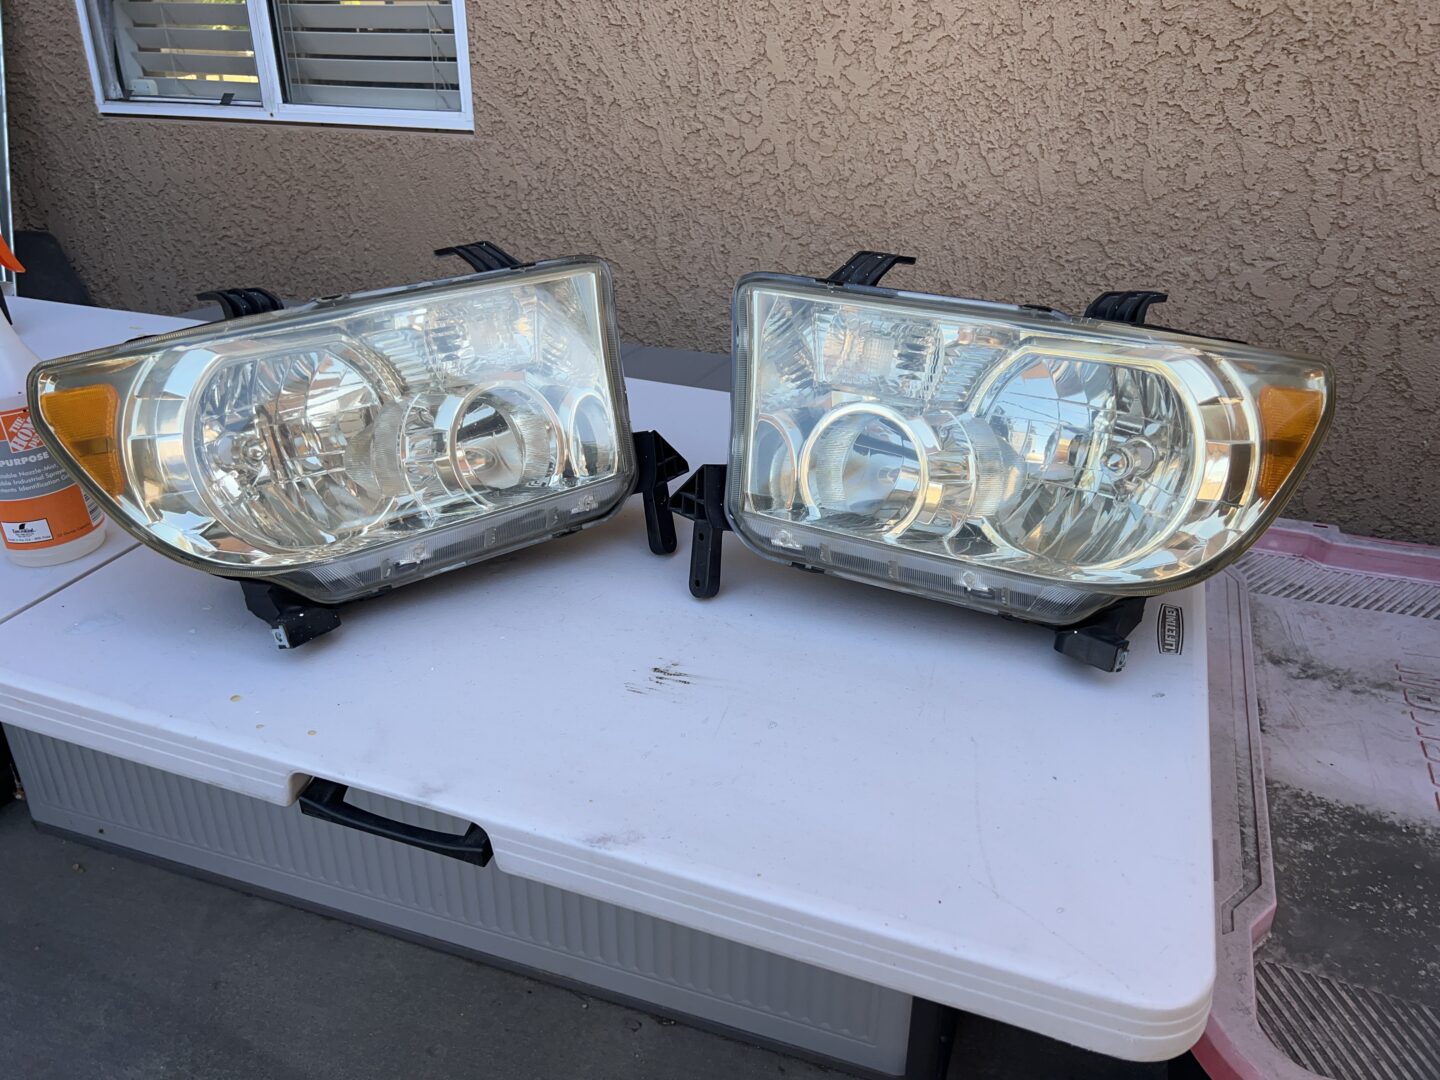
After applying the ceramic clear, allow the headlights to dry for at least 1 hour prior to handling them or exposing them to moisture. As you can see, the result is an amazingly clear headlight without the need for any tools! I was extremely pleased with the outcome, as the headlights look like they are brand new again.

With headlight restoration kits like these, I wish that they would supply enough supplies to restore multiple headlights. A lot of times as is the case with the Cerakote Ceramic Headlight Restoration Kit, there is enough supplies to restore one set of headlights with a little extra to spare, however it doesn’t seem enough to do more than one or two pairs of headlights. This kit comes with 8 packs of oxidation remover wipes, 2 sanding discs of each grit, and 2 packs of ceramic clear coating.
After restoring this one pair of headlights, I was left with 6 packs of oxidation remover and one pack of ceramic clear coating. The sanding discs were all used up, and although they might be able to be used again, they may not be as effective as if being used for the first time. So after restoring one pair of headlights, I had all of this material leftover. Not exactly a full set to restore another set of headlights. Seems like a bit of a waste.
I really wish that they would supply maybe a few more sanding discs and a bit more ceramic clear coating, then you could restore at least two pairs of headlights with just one kit. If you’re just considering the effectiveness of the Cerakote Ceramic Headlight Restoration Kit, this is one of the best out there.
Not only is it super-effective at restoring old, worn headlights, it is incredibly easy because you don’t need any tools. It also does a lot for only requiring a few steps for the restoration process. Out of all the headlight kits I’ve tried so far, this is probably at the top of the list.
Cerakote Ceramic Headlight Restoration Kit: Amazon


