When I had to replace the shifter bushings on my 2002 Audi TT, I had to remove the center console to get access to the shifter components. Removing the center console is not difficult, but it does require some extra care as the plastic pieces can break easily if you’re not removing the pieces carefully. I put this guide together to show you how to remove each of the pieces for the center console to help you though this process.
How To Remove The Center Console on the MK1 Audi TT (2000-2006)
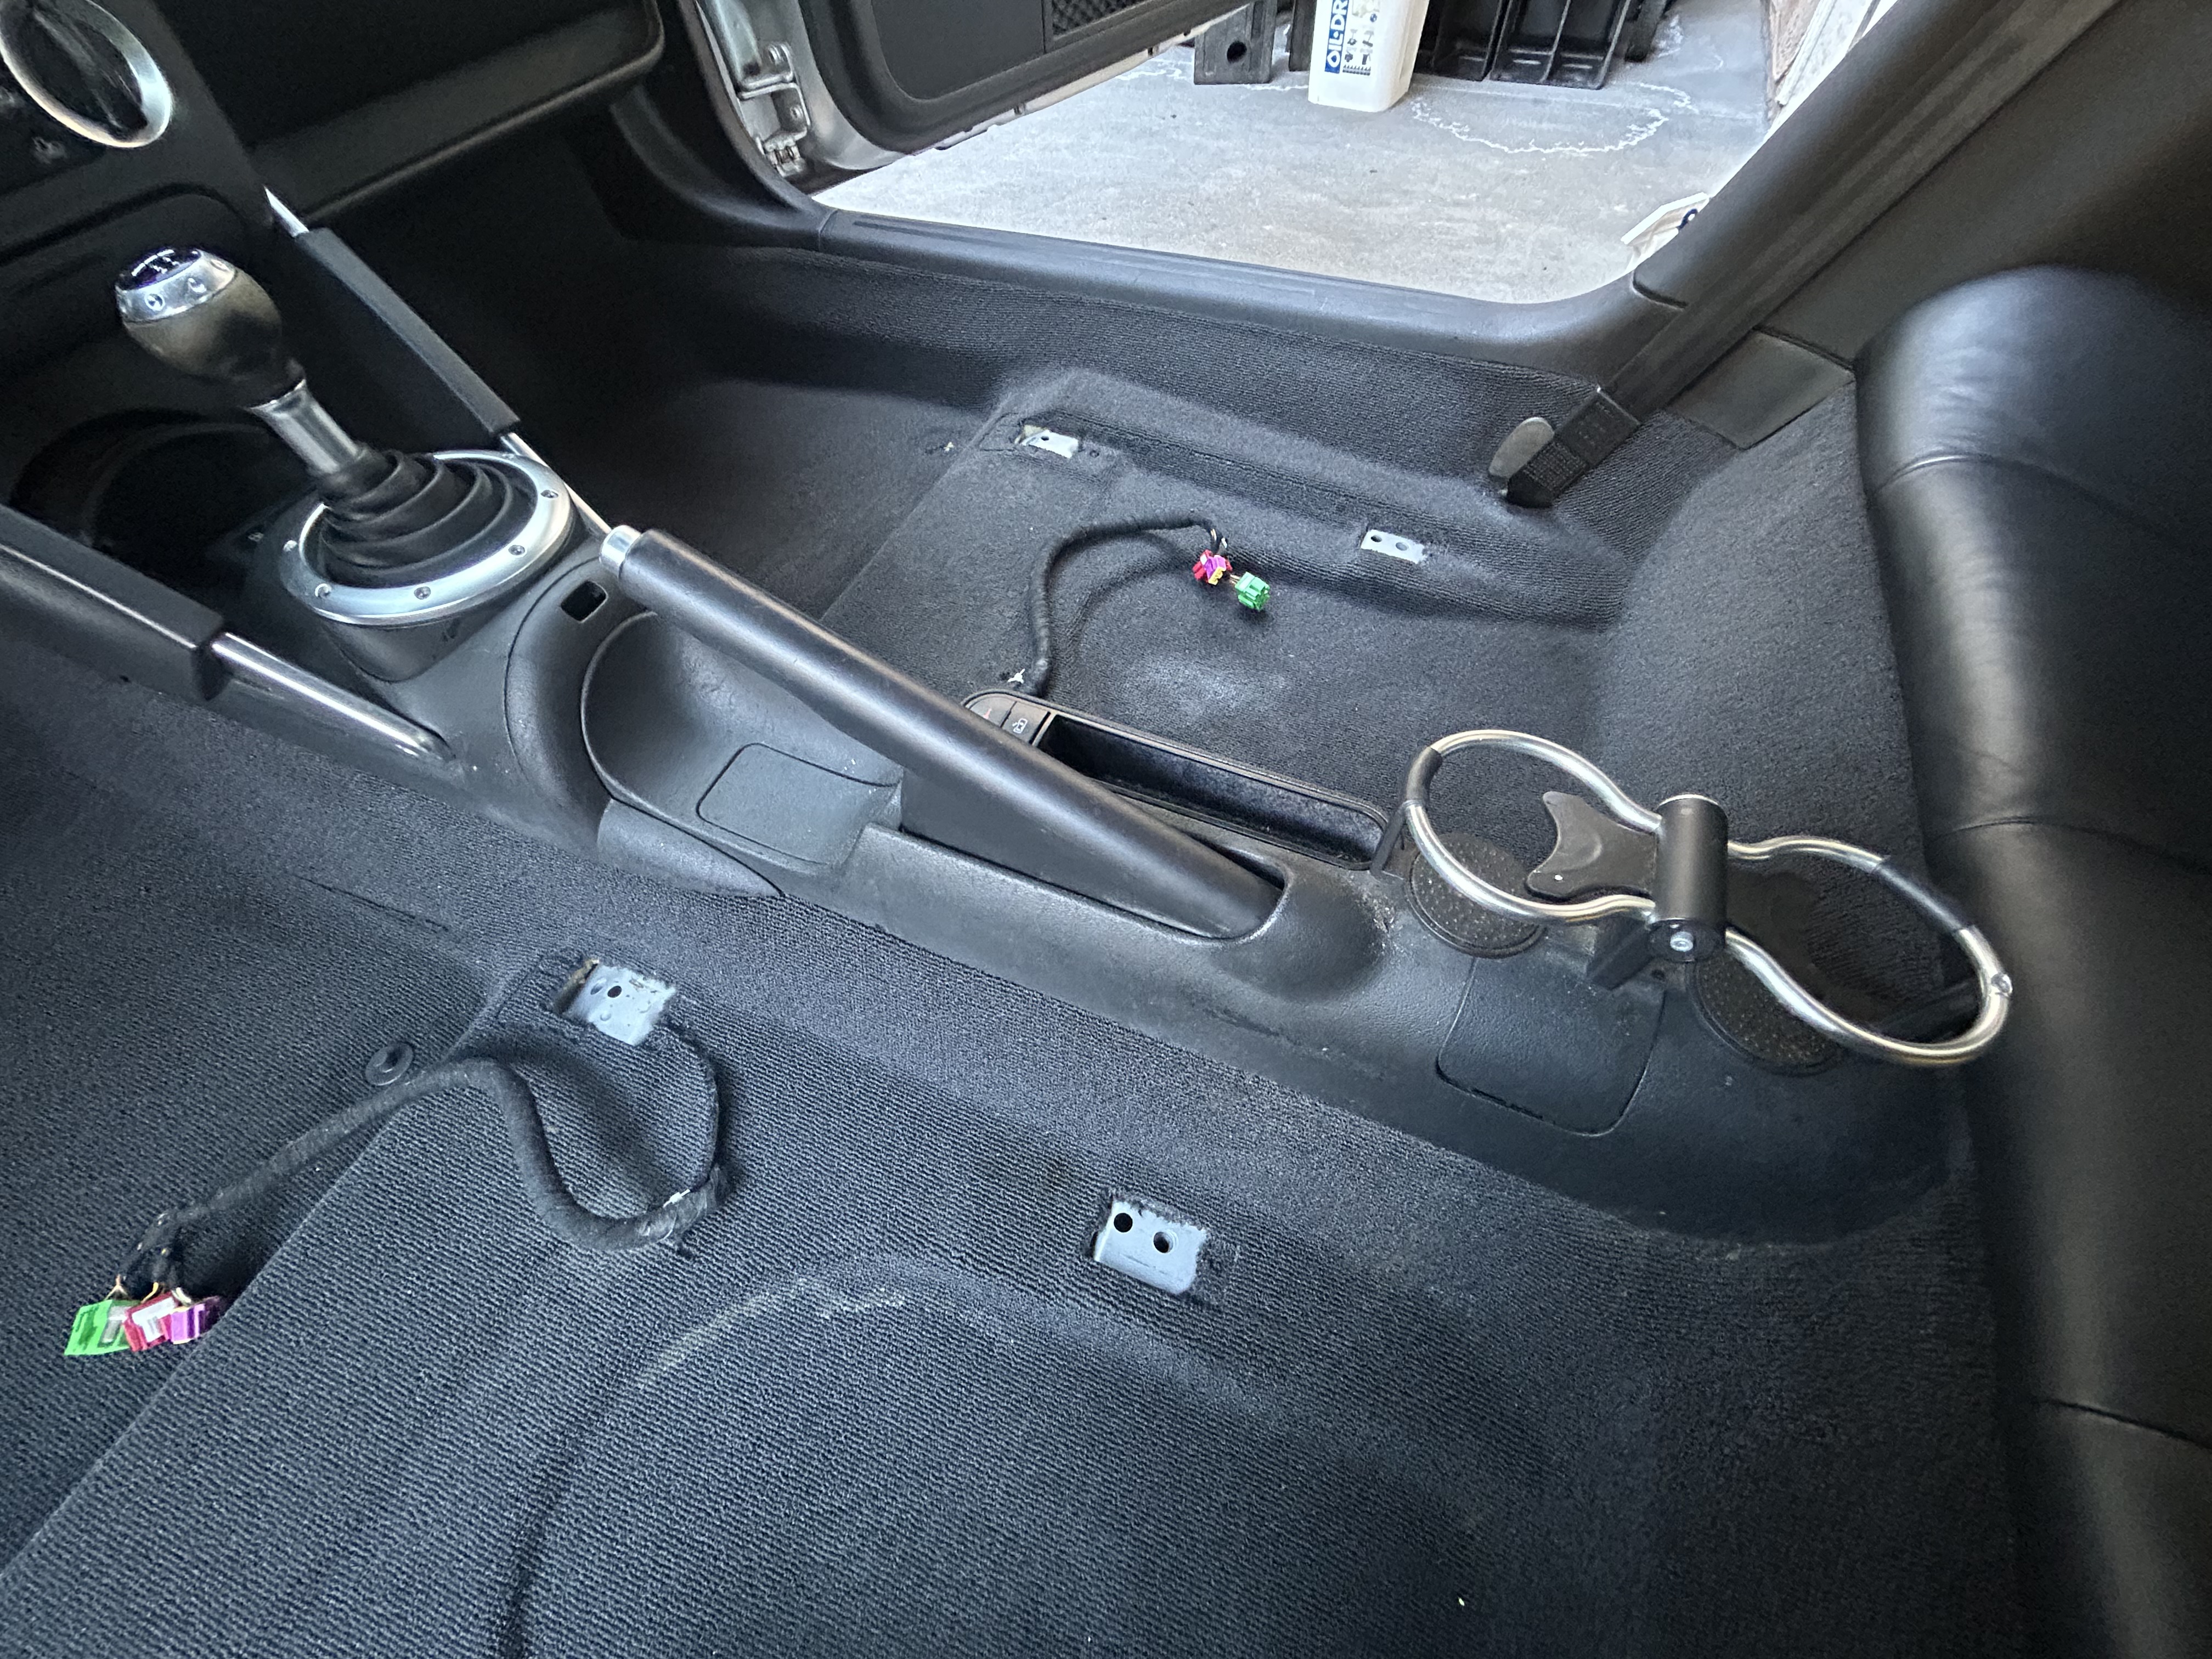
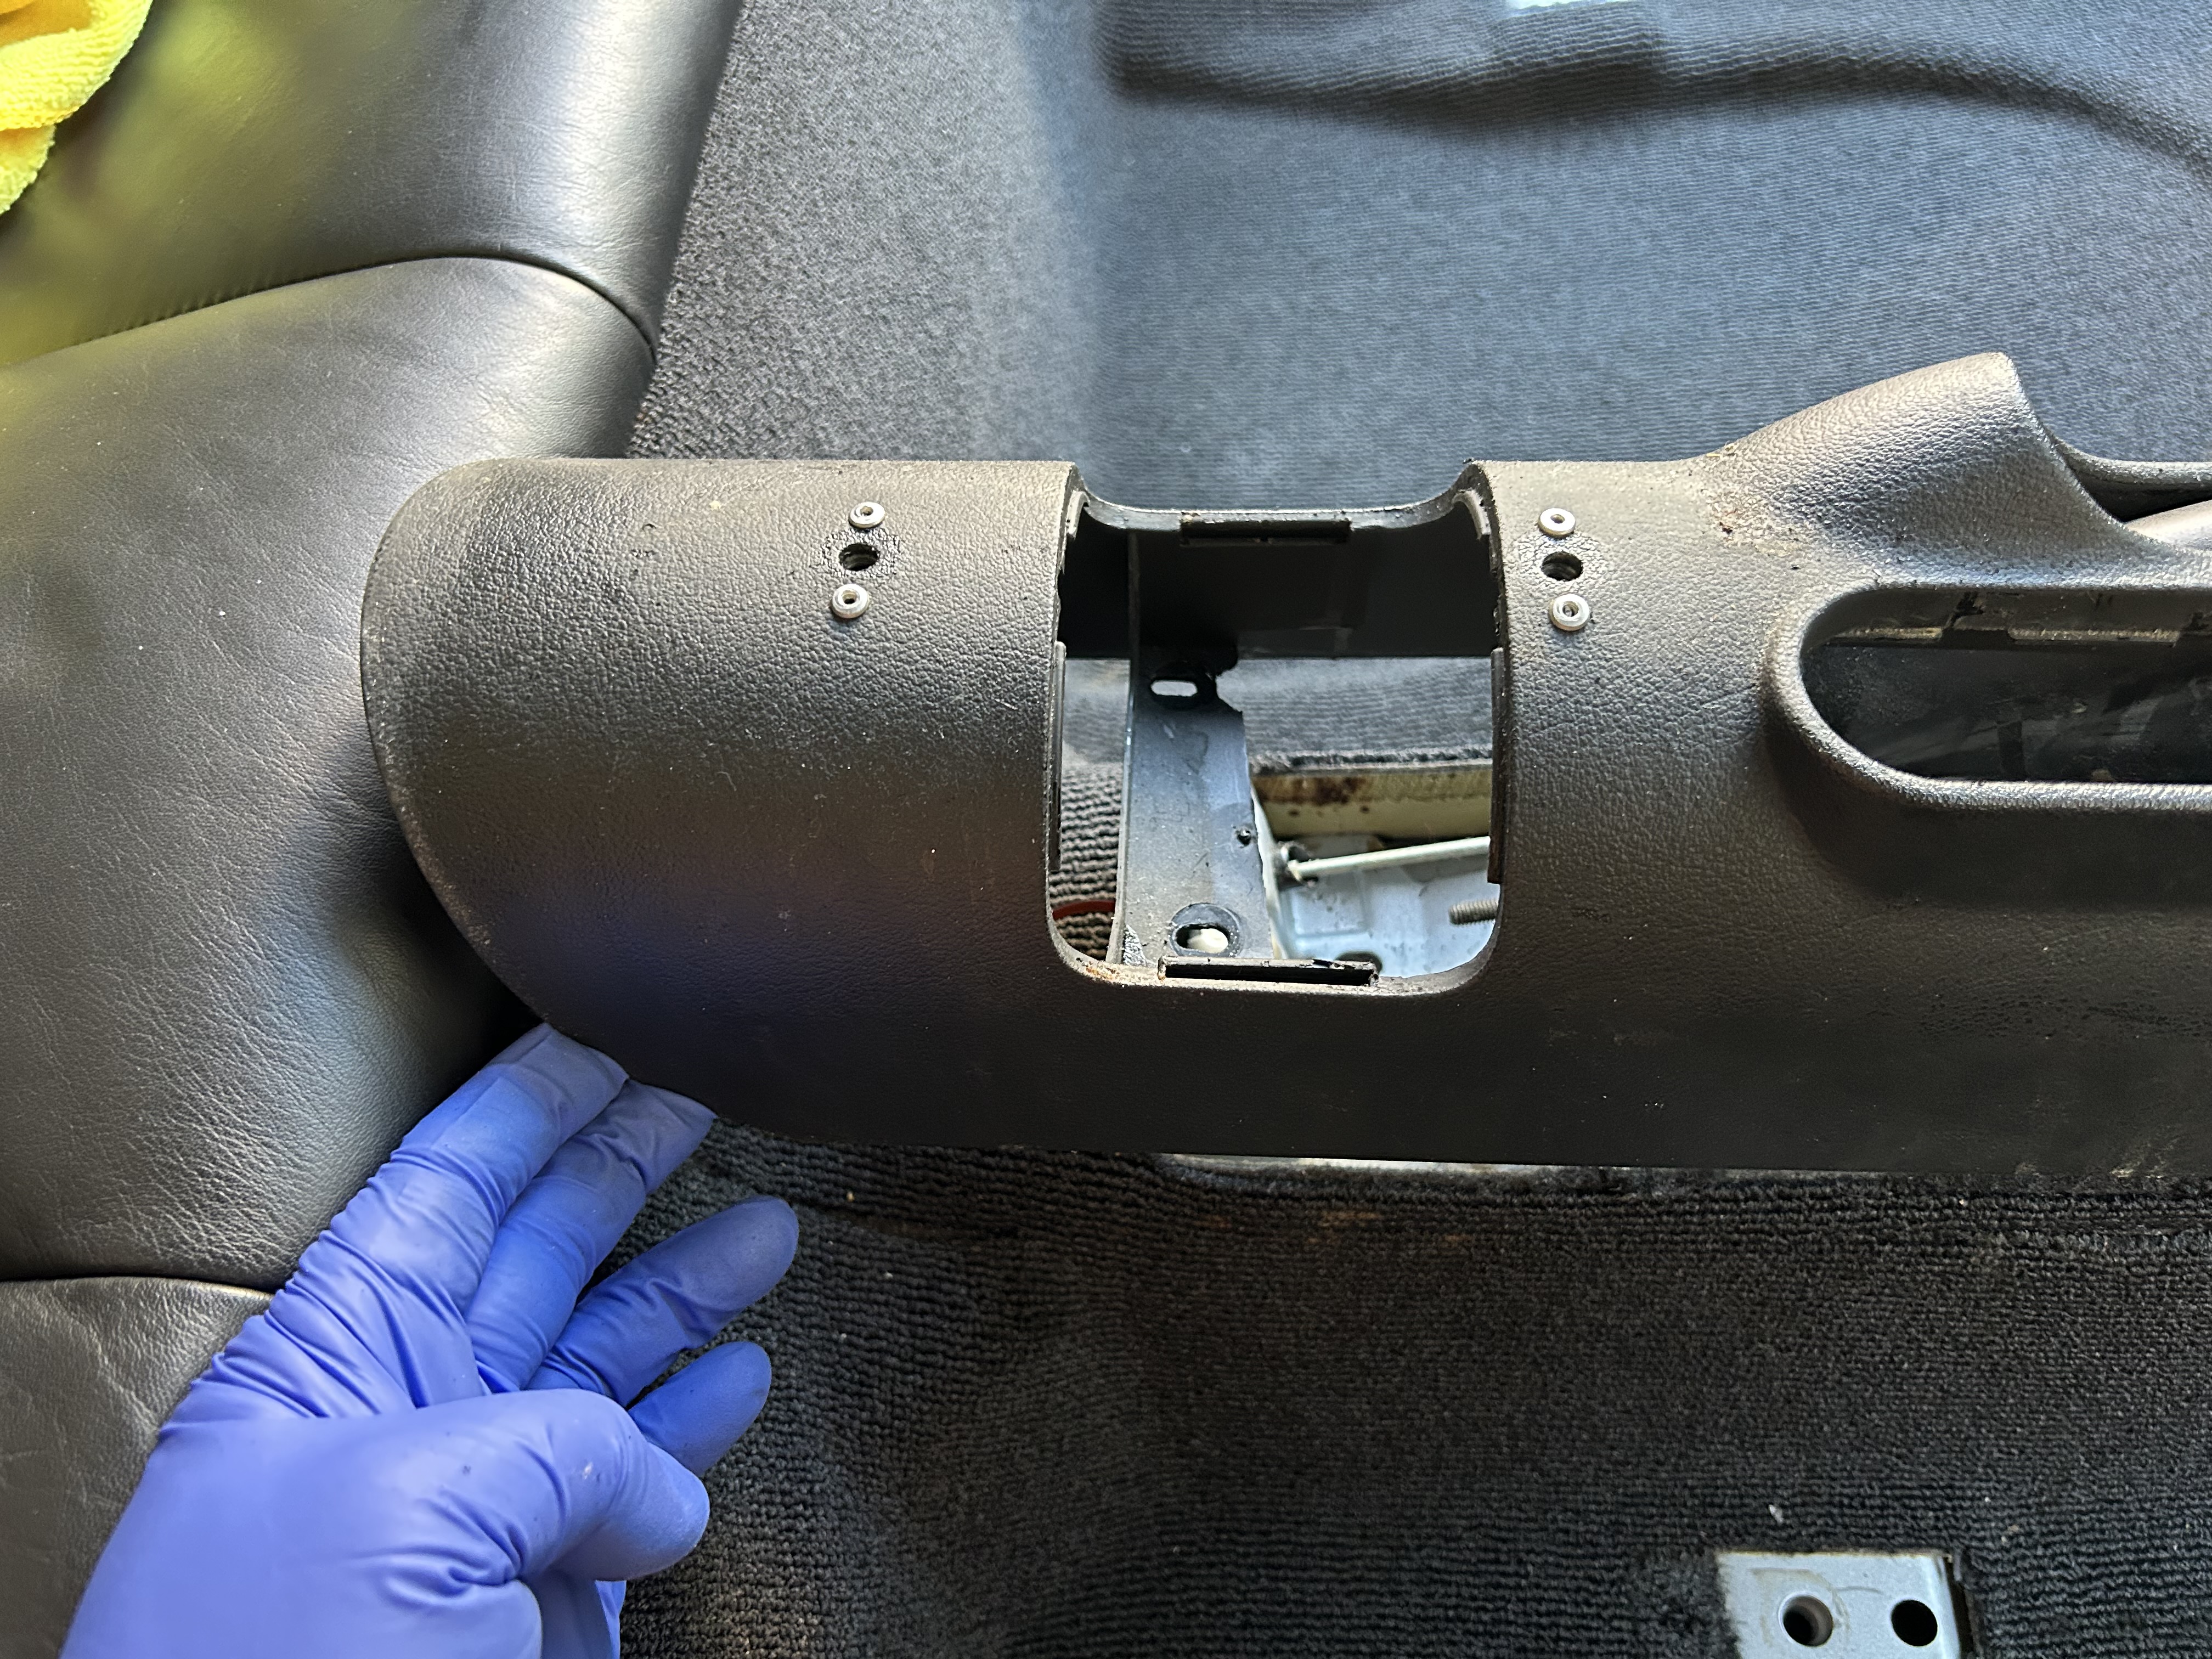
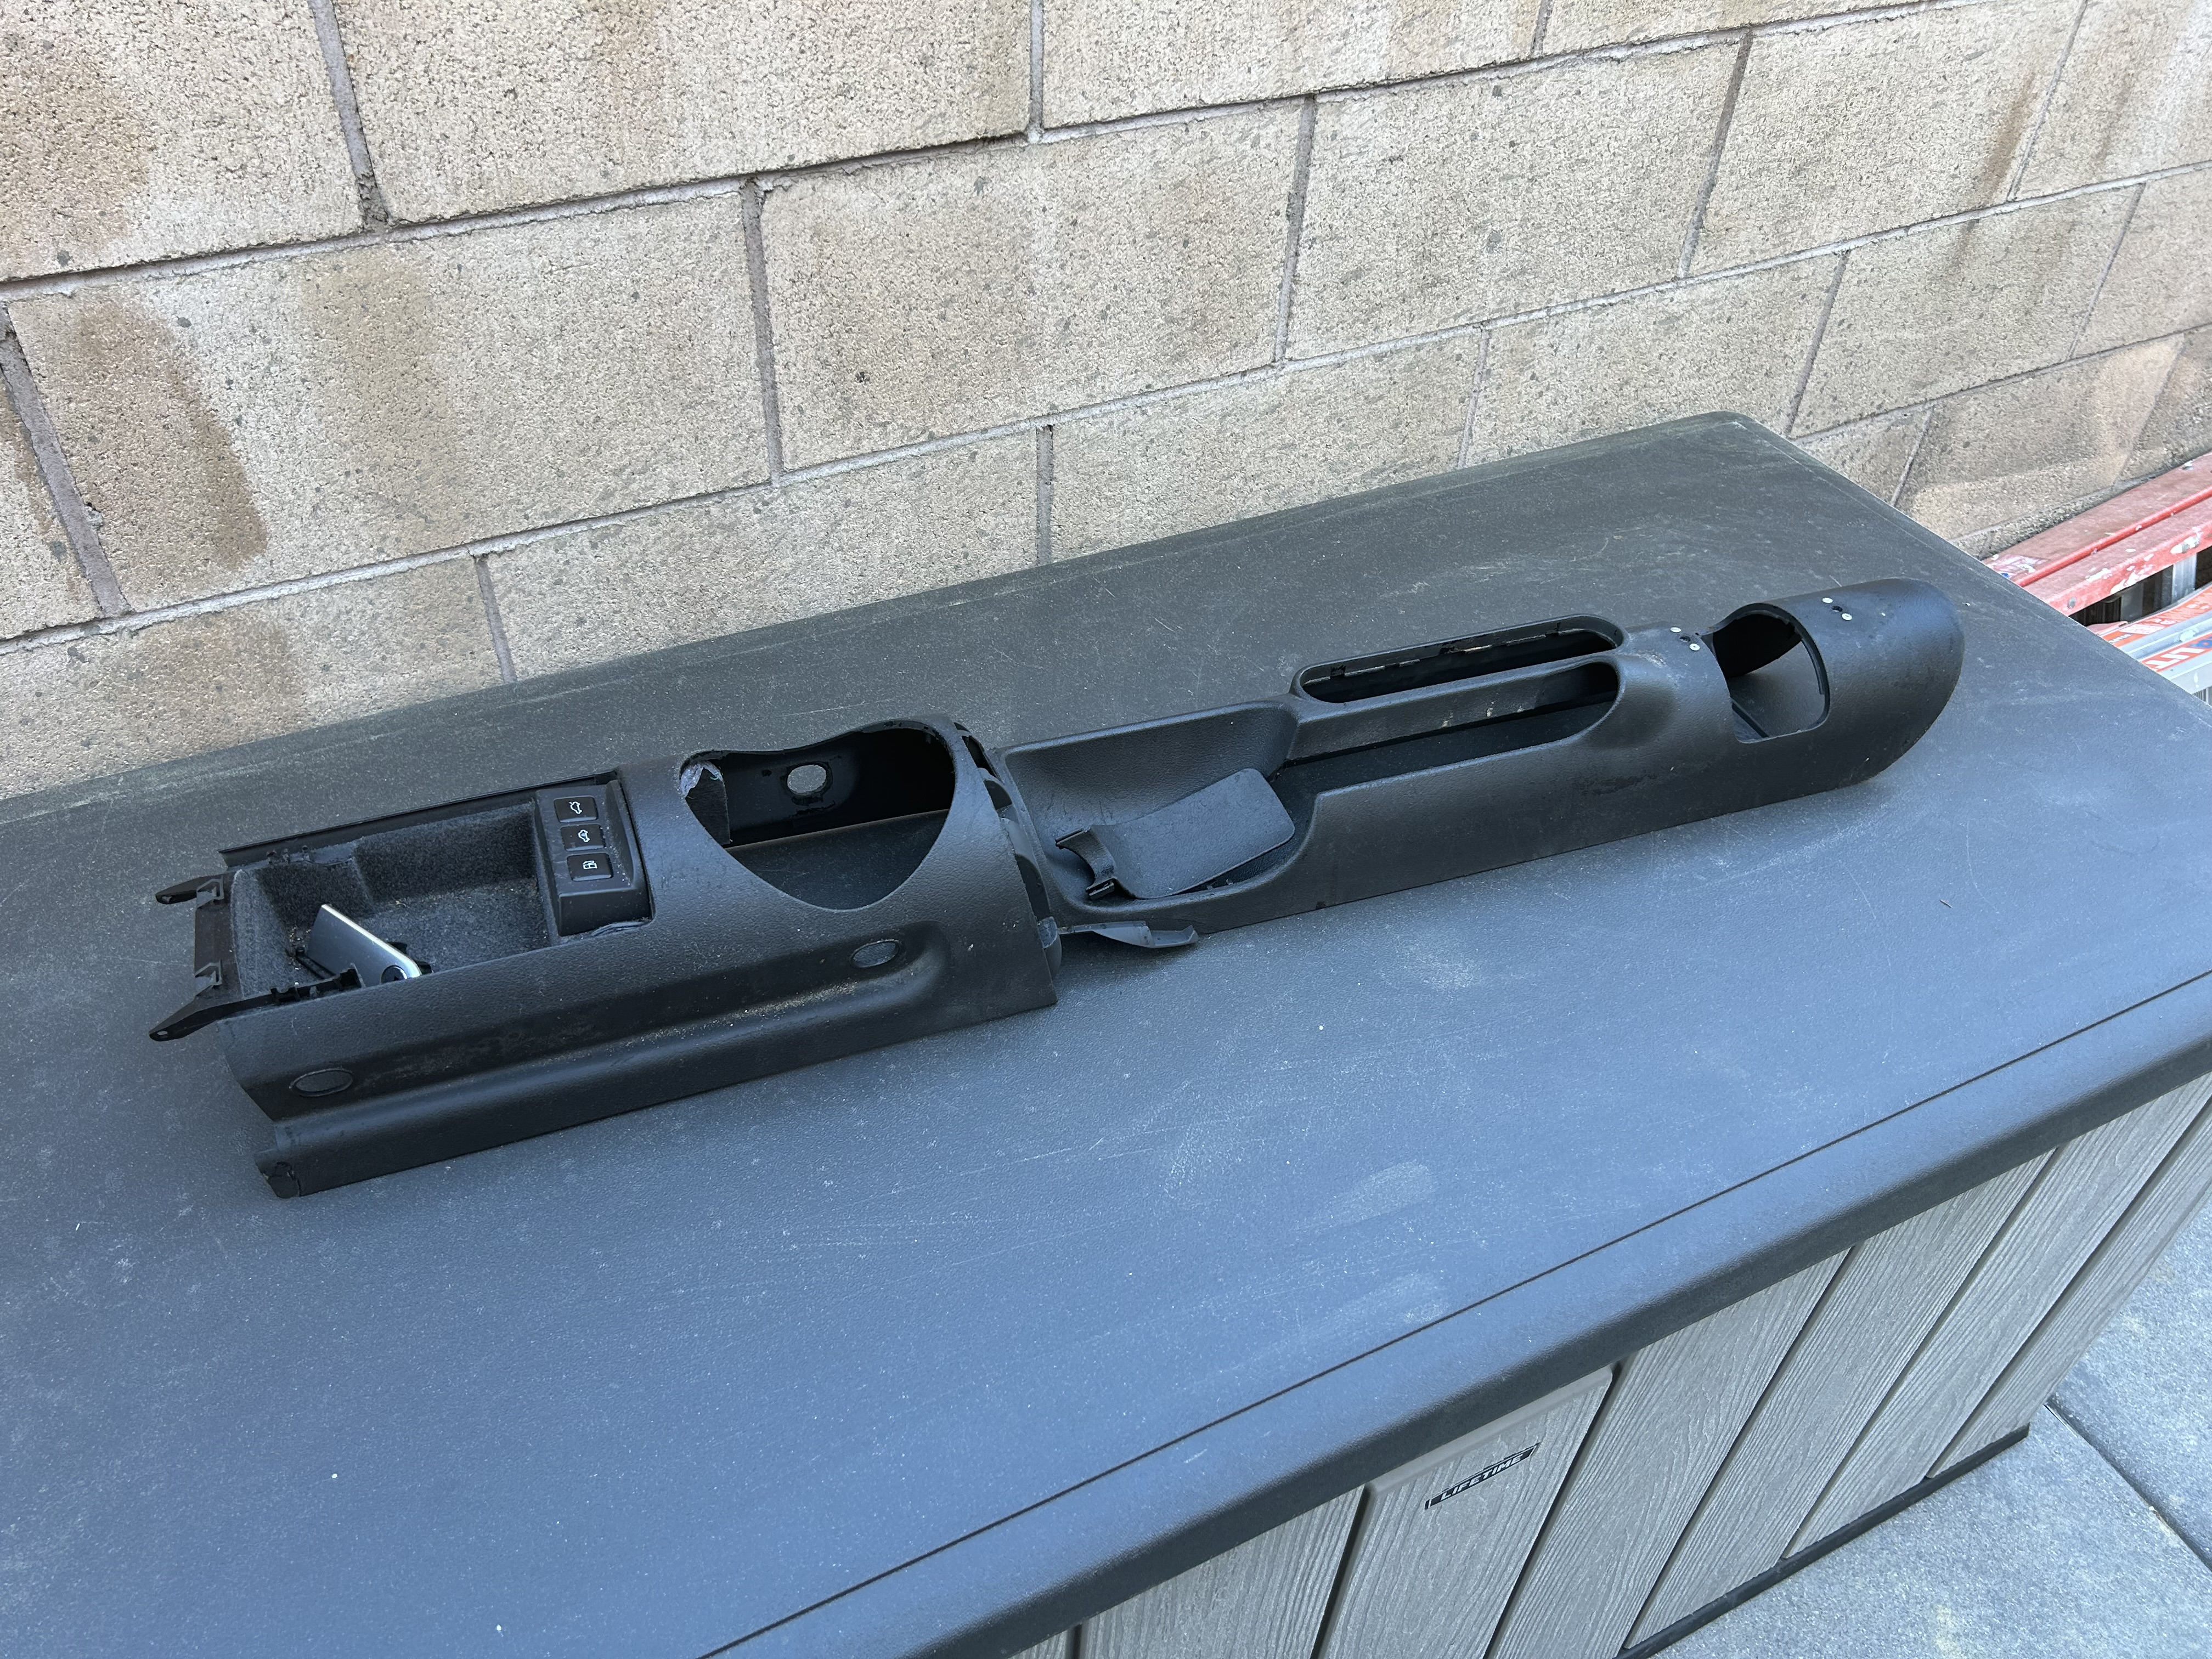
I had removed my front seats to clean/re-lubricate the seat rails and to do an interior detail on my TT, which helps with the photos as you can see everything a bit more clearly. Here’s the center console, which spans from the dashboard back to the rear seats. It’s a long piece of shaped plastic with some additional pieces that connect to it along the way.
The first piece to remove is this U-shaped trim piece that houses the passenger airbag light. You can remove this by using a trim removal tool and pry the piece off towards the back of the car. Once it pulls off in the direction towards the back of the car, it can be removed. Separate the passenger airbag light from the trim piece before removing.

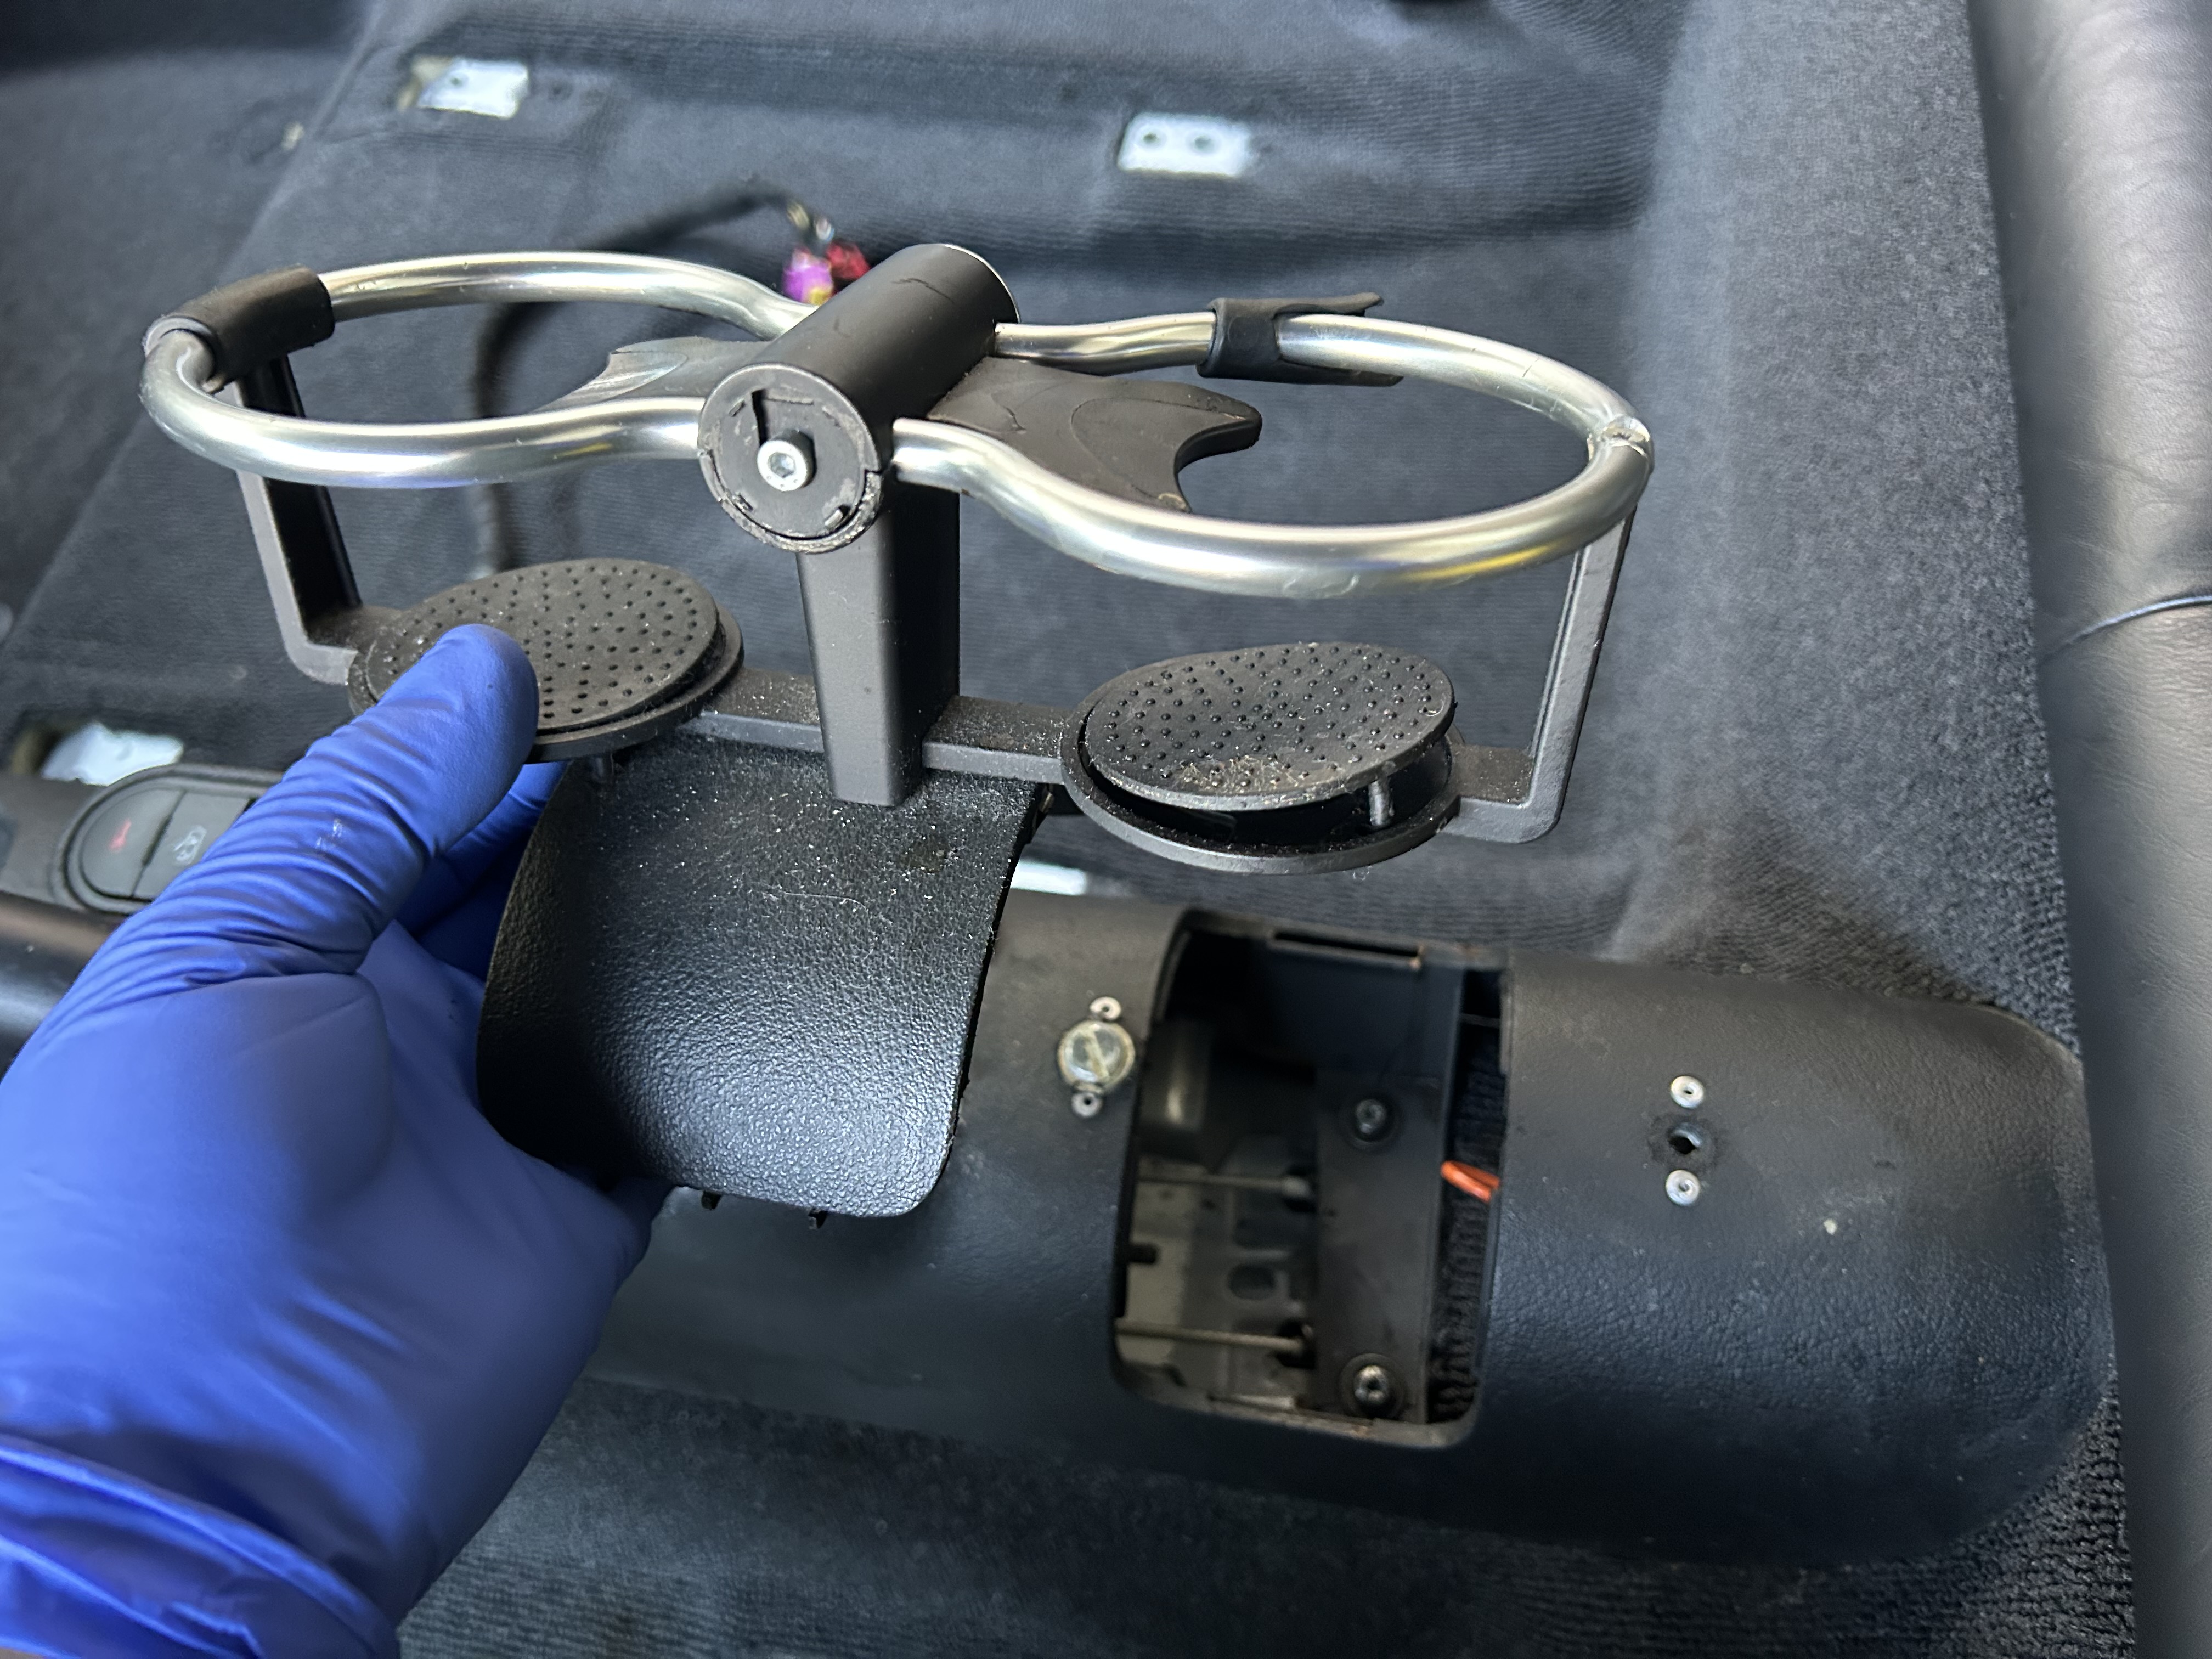
Another easy piece to remove is the cupholder. The cupholder can be removed by pulling off these rubber bottom covers, which reveals a flat head screw underneath that secures the cupholder. Remove the (2 qty) rubber flaps and (2 qty) flat head screws. The cupholder can then be removed from the center console.

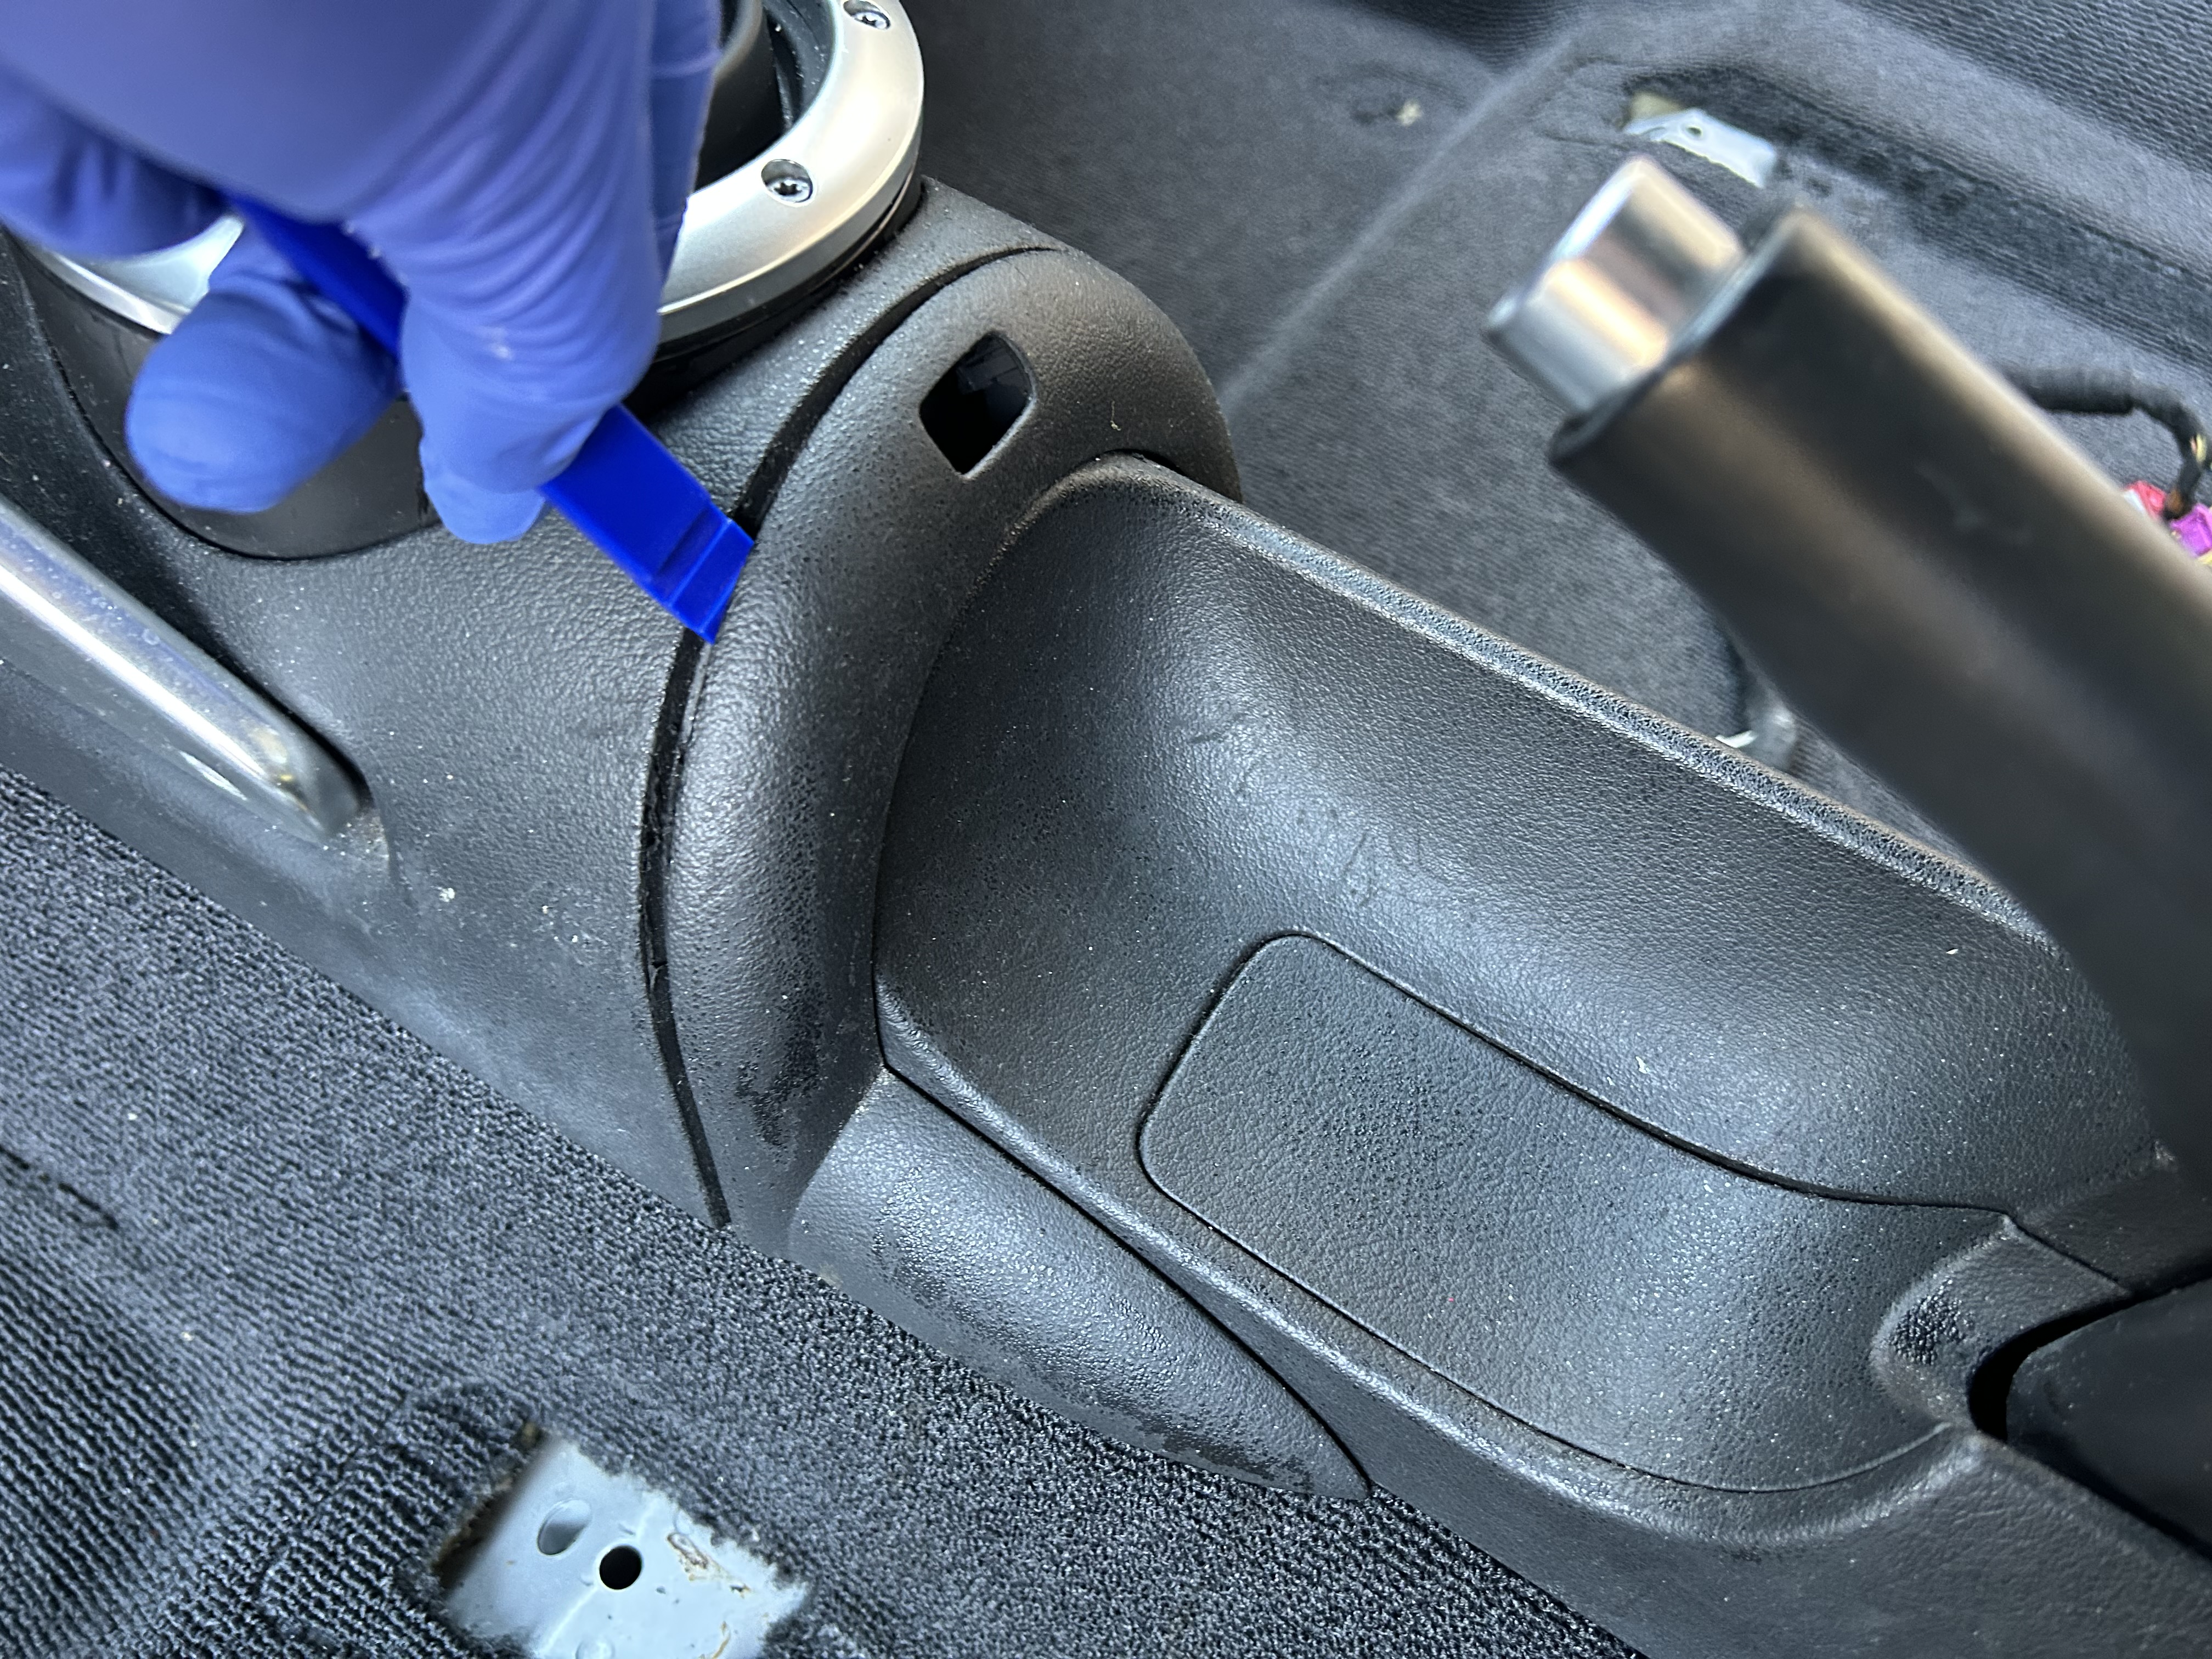
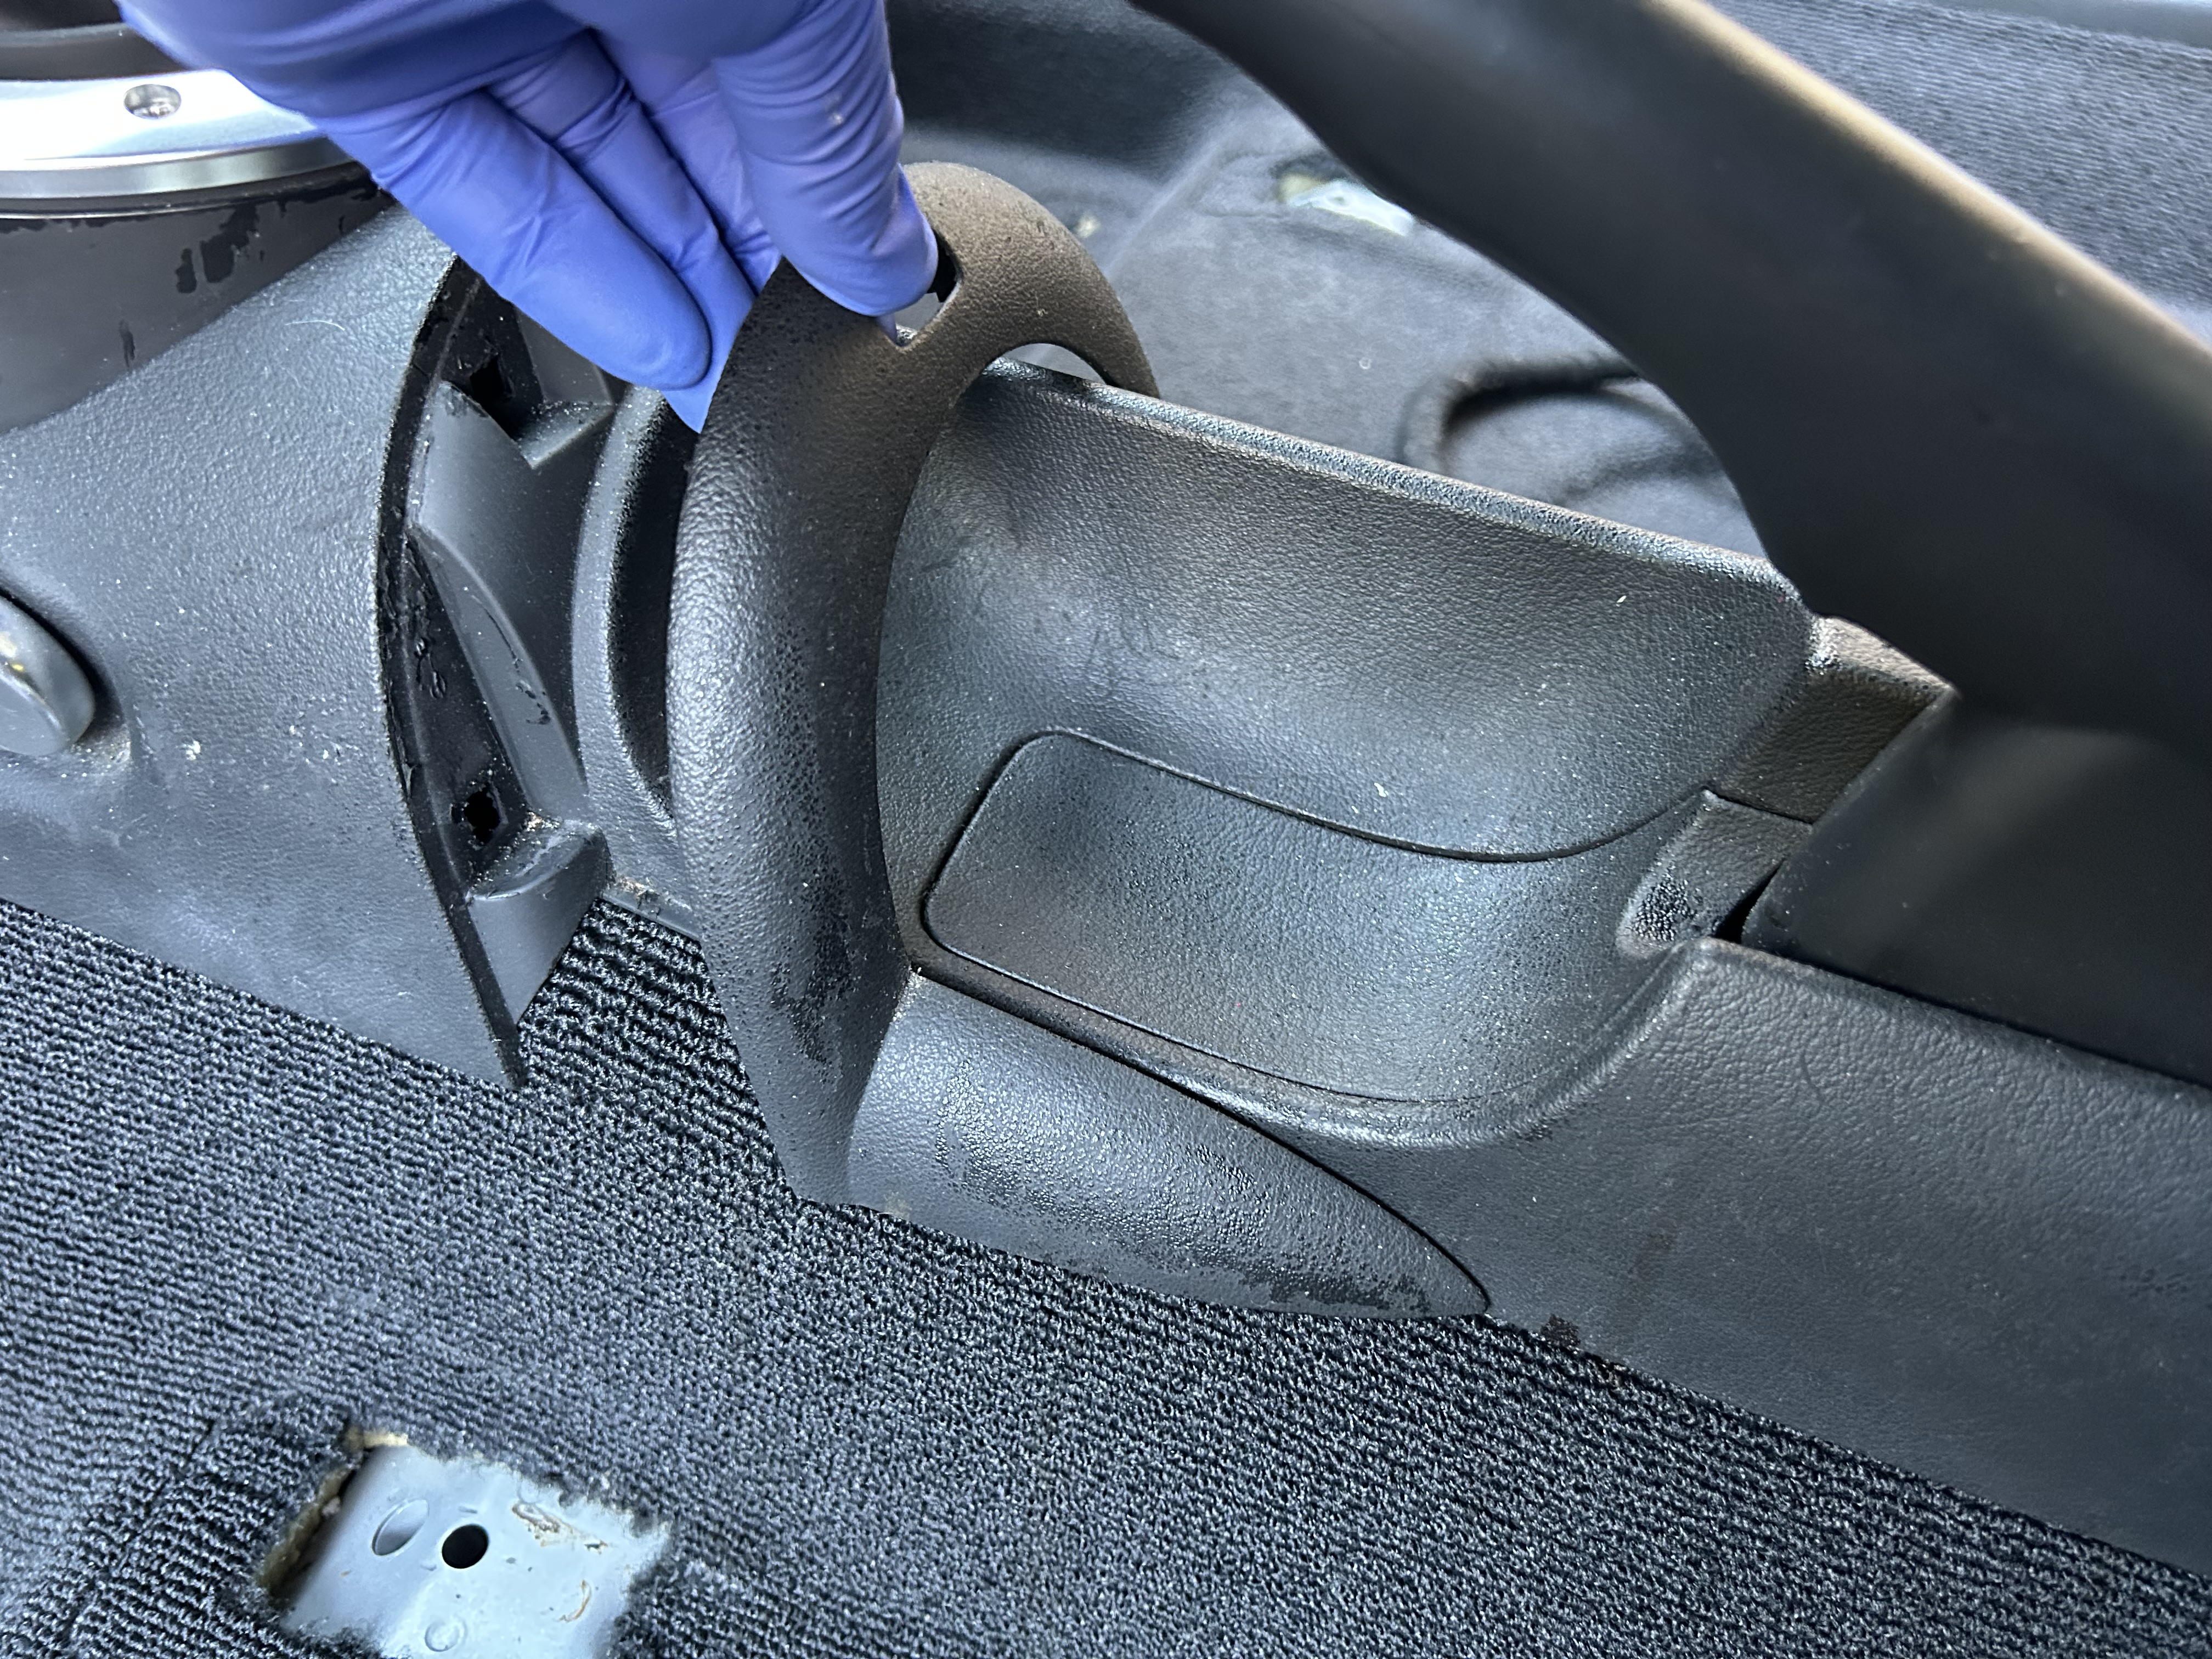
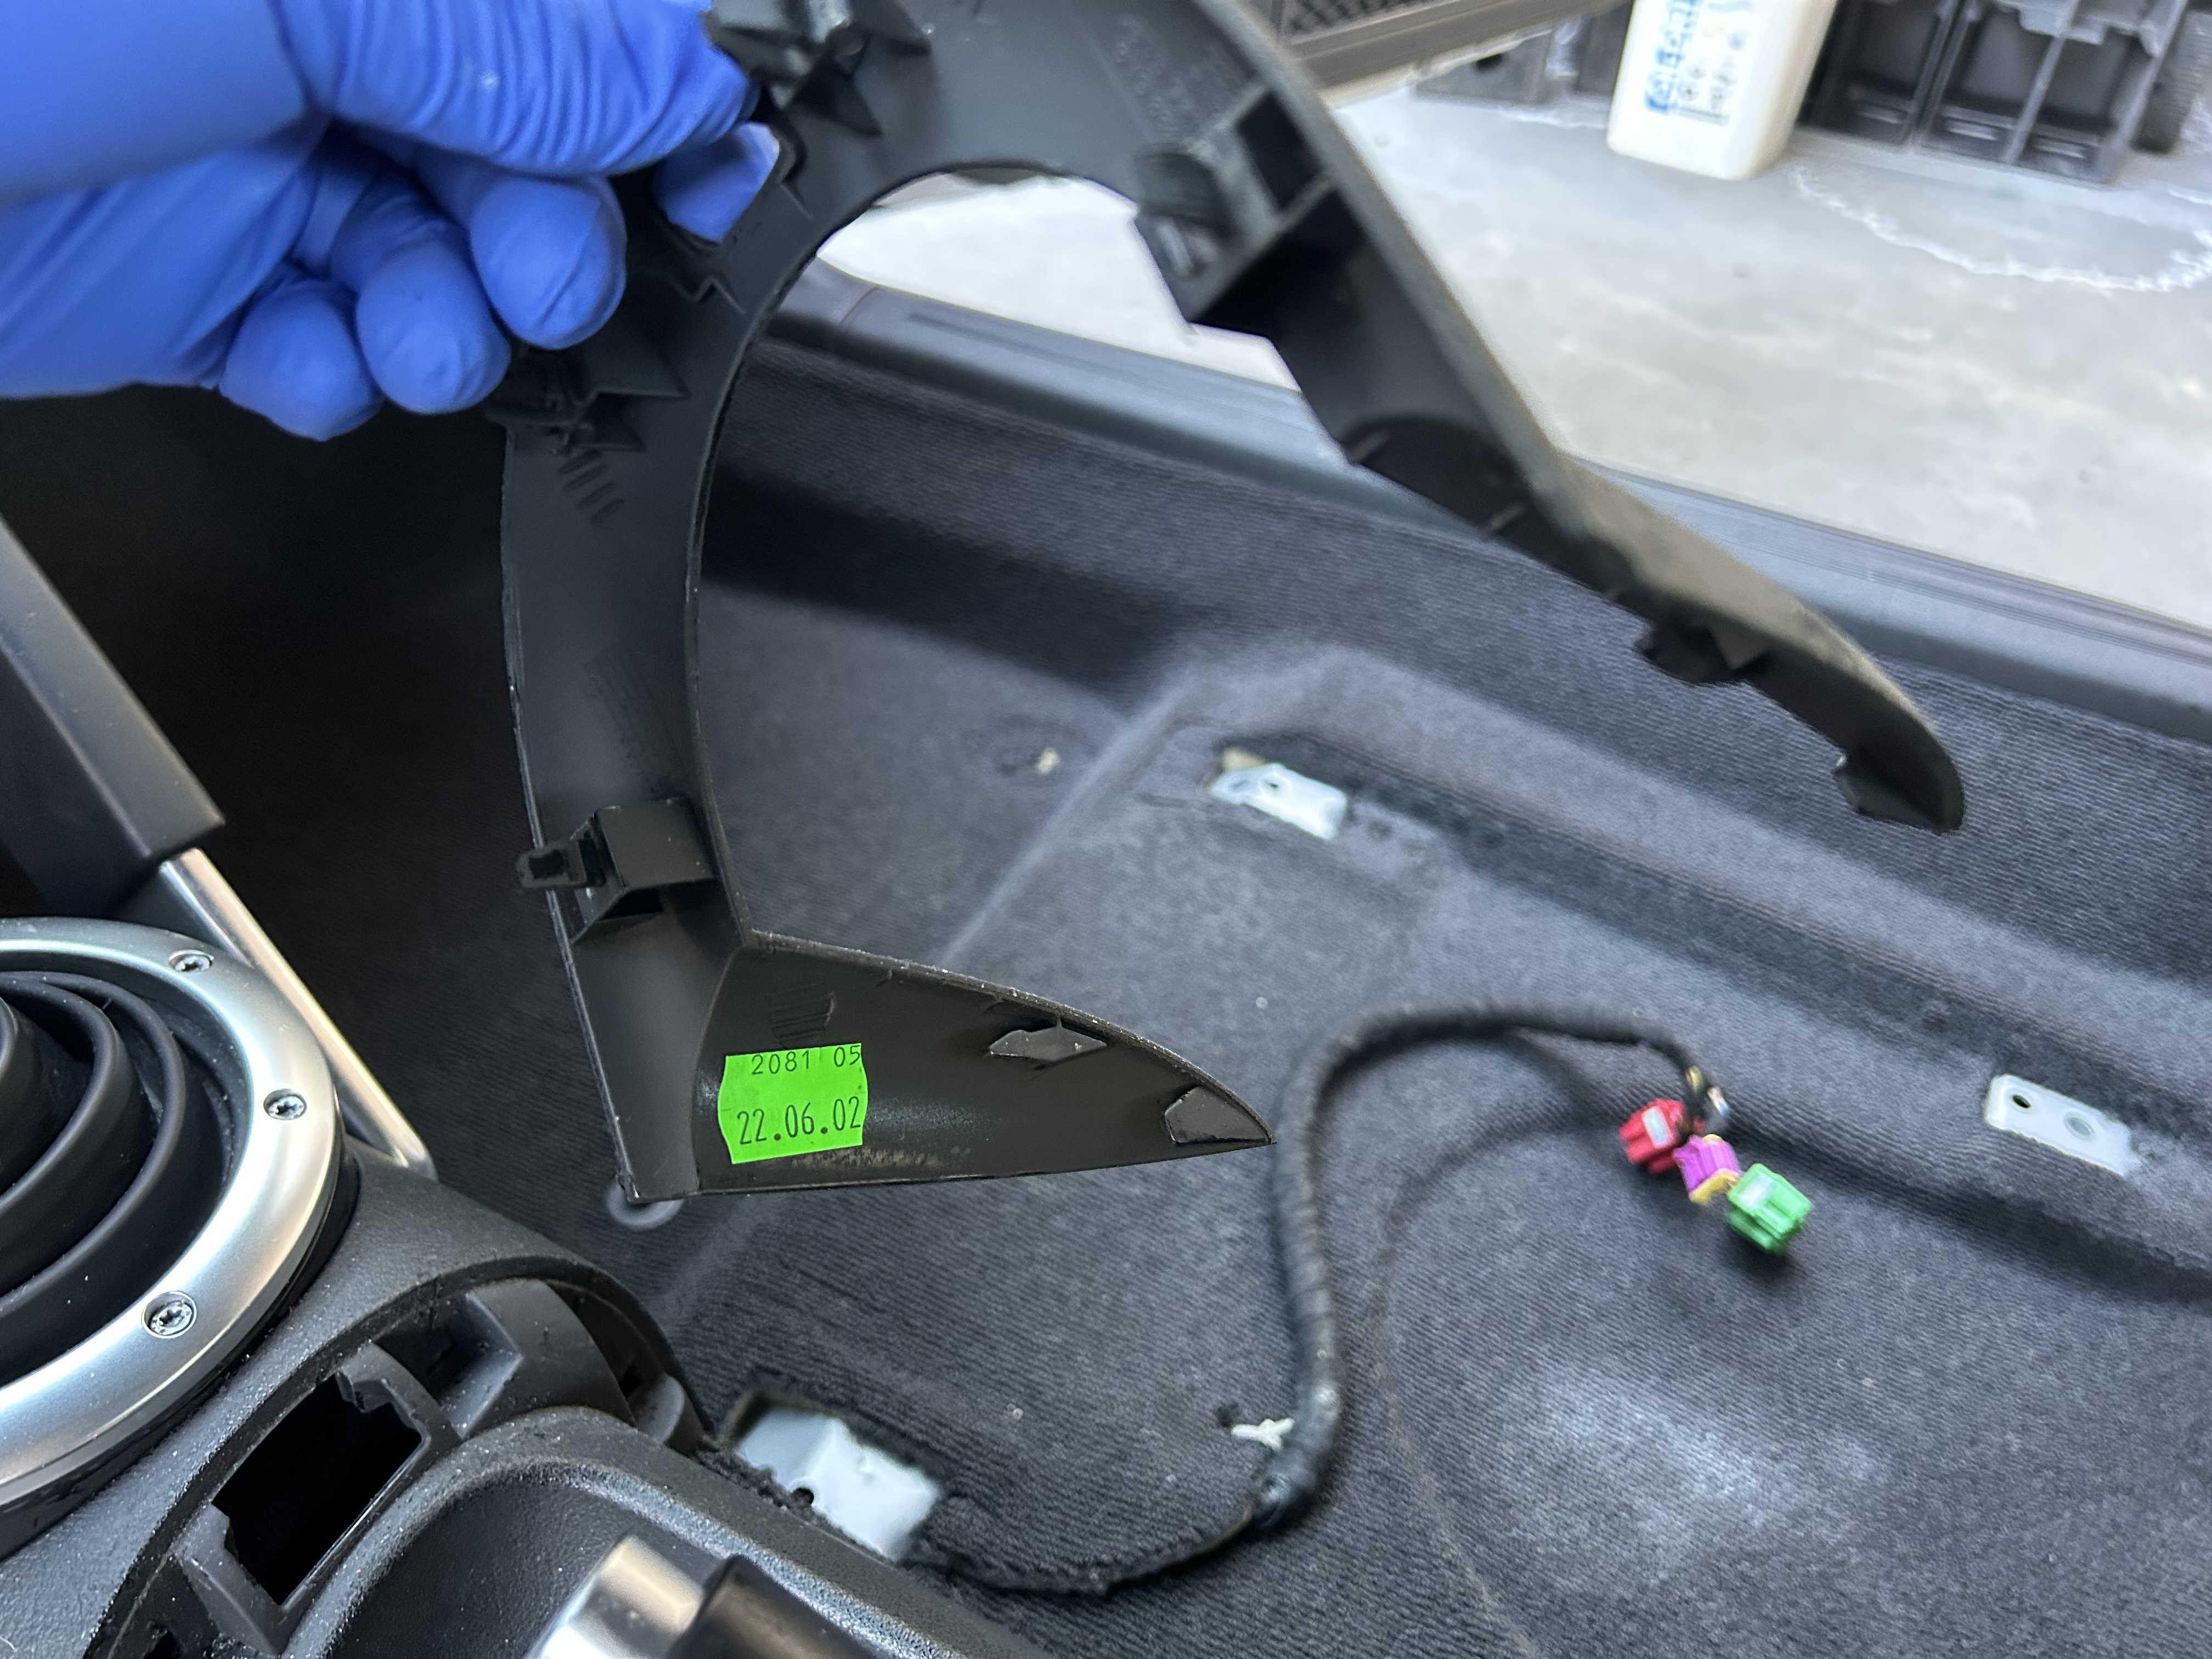
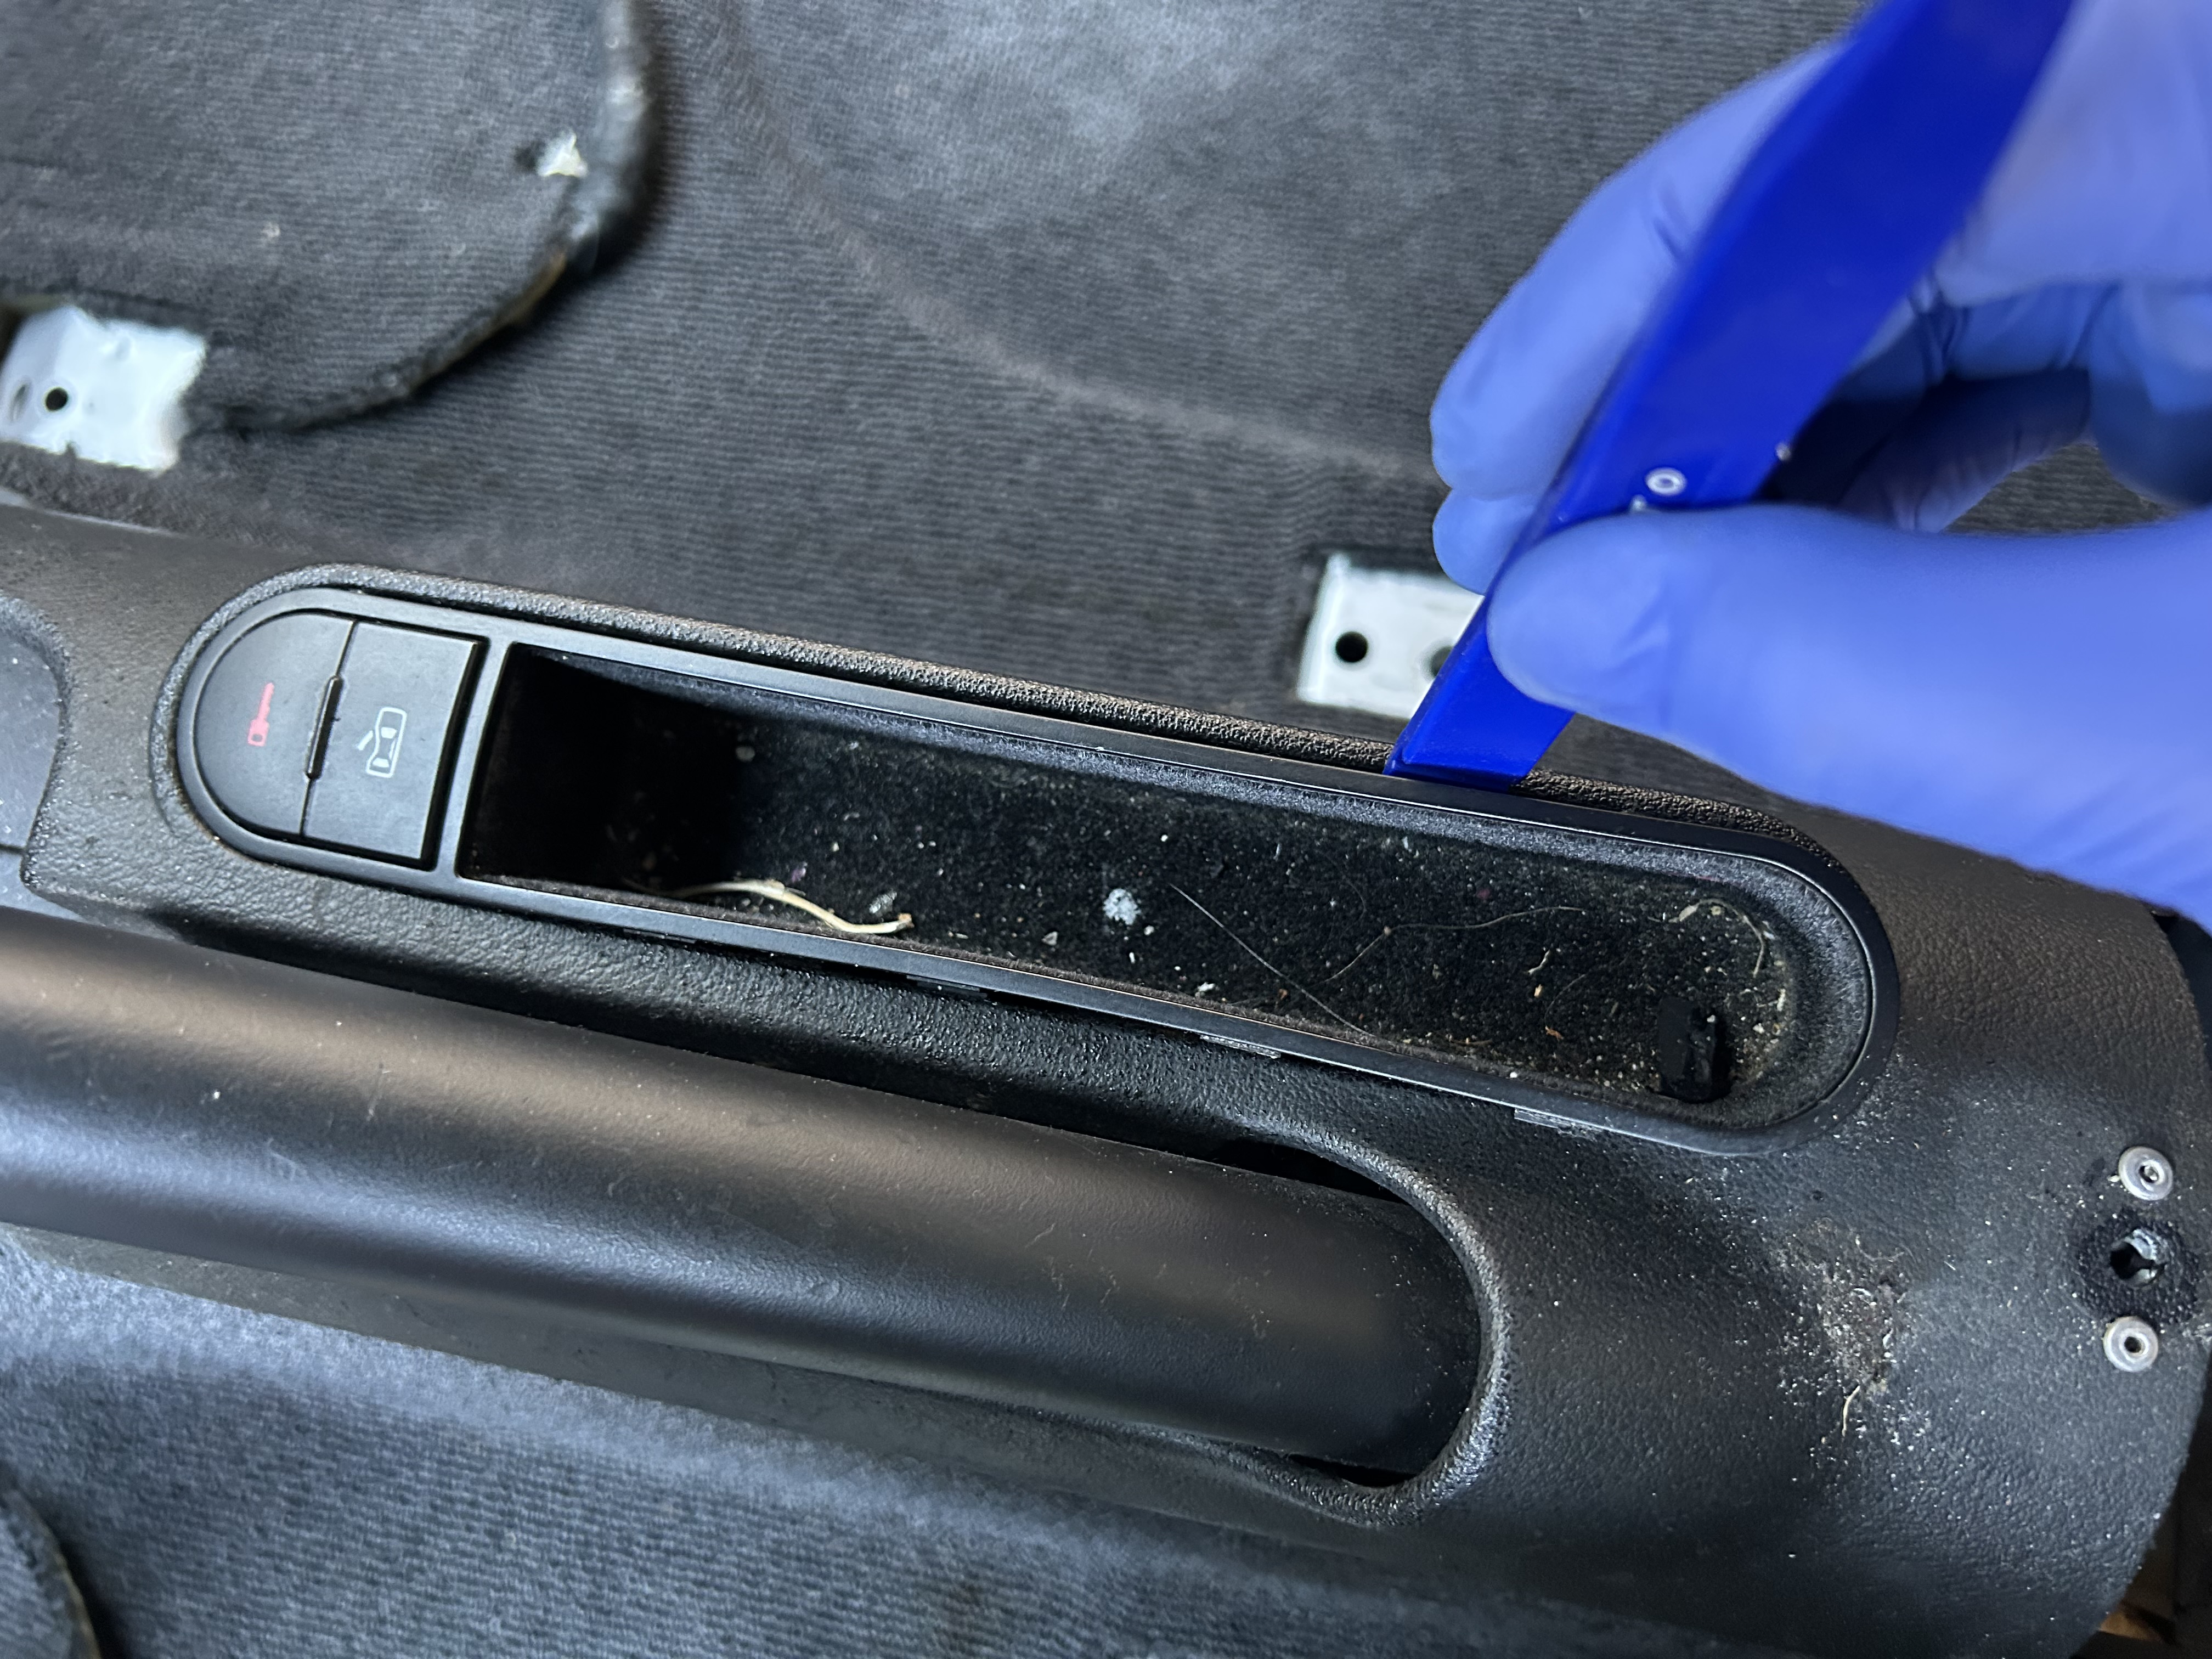
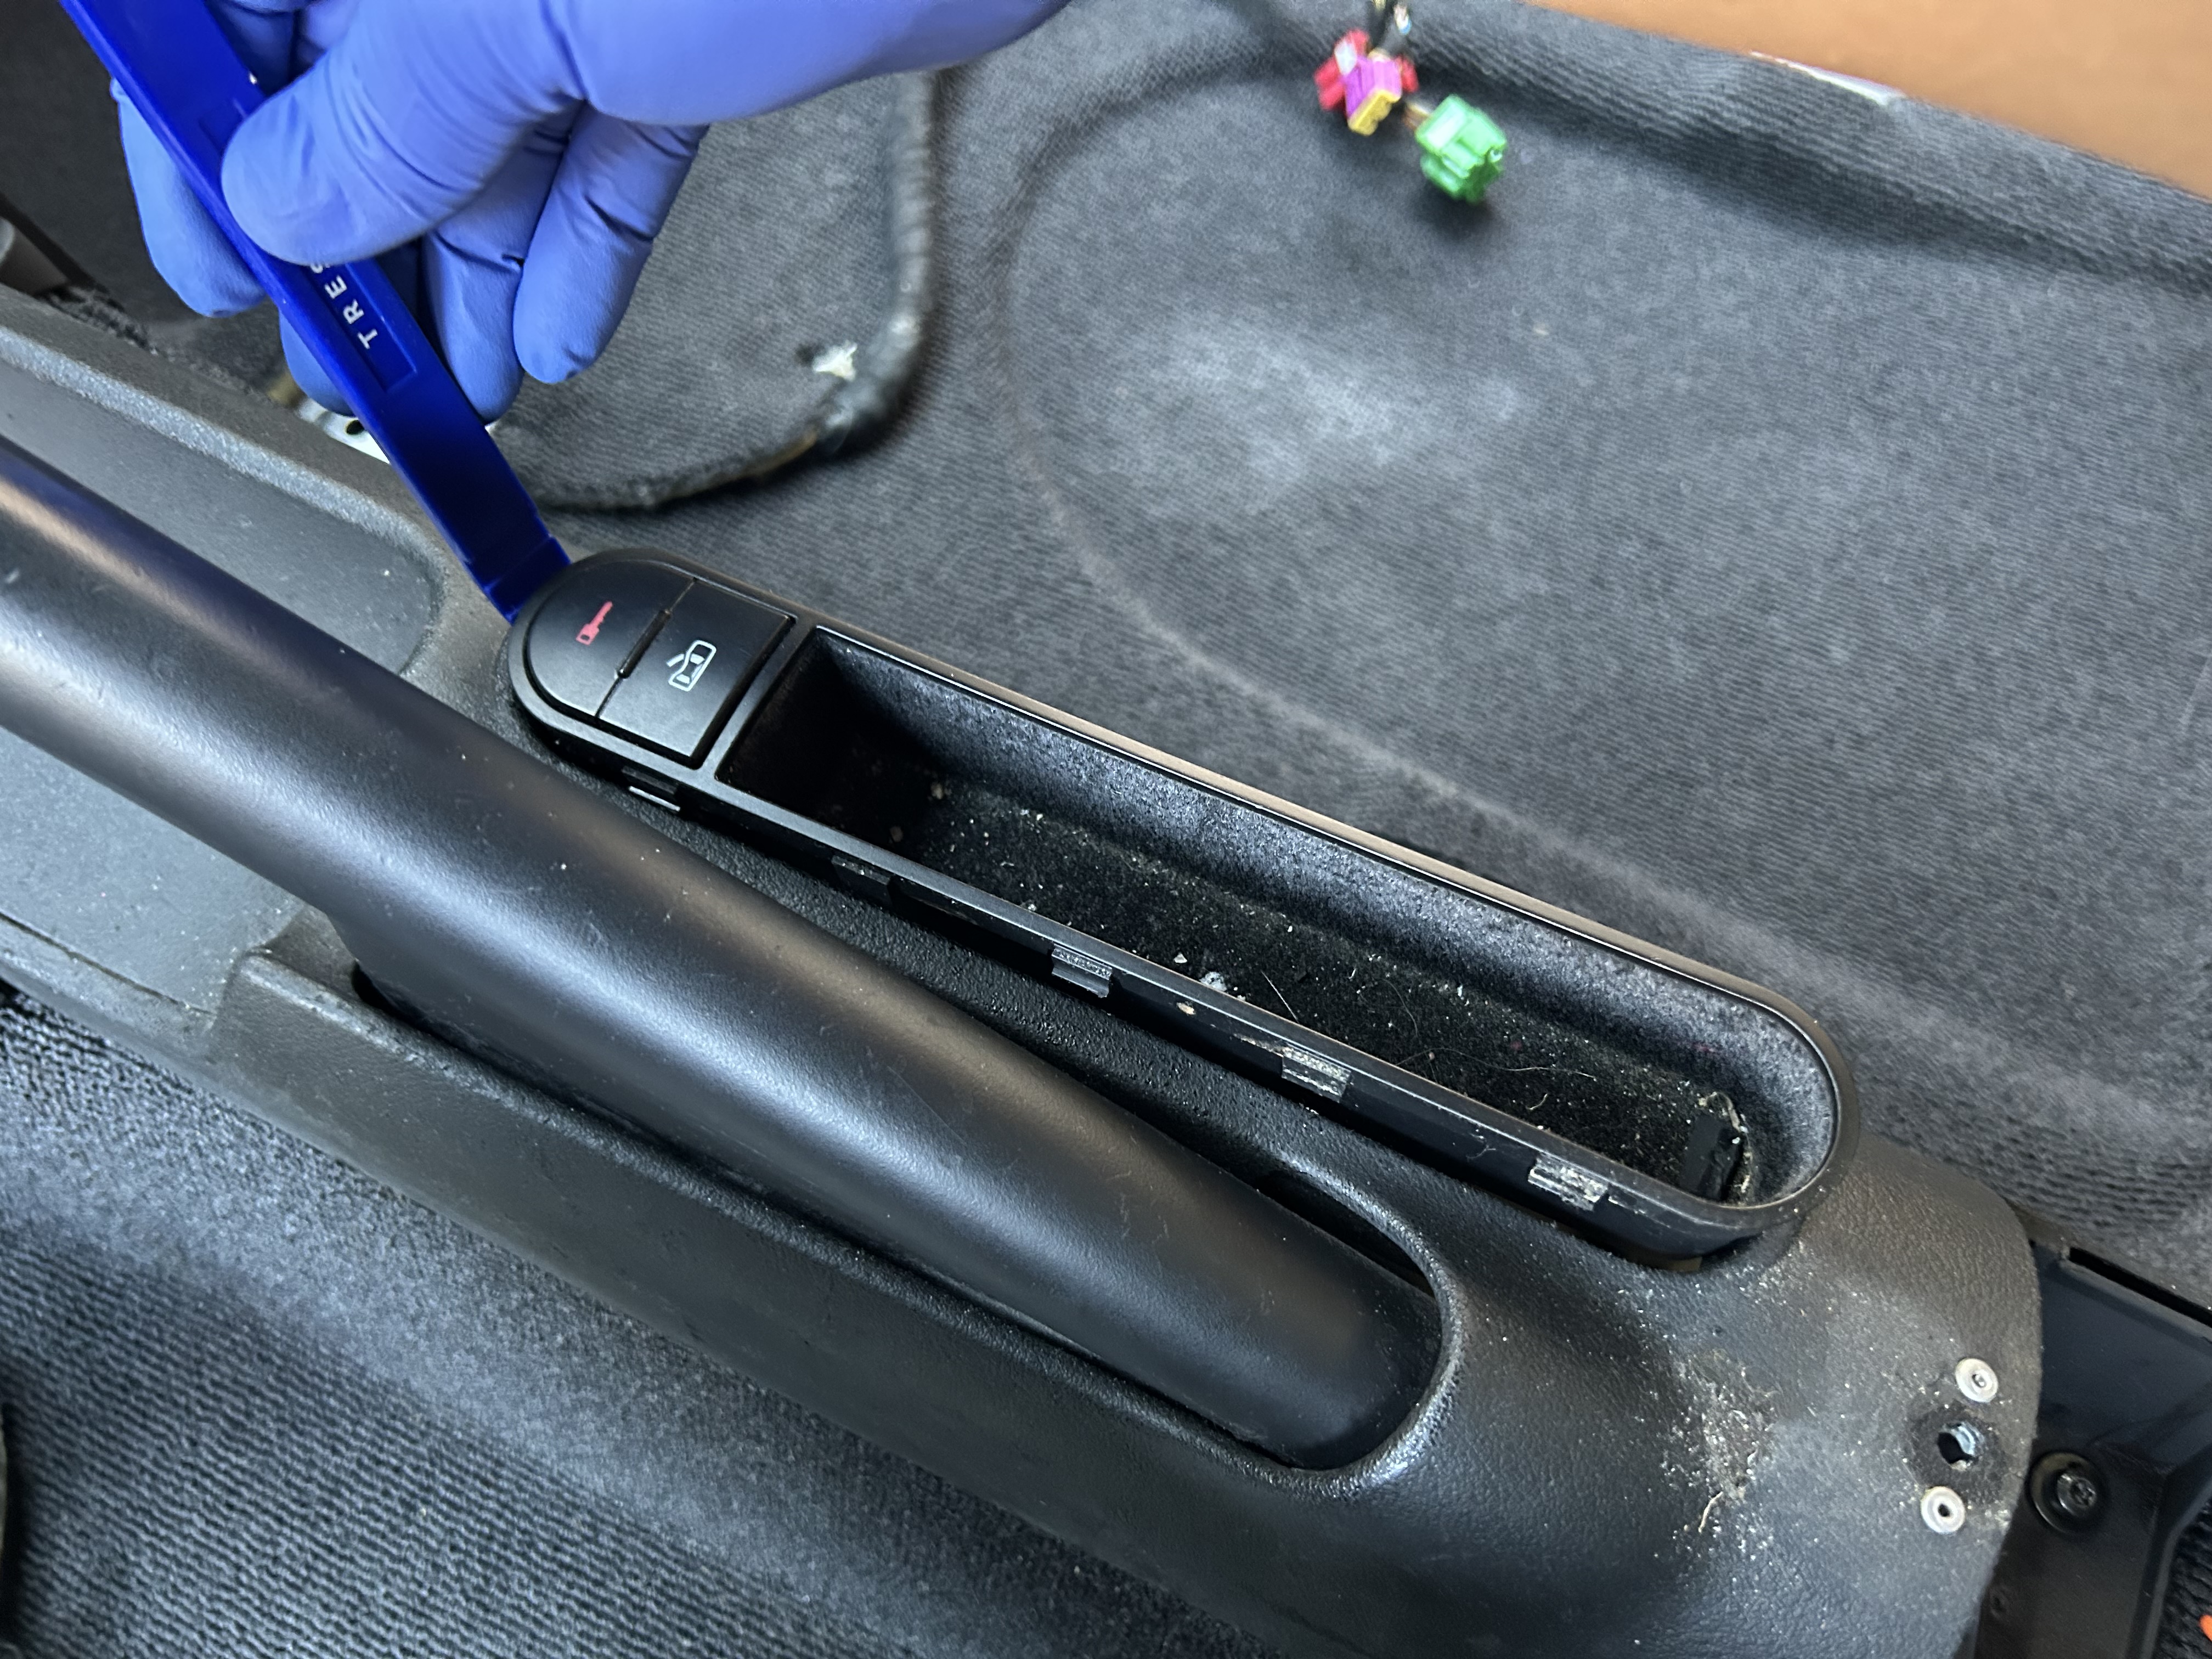
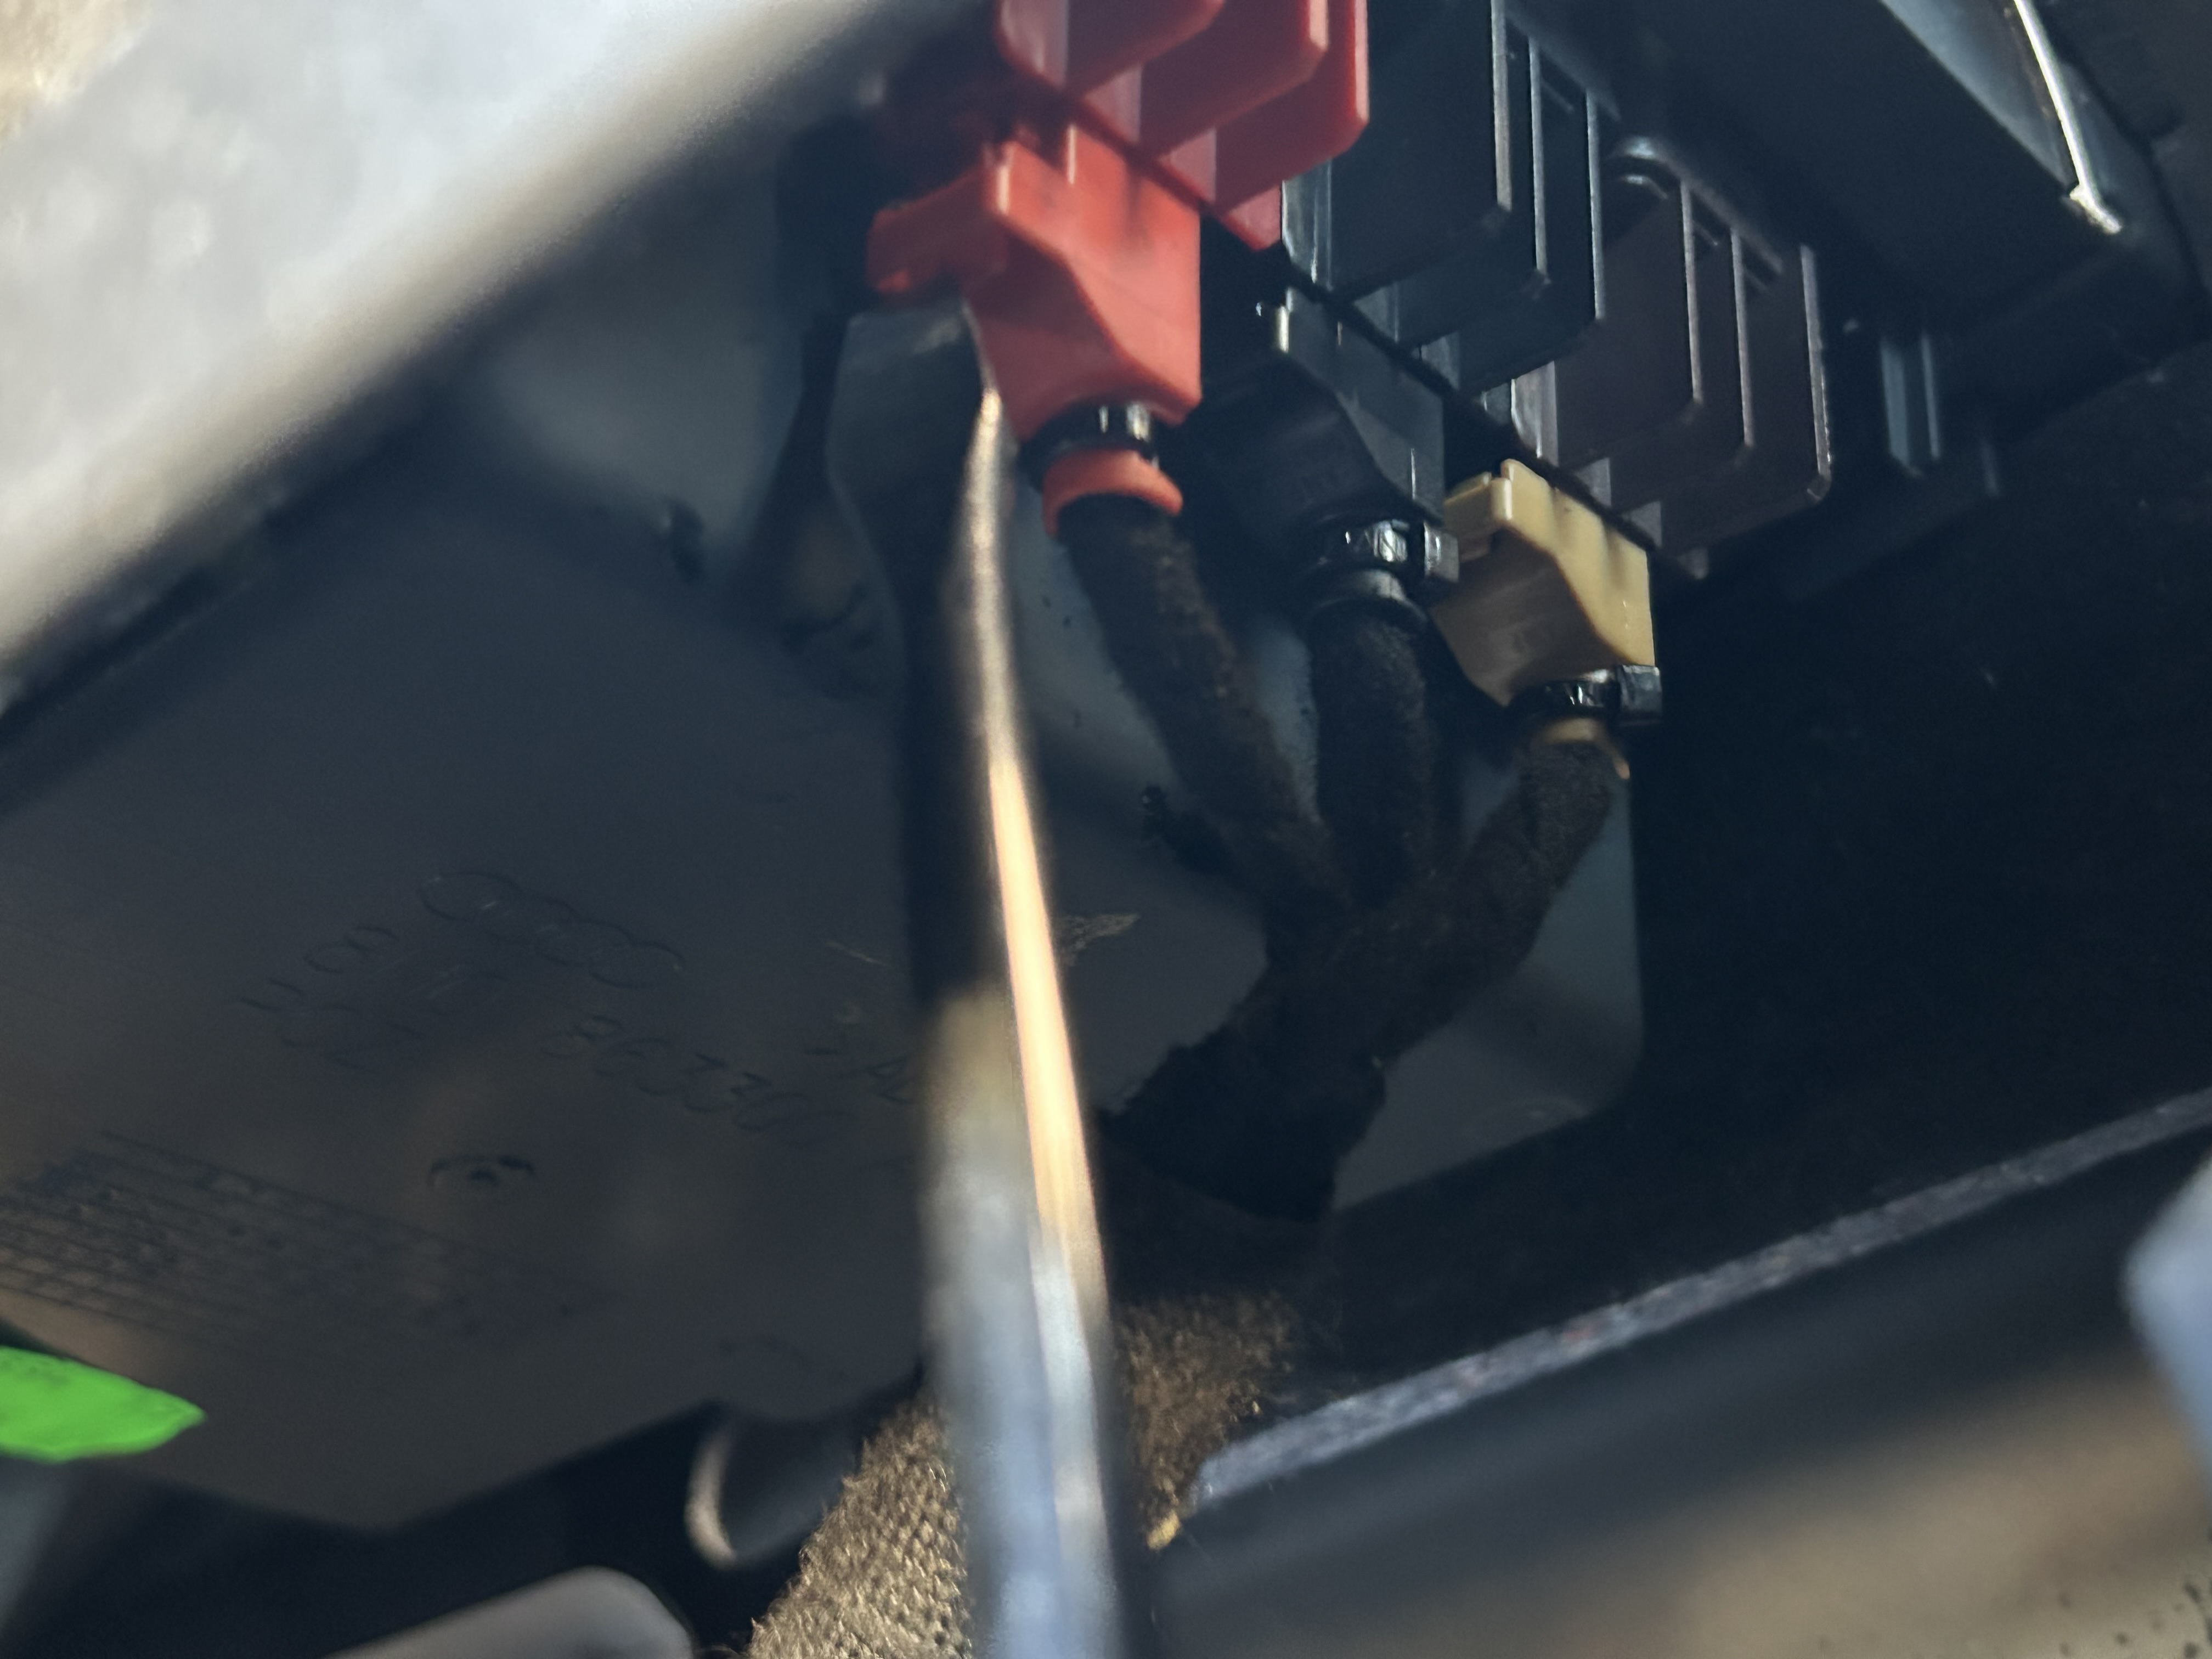
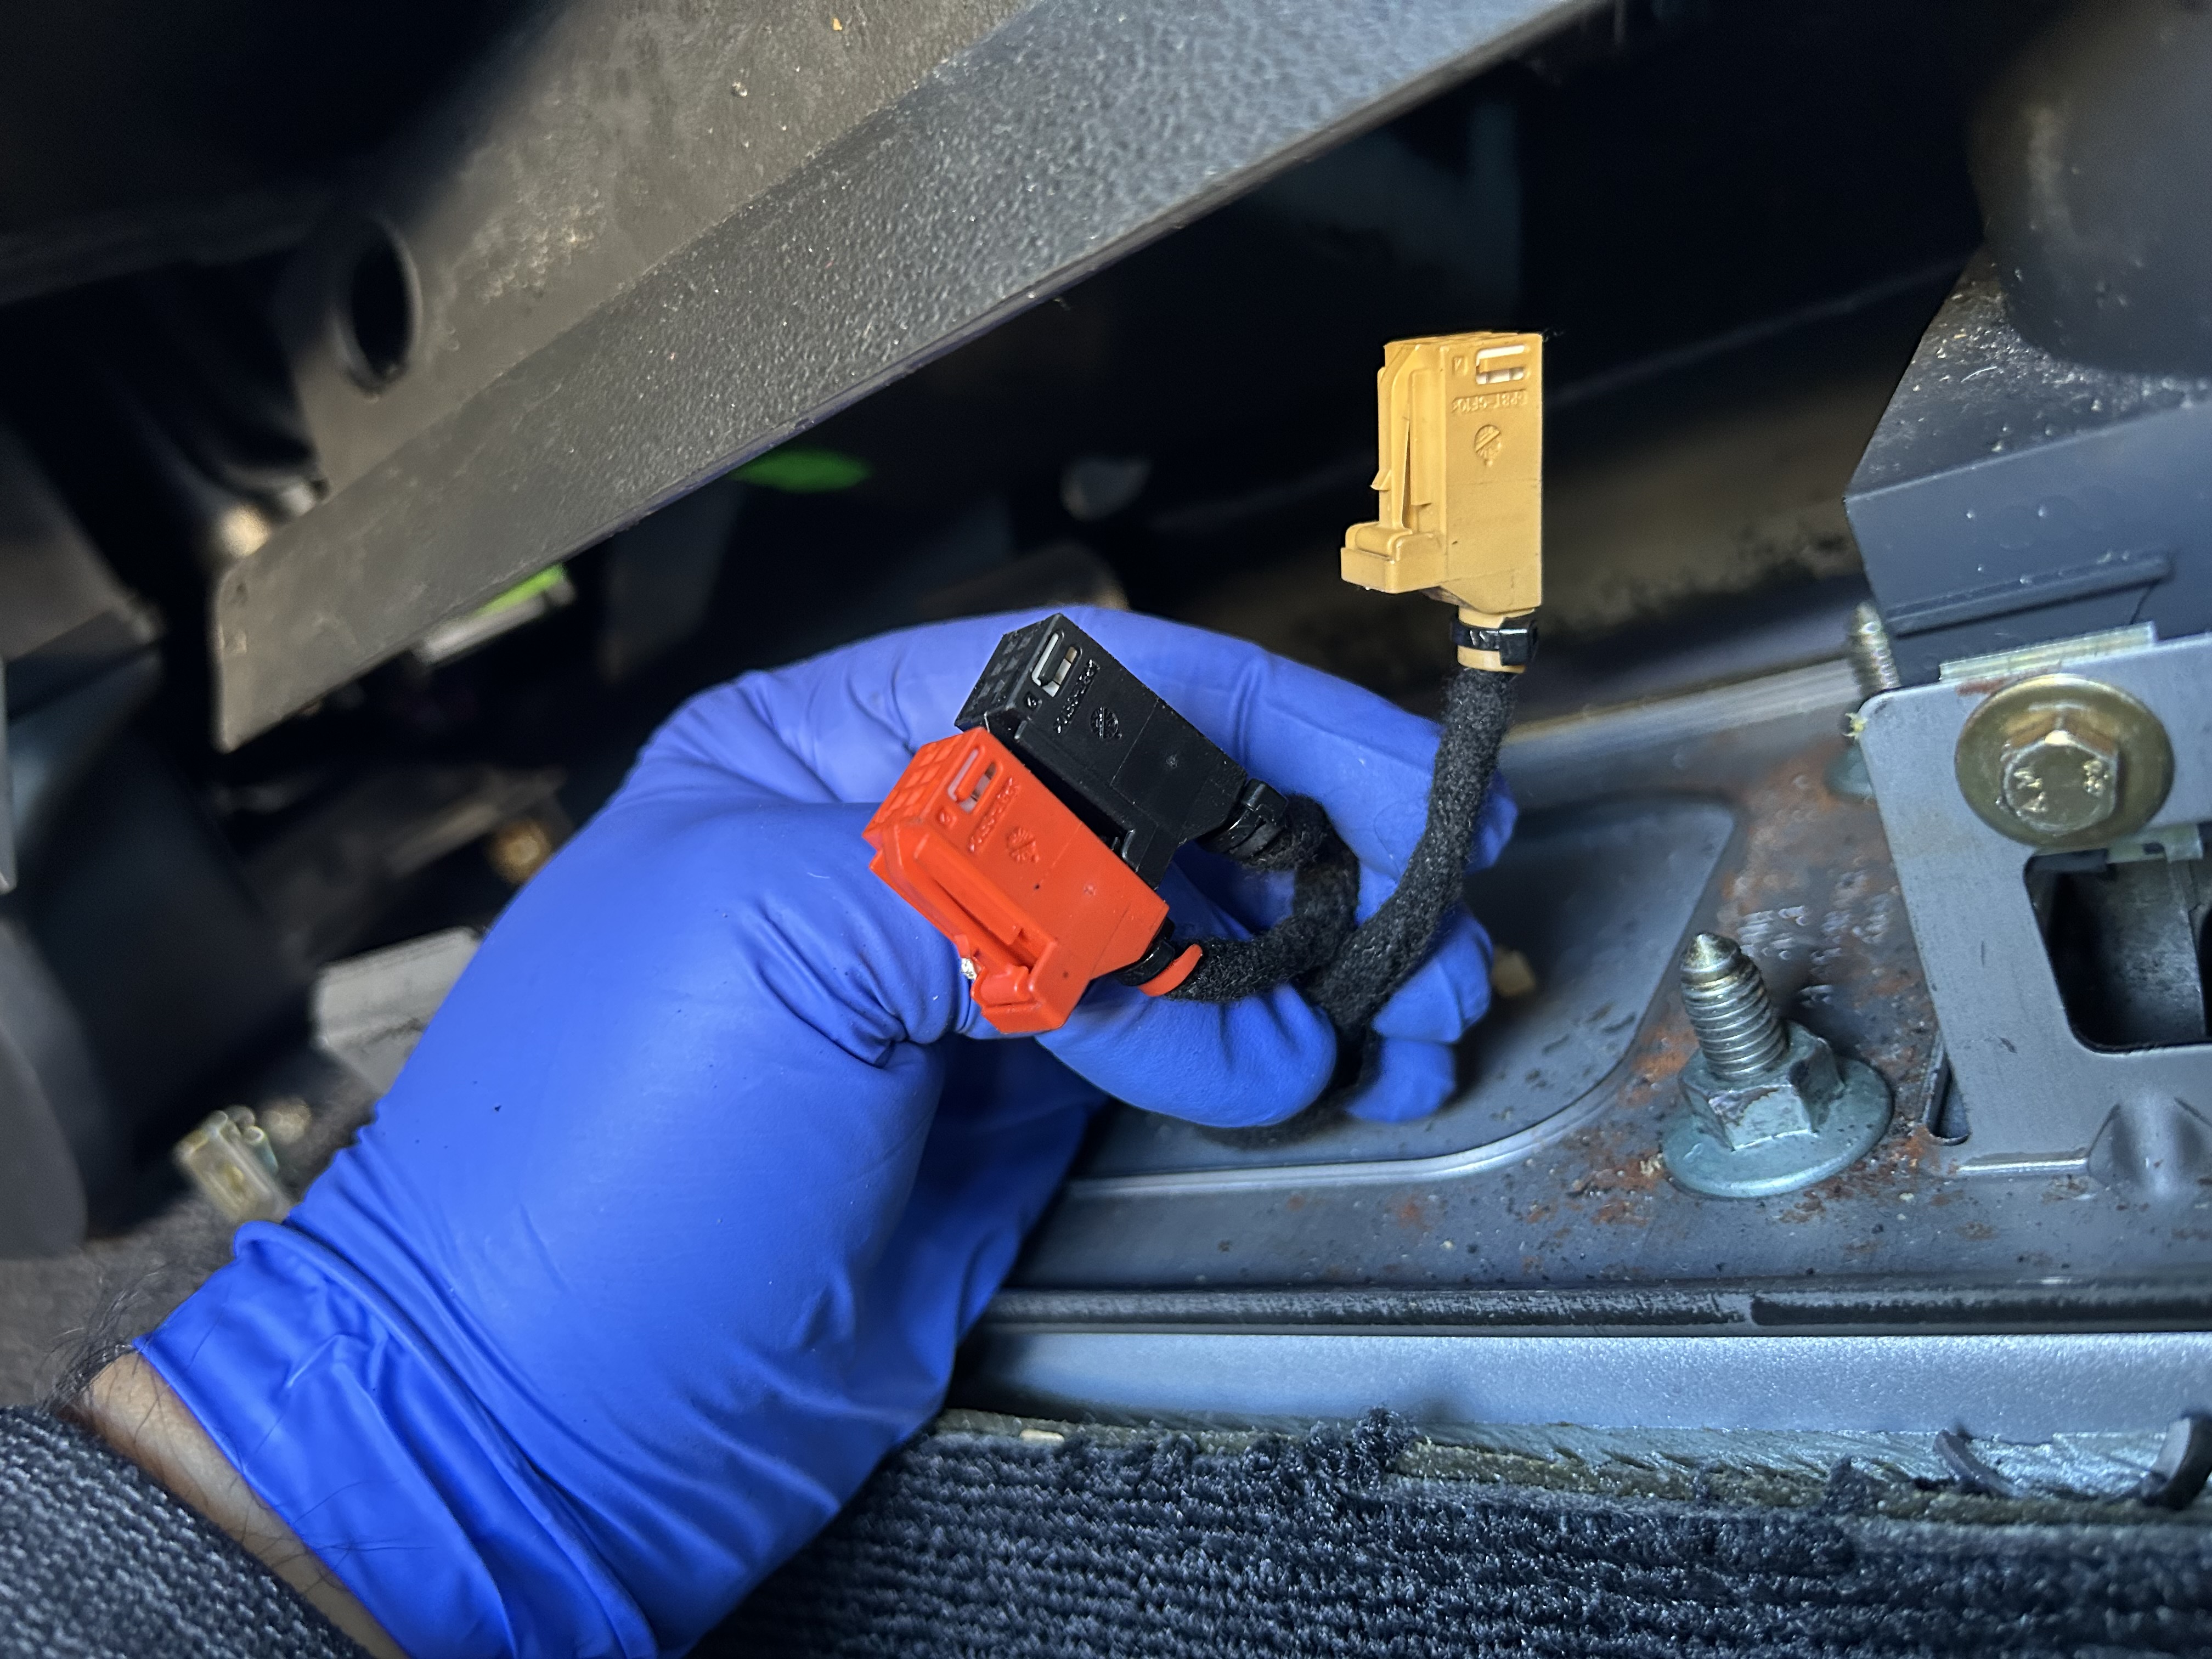
Another piece to remove is the center slot that has the buttons for the door locks. Use a trim tool and pry up on the trim to pull it out. Disconnect the connectors underneath for the door locks before removal.
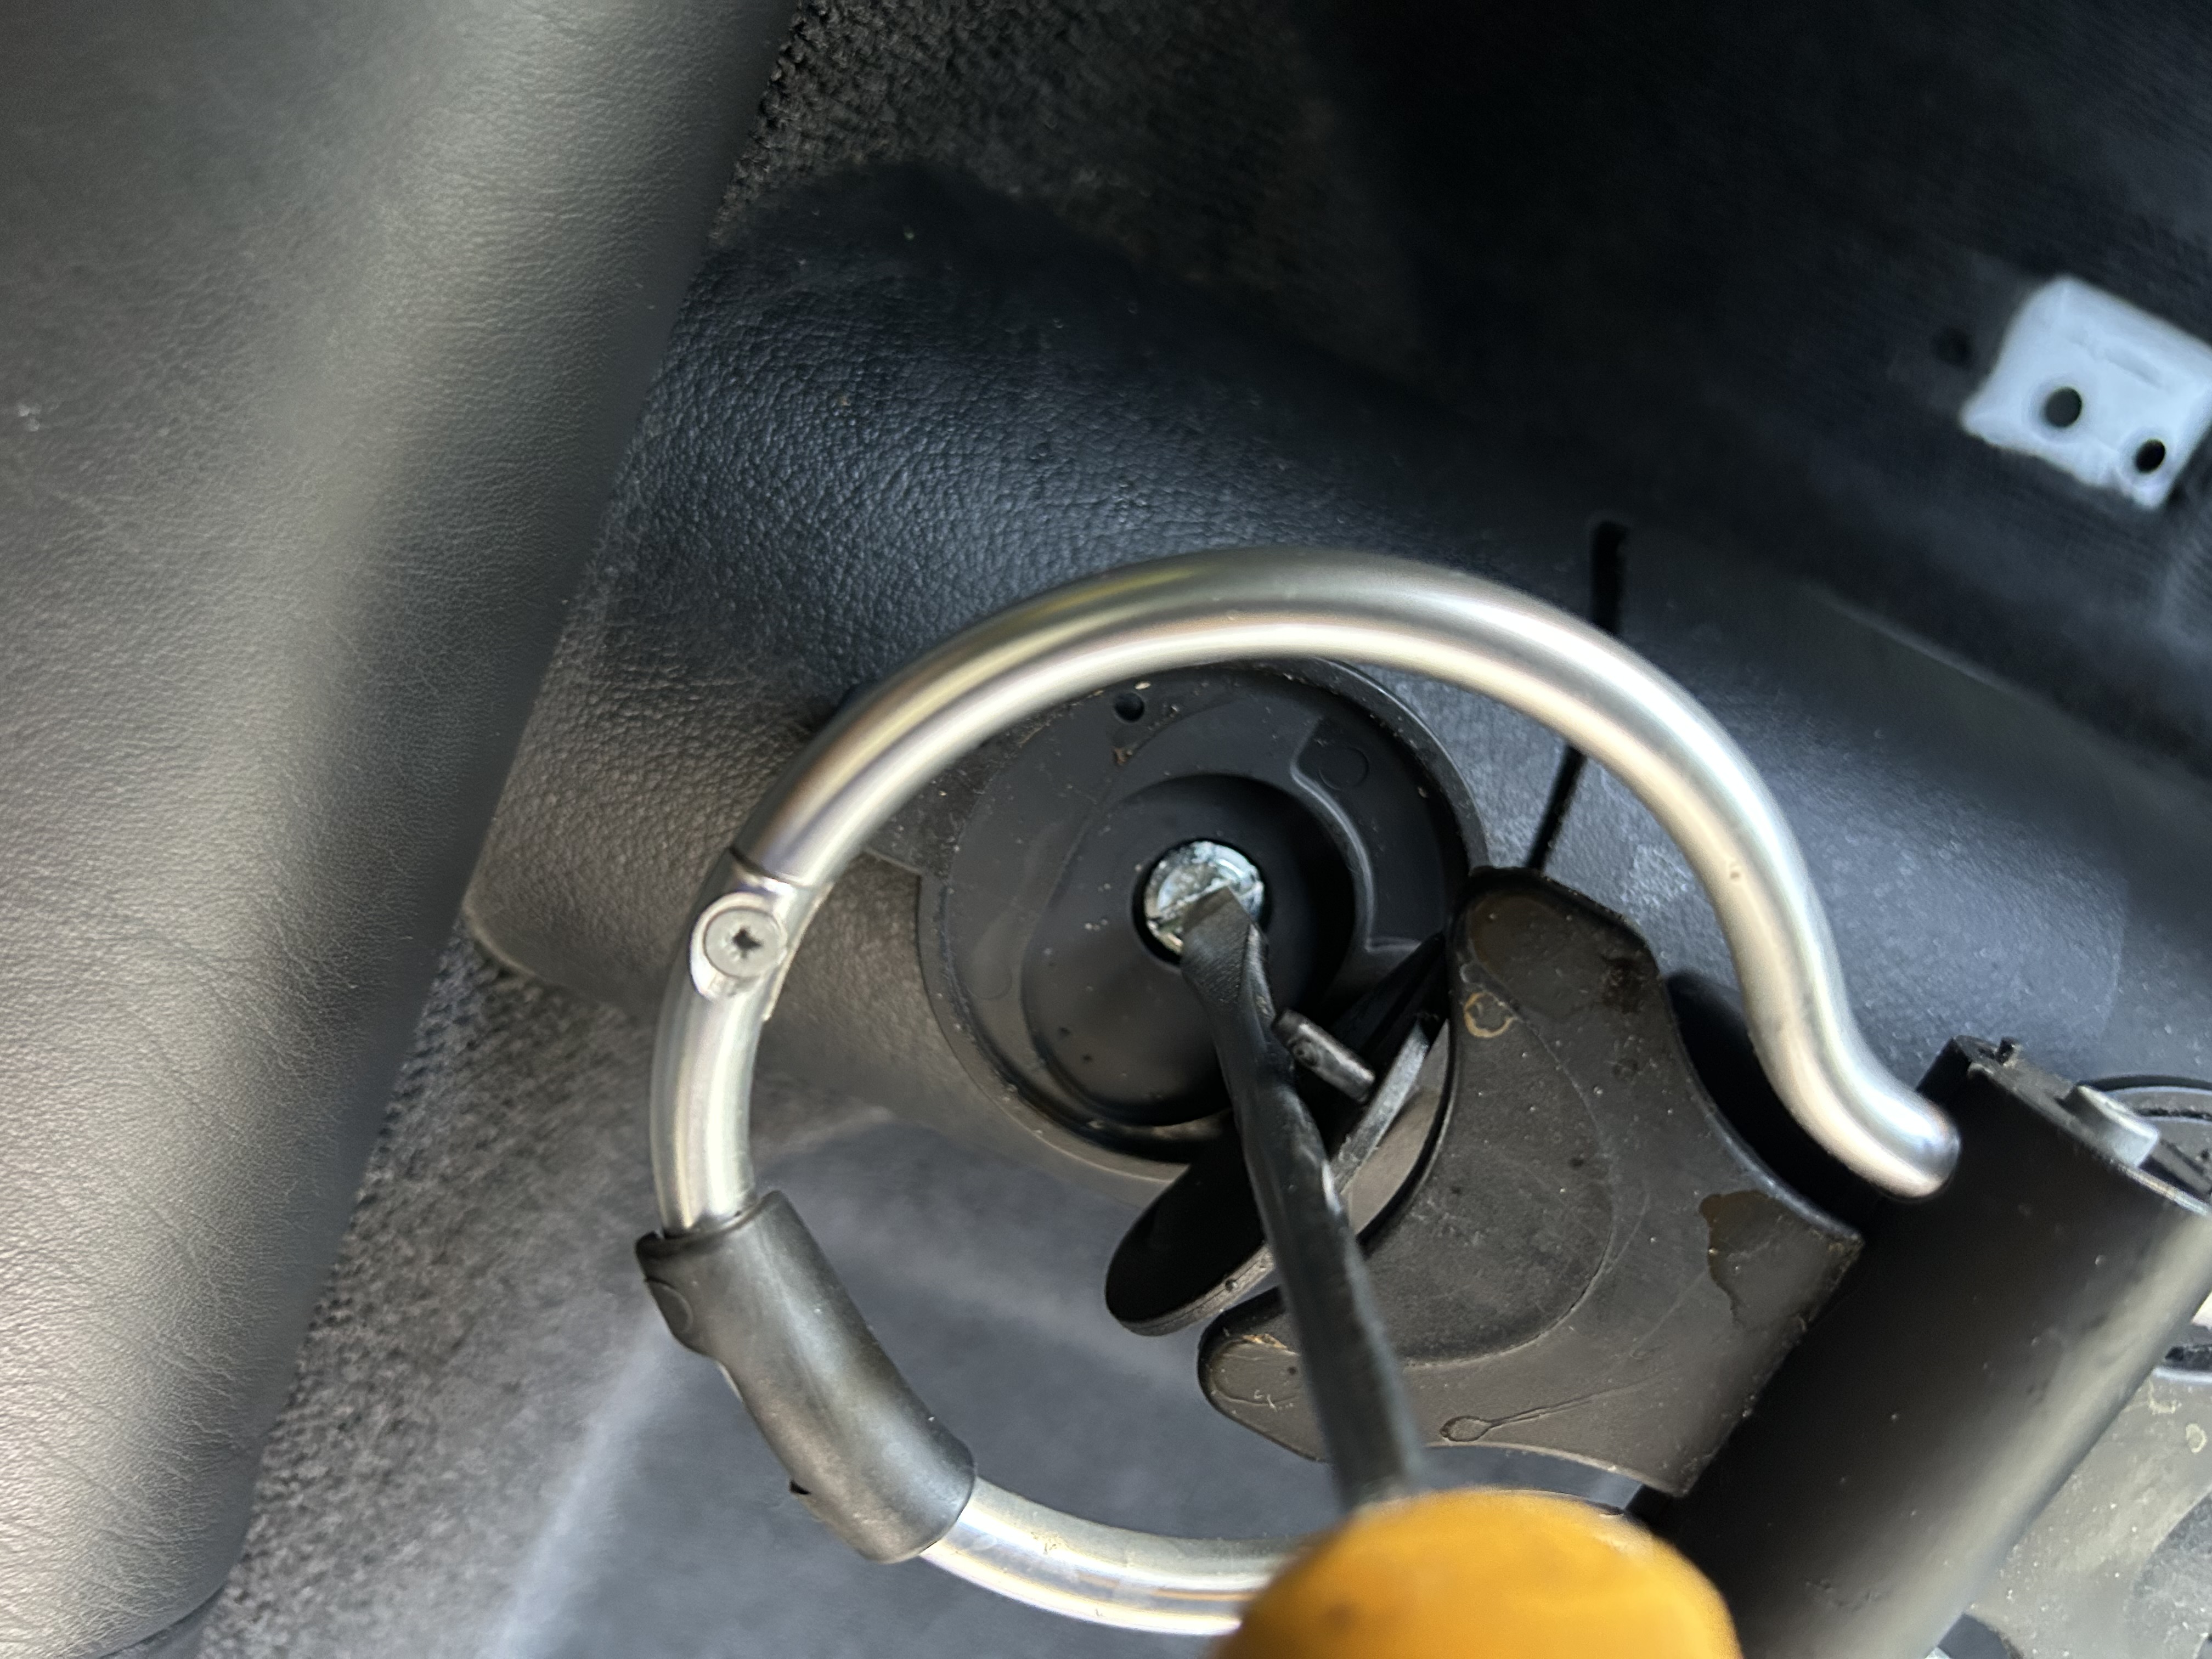
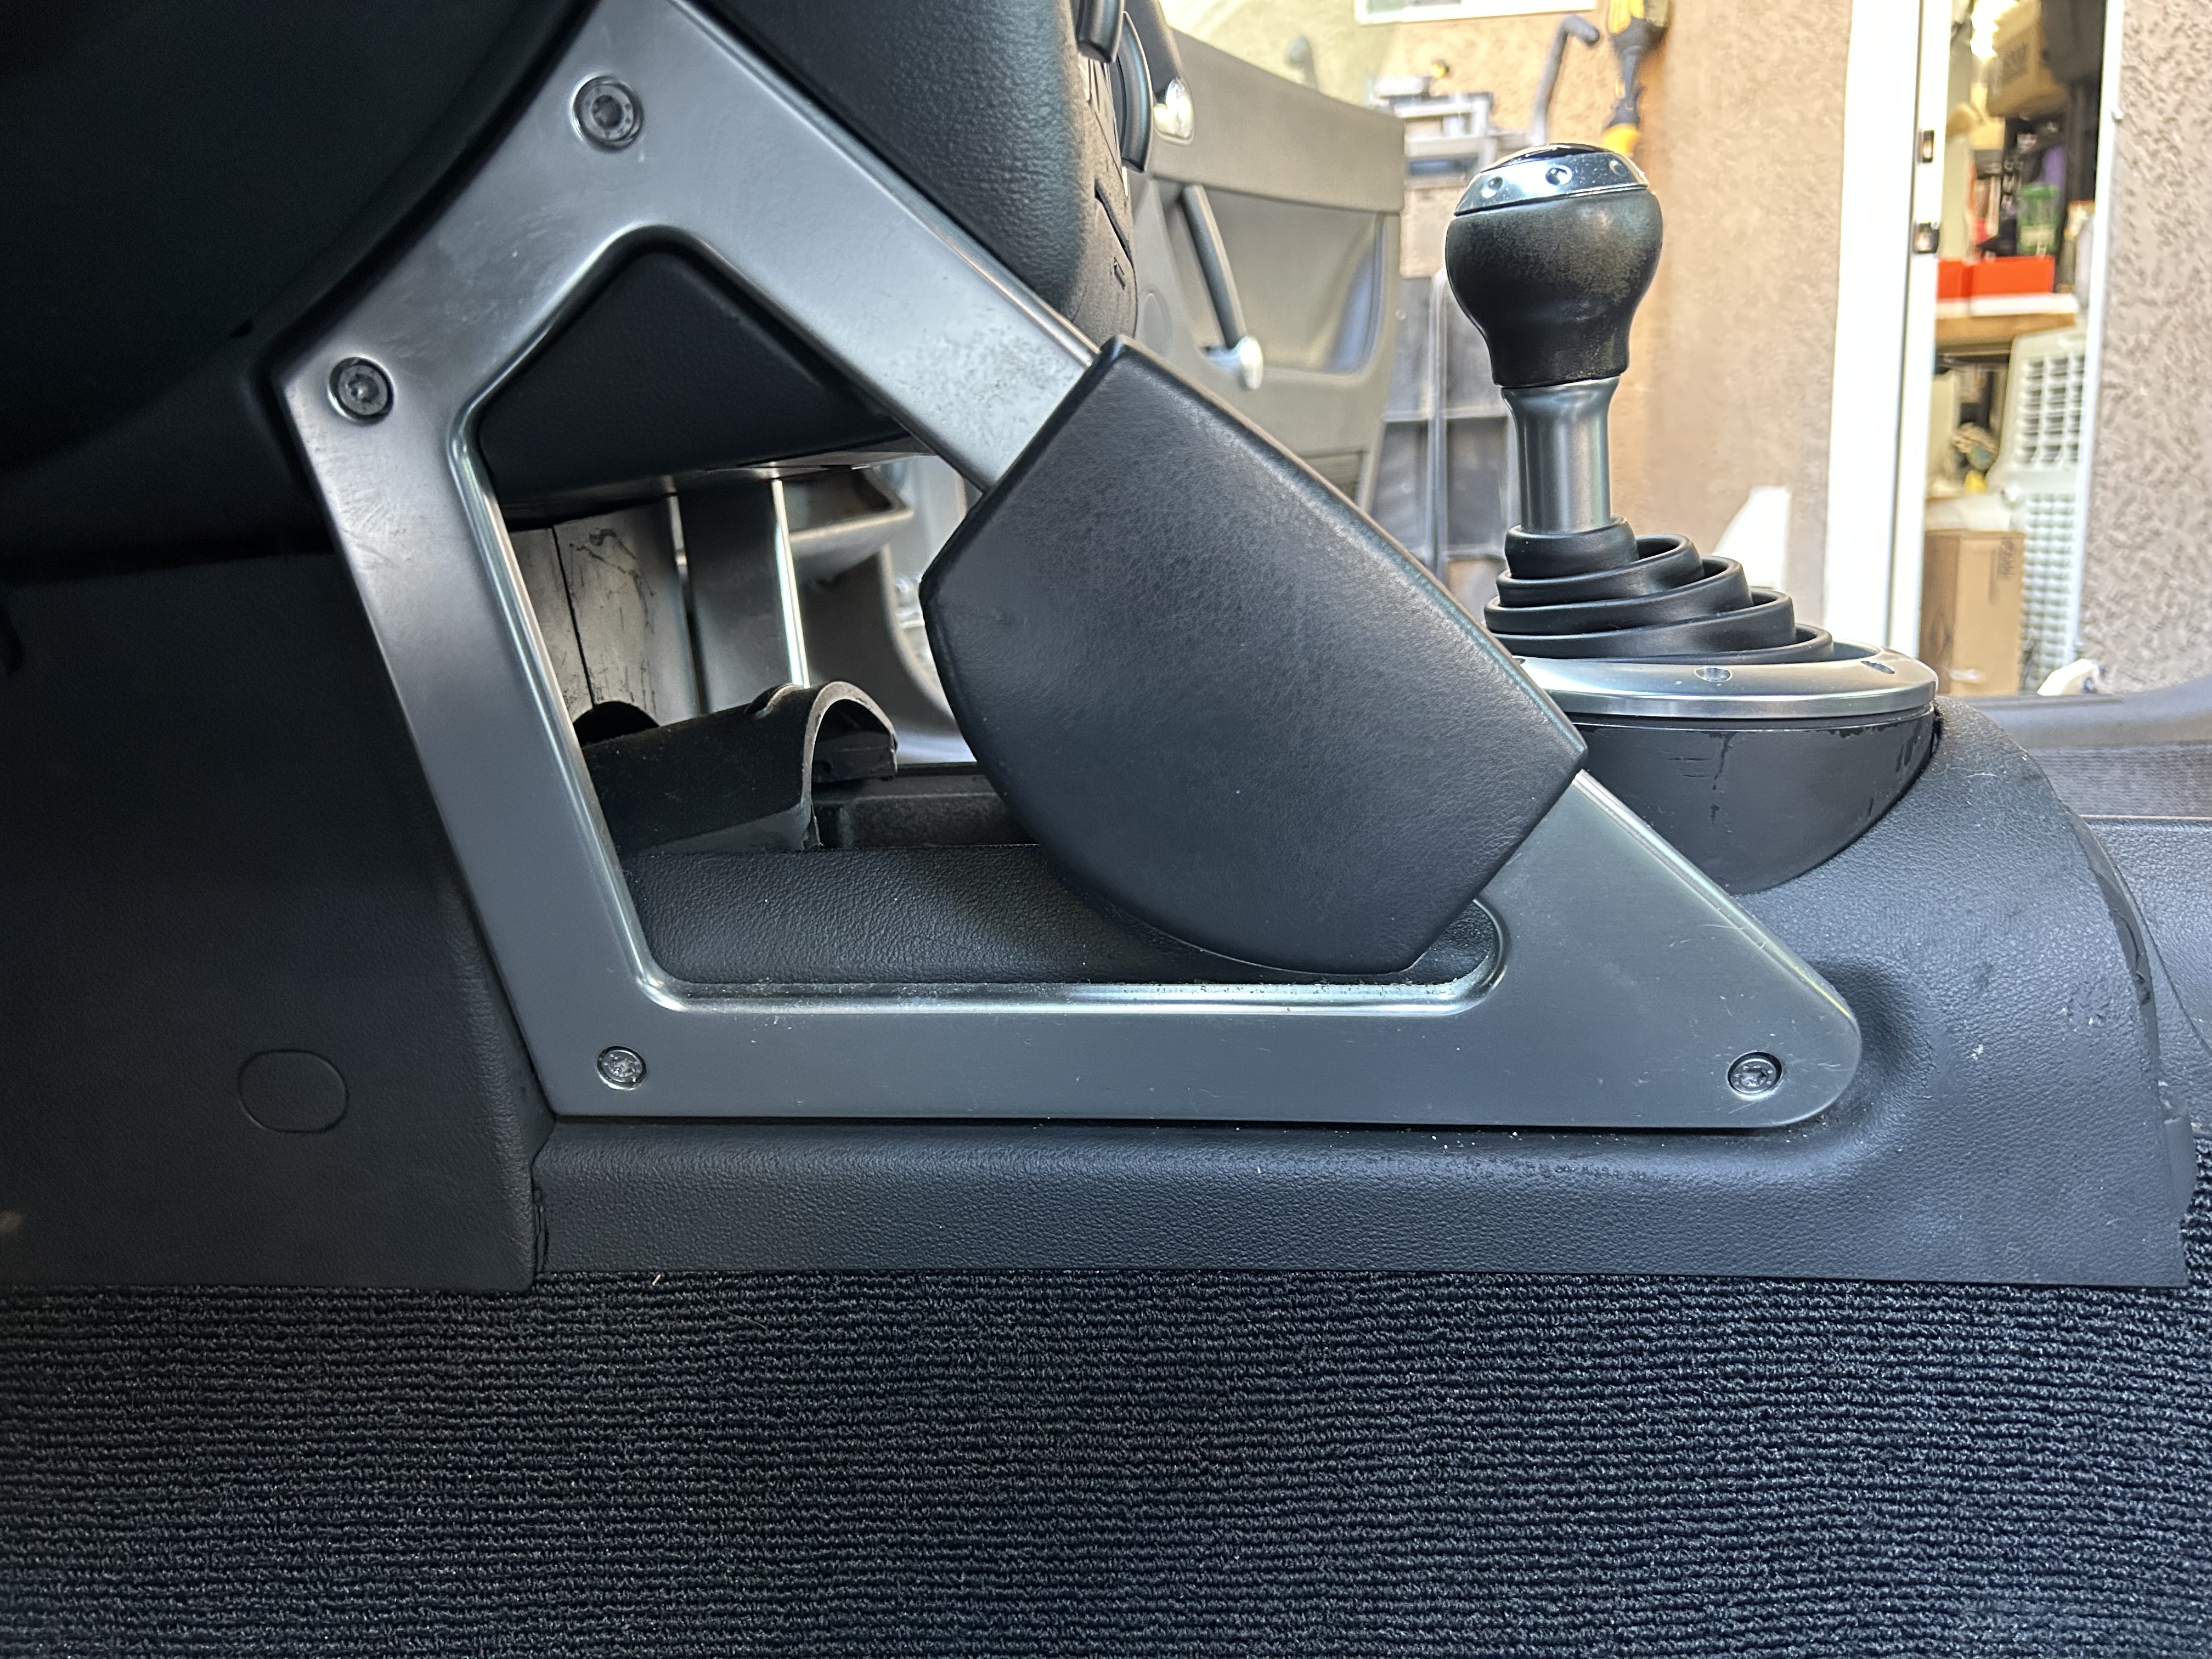
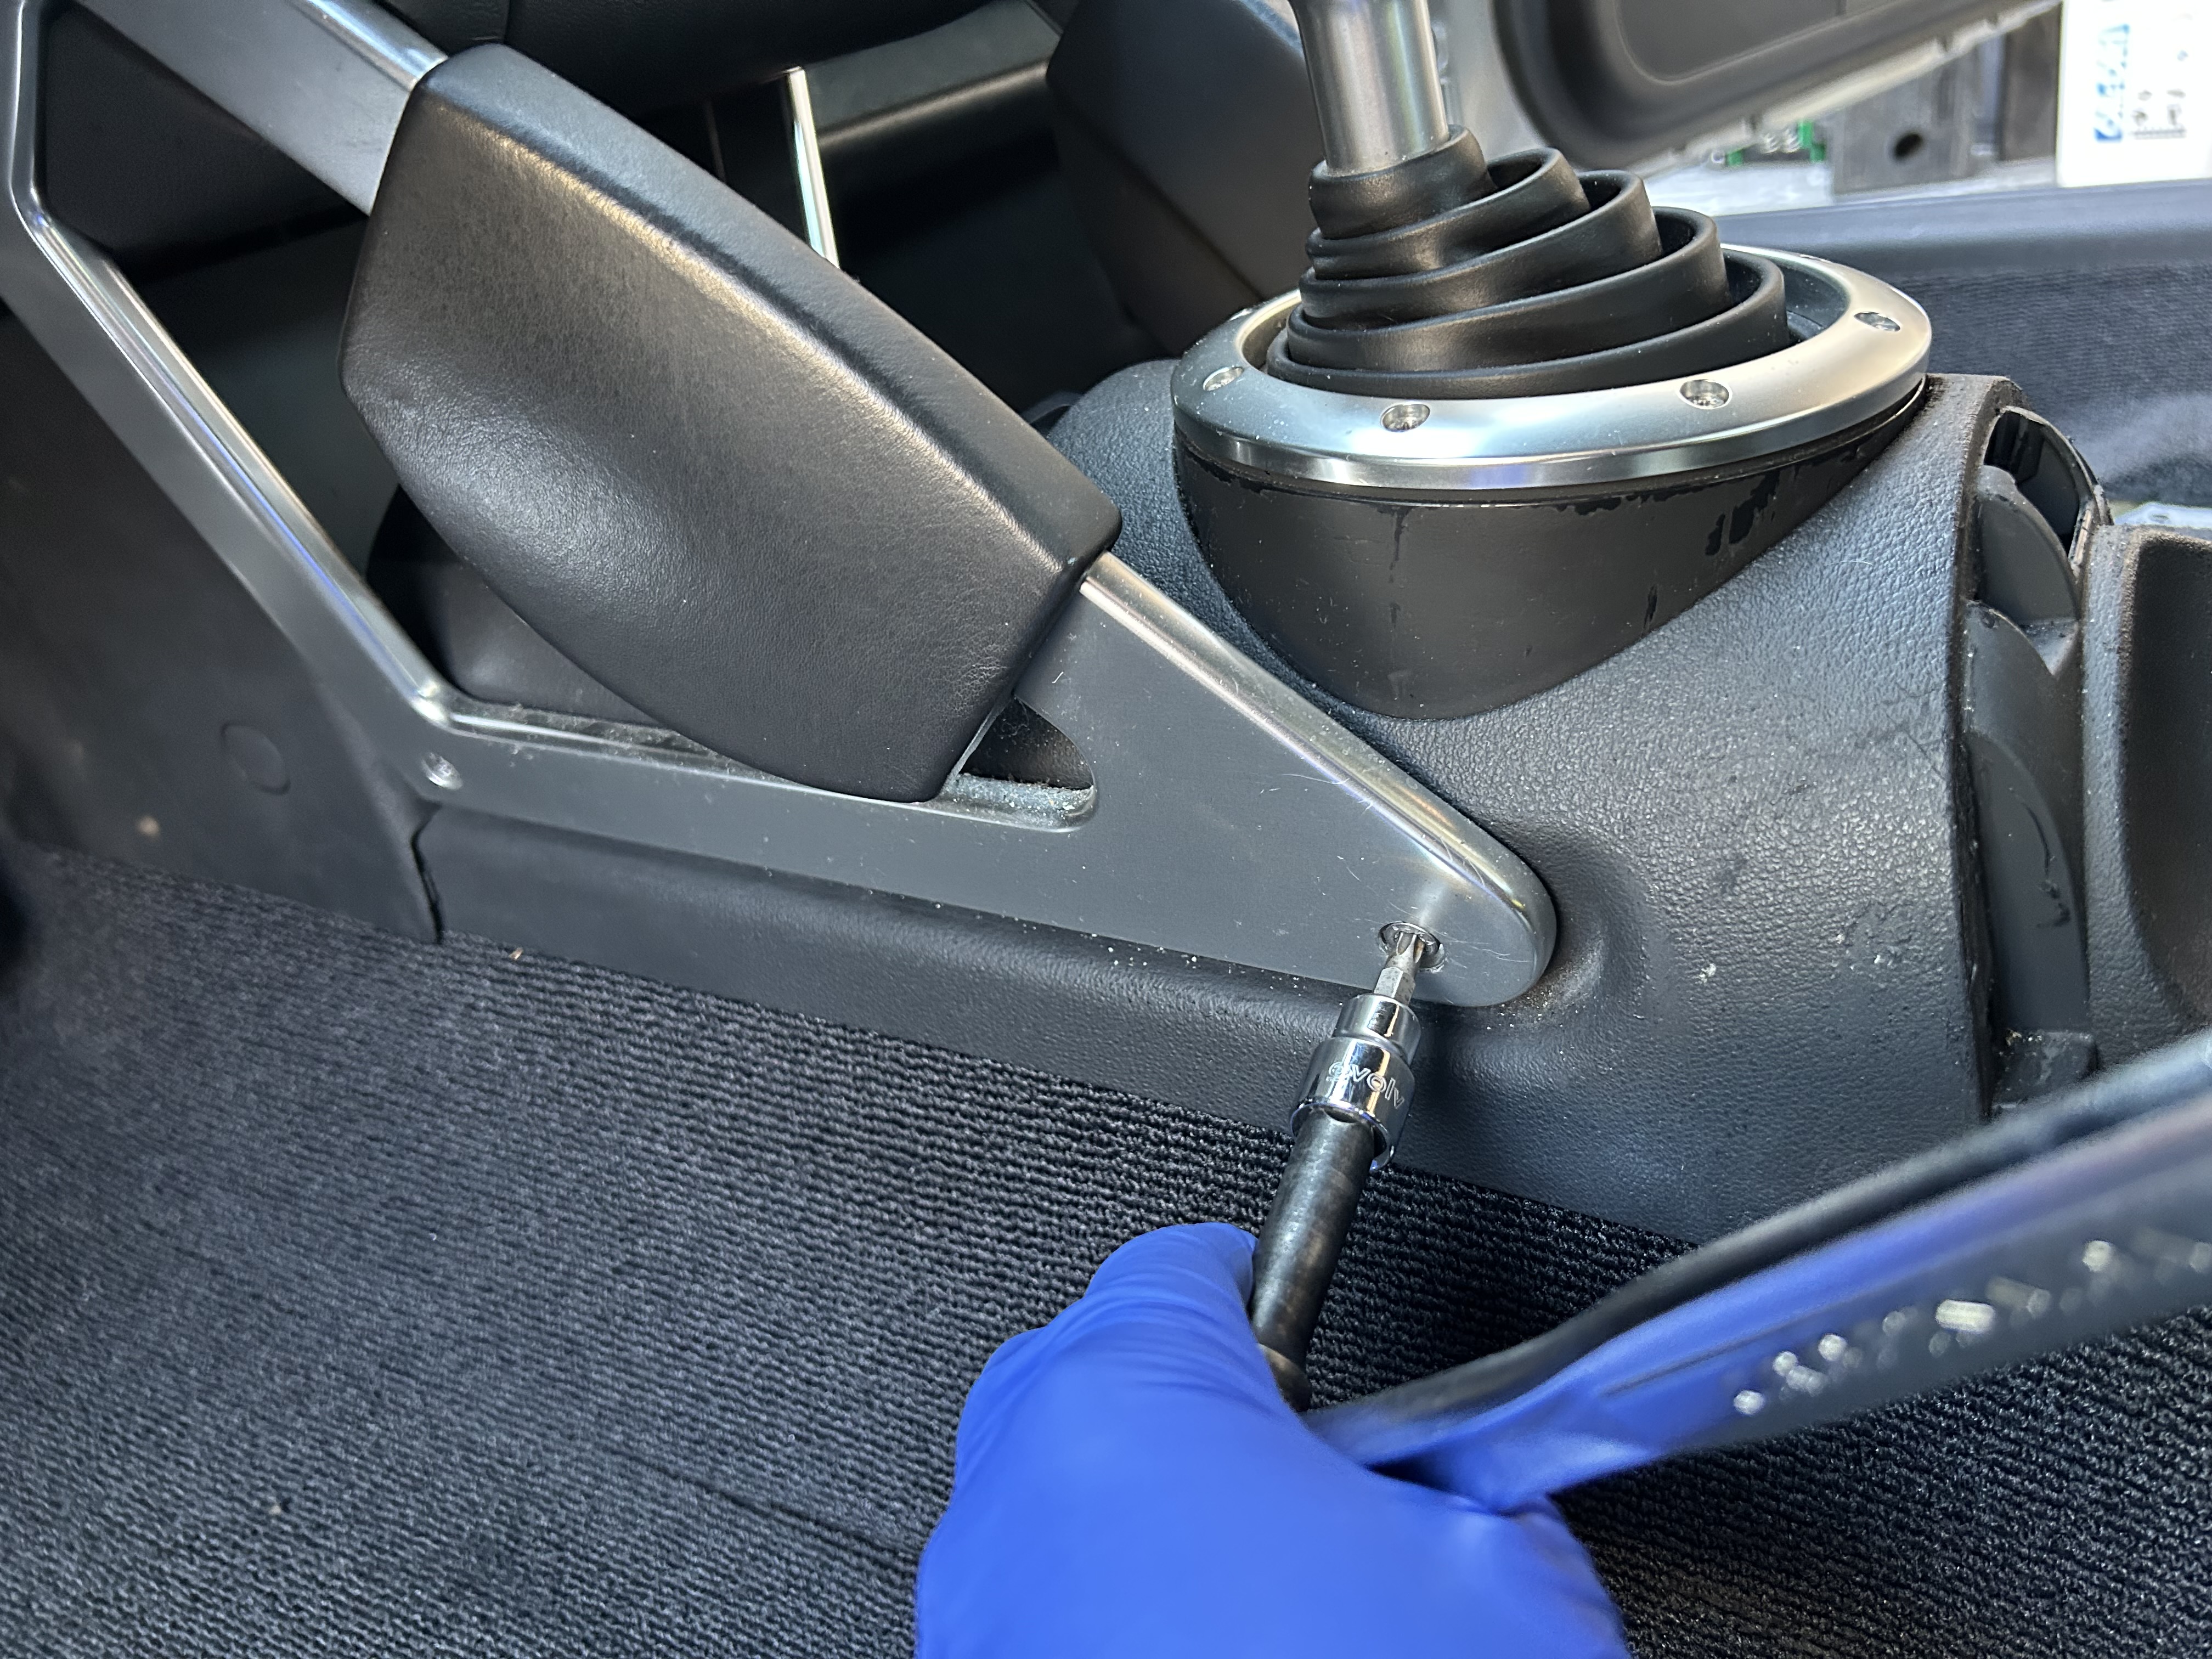
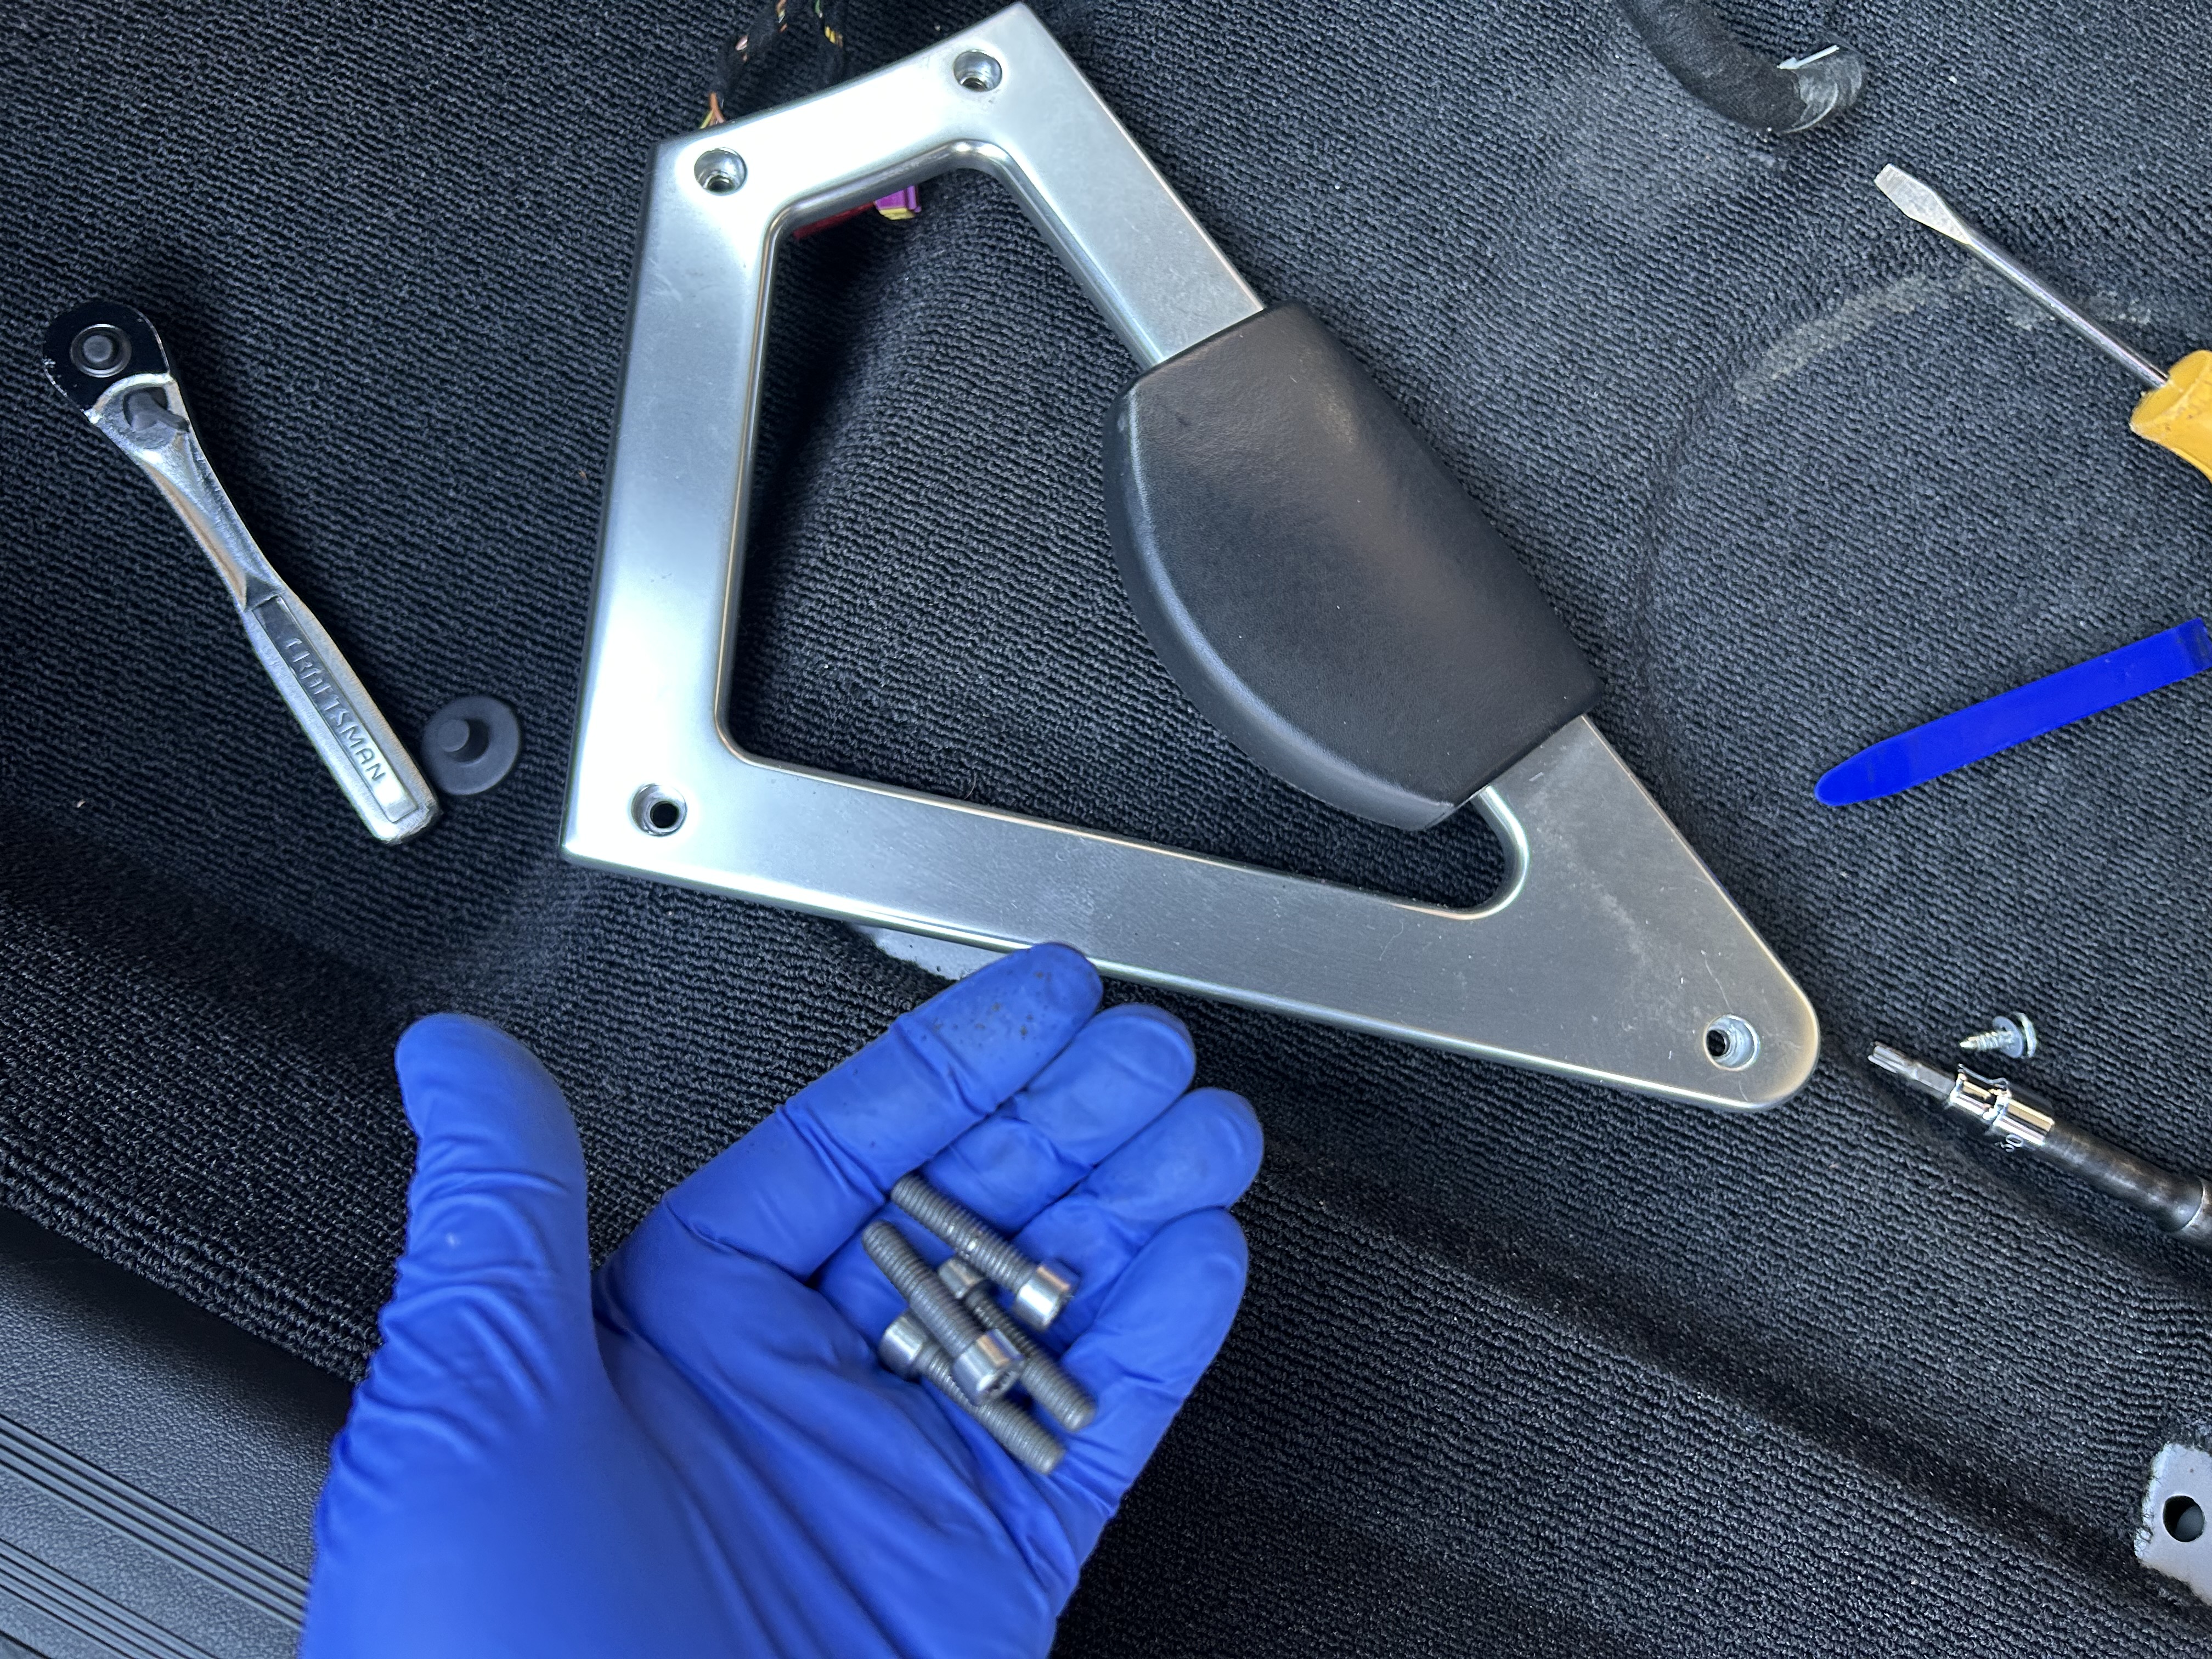
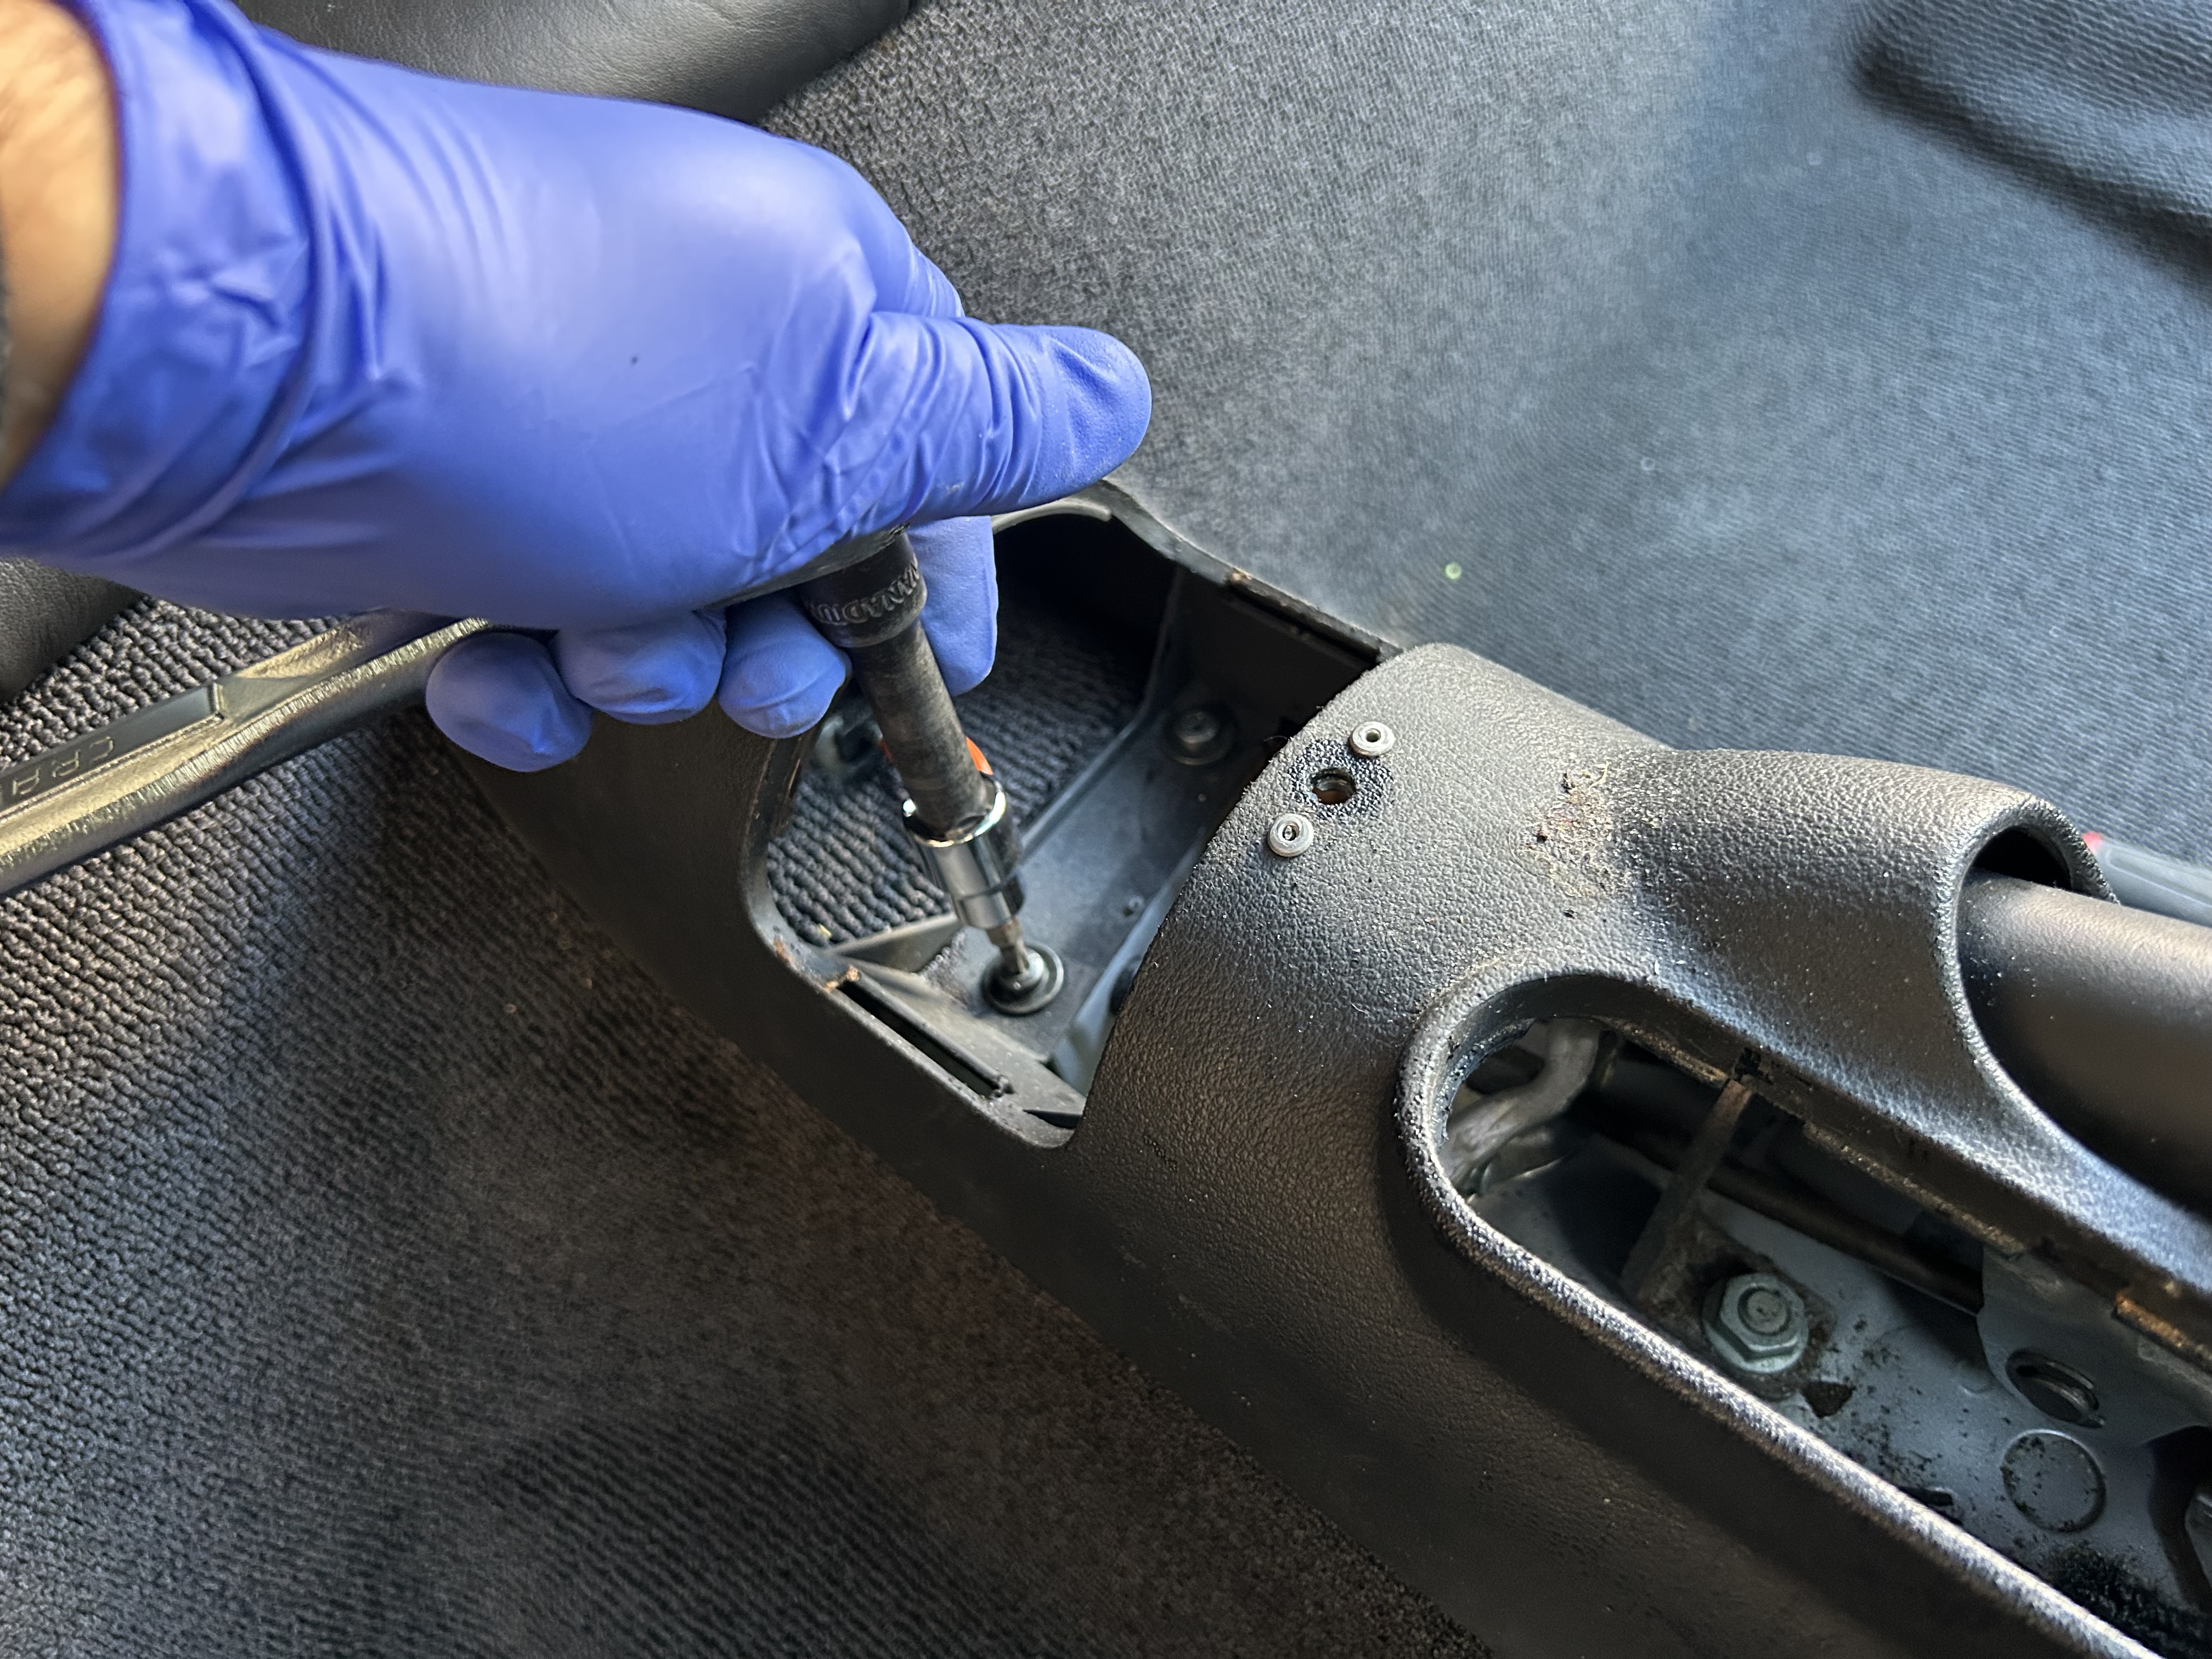
At the front are the two stainless steel bracing members that are removed by taking out the (4 qty) T-20 torx bolts from each side. Be very careful as it is easy to strip the heads of these T-20 torx bolts. After the torx bolts come out, then the bracing structures come straight off.
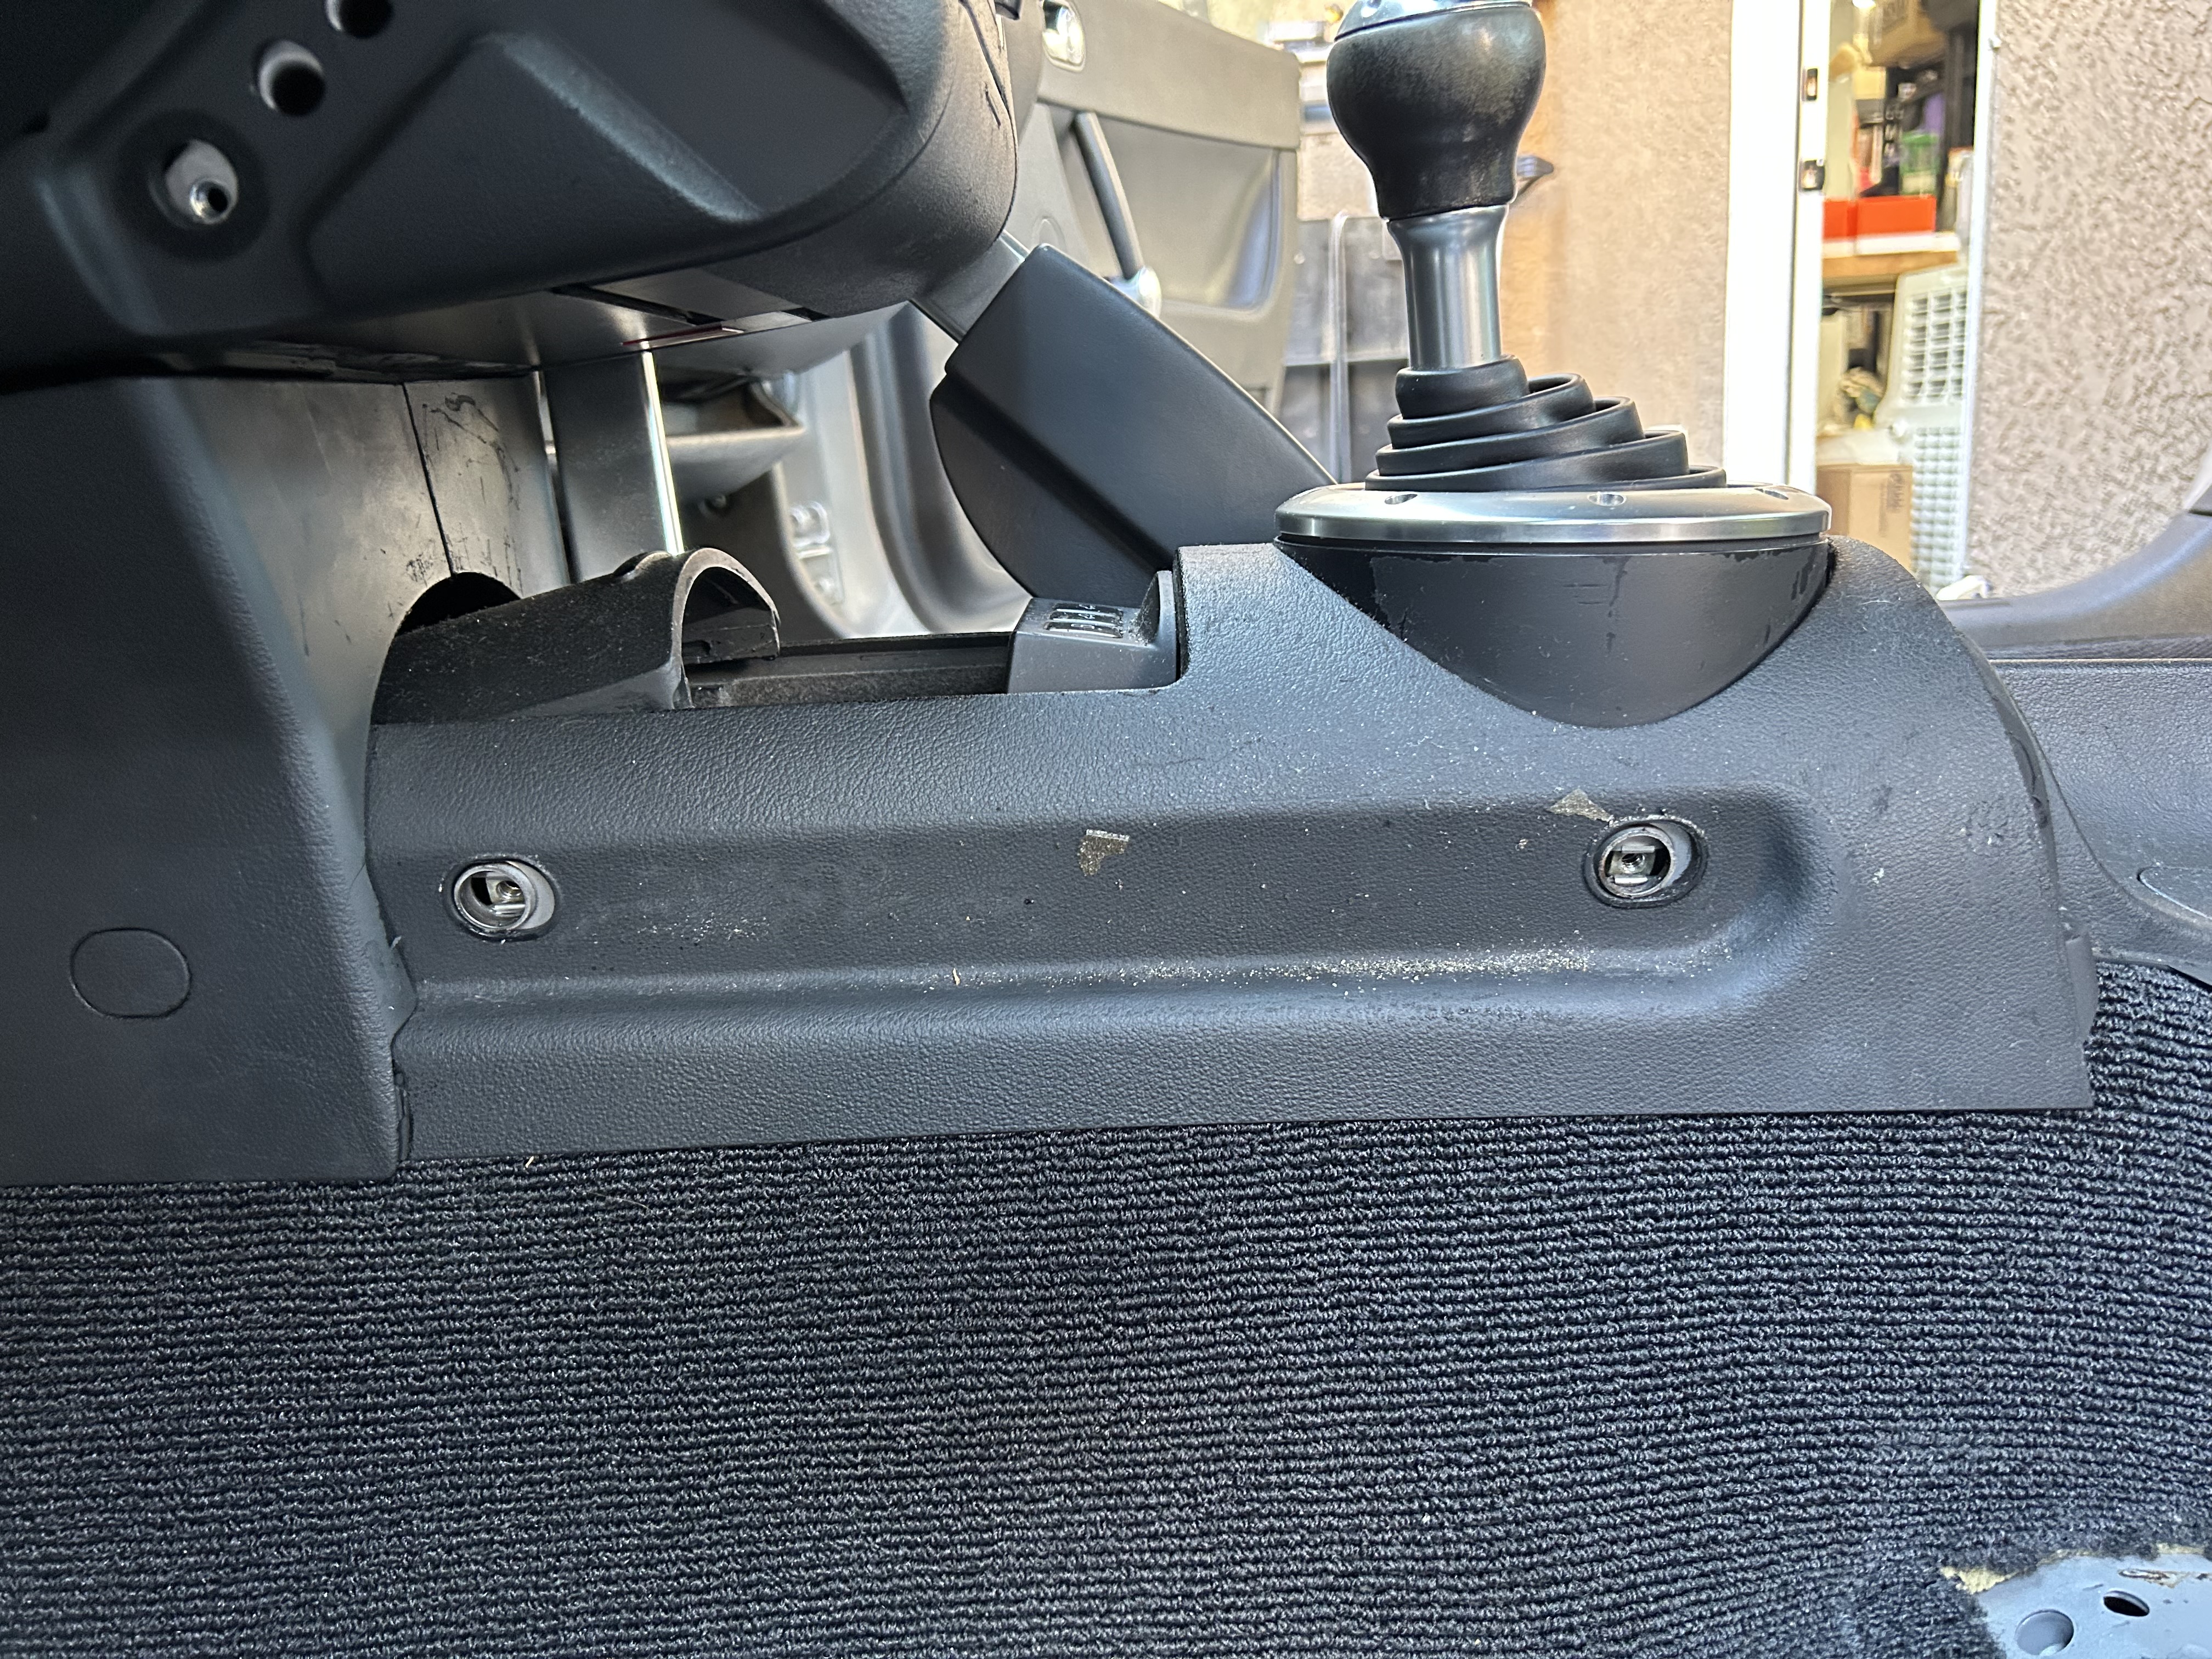
Now, we can remove the torx bolts that hole the center console to the floor of the car. Remove these (2 qty) T-25 torx bolts underneath where you removed the cupholders previously.
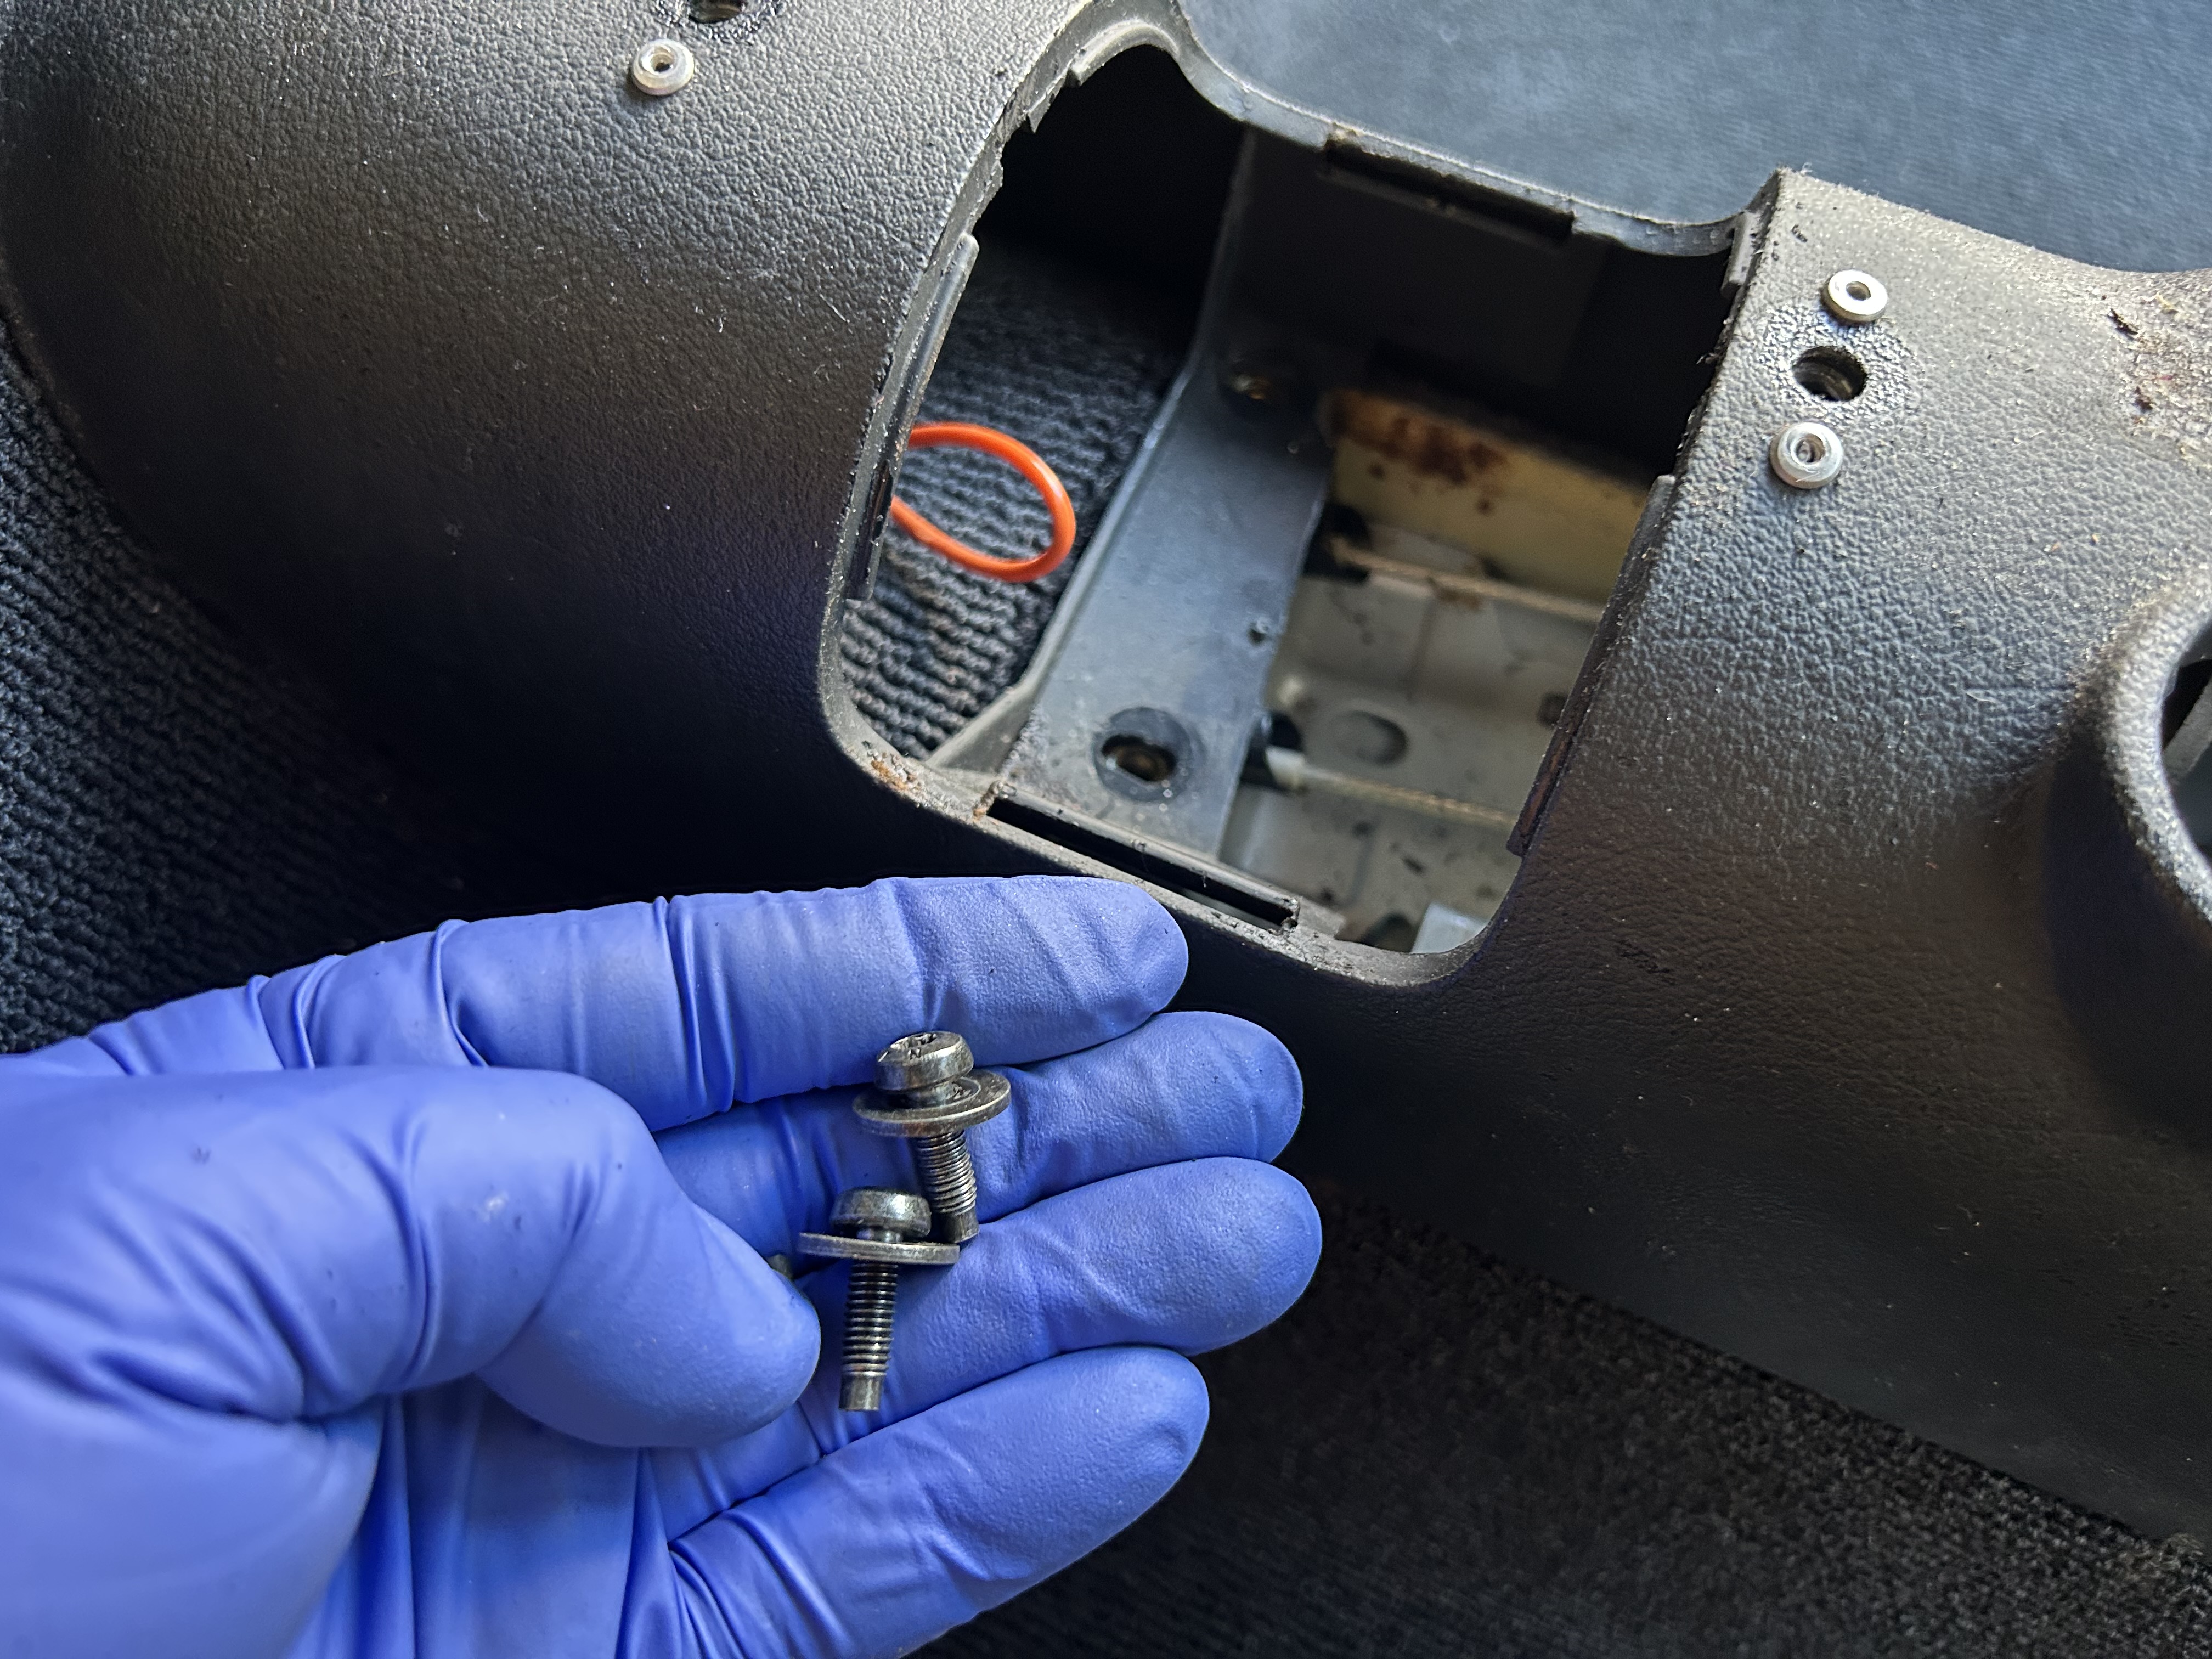
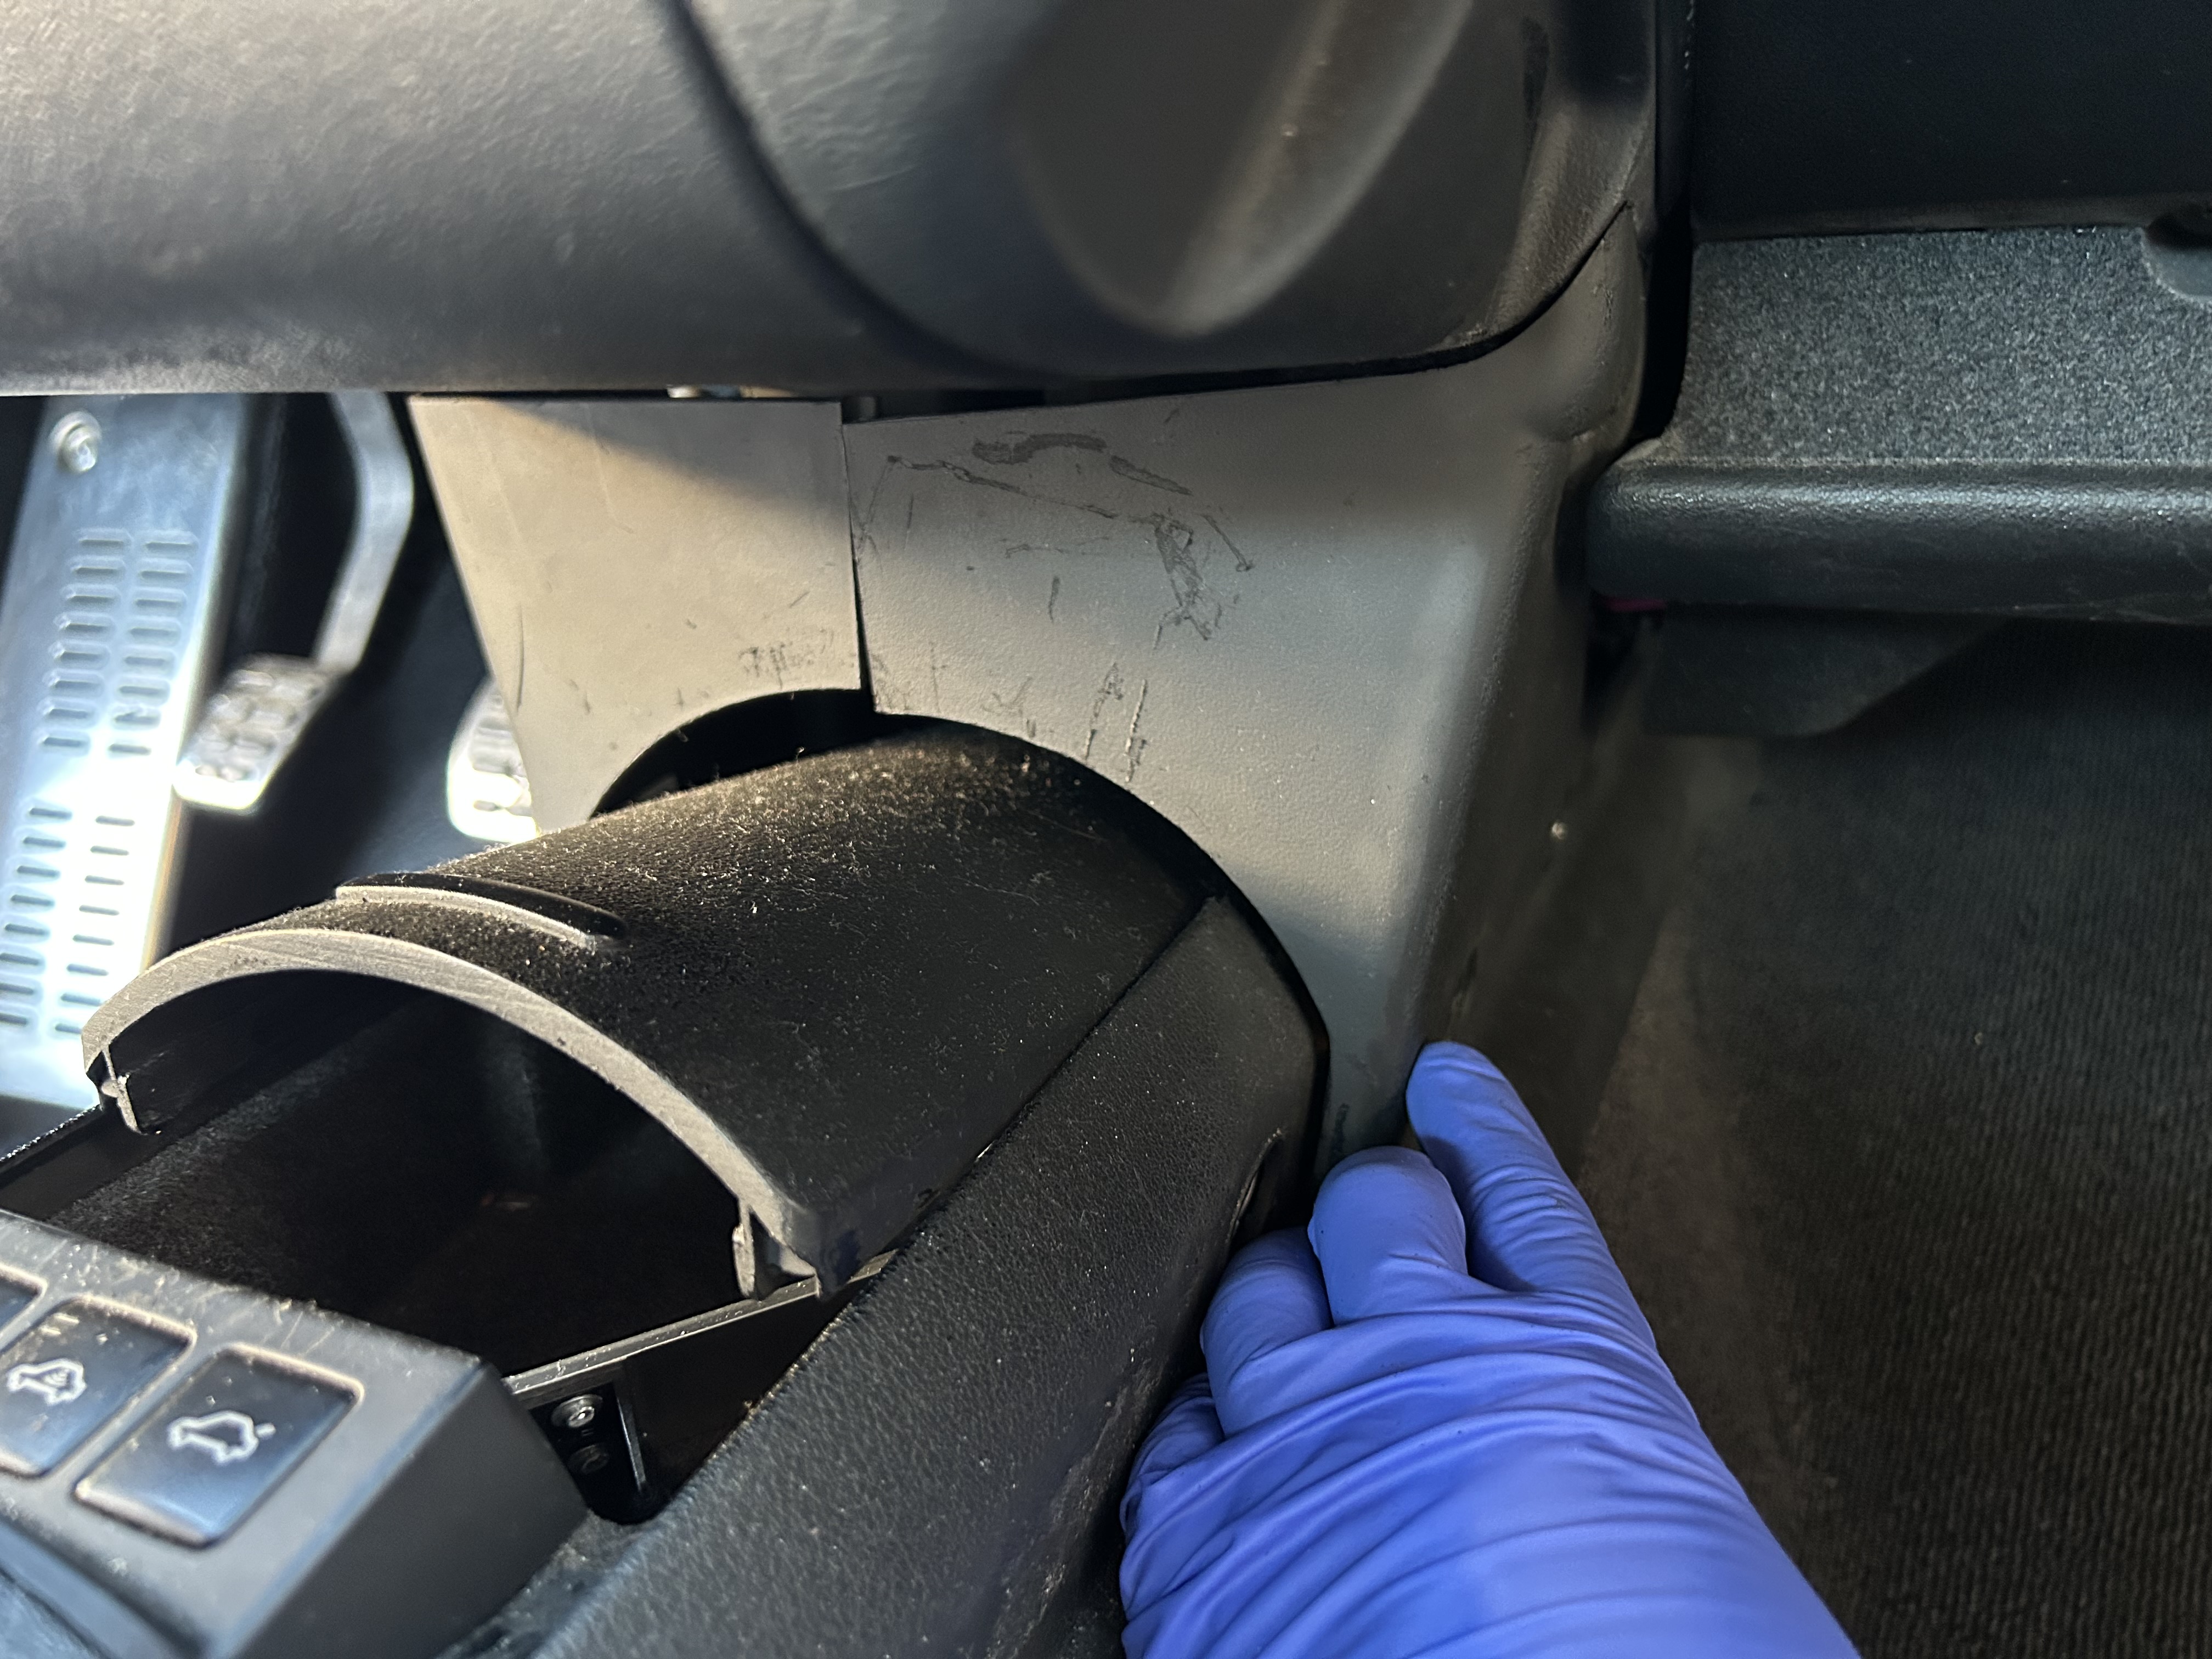
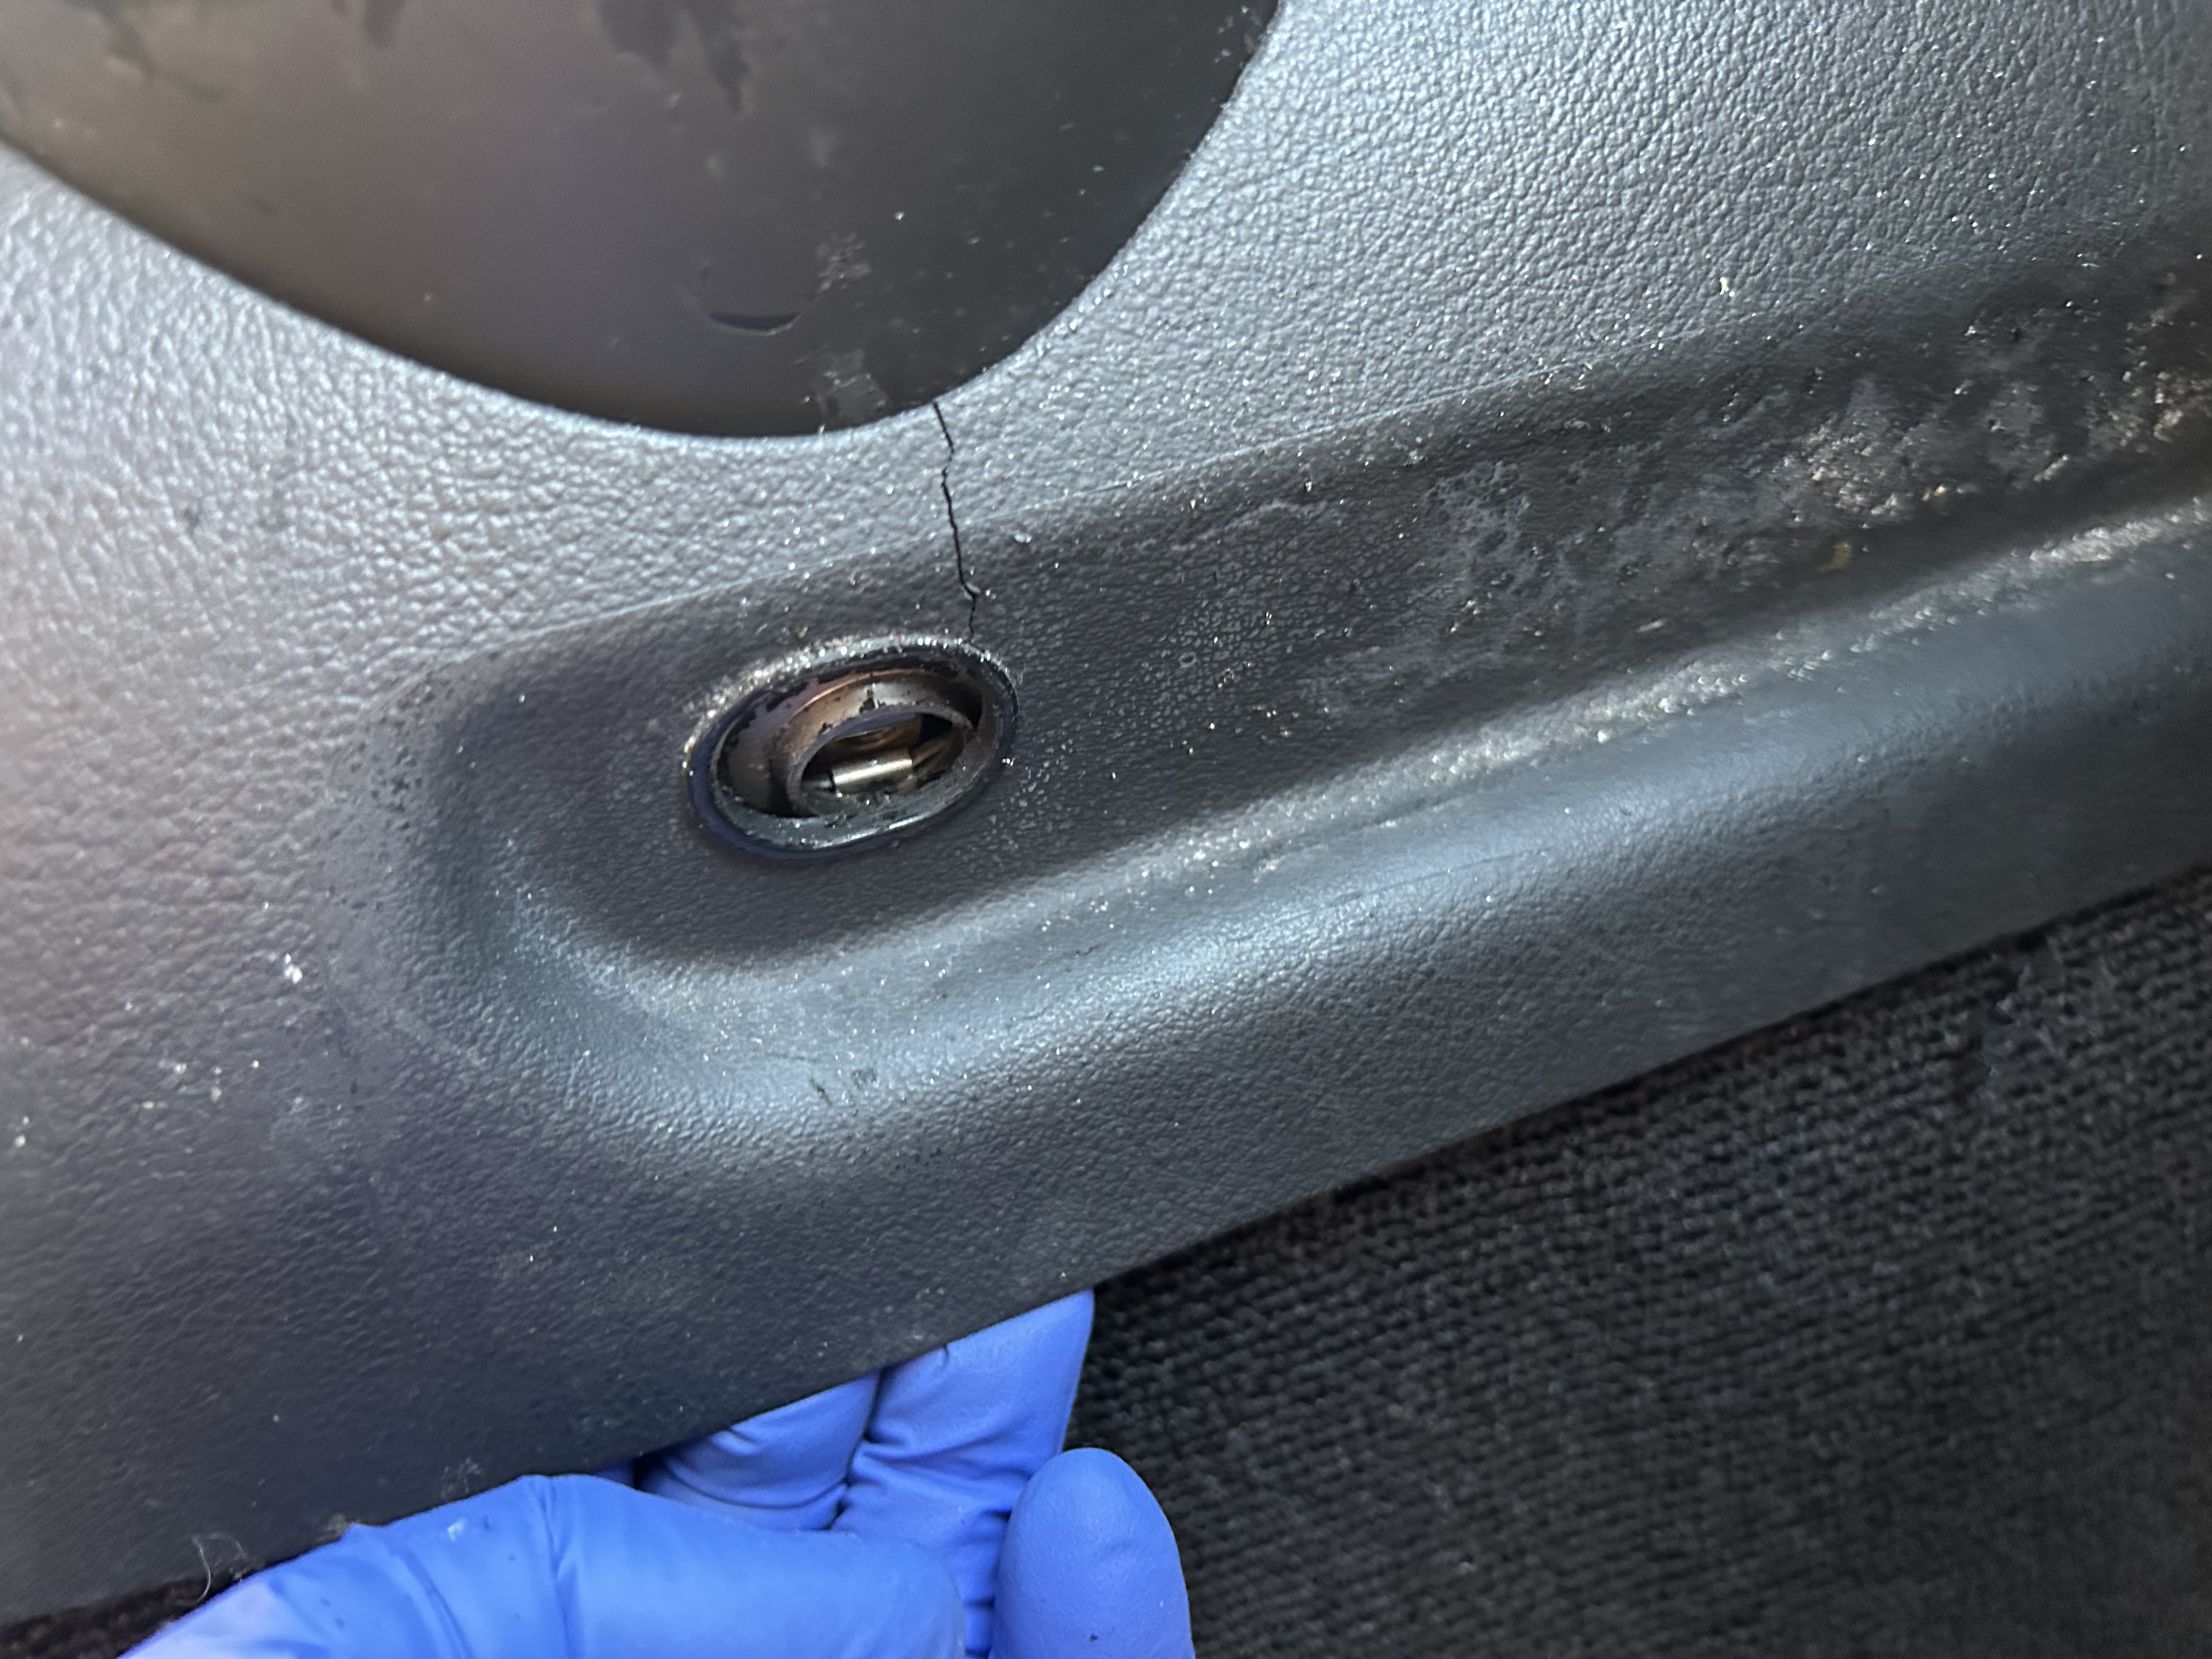
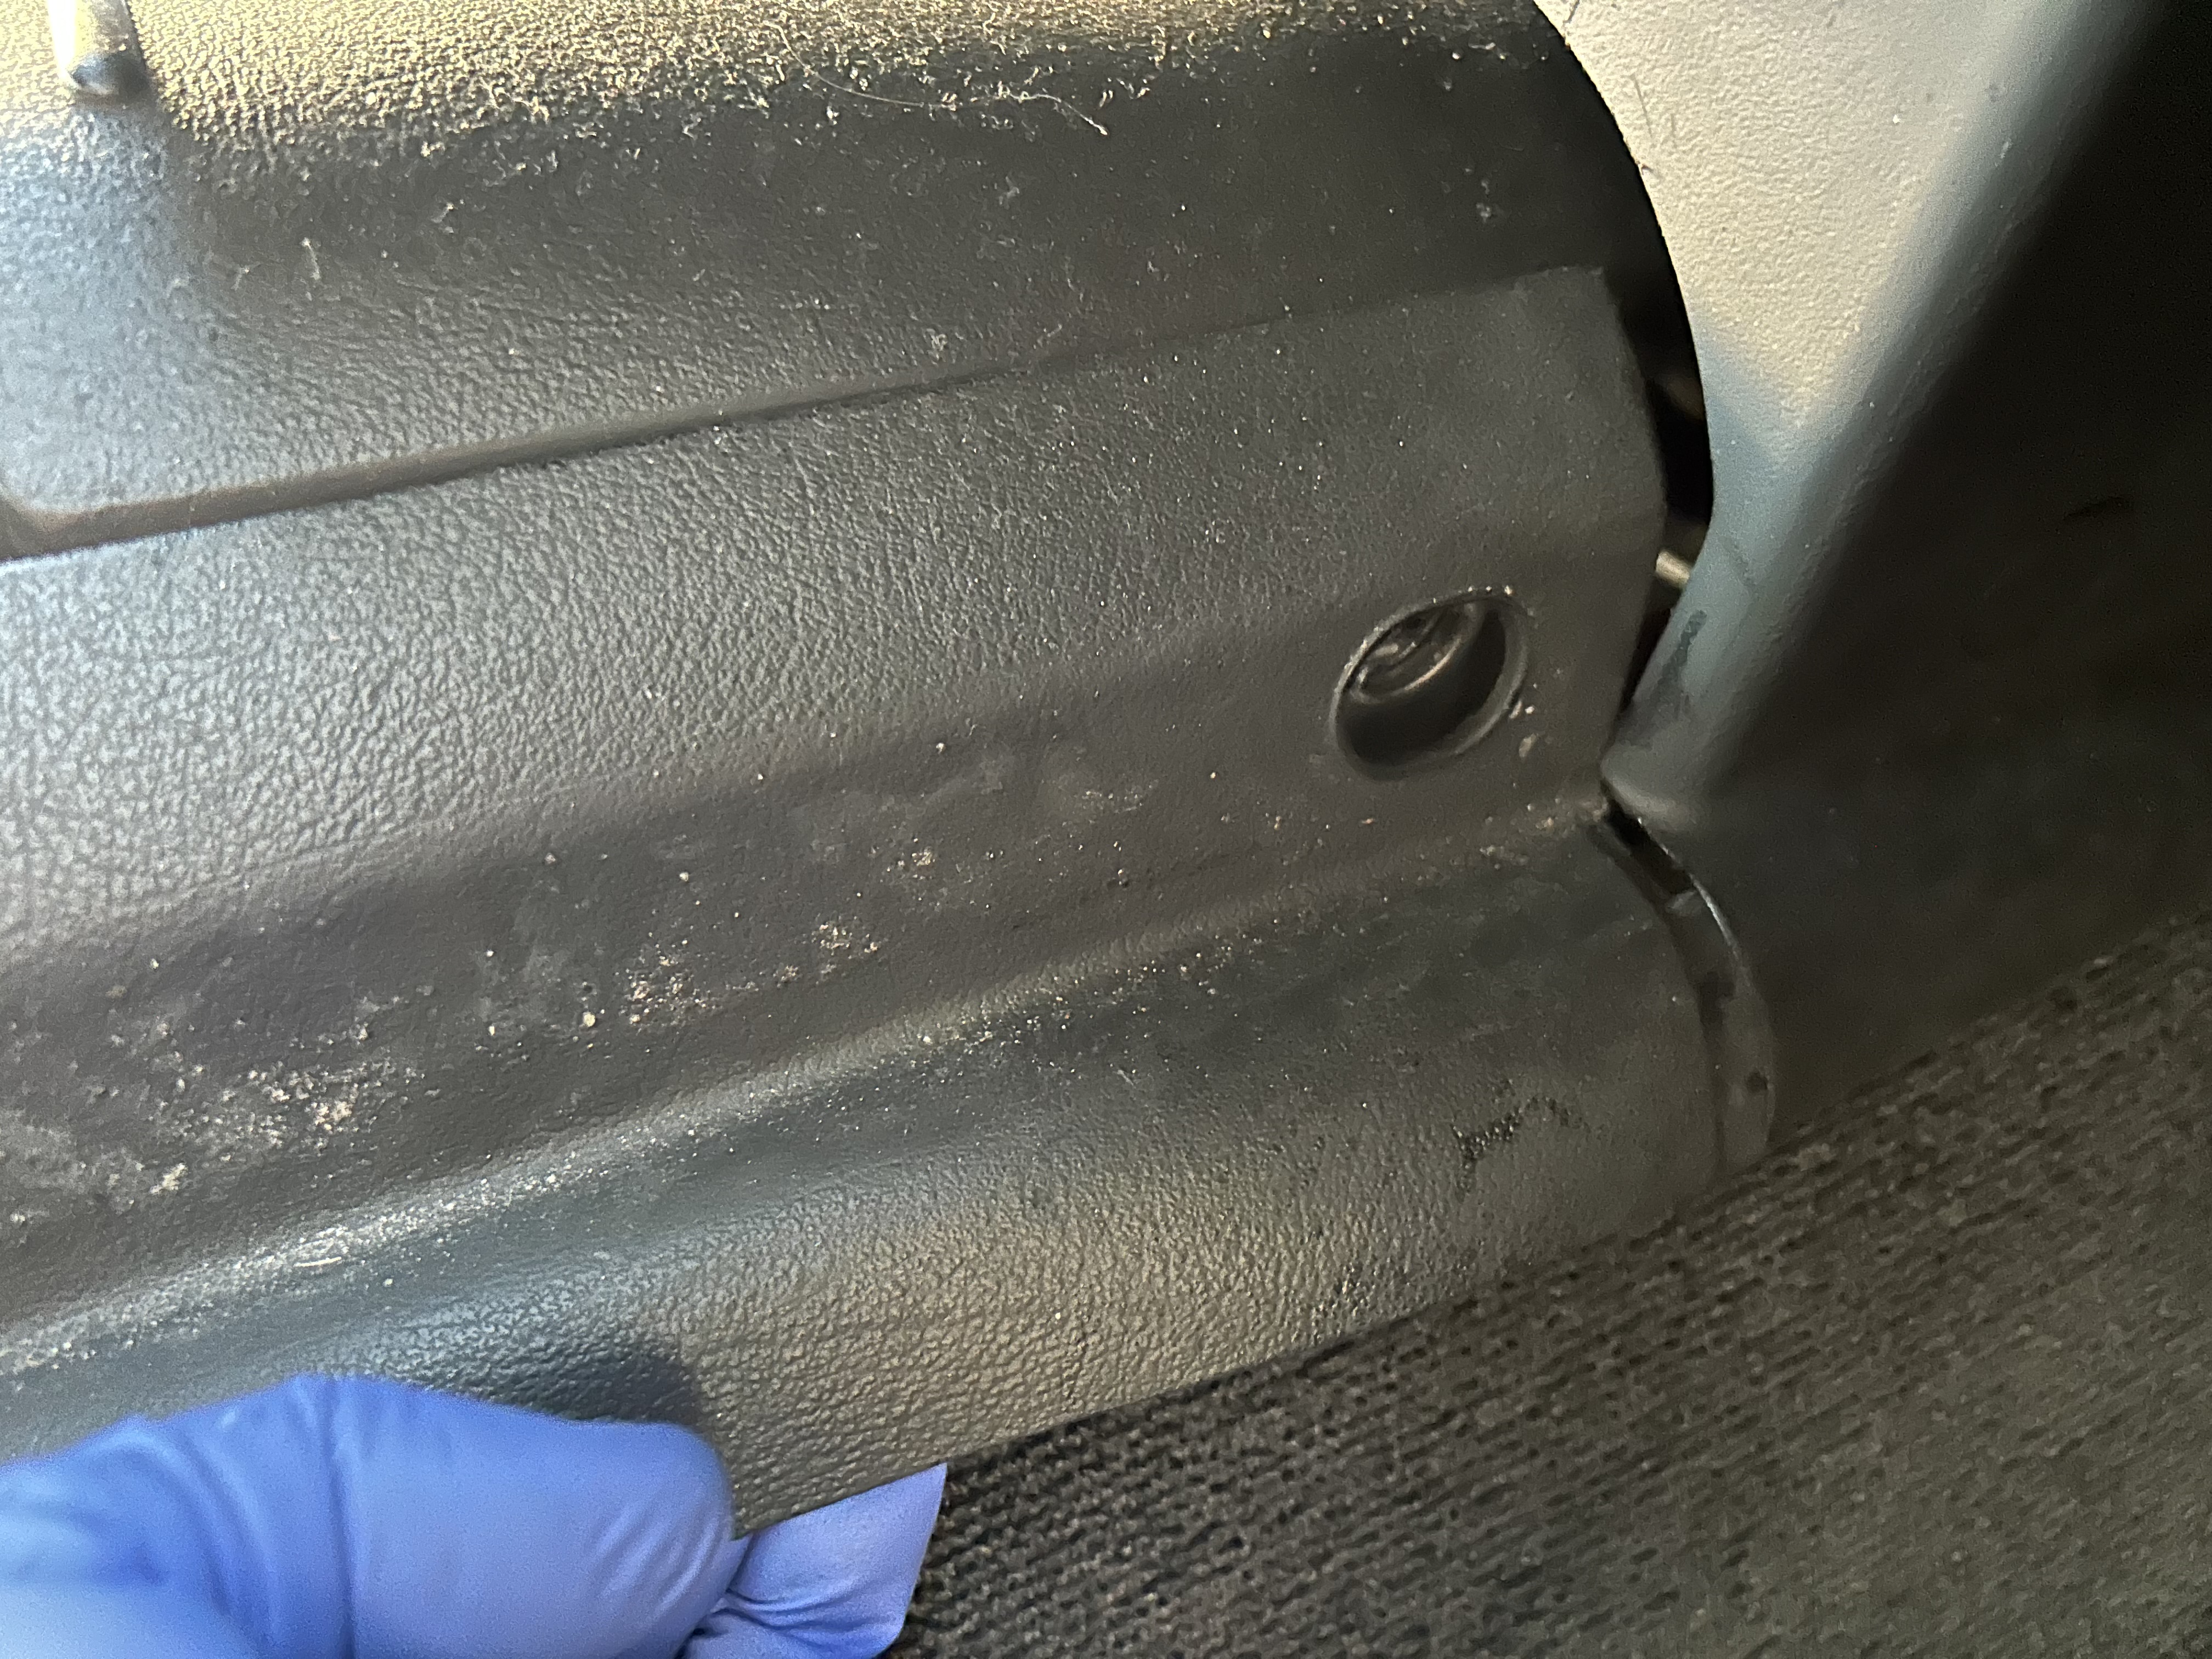
Optionally, at the front you can remove these two side trim pieces. This isn’t necessary in order to remove the center console, but I had some issues with the sliding tray so I decided to remove these pieces as well. Pry out the two little oval trim pieces from each side to expose the bolts that hold these in place. Remove these (2 qty) 10mm bolts from each side and then pull the side trim pieces out.

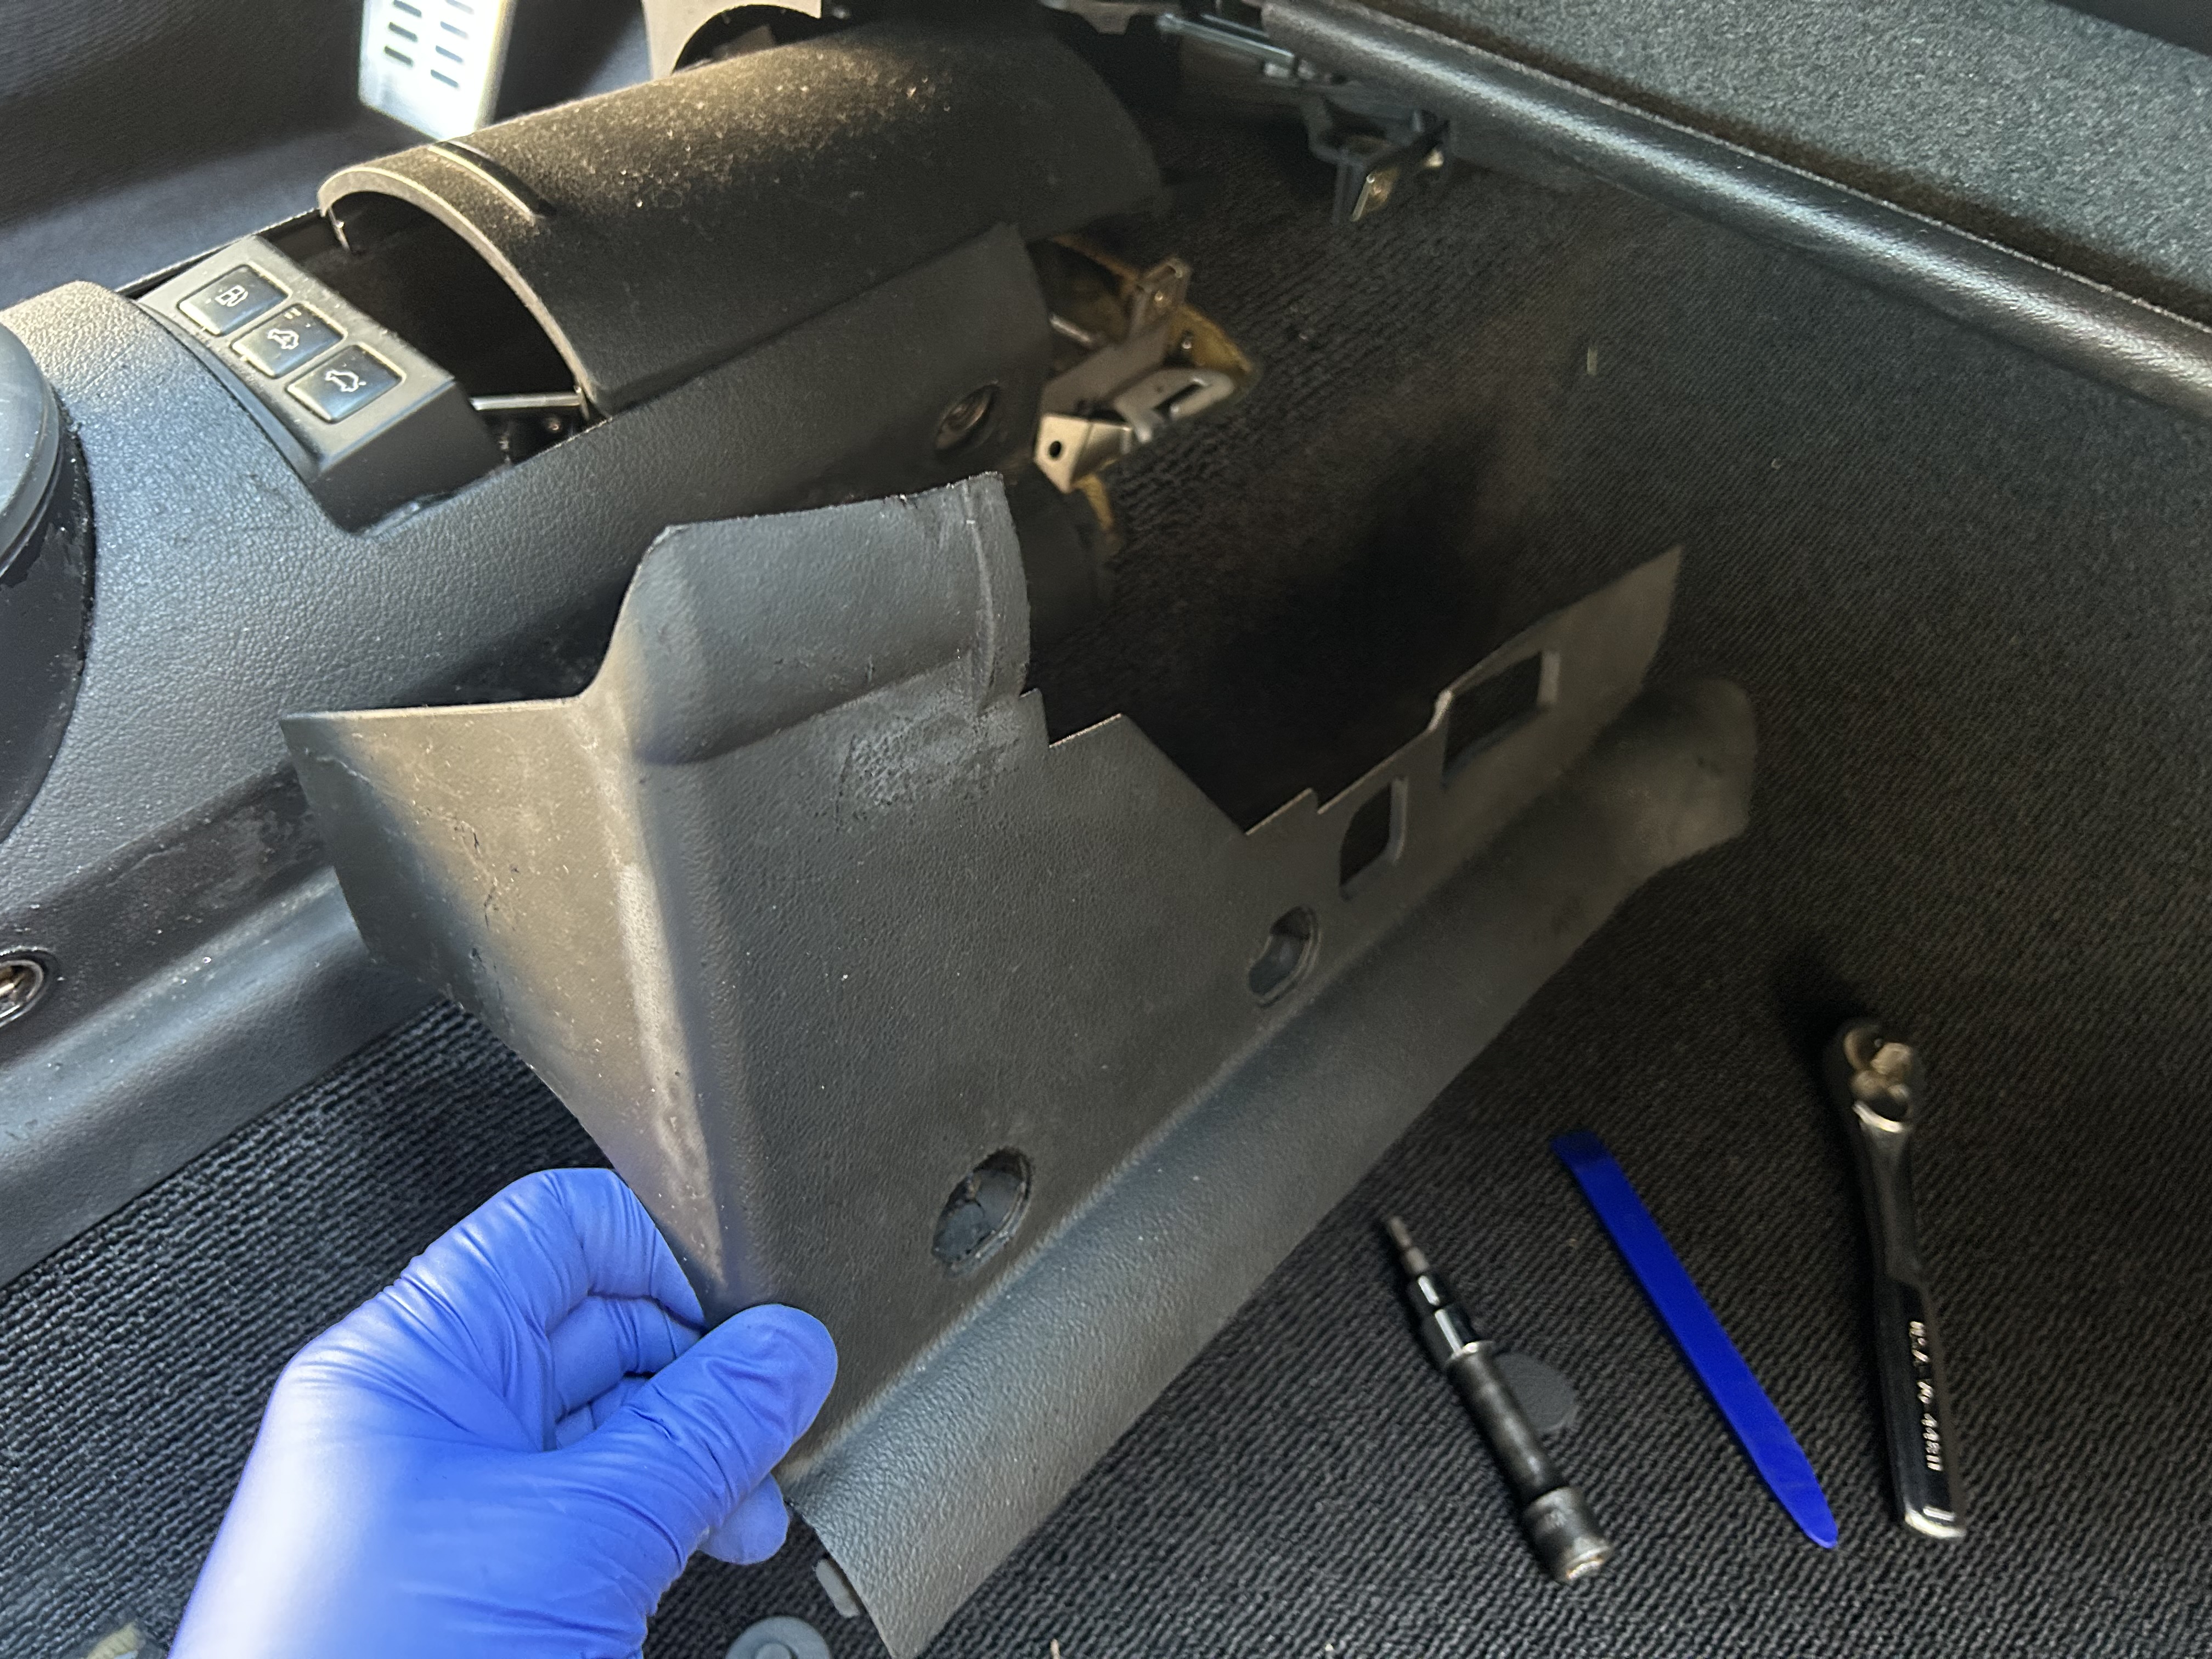
You are almost free to remove the whole center console. It is just somewhat held in place because the sides of the center console have holes that fit around where the bolts go into. You’ll need to use both hands to carefully and slightly pull both sides away from the center and then pull up at the same time to release it from these ports.

And don’t forget to remove the connectors from the underneath the buttons. A flat head screwdriver is useful for releasing the tabs so each connector can come out. Now, the entire center console can be completely removed.
My goal with this post is to show you how everything is supposed to come out and what hardware/parts keep this center console in its place. With that information, it should minimize the potential for removing pieces or parts in the incorrect way which can break the trim.
Since these cars are already at least two decades old, these plastic bits can be quite brittle and can break very easily. If you did break any trim pieces, you can still potentially salvage the situation by making repairs so that the center console can reinstall securely. Take your time if you can and carefully remove the various parts of the center console to avoid having to repair or replace too many broken pieces.
")
")
")
")
")
")
")
")
")