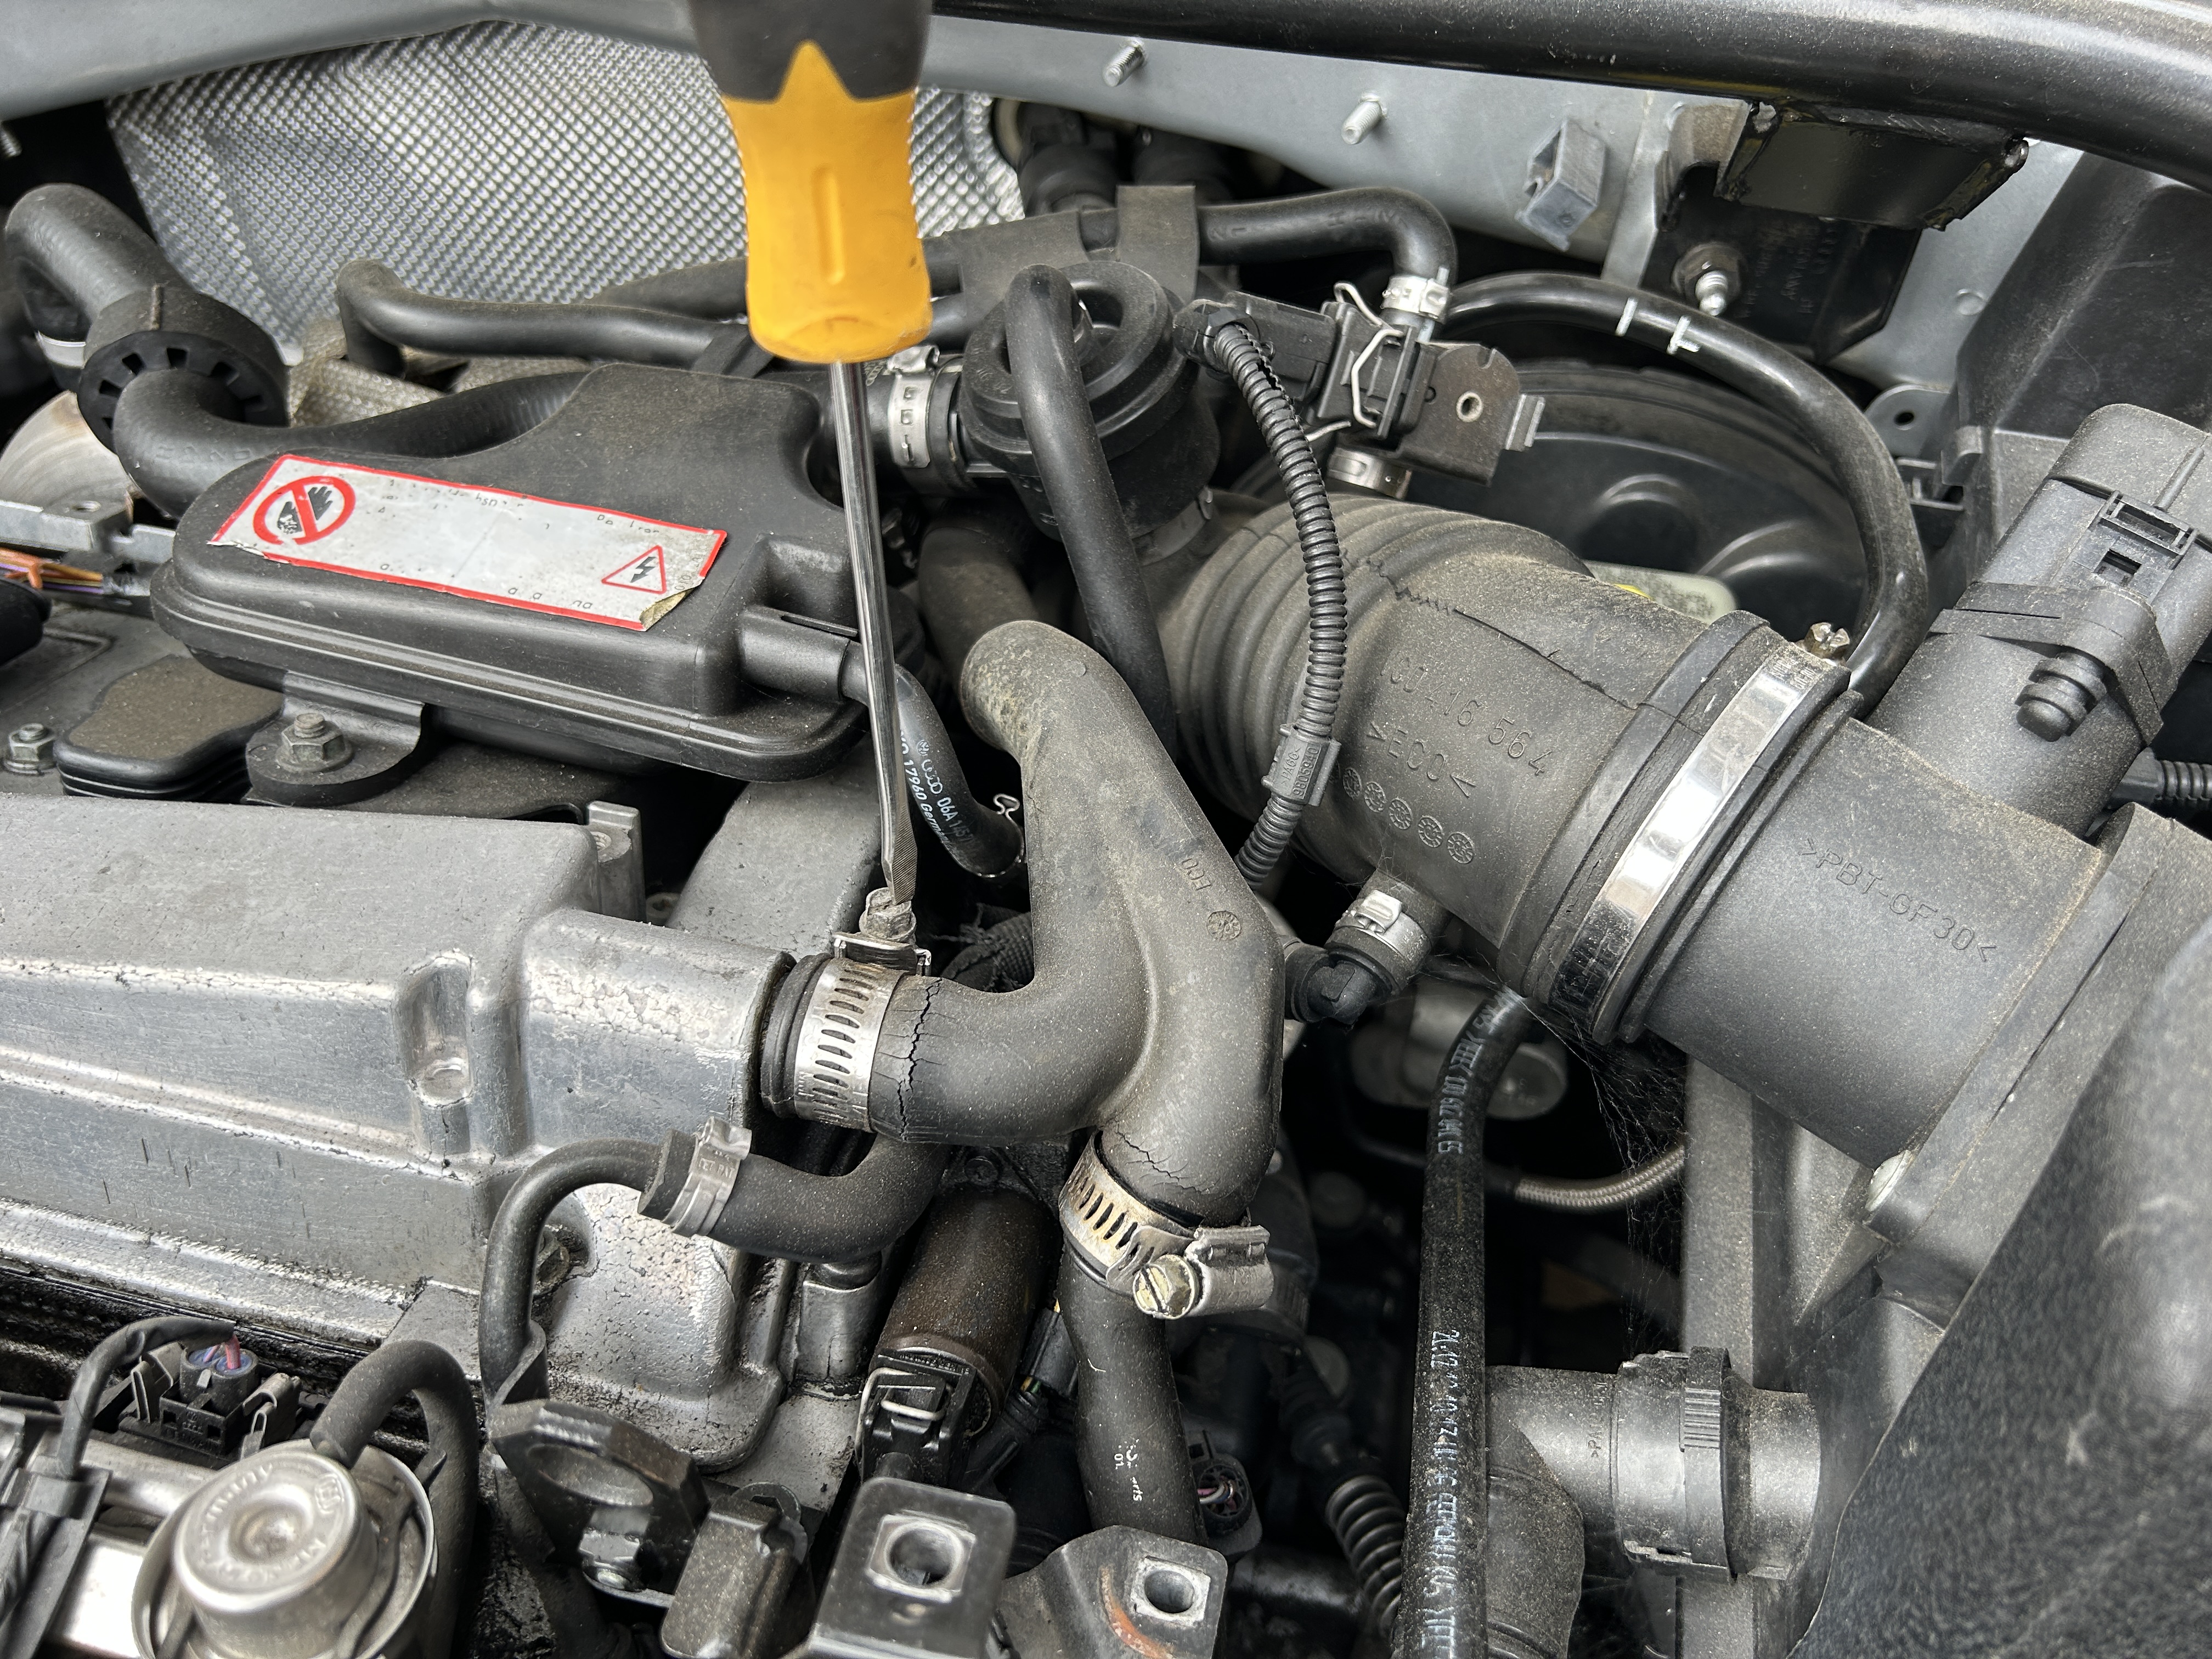
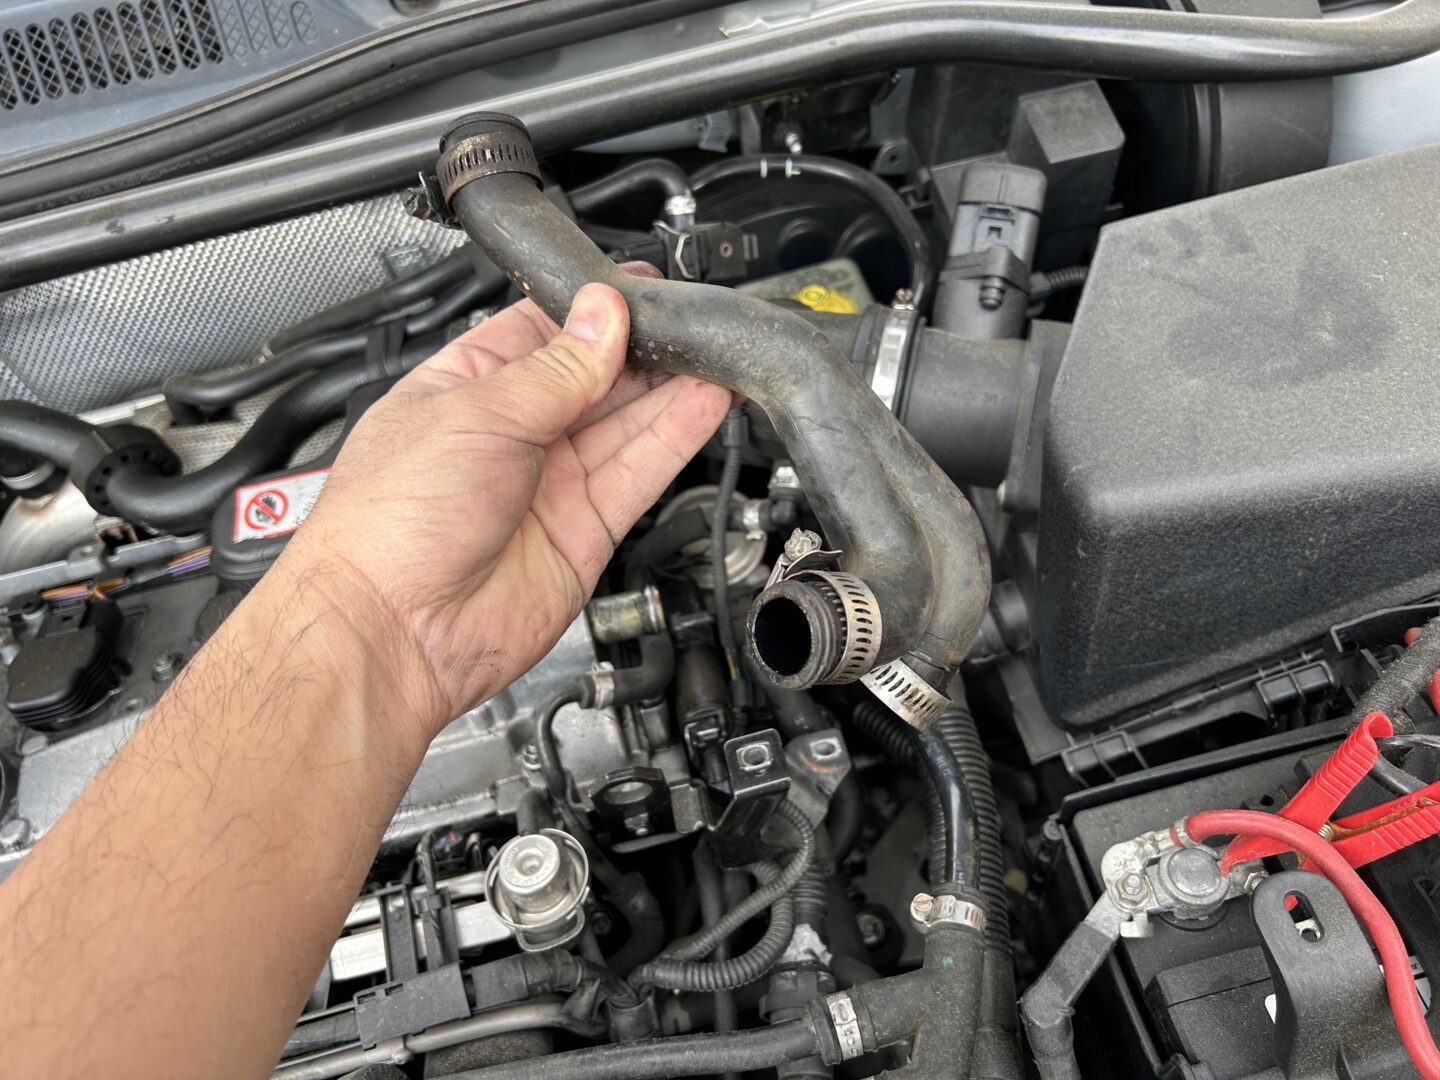
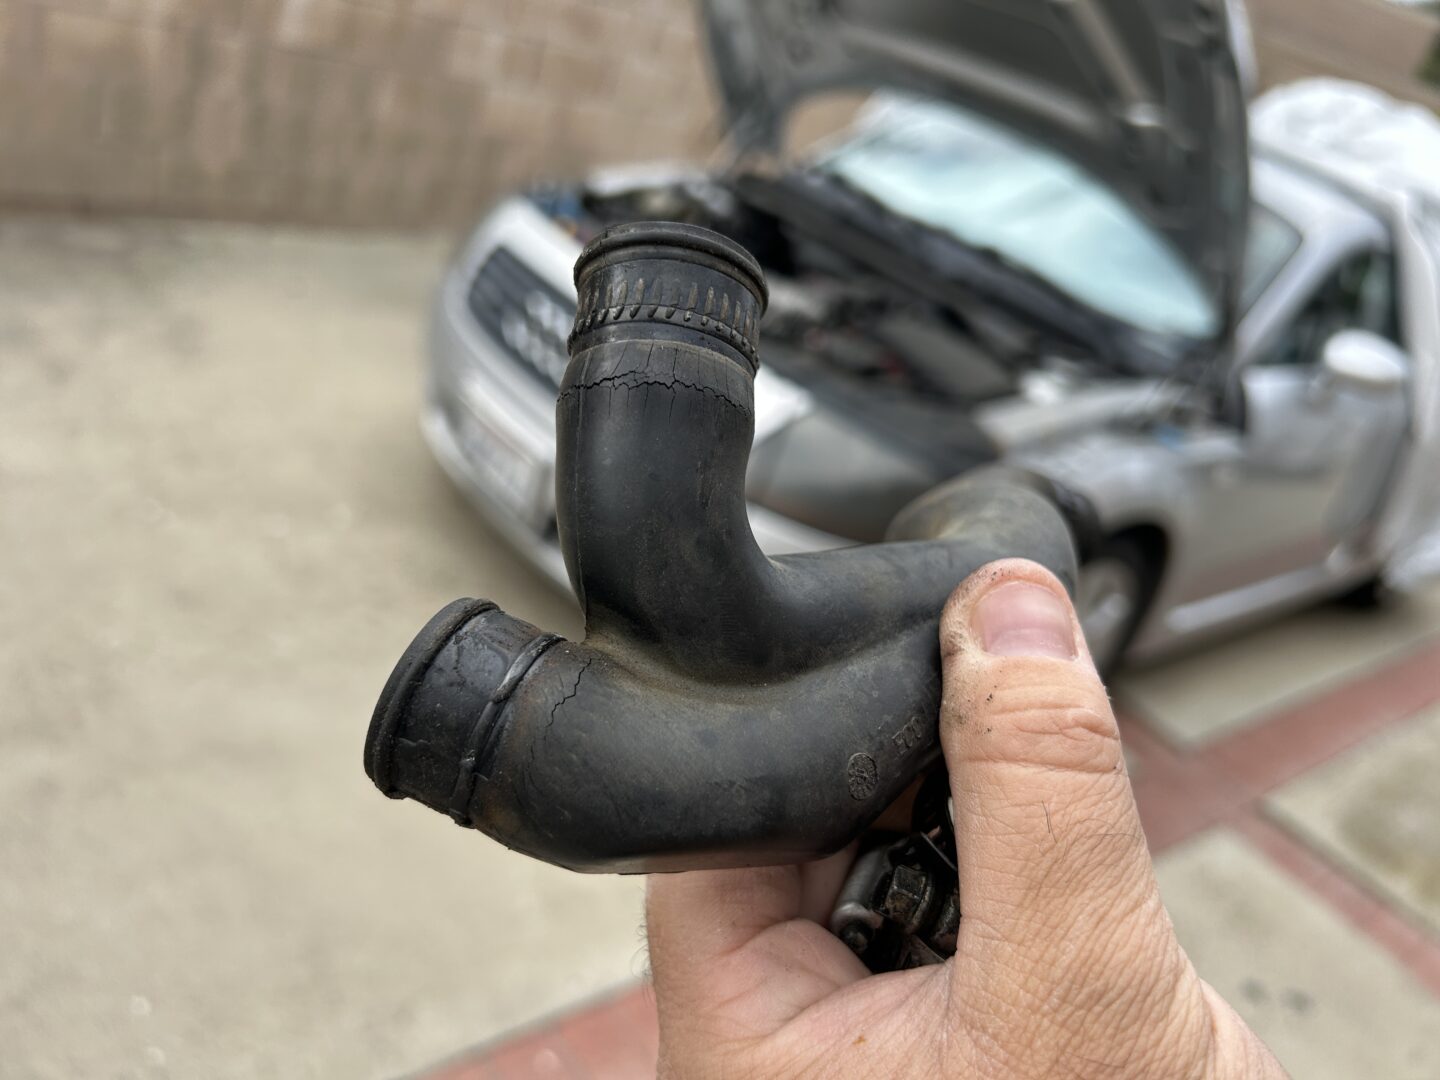
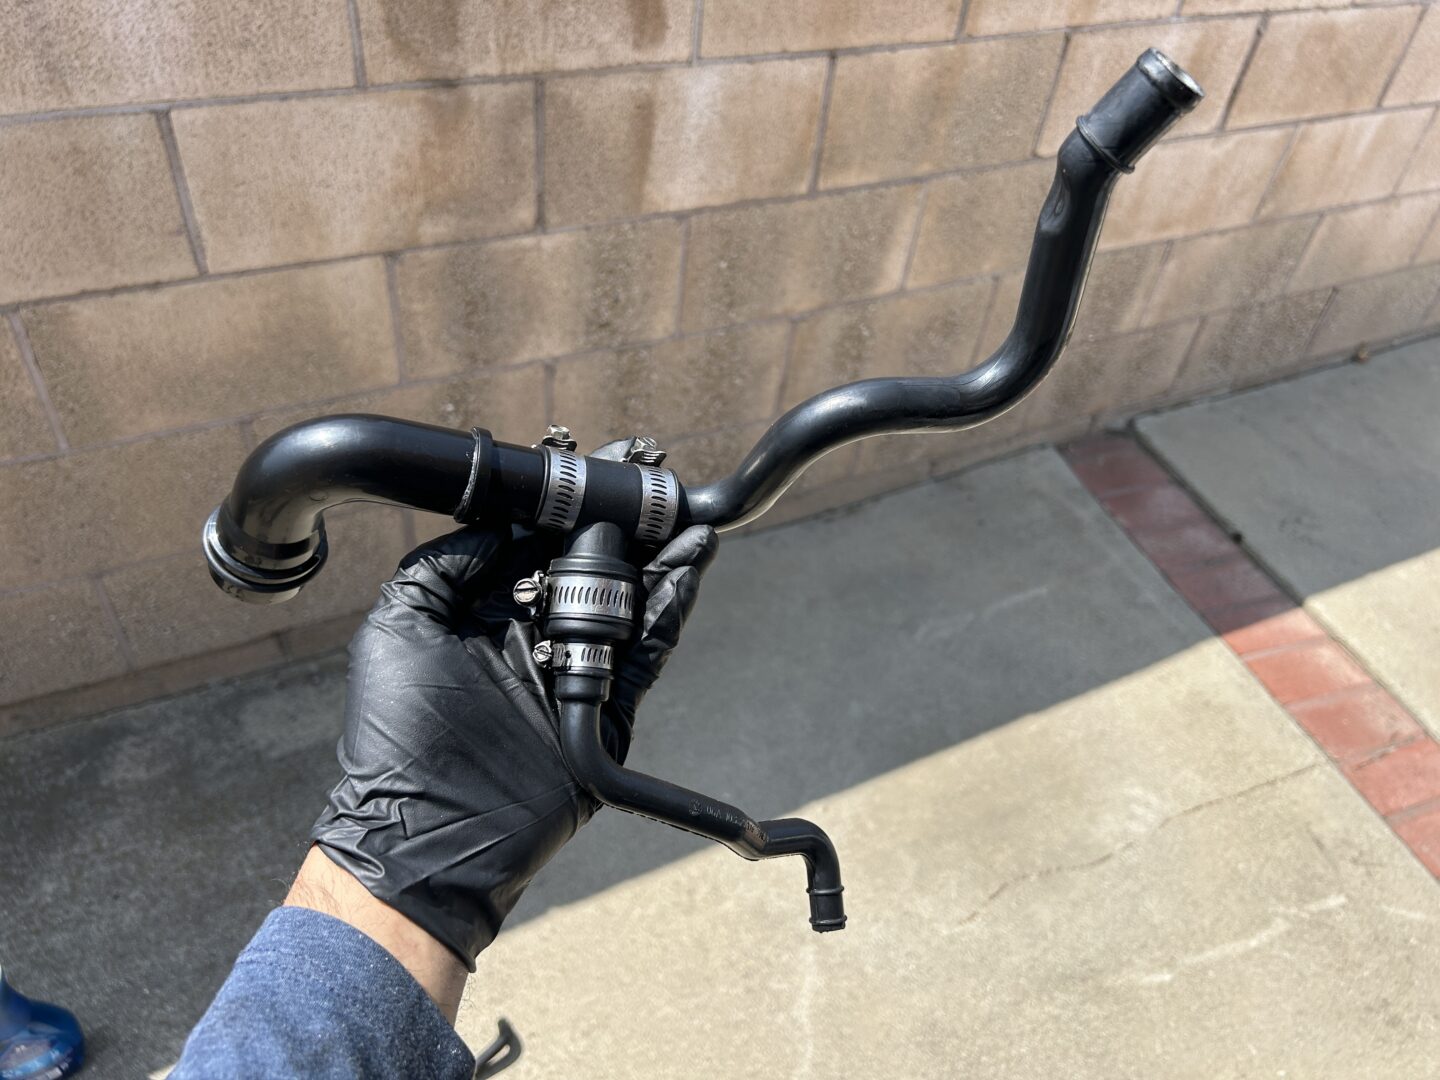
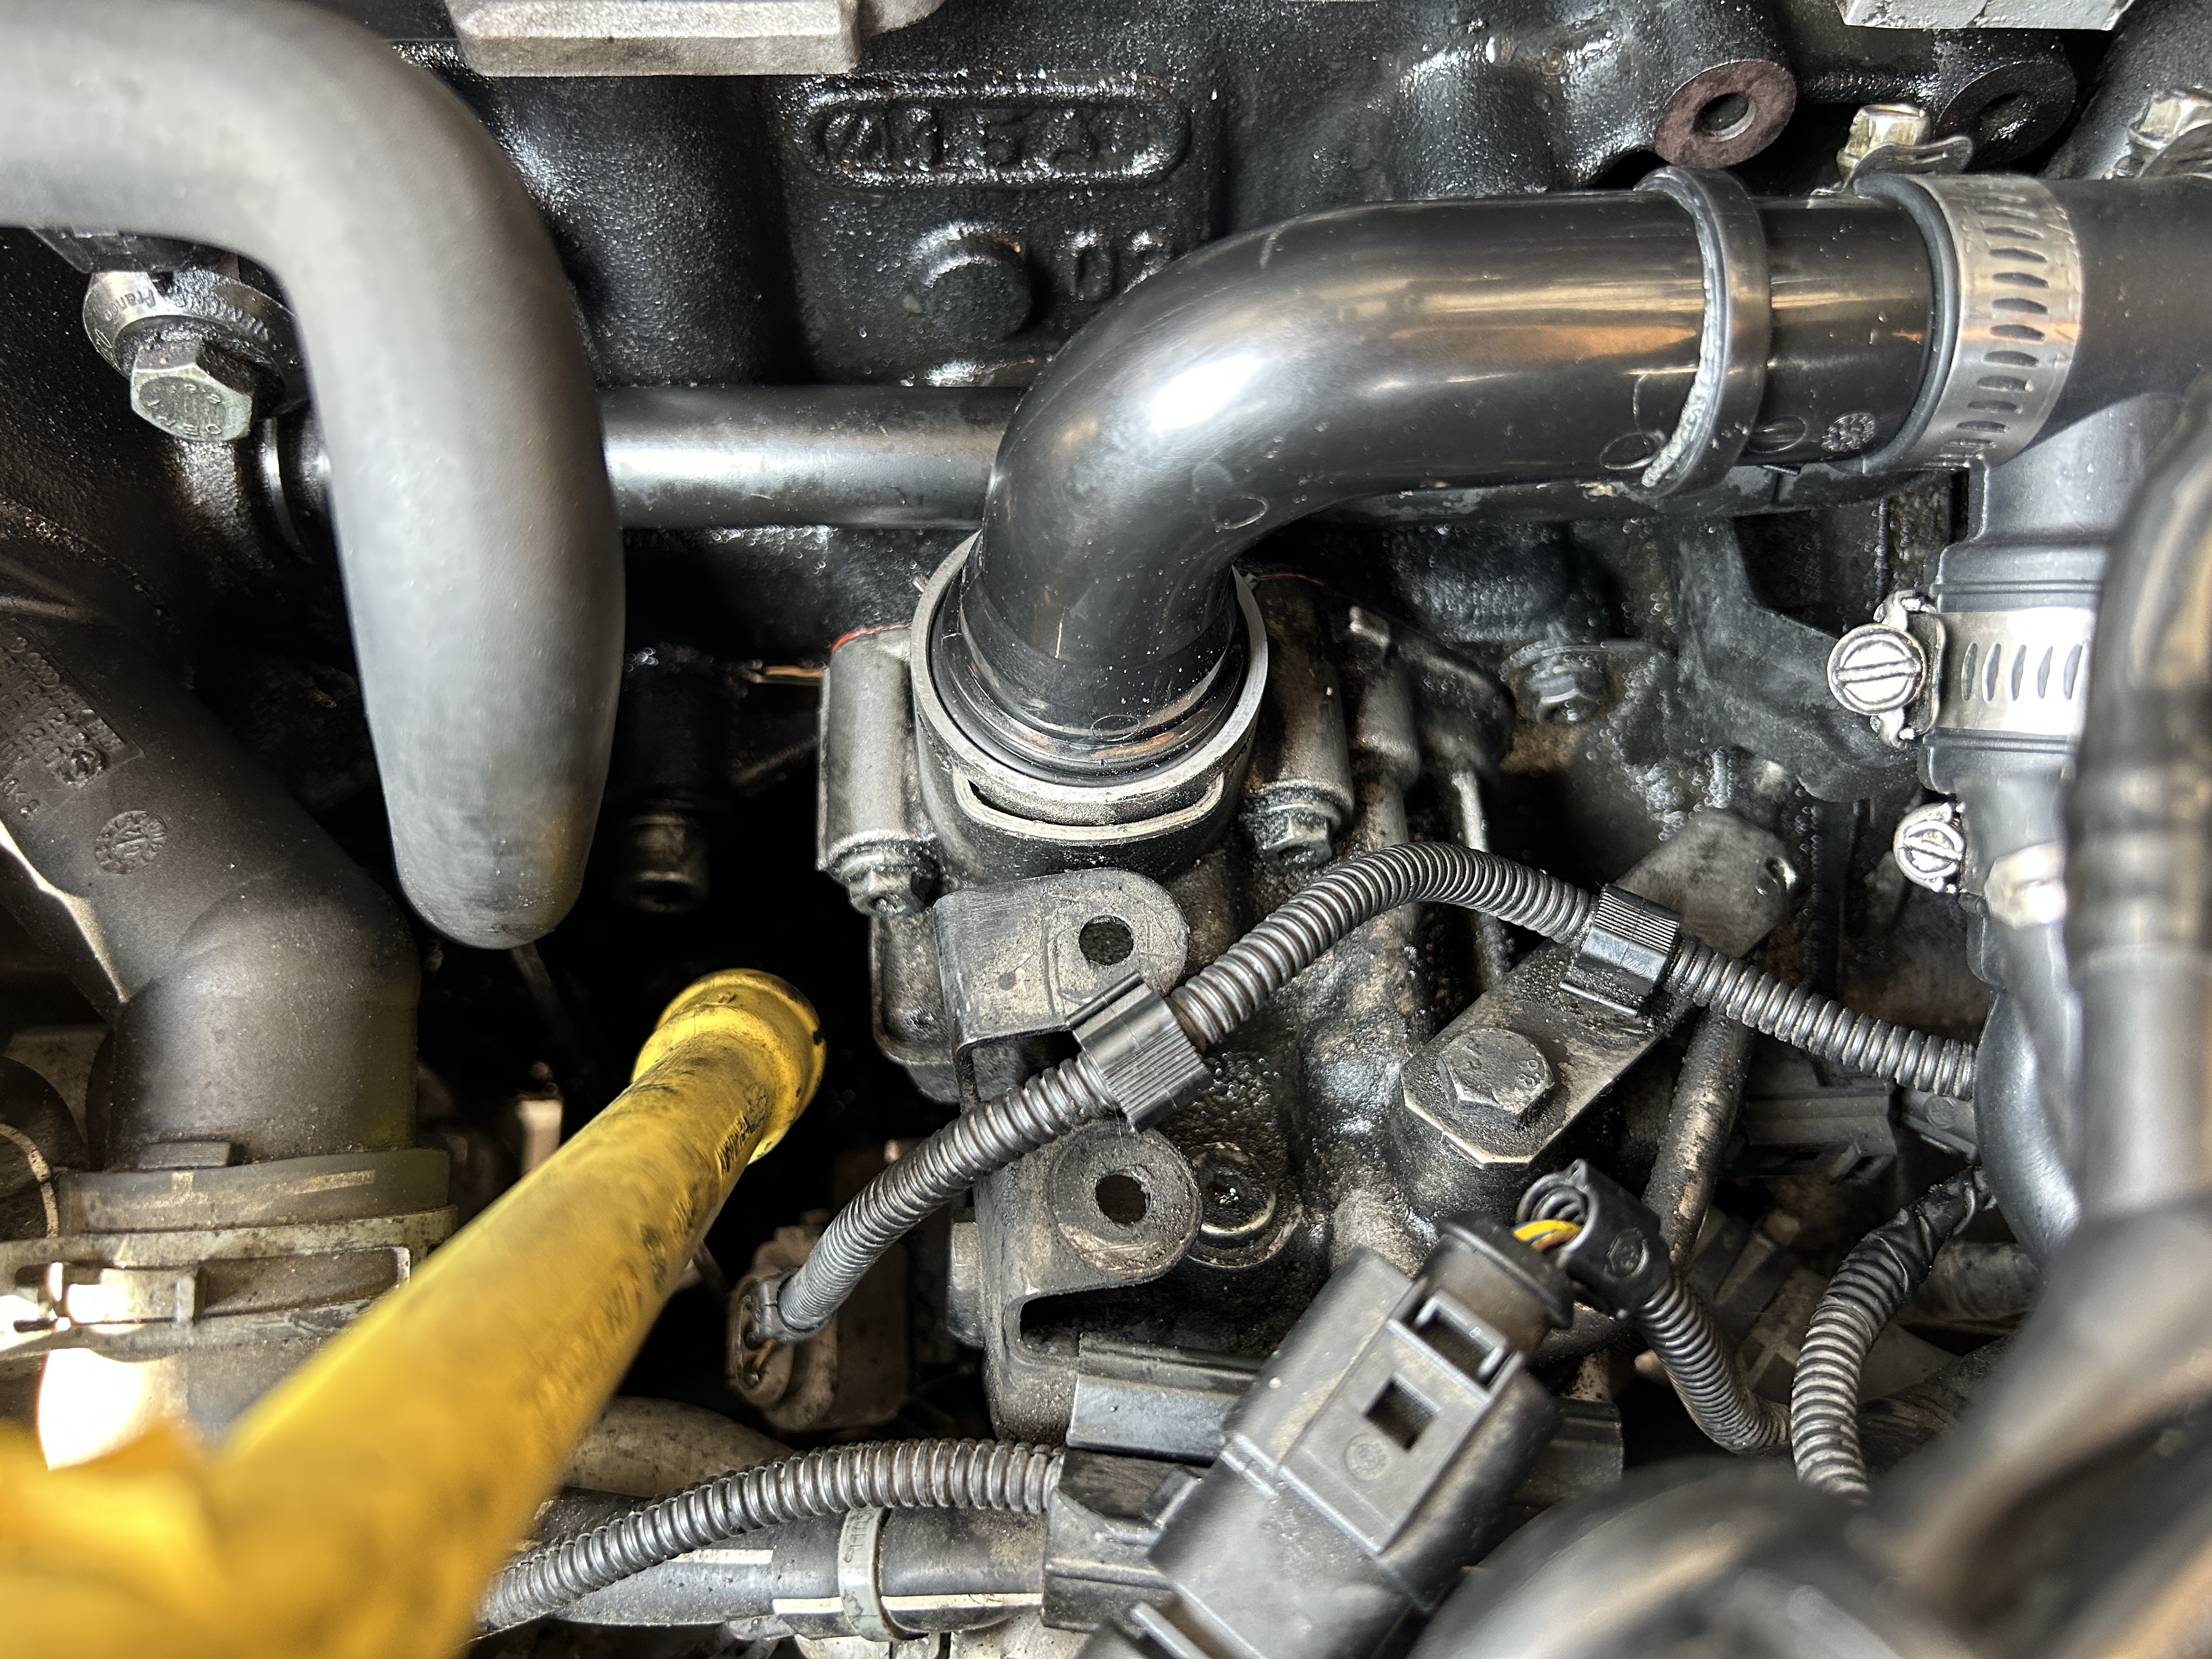
I swear, everytime I am working on something under the hood on my 2002 Audi TT, I find another issue that I need to address. The most recent thing I noticed is this y-shaped breather hose that has become cracked. If you have a MK1 Audi TT, then you probably know that because of the age of these cars, many of the rubber hoses have deteriorated over time.

As I looked for a replacement part online, I noticed that this specific y-shaped breather hose is sold as part of a “breather hose kit”. I figured that since this part has failed, maybe the other connecting parts are due for replacement as well. And because the price of a breather hose kit is not that much more than the single part itself, it’s probably worth getting the whole set.
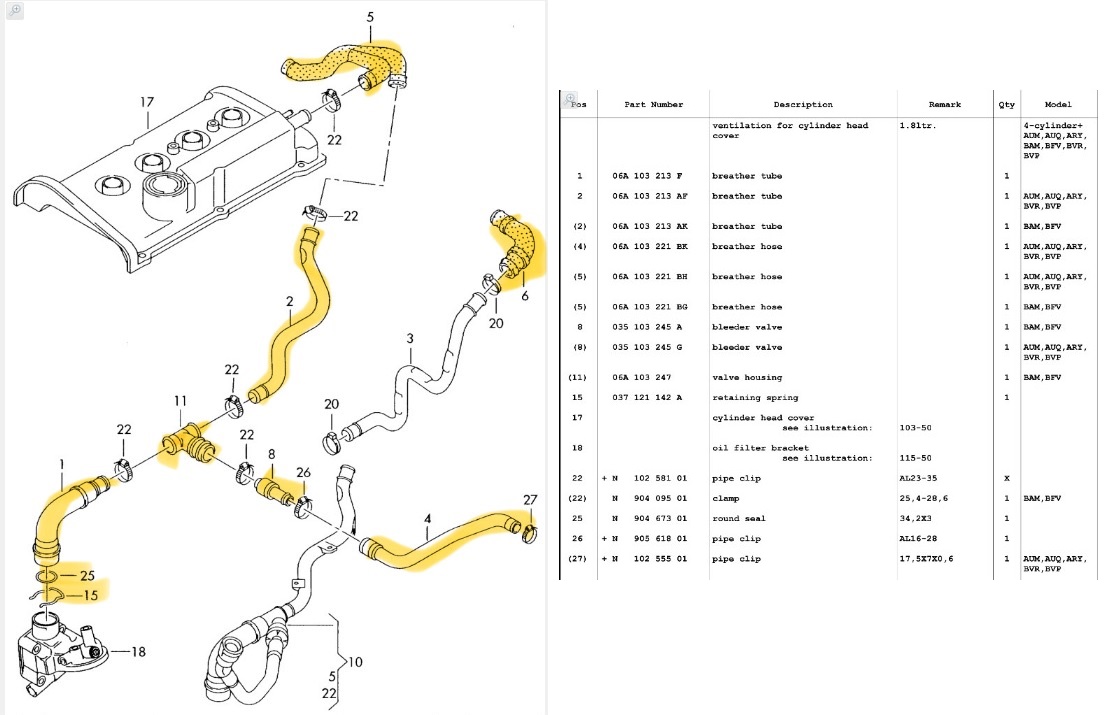
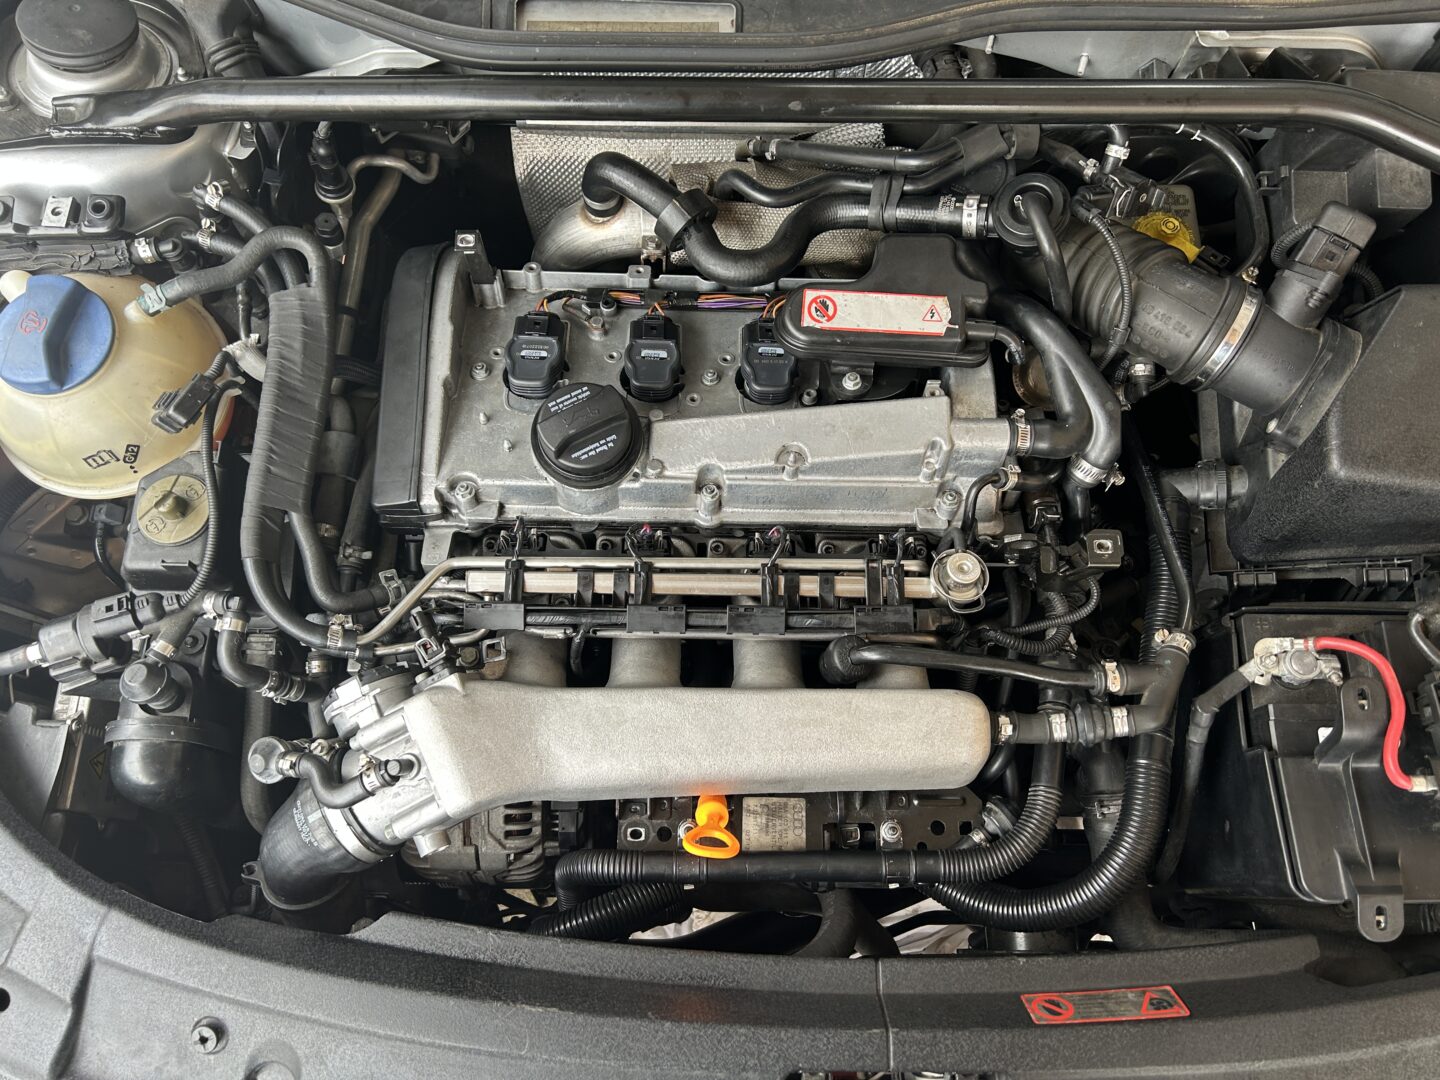
I will preface this whole thing by saying if you only want to replace that y-shaped breather hose (item 5 in the parts diagram below), you can do it without removing anything other than the hose itself because it is located right at the top of the engine. If you decide to replace the rest of the parts in the breather hose kit, it will require you to remove your intake manifold.
Removing the intake manifold is a bit of a pain to do on these cars, so unless you know that one of these hoses in the breather hose kit is leaking, you may not want to go through the trouble of removing the intake manifold just to proactively replace these parts. You may want to wait until you actually have to remove your intake manifold such as when you are replacing the intake manifold gasket. Then, you can replace the breather hose kit at the same time since the intake manifold will be coming off anyway.
Breather Hose Kit & Diagram
The breather hose kit consists of a number of different parts that I’ve highlighted below. You will probably want to pick up some hose clamps to replace the single-use clamps that are used from the factory. I recommend getting a kit that includes a variety of different clamp sizes so you have them all at your disposable when you need them.
Worm gear clamp set: TICONN 40PCS Hose Clamp Set – 1/4”–1-1/8”
The breather hose kit is cheap, costing about $20 on Amazon. It gets good reviews, so I think it’s a decent kit if you need to replace any damaged components in your crankcase breather hose kit. These hoses are all made of rubber, so if you’re looking for more durable silicone hoses, you’ll need to shell out some more money and find them elsewhere. Otherwise, this kit gets the job done.
Breather Hose Kit: 06A103213F Engine Crankcase Breather Hose Kit for Audi VW 1.8T MK4 (8 Pc)
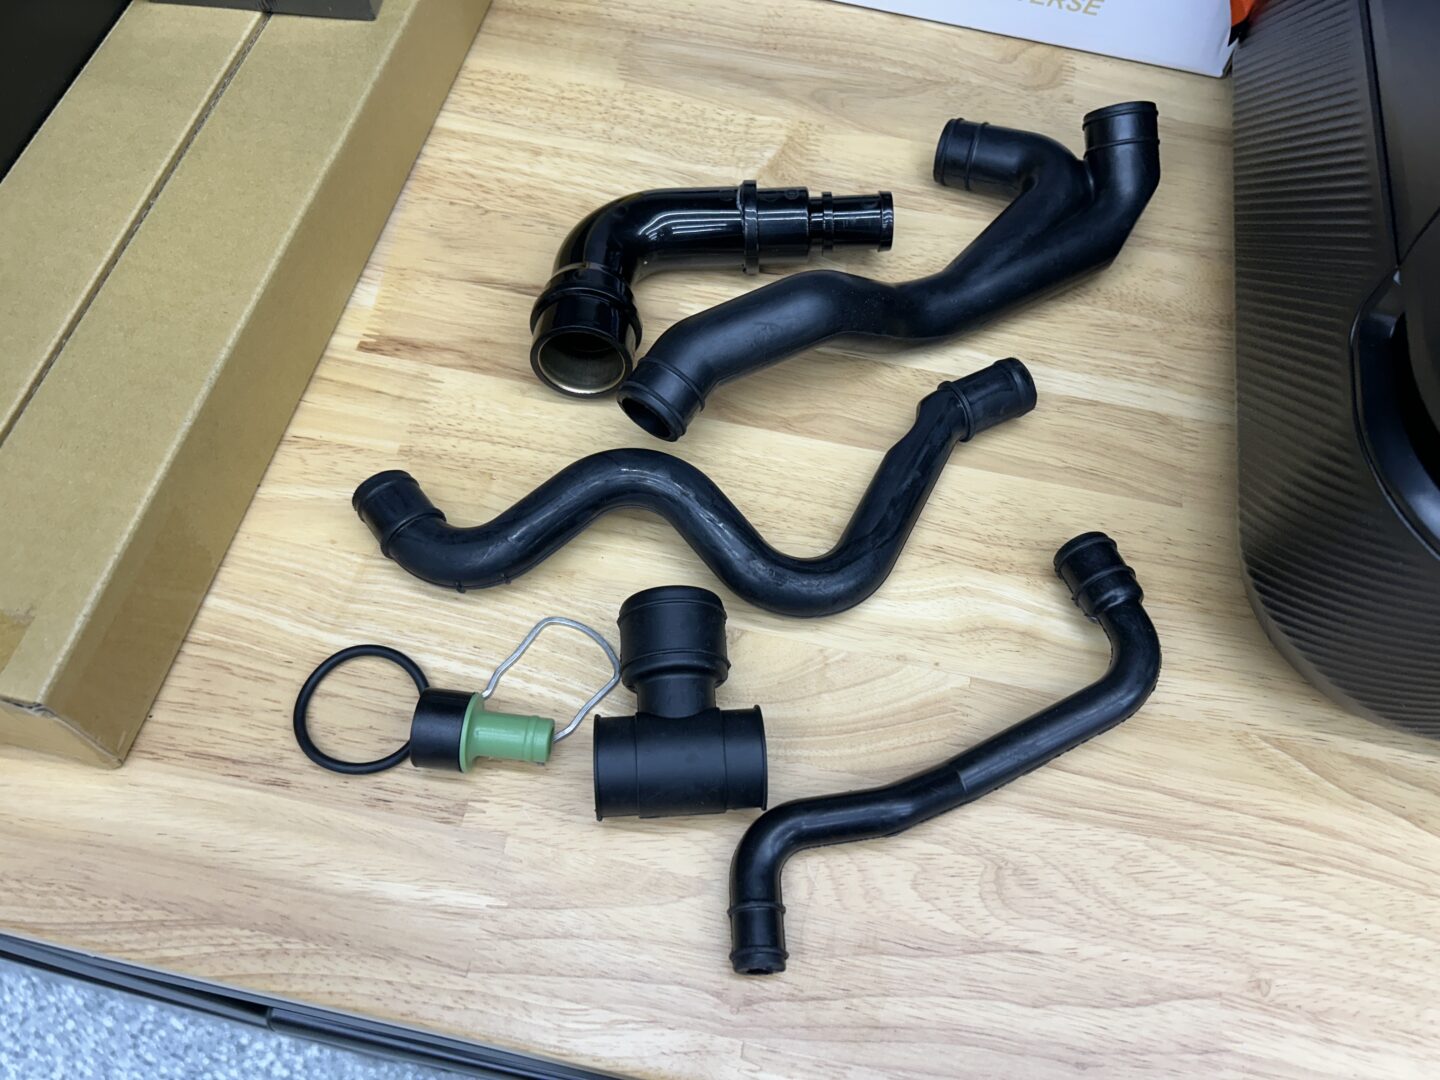
I will note a few things about this kit. The hoses and components all seem to fit just fine as they are supposed to be direct replacements. There is just one exception: the O-ring for the 90-degree hose. The O-ring that comes with the kit seems just a bit too large in diameter; if you try using it (even if you lubricate it), it just never allows you to get the 90-degree hose to push all the way in in order to insert the retaining clip. Try to find another OEM replacement for the O-ring (see part number 25 in parts diagram above).
Crankcase Breather O-Ring (Part #N90467301)
How to Replace the Crankcase Breather Vent Hose Kit
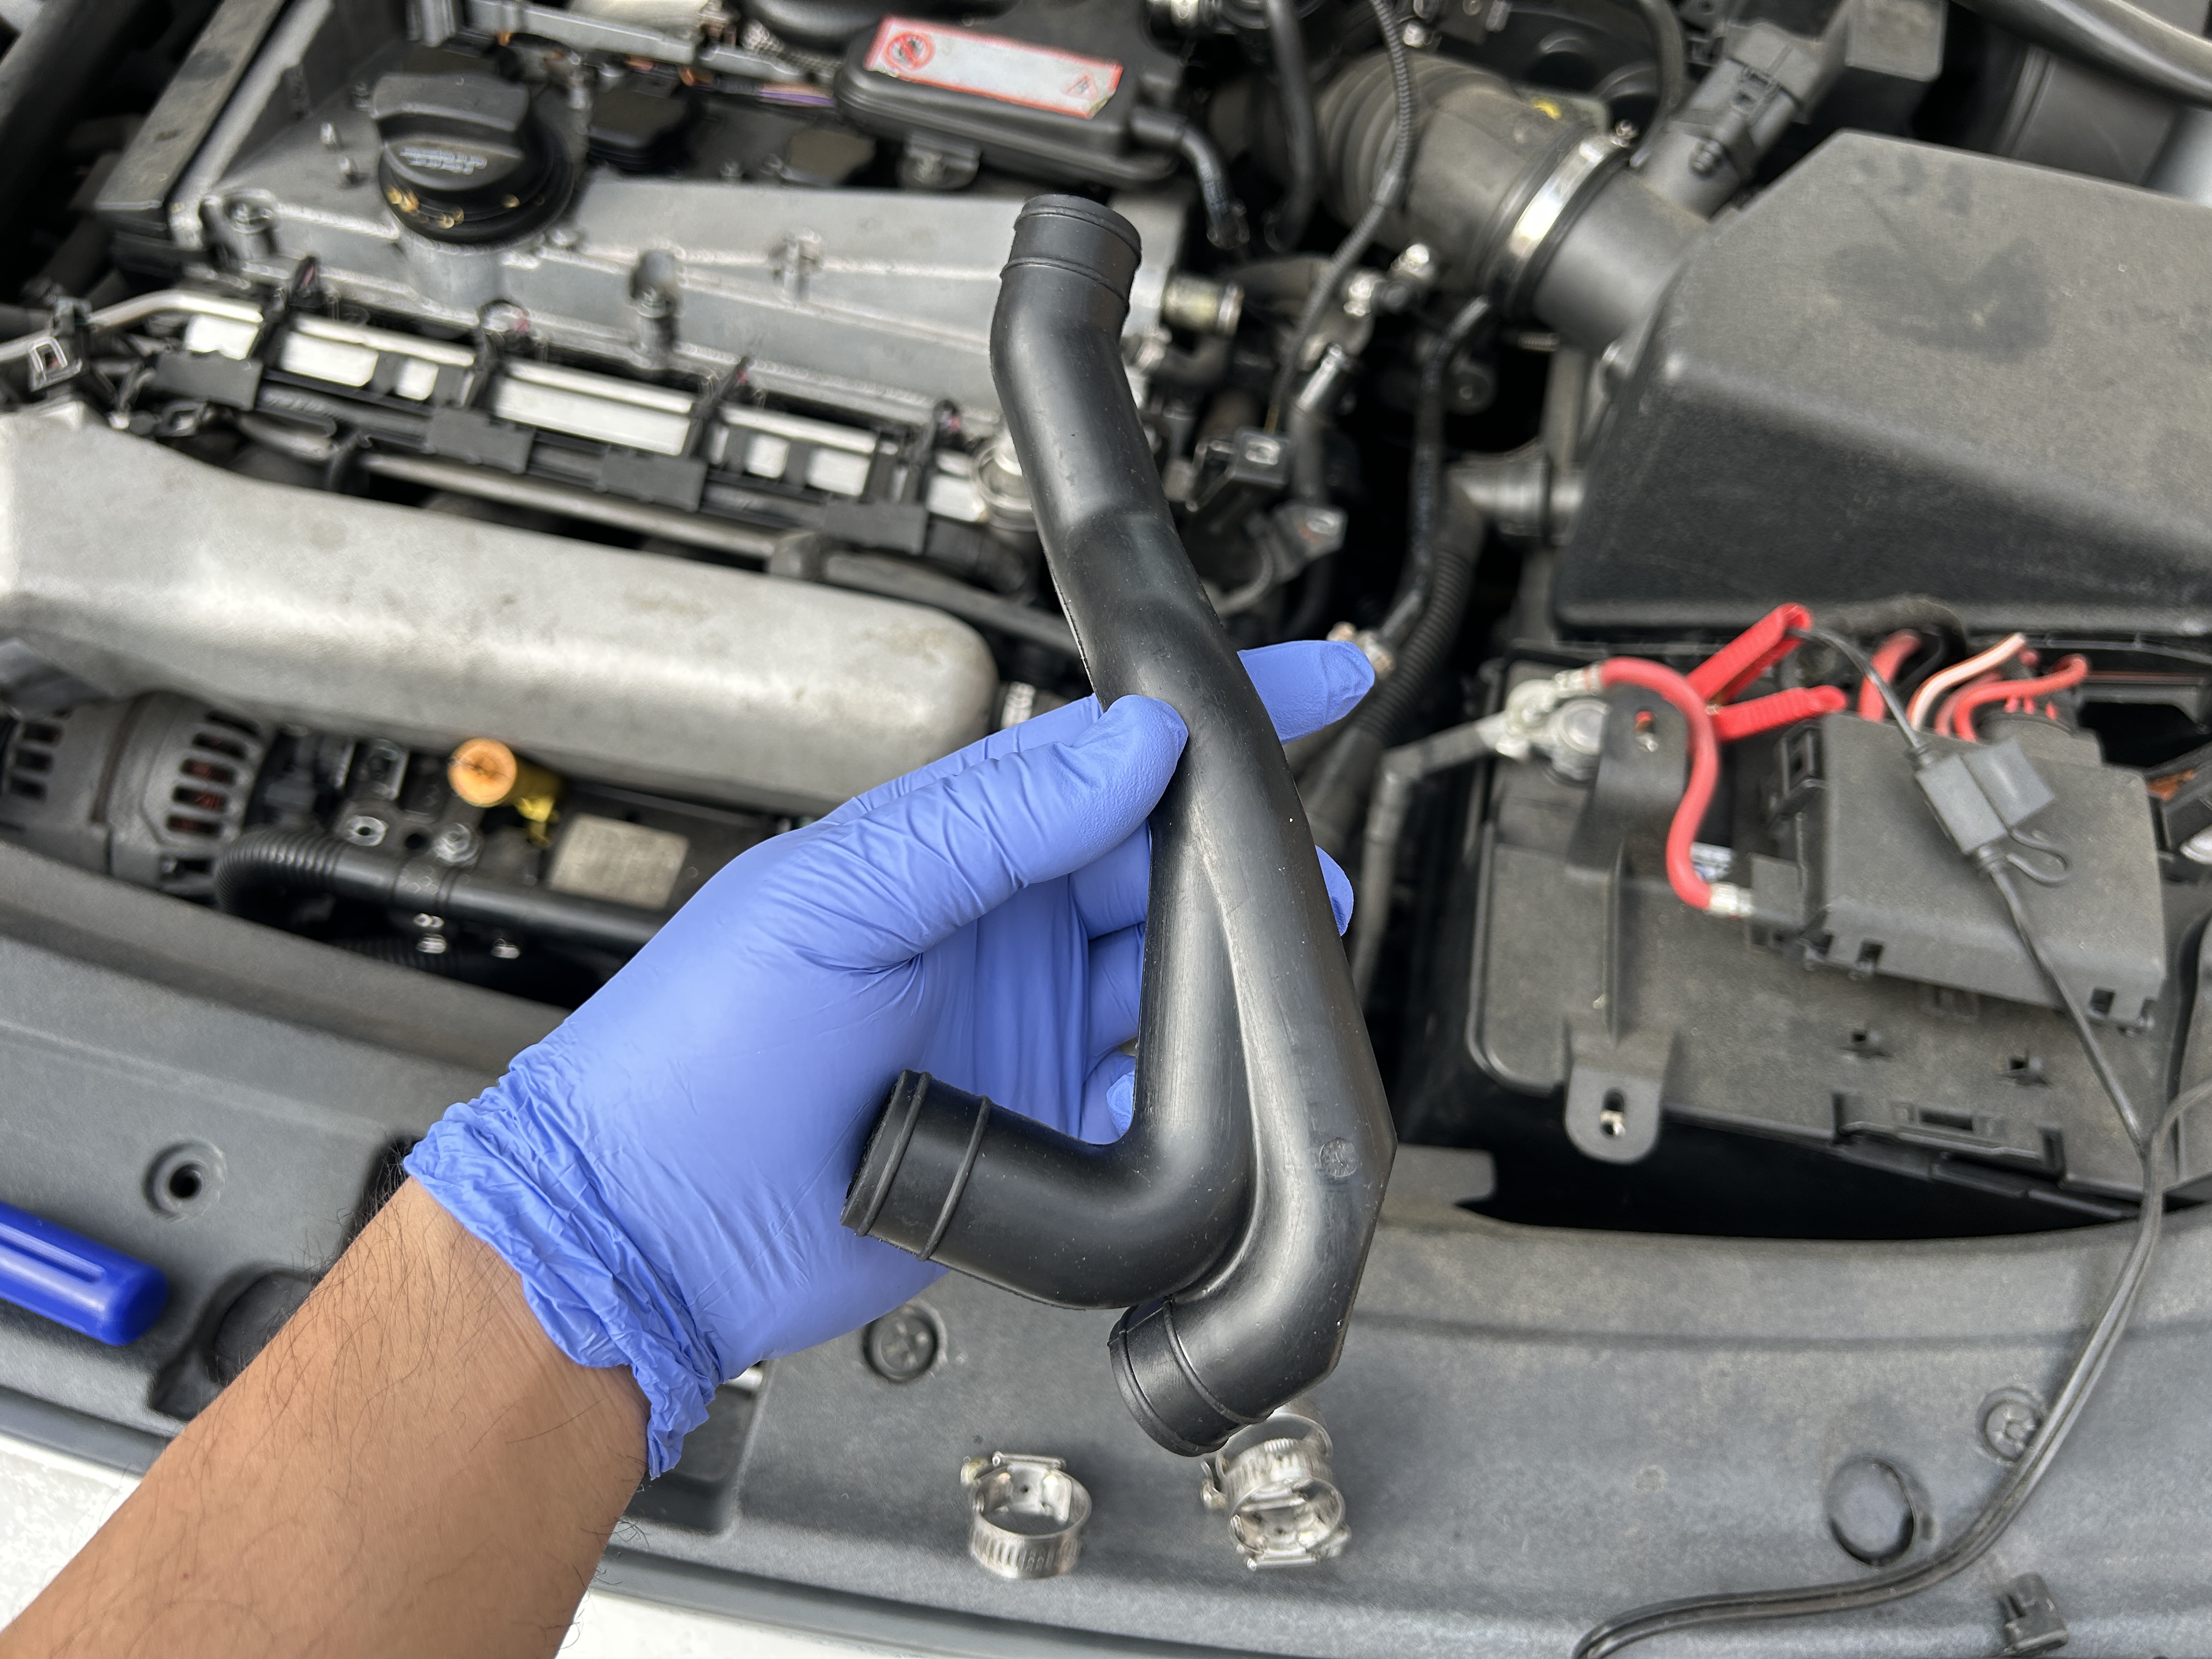
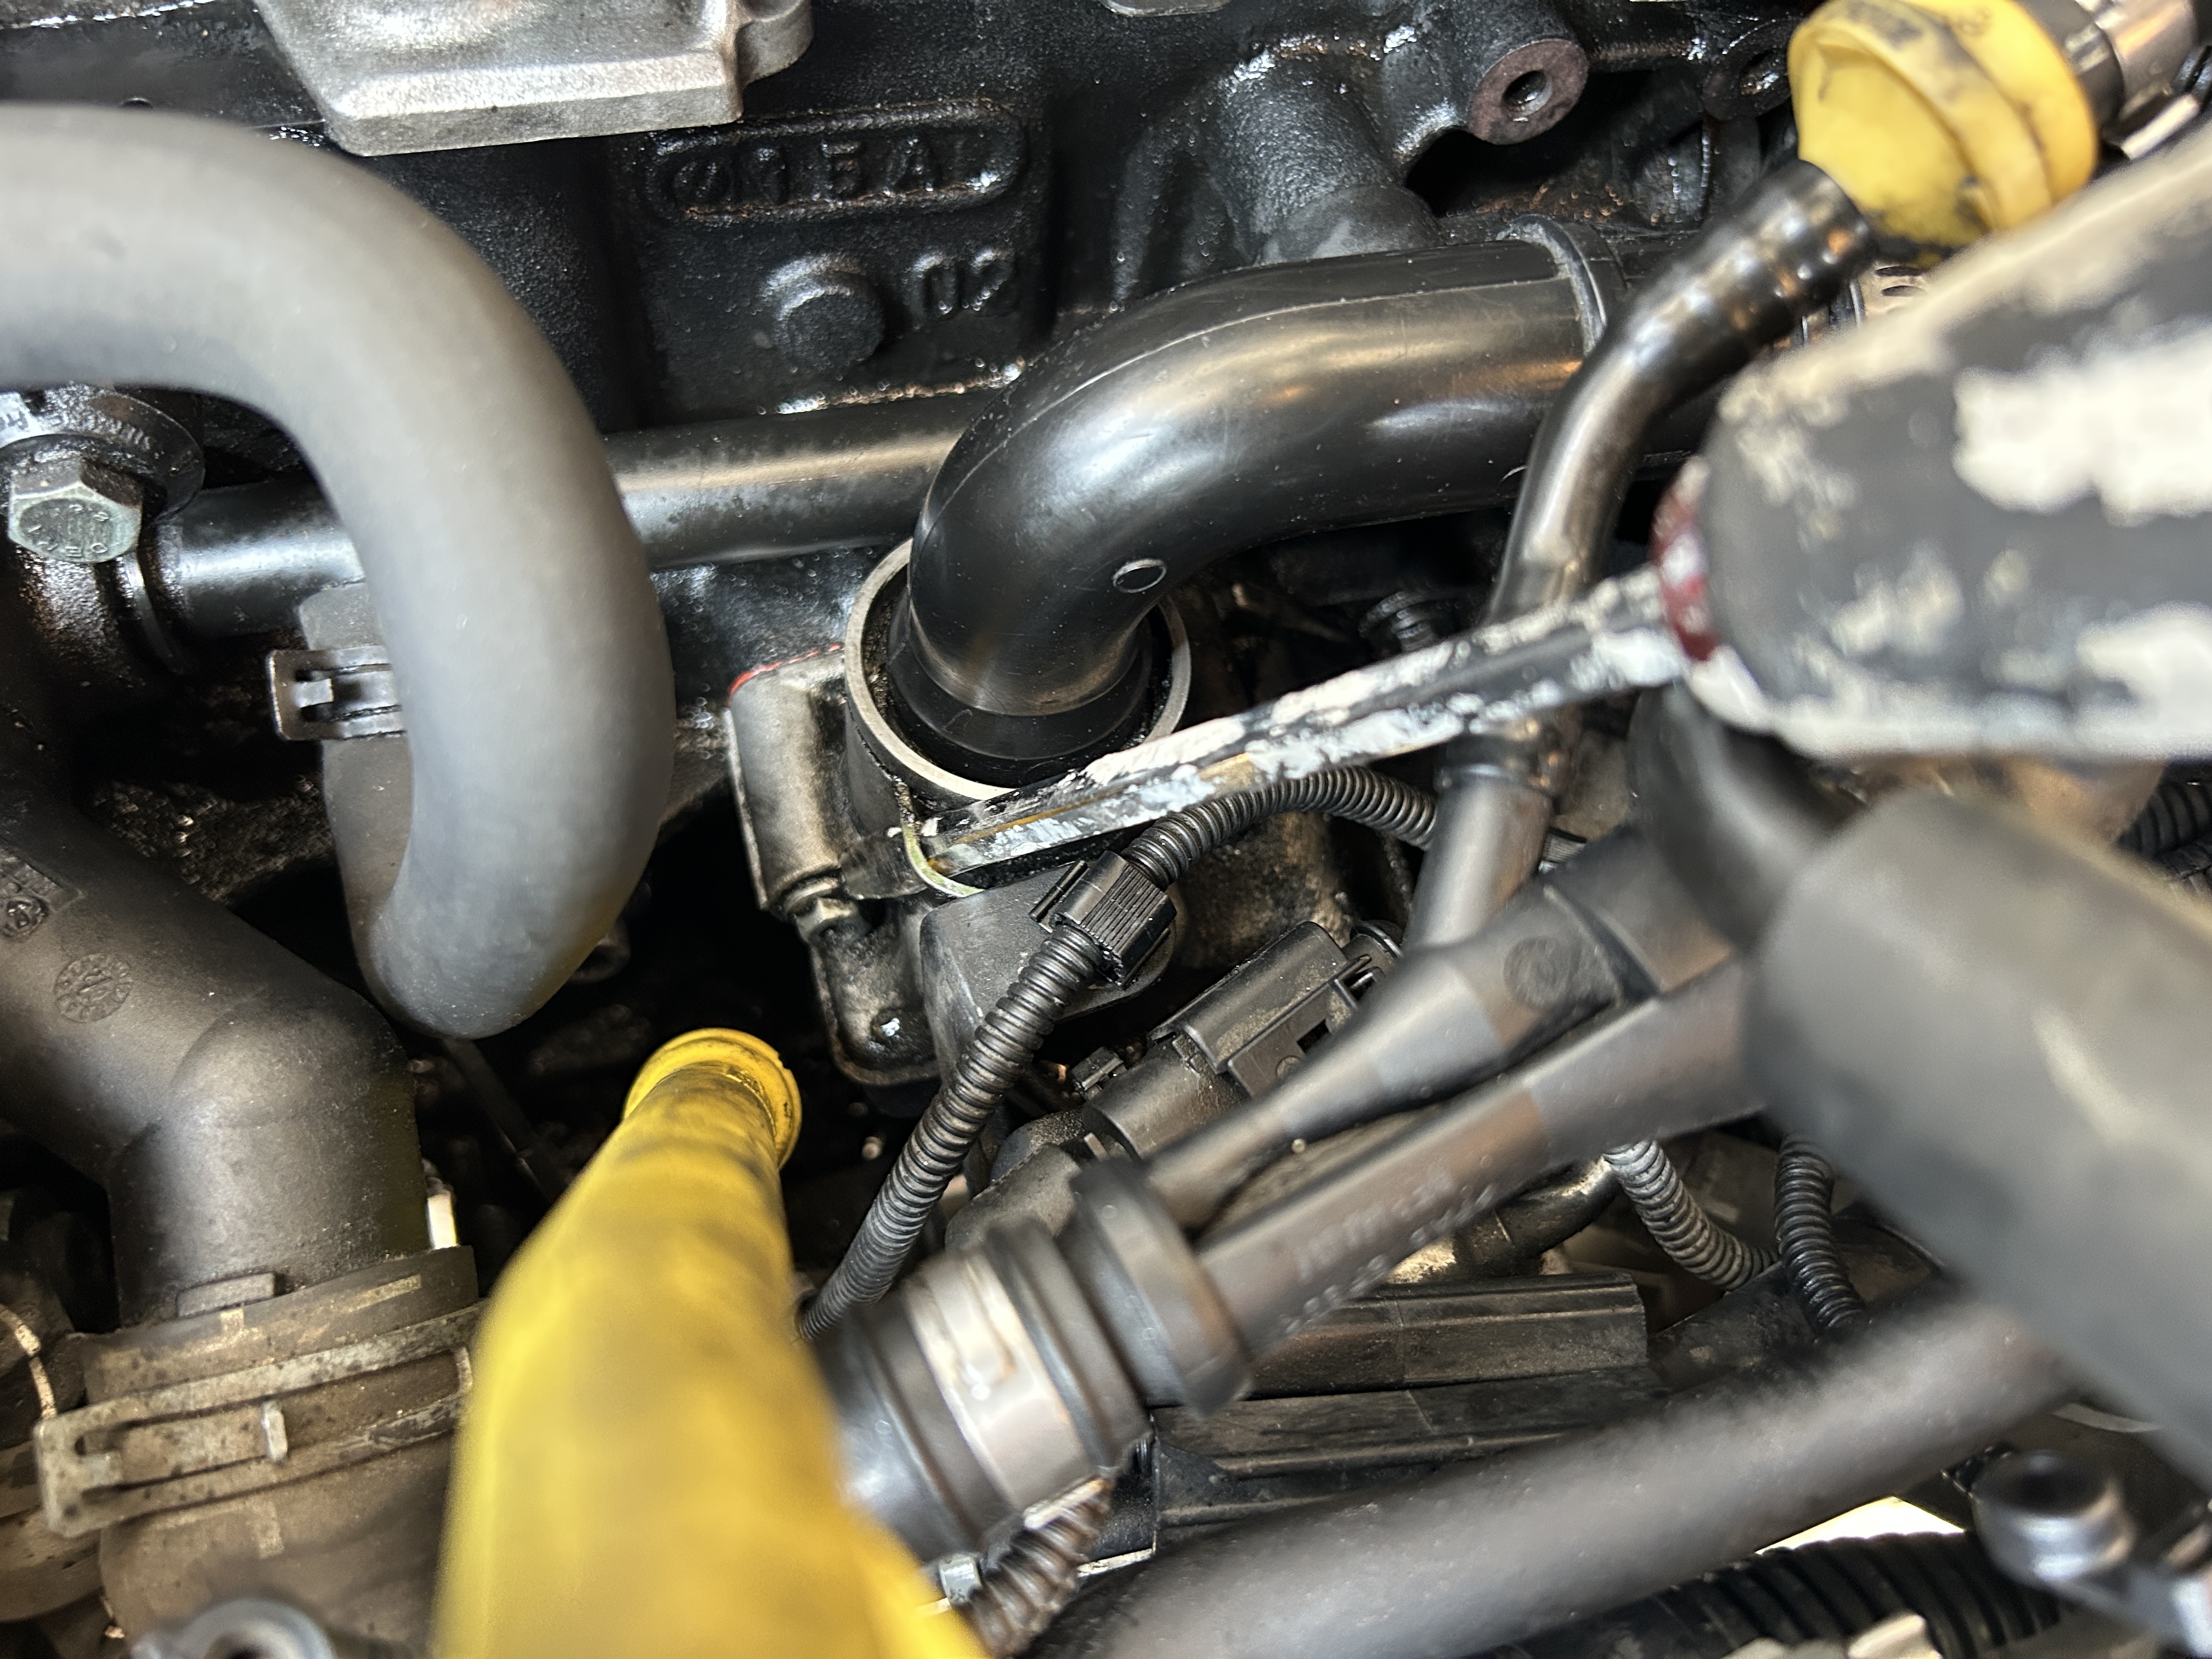
The easiest part to replace on this kit is the Y-shaped breather hose located at the top of the engine. This is the part that I initially and visually identified as cracking and needing replacement. Replacing this part is as simple as undoing the (3 qty) clamps to remove the old hose and installing the new hose with clamps.


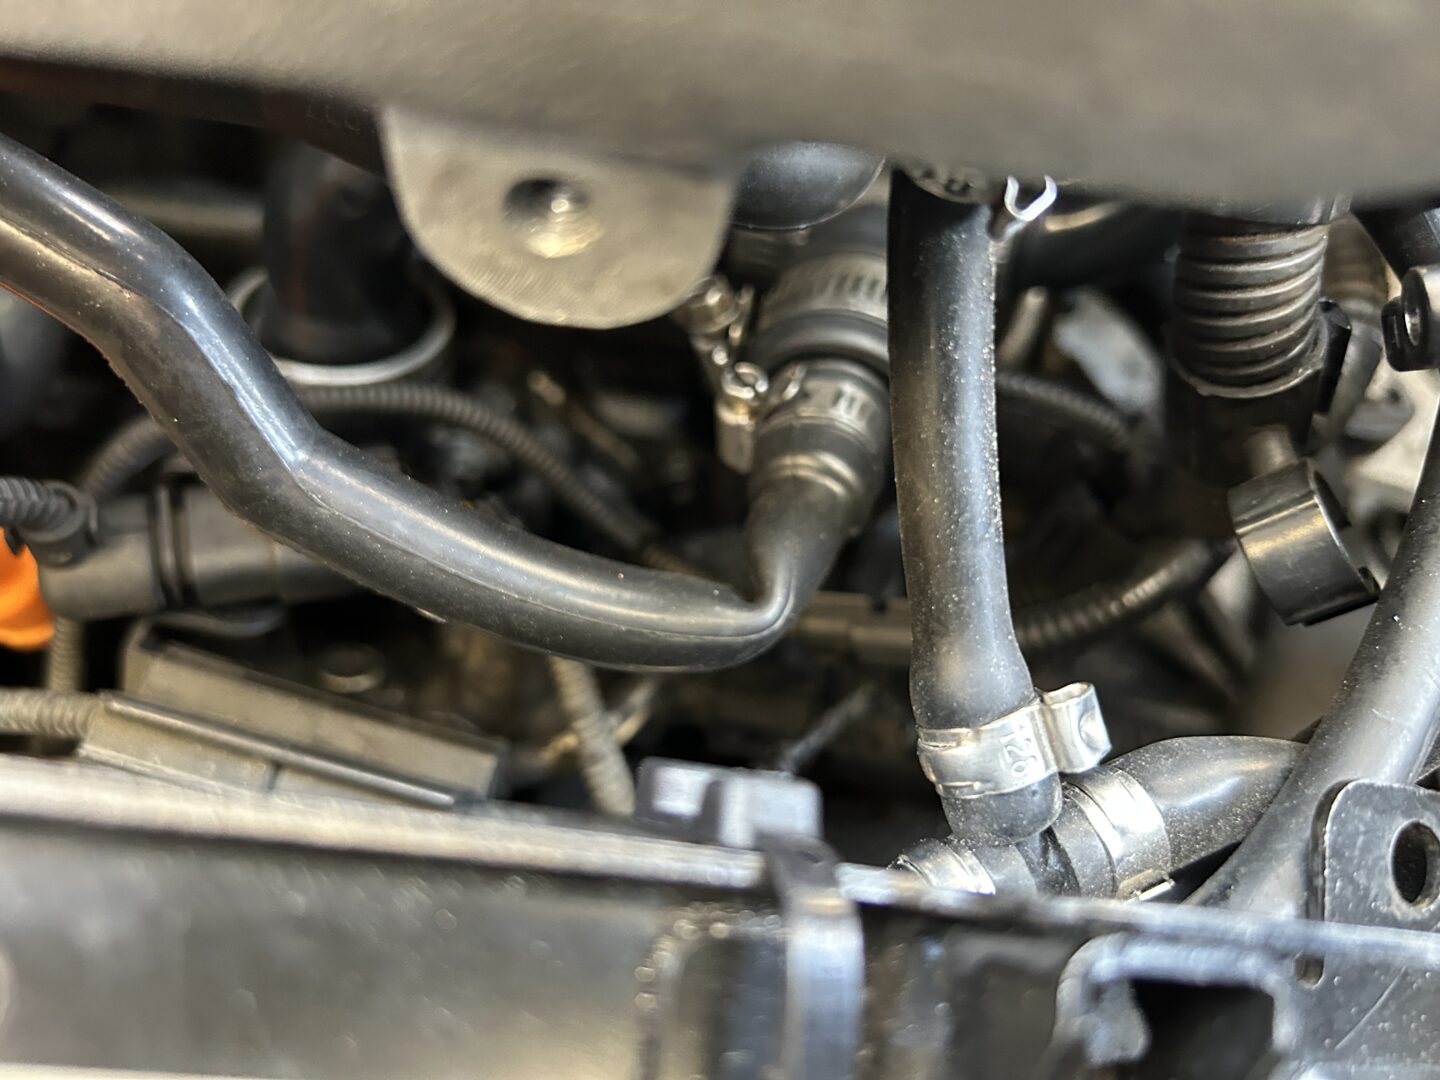
For the remaining part of the crankcase breather hose kit, they are located underneath the intake manifold. Therefore, you’ll need to remove the intake manifold, which also requires you to move the fuel rail out of the way. As I mentioned earlier, it’s a bit of a pain to remove, so I would only replace the remaining parts in the kit if you have an active leak or other issue, or if you are already removing the intake manifold.
You’ll need to first remove the N249 bracket, which you can find a tutorial for here. You will also need to remove the intake manifold; check out this guide if you need it: removing the intake manifold gasket.

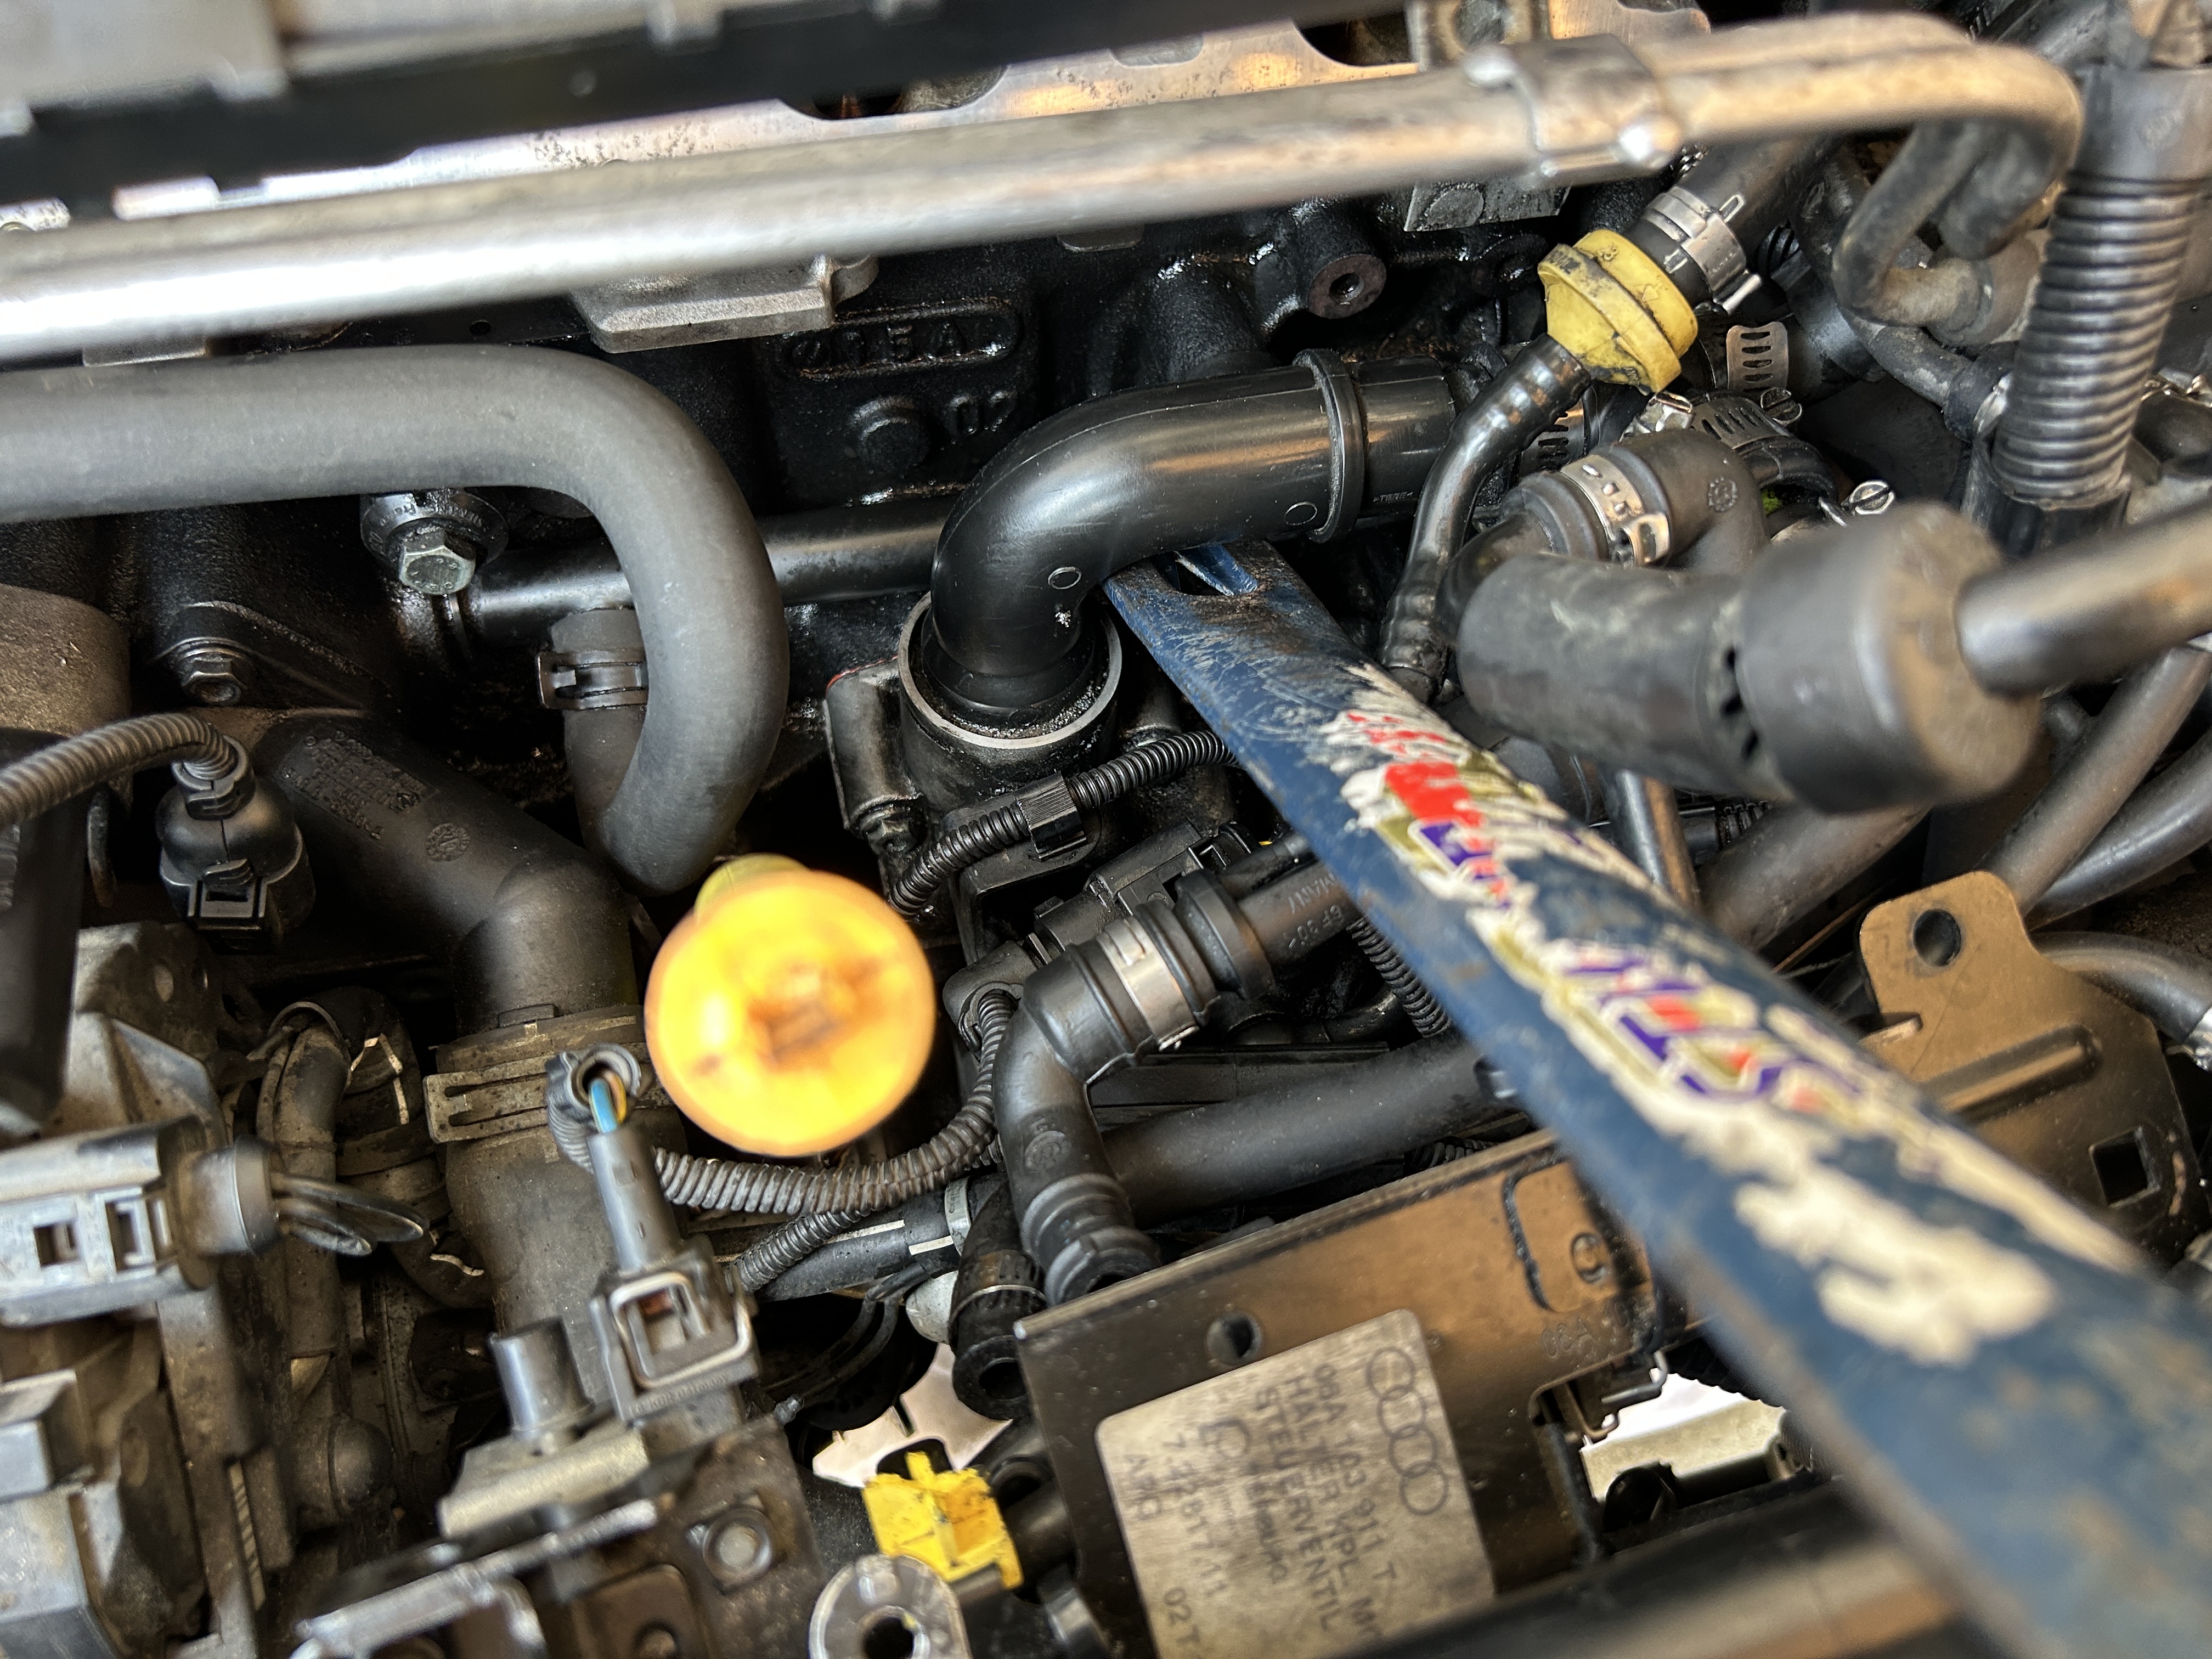
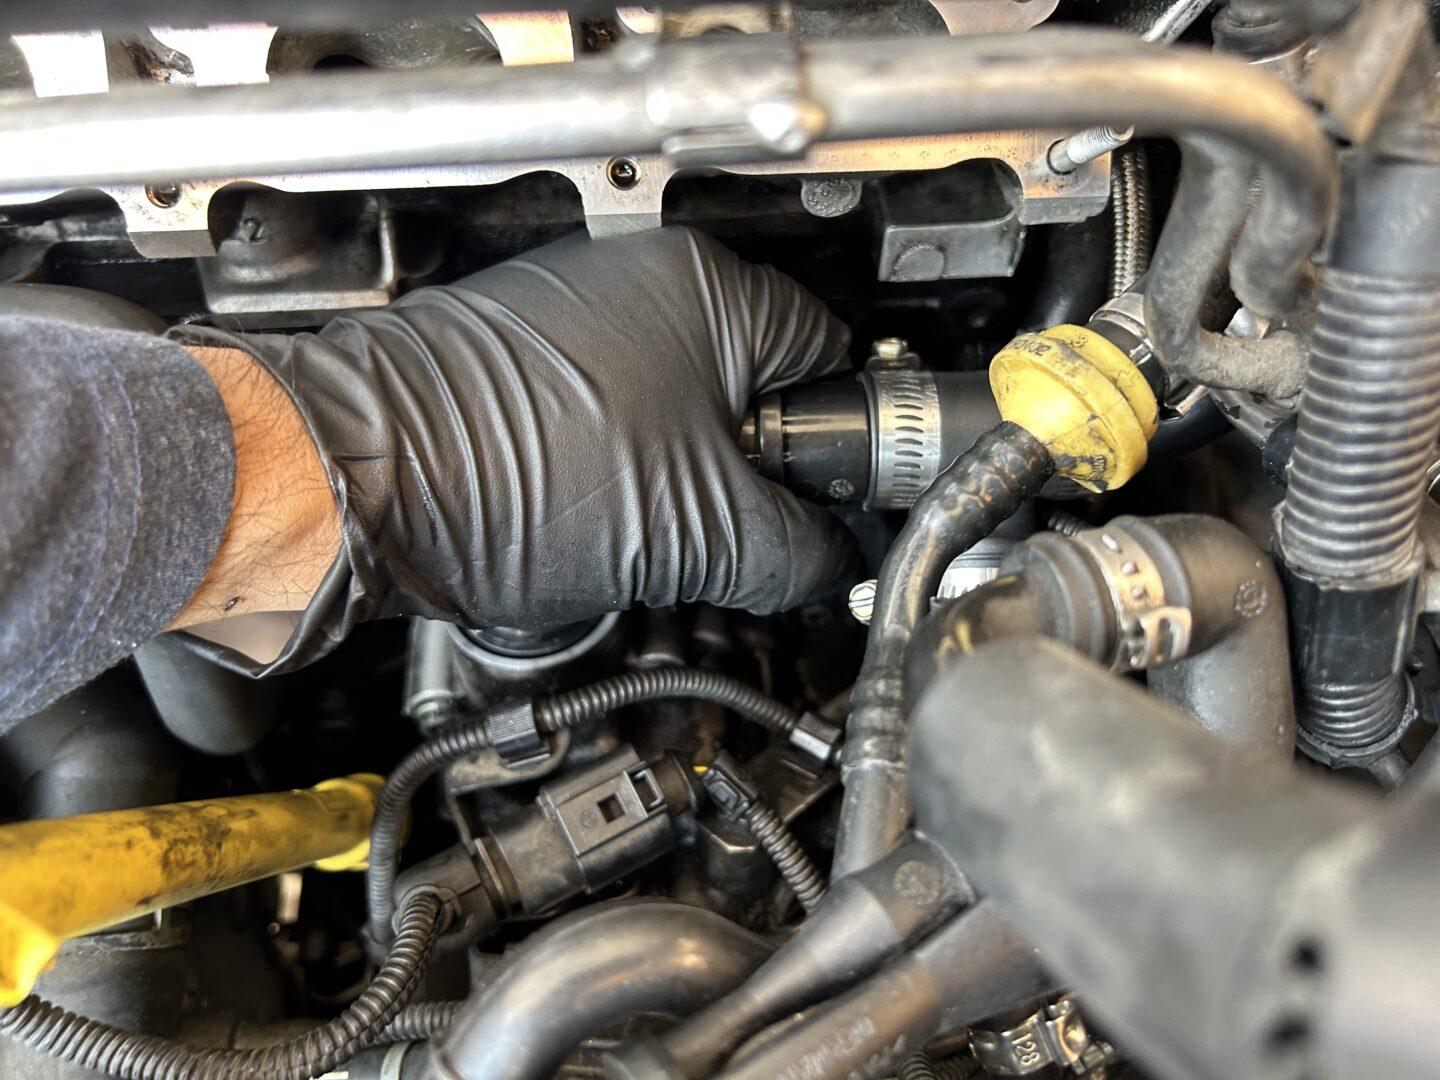
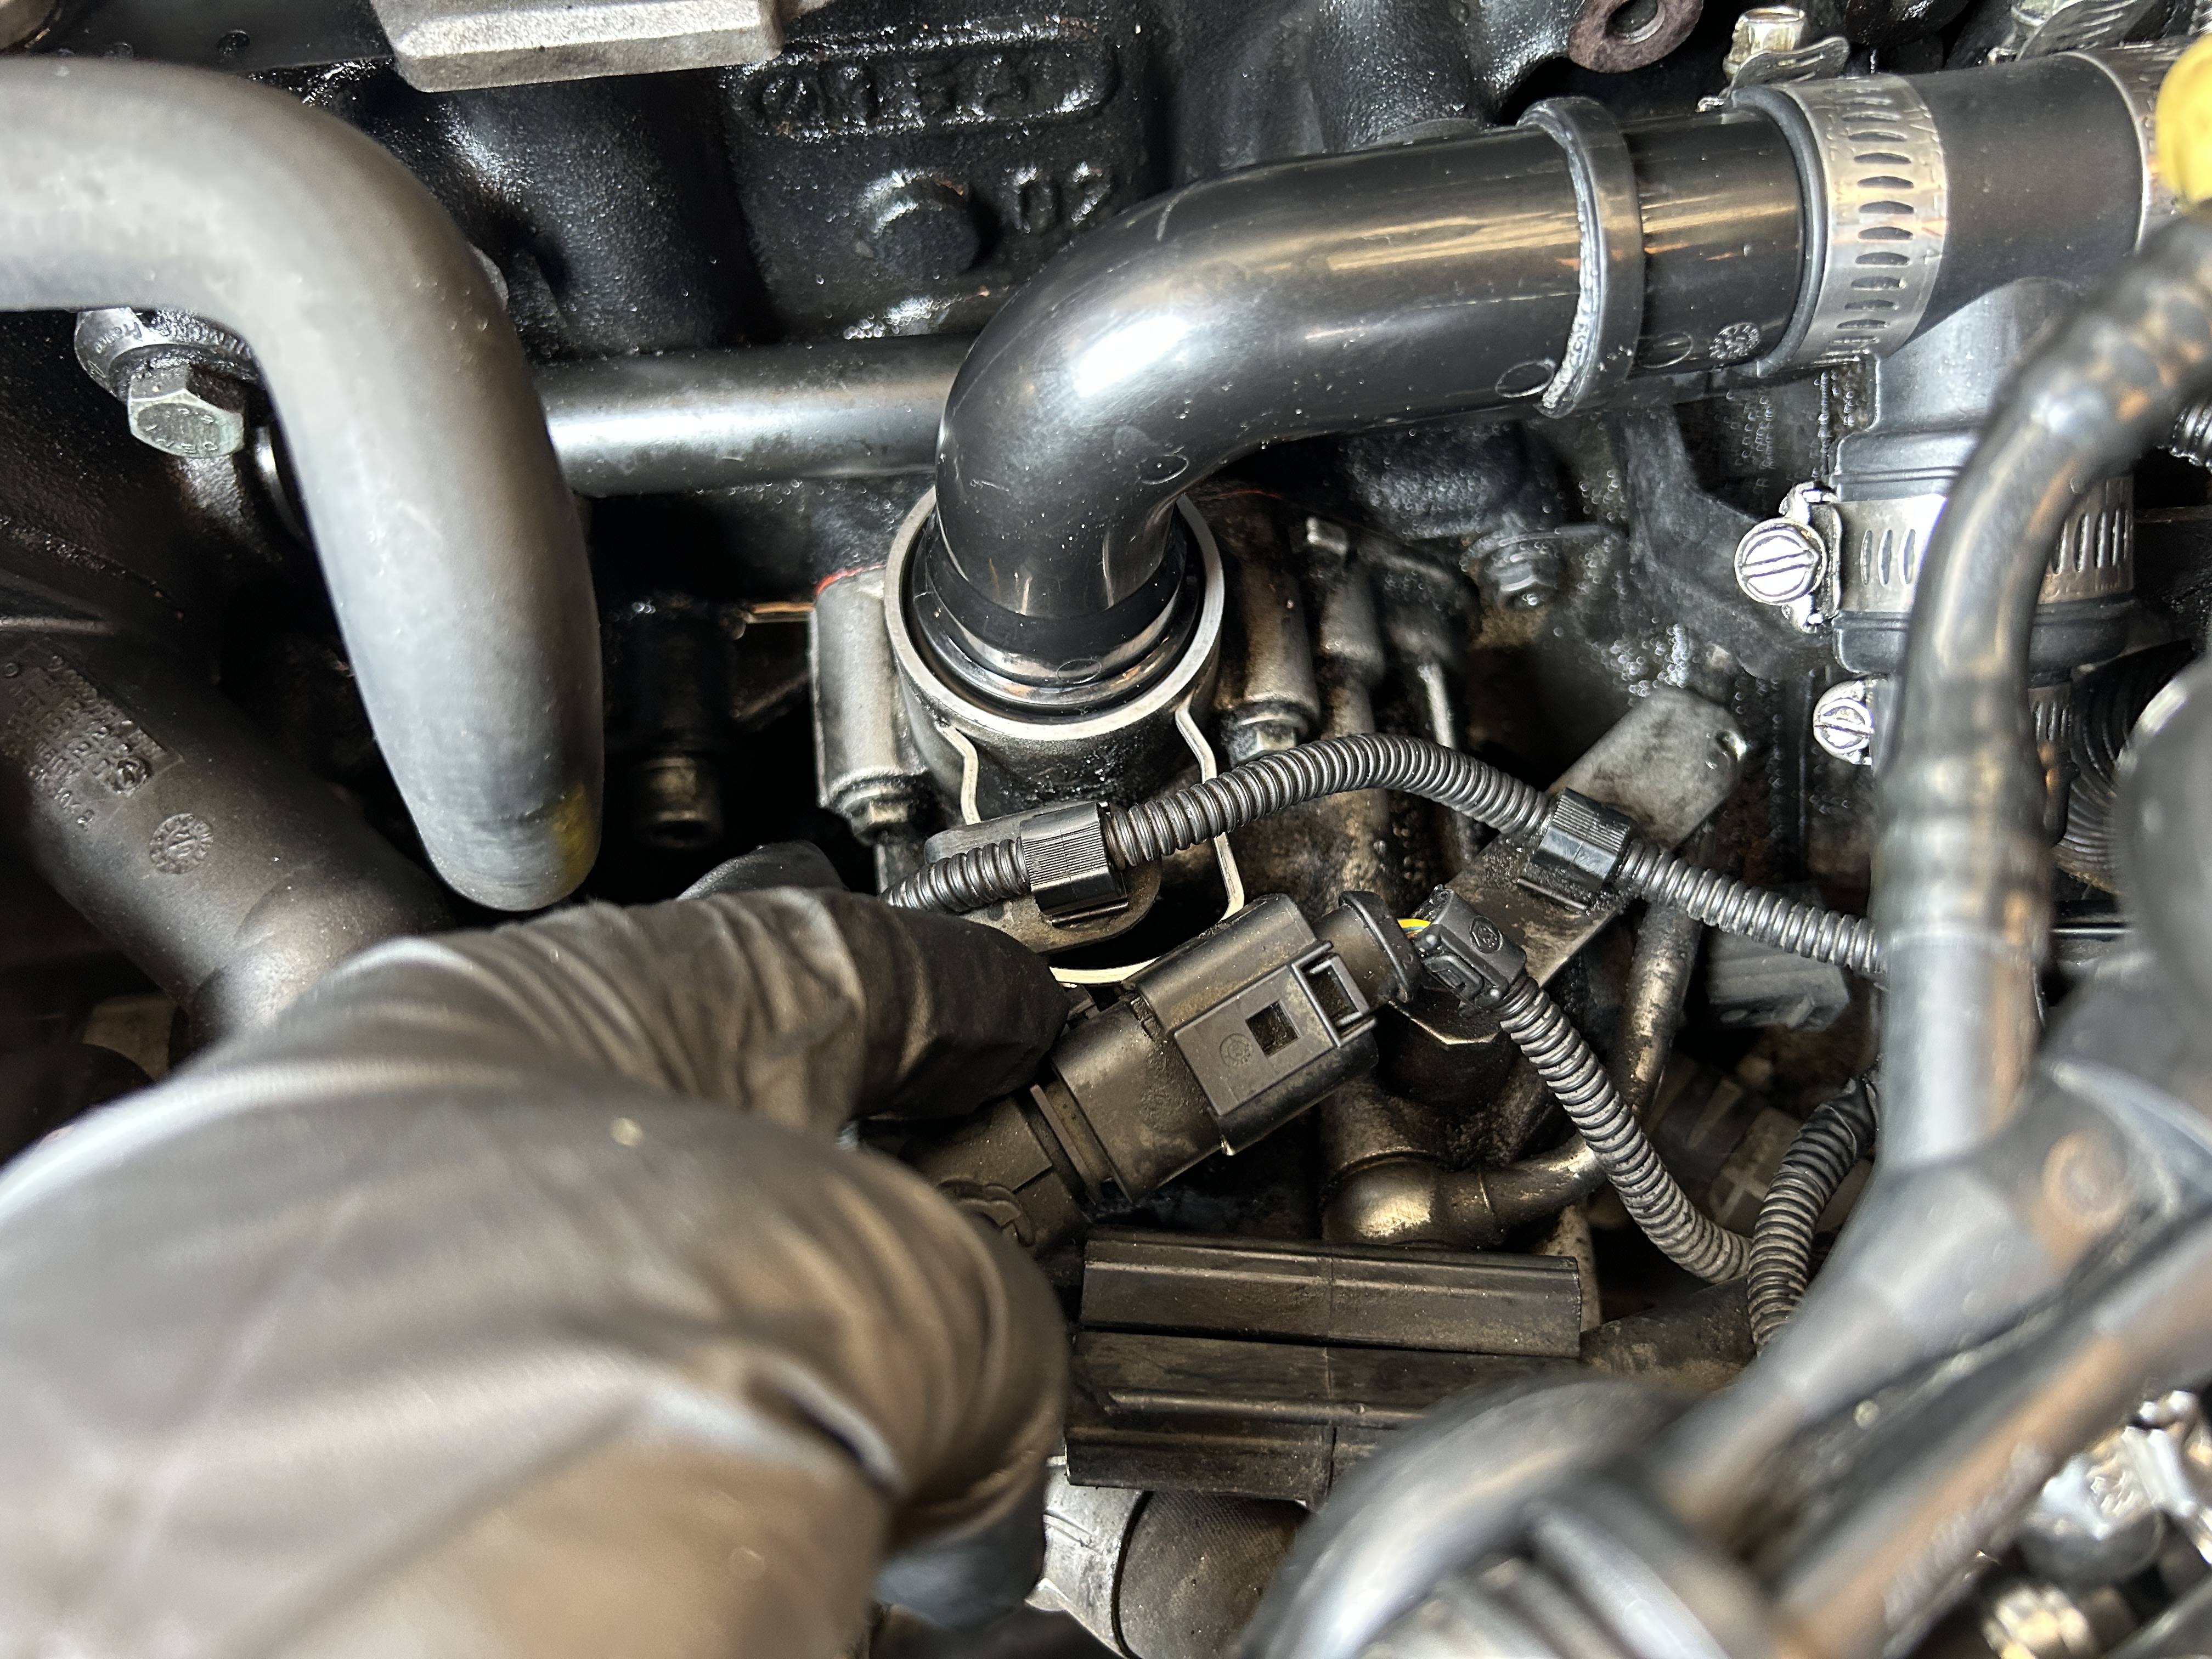
Once the intake manifold is off, you can immediately see where the 90-degree breather hose is, as well as the remaining connected parts which make up this breather hose kit. I would start at the 90-degree hose because once you take this part off, you can easily follow the rest of the connections until you take the whole assembly off.
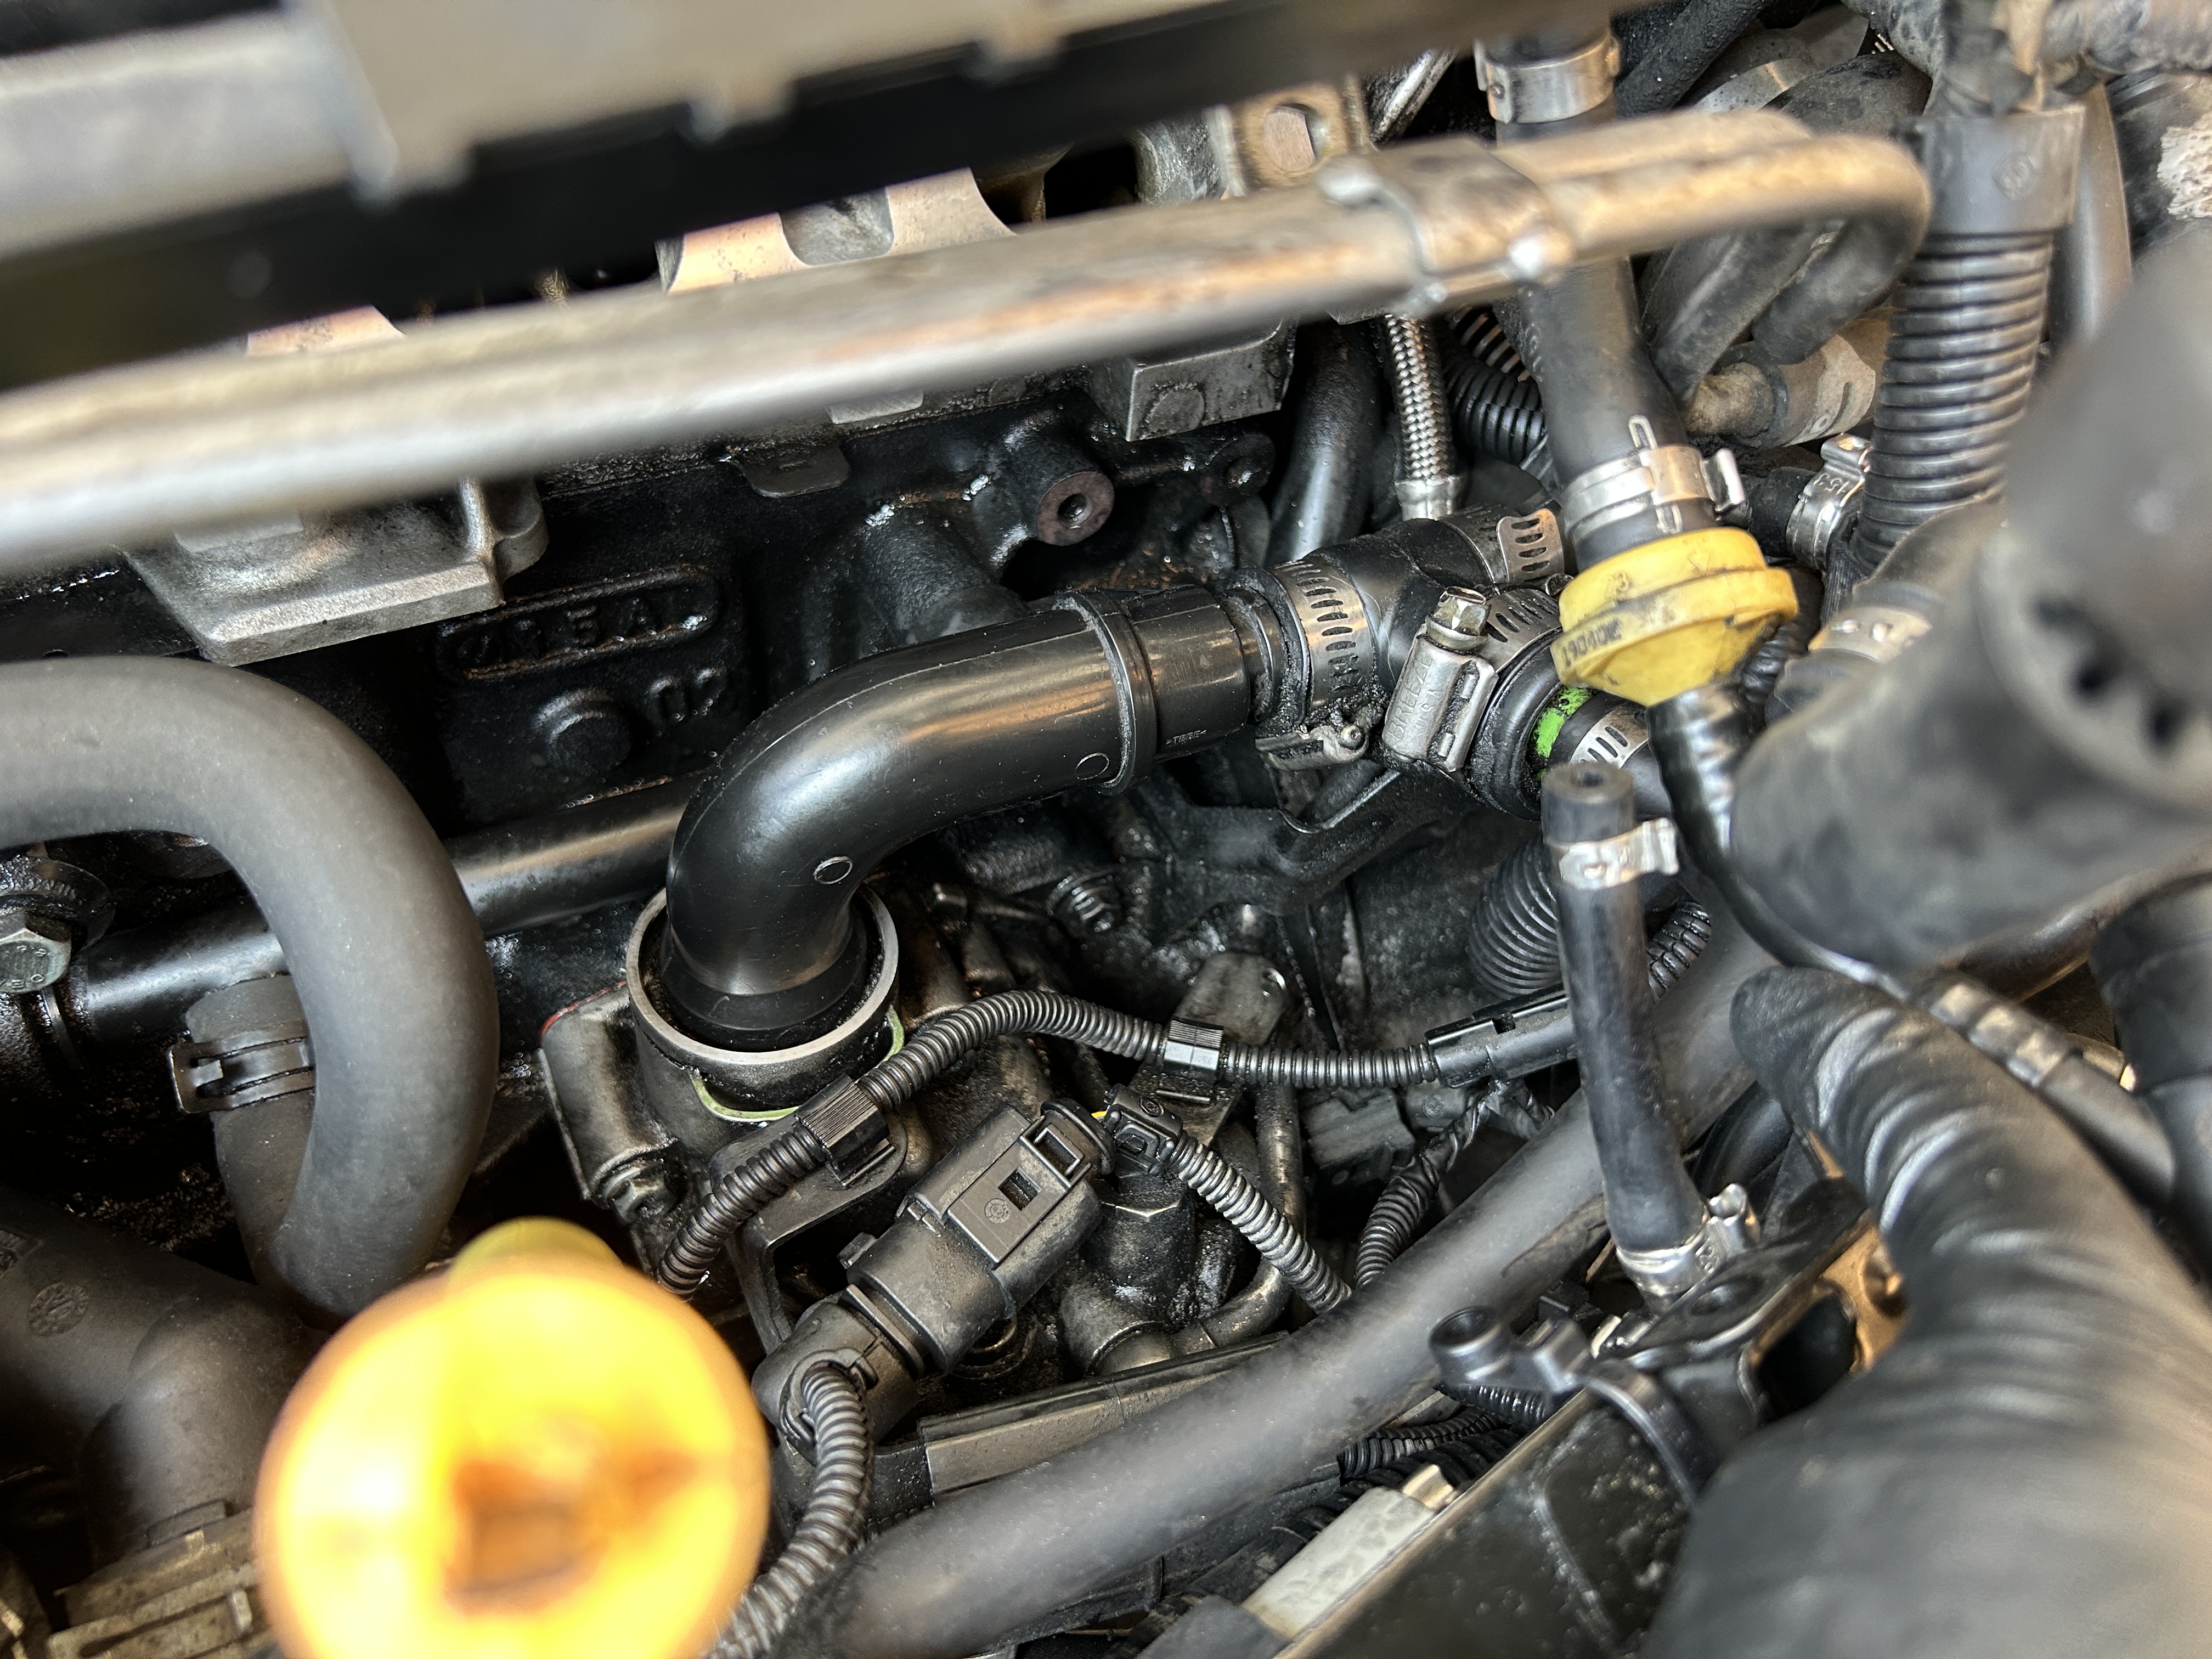
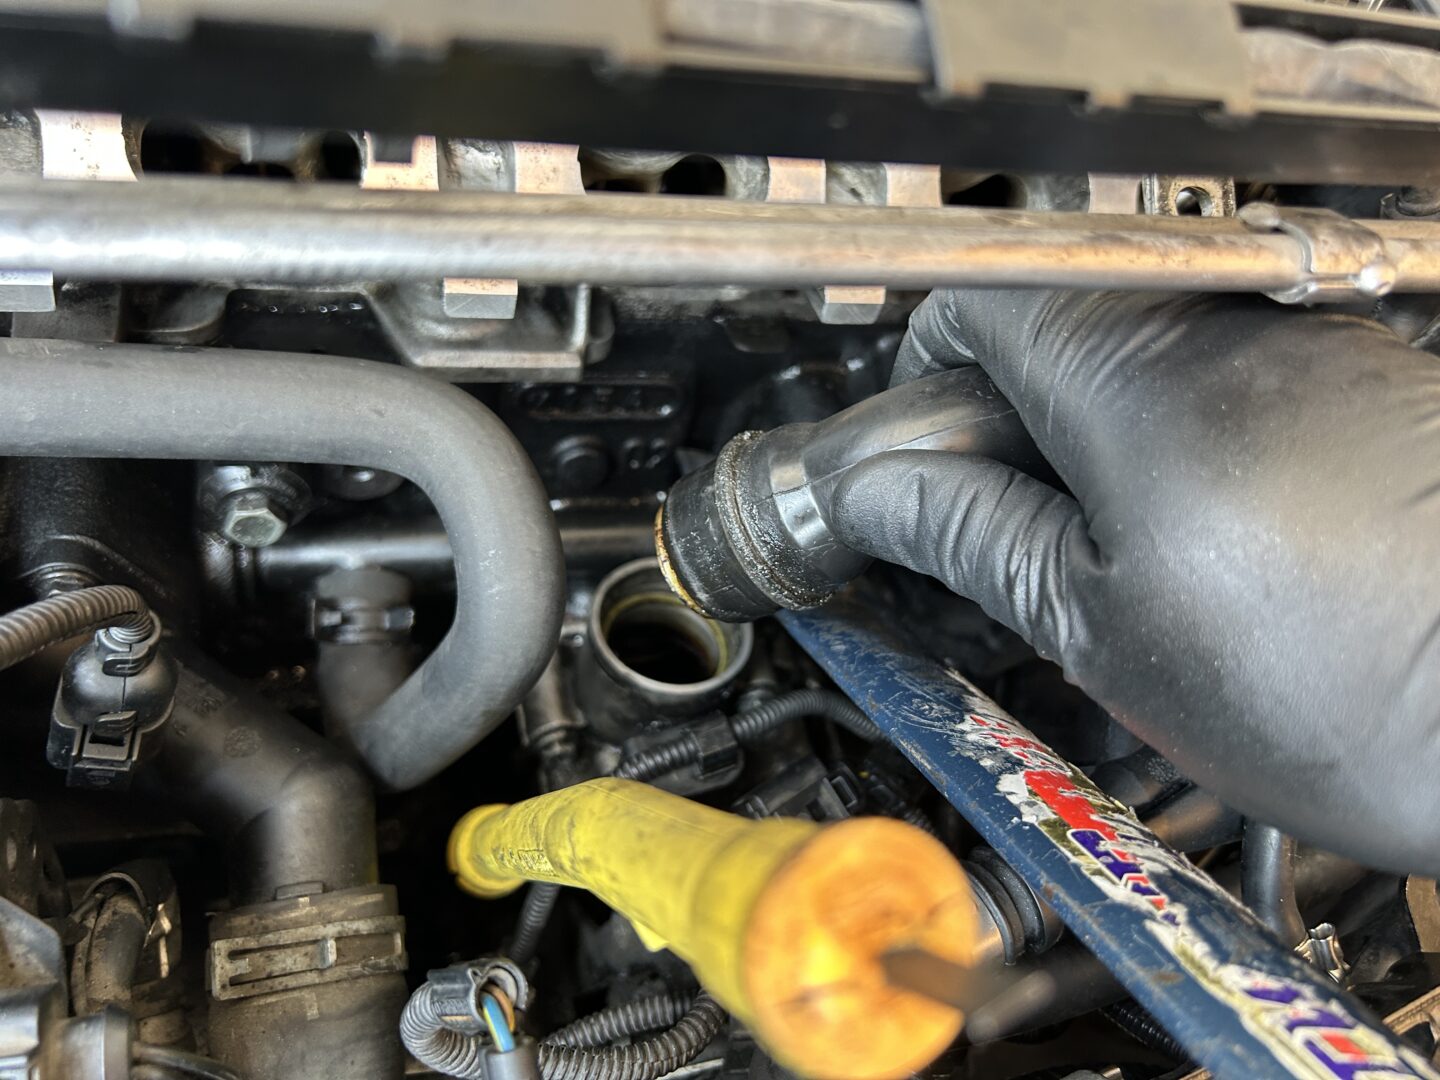
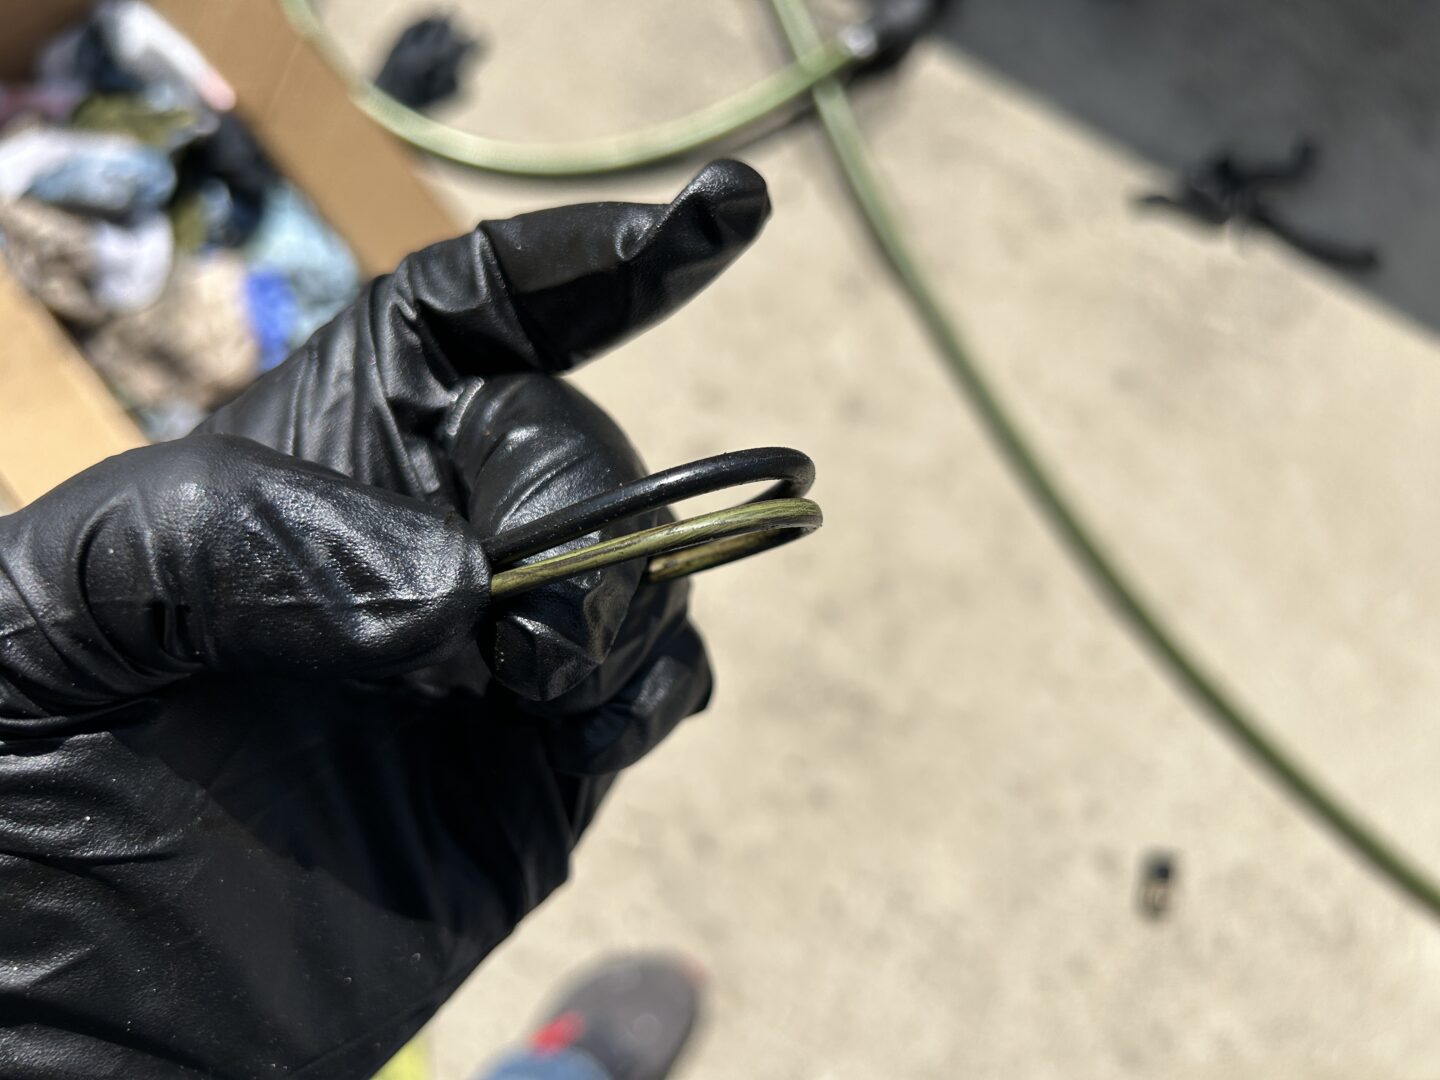
To remove the 90-degree hose, you need to pull off the retaining clip, which can be done with a flat head screwdriver. Pull off the clip, and then use something like a prybar to gently pry up on the 90-degree elbow to pull it straight up and off.

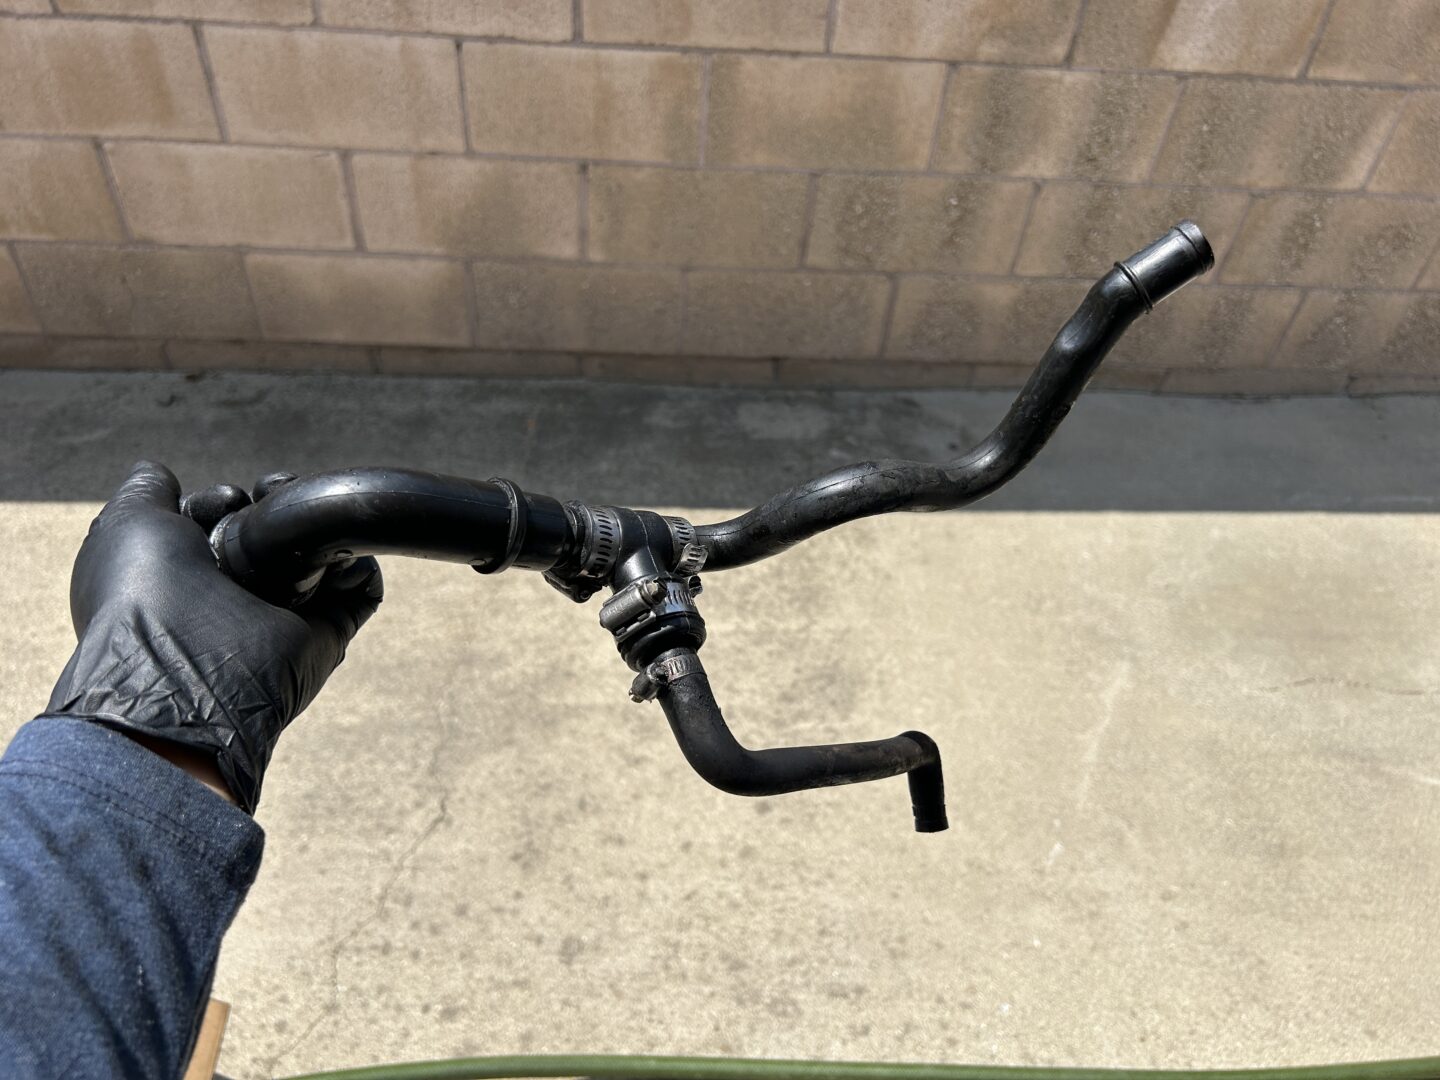
Follow the rest of the hoses that are connected to it and match it up with the parts diagram I displayed earlier, as well as with with the parts that came in your crankcase breather hose kit. You should be able to easily identify all the parts and remove the clamps at the ends to pull the whole thing out in one piece.
Next, take all of your new parts in your breather hose kit and put it together along new clamps to match the exact configuration of what you removed. Don’t tighten up your clamps quite yet, as you still need to make some adjustments to the angles and rotations of the hoses once it is inside of your car.
When you reinstall the whole assembly, there may be an issue with installing the 90-degree elbow with the O-ring included in the kit. When I tried installing it with the new O-ring in the kit, the elbow would not fit into the opening no matter what I tried. I concluded the O-ring diameter was just a little too big to properly fit, so it’s best to get an OEM O-ring for the reinstall.

Once you press the 90-degree elbow in fully, you should be able to slide the retaining clip back in to lock the elbow in place.
Reconnect the remaining hoses via any remaining clamps and make sure everything is connected properly. You want to look everything over carefully to make sure there are no kinks in the line, which I experienced when I reinstalled everything.
It’s probably because the hoses are not the most robust hoses out there, but that’s what you are dealing with when you get a more economical hose kit. Just be diligent checking your hoses and connections before you reinstall the intake manifold and the rest of the parts under the hood. If you do have an issue, you may be able to get to it to fix by removing the N249 bracket again in the future (in front of the intake manifold) to gain access.
This is a short guide to replacing the crankcase breather hoses and components using the readily available breather hose kit that is sold for the MK1 Audi TT. Personally, I just needed cheap replacement hoses for my old, deteriorated ones and these did the job just fine.
")
")
")
")
")
")
")
")
")