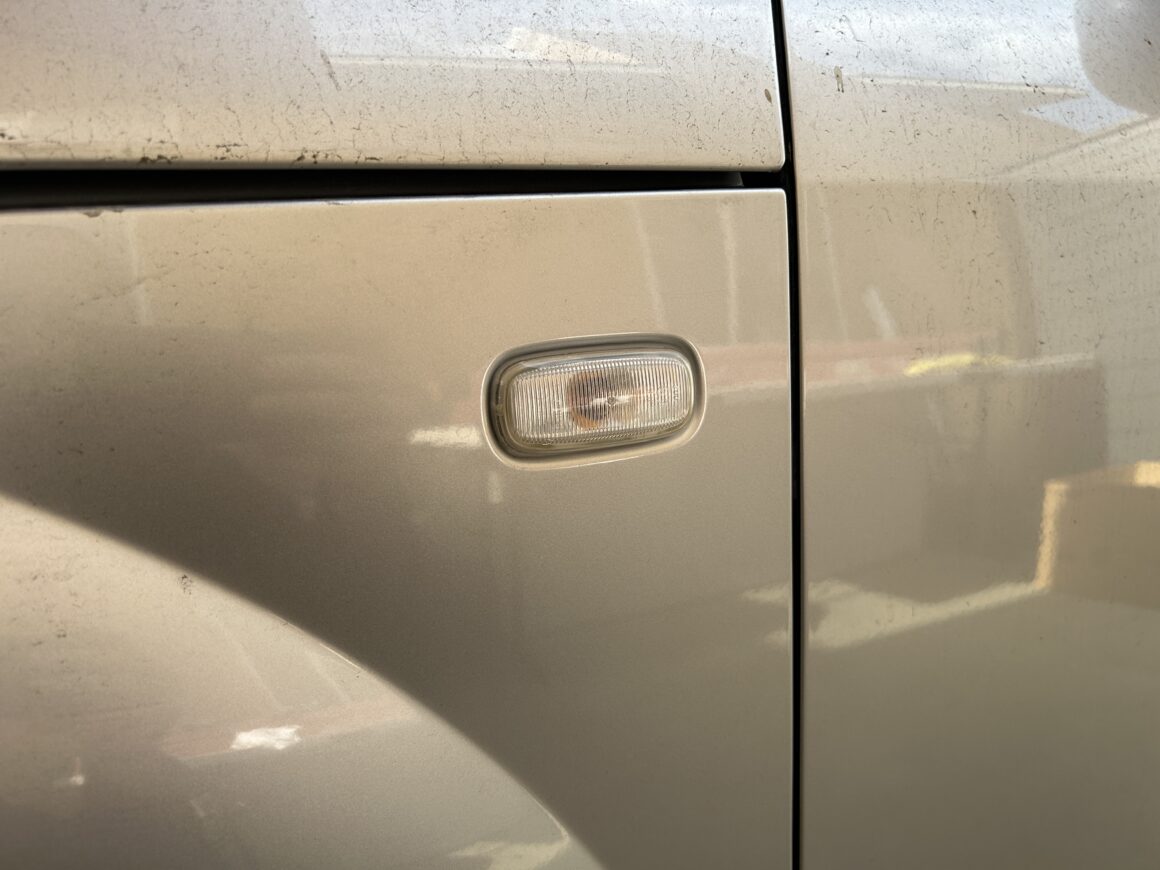
The side marker lens on the Mark I Audi TT (model years 2000-2006) is a simple part that clips into the side of the front fender. To replace this lens is really simple, but you won’t know that unless you know how to remove it. Since the side marker lens on my TT was cracked, I got a replacement part and wanted to write a quick little tutorial to help anyone who is looking to do the same job. If you need to change out a burnt out bulb, it will also require taking the lens cover off to replace the bulb.
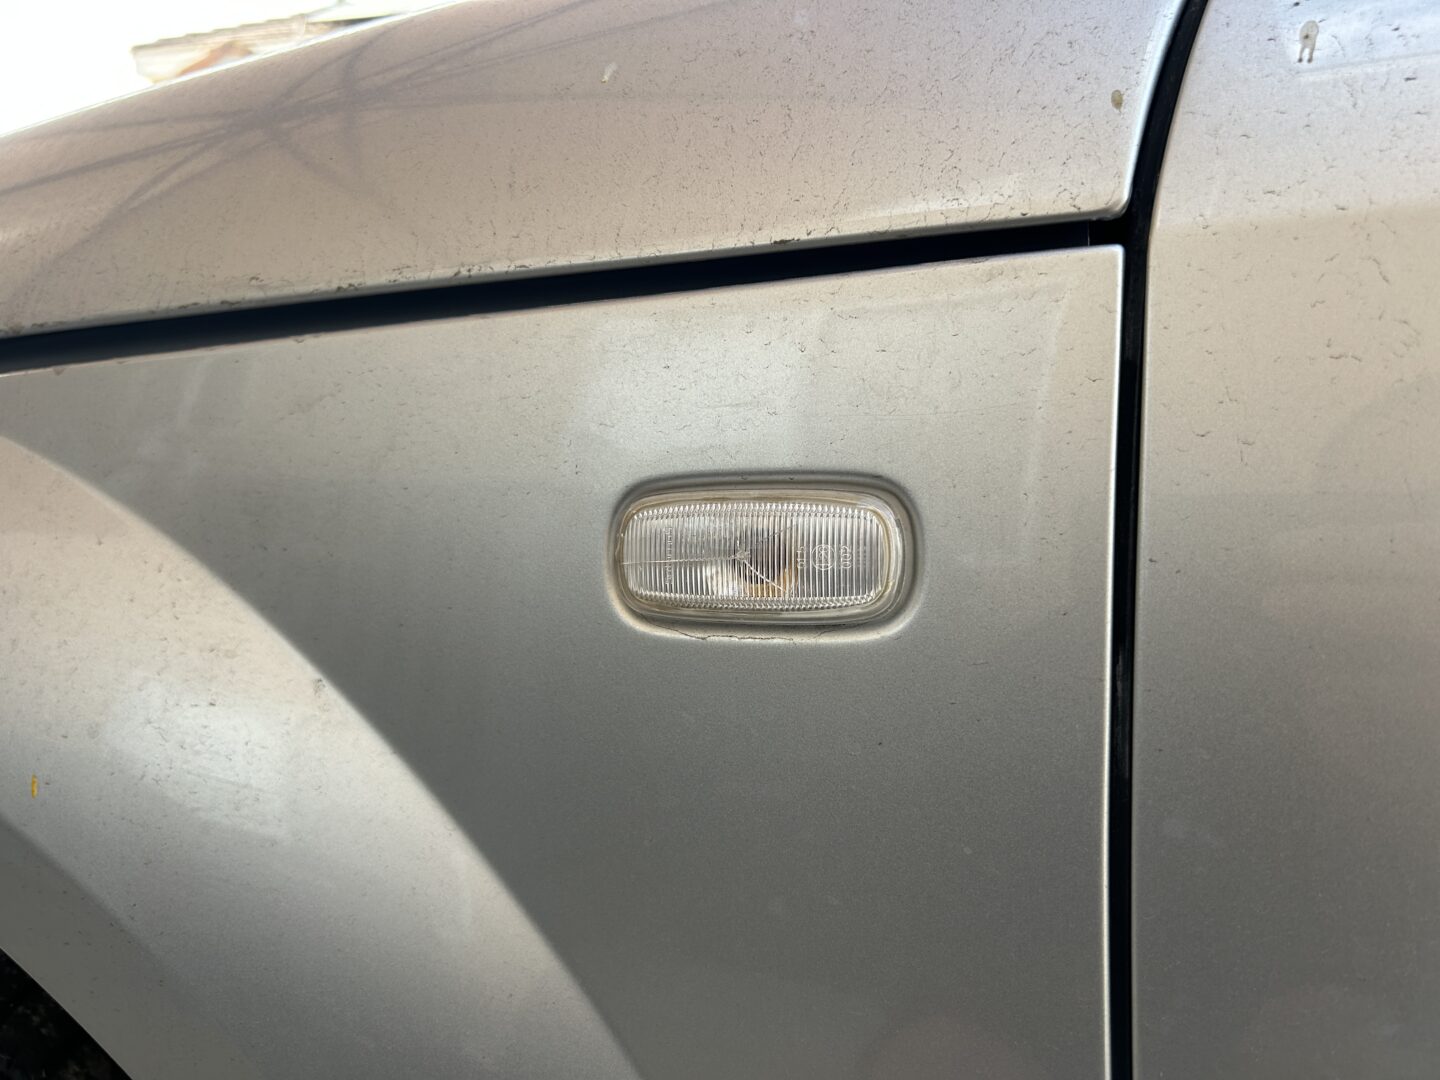
Side Marker Lens Cover & Bulb
Audi TT MK1 Side Marker Lens (8N0-949-127-A): Find on Ebay
– interchangeable, can be used for driver or passenger side
Sylvania 194 Long Life Miniature Bulbs (2 qty): Buy on Amazon
How to Change Out the Side Marker Lens (and Bulbs)
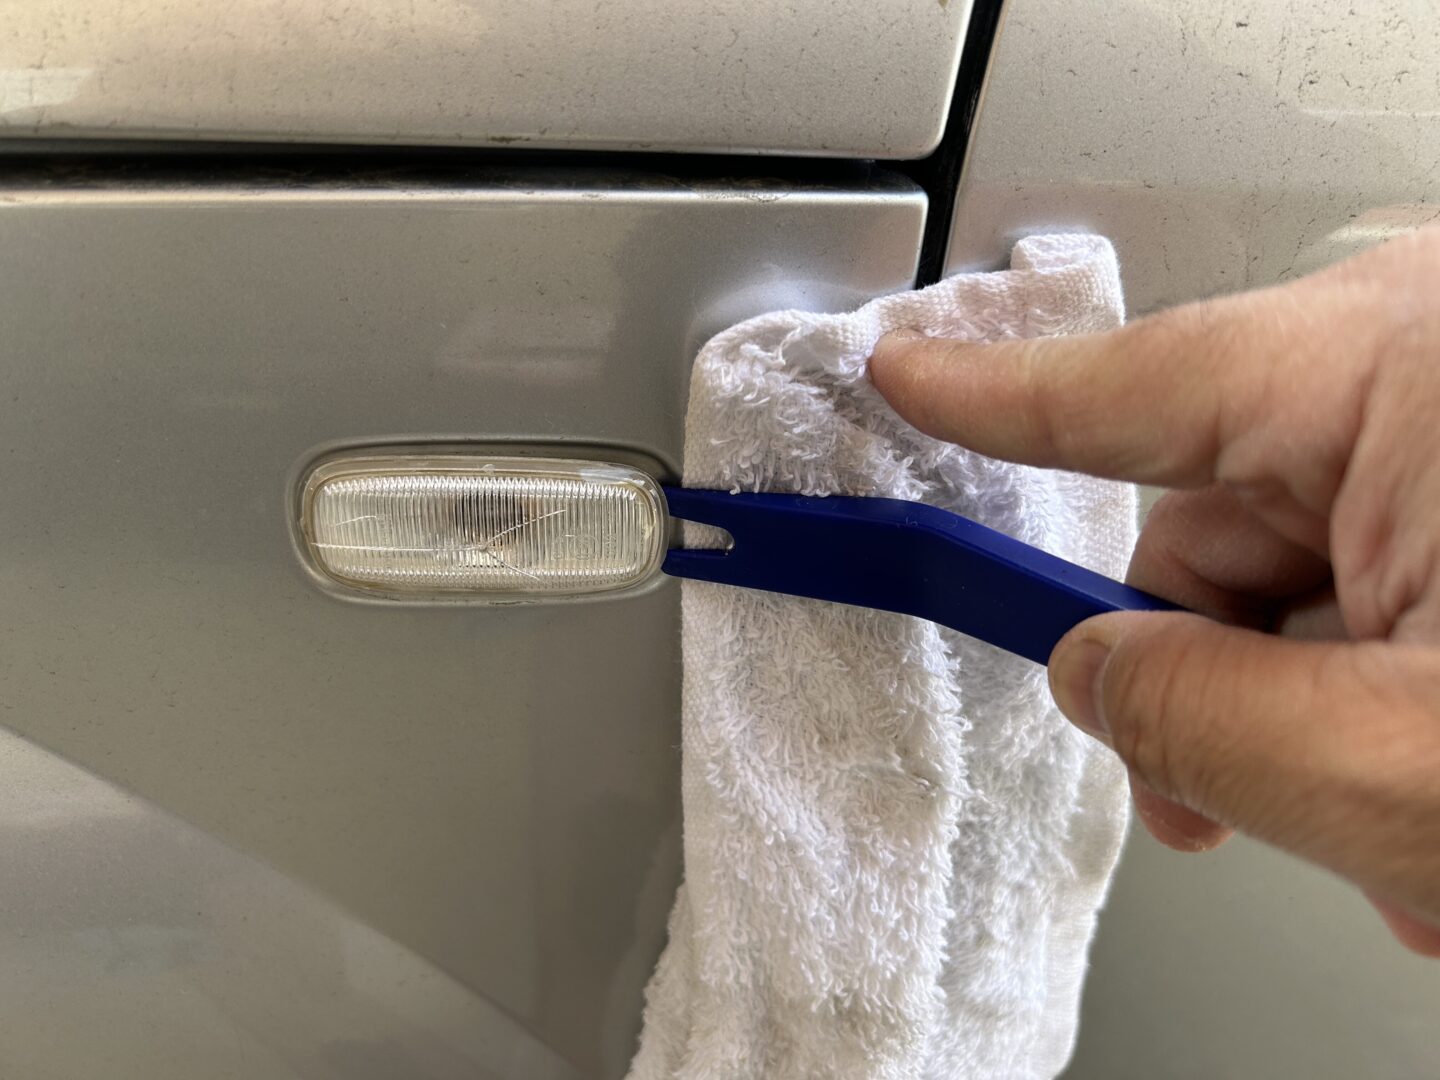
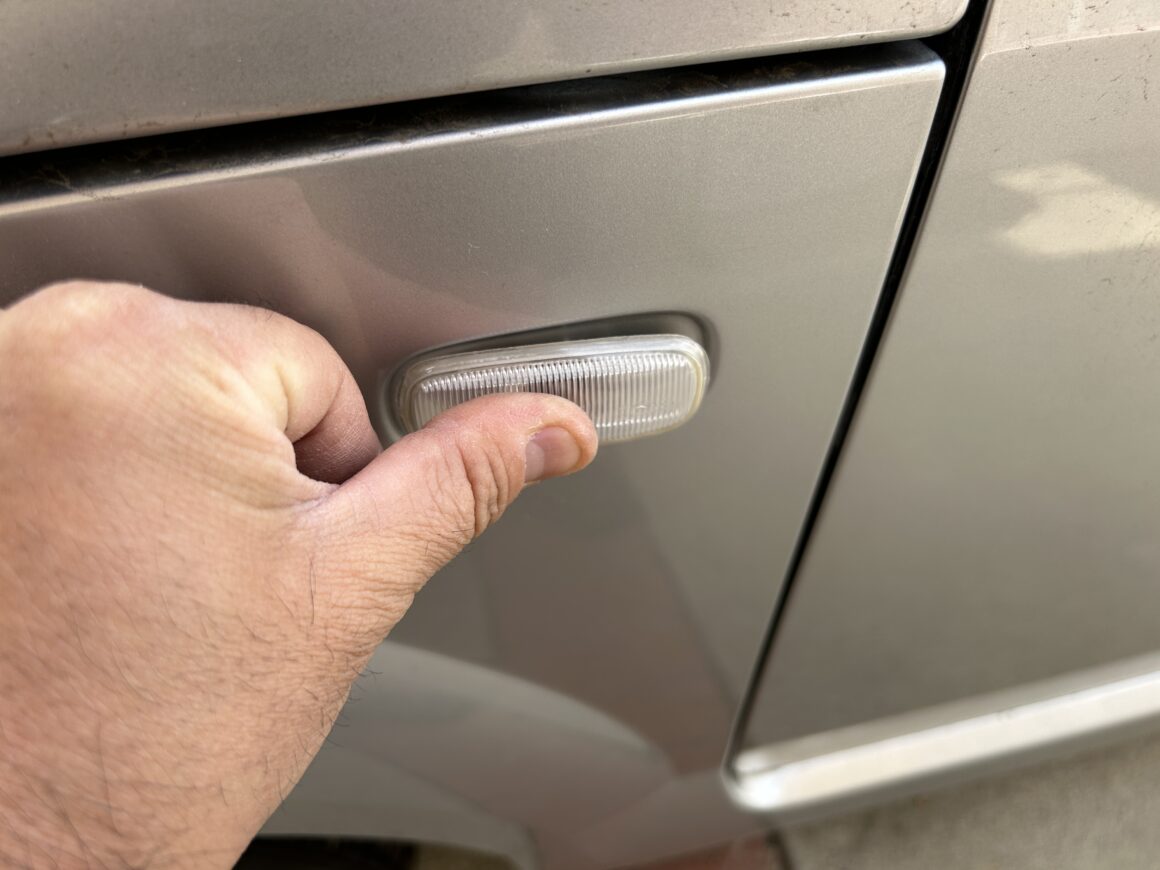
Removing the side marker lens is super easy. Simply use a trim removal tool (or carefully with a screwdriver) and use a rag/towel to brace against the car to pry up on the backside of the side marker lens. The lens should pop off on the end closer to the door.
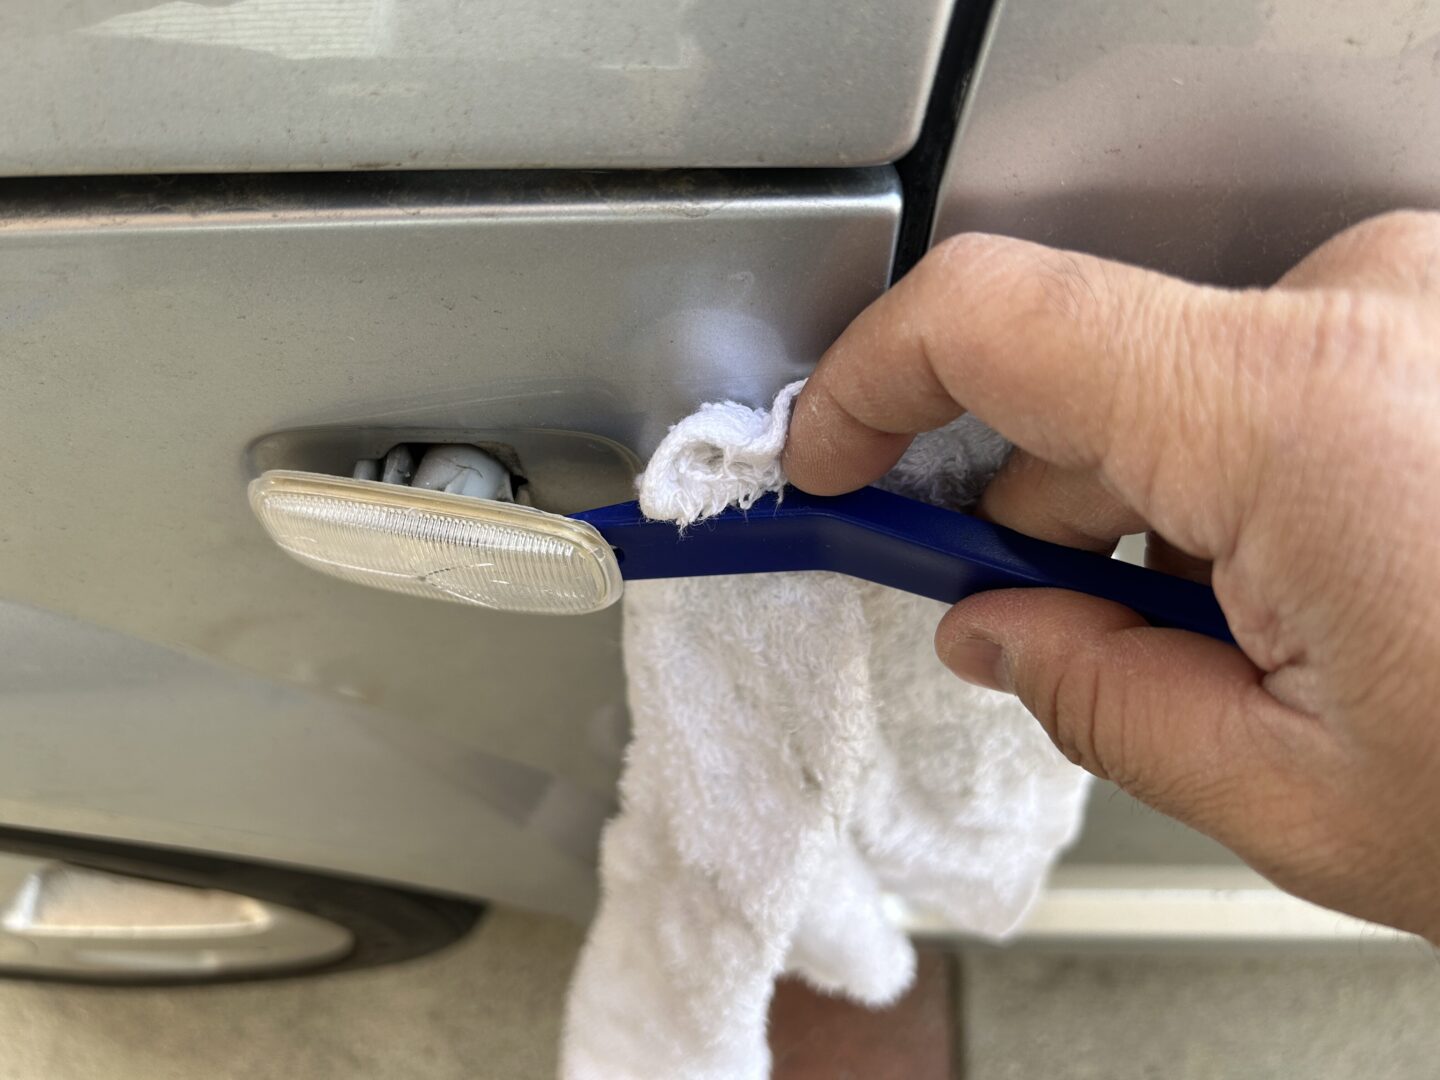
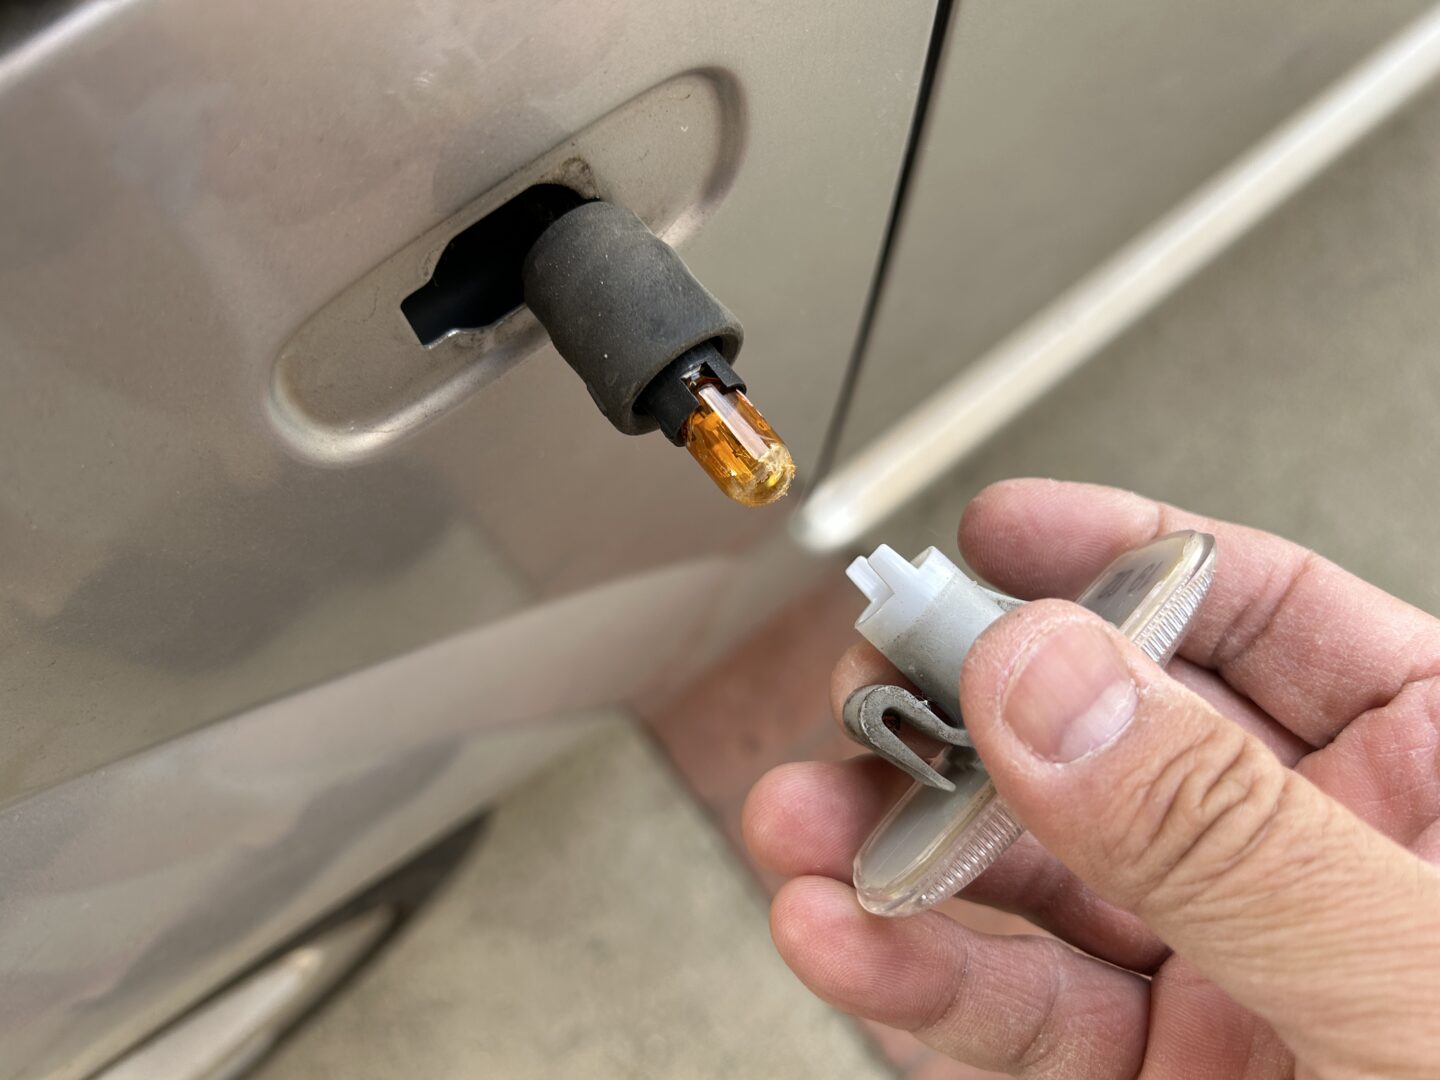
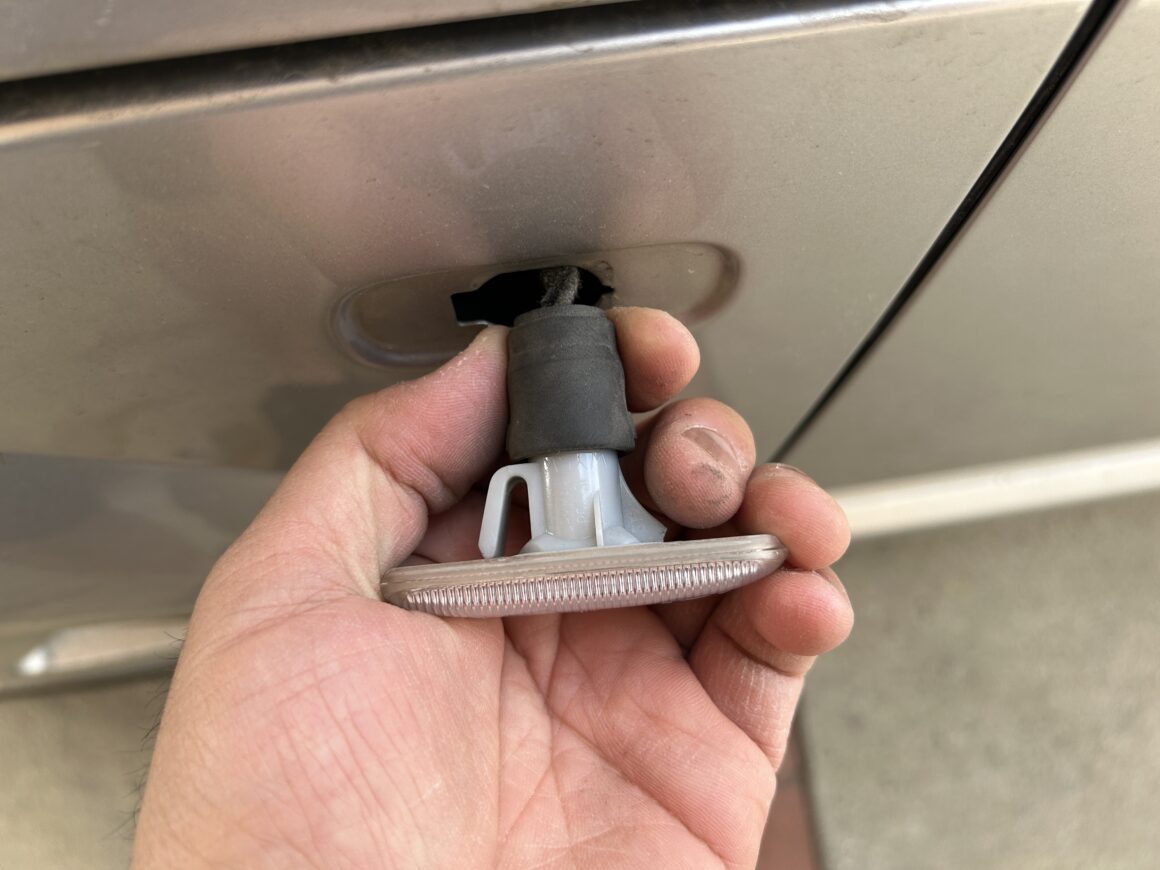
When the lens cover is off, you will find the electrical connector and bulb intact within the lens cover. The lens cover (clear plastic portion along with the grey backside) can pull off of the rubber gasket and bulb. You simply just hold the rubber part with one hand, and pull the whole lens cover off with your other hand (twisting helps too). Make sure not to tug on the entire thing, as you could damage the wiring behind it.
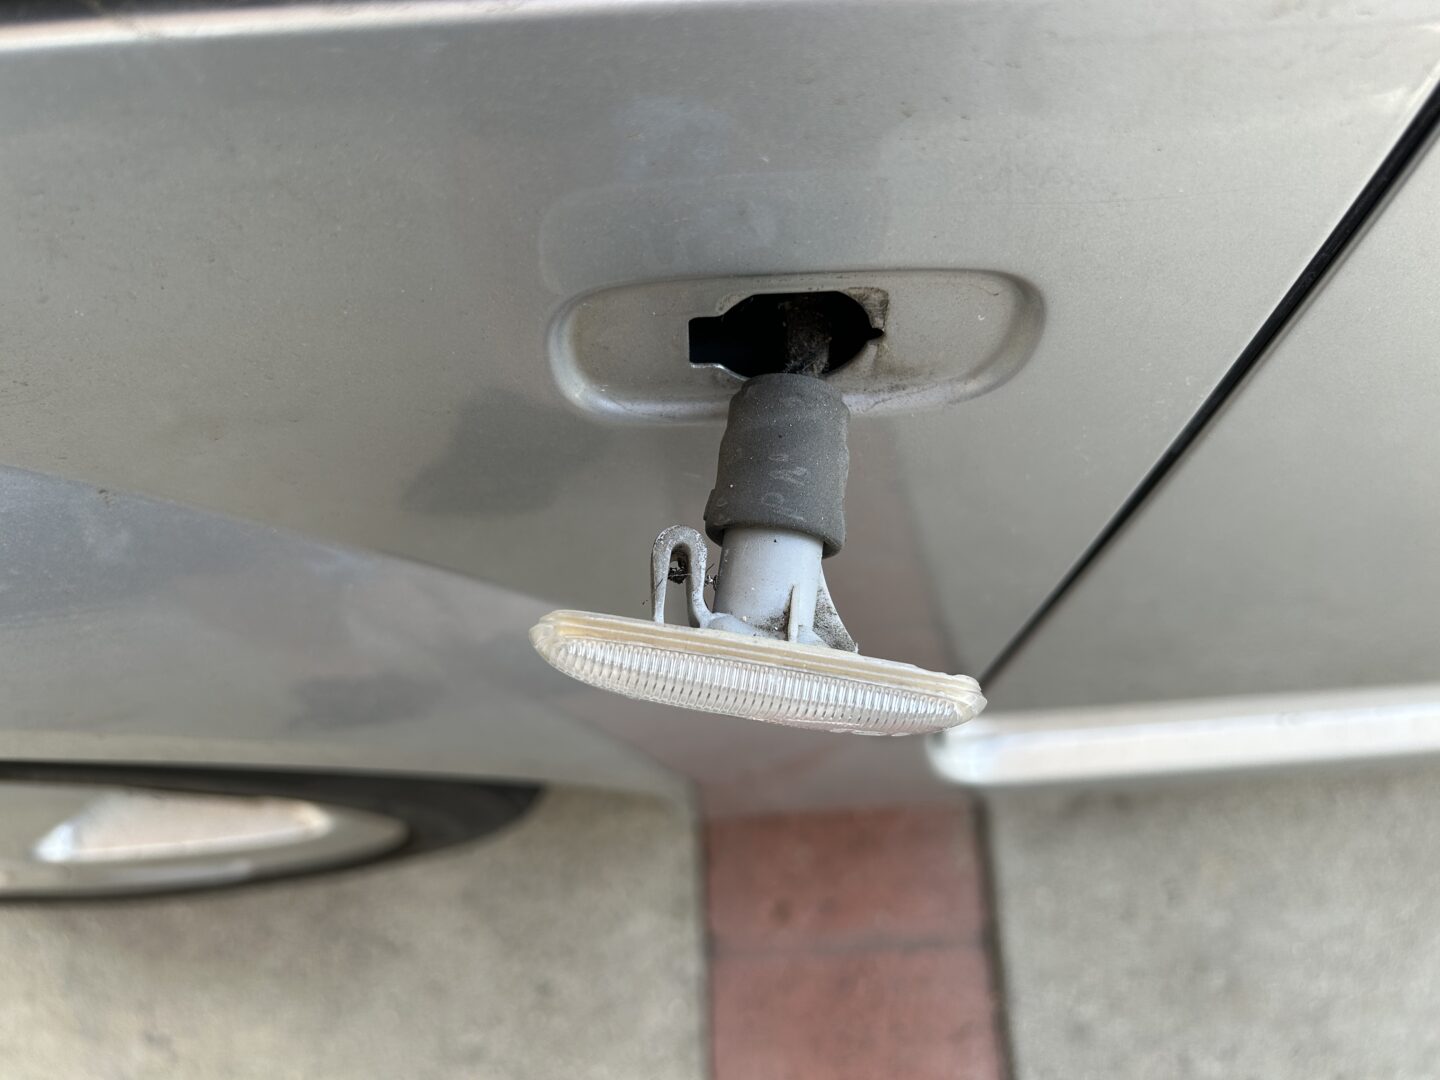
Once you remove the lens cover, the bulb will be exposed. At this time if you are just changing out the lens cover, you can replace it with a new one at this time. If your side marker bulb needs replacing, you can simply hold the socket in place, and pull the bulb out directly. The bulbs on these cars takes a size 194 bulb.
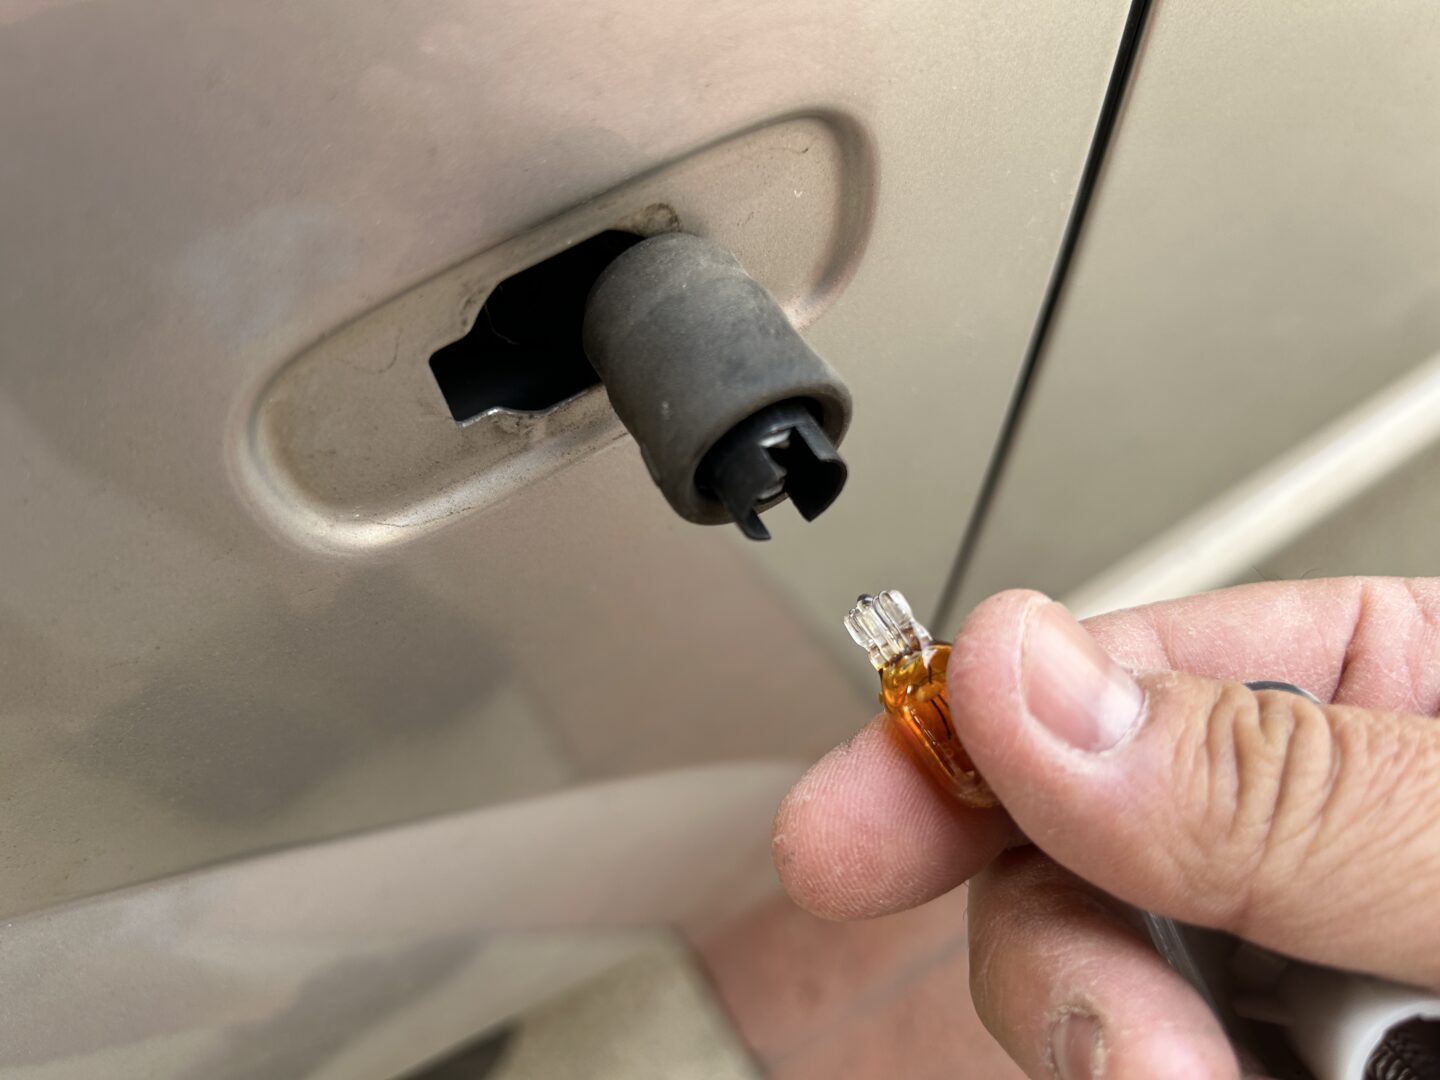
A new bulb goes straight back into the socket; just make sure that it presses into the socket securely for it to be installed correctly. To ensure that this happens, you hold the connector side rubber portion with one hand, and press the bulb into the socker with the other hand. Next, pop the side marker lens back on, again ensuring that the lens is installed on securely.
Finally, reinstalling the whole side marker lens is as easy as placing the lens cover back on front side first, and then pushing the backside of the lens into place. That’s it. It’s a lot easier installing the lens cover compared to removing it, and it doesn’t require any tools either.
")
")
")
")
")
")
")
")
")