")
Have you ever installed a screen protector for your smart phone or tablet? It may seem ludicrous to do the same for your car’s infotainment system, but believe it or not even that screen can get scratched over time. One of the first things I do whenever I purchase a vehicle whether it is new or used, is to install a screen protector to protect it from scratches.
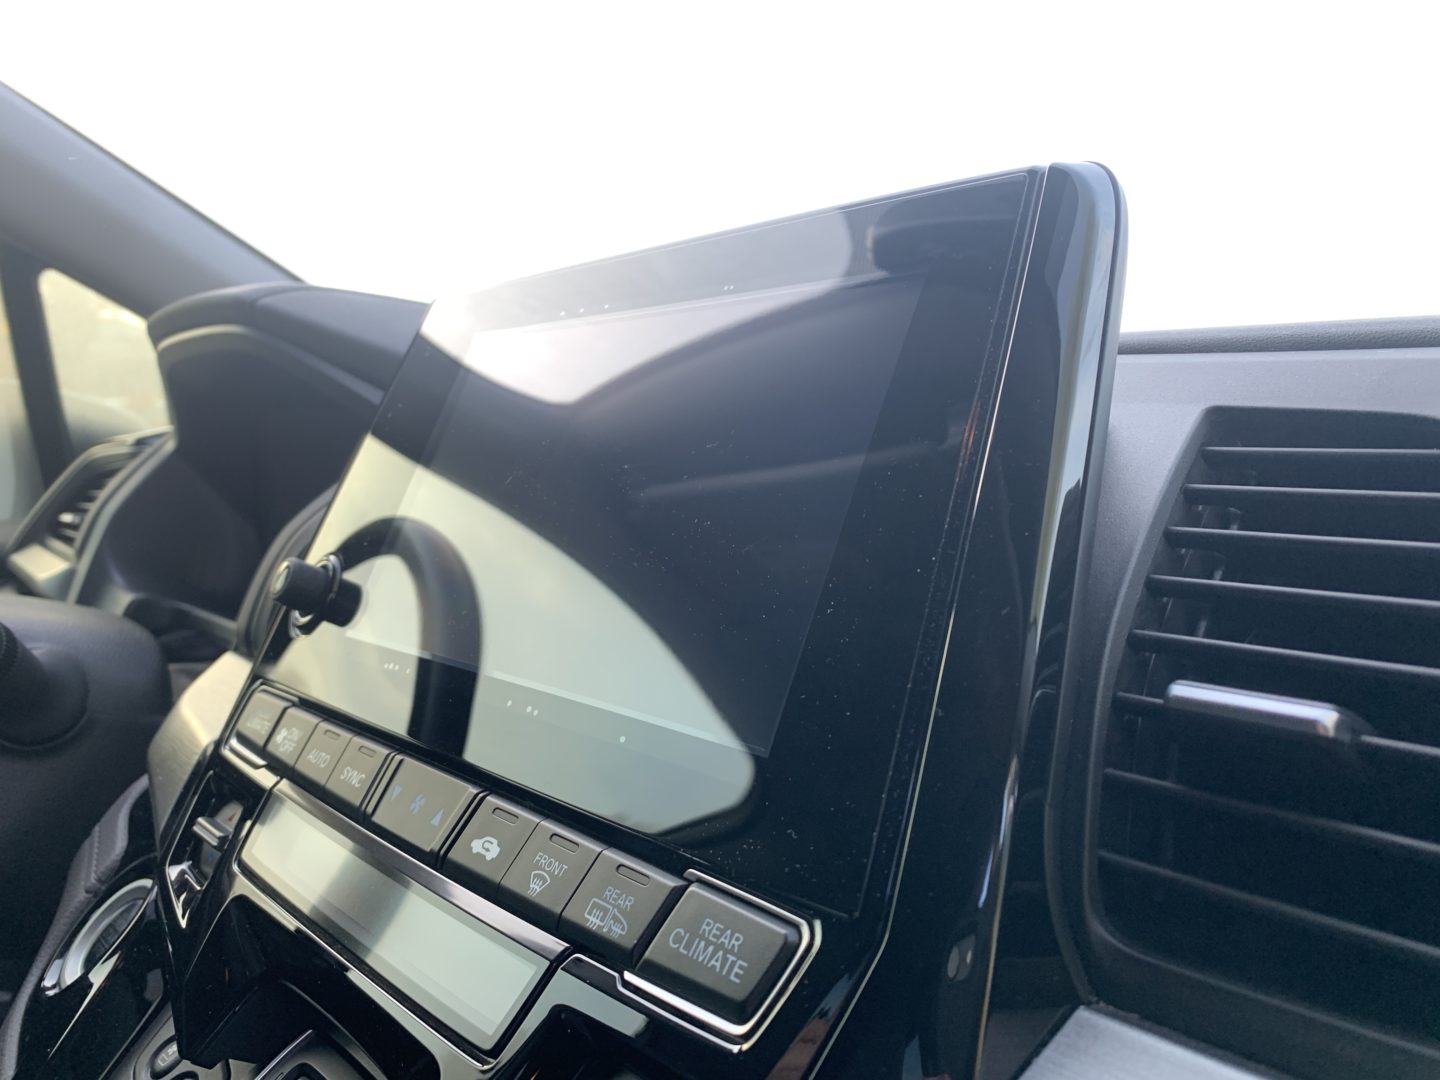
Before, I thought that only those navigation screens that were made with plastic were susceptible to scratches. However, on our recently purchased second-hand Honda Odyssey, the glass screen was already slightly scratched up, which you can see up close at certain angles. I decided to install a screen protector to keep it from getting damaged even further.

Installing a screen protector is quite easy; the most important thing is keeping the screen and the surrounding area clean before and during the installation of the screen protector. The nice thing about the screen protector is that it is made of tempered glass and has a custom fit for these 2018-2024 Honda Odysseys. It also maintains all touch functions of your touchscreen. Best of all once it is installed, it protects your screen and you won’t even notice that it is there at all.
Tools & Materials
8″ Infotainment Screen Protector
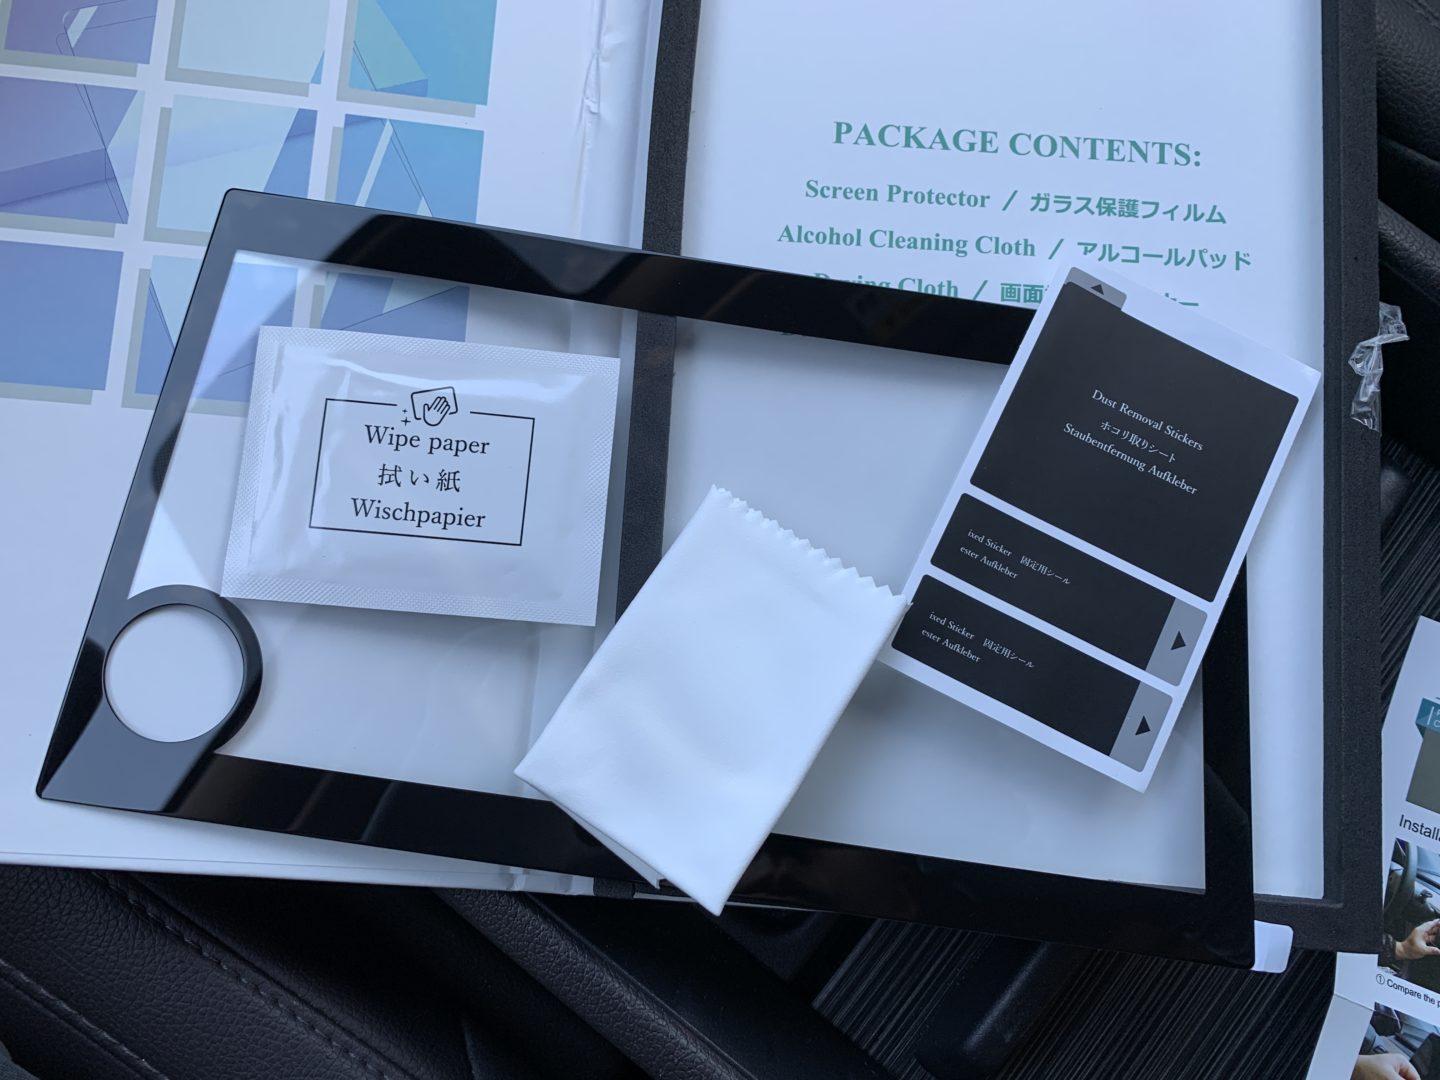
Sometimes when you’re shopping for screen protectors, there’s a lot of options and it can be difficult to decide which one to get. Luckily for the 5th Generation Honda Odyssey (years 2018-2024), there is one that is most popular on Amazon and it’s very high quality, so it makes the decision easy. The custom-cut screen protector fits our 8-inch infotainment screens perfectly with a hole cutout for the volume button. It also includes an alcohol wipe, lens cleaner, and dust removal stickers.
LFOTPP Honda Odyssey 8 Inch Car Navigation Screen Protector, Tempered Glass

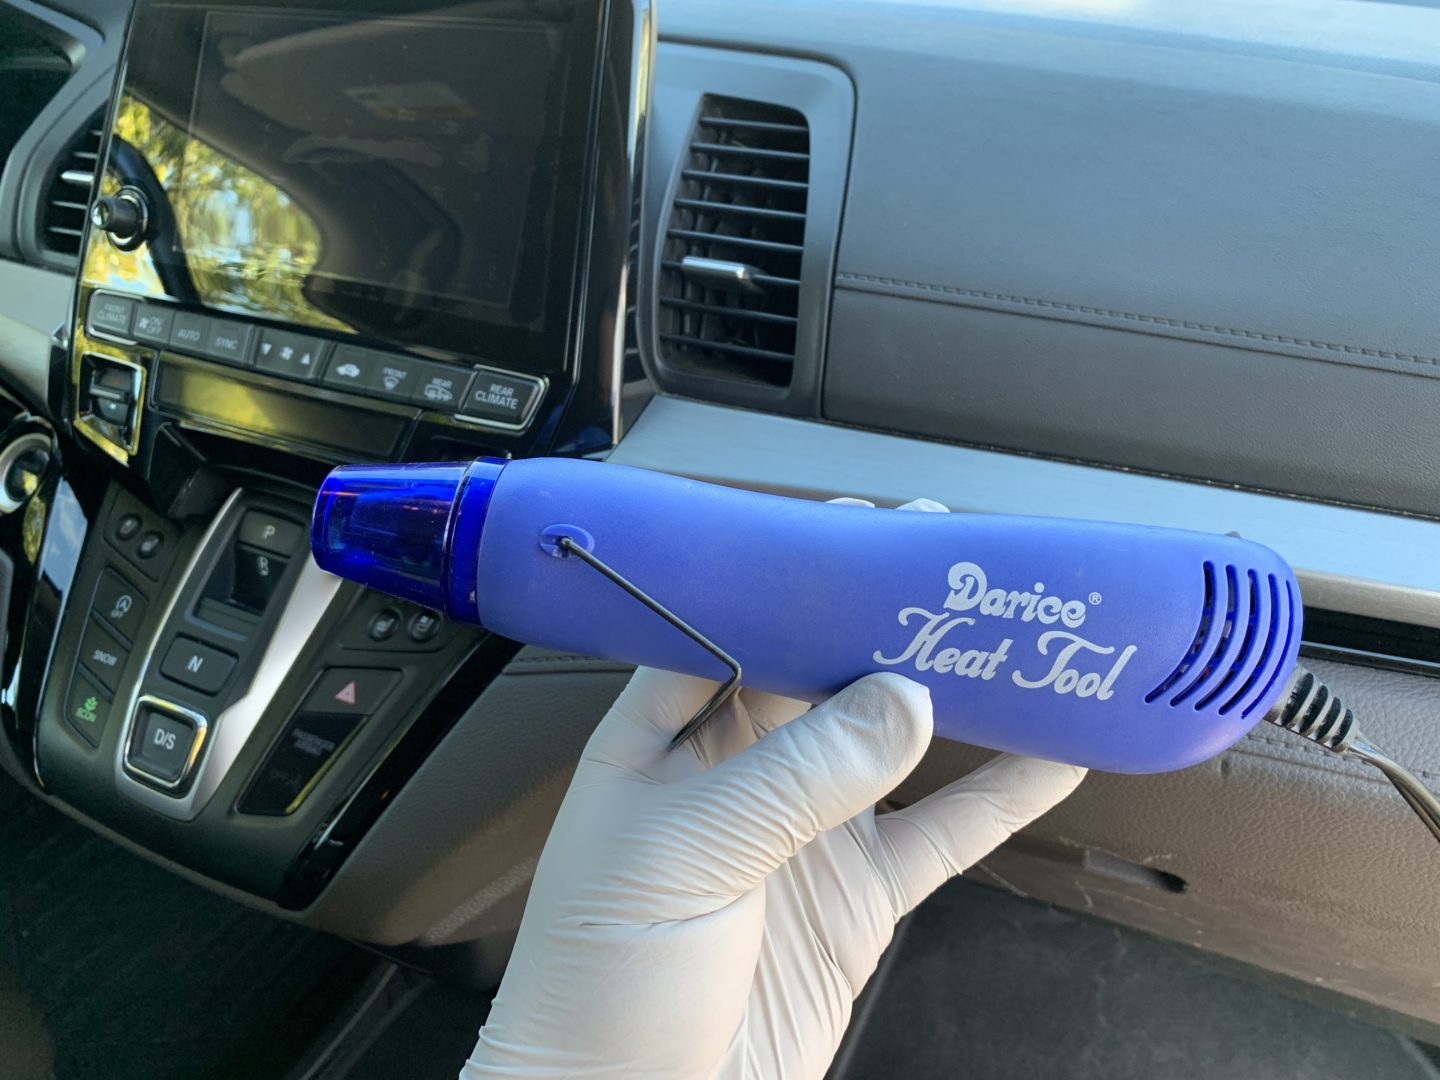
Heat Gun or Blow Dryer
A heat gun or blow dryer is recommended for working the air bubbles out of the screen protector after you’ve installed it. I didn’t see anything in the instructions that say you need to apply heat, however in my experience applying heat really helps to get air bubbles out for an optimal install.
Heat Gun: Search results on Amazon
Nitrile Gloves
It’s a must to wear disposable gloves when applying the screen protector. If you don’t, you risk leaving oily fingerprints on your screen while you’re trying to apply the screen protector. Even if you wash your hands with soap before installing, you will always have some skin oils remaining and as a result are still very likely to transfer oils from your skin onto the infotainment screen.
MedPride Nitrile Gloves (Box/100): Small / Medium / Large / X-Large
How to Install an Infotainment Screen Protector: 5th Gen Honda Odyssey (2018-2024)
To get a good install, you want to reduce as much of the dirt, dust, and other debris that might get onto your screen while you’re installing the screen protector. You want to apply the sticky screen protector onto the screen without any dust bits or other contaminants stuck in between the screen and the screen protector.
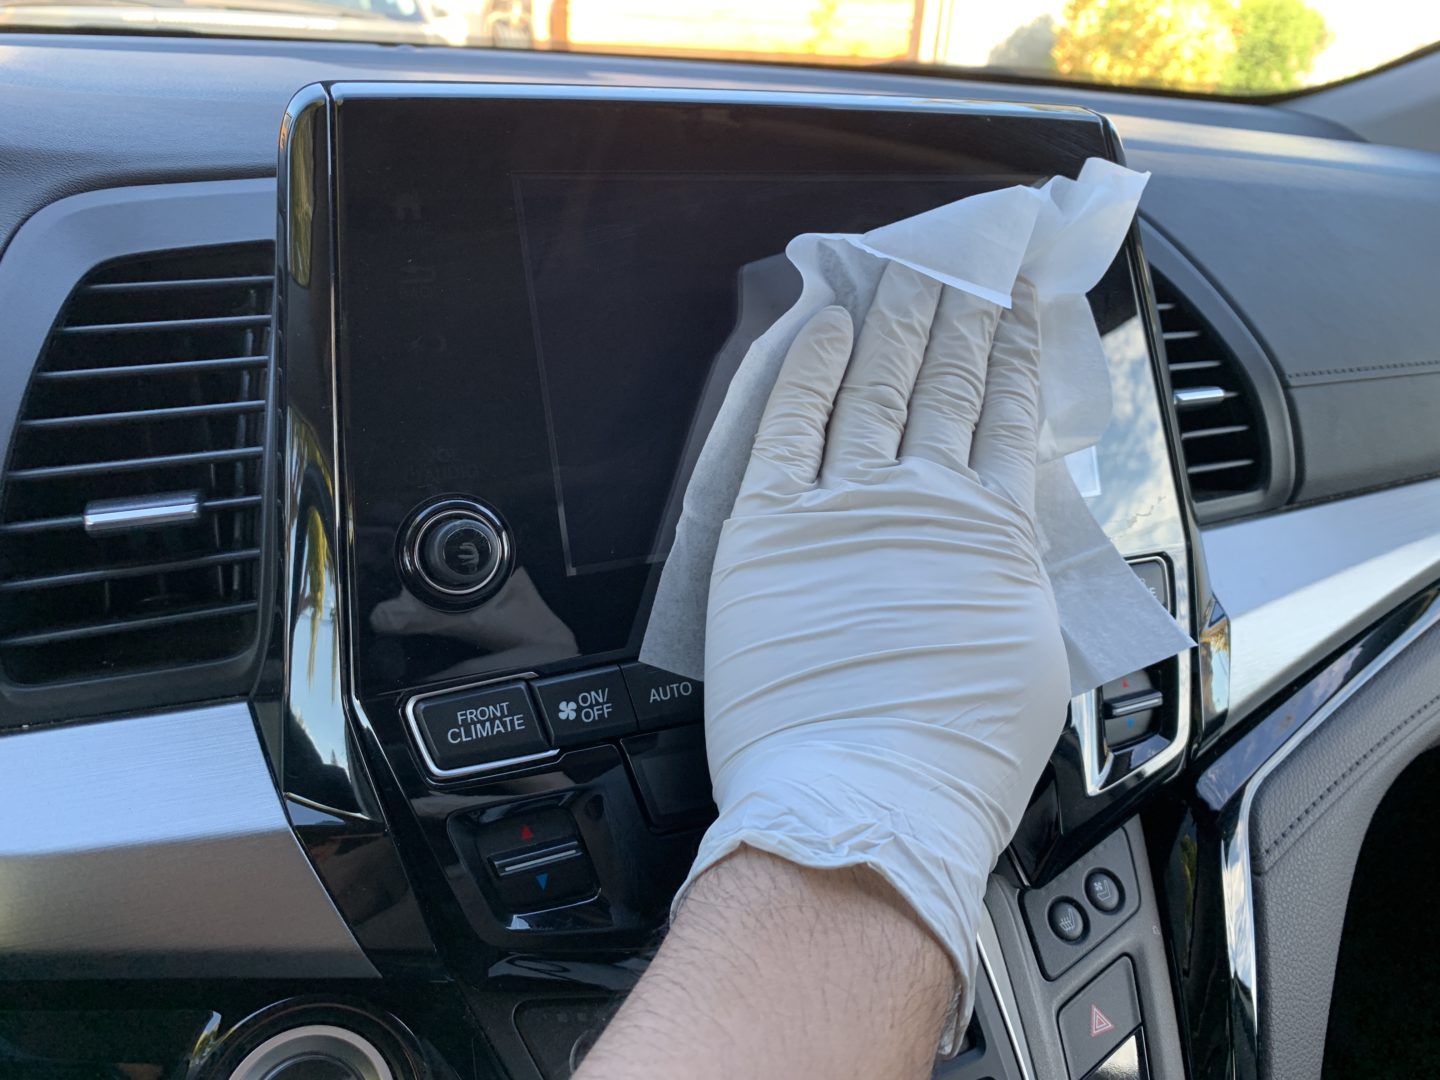
Therefore, I start with wiping down the screen as well as all the other areas surrounding it with a microfiber towel and an interior cleaner or diluted all-purpose cleaner. Spray into your towel and then wipe it all down. This simply ensures you’re not kicking up dust from the surrounding areas during the install later. You also don’t want to spray directly onto the interior surfaces as you risk leaving chemical stains behind.
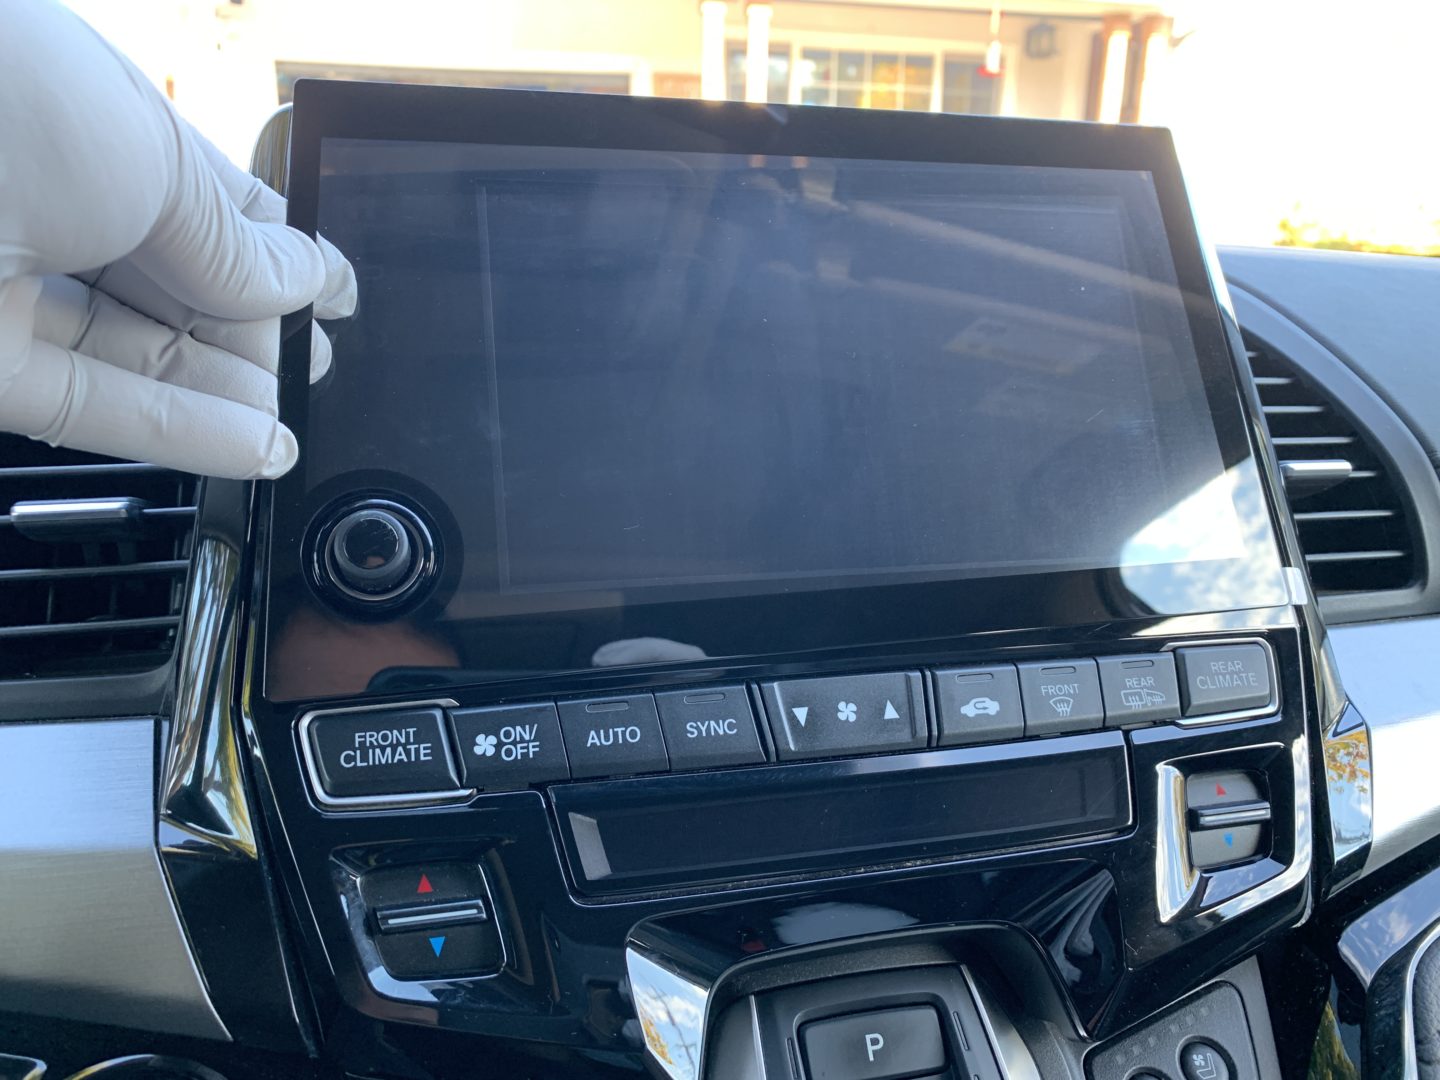
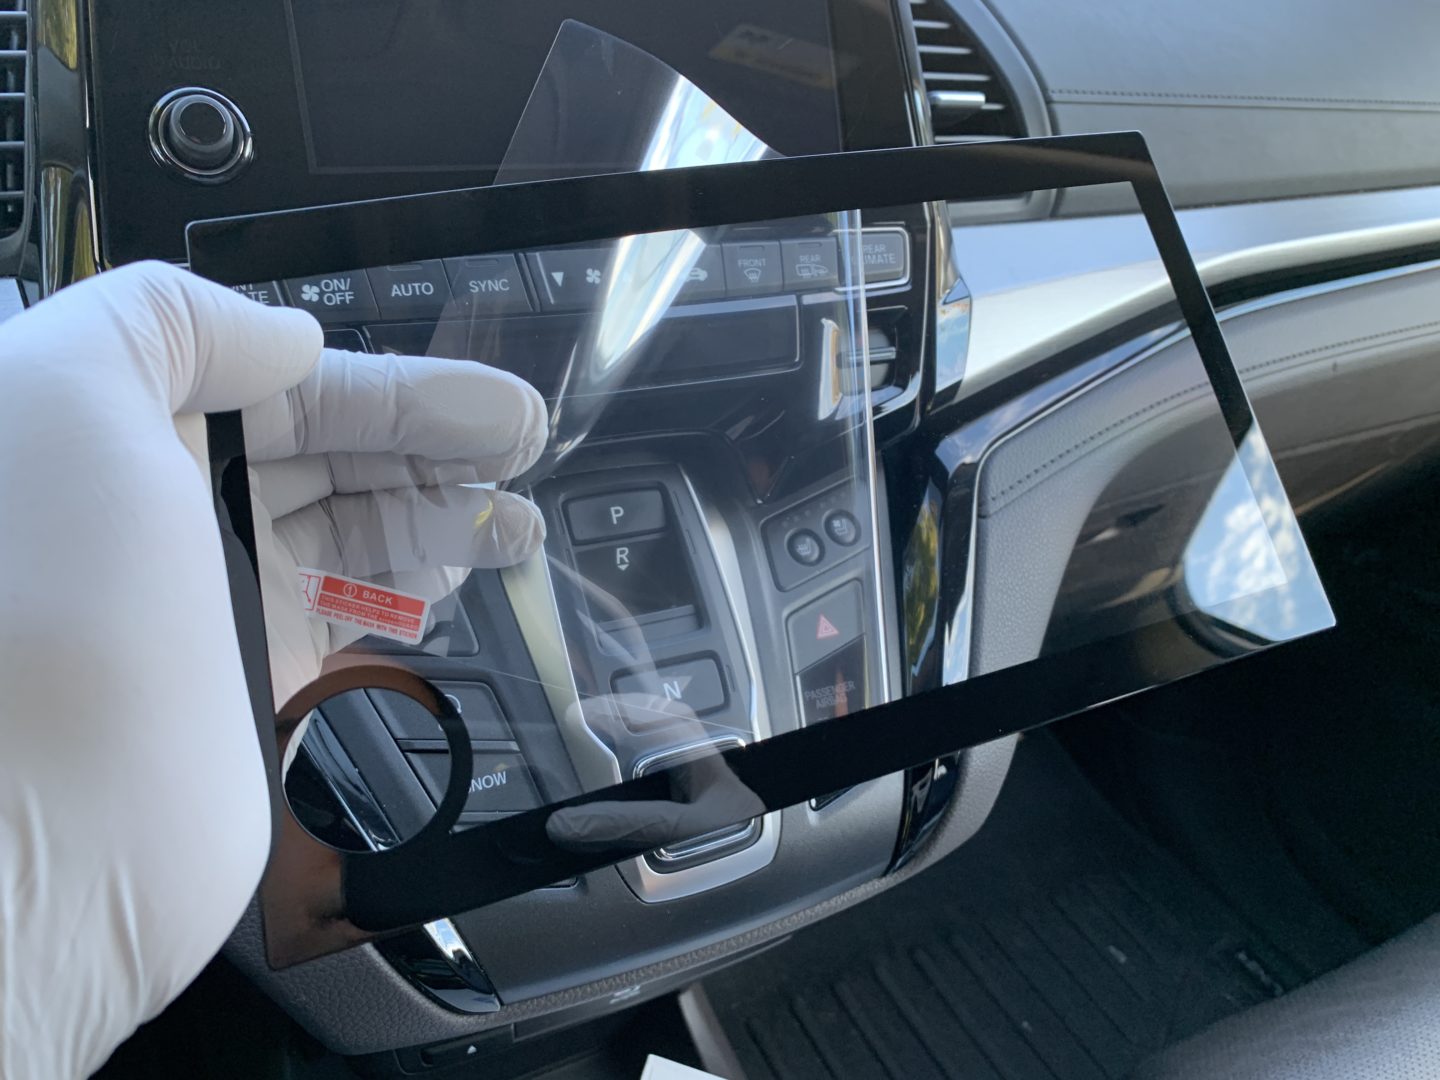
Make sure everything is thoroughly wiped down. Then, do a dry-fit with the screen protector. Make sure it is the correct one and that it will fit properly. The screen protector should have a film on the back side, which will be peeled off later during the actual install.

If you don’t have your disposable gloves on already, you should have them on now. Make sure the doors are closed as you don’t want dust flying into the car and onto the screen while you’re working.
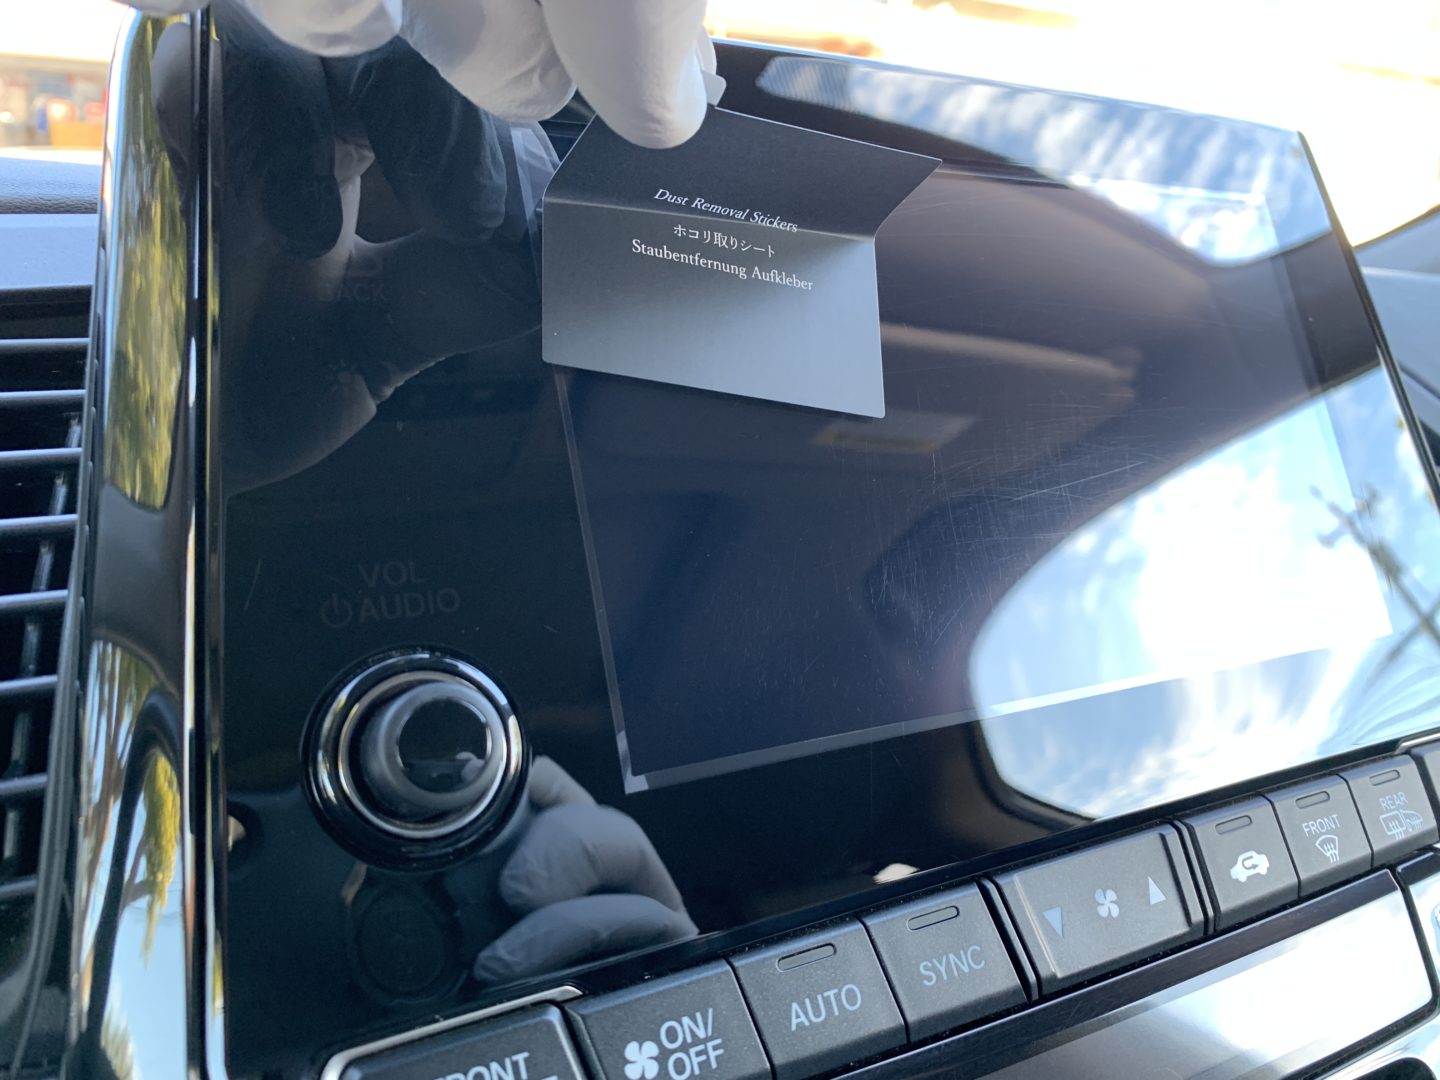
Use the included alcohol wipe to thoroughly clean the infotainment screen. After you’ve wiped it all down, let the screen dry. Then, use the dust removal stickers to remove any dust remaining on the screen. Basically stick the dust removal sticker and peel off to use.
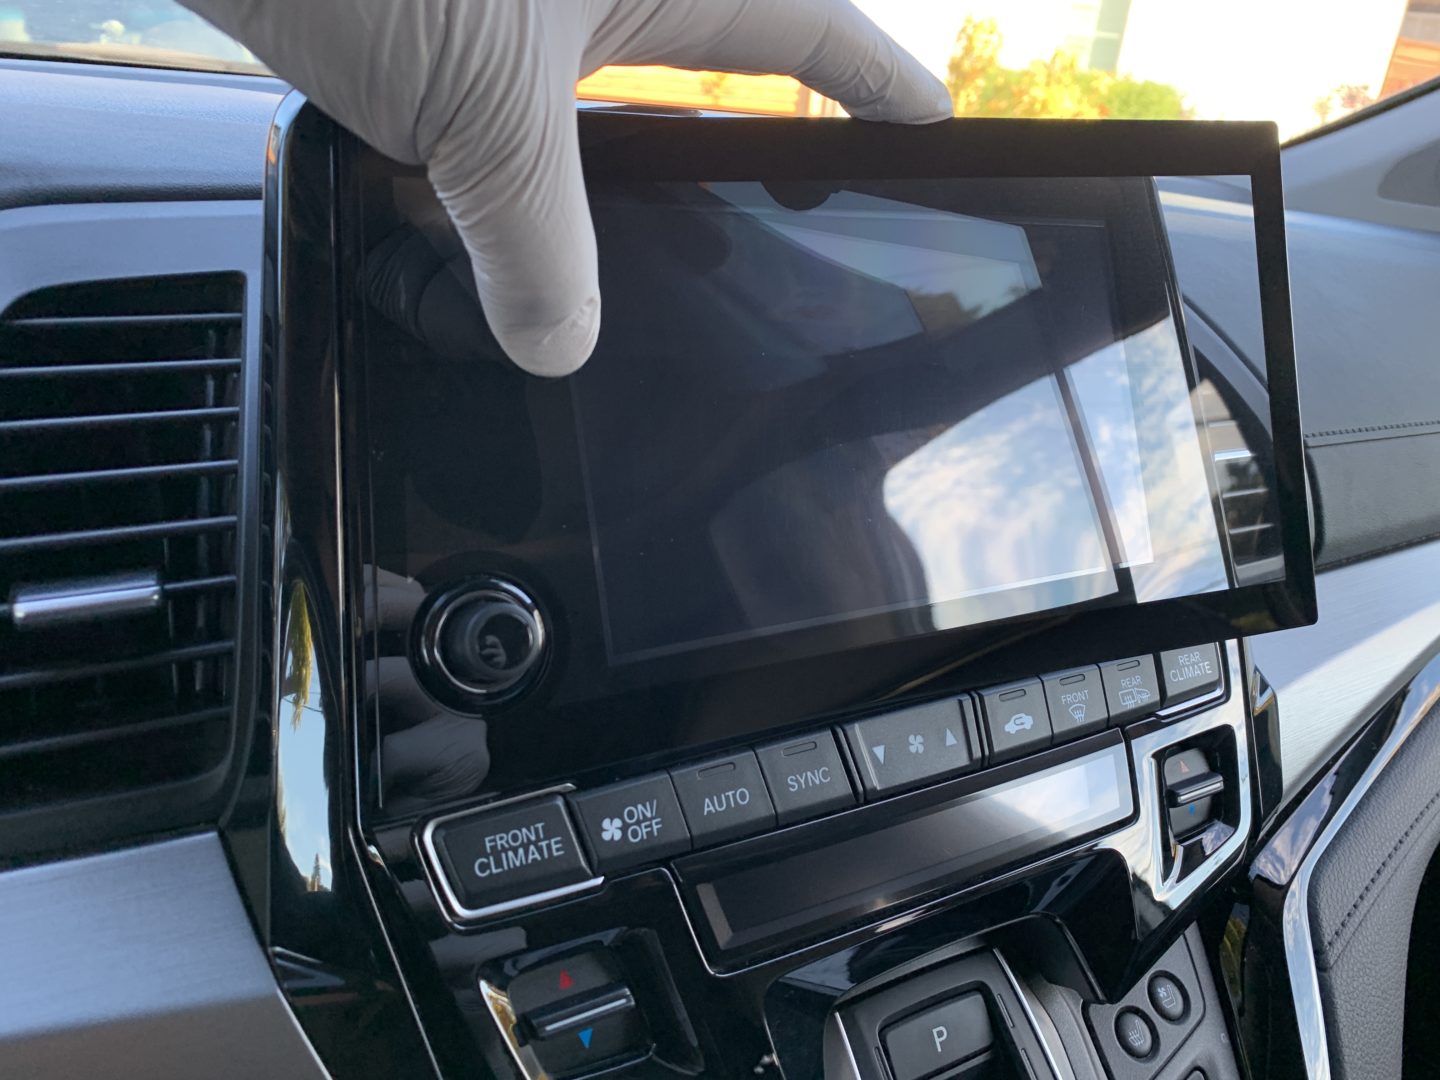
Carefully remove the protective backing on the screen protector and line it up so that it will fit perfectly onto your screen. What worked for me was lining up the volume button and centering it in the screen protector opening first, then laying it down while rotating it as needed. I also ensured that the bottom of the screen protector was parallel with the bottom line of the screen. That way I could tell if the screen protector was laying down crooked or not.
When you are sure that it is perfectly straight and is in the correct position, finish laying down the rest of the screen protector. Try not to remove the screen protector after it has been fully laid down. If you lay it down and discover that dust, hair, etc. has somehow gotten under the screen protector, then you can pull it back, and use the dust removal sticker to remove what is trapped before laying it back down again.

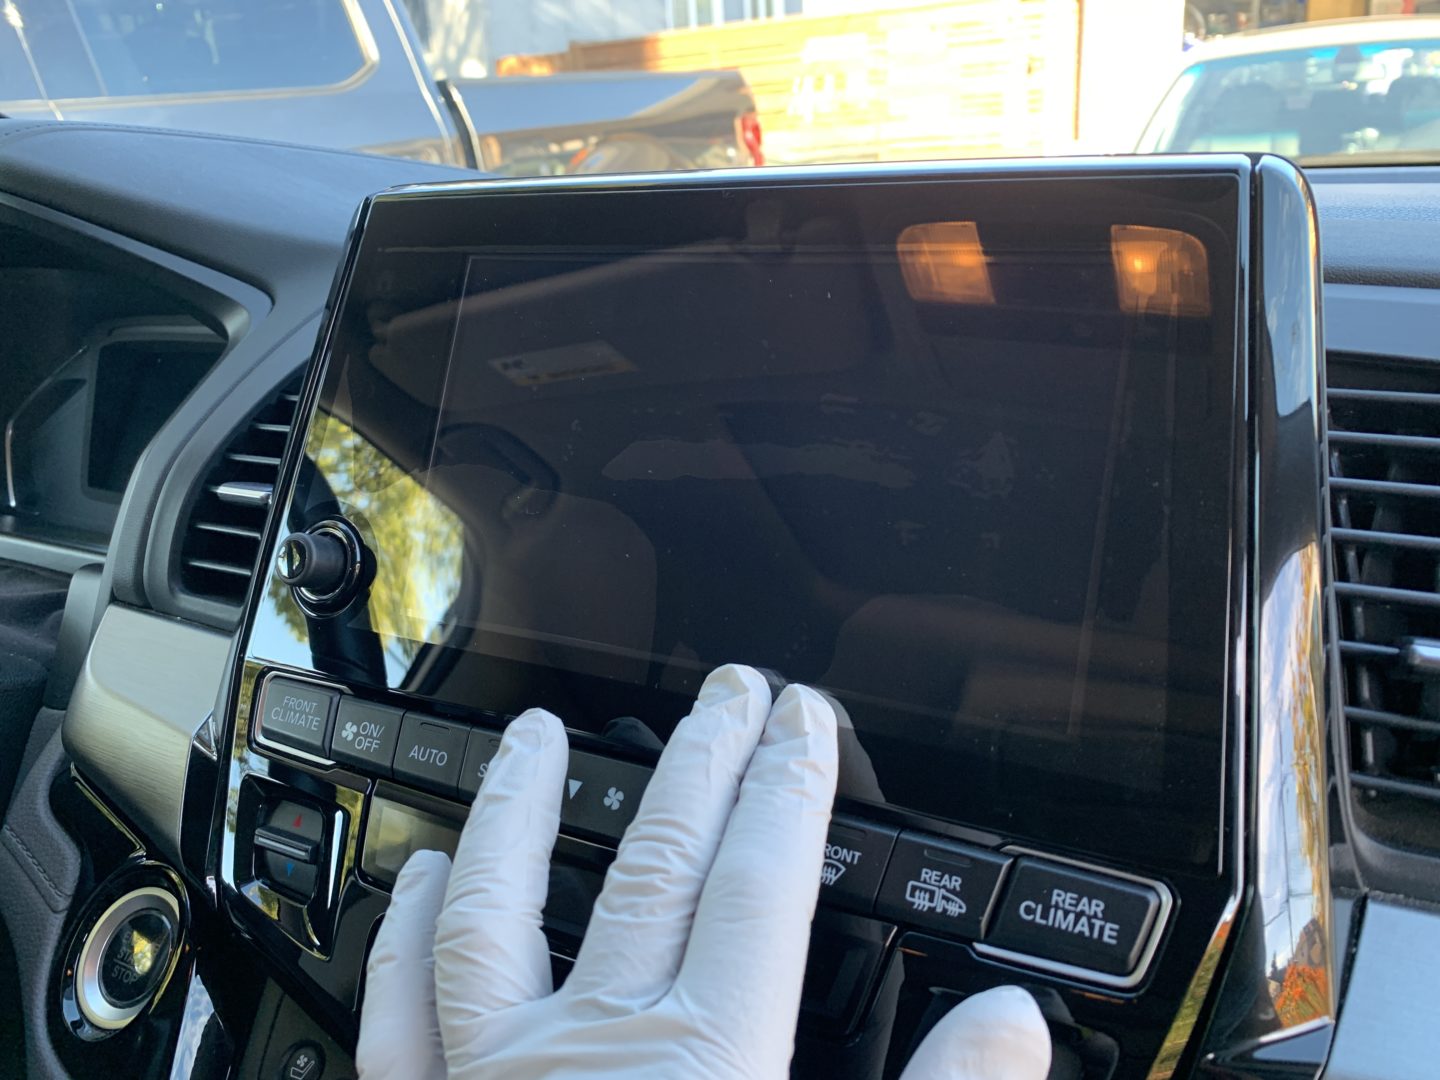
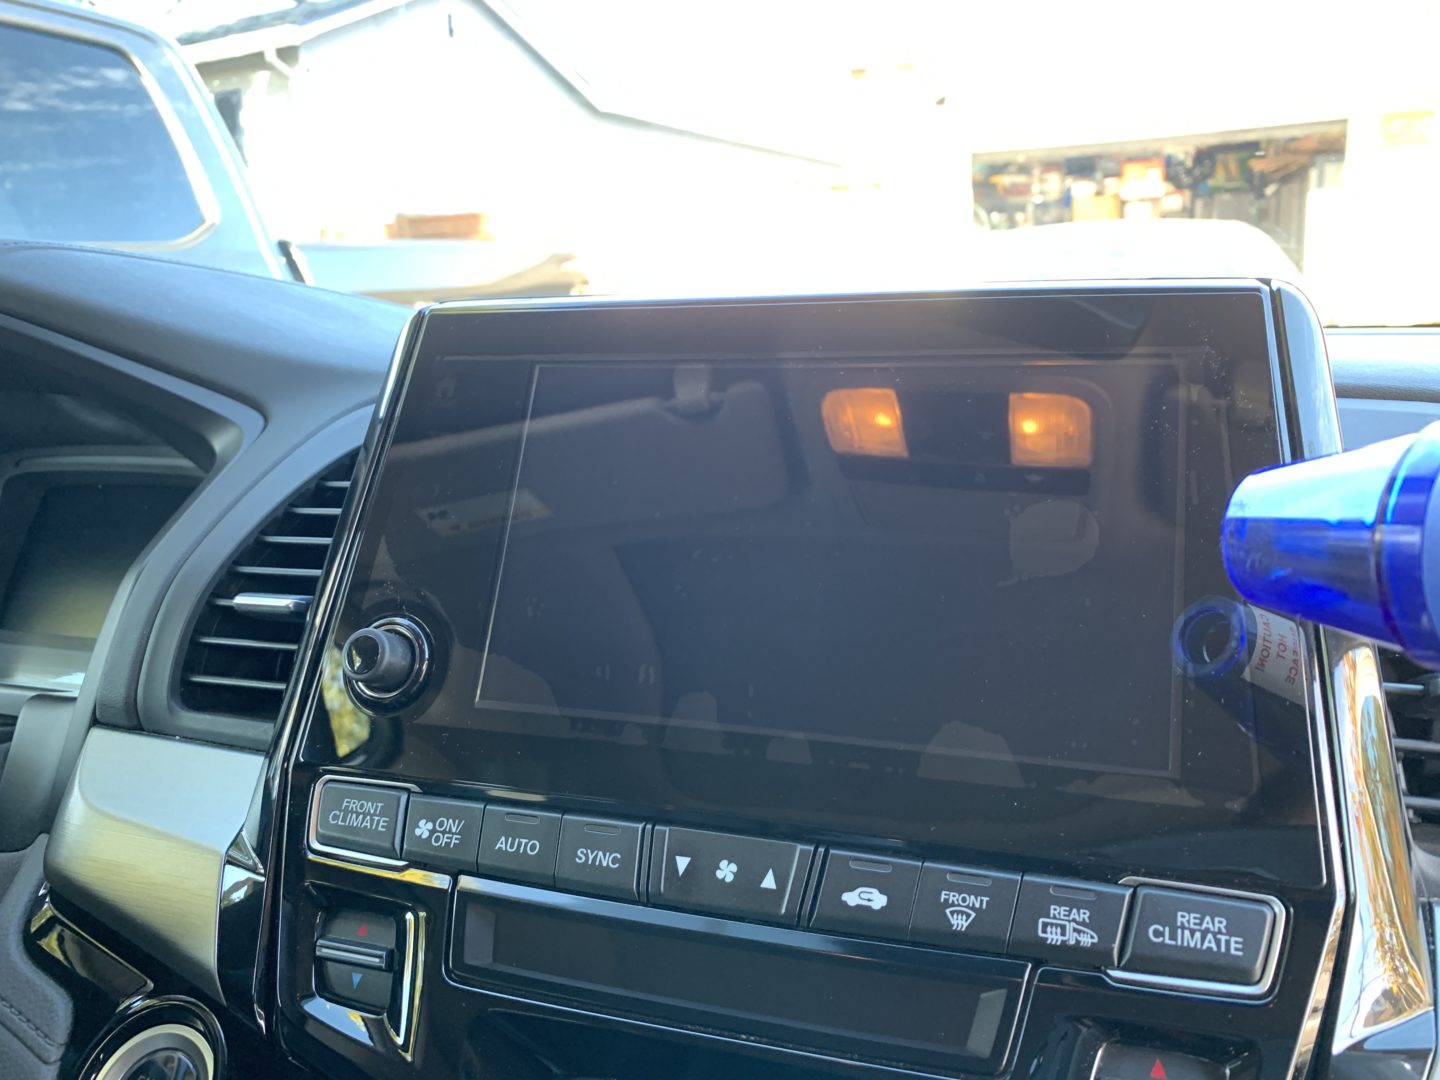
I’ve never been able to get most of the air bubbles out without the assistance of a heat gun. So at this point, I would gently press down the screen and get as much air bubbles out first. Then, I’d bring out the heat gun and apply heat lightly and massaging the air bubbles out more. Be careful not to apply too much heat in one place, as it can damage the sensitive electronics.
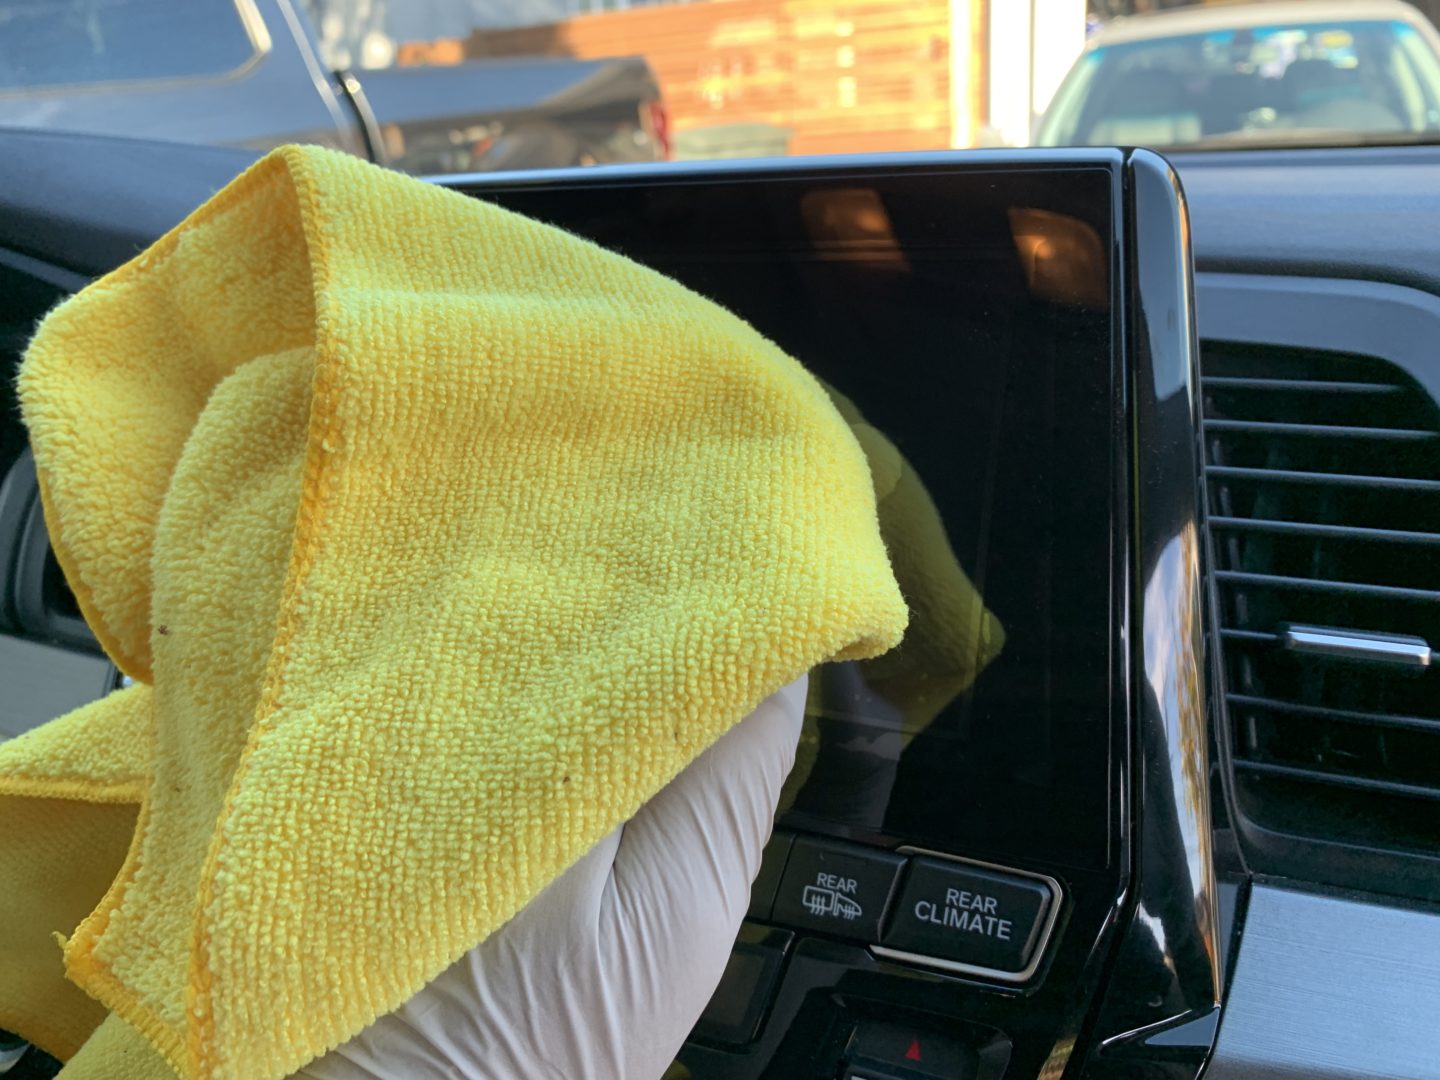
A microfiber towel works well for pressing the air bubbles out too, basically just use a microfiber towel to massage out the air bubbles. If you tried to massage out the air bubbles with your gloves on, there’s too much friction preventing you from doing so.

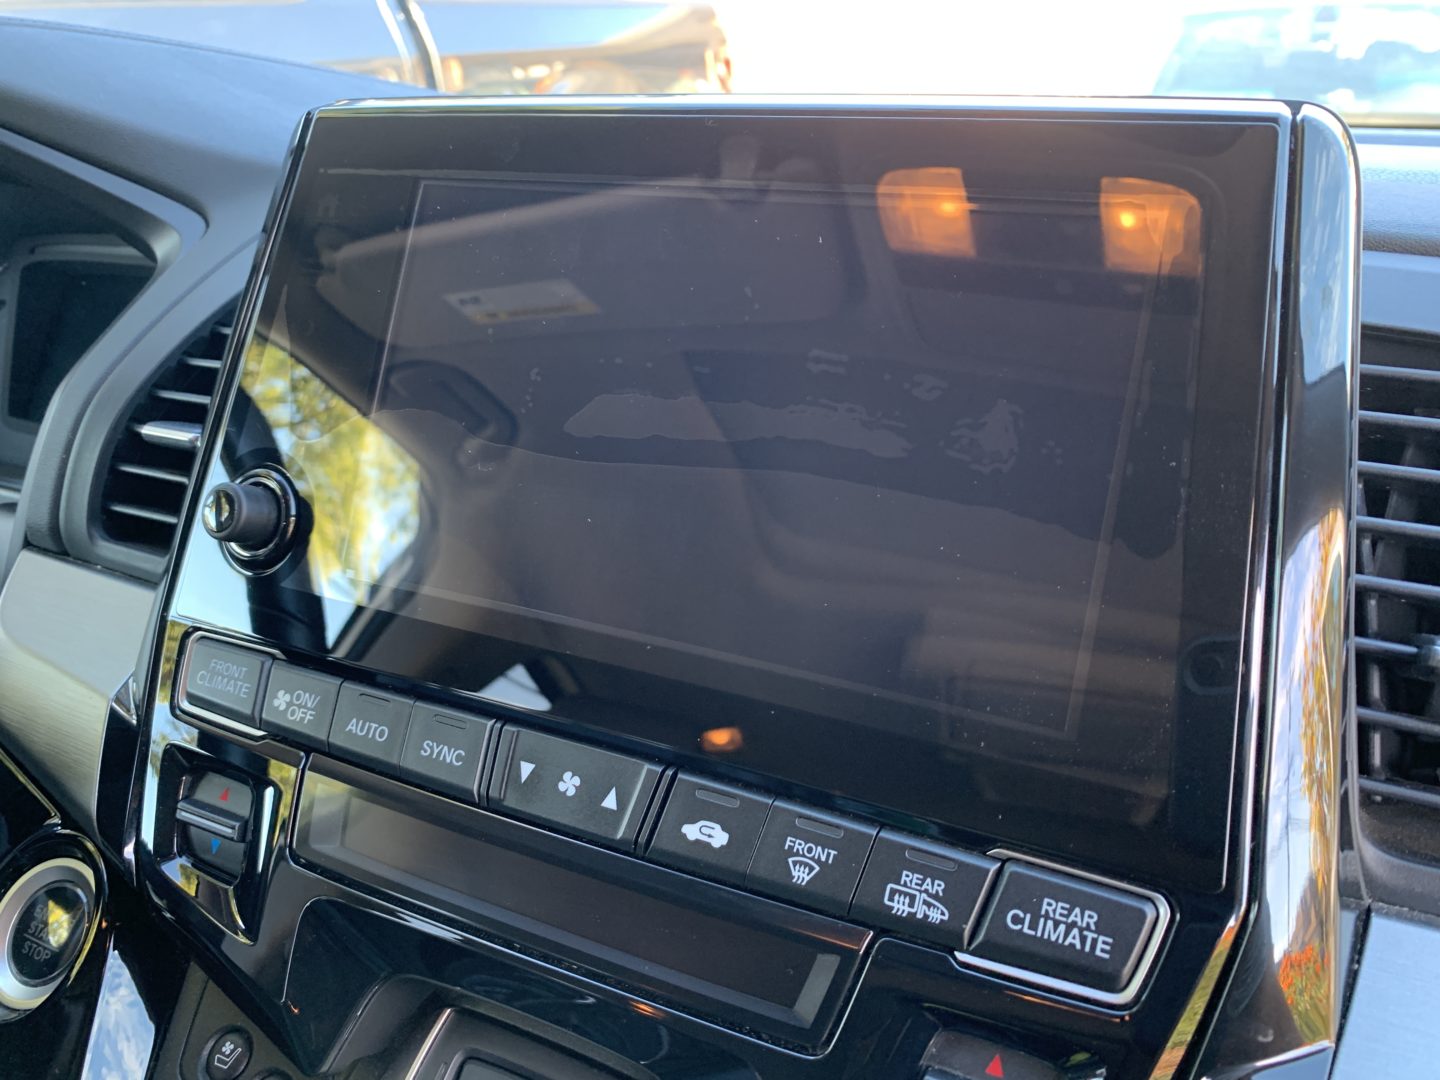
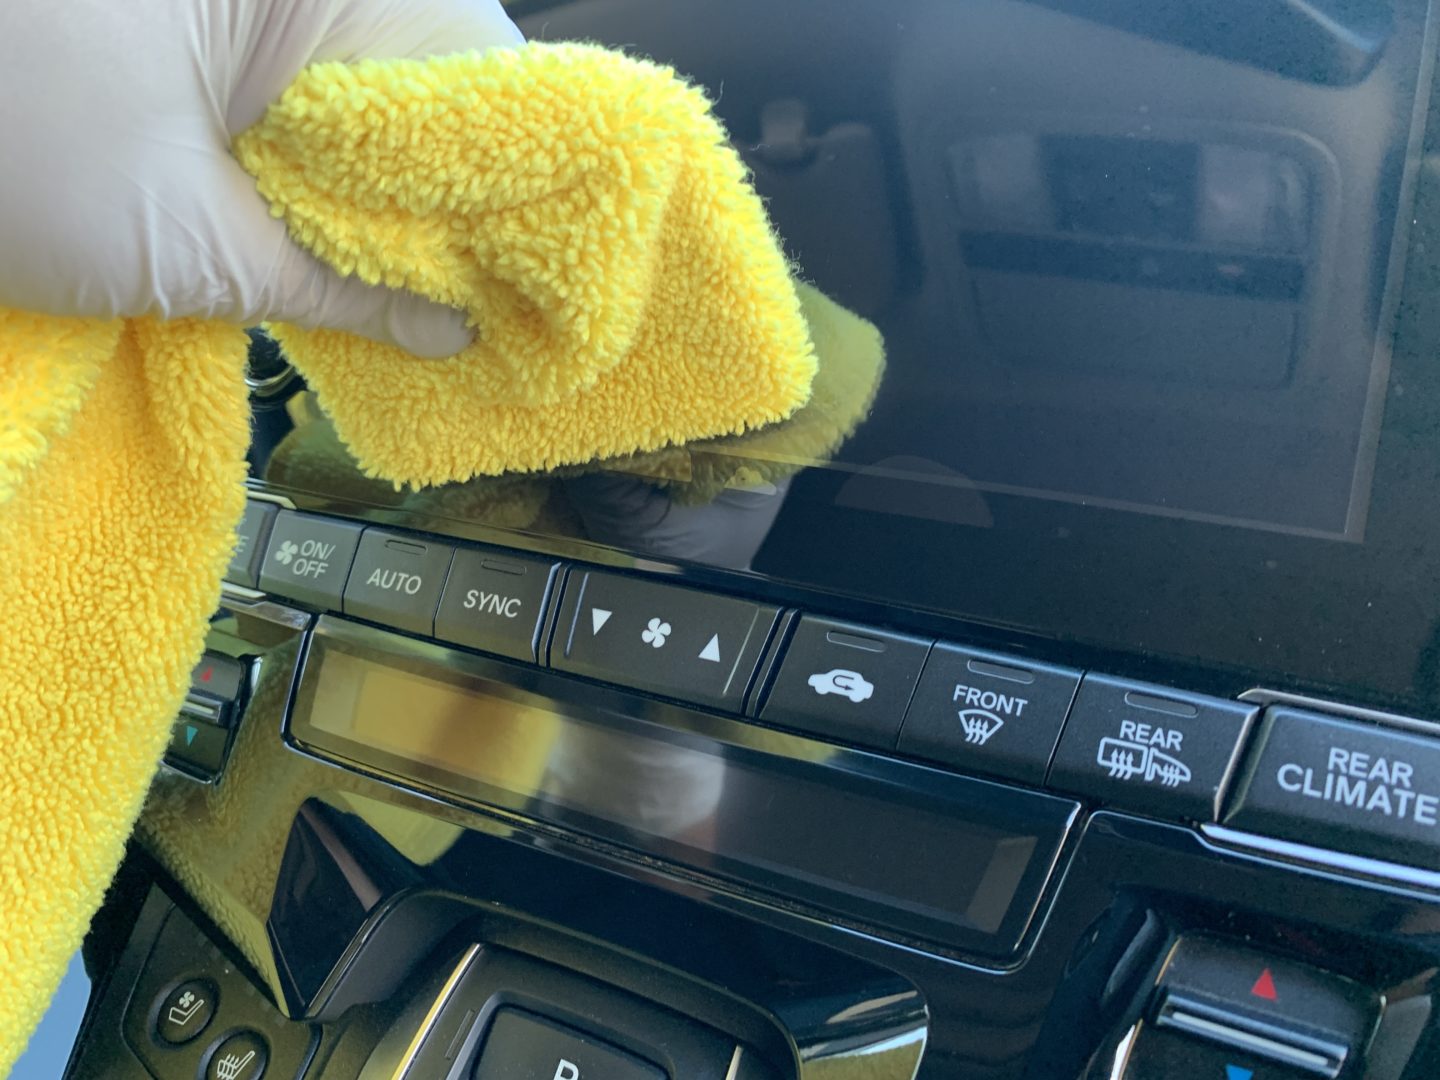
At this point, I was able to get most of the air bubbles out with the exception of the ones around the edges. I grabbed a few credit cards and wrapped them in the microfiber towel to use them like a squeegee. This allows me to press evenly and squeegee out the remaining air bubbles, moving from the center of the screen and pressing out away towards the edges.


In the end, you should end up being able to remove at least 95% of the air bubbles. This is the remaining amount of air bubbles that I just couldn’t get out no matter how hard I tried. But, that’s okay. If these are air bubbles and not trapped dust, then they should mostly work themselves out over time.

A few weeks later, and the screen protector looks like this. More of the air bubbles have worked itself out. If the temperature where you live is not that warm/hot, then this process may take longer. Where I live, it has been relatively cold as it has been Fall/Winter. So, you may just have to wait.
Otherwise, you might be able to just live with these small residual air bubbles as they aren’t as noticeable when your screen is turned on and you’re not looking at a very specific angle against the light in order to see them.
Overall, I’m really happy with the install. I know the LFOTPP Screen Protector has a strange-sounding name, but it truly is of high quality and has a perfect cut to fit our vehicles. After you install it, you won’t even know the screen protector is there, plus you have the assurance that the screen beneath it is well-protected.
")
")
")
")
")
")
")
")
