
When you make purchases through links on this site, The Track Ahead may earn an affiliate commission. Also, these posts are based off my own experiences. I am not responsible for any action you take as a result of reading this. Learn More
About the Keyless Entry Remote for the 1st Generation Toyota Tacoma
Not all 1st generation Toyota Tacomas (1995-2004) have keyless entry. For model years 2001-2004, a factory alarm or keyless entry may be equipped with the vehicle. In these cases, a keyless entry remote should be included with the vehicle. On our 2004 Toyota Tacoma, the we had two keyless entry remotes included with the truck.
Whether you need to replace or want a spare keyless entry remote for your 1st gen Toyota Tacoma, you might be wondering how you can do this. If you purchase a new OEM remote and have a dealership program it for you, they might charge you over $100 to do so. Alternatively, you can purchase an OEM remote or a more affordable aftermarket remote, and program it yourself. Below you will find some options for keyless entry remotes on the 1st generation Toyota Tacoma and the procedure for how to program it to your own vehicle.
Keyless Entry Remote Options
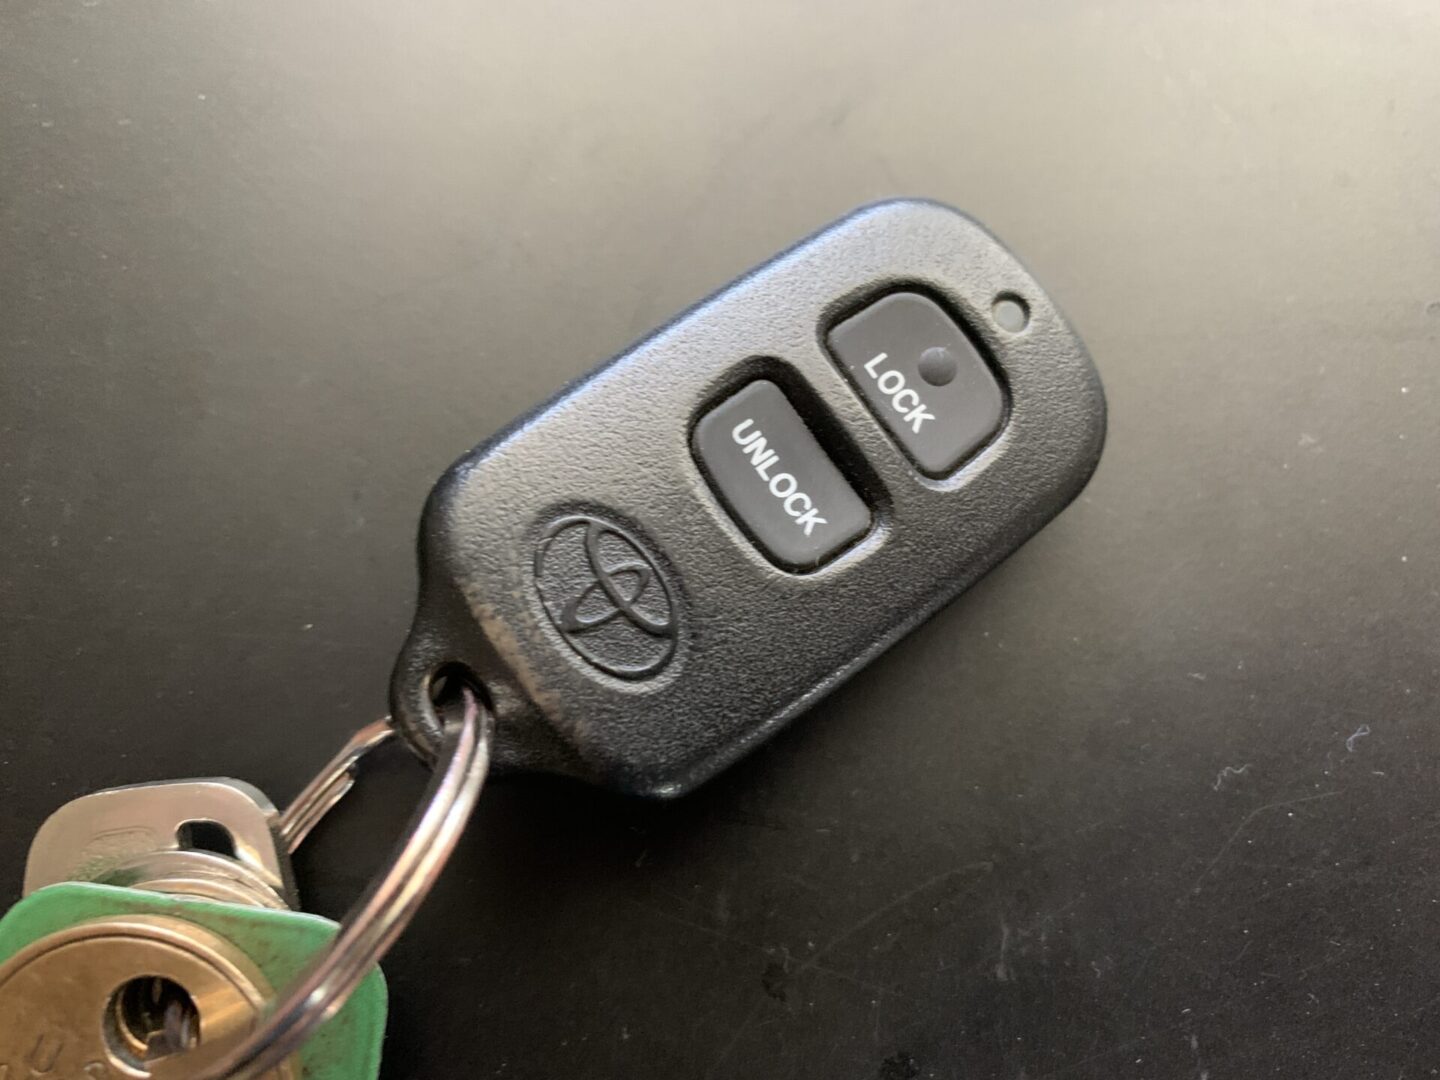
The remote on our 2004 Toyota Tacoma has the following information on the back of the keyless entry remote: FCC ID BAB237131-056. The Toyota OEM part number is #08191-00922.

If you are looking for a replacement remote, you can either go with an OEM Toyota keyless entry remote or you can purchase an aftermarket remote. OEM remotes cost around 3 times as much as an aftermarket remote, but they are the best overall remote you can get. The internals are high quality and are very durable.
If you go with an aftermarket remote, you’ll end up with a product that works, however quality control is not always the best with these cheaper products. They are also not all identical, so one aftermarket remote may look entirely different (inside and out) from another aftermarket remote.
OEM Remote: Search for #08191-00922 OEM Remotes on Ebay
Aftermarket Remote: Keyless2Go Replacement Keyless Entry Remote – RS3200
How to Program a New Remote: 1st Gen Toyota Tacoma
Keep in mind that a maximum of 4 remotes can be programmed to one vehicle at one time.
Before beginning, open driver’s door and remove key from ignition switch.
To Program an Additional Remote Control
Start Programming Procedure (complete within 40 seconds):
– insert key into ignition, remove from ignition.
– insert key into ignition, remove from ignition.
– close, then open driver’s door.
– close, then open driver’s door.
– insert key into ignition, remote from ignition.
– close, then open driver’s door.
– close, then open driver’s door.
– insert key into ignition and leave it in.
– close driver’s door.
– turn key in ignition from LOCK to ON, then back to LOCK.
– remove key from ignition switch.
At this time, doors will lock and unlock 1 time. If this does not occur after performing the steps above, then start over again.
To add/program a a new remote, do the following:
– press both the LOCK and UNLOCK buttons on new remote at the same time.
– press the LOCK button.
The doors will lock and unlock 1 time. Repeat these steps to add additional remotes.
Open the driver’s door to complete the programming.
To Clear All Existing Remotes and Program an Additional Remote Control
Start Programming Procedure (complete within 40 seconds):
– insert key into ignition, remove from ignition.
– insert key into ignition, remove from ignition.
– close, then open driver’s door.
– close, then open driver’s door.
– insert key into ignition, remote from ignition.
– close, then open driver’s door.
– close, then open driver’s door.
– insert key into ignition and leave it in.
– close driver’s door.
– turn key in ignition from LOCK to ON, then back to LOCK.
– turn key in ignition from LOCK to ON, then back to LOCK.
– remove key from ignition switch.
The doors will lock and unlock 2 times. If this does not occur after performing the steps above, then start over again.
To add/program the new remote, do the following:
– press both the LOCK and UNLOCK buttons on new remote at the same time.
– press the LOCK button.
The doors will lock and unlock 1 time. Repeat these steps to add additional remotes.
Open the driver’s door to complete the programming.
To Clear all Existing Remote Controls
Start Programming Procedure (complete within 40 seconds):
– insert key into ignition, remove from ignition.
– insert key into ignition, remove from ignition.
– close, then open driver’s door.
– close, then open driver’s door.
– insert key into ignition, remote from ignition.
– close, then open driver’s door.
– close, then open driver’s door.
– insert key into ignition and leave it in.
– close driver’s door.
– turn key in ignition from LOCK to ON, then back to LOCK.
– turn key in ignition from LOCK to ON, then back to LOCK.
– turn key in ignition from LOCK to ON, then back to LOCK.
– turn key in ignition from LOCK to ON, then back to LOCK.
– turn key in ignition from LOCK to ON, then back to LOCK.
– remove key from ignition switch.
The doors will lock and unlock 5 times. If this does not occur after performing the steps above, then start over again.
To add/program the new remote, do the following:
– press both the LOCK and UNLOCK buttons on new remote at the same time.
– press the LOCK button.
The doors will lock and unlock 1 time. Repeat these steps to add additional remotes.
Open the driver’s door to complete the programming.


: 1st Gen Toyota Tacoma")
: 1st Gen Toyota Tacoma")
: 1st Gen Toyota Tacoma")
: 1st Gen Toyota Tacoma")

: 1st Gen Toyota Tacoma")
