When you make purchases through links on this site, The Track Ahead may earn an affiliate commission. Also, these posts are based off my own experiences. I am not responsible for any action you take as a result of reading this. Learn More
Cars will inevitably endure all kinds of scratches over time. Sometimes they can be major scratches that require touch up or re-painting, but most of the time what you’ll find are minor scratches. You can remove minor scratches pretty easily with a machine polisher and a compound of some sort. You can even get away with using a polish instead of a compound if the scratches are very minor.
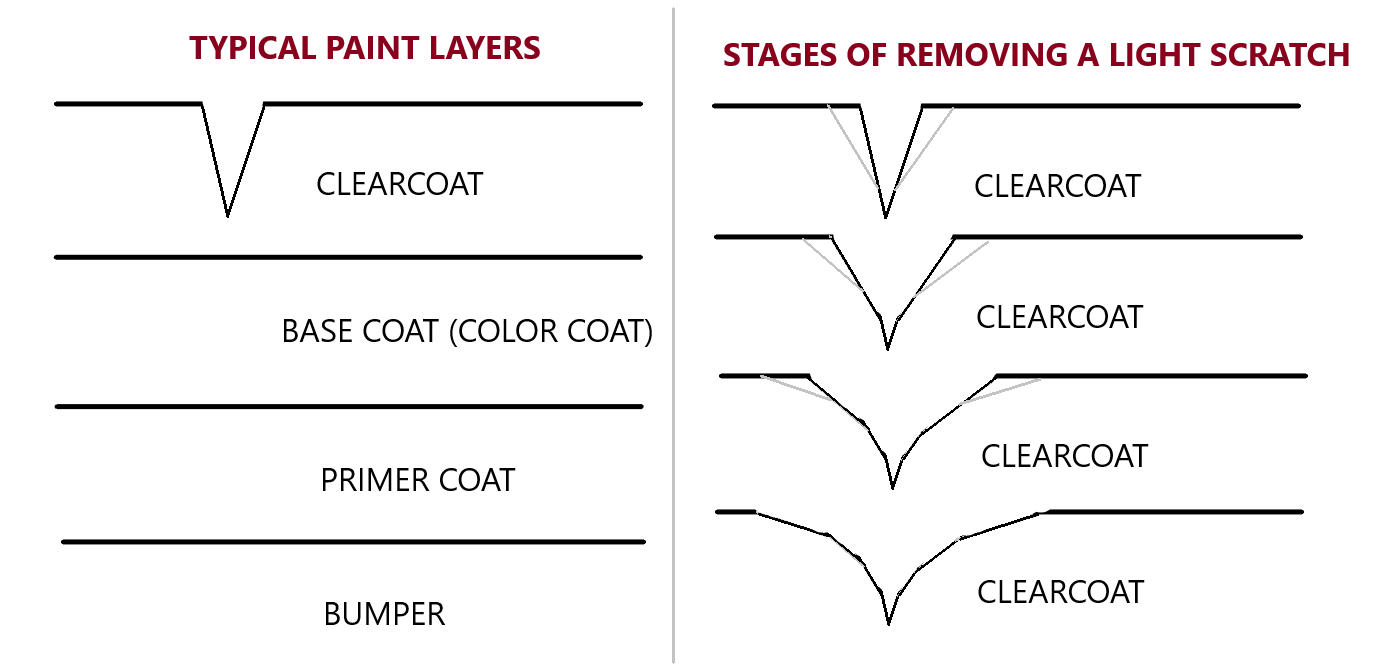
If the scratch has gone through the clear coat into the paint (this would be considered a deep scratch), then you won’t be able to polish out the scratch. If the scratch has scratched the clear coat and has not penetrated the paint base coat, then this is considered a light scratch and can usually be polished out.
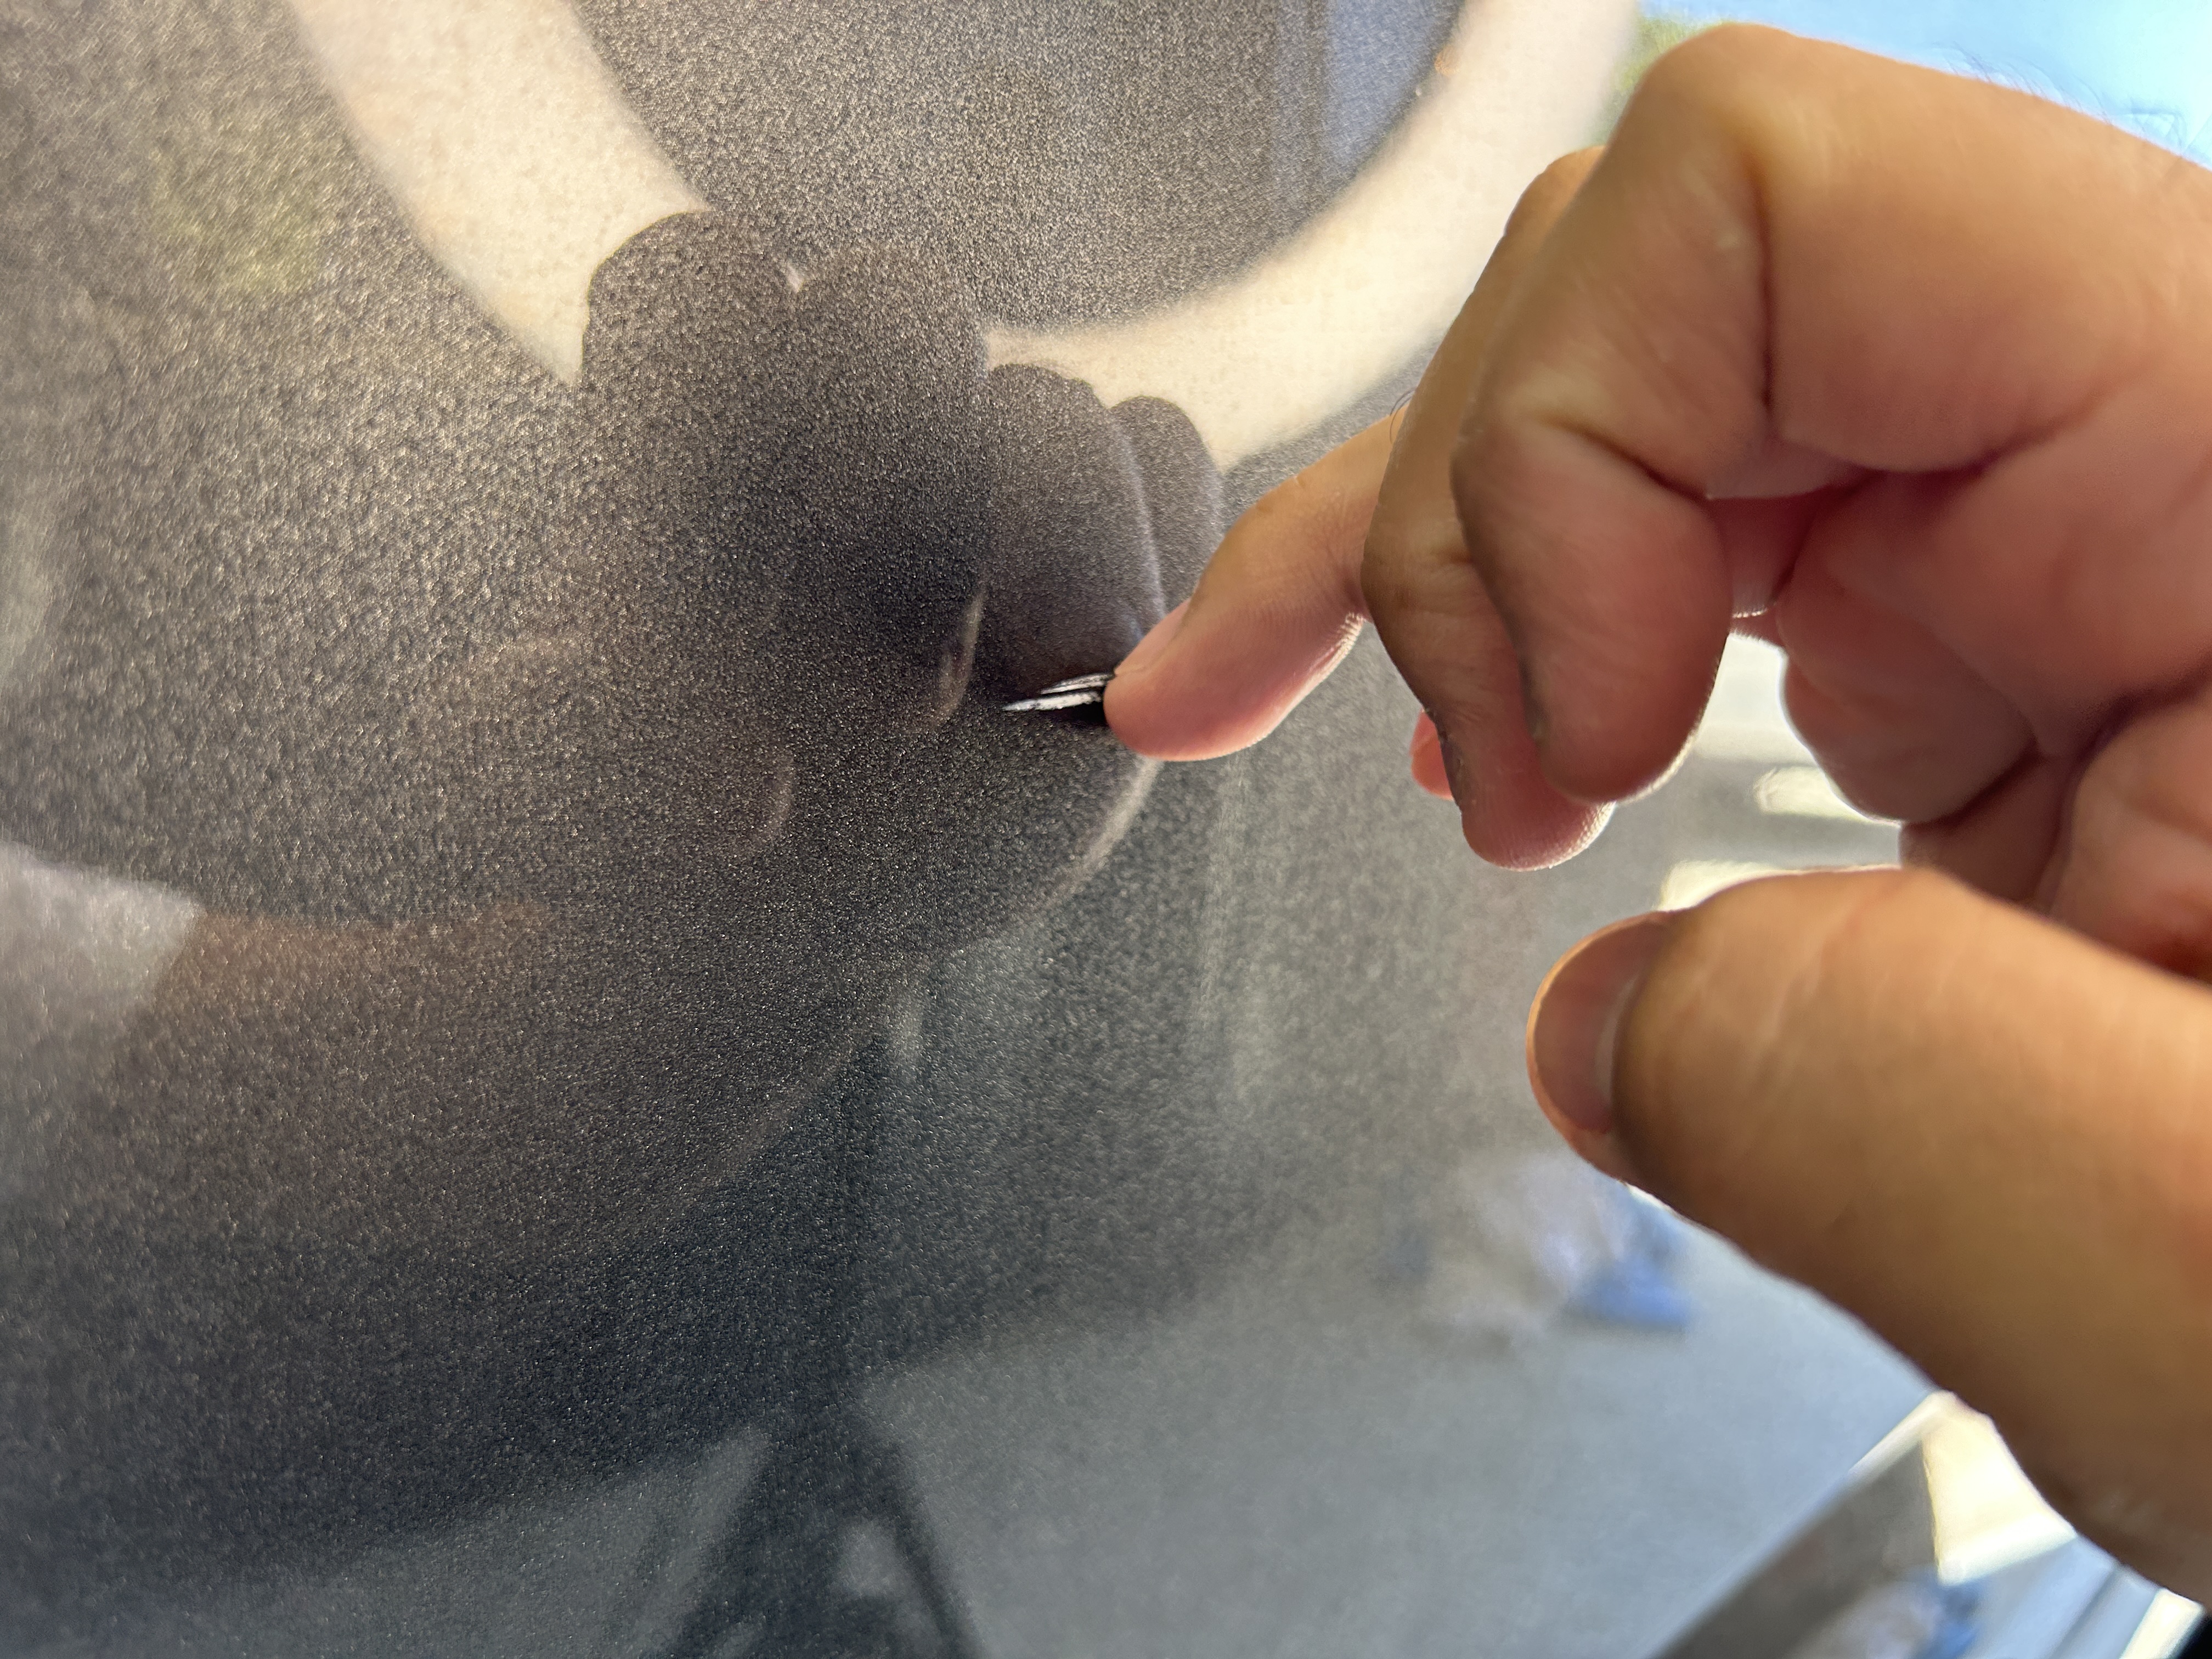
The way to distinguish between a minor scratch (one that can be polished out) and a major scratch which cannot, is to use the fingernail test. Use your fingernail to scratch the paint perpendicular across the scratch and see if you feel the scratch. If you feel the scratch, it is too big of a scratch and you cannot polish it out. If you can’t feel it, the scratch has only penetrated the clear coat and hasn’t reached the base coat paint, so you should be able to polish it out.
Using a machine polisher is an effective way to remove most light scratches from your paint. Dual-action machine polishers are more than adequate to remove light scratches without damaging your car’s paint. What you’re doing with a polisher is wearing down the sharp edges of the clear coat until it is so smooth that light reflects off of it just like it does with the rest of the smooth paint.
What You’ll Need
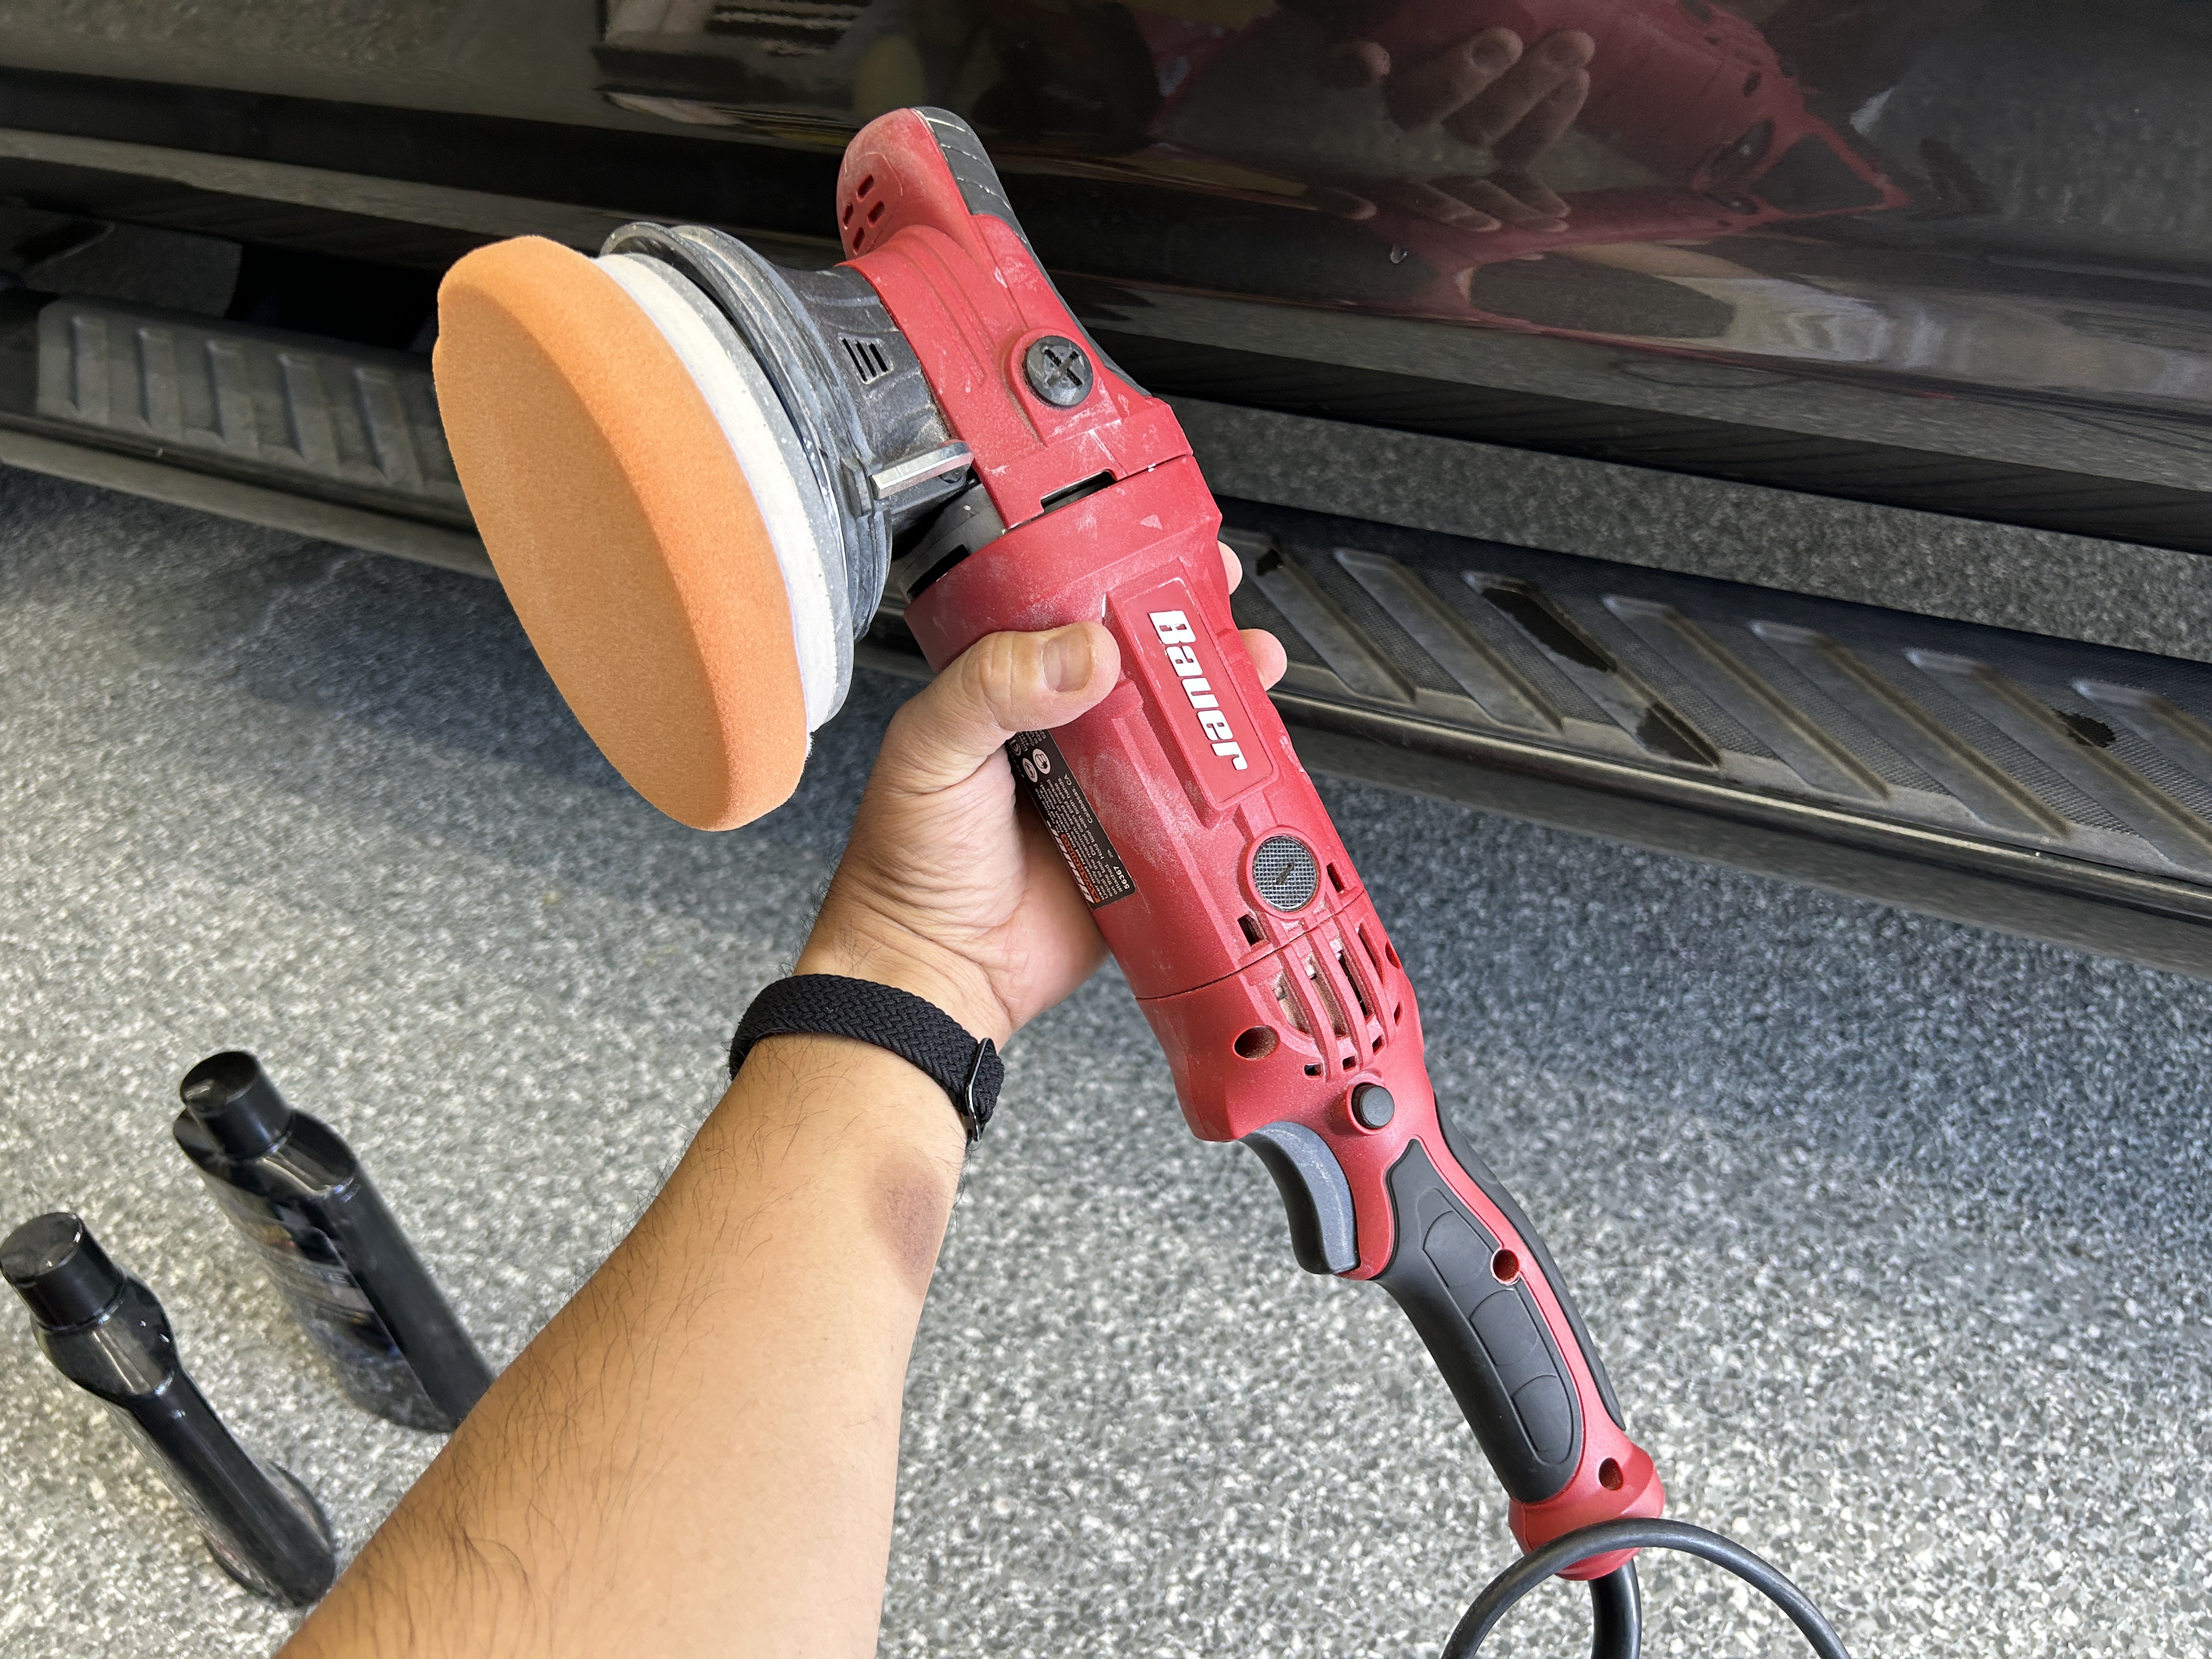
Dual Action (DA) Machine Polisher
A dual action machine polisher is usually more than enough to handle this type of job. You can get some more power with a long throw polisher, but a regular one can still perform and is great for someone getting started. Dual action polishers have two actions: rotation and spin, which offers you more random movement to minimize the chance of damaging the paint.
Chemical Guys TORQX Random Orbital Polisher
Chemical Guys Torq 15mm Long-Throw Random Orbital Polisher
Polishing Pads & Compound
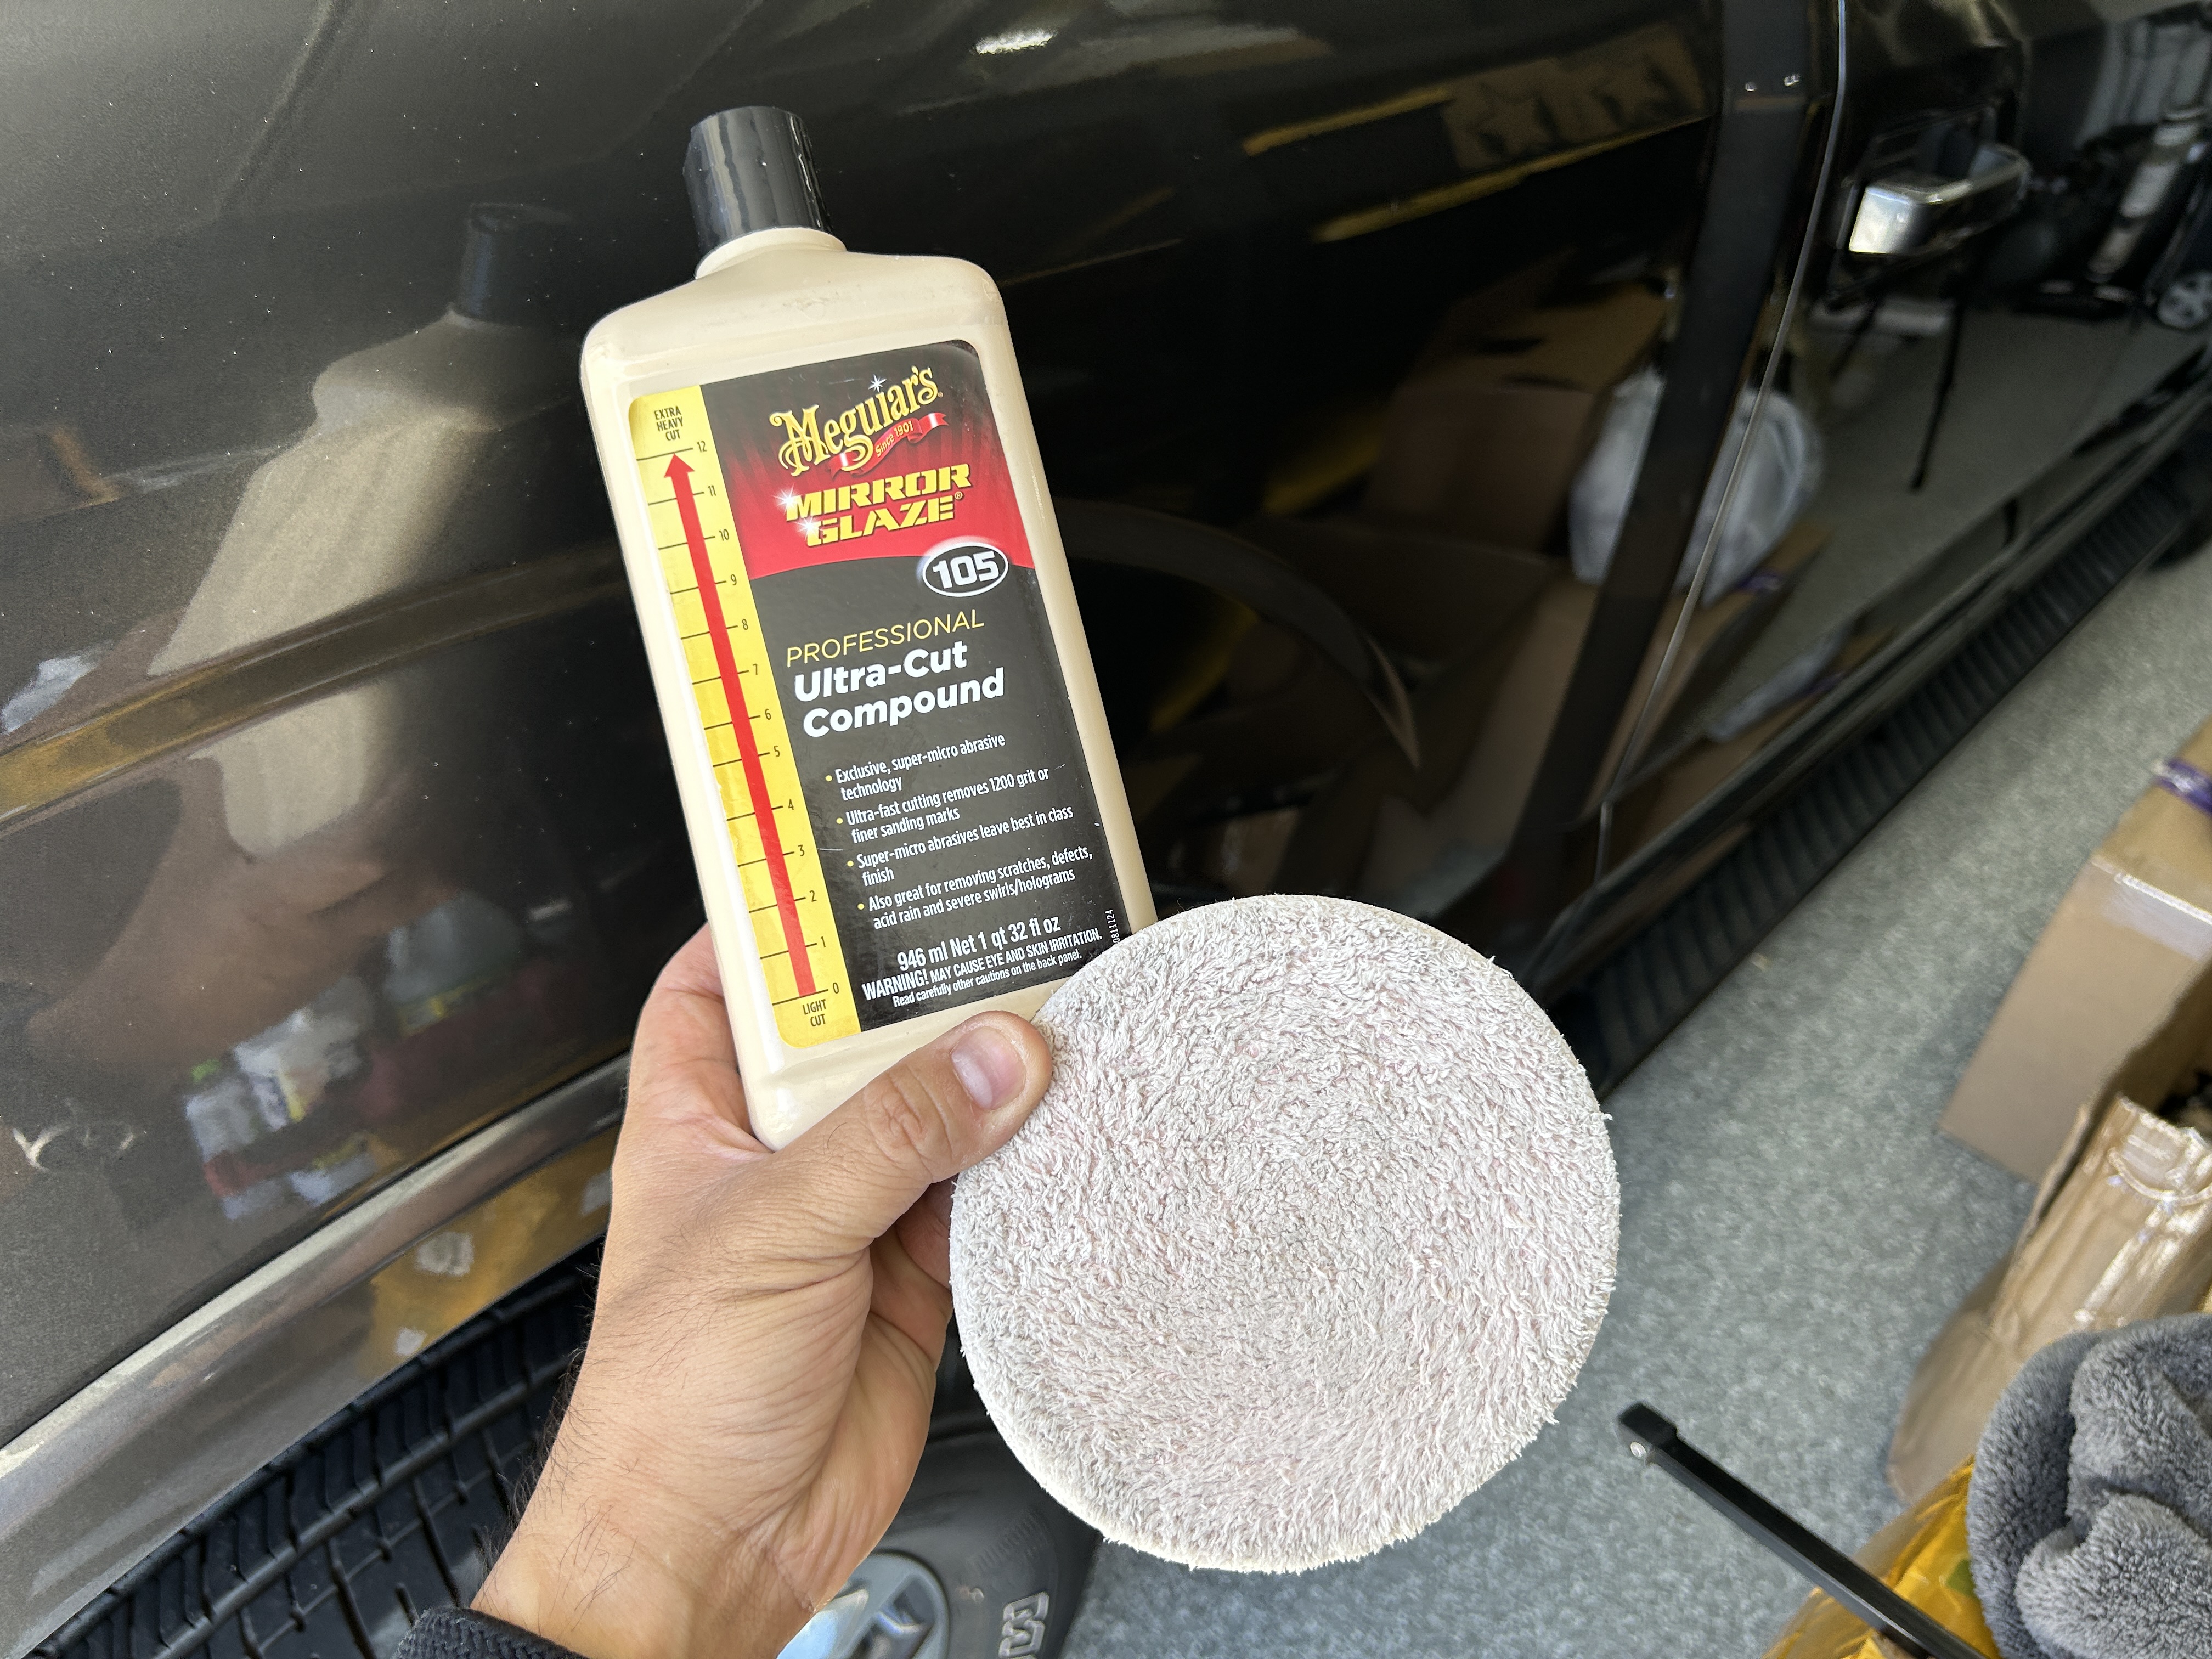
General foam polishing pads work well (usually yellow pads for more aggressive cut, or orange for medium aggressive cut), however if you want a stronger cut with your polishing compound, you’ll want to go with a microfiber pad or wool pad.
Meguiar’s Microfiber Cutting Disc, 2 Pack: 6-inch / 5-inch
POLIWELL Polishing Pads: 5.5 Inch (For 5-in Backing Plate), 7Pcs
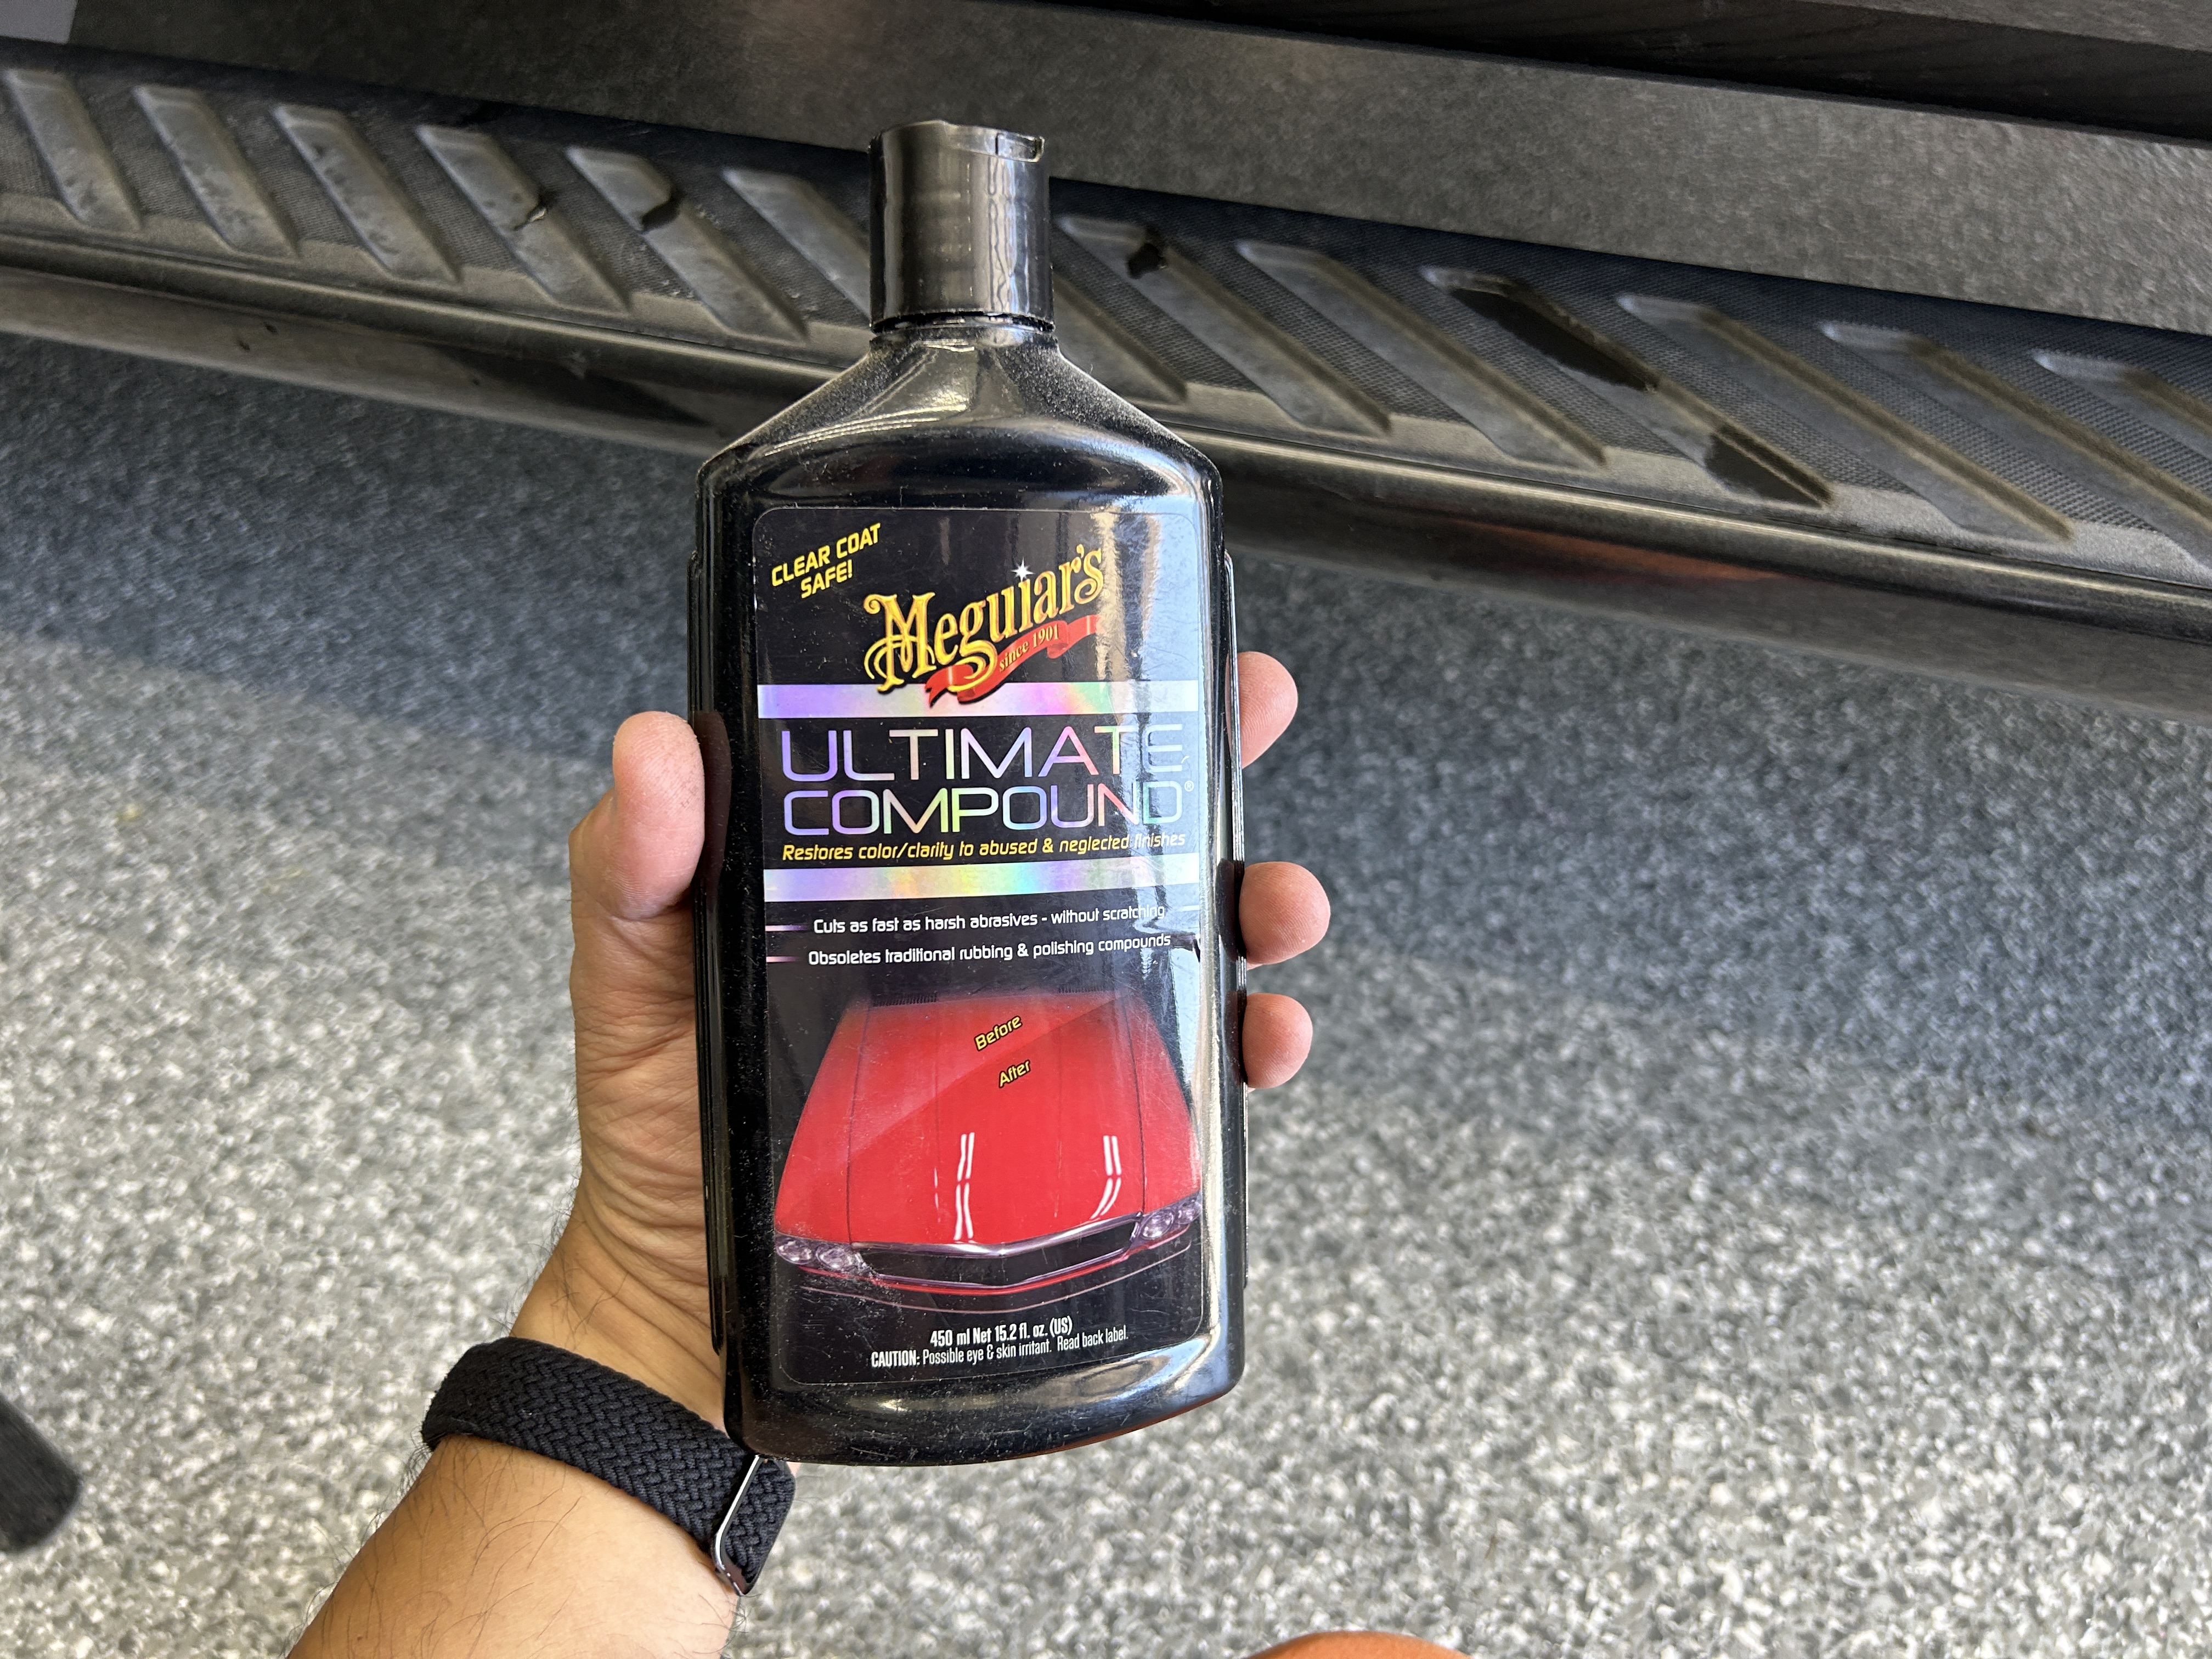
For compounds, you can go with a milder (safer) cut like Ultimate Compound, or something more aggressive like Meguiar’s M105 or M100. I prefer M100 over the M105 because M100 doesn’t leave as much compound dust behind as the M105.
Meguiar’s M100 Pro Speed Compound
Microfiber Towels
Microfiber towels are a staple for people who clean and detail their cars. If you don’t have any already, you will need them here to wipe away the remaining dried up compound after polishing.
Chemical Guys (6-Pack) / Zwipes (48-Pack) / AmazonBasics (24-Pack)
How to Remove Light Scratches from Your Car’s Paint
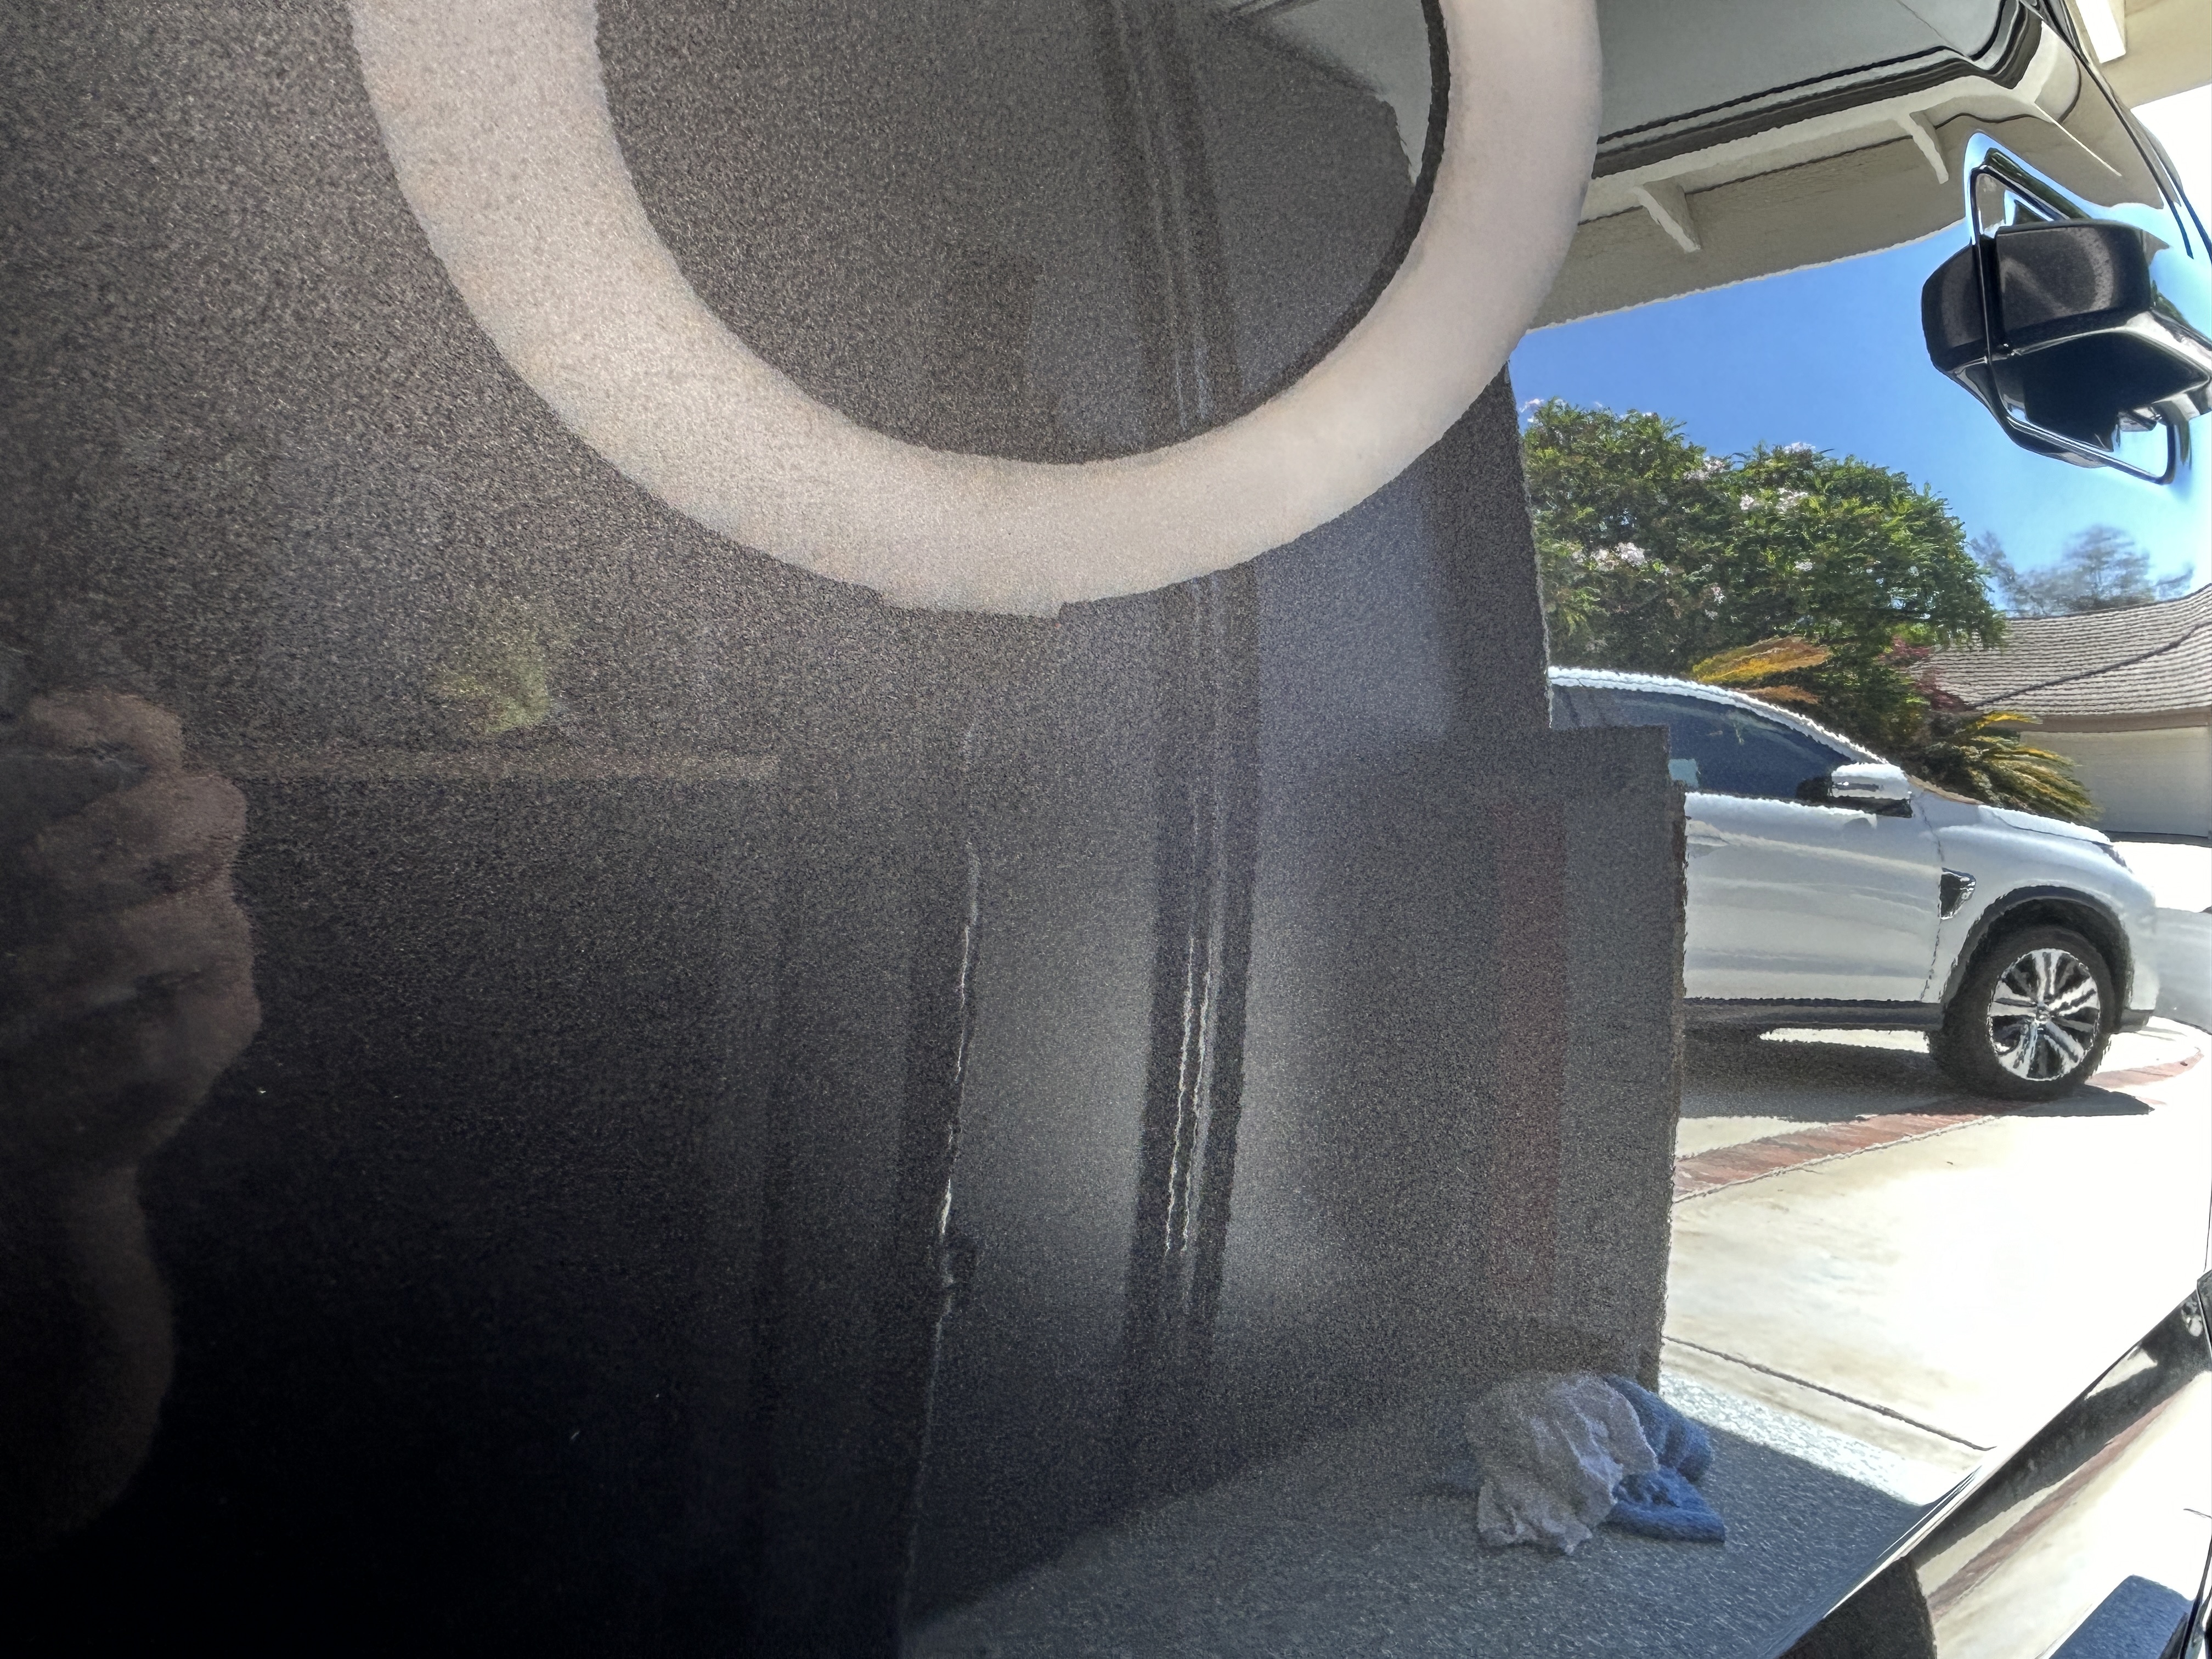
The first thing you should do is to wash your car. This not only gets your car clean so that you’re not polishing the dirt and other contaminants all over your paint, but it also cleans your paint and allows you to clearly see what scratches you might actually have.
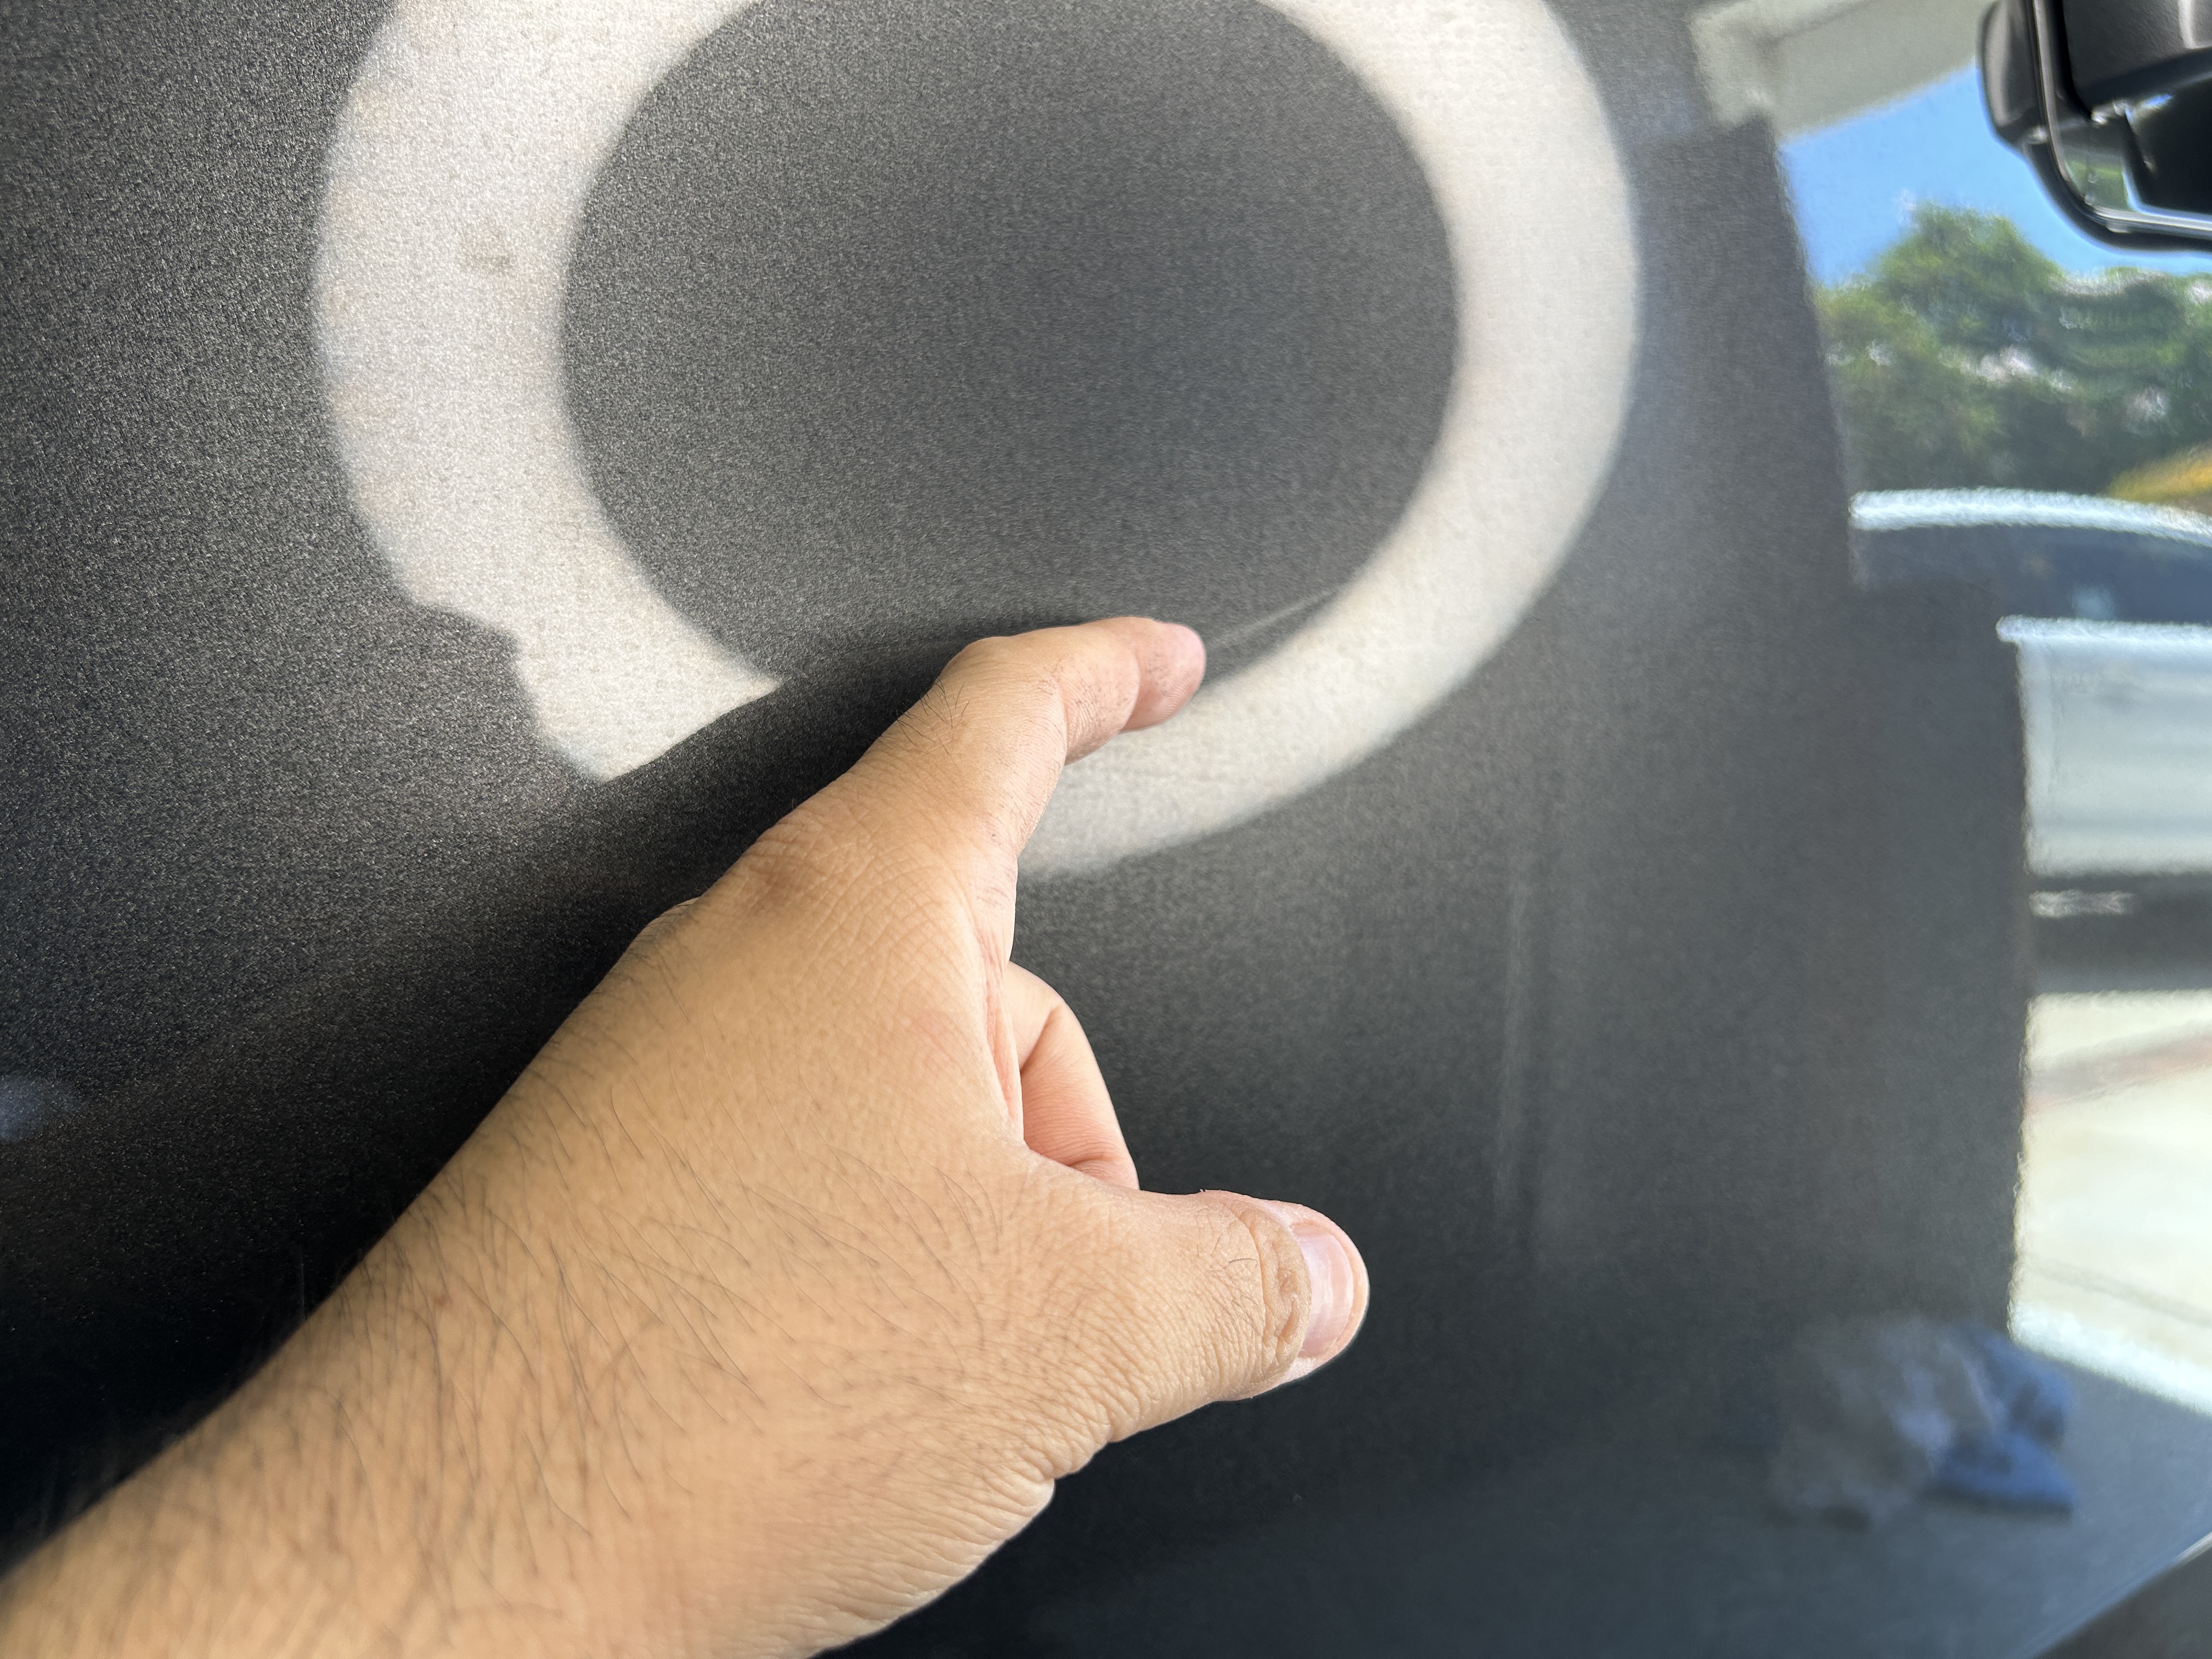
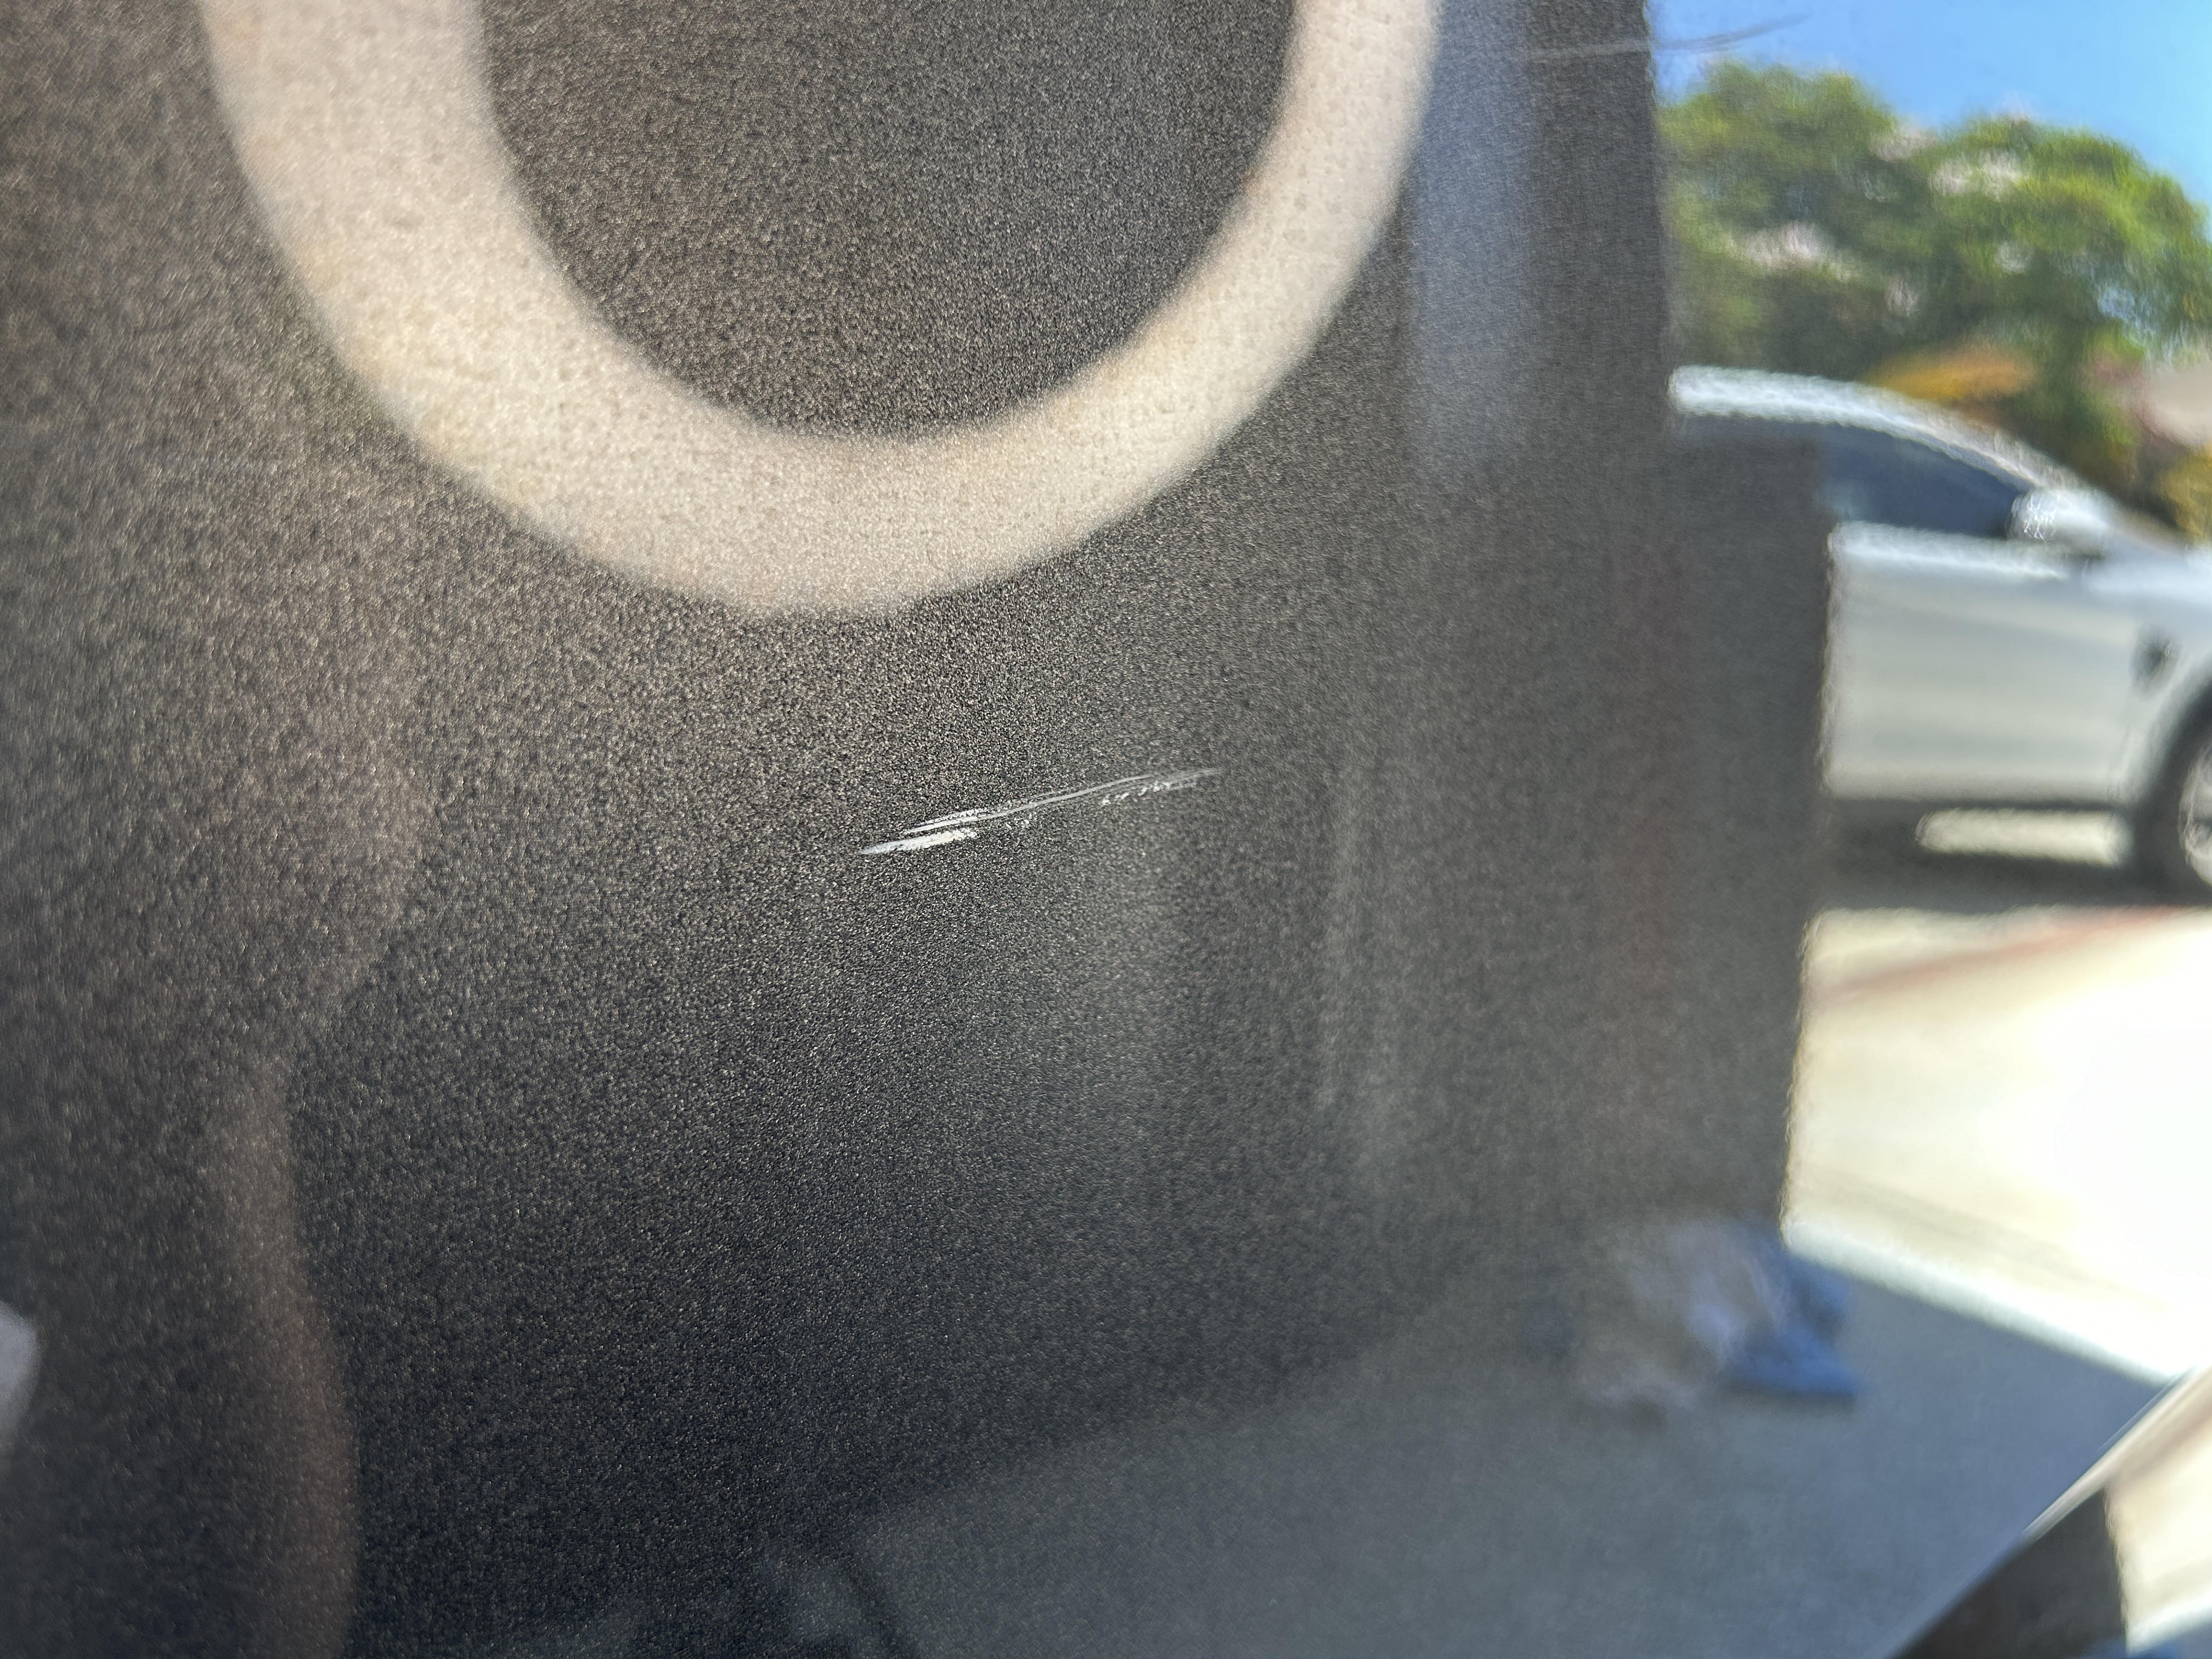
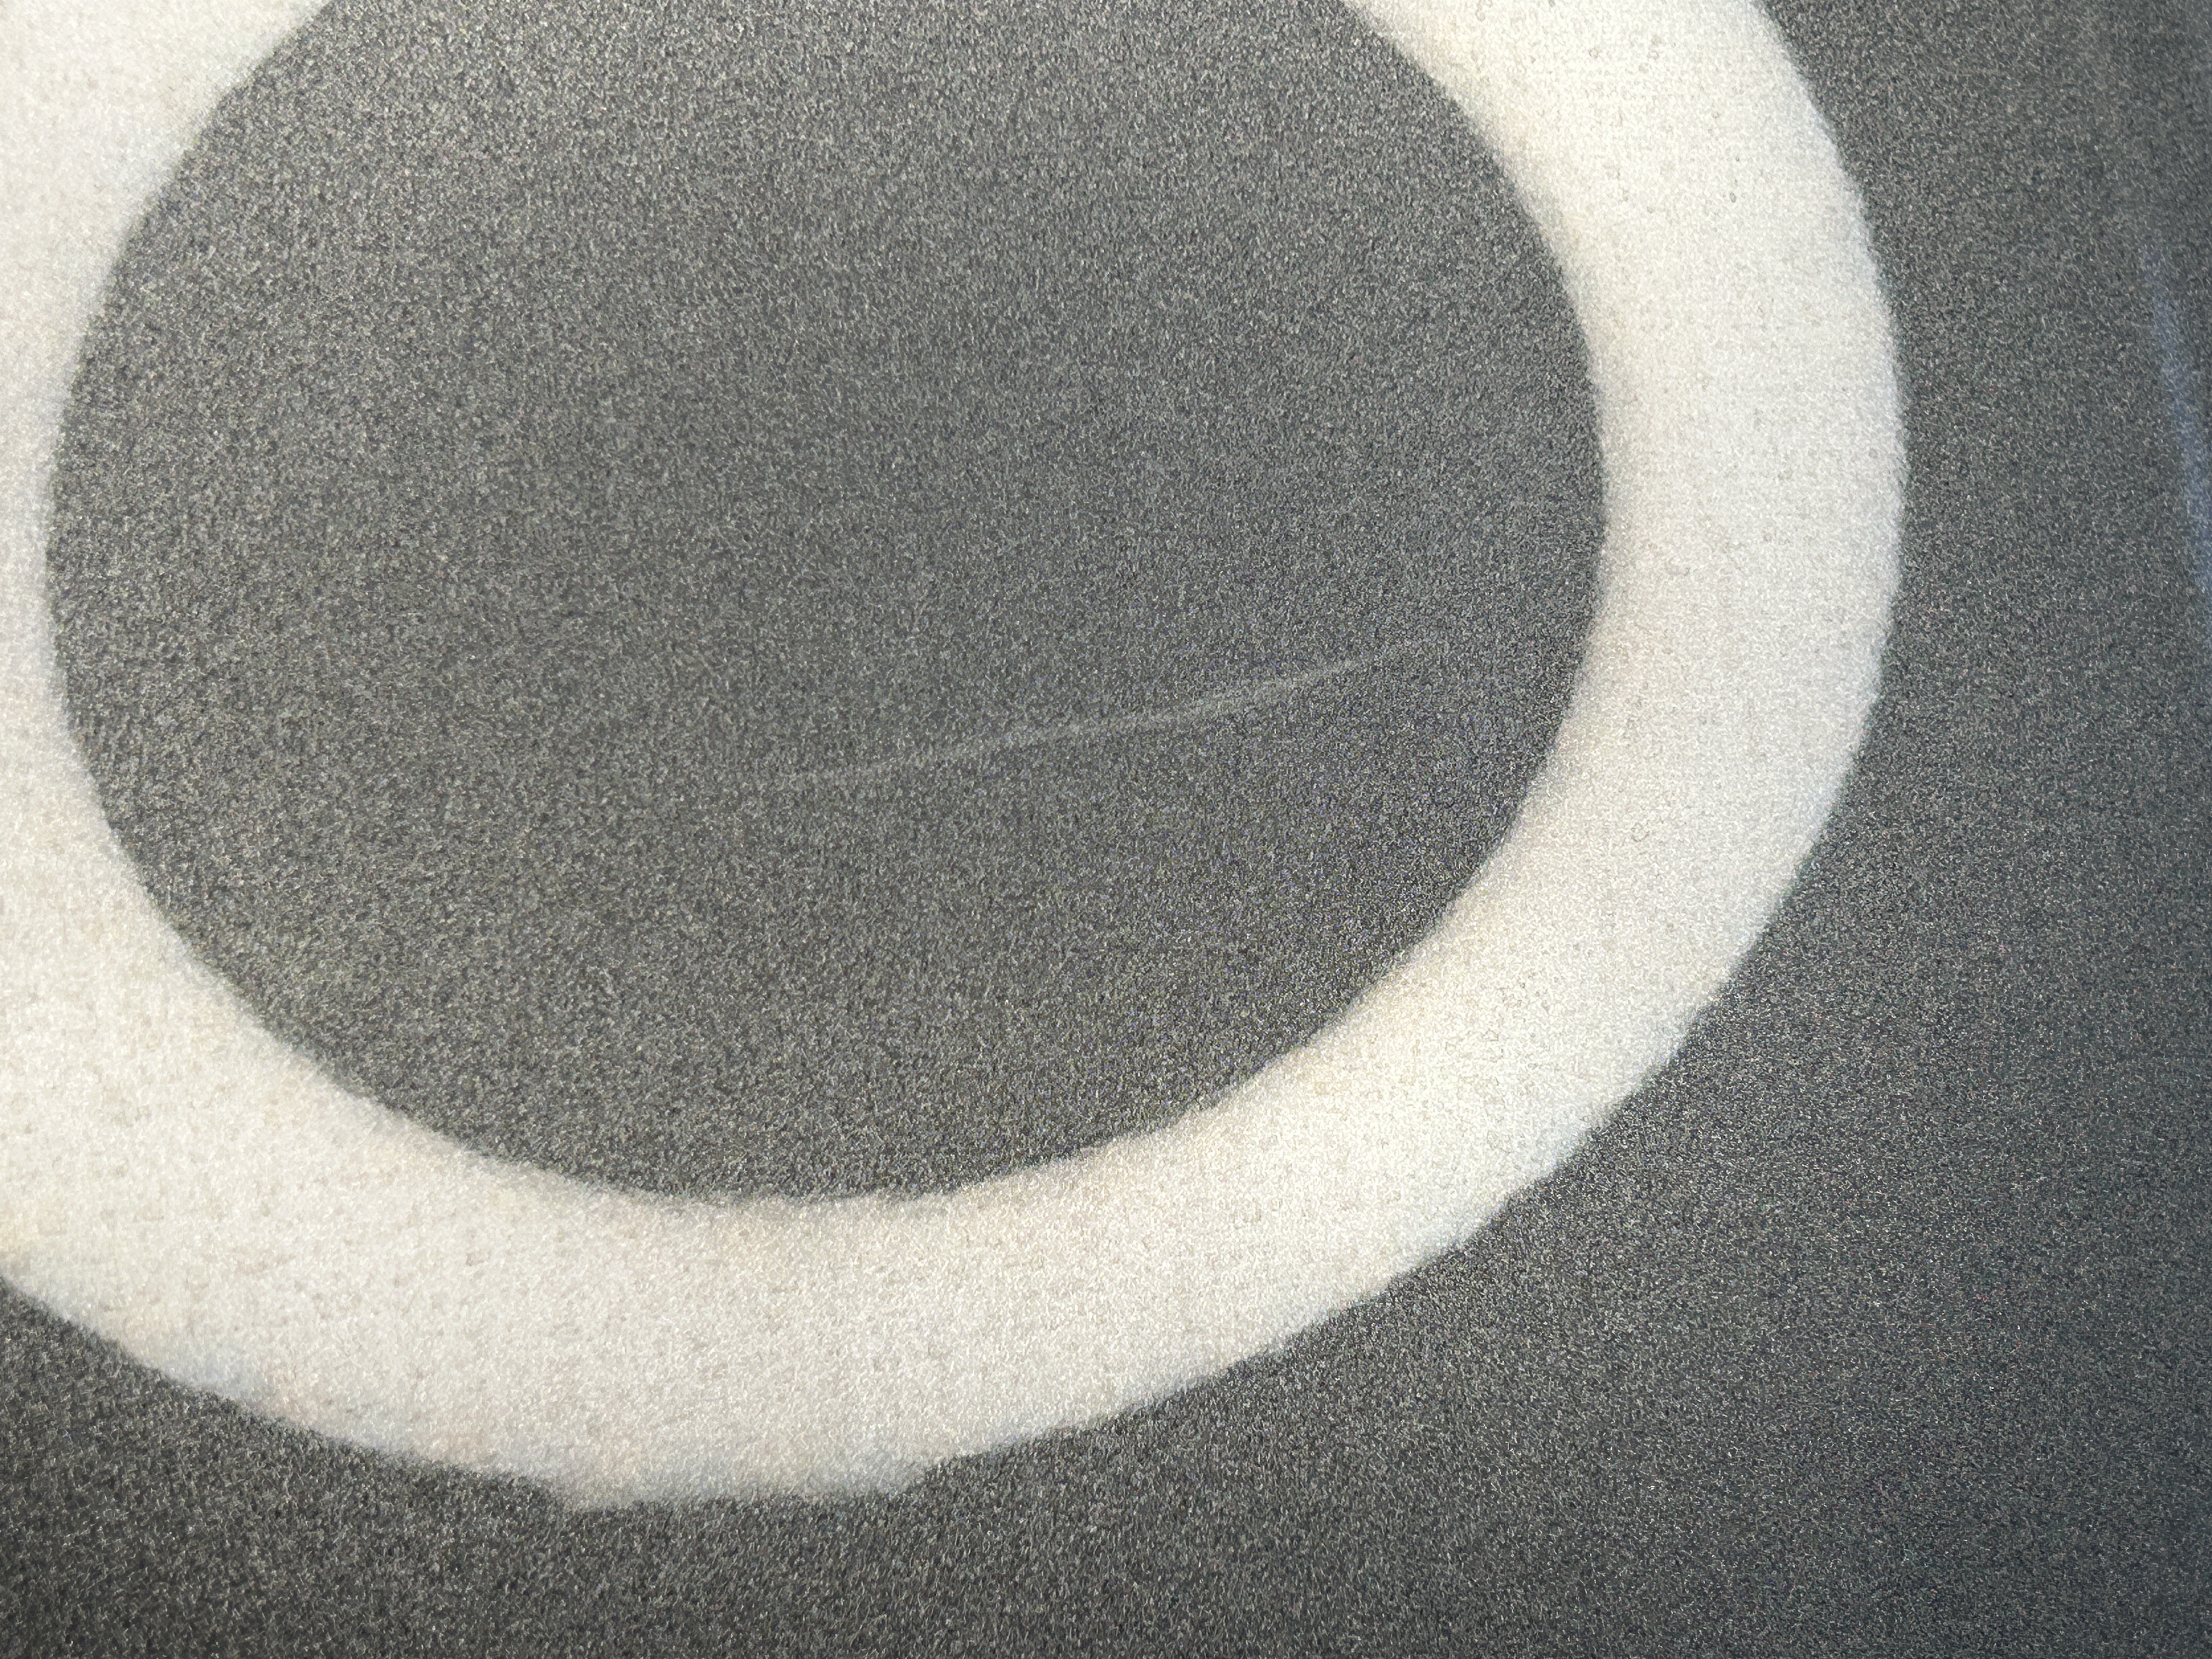
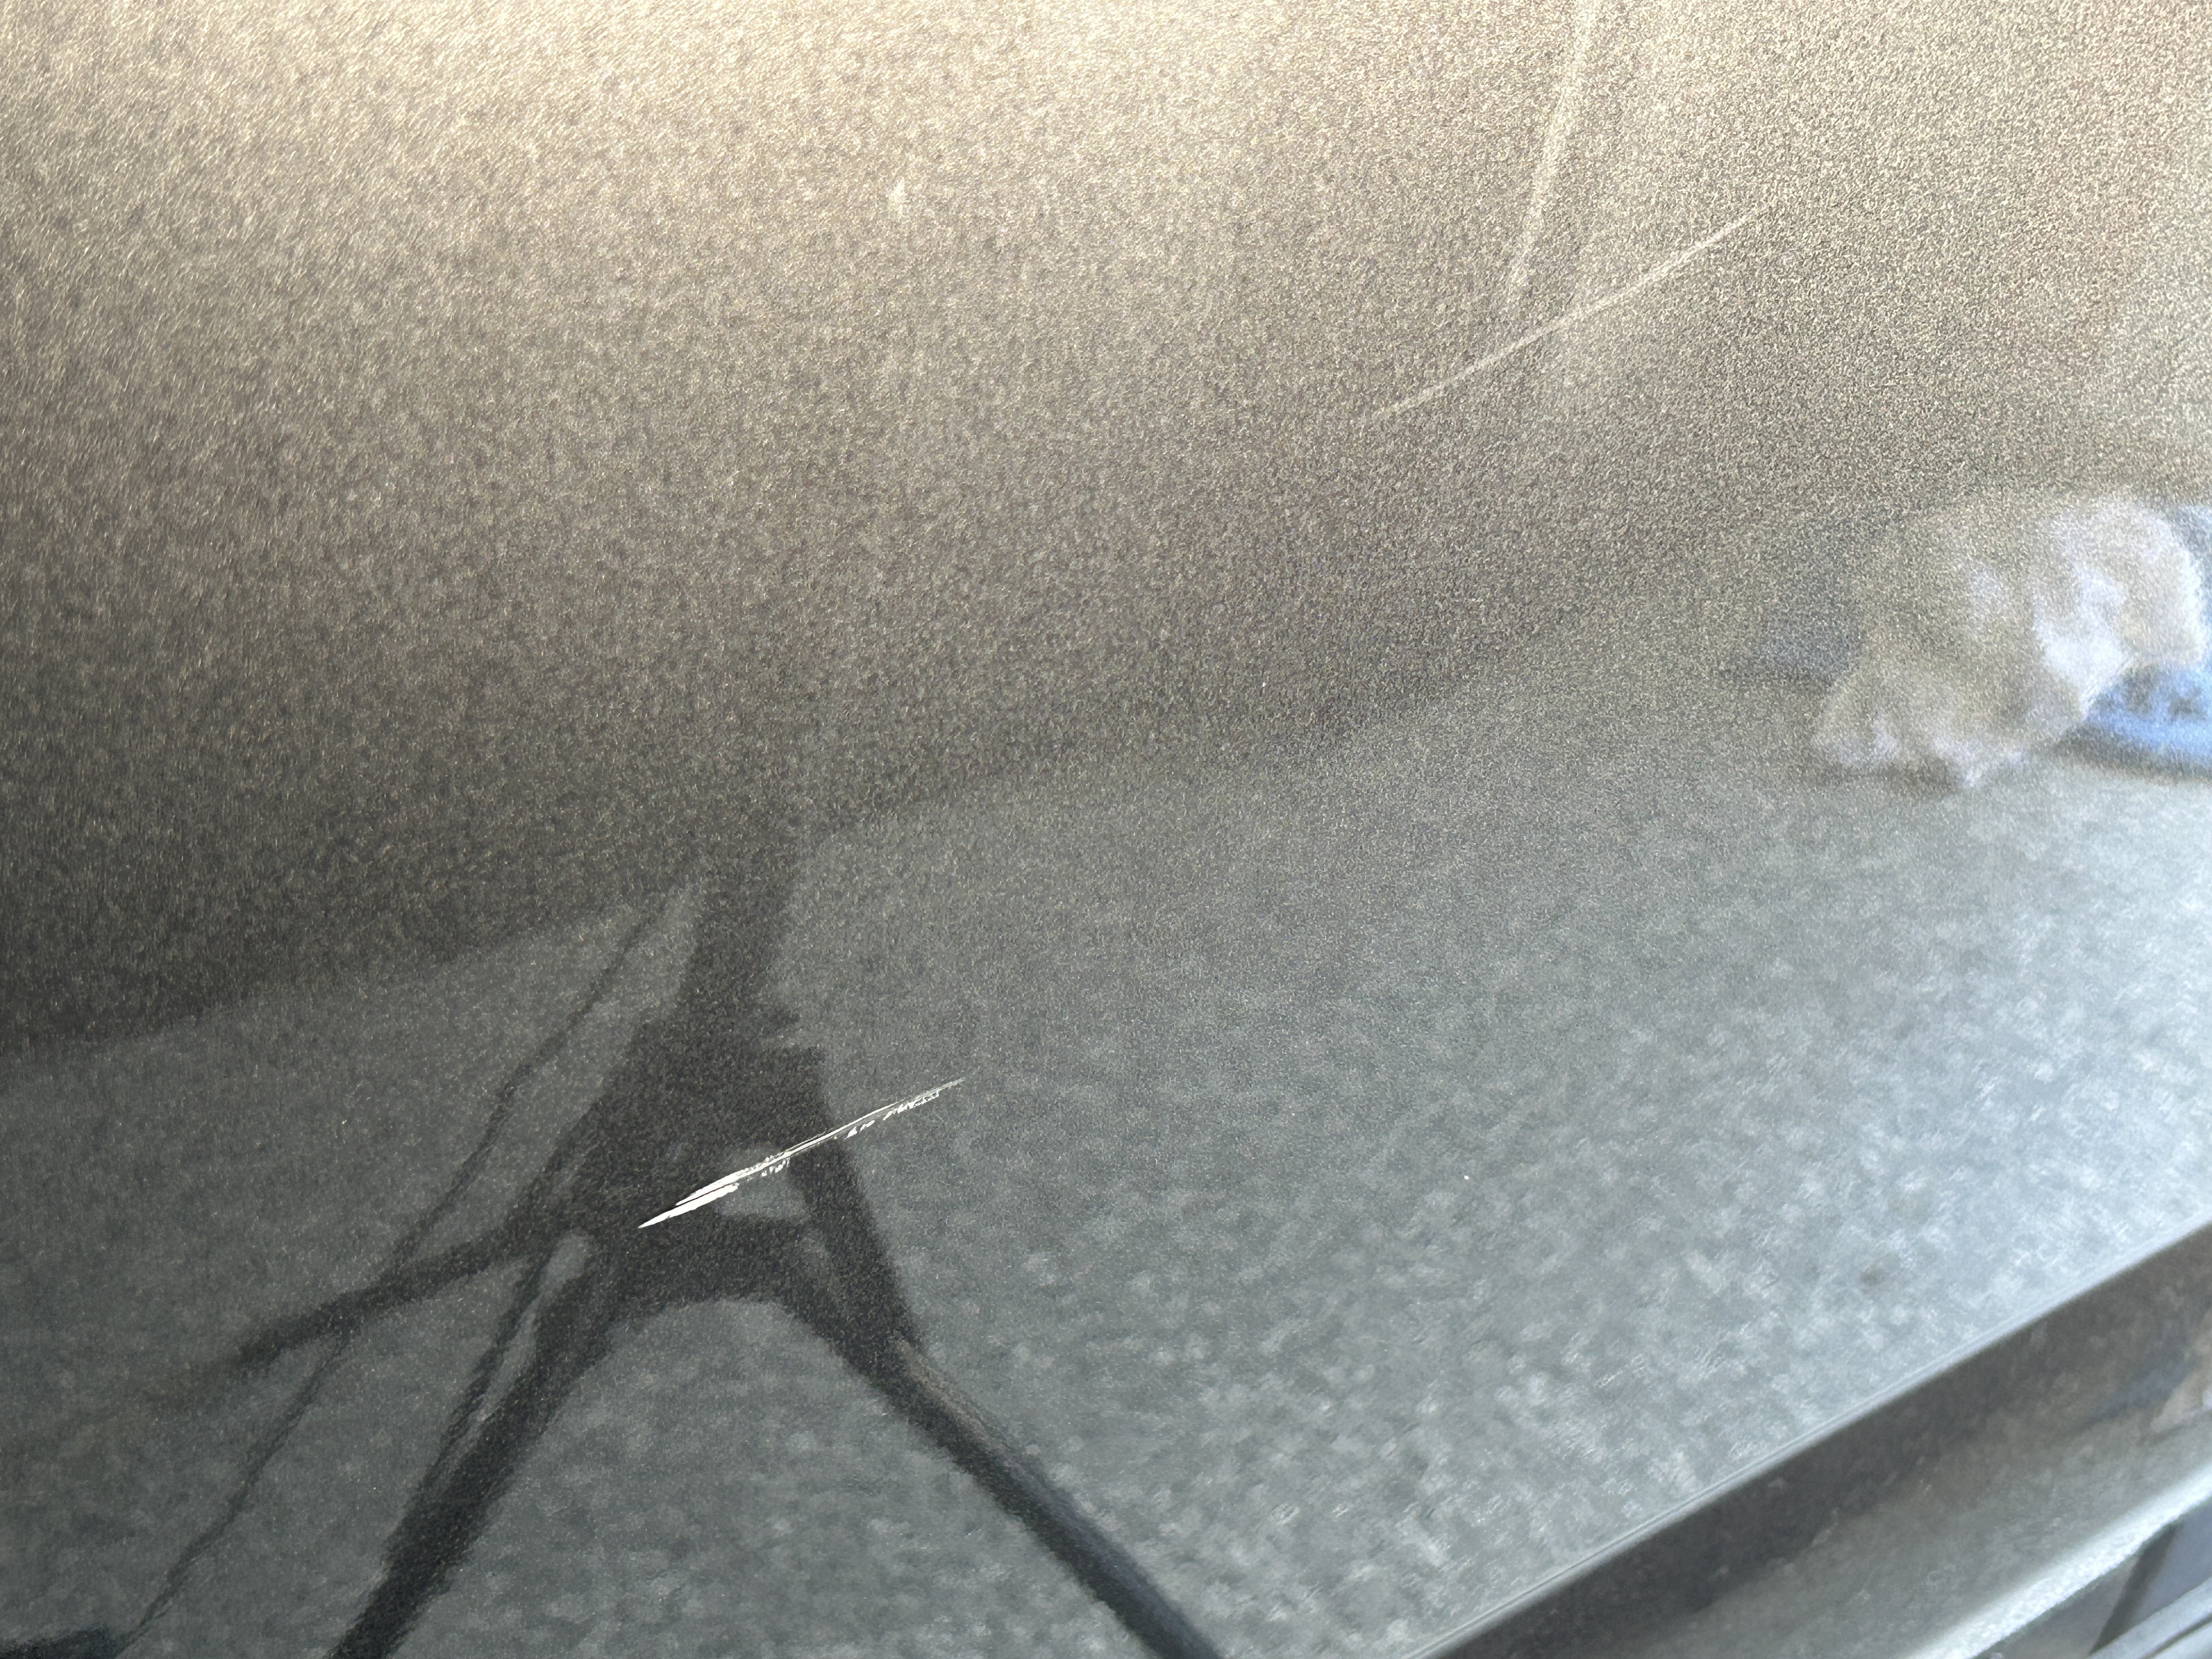
These are the scratches that I’m going to be removing. The one on the right is pretty minor, and the one of the left has a bit of paint transfer. When I ran my fingernail across these two scratches, I couldn’t feel anything on the light scratch, but I did feel a bit of transferred paint on the left one. Transferred paint (maybe from another’s car door hitting my vehicle and some paint transferred from their paint onto mine) can be removed with a polisher as well.
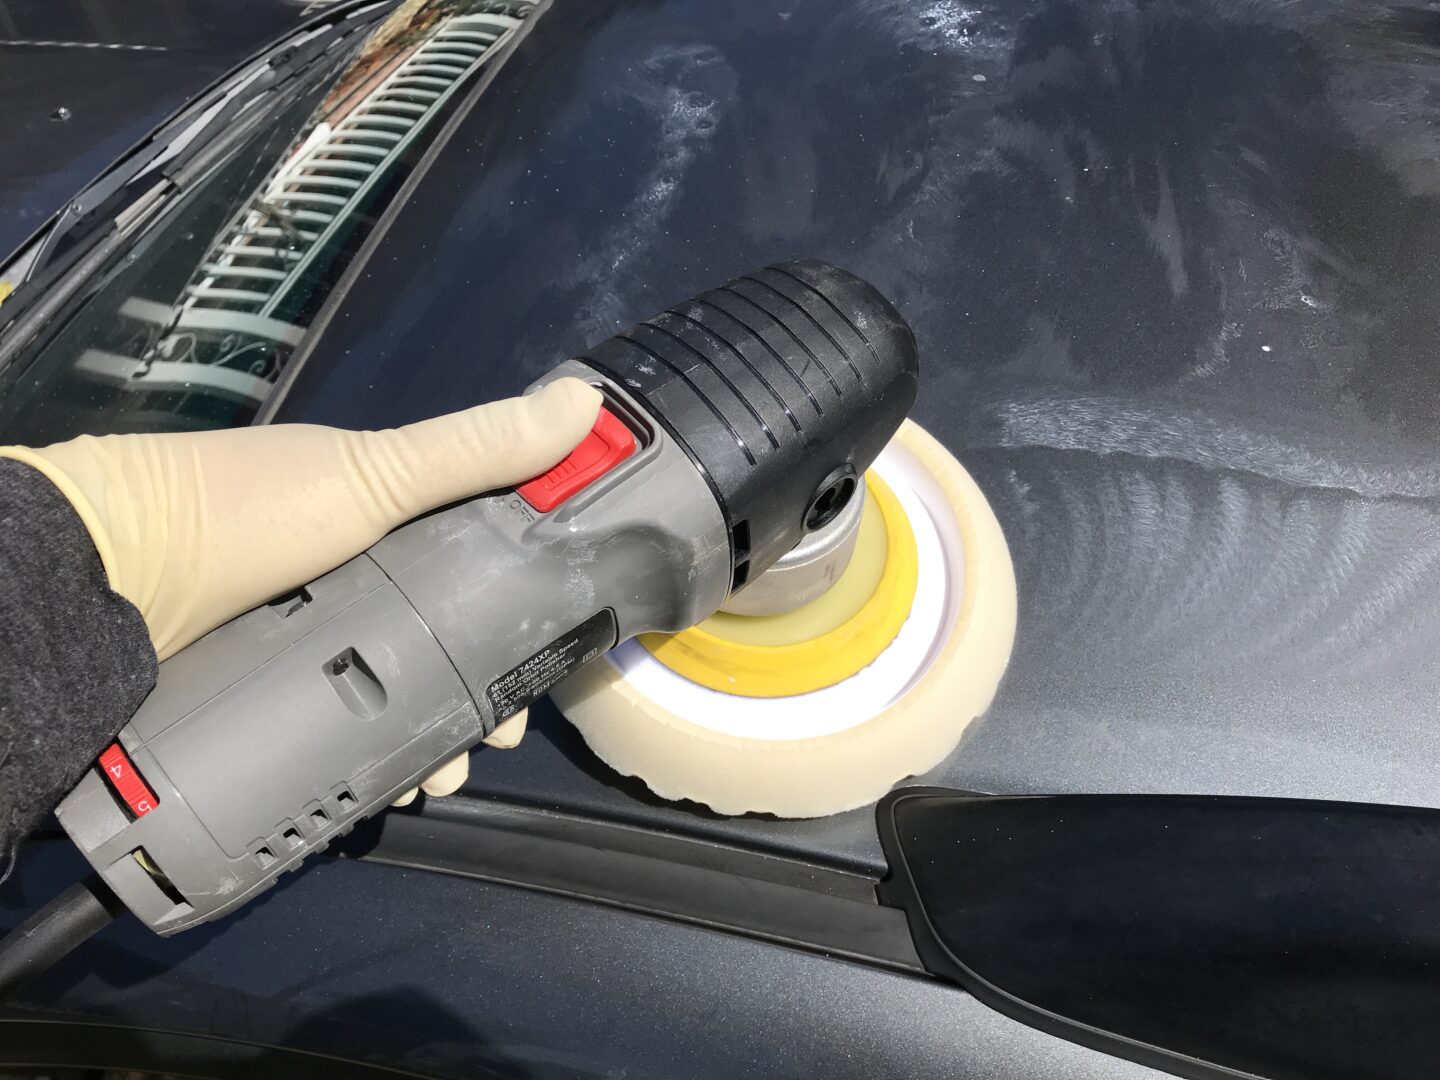
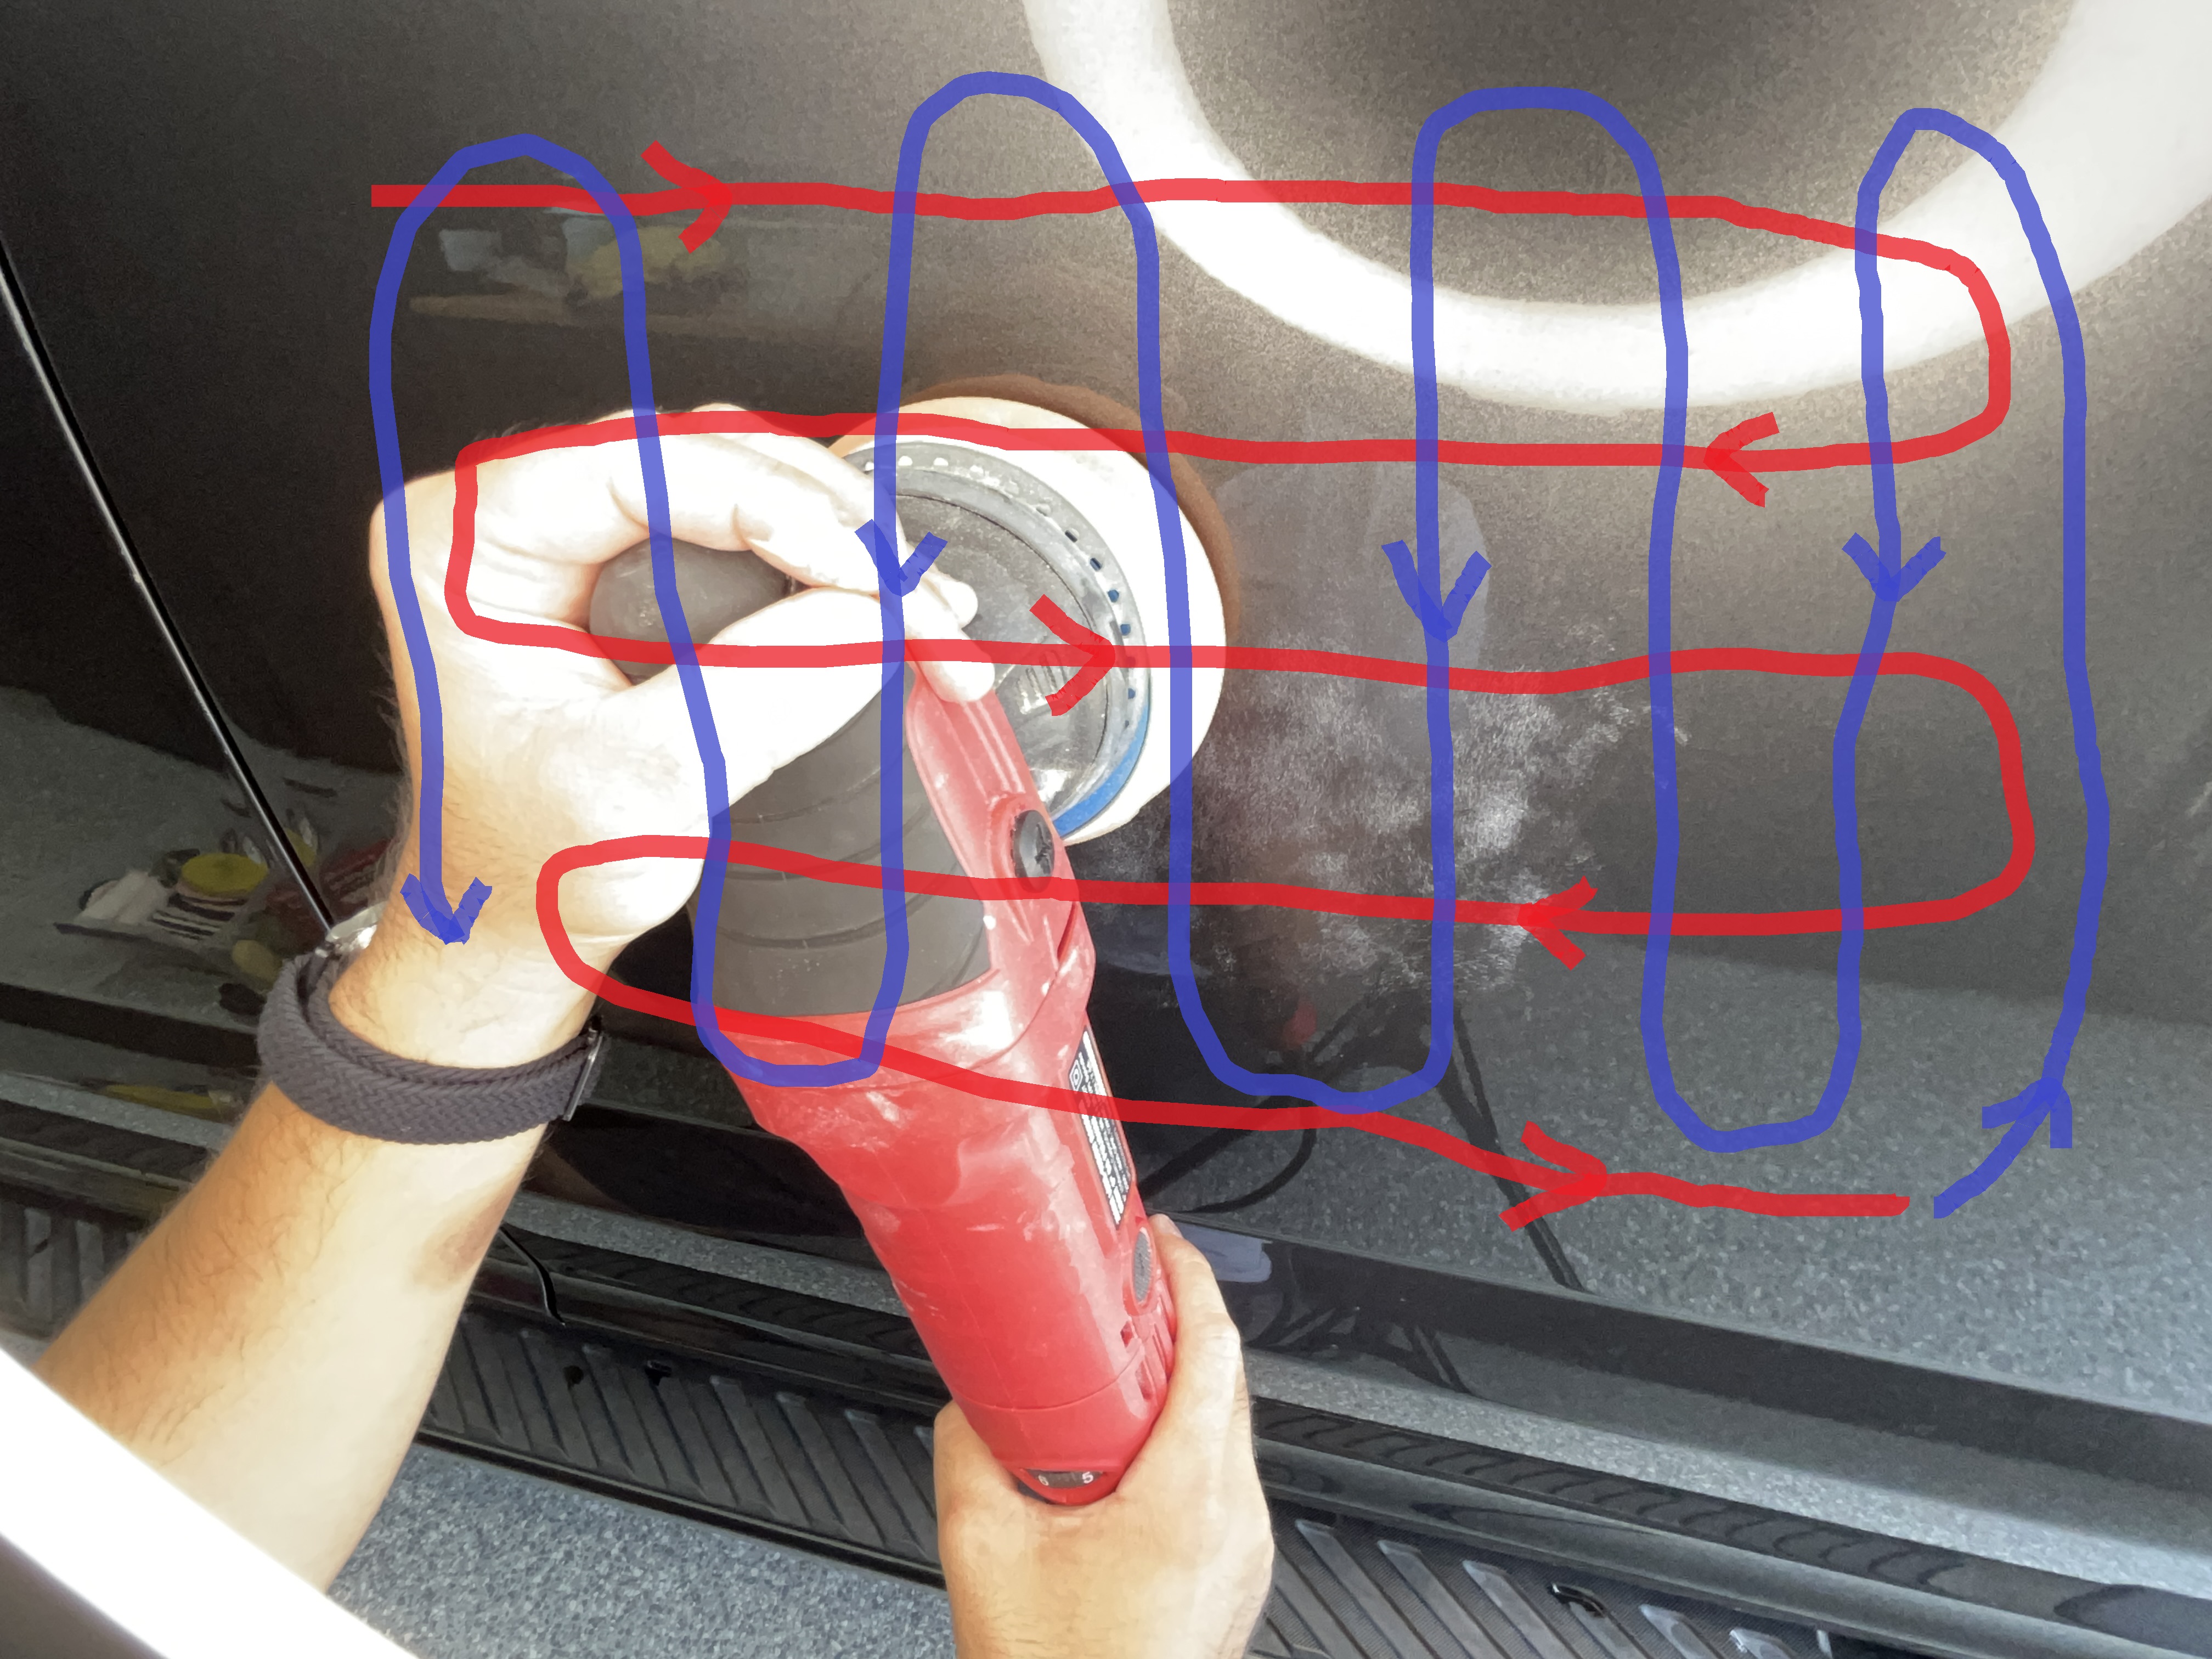
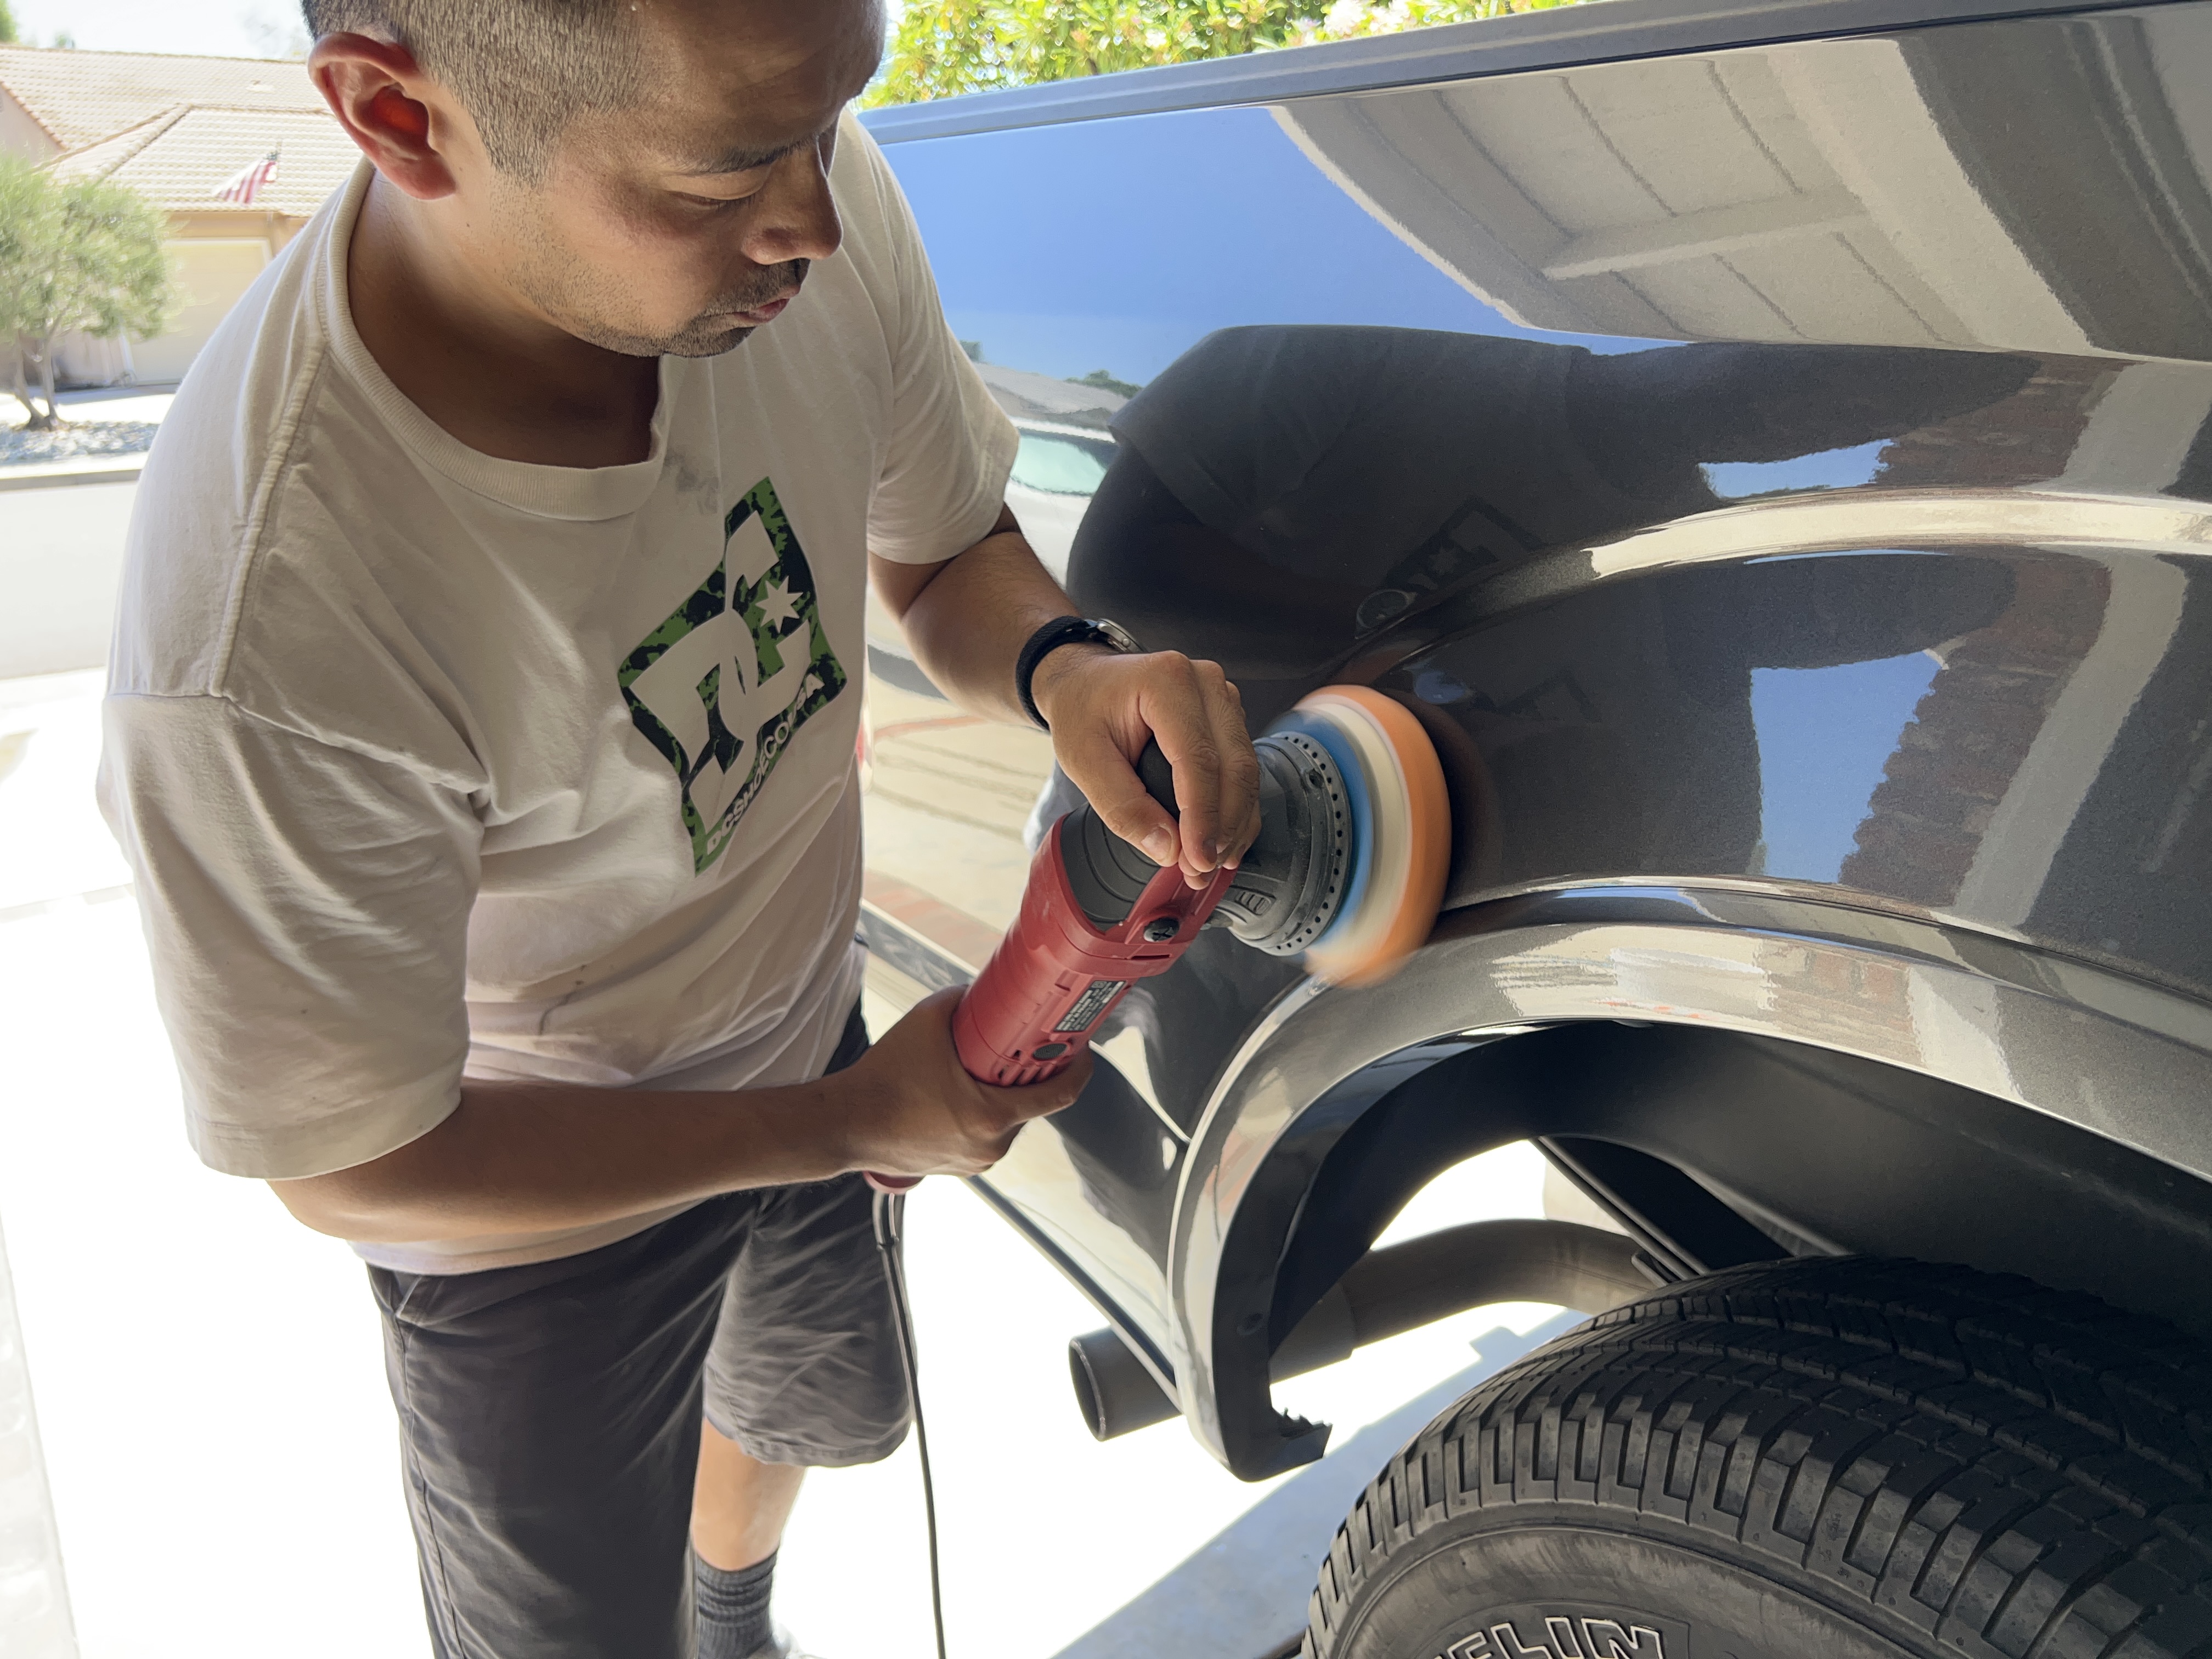
When using a machine polisher, it’s good practice to follow a criss-cross pattern, where you run the polisher in one direction (e.g. left/right), overlap passes by 50%, then go in the other direction (e.g. up/down), overlapping passes by 50% again. You want to run the polisher at higher speed, little pressure applied to the paint, with the pad flat to the paint, running at very slow speed.
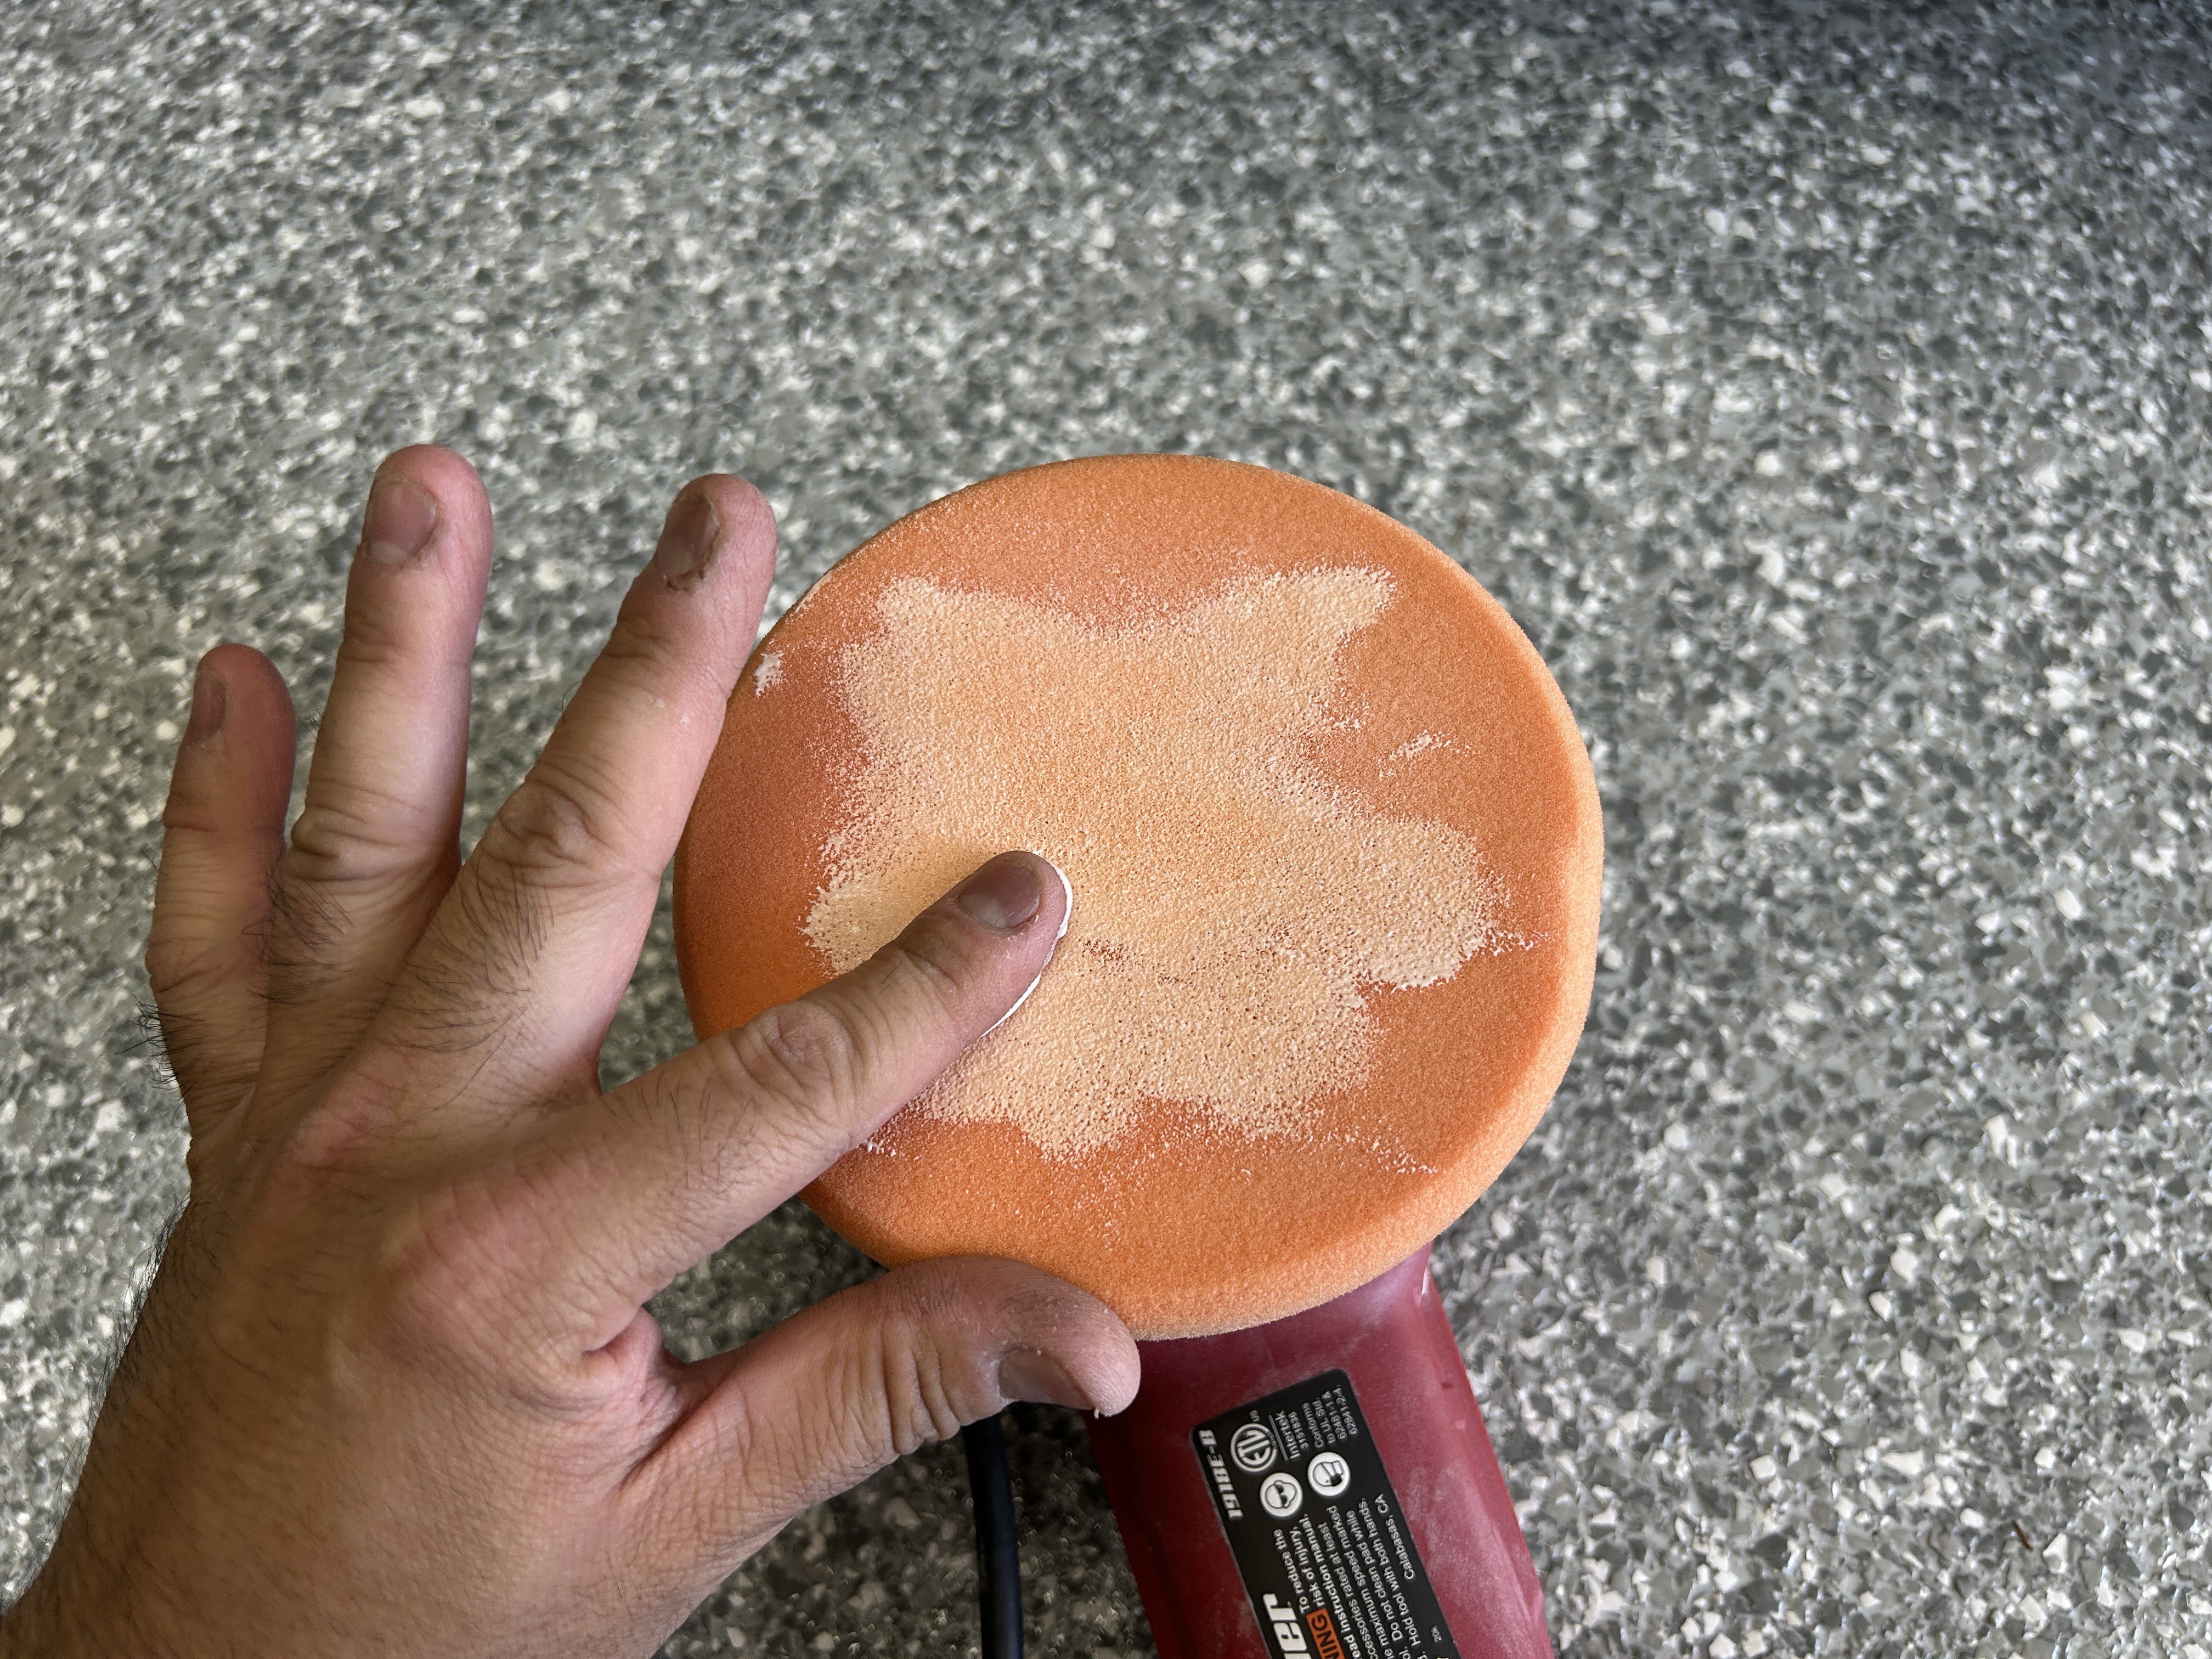
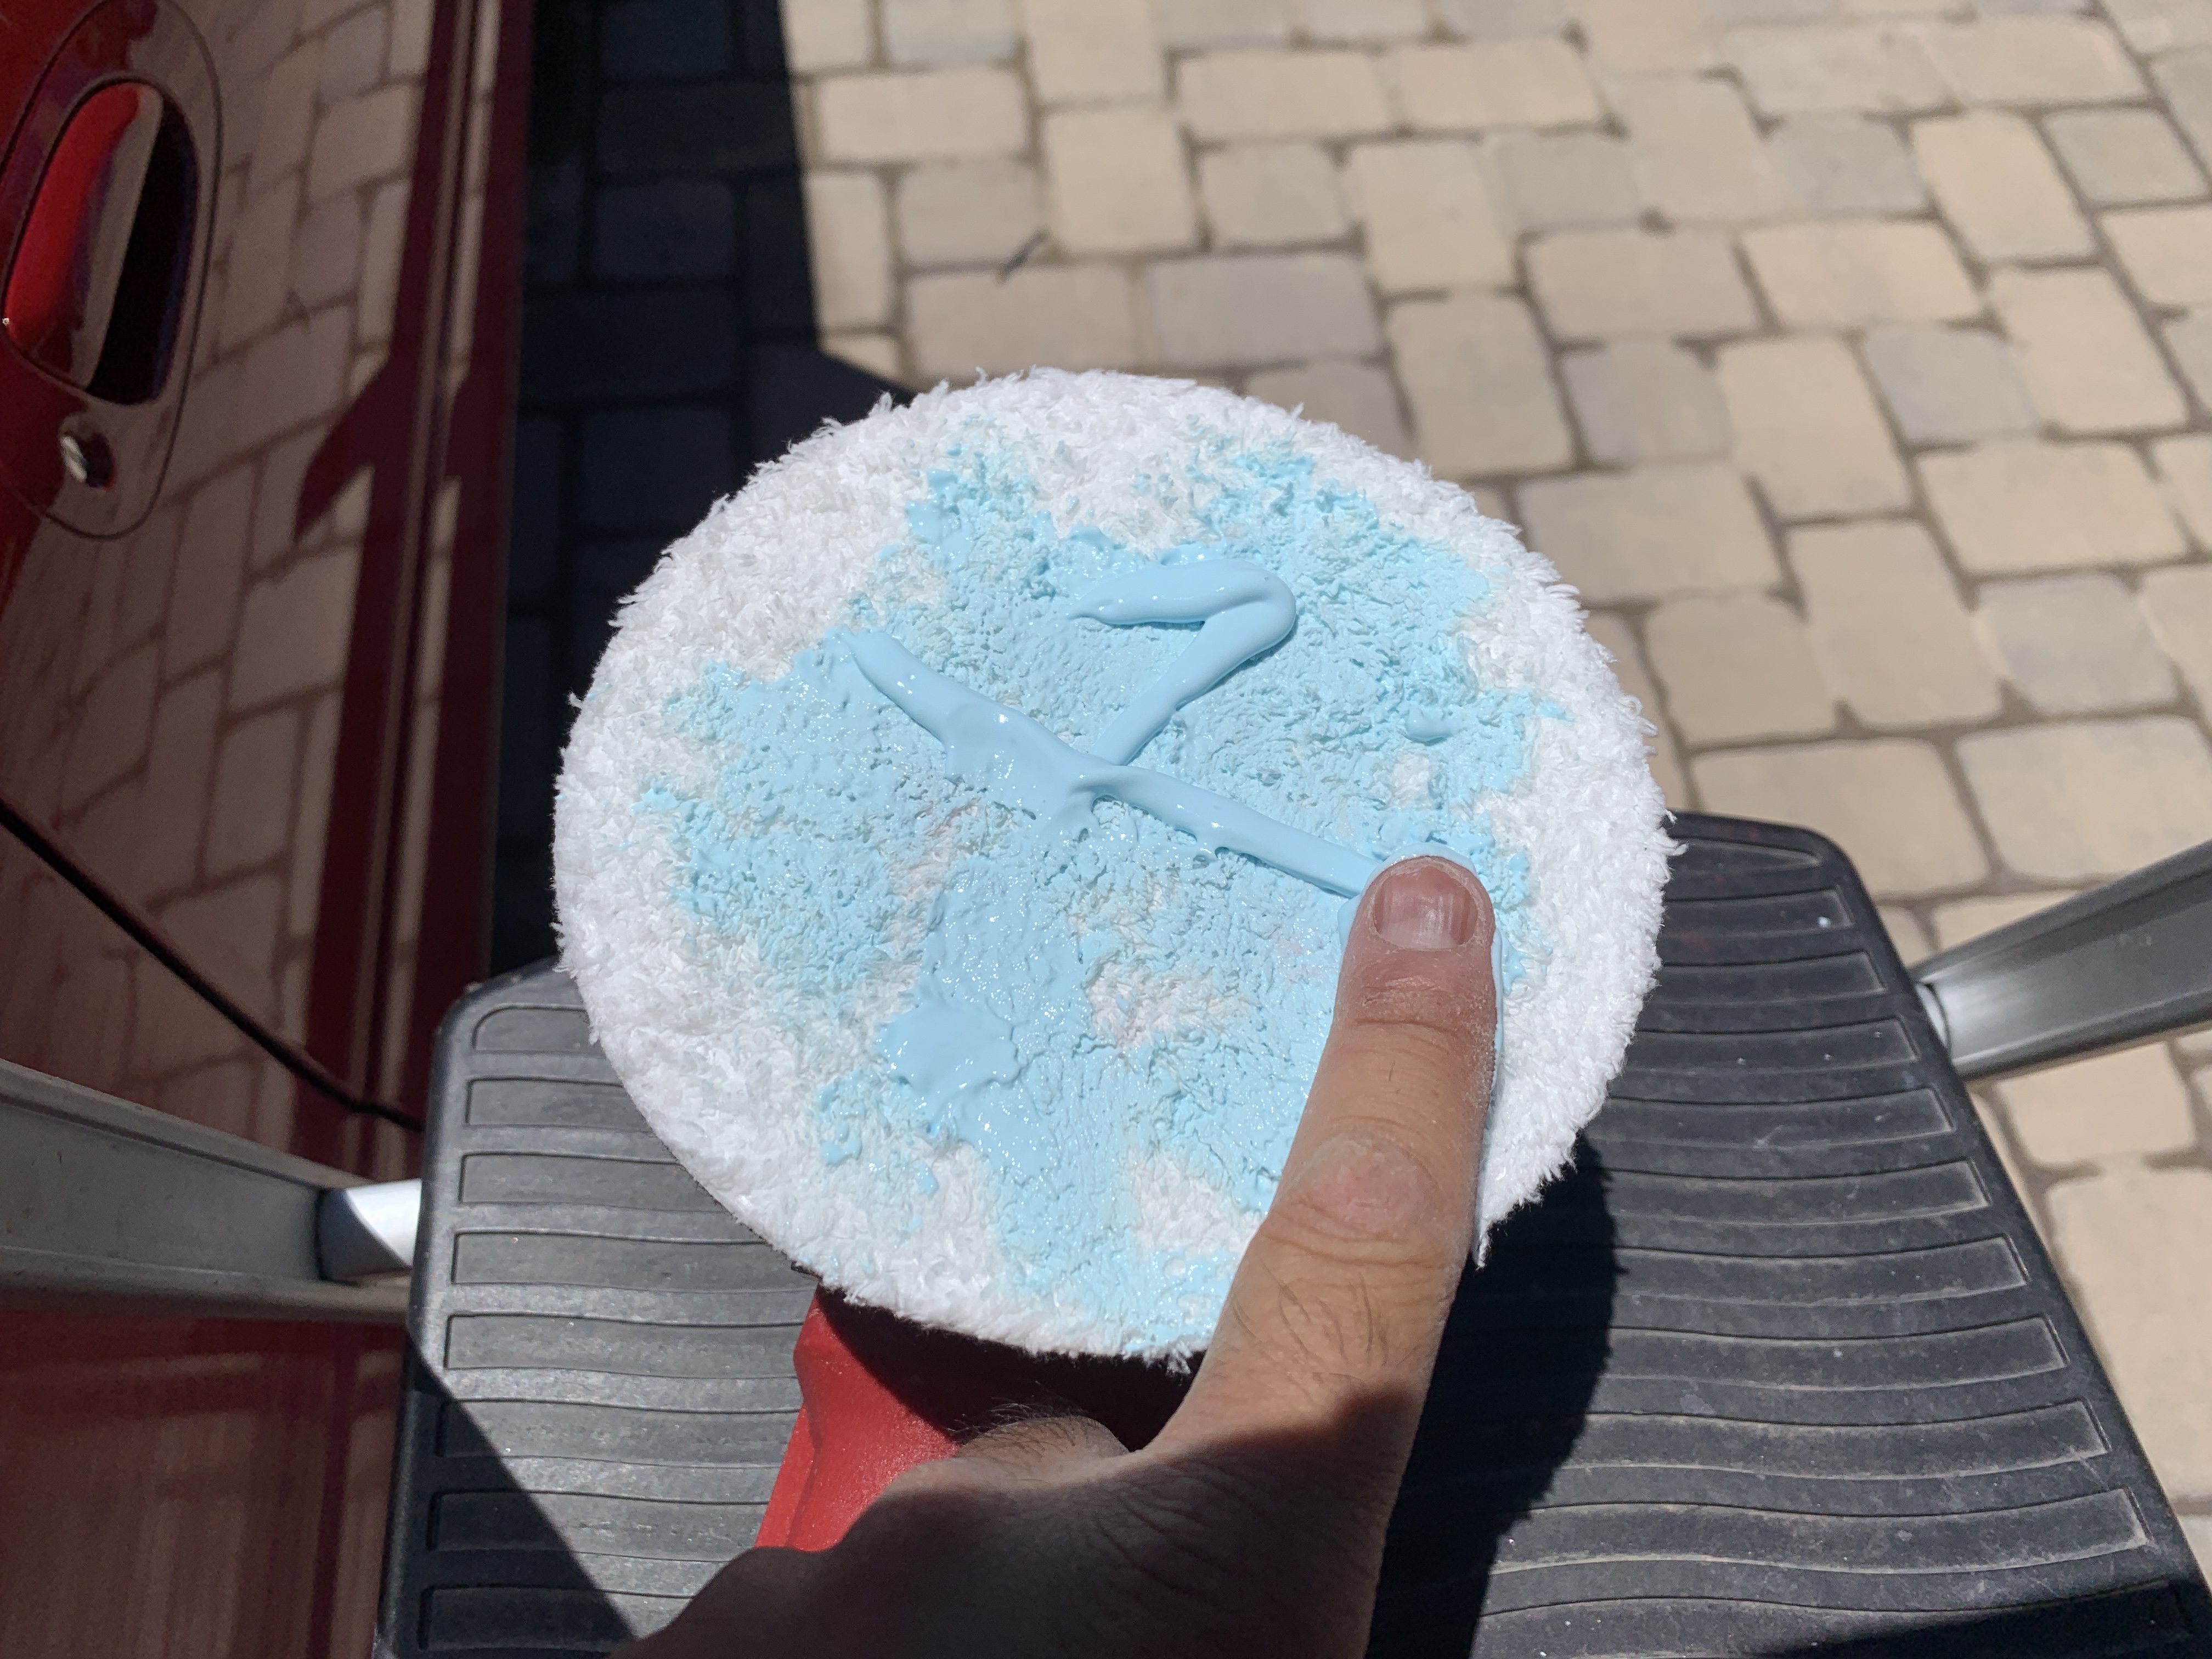
You need to prime your pad, which means you apply some compound to the pad to saturate the pad. Then apply a little more to the pad and put the polishing pad up to the paint on the paint. Then turn on the polisher while its on the paint so it doesn’t sling compound all over the place. I’ve shown an example of the criss-cross pattern that you might typically follow, although you’re just polishing a few spots where your scratches are. Sometimes it’s worth polishing the area as it can remove other small scratches in the vicinity, which can make the paint look a lot better overall.
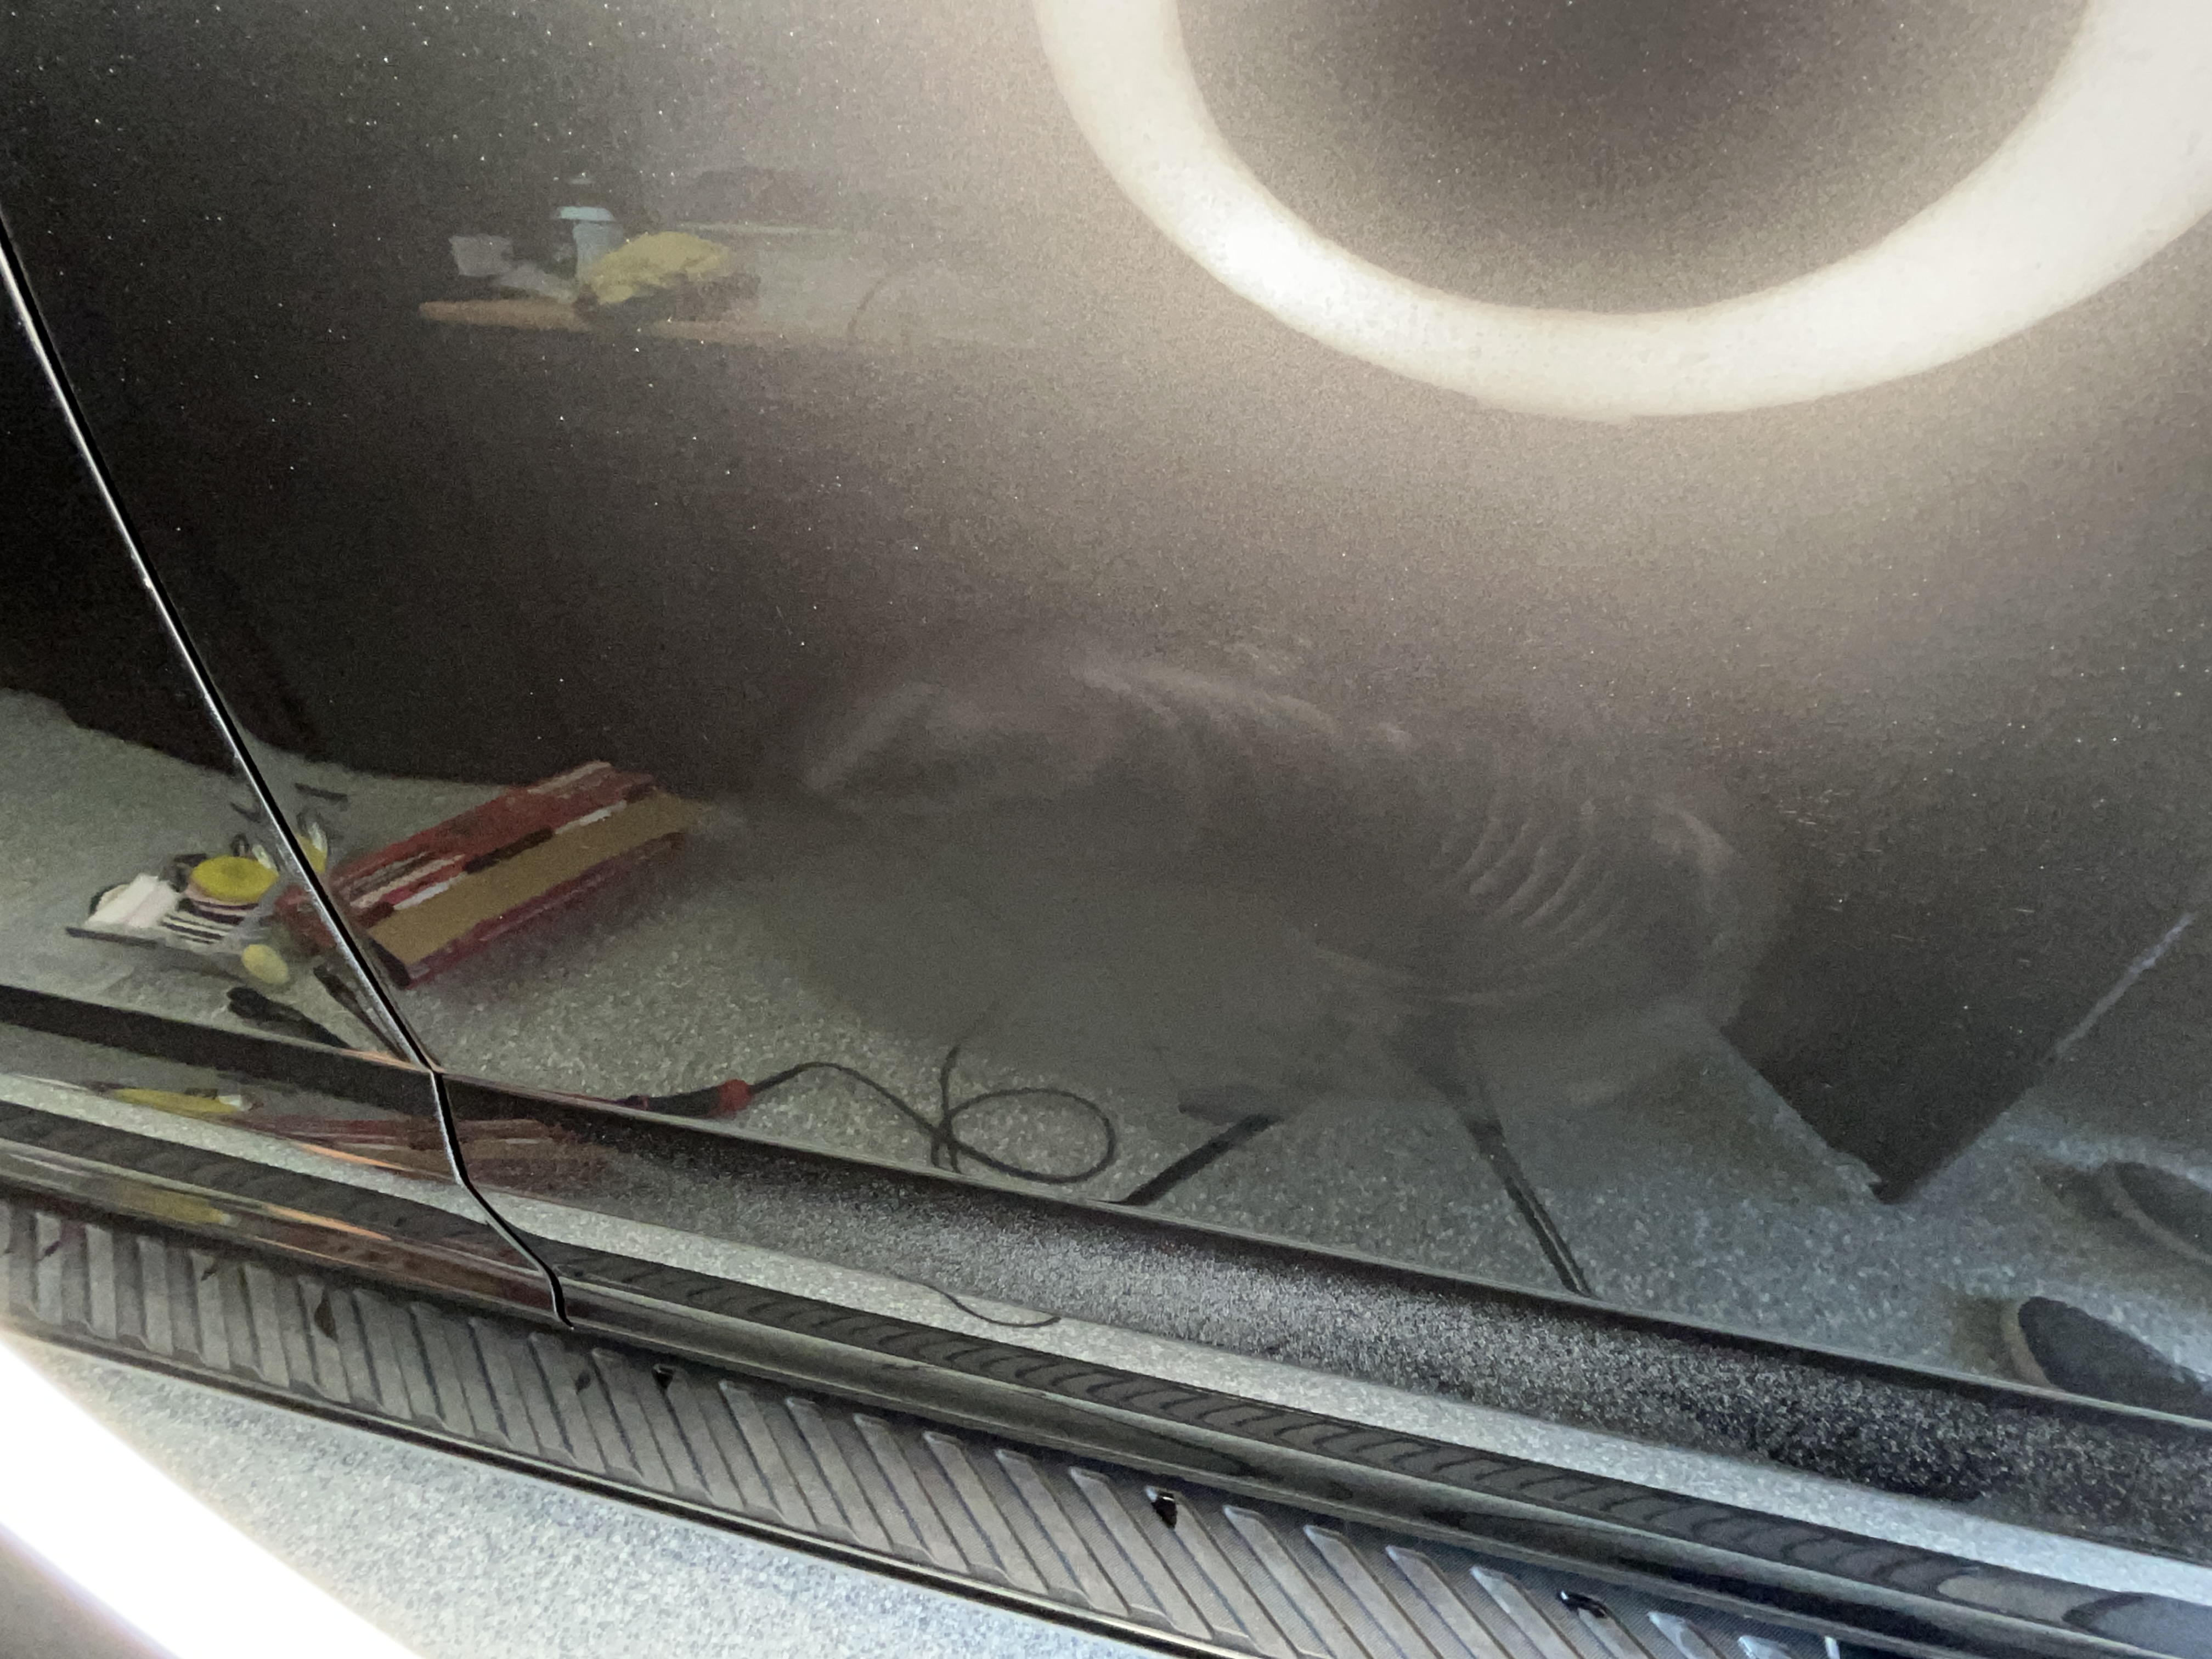
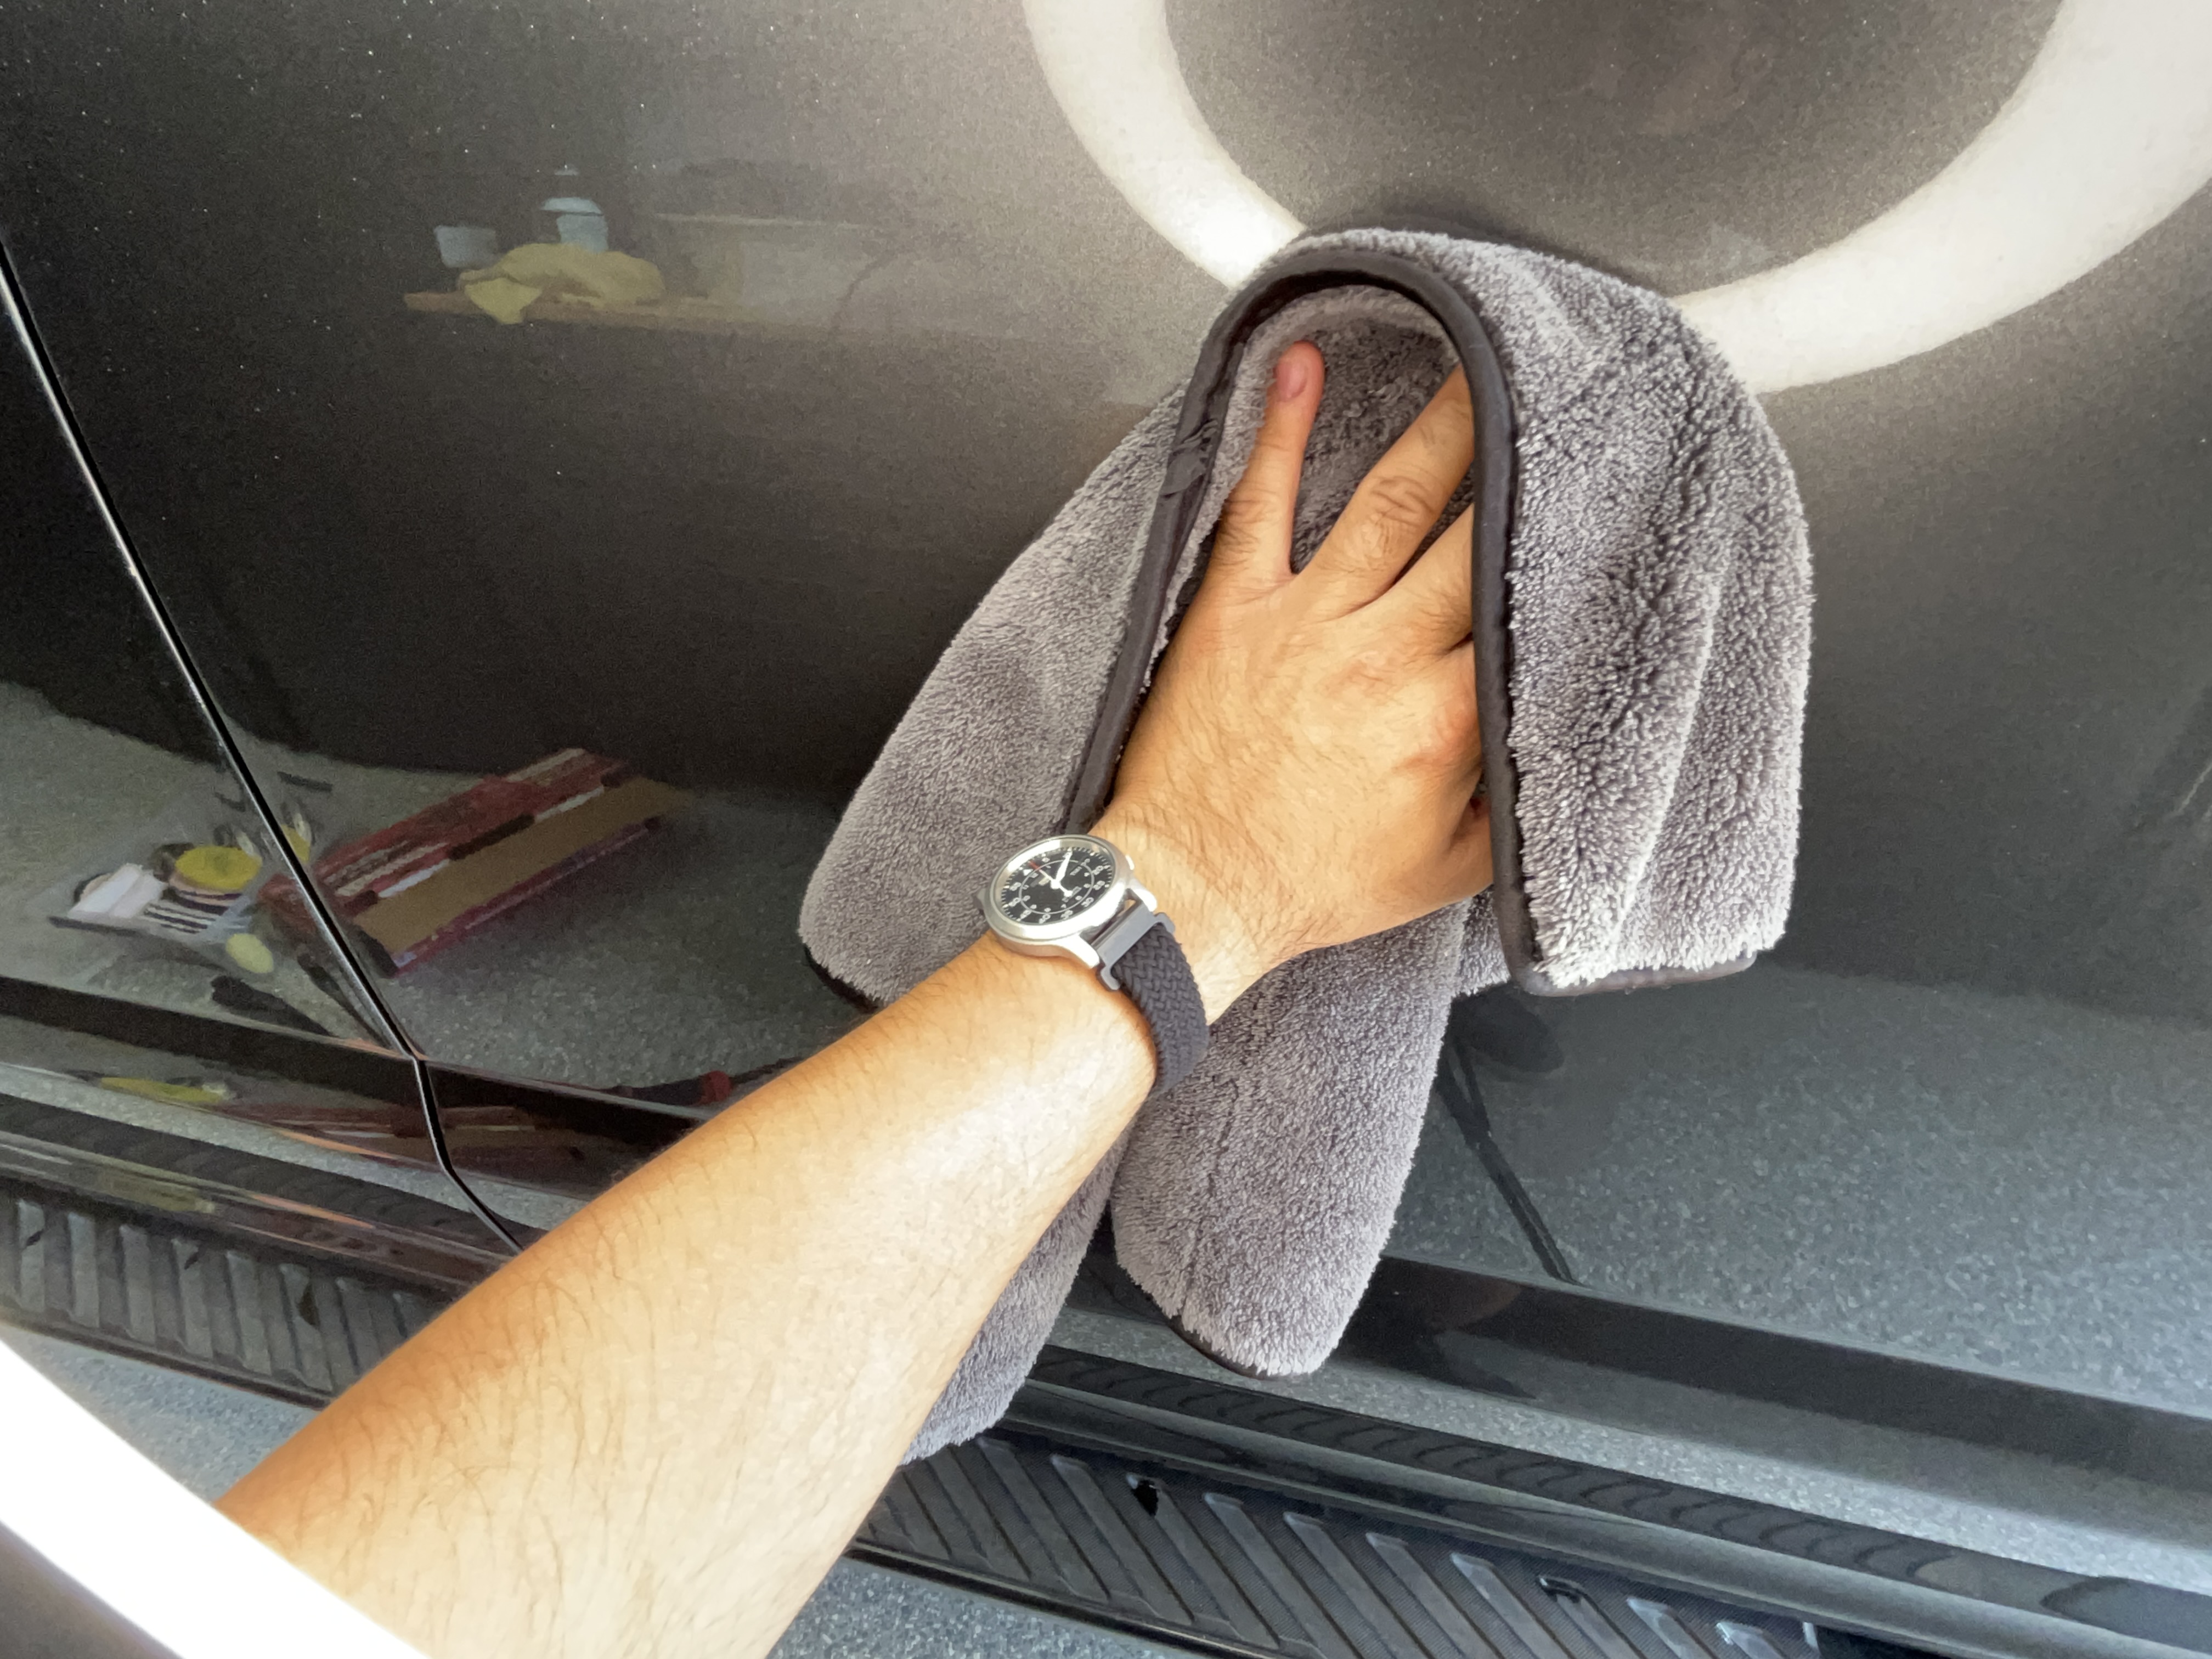
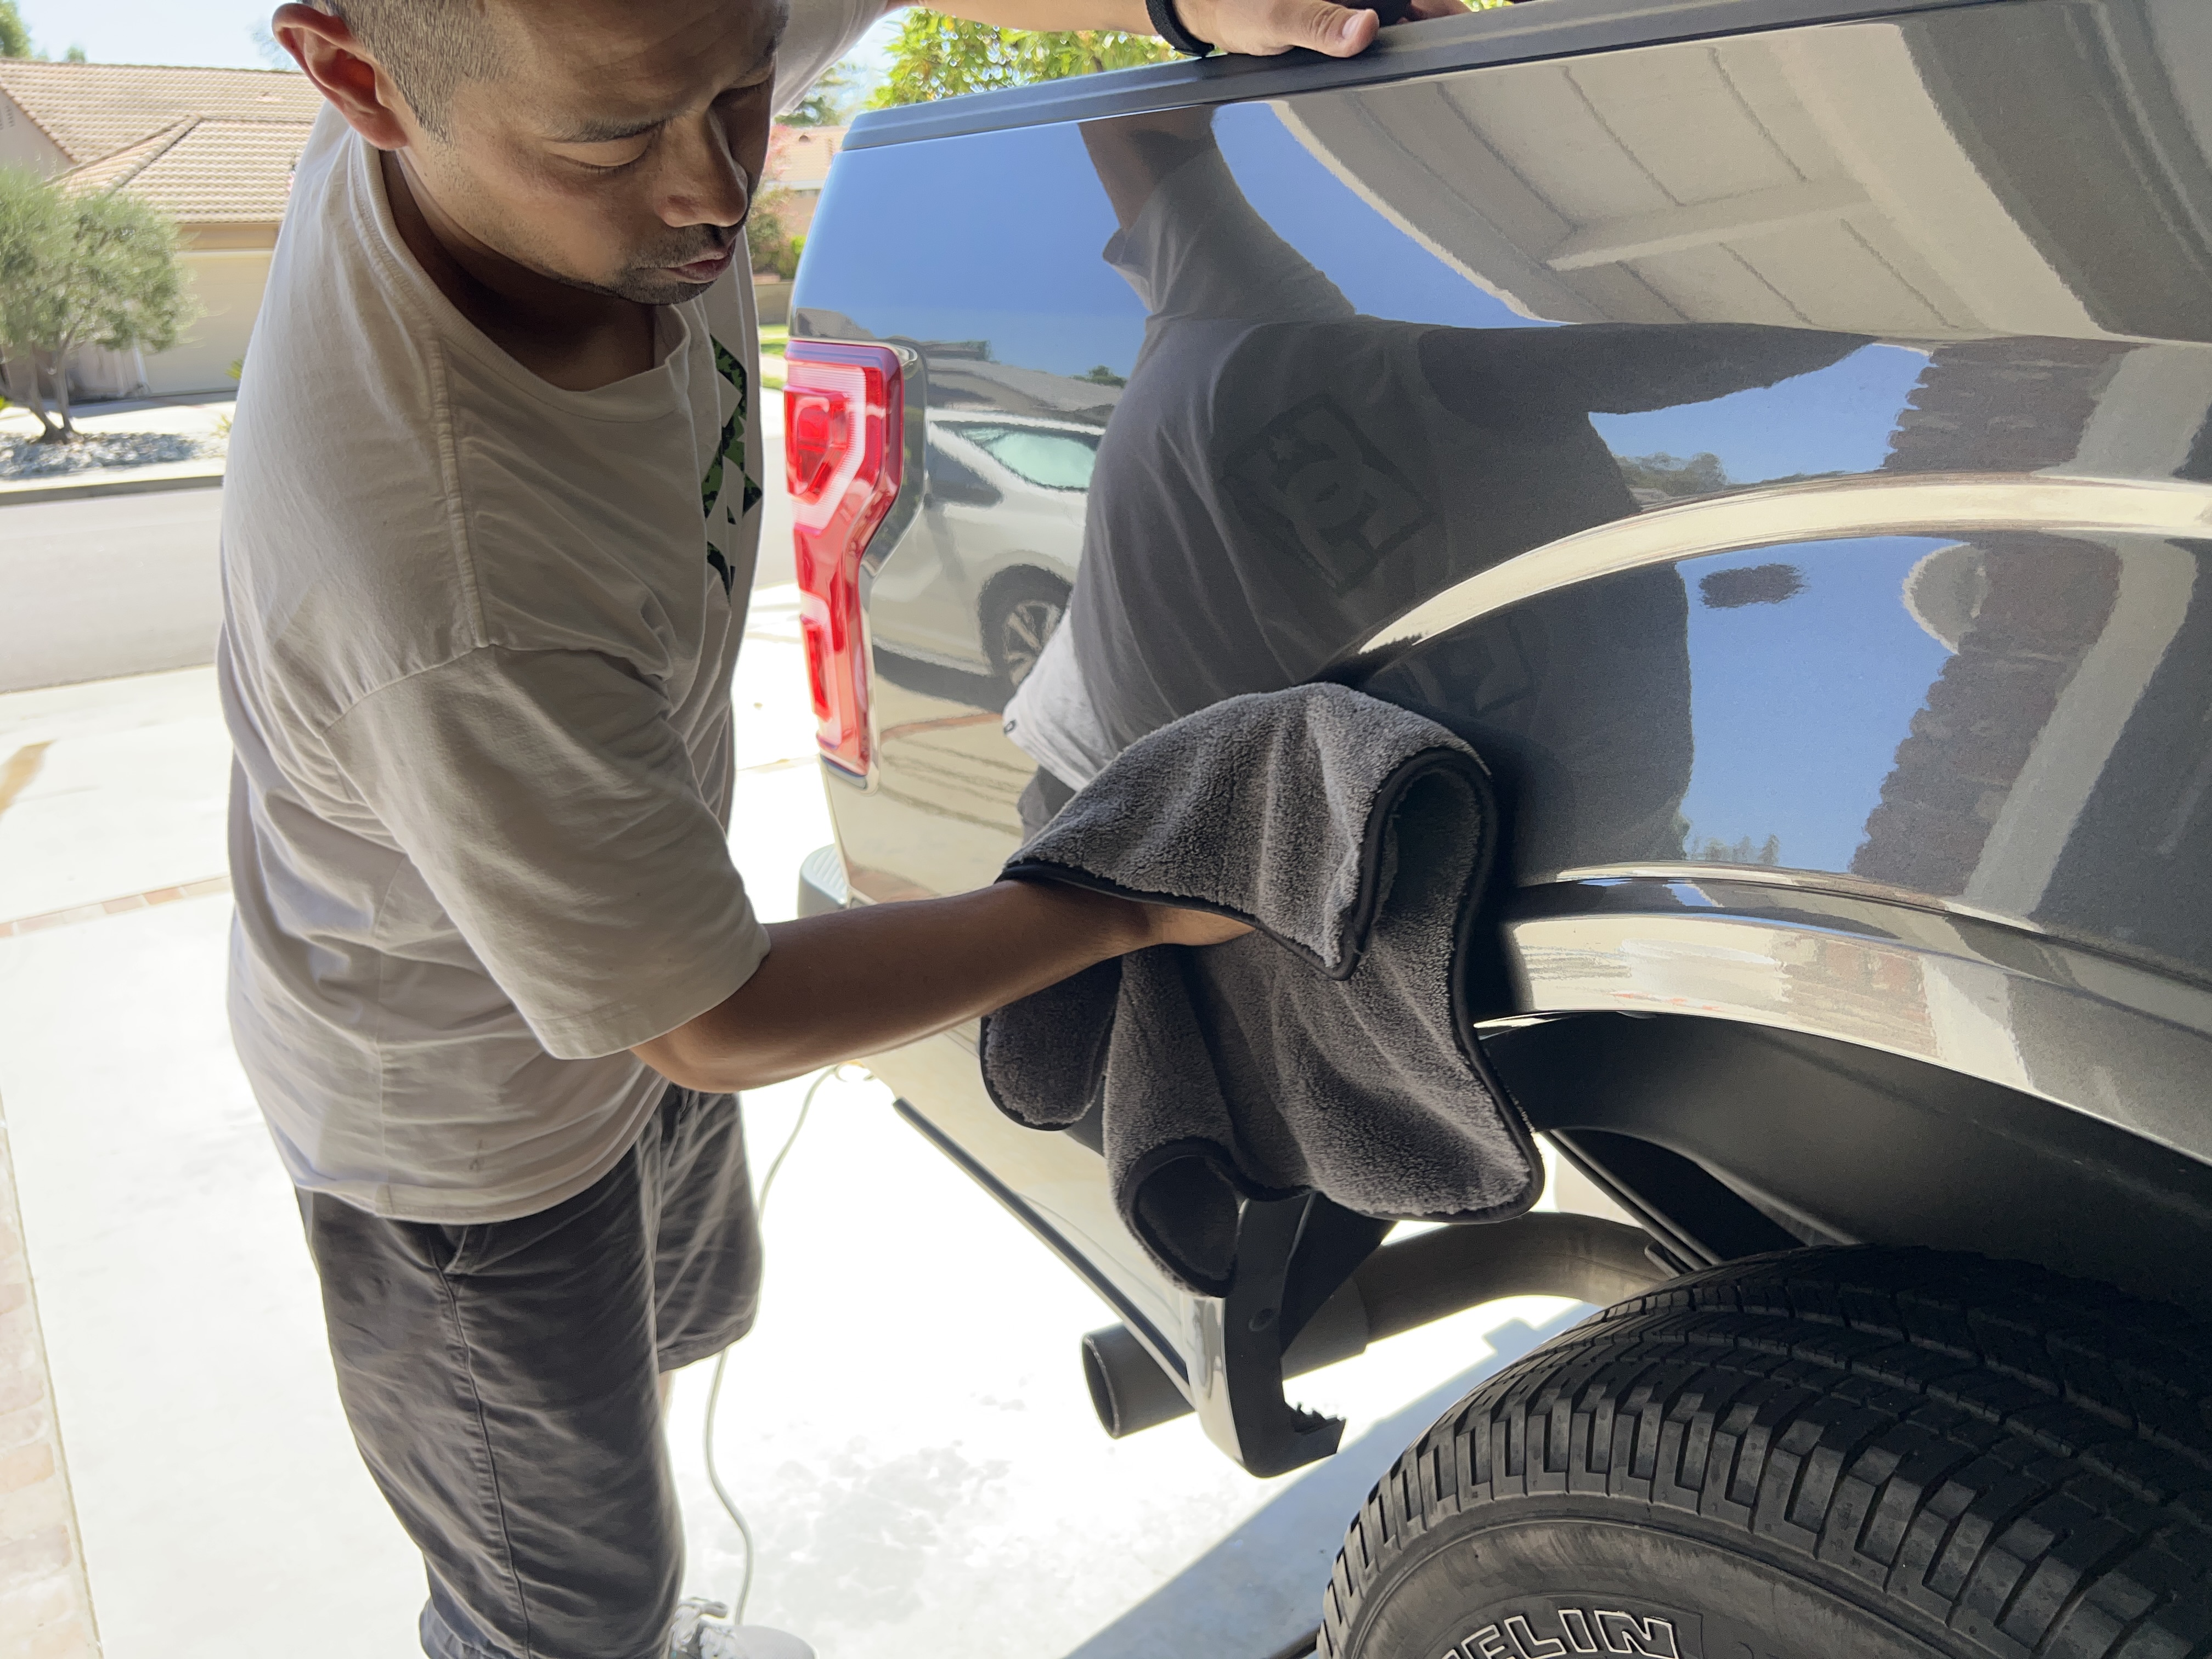
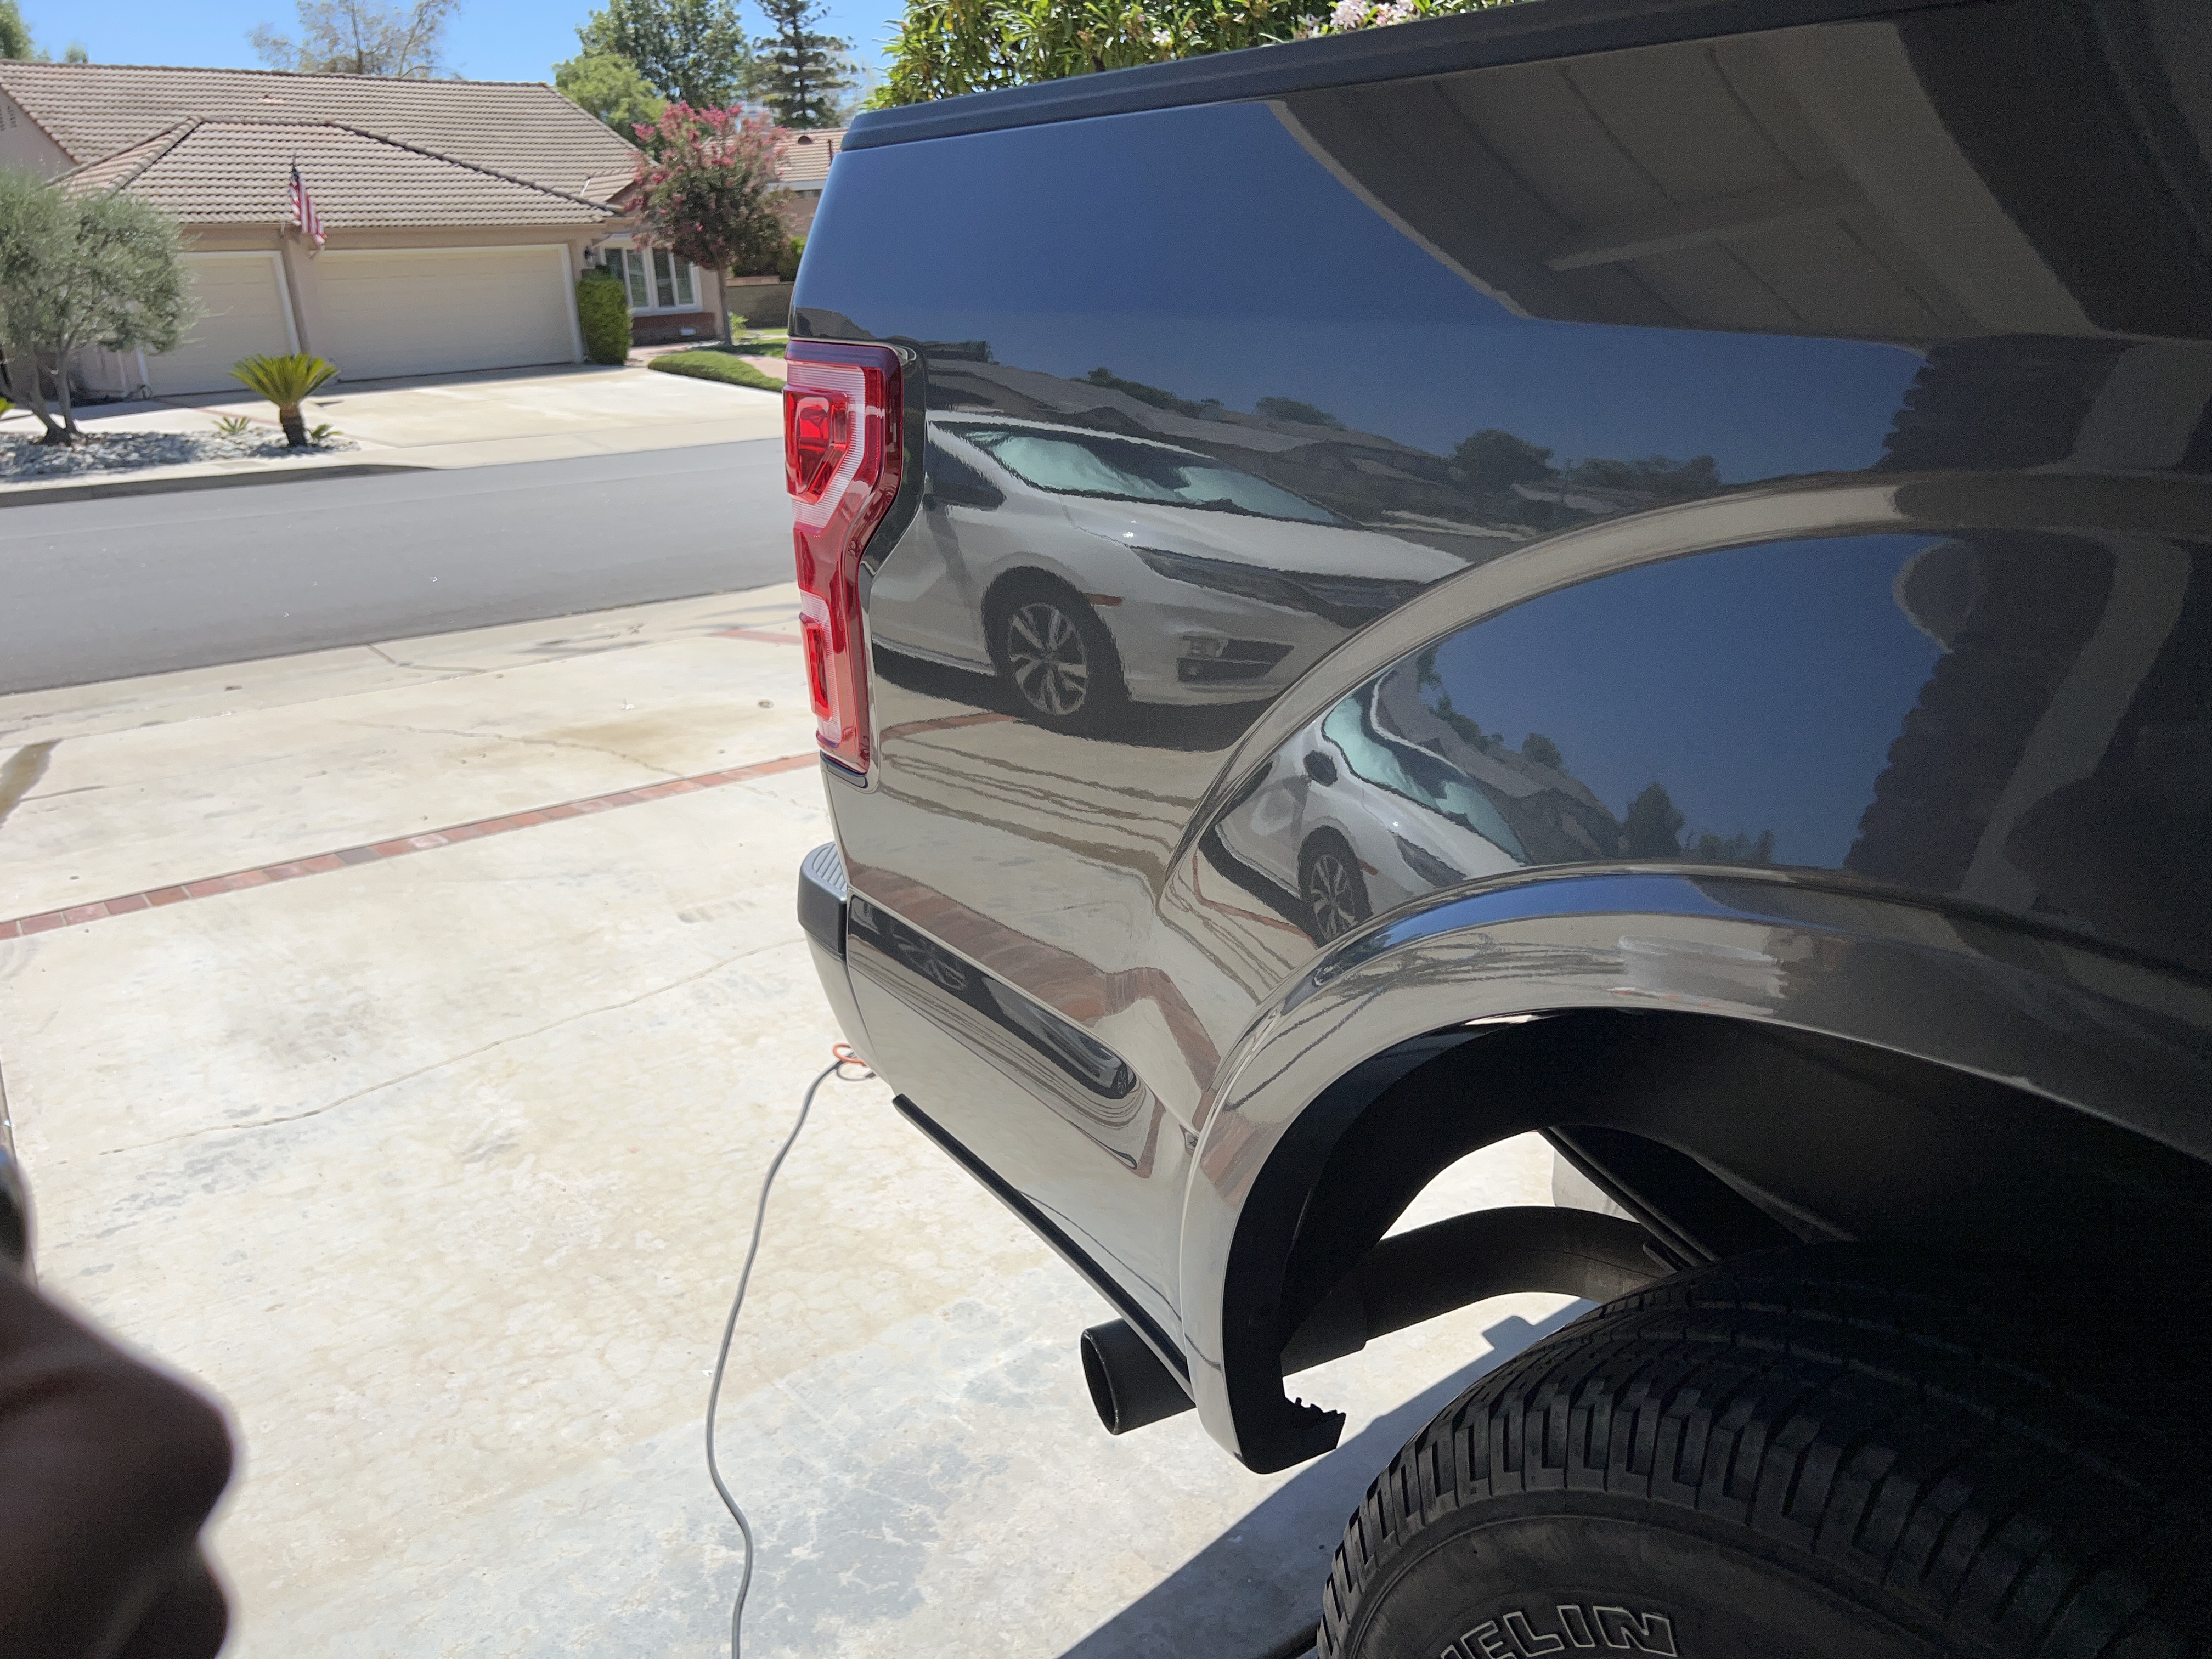
After polishing the area making several passes at slow speed, use a clean microfiber towel and wipe the compound away. It’s great if you have good lighting so that you can look at the light reflection in the paint to see if the scratches are fully removed. If it’s not, you may want to try again. You should see the removal or diminishing of the light scratch after polishing. If the scratch is still there after a few polishes, you may want to stop and re-evaluate. It’s not a good idea to continue to polish in the pursuit of removing every single scratch as this only leads to removing too much clear coat or even paint.
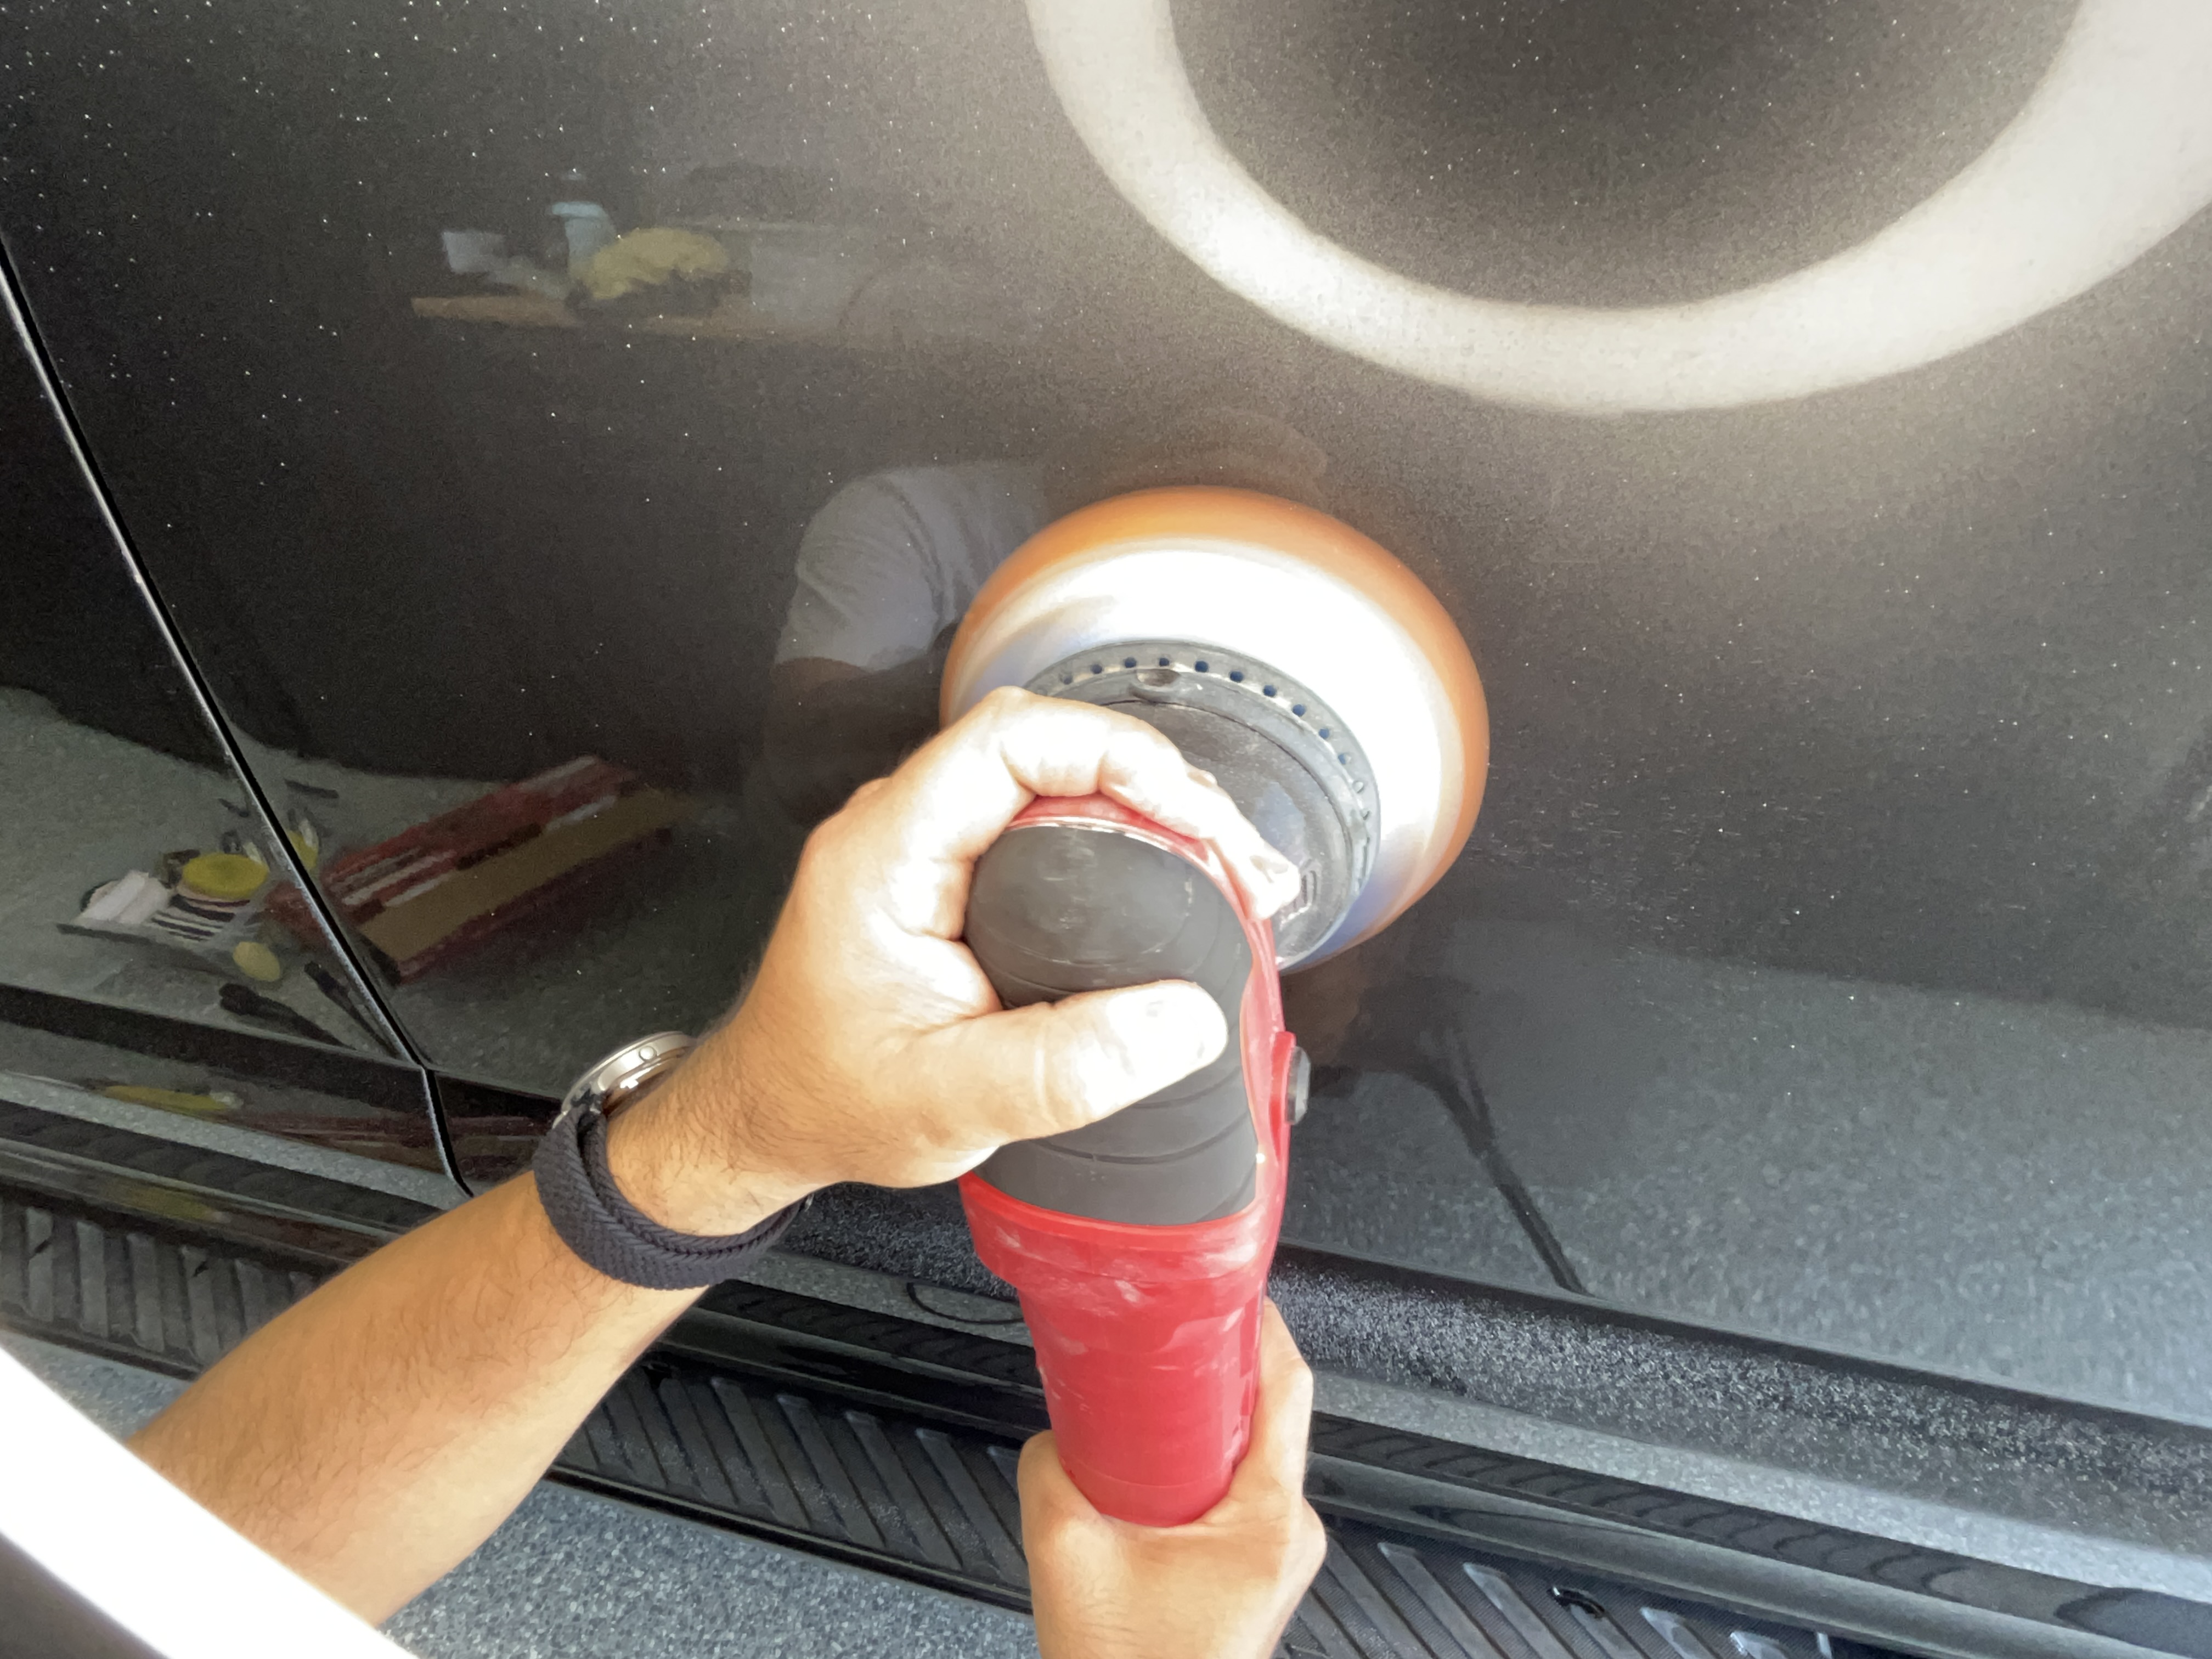
Try to maintain good body positioning; you don’t want to be holding the polisher too far away from your body as it can introduce fatigue and even cause muscle aches. Take your time and don’t rush the process. If you don’t have patience, you could make a mistake and potentially damage your paint.
If you have a scratch that just won’t come out from polishing, don’t go and try to chase that scratch. You could potentially burn through the clear coat leaving you with a bigger issue than a small scratch. You should also be moving the polisher very slowly across the paint, but not allowing the polisher to stay still at any single point for too long.
Polishing your paint can usually remove most minor scratches in your car’s paint, but don’t expect it to be 100%. Sometimes there are scratches that are too deep to be polished out and it may not worth it to try to polish too much and wear out all the surrounding clear coat just for the sake of removing that one scratch.
I hope this post has been informative to you if you want to remove light scratches from your car’s paint. If you have the similar light scratches or scuffs on your bumper, the process is similar to polish out the scratches. I’ve only grazed the surface providing you general steps for polishing light scratches out of your paint. There is a lot of technique involved related to polishing itself, so if you have any questions, please don’t hesitate to reach out!


