When you make purchases through links on this site, The Track Ahead may earn an affiliate commission. Also, these posts are based off my own experiences. I am not responsible for any action you take as a result of reading this. Learn More
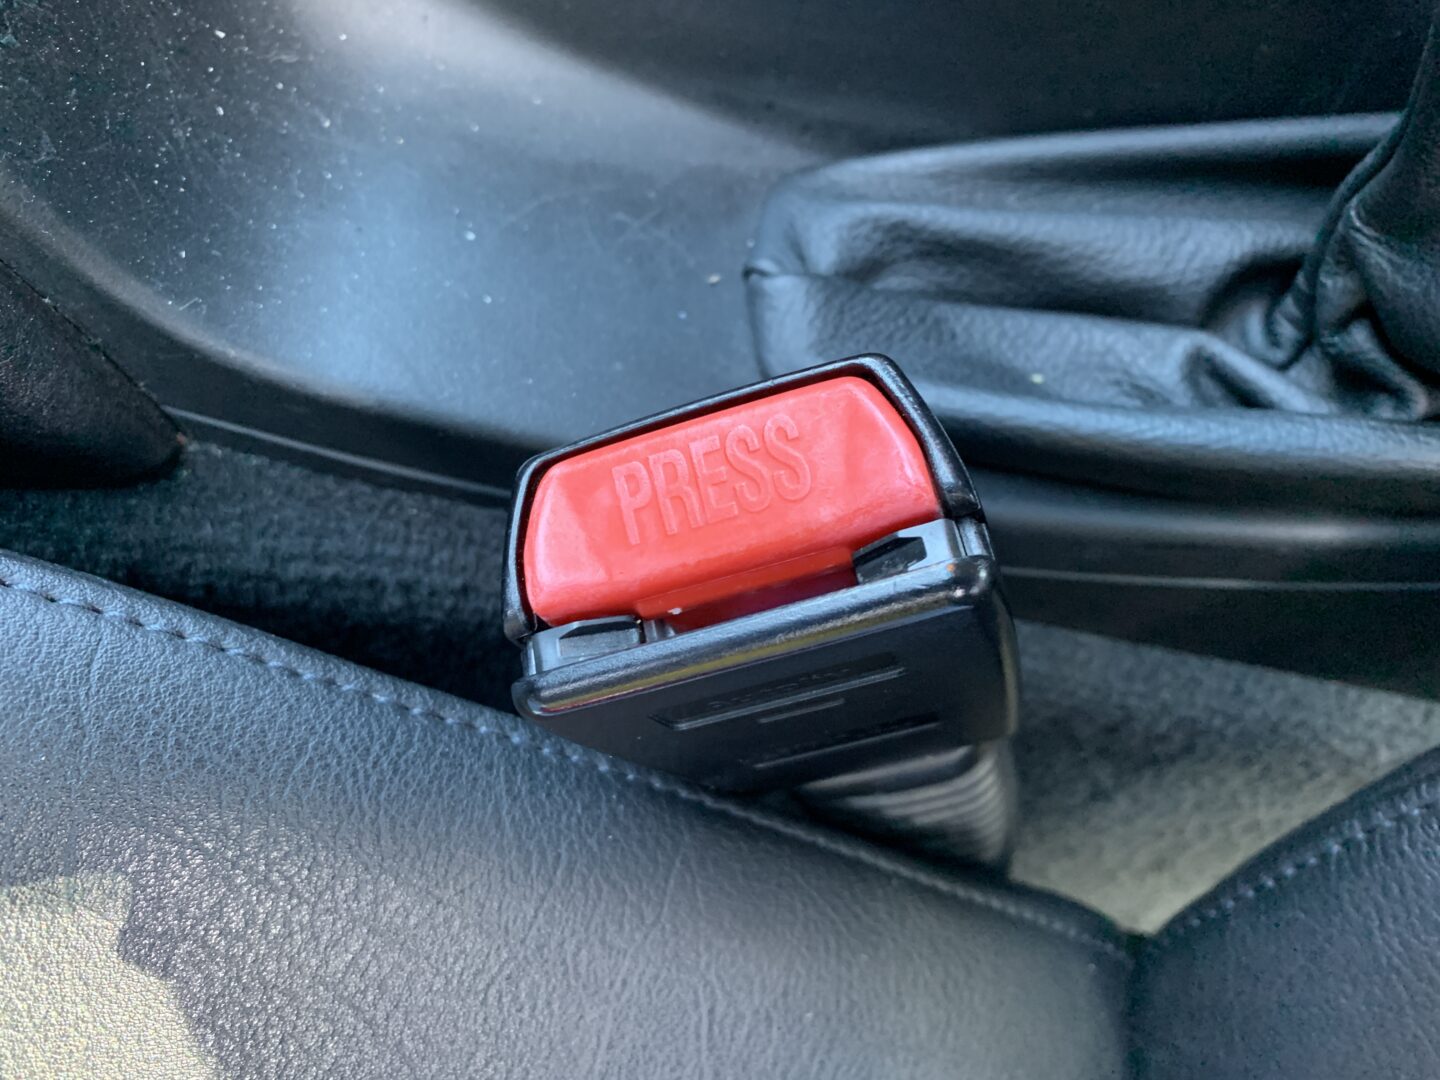
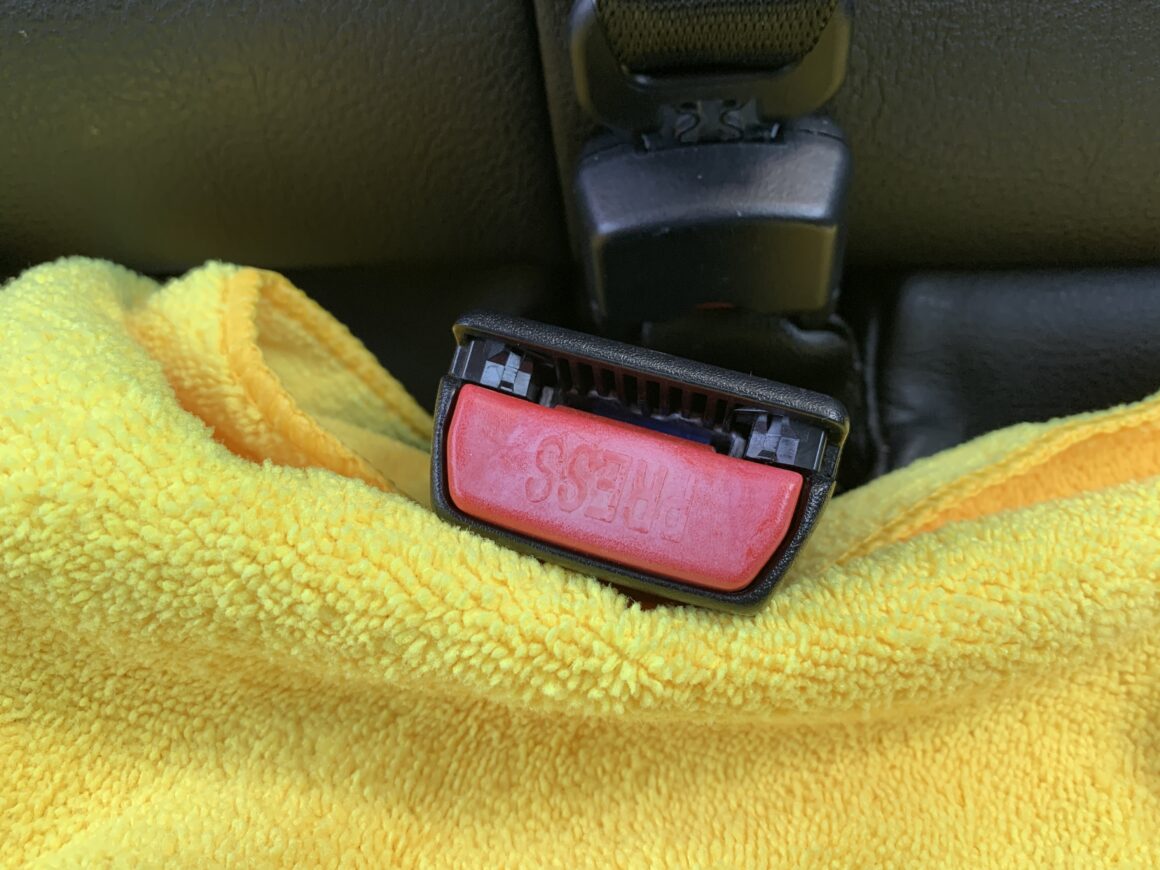
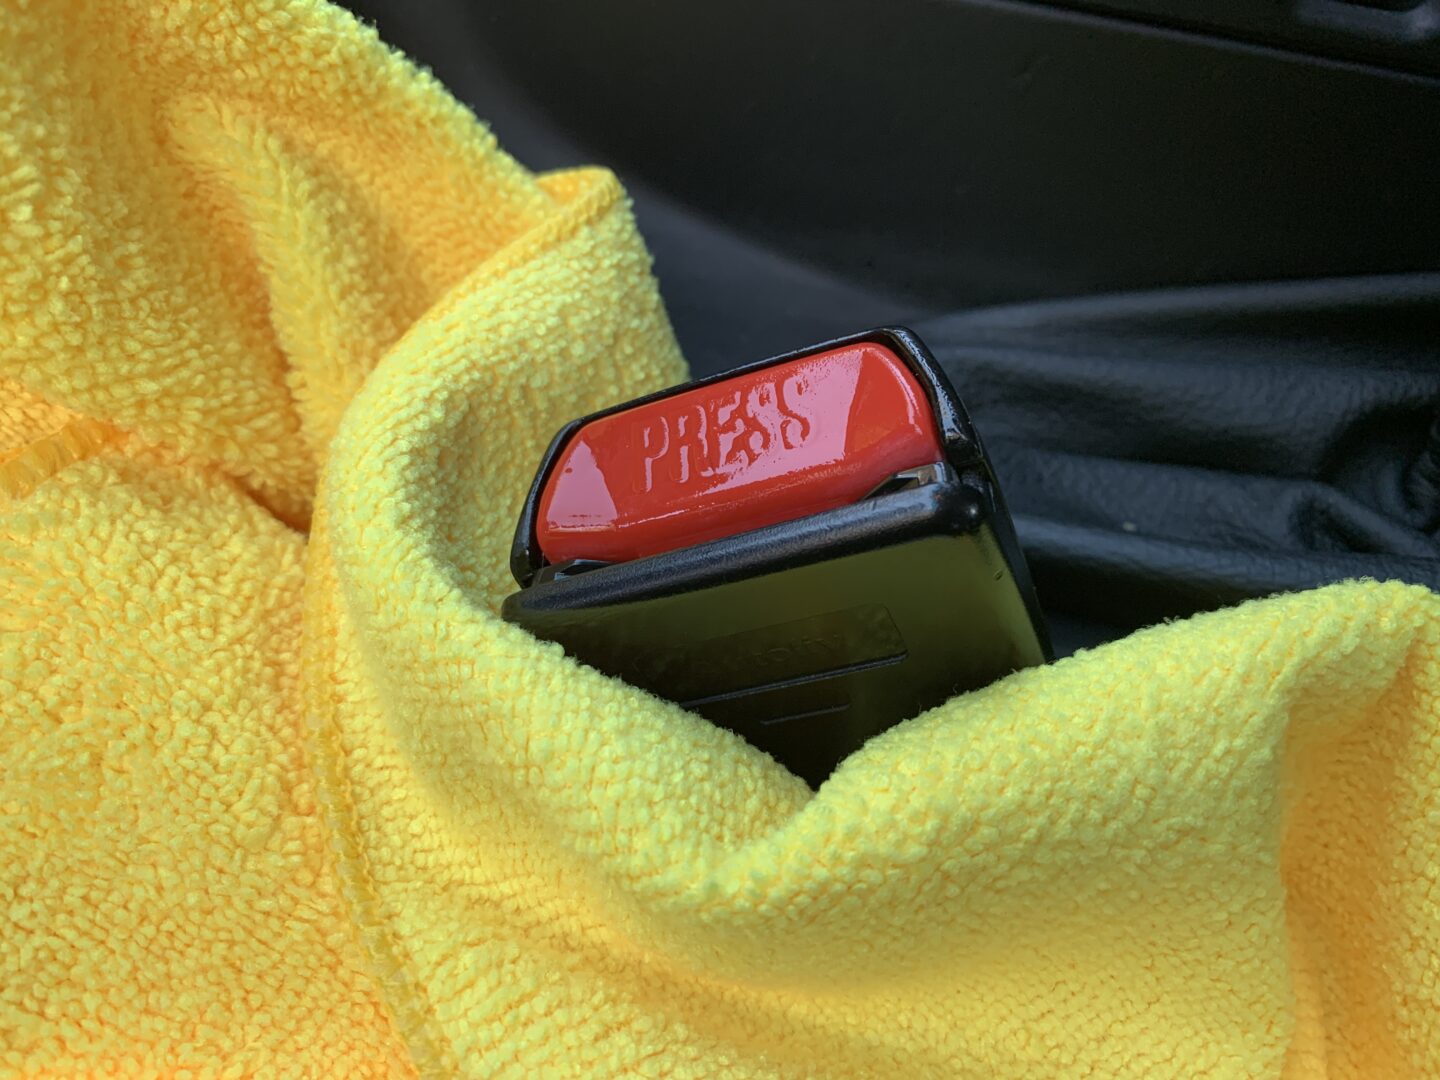
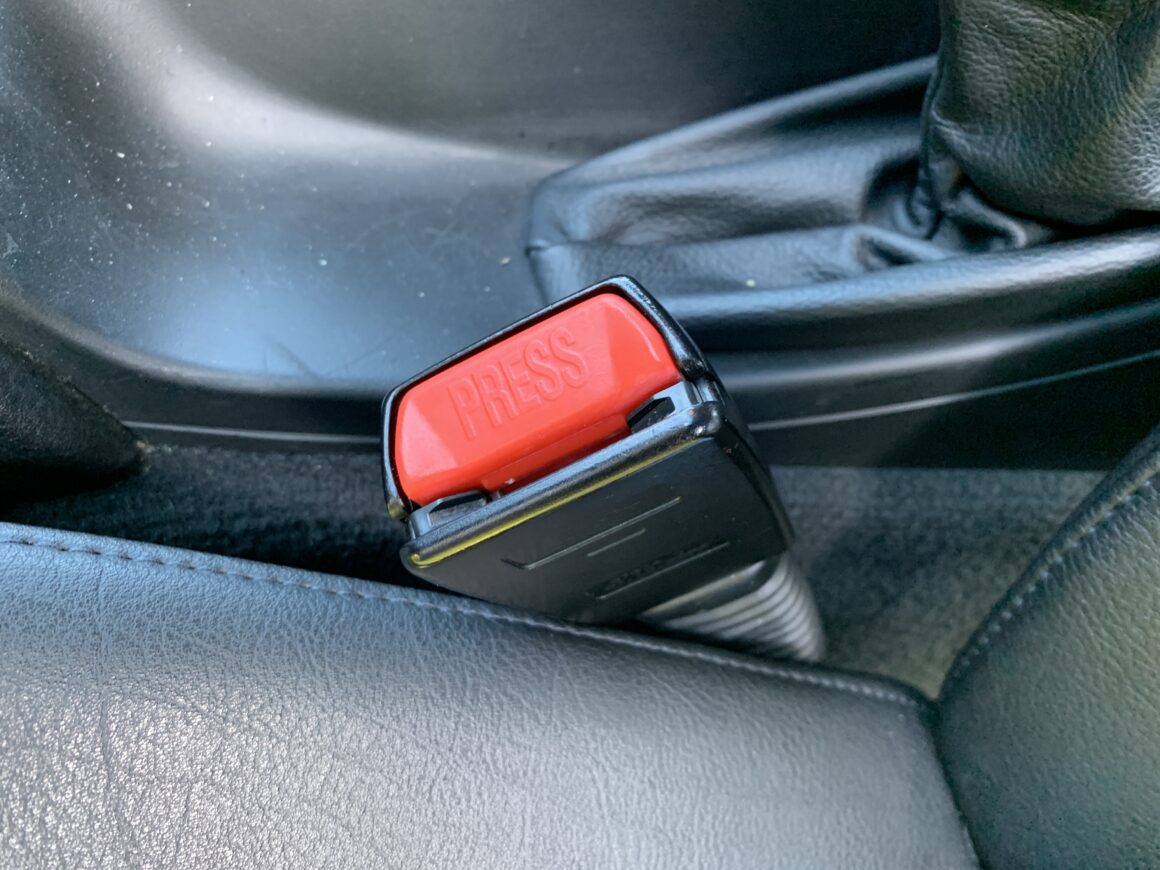
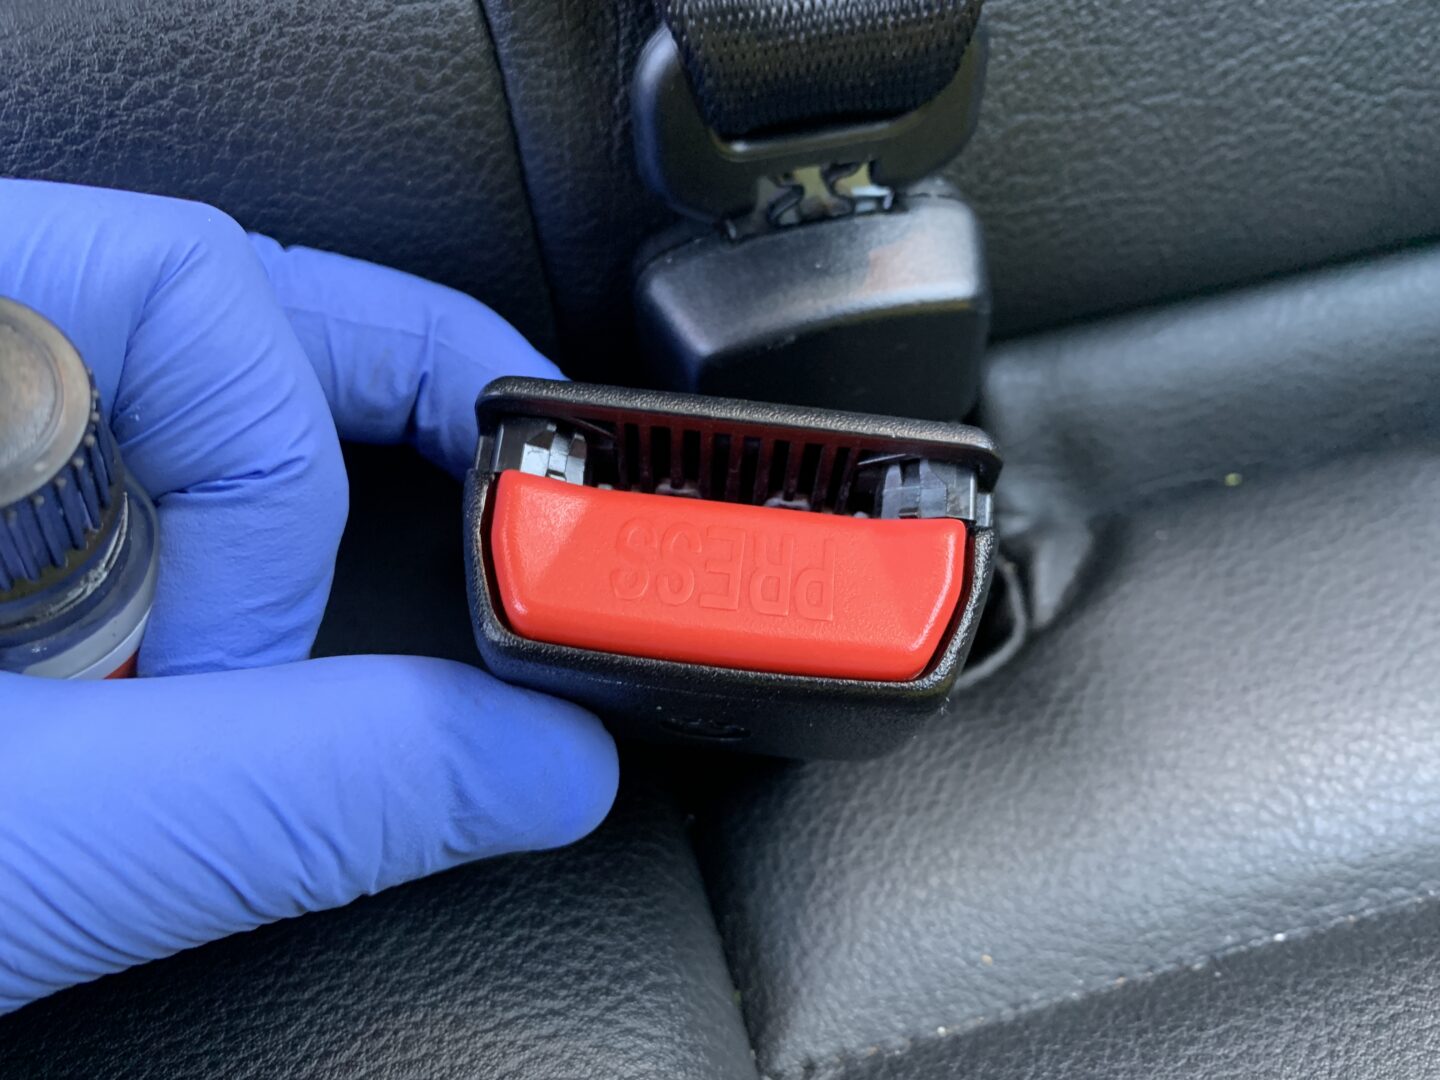
Car detailing is sometimes really all about the details. These small details when looking at them individually may seem inconsequential, but if you look at it as a whole, the small things can make dramatic difference. Take the typical seat belt buckle with the little red button on it. These little plastic buttons look good when they’re new, but over the years, the plastic oxidizes and eventually the red color fades. You’re then left with a faded red seat belt button, a phenomenon that you will commonly find on older vehicles.

Restoration Techniques: Polishing, Flame Polishing, and Coating
I just want to touch on a few different techniques for restoring seat belt buttons. The first one is general polishing; when you have fading on a car’s paint, polishing it with a polish or compound can restore the paint back to its original color. With seat belt buttons, they are simply too small to be practical to polish–probably the reason why you don’t see anyone polishing these tiny buttons.
Flame Polishing Plastics
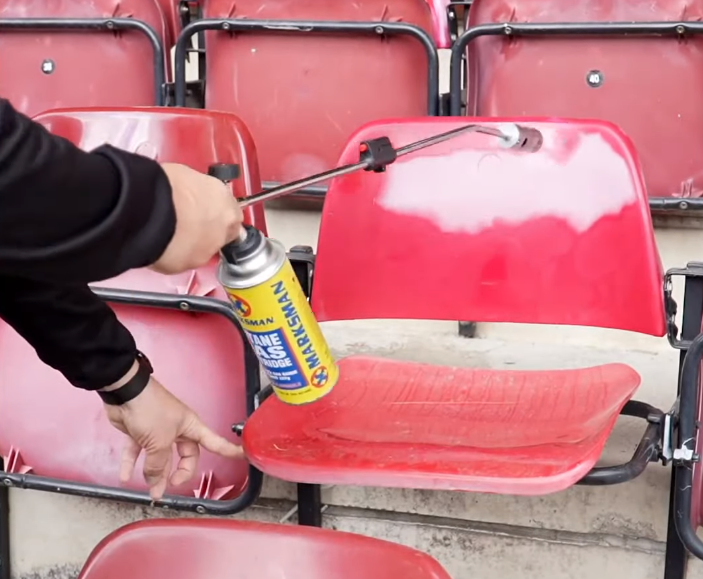
The second method is called Flame Polishing. You may have seen the viral video of this phenomenon where someone is using a torch to heat stadium seats and quickly being to restore the color. The person using the torch heats up the plastic bleacher seat and you see the faded red color quickly transform back to its original bright red color.
Flame polishing your faded red seat belt button is possible with a heat gun. There’s a lot of information from people all over the web giving their opinion about what is actually happening and whether you should do it or not. Some of the things you hear are: the plastic is melting, releasing oils, leaching pigment, melting at the surface, etc.
There’s not a whole lot of scientific information out there from my initial research, but from the only scientific papers I could find, it seems it may be more of a melting of the plastic at the surface level which is causing the restoration of the plastic color. However, who knows if there’s more to it than that.. we may find out more as time goes on.
The problem you always hear about flame polishing plastics is that it works in the short term and and eventually it will fade again. I don’t know for sure since I haven’t tested this out for myself yet, but there is likely some permanent deformation happening to your plastics by flame polishing. You also have the chance of damaging other materials inside your cabin when you’re trying to flame polish your seat belt buckles.
Coating with Wax, Sealant, Ceramic Coating, Peanut Butter?
So the main idea here is that rather than permanently deforming your plastics with flame polishing, you can instead just add a chemical that restores the color of the seat belt. You’ll notice that if you wet the seat belt button with water, it restores the color very temporarily. The same thing happens if you apply a wax, a paint sealant, a ceramic coating, or even peanut butter!
Peanut butter has oil in it that can rehydrate the surface of your seat belt button. Just as if you applied it on your car’s paint, a wax may last only a few weeks, a paint sealant may last months, and a ceramic coating may last a year or so. So if you go this route, it’s very possible your seat belt will likely fade again, however it’s easy to reapply when the time comes. You also have peace of mind knowing that it’s not damaging your seat belt buckle and there’s no limit to how many times you can reapply.
Plastic Trim Restorer
There are dedicated plastic trim restorers on the market that can work. Just like the products above, it’s a temporary measure and you’d apply it the same way as you would with a coating. Some plastic trim restorers are intended for black trim and wouldn’t work in this case. However, there are other trim restorers that are clear or are milky in color and can work at temporarily restoring your seat belt button. Personally, I don’t feel that they work as well as something like a ceramic coating.
Tools & Materials
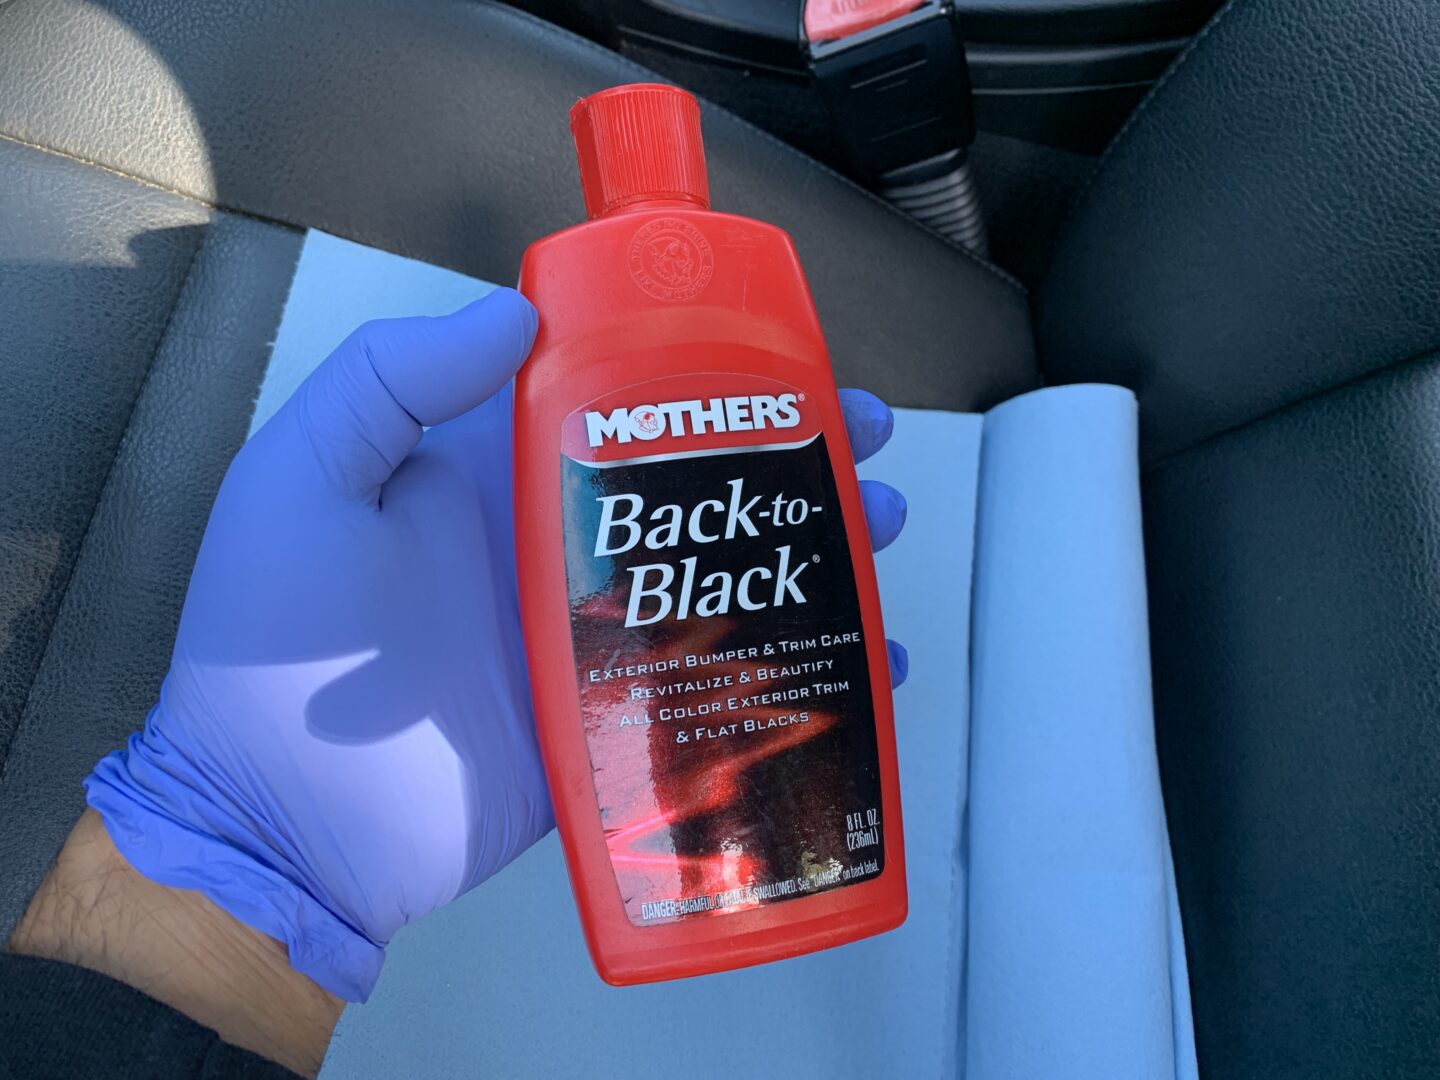
I would recommend just using any sort of wax, sealant, coating, etc that you might already have at home. Because you only need a little bit of the product, you can pretty much use some leftover of whatever you use to protect your car with. For this tutorial, I used some leftover Mother’s Back-to-Black Trim Restorer and GTechniq C5 Wheel Coating and applied them with a Q-Tip.
Purchase on Amazon: Waxes, Paint Sealants, Ceramic Coatings, and Plastic Trim Restorers
Microfiber Towel, Rag, or Q-Tips
To apply the product, you can simply use a rag, microfiber towel, or even Q-Tips. Q-Tips are great for applying the product carefully. However, any of these products work just fine.
Purchase on Amazon: Microfiber Towels, Rags, Q-Tips
How to Restore a Faded Red Seatbelt Button
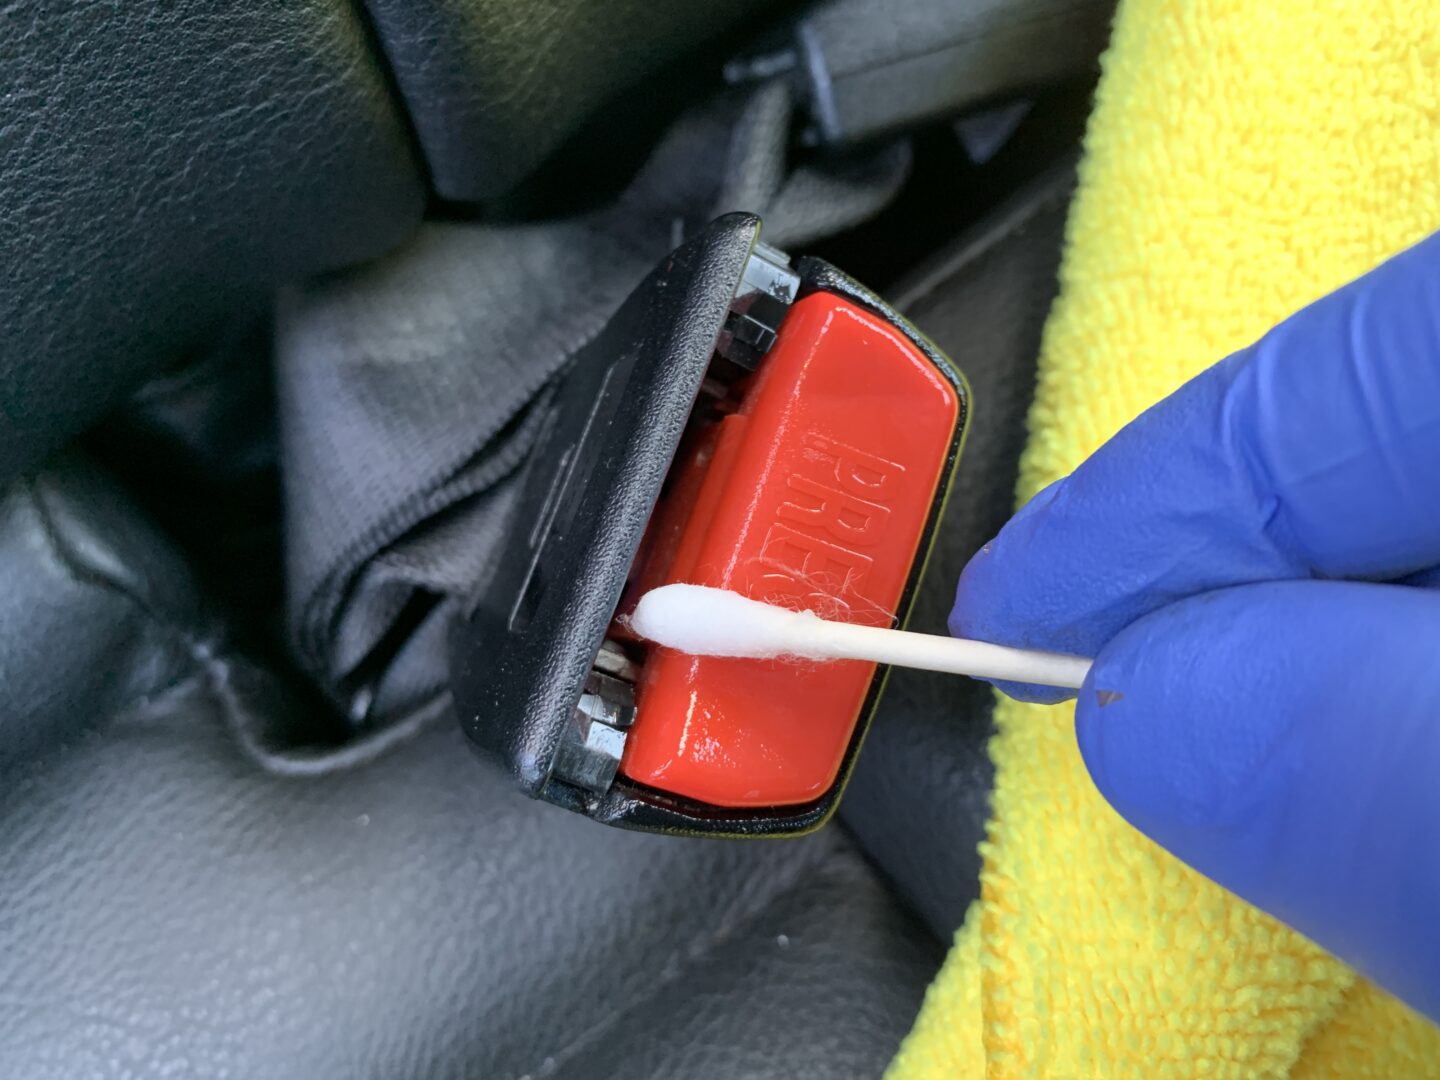
I’m using Mother’s Back-to-Black trim restorer to show how you’d apply a wax, sealant, coating, or trim restorer. They all will be applied with a Q-Tip or rag/towel onto the surface of the seat belt button. It’s up to you if you want to tape up the surrounding area, but I chose not to as I used a Q-Tip to apply.
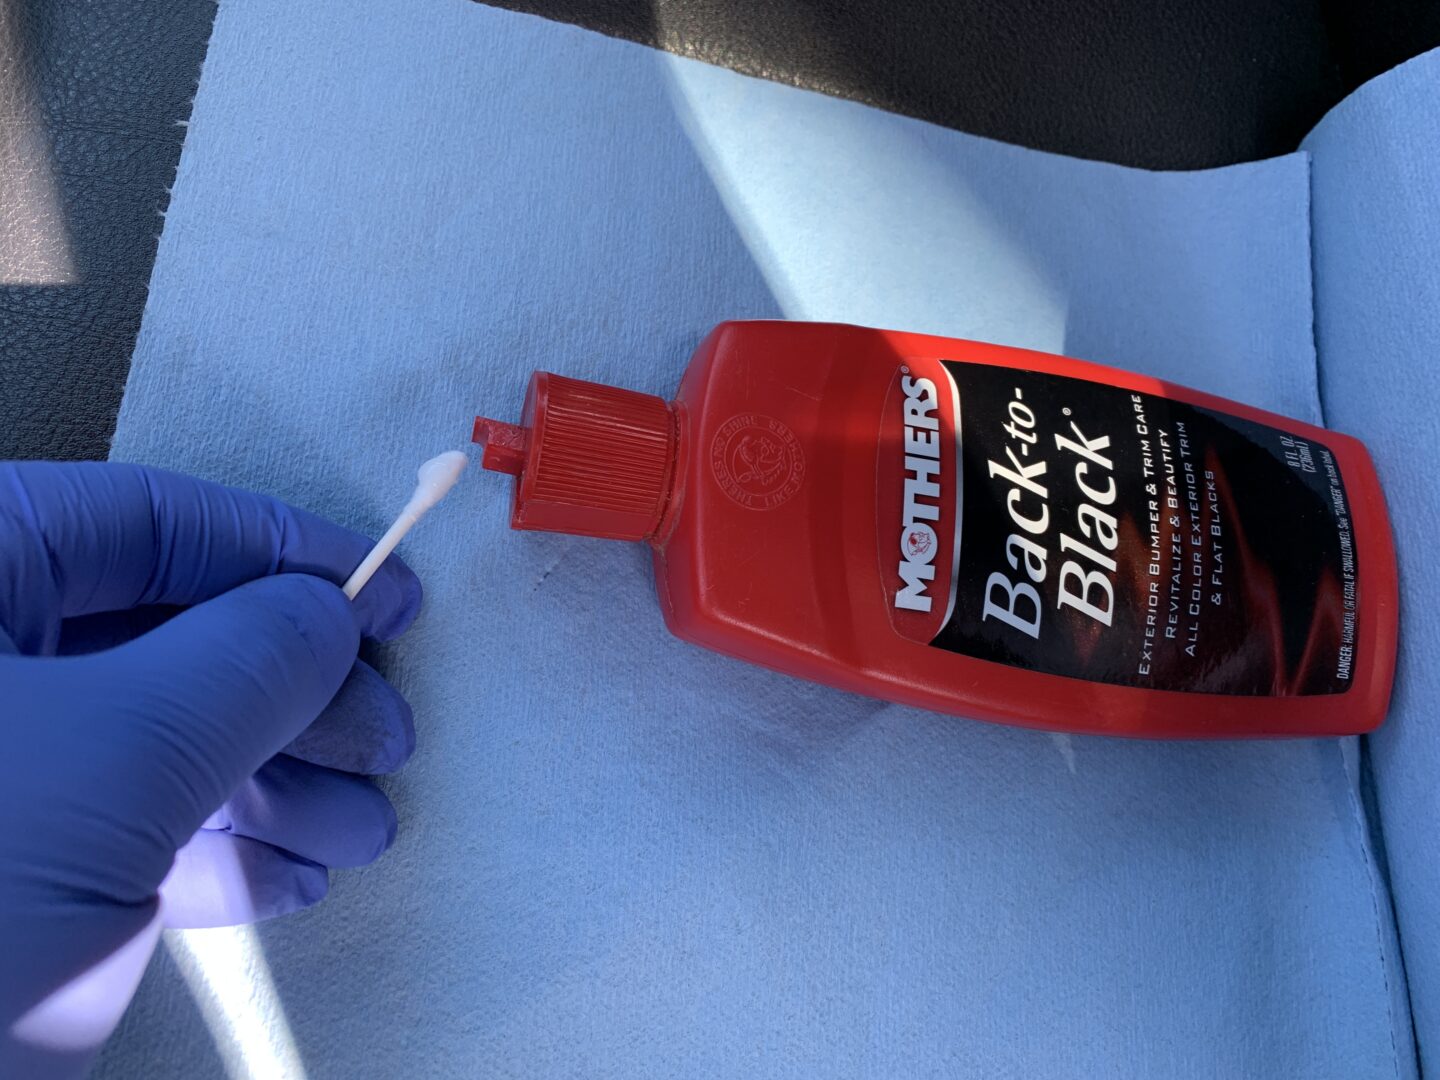
Simply apply the product onto the seat belt button ensuring you cover the whole button. If you’re using a wax or trim restorer, you might have to apply it more than once for better results. After applying, let it sit for a minute and then buff off with a towel or rag.
Below are the results of applying several layers of the plastic trim restorer. It looks better, but I don’t think I’d say it restored it back to its original condition.

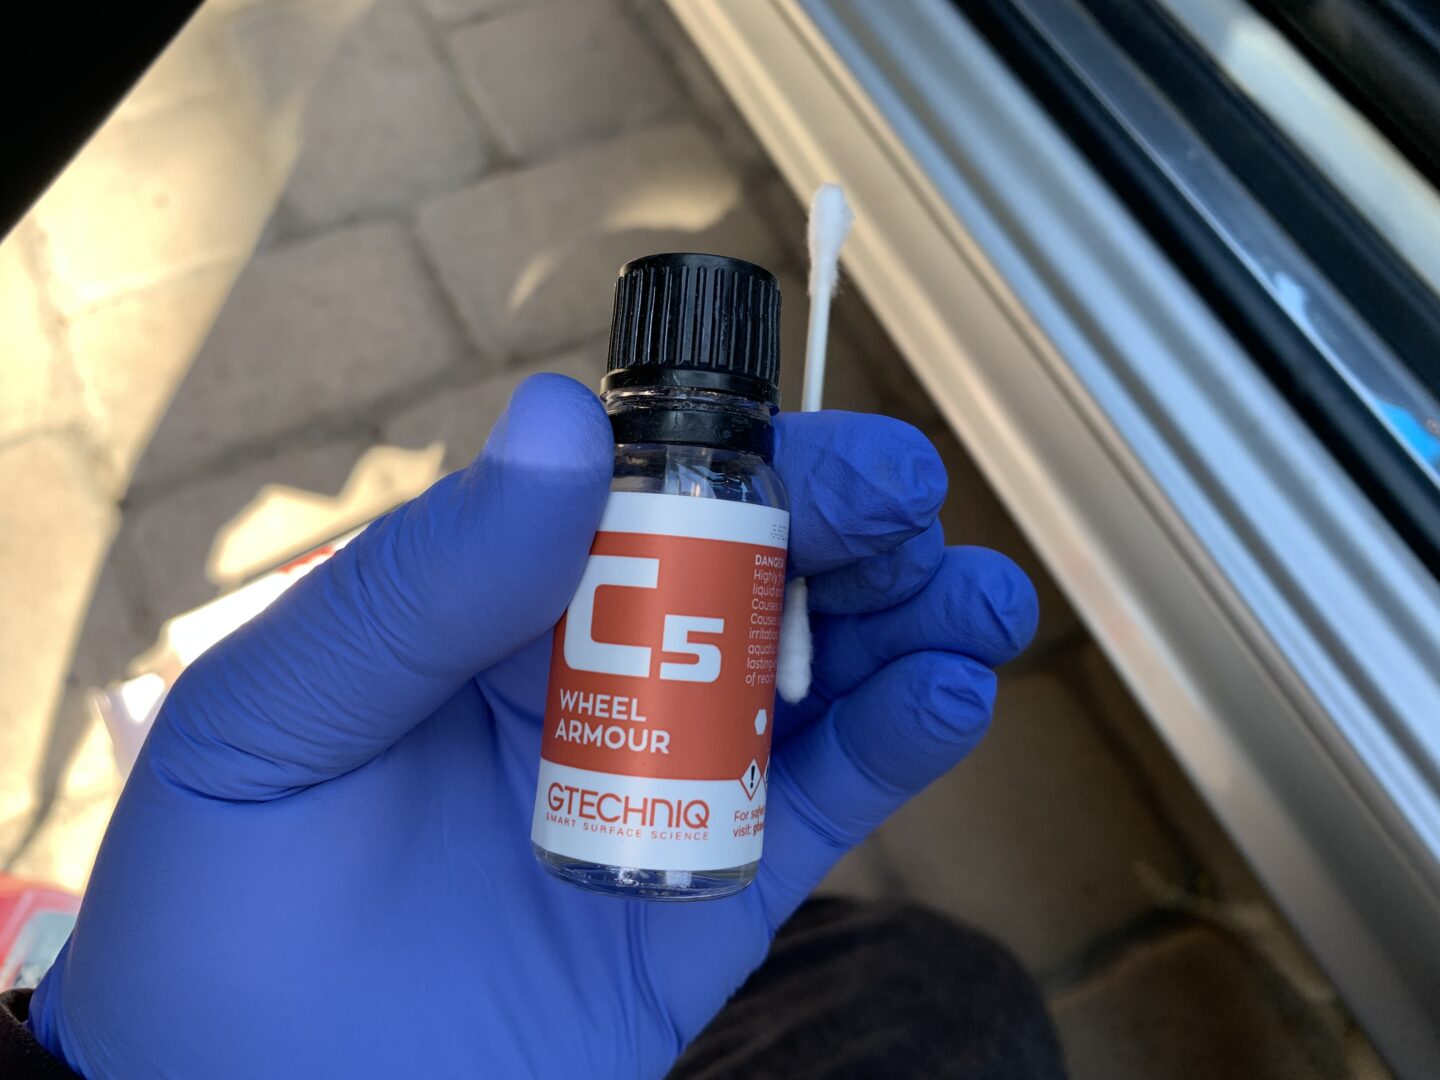
I also had some leftover GTechniq C5 Wheel Coating that I wanted to try out as well. The wheel coating is more in line with something more permanent like a ceramic coating, so the results should be better than a more temporary product like a wax or trim restorer.
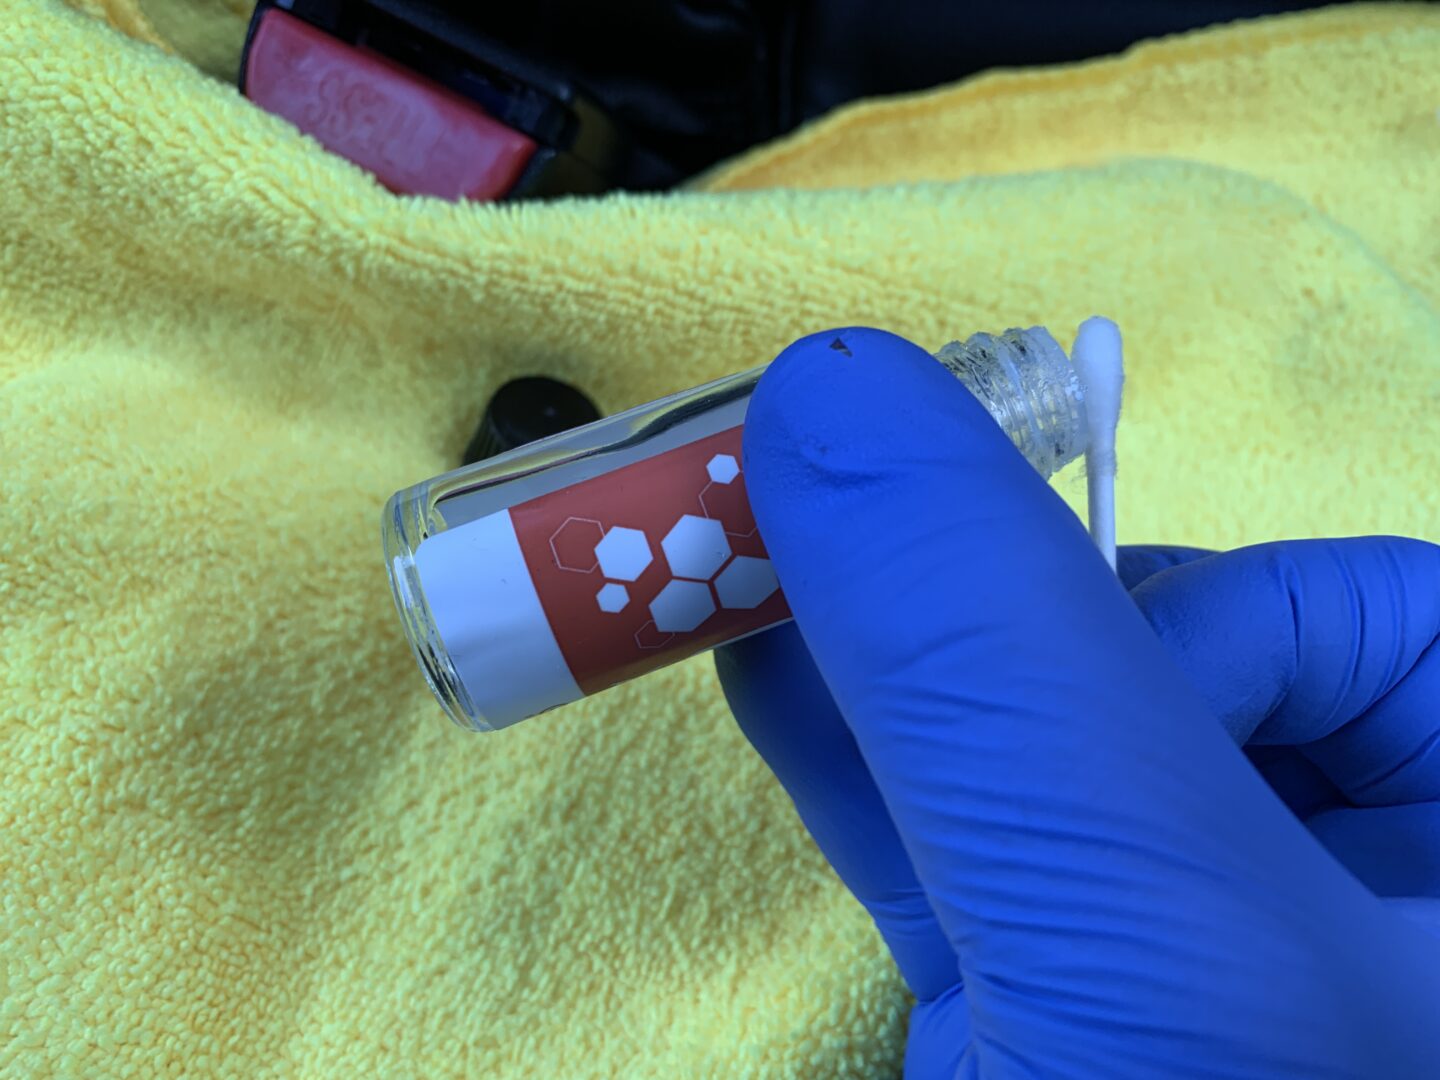
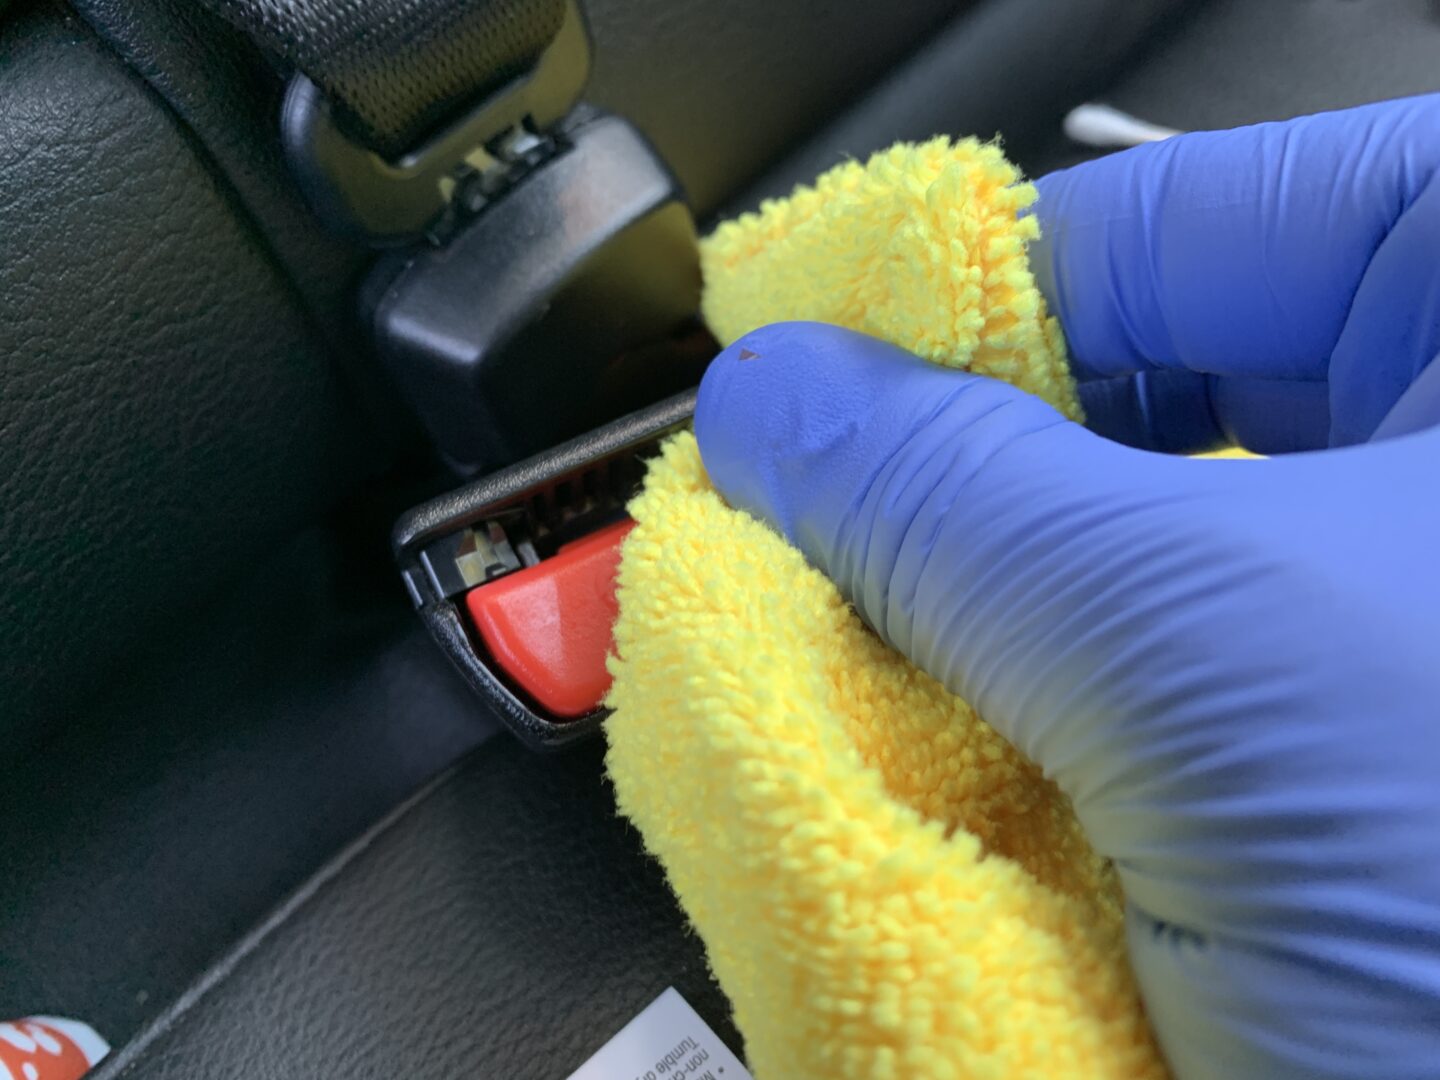
I applied the coating with a Q-Tip as well. I also had a microfiber towel covering the surrounding parts in case I got this product onto any surrounding areas.
You’ll find that a ceramic coating or similar coating will work wonders on restoring the red faded seat belt buttons. The results are instant and you’ll notice that it applied wet and stays wet.
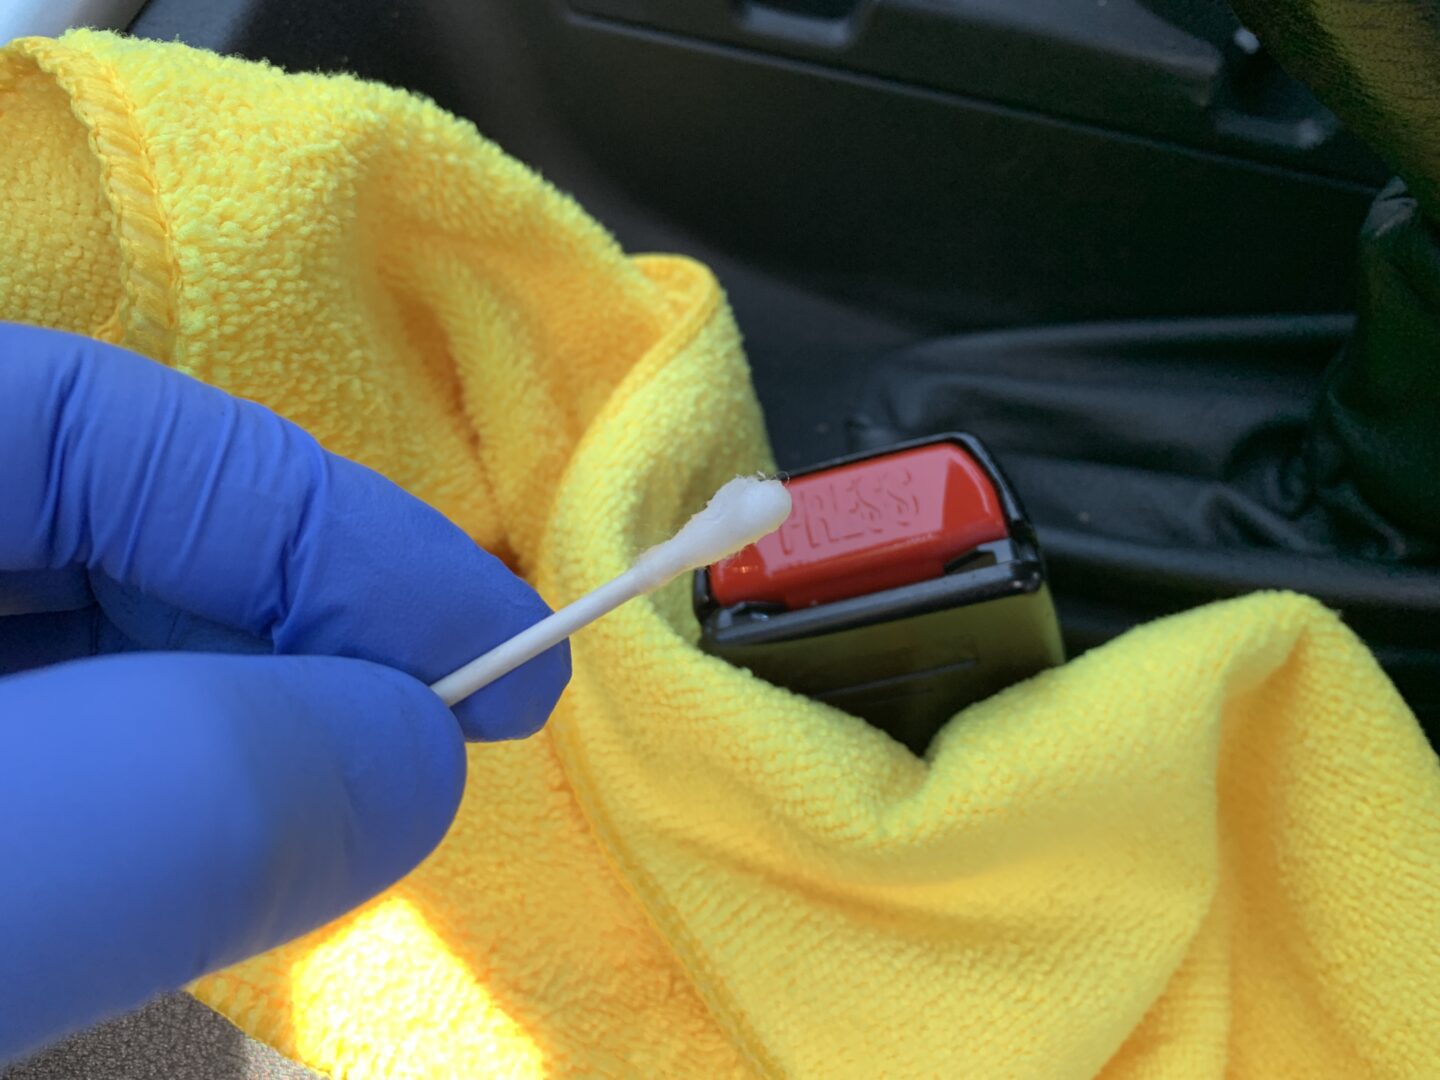
The product staying wet on the surface is typical with coatings as you normally have to apply and then wipe it off. I would recommend applying it and letting it sit for 30 seconds to a minute and then wiping it off with a towel. After wiping it off, I am left with a uniform red color that makes the seat belt buckle look new again. If it still looks faded, you might want to apply the coating again and then wiping it off again to see if it improves.
As you can see, the coating worked wonders and it was so easy and quick to apply. I highly recommend using a ceramic coating or other similar coating for restoring your seat belt buttons.

As I mentioned previously, because you only need a very small amount of product, I would suggest you use what you already own so you don’t waste money buying a product only for this purpose. If you don’t have anything already, I recommend using a coating because it applies very easily and in my experience gives you excellent looking results.


