I recently came across some old photos of the first motorcycle I owned. Gosh, memories just started to flood back as I went through pictures of my old 1999 Honda CBR600 F4. I don’t know if I felt so much nostalgia because of all the good times that I’ve had with the bike, or if it was just because it was the first bike I’ve owned. Perhaps it was because of both reasons. Nonetheless, I wanted to reminisce of some of the memorable times I’ve had with my first motorcycle.
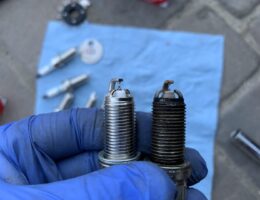
Replacing the spark plugs is not a difficult job to do; the hardest part of it all is removing all of the connectors and various ducts while keeping track of them all. Besides that, as long as you have all the necessary tools, parts, and materials, you should have no problem performing this maintenance. This write-up should be valid for the 2nd generation IS350. The spark plug replacement performed here is on a 2006 Lexus IS350.
According to the owner’s manual, my 2006 Lexus IS350 with the 2GR-FSE 3.0L V6 engine uses a 5W-30 viscosity oil, but 10W-30 can be used as well if the former is not available. You should replace your engine oil depending on what type of motor oil you go with. When changing the oil and oil filter, you will need 6.6 quarts of oil to perform an oil change.
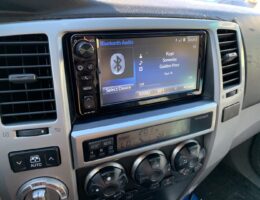
After upgrading the 4th generation 4Runner stock head unit with a Scion T1806 and then a T1814, I finally ended up with a T10015. In my opinion, this is the ultimate, stock-looking, head unit for the Toyota 4Runner. I realize that I could probably do a similar radio swap with a Scion T10017, which is offered on Scion vehicles in 2016+. Since I had already done most of the work on installing the adapters on the Scion T10015, it would probably require minimal work to get the newer T10017 unit working.
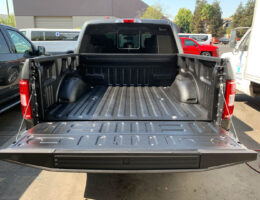
I got a brand new 2020 Ford F-150 recently and been incredibly happy it so far. Since I’ll be using the truck like a truck is intended to be used, I knew that I needed to take care of protecting the bed of the truck before I did any sort of hauling. The truck came with a bare bed; no factory spray-in liner from the factory. With the truck being brand new and knowing how much I spent on the truck, I might as well go with the best spray-in bed liner that I know of: a Line-X.
The Ford F-150 has a ridiculous amount of different configurations available, so I determined which things I was willing to forego and which things I knew was a must have. After that, I kept my eye on the pricing incentive offered by Ford and did a lot of online research/shopping at various Ford dealerships around my area. Until the purchase was finally made, it was a mad-dash to find the right F-150 as the one I was scheduled to go buy was sold the night before. Luckily, things worked out and I drove home in a brand new 2020 Ford F-150.
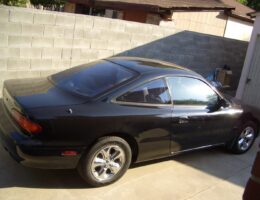
On my old 1993 Mazda MX-6, I inherited a terrible tint job that was done on the rear and side windows. The tint on the windows had a purple tint to it and it was beginning to bubble all around the borders. This type of failure is characteristic of a poorly done tint job or regular exposure to glass cleaner that has ammonia. I could not stand the look of it any longer, so I went about removing the tint.
One of the things that needed some work on my old 1993 Mazda MX-6 were the leather seats. One of the issues was a destroyed bolster on the driver’s side, which I couldn’t do too much about. The other was that the leather material was quite dirty and stiff. I used Pine-sol to clean and condition the leather afterwards, but it turns out Pine-sol is just too strong of a solution to use for cleaning. My seats stayed pretty stiff, but it sure was clean.
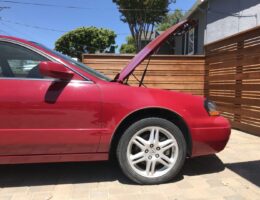
I finally got my Acura CL Type-S moved (pushed) into my driveway. Now that I’m able to work on the CL in the comfort of my own driveway, I started getting to work. The hood struts unfortunately are no longer working, so the hood keeps falling down on my head. Annoyingly, every time I need to work under the hood, I have to prop it up with various 2×4’s that I have laying around the house. I figure that one of the first things I need to take care of are the hood struts (shocks) as it will make working on anything else under the hood much easier.


