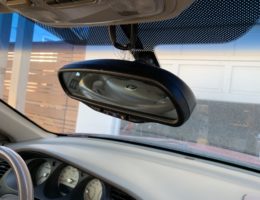
If you’ve ever experienced your rear view mirror sagging or simply rotating downwards on its own, it’s likely due to the mirror socket no longer holding the ball mount in place. Most of the time, there are these plastic teeth that hold the ball joint in place and when these plastic teeth break off, there is no longer enough force holding the ball joint securely. As a result, the rear view mirror starts to sag and slowly move down on its own. This can be an annoyance as you constantly have to put the mirror back up, only to have it rotate down again and again.
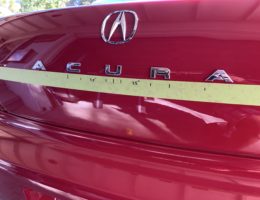
If you have missing emblems whether they fell off or were stolen off your car, you’ll probably have some “ghosting” left behind that you could use as a template to install the new emblem with. You may also have an emblem that pops into a grommet in a hole in the panel so you don’t have to worry about placement. But what if the emblems are designed to be stuck directly into the panel? What if you’re repainting your car and therefore have no way to know where exactly to stick the emblems?
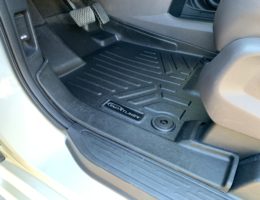
Essentially you have two main floor mats you can go with: OEM Honda All-Weather Floor Mats or Aftermarket ones. In my opinion, you should always go with custom-fit floor mats, which are the majority of the ones available on the market; these normally go for $100 or more. The universal fit ones may cost less than $100, but they simply won’t fit well and won’t offer very good protection. So I believe it’s a must to go with custom-fit all-weather floor mats. You won’t be short of options when deciding amongst the OEM and aftermarket options.
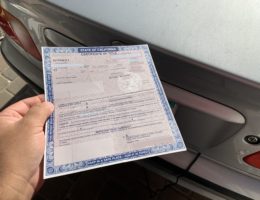
Fortunately, if you are buying or selling a vehicle and there is no title, it is still possible to complete the transaction although you will need to follow a few additional steps (including a visit to the DMV.) Please note that this pertains to the DMV process in California, but may be the similar to other states in the US. Generally, you’ll need to complete two DMV forms: Reg 227 & Reg 262.
Before my wife and I had kids, we always joked around about owning a minivan when we were older. Eventually as we needed more cabin space, the reality of needing to purchase one began to set in. We’d debate back-and-forth over who should drive the minivan. But, in the end it didn’t matter because as soon as we had our second child and knew our third was on the way, we both knew it would be likely that’d we be both driving it.
Unfortunately, the Honda Care extended warranty does not automatically transfer over to the new owner of the vehicle when the vehicle is sold. You must manually submit a request directly to Honda in order to process the transfer of the extended warranty. This must be done within 20 days of the vehicle being sold to a new owner. It also only can be transferred one time, and cannot be transferred to subsequent owners of the vehicle.
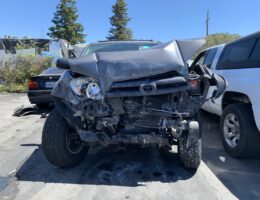
I want to offer up our experience as we really didn’t know what to do with our vehicle after it was towed to the Action Towing lot. When it happened to us, I was left trying to find out information directly from the employees at Action Towing, and from vague information I read from online searches. I hope the information in this article helps you if your vehicle gets towed away after an accident and you are left trying to figure out what to do next.
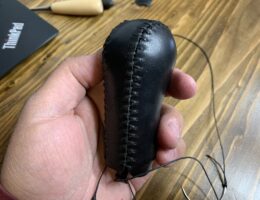
One of the things that has bothered me on my Acura CL-S is that the leather shift knob has been worn down and looks terrible. Since this is a gear knob for a manual transmission, it is something that you look at and handle every time you drive the car. So, I set out to look for ways to address the worn leather shift knob. The task of replacing the leather on the shift knob can seem daunting as it did for me. However, after watching a helpful YouTube video from Luke, it didn’t seem impossible to me anymore. It also was an appealing option to me as I could save hundreds of dollars and still maintain an OEM-like look and feel to my shift knob.
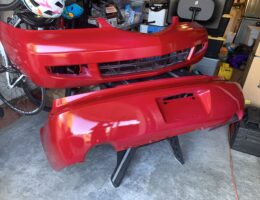
For this guide, we’ll be spraying primer, paint, and clear coat and it will all be done by rattle cans. The 1K primer and color-matched paint are purchased from Paint Scratch, and the 2K clear coat can be found online. Even using rattle cans to spray paint your bumper, you can get amazing results especially if you have a good color match and use a 2K clear coat, which hardens up to a professional level finish.

