When you make purchases through links on this site, The Track Ahead may earn an affiliate commission. Also, these posts are based off my own experiences. I am not responsible for any action you take as a result of reading this. Learn More
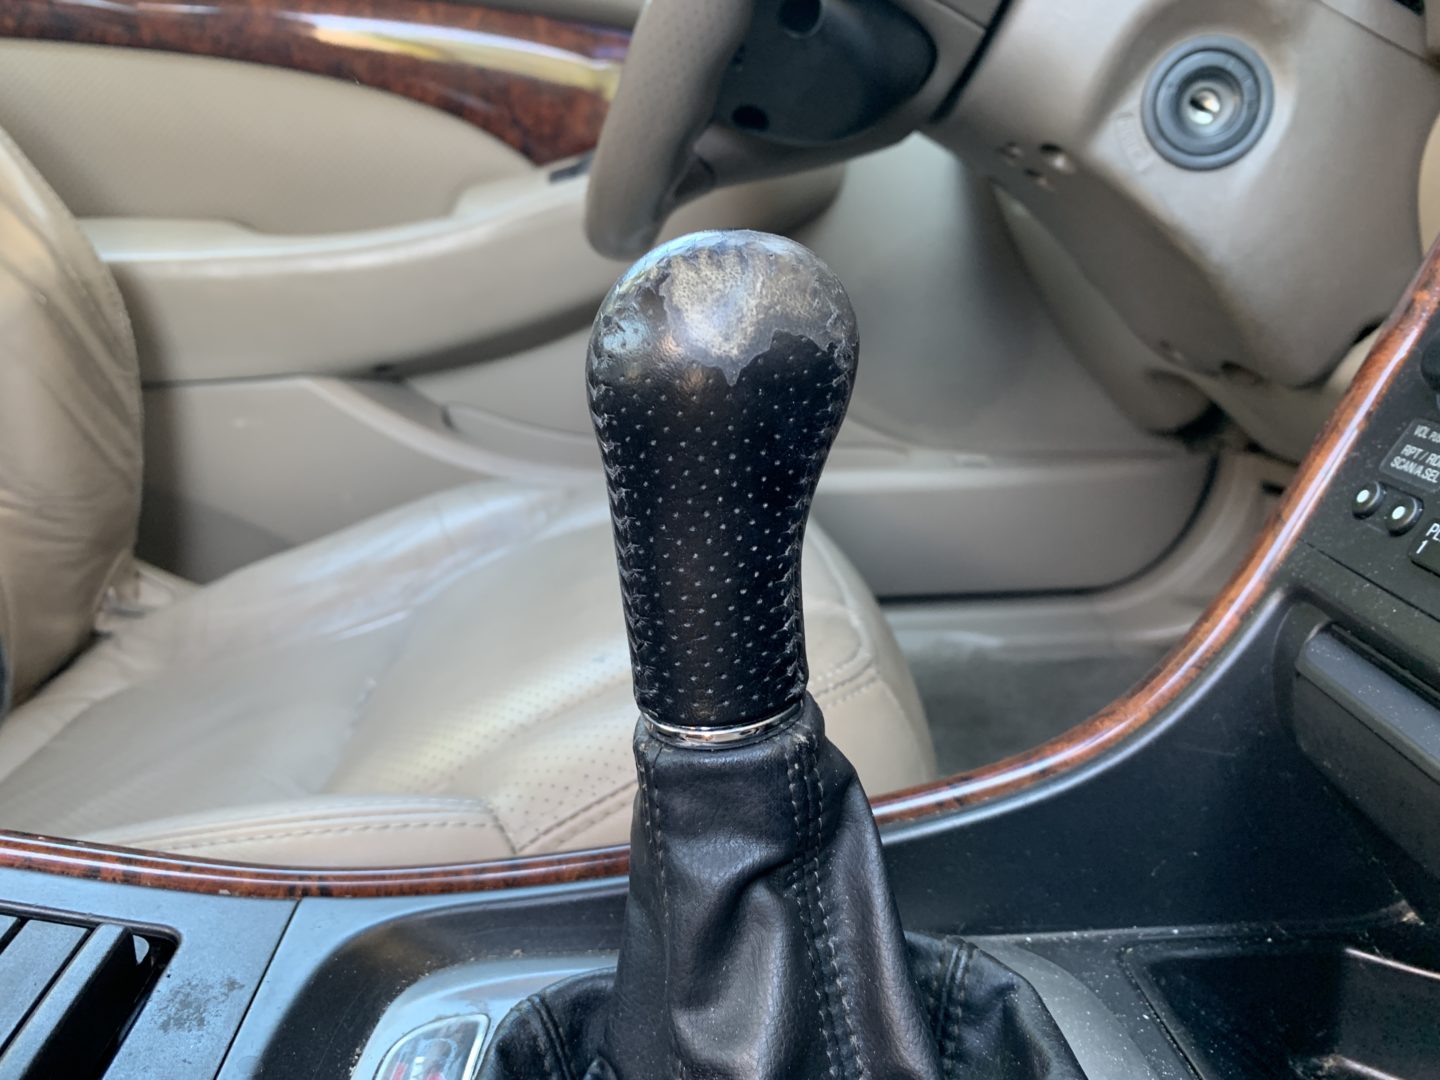
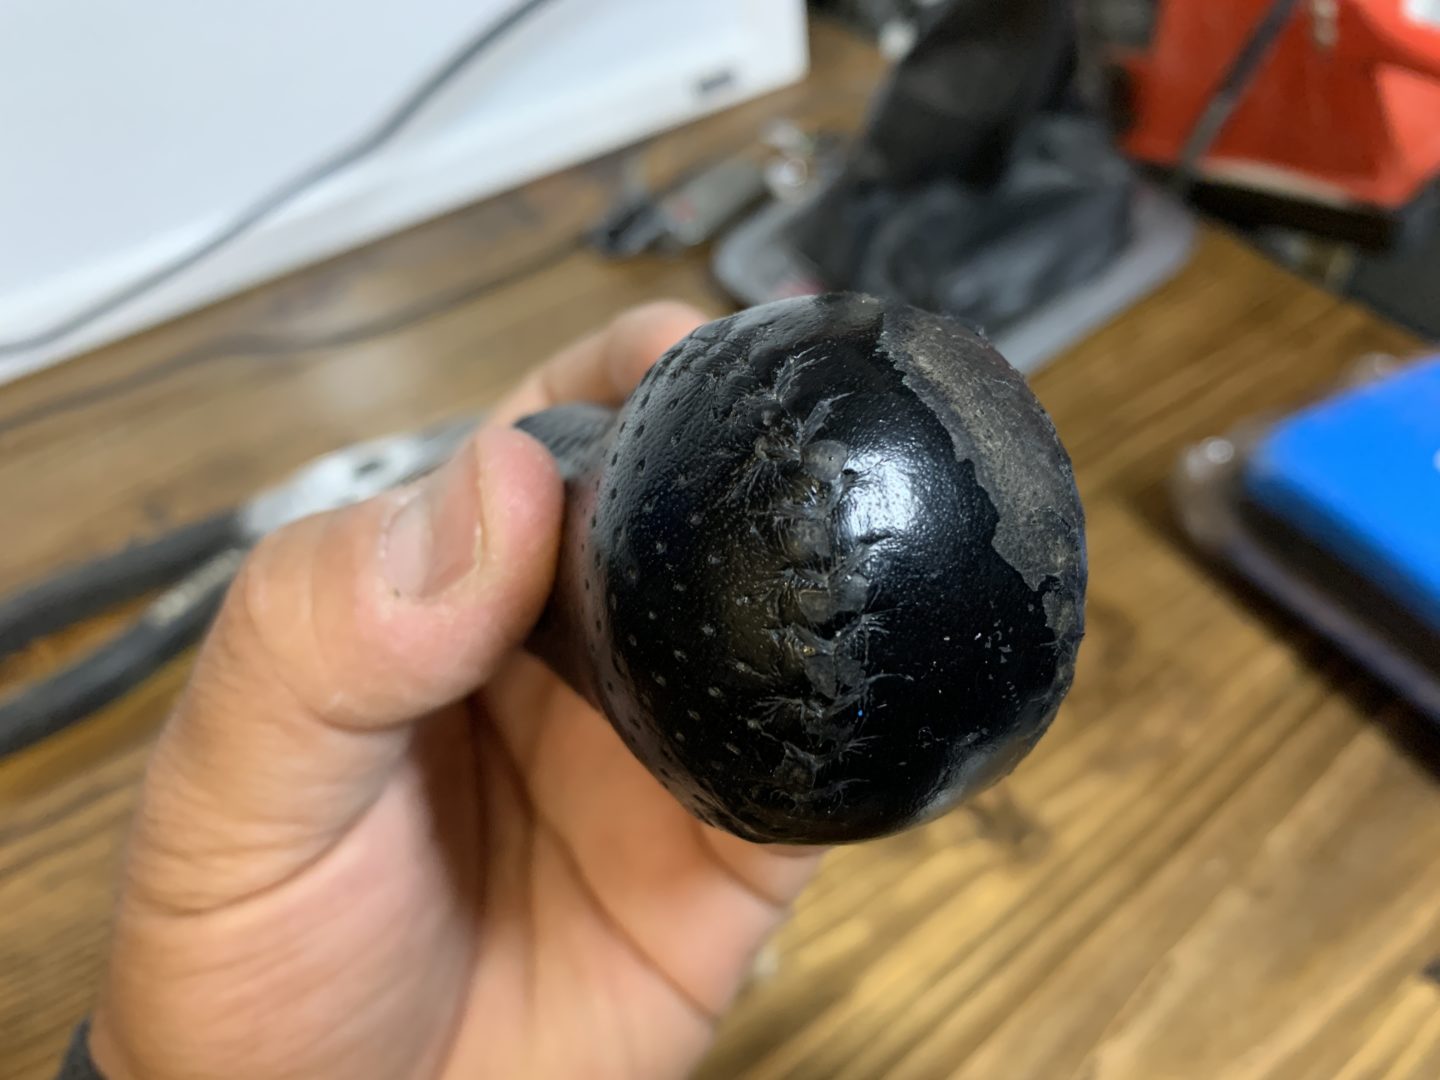
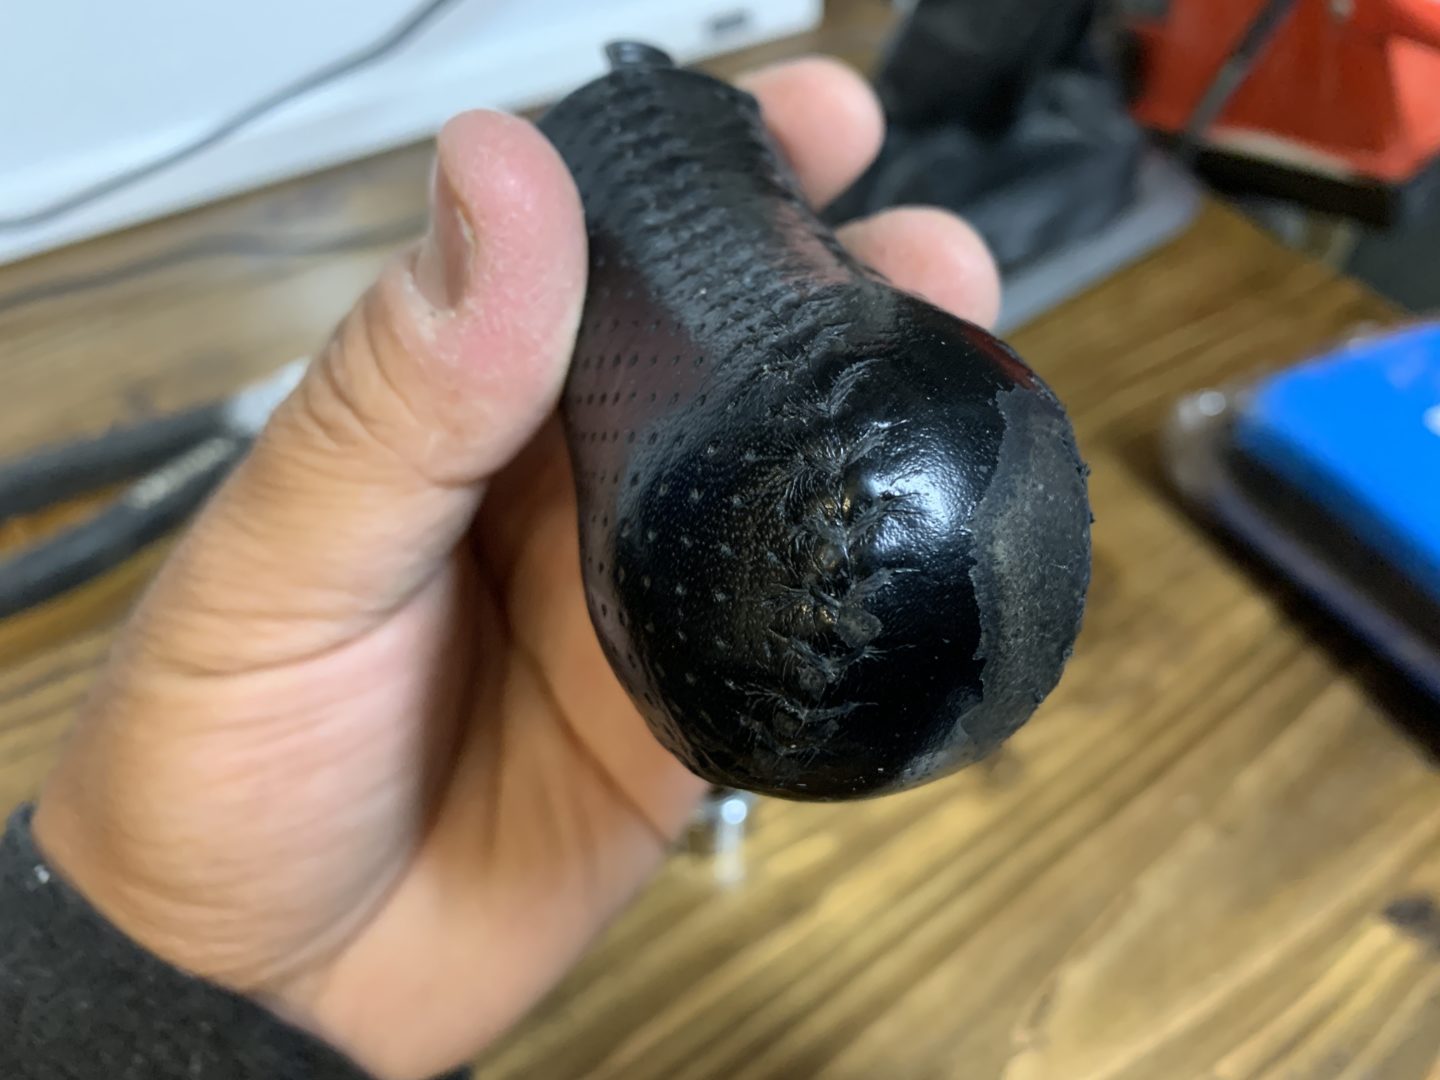
One of the things that has bothered me on my Acura CL-S is that the leather shift knob has worn down and simply just looks terrible. Since this is a gear knob for a manual transmission, it is something that you look at and handle every time you drive the car. So, I set out to look for ways to address the worn out leather shift knob.


One of the options is to simply replace the shift knob. I’d suggest searching online for used shift knobs that are in good shape to purchase only if the price is reasonable. If you go this route, you’ll get an OEM replacement and it will be a perfect fit. Unfortunately if you have a rarer vehicle like mine (manual transmission in an Acura CL Type-S), you will have a hard time finding one. Even if you do, it’s likely to be very expensive due to its limited availability.
The other option would be to replace the leather on the shift knob. The task of replacing the leather on the shift knob can seem daunting as it did for me. However, after watching a helpful YouTube video from Luke, it didn’t seem that impossible to me anymore. It also was an appealing option to me as I could save a lot of money and yet still maintain an OEM-like look and feel to my original shift knob.
I was left with these two options, so naturally it made sense to try to rewrap the leather on my shift knob. The process of rewrapping the shift knob does seem difficult, especially if you’ve never done any sewing before. But, I believe anyone can do this as once you start doing it, you’ll realize that it’s certainly doable. I hope this guide helps you to revitalize your shift knob to like-new condition and saves you a lot of money in the process.
Tools & Materials
Leather Sewing Kit
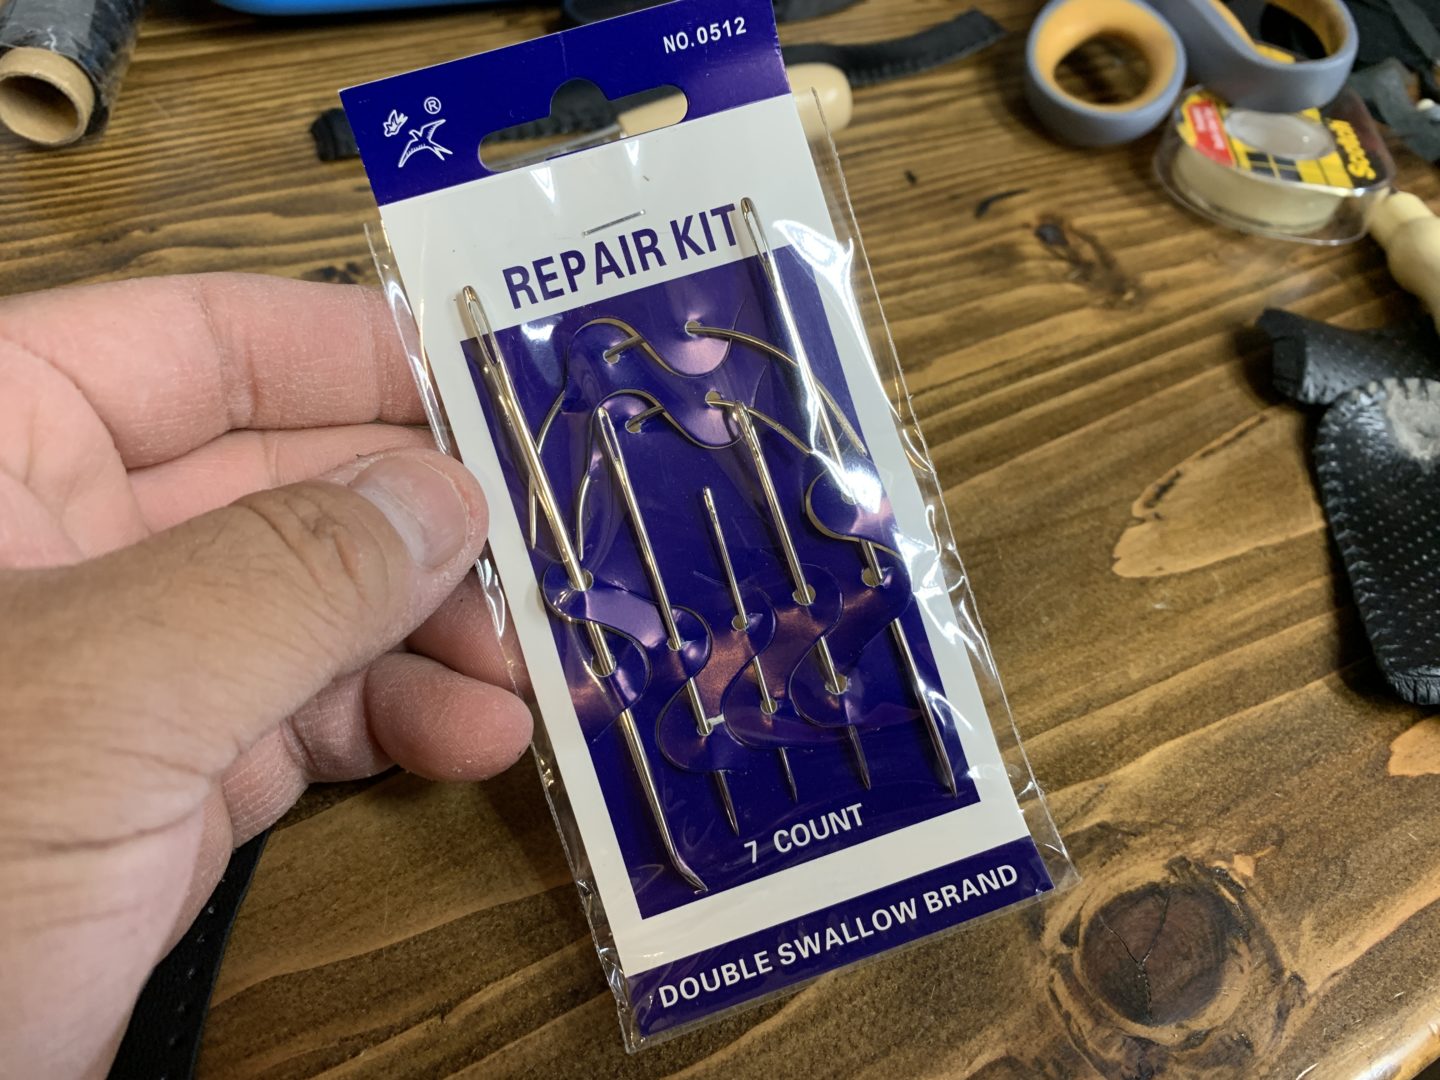
This is the leather sewing kit that I purchased from Amazon. It has everything you will need to rewrap your leather shift knob. Inside of the included protective case, you’ll find several awls, different needles, sewing scissors, and various colored rolls of leather sewing thread. Keep in mind that in this tutorial, I’m using the holes of the existing shift knob leather as a template to create holes in the new leather using the awl.
Leather Sewing Kit from MORFEN

If the leather on your shift knob is so badly damaged or peeled off and you cannot use the holes on the existing leather from the shift knob as a template, you will have you poke your own holes through the new leather. It can be difficult to get the spacing perfect. If this is the case, consider getting a leather sewing kit such as the one below, which has several prongs that allow you to poke holes into the new leather with even spacing.
Cridoz 35 Pcs Leather Stitching Pouch Kit
Leather Sheet
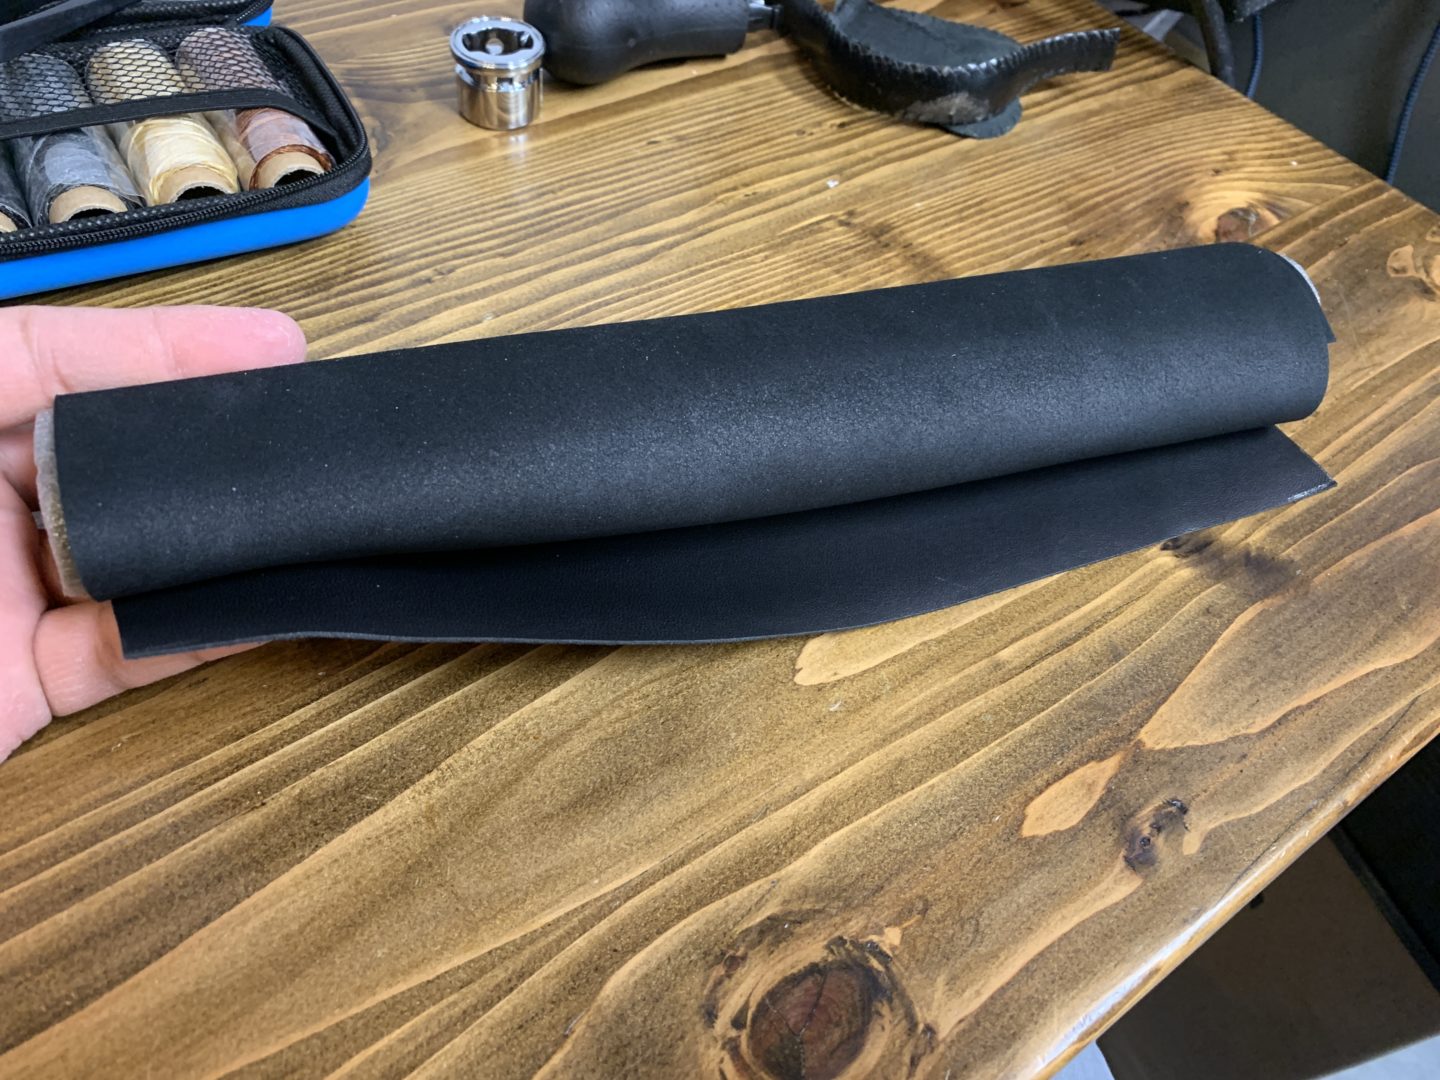
The other main item you’ll need is the leather. Leather is sold in many different forms, but a common one is for people who make crafts. You can buy a sheet of leather of a particular thickness, texture, and color for your specific shift knob. I went for a straight black leather that has a thickness of about 1mm.
Real Black Lambskin Leather Sheet for Crafting (Black, 12x12in)
You may want to check the thickness of your existing shift knob leather so that you can use a similar thickness leather to do a like-for-like replacement. I used a set of Vernier calipers to check the thickness of my existing shift knob leather and found that it was about 1mm. Therefore, I ordered a sheet of the same thickness of leather.


Glue Stick
A glue stick is used to stick the new leather onto the shift knob. The thing that really holds the leather onto the shift knob will be the stitching, but gluing the leather on first makes it easy to stitch.
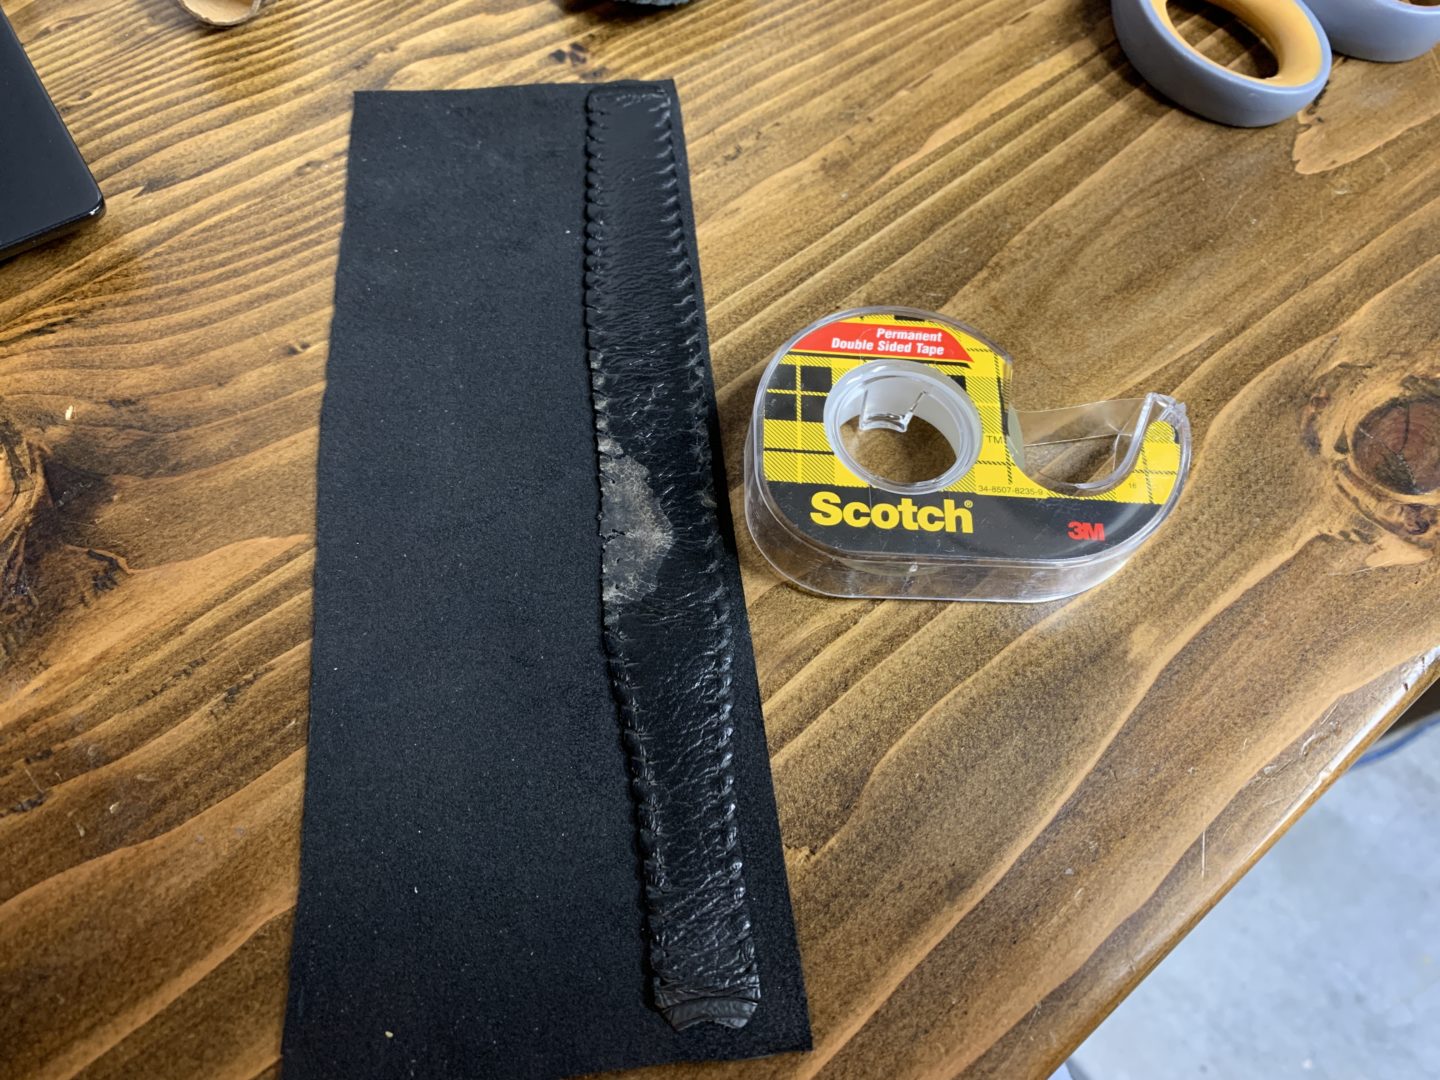
Double-sided Tape
This is probably more optional, but I found it useful to use double-sided tape to tape the new leather and existing leather so that I could cut out the shapes. When I didn’t use the double-sided tape, the leather kept moving around while I was cutting.
Scotch Double Sided Tape Dispenser Roll, 1/2″ x 450″
How to Rewrap a Leather Shift Knob
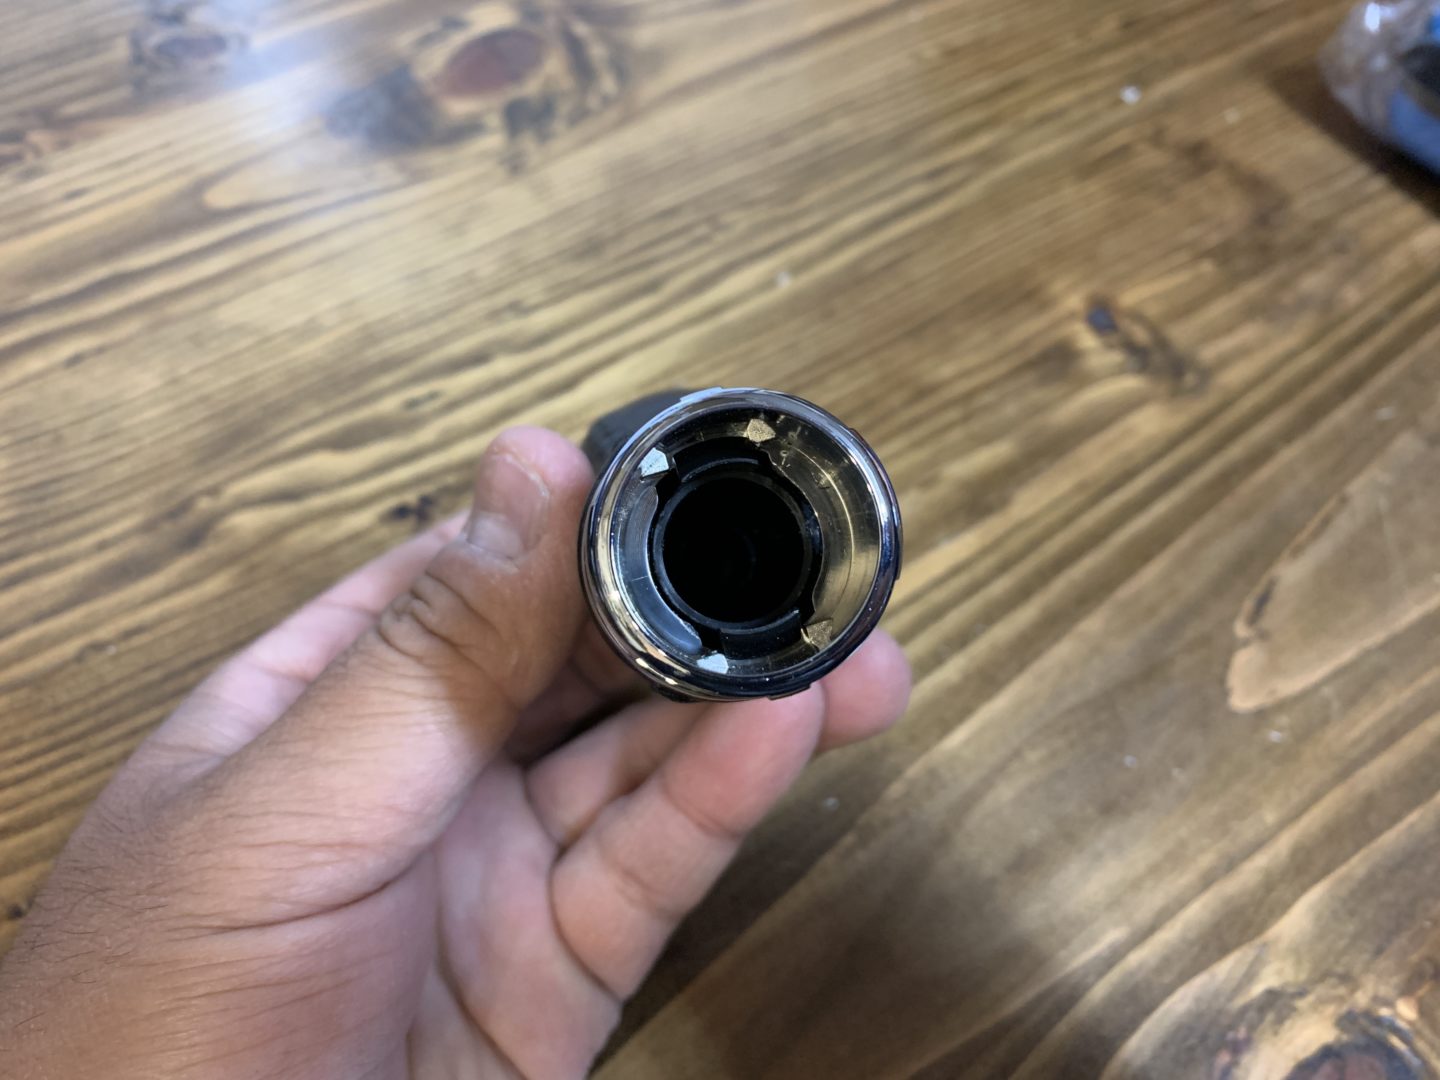
The first thing to do is to remove your shift knob from the shifter rod. Usually these are threaded onto the shifter and so it can typically be removed by twisting it off counter-clockwise. In addition to this, you may have to remove a retaining ring (such as the one shown below) which is used to secure the leather in place. I had to use a set of long nose pliers to release this retaining ring before I could access the ends of the leather.


I’d suggest at this point to take a close look at your shift knob all over. Look at how many pieces of leather were used on your shift knob (mine had three pieces.) Also look at the stitching so you know how to re-stitch the leather pieces together. I recommend taking photos so you can reference them later when you’re sewing everything back together.


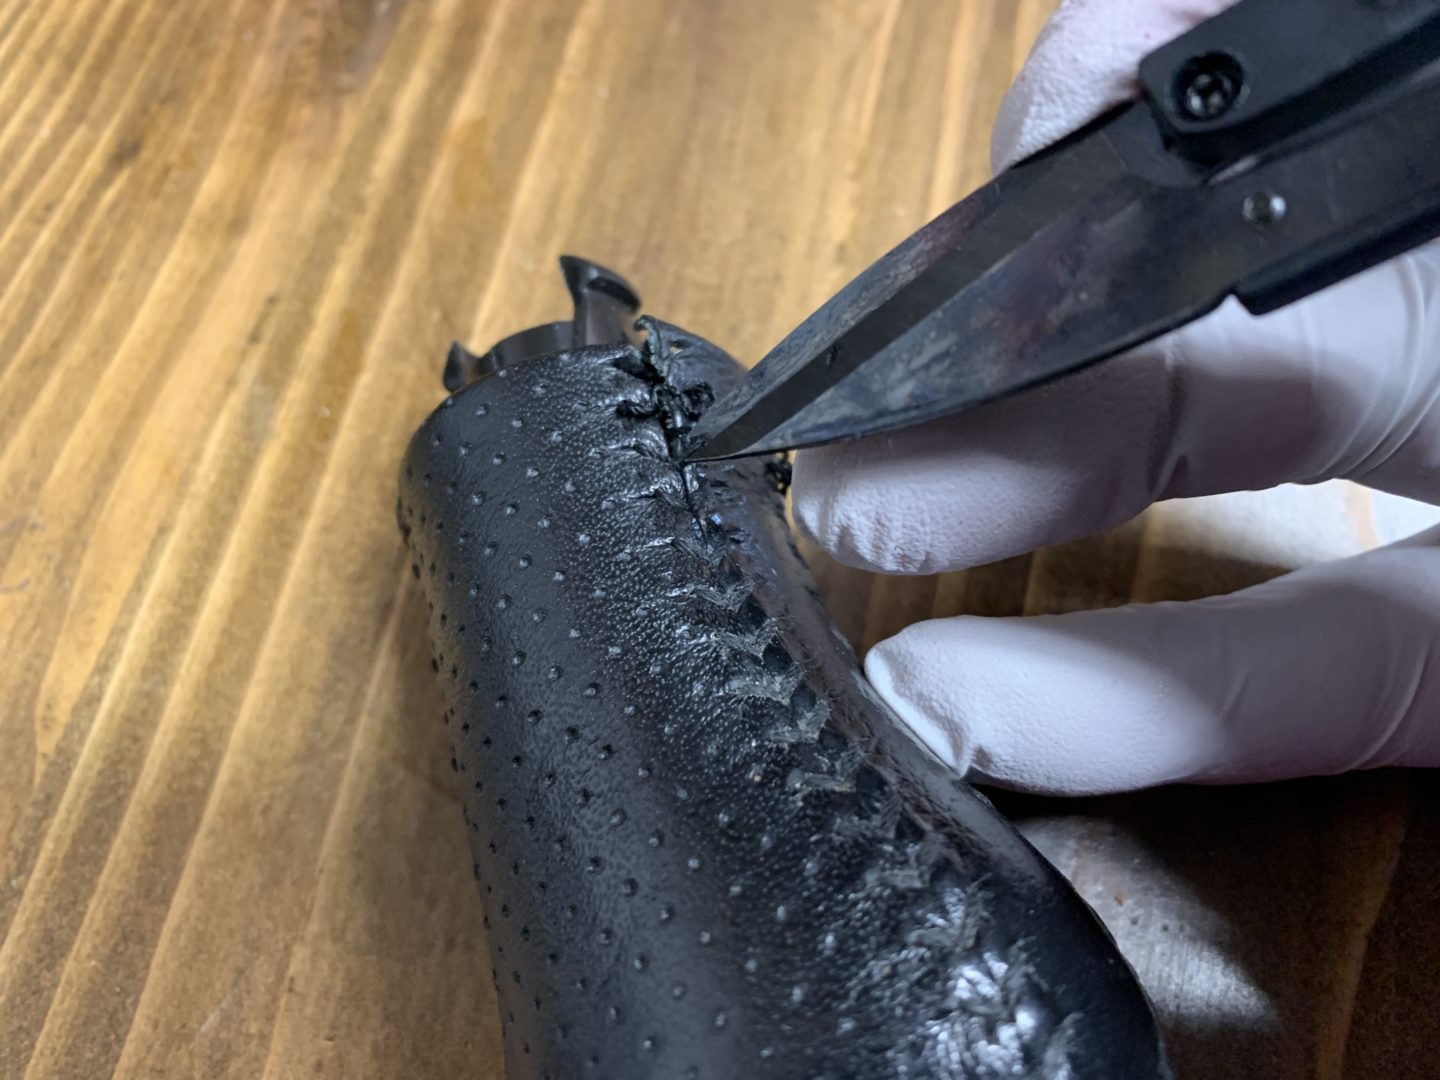
Now, use the sewing scissors in your kit to start removing the threading. Using a utility knife or regular scissors may work, but it’s less precise than using sewing scissors. As you continue to remove the thread, unravel the leather carefully and use the included awl to pull the thread out as needed. Eventually, you will have removed all of the leather off of the shift knob. Pull all loose threading out of the stitching holes in the leather.


Take the leather pieces from the shift knob and place them on the new leather sheet. Cut off part of the leather so you have what you need. Now you will be using the existing leather as a template to cut the new leather to match the shape of the old ones.
I’ve found it difficult to keep the leather template in place while you cut around it. I relied on using double-sided tape to tape the old leather piece (rough side) to the new leather (rough side). When we remove the double-sided tape later, it will leave a mark, so you want to apply it to the side that is facing the shift knob and not on the side that is facing towards the outside. Doing this keeps the existing leather piece in place while I cut the new leather.


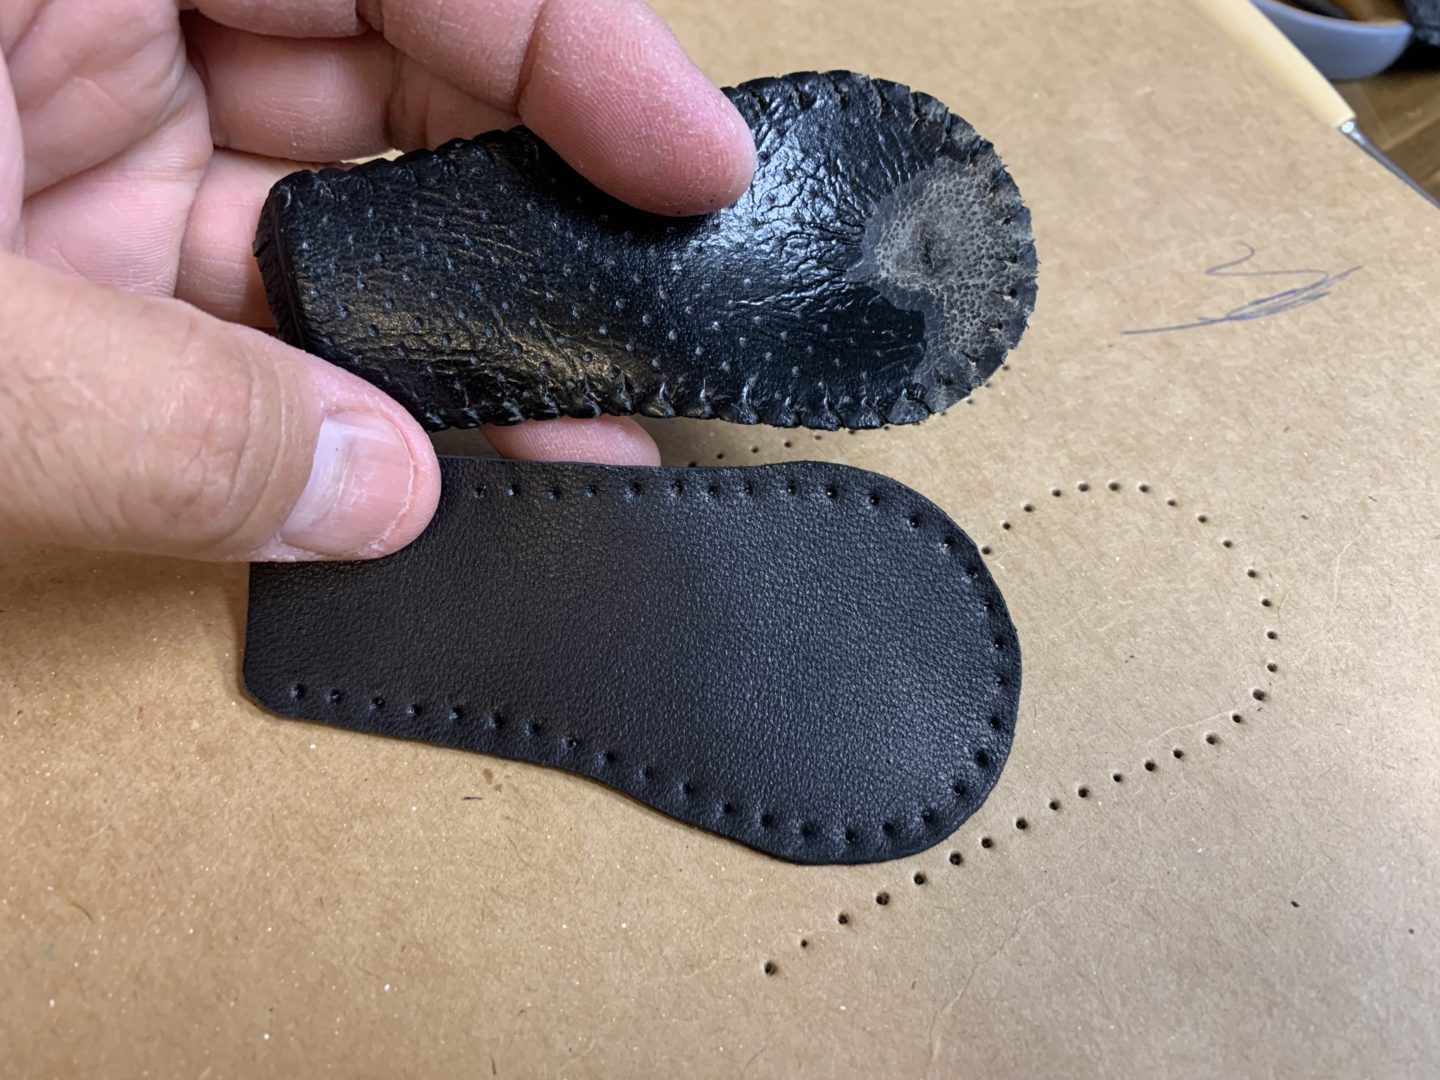
When you’re done cutting, you should have new leather that matches the shape of your old one. If it’s not totally perfect, I wouldn’t worry a whole lot about it as it may not be that noticeable when you’re all done sewing everything together. However, the shape should be close without any jagged cuts. Also, it’s ideal to have the new leather match the size to the old leather or be even slightly smaller. This allows you to pull the leather tighter making for a better looking result in the end.
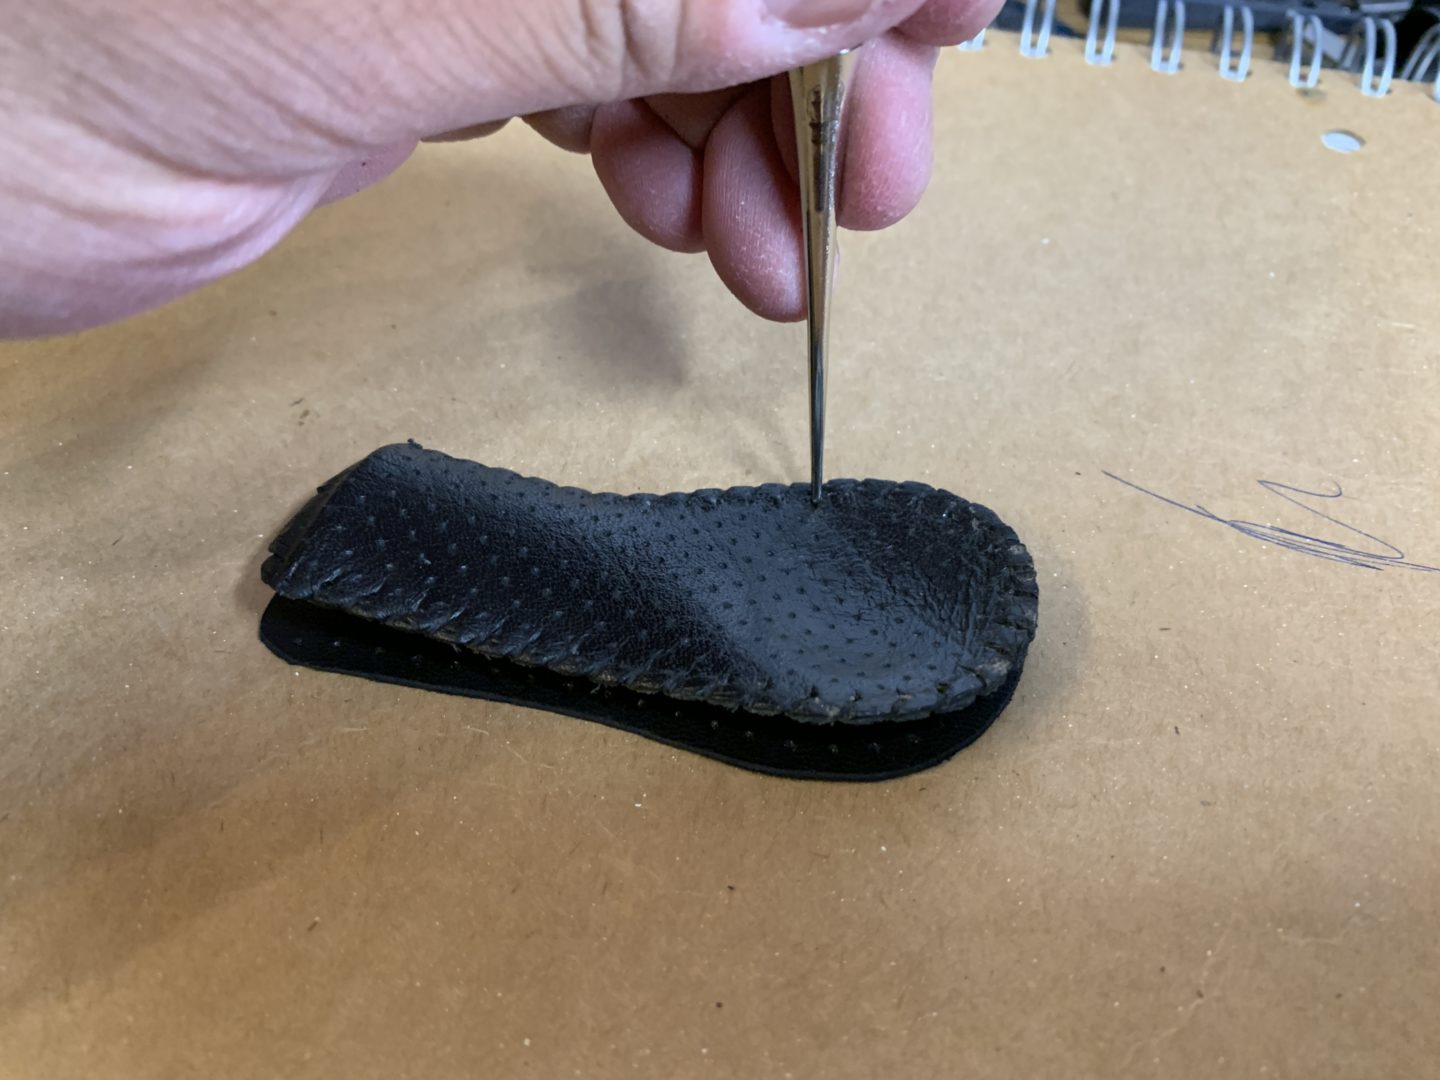
Next, place the existing piece of leather on top of the new leather and make sure that underneath there is something that you don’t mind poking holes into. Use the existing leather’s stitching holes as a template and poke through each hole to make matching holes in the new leather piece beneath it. Do this for all of the leather pieces.
Now we will be ready to start stitching together the pieces to wrap the shift knob. First, we’ll prep the sewing needle and thread. I’m using the included black leather thread in my kit. Also, I’m using the curved needle which will make it easier to thread through the holes in the leather especially when you’re doing a baseball stitch like we will be doing here.
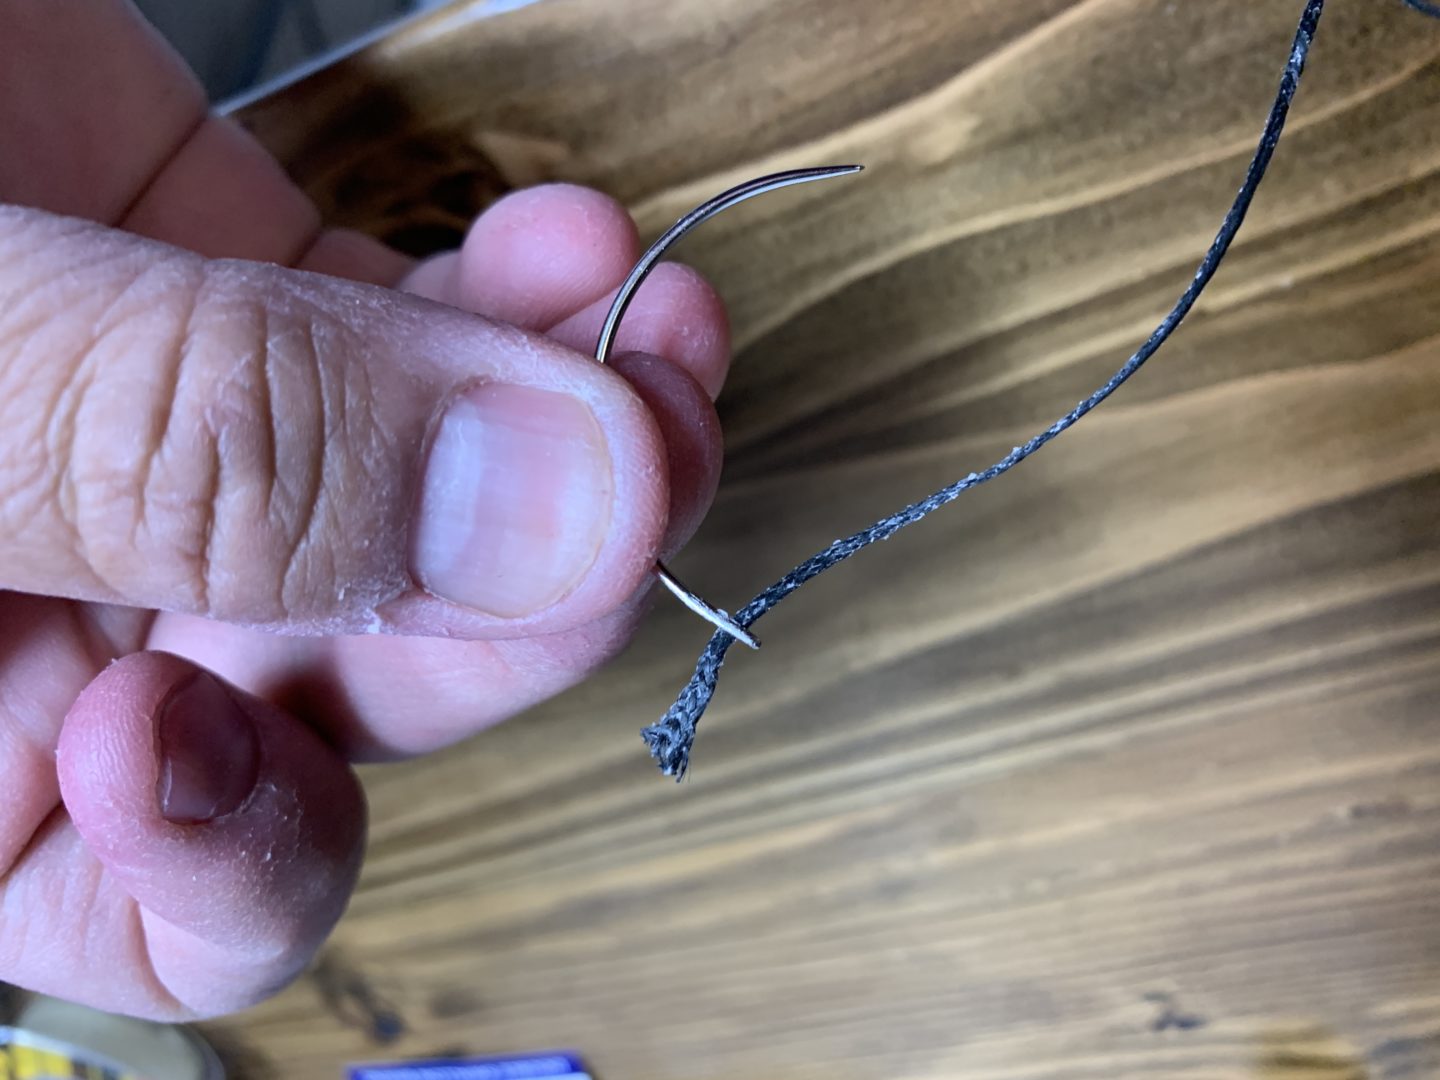
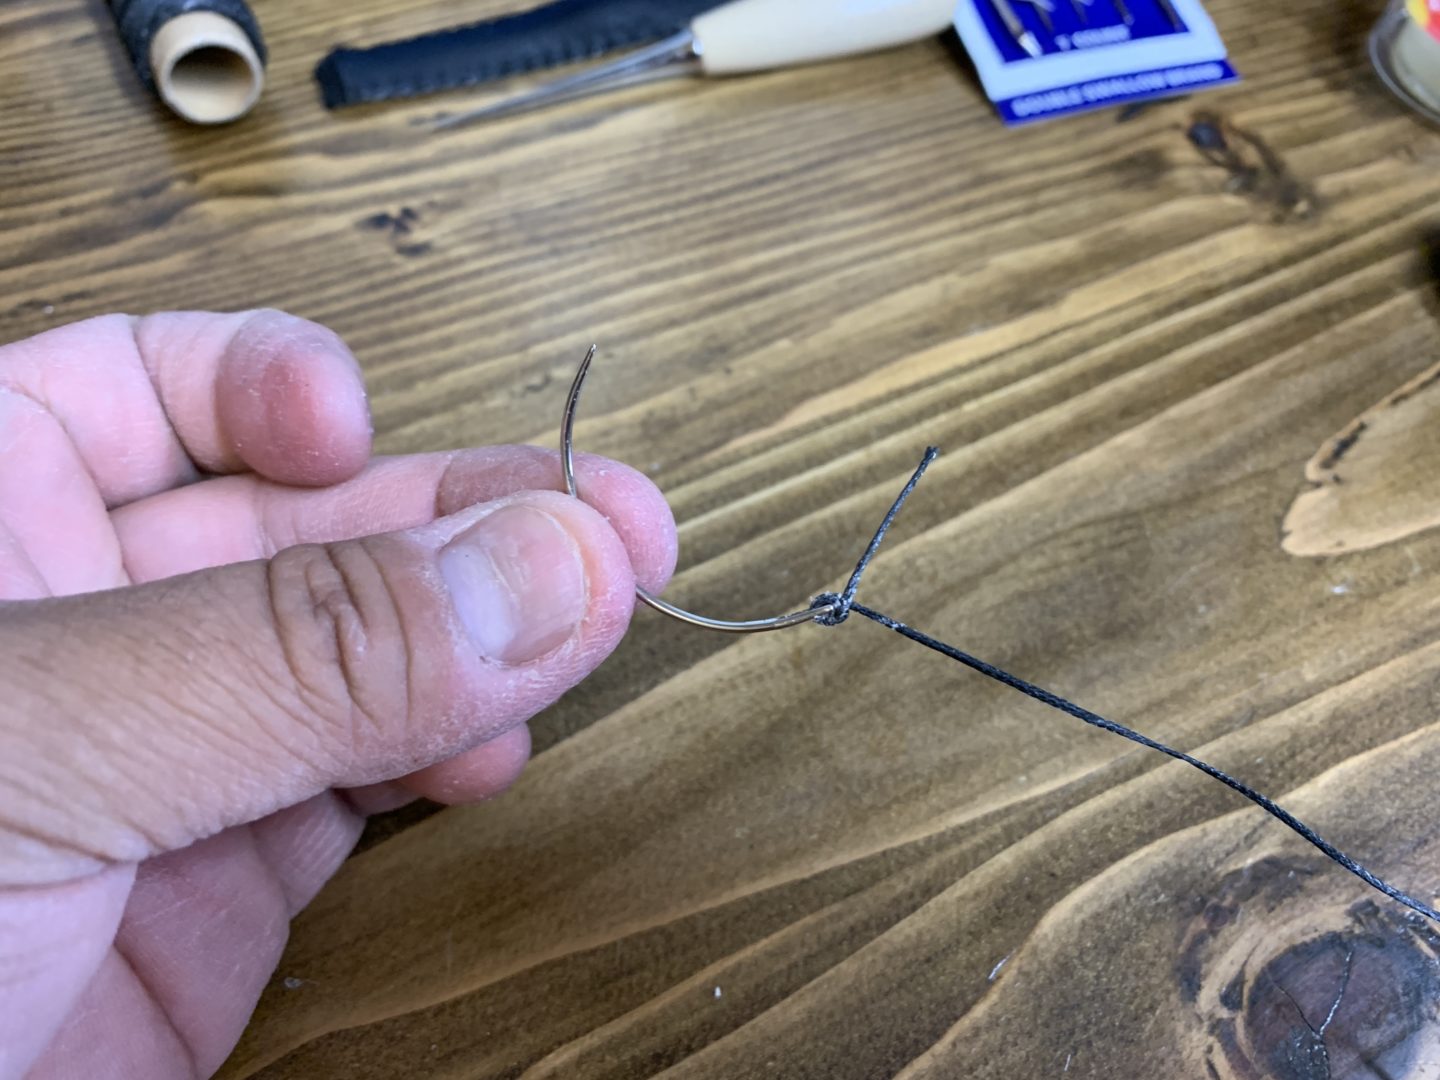
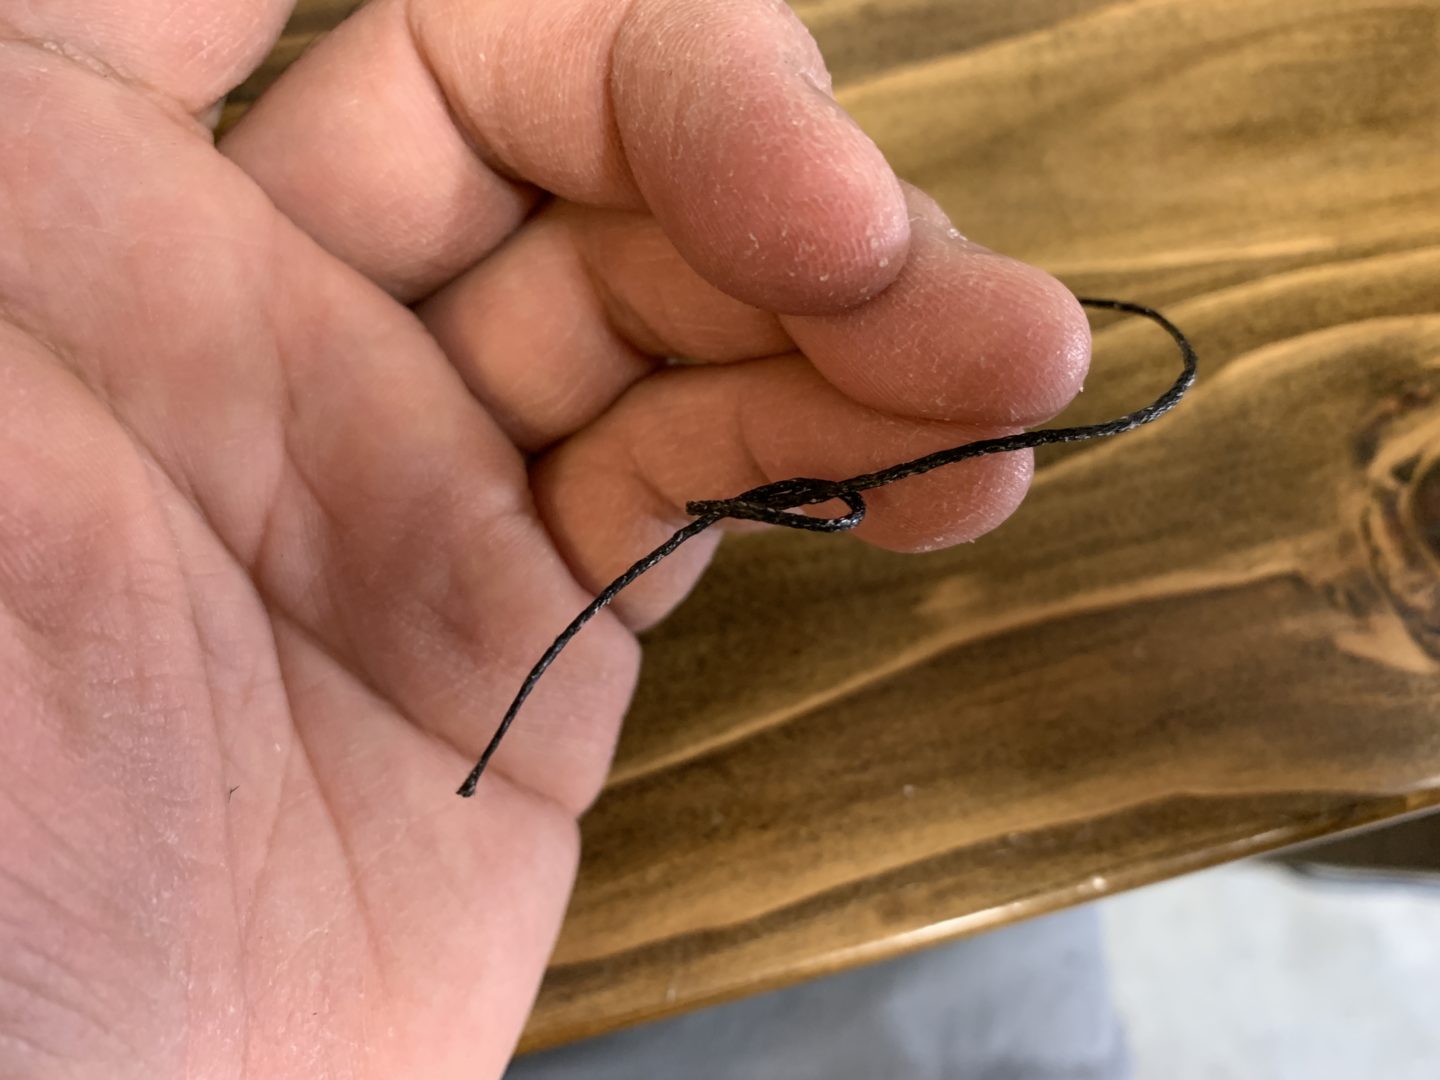
To get the thread to stay on the needle without making a large knot, simply take one end of the thread and thread it through the hole of the sewing needle. Pull about inch of the thread through and then take the needle point and poke through the center of the thread. Then pull to make mini knot that will stay tied to the needle.

You will be making a larger knot on the other end of the thread. The length of the thread needs to be long enough so that you can stitch through the path of the shift knob. I used a few feet of thread as you can always cut it later.
For this end of the thread, tie three knots at the same location to make a thick enough knot that will not pull through the holes in the leather of the shift knob.

Now, we need to get the leather to stay on the shift knob (at least somewhat) so that we can start sewing the leather pieces together. I used a regular glue stick on the inside of the leather pieces (rough side) and placed them onto the shift knob similar to the way they were positioned with the existing leather.

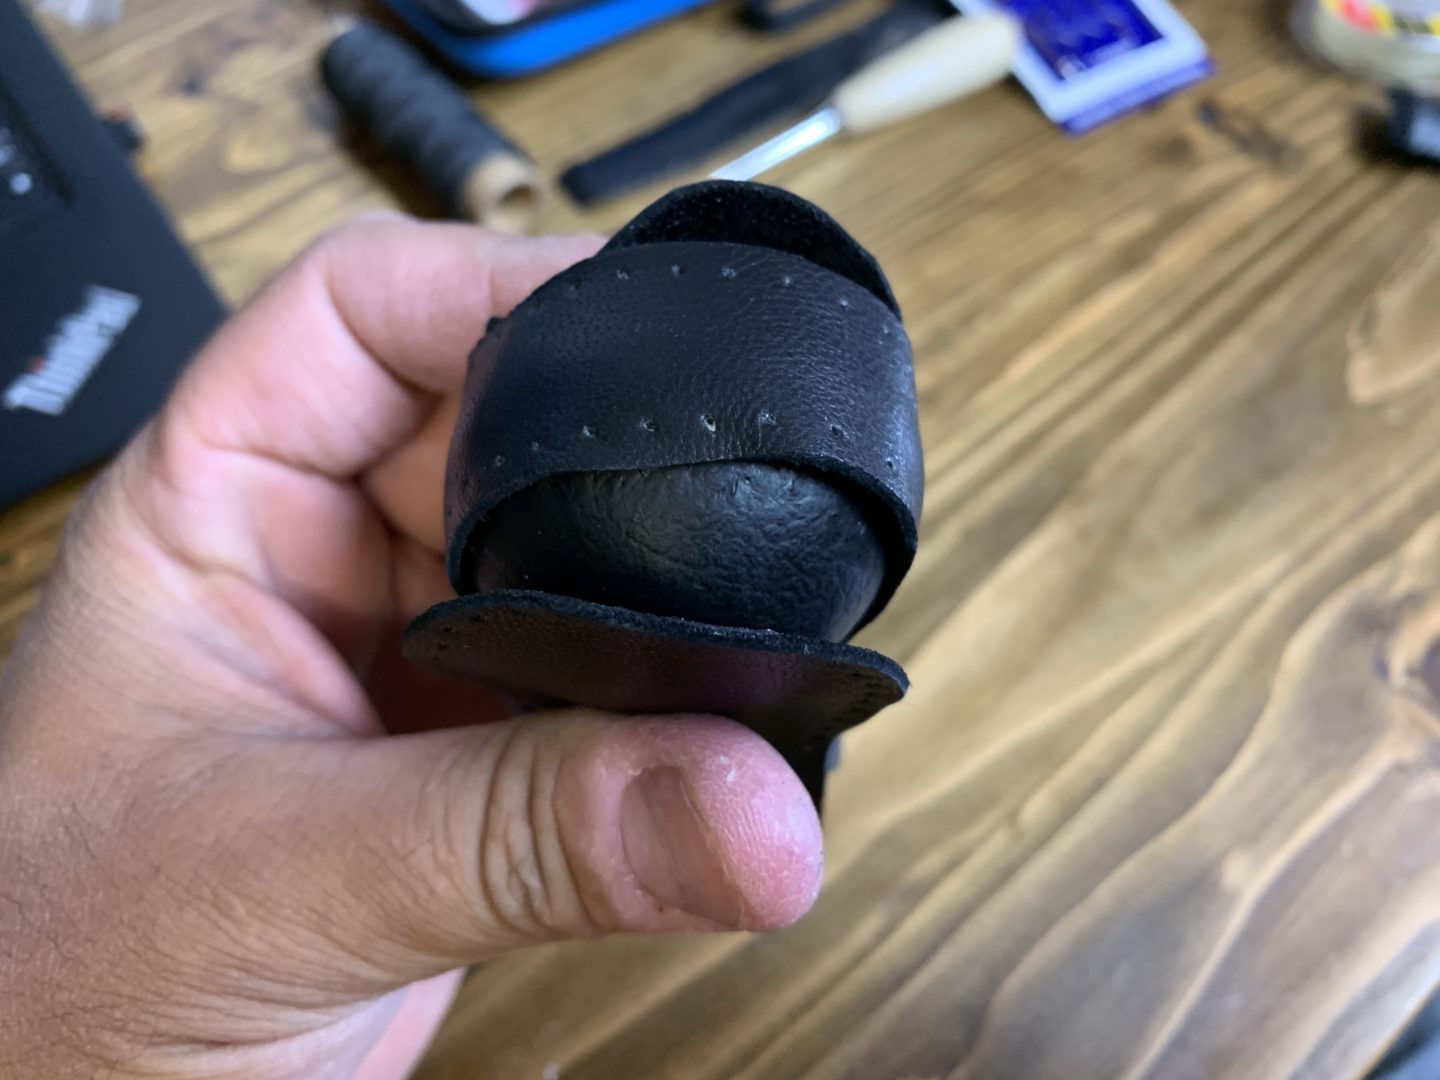

After ensuring that the leather pieces are positioned where they should be at, press the leather onto the shift knob so that the glue keeps the leather stuck to the shift knob.
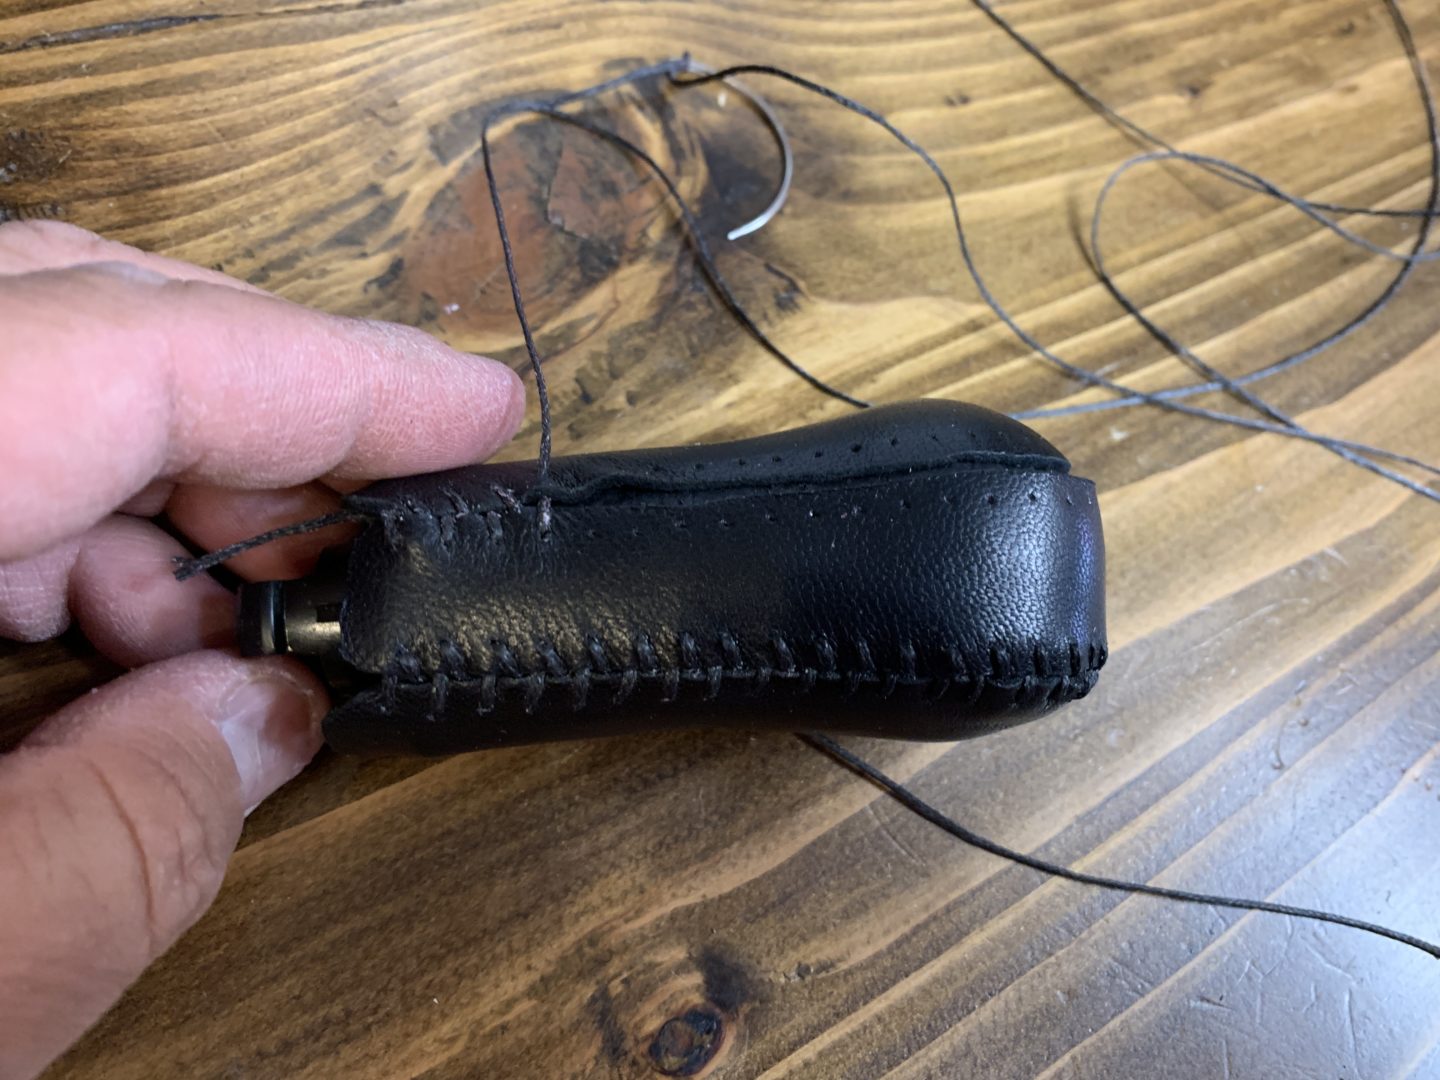
Now, take the needle and thread it through the first hole on one side of the leather going from the inside and pulling through to the outside. Pull the length of the thread through until the large knot at the other end keeps it from pulling all the way through.
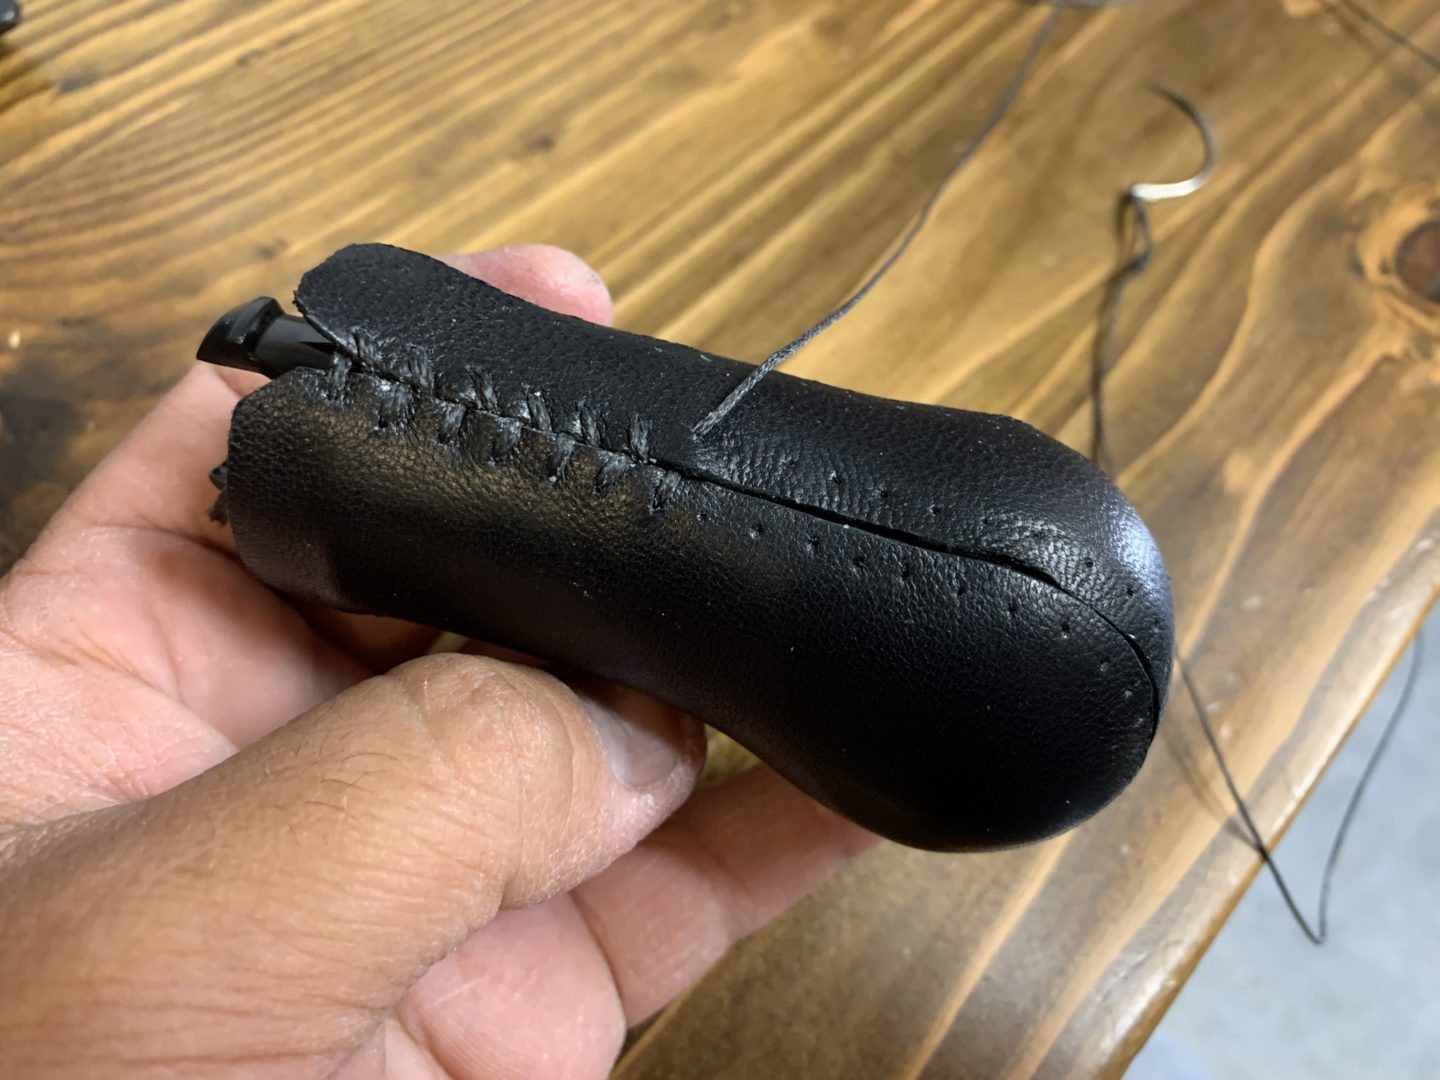
Next, take the needle and thread it on the other side (again from inside to the outside.) This is called a baseball stitch. You will continue to do this moving between left and right sides moving along the whole shift knob until you reach the end.


As you move along, make sure that the thread is pulled tight enough so that the leather pieces are pulled together leaving no gaps in between. On my shift knob below, there were two stitch lines that ran from one end to the other; so I had two lengths of thread running from the bottom of the shift knob, up and over the top, and back to the other side at the bottom of the shift knob.

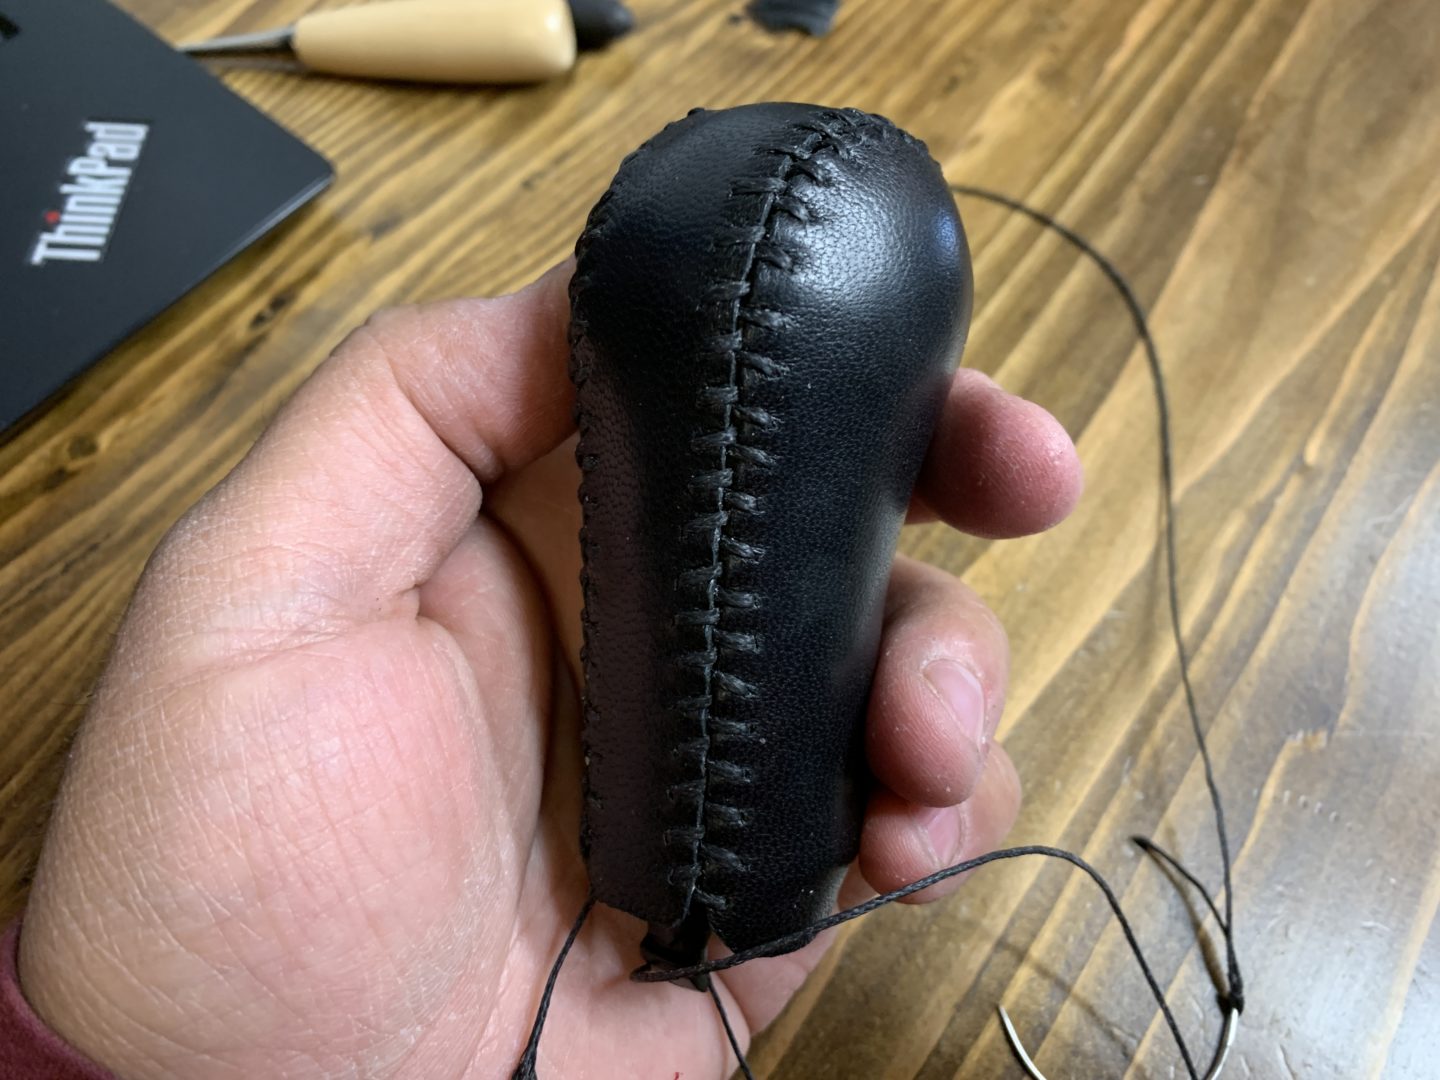

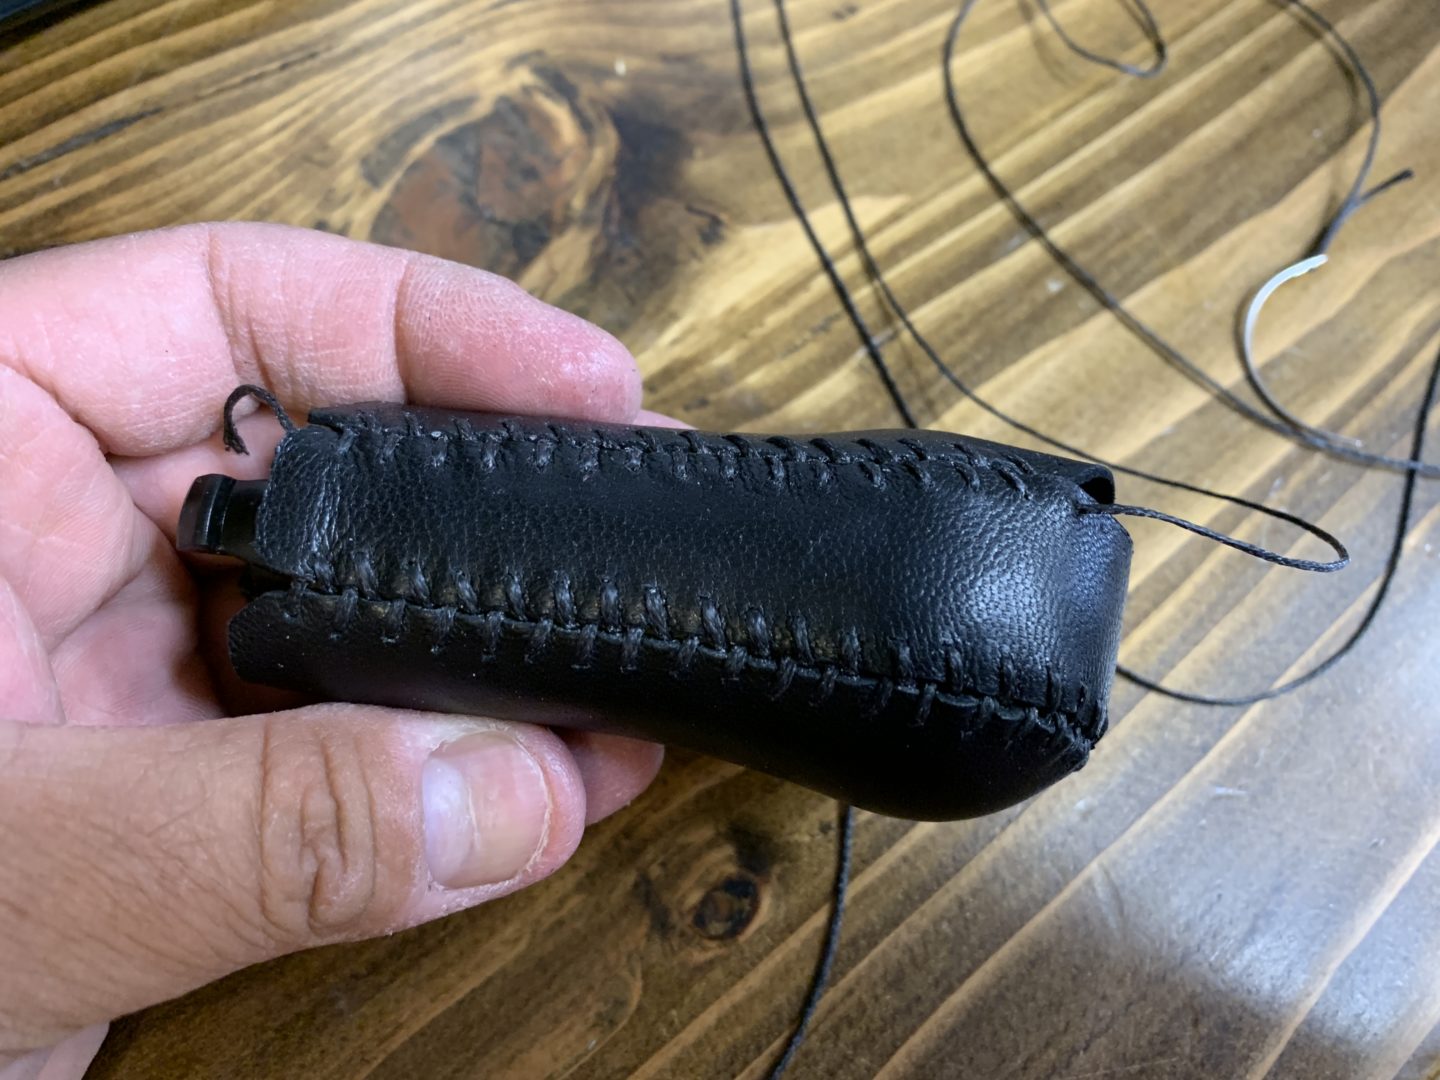
After you finish threading the leather thread throughout the shift knob, check your work. Make sure that the thread is pulled tight and even throughout. If it is pulled tight, it will look better. If it is not pulled tight enough, it will look sloppy. Also, if the new leather pieces you cut are larger than your existing leather pieces, it will still look loose and unsightly after you’ve pulled it tight.
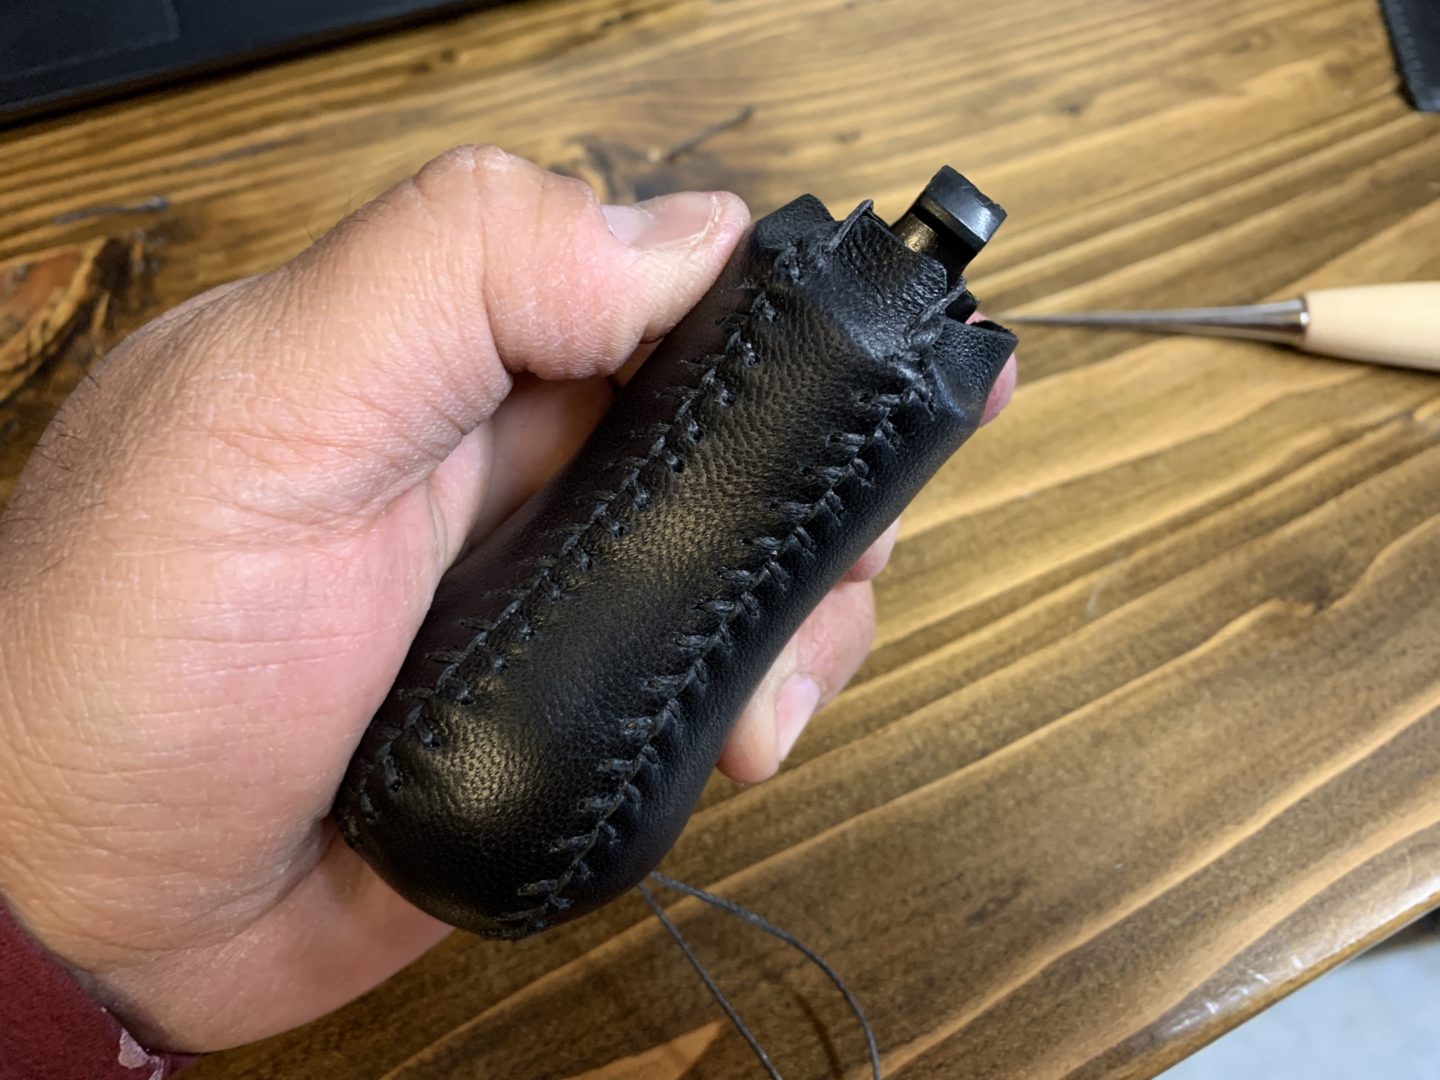
If you find at this point that the stitching can be tighter, you can go back to the beginning of your stitch and use the awl to pull the thread one stitch at a time until you’ve gotten to the end of each stitch path. I’d recommend pulling the thread evenly on both stitches at the same time so that it has a more uniform tightened look. After I did this, my shift knob looked considerably better. After pulling all of leather thread through, tie off the knot at the end to hold it all in place.


Now, fold the ends of the leather down and use the retaining ring to clamp it down and hold the leather ends in place. Then, reinstall in your vehicle in the reverse way of removal.
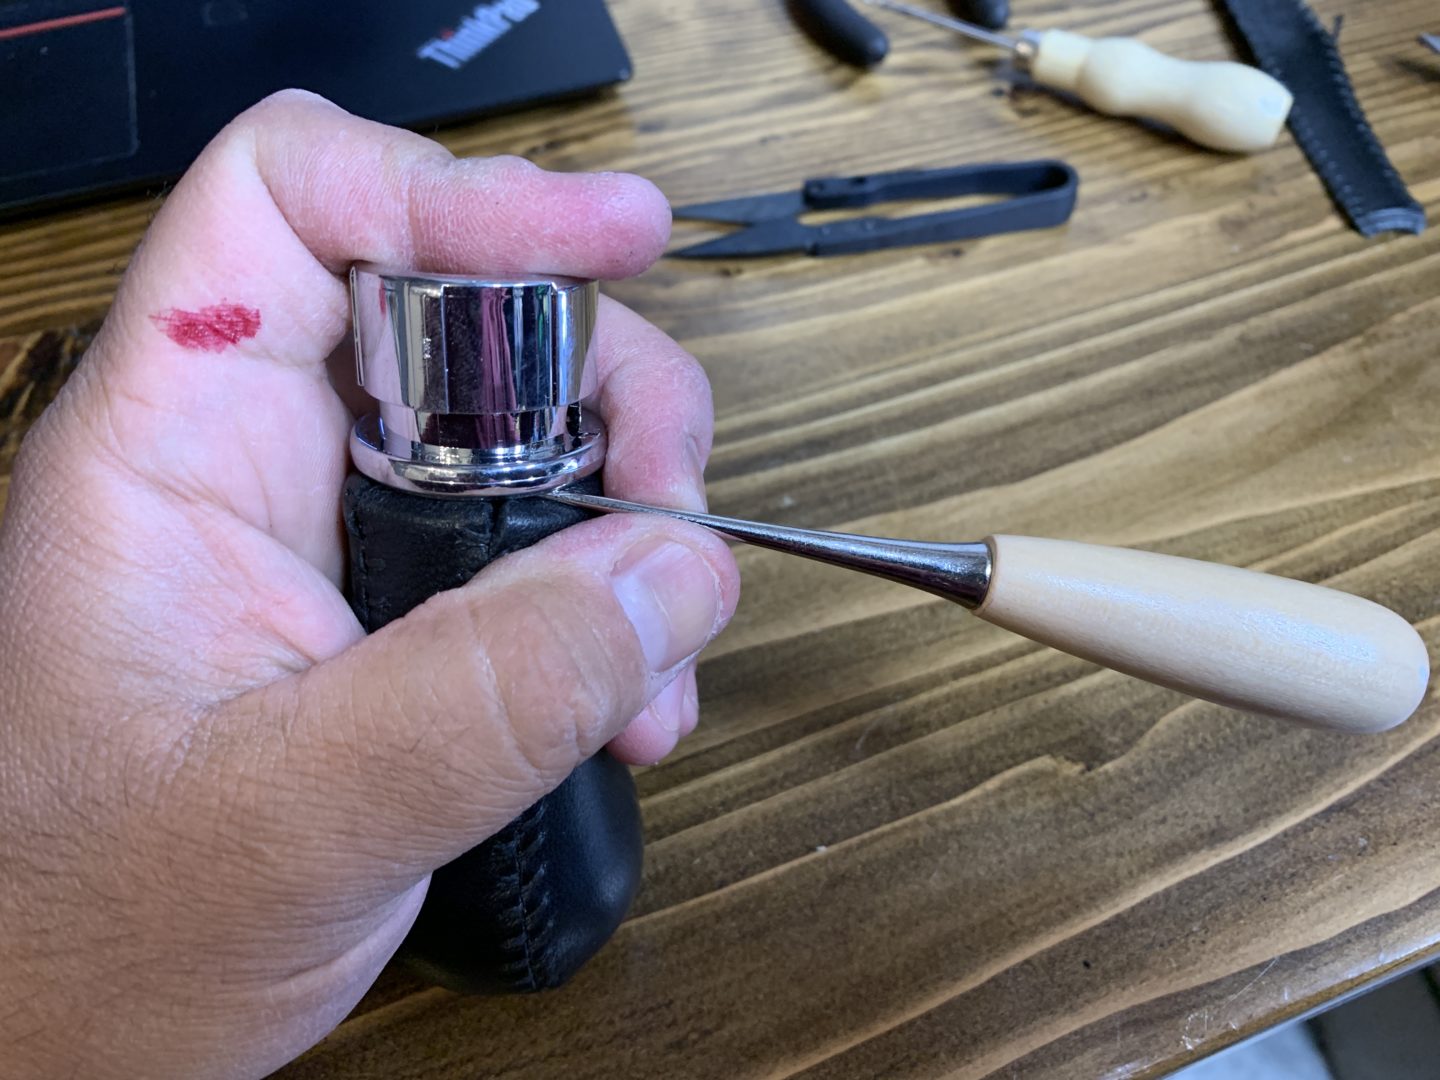

Rather than spending over a hundred dollars to source a rare OEM replacement of my leather shift knob, I was able to spend only a fraction of that to rewrap the leather. I think it looks pretty darn good for having done it myself.
I think I could have made the holes spaced more evenly; perhaps the use of prongs would’ve allowed me to puncture holes more evenly. I also think cutting your leather pieces exactly the same size as your old leather or even slightly smaller will allow you to pull the leather much tighter over the shift knob resulting in a much tighter and better looking shift knob.


