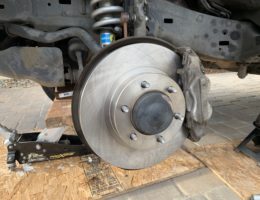
When you install new brake pads, which are typically replaced at the same time as new brake rotors, it’s a good idea to break-in the brakes using a “bedding” procedure. A bedding procedure involves a series of controlled stops in order to transfer an even layer of brake pad material onto the new rotors. The reason why you want to do this is to prevent uneven “pad transfer”, which can cause you to experience wobble or vibration while you depress the brake pedal.
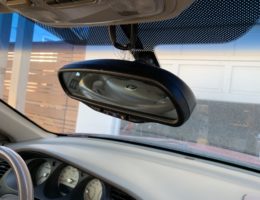
If you’ve ever experienced your rear view mirror sagging or simply rotating downwards on its own, it’s likely due to the mirror socket no longer holding the ball mount in place. Most of the time, there are these plastic teeth that hold the ball joint in place and when these plastic teeth break off, there is no longer enough force holding the ball joint securely. As a result, the rear view mirror starts to sag and slowly move down on its own. This can be an annoyance as you constantly have to put the mirror back up, only to have it rotate down again and again.
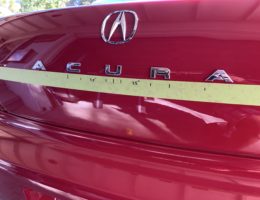
If you have missing emblems whether they fell off or were stolen off your car, you’ll probably have some “ghosting” left behind that you could use as a template to install the new emblem with. You may also have an emblem that pops into a grommet in a hole in the panel so you don’t have to worry about placement. But what if the emblems are designed to be stuck directly into the panel? What if you’re repainting your car and therefore have no way to know where exactly to stick the emblems?
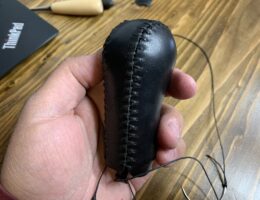
One of the things that has bothered me on my Acura CL-S is that the leather shift knob has been worn down and looks terrible. Since this is a gear knob for a manual transmission, it is something that you look at and handle every time you drive the car. So, I set out to look for ways to address the worn leather shift knob. The task of replacing the leather on the shift knob can seem daunting as it did for me. However, after watching a helpful YouTube video from Luke, it didn’t seem impossible to me anymore. It also was an appealing option to me as I could save hundreds of dollars and still maintain an OEM-like look and feel to my shift knob.
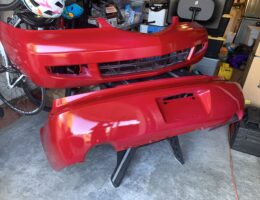
For this guide, we’ll be spraying primer, paint, and clear coat and it will all be done by rattle cans. The 1K primer and color-matched paint are purchased from Paint Scratch, and the 2K clear coat can be found online. Even using rattle cans to spray paint your bumper, you can get amazing results especially if you have a good color match and use a 2K clear coat, which hardens up to a professional level finish.
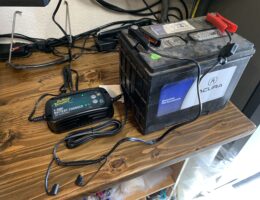
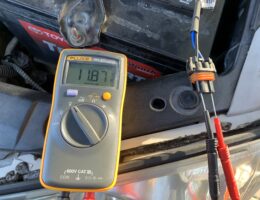
Nowadays, especially due to the COVID-19 Pandemic, many people are working-from-home more than ever. Because of this, it is much more common occurrence to experience a dead battery at home. Here are some various ways that you can keep your car battery from dying when you’re not using your vehicle is not in use.
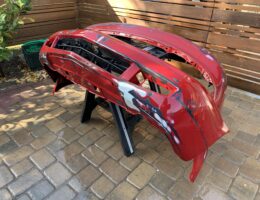
To refinish a bumper so that it looks new again, you’ll first need to repair the major damage so that it is structurally sound. And then prior to spraying primer, paint, and clear coat so that it looks pristine again, you will have to prep the bumper by filling in the damaged parts of the bumper with body filler, and sanding it smooth.
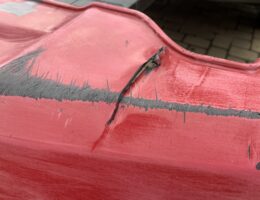
If you have a cracked bumper and depending on how severe the damage is, you may be able to repair it yourself with a variety of tools and materials. On this tutorial, I’ll be repairing a cracked bumper using fiberglass resin, bumper repair epoxy, and flexible glazing putty. Using each of these various items serves a specific and important purpose.
If you’ve ever had a headlight bulb go out on traditional halogen headlights, it’s usually as simple as changing out your bulb with a new one. With HID’s, you can have a HID bulb go out and may need to be replaced as well. However with HID headlights, there are several components that make up the HID headlight system which can fail and require replacement.

