
If you’ve ever thought about a quick-and-easy way to get your garage cooled down in the summer months, you may have come up with the idea to install an air conditioner. There are some options like routing your existing HVAC ductwork at home to your garage in order to get some of that cool air from your existing air conditioning system.
The other thing you can do is to install a mini-split, which will require you to punch a hole through your wall in order to run your refrigerant lines, drain lines, and electrical wiring to the outside. This also involves installing a condenser outside and running new electrical to a dedicated circuit breaker panel for your mini-split system.
If you want a less complicated and easier solution than the ones I previously mentioned, a window air conditioner or portable air conditioner might get the job done. These units are usually not powerful enough to cool down your entire garage especially if your garage is not insulated, is very large, and/or if it’s too hot. The other thing that doesn’t make it possible to cool the entire space down is that typically garages will have an exposed garage attic space. This area is usually open to allow for extra storage. Because this space is the highest point in the garage, it will usually be extremely hot, and therefore will take forever to cool down.
Air conditioners that fit into a window opening are probably the easiest to install, and doing so obviously requires a window to put the air conditioner unit into. The install involves having the window open and secured with the window air conditioner installed, which can introduce some issues with safety and keeping potential thieves from getting into your garage.
Now, if you want an easy installation and want to avoid safety issues that come with a installing a window air conditioner, another convenient option may be to use a portable air conditioner and punch a hole through your wall for the vent hose. A portable air conditioner sits on the ground and usually has a vent hose that connects to a narrow opening in a window. For this vent hose, we’ll be drilling a large hole out of the garage wall to vent the hot air out of.
Just like the window air conditioner, a portable unit will usually not have the ability to fully cool down your garage space, but it can certainly keep a small section of your garage cool. It can also bring bring the overall temperature down a bit depending on how hot it gets in your garage.
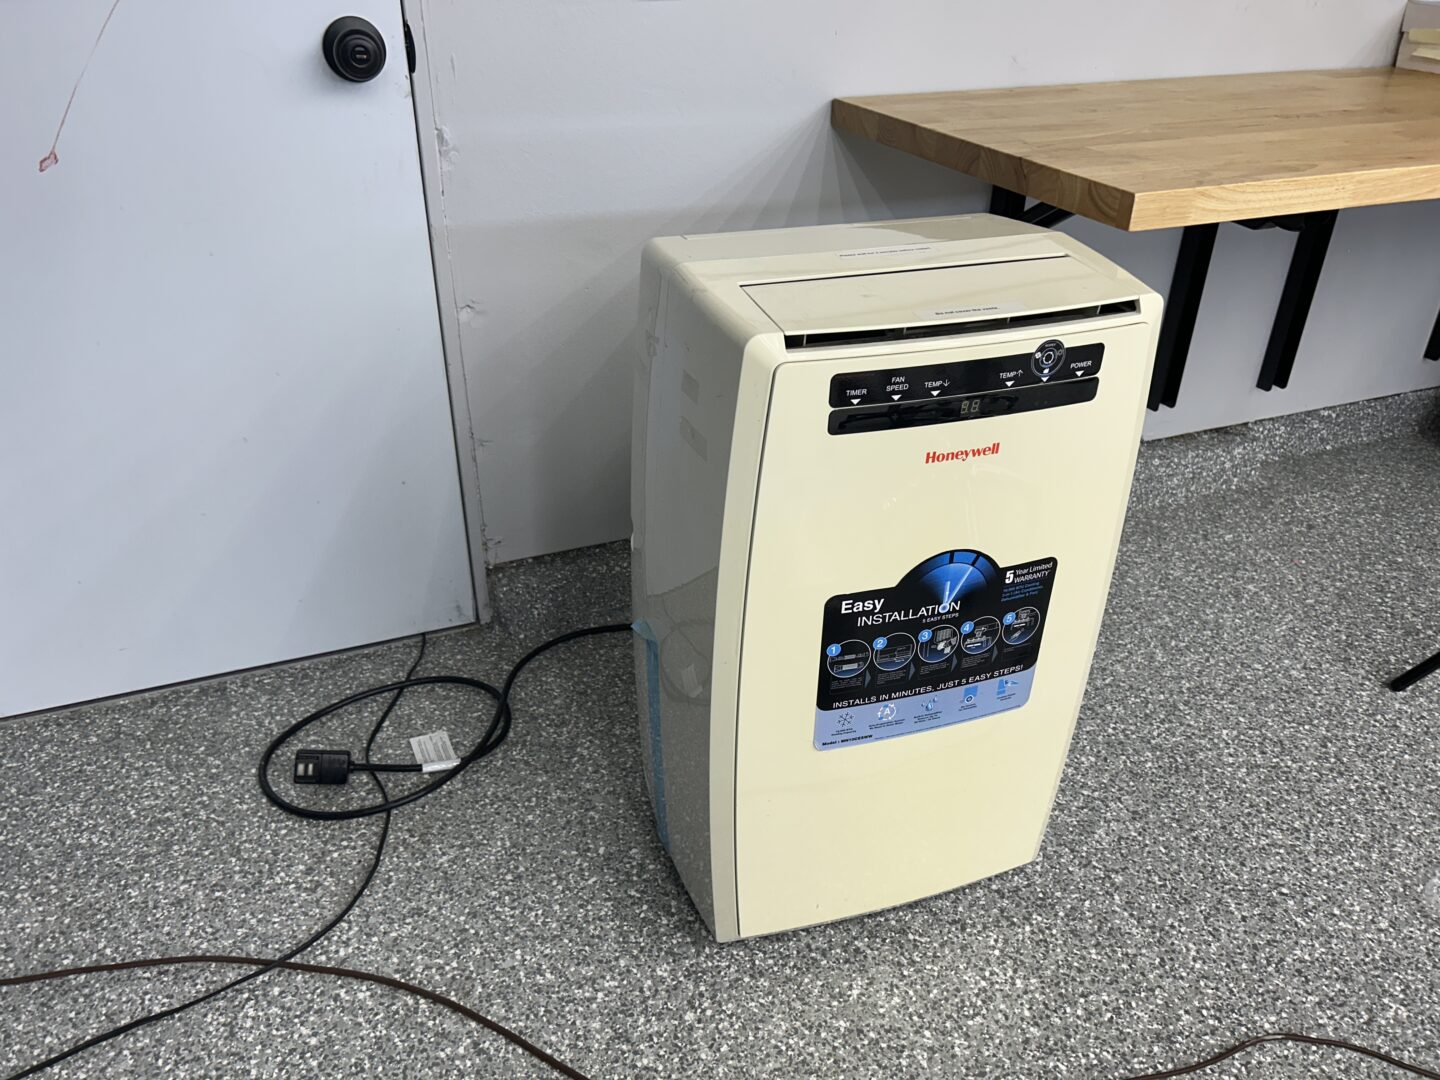
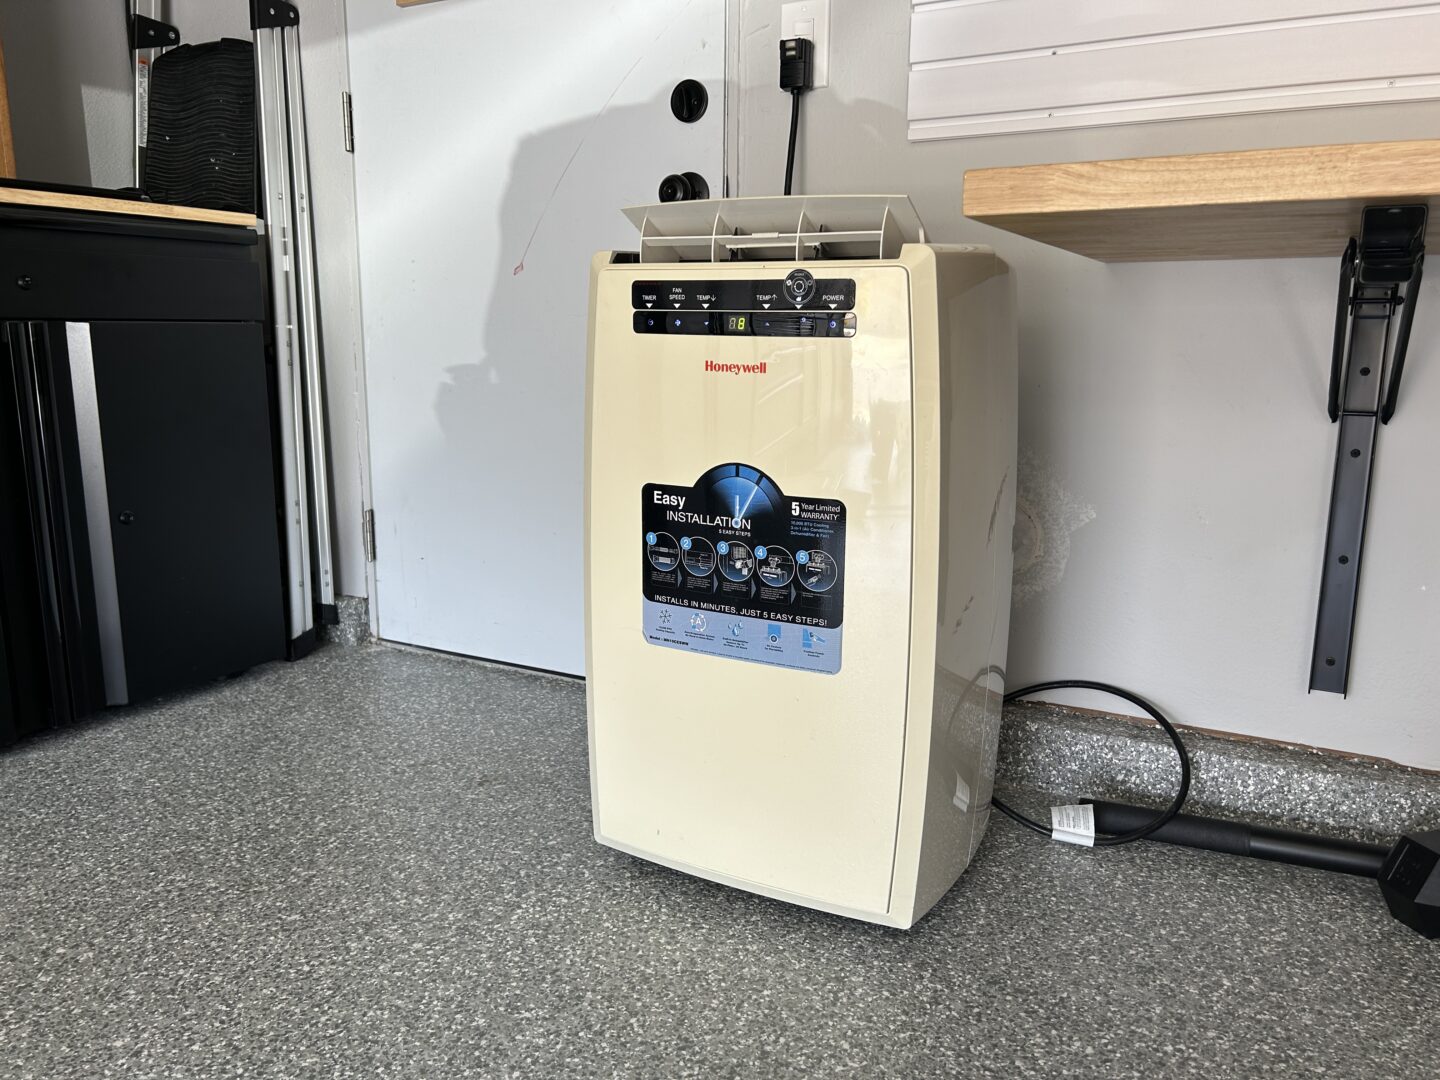
Since I already had a portable air conditioner at home and didn’t want to go through the hassle of installing a mini-split or messing with the existing HVAC ductwork, I decided to go with the portable unit.
In order to install a portable air conditioner in your garage, you’ll need a vent opening through your garage wall to the outside. With a hole in the garage wall, you can run this exhaust vent so that the hot air can be released to the outside. Look around your garage to see if there are any pre-existing openings that you can use.
There are times when your clothes dryer may have been relocated at some point and you’ll have an existing vent opening in the wall already. If this doesn’t apply to you, then you will need to drill out a new opening into the wall of your garage.
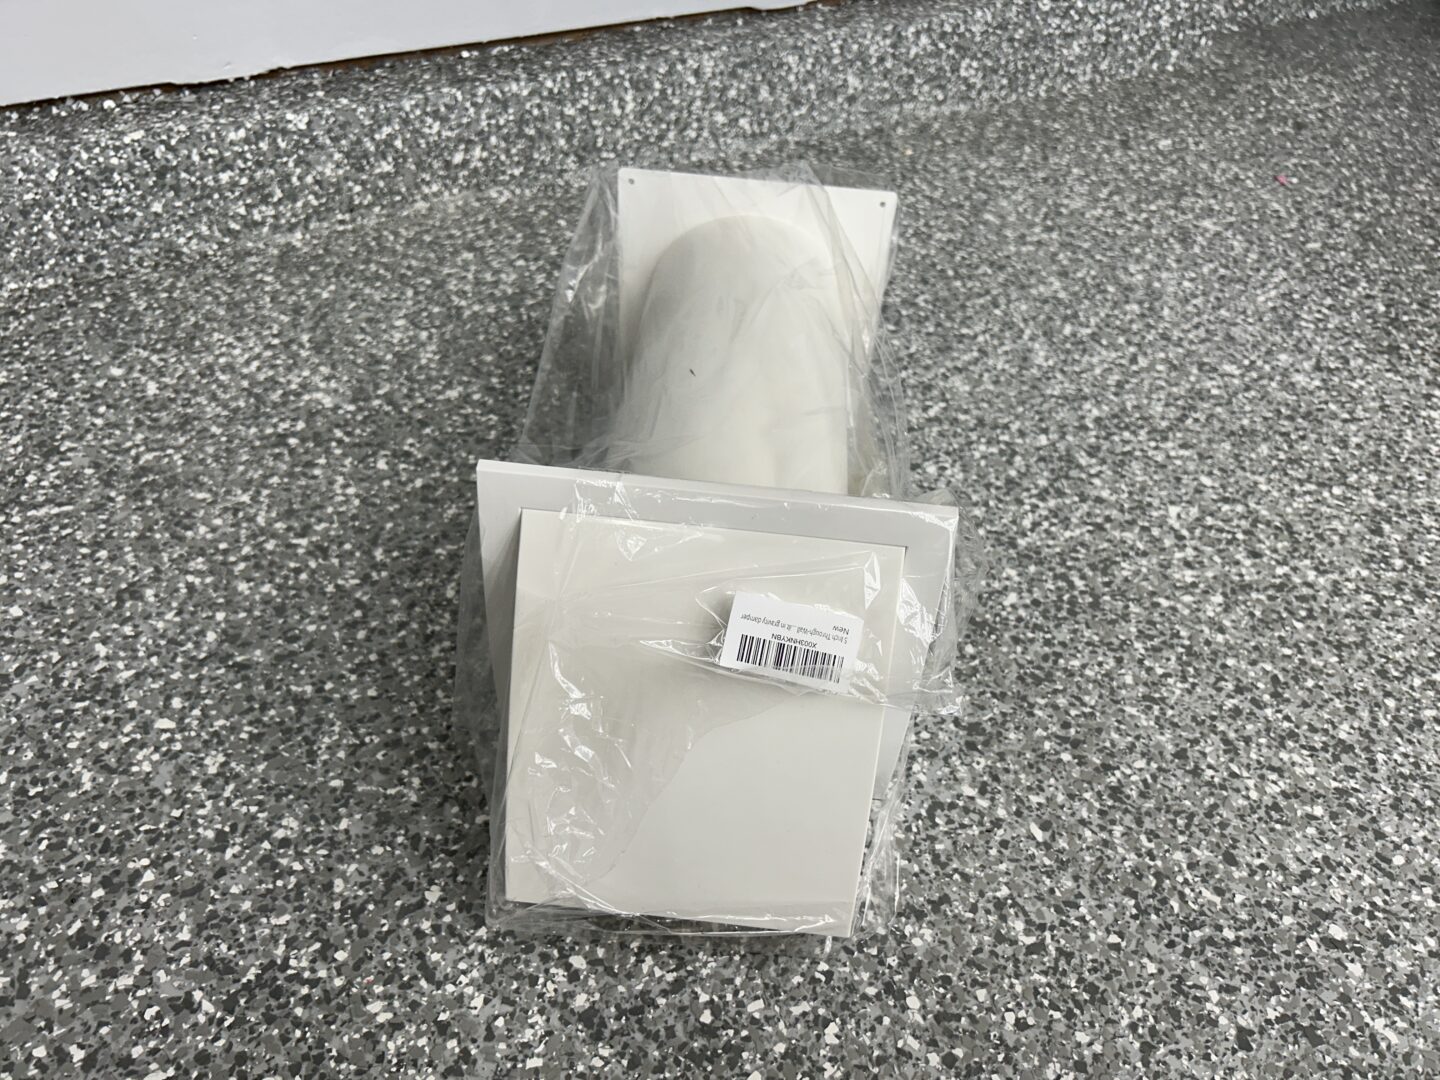
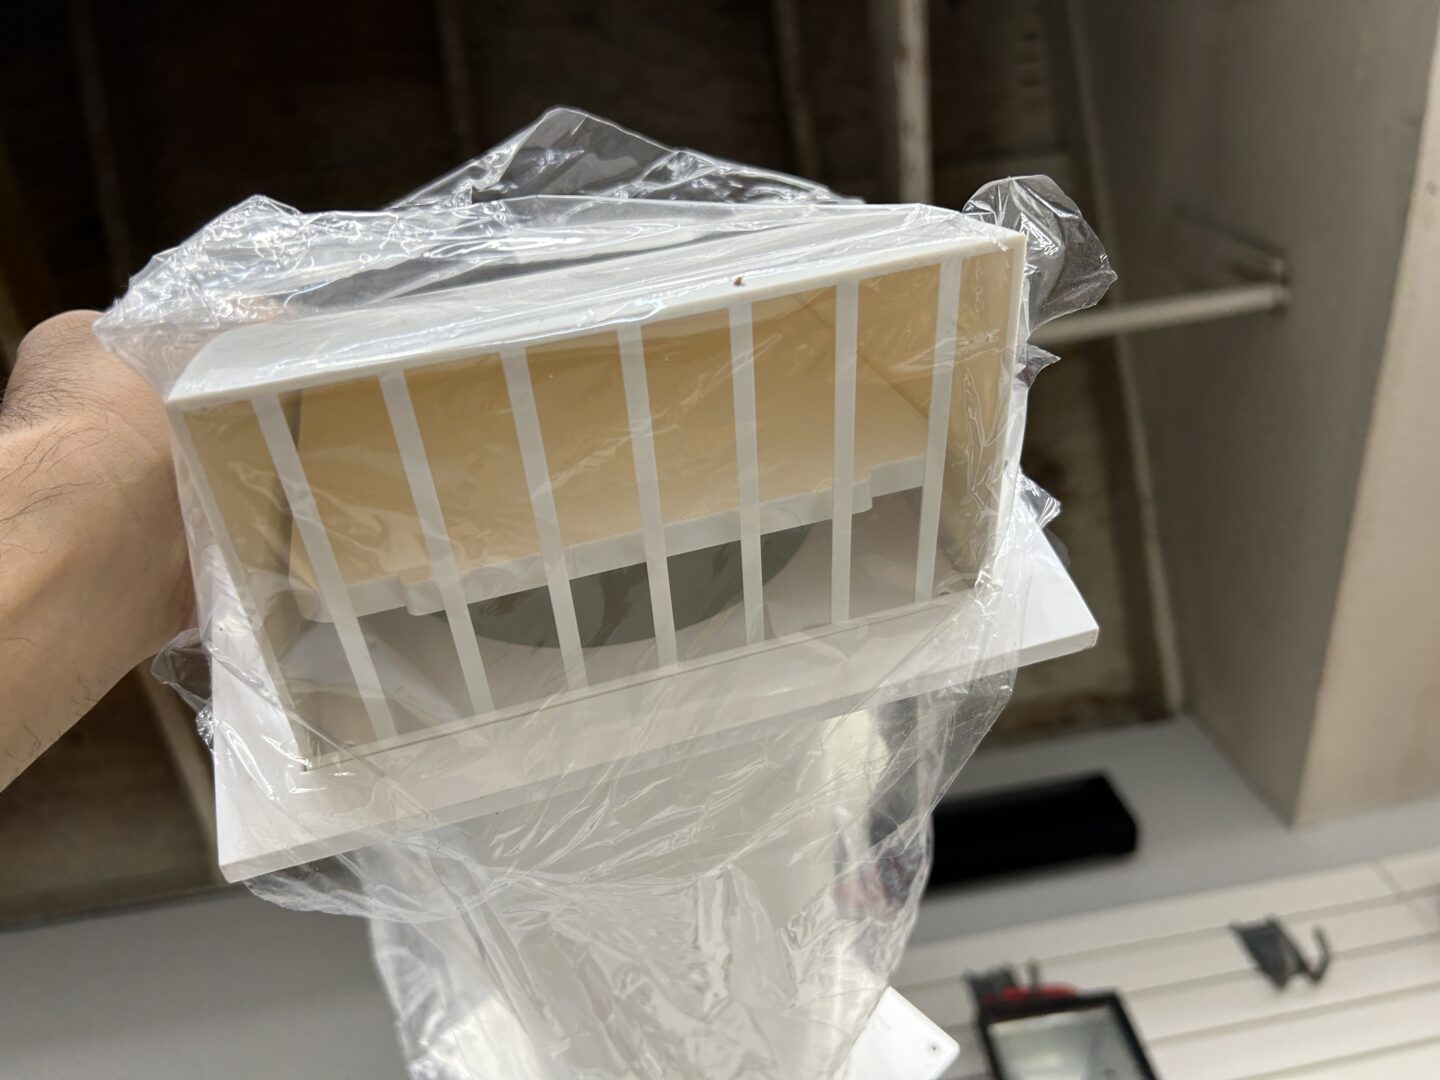
A couple features you should consider when purchasing an exhaust vent is (1) if it has a flap that opens when the hot air is blowing out and closes by default, and (2) if it has a protected opening that won’t allow critters to climb in. This is usually found in the form of some grillage that keeps small animals out. Both features ensure that rats or other small animals can’t get into your garage through the vent opening.
Another item you may need is a clear drain hose for draining the portable air conditioner. This may or may not be necessary depending on how humid it is where you live. You will have to check the manual/spec sheet for your air conditioner to see what size ID (inner diameter) hose you’ll need for the drain.
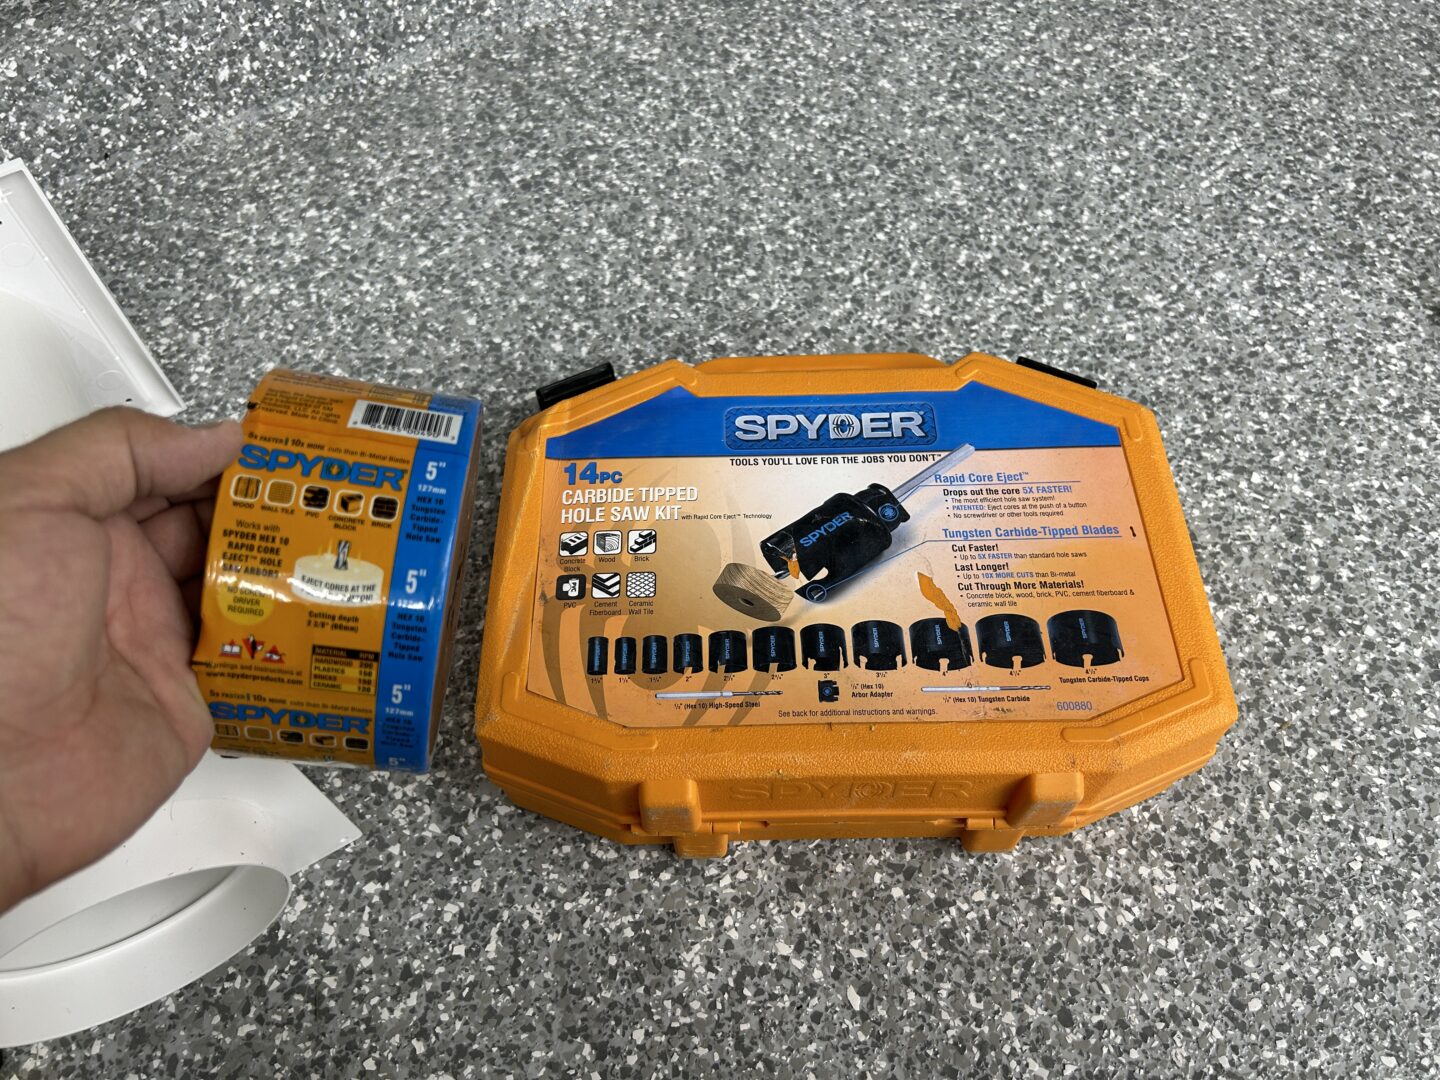
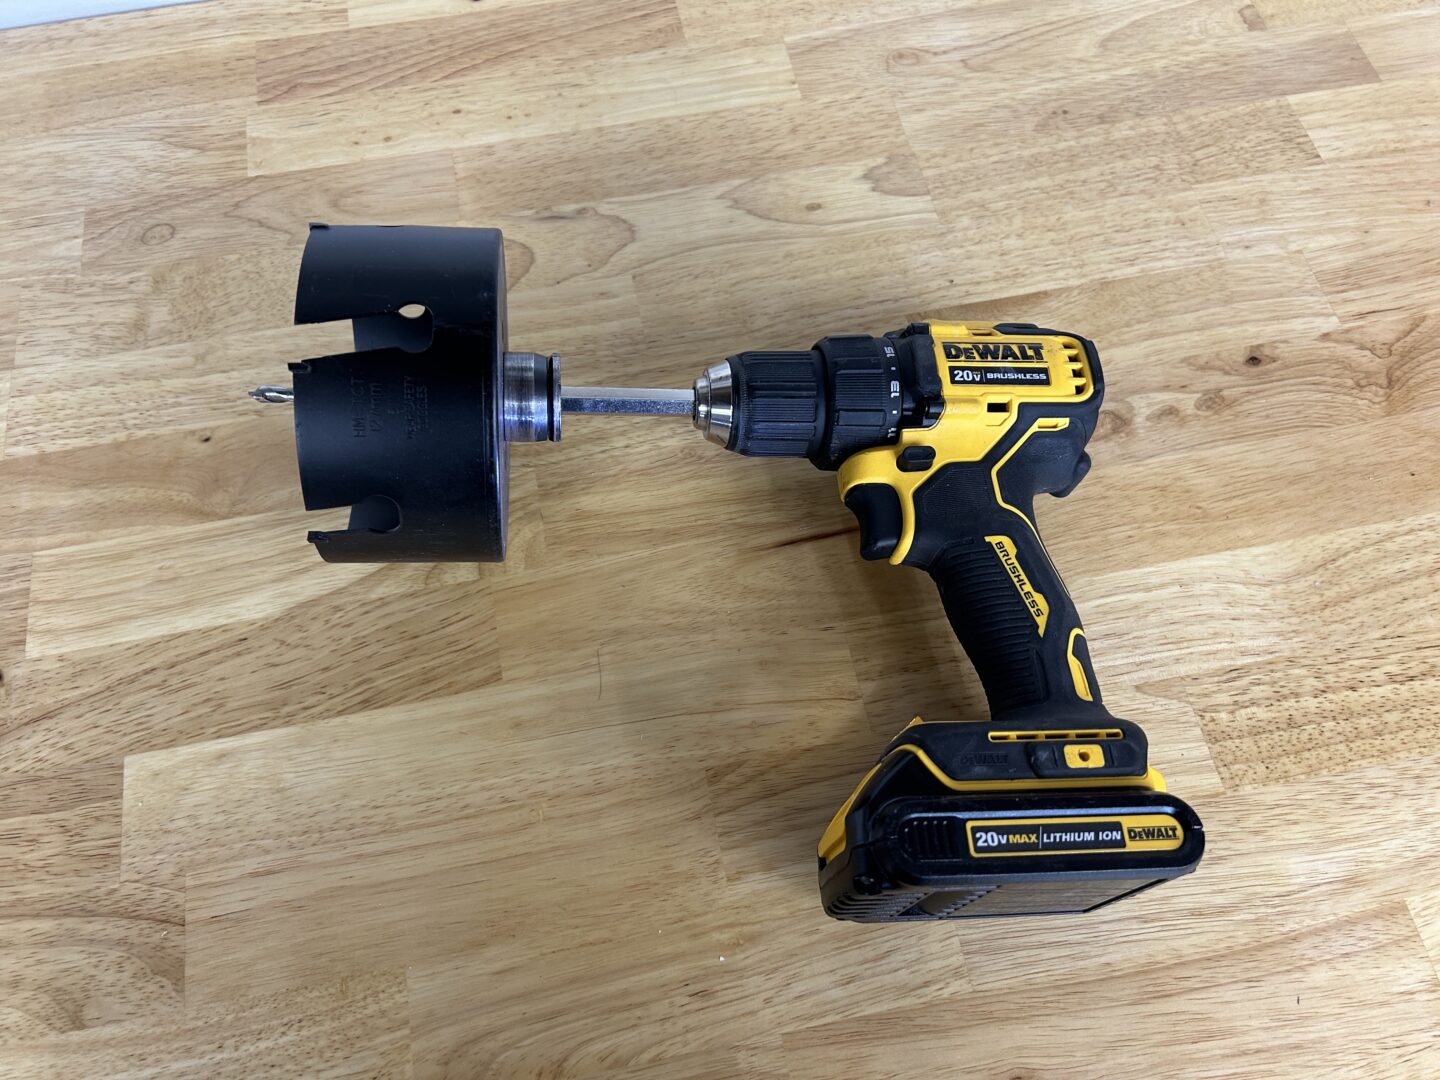
You’ll also need a power drill with a hole saw bit that is the same diameter as your exhaust vent hose. The exhaust vent hose for my portable A/C unit was 5 inches, so I had to get a 5-inch hole saw for my power drill. In addition to the hole saw itself, you’ll need the necessary attachments to connect it to your drill. This attachment is called an arbor, which can also be found in some hole saw kits. For me, I already had a hole saw kit which includes the arbor attachment, but it didn’t have the 5-in hole saw which I needed to purchase separately.
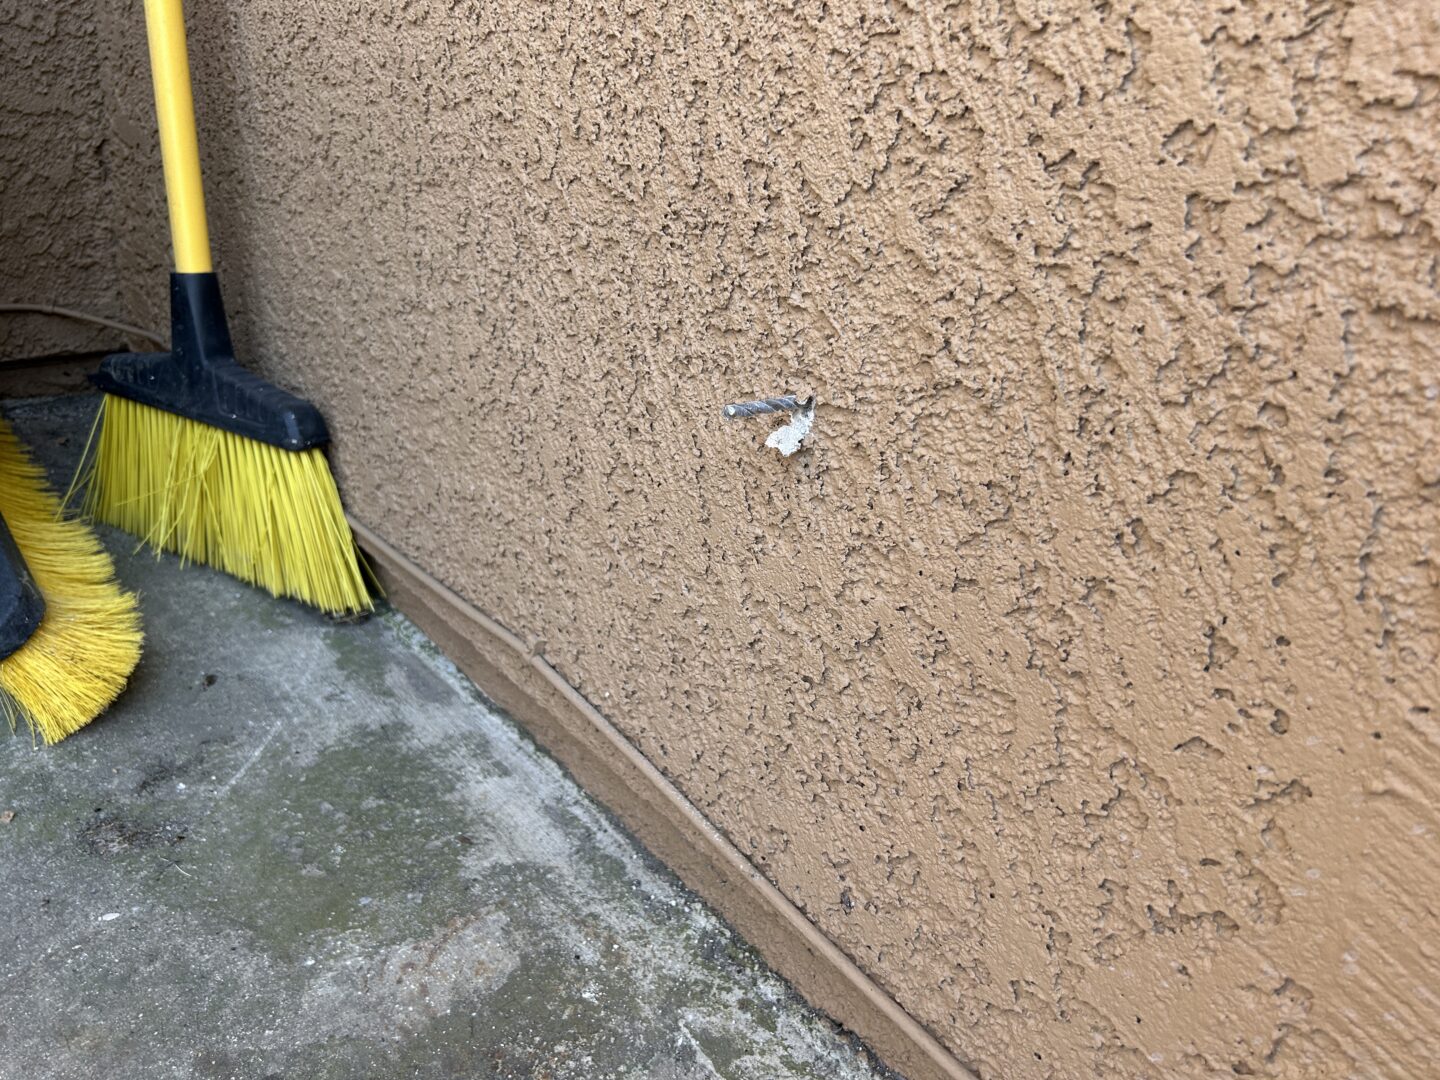
Also, you’ll need the proper hole saw for your exterior wall. If you have wood siding, you can use the hole saws that are made for wood (serrated edge). If you have stucco or some other masonry exterior, use the one made for those materials. You can tell what hole saws can be used for masonry, as they have a blade that looks like the one shown below.

Tools & Materials Used On This Project
Portable Air Condtioner
4-in / 5-in / 6-in Exhaust Vent Kit (choose diameter for your A/C vent hose)
Craftsman 25-Ft Tape Measure
Zircon StudSensor A100 Stud Finder
DeWalt 20V Max Cordless Drill/Driver Kit, Includes 2 Batteries & Charger
Spyder 1/2in Hex 10 High Speed Steel Hole Saw Arbor (to use with power drill)
4-in / 5-in / 6-in Spyder Rapid Core Eject Hole Saw (diameter hole for your vent hose)
Craftsman Hand Saw, 12-Inch Hacksaw
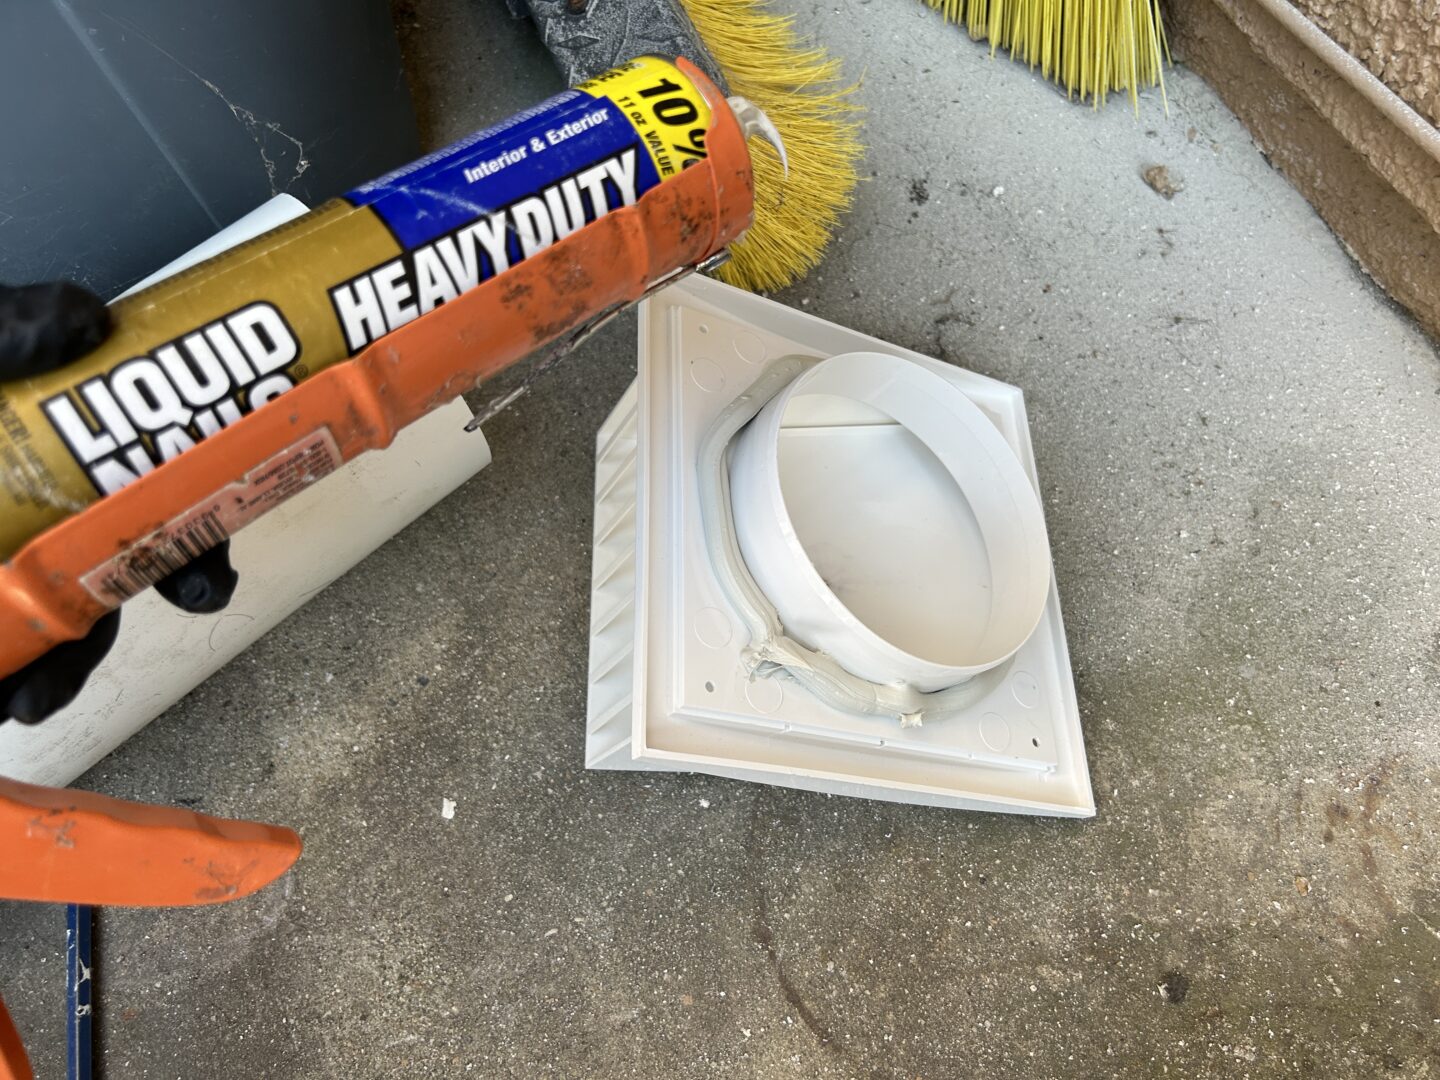
Liquid Nails FuzeIt Construction Adhesive
Bates Caulking Gun
WORKPRO 7-Inch Diagonal Wire Cutters (may be optional)
Clear Drain Hose (may be optional, size depends on your portable A/C unit)
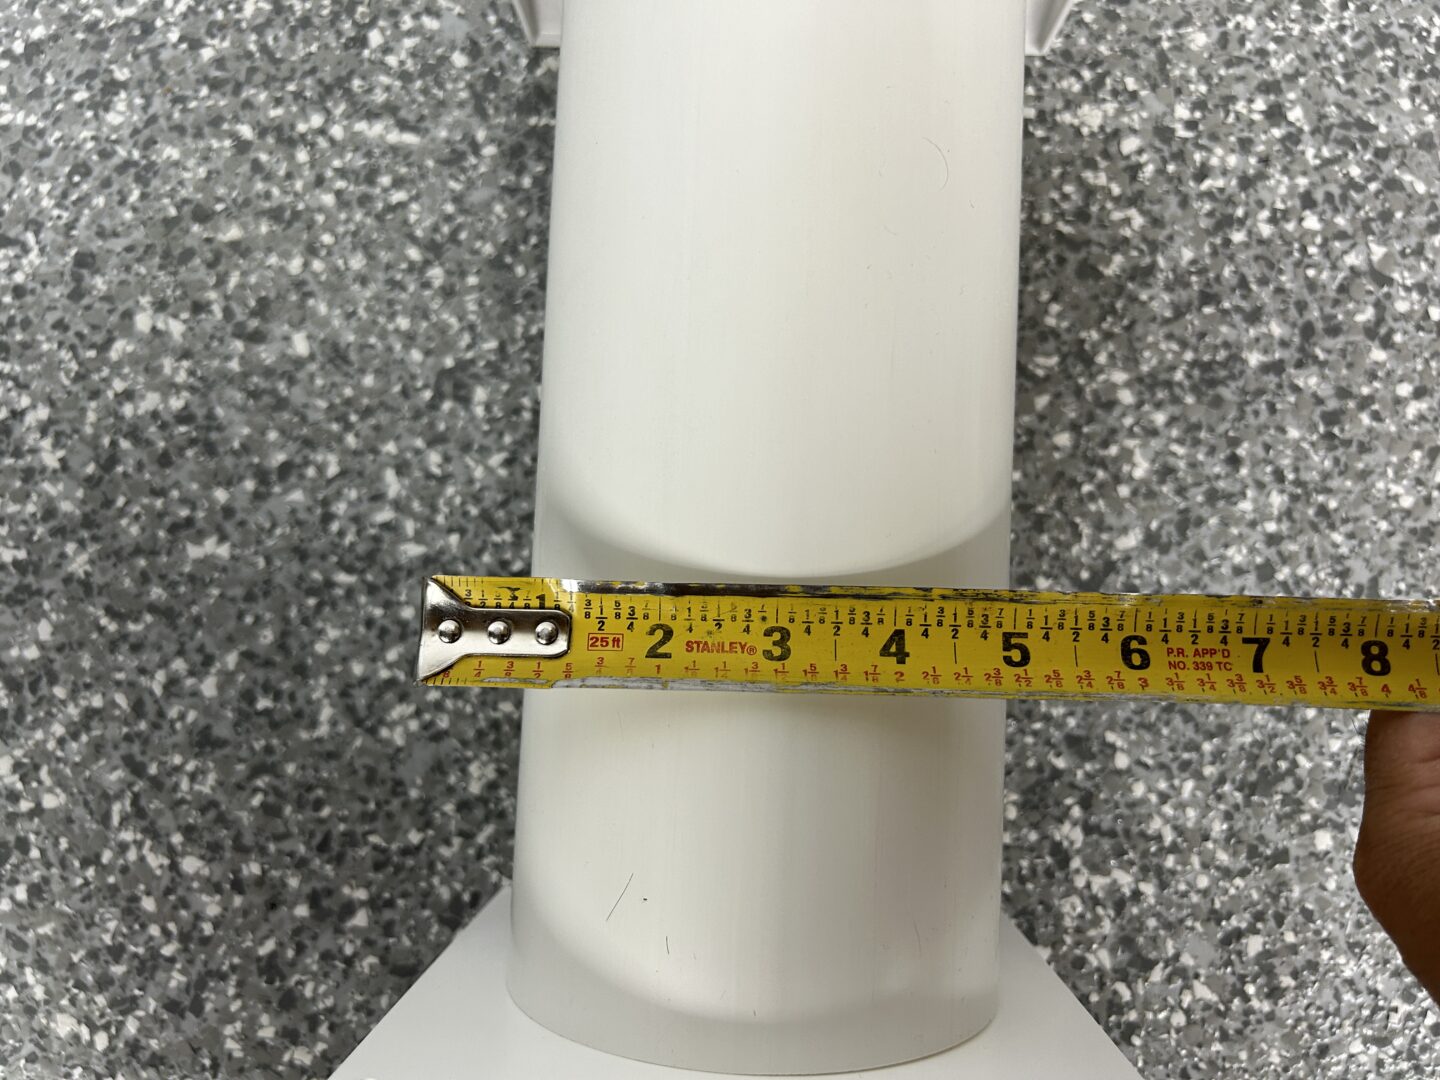
The first thing you must do is the initial planning stage. Because each portable A/C unit is different, you’ll need to confirm the diameter of the plastic exhaust vent will go through the wall. When you buy an exhaust vent kit, it will come with a pipe that runs through the wall, connecting to an outside vent, as well as to the inside of the wall.
Also, plan the location of the opening in your garage wall. Obviously look at the inside where your portable air conditioner unit will reside and make sure that the exhaust hose runs comfortably to the wall. Then, check on the outside to see where the exhaust will vent out to.
Once you’re satisfied with the location of the vent hole, check the interior wall with a studfinder to make sure you won’t run into a stud while drilling. I made this mistake by not thinking and immediately drilling without checking. Lo and behold, I ran into a stud, which I had to fix. So, check for studs and make sure the path is clear to drill your vent hole.
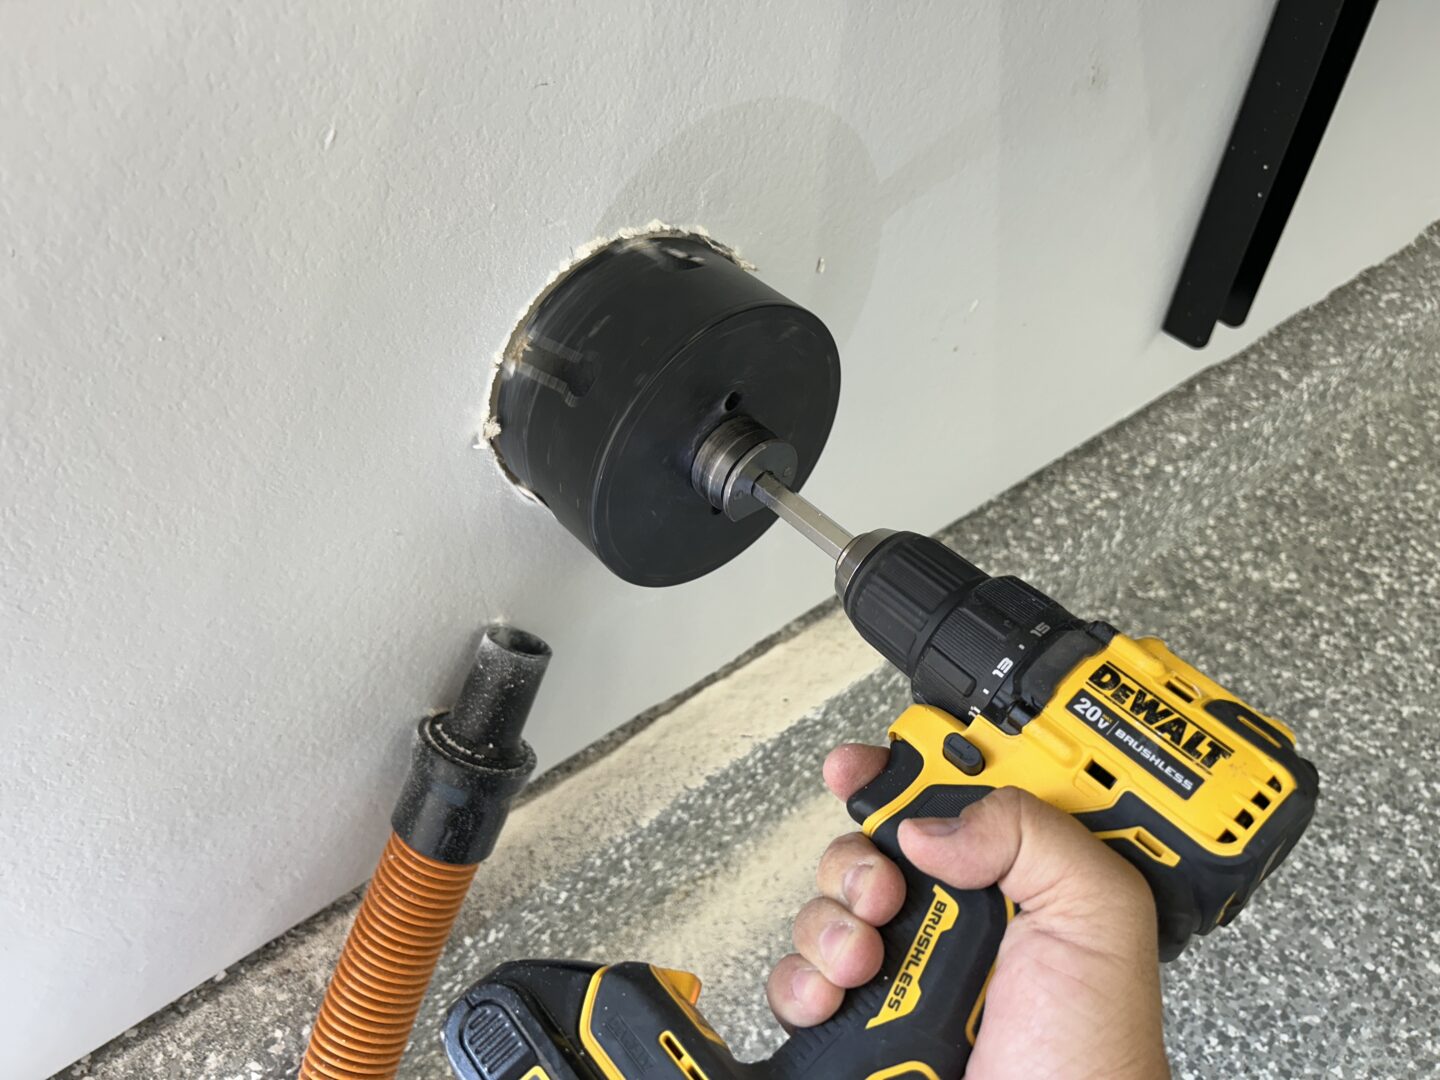
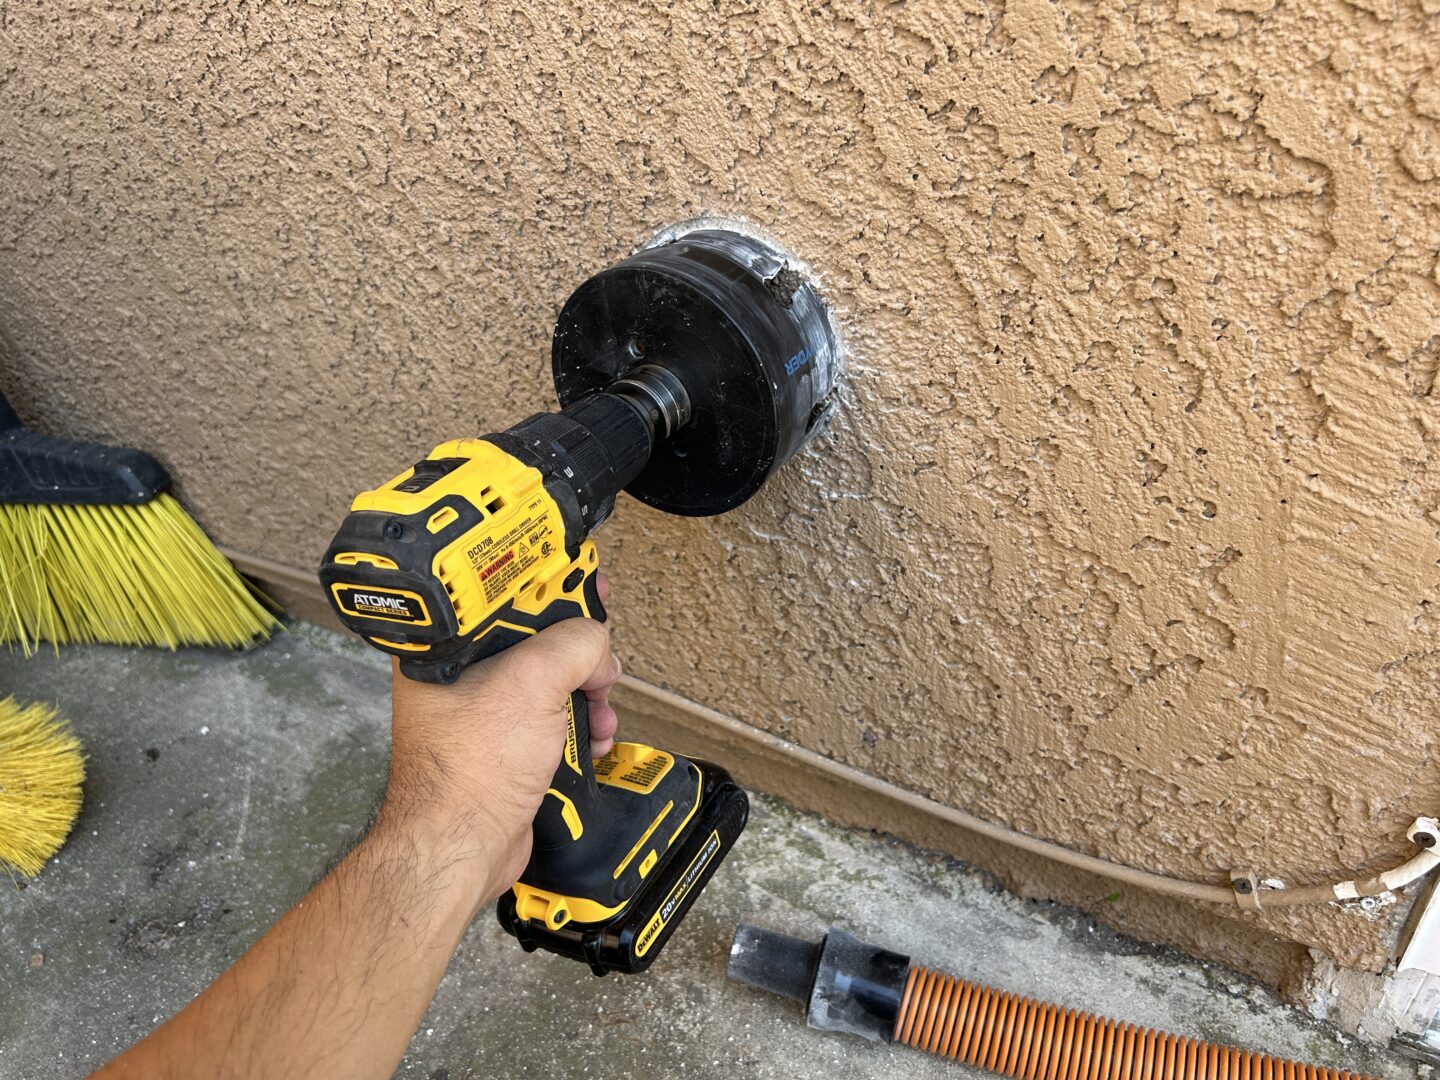
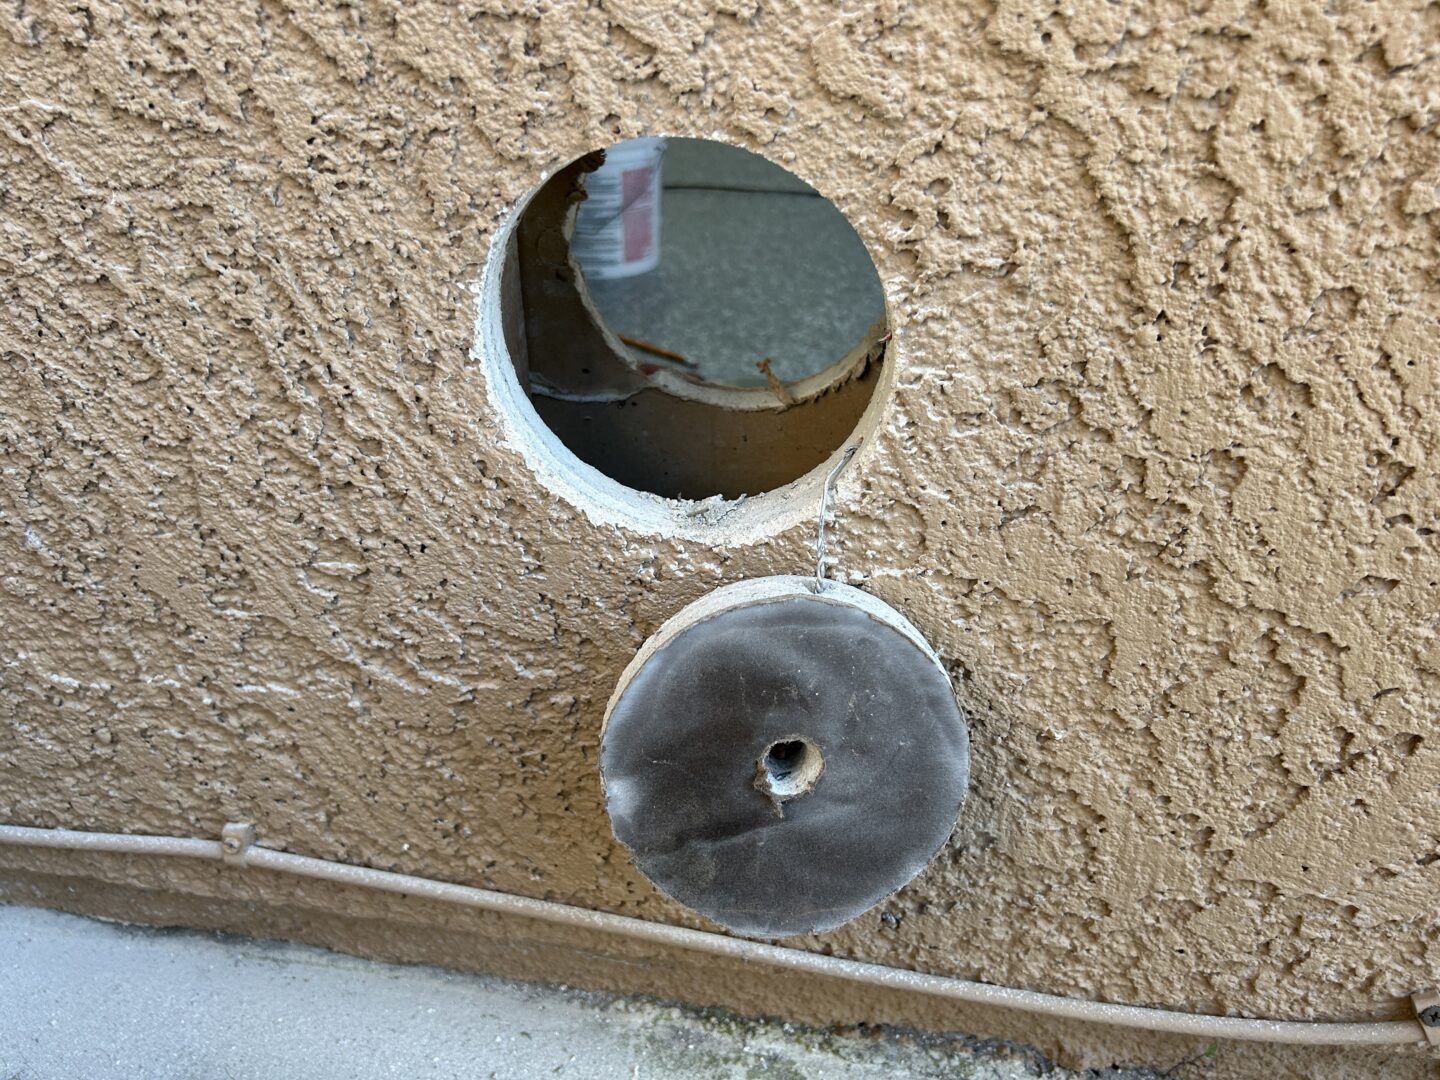
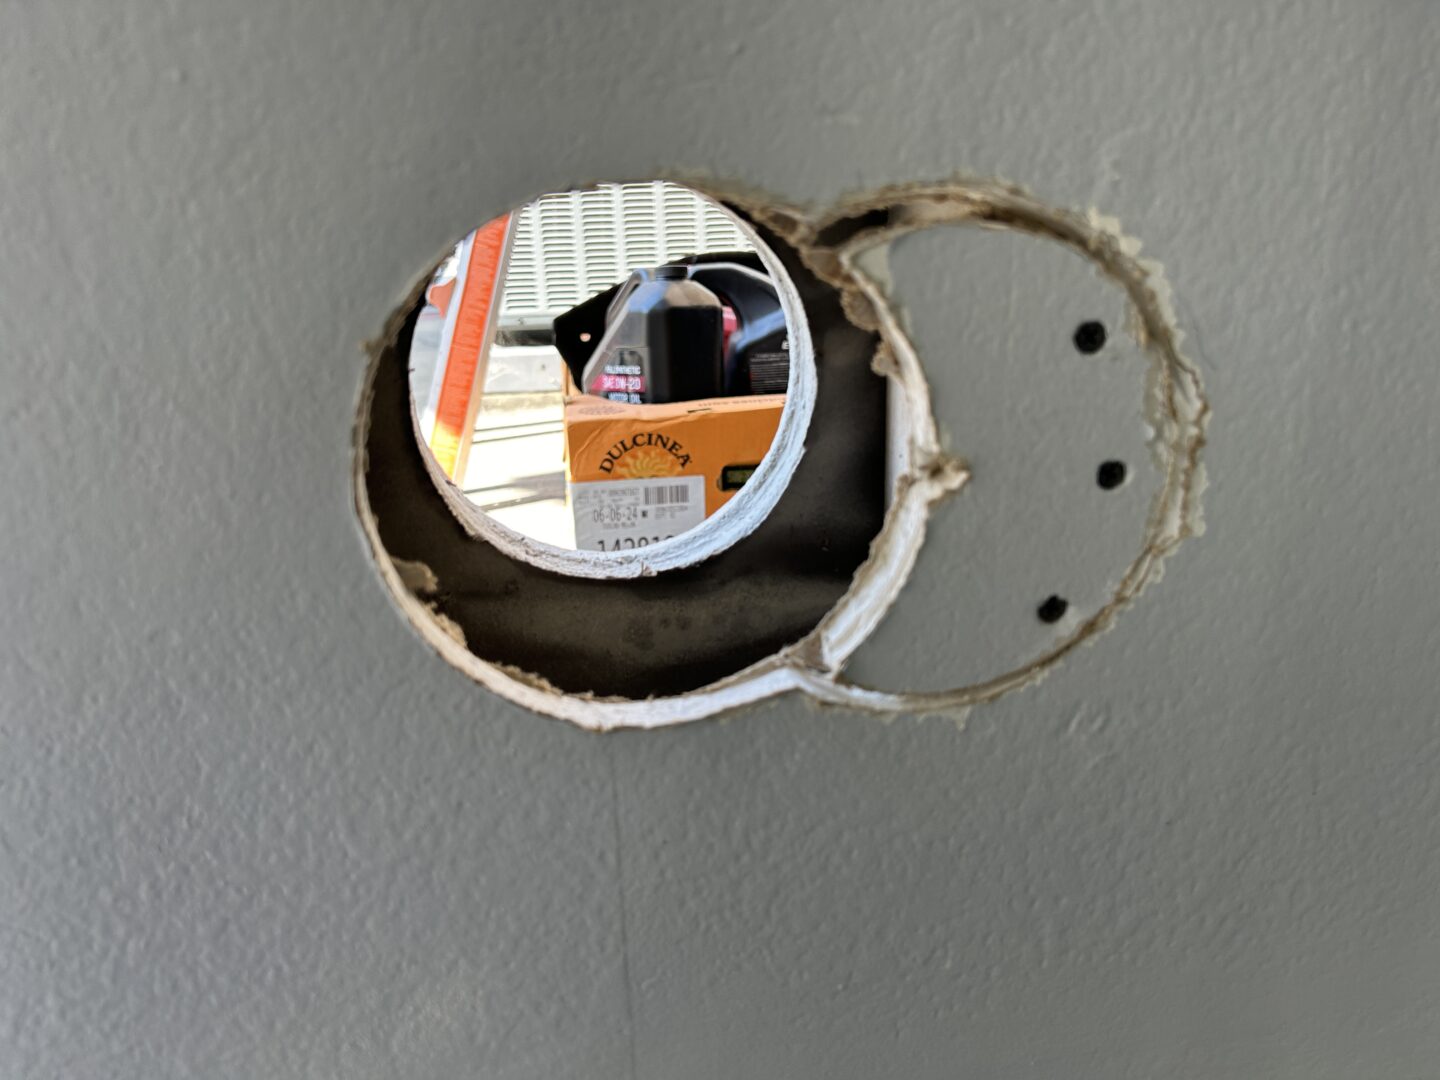
Drilling through the drywall from the inside of the garage is easy. When you get through the interior drywall, you might run into insulation, which you’ll just have to clear out of the way. Getting through the external wall is a different story. Your external wall could be wood siding, stucco, brick, or some other material. Take your time going with the correct hole saw and eventually you’ll get through the wall. Your stucco may have mesh wiring, which you’ll need to cut out of the way with wire cutters once the wires are exposed.

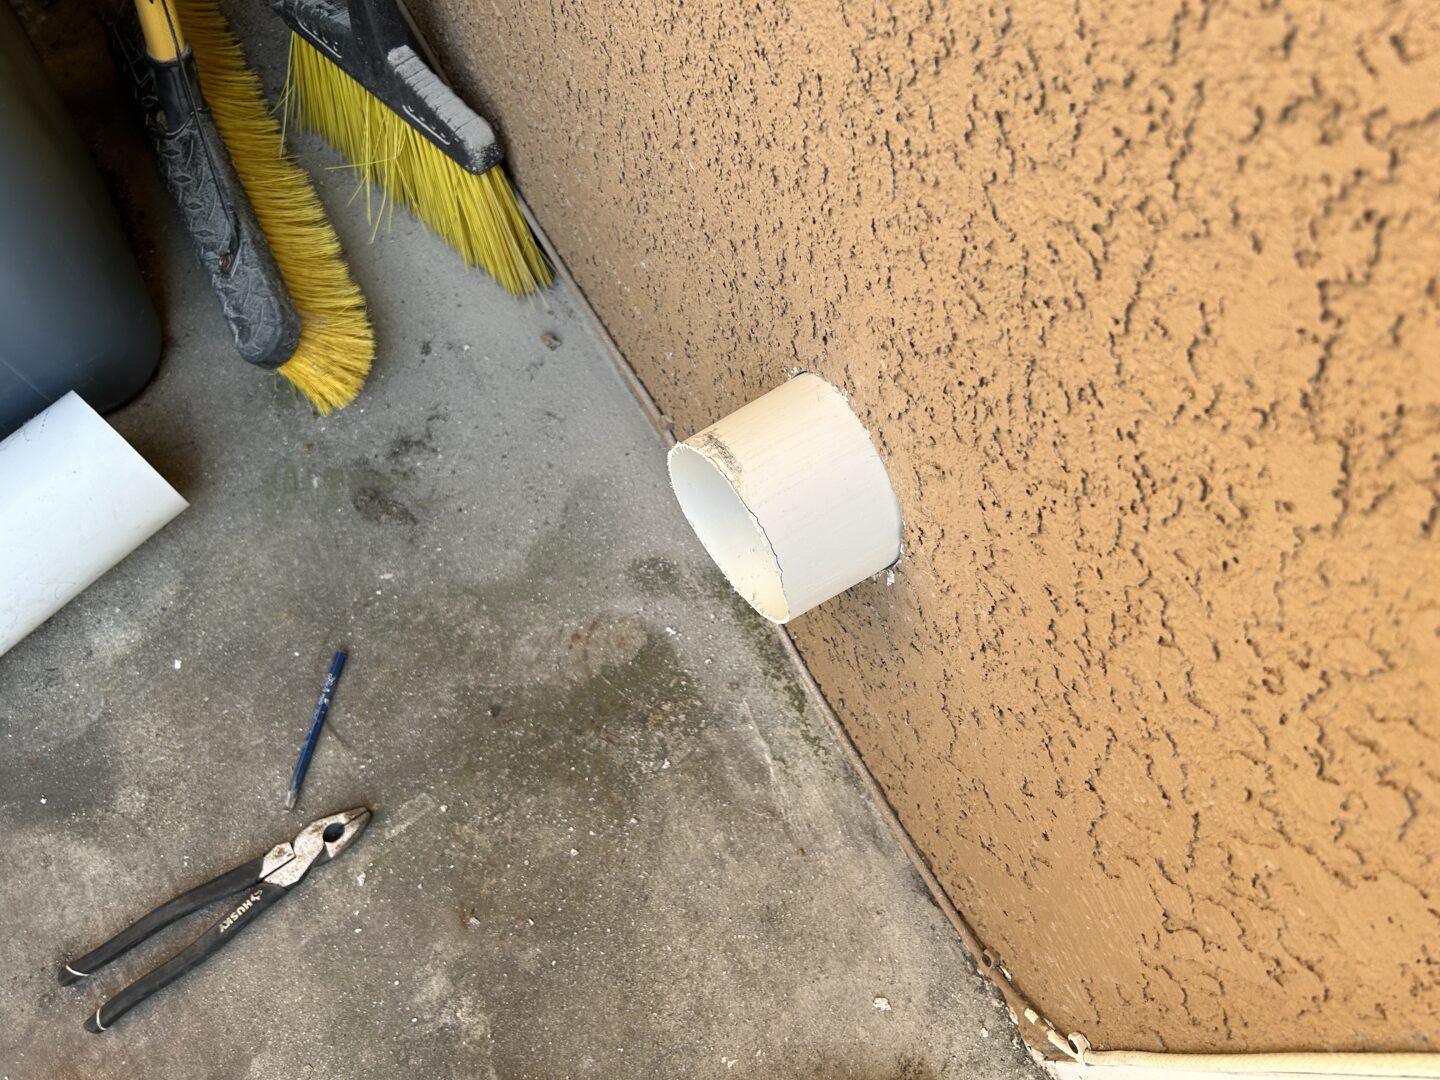
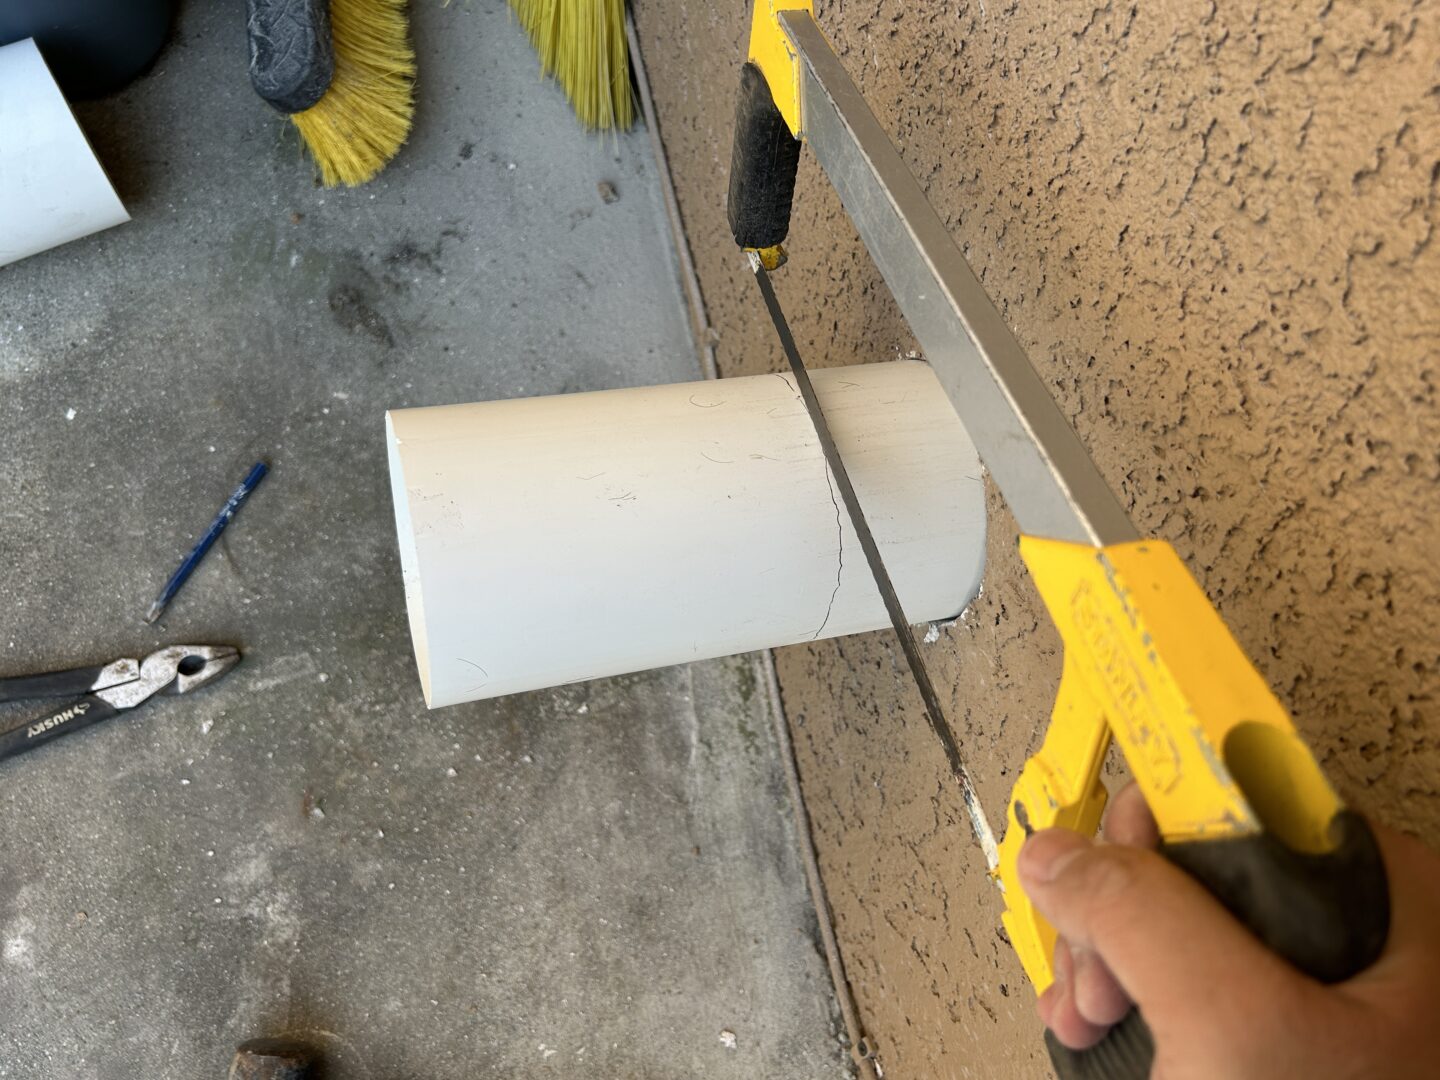
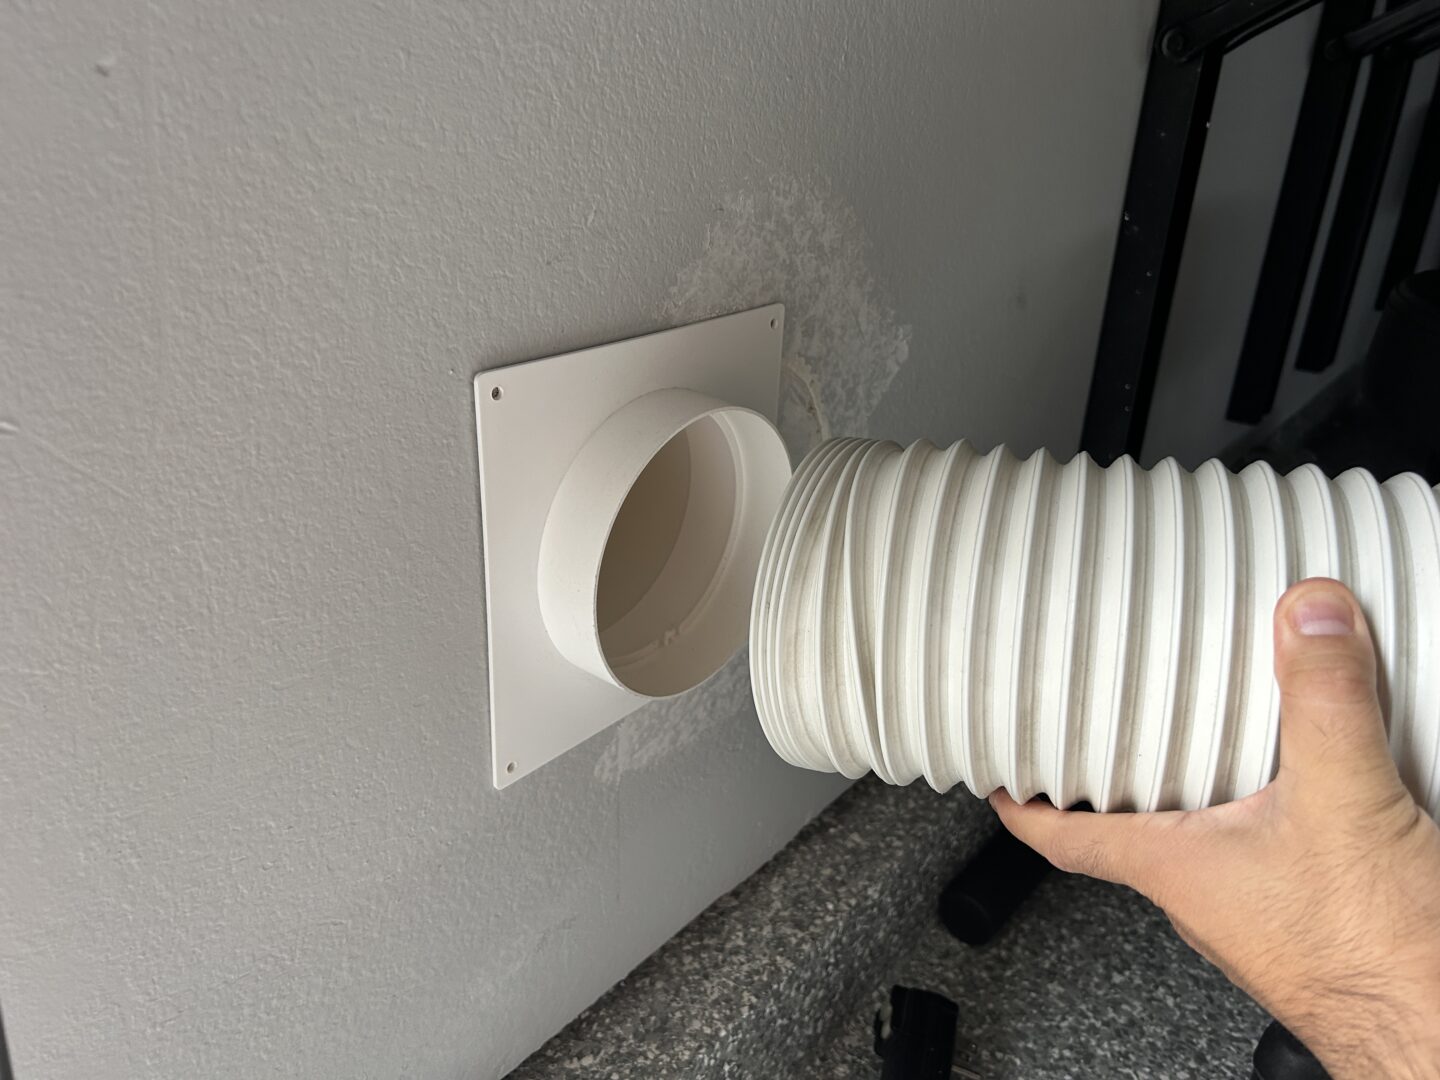
Now with an opening through the wall, run the exhaust vent pipe through. Push the pipe all the way through until it is flush with the interior wall. Mark the pipe on the outside of the exterior wall flush with the outer wall. Then push it out so you can cut it with a hacksaw. After it is cut, push the pipe back and it should now fit the full depth of the wall.
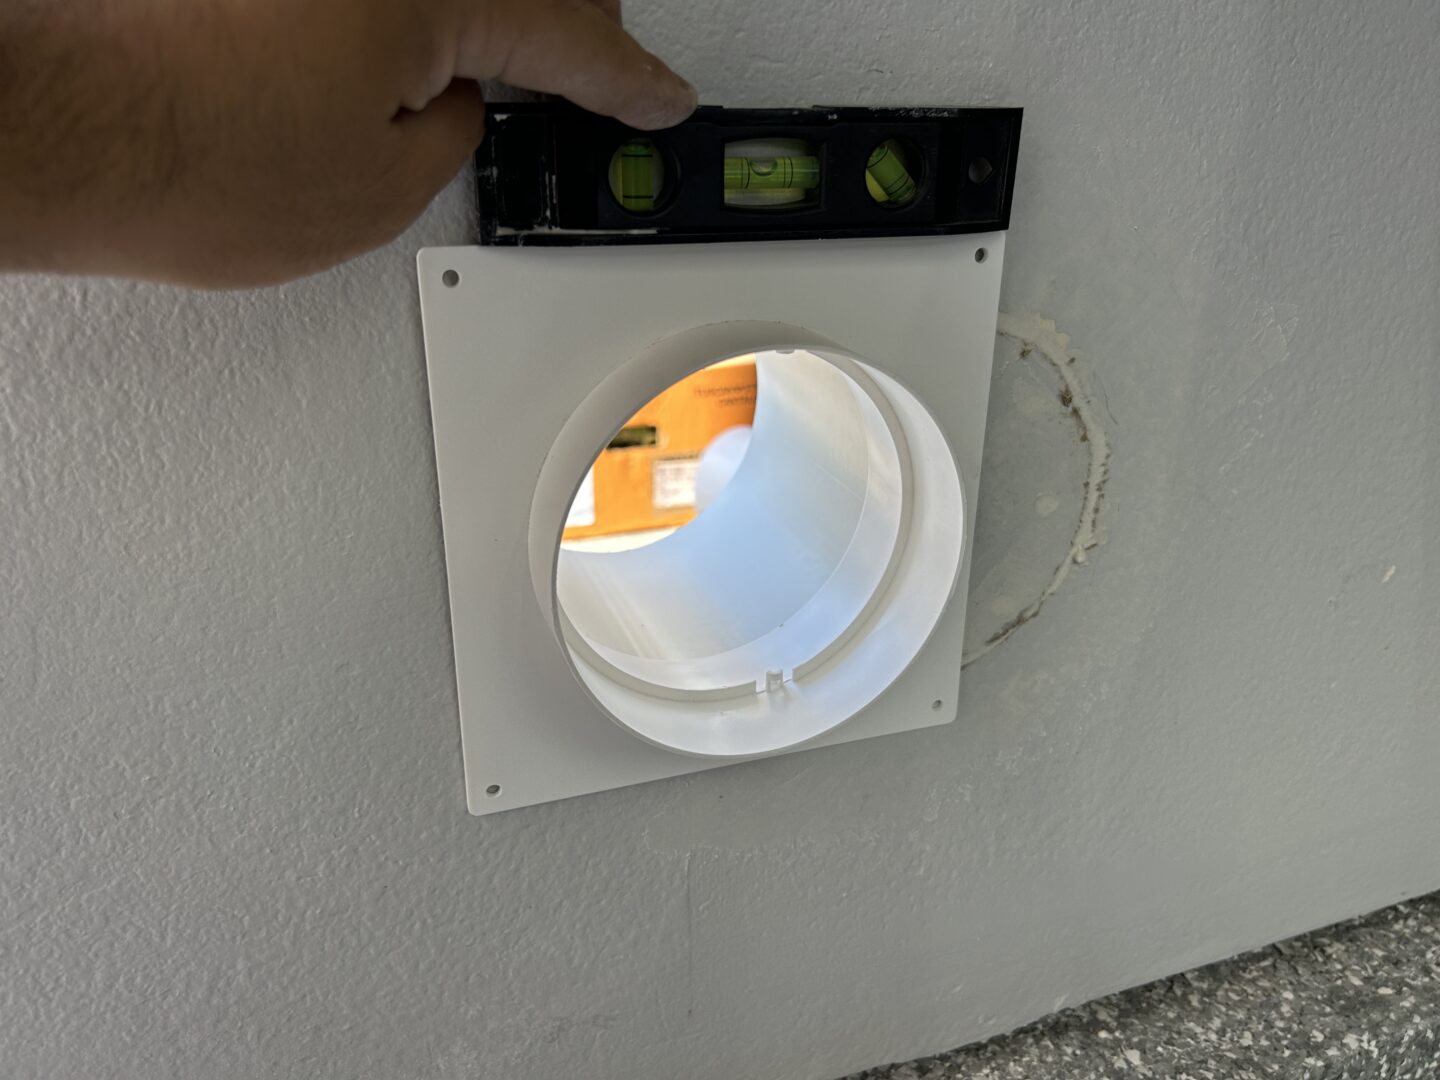
The exhaust vent kit also comes with the inside wall mount, which fits into the pipe and mounts to the interior wall. Install screws in the wall mount at the four corners or whichever way your particular one mounts. Use a level to ensure it is mounted level.
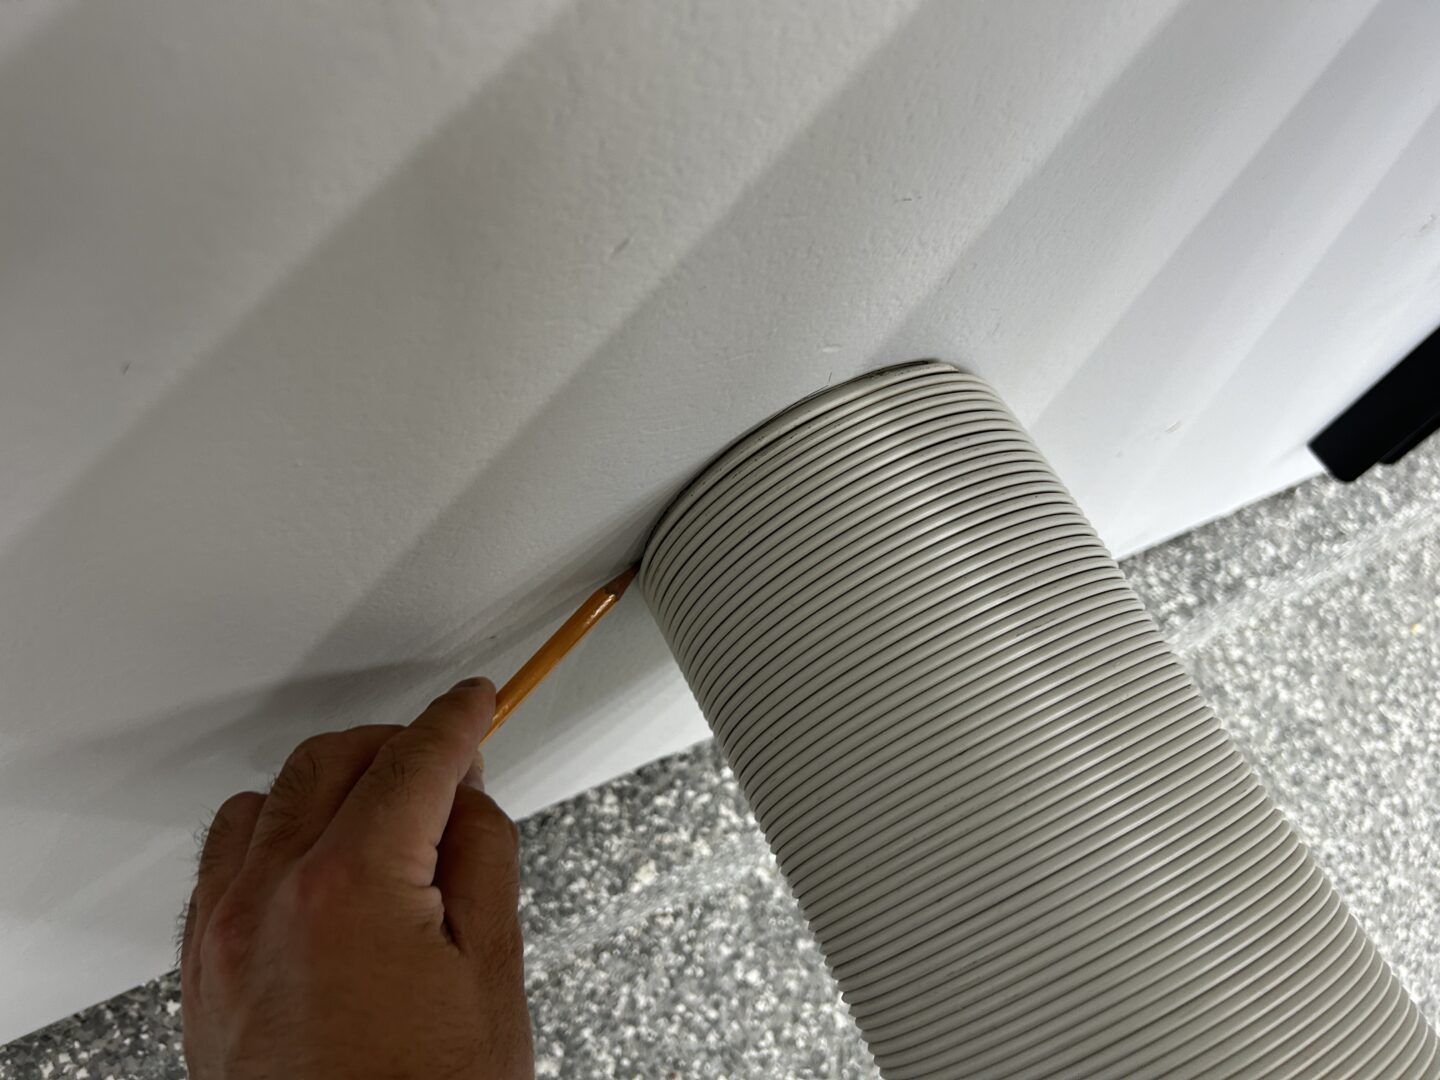
The vent hose from your portable A/C may need an adapter to fit the inside wall mount. Some exhaust vent kits come with a flexible aluminum hose that can fit over such a fitting. I’ve found that if you use the exhaust vent hose that comes with the portable A/C, you might need an adapter to fit. Or, you can use something like HVAC or duct tape to connect the two parts. Otherwise, use one of those flexible aluminum hoses, which allow you to connect it more easily.
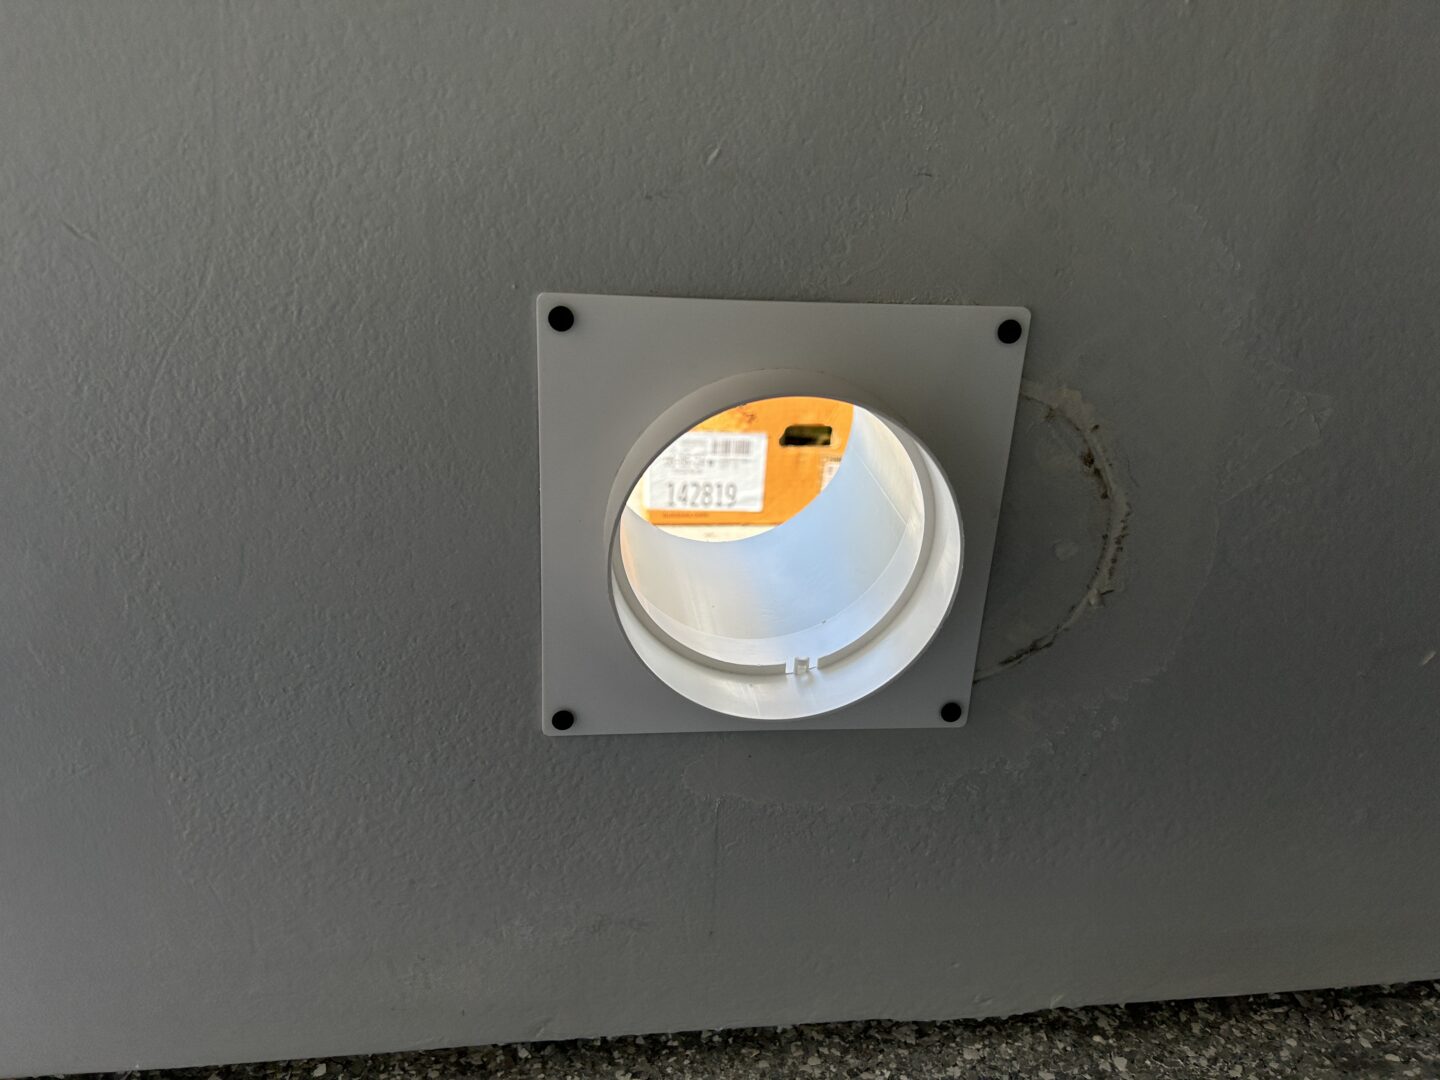
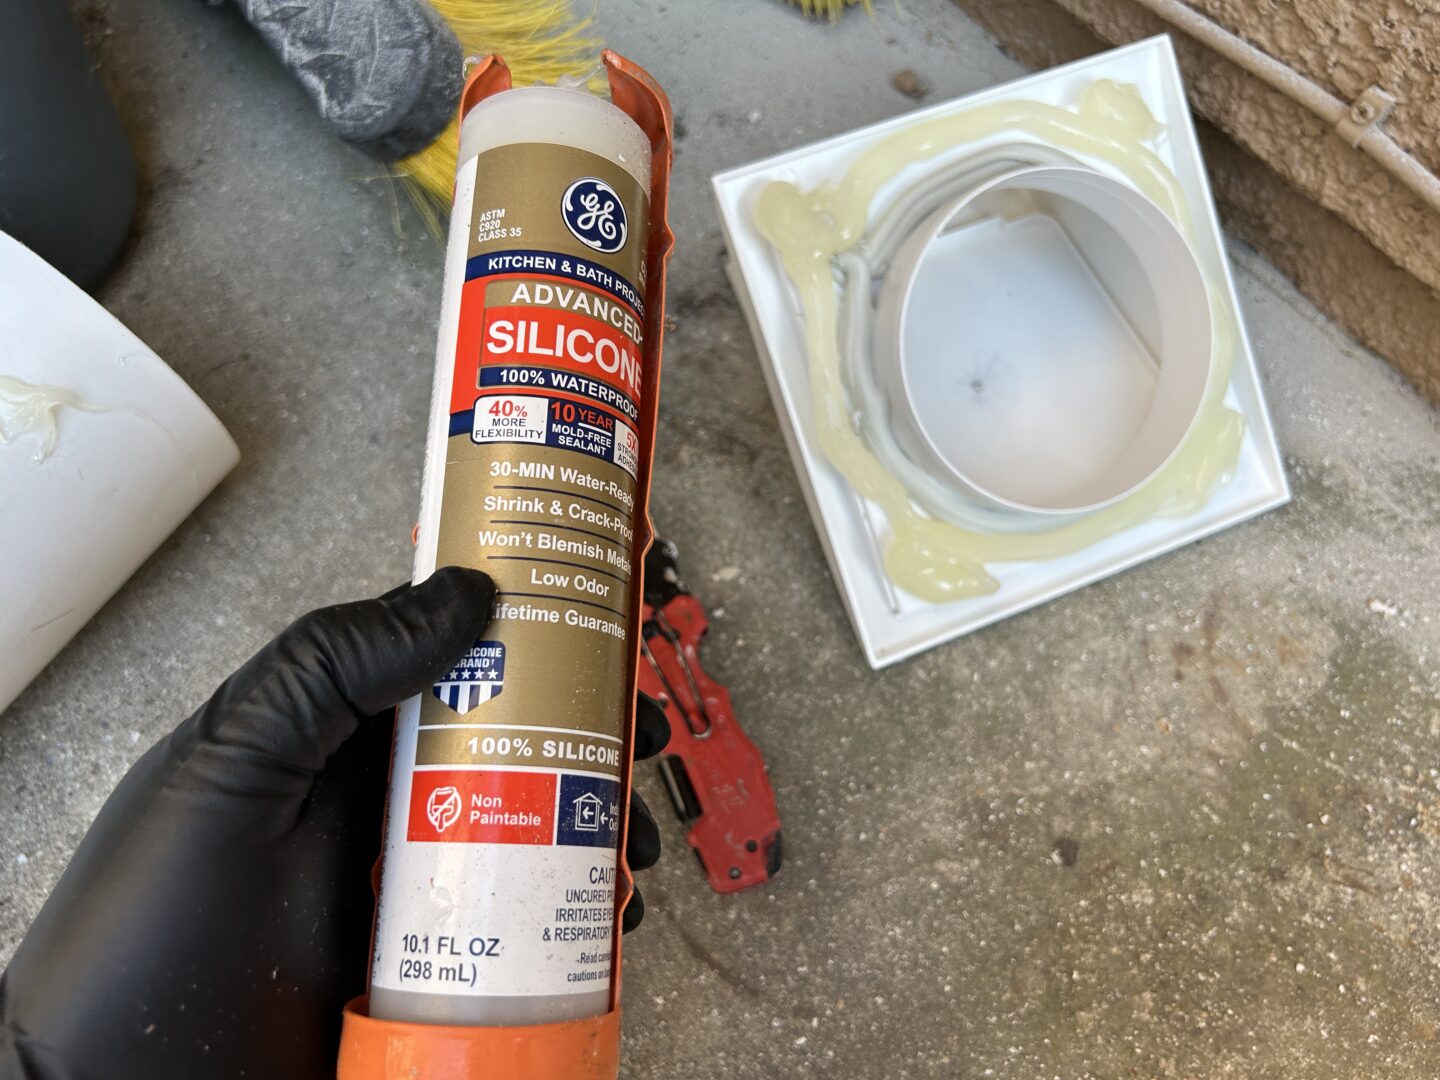
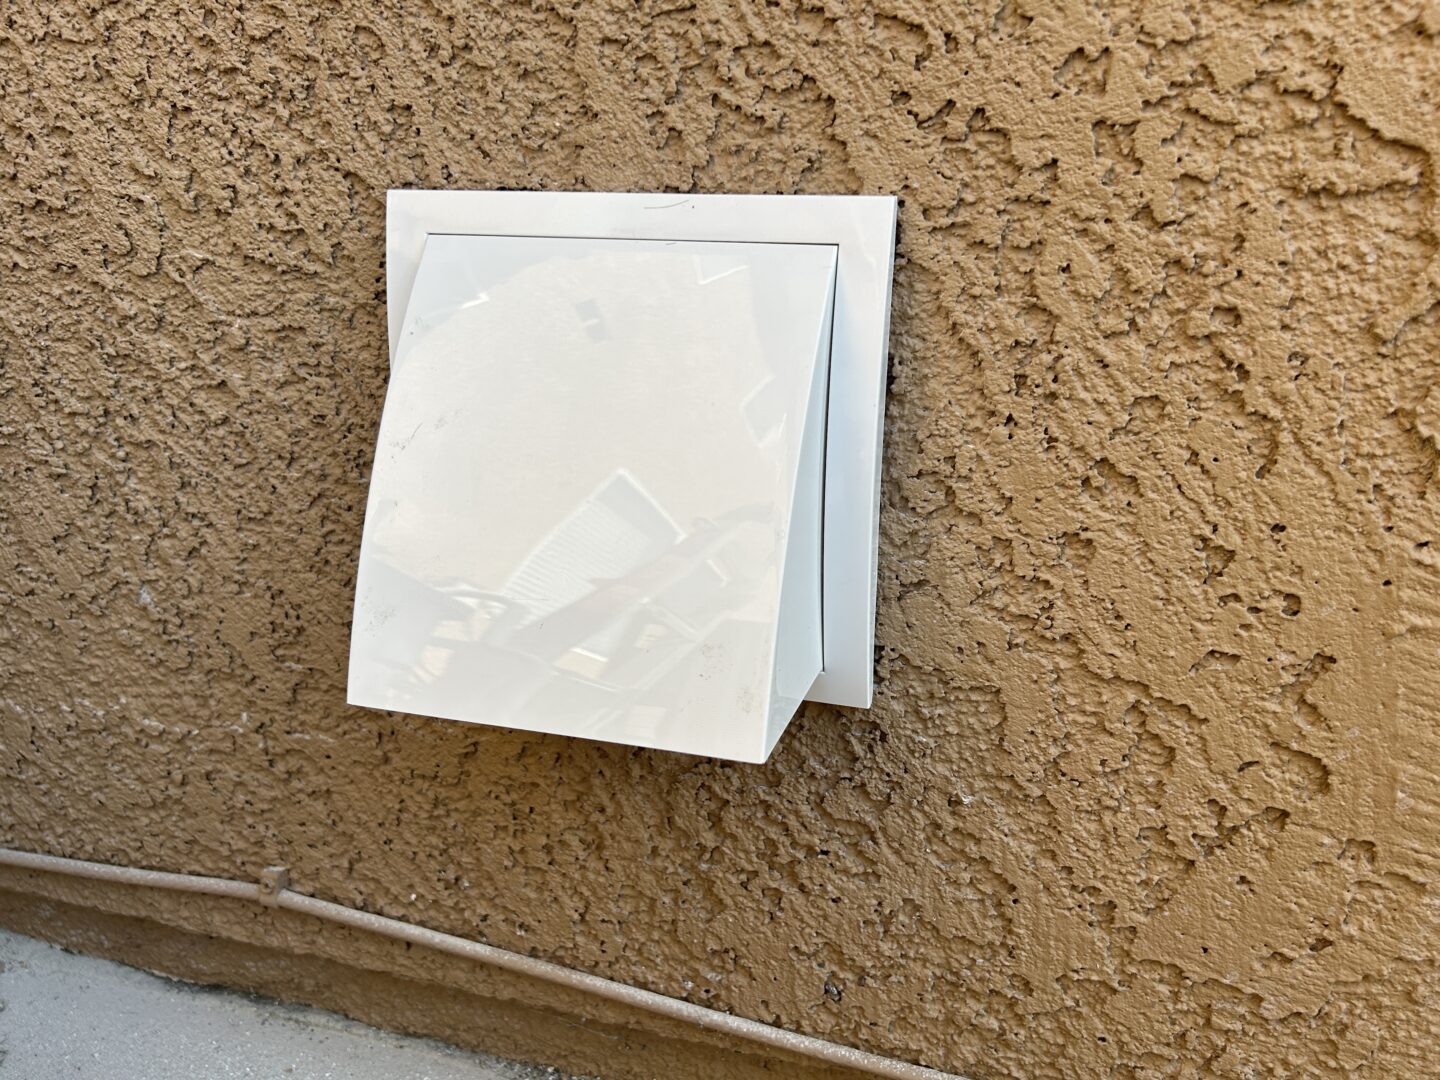
For the outside exhaust vent, it can in most cases be mounted using construction adhesive to the exterior wall. I’m mounting it to a stucco wall here, but I also added some 100% silicone caulking to the outside diameter of the exhaust vent. What I am trying to accomplish here is prevent water from the outside running down the wall and seeping into the inside of the wall. In most cases, exhaust vents are secured with construction adhesive alone.
Ensure the exhaust vent is level and allow it to fully dry. The install is mostly complete at this point. You can now connect the portable air conditioner exhaust vent hose to the vent you just installed and test it out. Ensure the exhaust vent operates like it should (opens when the A/C is on, and closes when it’s off.)
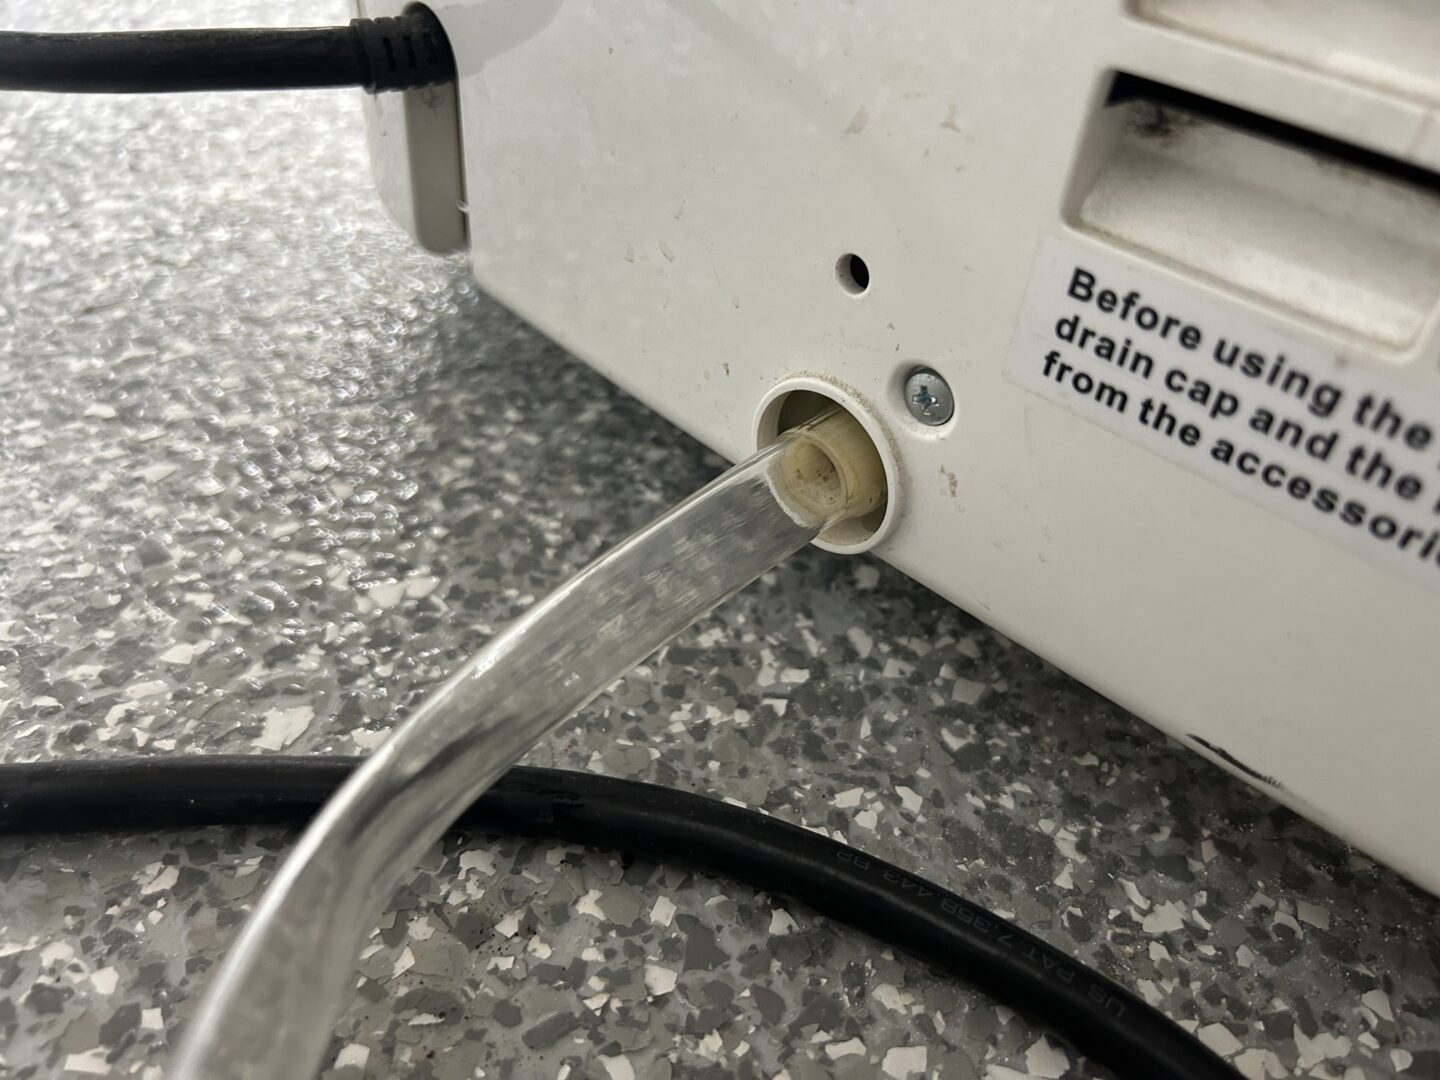
If you live in a drier climate, you may not need to drain your portable air conditioner much. However, if you live in a more humid environment, you might have to drain your portable A/C unit pretty regularly. It’s always possible to undo the exhaust vent, and roll your portable air condtioner to the outside where you can unplug the drain and allow it to drain out.
If you have to drain it all the time and you want to install a more permanent drain, you can run a clear drain hose from the A/C drain out to the outside using a variety of methods. Keep in mind that there are usually two drains on a portable A/C unit, one at the bottom which is the drain for the A/C, and one at the middle which is for the humidifier.
Installing a portable air condtioner in my garage provided me with instant comfort while working in the garage. It was very easy to do and I didn’t have to go through the difficulty of running any new electrical wires, refigerant lines, or any other equipment. I simply just brought my portable air conditioner to the garage, plugged it in, drilled a hole through the wall to install the exhaust vent, and started using it.
I will restate however that you should not expect a portable air conditioner to fully cool your garage; it’s simply not powerful nor efficient enough to do so. But it does provide instant relief from the heat for a small area in your garage should you need it.


