When you make purchases through links on this site, The Track Ahead may earn an affiliate commission. Also, these posts are based off my own experiences. I am not responsible for any action you take as a result of reading this. Learn More
Bleeding the Brakes
Whenever air has been introduced into the hydraulic brake system, a brake bleed needs to be done. An example of this is if you replaced a brake caliper on your car. When the brake caliper is replaced, the attached hydraulic line needs to be disconnected and as a result, air enters the brake line. This air needs to be purged out of the system, otherwise the air does not allow the brakes to work optimally.
Brakes can be bled by either by a two-person operation or by a single person. The typical process for a two-man brake bleed is by having one person sit in the driver’s seat, while depressing the brake pedal multiple times and holding. The other person will then open the bleed screw at the caliper to allow the fluid (under pressure) to be pressed out, then re-tighten the screw back. The whole process continues all over again on the bleed screw on each brake caliper until all brakes have been bled.
You can also bleed the brakes by yourself. With a one-person brake bleed, you can use several options: a power brake bleeder, speed bleeders, or a bleeder bottle. I will show you how to bleed brakes by yourself using the last option: the bleeder bottle.
Tools & Materials Used
Brake Bleeder Bottle
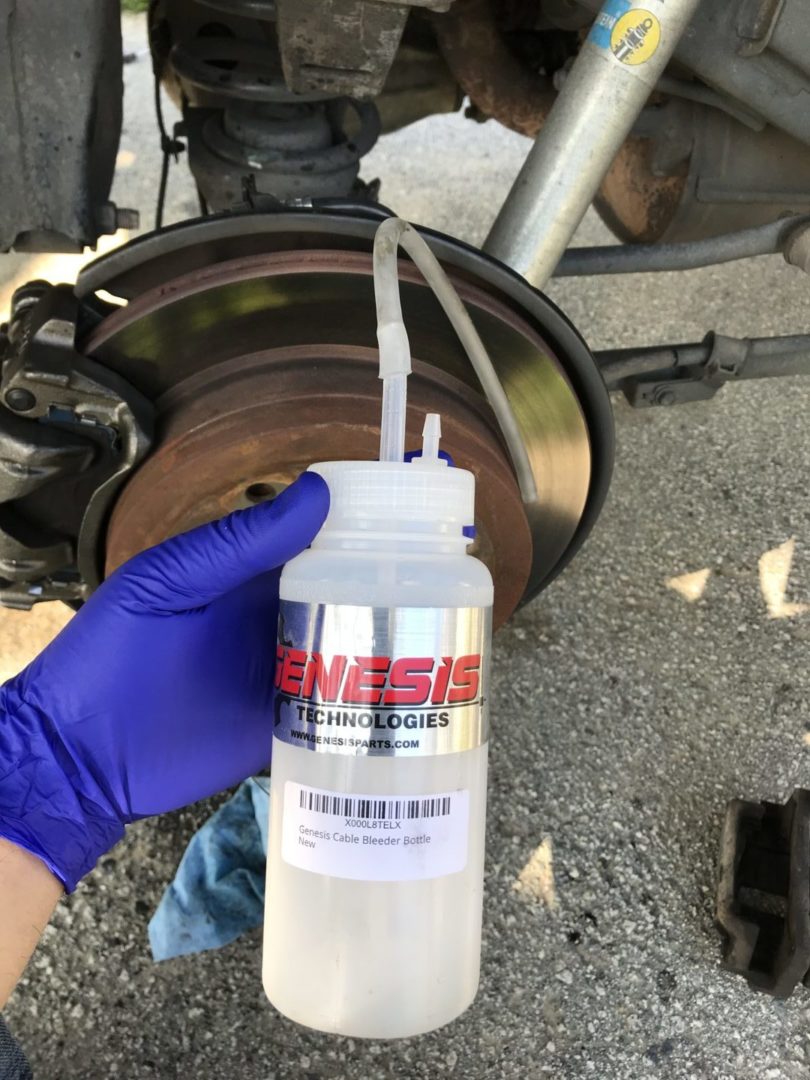
The brake bleeder bottle comes with the bottle itself, mount (to hold the bottle in place), and hose to connect to the brake bleeder screw. There are two types of mounts offered: cable mount or magnet mount. I’ve heard that the magnet may have problems securely attaching to some metallic portions of the undercarriage. On the other hand, with the cable mount it may be difficult to find something under the car to hang the cable off of, however once you do hang it, there’s little chance of it falling off during the bleeding process.
Genesis One Person Brake Bleeder Bottle with Cable Mount
Baster
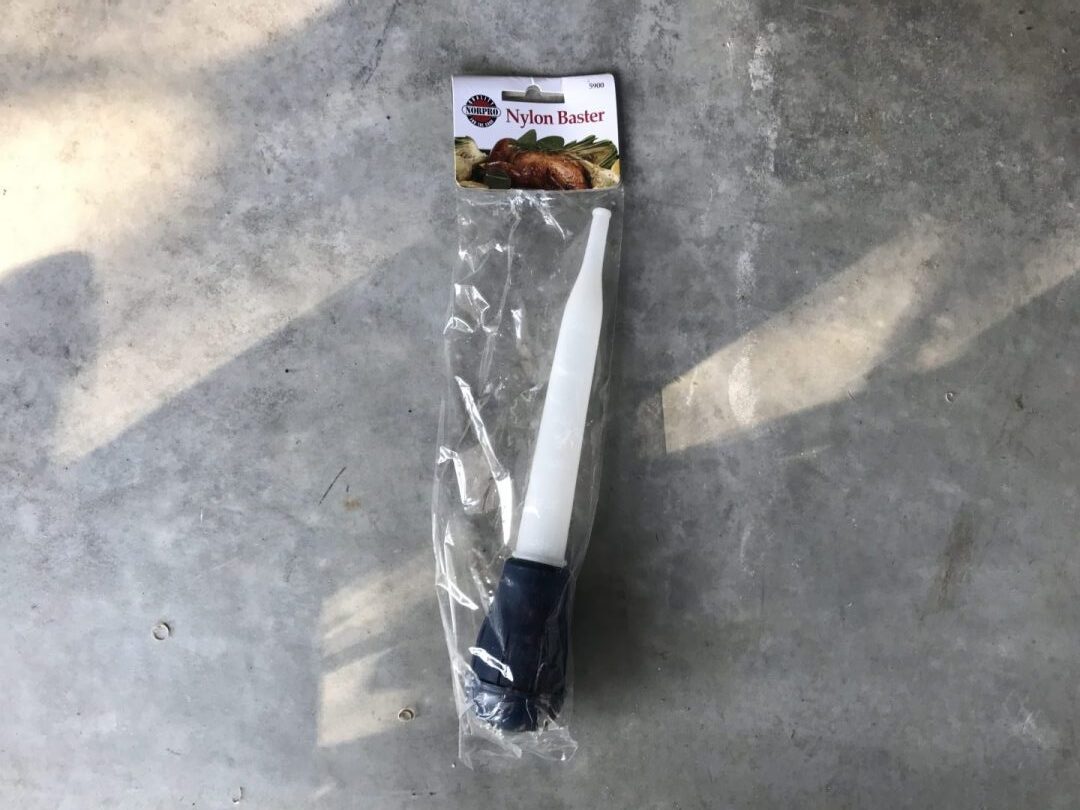
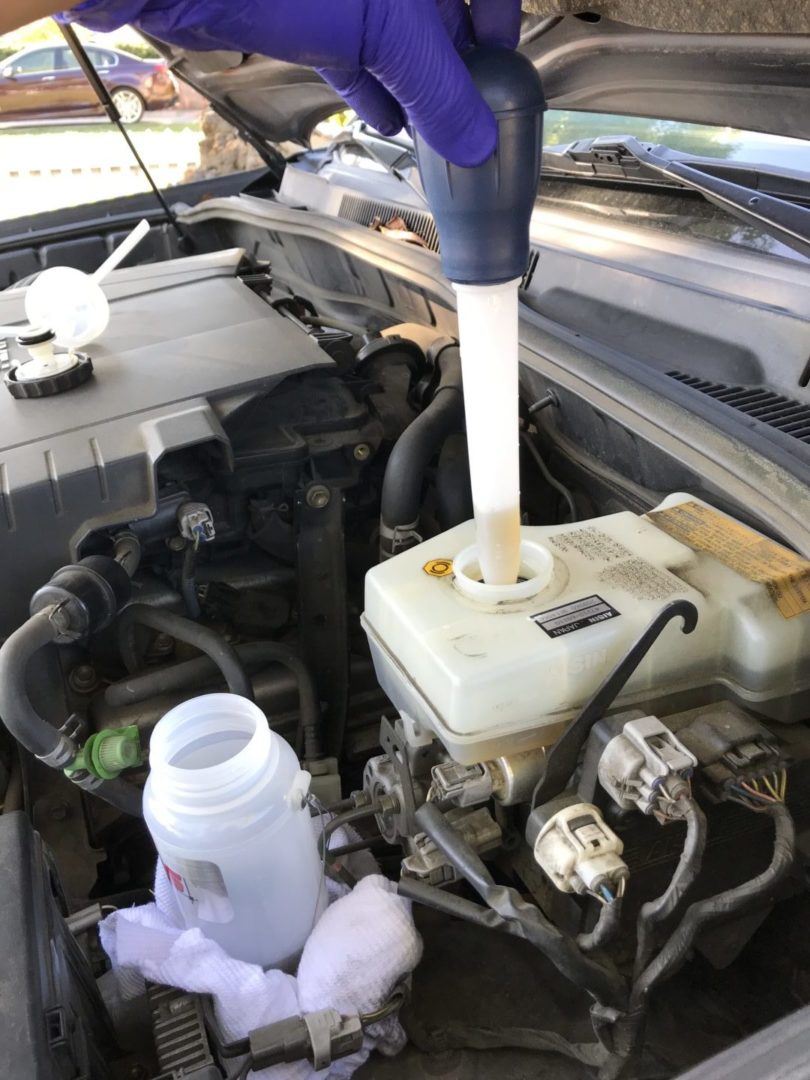
A dedicated fluid extractor can be used to pull existing brake fluid out of the reservoir, but a turkey baster works just as well. In fact, I prefer a turkey baster because I can clean it out very easily. If it does get damaged or unusable, then the product is cheap enough that I can buy a replacement without much worry.
Brake Fluid
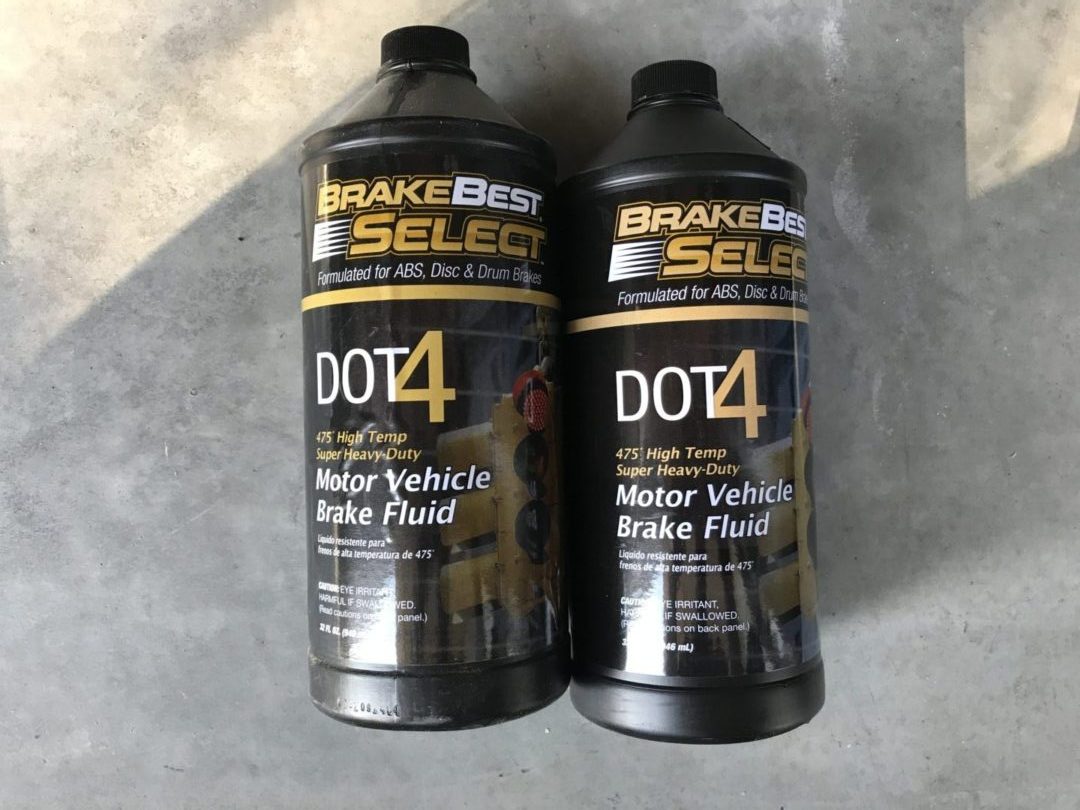
Any brake fluid that is compatible with your vehicle; follow your owner’s manual to ensure full compatibility. My car allows DOT4 brake fluid to be used.
How to Bleed Brakes By Yourself
Before beginning the brake bleeding process, you should ensure that the work that you did (in this case a brake caliper replacement) is complete and that everything has been tightened properly. Essentially you want to be sure that there is no open point in the hydraulic system and that you are fully complete with your work.
Every vehicle is different and heights may vary significantly from vehicle-to-vehicle. In most cases, it is much easier to do this procedure while the wheels are removed. However, some higher clearance vehicles like SUV’s and trucks may have enough room for you to slide underneath and get to the backside of the caliper in order to bleed the brakes, without the need to jack the car up and remove the wheels.
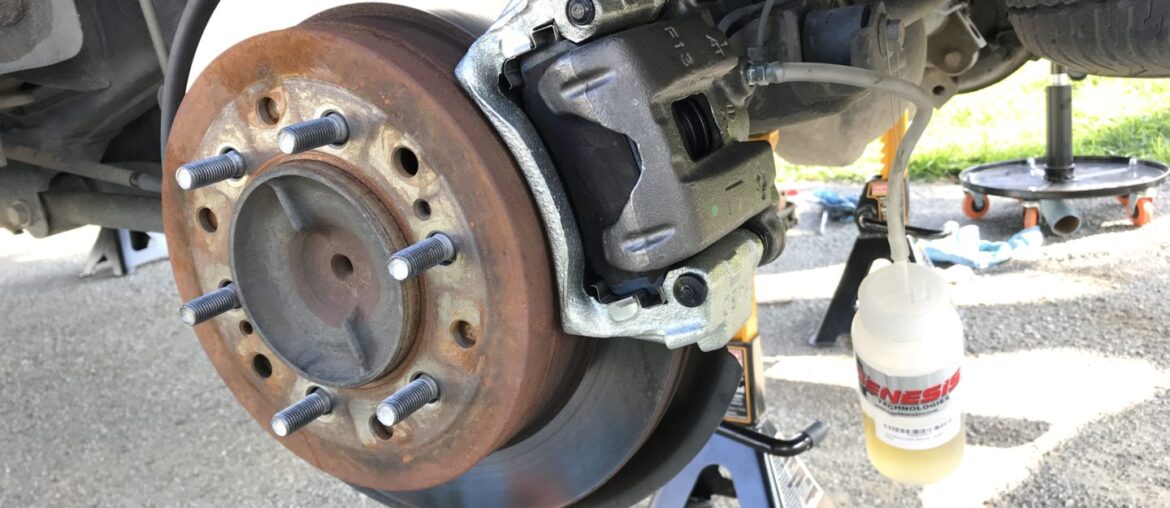
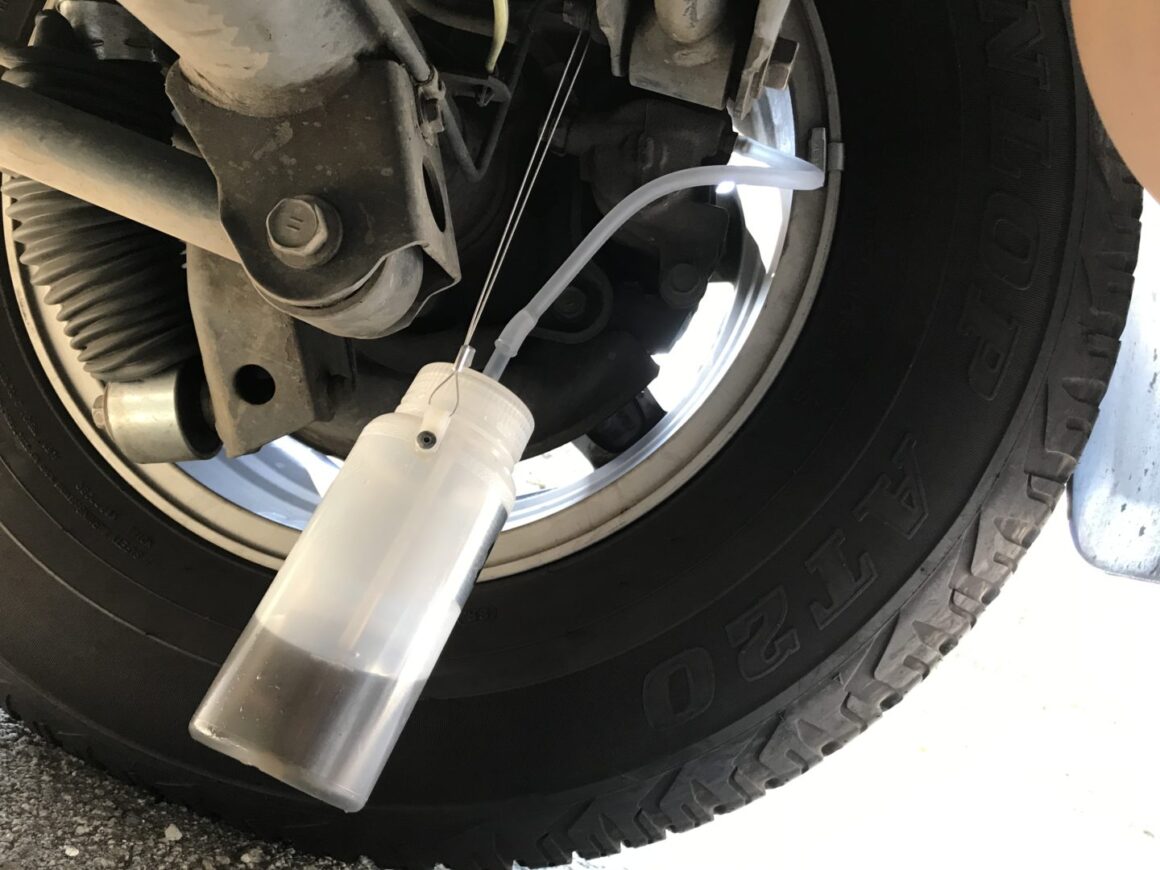
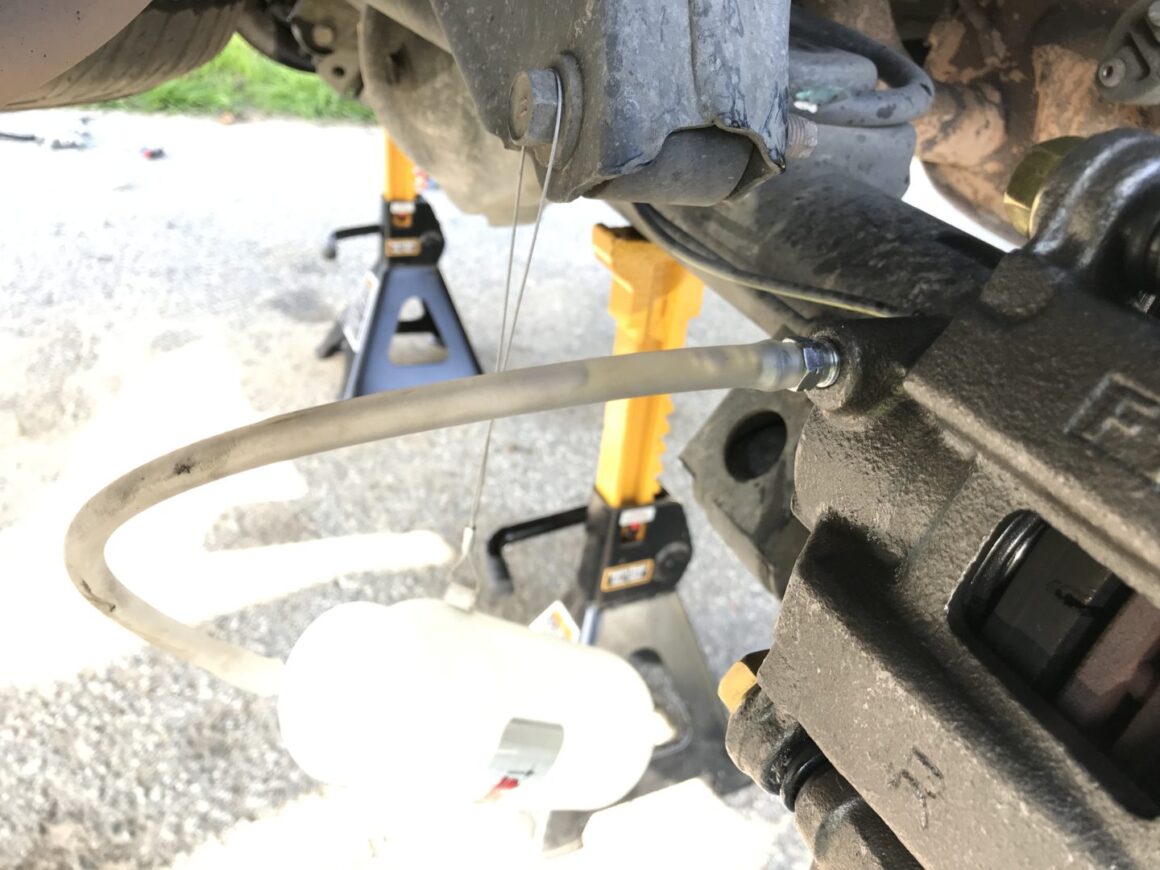
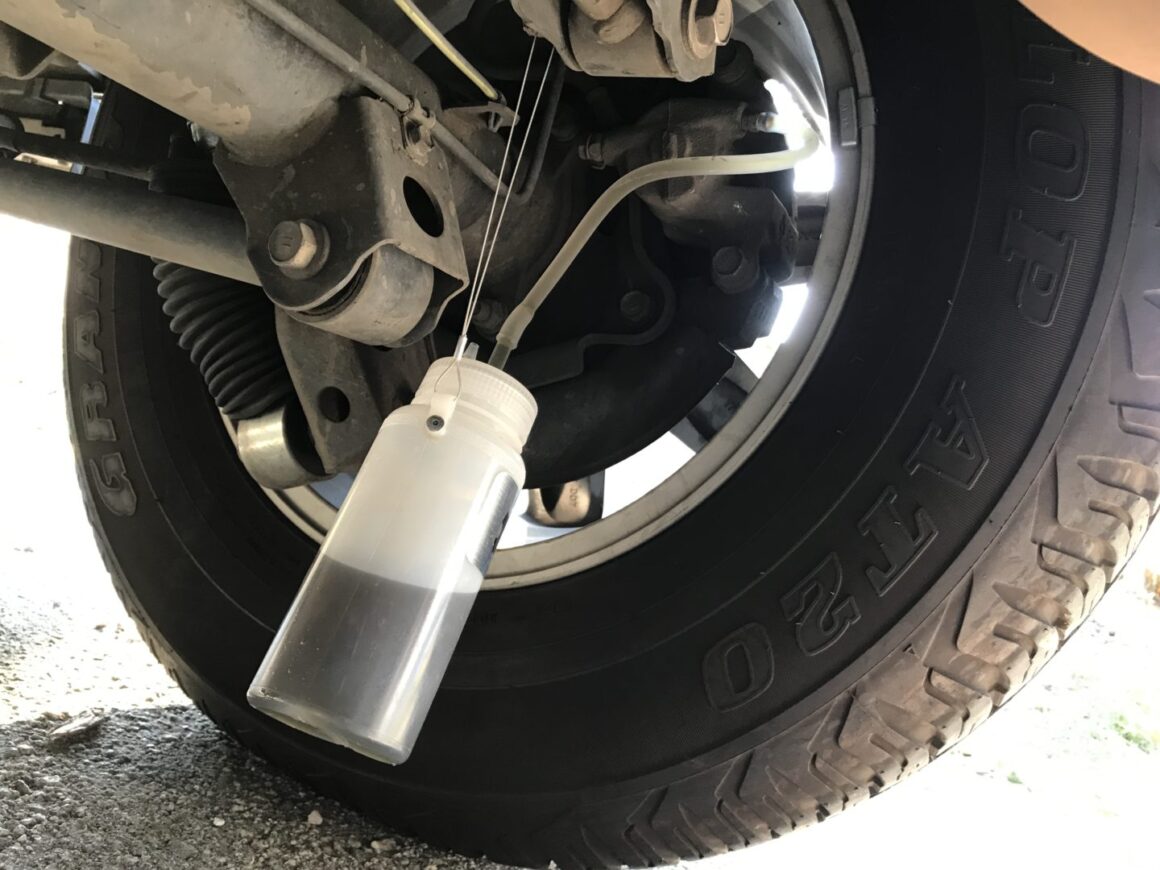
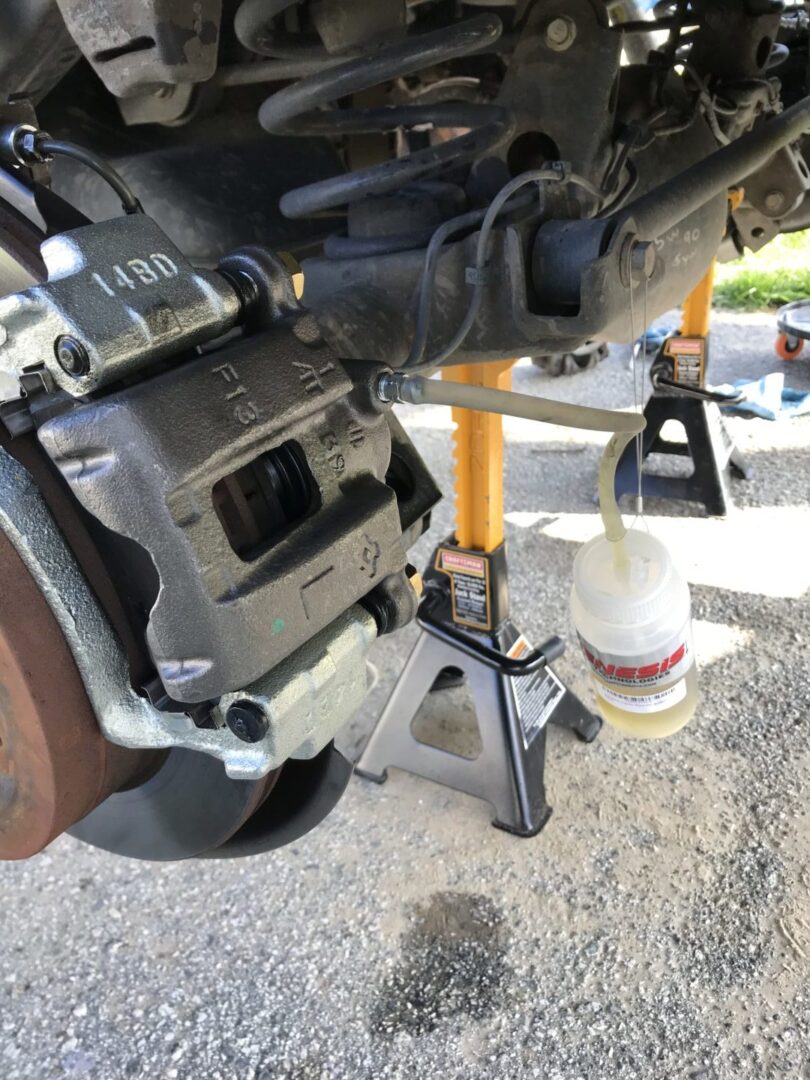
I used this Genesis brake bleeder bottle with a cable mount for this process. There are other options for doing a one-man brake fluid bleed, but I opted for this low-cost option. Essentially, the bottle has a hose which connects to the bleed screw. When the bleed screw is cracked open, the brake pedal can be depressed to push brake fluid out through the hose into the bottle.
Bleeding Sequence
The main method for bleeding the brakes is to bleed the brakes starting from the furthest brake caliper from the master cylinder, and then moving towards it. In most cases, this means starting with the rear right brake caliper, then moving on to the rear left caliper, then the front right caliper, and then ending with the front left caliper. This sequence will provide the most effective brake bleeding possible.
Some people do believe that it is better to start the bleeding process from the location closest to the brake reservoir and moving further and further out, however this is a rare opinion. I simply cannot find a good reason for this line of thinking. Therefore, I stick with the consensus of furthest to nearest.
Imagine a line diagram of the brake hydraulic system. Starting from the brake reservoir and master cylinder under the hood, the brake lines run from the front of the car to the rear with various branches going off to the right and left side calipers. If you were to bleed the nearest caliper first, you may end up reintroducing air at this location while you are bleeding the furthest caliper. Now, if you were to start from the furthest and finish with bleeding the nearest, it is more unlikely to have air reintroduced at the further calipers down the line.
Performing the Brake Bleed
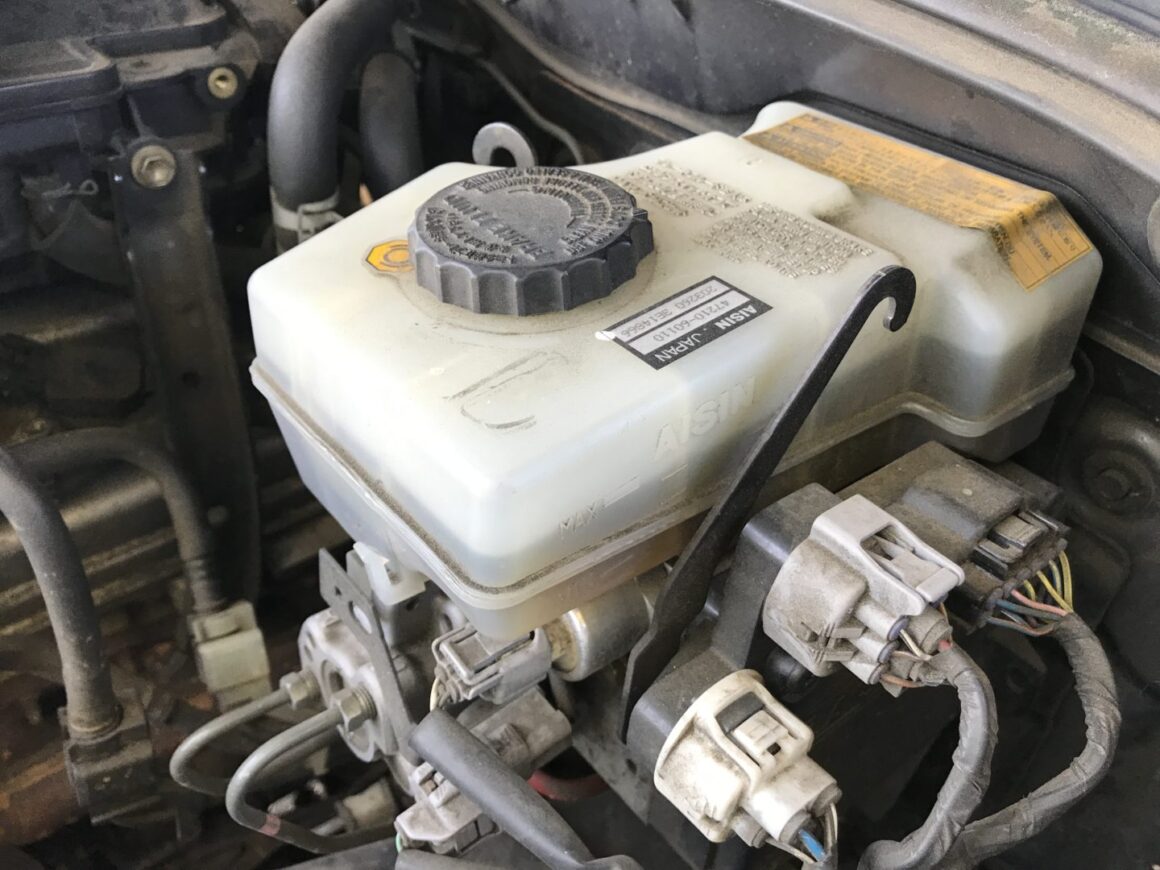
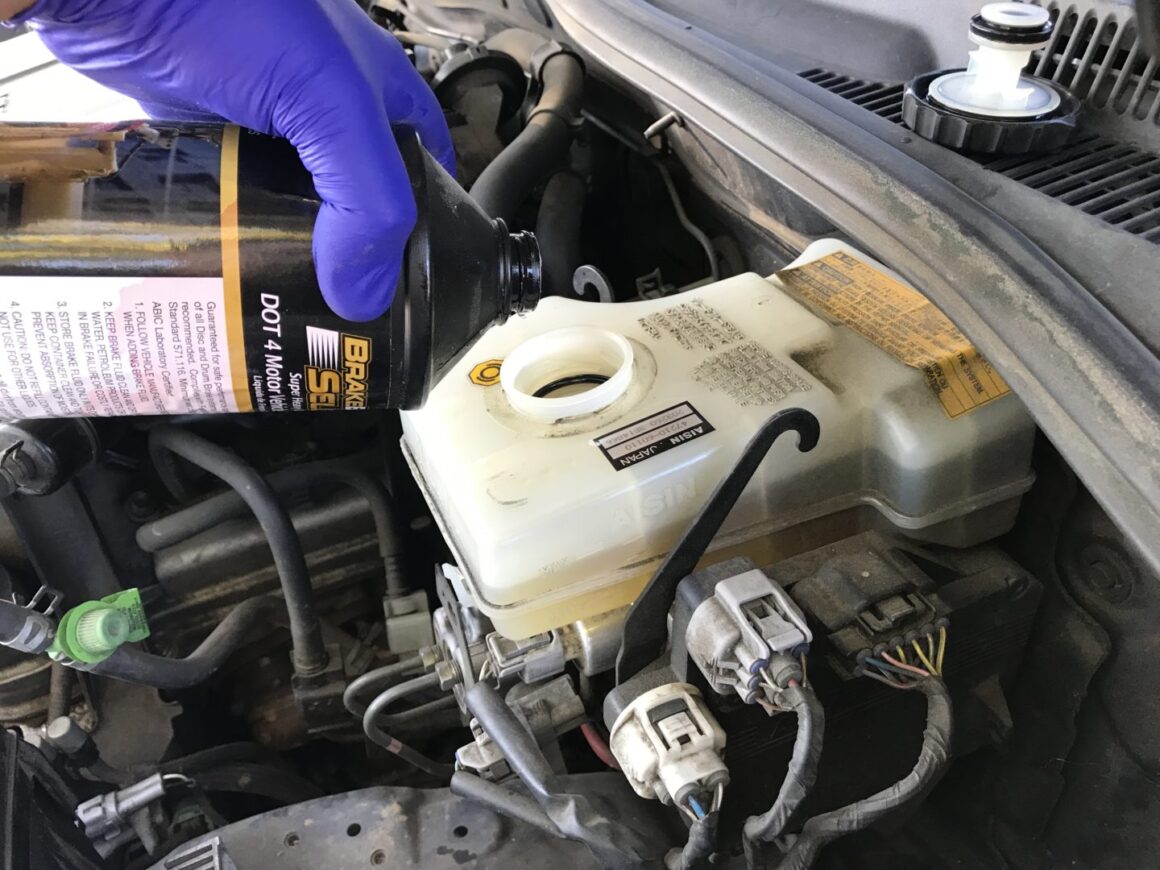
When bleeding all of the brake fluid out of the system, it’s better and easier to extract the fluid from the brake fluid reservoir and refill it with fresh brake fluid before starting. This prevents old fluid from entering the hydraulic lines during the brake bleed. Rather than pumping old fluid through the lines, it’s so much easier to suction it all out of the brake reservoir before starting the brake bleed.
Make sure to have enough brake fluid with you to bleed out the fluid and then some. The last thing you want is to run out of brake fluid in the middle of a brake flush. I replaced all four brake calipers and figured I should have extra just in case. On my 4Runner, I had two quarts on-hand to play it safe. I ended up with a little less than a quart left after my full brake bleed; I’d rather have that than to run out completely.
Open the brake fluid reservoir and clean off the cap and opening with a rag. We want to keep any dirt or debris from falling into the reservoir.
Use the turkey baster (or fluid extraction tool) and remove as much of the old brake fluid in the reservoir.
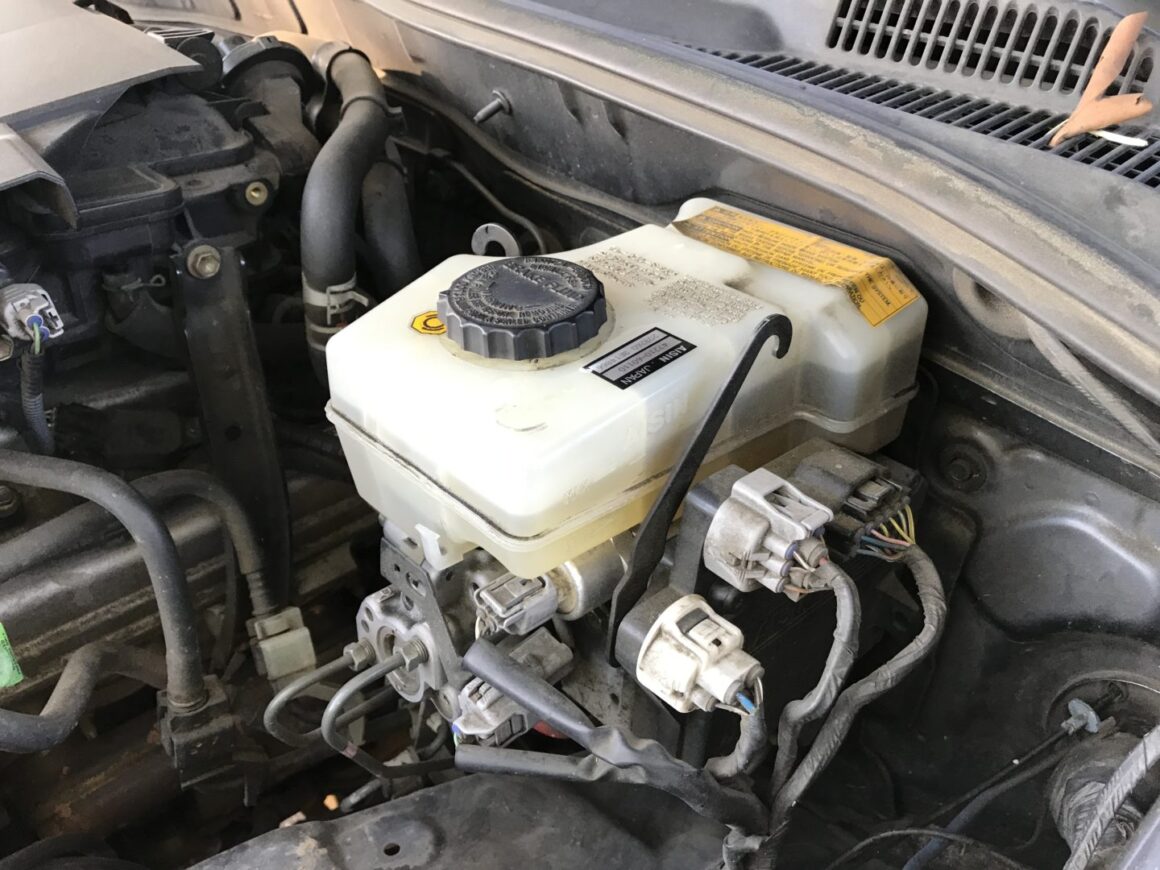
Refill with fresh brake fluid either up to the full mark or even above that mark. It doesn’t matter much as long as you have enough brake fluid in the reservoir. You do not want the brake fluid to run dry while you’re pumping the fluid through, resulting in air being drawn into the hydraulic system. So continuously check on your brake reservoir to make sure there is plenty of fluid.
Start with the wheel furthest from the reservoir (in most cases, the rear right wheel). Fill the bleeder bottle slightly with some brake fluid so that when it is mounted, the tube inside of the bottle is submerged in the brake fluid. This keeps any air from sucking back up the tube and entering the hydraulic lines.
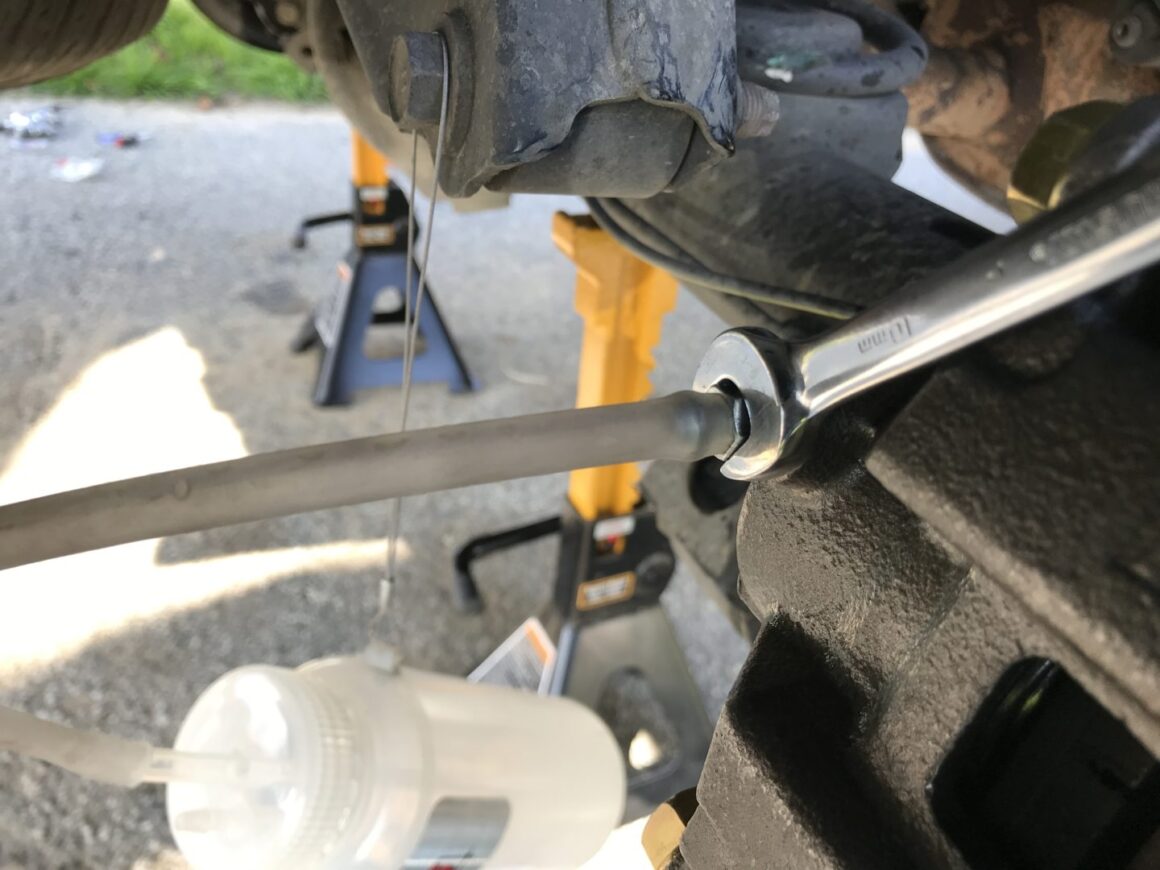
Once the bottle is securely mounted by cable (or magnet if you opted for that version of the bleeder bottle), attach the hose to the brake caliper bleeder screw. Then use a combination wrench to crack open the bleeder screw (usually about a half of a turn).
It is better to use the box end of the wrench rather than the open end because bleed screws tend to be easy to strip. To do this, you will have to fit the box end over the bleed screw, then attach the bleeding hose.
Make sure not to use one of those ratcheting-action box end wrenches for this. Once the ratcheting-action box end is fit onto the bleed screw, hose inserted, and the bleed screw cracked open, you will not be able to re-tighten the screw since it will only turn in one direction.
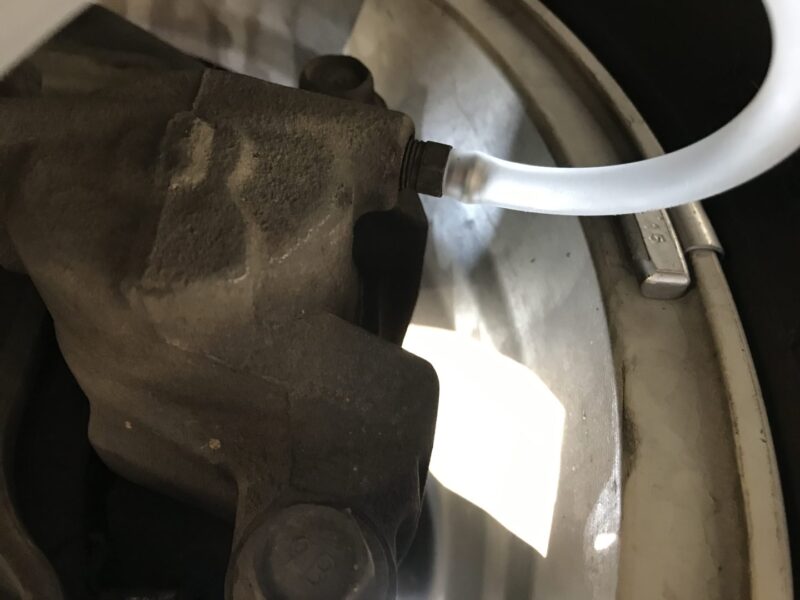
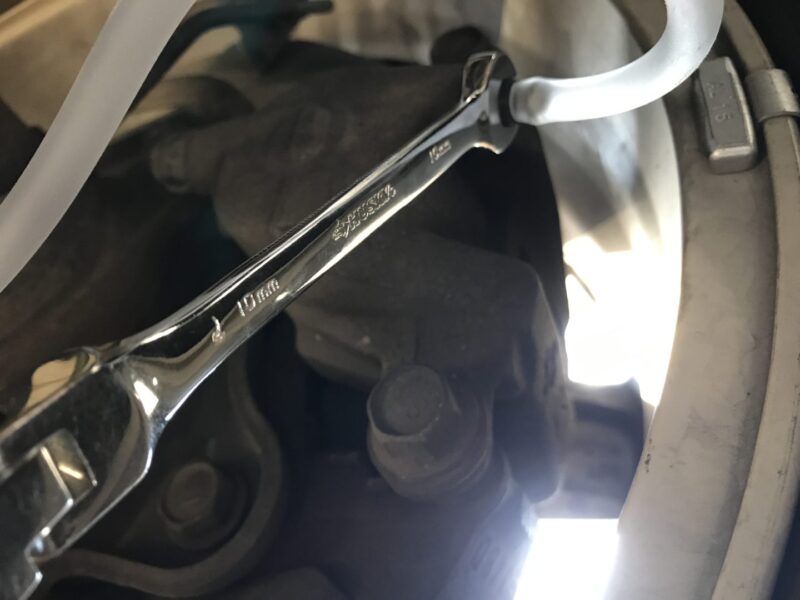
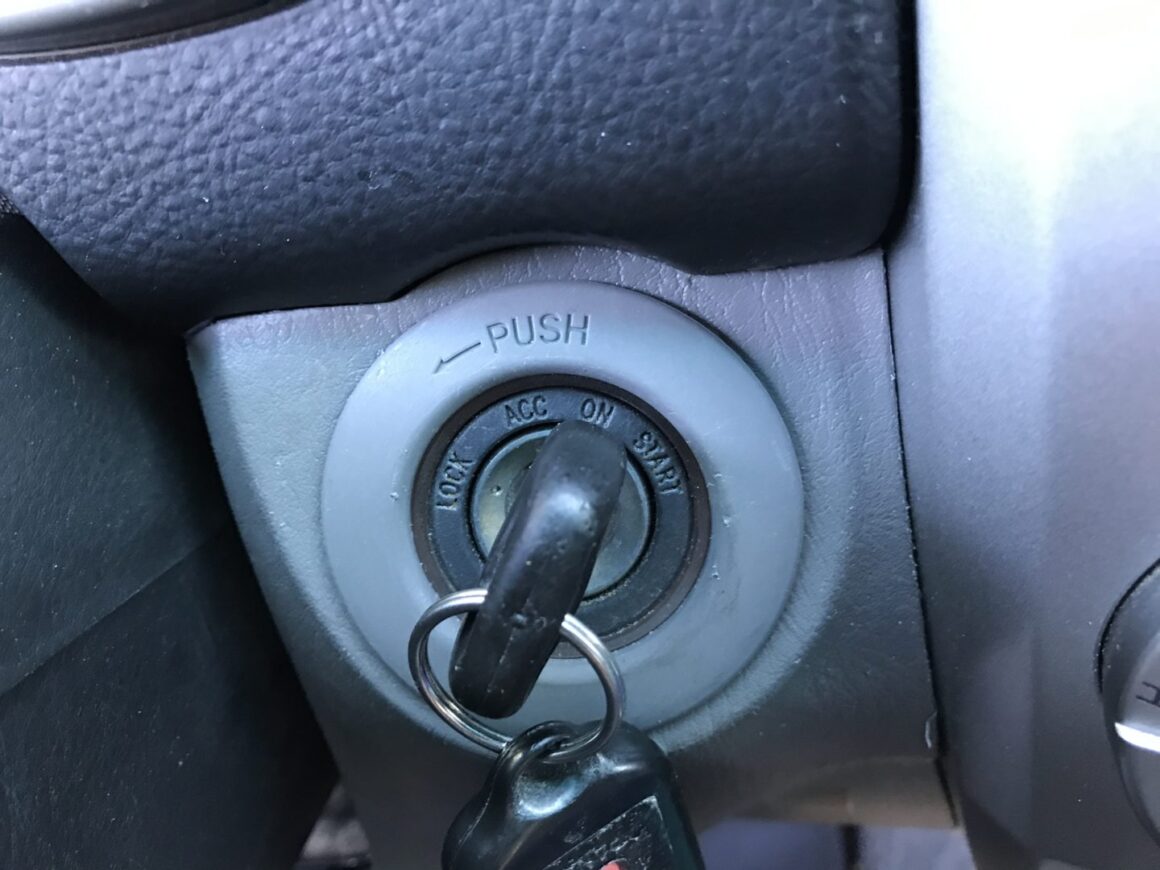
After setting up the bleeder bottle and cracking open the bleed screw, return to the cabin of the vehicle and turn the key to ignition/on, but do not turn on the vehicle. By having the ignition switched to the on position, the hydraulic brake system is activated. This will enable you to pump the brakes using the hydraulic system effectively bleeding your brakes.
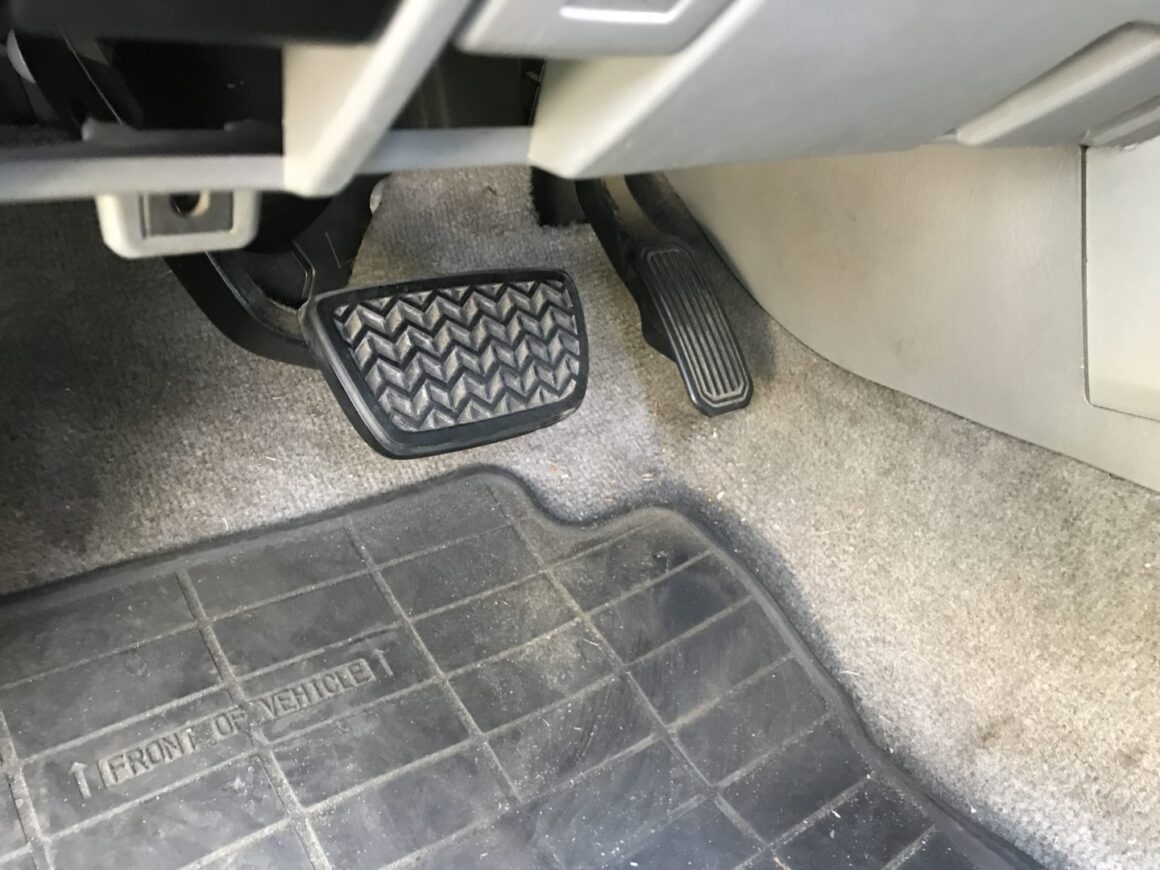
Once the ignition is switched to the on position, but car not started, depress the brake pedal 5-10 times. Make sure to depress the pedal slowly and in a controlled manner. Depress the pedal all the way down with moderate pressure and allow it to come up in a controlled manner.
You don’t want to do it too fast or in an uncontrolled fashion because this may introduce air into the lines. You want to firmly push all of that brake fluid with the depressing of the brake pedal.
After depressing the pedal 5-10 times, go outside of the vehicle and check on your bleed bottle to see how much fluid has come out. You can see if there is air still in the hose that is coming out of the bleed screw. If there’s still air, you will have to continue bleeding.
Once you see that there is no longer any more bubbles in the line after pumping the brakes, then it is likely the air has been purged out of that particular line.
When the hose no longer has any more bubbles, tighten up the bleeder screw, and remove the hose.
Continue moving closer towards the master cylinder with the same brake bleeding process.
When the bottle gets close to being full, pour the old fluid out into a container, but remember to maintain enough fluid in the bottle to keep the internal hose submerged for the next bleed.
Continue to check that there is enough brake fluid in the brake fluid reservoir under the hood and refill as necessary.
Continue until you’ve purged every corner of the vehicle. My brake fluid reservoir is located on the front left of the vehicle. My brake bleed sequence was to start on the rear right, then rear left, then front right, and then finish on the front left.
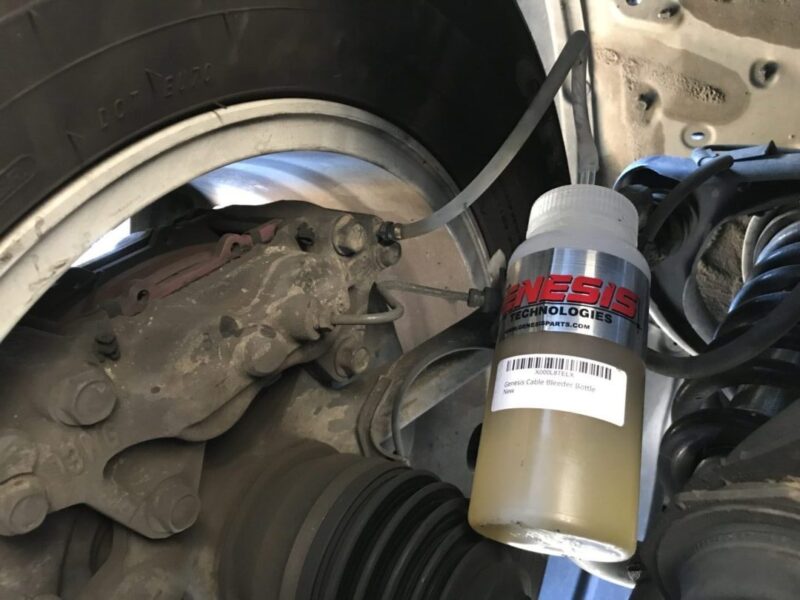
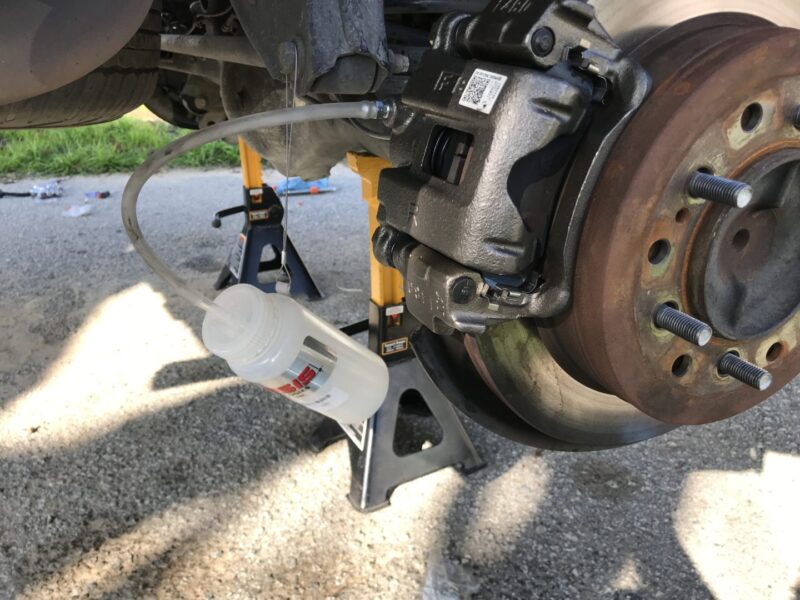
This should take care of most instances for brake bleeding. Double-check that everything has been tightened properly and that you have not forgotten anything. Once the whole brake bleeding is complete, put everything back on the vehicle and lower the vehicle to the ground.
Prior to taking the vehicle out on the road, start slowly and be sure that the brakes are working properly. Then, start out slow on the road and confirm that the brakes are indeed working as they should. If the pedal drops to the floor or the pedal feels incredibly soft, stop immediately and re-inspect what you’ve done. It is possible that there is still air in the lines or something else is wrong. Once you confirm that it is working properly, then you are finished with bleeding the brakes on your own.
Anti-Lock Braking Systems (ABS)
If you have ABS on your vehicle, it is important to keep in mind that there is usually another path for the hydraulic brake line to the ABS system. Following the procedure above will not normally address bleeding this portion of the line.
Typically, there is no need to bleed this line if you have not done anything to introduce air into this section of the line. If you do have air in this portion of the line, you may need a certified shop that can bleed your brakes which includes bleeding the ABS. For my Toyota, this would require a technician with a Techstream Scan Tool to electronically activate the ABS in order to fully bleed the brakes.
If you haven’t touched the ABS portion of your brake hydraulics and have only replaced the brake caliper and hoses like I did, then the standard brake bleed will be sufficient to purge all of the air out of your brake system.

