When you make purchases through links on this site, The Track Ahead may earn an affiliate commission. Also, these posts are based off my own experiences. I am not responsible for any action you take as a result of reading this. Learn More
If you have a cracked bumper and depending on how severe the damage is, you may be able to repair it yourself with a variety of tools and materials. On this tutorial, I’ll be repairing a cracked bumper using fiberglass resin, bumper repair epoxy, and flexible glazing putty. Using each of these various items serves a specific and important purpose.
Although you can use a plastic welding gun to melt staples into the bumper to hold the crack together, you can also use fiberglass resin in conjunction with fiberglass cloth to create a very strong patch behind the bumper. This will provide the strength to hold the crack together, while still offering flexibility as would be needed for a bumper.
Next, the bumper repair epoxy will be used to fill in the larger portion of the crack in the front of the bumper. Because you need something strong enough to fill in the majority of the crack in front, you’ll need the epoxy. This could also be a flexible body filler, but one that is intended to fill the depth of the crack you have. And finally, the flexible glazing putty is used to smooth out the crack in front to prepare it for sanding and leaving a smooth surface to paint over.
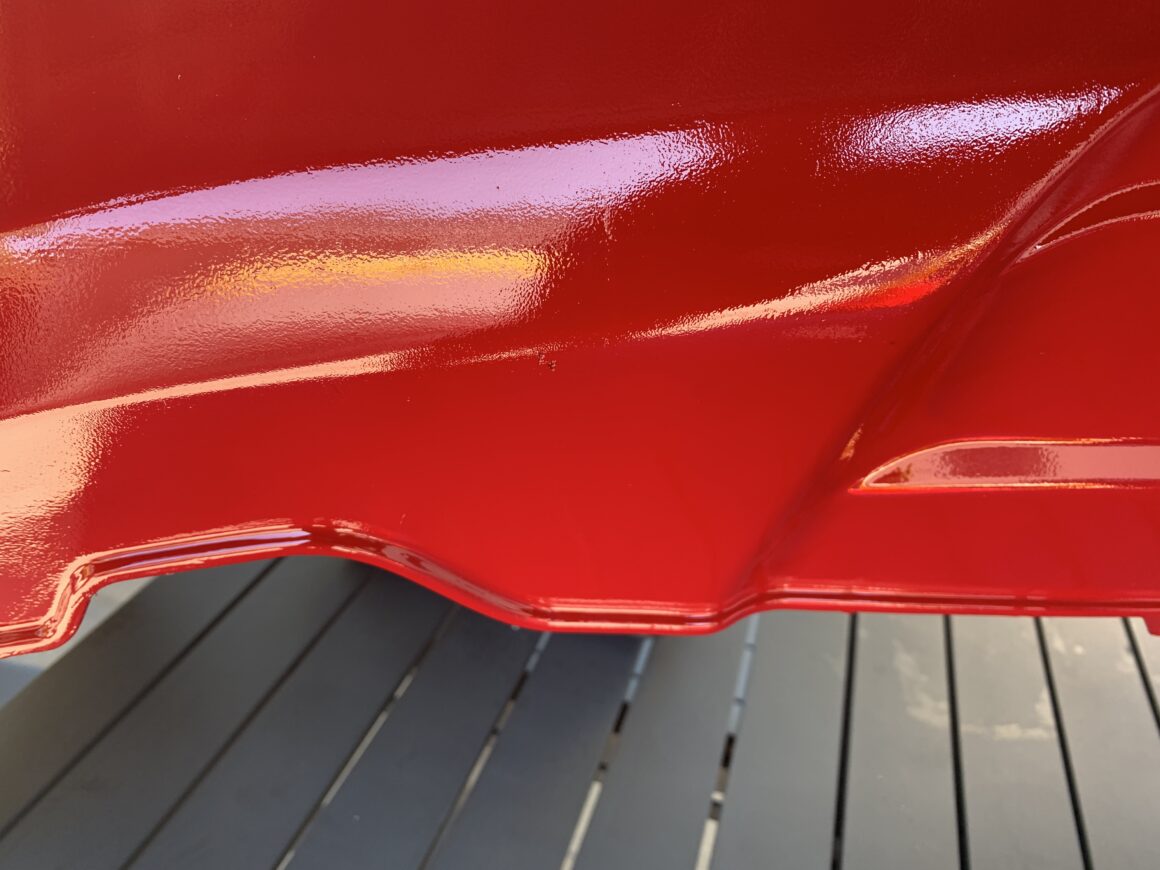
When you’ve done these steps to repair your cracked bumper, you’ll have completed a repair that not only provides the needed strength to keep the crack from separating, but also a huge cosmetic improvement as well. When you’ve repaired your cracked bumper using this tutorial, the repair area will be ready to be prepped for paint.
Tools & Materials Used
Fiberglass Resin Repair Kit
I actually purchased the fiberglass resin and cloth separately and used about 5% of it for this repair. As you can imagine, I ended up with a ton of extra material. Later, I found out that you can simply buy a fiberglass resin repair kit, which gives you more than enough material if you’re dealing with a few cracks or less. It even provides you with a mixing stick and a mini spreader. The fiberglass cloth and resin will be used to strengthen the crack repair from behind the bumper.
Bondo Fiberglass Resin Repair Kit, 00420, 0.45 Pint
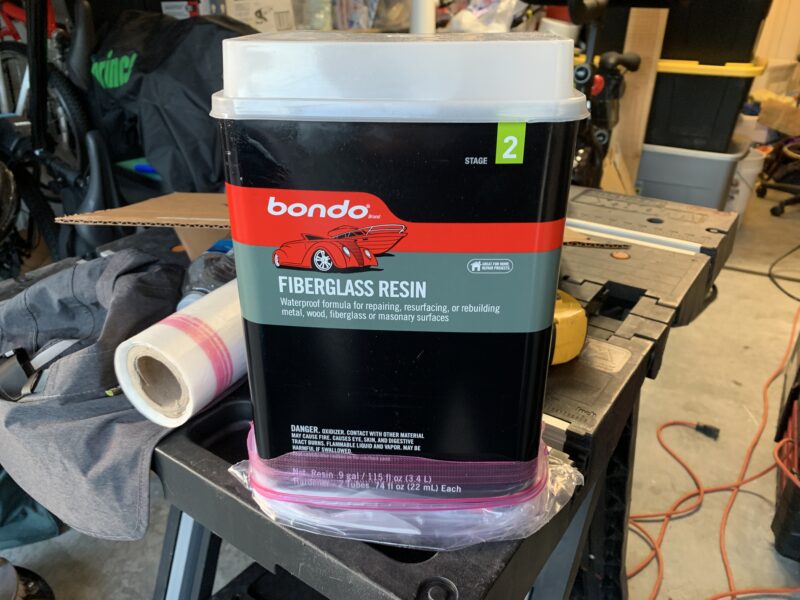
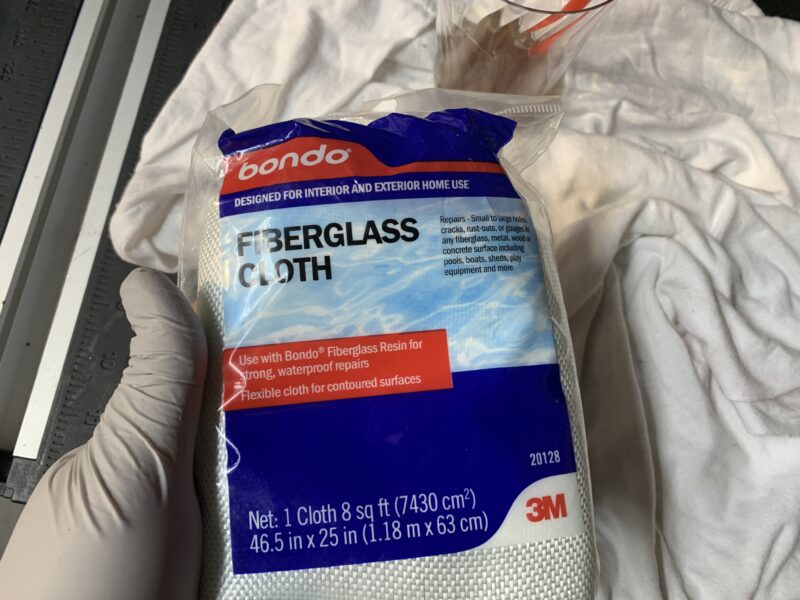
If you’re doing a lot of cracks or you just need more, you can go with the fiberglass resin and fiberglass cloth separately like I did (pictured above).
Bondo Fiberglass Resin, 0.9 Gallon
Bondo Fiberglass Cloth, 8 sq. ft, 1 cloth
Bumper Repair Epoxy
This material alone may be able to fill the crack in the bumper, but it won’t have the strength necessary to hold the crack together—this is what the fiberglass cloth/resin is used for. This bumper repair epoxy is used to fill the majority of the crack at the front of the bumper. Any of these options should suffice for this purpose.
Bondo Bumper Repair Kit
SEM 68422 Bumper Repair
J-B Weld Plastic Bonder
As an FYI, if you wanted to use a repair epoxy that could substitute both the fiberglass resin/cloth and the bumper repair epoxy, you may be able to use something like the following product. It is a repair epoxy that is intended to provide strength both from the back and in front of the crack. The only thing I don’t like about it (and the reason I didn’t use it in this tutorial) is that it is quite a bit of material and it requires the use of a dual-cartridge applicator gun. Together, the cost can be high… however, it may be ideal if you do a lot of bumper repairs.
3M Super Fast Plastic Repair Epoxy
3M Manual Cartridge Applicator Gun
Flexible Glazing Putty
If you use a bumper repair alone for fixing the frontside of the crack, you may be able to get a strong repair, but it probably won’t look that great. If you sand down the bumper repair, it likely won’t leave a completely smooth surface. You will need a glazing putty (one that is flexible since bumpers need to flex); this will fill the small imperfections and level out the unevenness so that when the bumper is sanded and painted, you won’t even notice that there was a repair there to begin with.
Evercoat Poly-Flex Flexible Polyester Glazing Putty – 30 Fl Oz
Mixing Board
A mixing board is a board with many specially-formulated sheets of paper that avoids soaking up resins and solvents. It’s a time-saver if you’re mixing up batches of body filler, but if you don’t want to buy one of these, you can simply use a plastic sheet taped down over a piece of cardboard.
Custom Shop Body Filler Mixing Board Sheets (100 Sheets)
Grease & Wax Remover
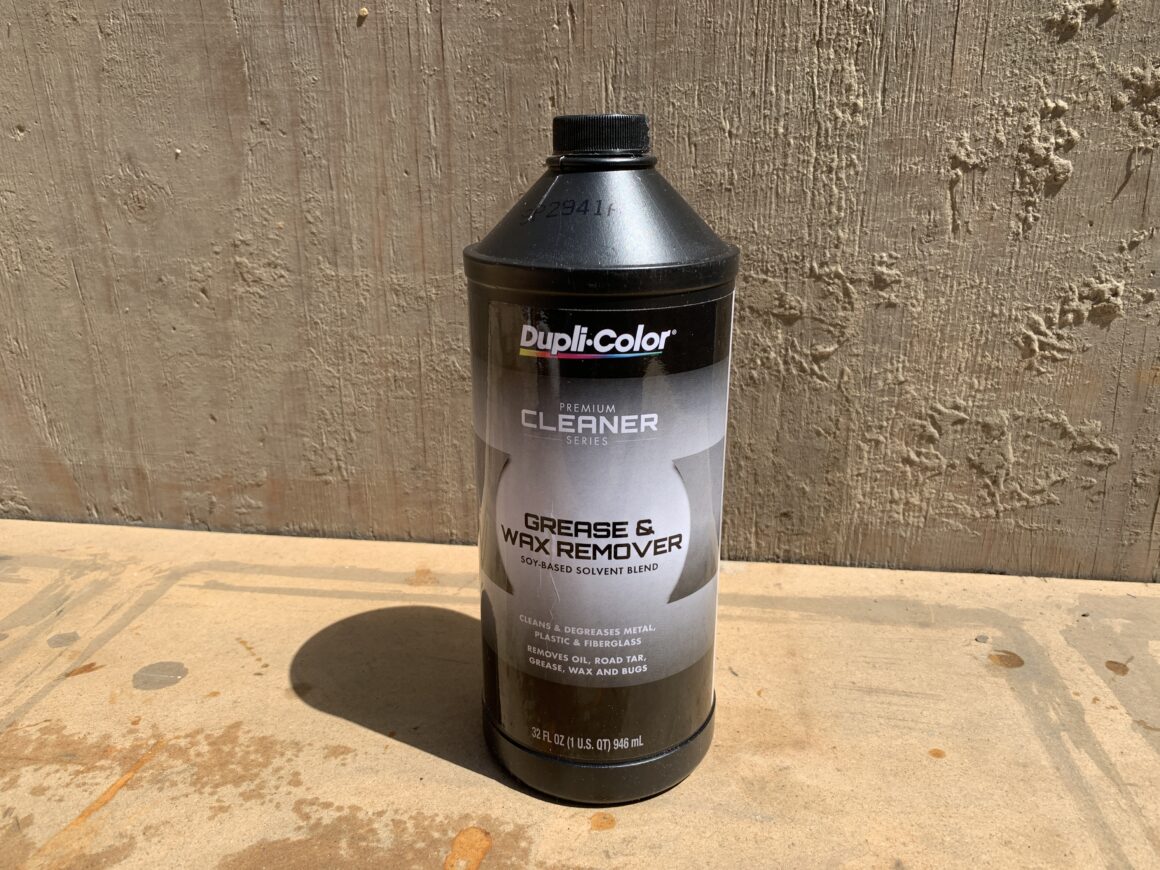
A grease and wax remover is necessary for removing oil-based contaminants. Since you want the best adhesion for your repair epoxies and resins, this will help remove those unwanted greases/waxes that may weaken the bond between the bumper and the bumper repair material.
Dupli-Color Grease and Wax Remover, 32 oz.
Alcohol-Based Cleaner
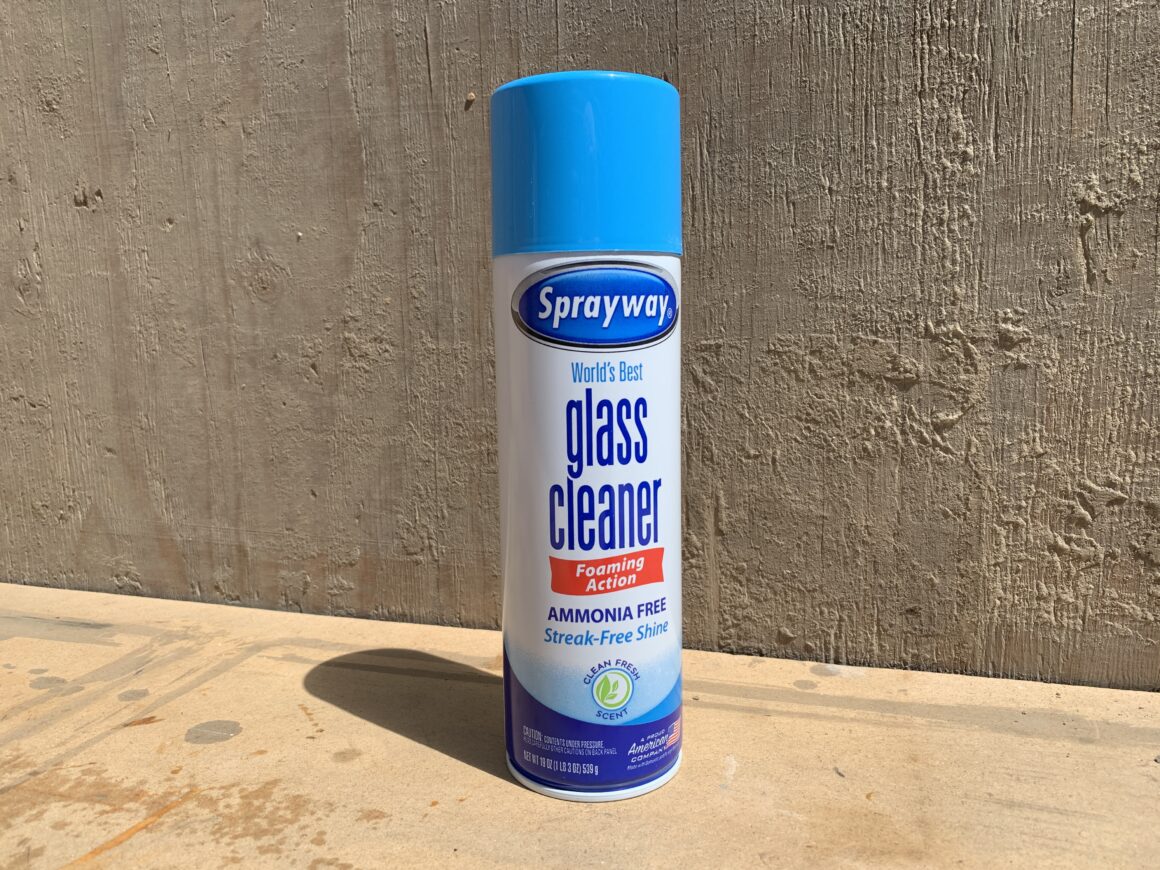
Alcohol-based cleaners are used in addition to grease/wax remover to clean water-based contaminants such as fingerprints, sweat, etc. A popular product in auto body shops is Sprayway Glass Cleaner used for this purpose. Another option that other people use is denatured alcohol.
Sprayway Glass Cleaner Aerosol Spray, 19 Oz, Pack of 2
Heat Gun
If your bumper is simply cracked and has no or minimal deformation, then you probably don’t need a heat gun. However, if your bumper is dented or deformed in addition to being cracked, you’ll need some heat in order to shape the plastic bumper back to its original shape.
Wagner Spraytech HT1000 Heat Gun
Masking Tape and Duct Tape
Duct tape is used to apply to the front of the bumper while you do the structural repair on the backside. However, to protect the front of the bumper from taping duct tape directly to it, you can use masking tape as a buffer between the duct tape and the bumper.
3M Multi-Use Colored Duct Tape Blue, 1.88 Inches by 20 Yards, 1 Roll
Gorilla Duct Tape, 1.88″ x 50yd, Black
Dremel Tool with Cone Attachment
A Dremel tool with a cone attachment is ideal for grinding down the crack itself. I’d imagine you’d be able to do this with something like 80-grit sandpaper, but it’s going to take a lot of elbow grease to do this by hand. The cone tool with the Dremel made it extremely easy to enlarge the crack and prepare it for the repair.
Dremel 4000 Variable Speed Rotary Tool Kit
Sandpaper
After repairing the front of the bumper, you’ll need to sand down the material to get it smooth. Usually this requires 80, 180, 320, and 400-grit sandpaper to get it ready for primer/paint. Personally, I used separate 80, 180, 320, and 400-grit rolls made by Dura-Gold, but if you don’t mind having extra for other projects, then having the rolls for each grit is incredible useful. Also, I’ve found the quality of the Dura-Gold sandpaper to be really good; they sand really well and last a respectable amount of time before wearing down.
Search Amazon for 80, 180, 320, 400-grit Sandpaper Sets
Sanding Blocks
Sanding blocks should be used behind the sandpaper for uniform sanding and to produce a smooth and even finish. This Dura-Block set provides you with plenty of different shapes and sizes for the majority of the bumper.
Dura-Block 6-Piece Sanding Block Set
Since bumpers have a lot of curves to them, it does help to have a softer pad in addition to the more firm sanding blocks such as the Dura-Block ones above. I’ve found these sponge pads to be ideal for sanding around the difficult shapes of the bumpers.
3M Wetordry Sponge Pad 20, 05526, 5 1/2 x 2-3/4 in x 3/8 in
Inspecting the Crack in the Bumper
The first thing you should do before anything is to take a good look at the crack in your bumper. Look at it from various angles and get a good sense of what will actually be needed in order to get the bumper to its original condition. You might need to clean the area to get a clear view of the crack in the bumper.
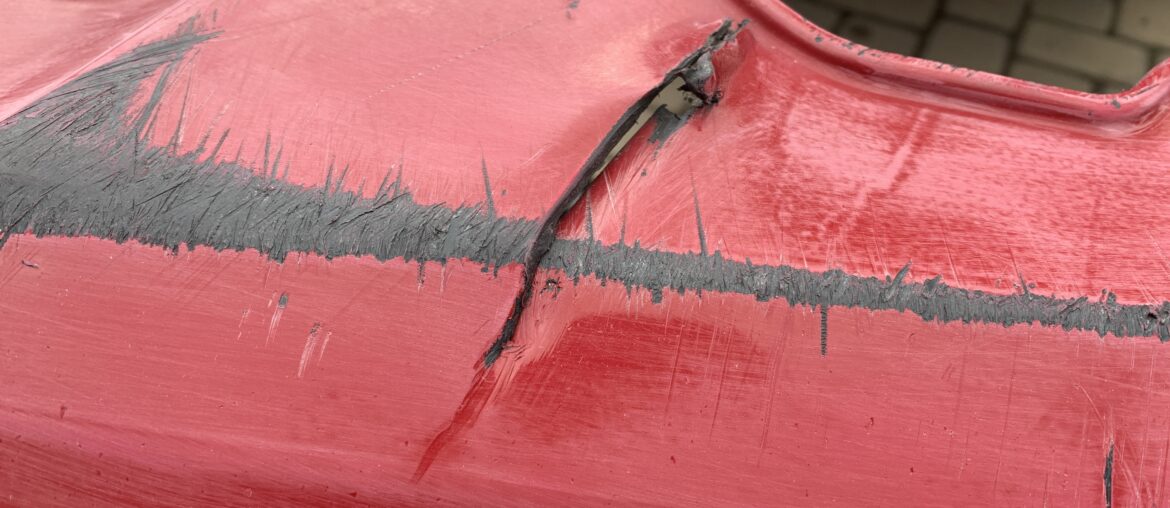
For the example I’ll be using on this tutorial, I will be fixing this one crack on the bottom-side of the bumper. If you look head on, it just looks like a normal crack, but if you take a look from the side, each side of the crack has pulled apart laterally from one another.
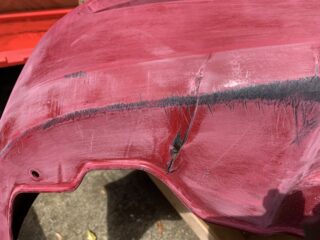
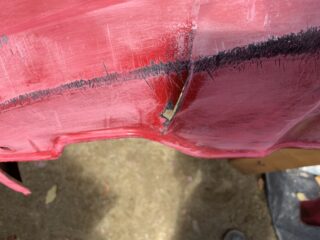
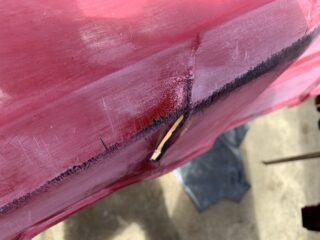
Each person may come across a different type of crack, so it’s important to inspect the bumper and make note of what needs to be fixed. Keep in mind that modern day bumpers are made out of what we’ll call plastic (in actuality they are made out of thermoplastic olefins.) Therefore, repairs to bumpers usually require a structural repair to strengthen the majority of the crack, and then an application of flexible body filler to smooth out the repair to prepare it for paint.
How to Repair a Cracked Bumper
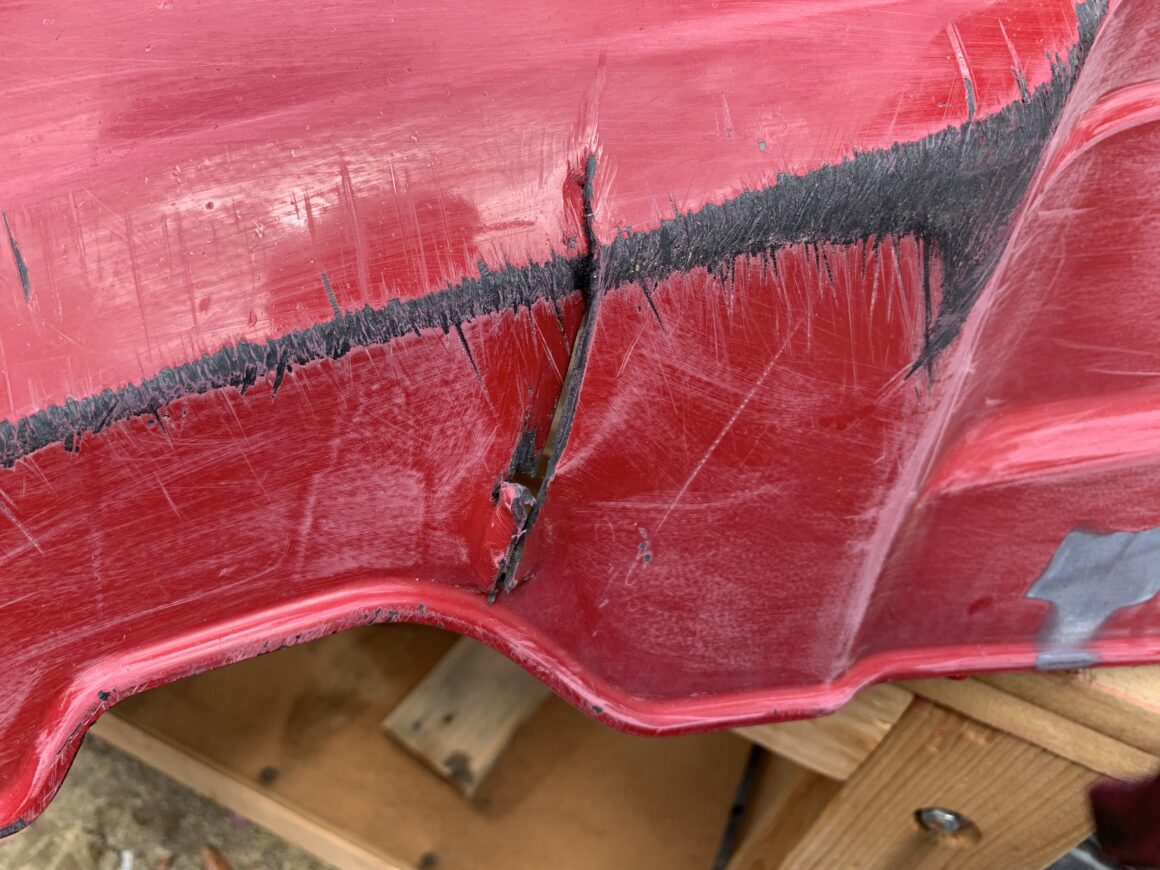
This is the crack that we’ll be repairing on the bumper. For this bumper, I actually repaired the entire bumper’s scuffs and scratches, but I’ll be focused on repairing this crack specifically and how to get it ready for paint.
It may be possible to repair a bumper while it is still on the car, but that will depend on how much access you have from behind and underneath the bumper. Usually, you won’t have that much room to work with. It’s far easier to remove the bumper from the car. These bumpers are usually held on with a variety of bolts and clips located on top of the bumper (and under the hood), the bottom of the bumper, and on the sides situated in the wheel well.
Wash the bumper with dish soap and a microfiber towel so that there are no waxes or additives that are left behind from washing.
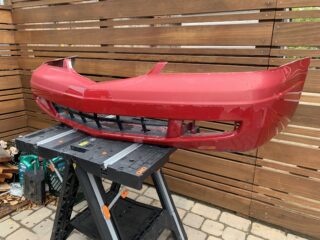
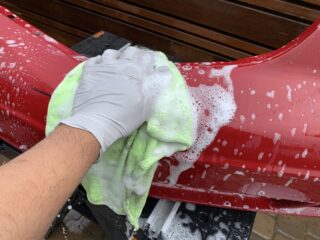
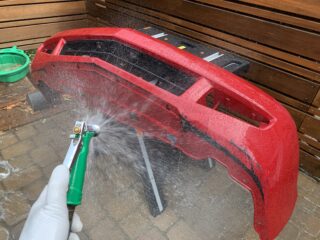
Once the bumper is dry, check the damage again. It’s possible you may spot other damage on the bumper now that it’s clean. Since the bumper is now clean, look to see if there is any other damage on the bumper that you didn’t spot before.
On the crack in my bumper, I noticed that it was held open laterally on its own somehow. I realized that it needed to be pushed back together so that the crack wasn’t opened up as big as it was. So, I pushed it back together with my hands and pushed with the metal end of a hammer to get it back into place.
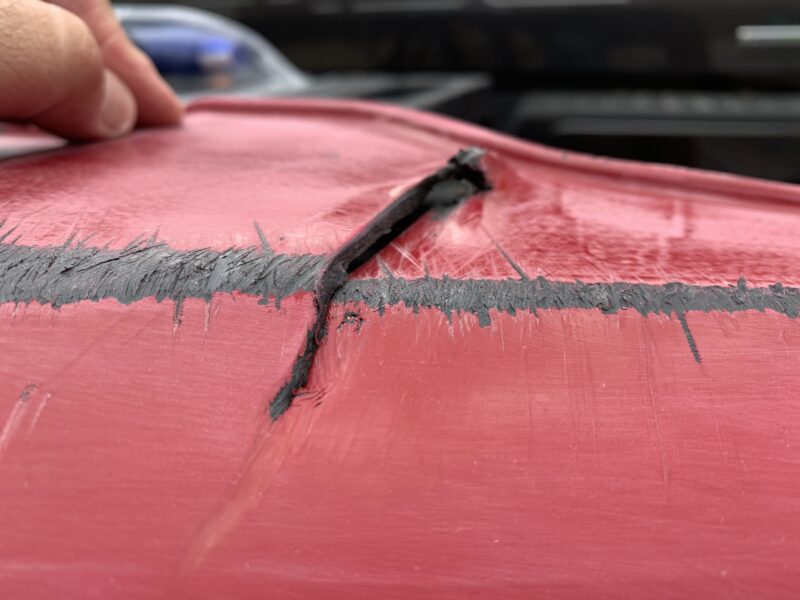
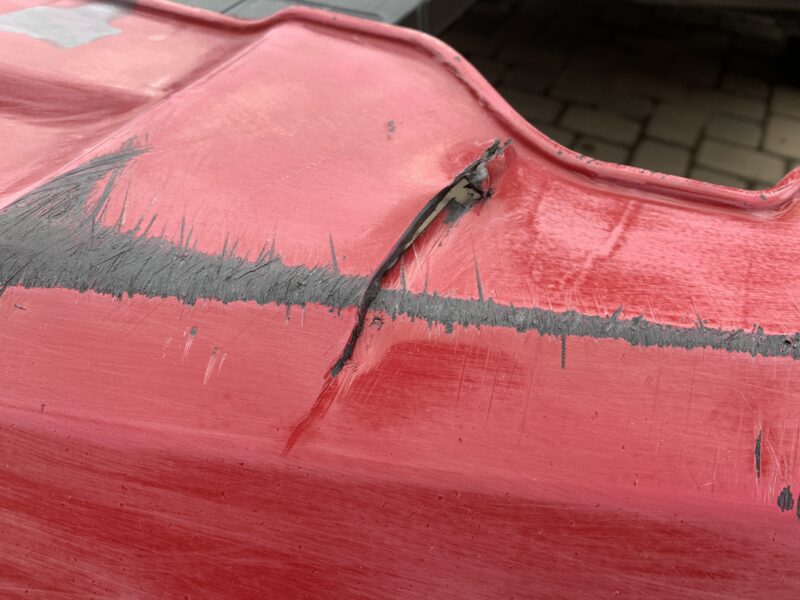
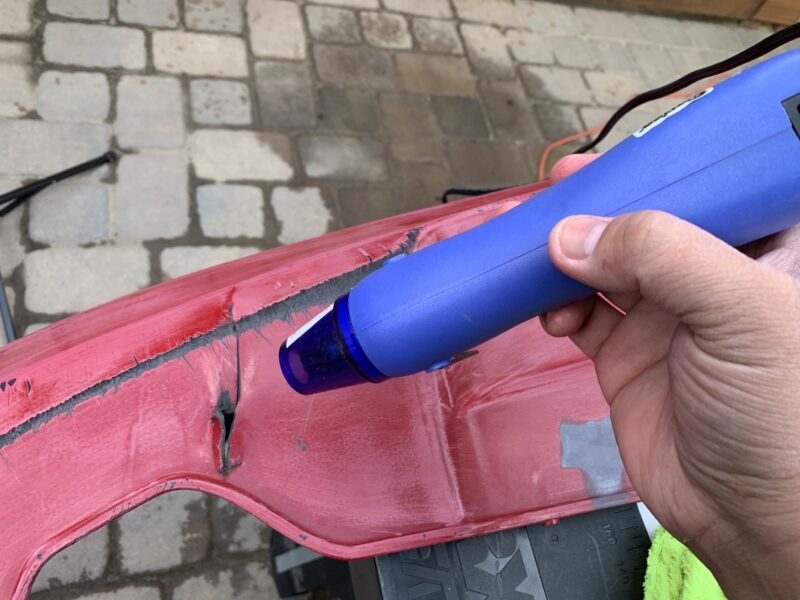
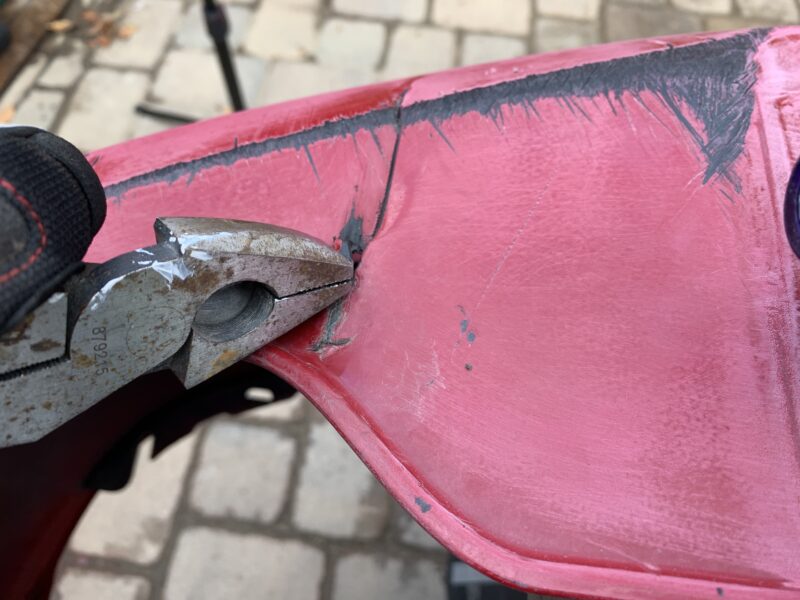
If your crack is simply just a crack and has no ridge to it, then you can probably skip the next step. However, if your crack has a ridge or isn’t flush to the rest of the bumper, you will need to use heat and massage the crack so that it is flush with the outer portion of the bumper. This reduces the amount of body filler you will need later on the front of the bumper.
Use a heat gun and ideally some body shaping tools (basically metal hand tools that will press against the bumper) to shape the damage area. However, I simply used a heat gun with something firm like the metal end of a set of pliers to shape. I’d imagine a hammer would work as well.
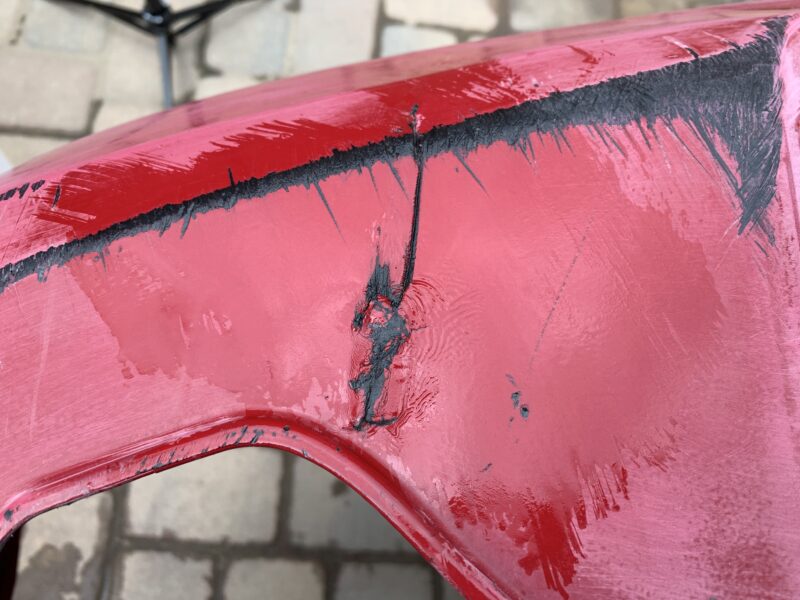
If the damage area is recessed into the bumper too much, then you may need to heat from the inside of the bumper and press out so that the damage area is flush to the outside of the bumper. If the damage area is bulging outwards like mine was, then you’ll need to use heat and press inwards so that the surface is flat. This won’t be perfect, but you want to do as much physical manipulation as you can so that it you’re not using a ton of body filler on the face of the crack later.
Body filler isn’t meant to fill very large depths during a repair, but a bumper repair epoxy is. Therefore, it’s better to keep the front of the repair as flush to the outside of the bumper and to provide the structural strength via the fiberglass resin/cloth from behind.
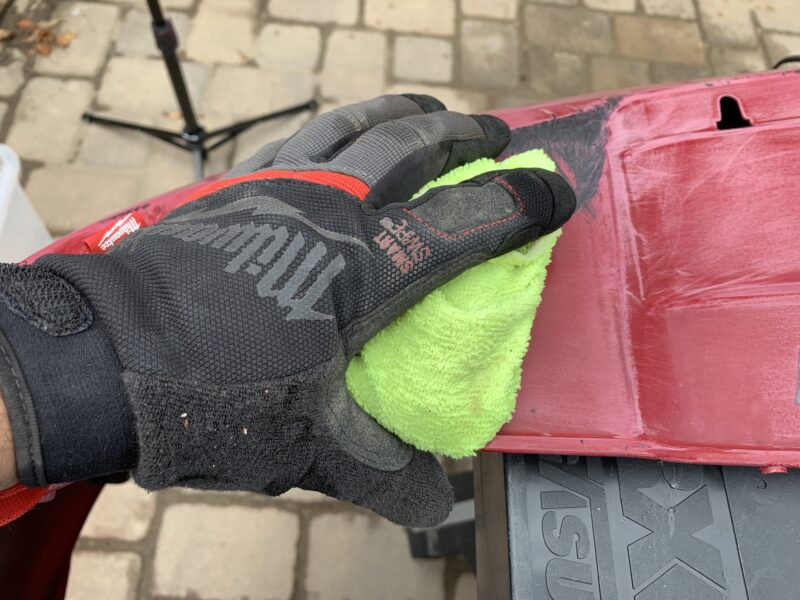
I’d like to point out that applying heat to a bumper doesn’t just make it more flexible, it literally melts the bumper material. Keep that in mind when shaping the bumper with your metal tool of choice. Finally, when you’ve gotten the face of the crack to be flat with the rest of the surrounding area, use a rag soaked with tap water and apply it to the area. This will hold the desired shape so that it doesn’t move or flex back to the previous shape.
Now, we’ll need to reinforce the crack from the inside of the bumper. First, use some masking tape to cover the crack and surround area, and then use a stronger duct tape (I used Gorilla Tape) over the masking tape to strengthen the patch. This will more or less hold the bumpers shape while you reinforce it from the inside. The tape also acts as a backing for the fiberglass resin to form to.
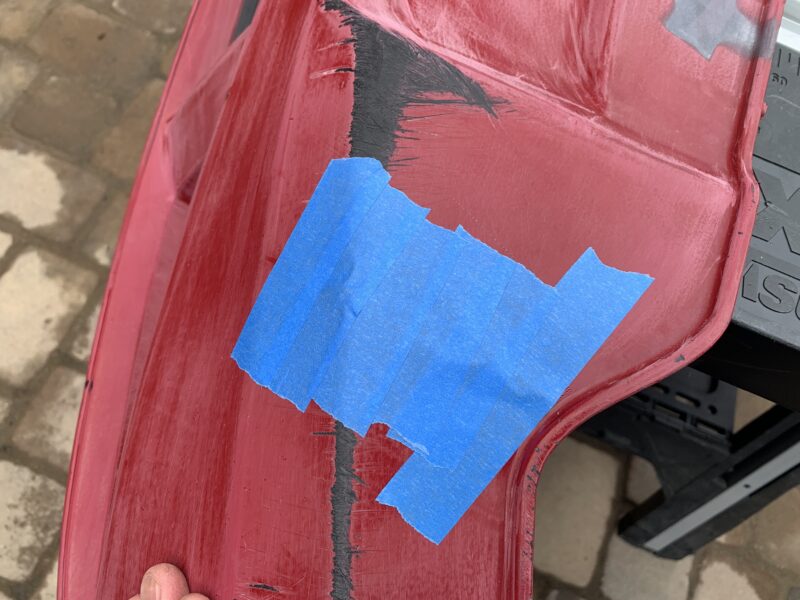
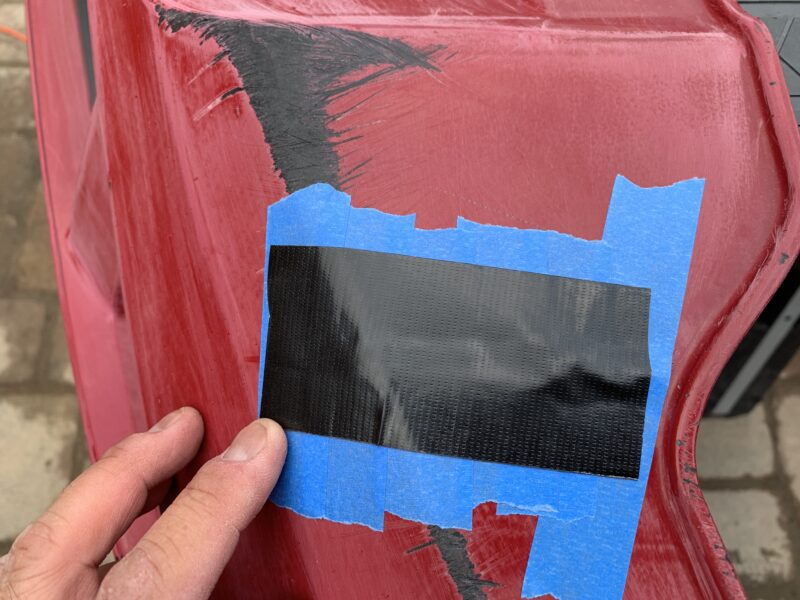
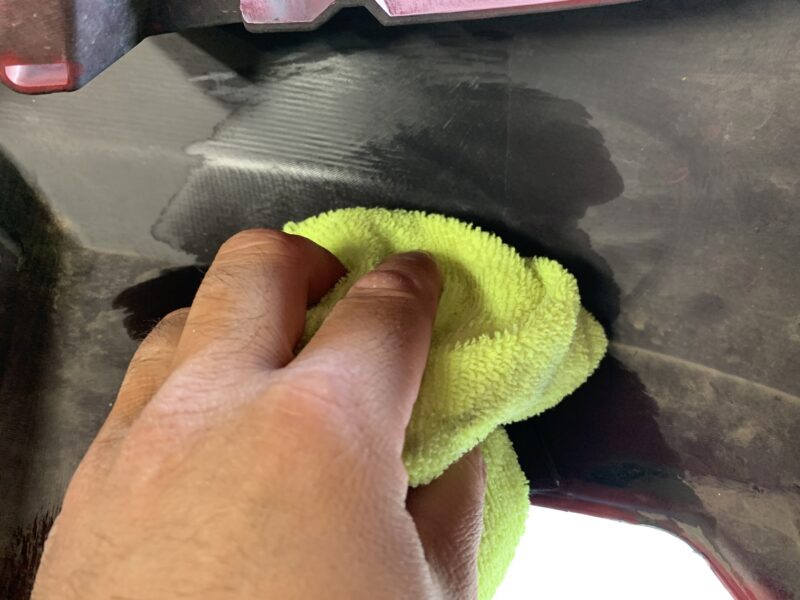
On the inside of the crack, clean the area thoroughly. It’s best to use a grease and wax remover as well as an alcohol-based cleaner. This will ensure the area is completely cleaned of waxes, grease, fingerprints, etc.
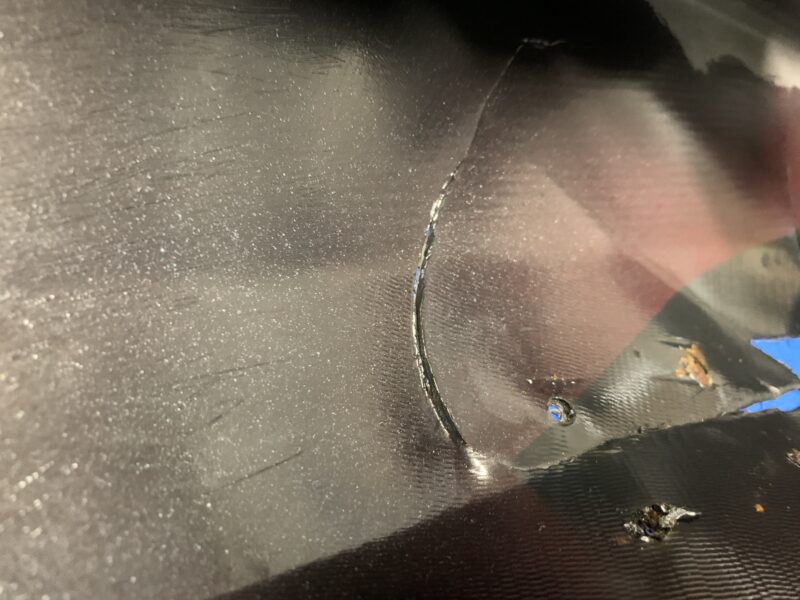
To reinforce the crack from the inside, you’ll need to enlarge the crack itself. This can be done with a Dremel using a sanding cone attachment. The surrounding areas of the crack (at least an inch out) should be sanding down with 80-grit sandpaper. I also used a Dremel sanding disc for the surrounding areas as it is much quicker than sanding by hand with sandpaper.
You can probably do all of the sanding this by hand, but it will take more effort as it’s difficult to sand plastic with sandpaper. After all sanding, blow the area off of debris and clean again with a alcohol-based cleaner.
Keep in mind that if you don’t enlarge the crack, then you have little space within that crack to apply repair material to. The more space you have between the crack, the more area you can fill it with fiberglass resin and cloth to make a stronger and more durable repair.
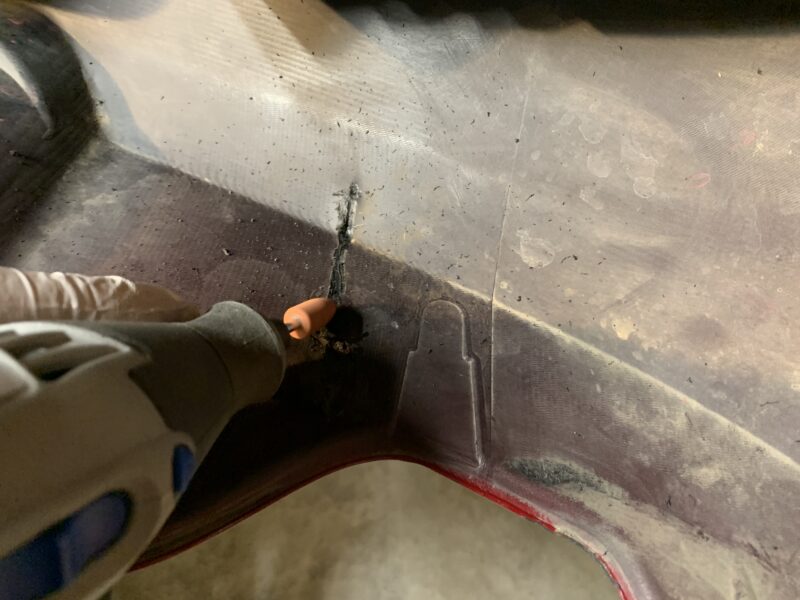
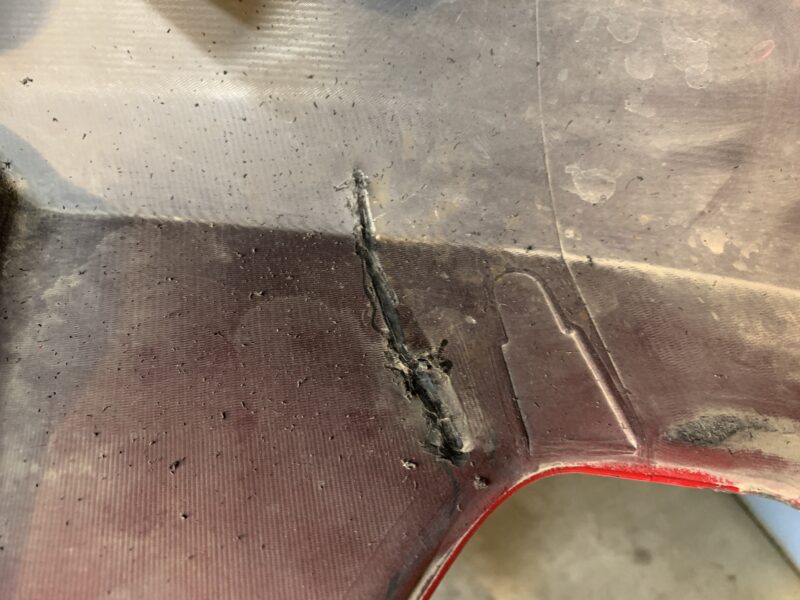
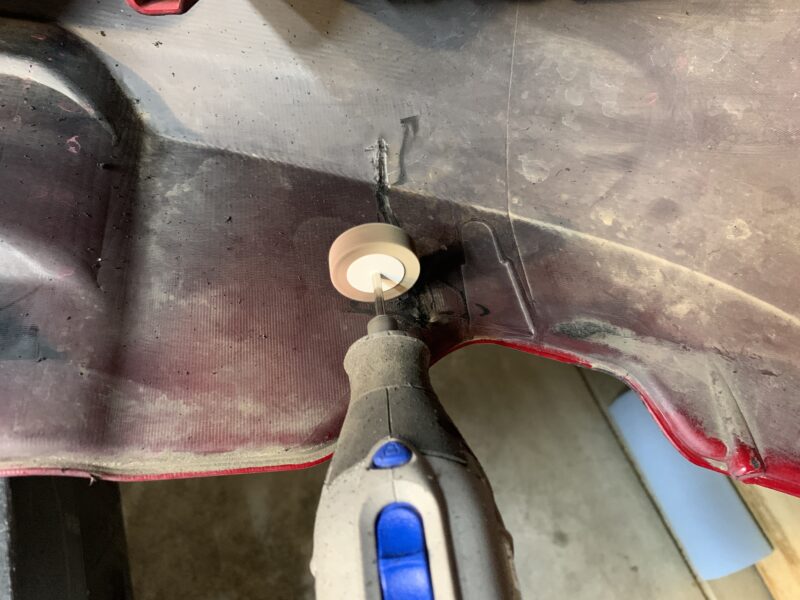
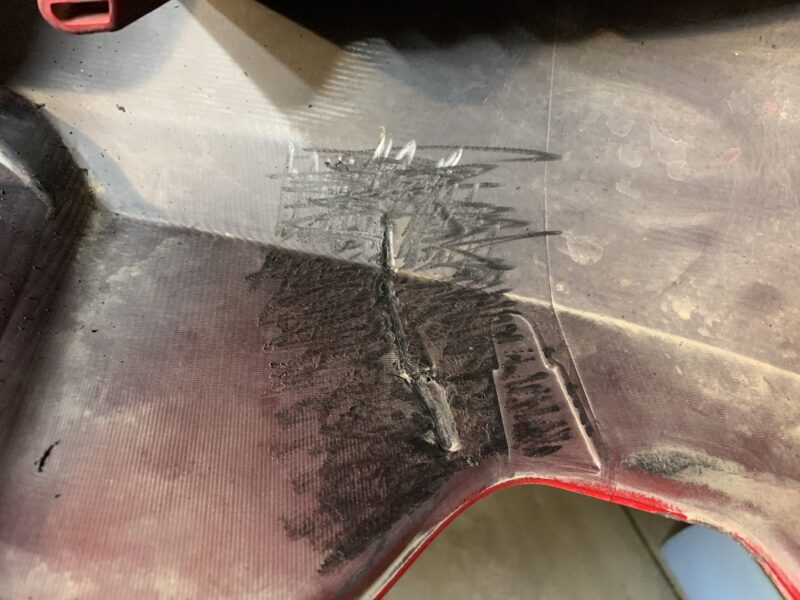
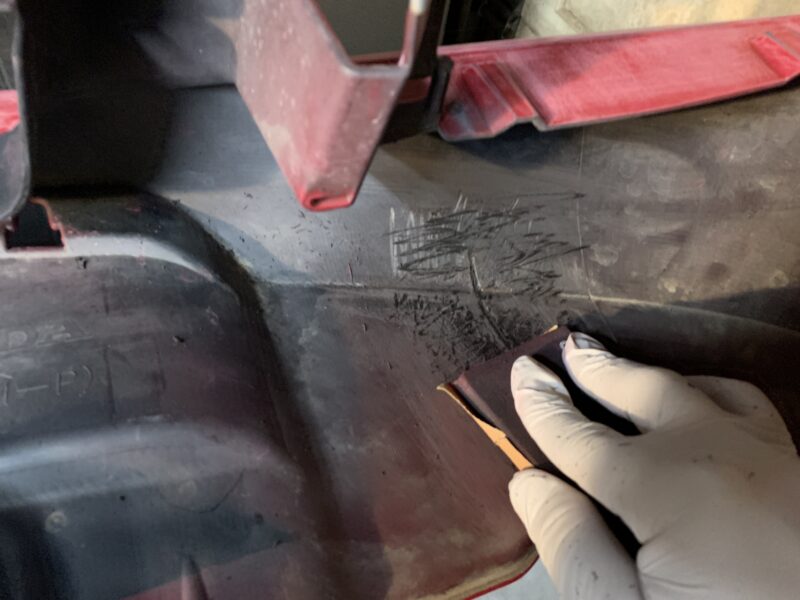
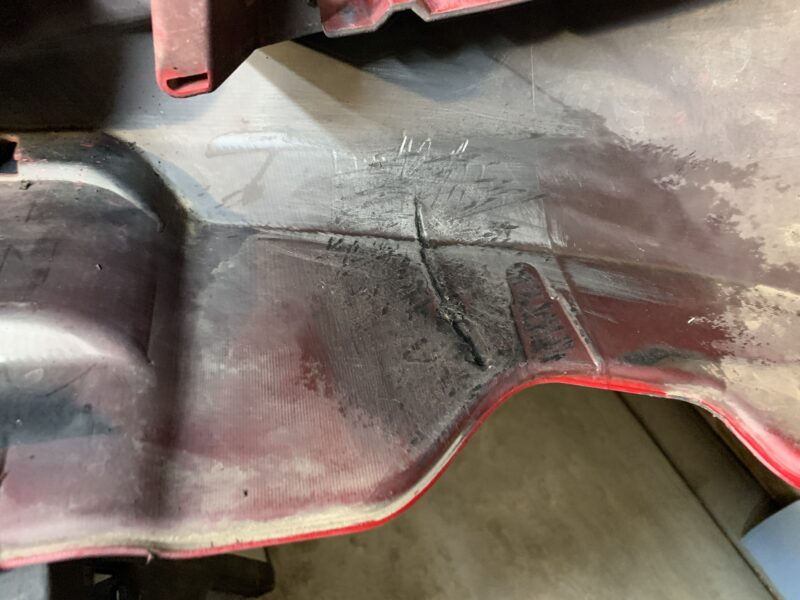
You’ll probably want to have protective gloves on for the rest of this job if you don’t have any on already. Fiberglass can irritate the skin and make you itchy, and you’ll be working with chemicals as well.
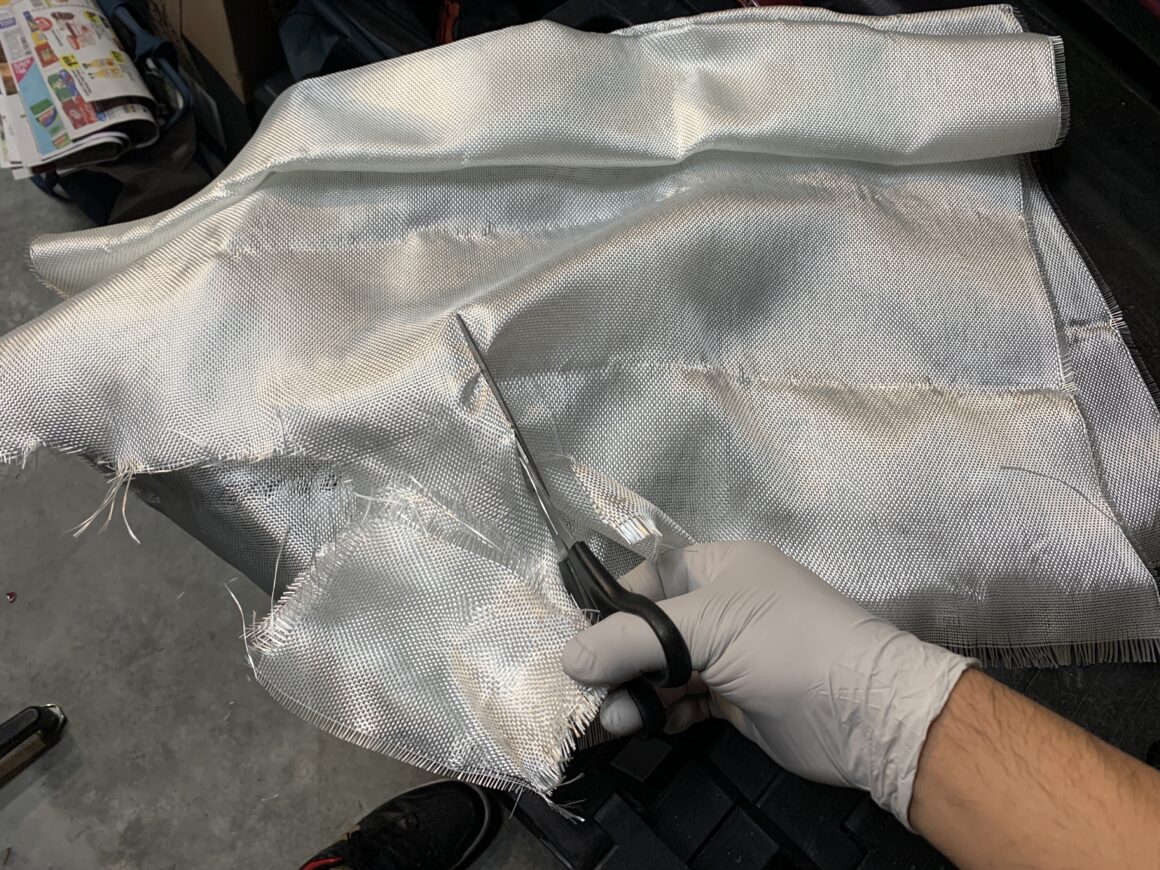
Prepare the fiberglass cloth by cutting (4 qty) sheets that will cover the 80-grit sanded area on the inside of the bumper. Don’t use good scissors on fiberglass cloth as it can really dull the cutting surface of the scissors (or expect that it will happen to your scissors.)
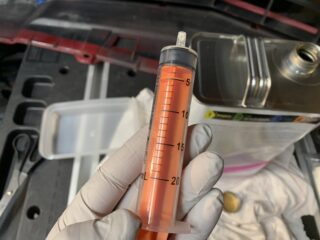
Then, mix up the fiberglass resin in a plastic cup (do not use a waxed cup). Follow the instructions of the resin manufacturer. With Bondo Fiberglass Resin I applied 1 ounce of resin to the cup (which is to be mixed with 10 drops of hardener.) I found a syringe with mL measurements that I had to convert ounces to mL for. If you use a SOLO cup, the bottom-most line is the 1-ounce line.
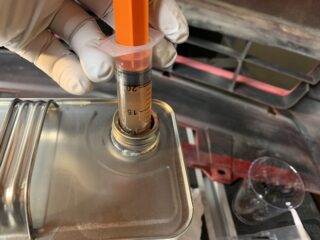
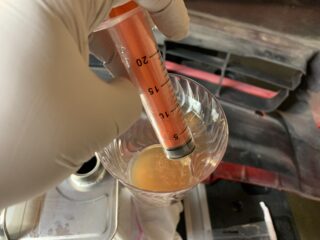
Apply 10 drops of hardener to 1 ounce of resin. This is the mixing ratio given by Bondo. Then use a cheap brush to mix and apply. I used one of many of my kids’ paintbrushes. Working life after applying hardener is 8-12 minutes with a cure time of approximately 2 hours. The working time isn’t an issue as applying the fiberglass resin and cloth doesn’t take long at all.
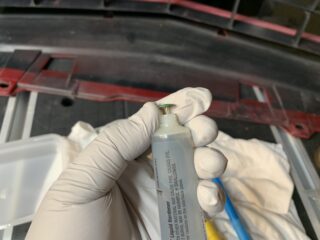
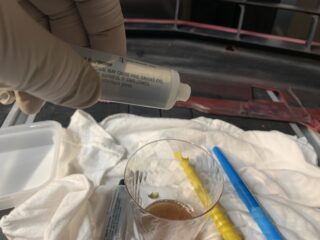
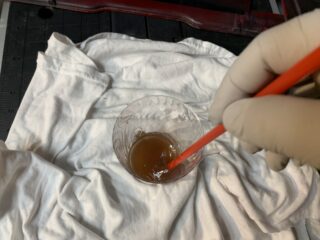
First, apply the resin to the crack and the surrounding areas, then apply the first layer of cloth pressing it in so that the cloth contacts the bumper and soaks into the resin. Brush on another coat of resin, then apply another sheet of fiberglass cloth. Do this until you have built up 4 sheets (or more if you wish) of cloth and resin, and then brush on a final coat of resin over the entire area and let it sit for a few hours. Once it has cured, you’ll be rewarded with an incredibly strong, yet flexible repair from the backside of the crack.
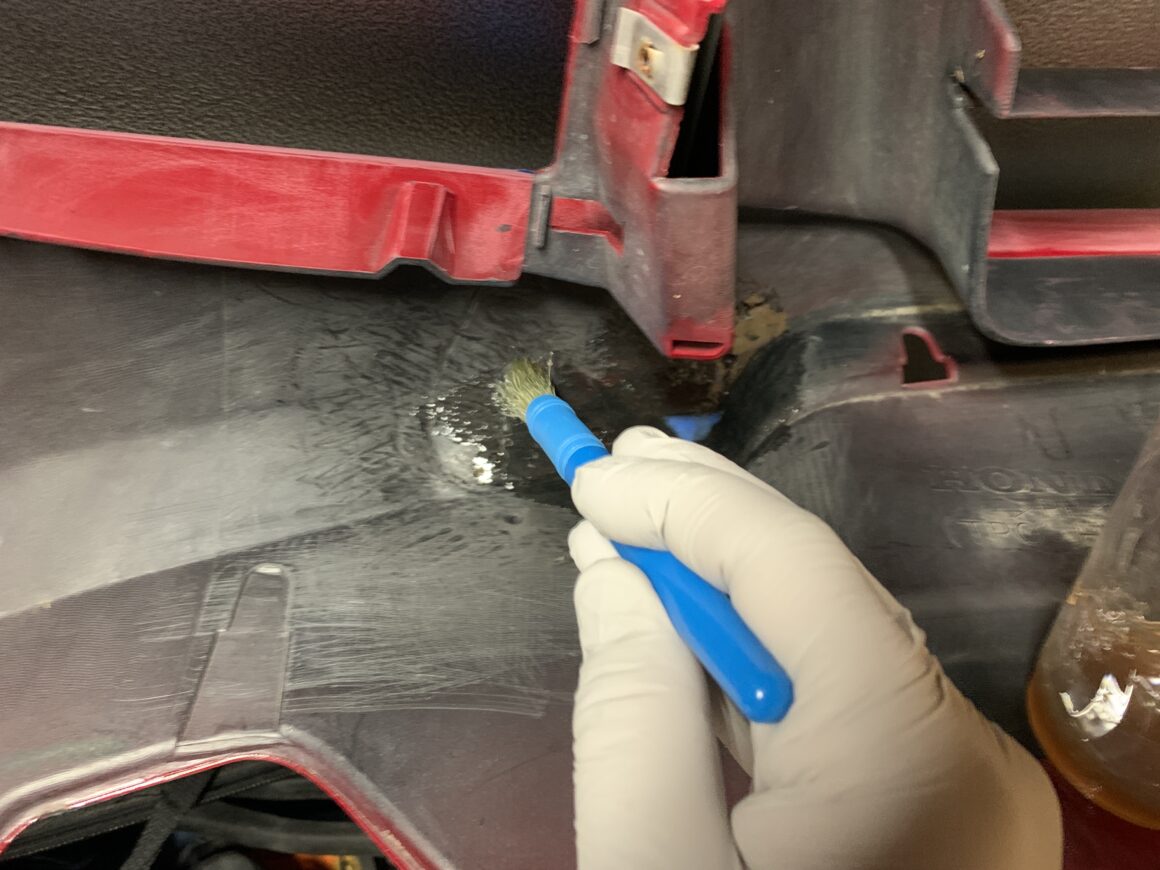
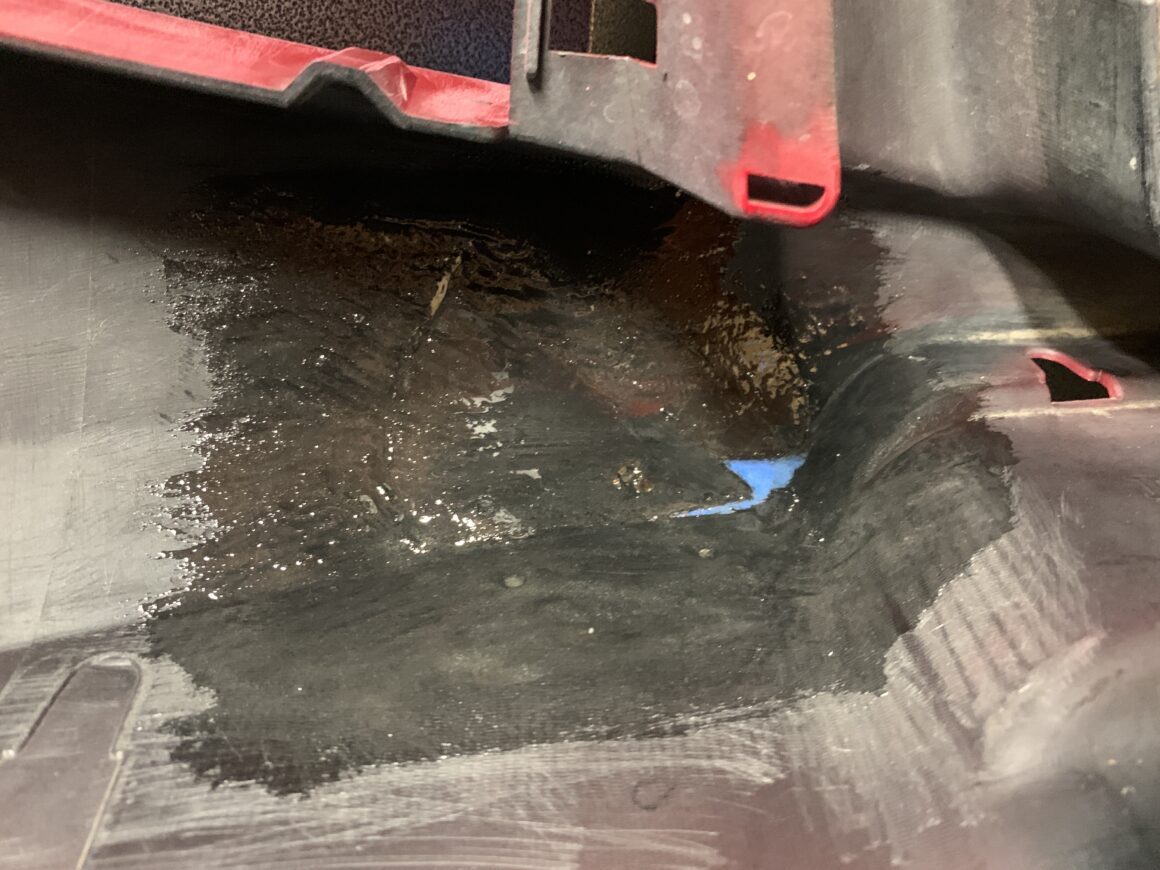
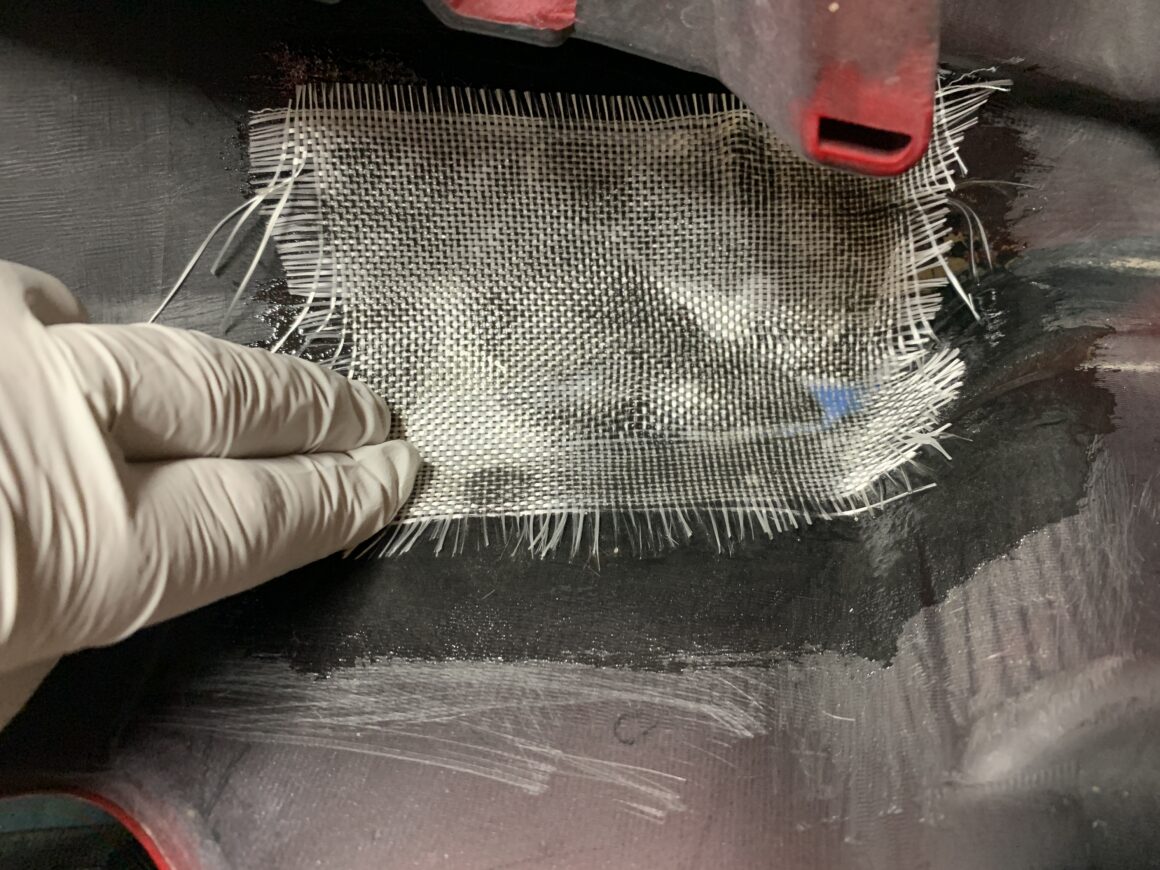
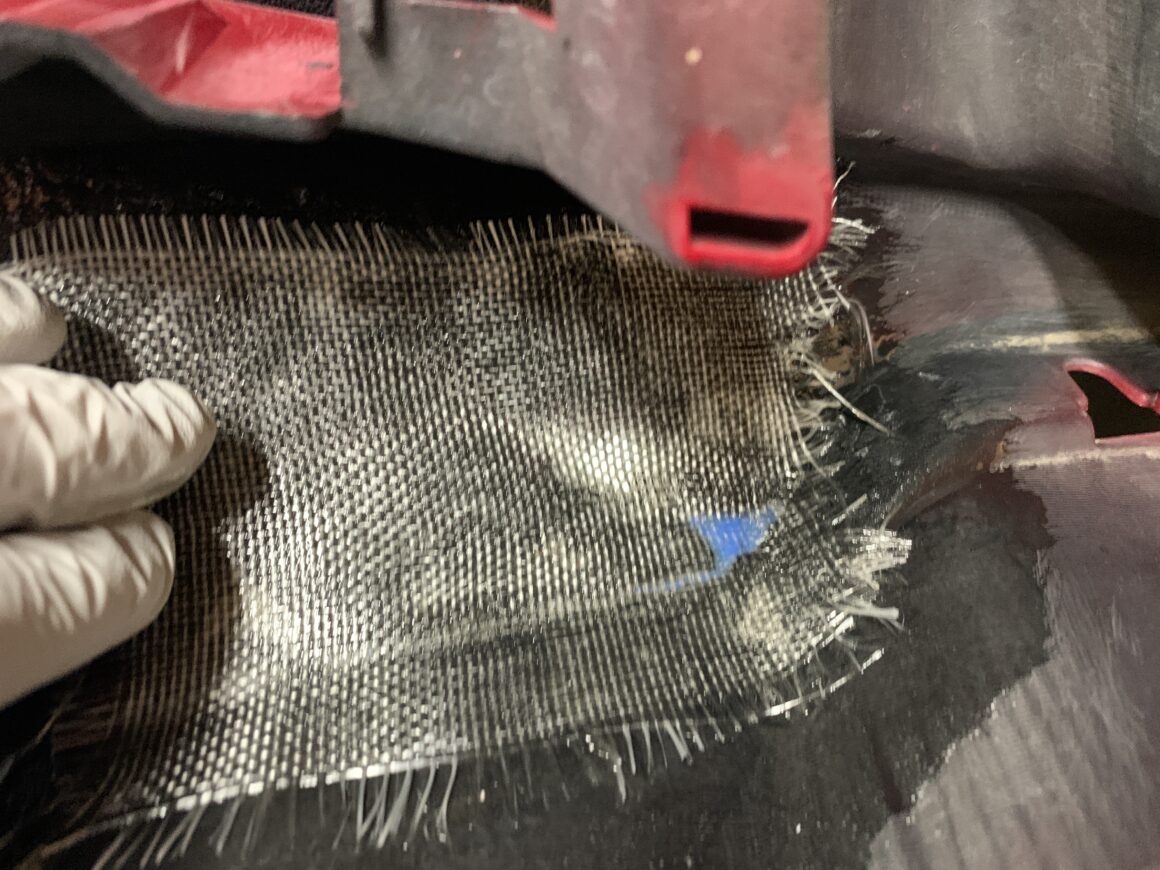
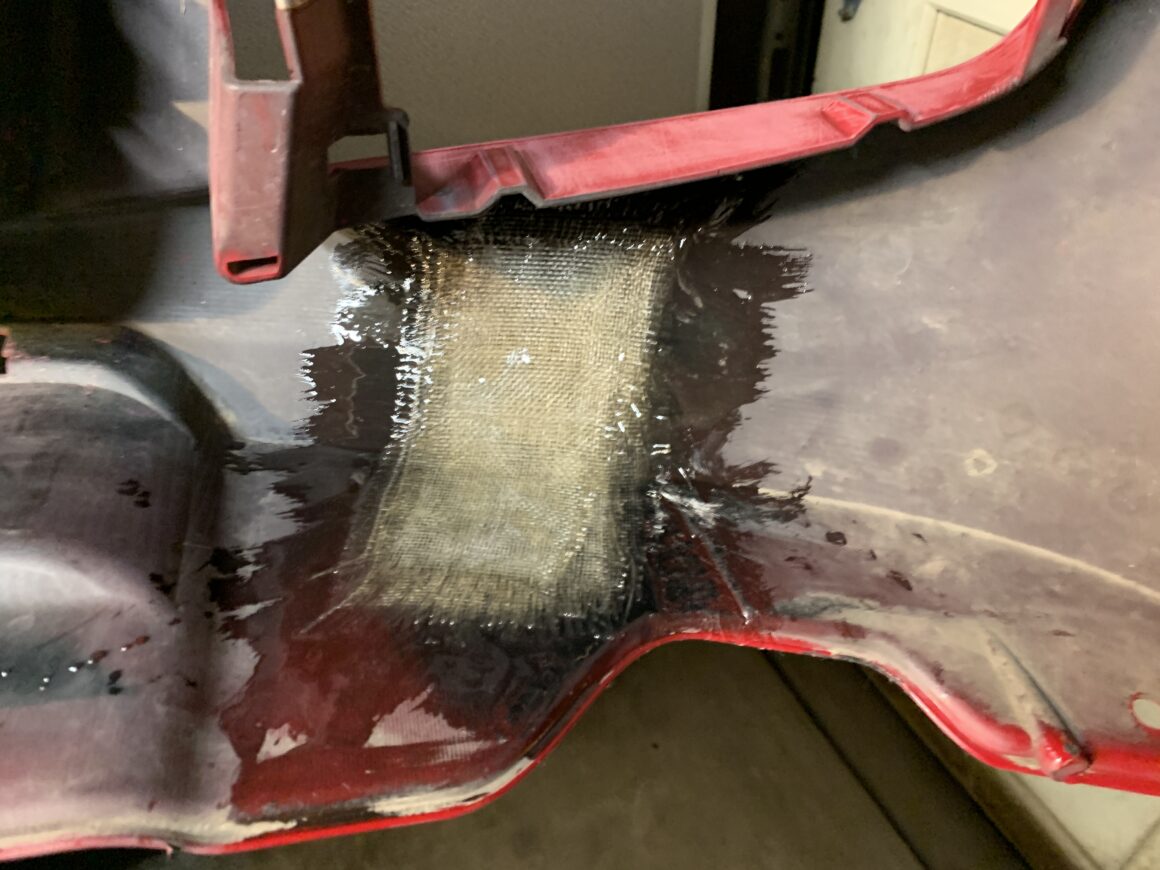
With the fiberglass resin and cloth fully hardened, you can then work on the front side. Remove the duct tape and masking tape and do what you did from the backside: grind open the crack itself, and sand the surrounding areas with 180-grit sandpaper. It’s better to use 180-grit for the face of the bumper because if you used 80-grit, the sanding scratches may be more coarse than you need; it’s just more gouging of the plastic bumper material that will take more time to fill in later. Plus, the bumper repair epoxy will still adhere well to the 180-grit scratches.
After grinding/sanding, clean off the area with grease and wax remover and follow-up with an alcohol-based cleaner.
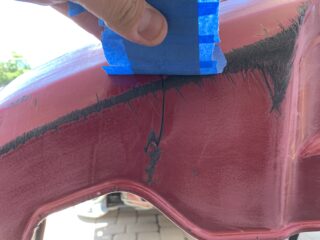
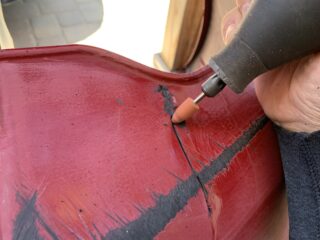
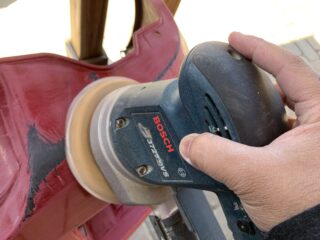
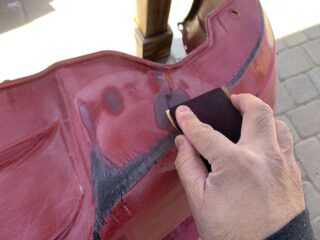
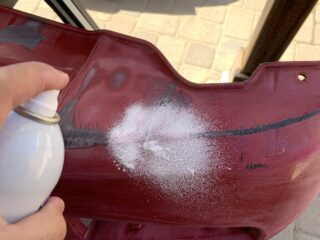
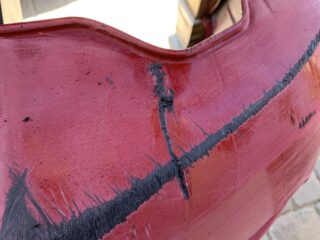
The next step would be to apply the bumper repair epoxy. In my case, I used a plastic weld epoxy to fill in the crack to give the front of the crack some holding strength. Mix and apply per the manufacturer’s instructions.
I originally planned to either use Bondo Bumper Repair or JB Weld Plastic Bonder , however I still had some of this JB Weld PlasticWeld left, so I wanted to make use of what I had. Should I have the option again, I’d opt for one of the other two options as they are specifically made for bumper repairs.
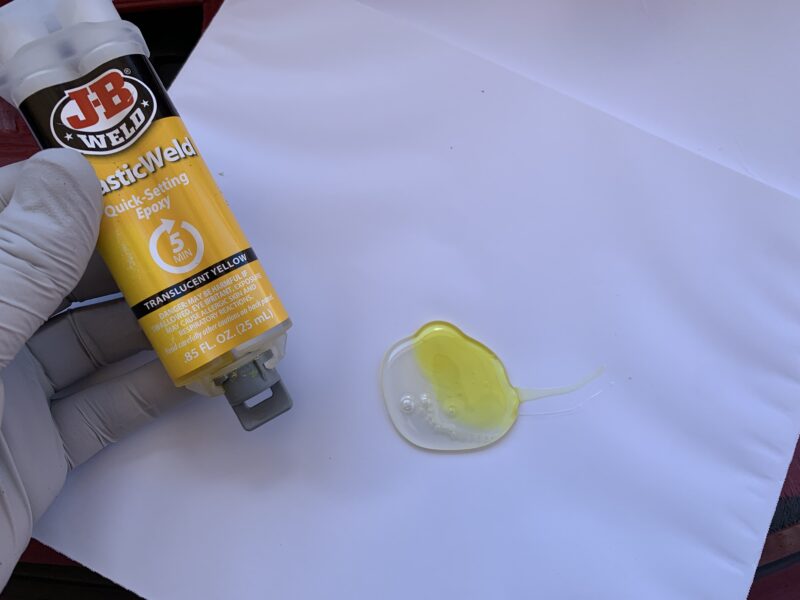
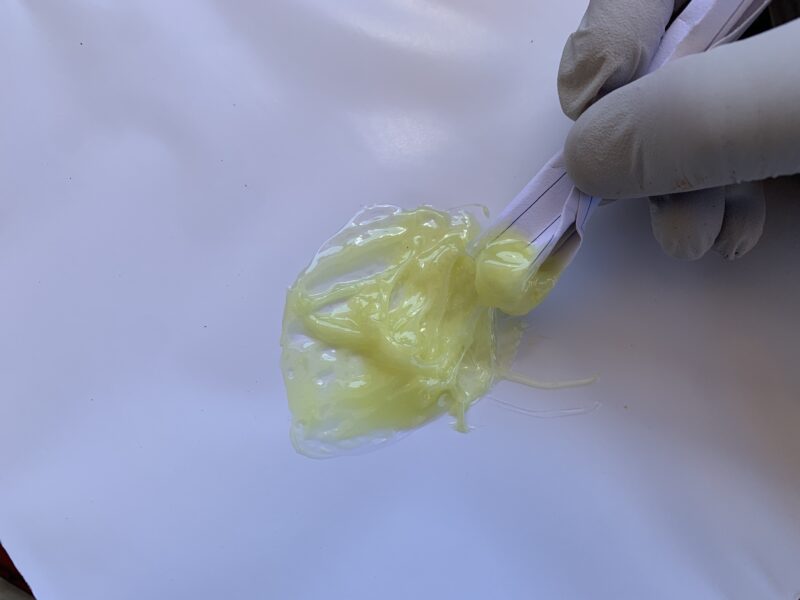
After applying the bumper repair material, spread it evenly and ensure it fills in the majority of the crack and damage area.
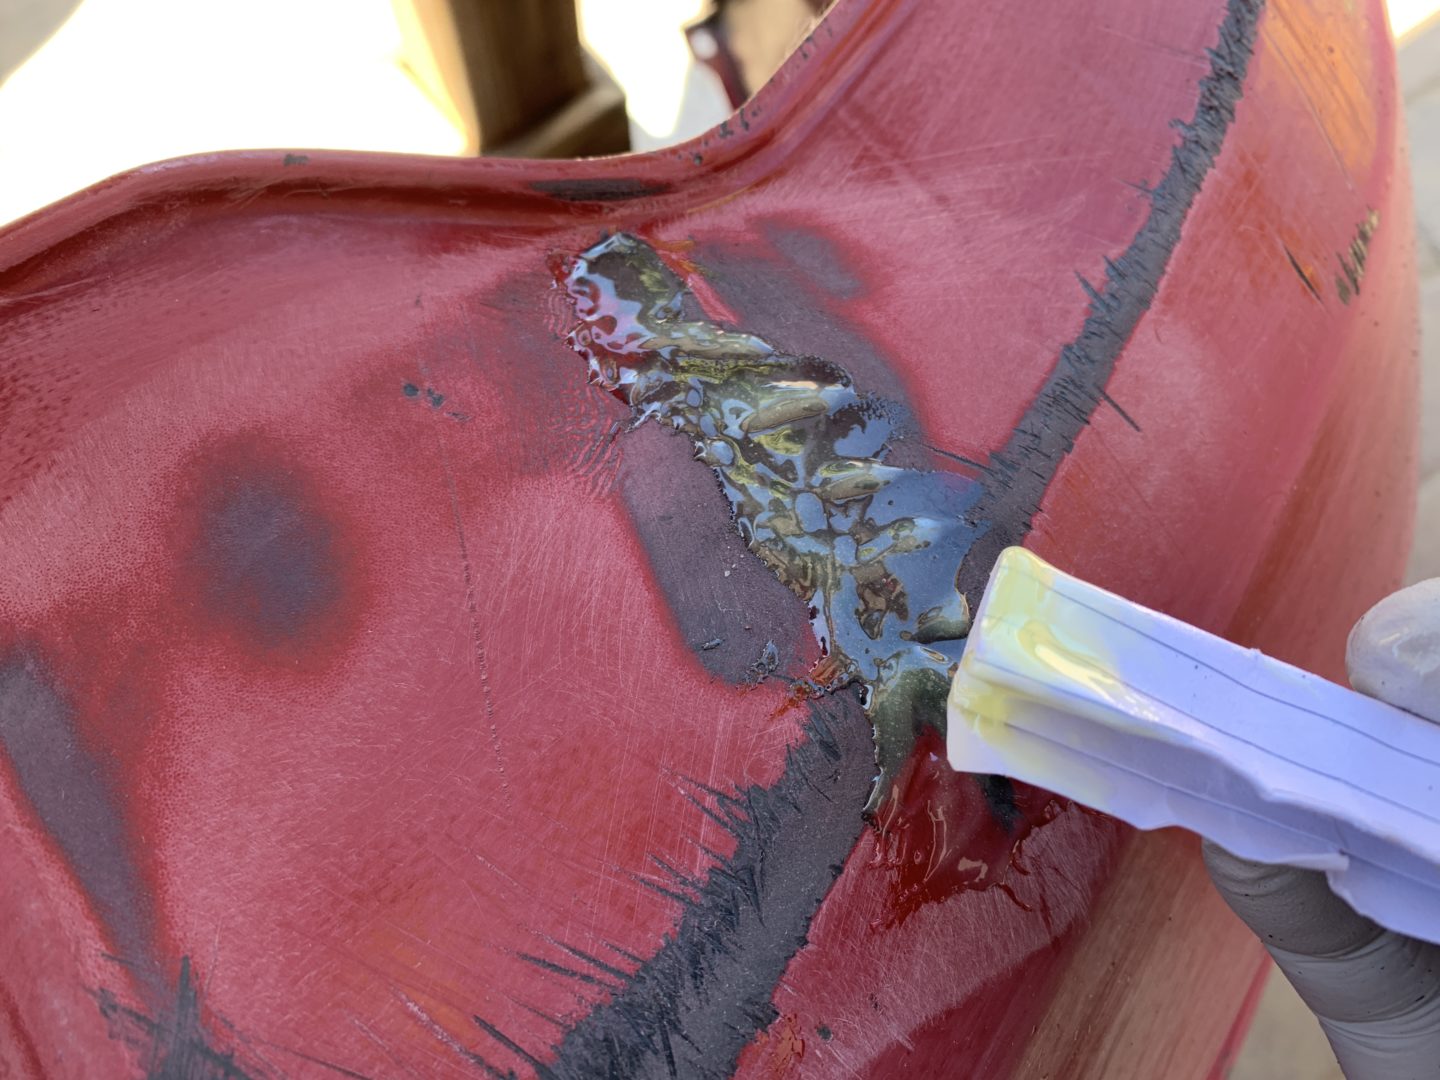


Once the bumper repair material has cured, rough-sand it down with 180-grit sandpaper and a backing pad. Ensure that the crack is flat and flush with the surrounding area of the bumper. Clean off the area and let it dry.
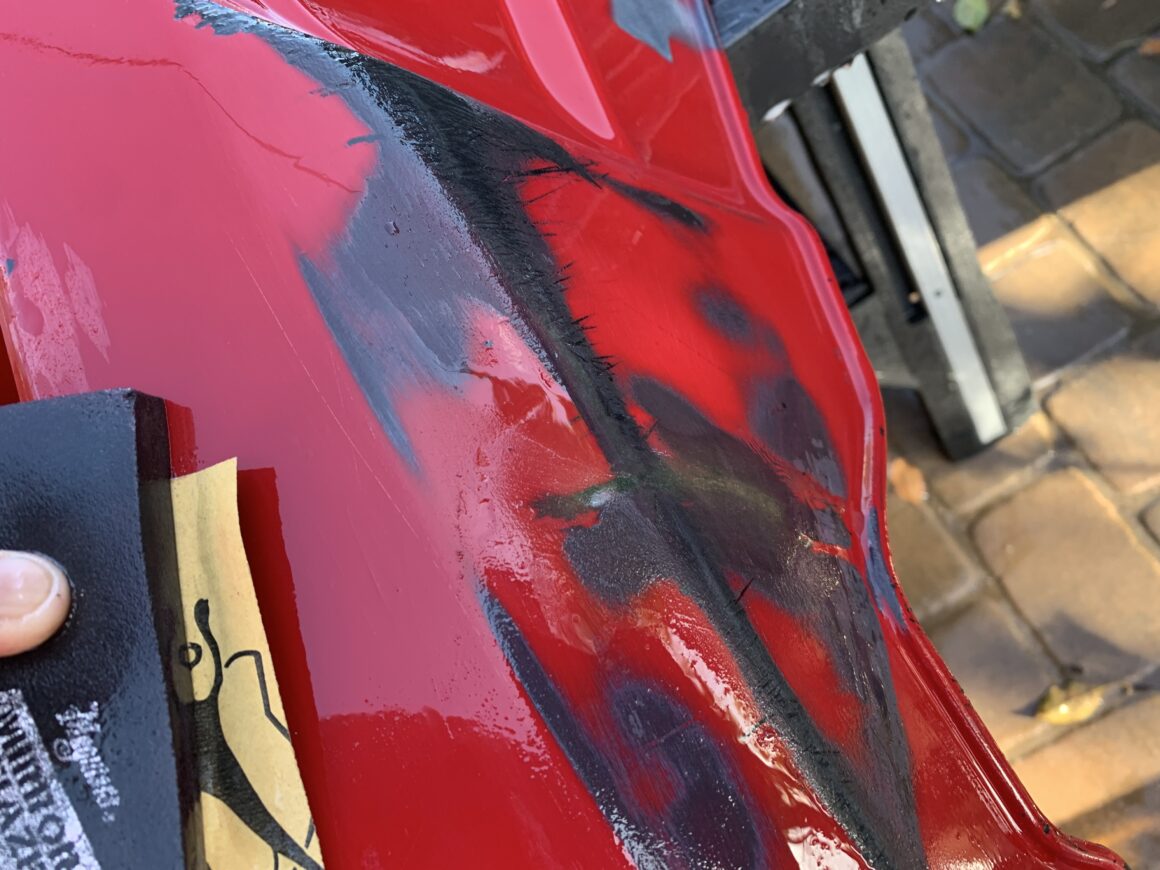
The next thing you’ll need to apply is a flexible body filler, which is used to fill the minor imperfections and smooth out the surface after you’ve done the main repair. I used Evercoat Flexible Body Filler and mixed it on a mixing board. As always, mix according to the instructions by the manufacturer.
For this repair, I applied about a 1-2 inch diameter of the flexible body filler, then applied about a half diameter of hardener. Then mixed it up with a spreader until the color was uniform. Most people I see run a bead across the entire diameter, but in my experience where I live, a half-diameter works best.
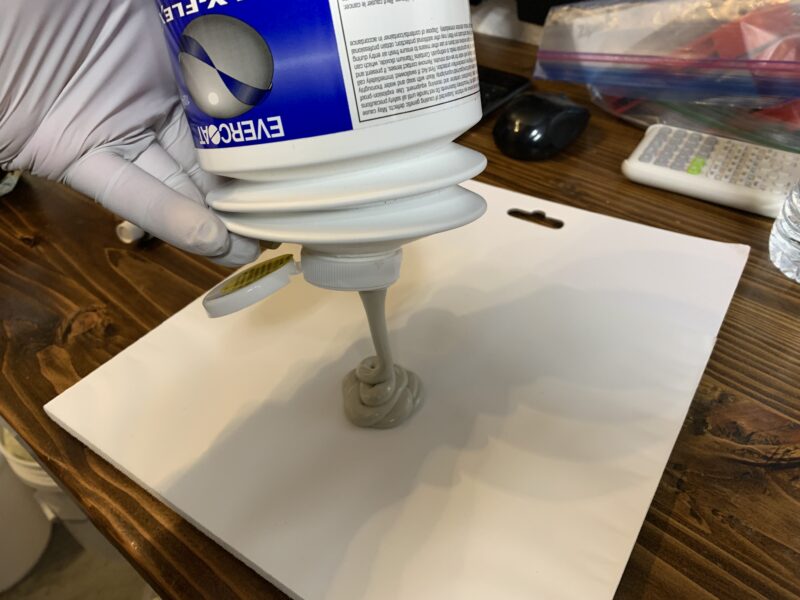
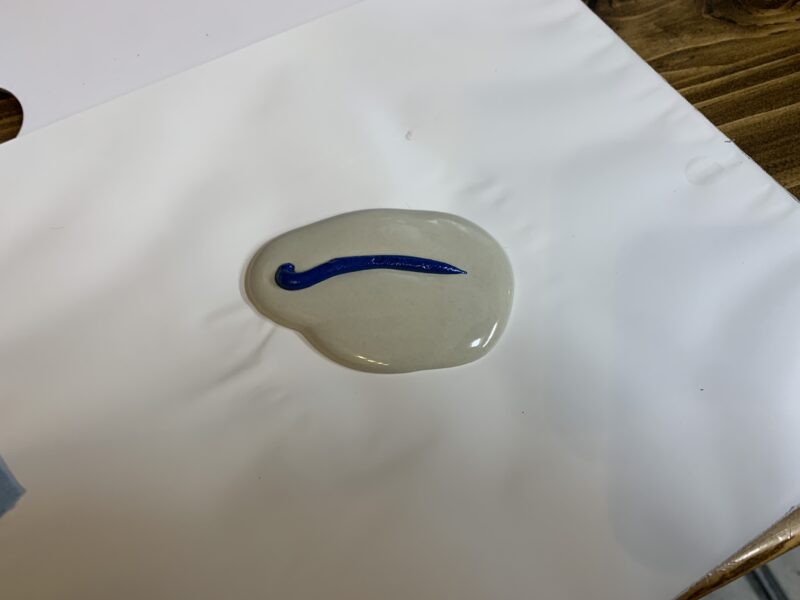
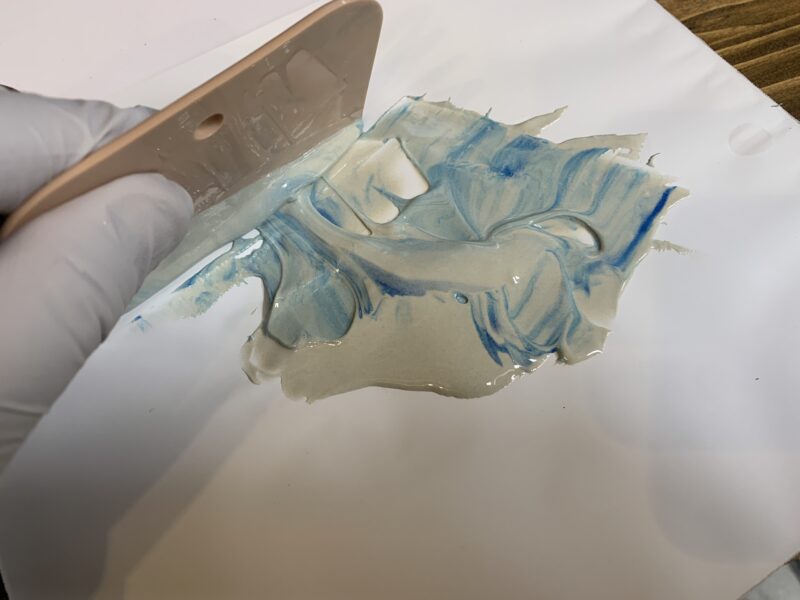
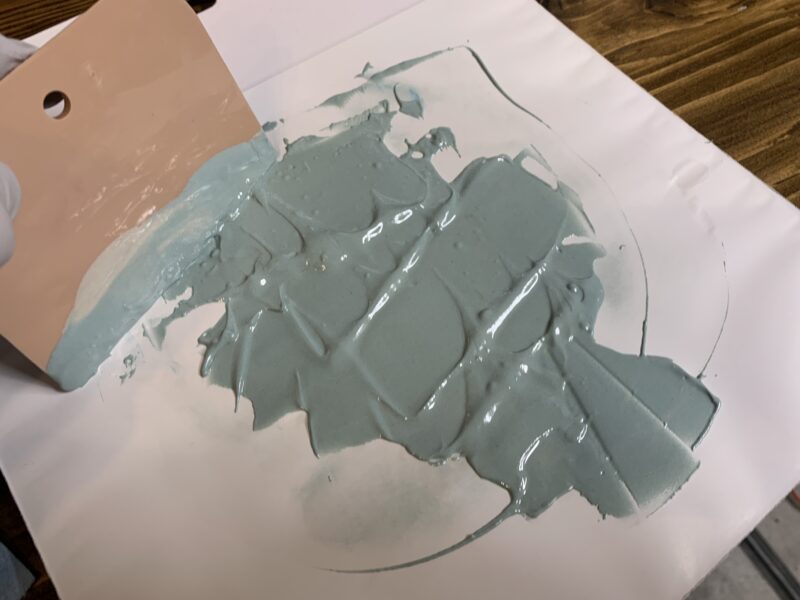
As you can see below, I actually had to refinish the entire bumper. Therefore, you can see I had to mix up more flexible body filler and apply it across the entire bumper surface.
After applying the flexible body filler, let it dry fully and sand it all down with 180-grit sandpaper and a backing pad. If you applied too much filler, knock-down the filler material with 80-grit sandpaper first, and then move onto 180-grit. Be careful not to sand the bumper itself with 80-grit as those coarse scratches in the bumper are difficult to sand out (i.e. you will see these scratches after painting the bumper).
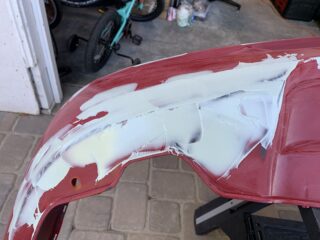
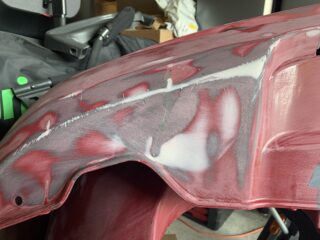
After sanding smooth, check if you need to apply another coat of flexible body filler. Since my damage was pretty extensive, I found that I needed to apply another coat and sand down again with 180-grit. When you’re content with the crack repair, finish sanding with 320-grit (moving about an inch outside of the 180-grit scratch area) and finally 400-grit (moving yet another inch outside of the 320-grit scratches.) Now, it will be ready for primer/paint.
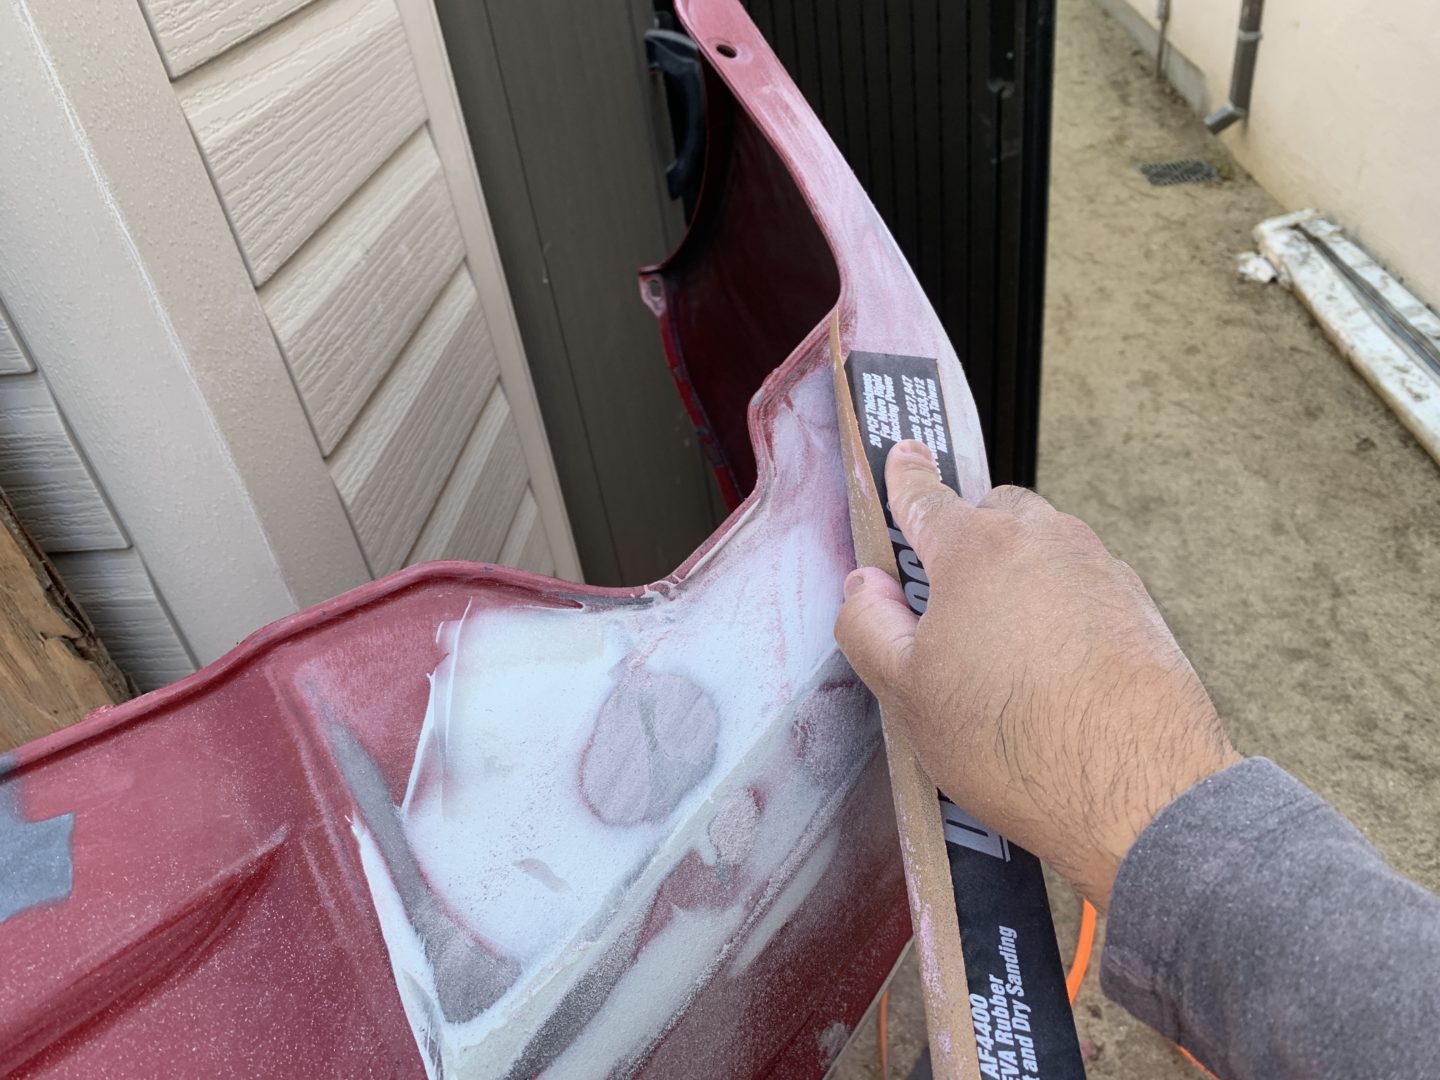


If you’re going to be spraying primer, paint, and cleat coat, then you’ll need to prep your bumper using 400-grit sandpaper across the entire bumper before primer. After completing the entire process repairing and painting, you will have repaired your cracked bumper with a strong and flexible repair with a seamless finish with no signs of your bumper ever being cracked.
