When you make purchases through links on this site, The Track Ahead may earn an affiliate commission. Also, these posts are based off my own experiences. I am not responsible for any action you take as a result of reading this. Learn More
If there’s one place that you should never mount your sticky suction phone mount to in your car, it is the dashboard. Ironically, this is probably the most common place you’ll find these mounted to. Most dashboards are made of vinyl, leather, or leatherette (synthetic leather) and so when these sticky suction phone mounts are left stuck onto the dashboard for too long, they can cause permanent damage to the dash.
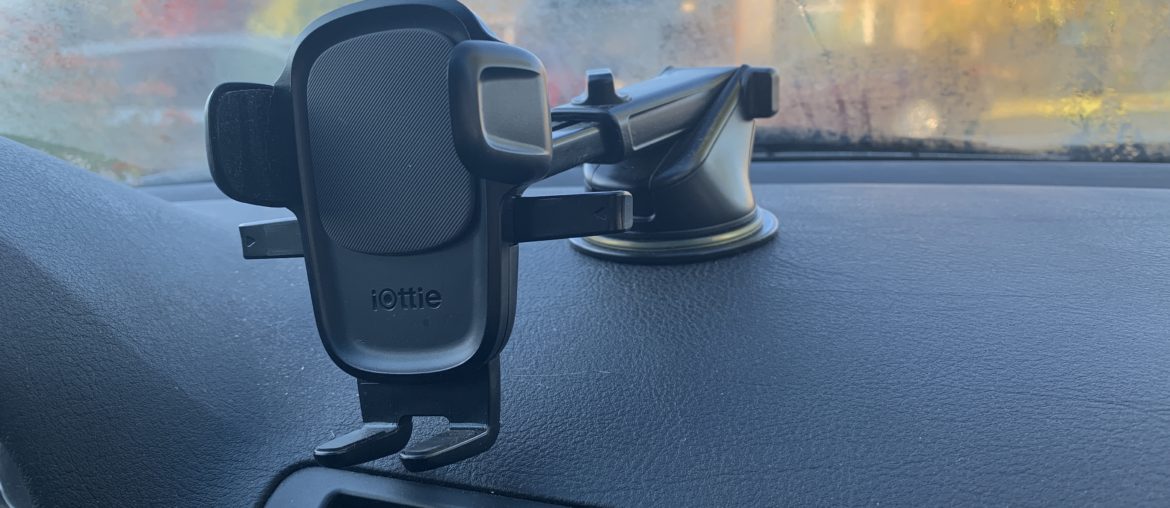
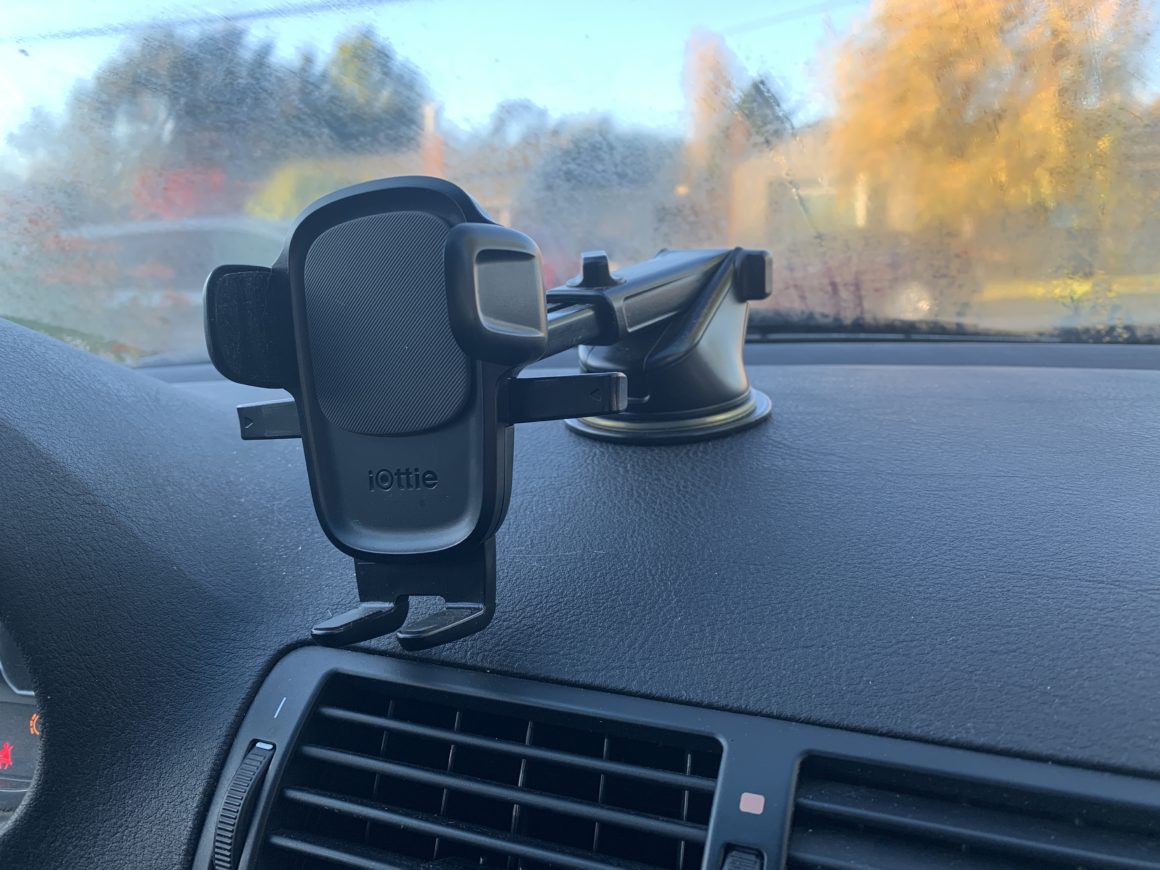
The best thing to do if you need a car phone mount is to mount it somewhere other than your dashboard. If you want to remove the sticky suction phone mount from your dashboard, this guide will help you to safely remove the phone mount while minimizing the possibility of damaging your dashboard. On this tutorial, I’ll be removing this very popular iOttie dashboard phone mount from this dashboard.
Tools & Materials
The main products you’ll be using are interior trim tools, adhesive remover such as Goo Gone, and a heat gun. It would also be good to have some interior cleaner (or all purpose cleaner) and microfiber towels.
Interior Trim Tools: Tresalto Auto Trim Removal Tool Set
Adhesive Remover: Goo Gone Original Liquid
Heat Gun: Wagner HT1000 Heat Gun Kit
Interior Cleaner: Griot’s Interior Cleaner
Microfiber Towels: Amazon Basics Microfiber Cleaning Cloths, 24-pk
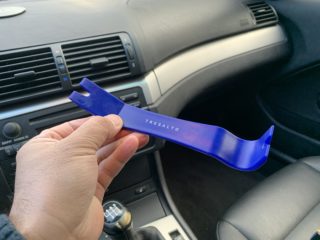
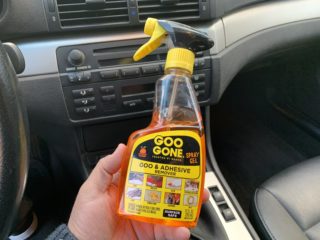
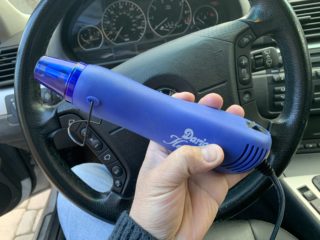
How to Remove a Sticky Suction Phone Mount From a Dashboard
There are some different styles of sticky suction phone mounts that attach to the dashboard. The two that I typically see are the ones where the suction cup sticks and suctions directly onto the dashboard, and other ones where you stick a hard plastic pad onto the dashboard first and then the suction cup mounts onto that plastic pad. Either way, you have a sticky pad or suction cup that needs to be removed from the dashboard material. The procedure for removing it in either case is similar, although the one with a plastic mounting pad is a bit harder to remove.
I’d also like to mention that some dashboards can damage very easily. There are even recalls on certain vehicles (the infamous brittle/sticky dashboard issue on Toyota/Lexus vehicles) where no matter how careful you are with the dashboard, it will get damaged. Even if you are extremely careful, even slight pressure on these delicate dashboards can cause them to be dented or crumble apart.
So be warned that you should research your particular make and model and see if there is a known issue with dashboard failure. If there is, I would just leave the phone mount in it’s place and deal with it being where it is (it could actually look much worse if you try removing in this situation.) If there isn’t a known dashboard issue on your vehicle, you have a better chance of removing the phone mount without leaving any damage behind.
The first thing to do is remove the phone mount completely. If you have the type that sticks directly onto your dashboard, then you’d remove it and then clean the stuck-on adhesive. If you have a mounting pad style like the one here, you’d remove the suction mount first and then work on carefully removing the mounting pad which is stuck onto the dashboard.
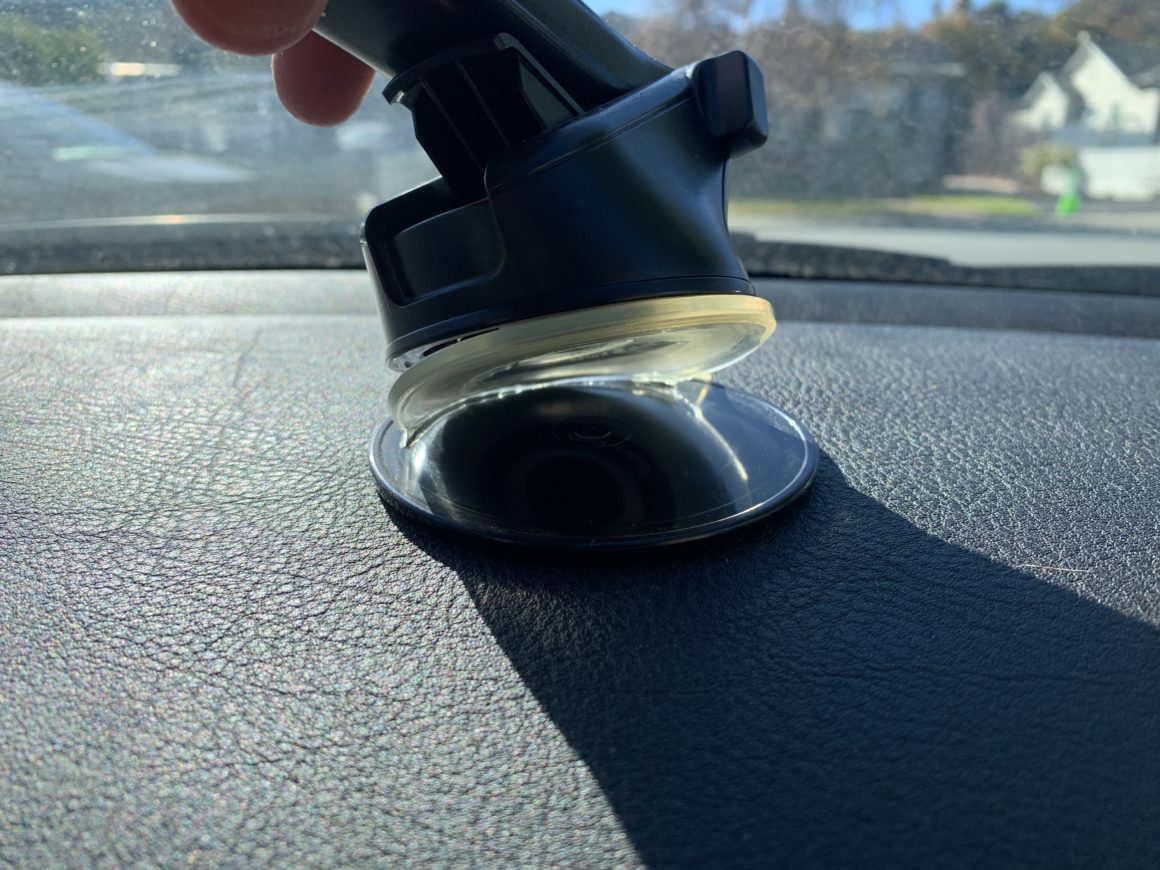
Now with these sticky phone mounting pads, the longer they have been stuck onto the dashboard, the harder it is to remove. I don’t know exactly how long this has been stuck on this car, but it was extremely stuck on and was difficult to remove.
Use a microfiber towel as a backing to pry with an interior trim tool. Be patient and slowly apply heat with a heat gun, making sure not to apply too much heat in one place or you might damage the dash. What you are trying to do is heat up the adhesive slightly so that it loosens up, which allows you to more easily pry the pad off of the dashboard. Keep applying heat and prying up on the pad until slowly and surely it gives way.
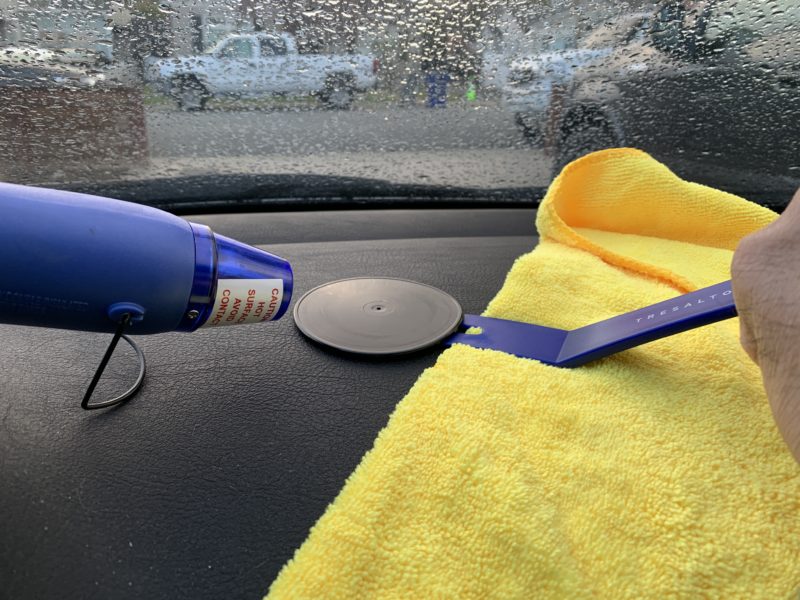
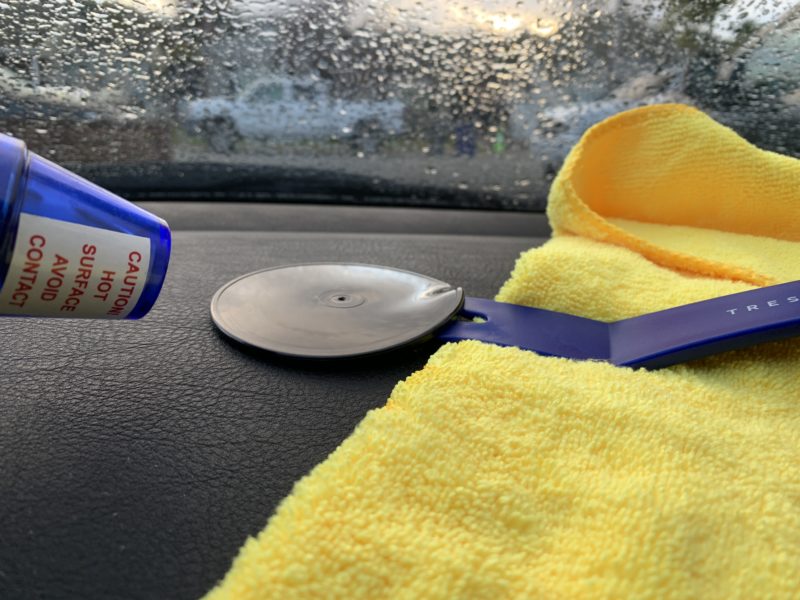
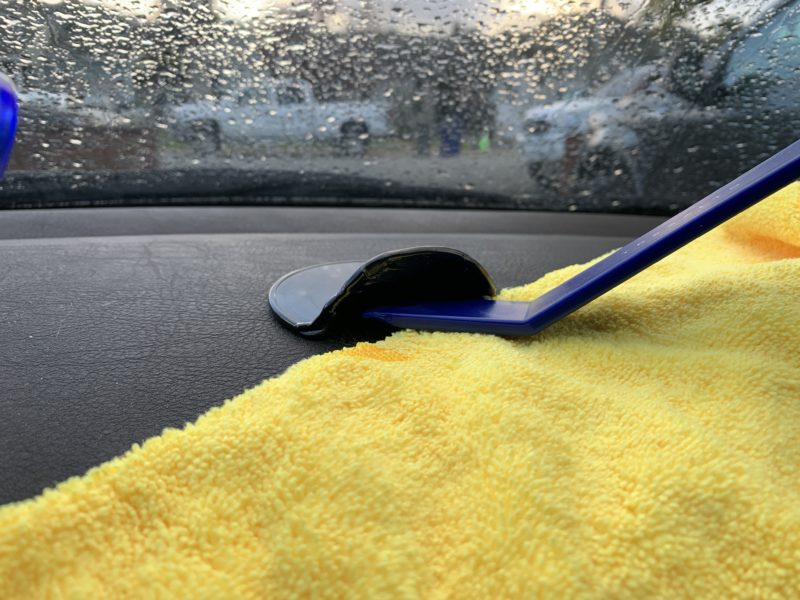
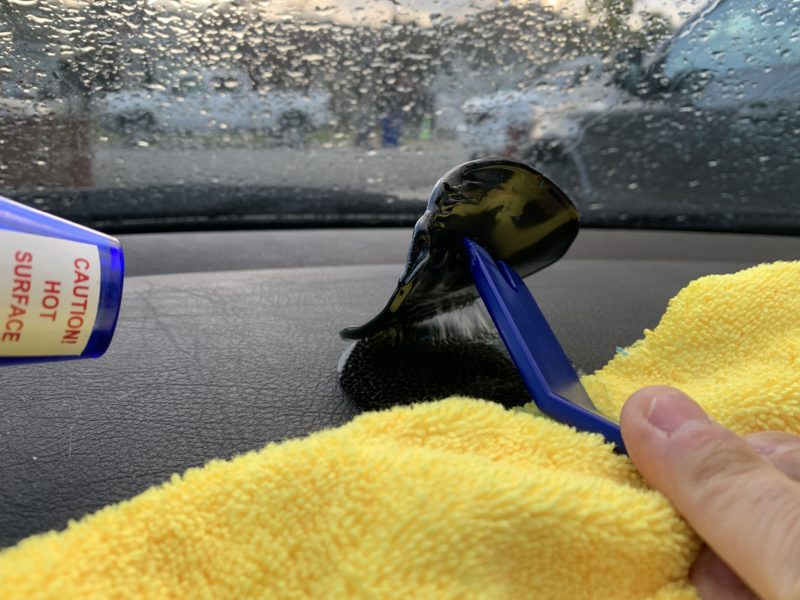
If there is adhesive left behind, you can apply more heat and remove the adhesive. Rather than just peeling the adhesive off, I find that sometimes rolling the adhesive is more effective at getting it to separate from the dashboard.
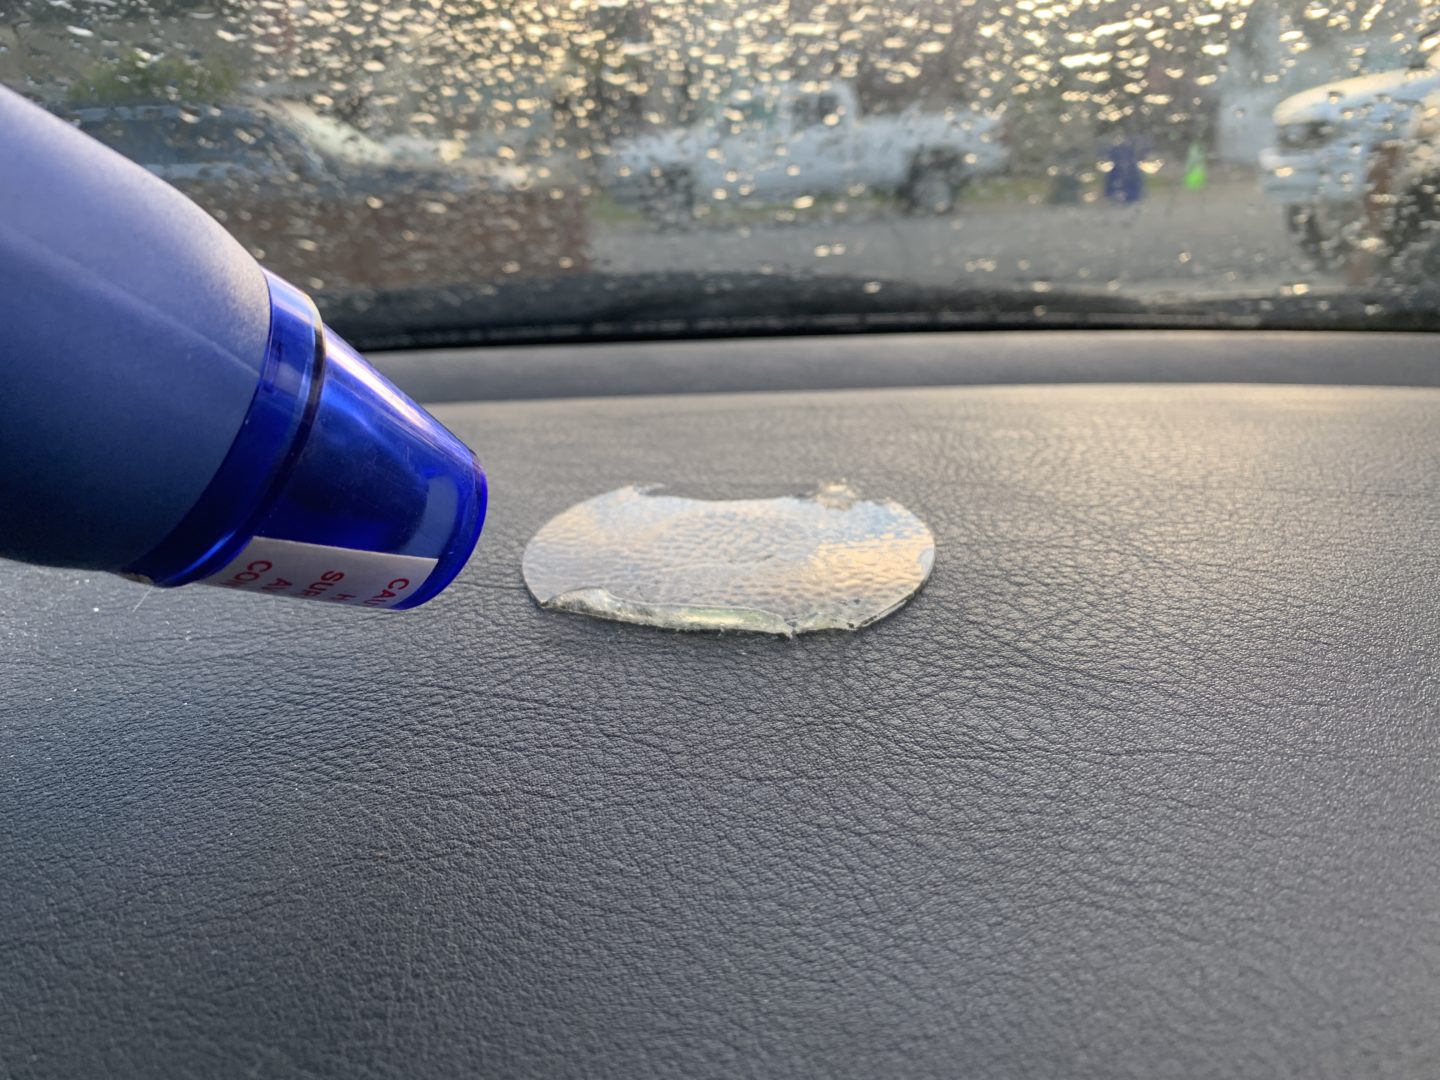
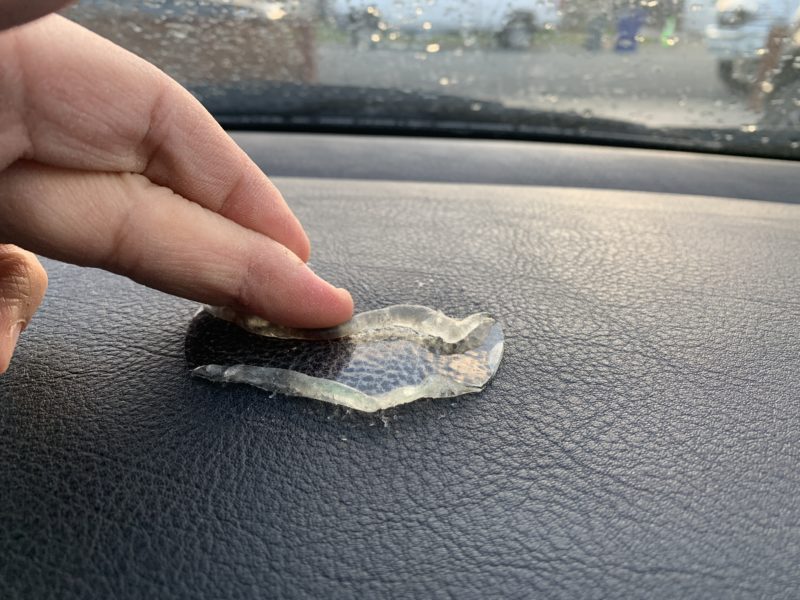
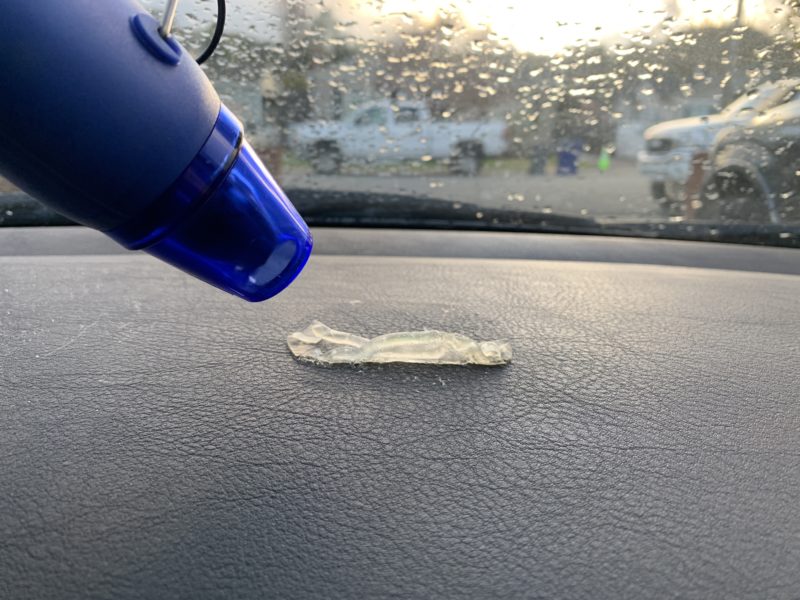
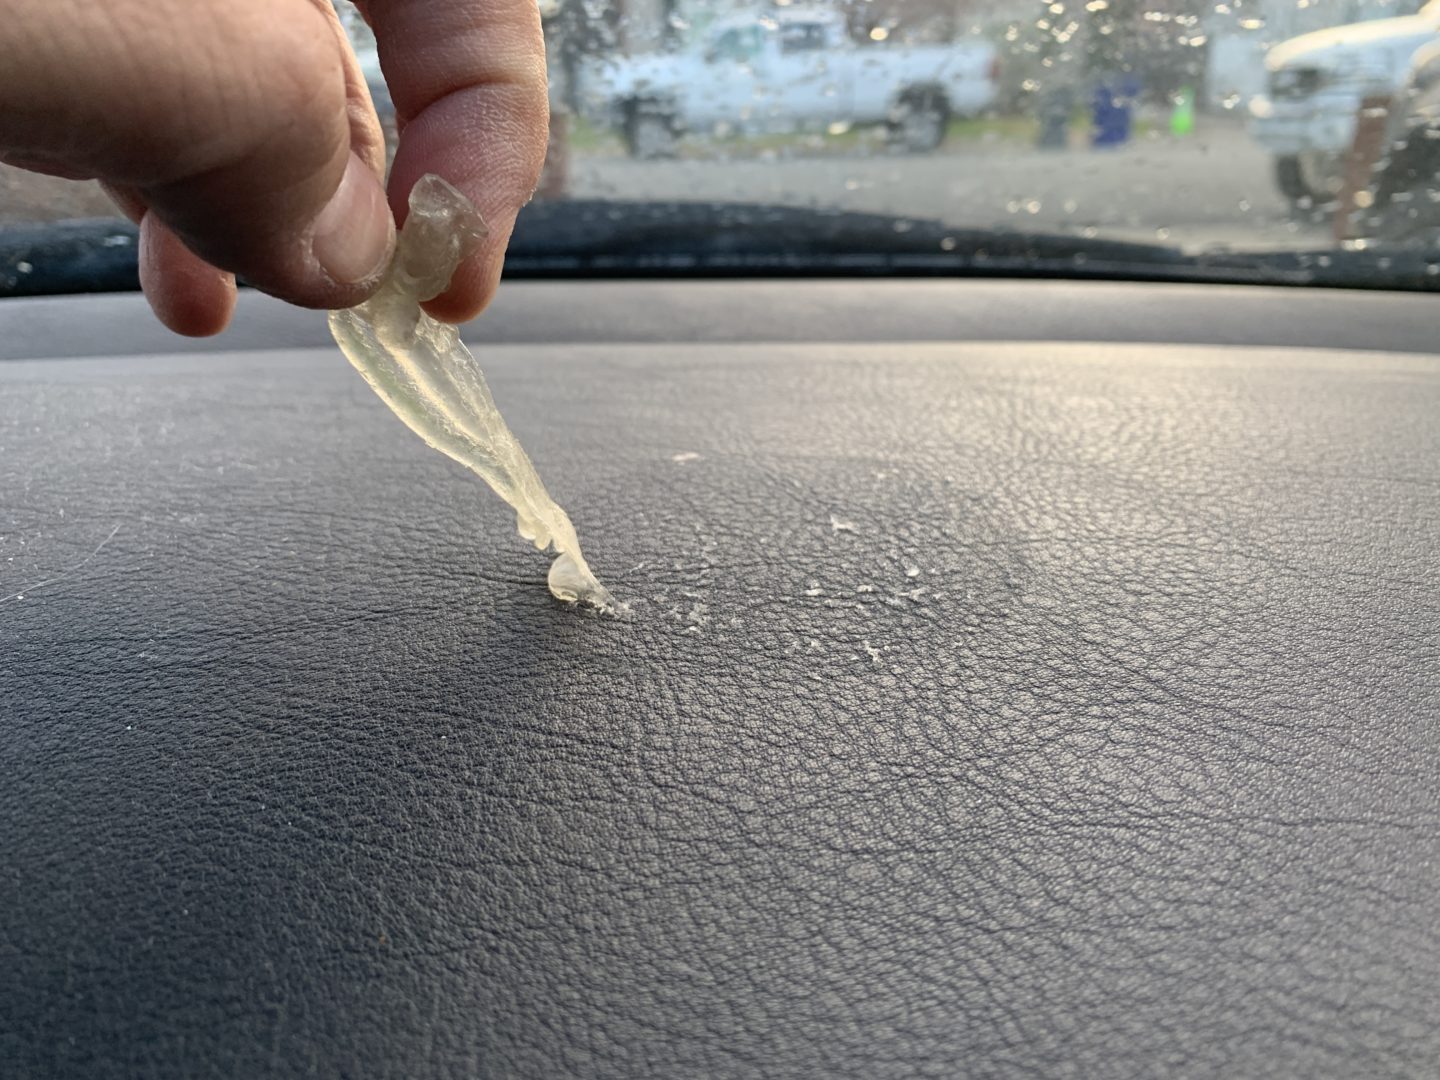
After the majority of the adhesive is removed, you’ll be left with an imprint of the mounting pad, as well as remnants of adhesive left behind. You can use adhesive remover to clean off the rest of this residue and imprinting left behind.
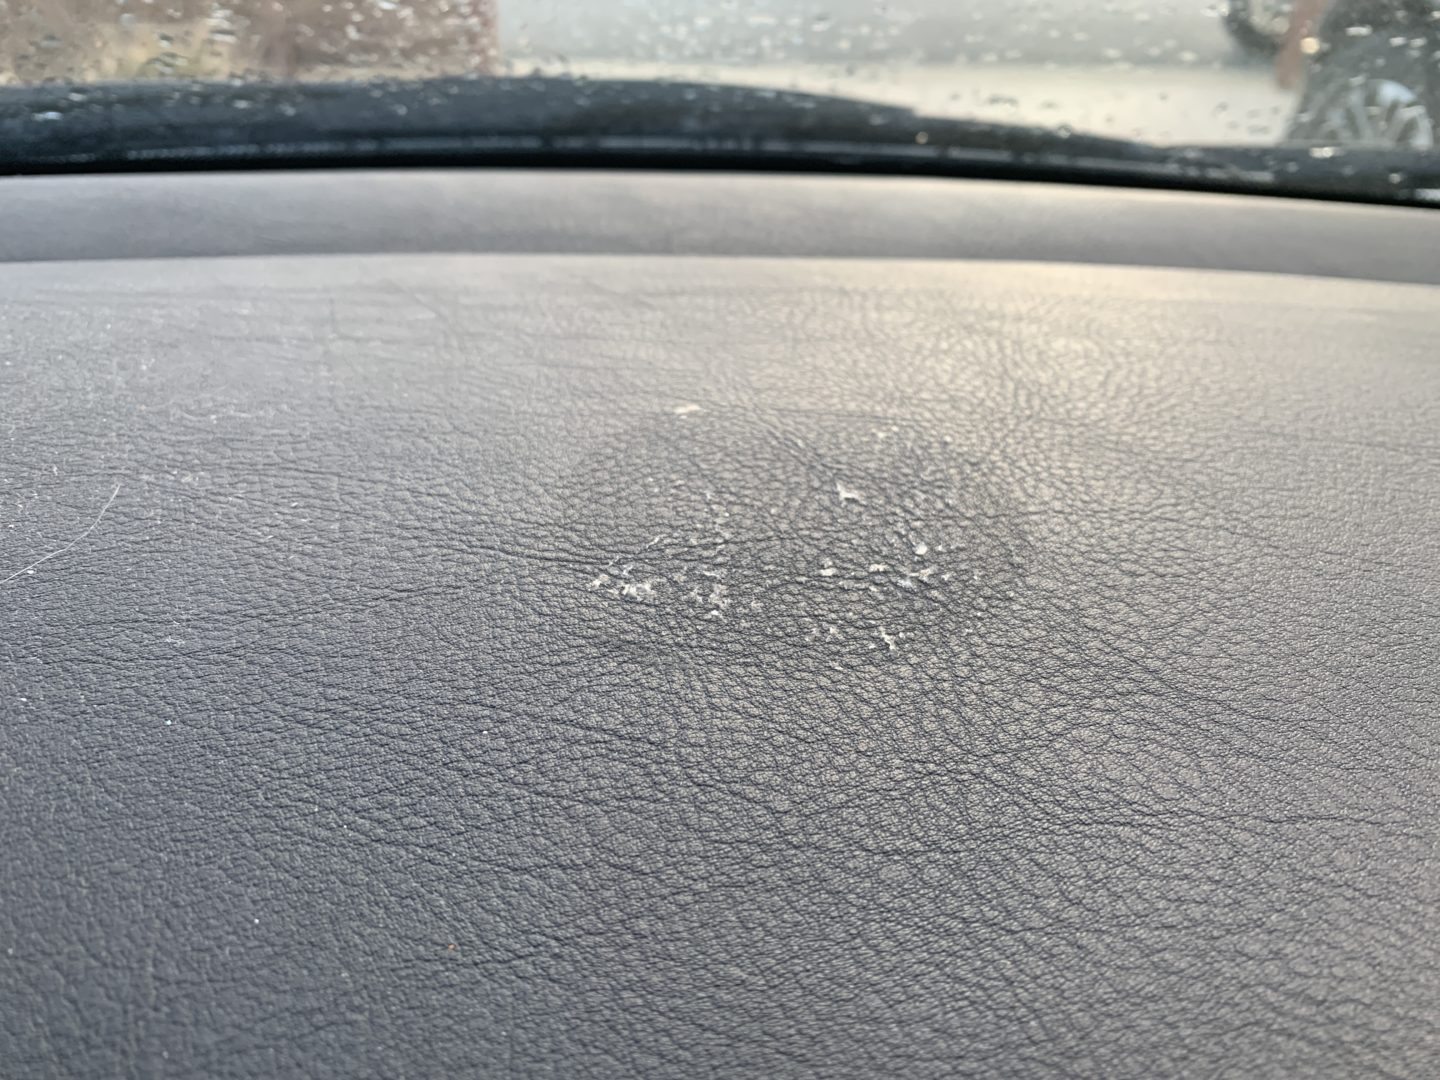
Apply some adhesive remover and then clean the residual adhesive with a microfiber towel. It helps to apply a bit of heat from the heat gun so that the adhesive separates from the dash. Continue with the a bit slight application of heat and then cleaning with adhesive remover with a microfiber towel until the adhesive is removed.
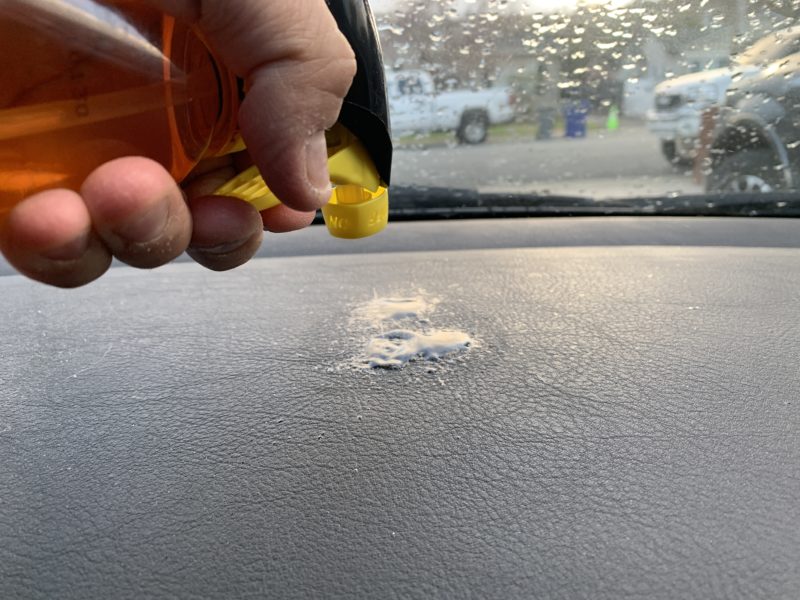
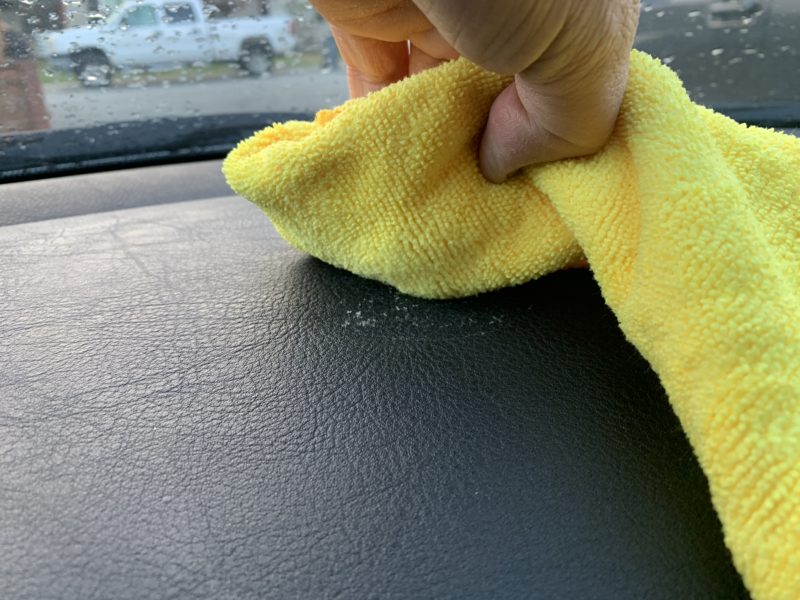
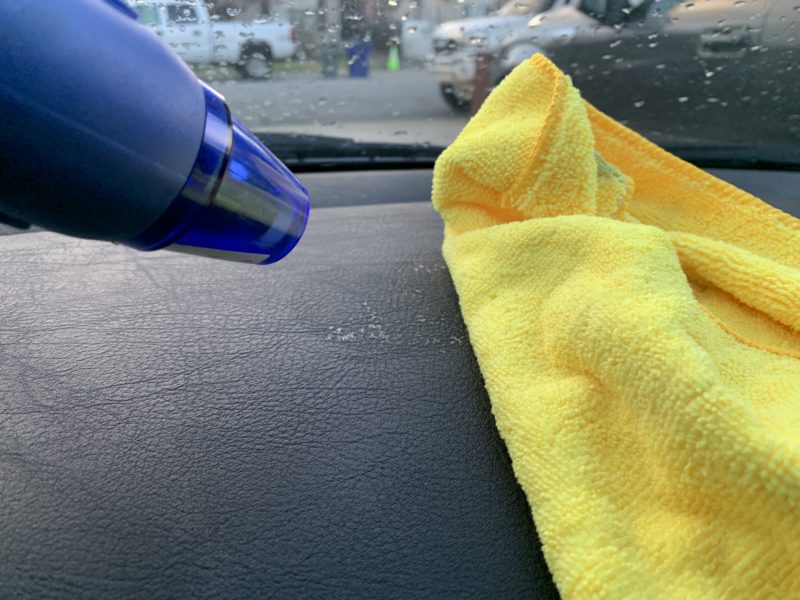
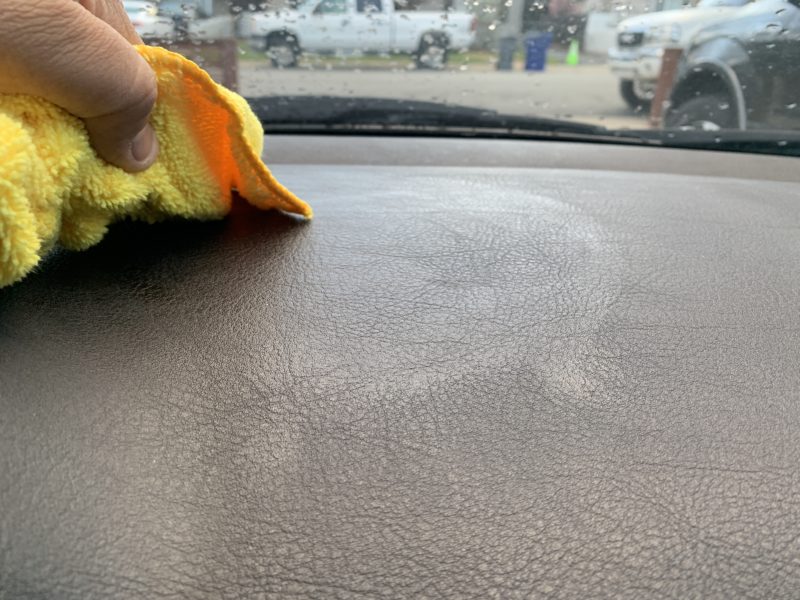
Even with the adhesive removed, you might still have a faint imprint of the pad left on the dashboard. Continue cleaning with the adhesive remover and microfiber towel until you no longer see the “ghost” imprint (this might take a few tries.)
Adhesive remover can be a bit oily so it is good practice to follow up after adhesive remover with an interior cleaner or an all-purpose cleaner. Make sure you do not spray directly onto the dash; spray the cleaner into your towel and then wipe the dash otherwise you risk leaving spray marks behind on the dashboard.
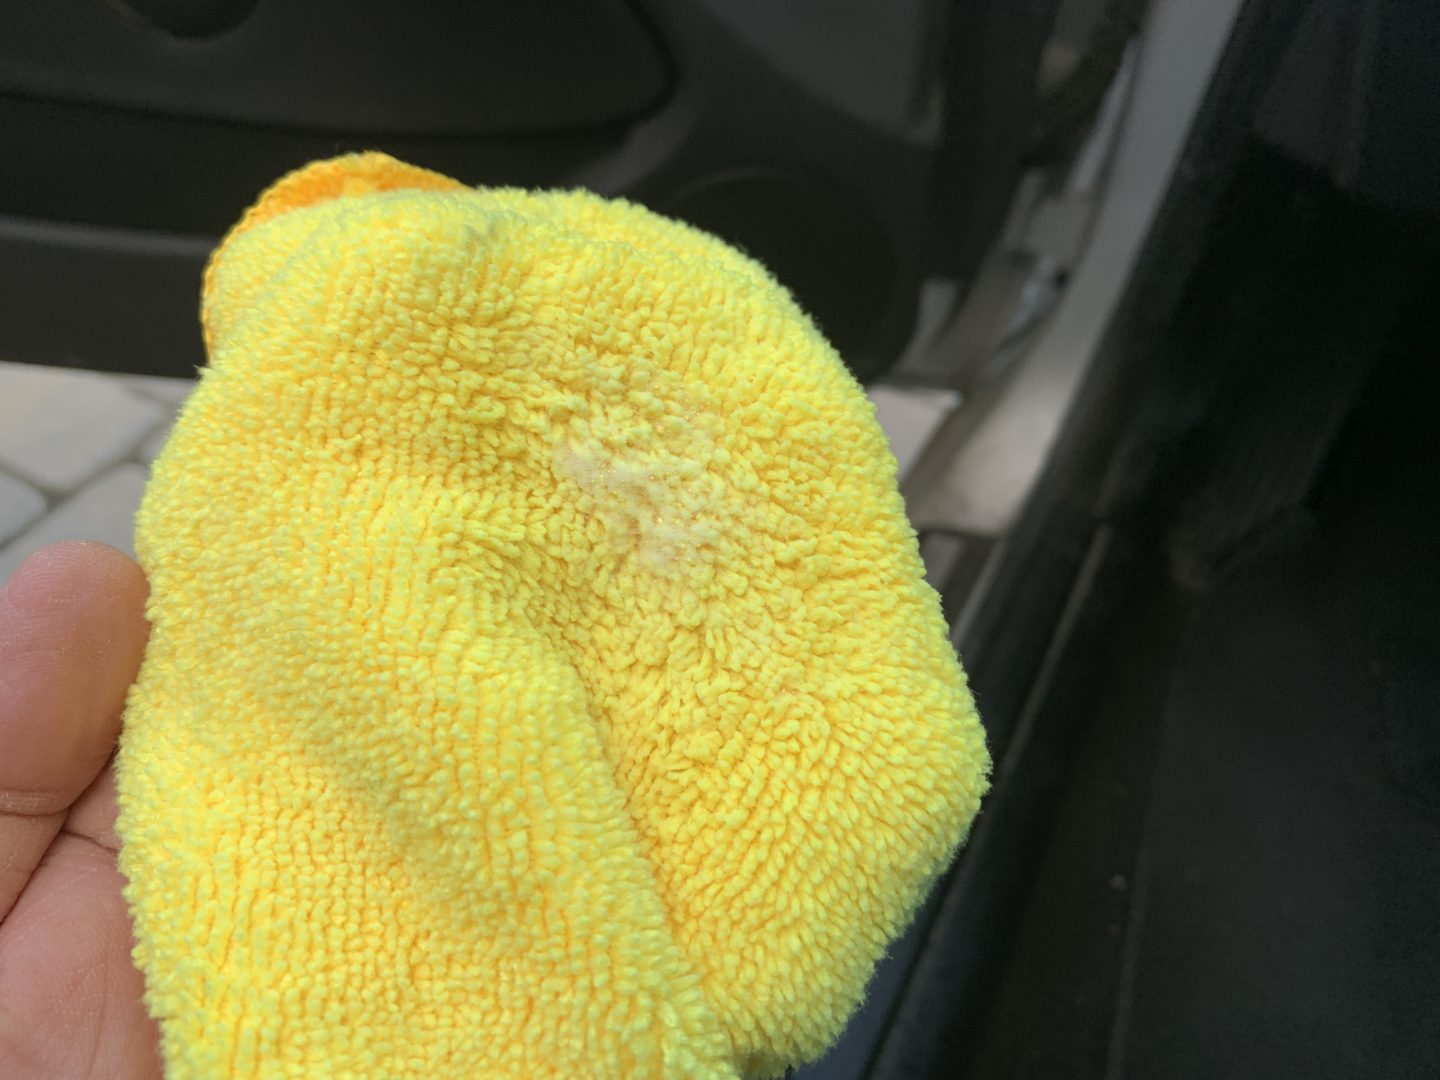
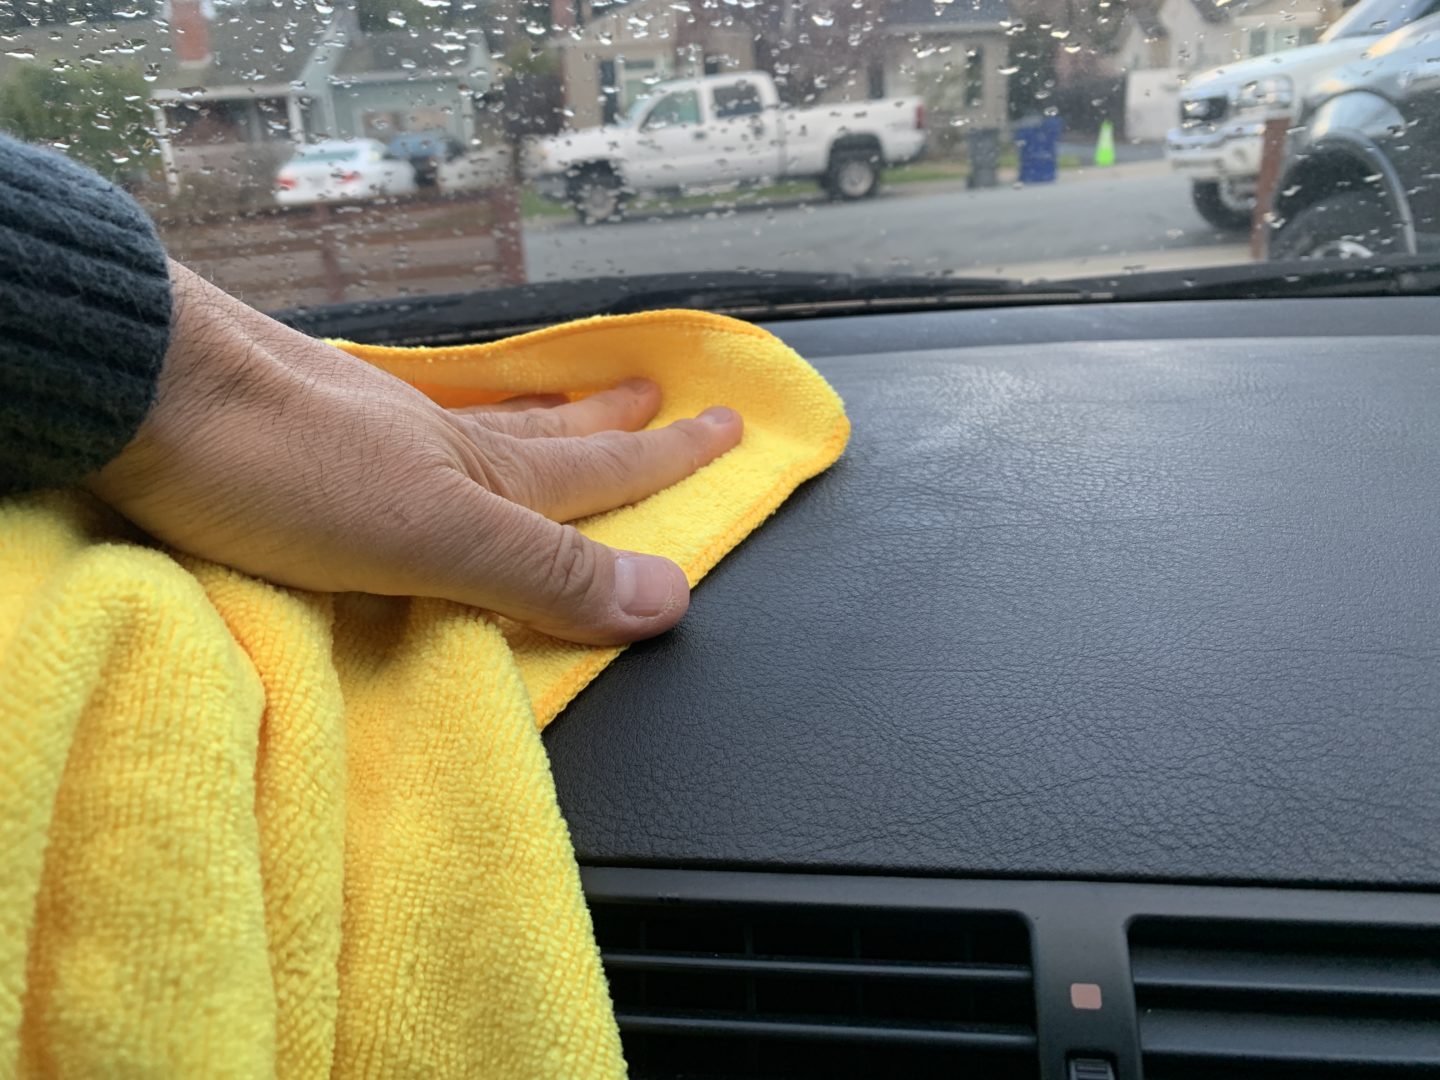
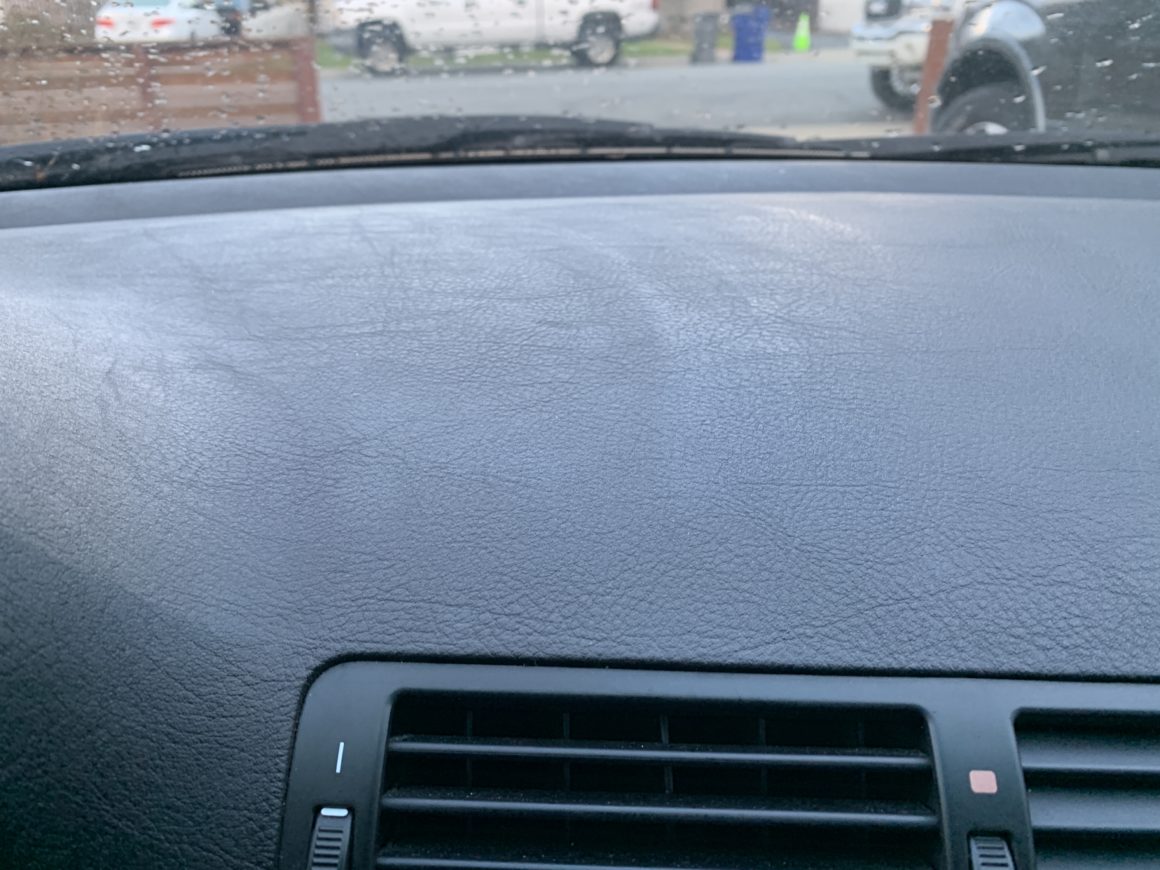
And with that, your dashboard should be clean and virtually free of any signs of a phone mount ever being there. As I have mentioned earlier in this post, your results may vary based on your vehicle, such as how old it is and how long the sticky dashboard mount has been there. However, if you are very careful and take your time throughout the process, you should get results similar to what you see below. Best of luck!
