When you make purchases through links on this site, The Track Ahead may earn an affiliate commission. Also, these posts are based off my own experiences. I am not responsible for any action you take as a result of reading this. Learn More
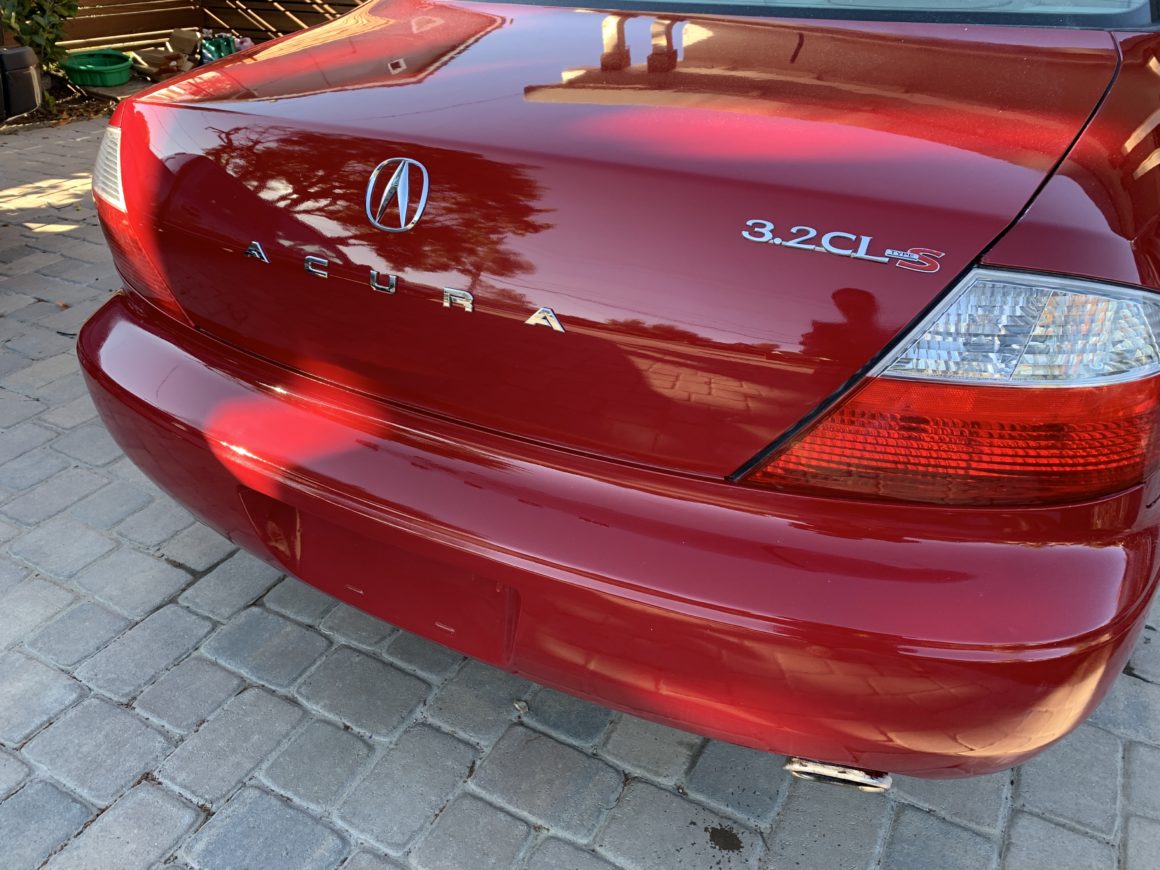
There are going to be times when you might need to install new emblems onto your car, yet you might not know exactly where they’re supposed to go. When I bought my Acura CL years ago, the rear trunk came missing an R emblem, as well as the 3.2CL and Type-S emblems.
If you have missing emblems whether they fell off or were stolen off your car, you’ll probably have some “ghosting” left behind that you could use as a template to install the new emblem with. You may also have an emblem that pops into a grommet in a hole in the panel so you don’t have to worry about placement. But what if the emblems are designed to be stuck directly into the panel? What if you’re repainting your car and therefore have no way to know where exactly to stick the emblems?
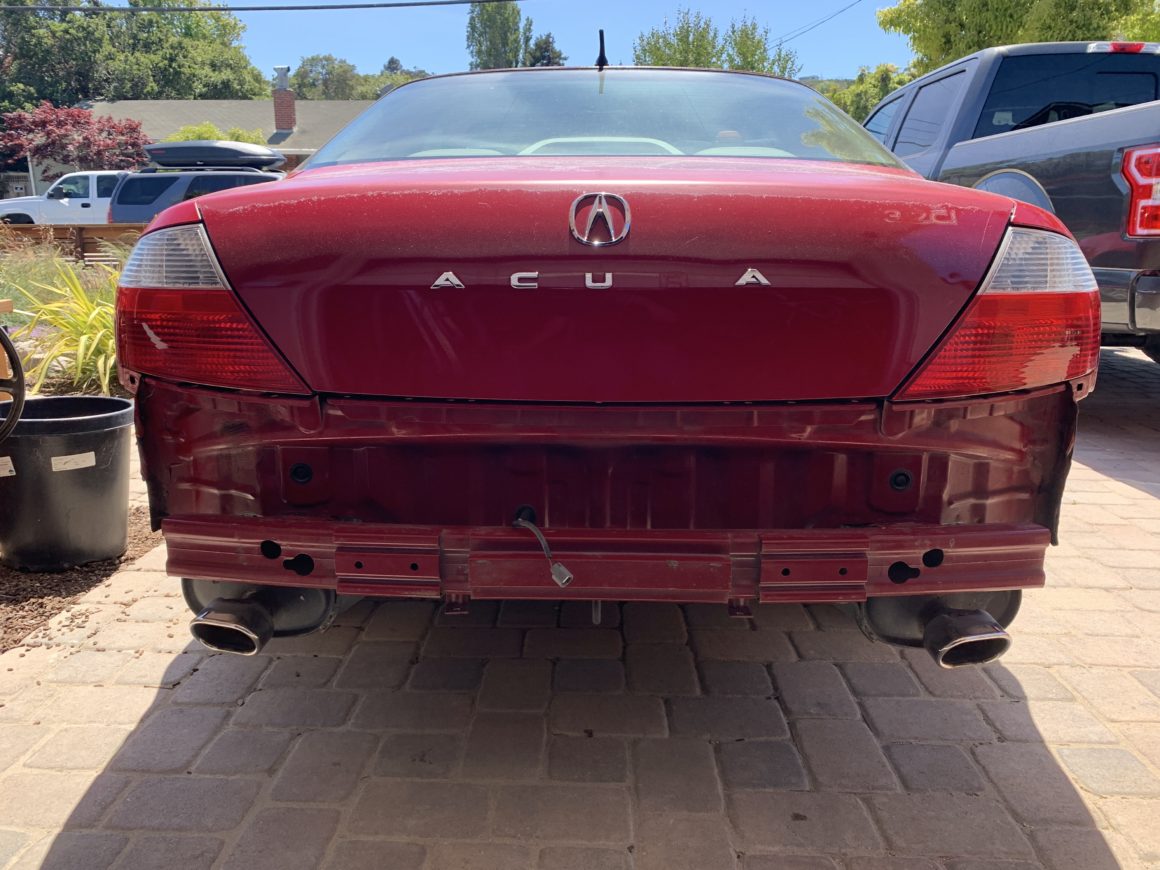
If you need to replace your car emblems and don’t know exactly where they need to go, one way is to take measurements of your existing emblems on the car. If you don’t have emblems currently on your vehicle, but you want them back in their original OEM locations (as they came from the factory), then you’ll need to find another car and take the measurements there. Sure, you can eyeball it, but it’s just not going to look right. If you’ve ever seen emblems on a car that look crooked or something just looks slightly off about its placement, then it’s likely that they were not put on correctly.
To do it properly, you should start by taping lines on the original panel to get measurements for reference. Later when you’re installing the emblems, you will run the tape again in the same way in order to find the locations where the emblems should go. Then, you’ll apply the new emblems based on your measurements taken previously.
Doing it strategically and in this fashion guarantees proper placement of the emblems. Otherwise, you’re just eyeballing it and praying that it’ll be okay. If you don’t do it carefully using the original panel’s measurements, something will always just look “off” about the car when you look at it.
Materials
I’ve listed the materials that I used when I had to re-install the emblems on the trunk of my car after repainting it. If you are simply installing an emblem and can use the previous imprint of the emblem left behind, then you can simply use the adhesive remover to clean up the old adhesive, followed up by a water-based cleaner or rubbing alcohol before applying an emblem adhesive (and emblem.)
If you need to install emblems on a newly painted panel or have no way to tell where the previous emblems were applied, you’ll need automotive tape to measure and take note of where the emblems should go, adhesive remover to clean off the old emblem adhesive left behind, all purpose cleaner to clean off the residual adhesive remover, rubbing alcohol/water-based cleaner for prepping the surfaces, and emblem tape or emblem adhesive to stick the emblems back onto the panel.
Automotive Tape
3M Automotive Refinish Masking Tape, 36 mm x 55 m, 1 Roll
Adhesive Remover or Goo Gone
Goo Gone Adhesive Remover – 8 Ounce
All-Purpose Cleaner
Chemical Guys All Clean+ Citrus Based All Purpose Cleaner (16 oz)
Rubbing Alcohol or Water-based Cleaner
Sprayway, Glass Cleaner, 19 Oz Cans, Pack of 2
Emblem Adhesive
3M Plastic and Emblem Adhesive, 5 oz Tube
Choosing Emblem Tape Versus Emblem Adhesive
Applying emblems onto your car is a messy job. You may think that emblem tape (basically like a thin double-sided tape) is easier to use than emblem adhesive (like an adhesive glue), however, both are quite messy to work with. An emblem tape is unlike a typical double-sided tape that you might be used to using because the tape should be much thinner, otherwise you would have emblems that would be suspended from the panel way too far out than they should be.
Using emblem tape is still an option. You would use the emblem tape to stick onto the back of the emblem, then peel the second side off to apply it to the car’s panel. Because emblems may have openings inside (like the holes of certain letters), you need to cut the tape to fit behind the lettering. Furthermore, when you remove second side of the tape, the adhesive material tends to come off along with the peel-off portion and gets all over the place.
An example of a well known emblem tape is 3M’s Adhesive Transfer VHB Tape, which comes in 2 mil, 5 mil, and 10 mil thicknesses. In my opinion, the 2 mil and 5 mil are just too thin to work with and so you may have better luck using the 10 mil thickness tape. The issue however using the 10 mil tape is that you can only find larger quantities of this tape, so it’s hard to find just what you need–rather, you need to buy something like a 60 yard roll which might be way more than you might need. Aside from these issues, it’s also difficult to make fine adjustments such as sliding the emblem around slightly after installing it.
Therefore, I recommend installing car emblems using emblem adhesive glue. It’s still messy to work with, but at least it doesn’t cost a lot, you can get a tube of it which will last you a while. You can also make slight adjustments before the adhesive fully dries and it has very good adhesion.
How To Install Emblems Back In Their Original Place On A Car
For the purpose of this guide, I’ll be replacing the car emblems on this trunk. The way that I think is best is to run a line of painter’s tape or automotive tape across the trunk from one reference point to another. These reference points could vary depending on your car.
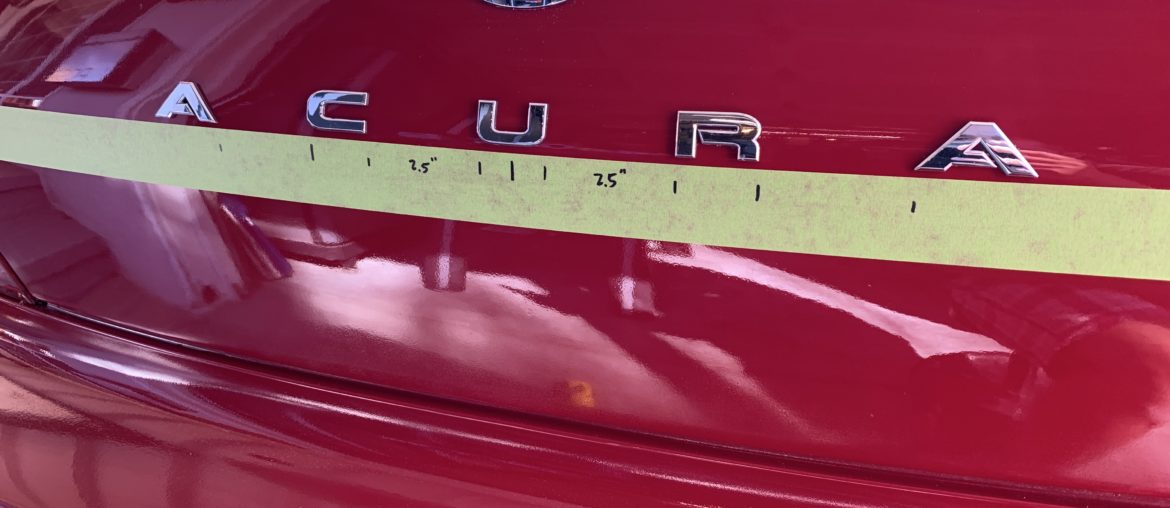
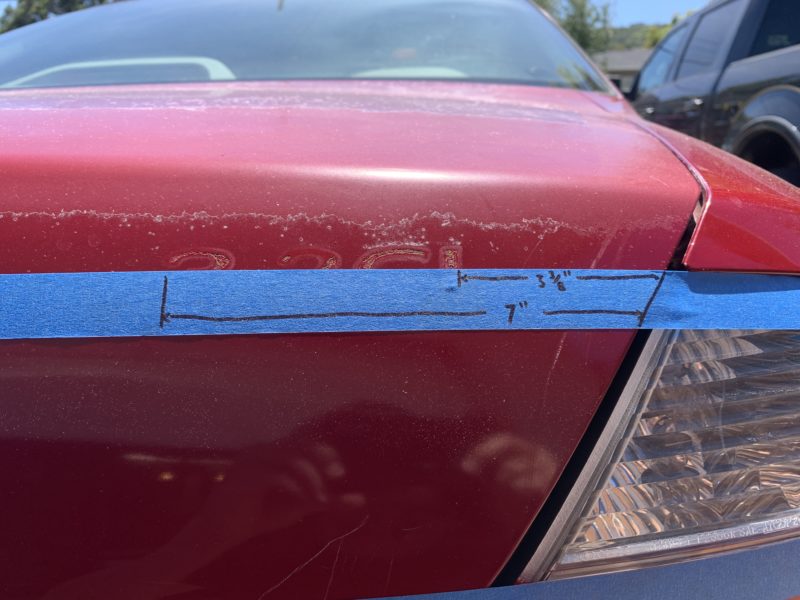
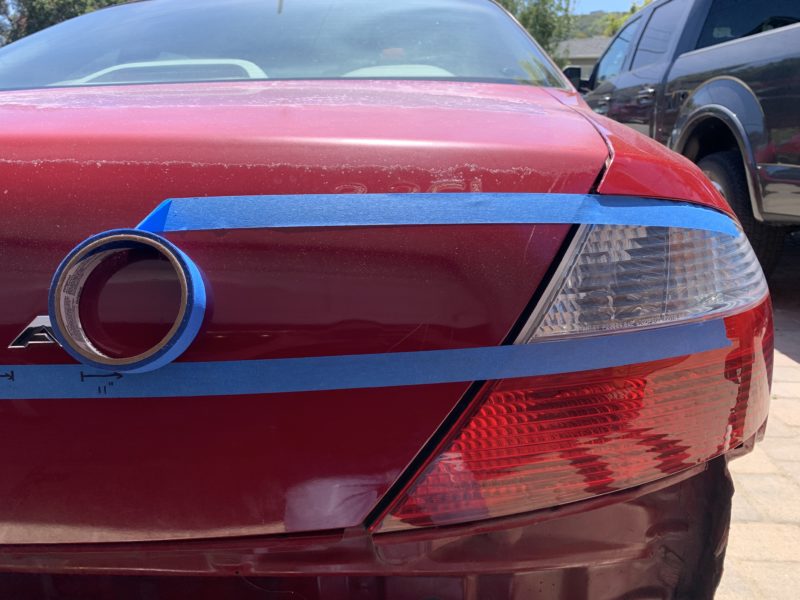
Below, I chose to run the tape from one tail light where the red and white lights meet to the other tail light in the same location. Because the tape can stick to the panel while you’re pulling it across, you could potentially have a bent line if you’re not careful. Try to pull the tape taut when you do so and redo the tape line if it is not stuck on totally straight.
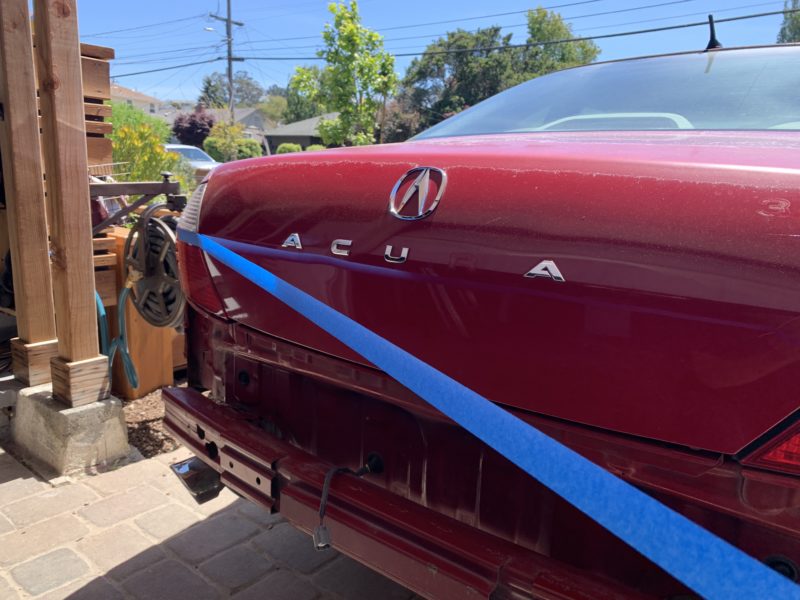
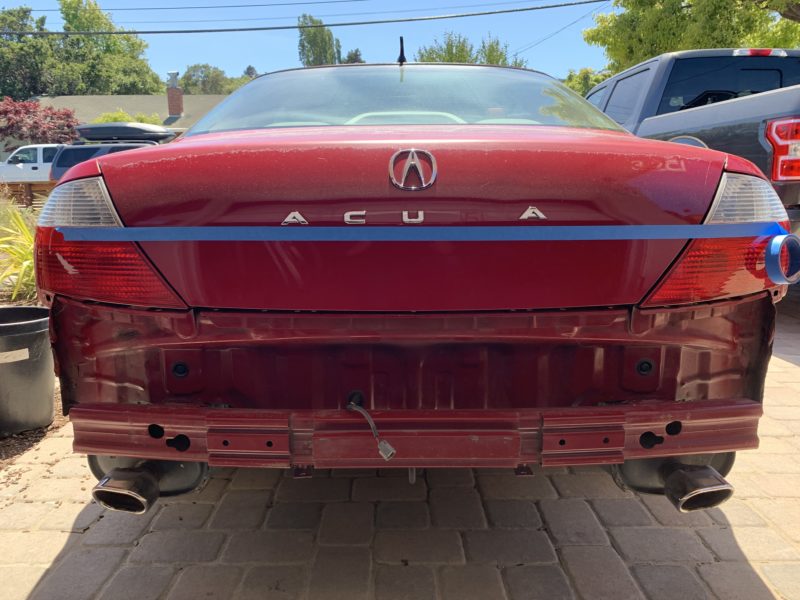
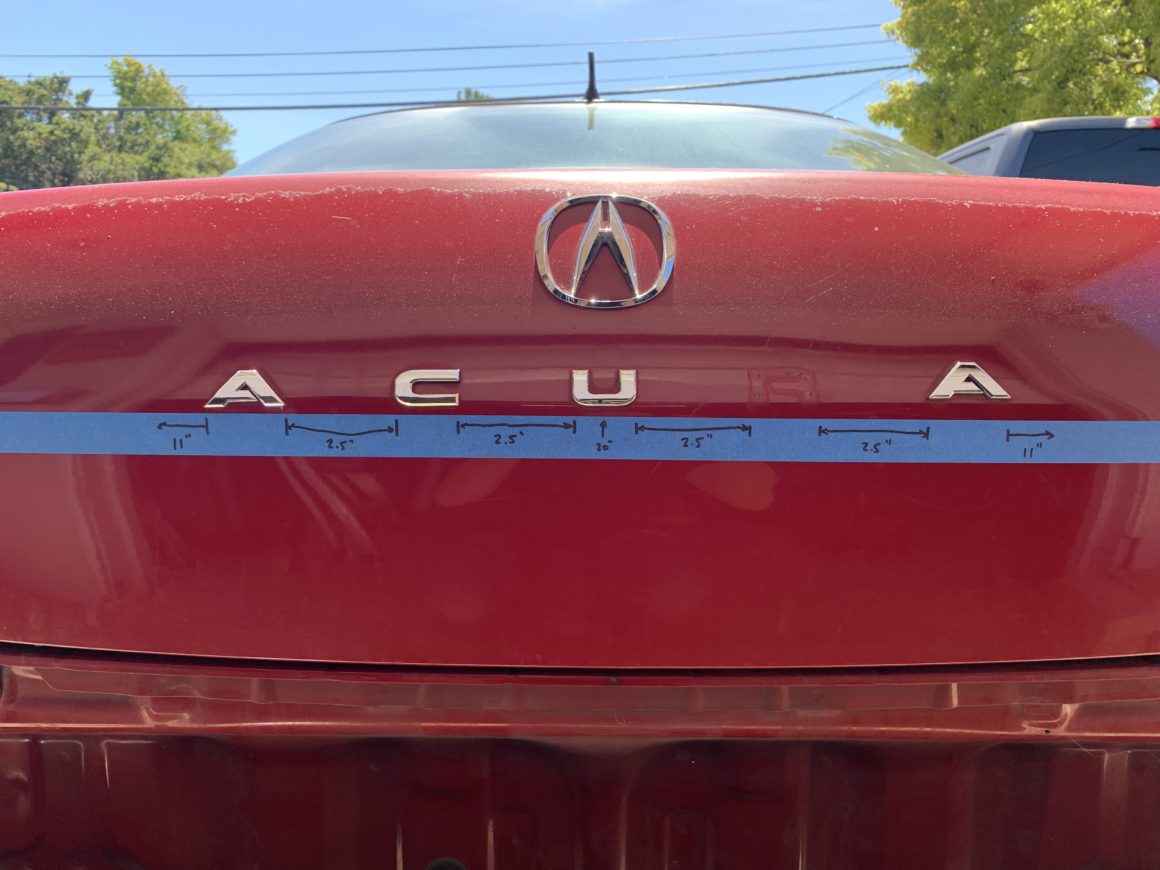
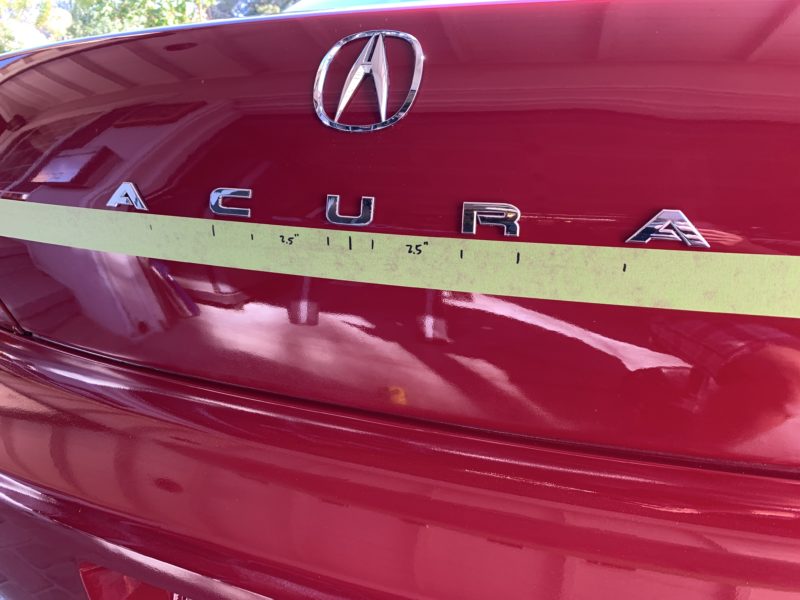
After I ran this reference line with the tape, I chose to measure up from the top of the tape to each of the emblems for the A, C, U, R, and A. In my case, I found that it was about 1/8″ up from the top of the tape to the bottom of each emblem letter. I also measured the distance between the edges of each letter. Finally, I took the measurement from the last letter on each end to the edge of the trunk. I wrote all of these measurements down on the tape and took a photo so I could reference it when I re-installed the emblems.
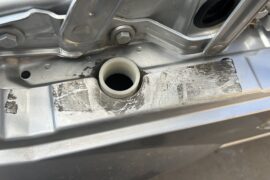
Keep in mind that you’d need to do something like this with emblems that are stuck directly onto the panel. If the emblem is applied with a pin and grommet inserted through a hole in the panel, then you likely won’t need to take measurements as the emblem would be aligned automatically.
Another thing I’d like to add is that you can’t assume that emblems or even decals are installed perfectly from the factory. As you can see below, even the original emblems weren’t installed perfectly straight. So, you might find this to be the case in your situation. I took this opportunity to install all of the emblems completely straight across the trunk.
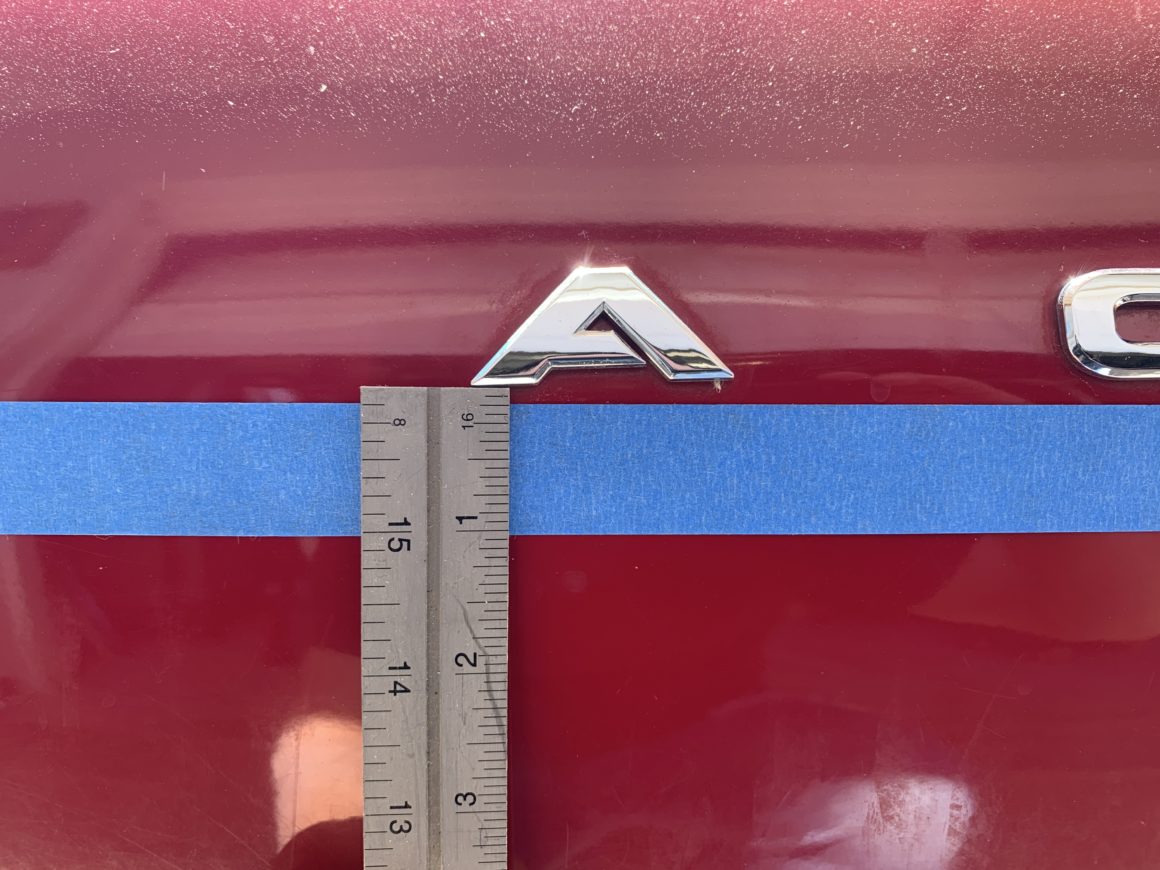
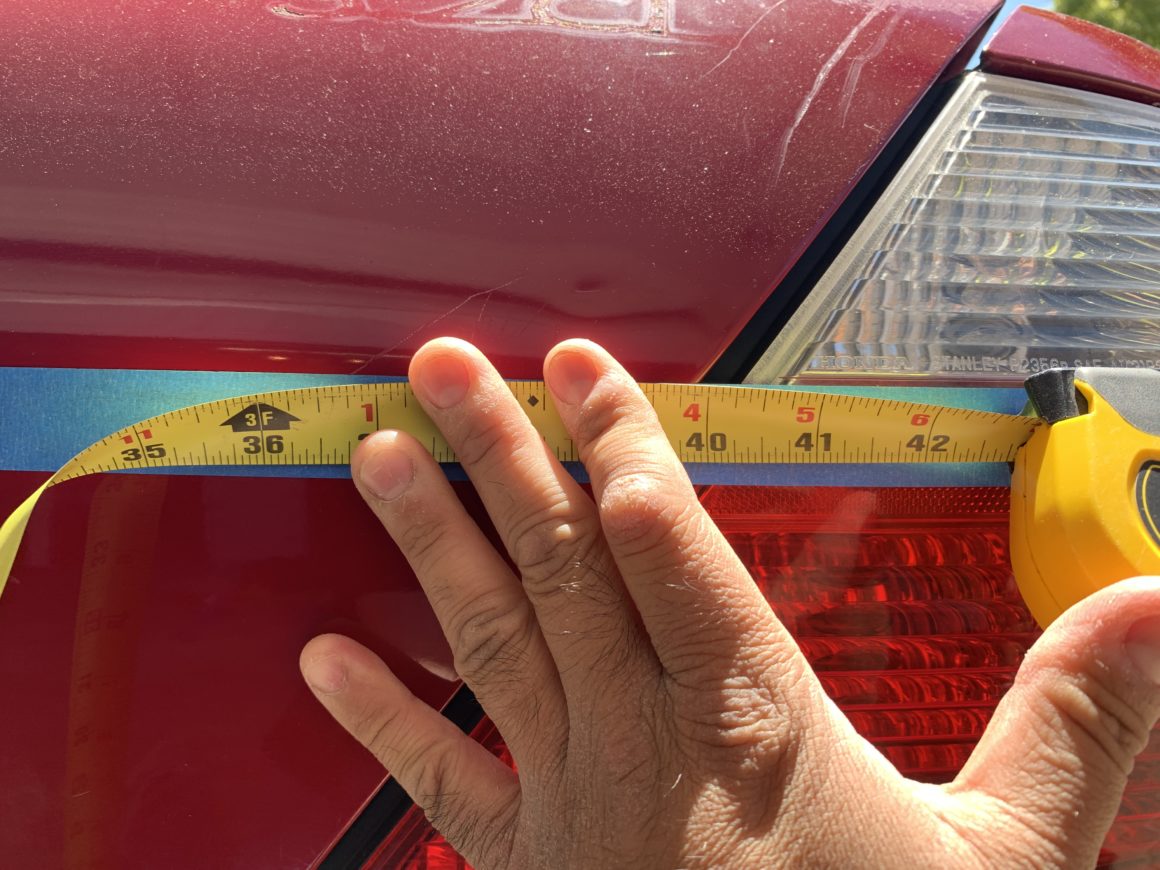
I had a few more emblems that would need to be reapplied, so I used the same process of taping and taking measurements. In this case, I used the top of the tape as a reference line running through the center of the letters here. I also used measurements from the edge of the panel to each end of the emblem lettering. Again, you can use whatever reference points and lines you want, just make sure it can be replicated and in an accurate way.
Prepping the New (Or Used) Emblems
If you’re installing brand new emblems, there’s probably not a whole lot of prep work needed. If you’re installing emblems that have pins, you just need to make sure they also have the grommets so they can pop into the holes in the car’s panel and remain securely in place.
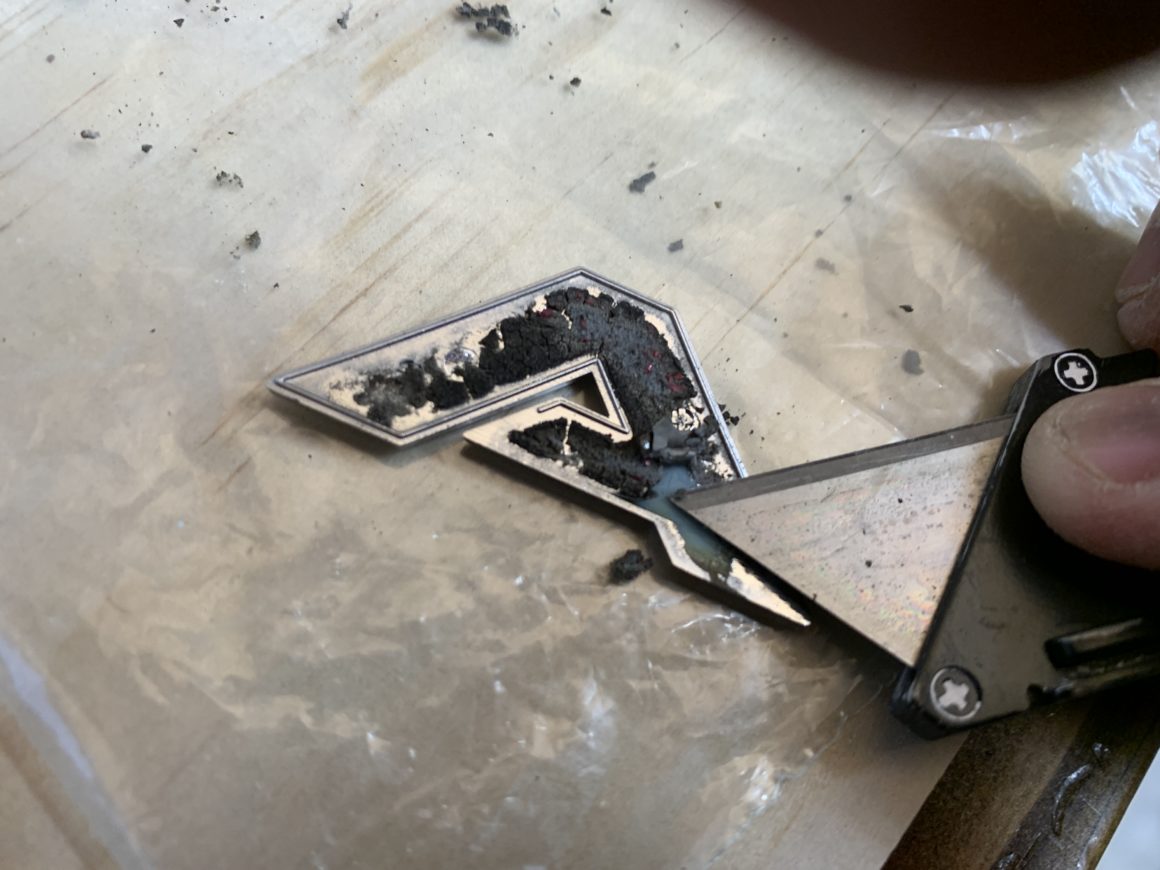
If you’re installing your existing emblems or used emblems from somewhere else, you’ll need to clean the emblems prior to applying glue or tape for the install. Use a razor blade or similar tool to shave off any old gunk off the back of the emblems. If you don’t clean them well, then the glue or tape won’t hold.
Other chemicals like adhesive remover or Goo Gone are useful for cleaning old adhesive off of old emblems. Finally, use all purpose cleaner followed up by rubbing alcohol to do a final cleaning prior to applying new adhesive.
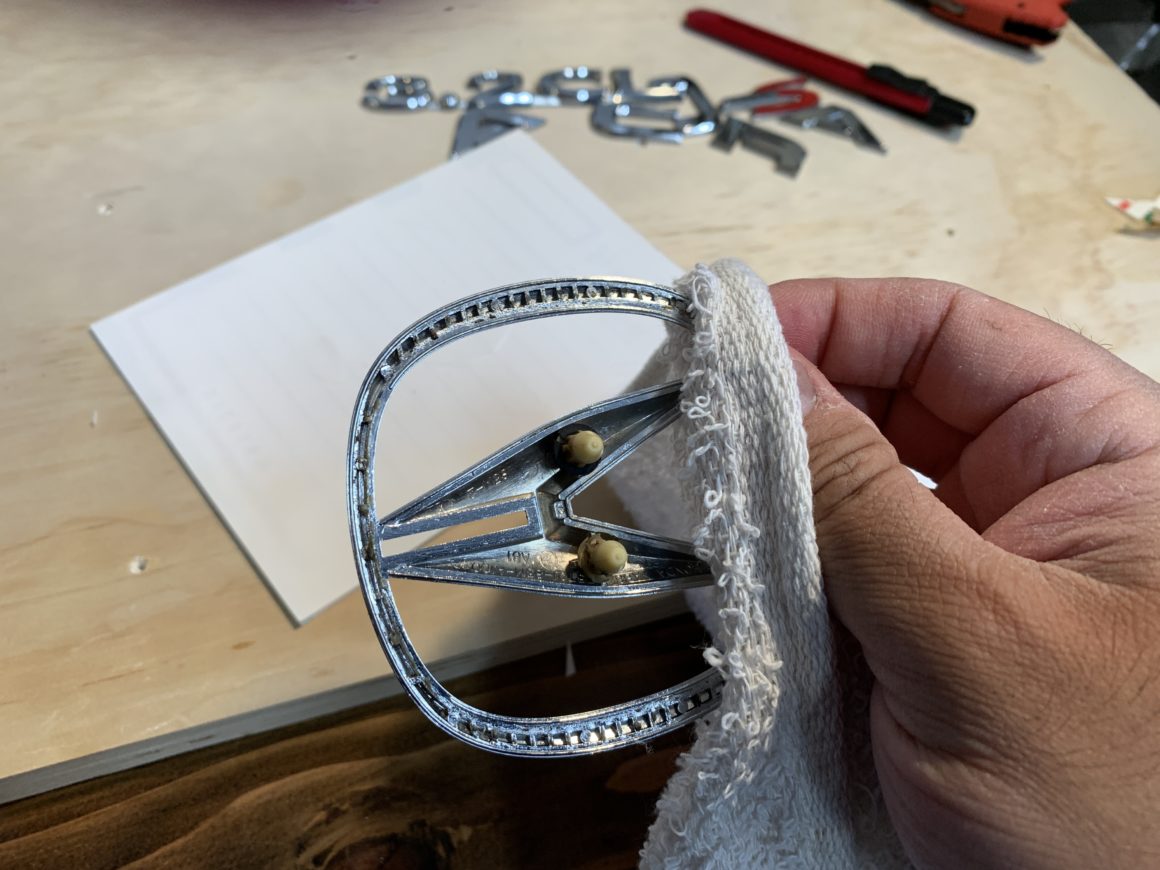
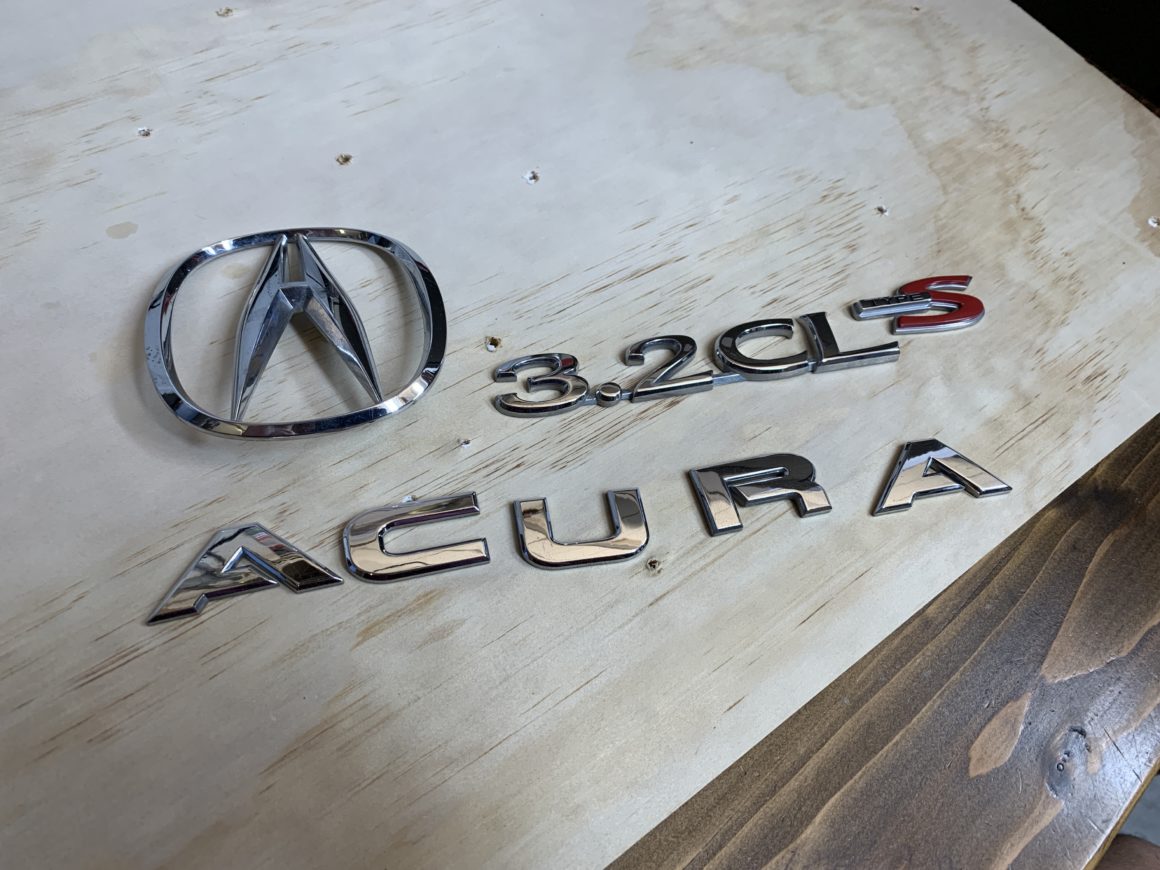
For those emblems that have pins, you can simply just pop them on. These are the easiest emblems to apply.
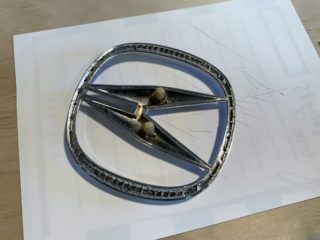
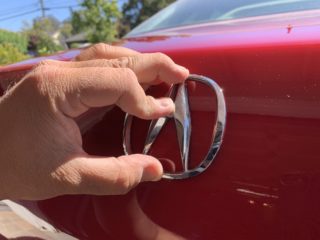

For other emblems that are adhered to the panel by adhesive alone, you’d proceed to tape up the panel the same way you did previously. The areas on the panel where the emblems will attach to should be cleaned thoroughly with all purpose cleaner and then a water-based cleaner (or rubbing alcohol) should be used for the best adhesion. If there is still old sticky emblem adhesive, use adhesive remover before using all purpose cleaner (and then water-based cleaner.)
For me, emblem adhesive was the best choice. Using disposable gloves, apply the adhesive to the back of the emblem with just enough for the emblem to stick to the panel. If you use too much, it will squeeze out the sides of the emblem when you install them, which will not look very good. Install them one-by-one based on the measurements you took previously.
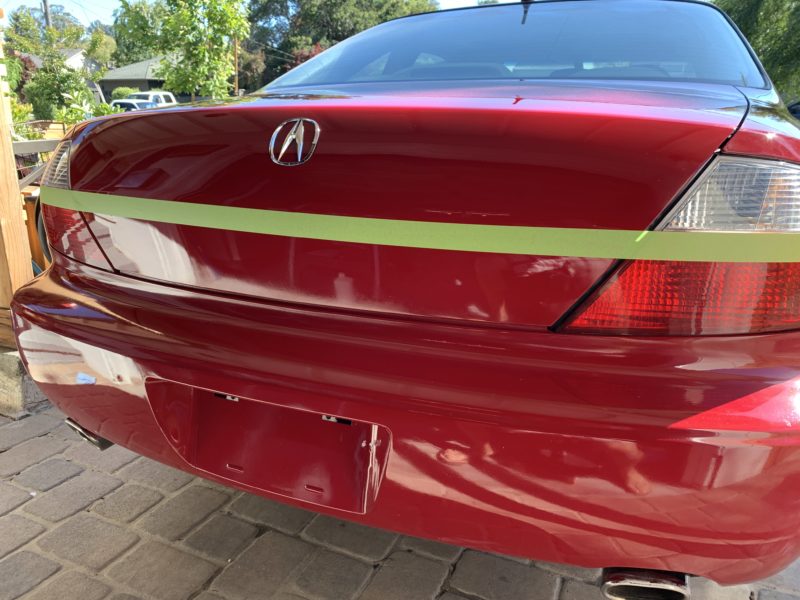
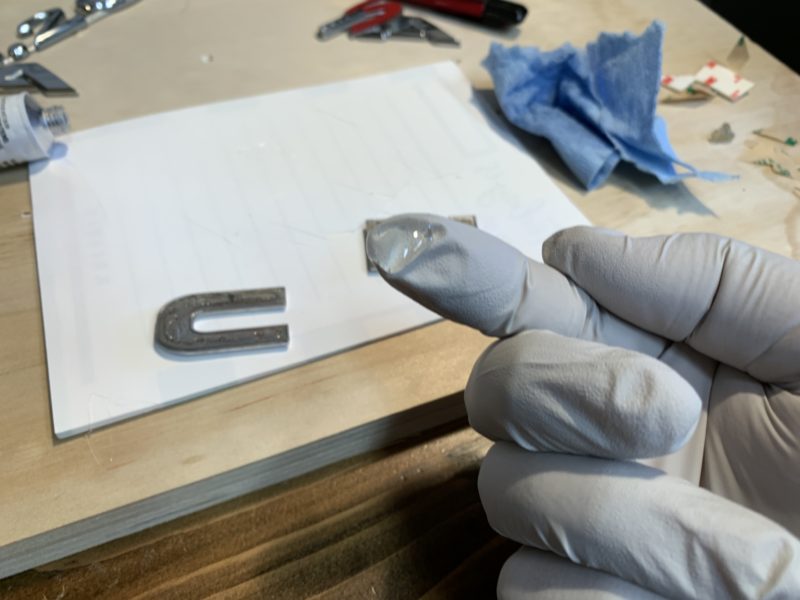
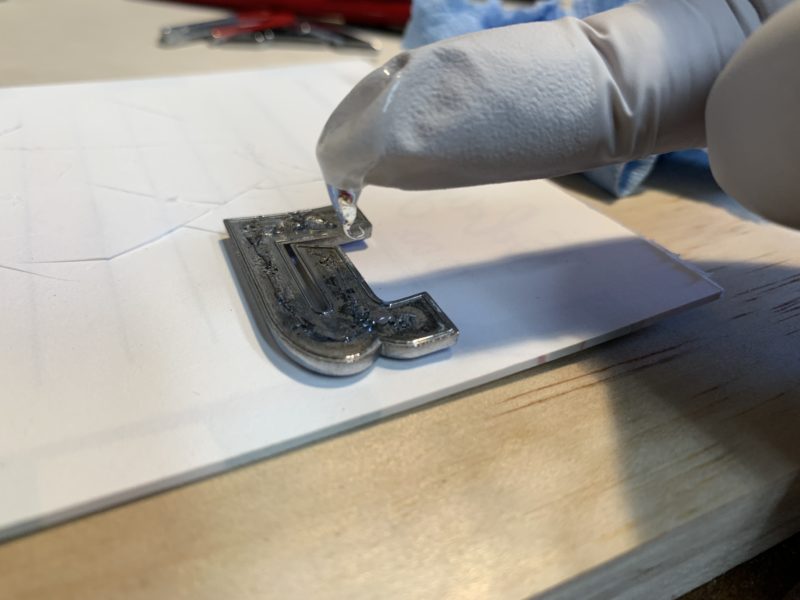
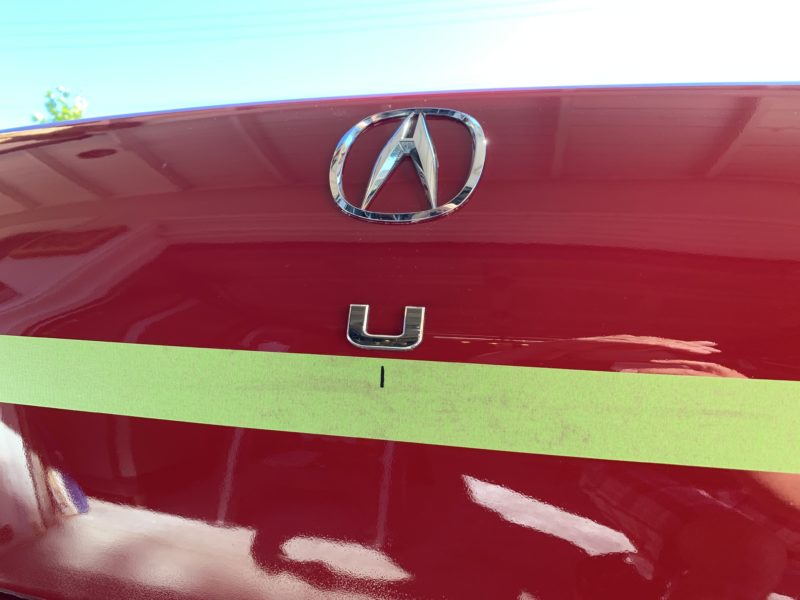
Continue on until you’ve gotten all the emblems back on in their correct and final places. Wipe away any adhesive before it has cured and be careful as the adhesive is incredibly sticky and is extremely messy to work with.
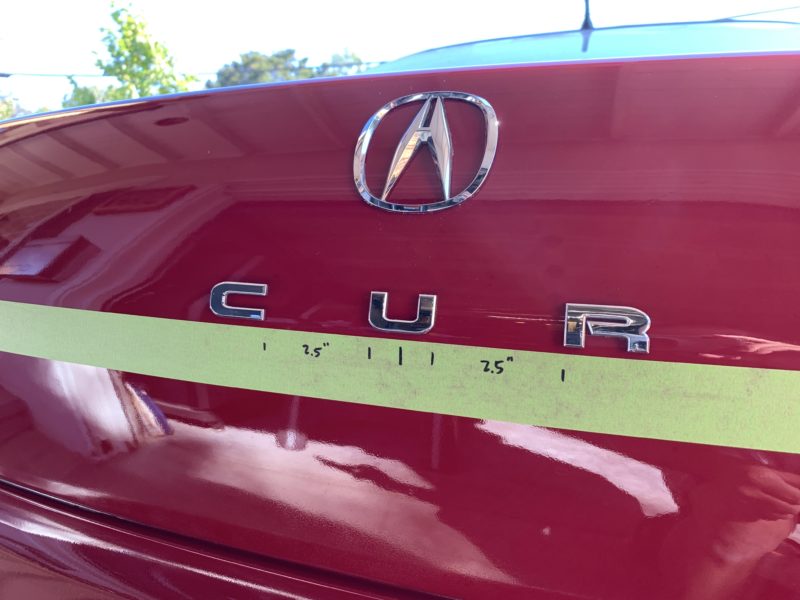
Ensure that all of the emblems are pressed firmly into place. Allow the emblems to fully dry and you’ll have all of your emblems installed back into their proper original place. Do what you can to install them right the first time as pulling them off later may cause damage to the car’s paint. Especially if you have a new paint job, you absolutely don’t want to be removing the emblems risking damage to the new paint.
