When you make purchases through links on this site, The Track Ahead may earn an affiliate commission. Also, these posts are based off my own experiences. I am not responsible for any action you take as a result of reading this. Learn More
Lubricating the driveshaft (a.k.a. propeller shaft) is a key maintenance item on the 1st gen Toyota Tacoma that every owner should be doing on a regular basis. As long as you have a grease gun and the appropriate grease, it is easy to grease up the driveshaft and keep your driveline working properly.
There is a bit of variability in the information related to how often you should be greasing your driveshaft, as well as what type of grease you should be using. More information on that below. Once you decide on how often you want to perform the maintenance and what grease you want to use, the maintenance itself is quite easy and ensures you keep your driveline in tip-top shape.
How Often to Grease the Driveshaft?
Looking at the 2004 Toyota Tacoma scheduled maintenance guide, it is recommended to grease the driveshaft/propeller shaft every 12 months or 10,000 miles. Some people grease their driveshaft every time they change their oil and others do it on the rare occasion. The owner’s manual doesn’t necessarily offer any scheduled maintenance interval on the driveshaft, so following the Toyota scheduled maintenance guide (on Toyota’s website) is a good guide to go by.
What Type of Grease to Use on the Driveshaft?
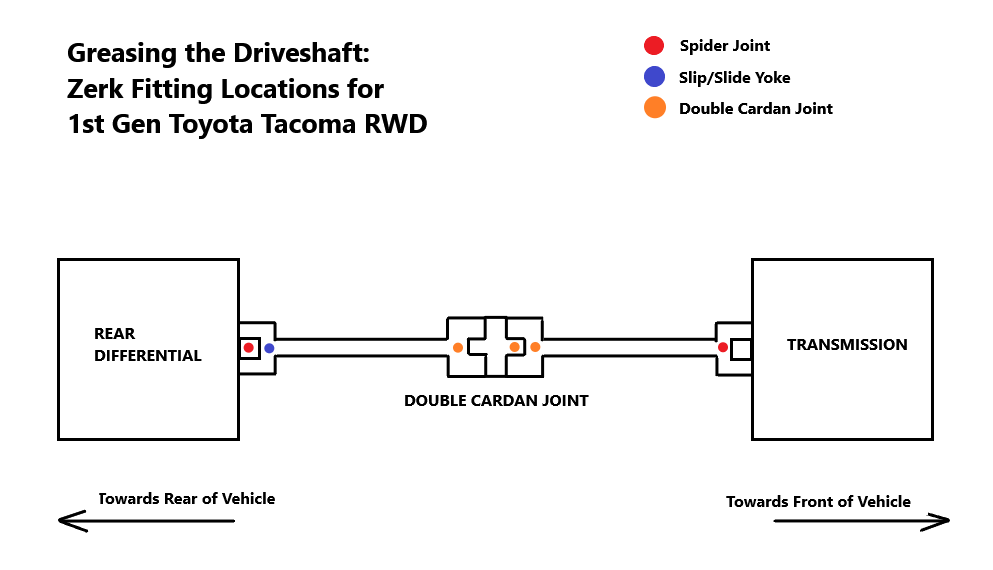
The 1st generation Toyota Tacoma with a 2×4 drivetrain (RWD) has a total of (6 qty) zerk fittings: (1 qty) at the front near the transmission, (3 qty) at the middle double cardan joint, and (2 qty) at the rear near the rear differential. Here is a diagram of the zerk fitting locations on the driveshaft:
Looking through the owner’s manual on this 2004 Toyota Tacoma, the following specifications are called out for grease type for the propeller shafts:
Spiders: Lithium base chassis grease, NLGI No. 2
Slide yoke and double cardan joint: Molybdenum-disulfide lithium base chassis grease, NLGI No. 2
Shown here are two different types of grease listed depending on whether you are applying grease to the spider joints (in red) or to the double cardan joint (orange) and slide yoke (blue). Following the manual to a tee requires you to buy two separate types of grease. This might be a pain to do if you only have one grease gun and have to change grease cartridge tube. Another option is to have two grease guns, but that obviously costs more money. So if you want to follow the specifications exactly, then you’ll need to either go through the messy job of changing out grease cartridges or shell out some extra money for a separate grease gun.
I personally have no had any issues using the same lithium base chassis grease (NLGI No.2) on both spider joints, double cardan joints, and slide/slip yokes. There are countless stories about people who have used only lithium base grease on all of the fittings and haven’t had any issues. You’ll find just as many success stories with people who have applied two types of grease to their respectively-spec’d locations. In the end, you can make a decision based on your own research and judgment. Personally, I’ve always stuck with solely an NLGI No. 2 lithium base grease (no Moly) on several different vehicles and have not experienced any problems.
Tools and Materials
Pistol Grip Grease Gun
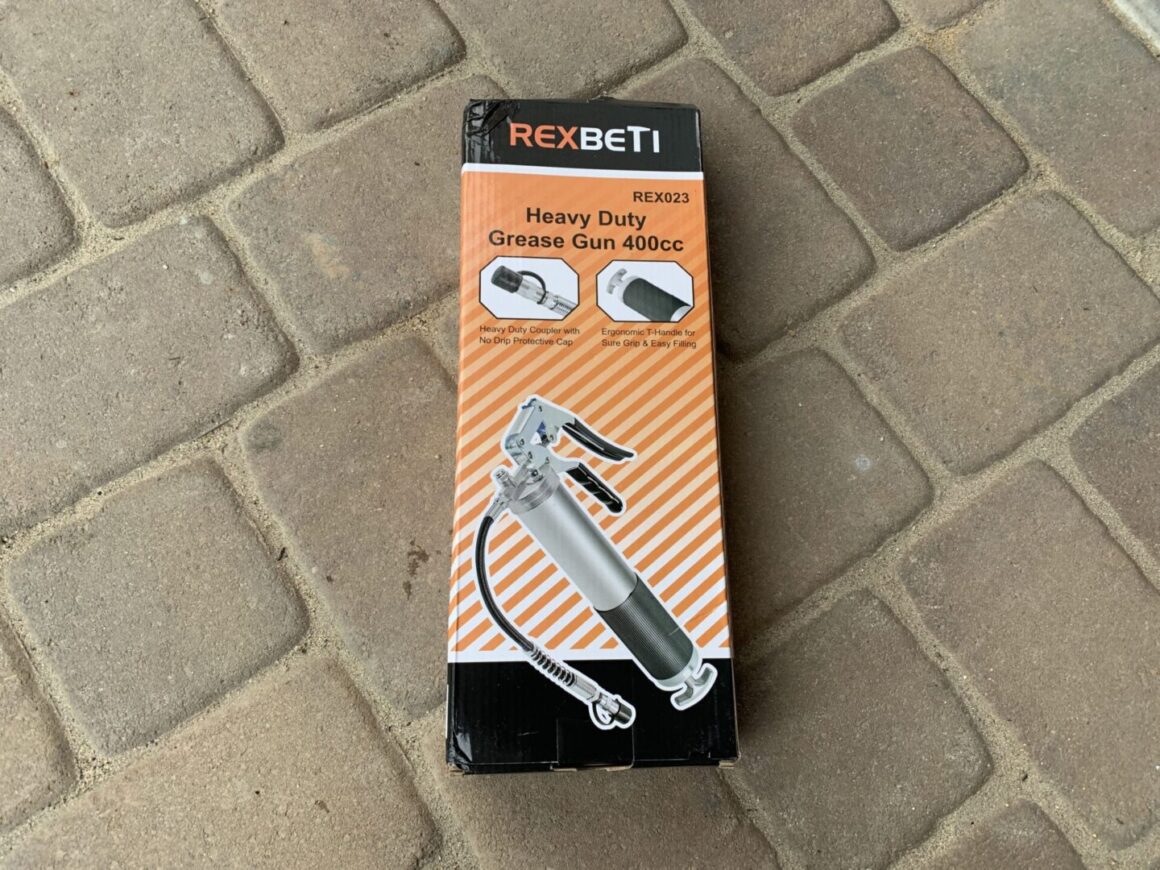
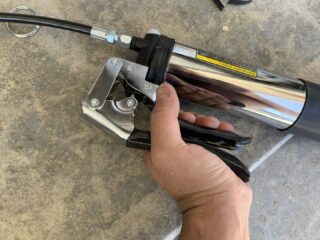
For the Tacoma, I purchased a new grease gun (brand: Bravex) to use since I didn’t have my regular grease gun (brand: Rexbeti) with me. I wouldn’t recommend the Bravex grease gun simply because of the universal coupler that comes with the grease gun. After sticking it onto the zerk fitting, it is practically impossible to remove. This wasted a lot of my time trying to pull the coupler off the fittings when I was done greasing. Instead, I’ve had a better experience with the Rexbeti brand from Amazon, which comes with two universal couplers that easily go on and off of the zerk fittings.
REXBETI Grease Gun, Pistol Grip Grease Gun Set with 18 Inch Flex Hose
Lithium Base Chassis Grease, NLGI No. 2
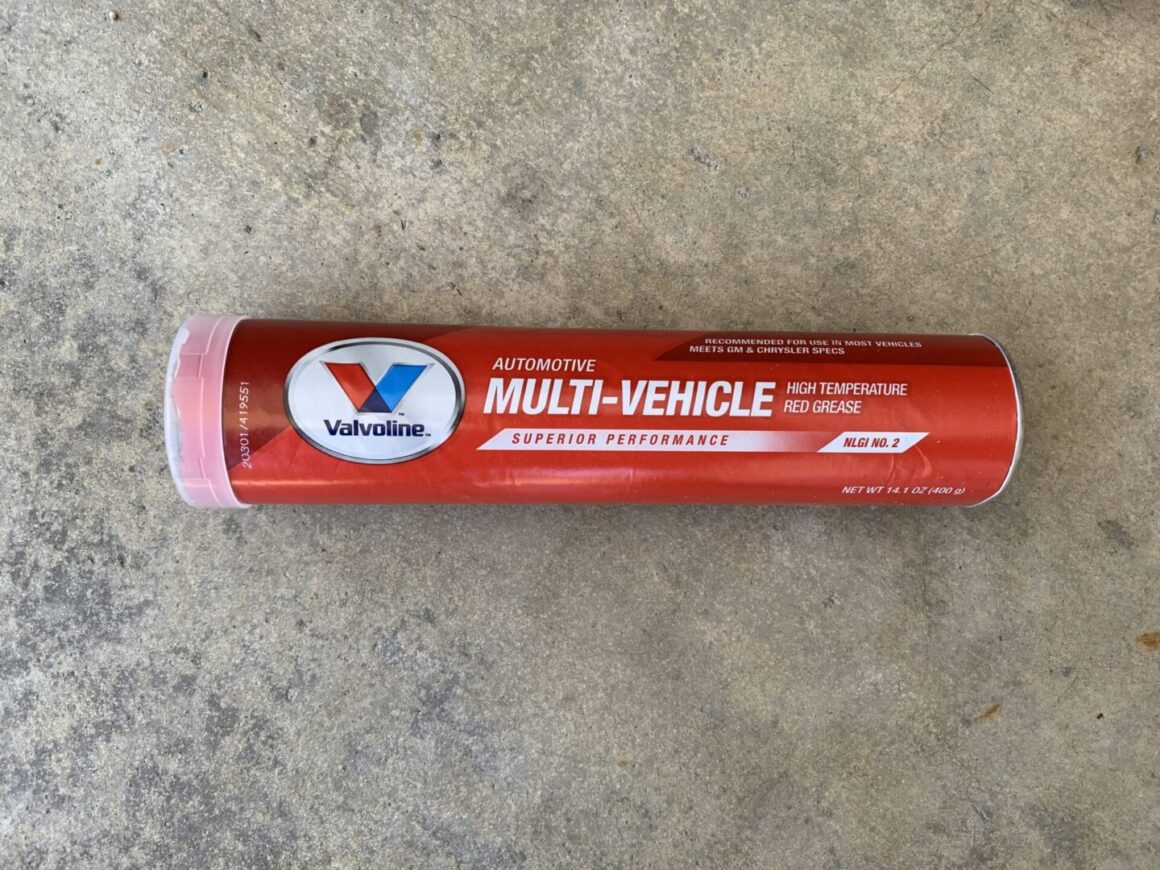
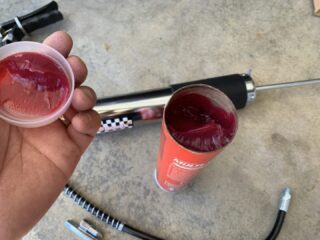
For this application, I used Valvoline High Temperature Red Grease NLGI No. 2. In the past, I have also used Lucas Oil Red ‘N’ Tacky Grease for similar applications.
Valvoline Multi-Vehicle High Temperature Red Grease 14.1 OZ Cartridge
All-Purpose Cleaner or Degreaser
I use an all-purpose cleaner/degreaser to clean the areas that I’m working on. It’s especially helpful to have these cleaners around to clear up all of the built-up dirt and grease on the zerk fittings. Sometimes you can’t even tell where the fittings are because it is all caked up with dirt/grease.
Chemical Guys All Clean+ Citrus Based All Purpose Cleaner
Simple Green, Industrial Cleaner/Degreaser
Nitrile Gloves
Greasing the propeller shaft is a messy job, so you don’t want to get dirty grease all over your hands.
MedPride Powder-Free Nitrile Exam Gloves (Box of 100): Small / Medium / Large
Blue Shop Towels
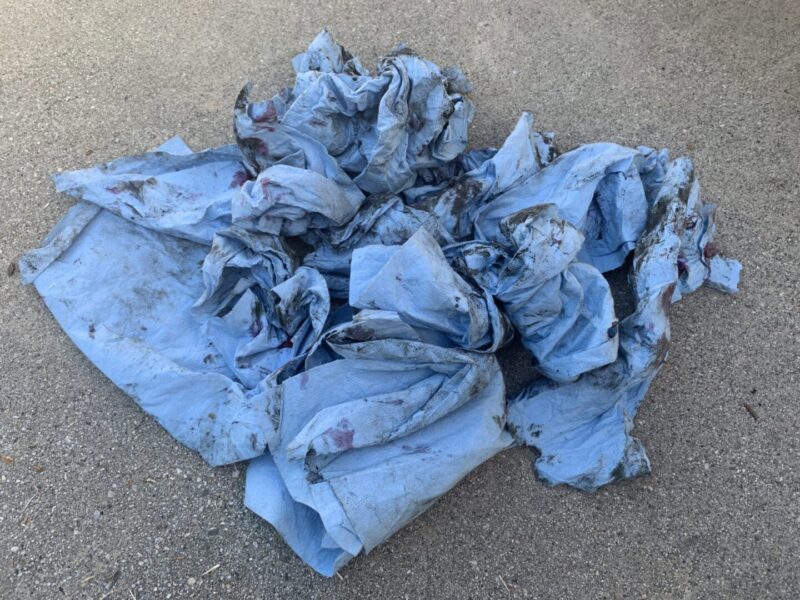
Again, this is a messy job and having plenty of shop towels on-hand is a must. You’ll be using plenty as you wipe away all that old pumped-out grease.
Scott 75130 Shop Towels, 55 Towels (12 rolls)
Preparing the Grease Gun with Grease
Before starting, you will need to assemble the grease gun if you haven’t already done so. The best thing to do is to follow the instructions that come with the grease gun. However, most grease guns do assemble and load grease cartridges similarly as shown below.
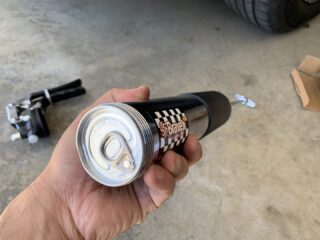
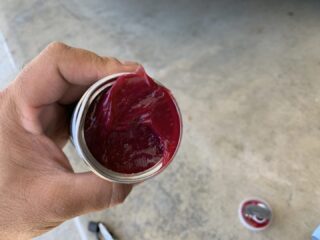
Unscrew the grease gun screw cap and on the other end, pull the plunger handle all the way back. Then, take the new grease cartridge tube: remove the plastic cap on one side, then place the open grease side of the cartridge into the open grease gun. You’ll now have the grease cartridge’s metal pull tab accessible. Remove the pull tab. Then screw on the screw cap of the grease gun. Assemble the hose if it hasn’t already been done. Then you’ll need to pre-load the grease by simply pumping grease via squeezing the handle until grease starts to come out of the coupler end.
How to Grease the Driveshaft on a 1st Gen Toyota Tacoma RWD (2×4)
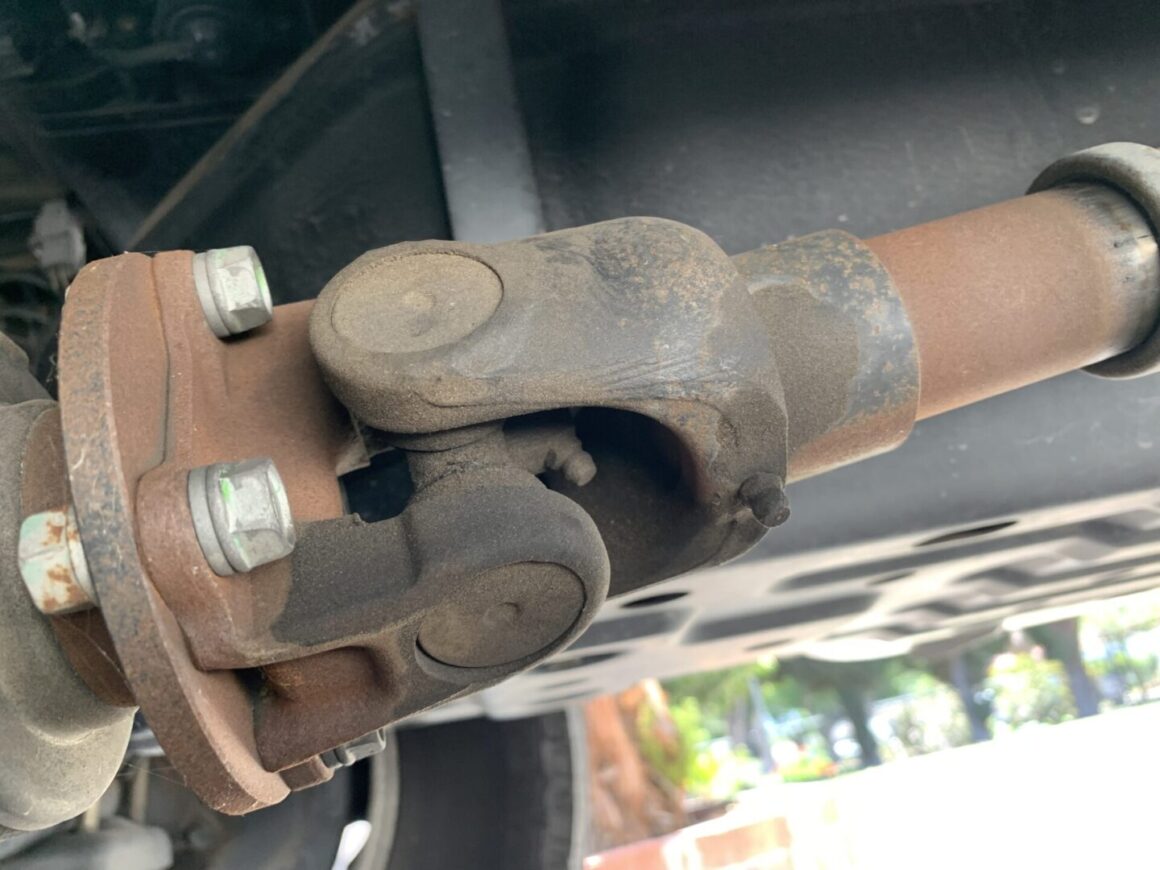
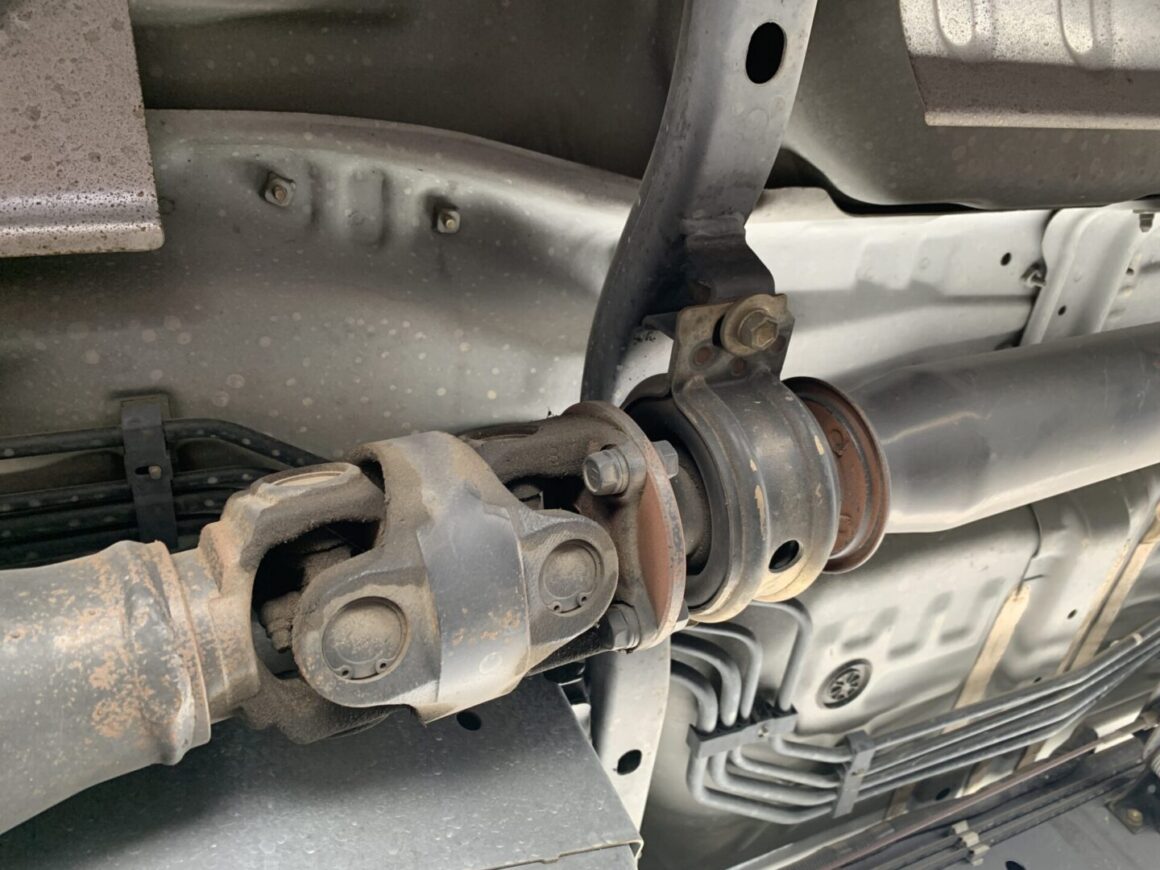
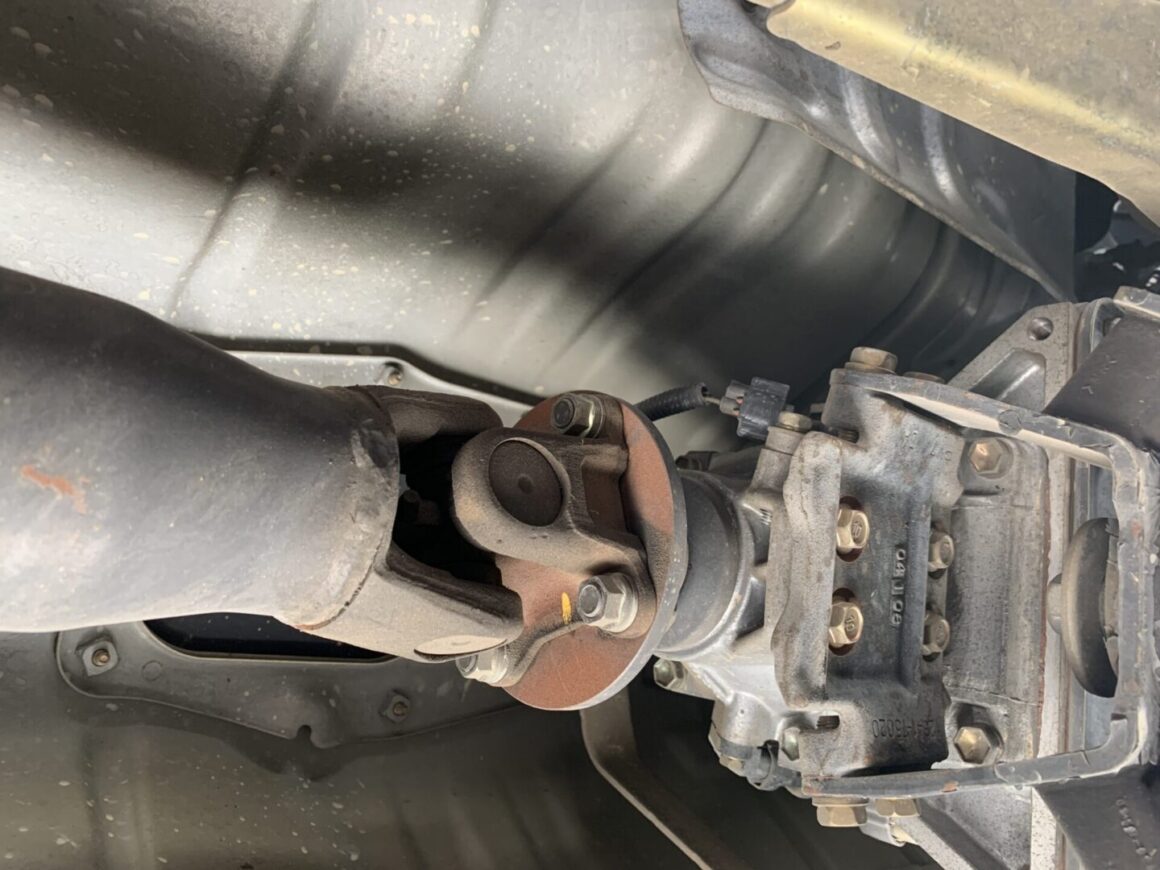
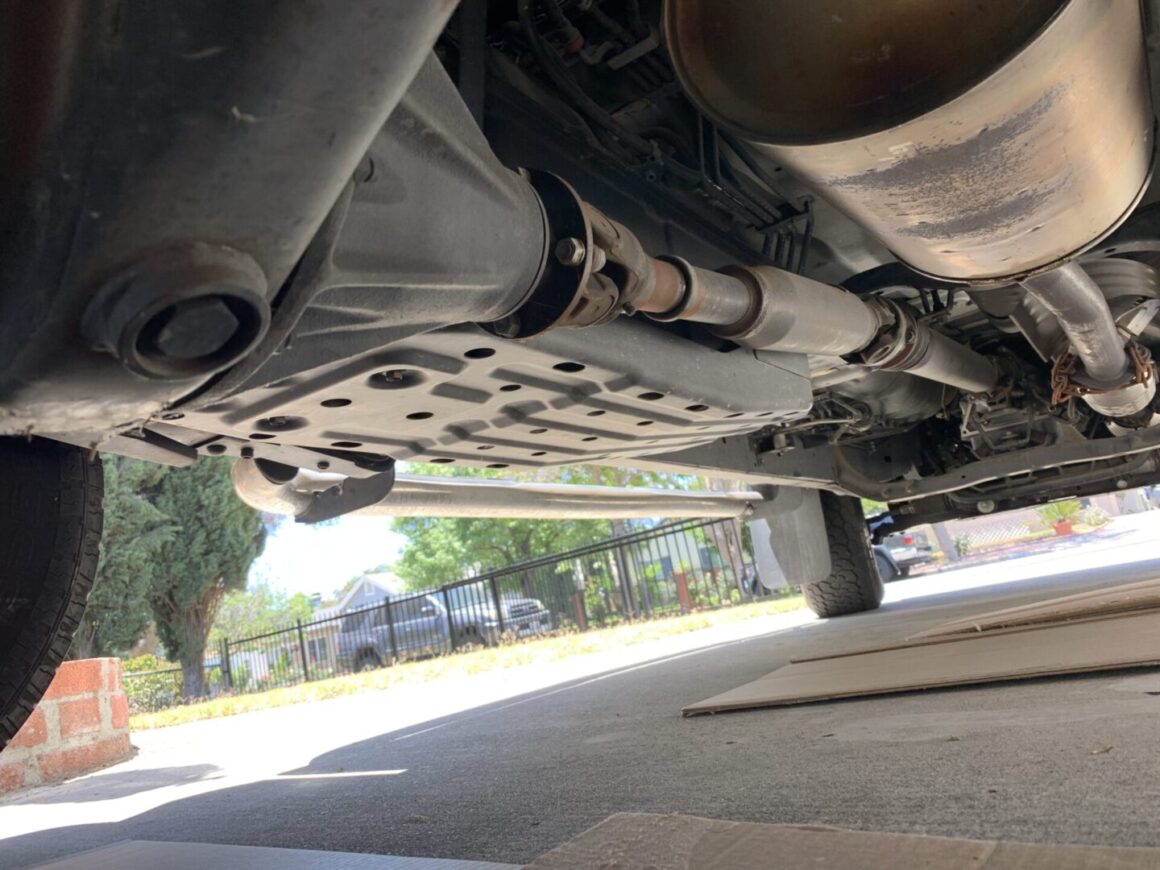
It’s a good idea to understand the different parts of the driveshaft system before starting. If you look at the photos below, you’ll see the undercarriage locations going from the rear to the front of the vehicle (left to right photos below). The last picture shows the entire driveshaft looking from the underside rear of the vehicle.
Left photo: rear differential location in rear
Middle photo: double cardan joint in middle of vehicle
Right photo: transmission location in front
Driveline Grease Points on a 1st Gen Toyota Tacoma RWD (2×4)
It helps to see a diagram of the whole driveshaft assembly and where the zerk fittings are located. This will help you identify the locations for greasing and distinguishes between various locations if you decide to apply different types of grease per Toyota’s specifications.

Before starting, make sure you have an all-purpose cleaner or similar product along with plenty of blue shop towels (or rags.) You’ll need to clean the areas that you’re working in because there will be a ton of grease and dirt covering the zerk fittings as well as the surrounding areas. The shop towels are helpful for cleanup when the old grease is pumped out of the seals. Also have disposable gloves on as this is a very messy job. We’ll be working from the rear of the vehicle, up to the front in this write-up.
Rear Differential Location: Spider Joint & Slip Yoke (2 qty)
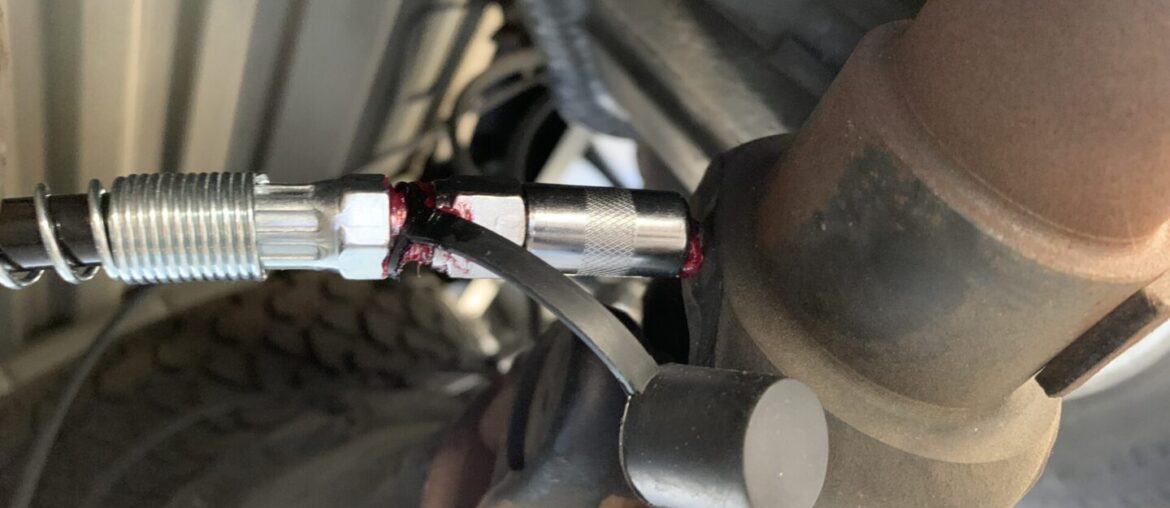
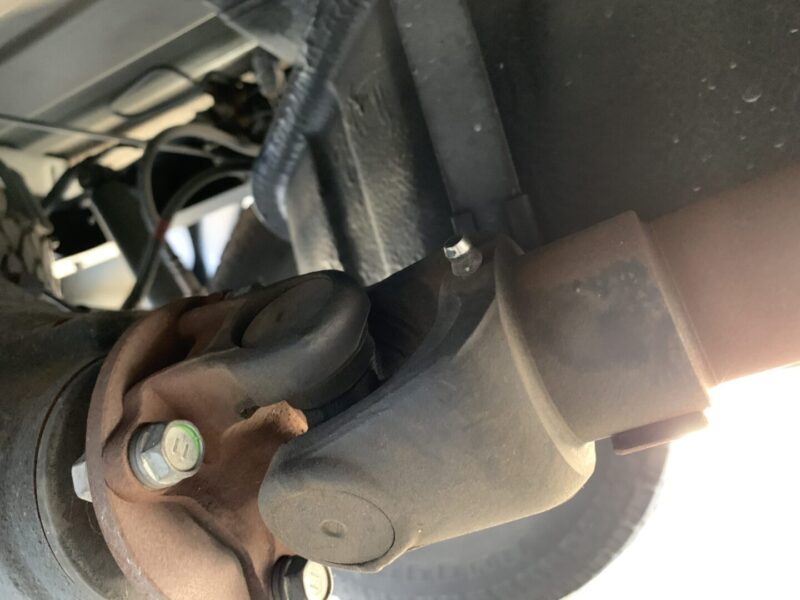
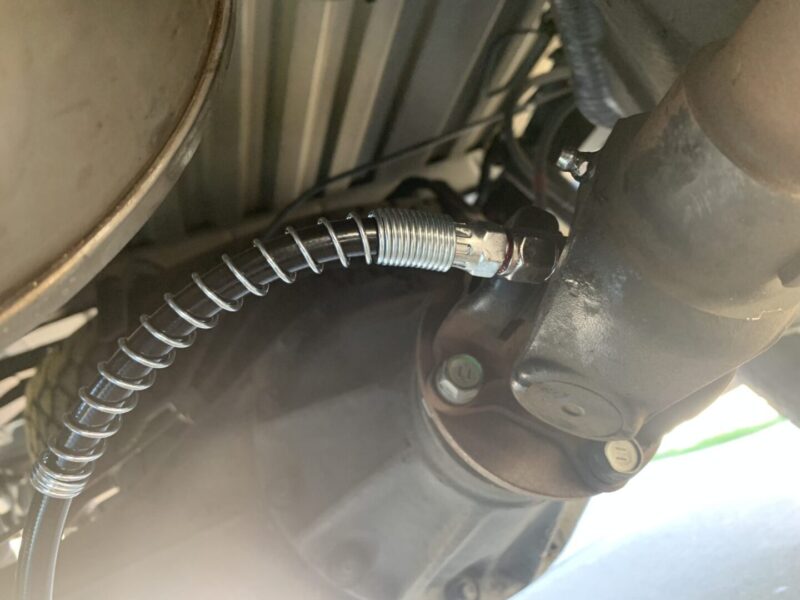
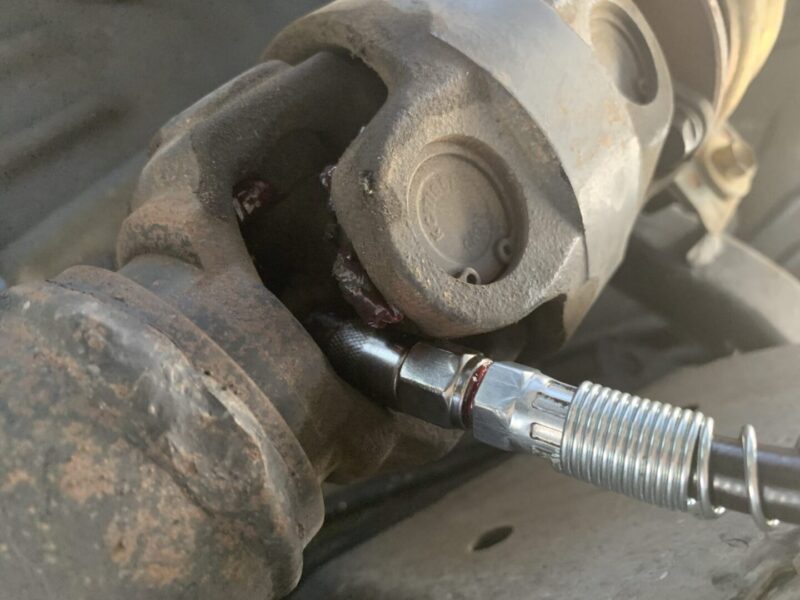
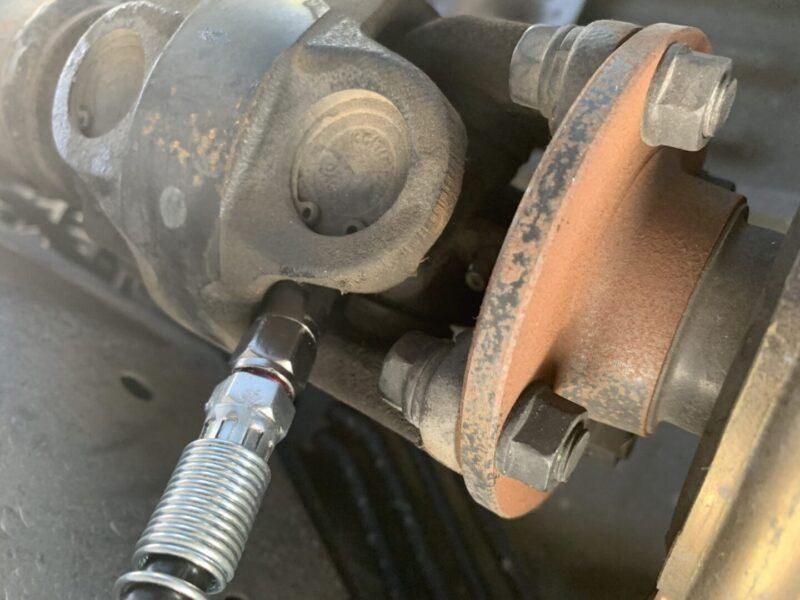
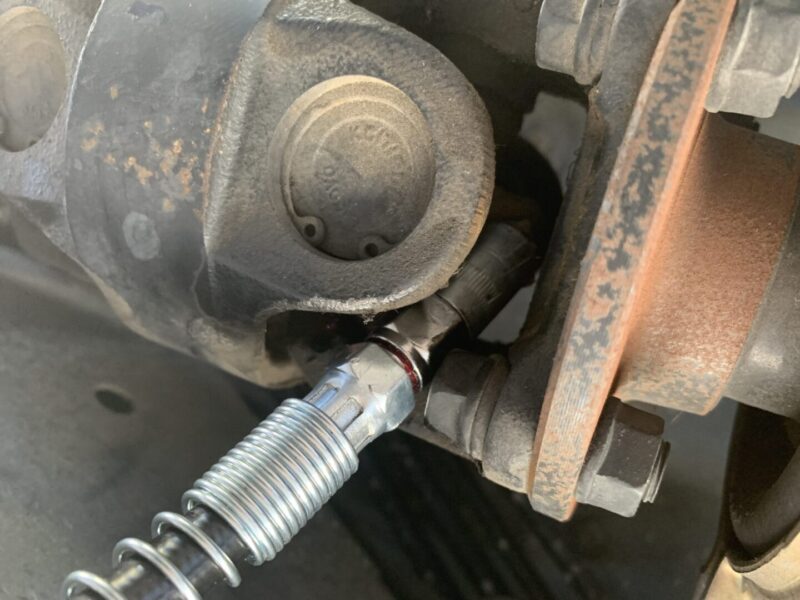
On the joint that is located near the rear differential, there will be a spider joint (the one more recessed inside of the universal joint, and a slip (or slide) yoke that is more easily accessible. I started off with the slide yoke zerk fitting (first photo). Clean it off and then insert the grease hose coupler into it. For the slip yoke, you generally don’t want to pump it completely full of grease as that may cause problems with the extension/compression operation of the slip yoke. Therefore, pump it with a few pumps of grease and then move onto the spider joint.
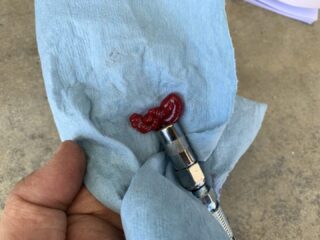
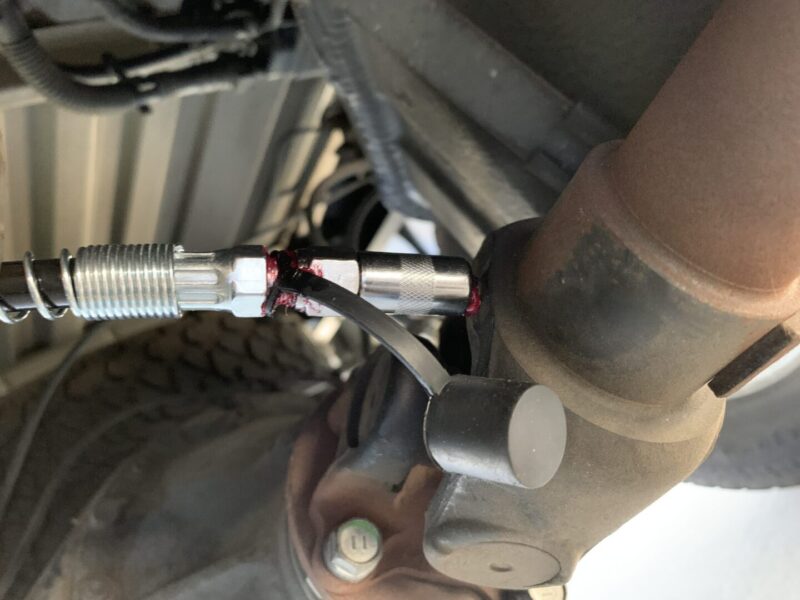
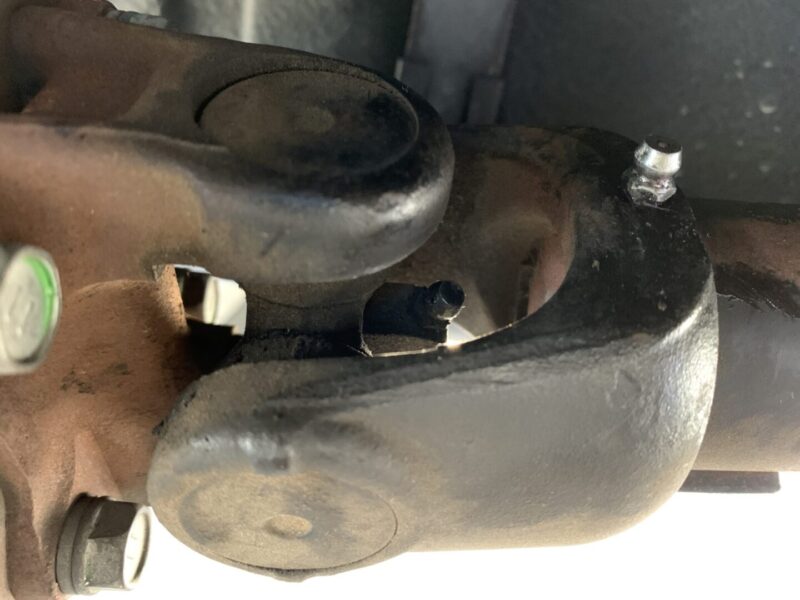
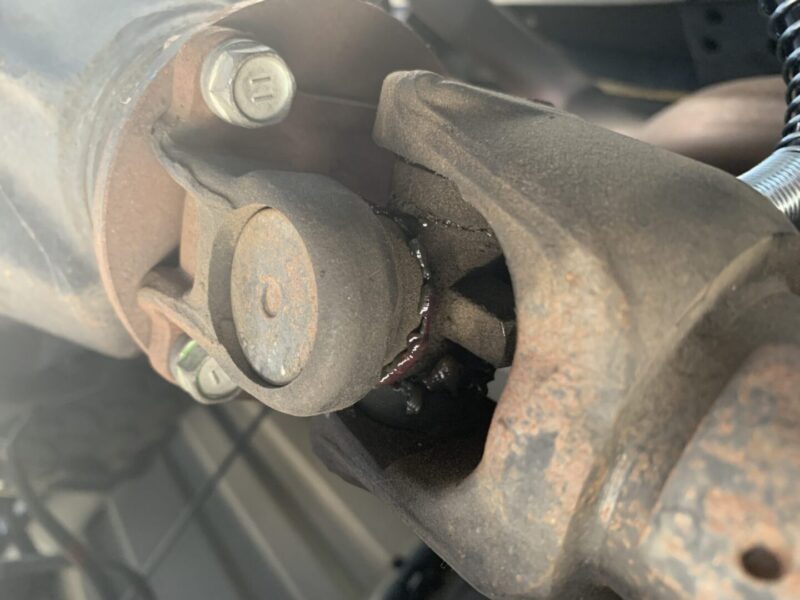
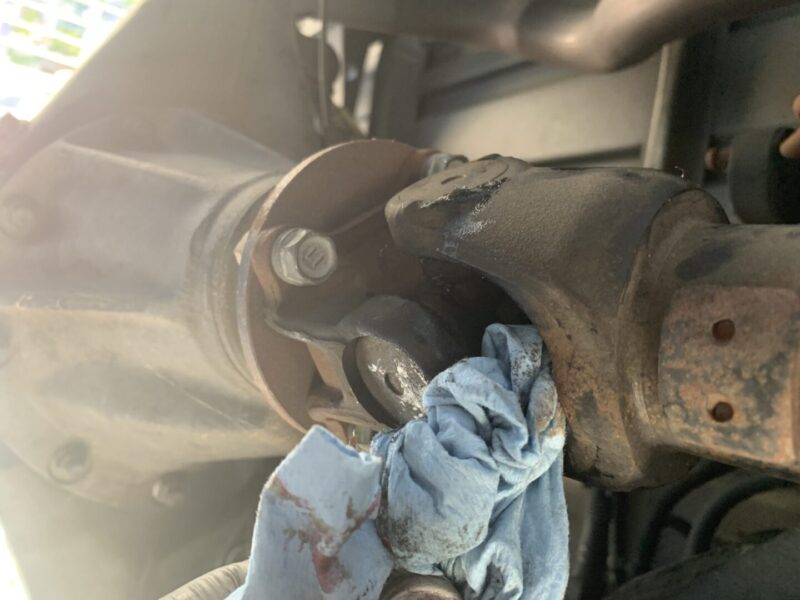
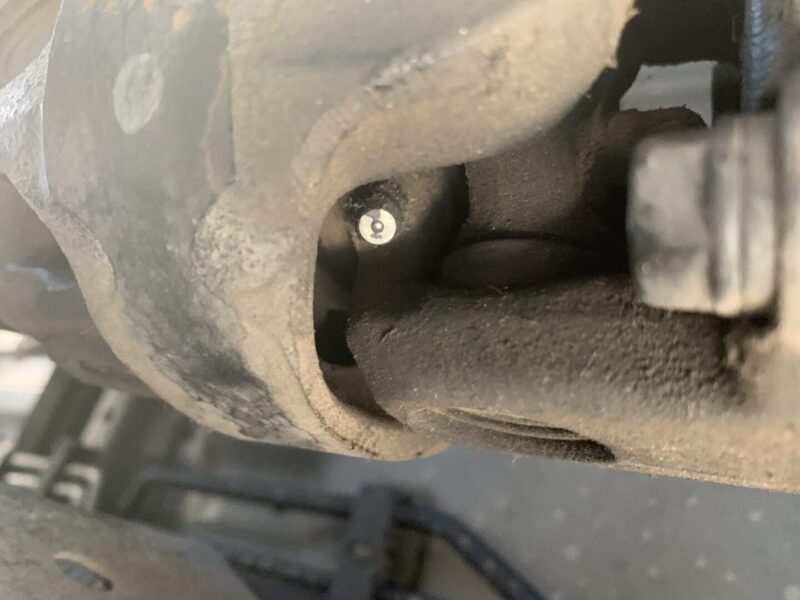
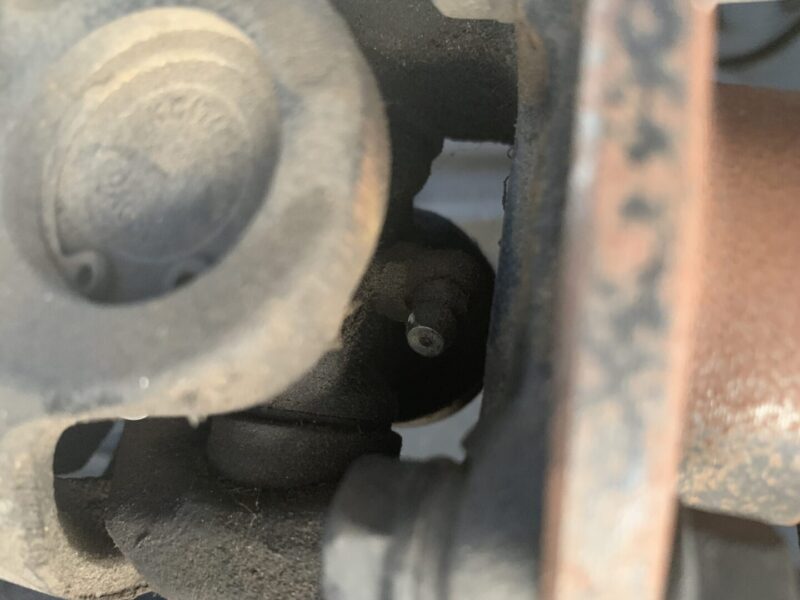
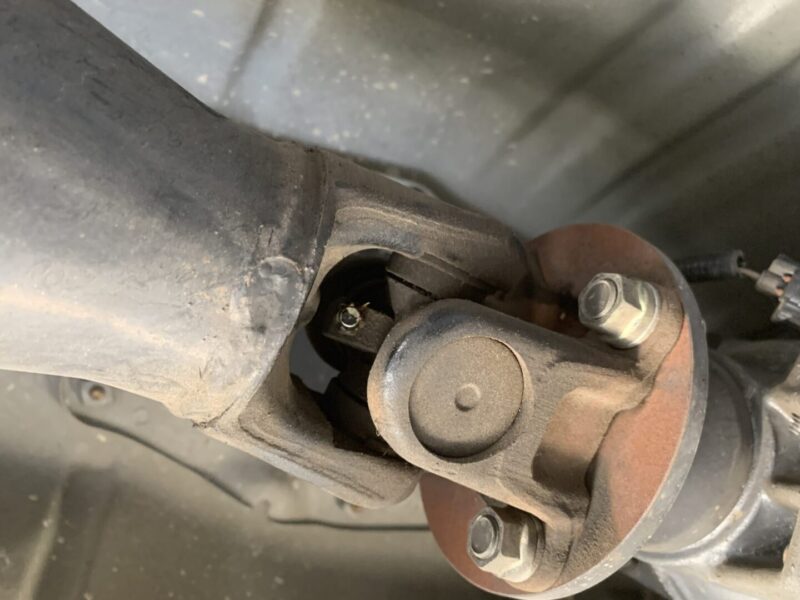
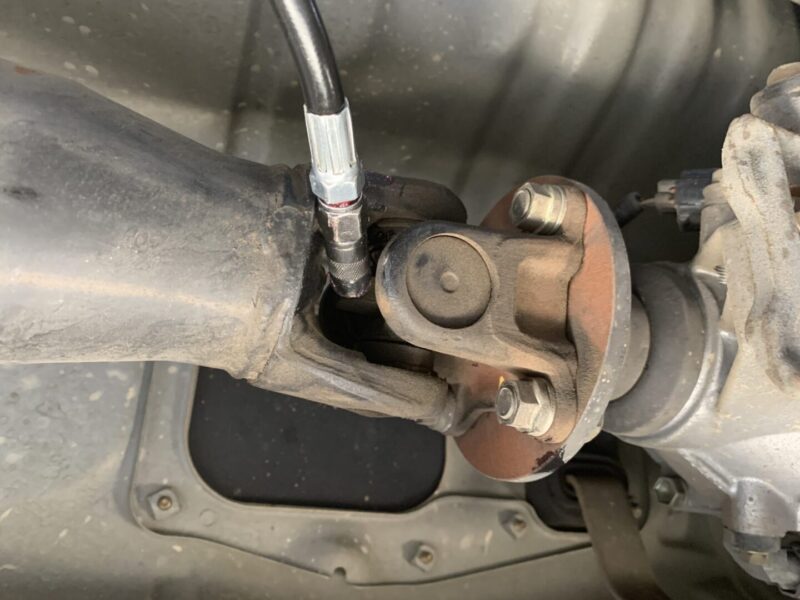
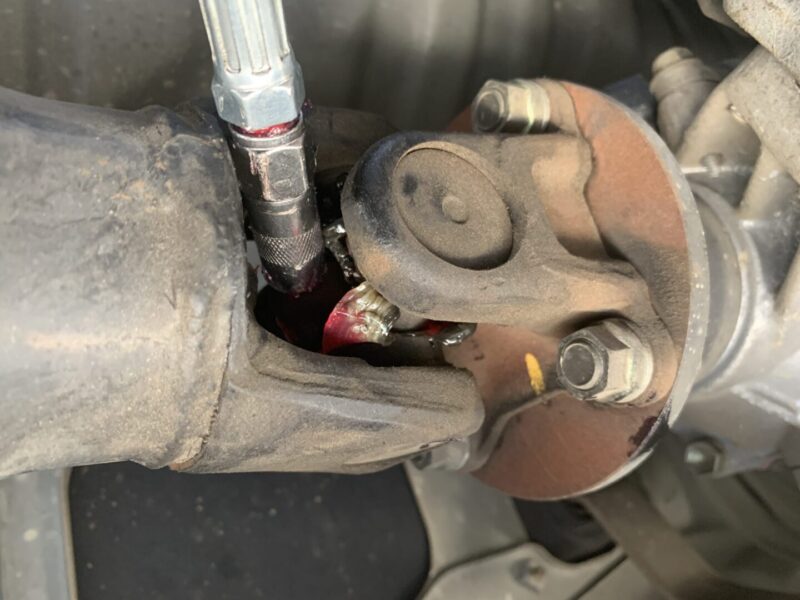
Take a look at the third photo below, you’ll see the zerk fitting for the spider joint located in the background. Clean the fitting off and use your grease gun yet again; pop the coupler onto the spider joint zerk (fourth photo). These types of joints are where a grease gun with a flexible hose (as opposed to a fixed metallic hose) is ideal. Pump the spider joint zerk fitting with grease until you see old grease oozing out of the bearing cup seals (fifth photo). Then using your shop towels, wipe all the dirty grease away (sixth photo).
Middle Location: Double Cardan Joint (3 qty)
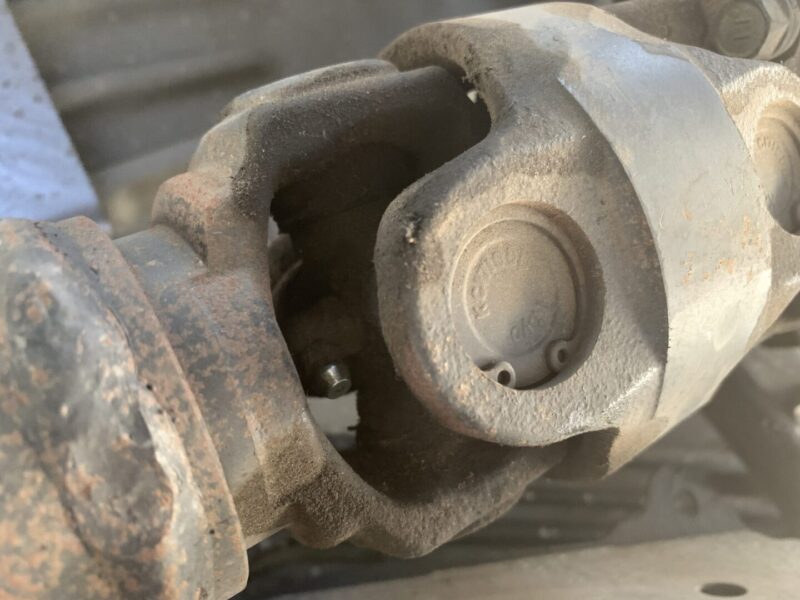
In the middle of the vehicle, you will see a double cardan joint that then goes through a bearing before it continues to the front of the vehicle. On the double cardan joint, you’ll see three total zerk fittings. All of these should be pumped full of grease until the old grease is squeezed out of the bearing cup seals. Following the same process as the previous spider joint, wipe away all the old grease after pumping them full of new grease. There is one zerk fitting on the backside and two zerk fittings the front side.
Front Transmission Location: Spider Joint (1 qty)
On front of the vehicle, there is just one zerk fitting at the spider joint. Just like the others, pump this fitting full of grease until the grease comes out of the bearing cup seal. Wipe away with shop towels.
Once you are finished greasing via the six zerk fittings, you are complete with the job of greasing the driveshaft on your 1st generation Toyota Tacoma (RWD). If you have the right materials to do the job, it is an easy job to do that that will help maintain your driveline for a long time to come. I also am pleased that this Toyota Tacoma PreRunner is at a slightly higher ride height, which makes this a job very easy to do since there is no need to lift the vehicle.

