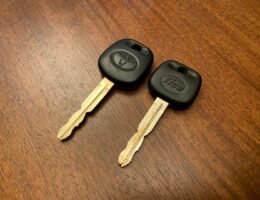
If you ever need an extra key for your 4th generation Toyota 4Runner and don’t want to to pay an arm-and-a-leg for the local dealership to do it, you can purchase a blank transponder key, get it cut at a locksmith, and program it yourself. Programming doesn’t require you to have any equipment or tools, so the only cost to you would be the purchase of a new key and to get it cut by a locksmith.
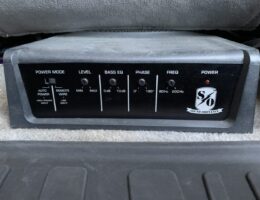
The Sound Ordnance B-8PTD. It’s an 8″ sub that is built into a nice sturdy enclosure. It has a flatter shape and it conveniently fits right under the seat. The install is quite easy; the front passenger seat was removed for easy access to the new subwoofer location. There will be several connections to the subwoofer: one from a grounded location on the frame, one from the head unit, and another from the positive terminal of the battery. There are also connections for RCA cables for the subwoofer to plug into the radio or head unit.
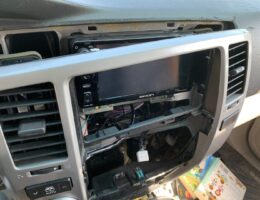
I’ve replaced the head unit/radio in my 2003 Toyota 4Runner countless times for various stereo upgrades, so I’ve gotten familiar with taking the trim apart to get access to the head unit. After doing it so many times, I’ve been able to get my time down to less than five minutes. I figure this tutorial would be helpful for anyone trying to remove their radio and want to get to the head unit quickly.
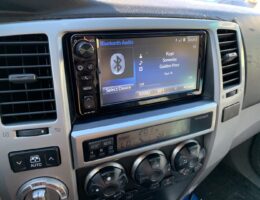
After upgrading the 4th generation 4Runner stock head unit with a Scion T1806 and then a T1814, I finally ended up with a T10015. In my opinion, this is the ultimate, stock-looking, head unit for the Toyota 4Runner. I realize that I could probably do a similar radio swap with a Scion T10017, which is offered on Scion vehicles in 2016+. Since I had already done most of the work on installing the adapters on the Scion T10015, it would probably require minimal work to get the newer T10017 unit working.
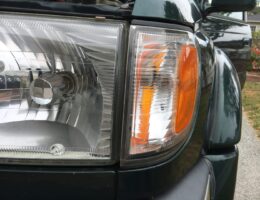
This front side marker light bulb went out on this 2002 Toyota 4Runner the bulb needed to be replaced. The replacement is a simple change-out of the bulb, but there are a few things to keep in mind when changing out the bulb that will make the replacement easier and prevent any damage to the nearby body panels. The front side marker light uses a 2825 Bulb that can be found at auto parts stores or online.
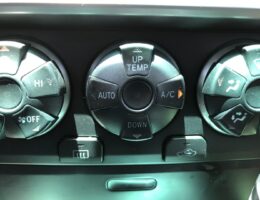
It’s an inevitable issue on the early model 4th generation Toyota 4Runners: the A/C Light suddenly starts flashing or blinking and the cold air coming from your vents suddenly becomes warm. This happens to almost all of us 4th gen 4Runner owners; it’s happened to me around the time I bought my car more than 7 years ago, and it happened to me again recently. The issue is typically not simply that the air conditioner system has failed, but simply an electrical relay that was destined to fail over time. This magnetic clutch relay is located in the fuse box located under the hood. This relay will need to be replaced in order for the a/c light flashing issue to be resolved.
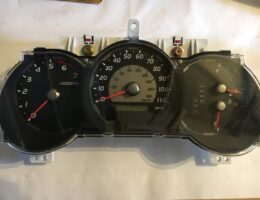
Years ago, the speedometer on my 4th Generation 4Runner had been working intermittently; it appeared that the stepper motor had stopped working. I replaced the stepper motor and the speedometer had started working again. About a year later, my speedometer had failed again but this time several of my gauges stopped working. Since stepper motors can be costly, especially if you’re replacing more than one, sometimes it’s more cost-effective to replace the entire instrument cluster.
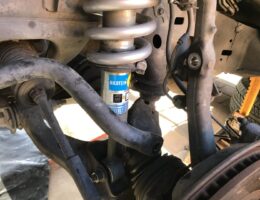
Replacing the front shocks and coil springs is not difficult to do. However, it’s very important to understand how your front suspension works before doing this. Just like I did, I’d recommend reading guides, watch videos, and do as much research as you can when dealing with compressed springs in a suspension system. Here’s my guide for replacing the front coil springs and shocks using the “No Spring Compressor Method” on the 4th generation Toyota 4Runner.
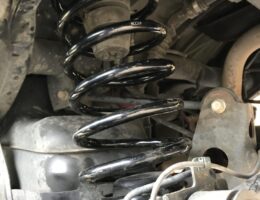
There are a variety of reasons for needing to change out rear coils on any car, but there are typically two main reasons for changing them out on the 4Runner. One is to simply replace damaged or worn coils for factory stock coils. The other is to lift the vehicle to a higher ride height. Changing out the rear coils is very easy to do and doesn’t require much time nor tools.

