Sylvania Headlight Restoration Kit: Amazon
One of the best modifications you can do on any vehicle that doesn’t cost a lot of money and makes your car look a lot better is a headlight restoration. I’m always impressed by the headlight restoration kits that are sold because not only are they very affordable ($10-$20), but anyone can do it by themselves with little-to-no tools. The outcome of these headlight restoration kits is pretty impressive.
I’ve tried others like the 3M headlight lens restoration kit in the past, but this time around I wanted to test out the Sylvania Headlight Restoration Kit. Unlike the 3M Kit which requires a power drill, this Sylvania Kit can be done all by hand.
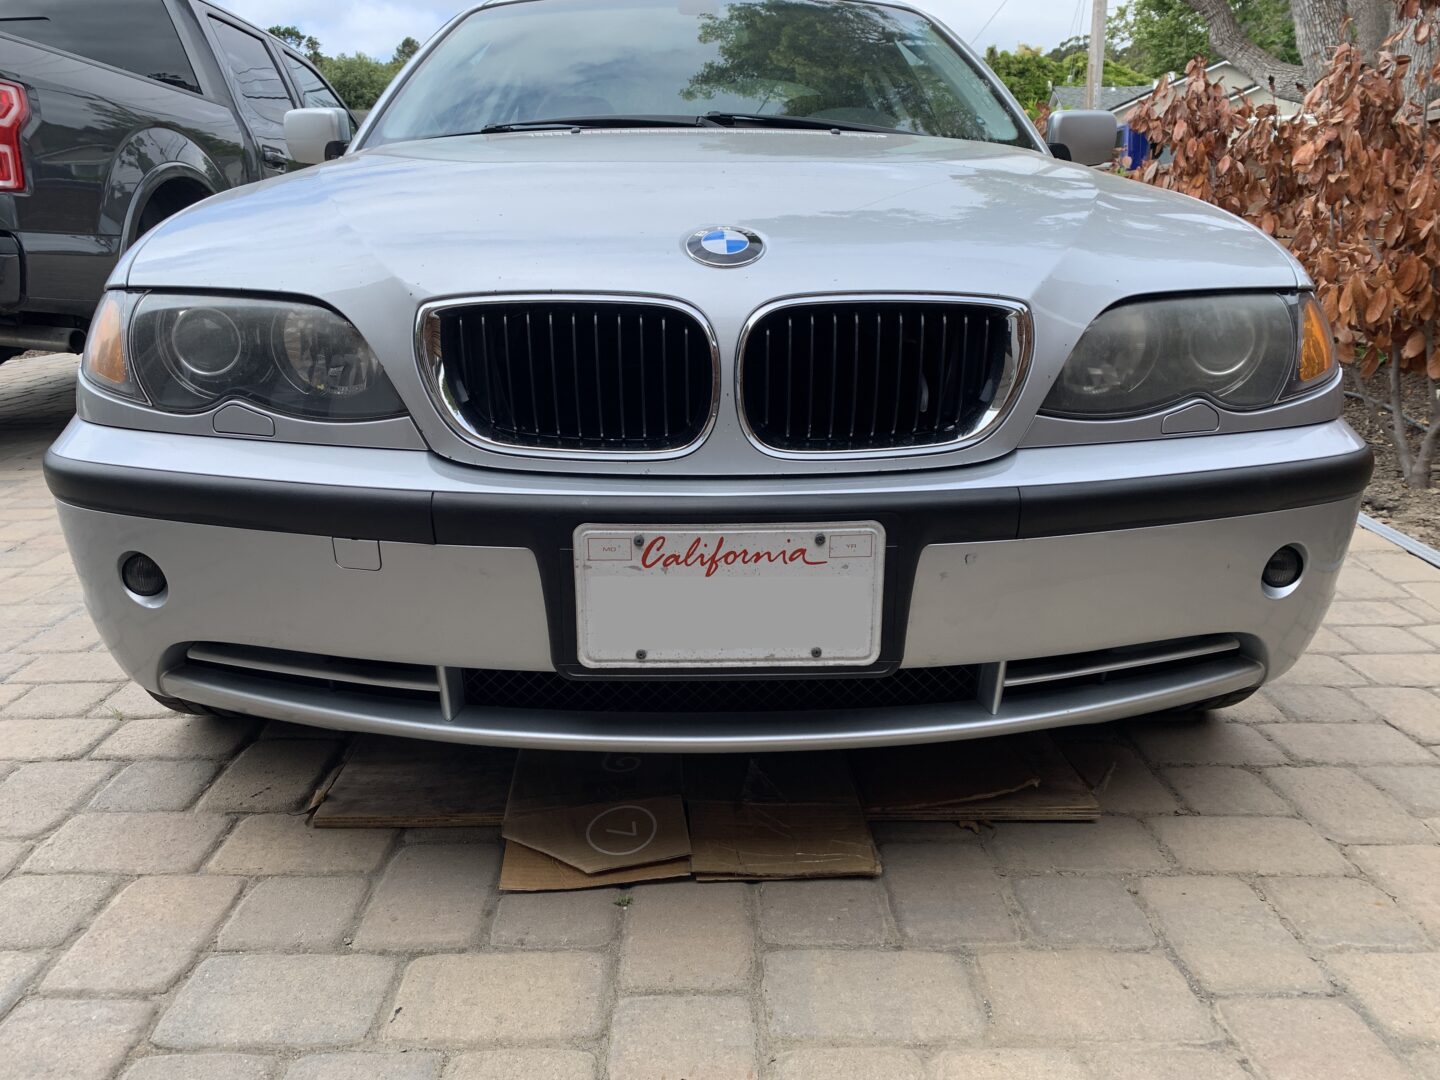
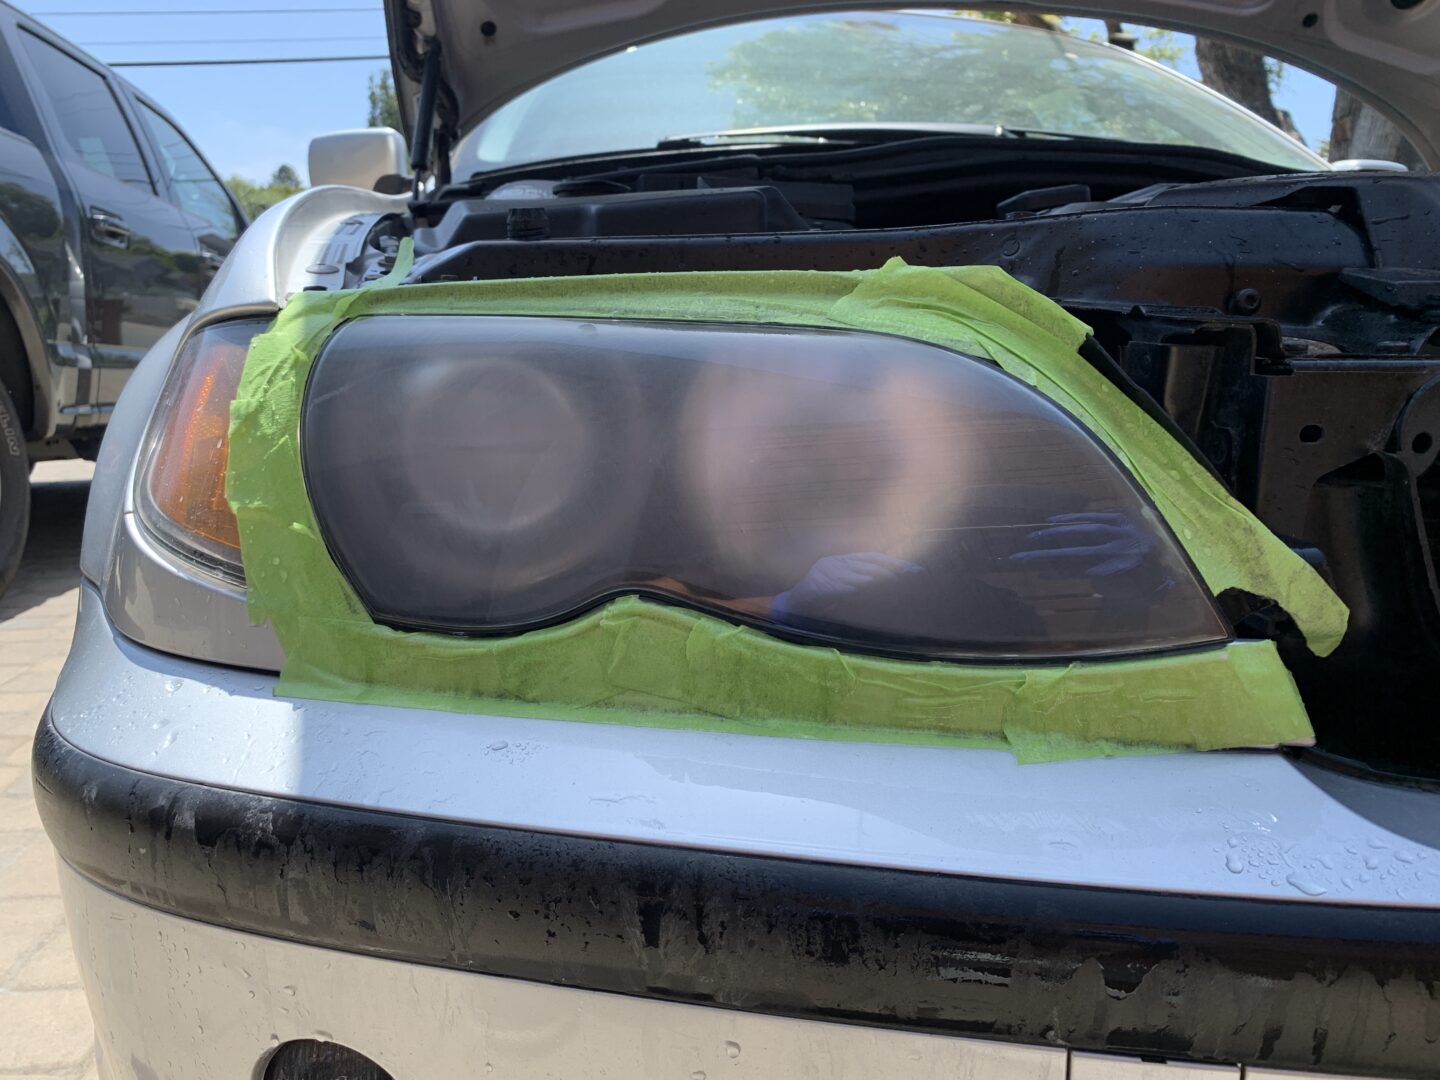
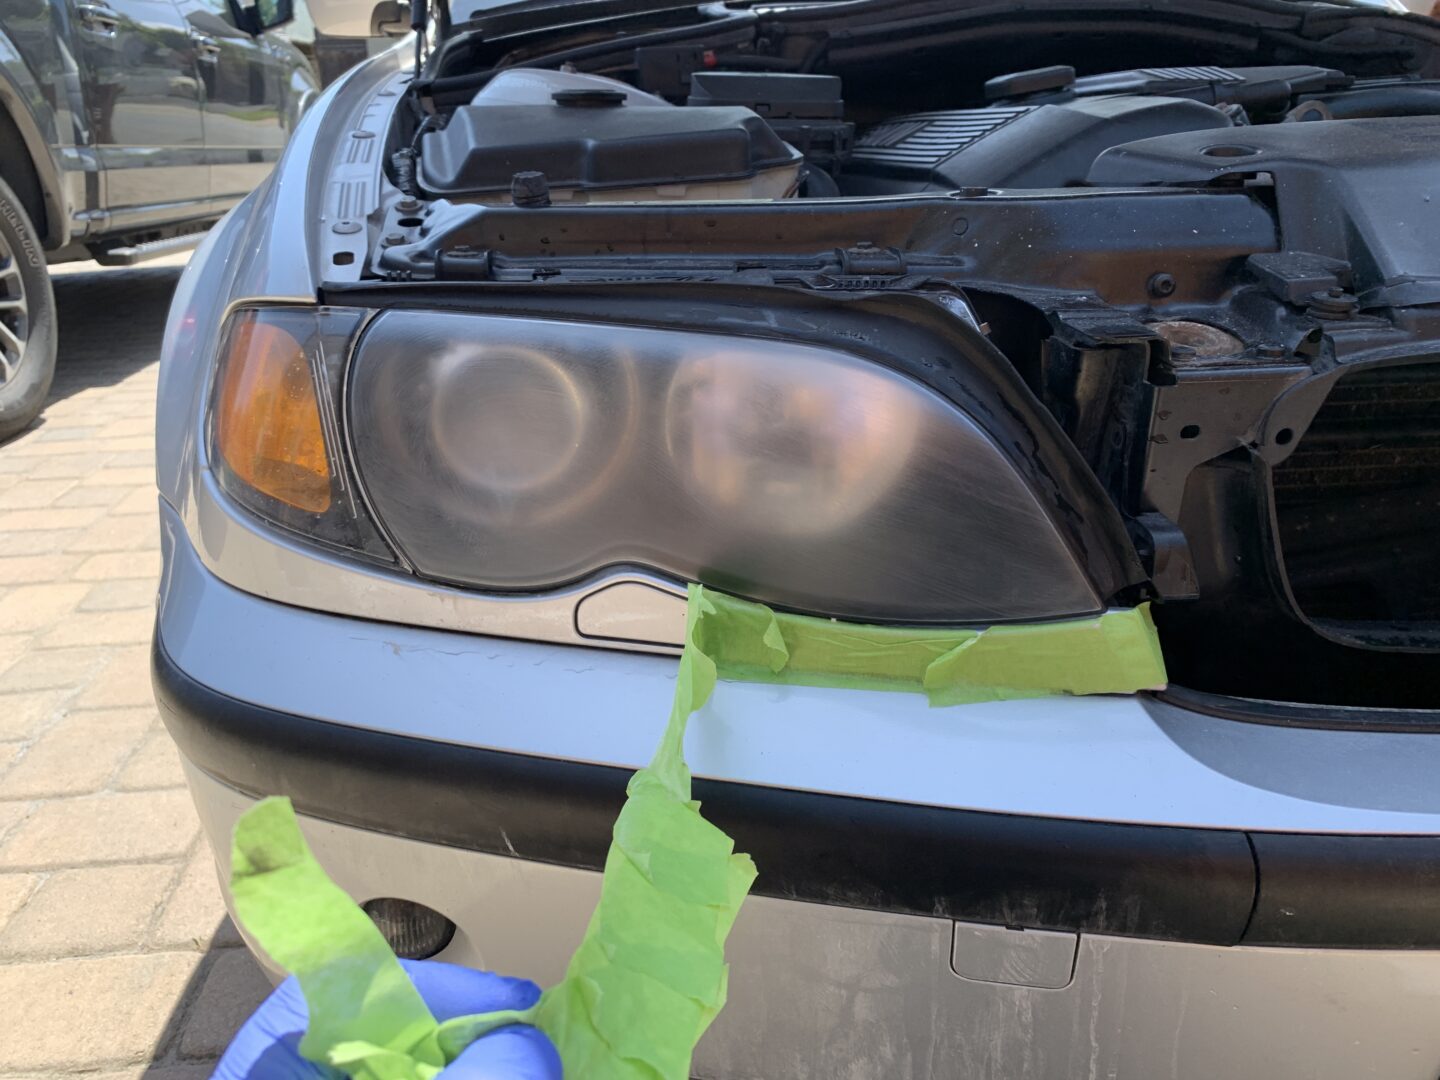
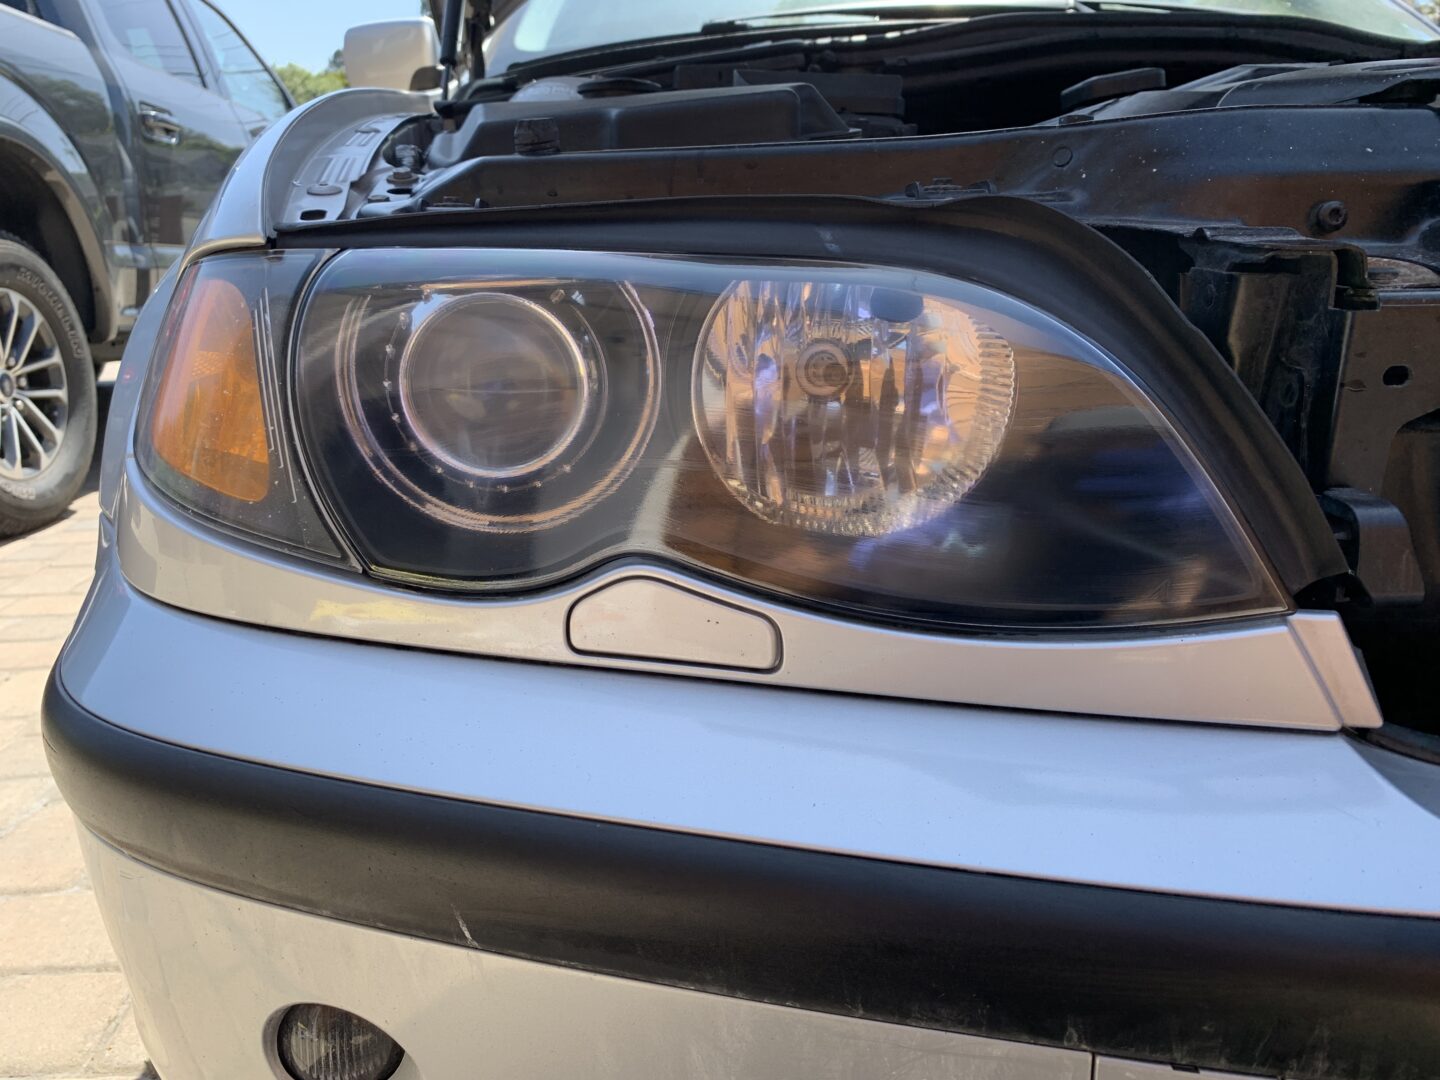
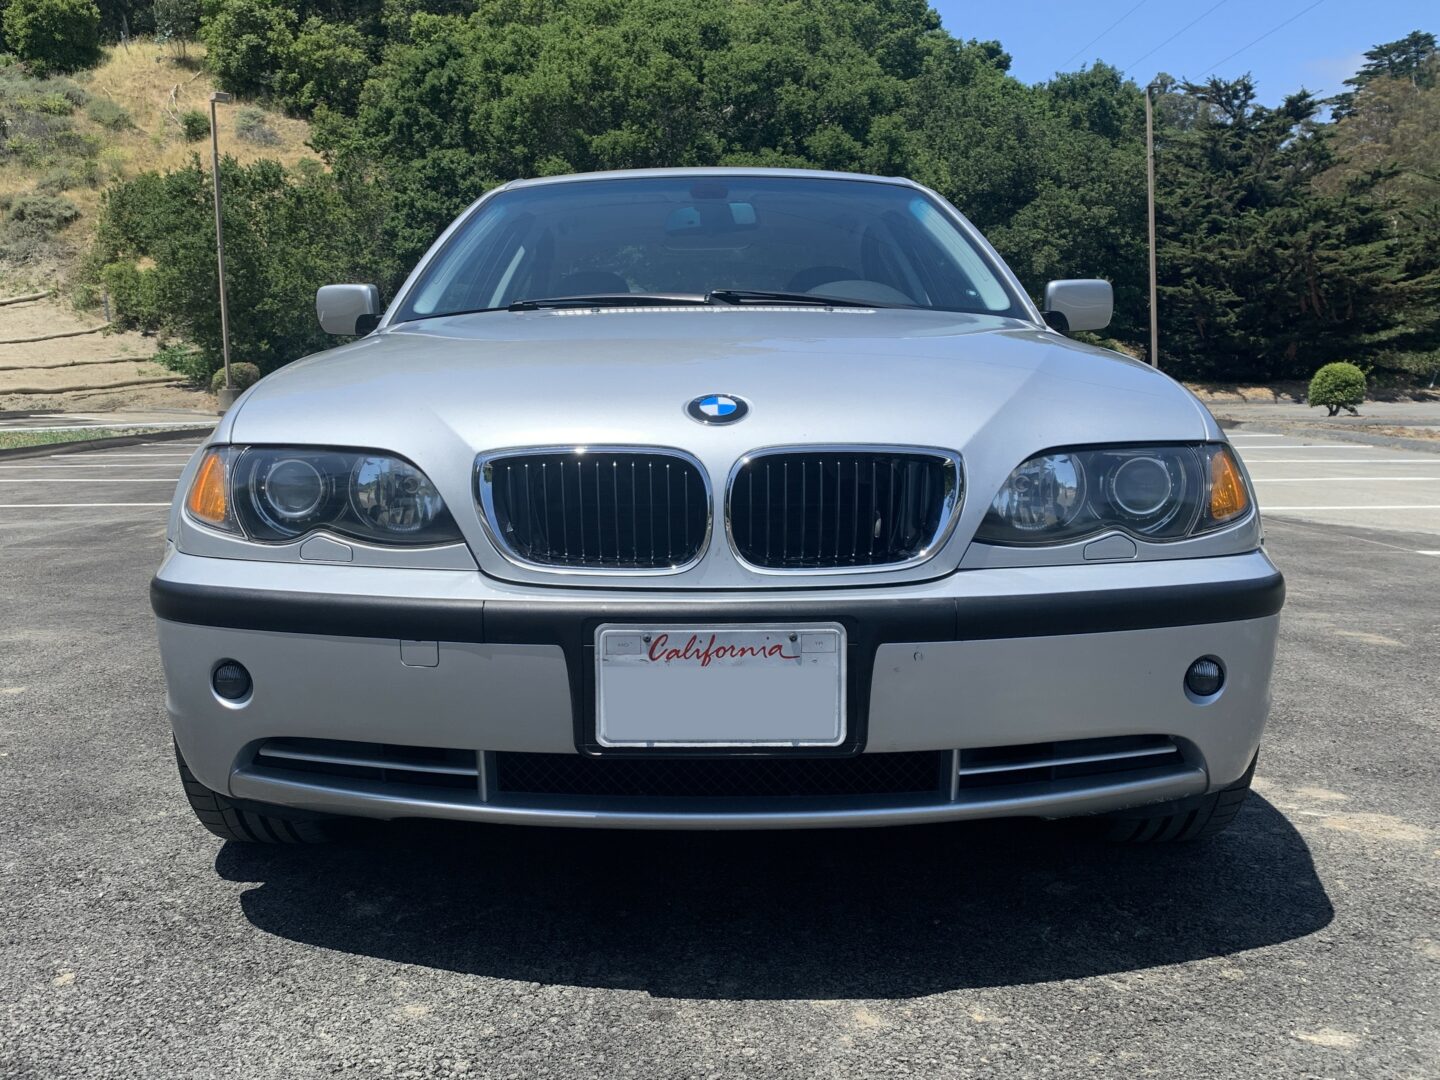
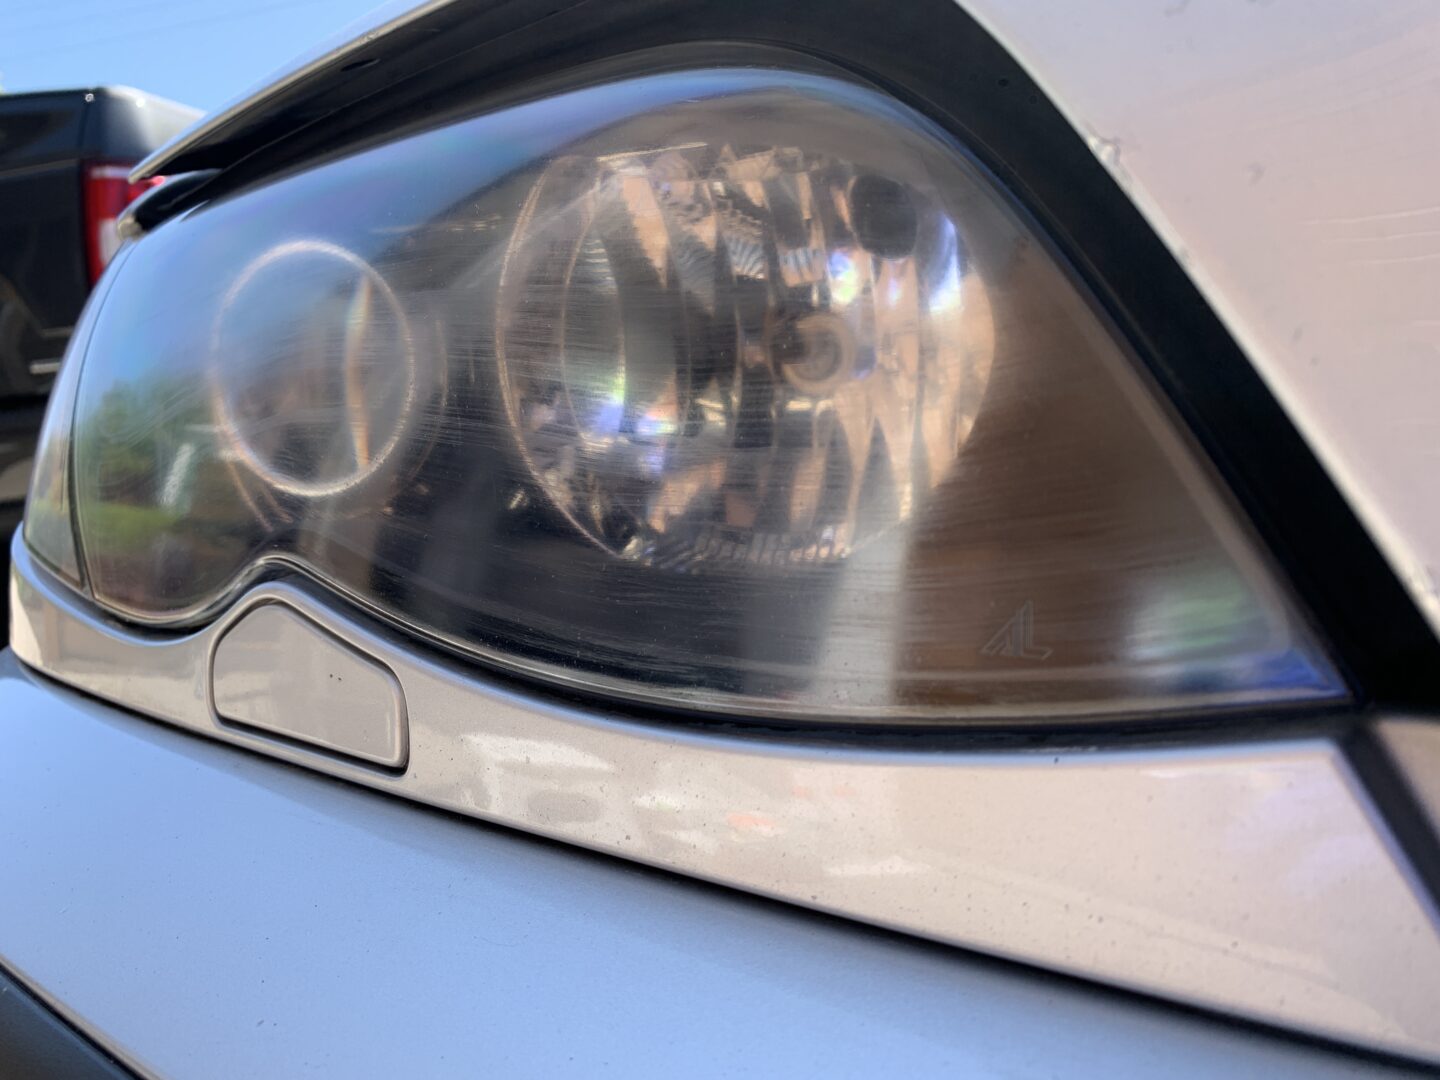
Below is my BMW E46 that has scratches and hazing of the headlight lens, although it is not in terrible shape. The driver side looks a bit worse than the passenger side. This Sylvania Headlight Restoration Kit should make the headlights look a whole lot better when I’m done.
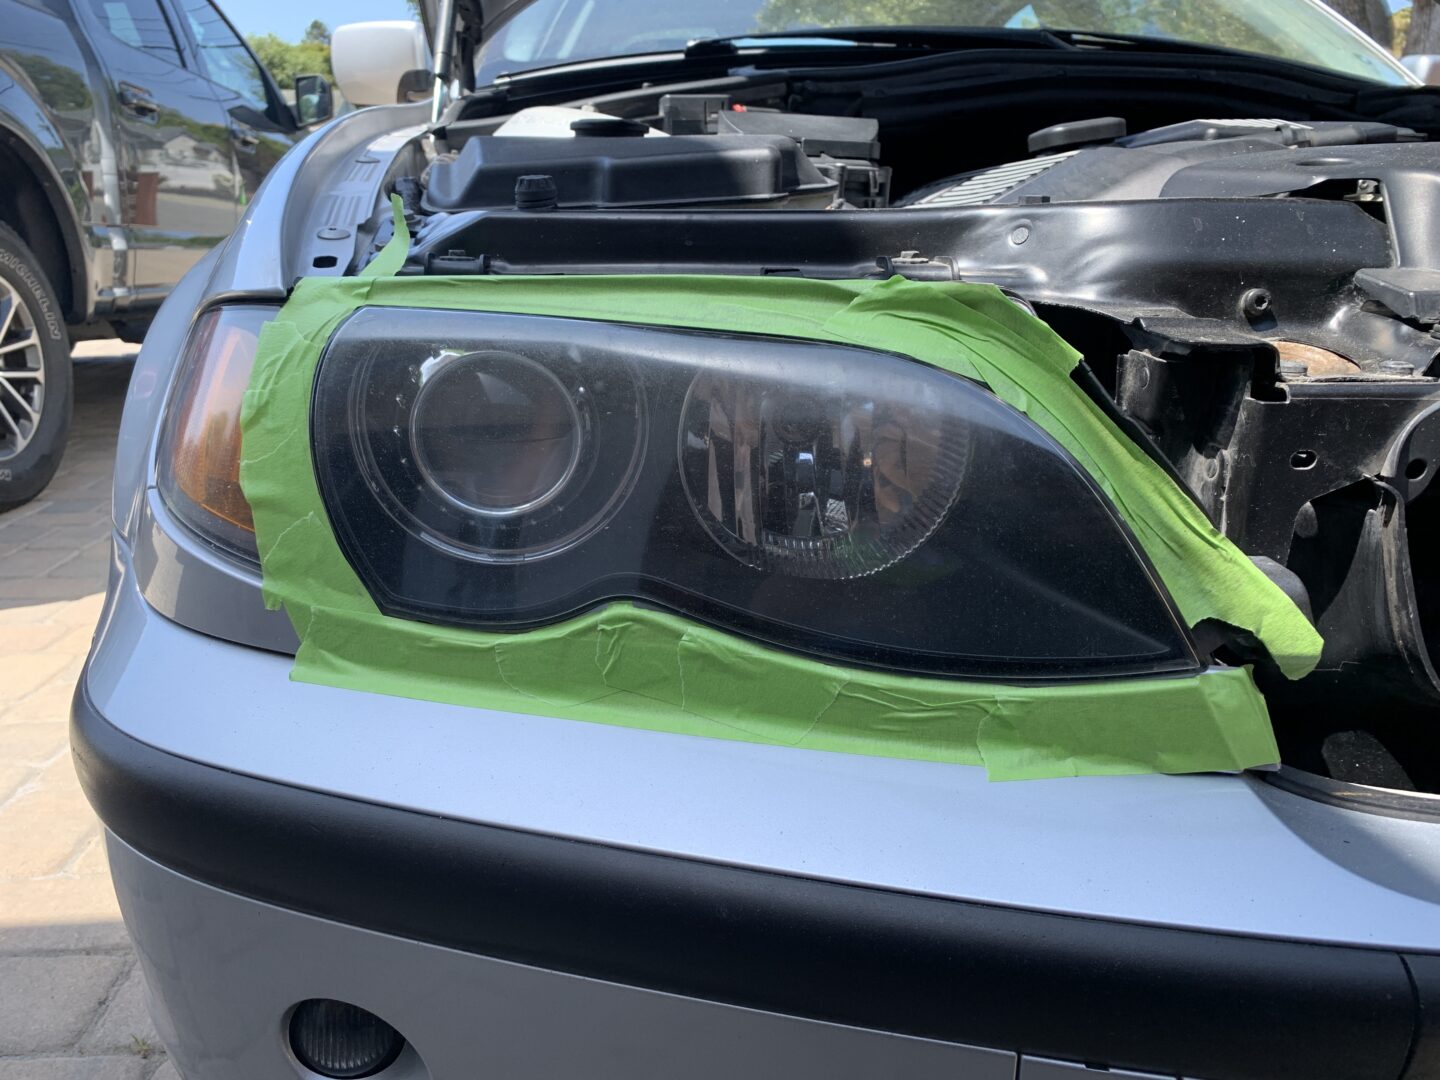
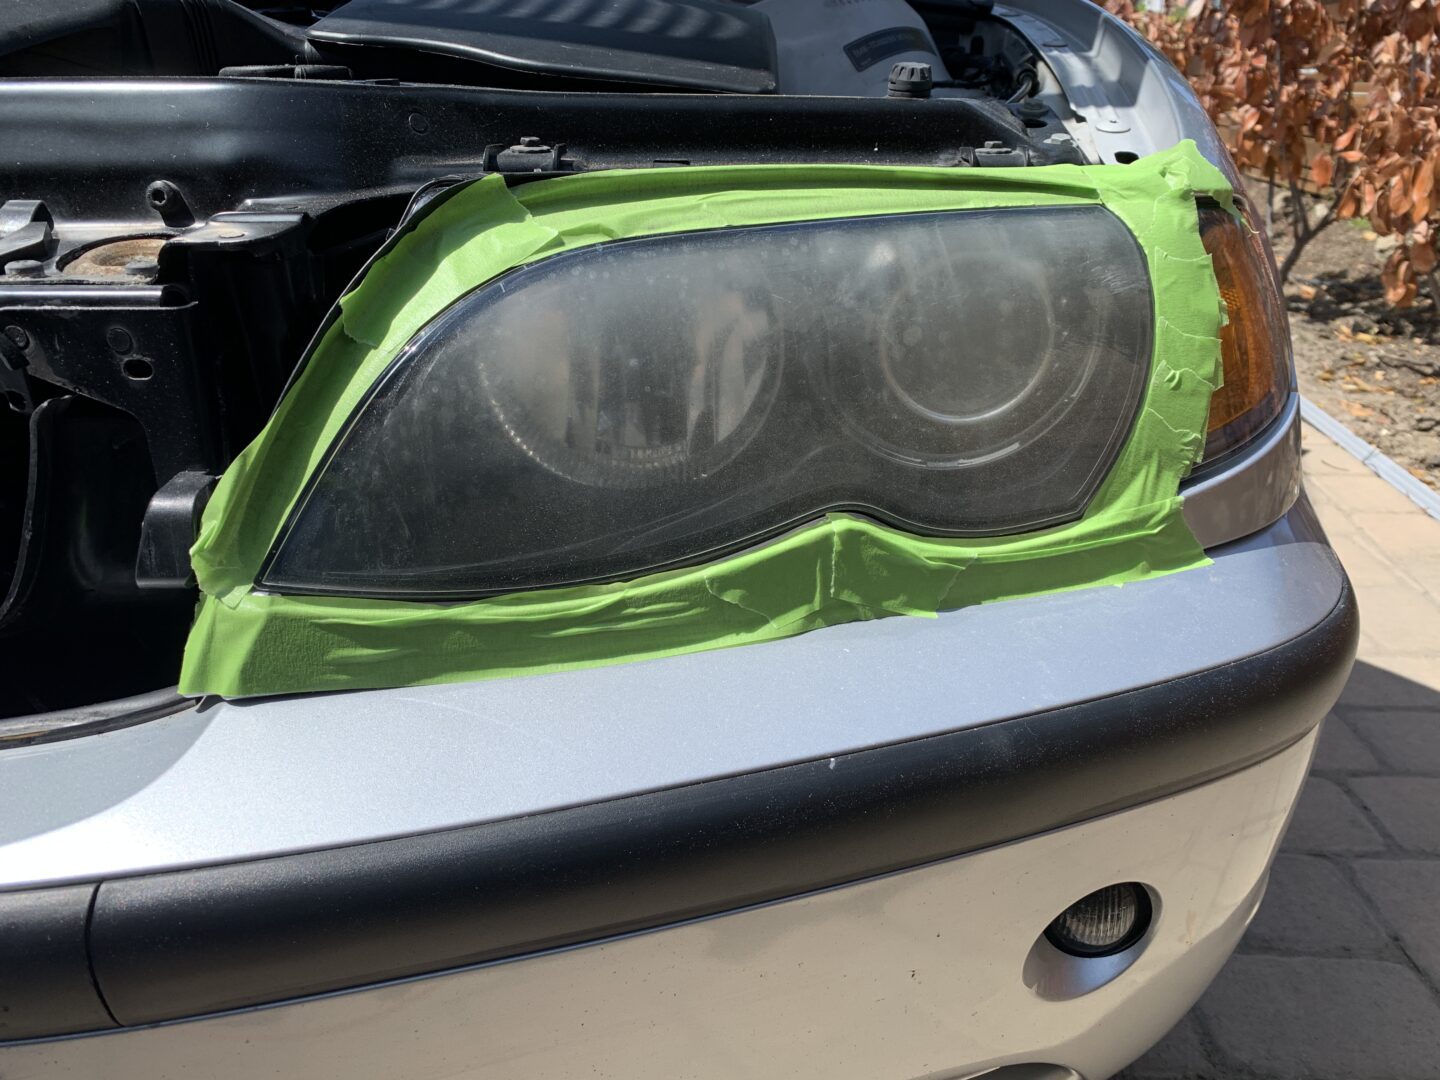
The first thing you always need to do is to tape off around the edges of the headlight lens. At the very least you should use painter’s tape, although I would rather use automotive tape. You should use automotive tape because it is more heavy duty and sticks better. I’ve used blue painter’s tape in the past and during the process of getting wet with the headlight restoration process, it ends up coming off and tearing apart. The 3M automotive tape I used in these photos can be found below:
3M Automotive Refinish Masking Tape, 36 mm x 55 m, 1 Roll
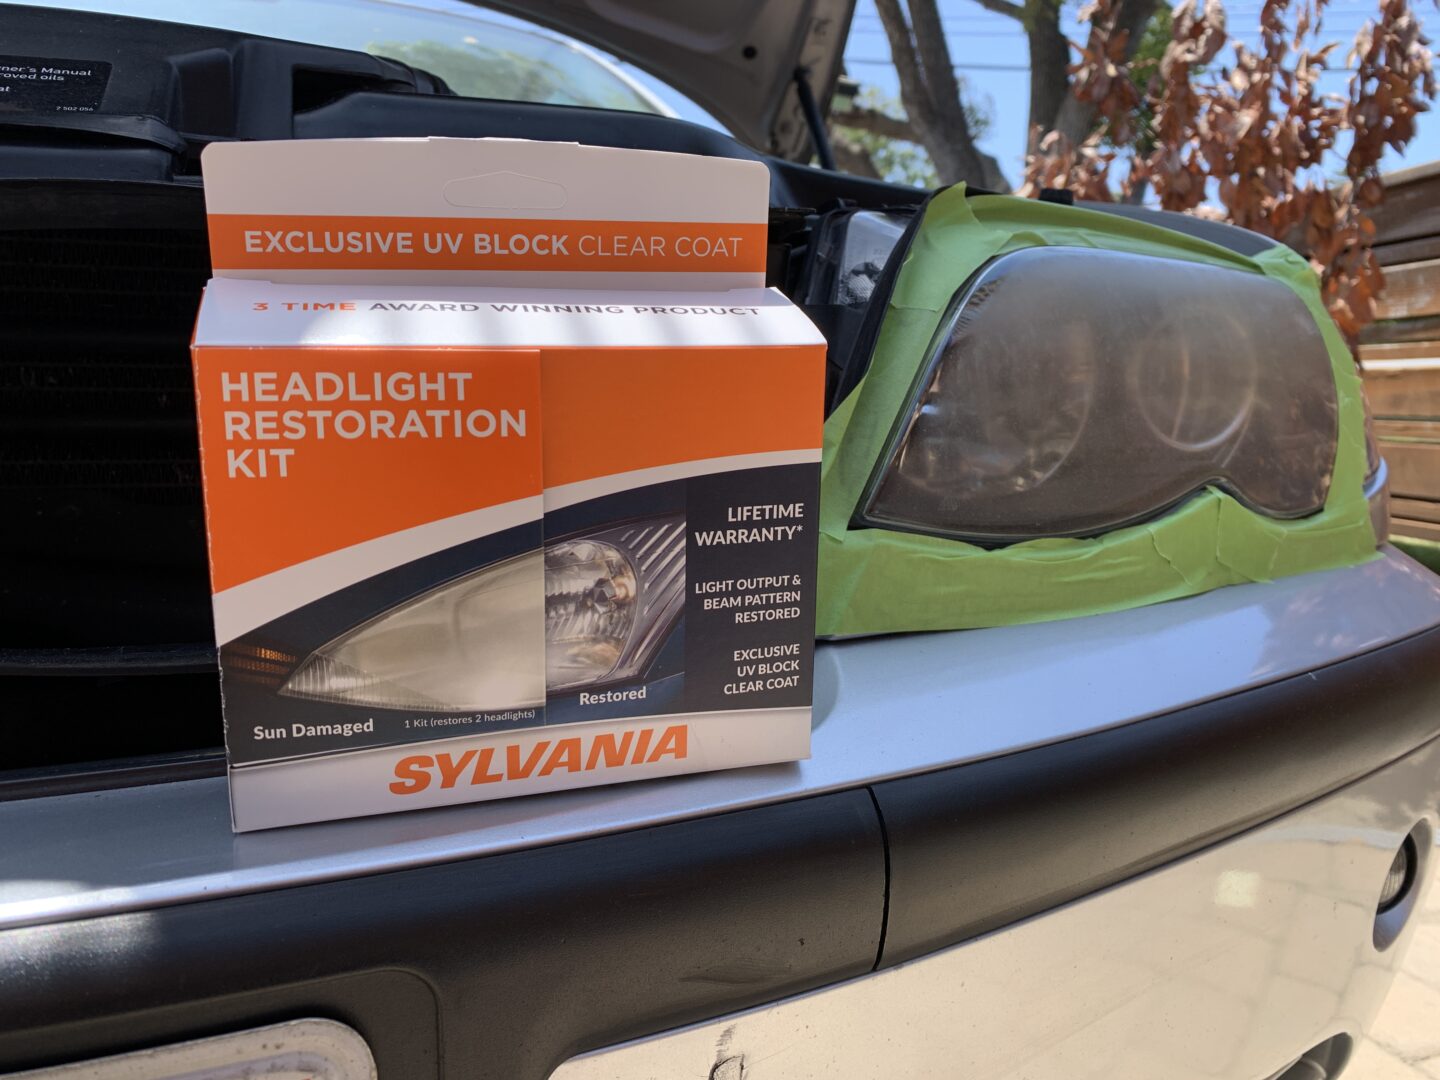
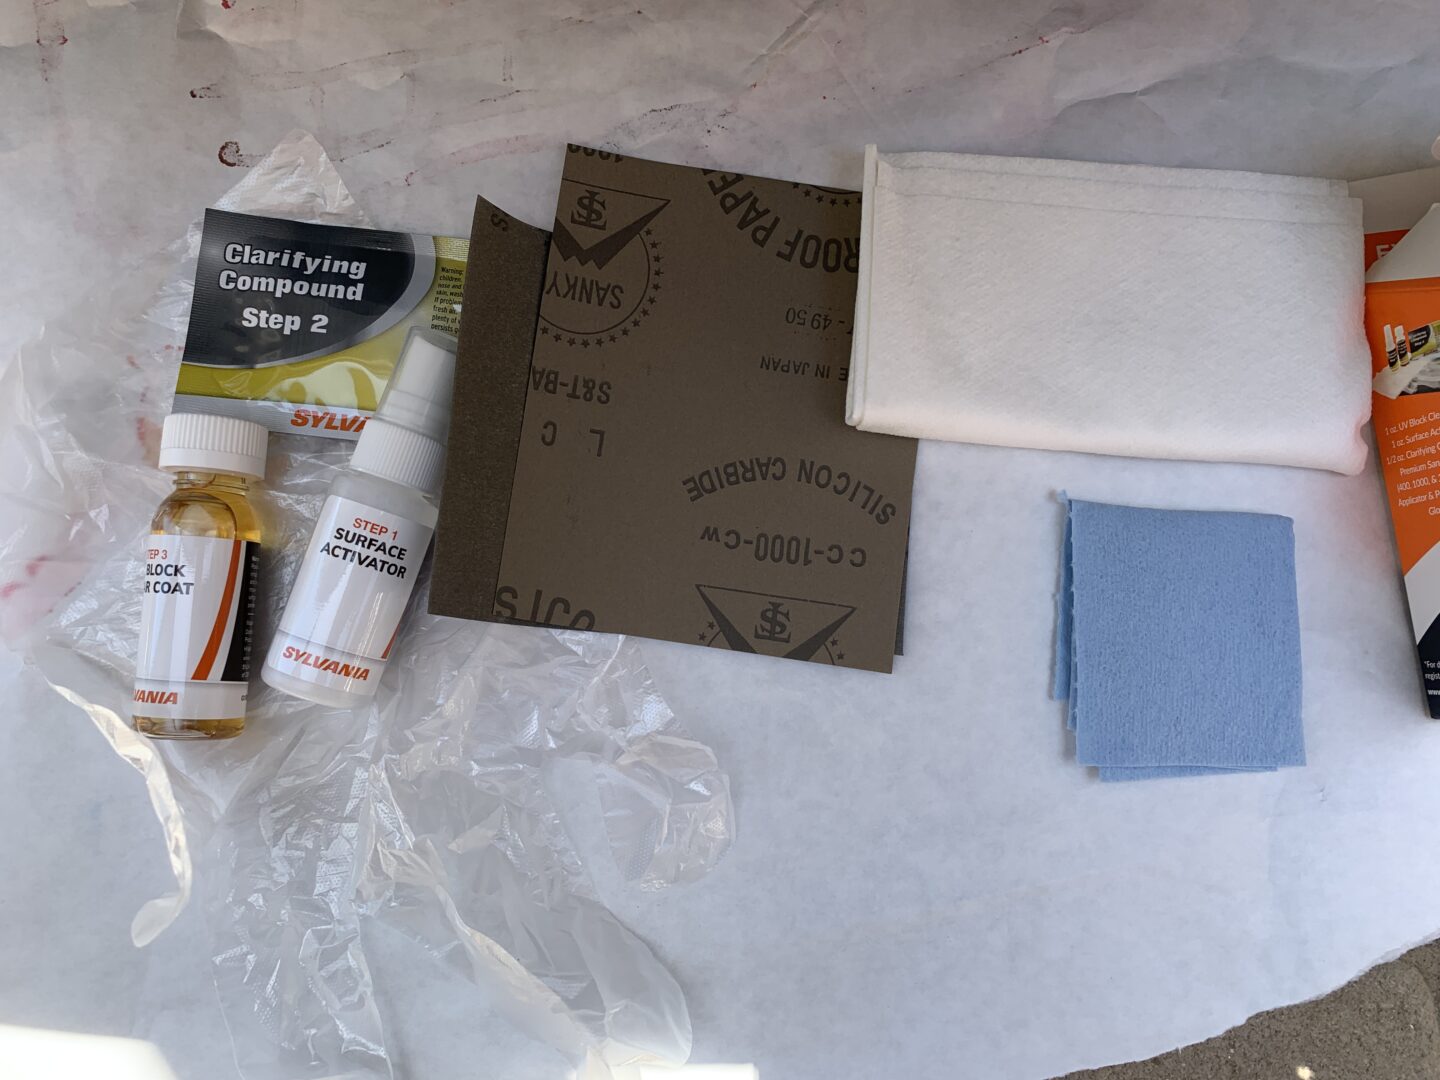
The Sylvania Headlight Restoration Kit sells for about $22 at the time of this writing. The kit comes with sheets of sandpaper (400 grit, 1000 grit, and 2000 grit), surface activator solution, clarifying compound, UV block clear coat, applicator and paper towels, and a vinyl glove.
Ensure that your headlight lenses are clean and dry prior to restoring them. I’ll usually use all purpose cleaner to clean them prior to using a headlight restoration kit. I also threw out the cheap glove (seriously, a single glove?) that they provide and used my own set of nitrile gloves.
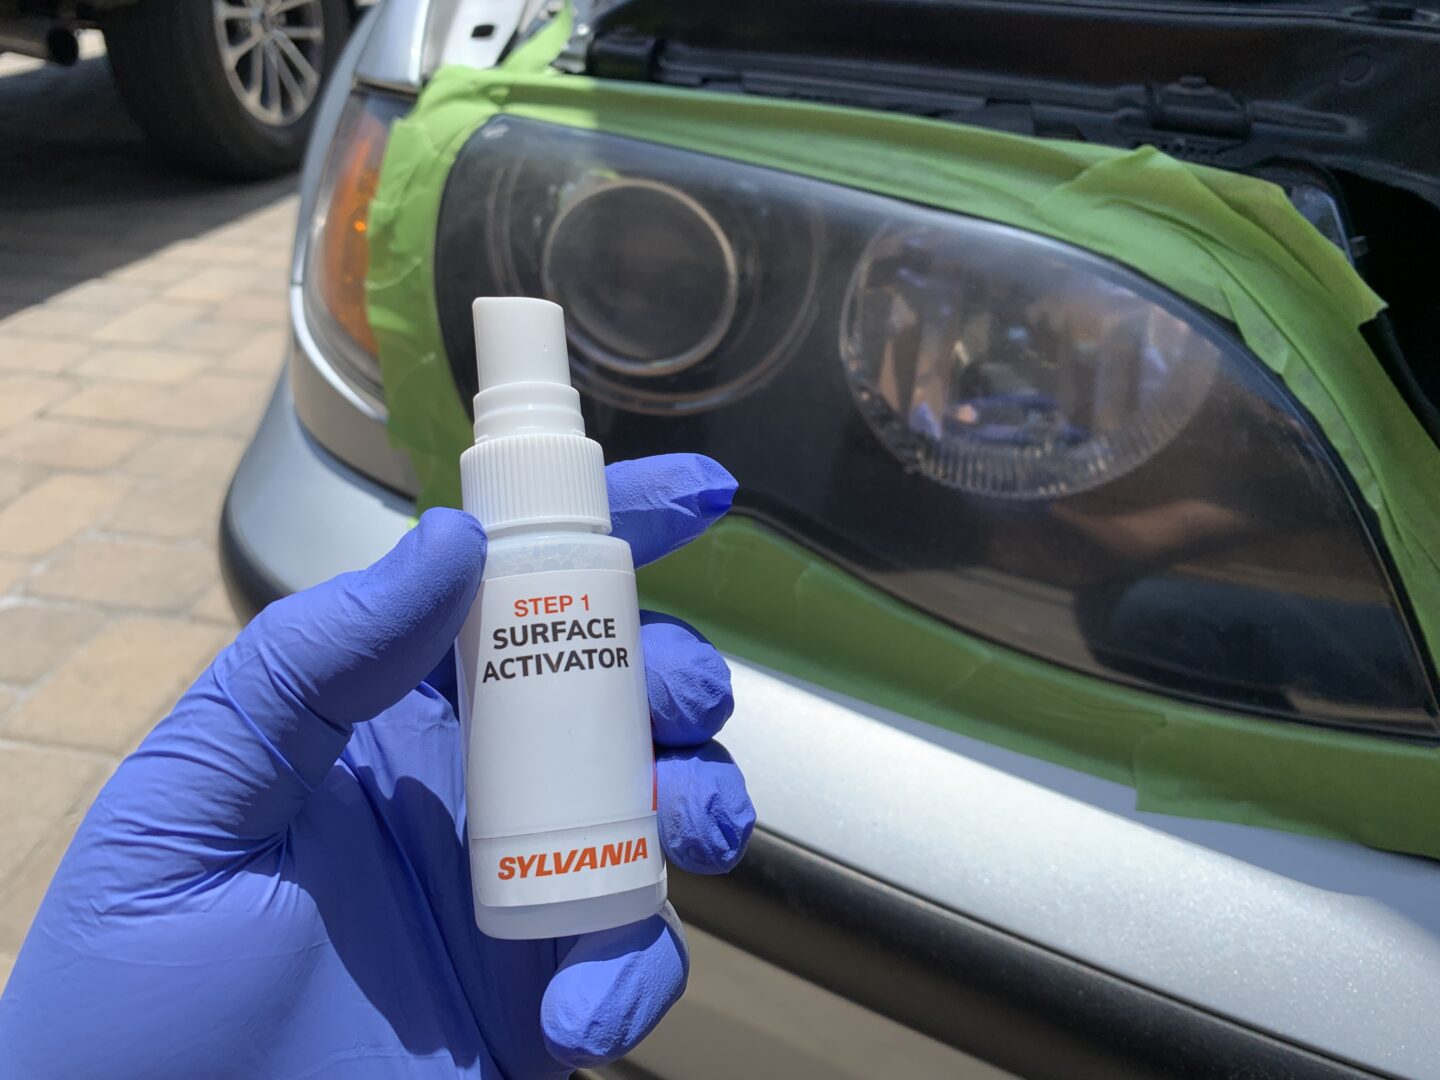
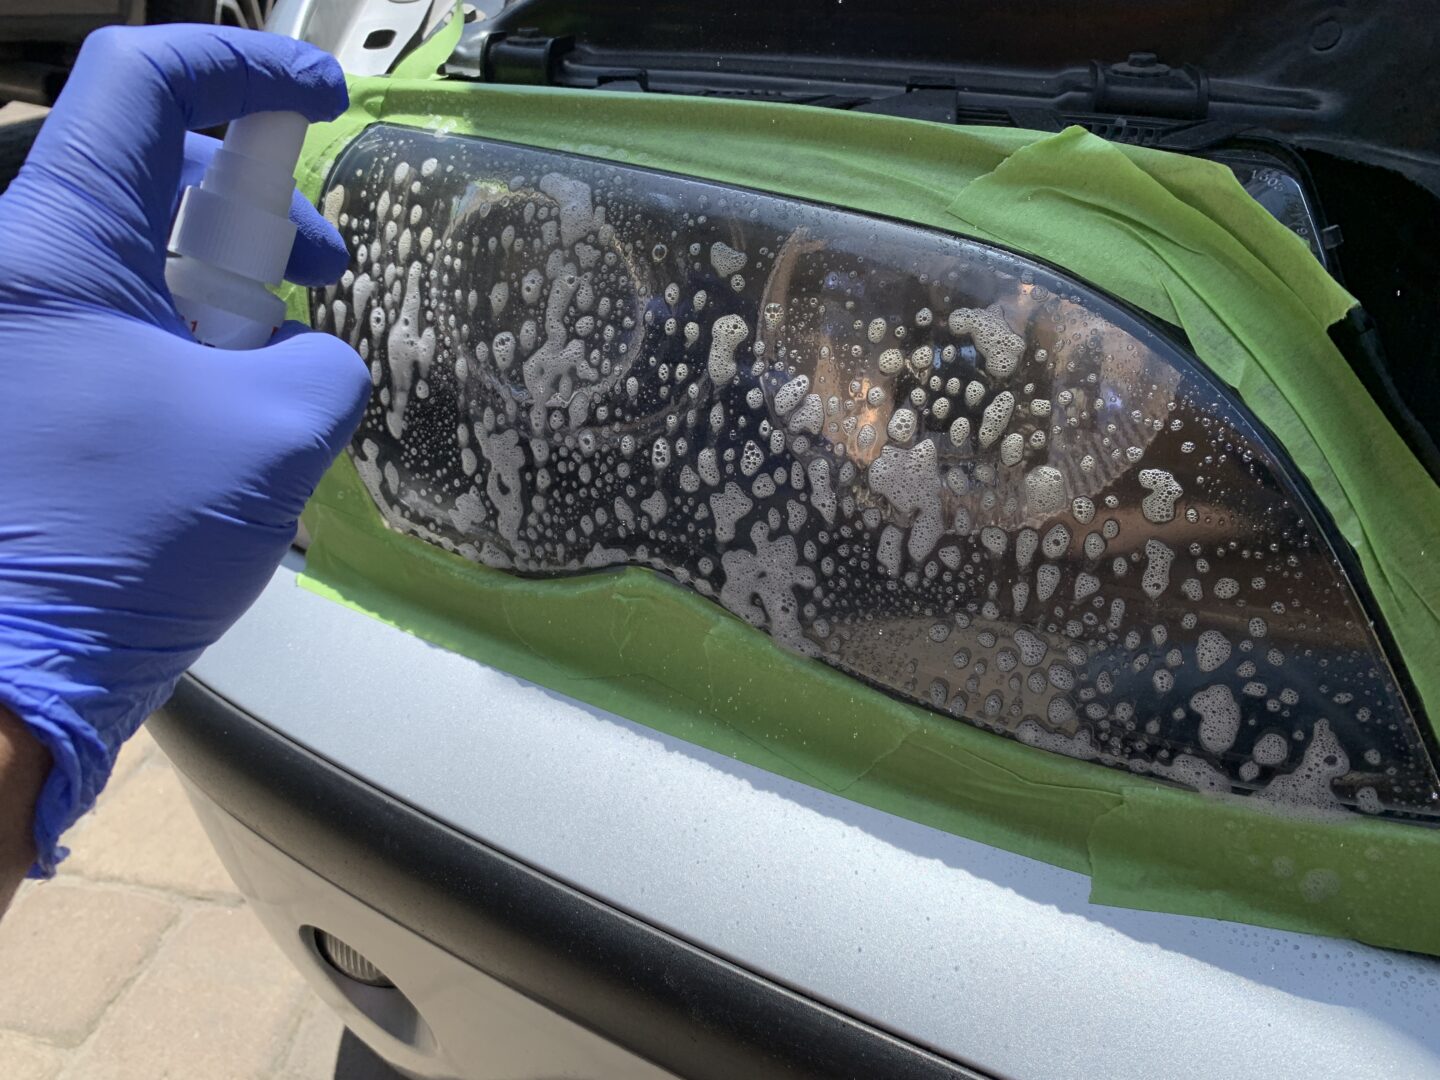
The first step is to use the Surface Activator solution (Step 1) and spray it generously onto the lenses, allowing them to soak in for 30 seconds. However, try to use less than half of the solution as you will need to use one more time later on.
This solution reduces the yellowing of the lens and also softens it for the next steps. Wipe off the solution off with a rag/microfiber towel.

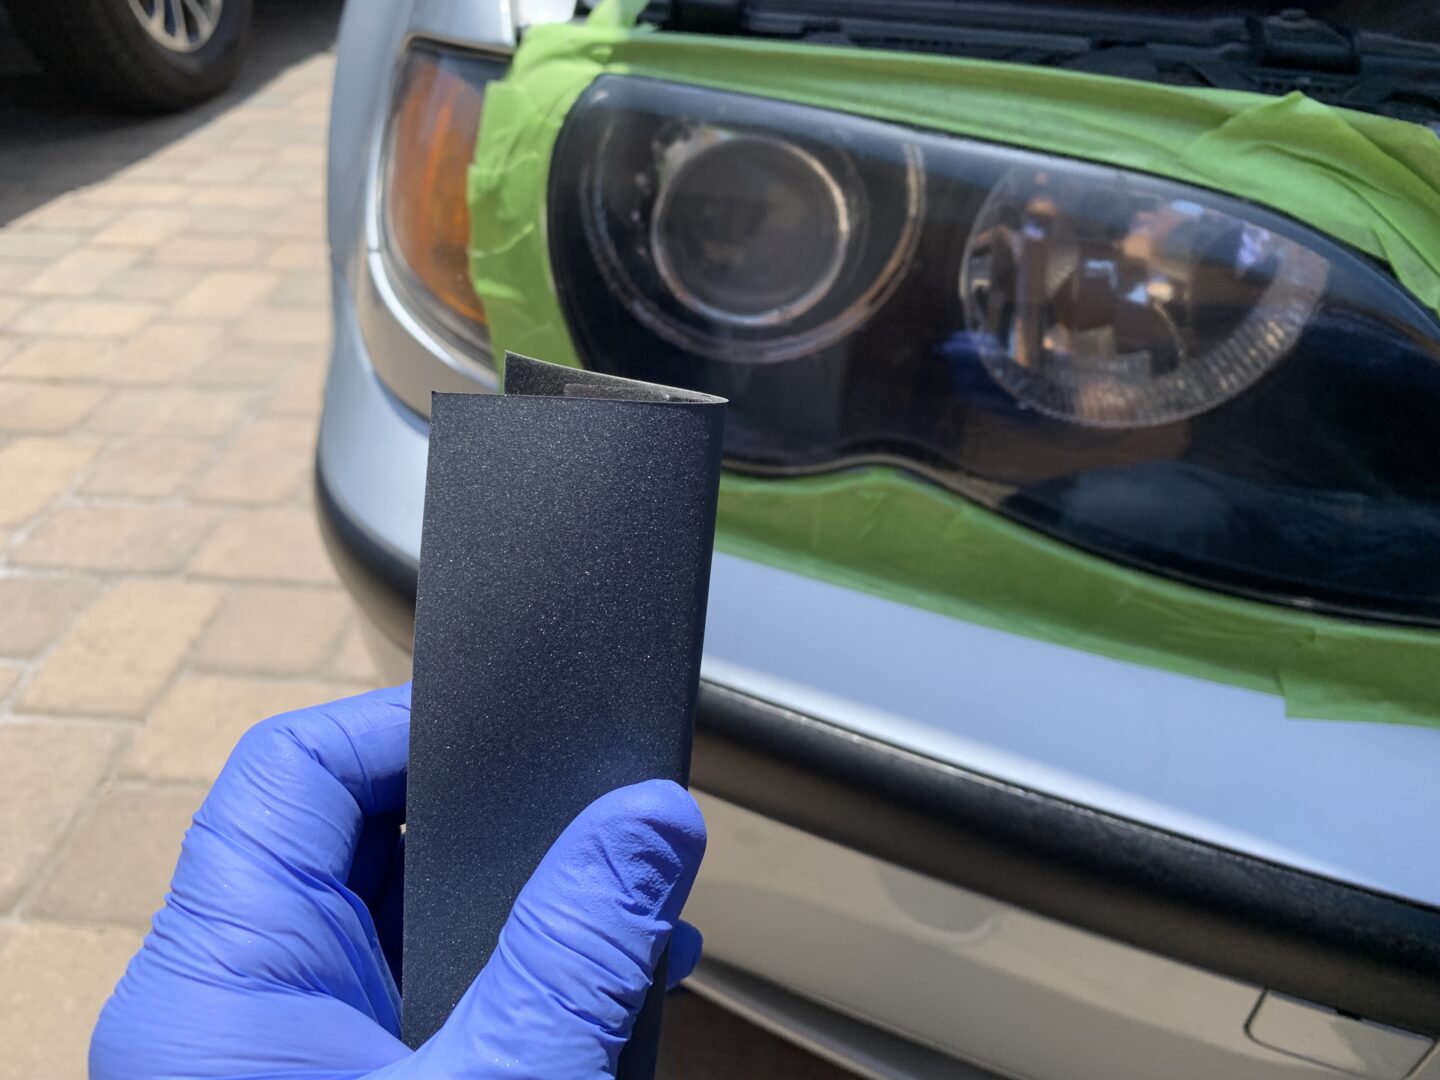
Using the 400 grit sandpaper, fold and tear it in half. Each half will be used for each of the two headlights. Use plenty of water to sand the entire headlight lens in a circular motion.
Ensure that you sand uniformly and that you hit every part of the front of the headlight lens. You may even want to go in different directions (e.g. sand from left to right, then sand up and down).
My preferred way to use sandpaper with water is to dip the sandpaper into a bucket of water before sanding. Every so often when I need more water, I’ll dip the sandpaper back into the bucket of water. After you’re done sanding, wipe away the sanding residue with a towel. You should be left with an even haze across the entire lens surface.
After sanding and wiping away with the 400 grit sandpaper, do the same thing with the 1000 grit sandpaper, and then again with the 2000 grit sandpaper. You should be spending approximately 5 minutes on each grit. After each of the different grit-sanding, you should notice that the headlight lens is still hazy, but lens will feel smoother and smoother. 400 grit sand paper is more coarse, meanwhile the 2000 grit sandpaper is much finer.
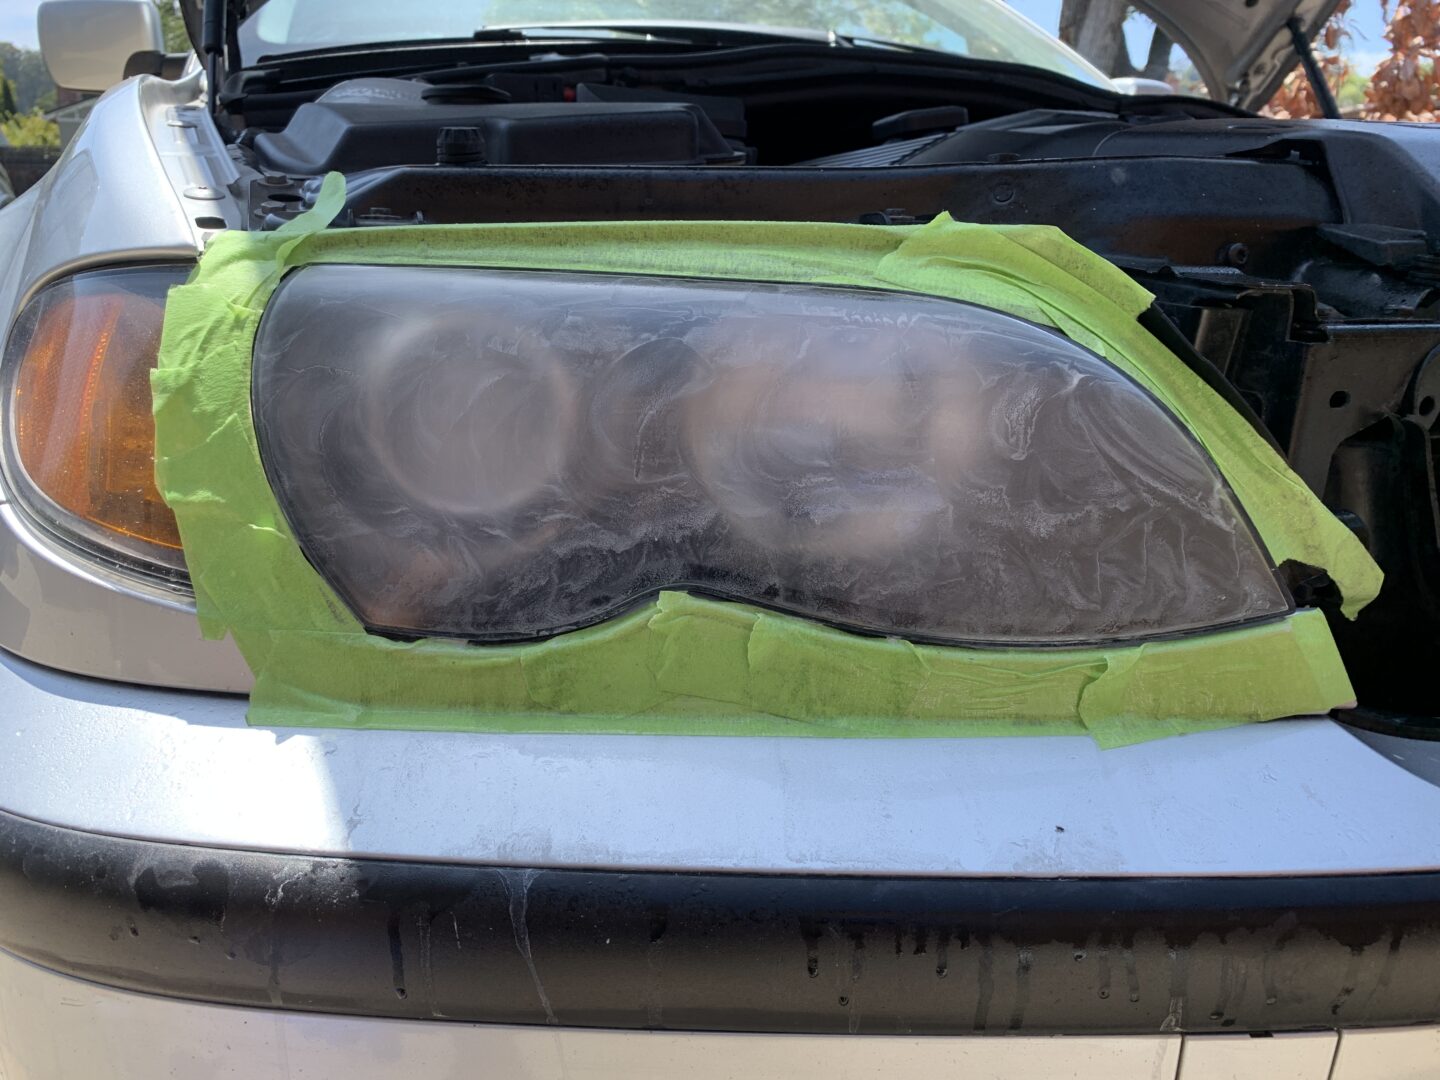
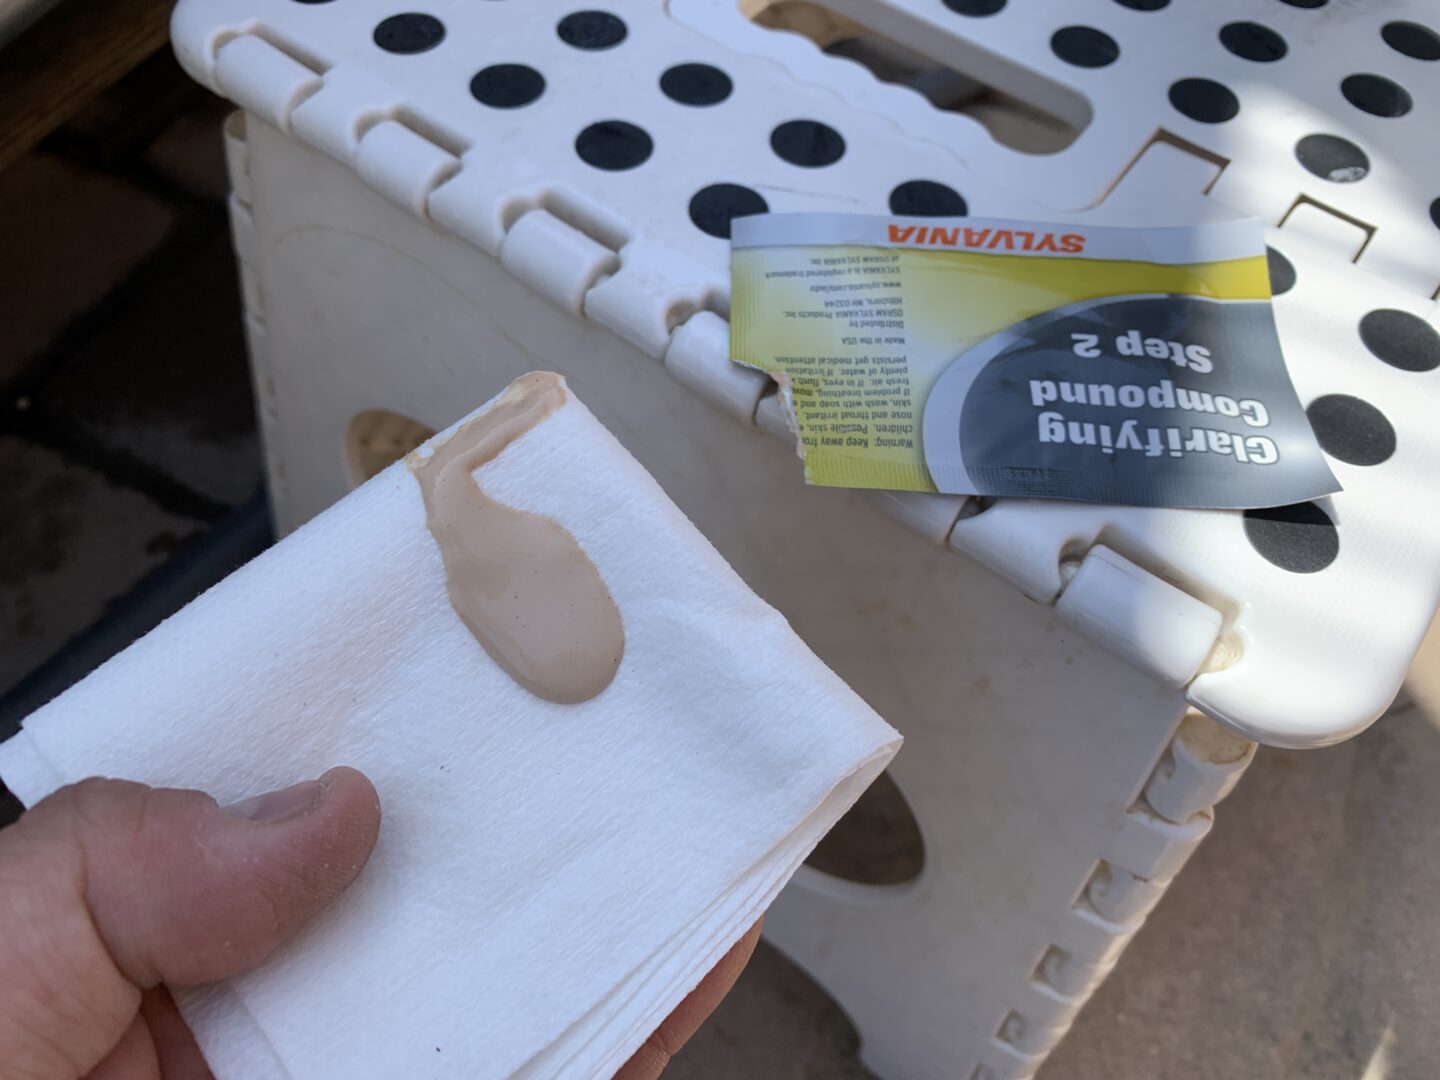
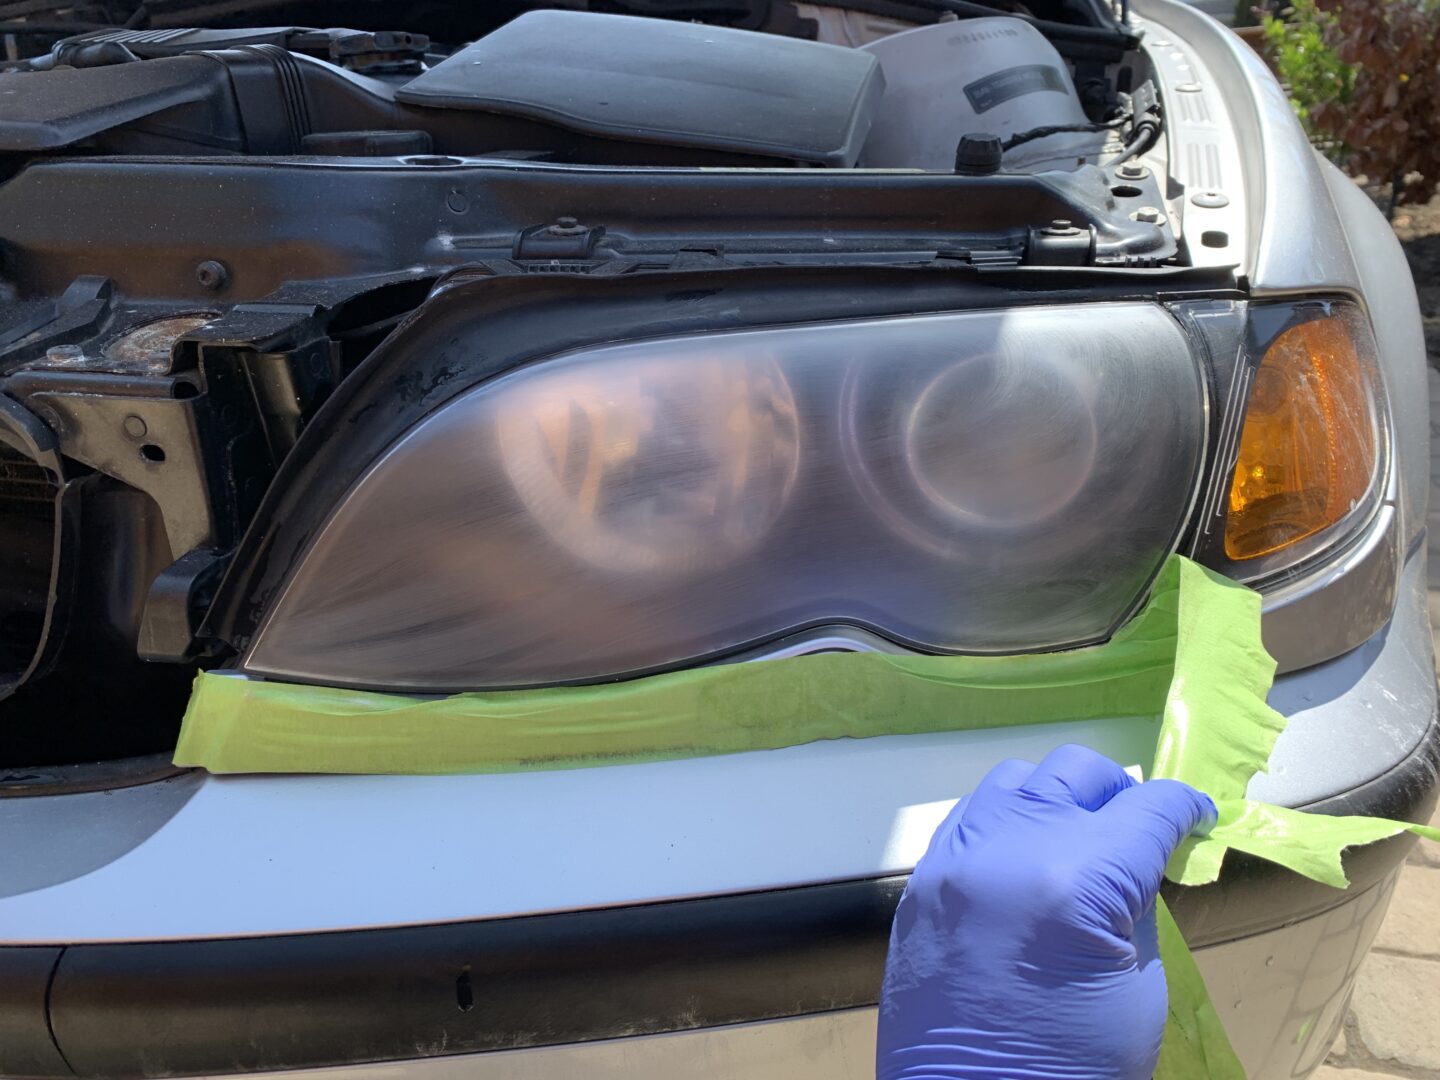
The next step is to use the Clarifying Compound (Step 2) that is provided in the kit. You’ll use the included white paper towel along with the compound to buff the lenses, which have been sanded up to 2000-grit. Just like you did with the sandpaper, buff with the compound on the paper towel thoroughly and uniformly across the whole lens. Spend as much time as you can here (5-10 minutes) buffing. Wipe it all away with a towel when you’re done.


At this point, the headlight lens should still be hazy, but that is okay. As long as you’ve spent 5-10 minutes buffing the entire headlight lens, you can move onto the next step.
Spray the rest of your surface activator solution onto the headlights. Let it sit for 30 seconds and then rinse it all off with water. Then remove the masking tape. Use a microfiber towel or rag to dry the surface of the lens and all the surrounding areas.
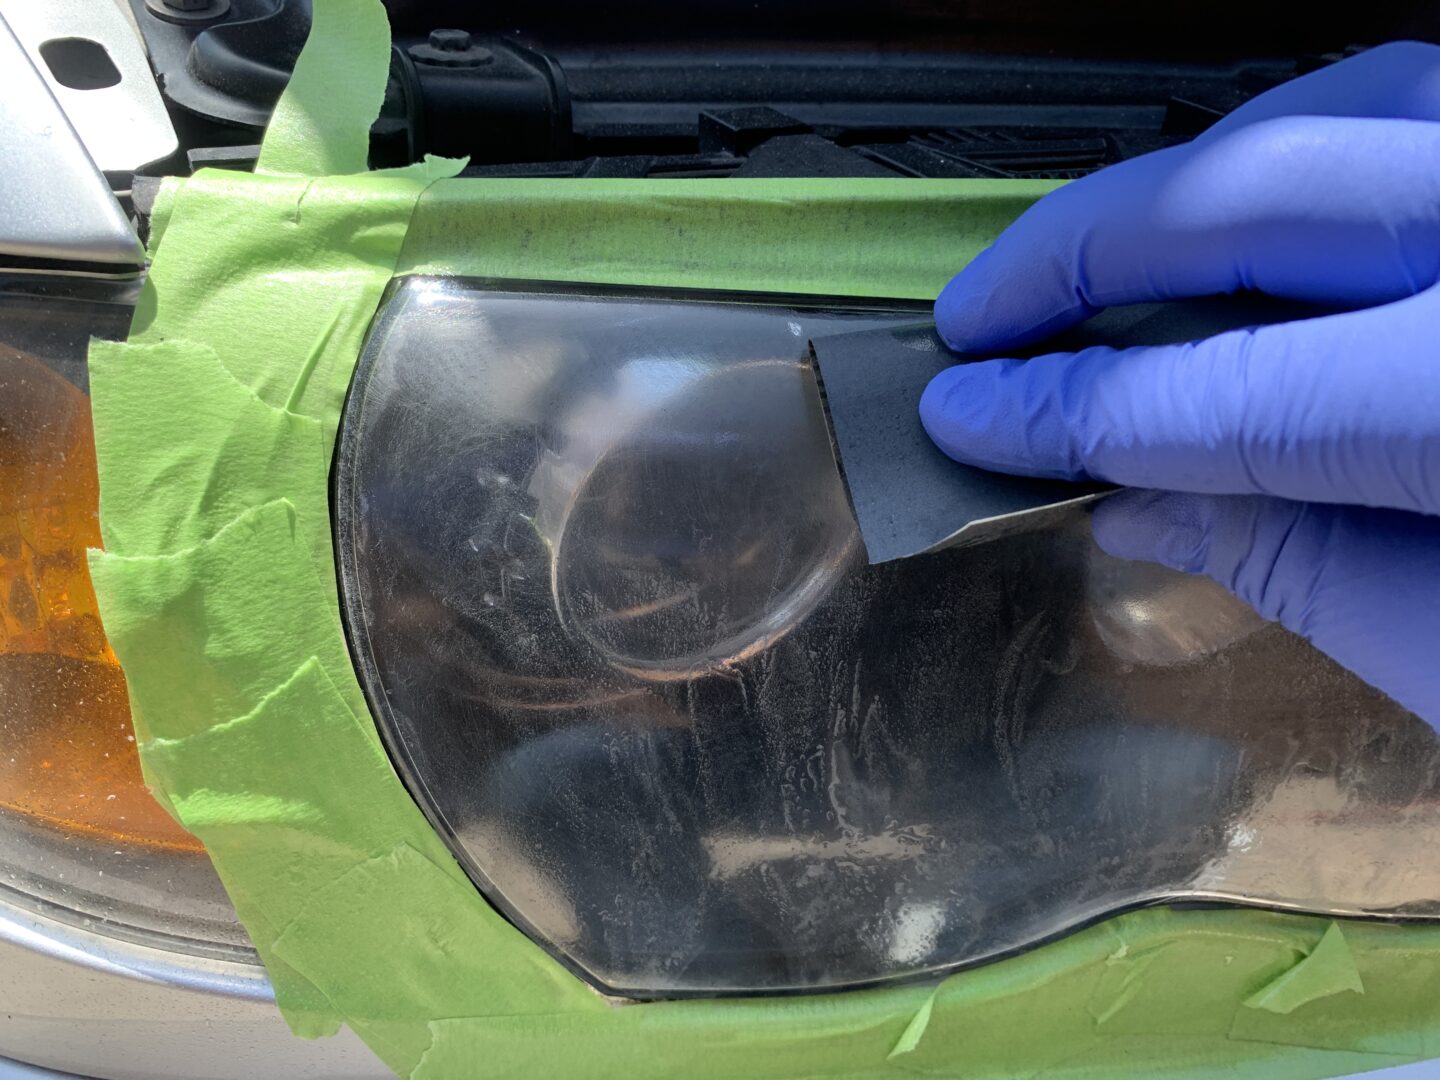
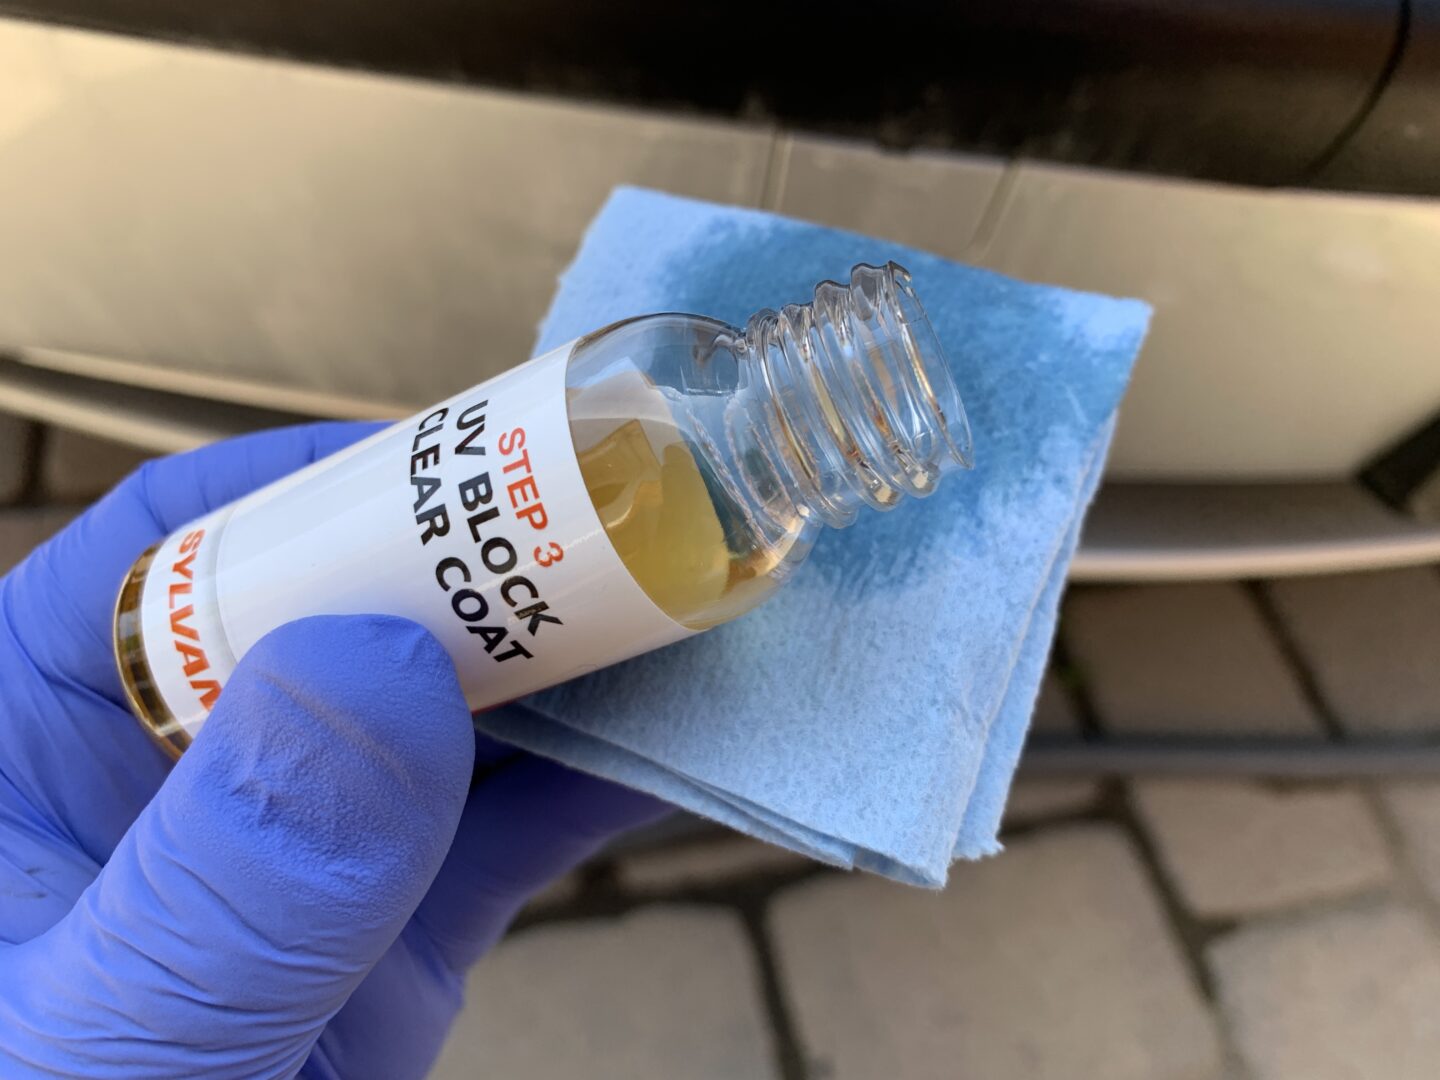
Now, with the last step, use the UV Block Clear Coat (Step 3) and apply it to the blue paper towel. The instructions say to soak the folded edge of the blue paper towel until it extends 1/2″ from the folded edge. Moving from top-down and from one side to the other, wipe on the UV Block Clear Coat onto the headlight lens with light pressure and allow the solution to be applied to the entire headlight lens.
This is probably the most satisfying step as it looks like magic when you’re wiping this solution onto the lens. Be sure to keep reapplying the solution to the blue paper towel in order to keep the applicator wet.
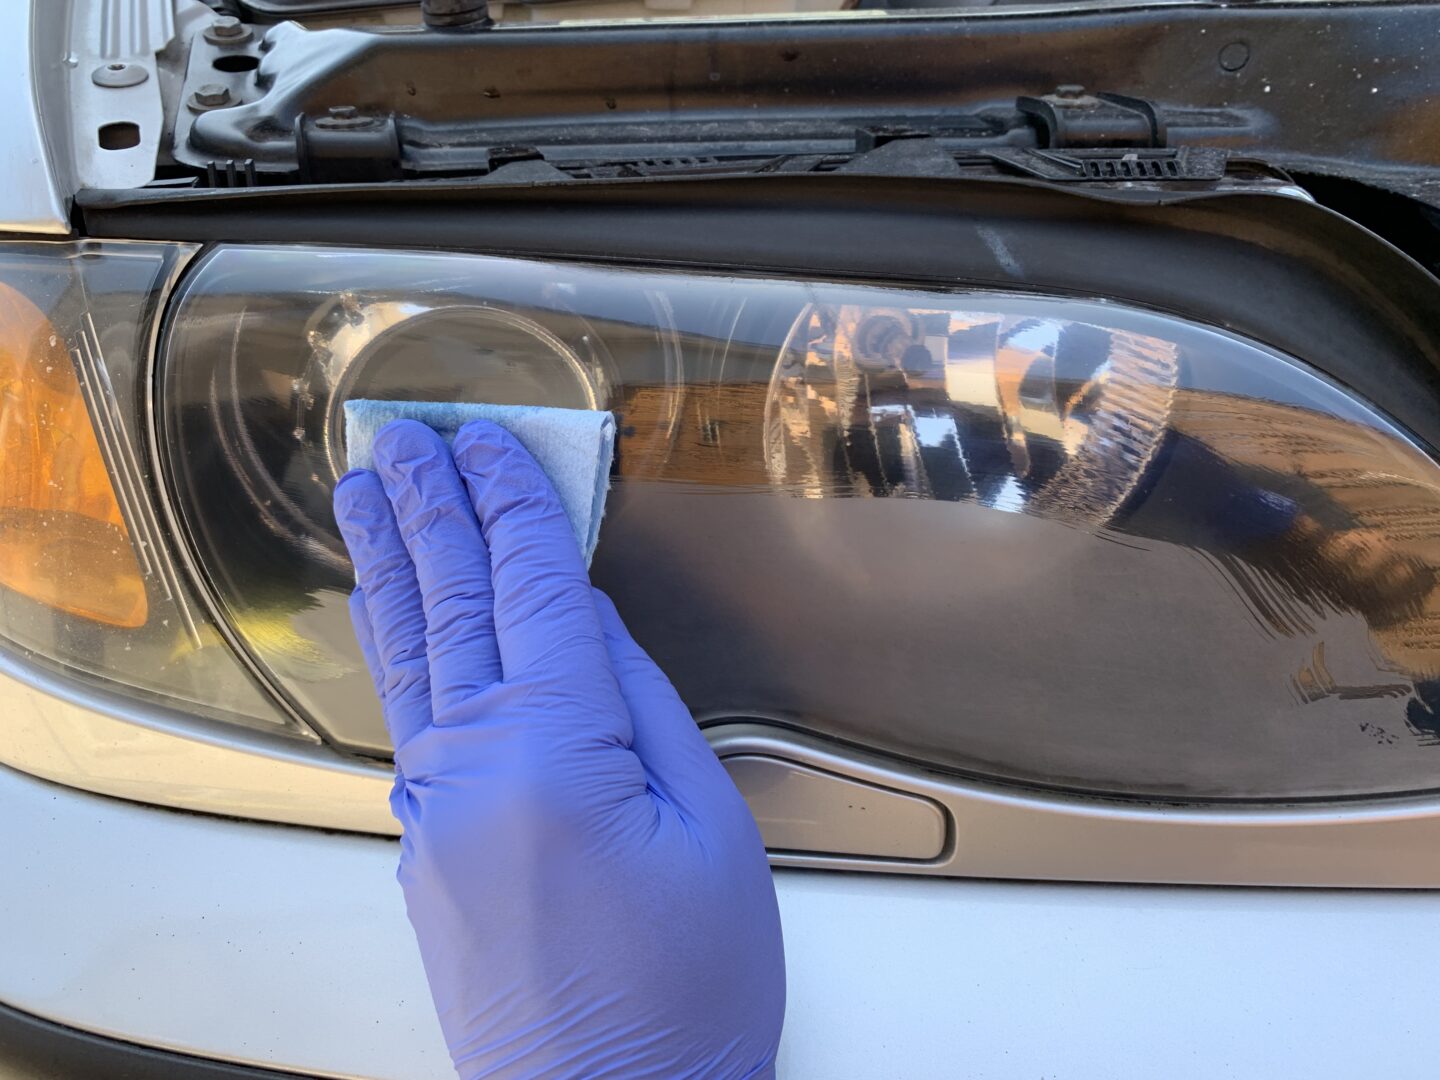
The headlight lens will immediately look significantly better after this step. After you’re done with this step on both headlights, you are finished with your headlight restoration. You should allow 4-6 hours for this to cure. Avoid driving and any water exposure during this cure time.
There’s one part I don’t like about the kit, which is applying the UV Block Clear Coat with the blue paper towel. It doesn’t apply super smoothly, and can leave you with streaks that are permanent. Fortunately, the streaks are only noticeable if you look up close at certain angles, otherwise the headlight lenses typically look nice and clear.
The Sylvania Headlight Restoration Kit works really well for a kit that you can do completely by hand. The outcome is quite impressive and is very beginner-friendly. I recommend this kit for beginners who don’t have any tools, but still want the ability to easily and cheaply restore the headlights on their car.
Sylvania Headlight Restoration Kit: Amazon


