When your intake manifold gasket fails, it can lead to an air leak that affect engine performance. This results in loss of power and can cause emissions issues, such as throwing a check engine light, produce rough idle, and elevate engine temperature. On the MK1 Audi TT, it is a little bit of a pain to get to remove the intake manifod, so I wouldn’t recommend replacing it unless you’re already experiencing related issues on your car.
Tools/Materials
To replace the intake manifold gasket, you’ll need the gasket along with a variety of tools for removing the intake manifold and the many vacuum hoses, fuel hoses, and electrical connectors tied to it.
Tools and Equipment Used
Screwdriver set: CRAFTSMAN Screwdriver Set, Bi-Material, 8 Piece Set
Socket set: EPAuto 40 Pieces 1/4-Inch & 3/8-Inch Drive Socket Set
Long nose pliers: CRAFTSMAN 8-in. Long Nose Pliers
Hex socket set: LEXIVON HEX Bit Socket Set, 13-Piece Metric, 2mm – 14mm
Diagonal cutter pliers: IGAN 7-inch Wire Cutters
1/4″ Torque wrench: TEKTON 1/4 Inch Drive Micrometer Torque Wrench (20-200 in-lb)
Worm hose clamp set: LOKMAN Stainless Steel Hose Clamp Assortment Kit – 60 Pc
Nitrile gloves: Inspire Black Nitrile Gloves 6 Mil – Sm / Md / Lg / XL / XXL
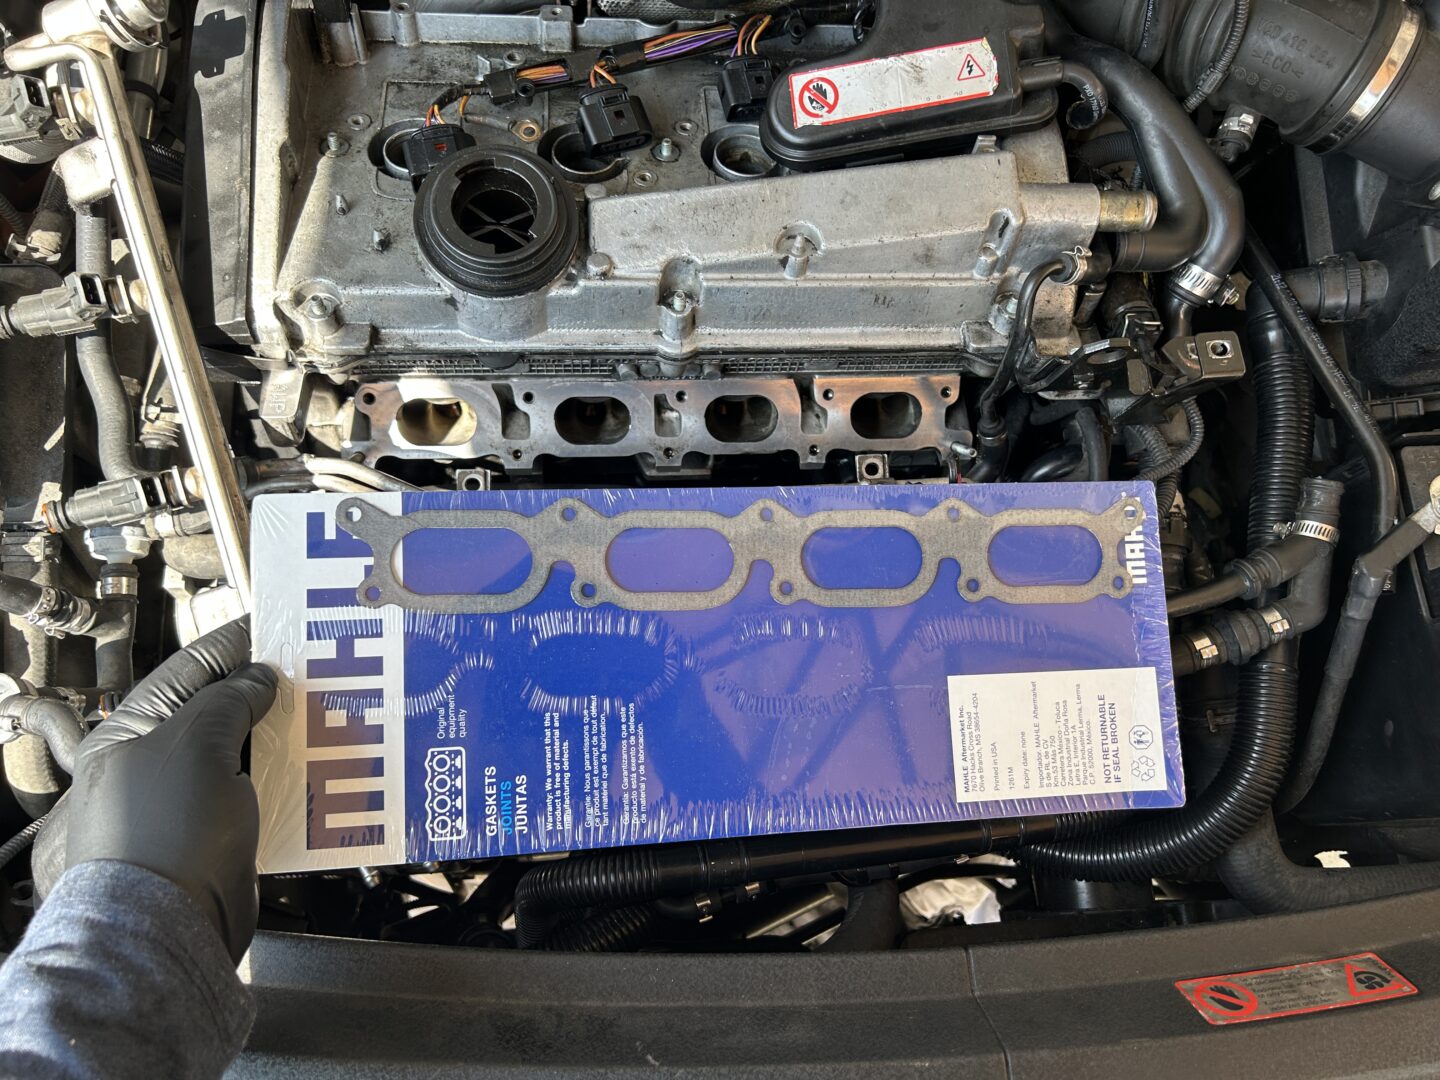
Intake Manifold Gasket for the MK1 Audi TT
The OEM part number for the intake manifold gasket is 058129717D, which applies to all Mark I Audi TT’s (model years 2000-2006). The specific intake manifold gasket I used on this tutorial is made by MAHLE: MAHLE MS19234 Gasket
How to Replace the Intake Manifold Gasket
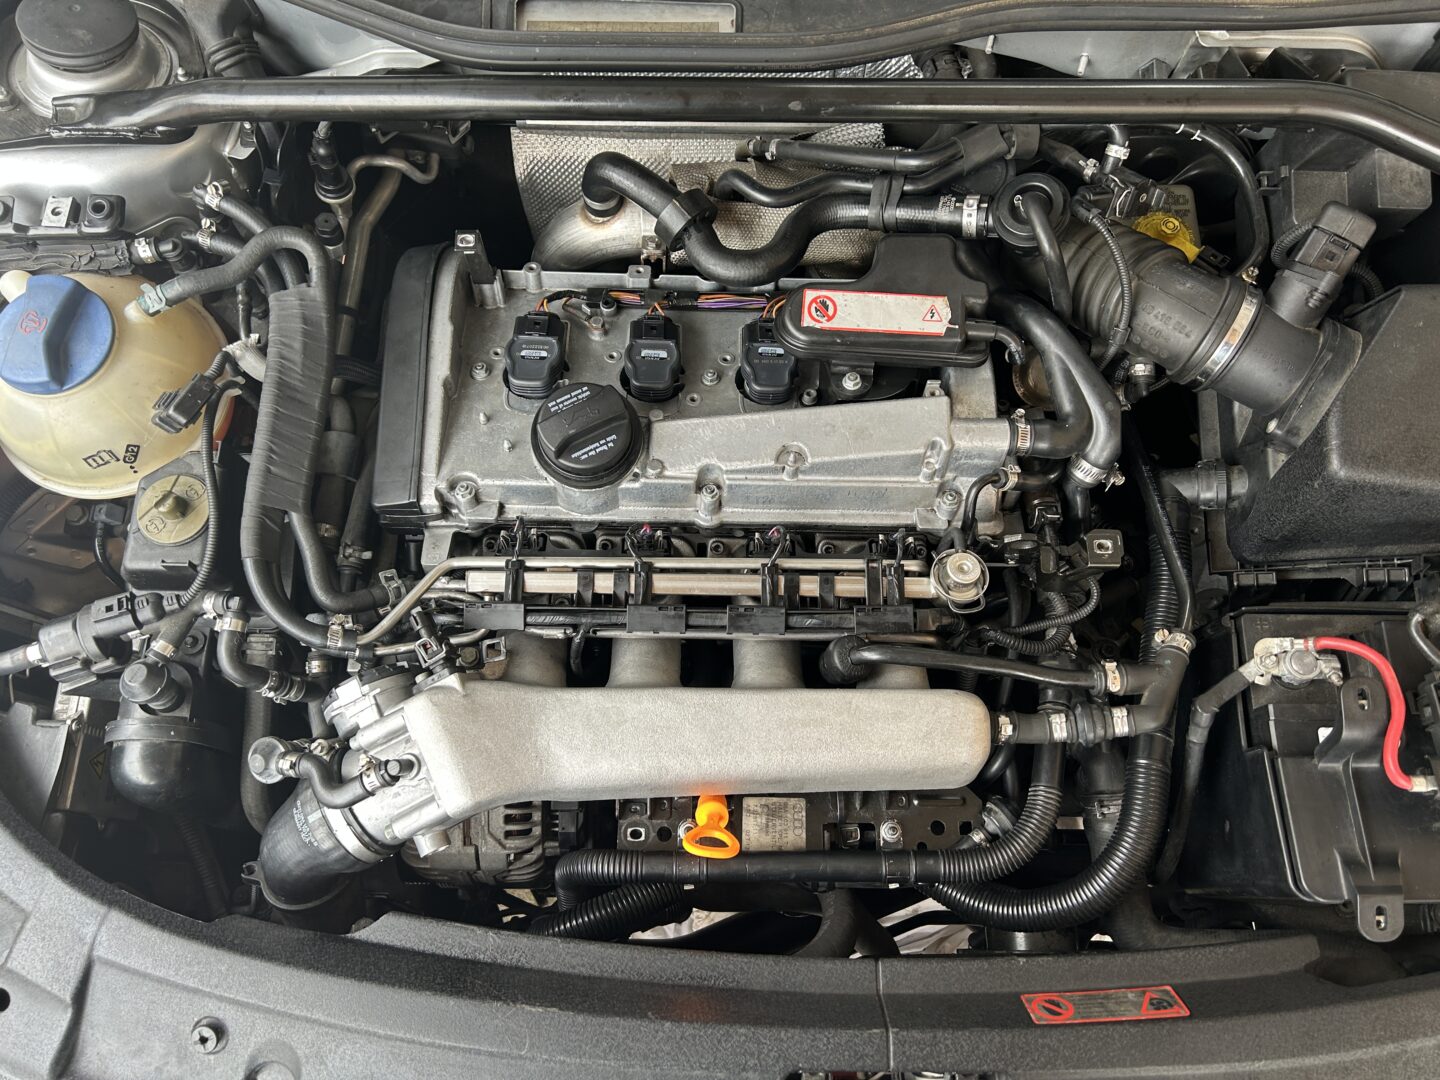
I’d like to preface this tutorial by saying that this is based on my car, which is the 180hp variant of the Audi TT. If you have the 225hp model, this job will look slightly different, especially with dealing with the charge pipe and associated vacuum lines.
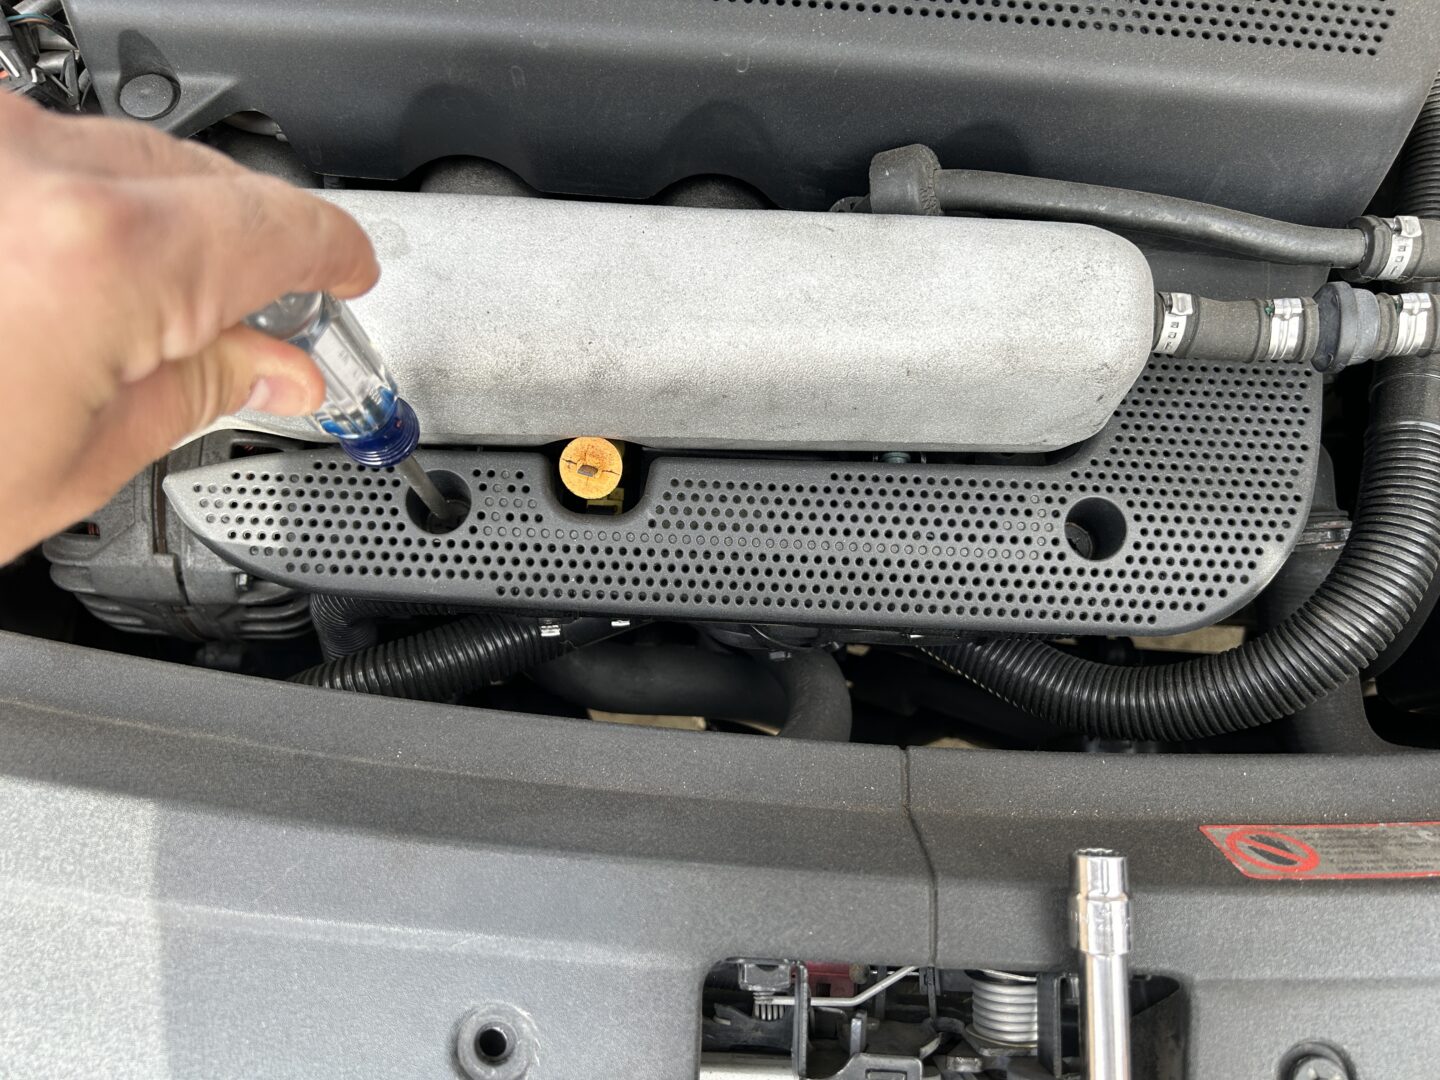
Now on to the job: remove the perforated cover in front of the intake manifold. Use a screw driver to loosen the (3 qty) plastic bolts, then remove the cover.
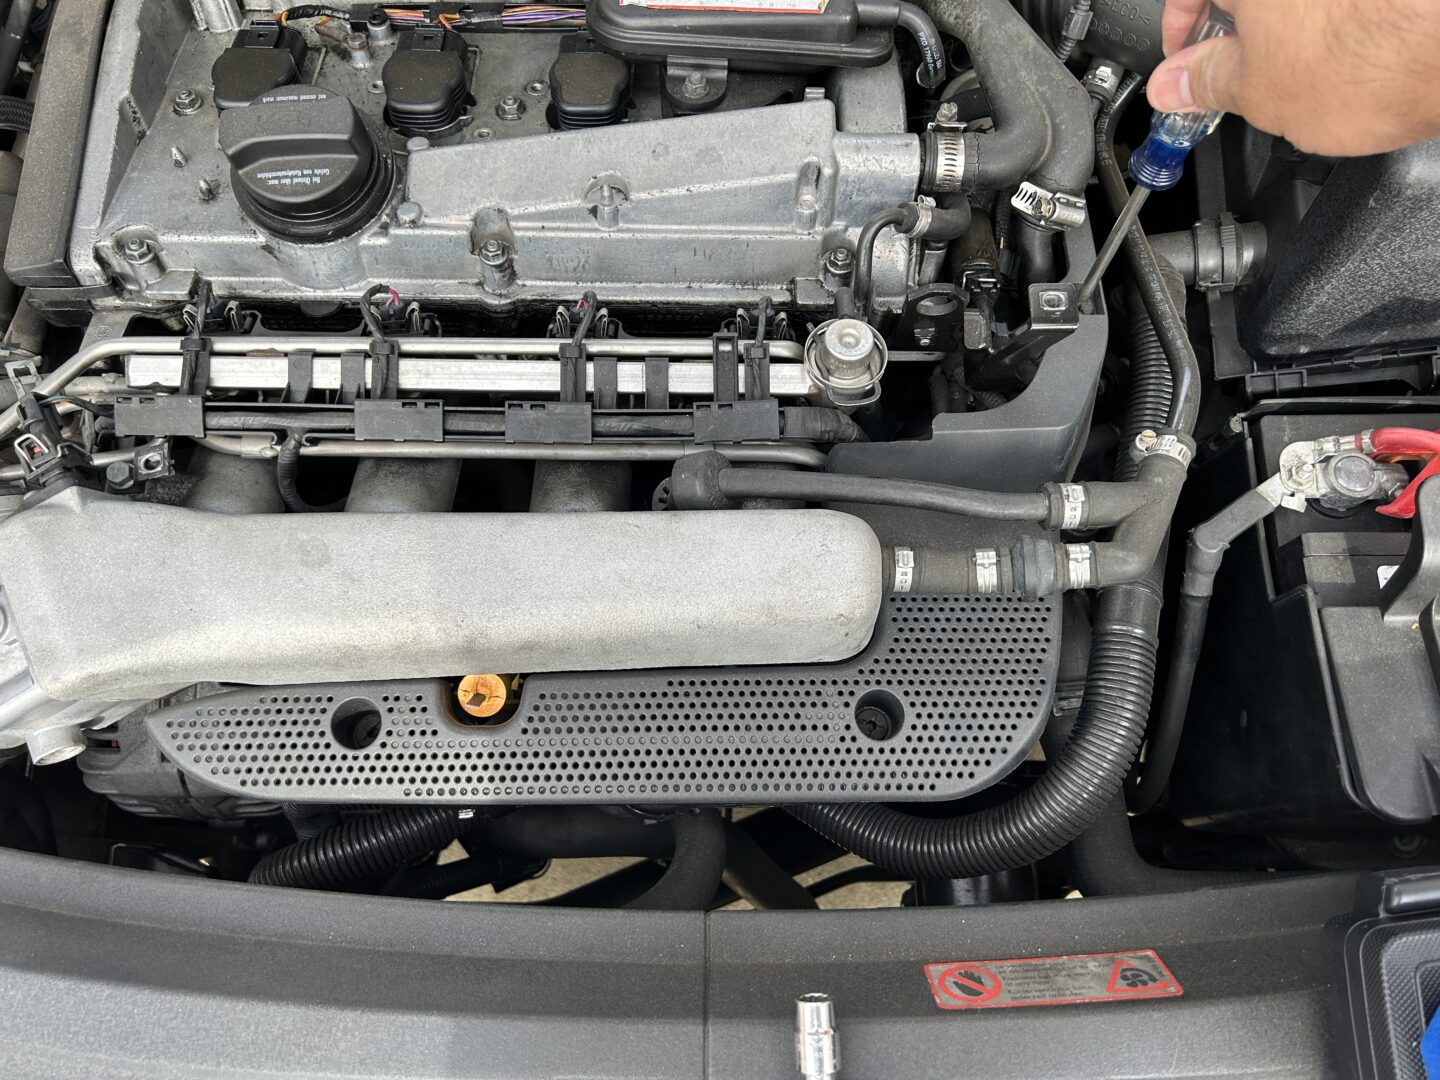
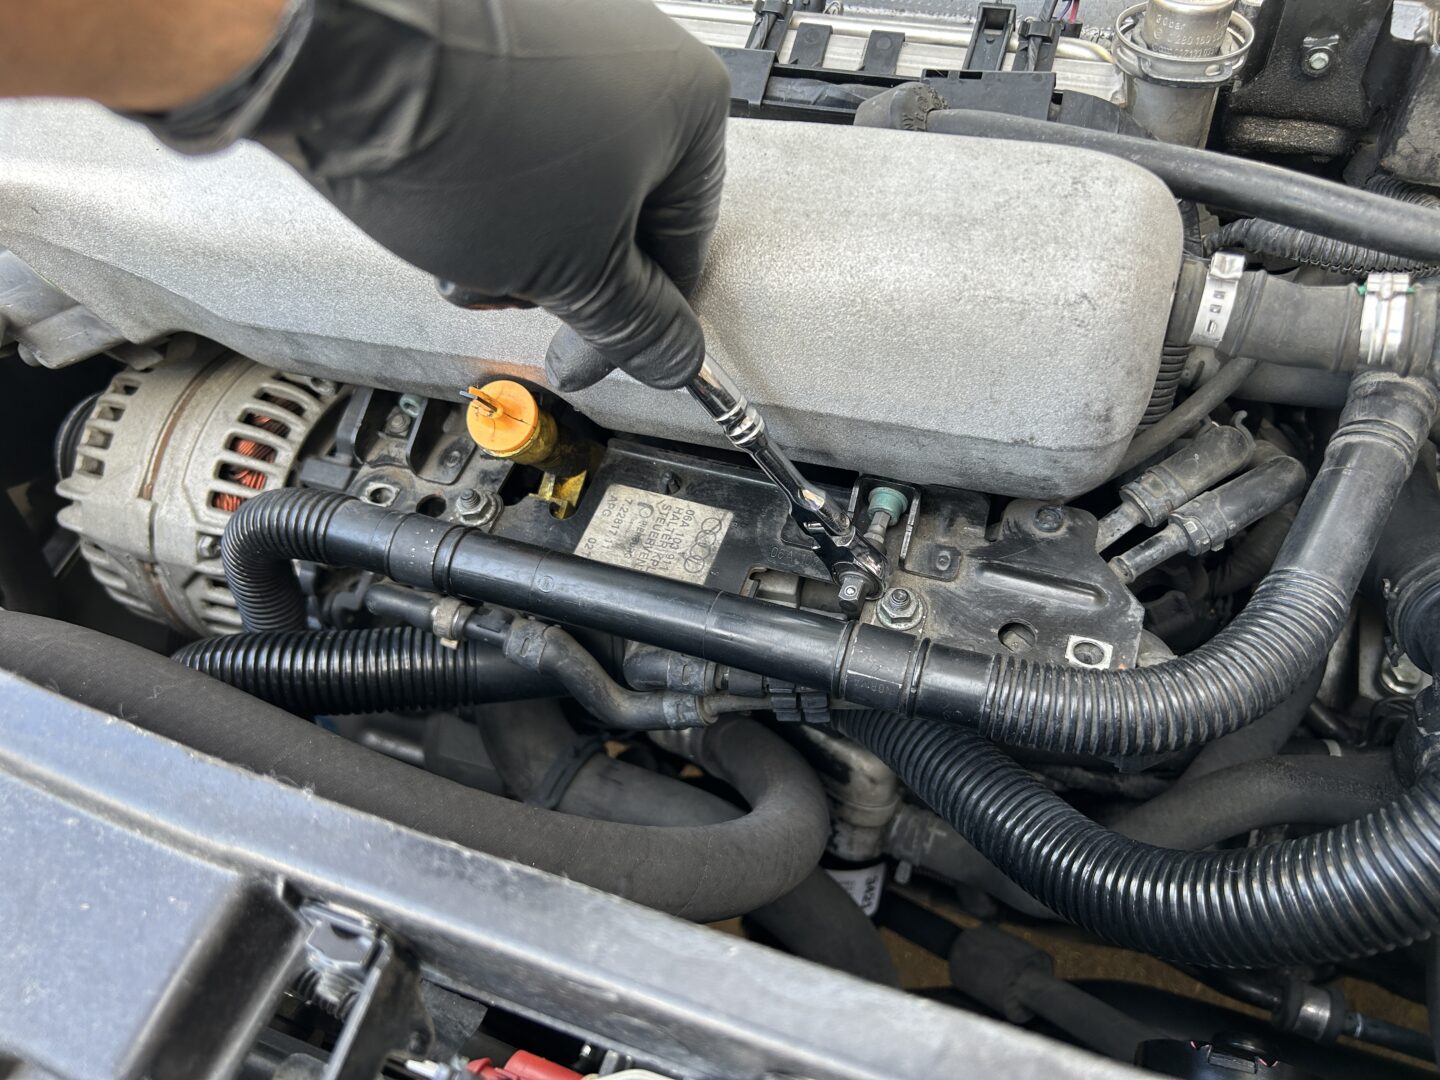
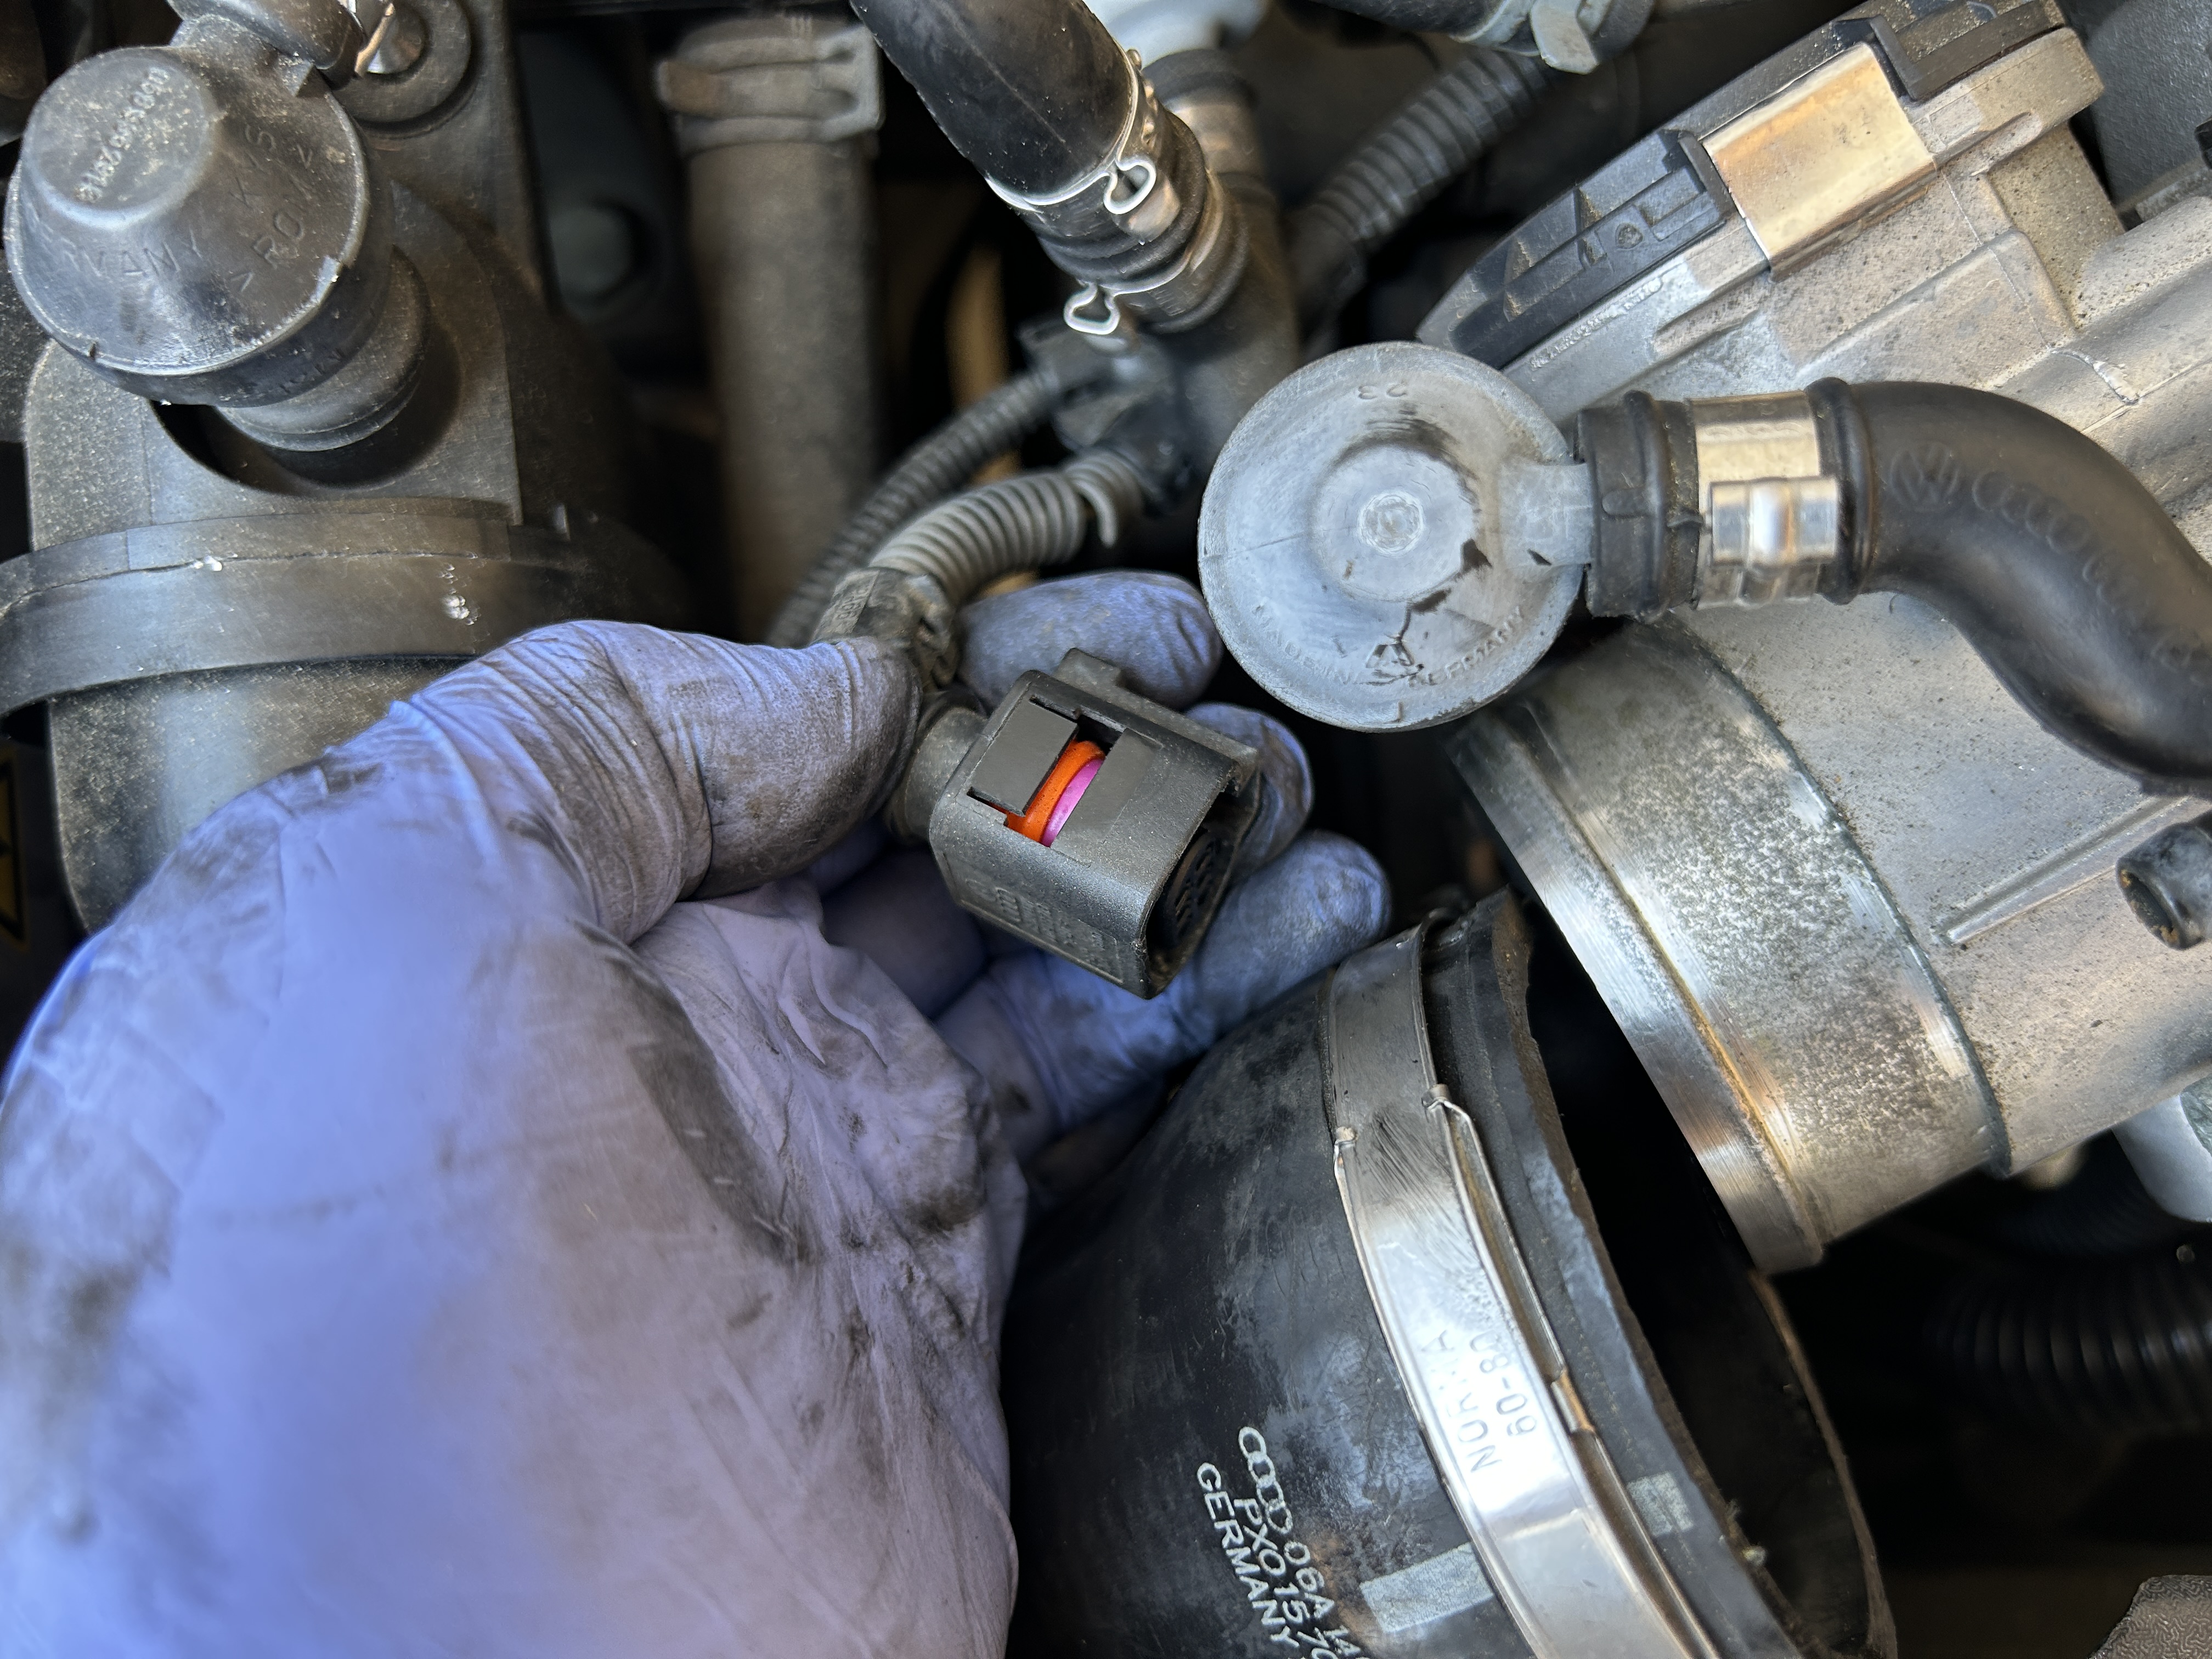
Remove the (2 qty) 10mm nuts that hold one of the secondary air pump hoses to the N249 bracket. There is also a 10mm nut that holds a bracket for the other secondary air pump hose, which may need to be removed.
Use a size 5 hex socket in there to remove the (2 qty) hex bolts, which hold the N249 bracket in place. Pull the bracket away and separate the metal tab from the oil dipstick tube. Remove the electrical connector attached to the bracket connector as well.
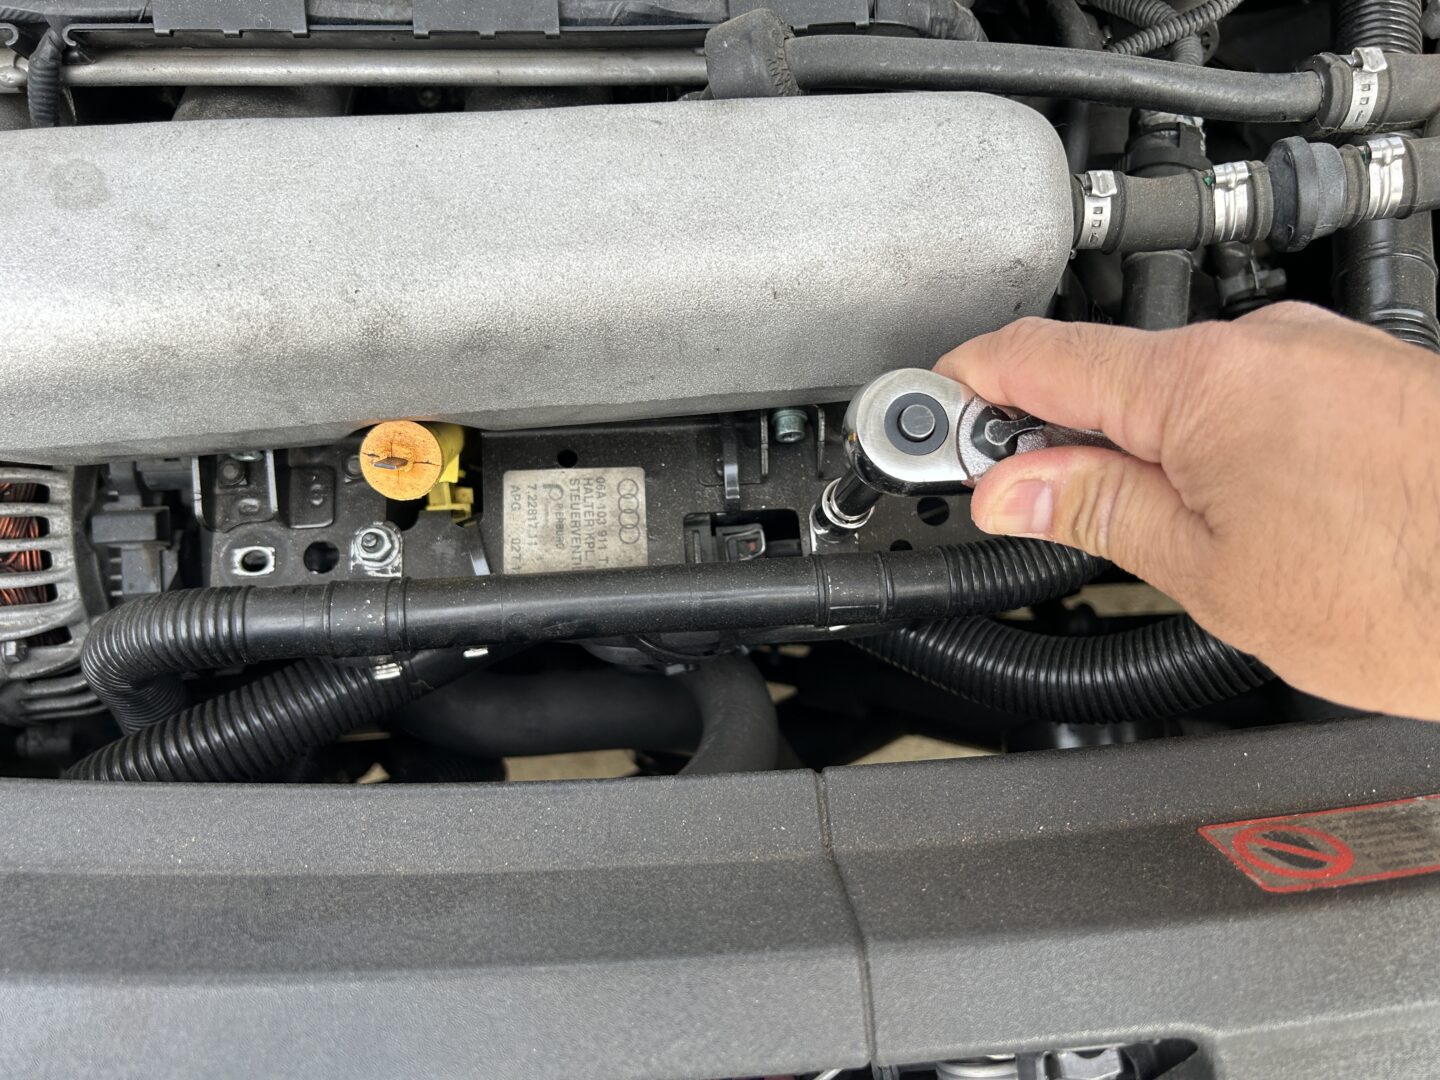
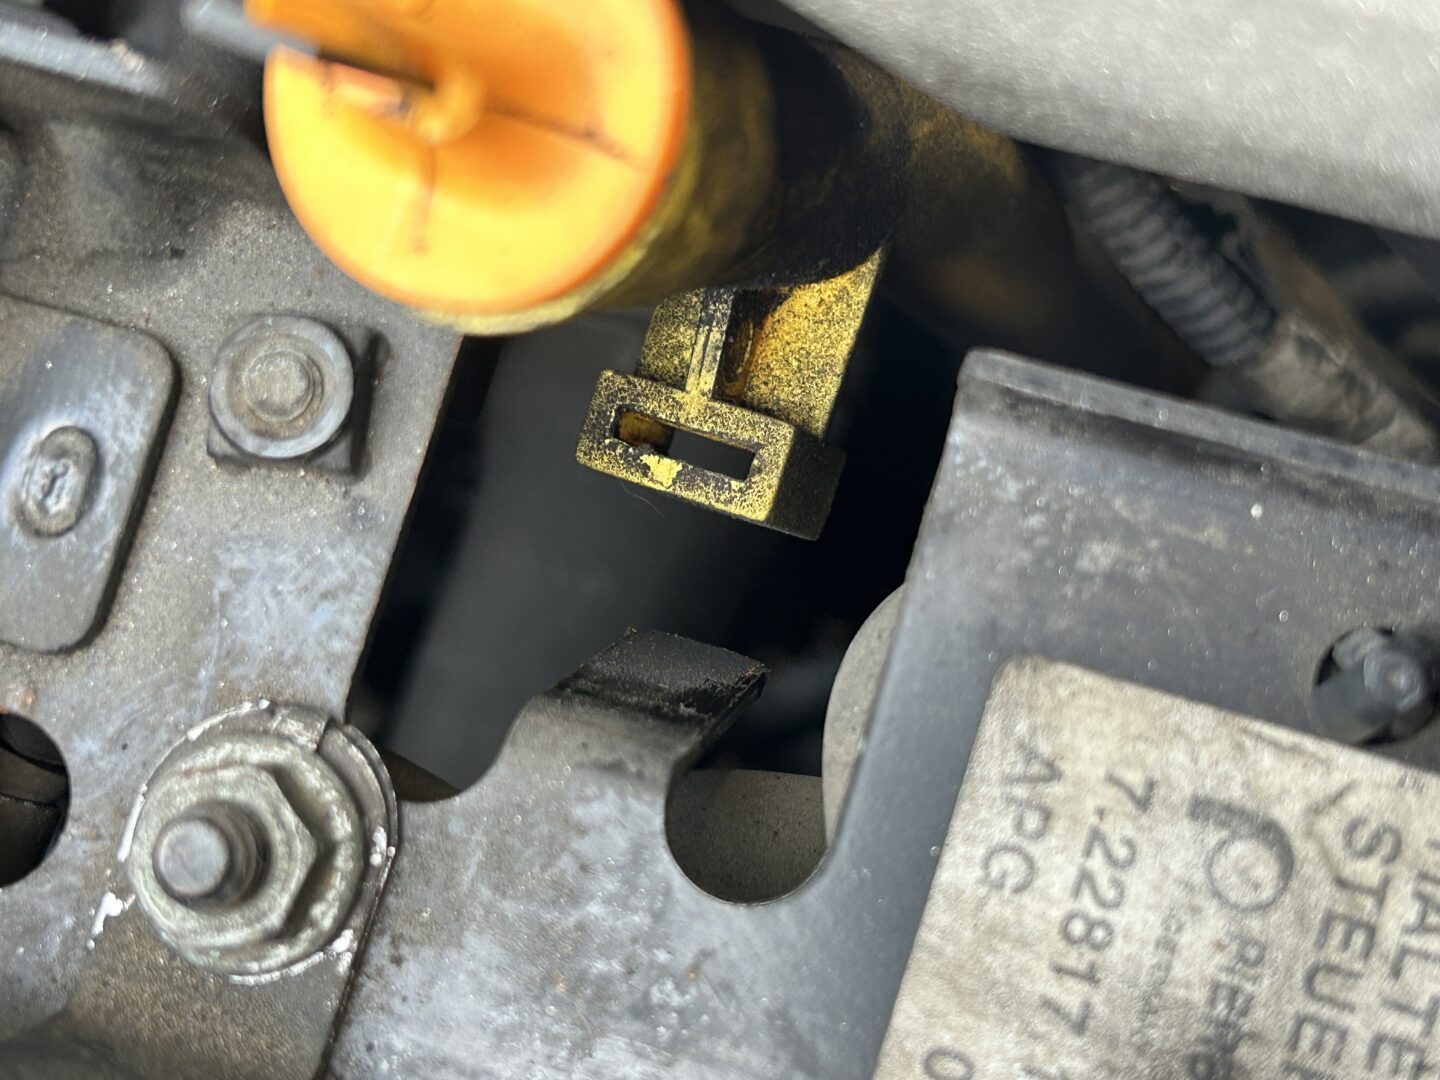
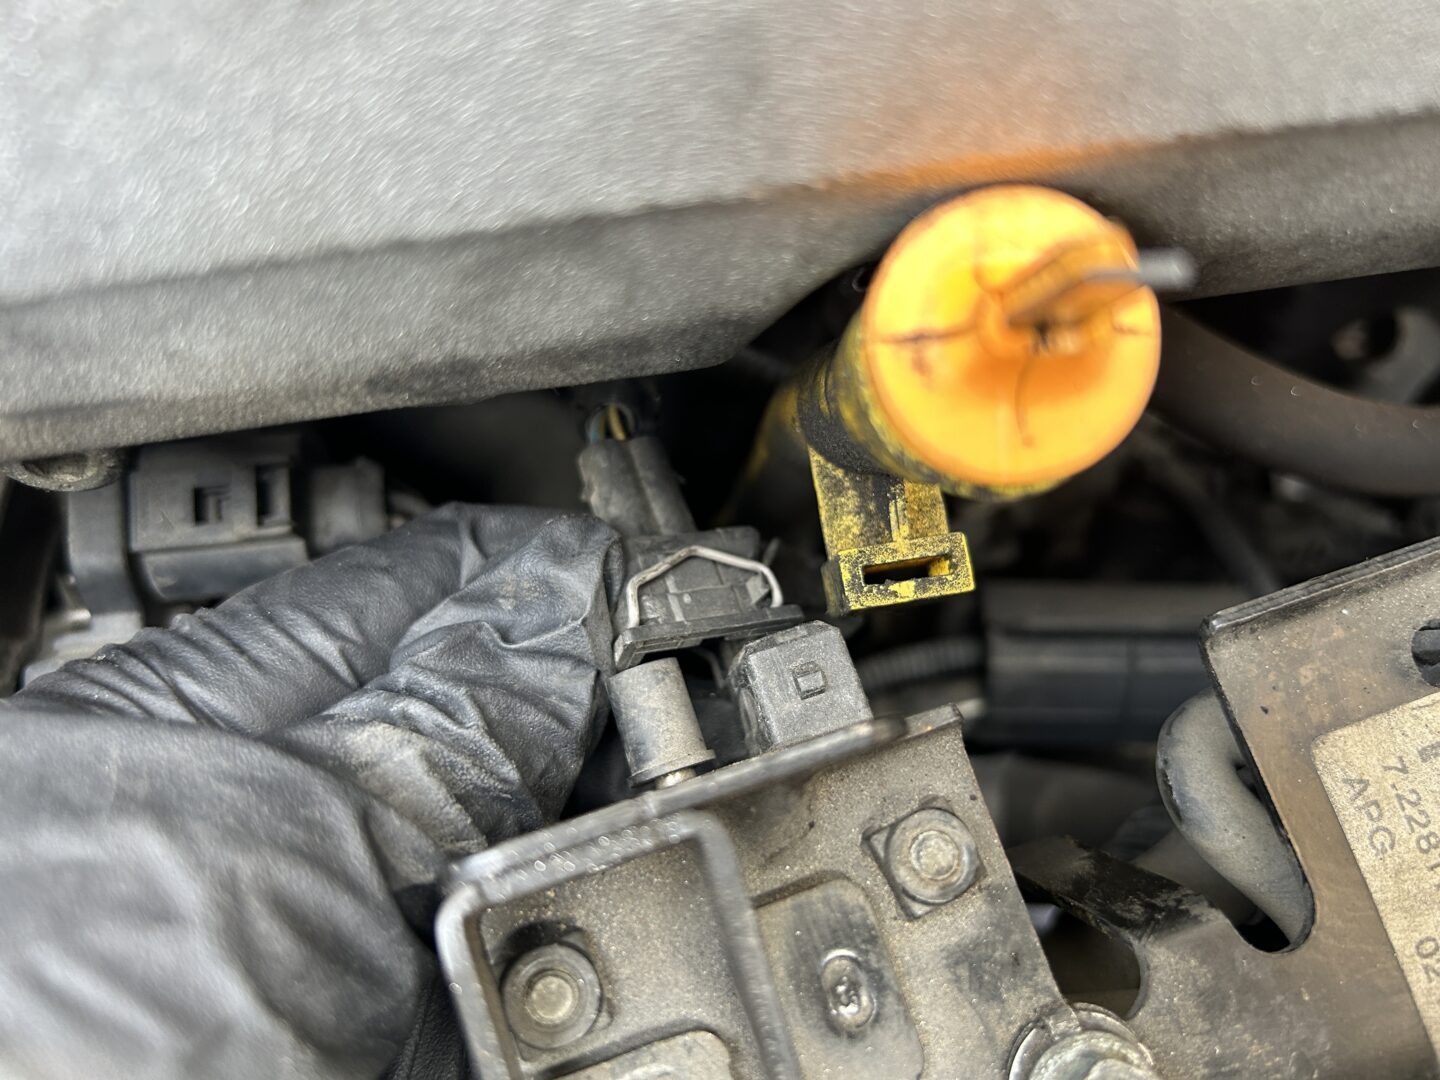
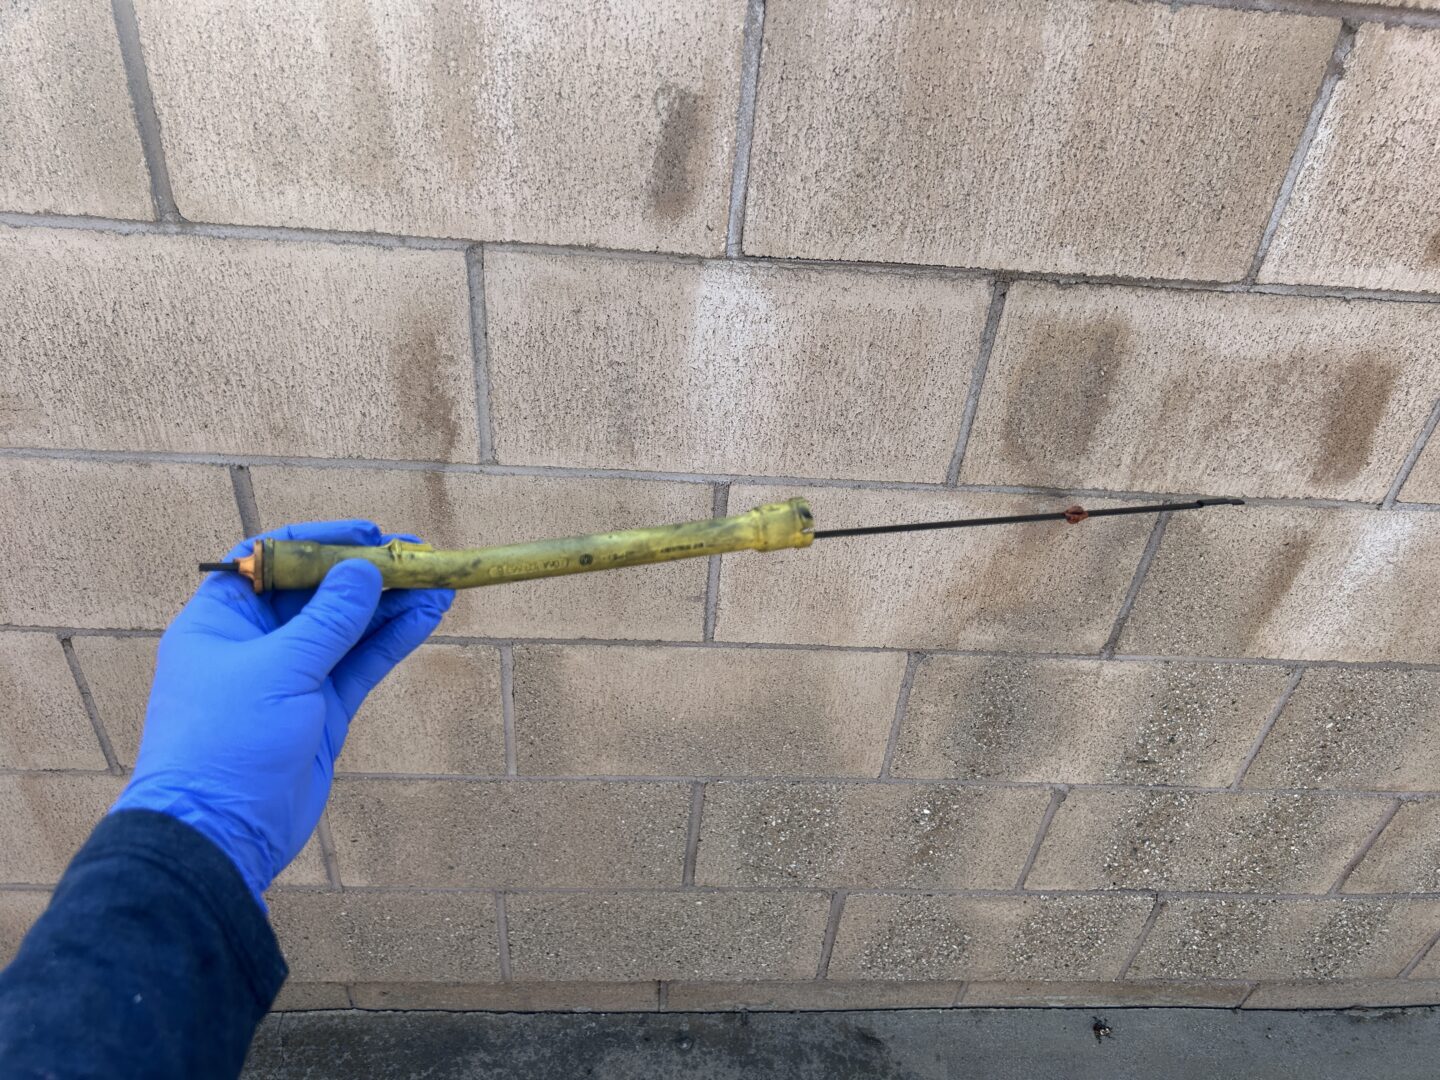
Remove the oil dipstick tube and move the N249 bracket out of the way. The dipstick tube may be held in with a bolt, which would need to be removed.
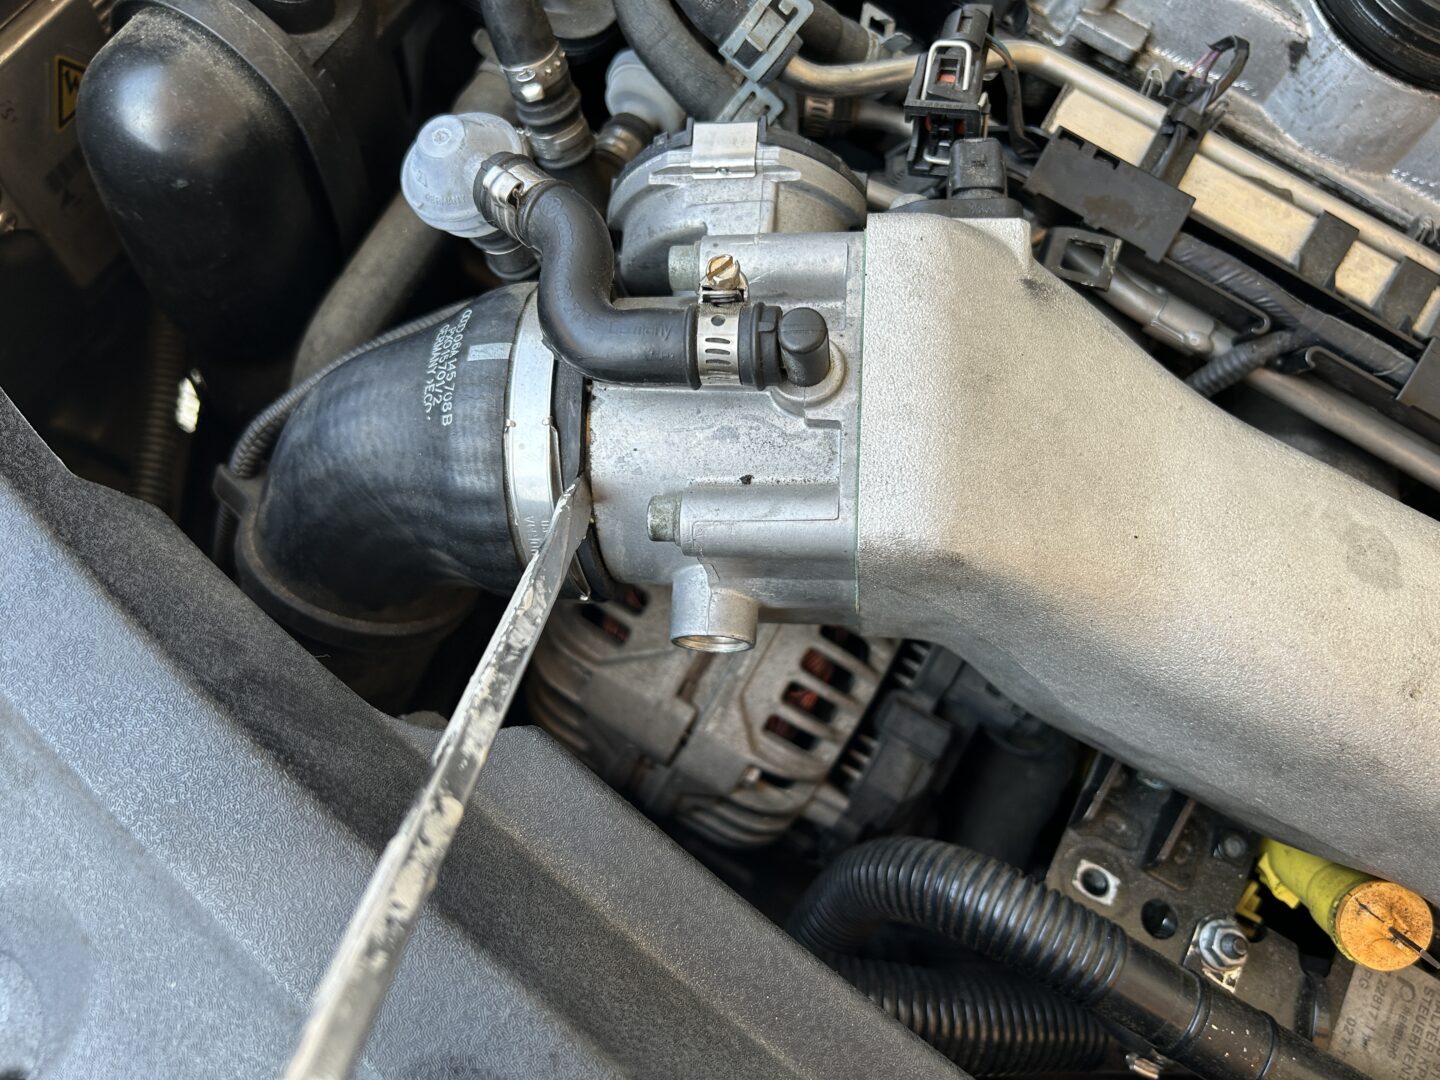
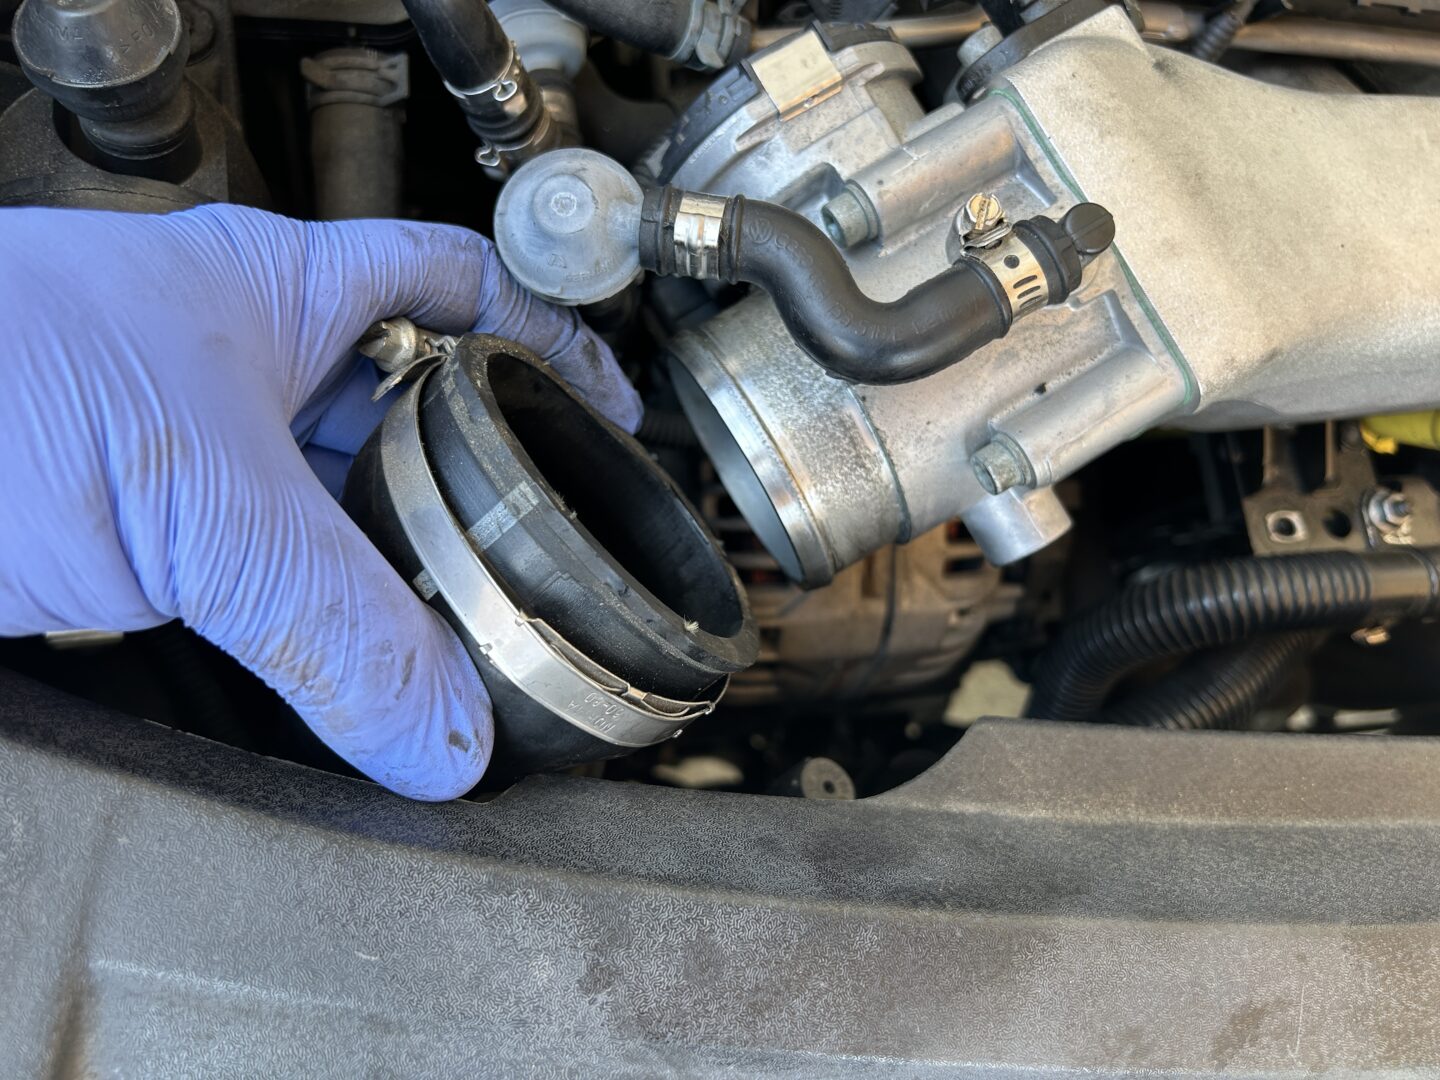
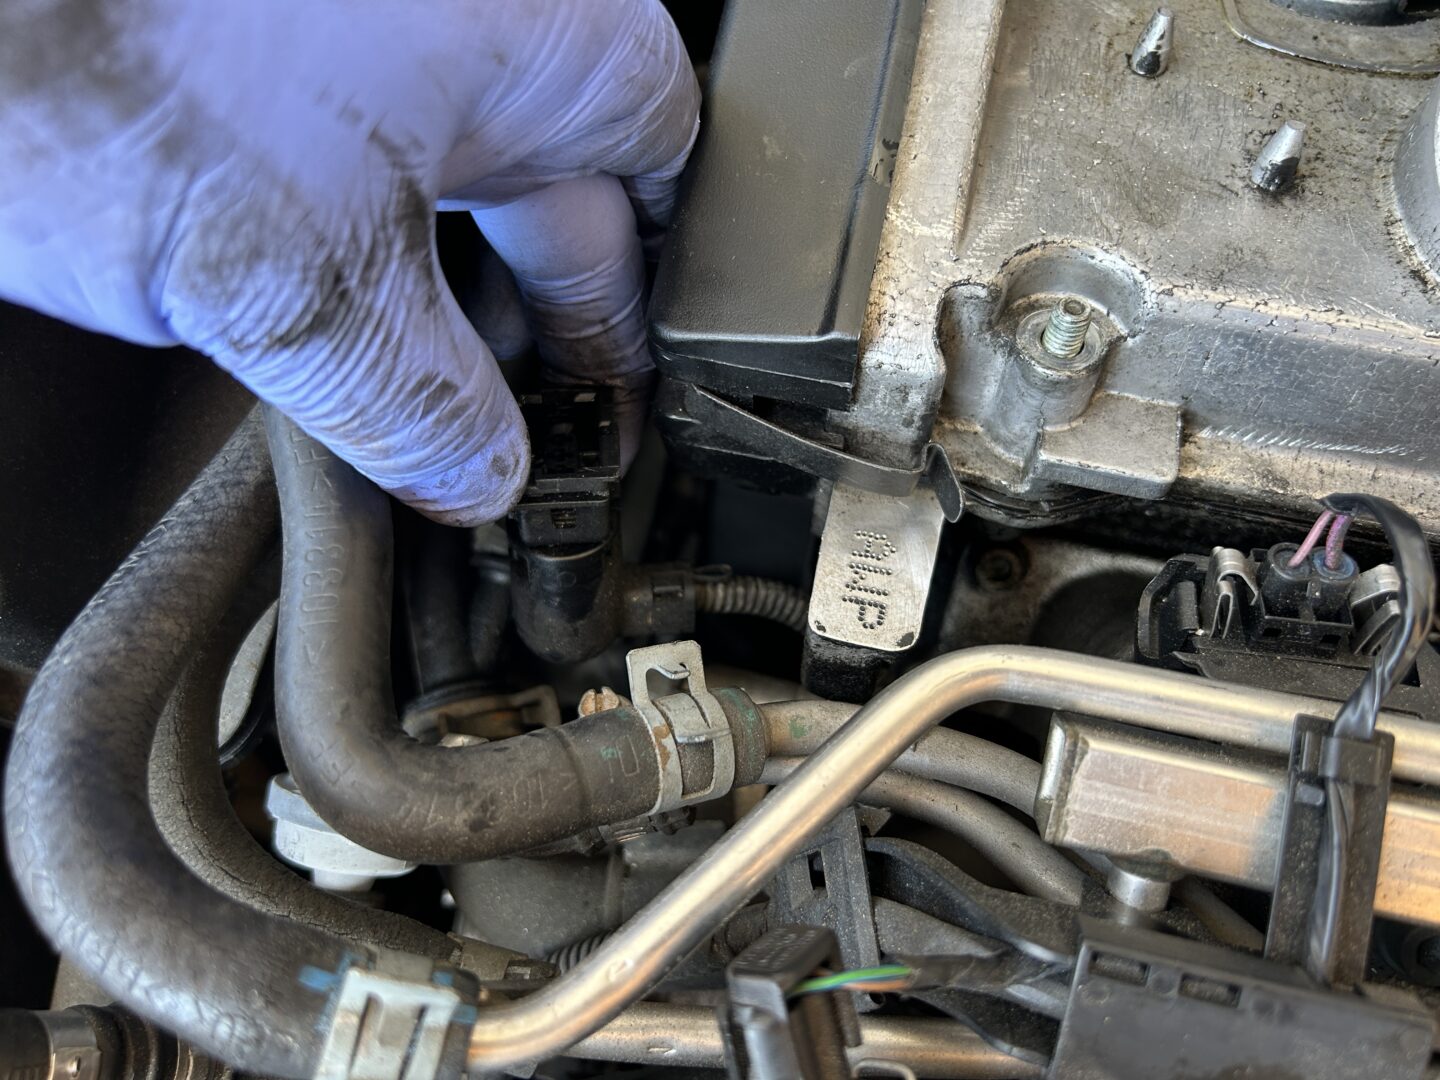
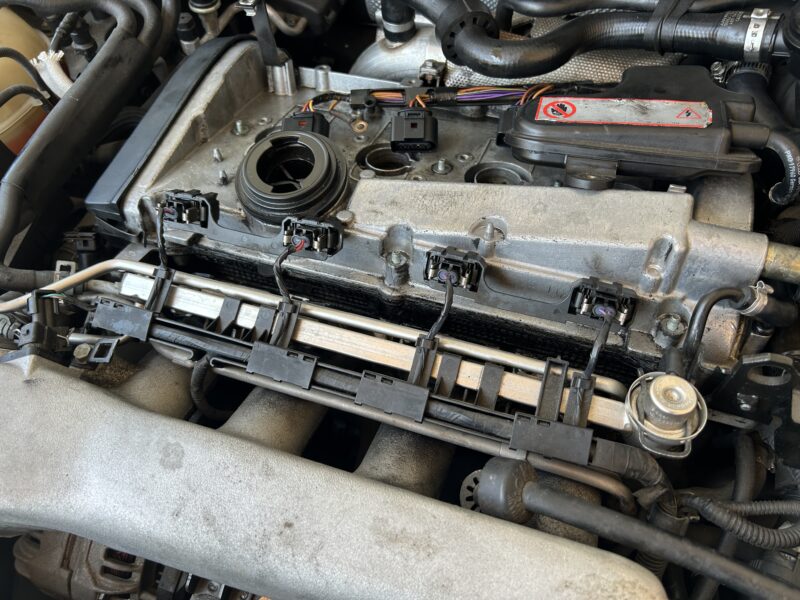
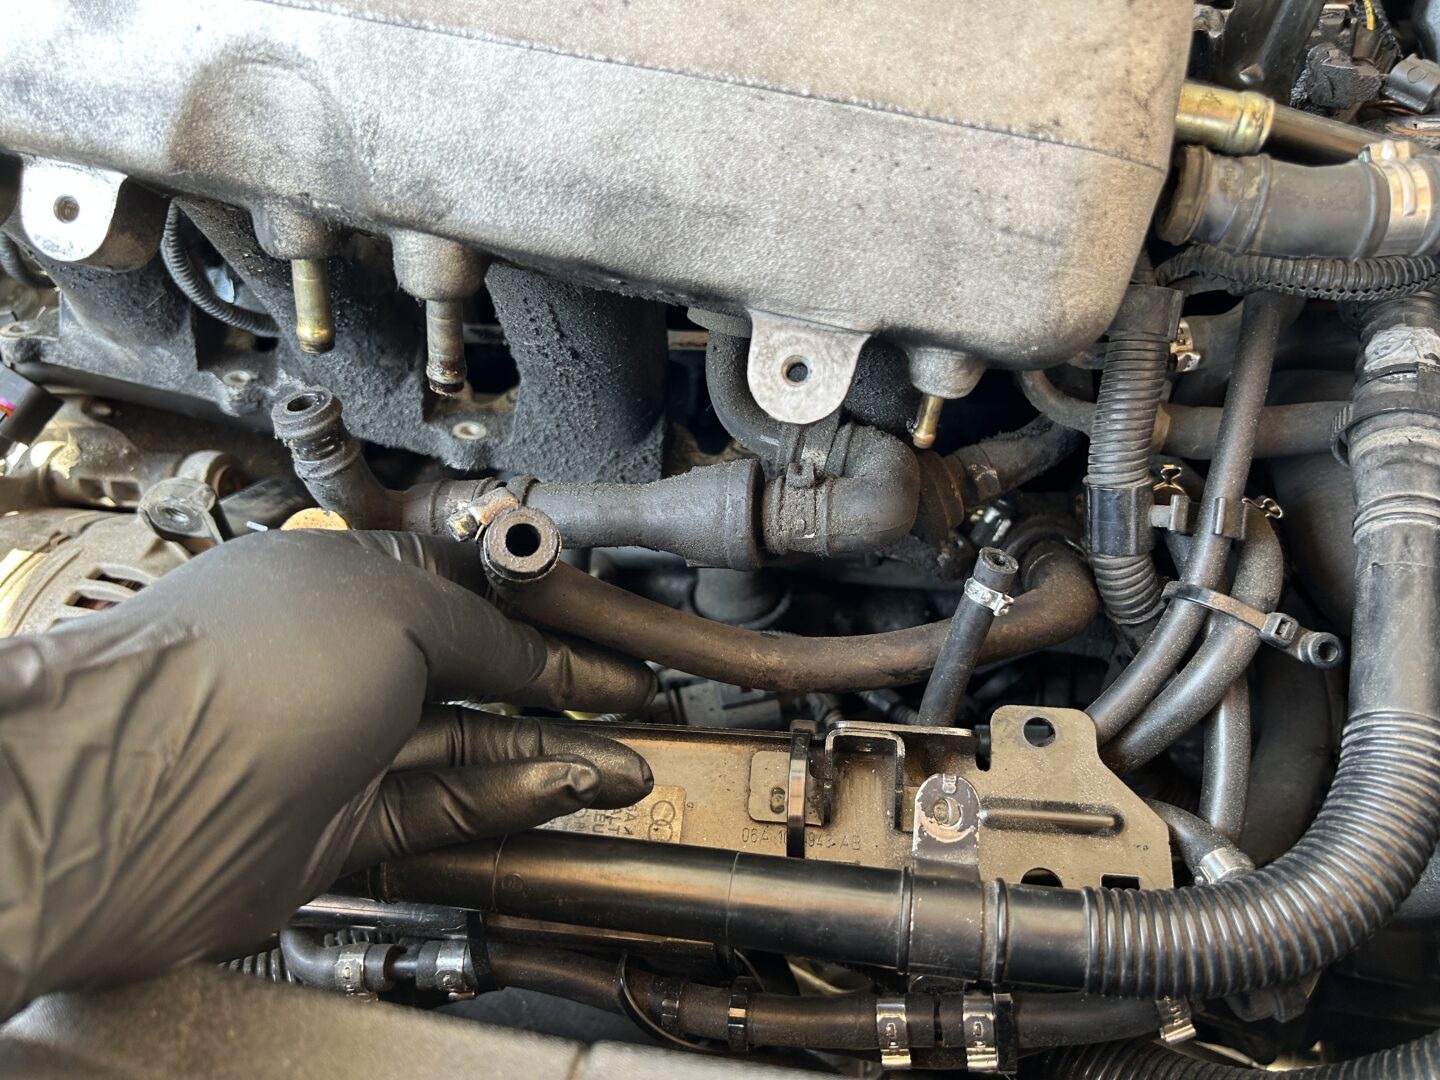
Now, we’ll start removing the parts connected to the intake manifold. Remove the electrical connector as shown below. Then loosen the hose clamp below and remove the large throttle body hose from the throttle body.
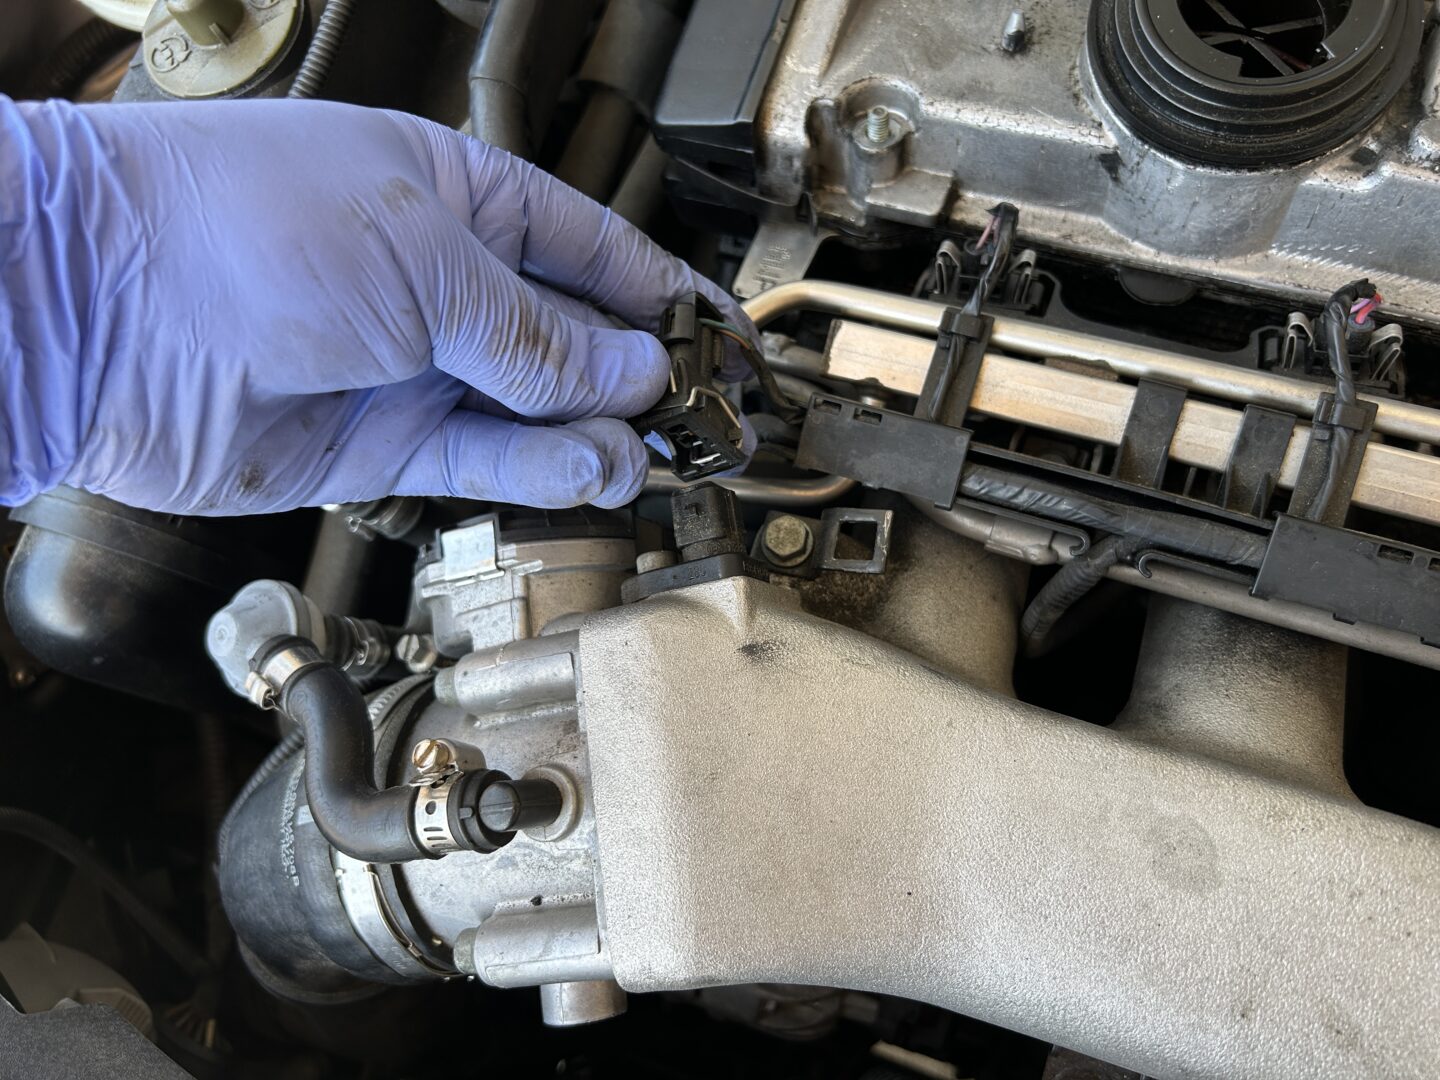

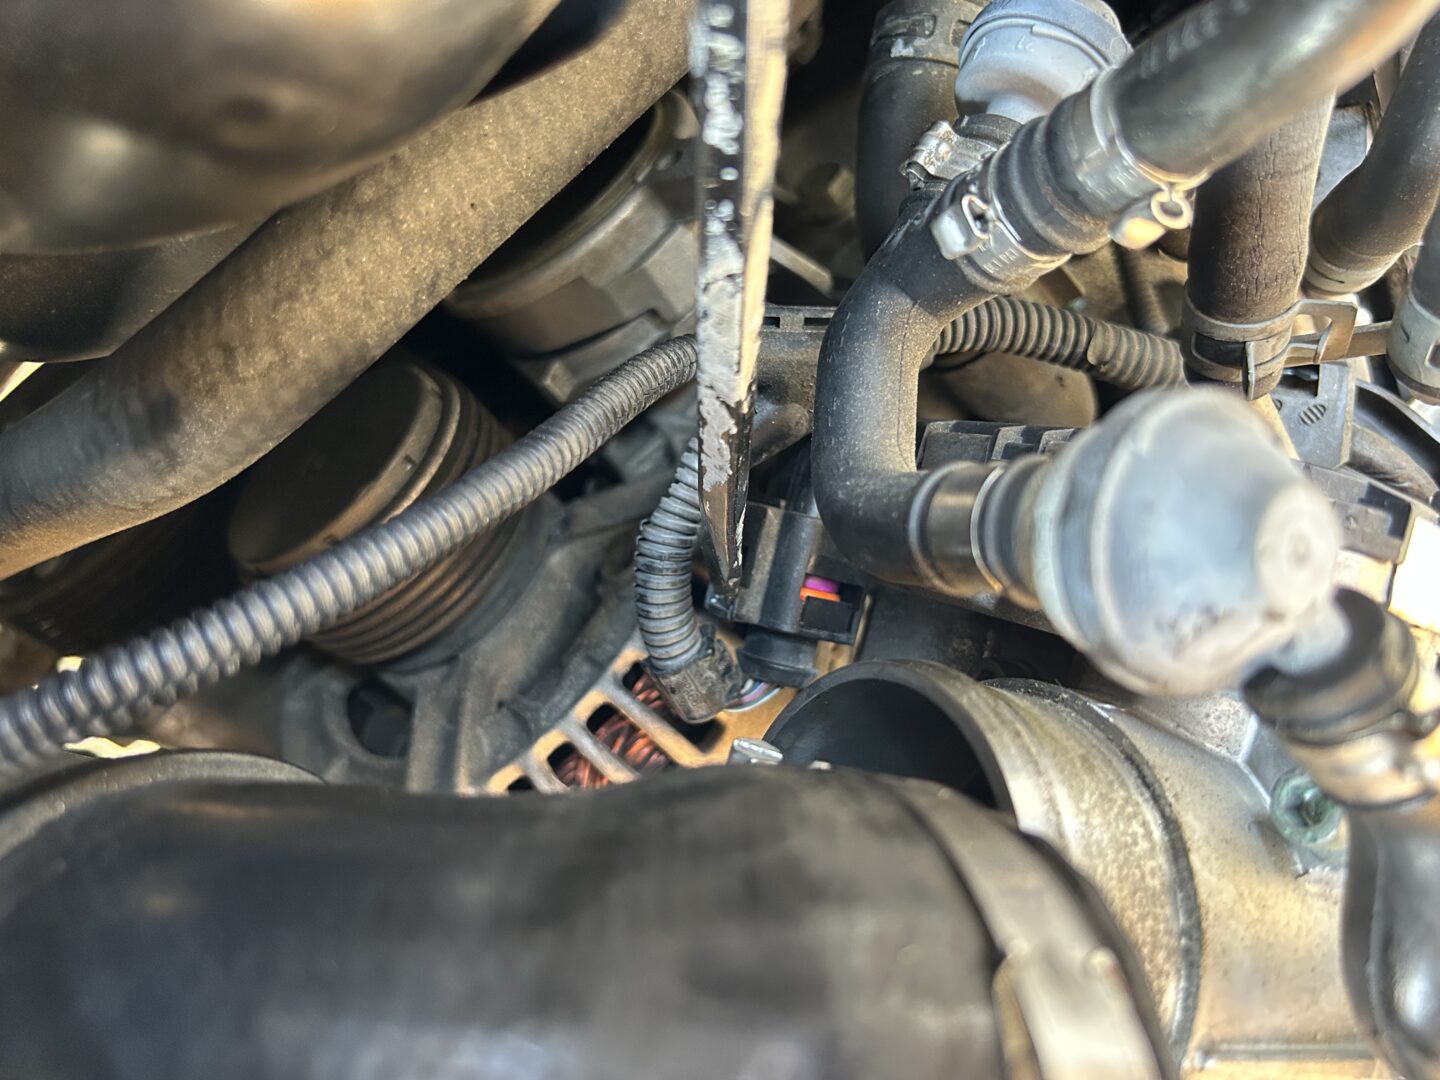
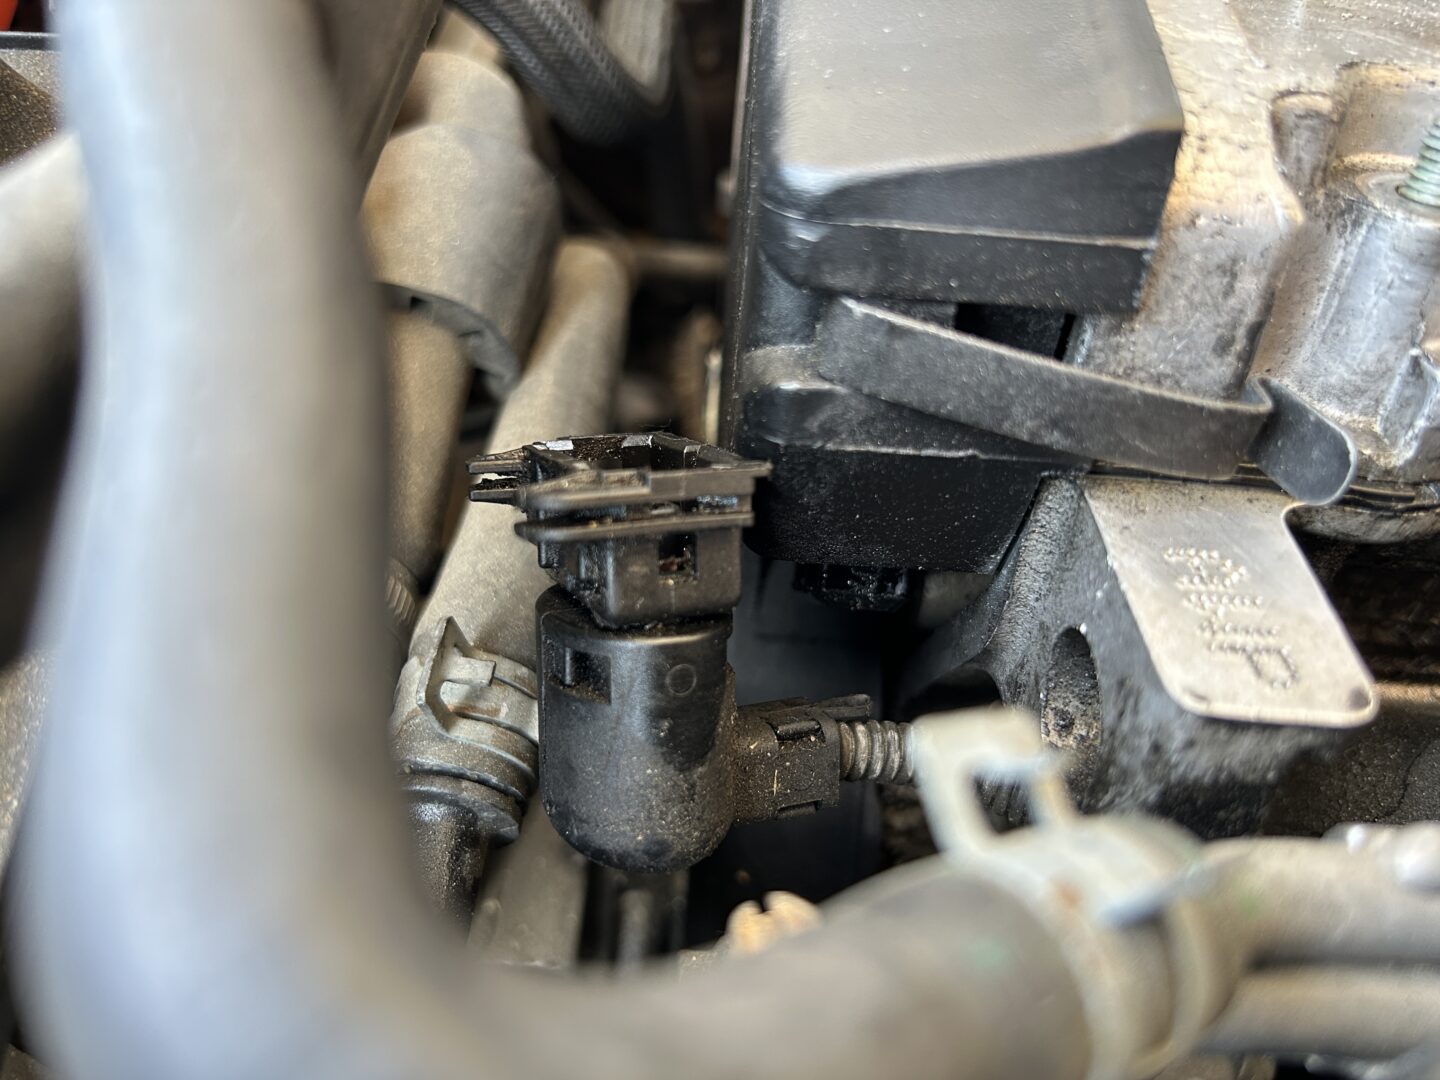
Remove the electrical connector beneath the throttle body, and also remove the electrical connector under the timing cover by the valve cover.
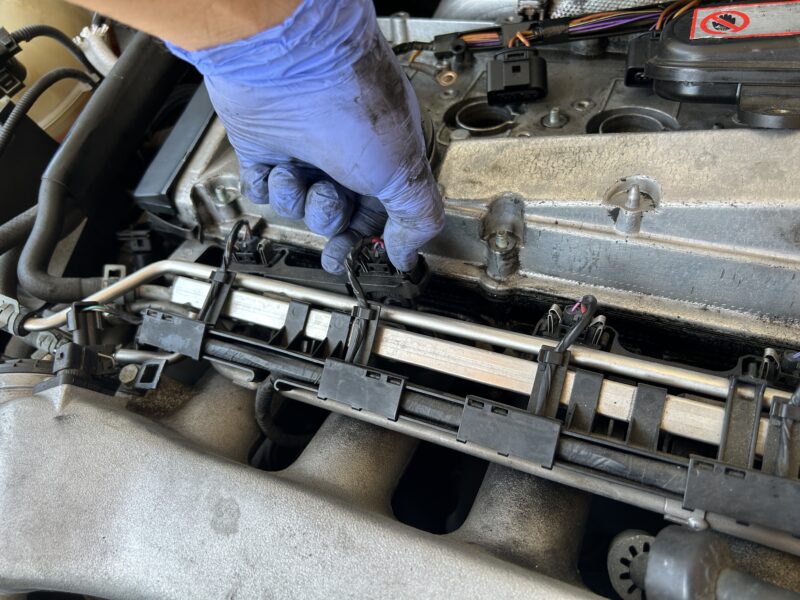
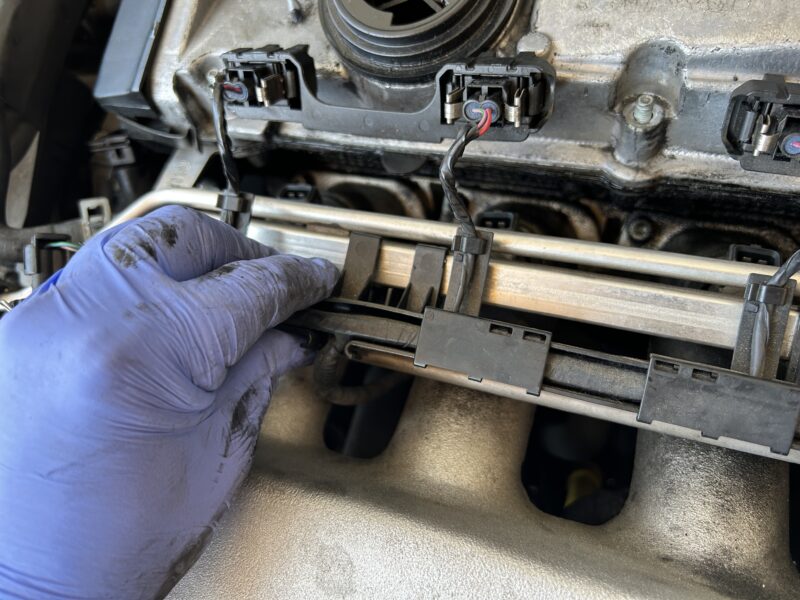
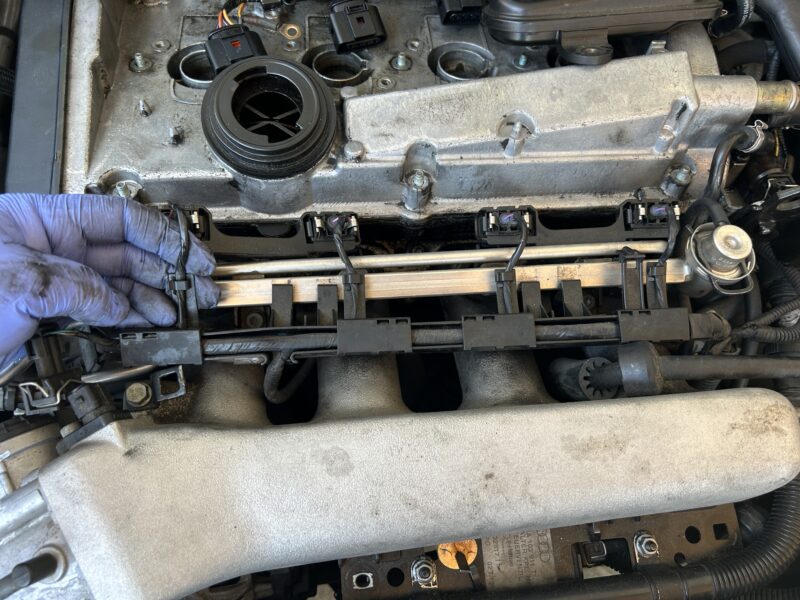
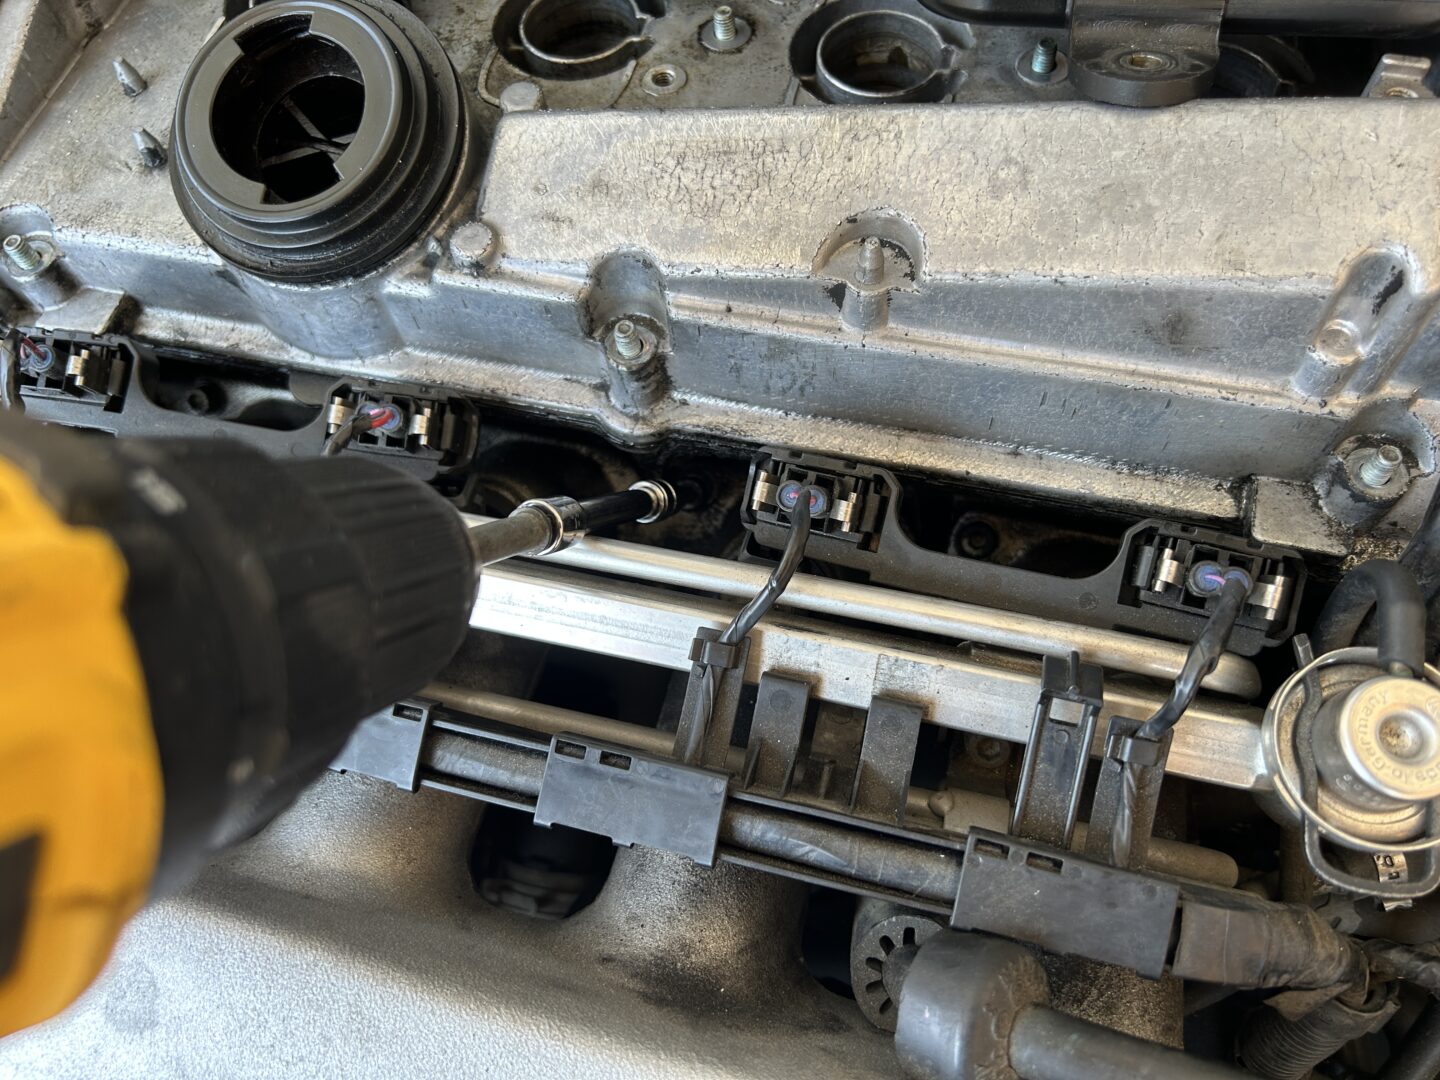
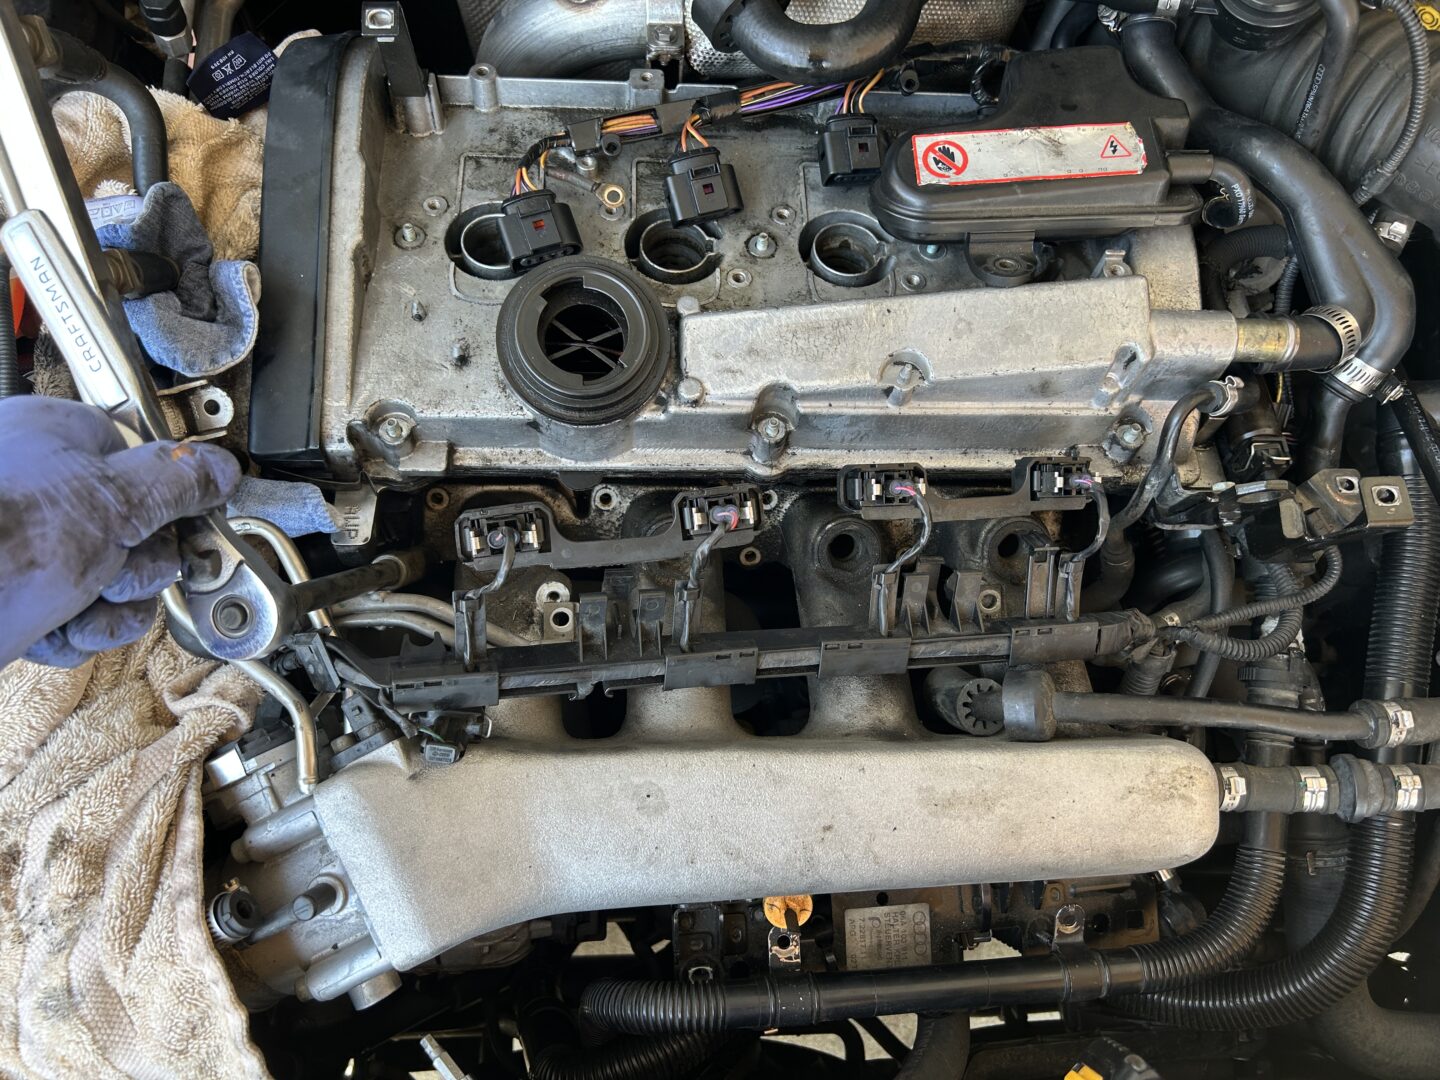
Remove the (4 qty) electrical connectors for the fuel rails, then unclip the fuel rail connectors from the fuel rail itself.
I personally removed the (2 qty) fuel hoses that connect to the fuel rail because these lines were cracking and I wanted to proactively replace them. Because these cars are older now, it can be difficult to find a replacement, so replacing them with universal hoses is the way to go. Check out this tutorial if you are planning on replacing the fuel hoses. If your hoses are still in good shape, you may be able to remove the intake manfold without removing the fuel hoses by just moving the whole fuel rail out of the way with the hoses intact.
If you do plan to remove the fuel lines, make sure to label the incoming and outgoing lines for reference for the reinstall. Make sure to place a rag underneath this area since some fuel will spill out when you disconnect the fuel hoses. If your fuel hoses are in bad shape, it might be worth it to replace them.
Remove the fuel hoses by squeezing the clamps to loosen, sliding them out of the way, and pulling the rubber hoses off the metal lines. If you need to replace your fuel hoses, I’ll be posting a how-to on that replacement specifically.
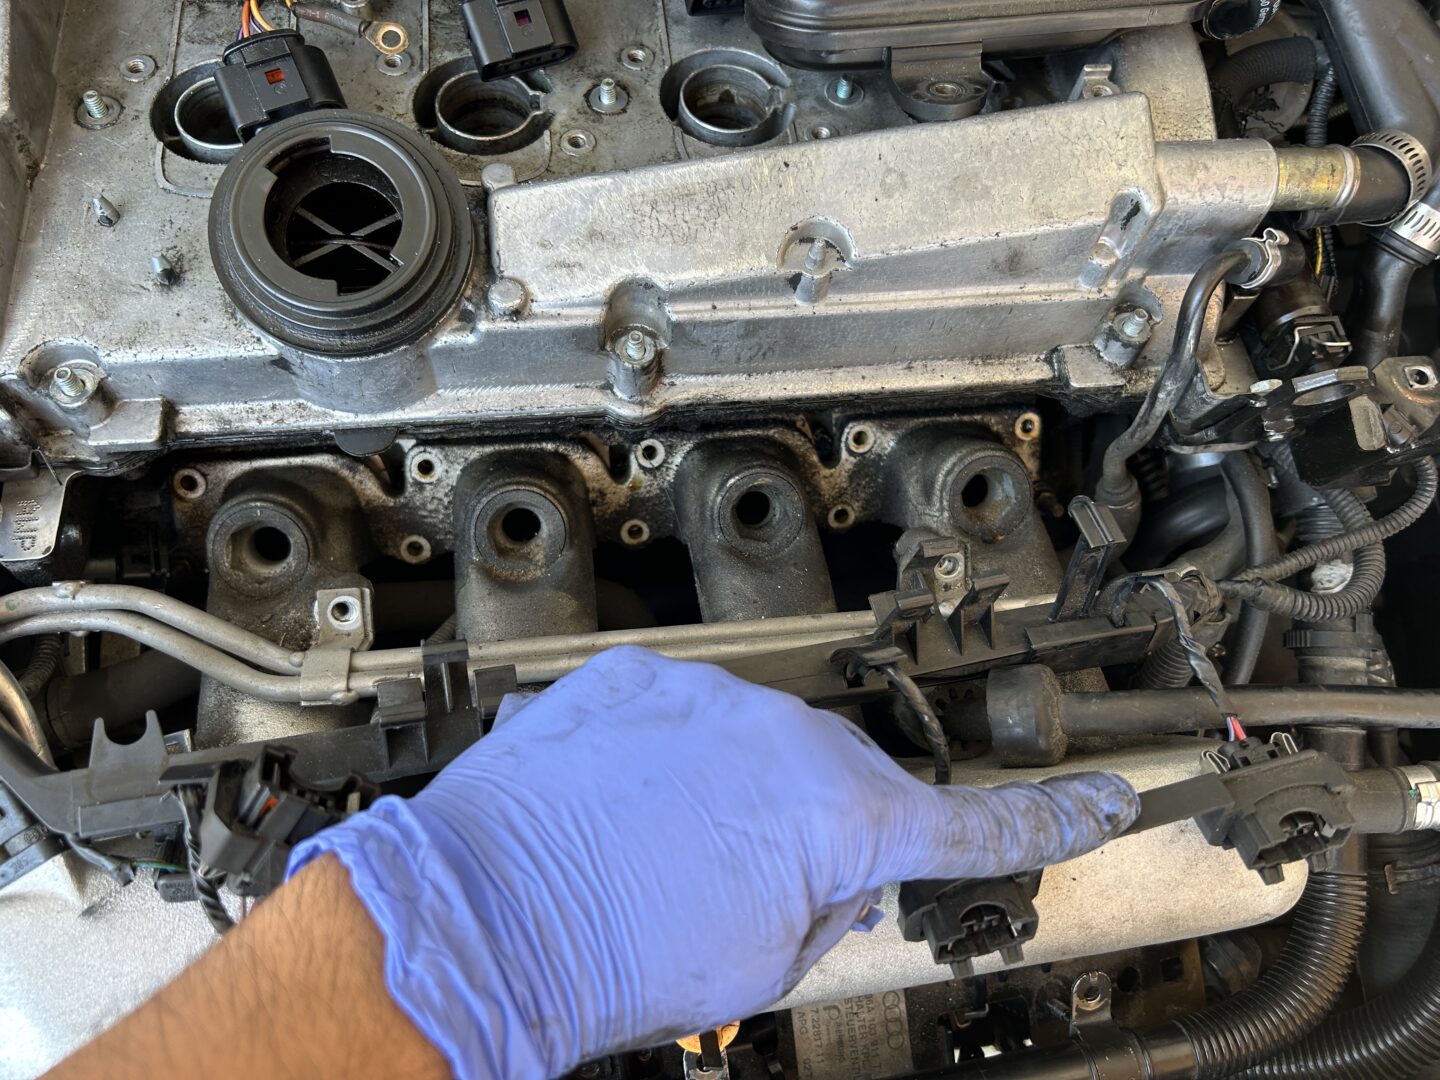
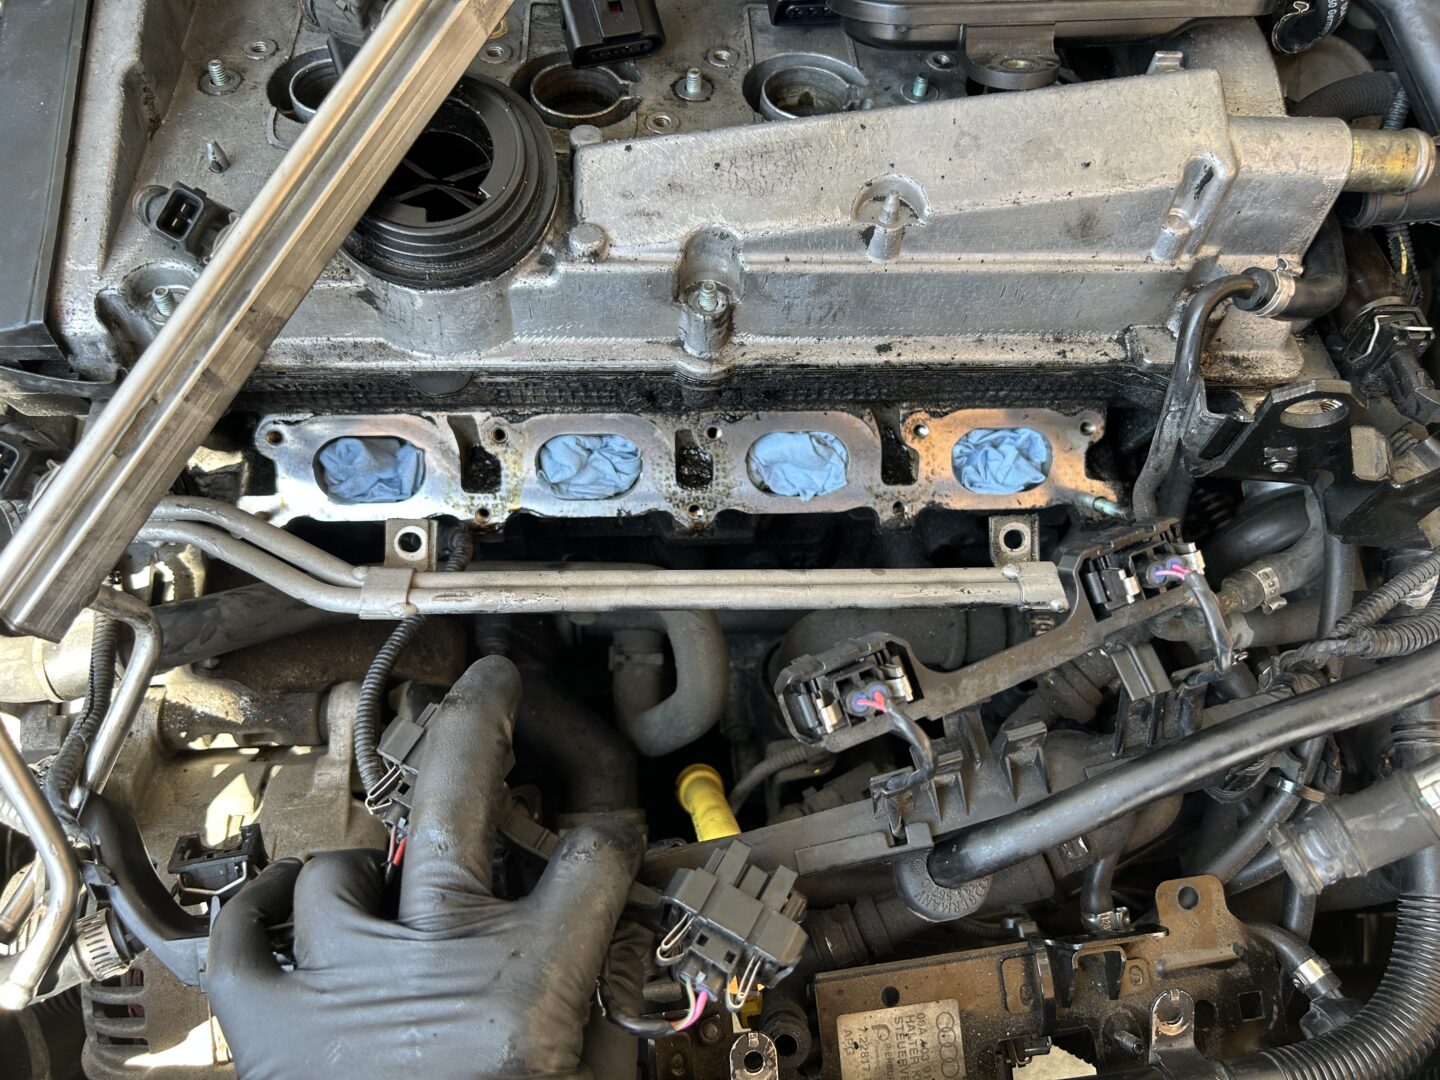
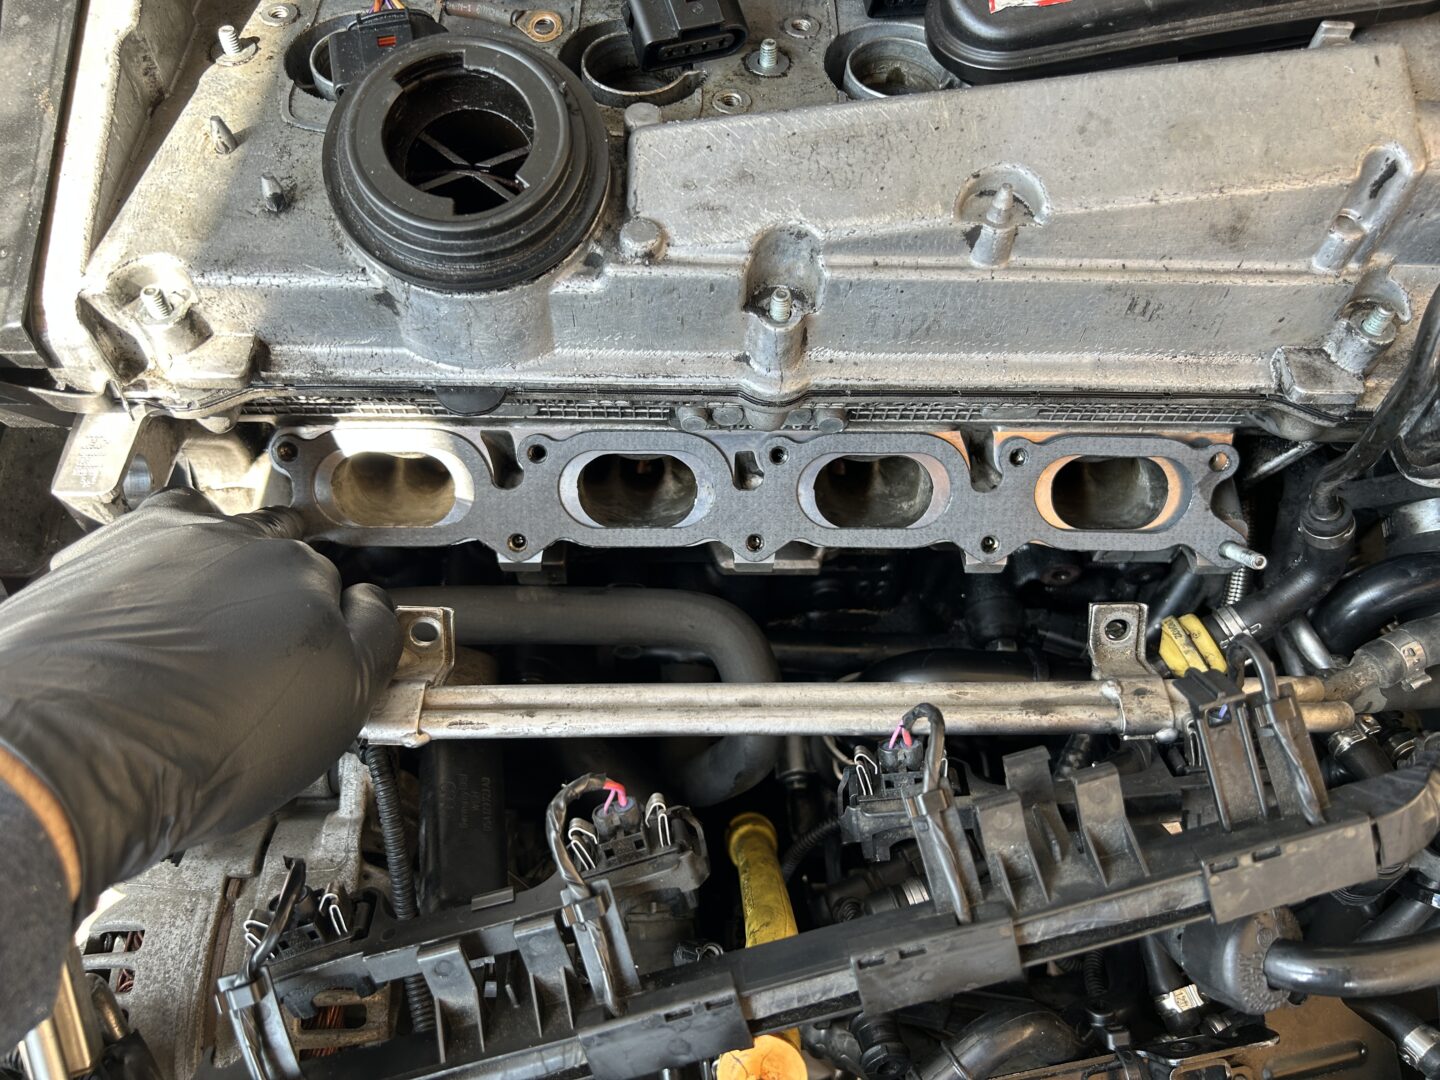
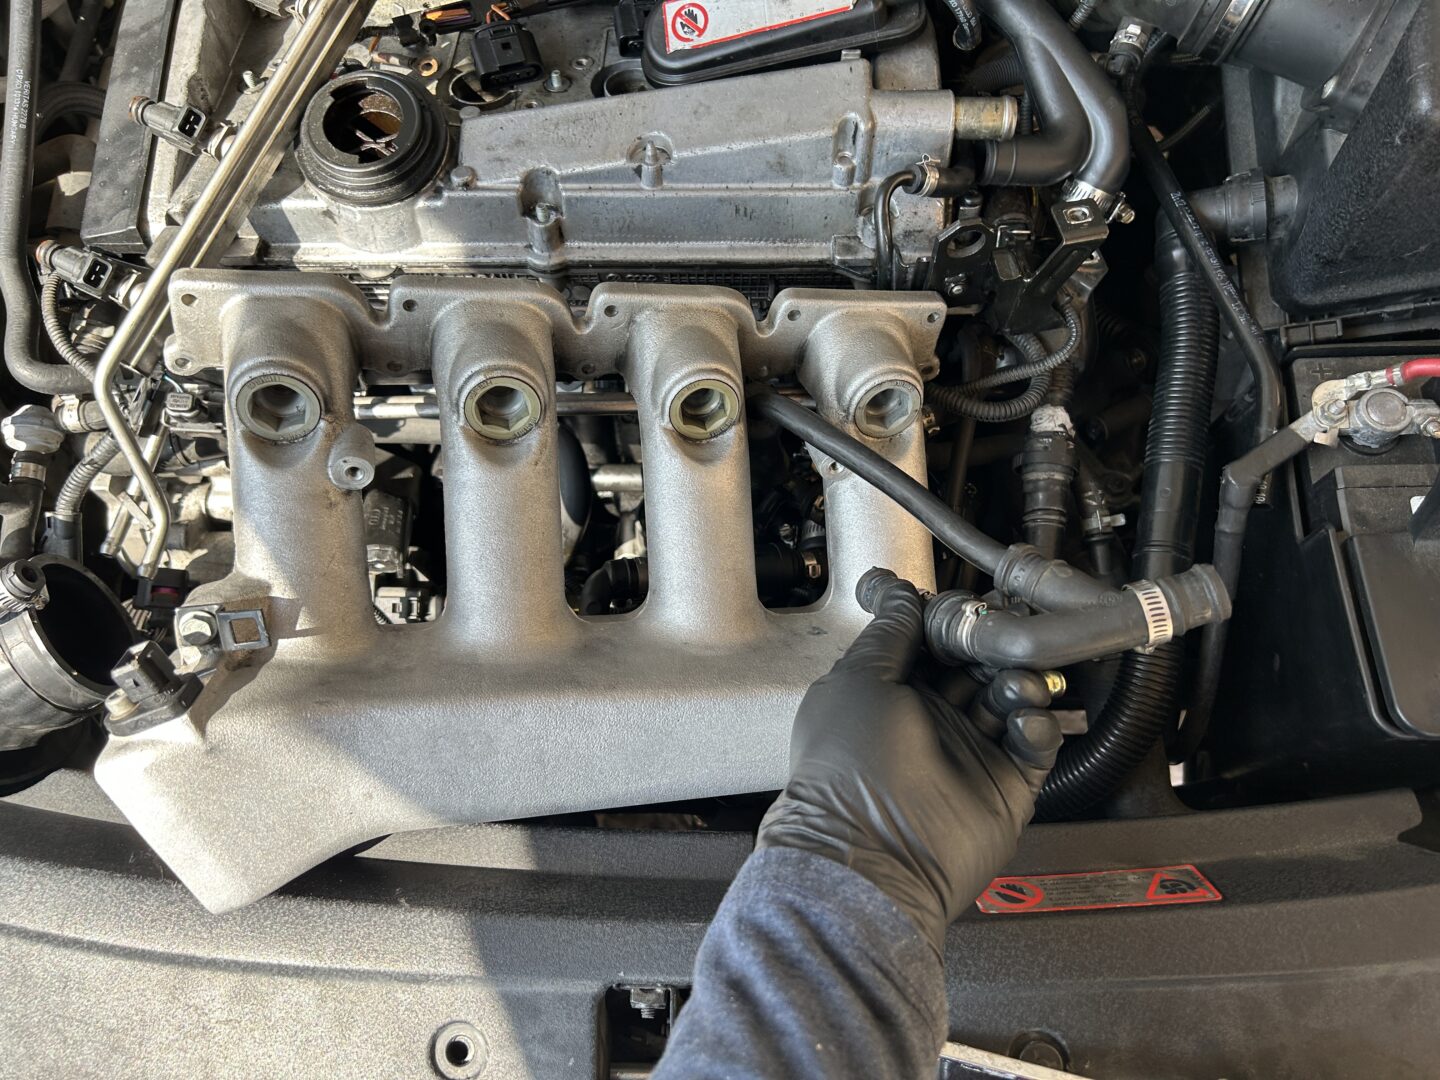
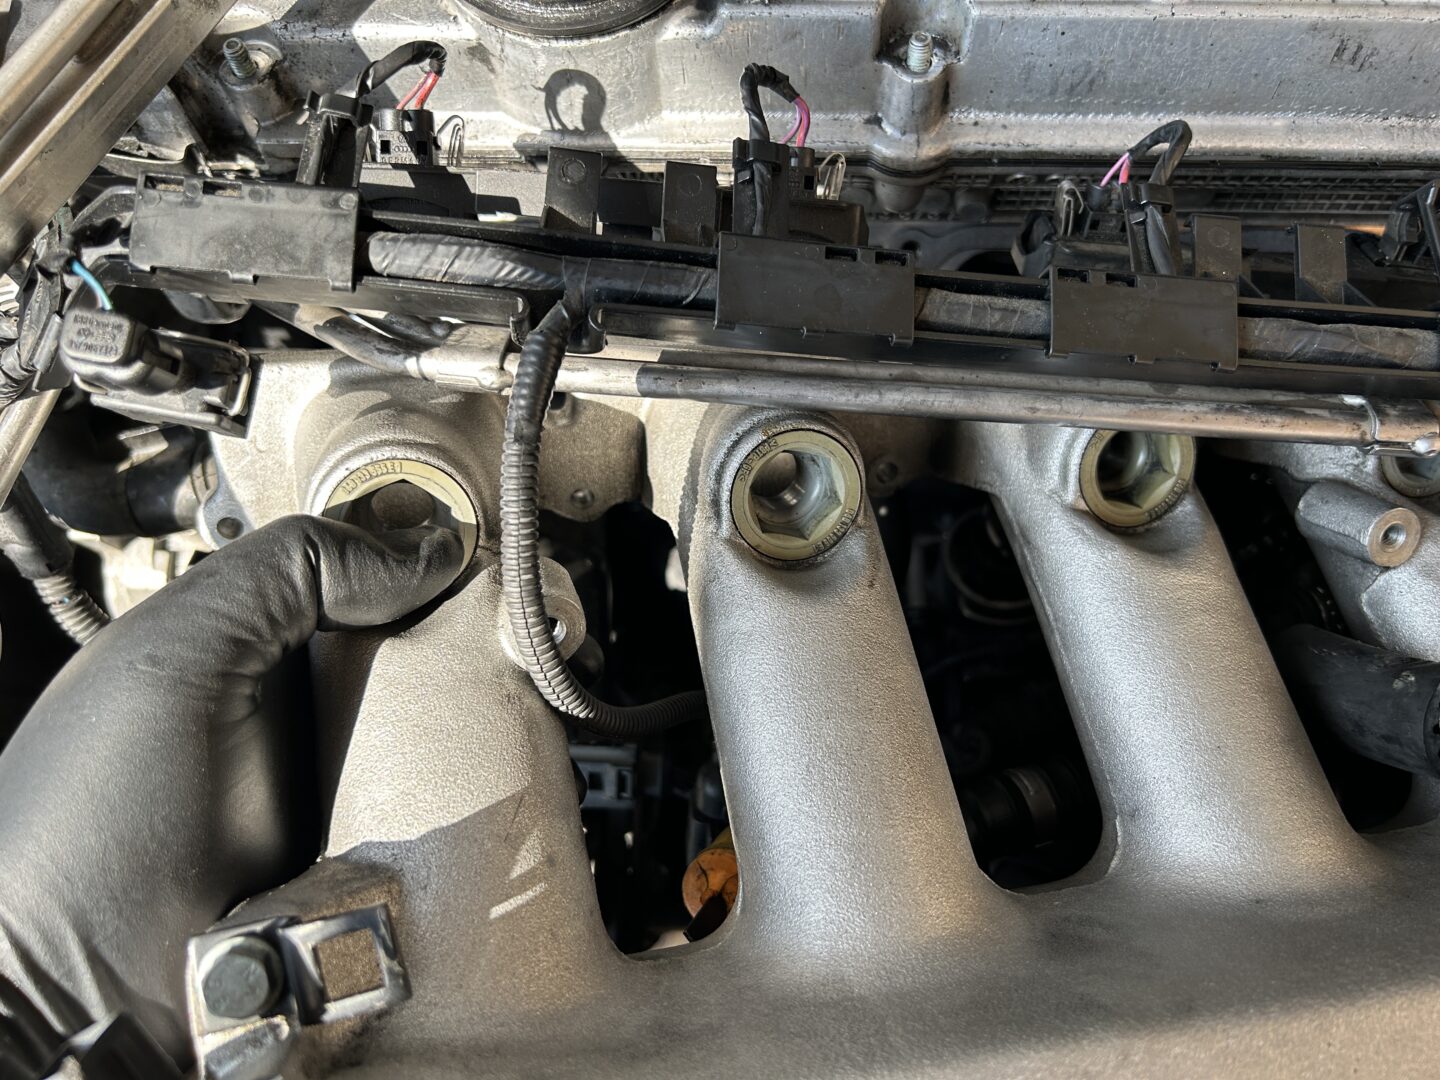
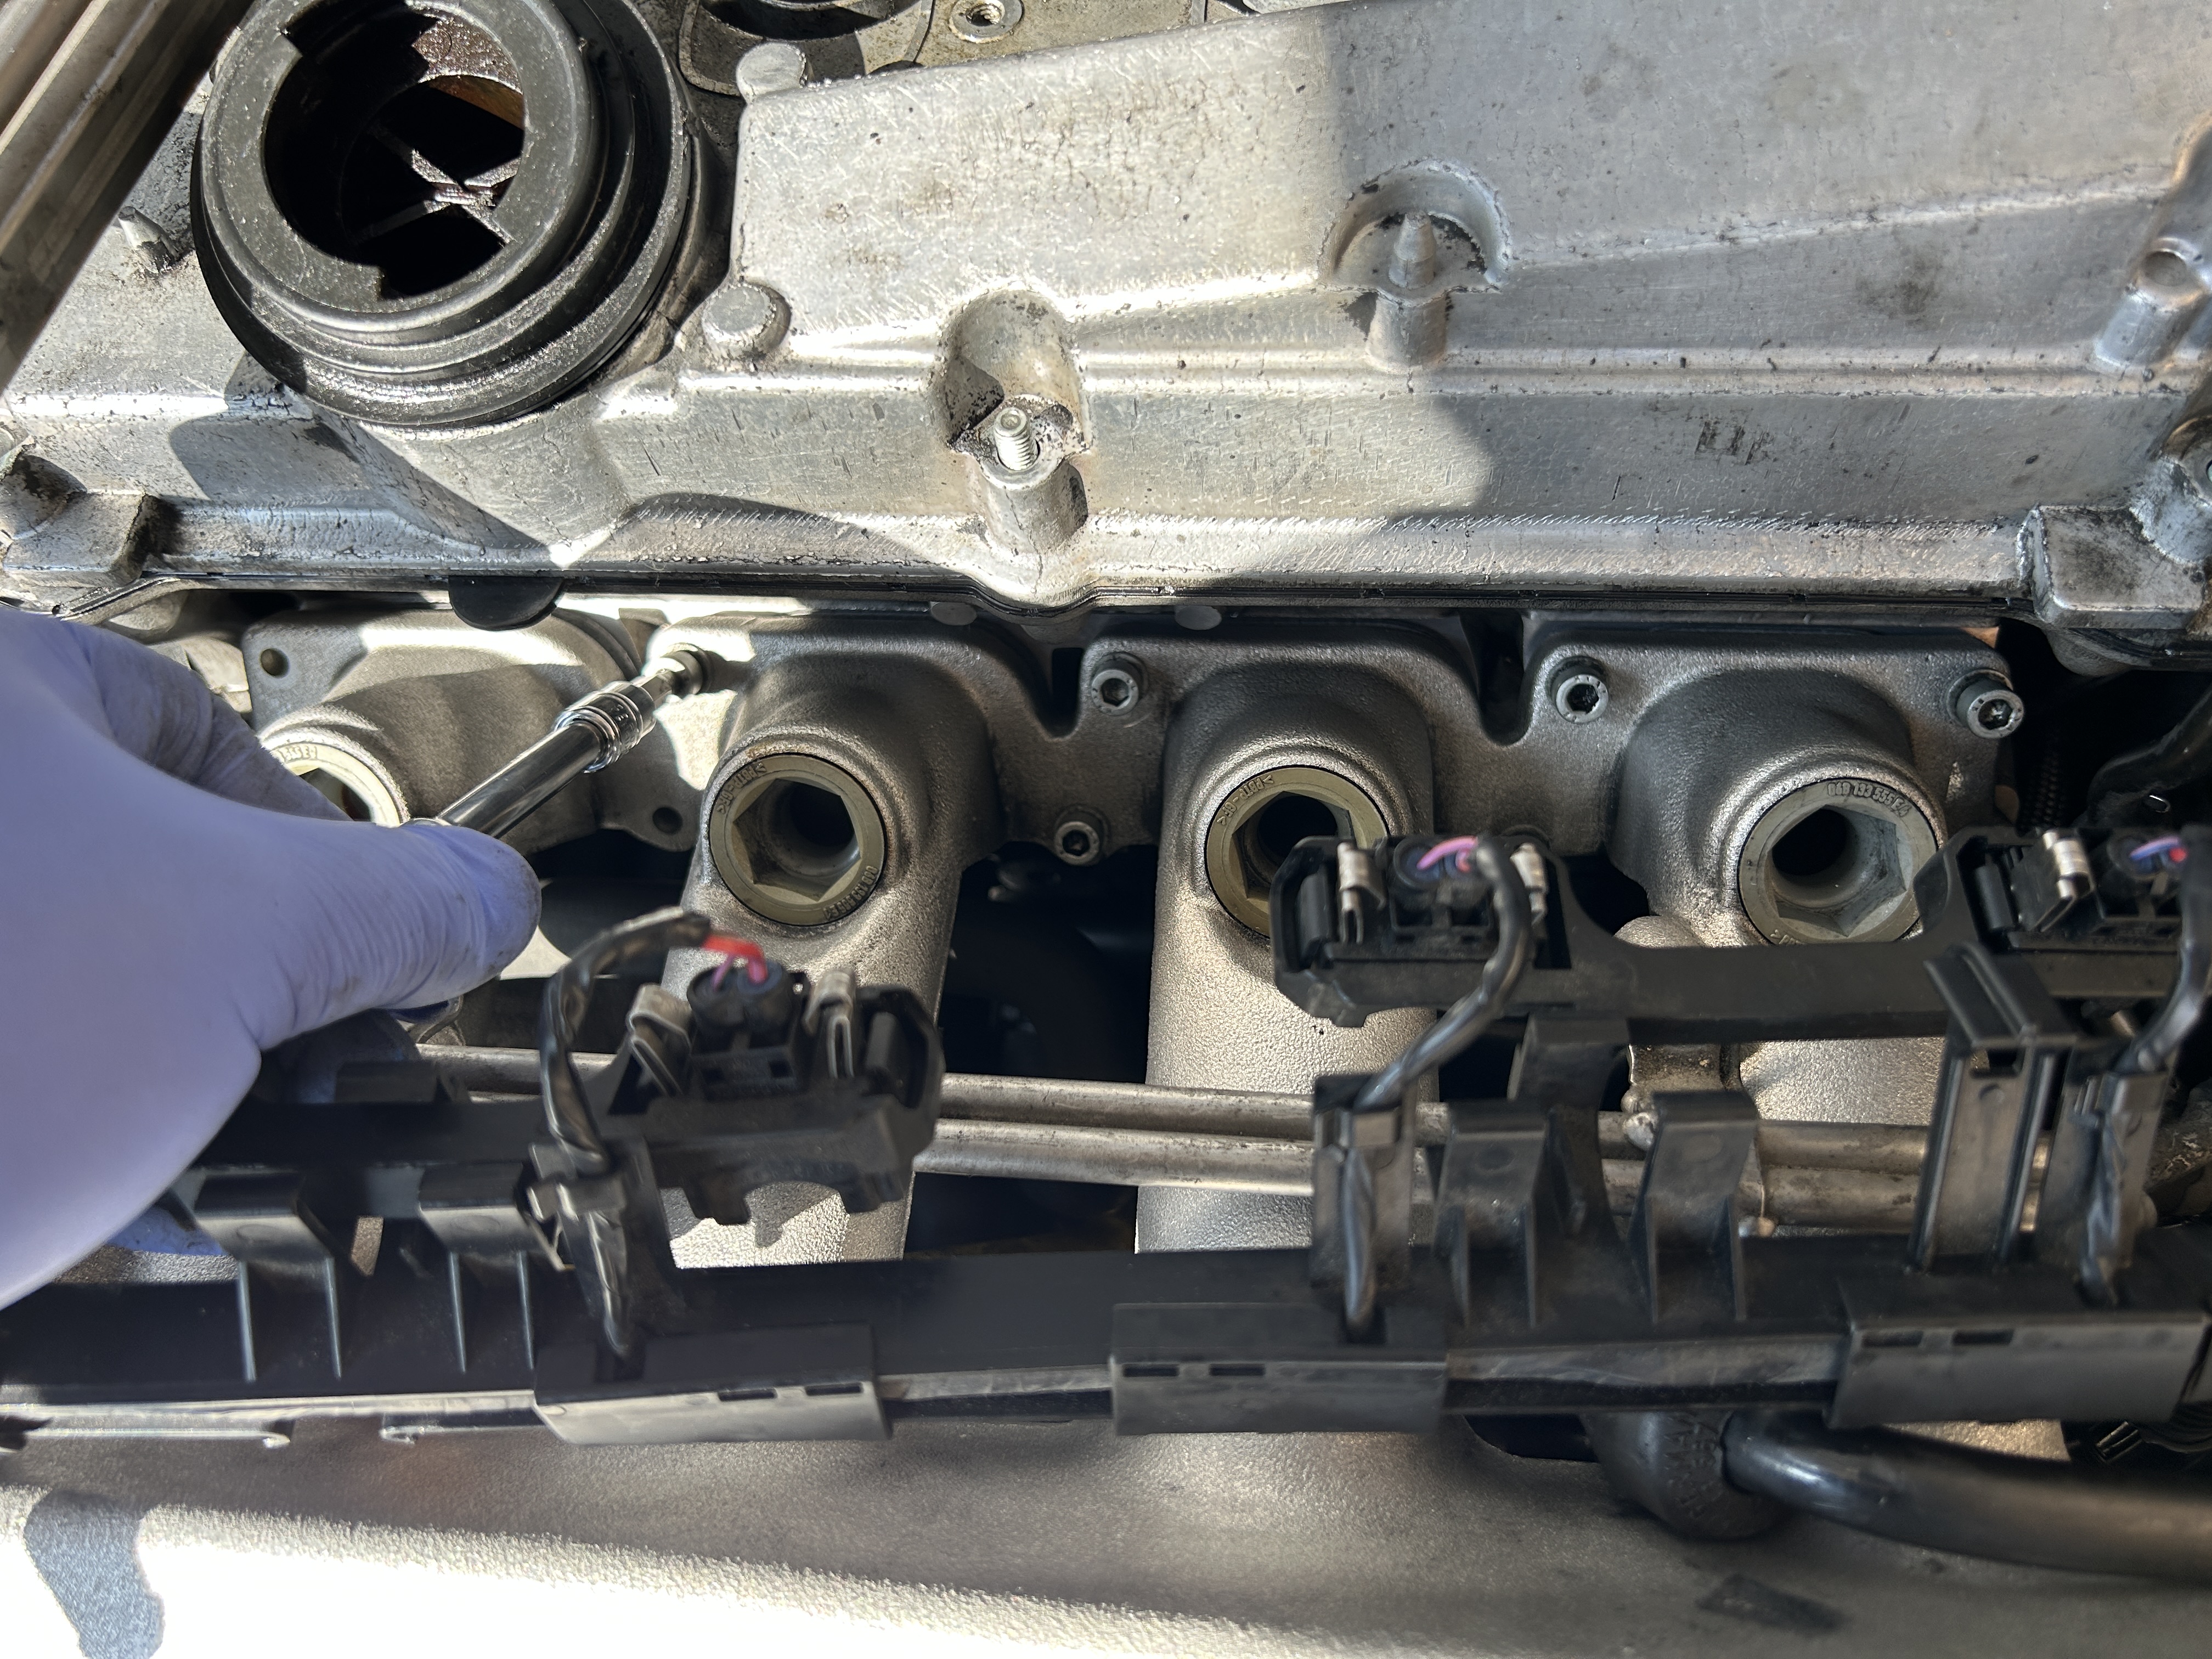
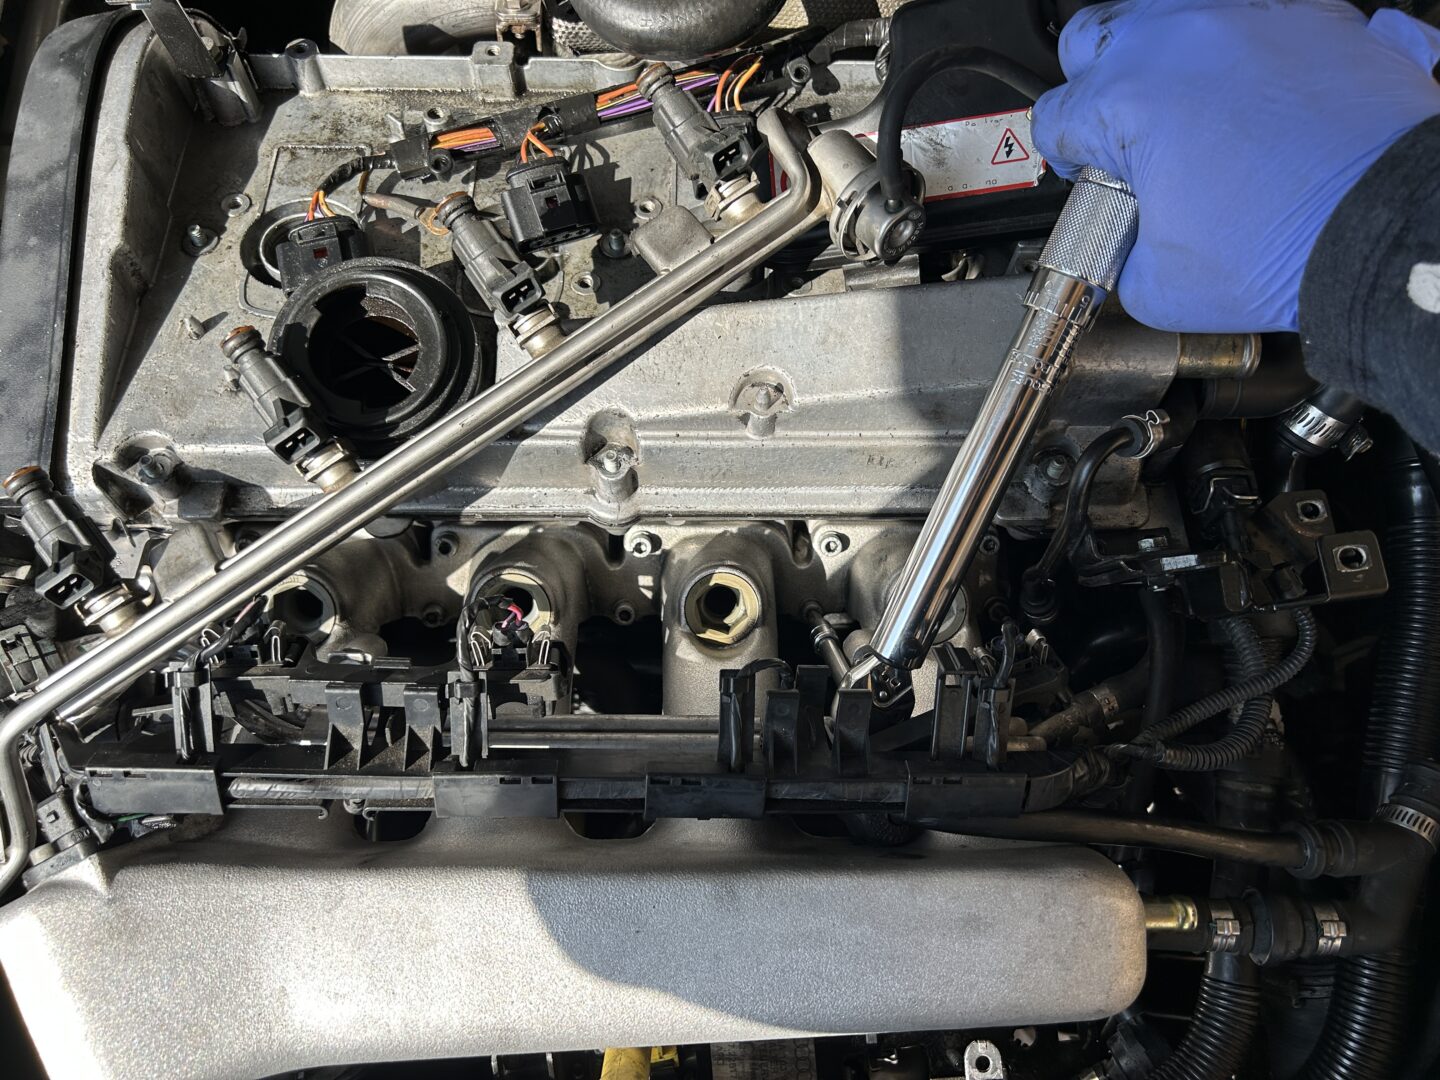
Next, use a size 5 hex socket, to remove the (2 qty) bolts for the fuel rail. Then, carefully remove the fuel rail from the intake manifold, which will all come off along with the fuel injectors as one piece. There will now be openings to the combustion chambers, which you may want to cover up to prevent anything from accidentally falling in.
When you remove the fuel rail and fuel injectors all together, check the condition of the o-rings for the fuel injectors. If the o-rings were never replaced on your car, the o-rings may be aged and damaged, which will cause leaks when you reinstall them. The o-rings are cheap and are worth replacing at this time since the fuel injectors are out already. If you want to see how those fuel injector o-rings are replaced, I will be writing another post soon.

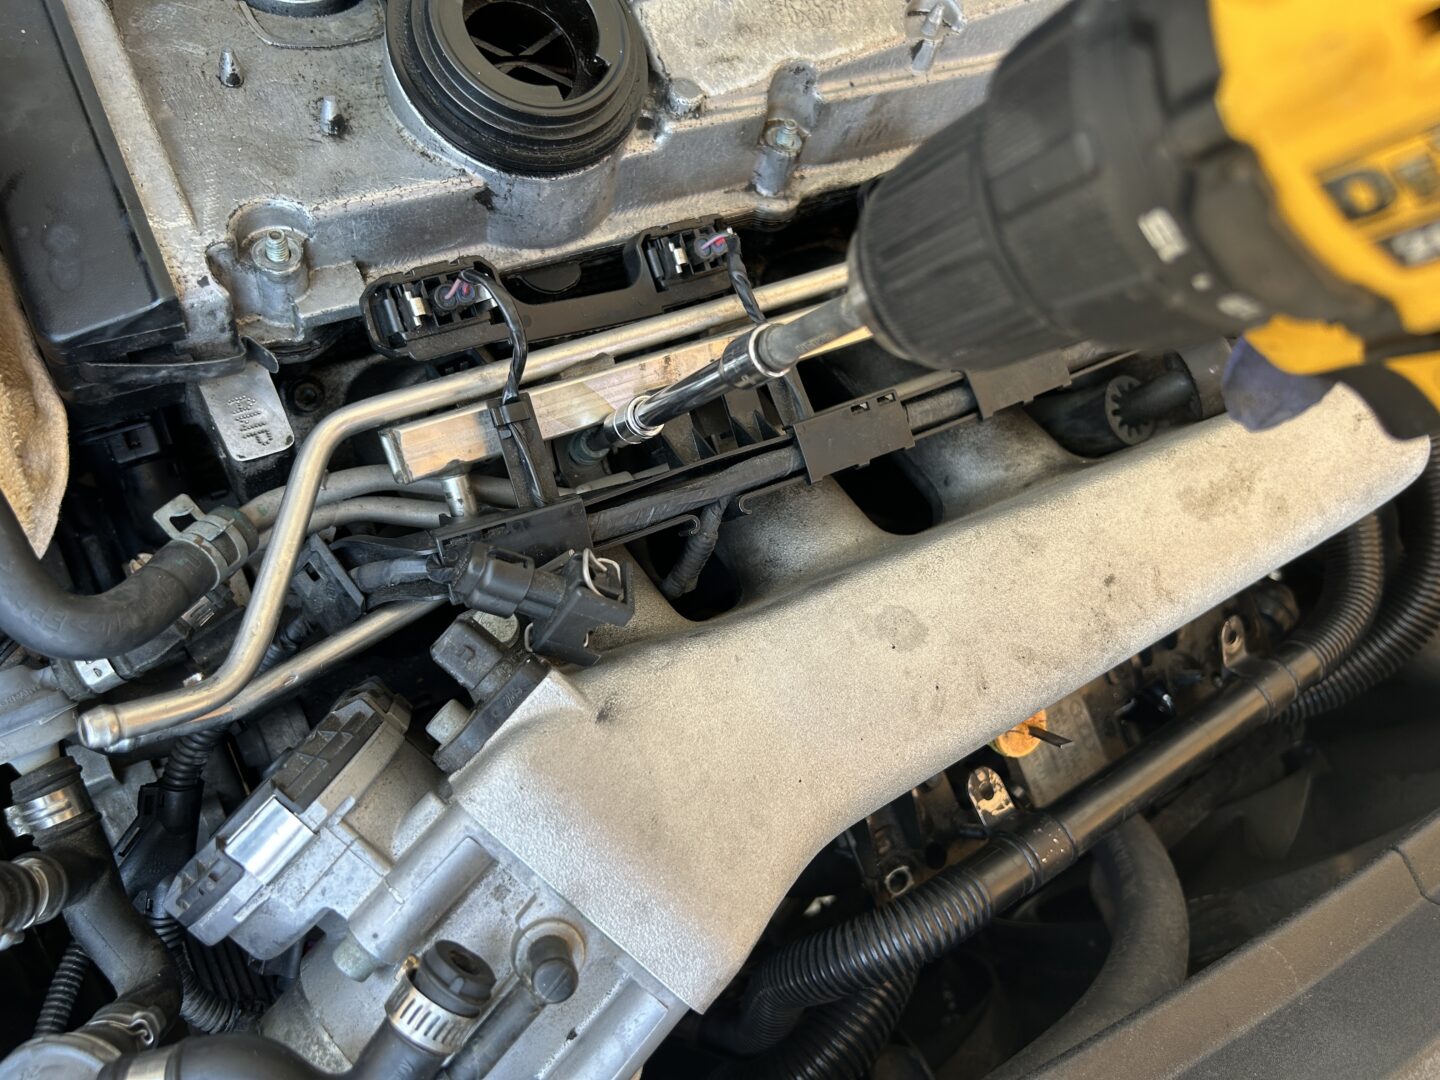
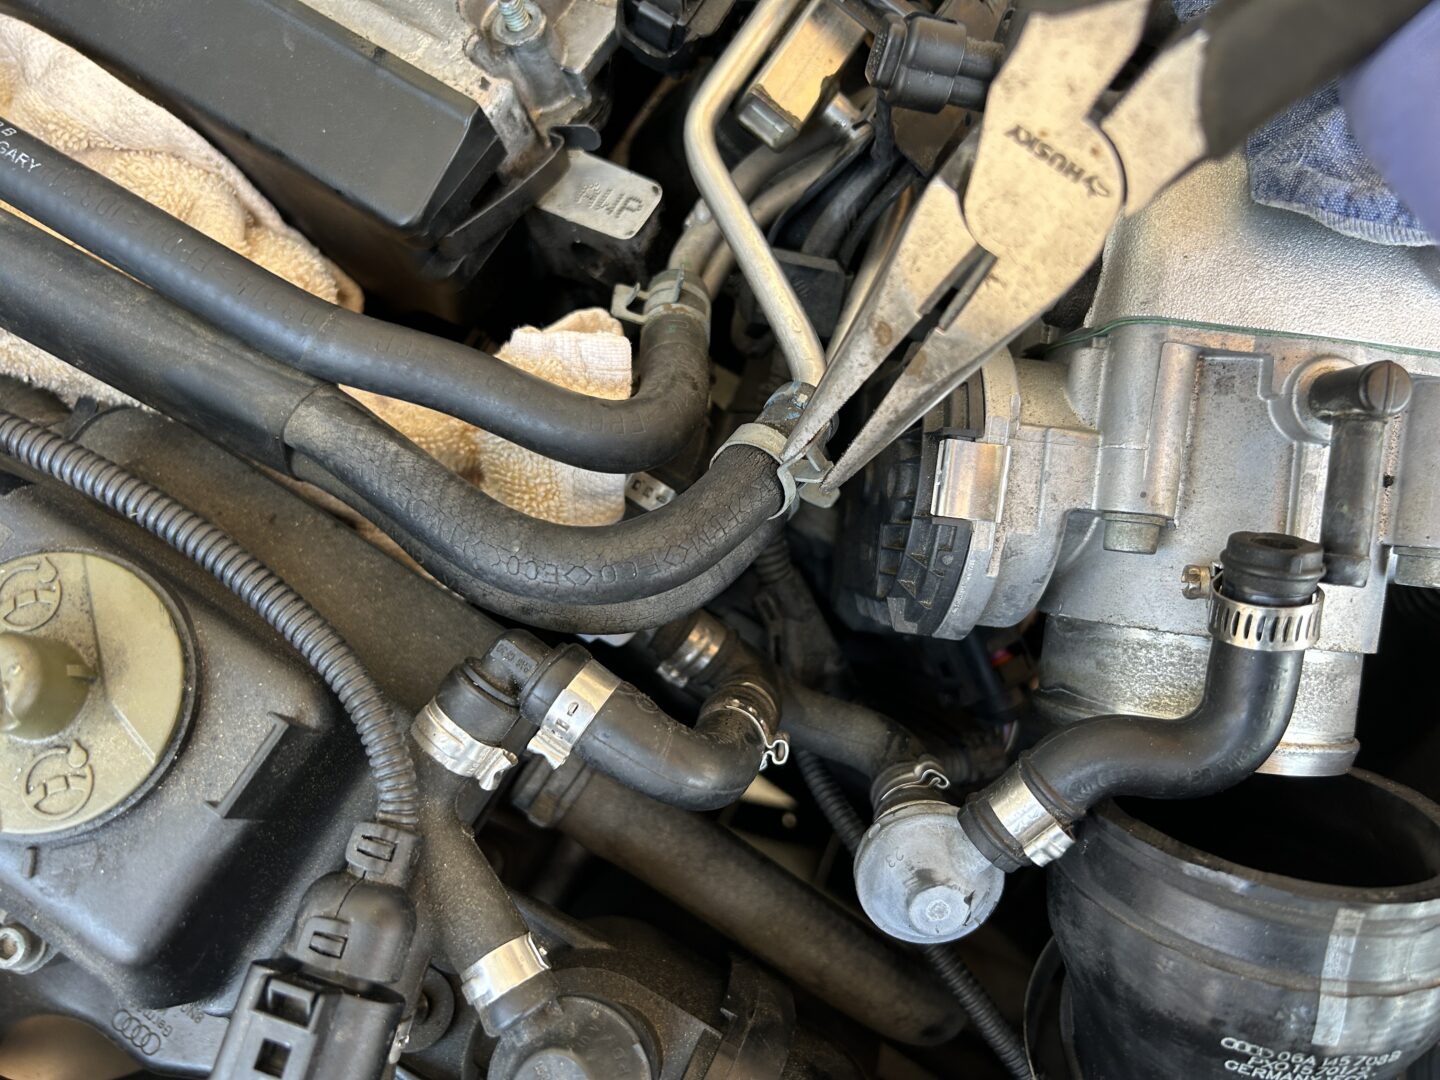
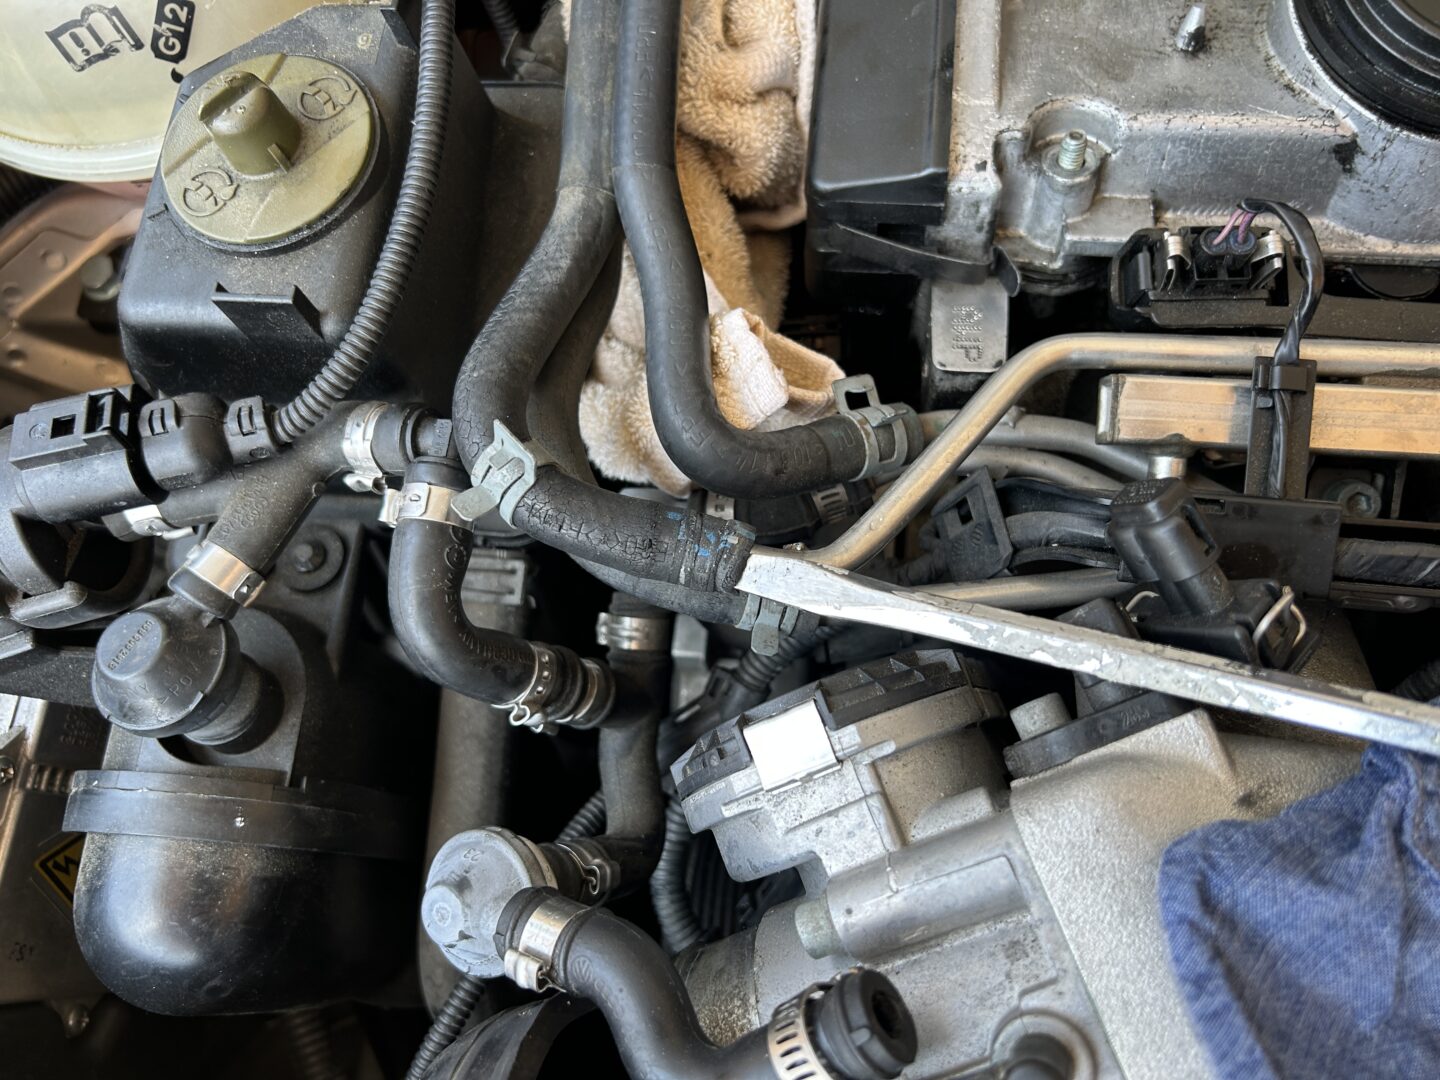
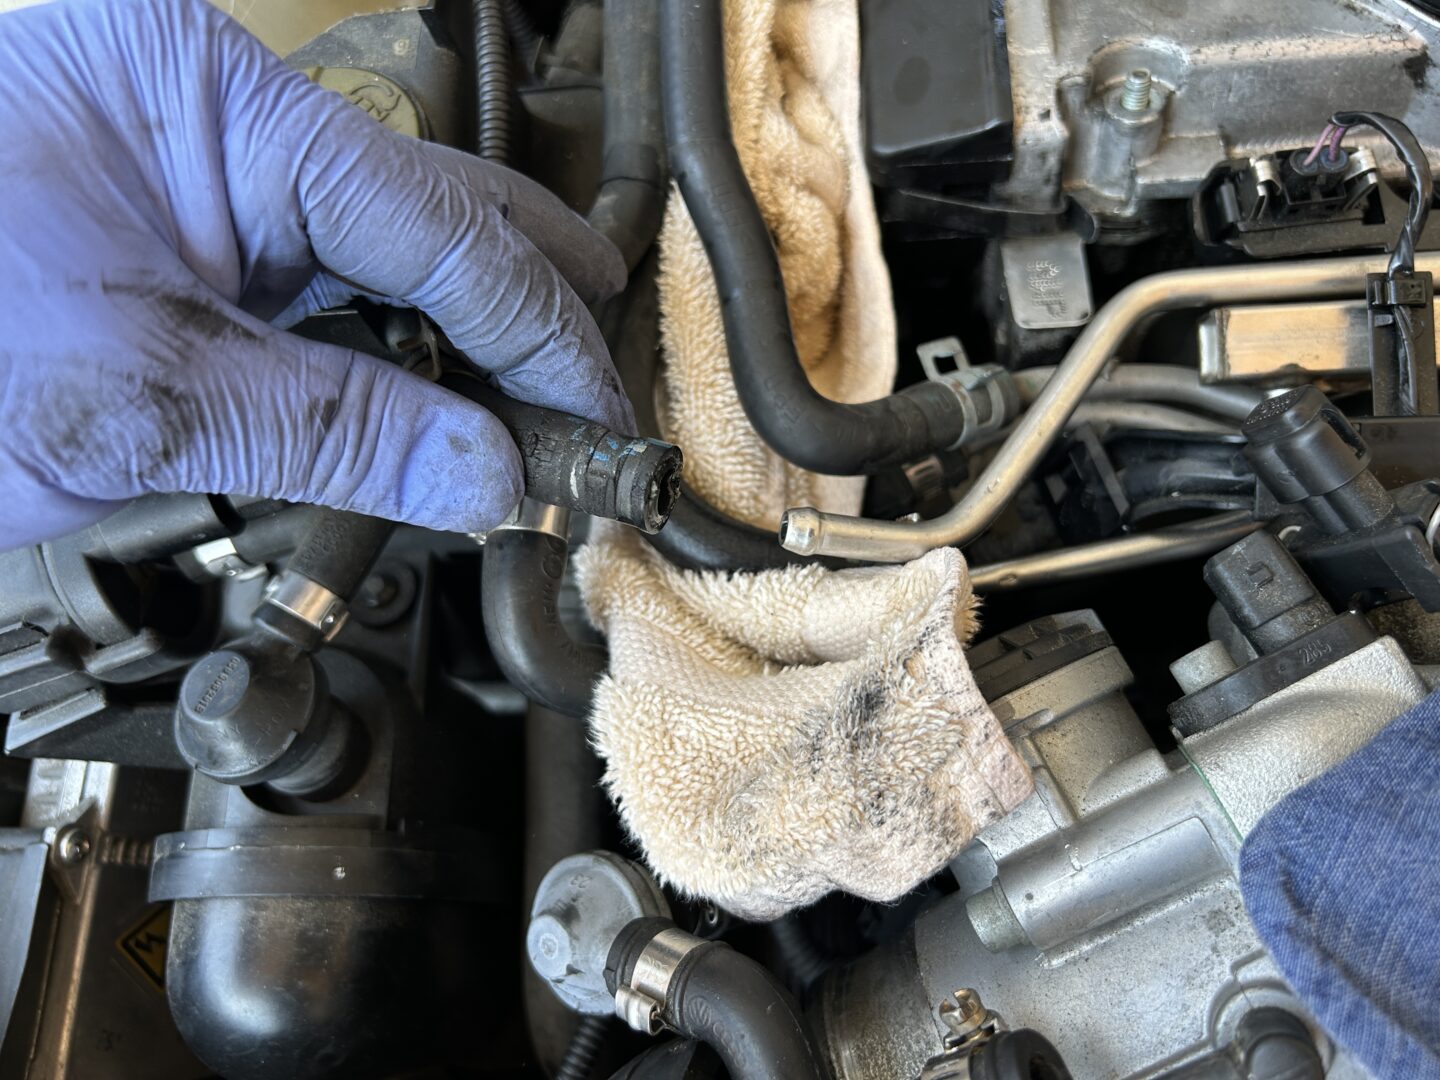
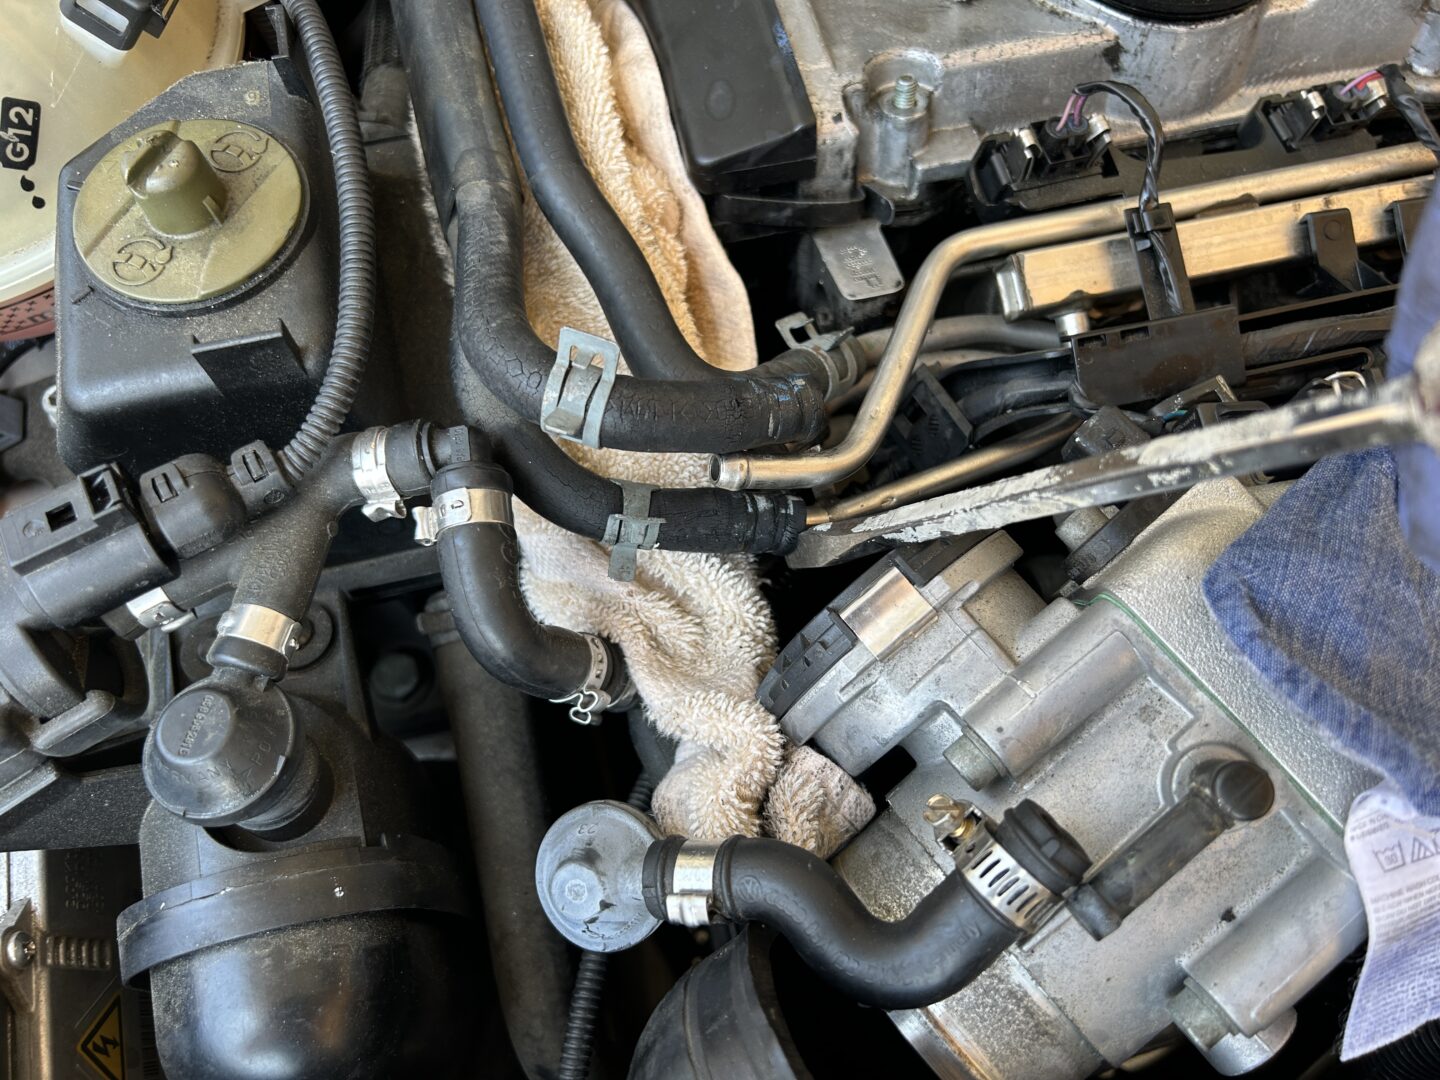
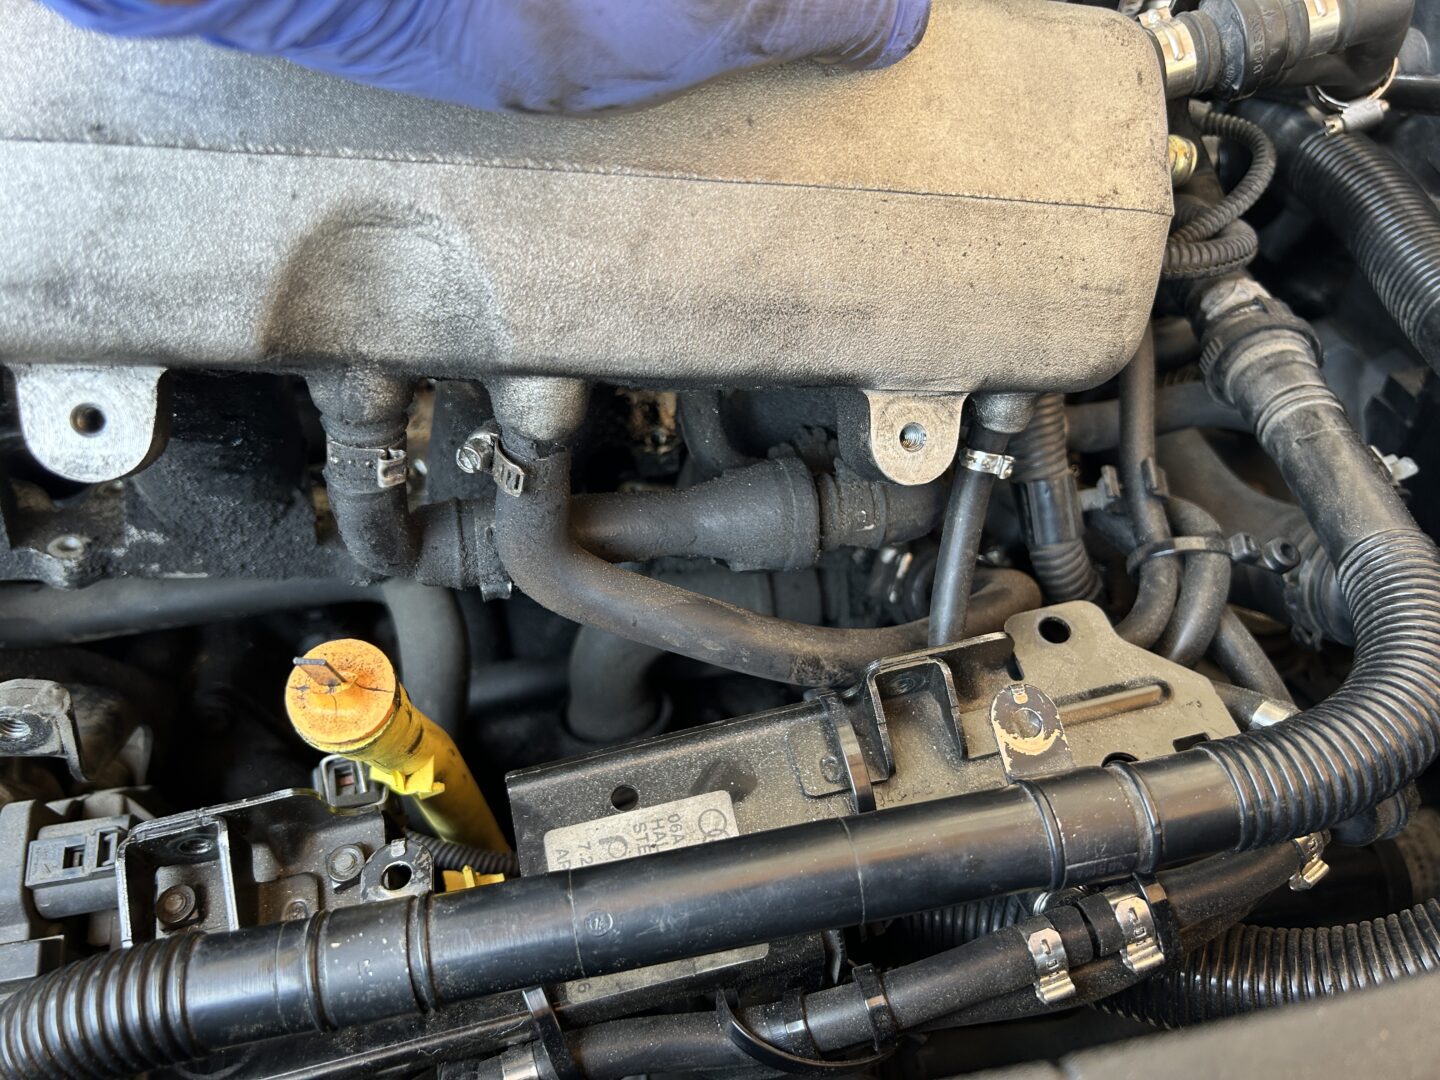
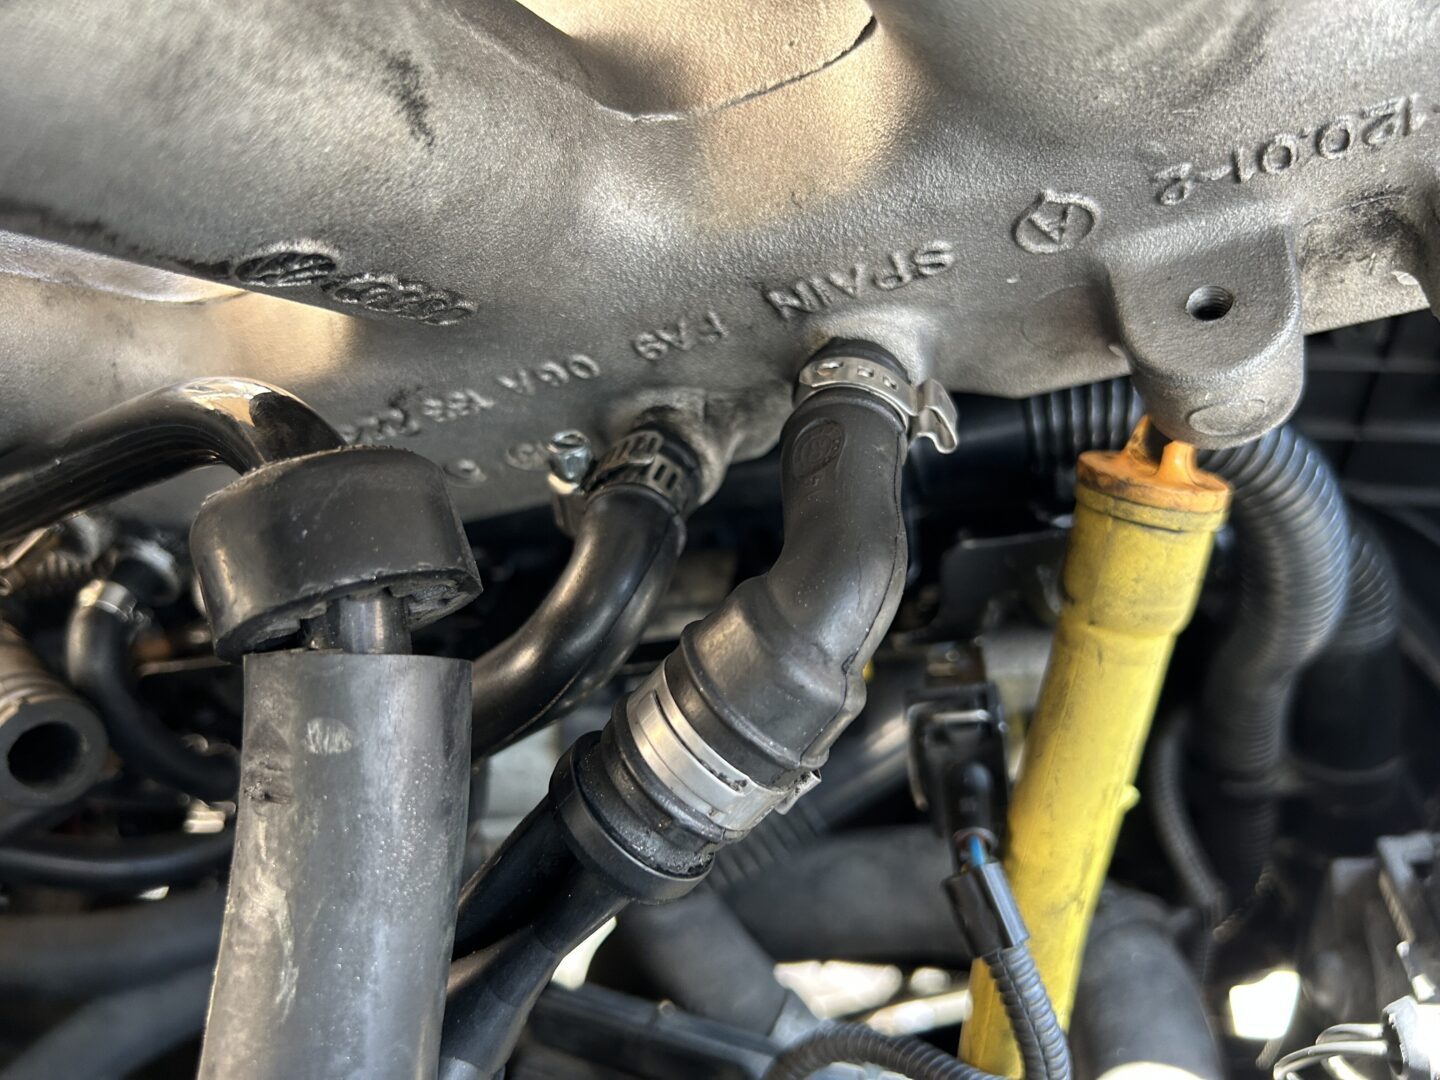
You’ll also need to remove the vacuum line either before or after the wye-piece, depending on what is easier to pull off. Sometimes these lines can stick together so much that it may be hard to pull out.
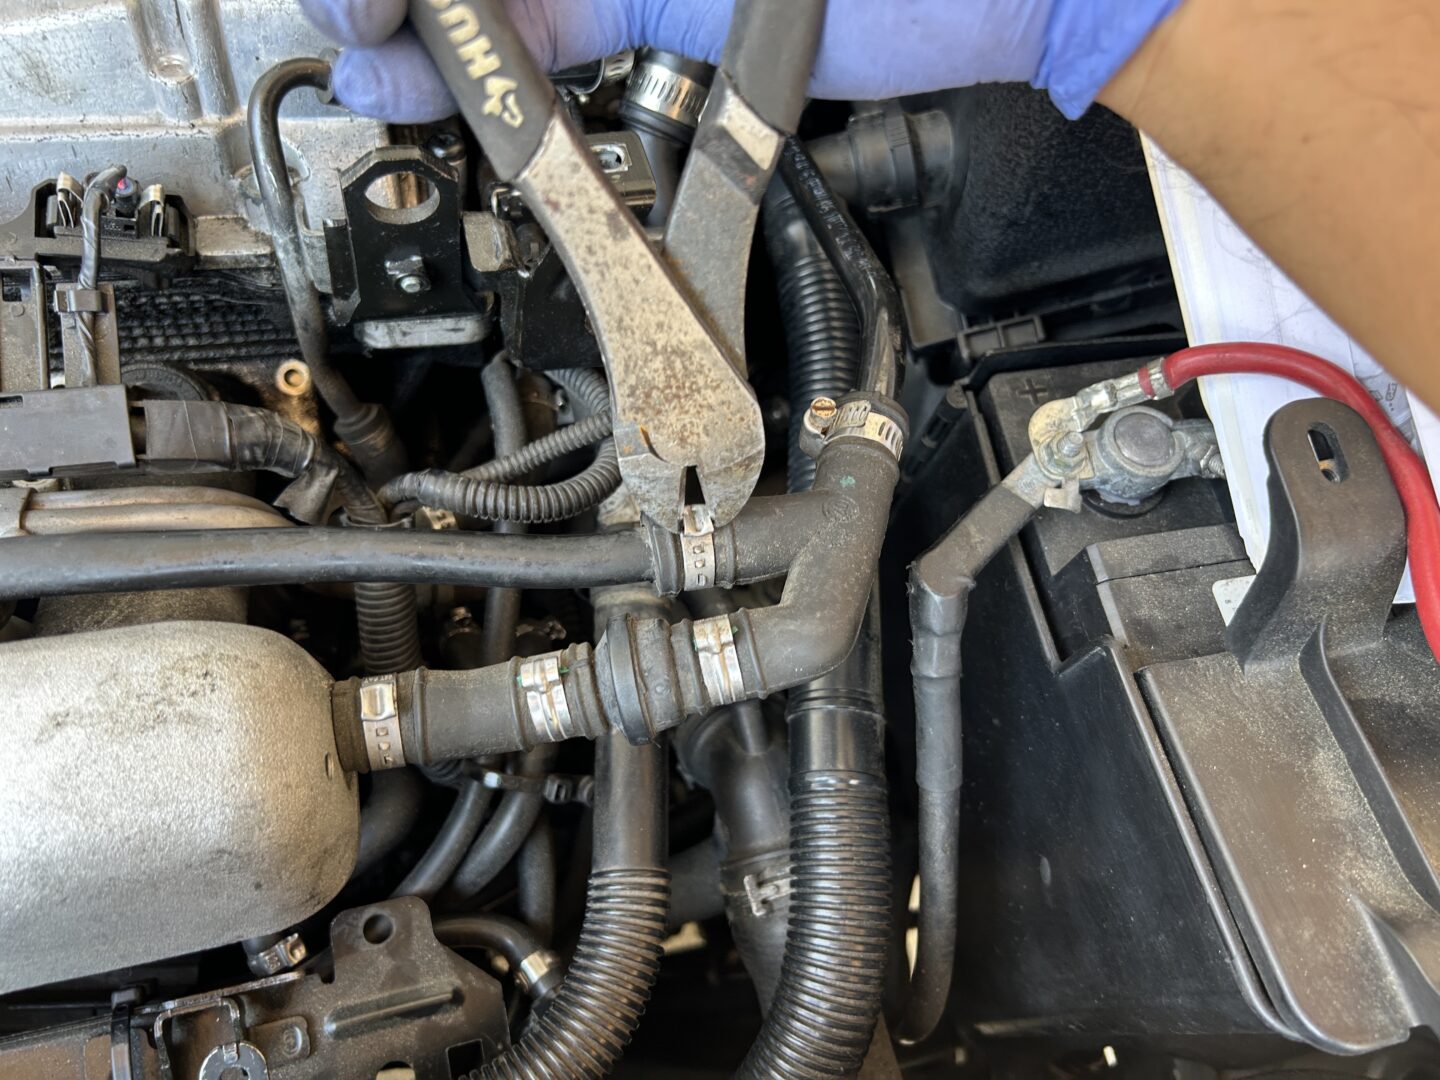
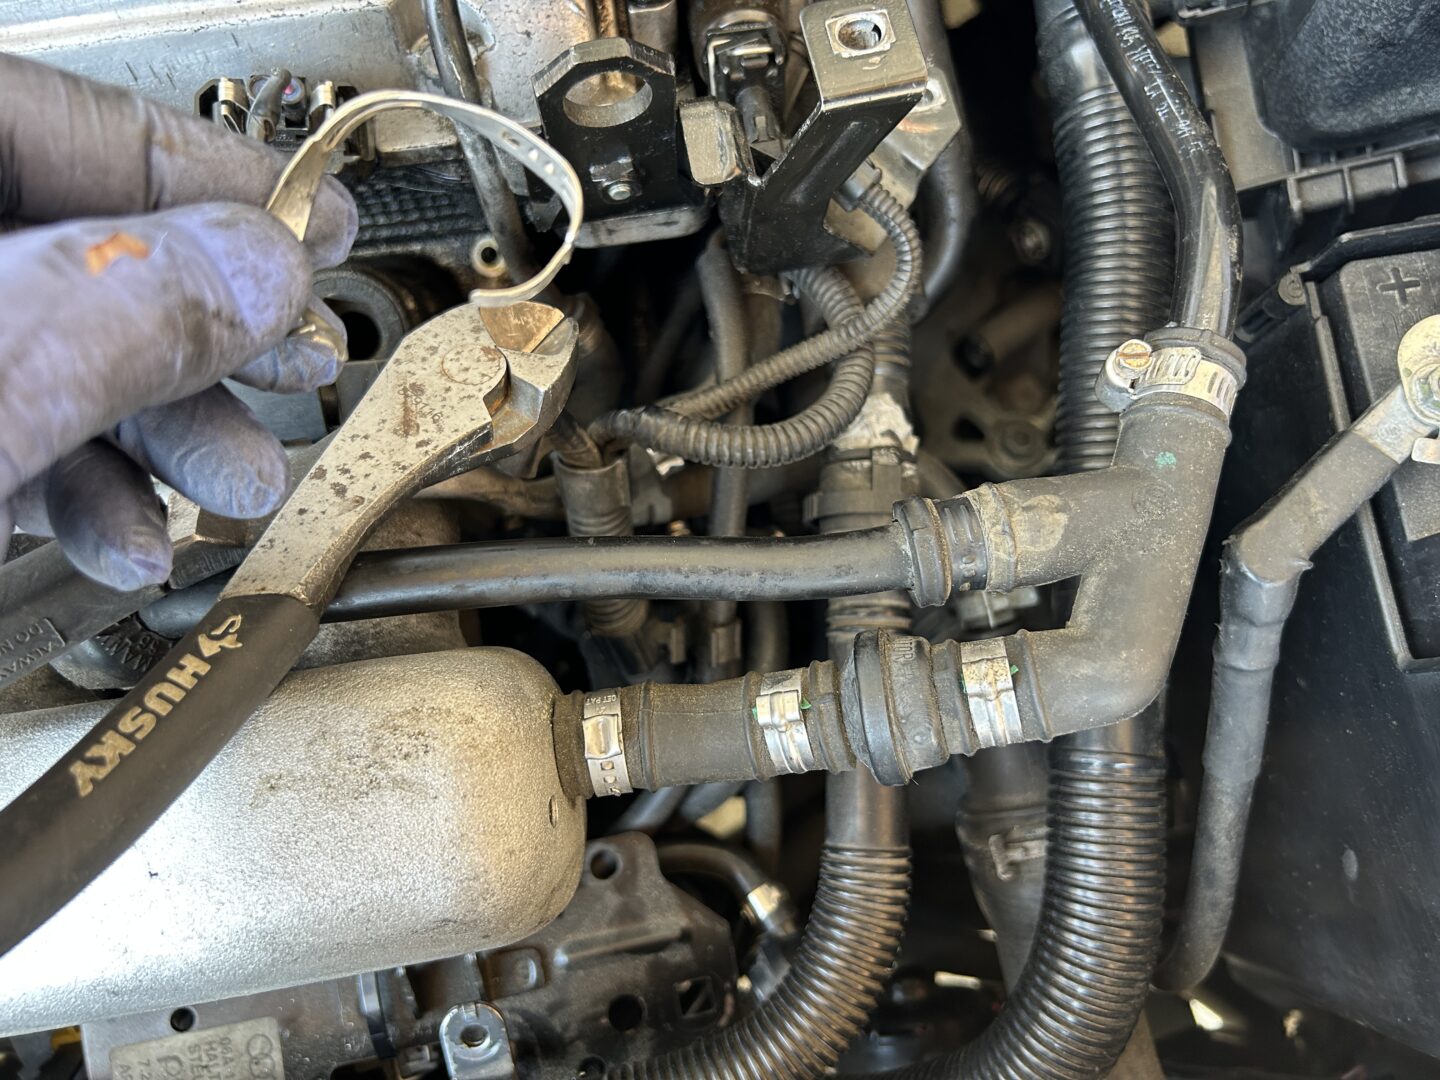
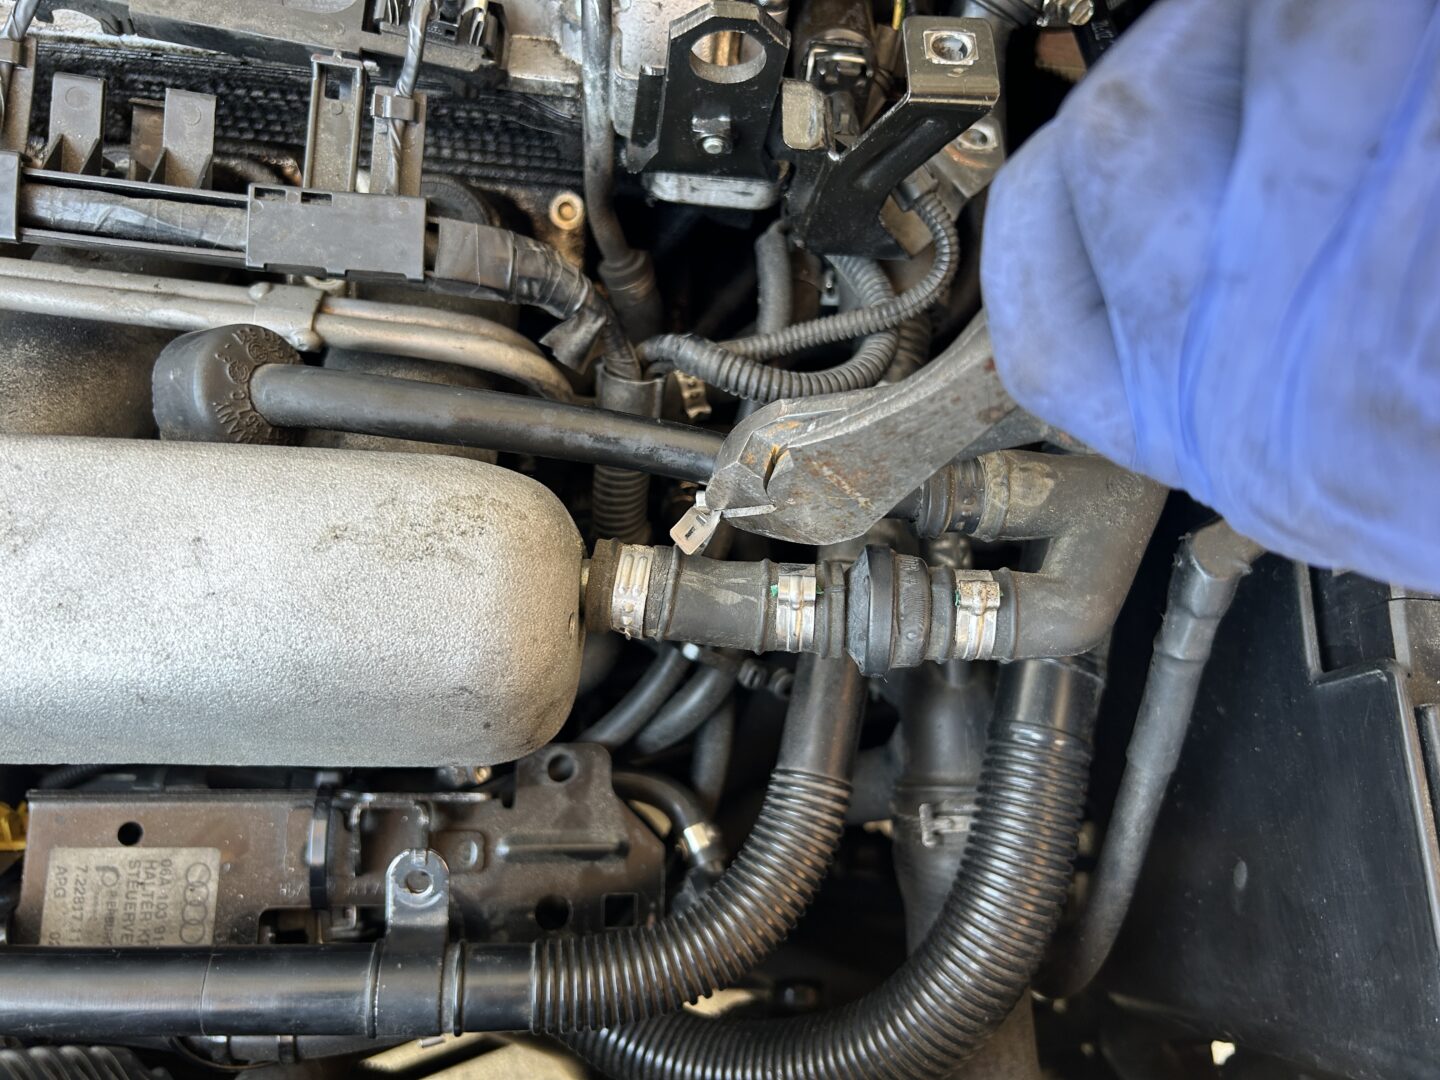

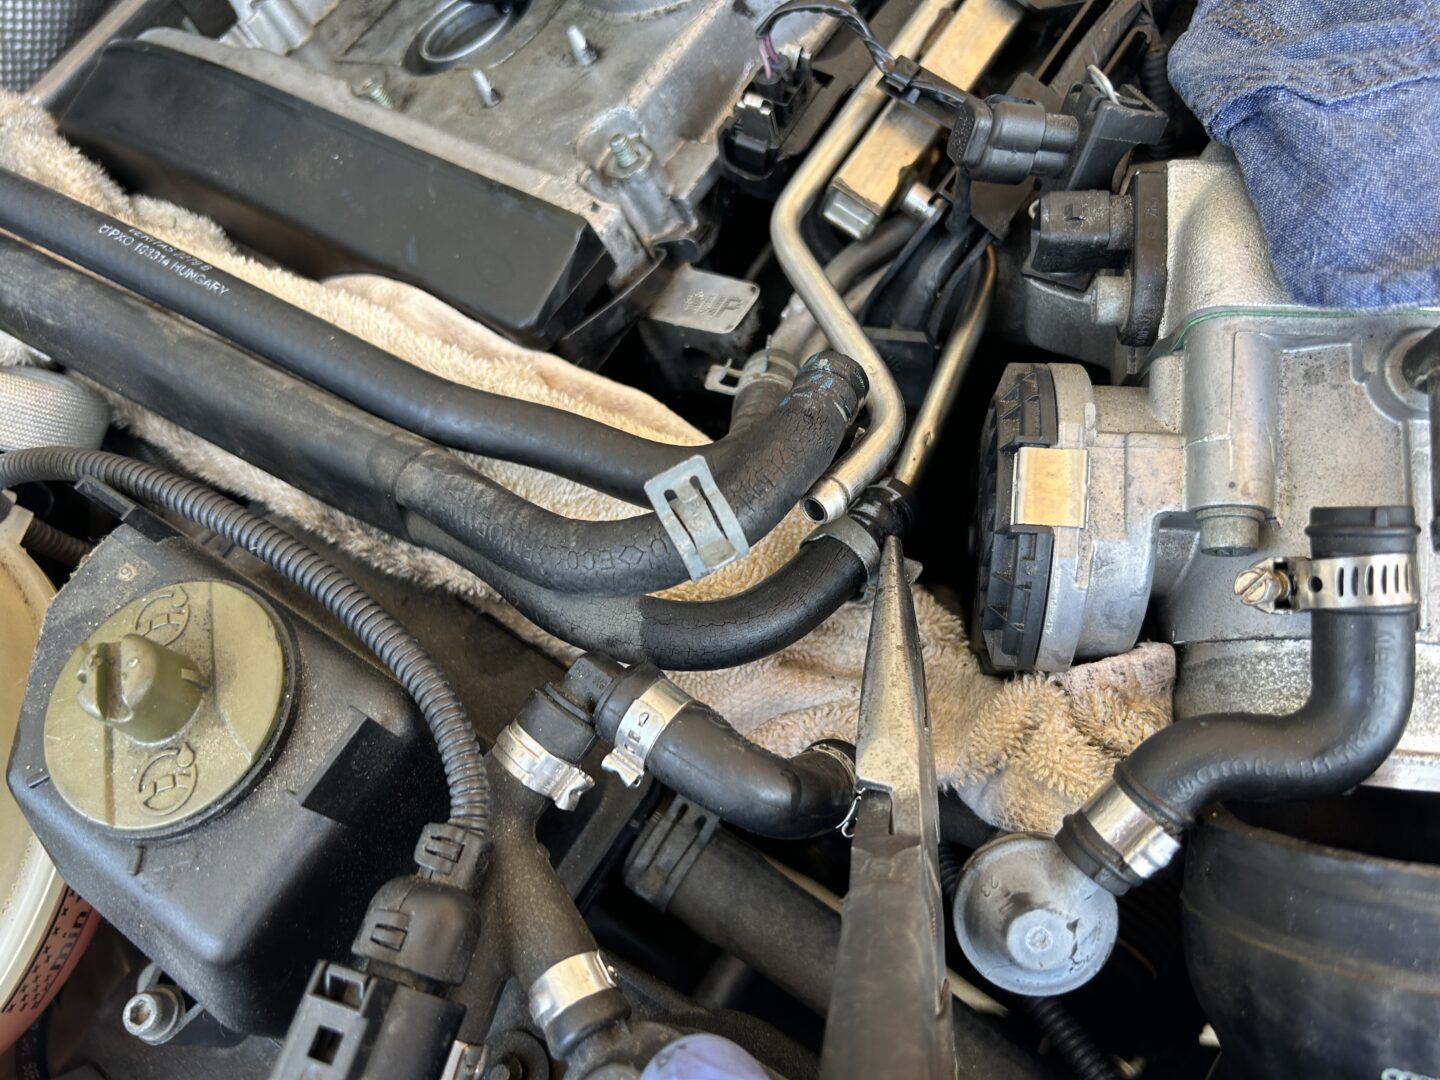
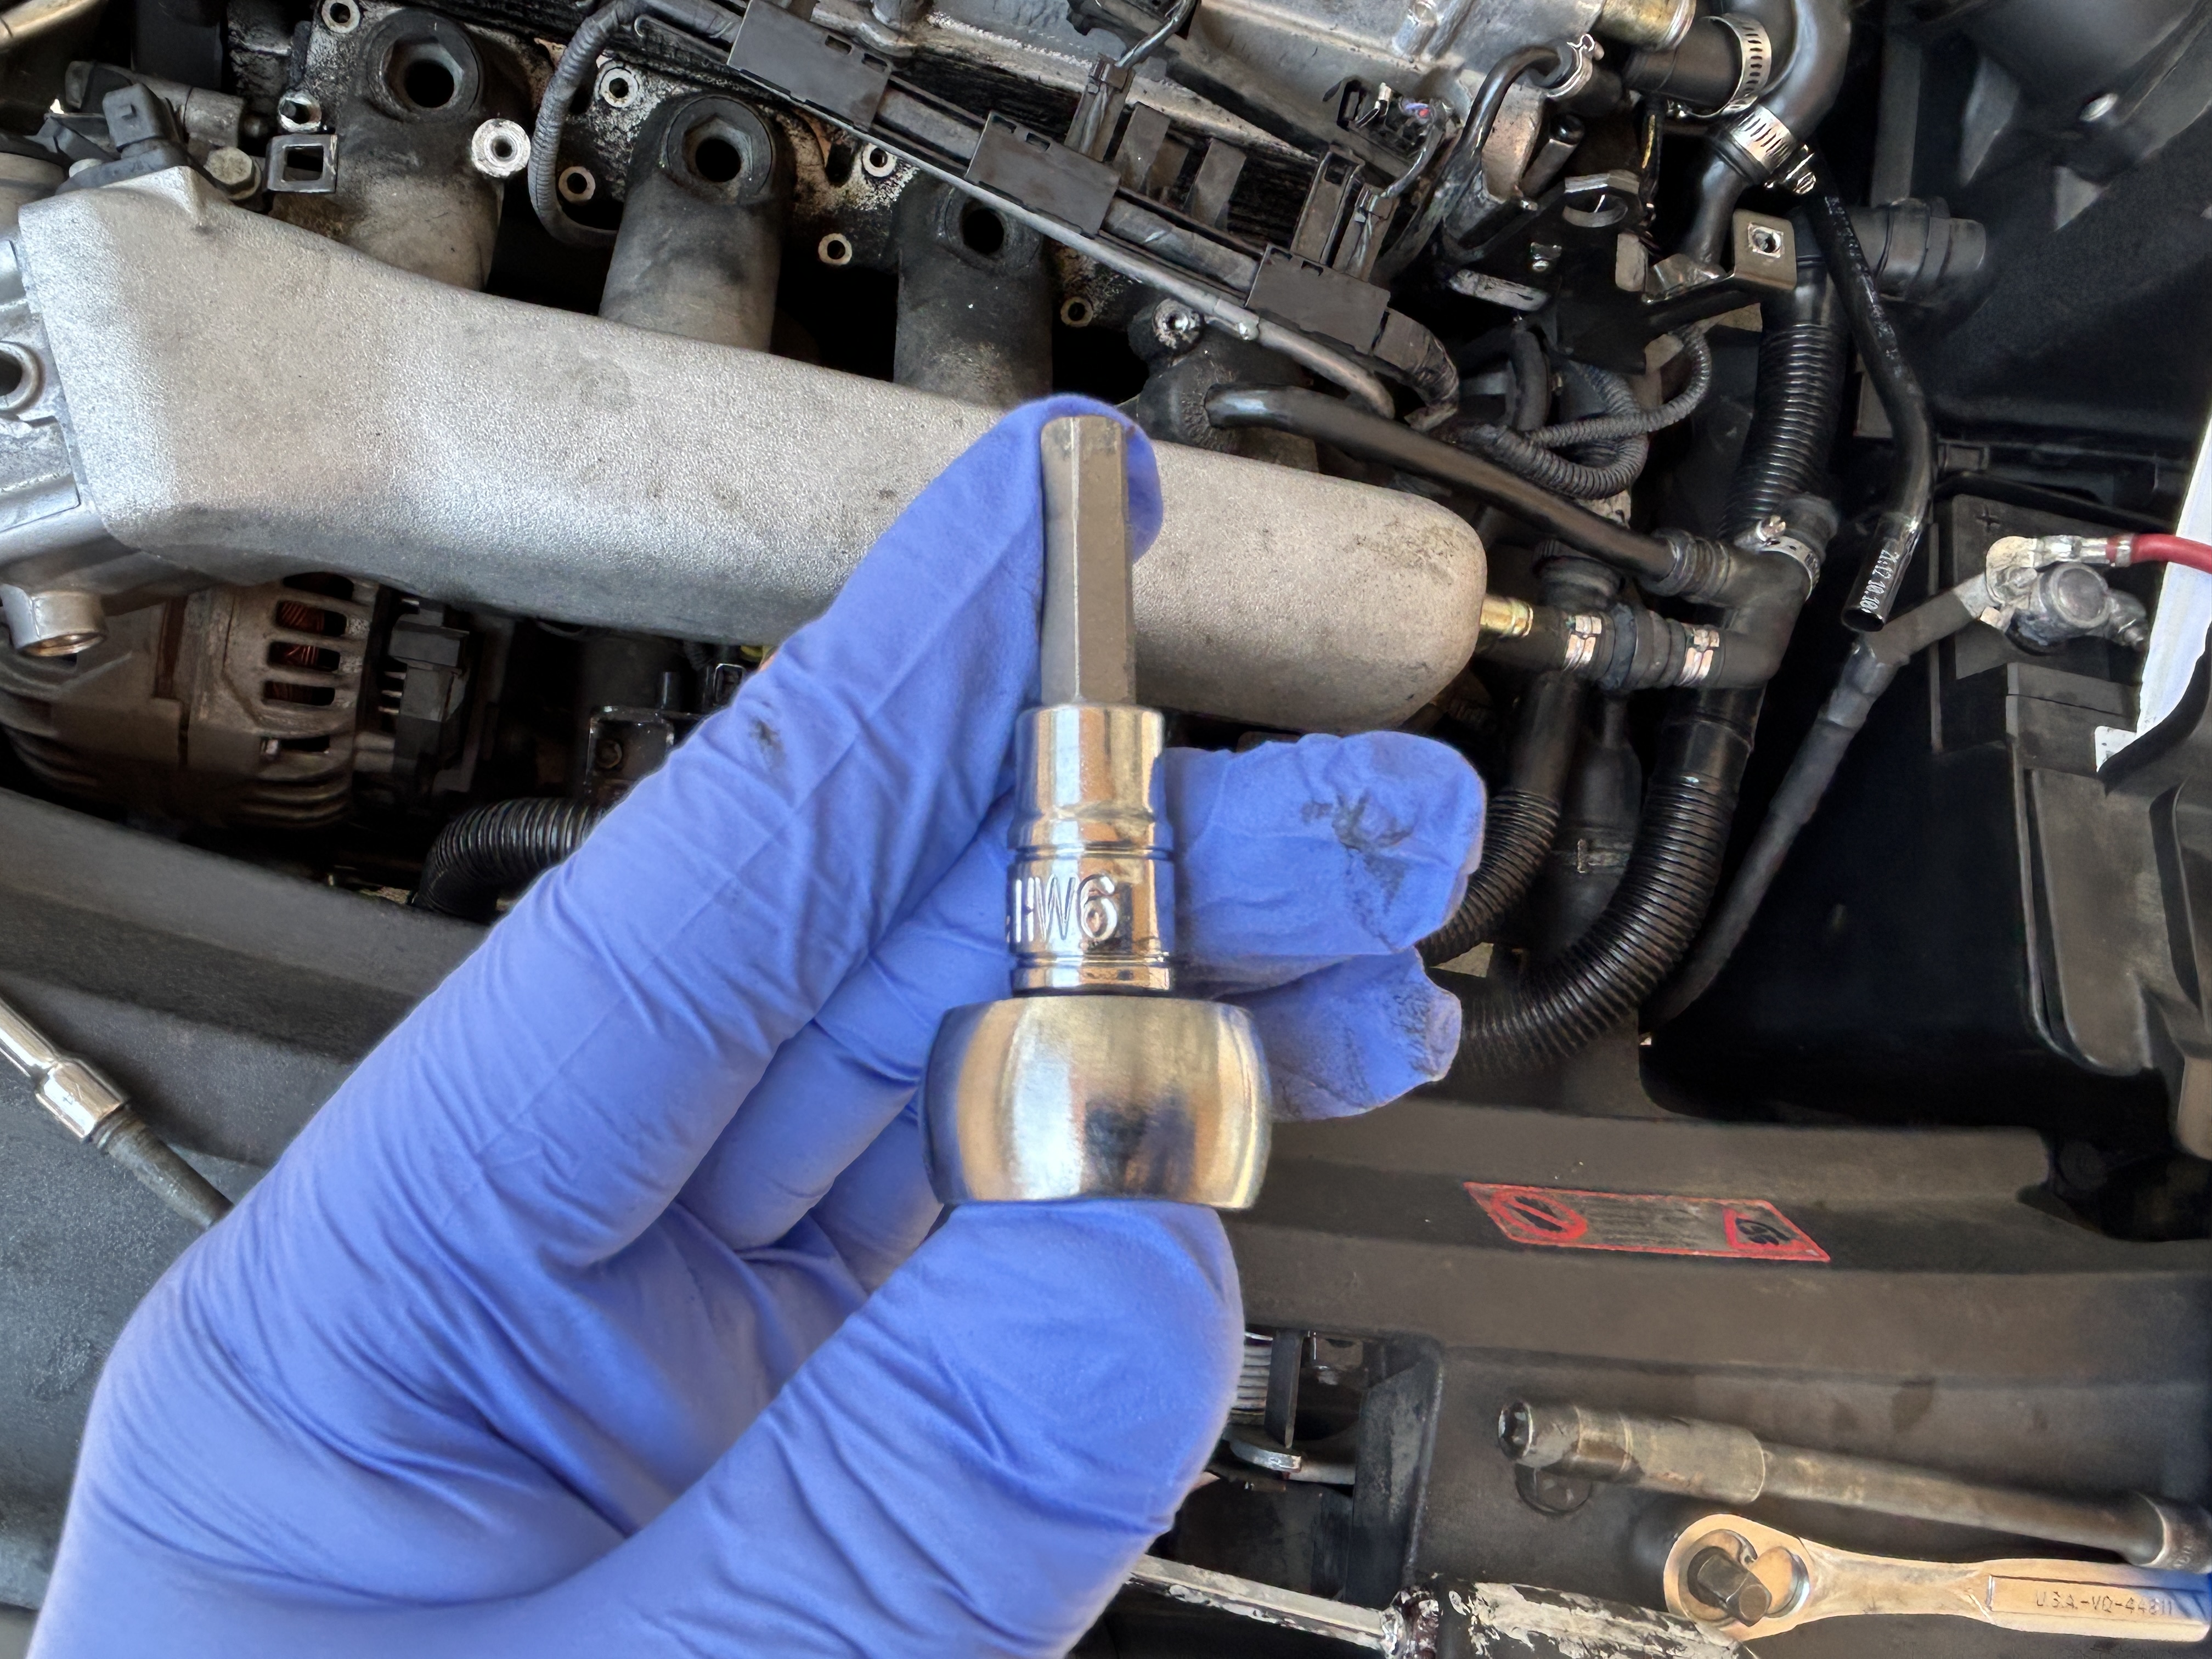
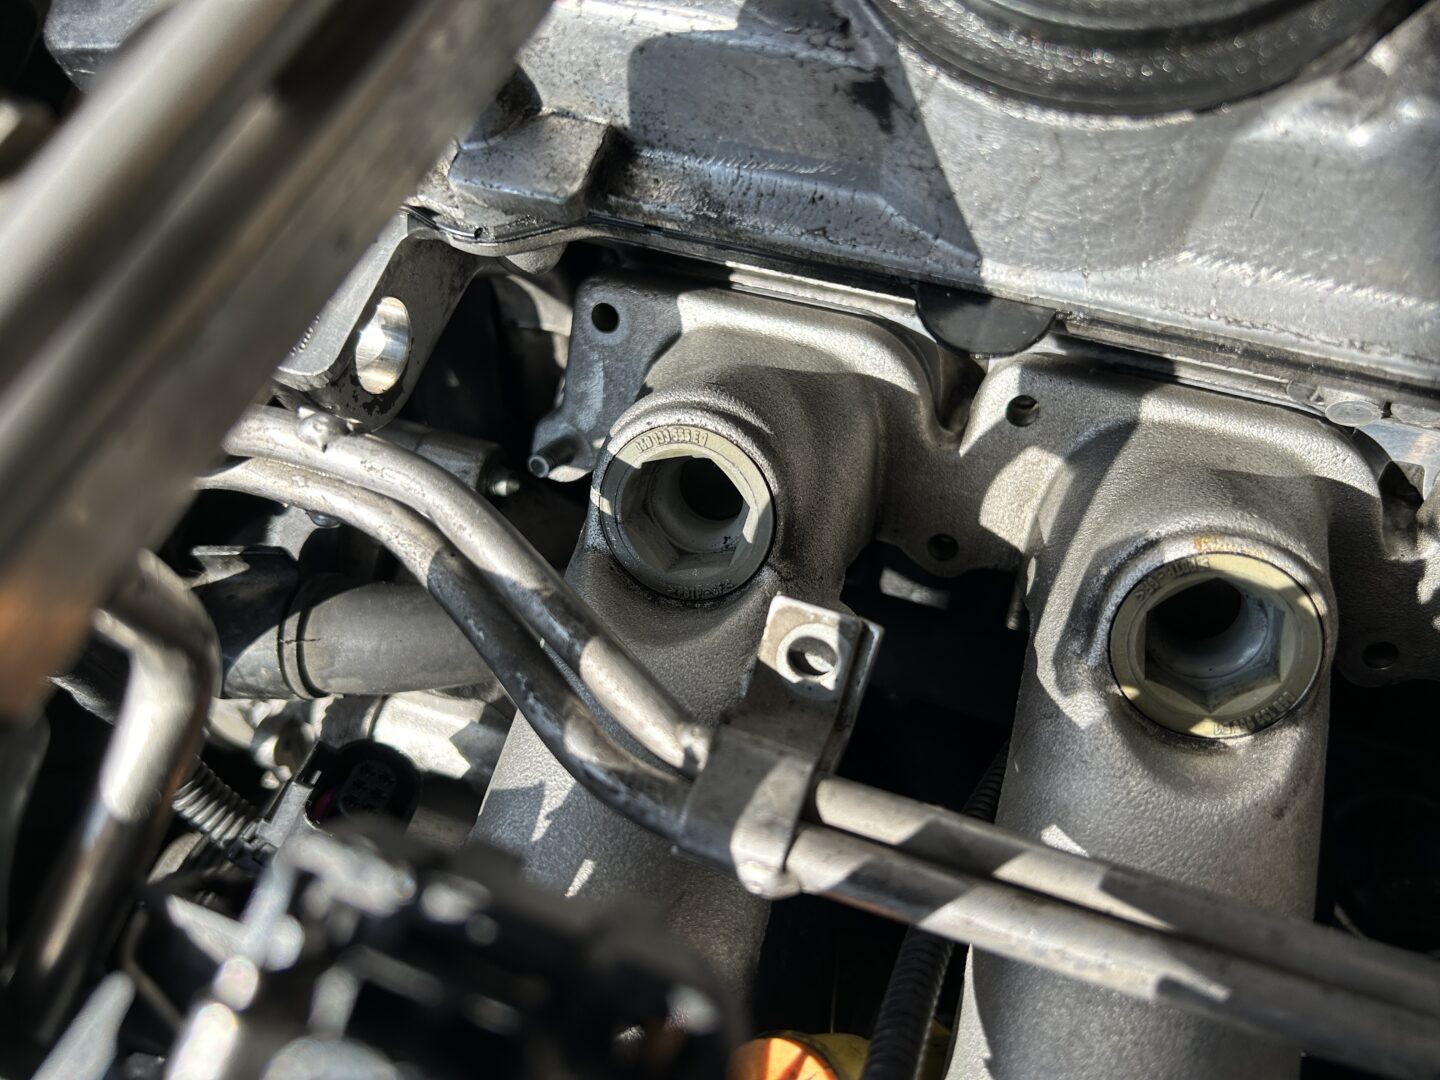
Next, use a size 6 hex socket to remove the remaining bolts for the intake manifold.

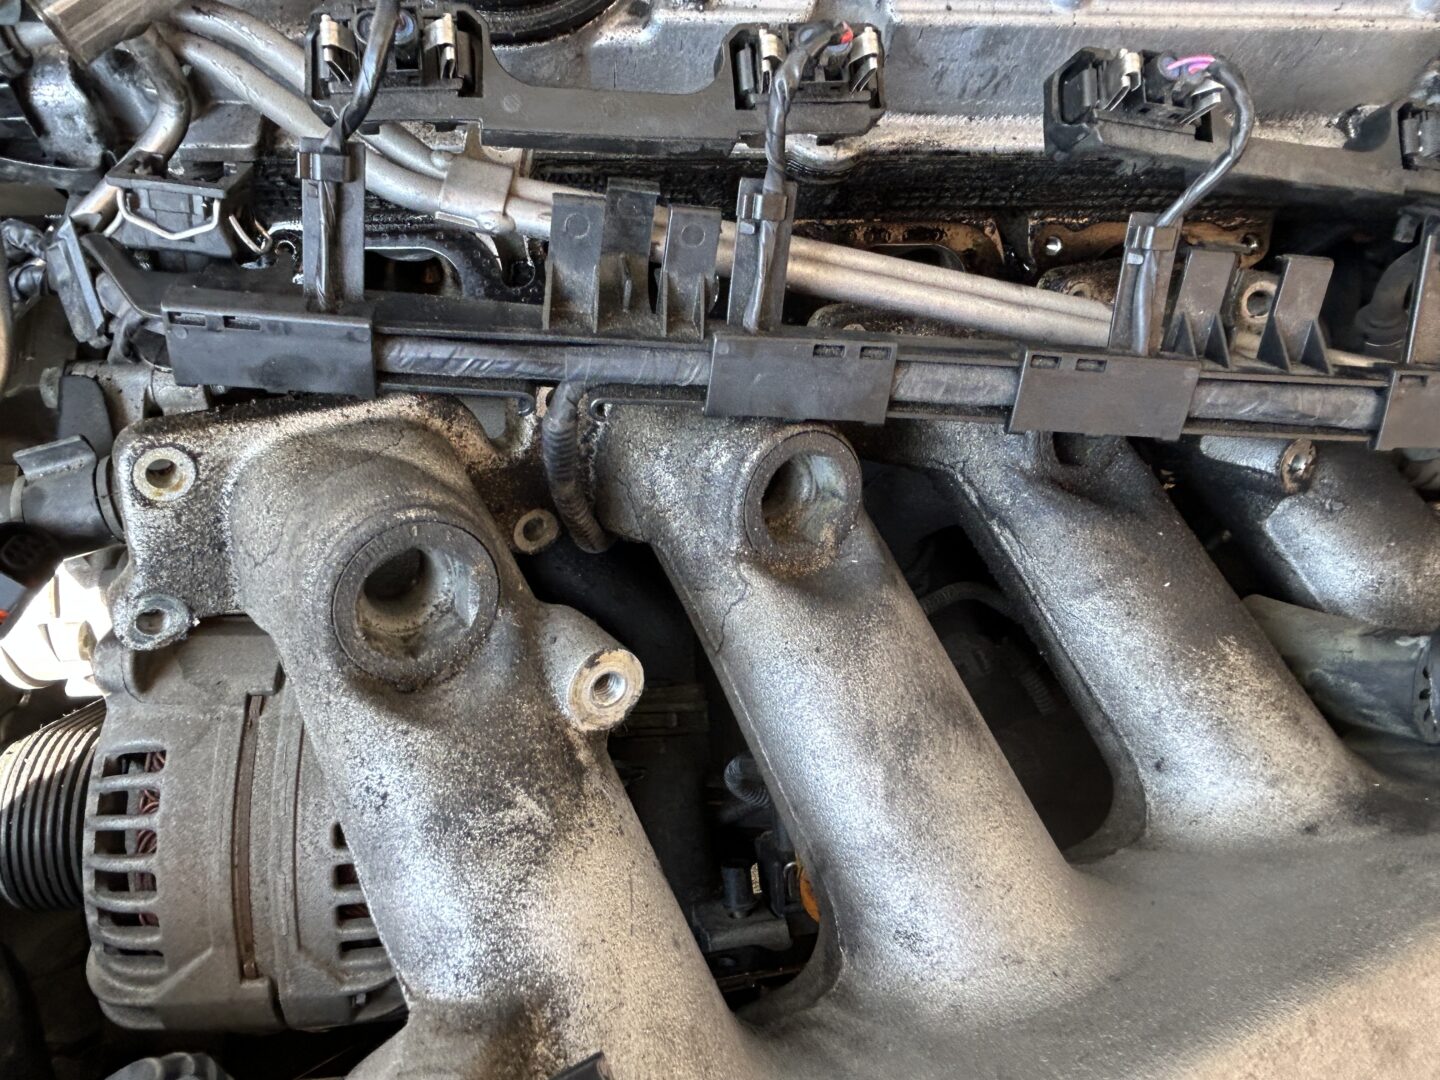
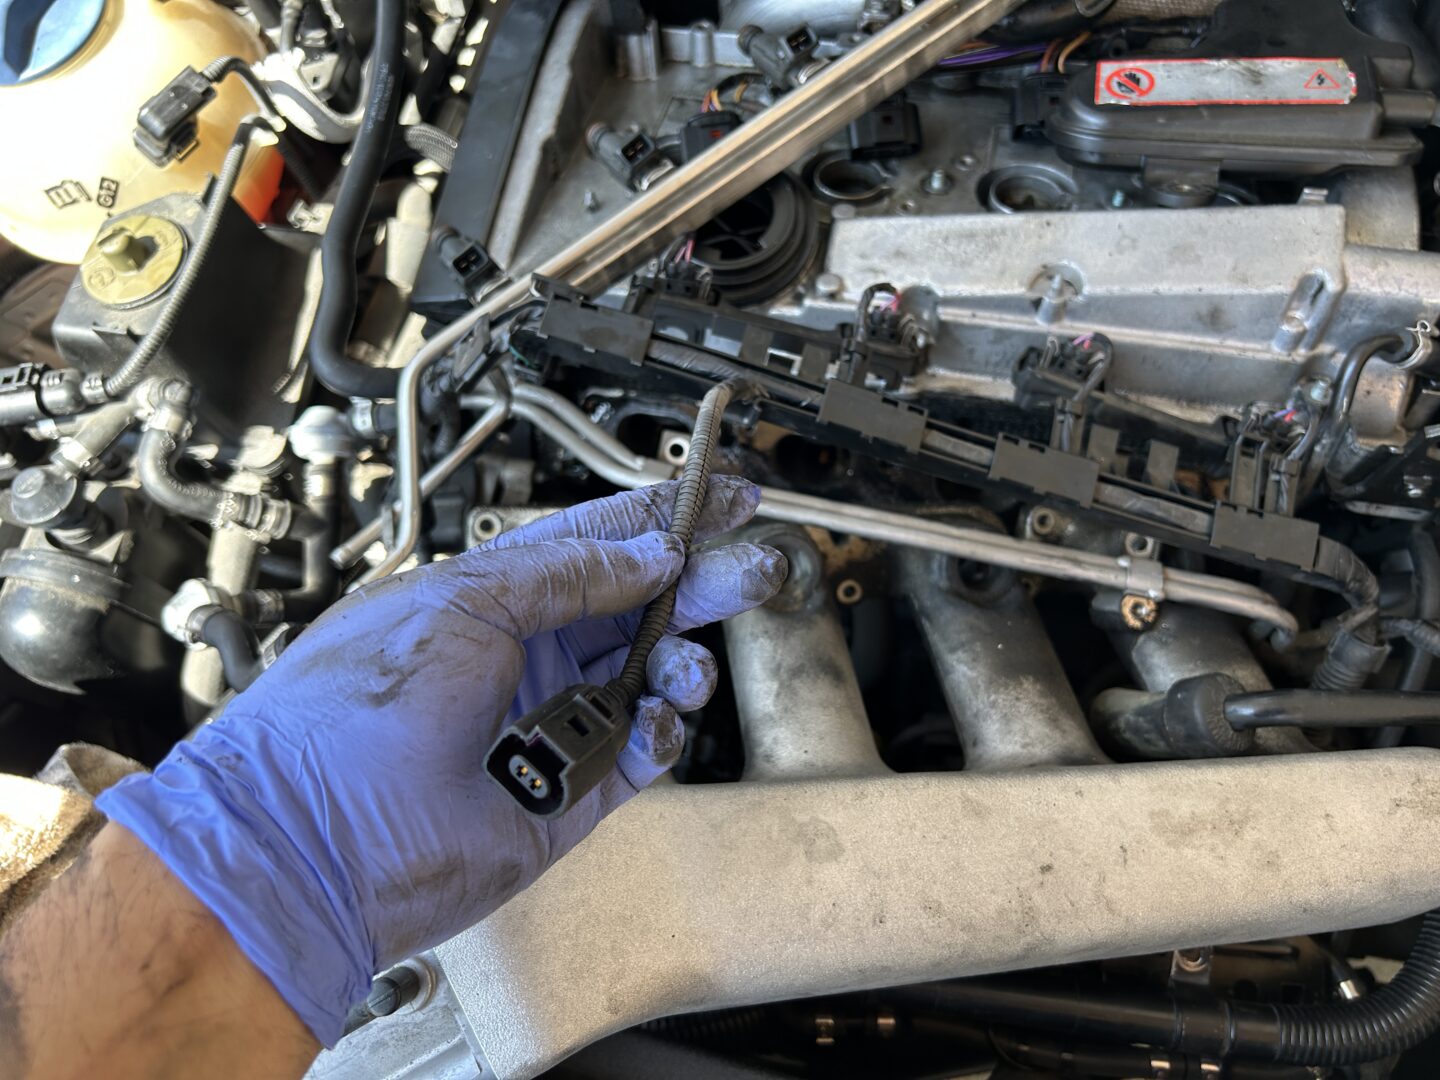
There is also a knock sensor that will need to be removed before you can get the intake manifold off. Use a flat head screwdriver to unclip the connector for removal.
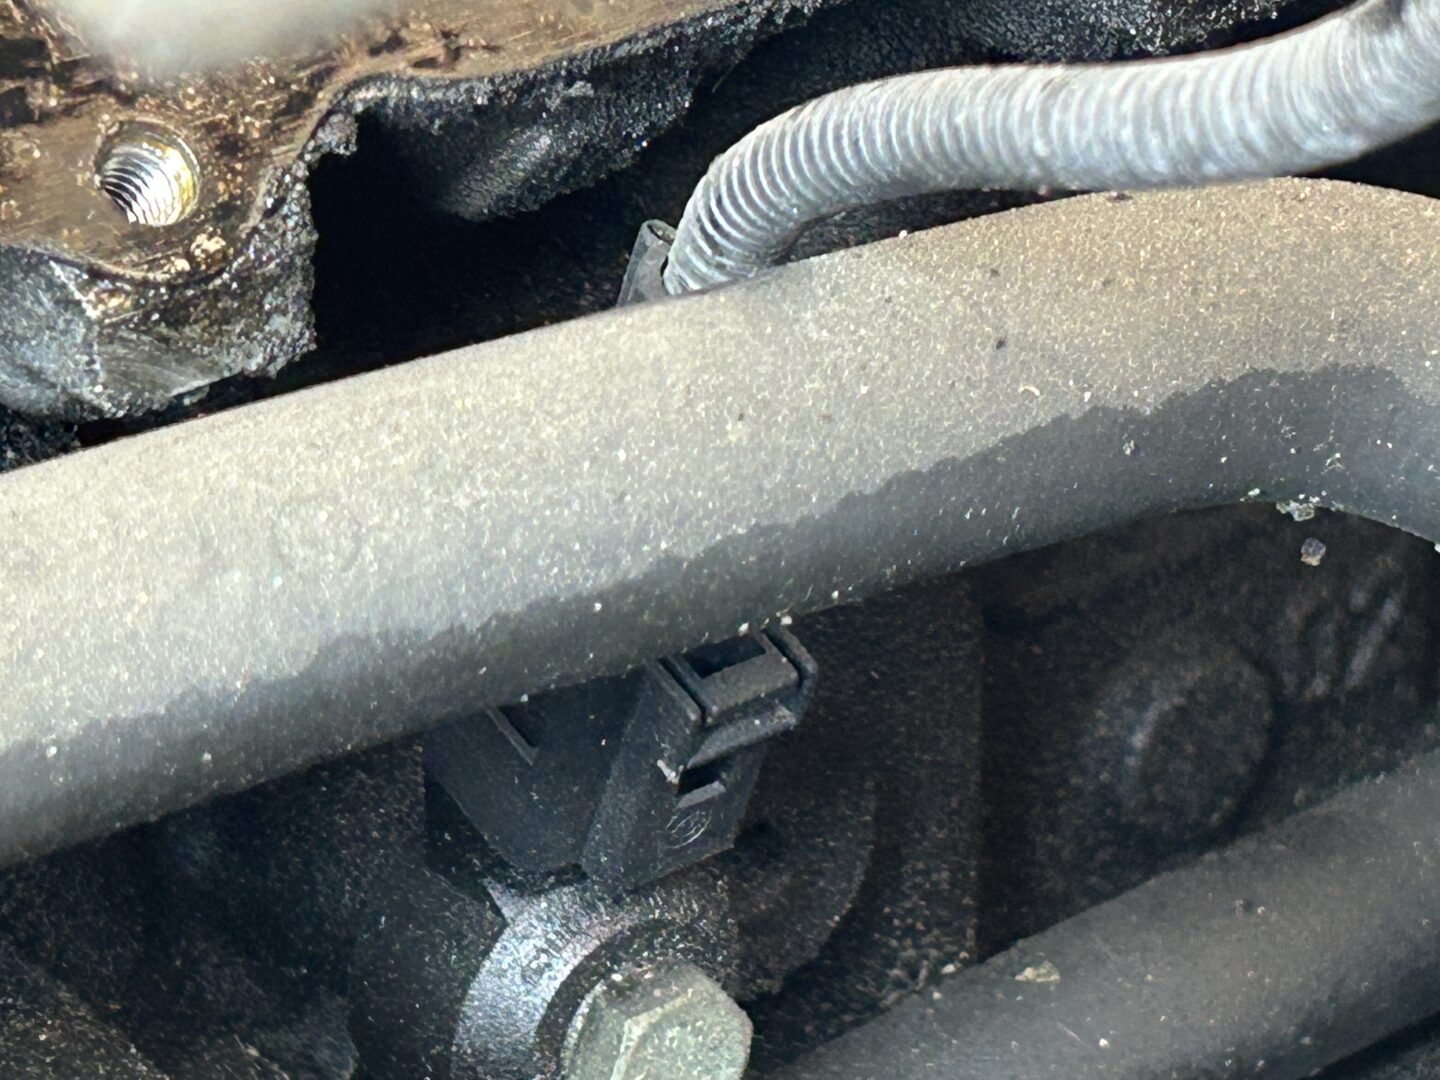
As you pull the intake manifold off, there are a few vacuum lines that are connected on the bottom-side of it. You may need to remove these in order to fully get the intake manifold off. Again, label these lines prior to removal if you are worried of confusing the lines later during the reinstallation.

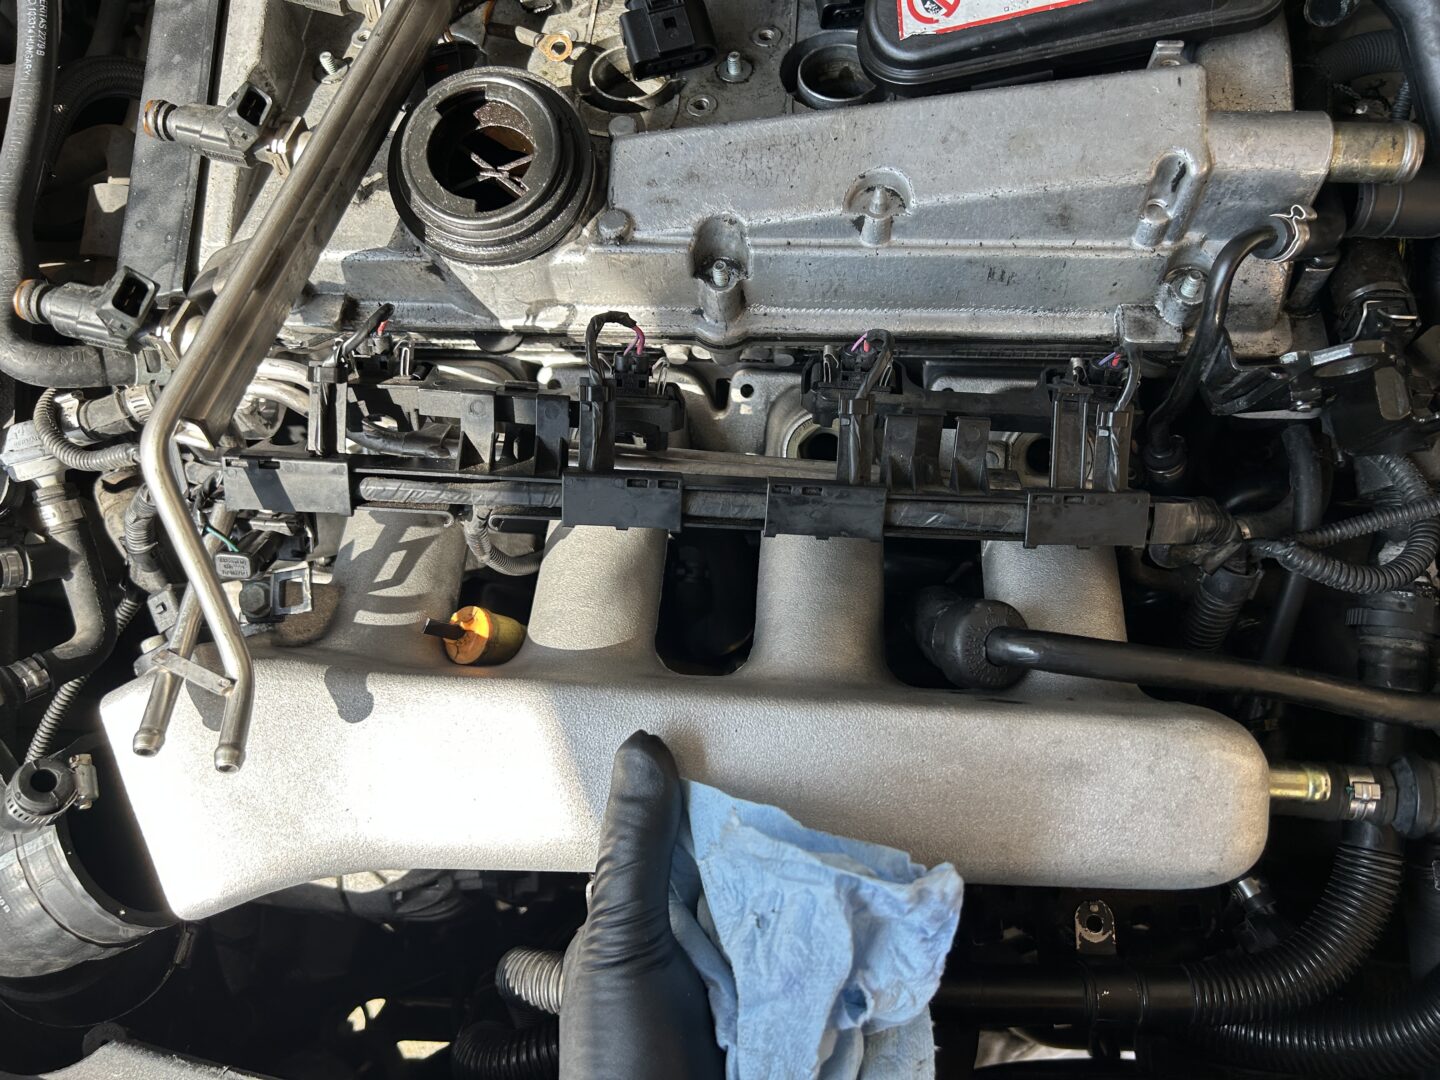
With the intake manifold off, you can now remove the old intake manifold gasket, clean up the surface, and prepare to install the new gasket. Cover the intake holes to prevent any debris from accidentally falling in.
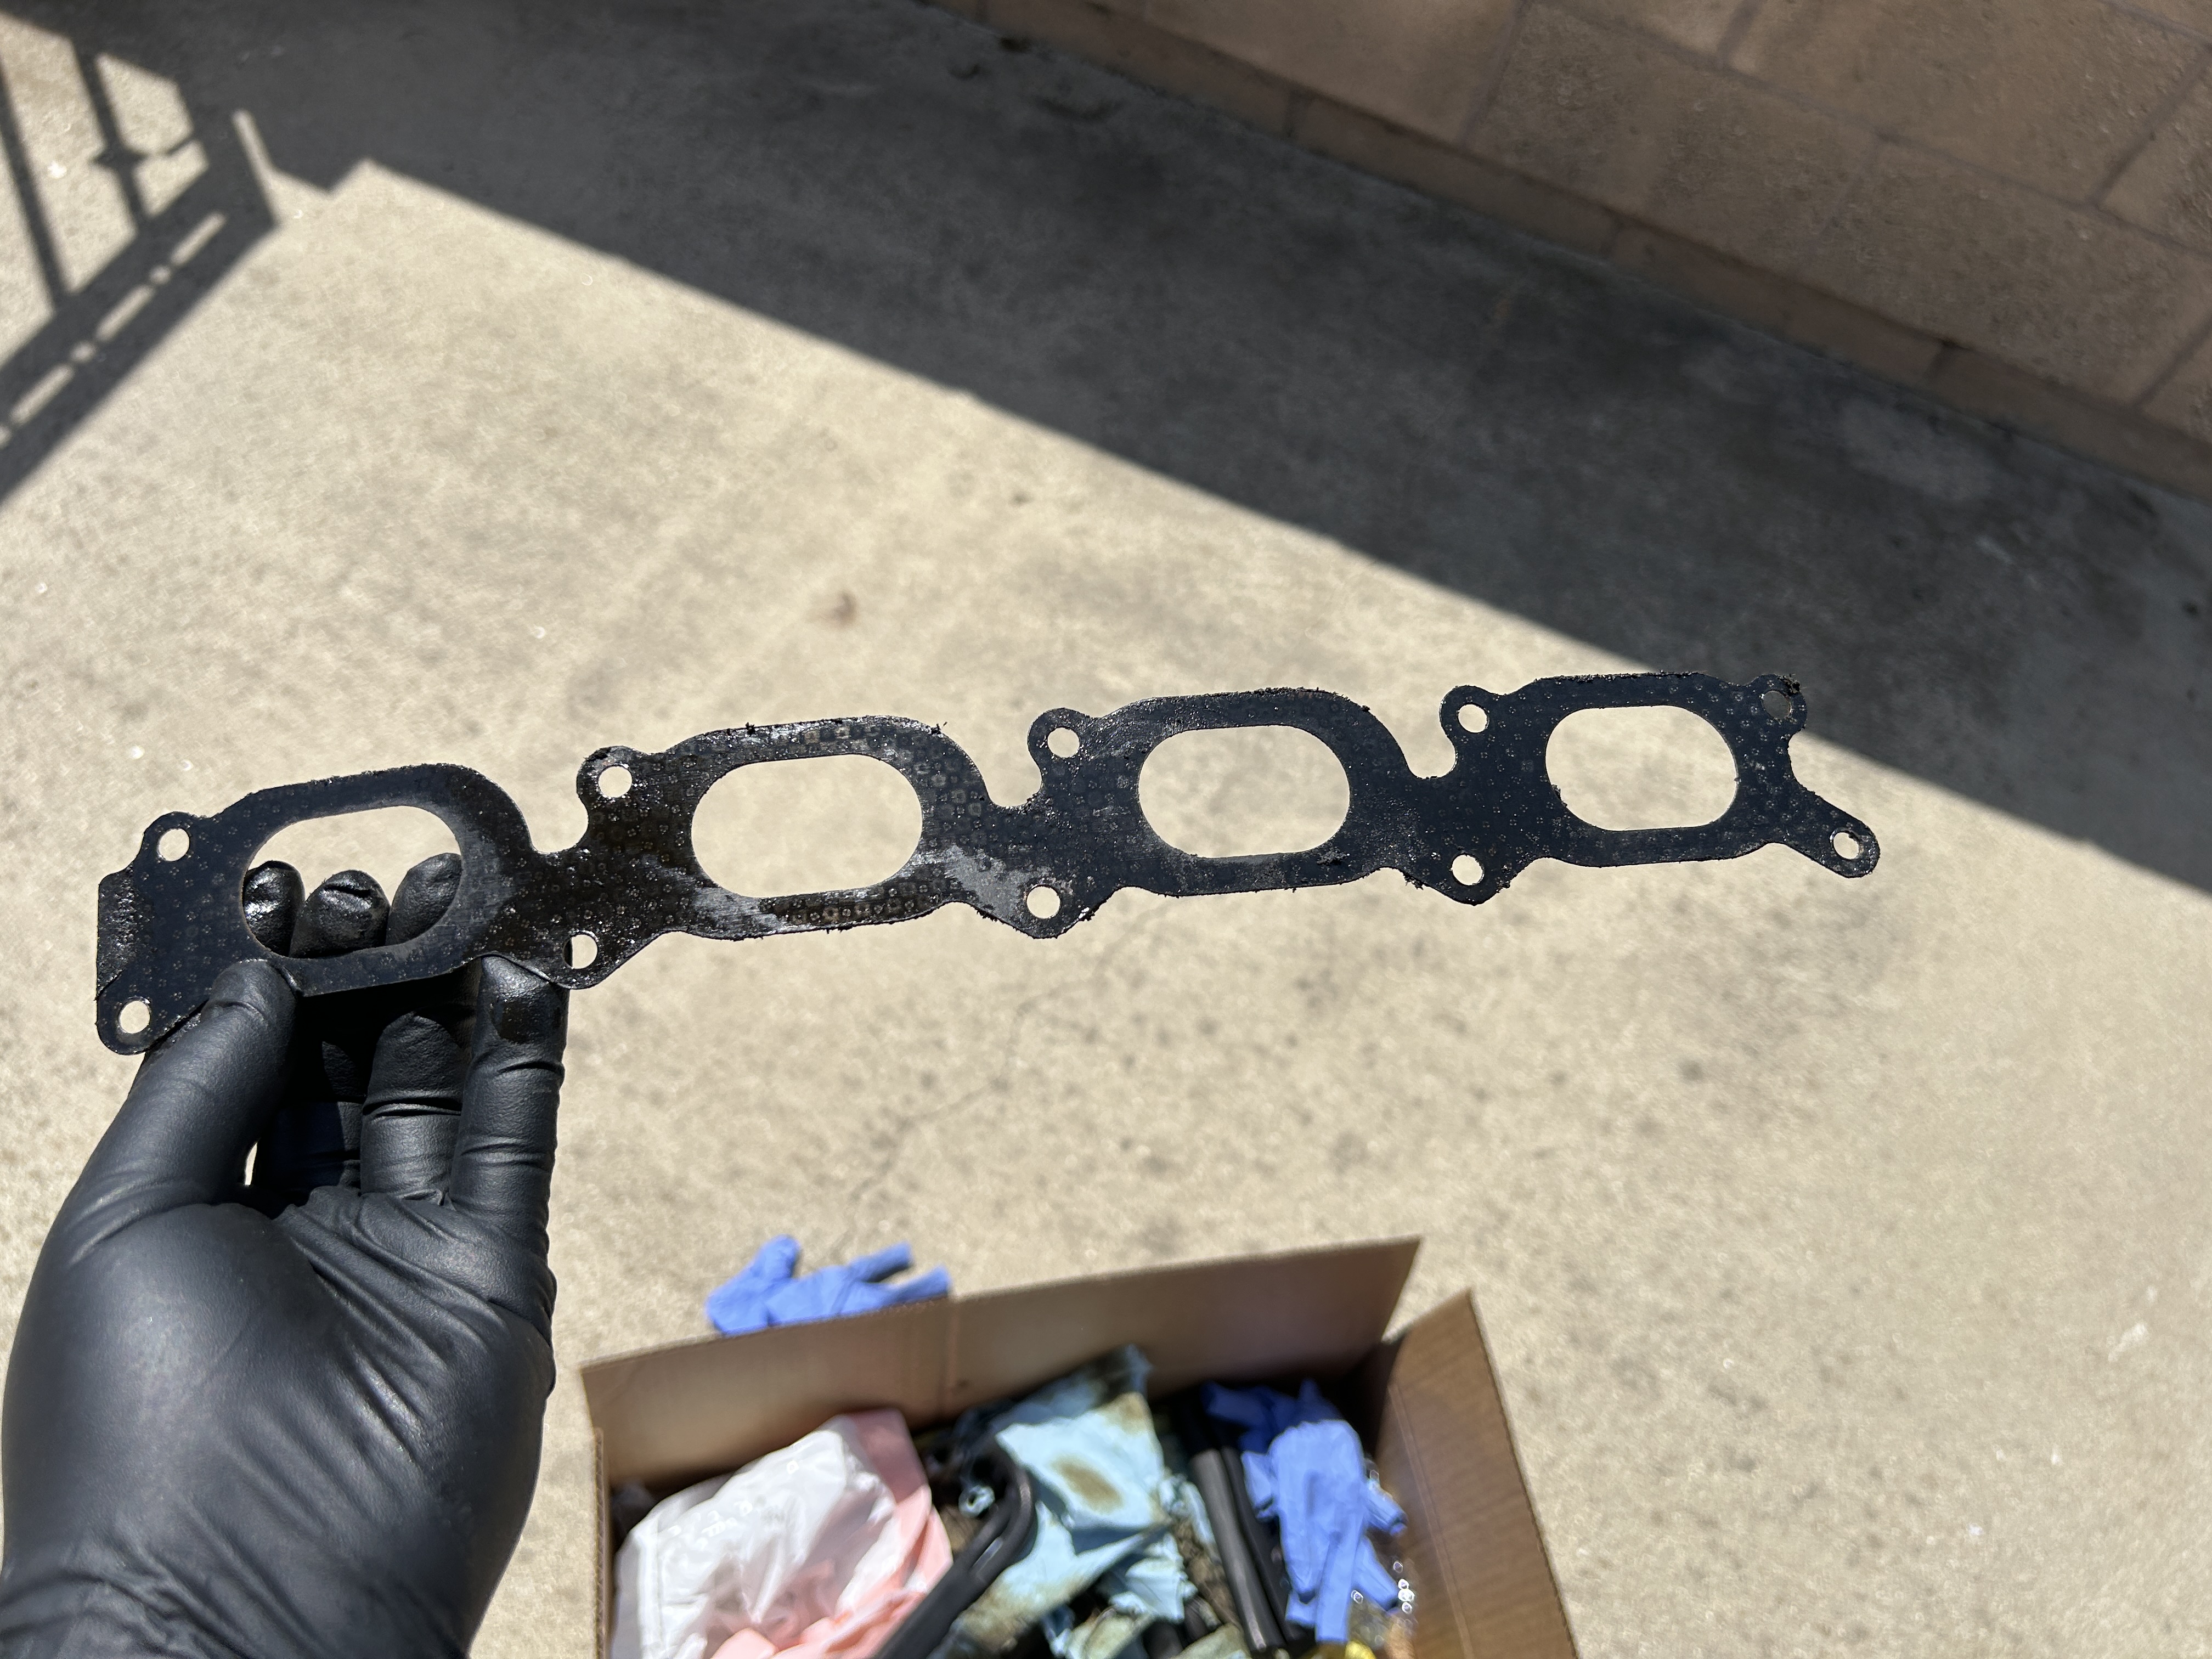
The new intake manifold gasket only goes in one way and is held in place with the threaded bolt on the ends. Ensure that the intake ports are open with the gasket in place, and that the bolt holes are open and ready for the reinstallation of the intake manifold.
Reinstall the intake manifold in reverse of removal, making sure to reinstall all of the various connections prior to reinstalling the intake manifold.
When the intake manifold is back on, use a torque wrench and torque down your intake manifold bolts to 7.5 ft-lbs or 10 N-m. The torque is quite low, so I went with a 1/4″ torque wrench. I torqued down to approximately 94 in-lbs, which is a little more than 7.5 ft-lbs. There’s not really a torquing sequence, so just hand-tighten all the bolts down first, then torque them down one-by-one.

After the intake manifold has been torqued down to spec, reinstall the remaining parts in the reverse order of removal. Double-check all the connections have been installed correctly and turn on your vehicle to test start. This will conclude the installation of the intake manifold gasket replacement.
I’d also like to note one thing. If you removed your fuel lines during this job, you will find that the car might take a few cranks to get it started when you get everything put all back together again. This is just a matter of getting the fuel back through the fuel lines, which will take a few starts to make happen.
")
")
")
")
")
")
")
")
")
1 Comment
Pingback: Changing Out the Gas Injector O-Rings: Audi TT MK 1 (2000 – 2006 – Blog