")
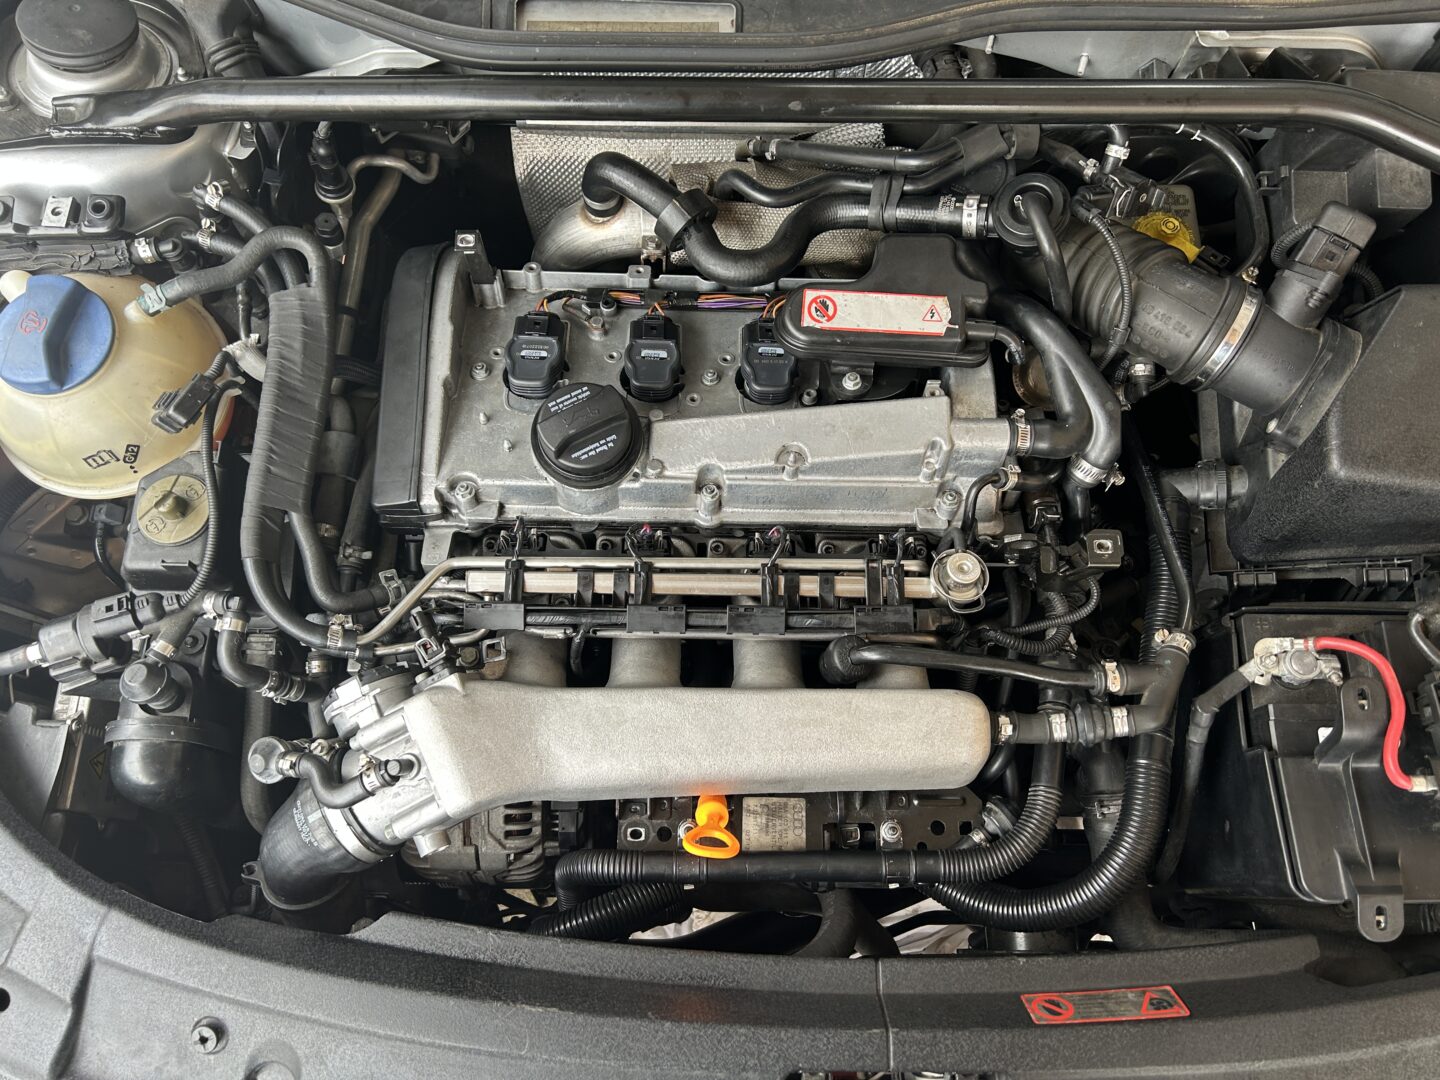
When I purchased my 2002 Audi TT, there was an active oil leak underneath the car that I needed to address. I didn’t know exactly where the oil was coming from, but I would eventually find that it was coming from the valve cover. It’s hard to tell where exactly the leak is coming from especially when the leak is at the bottom of the engine, but there are some ways you can tell if it’s coming from the valve cover.
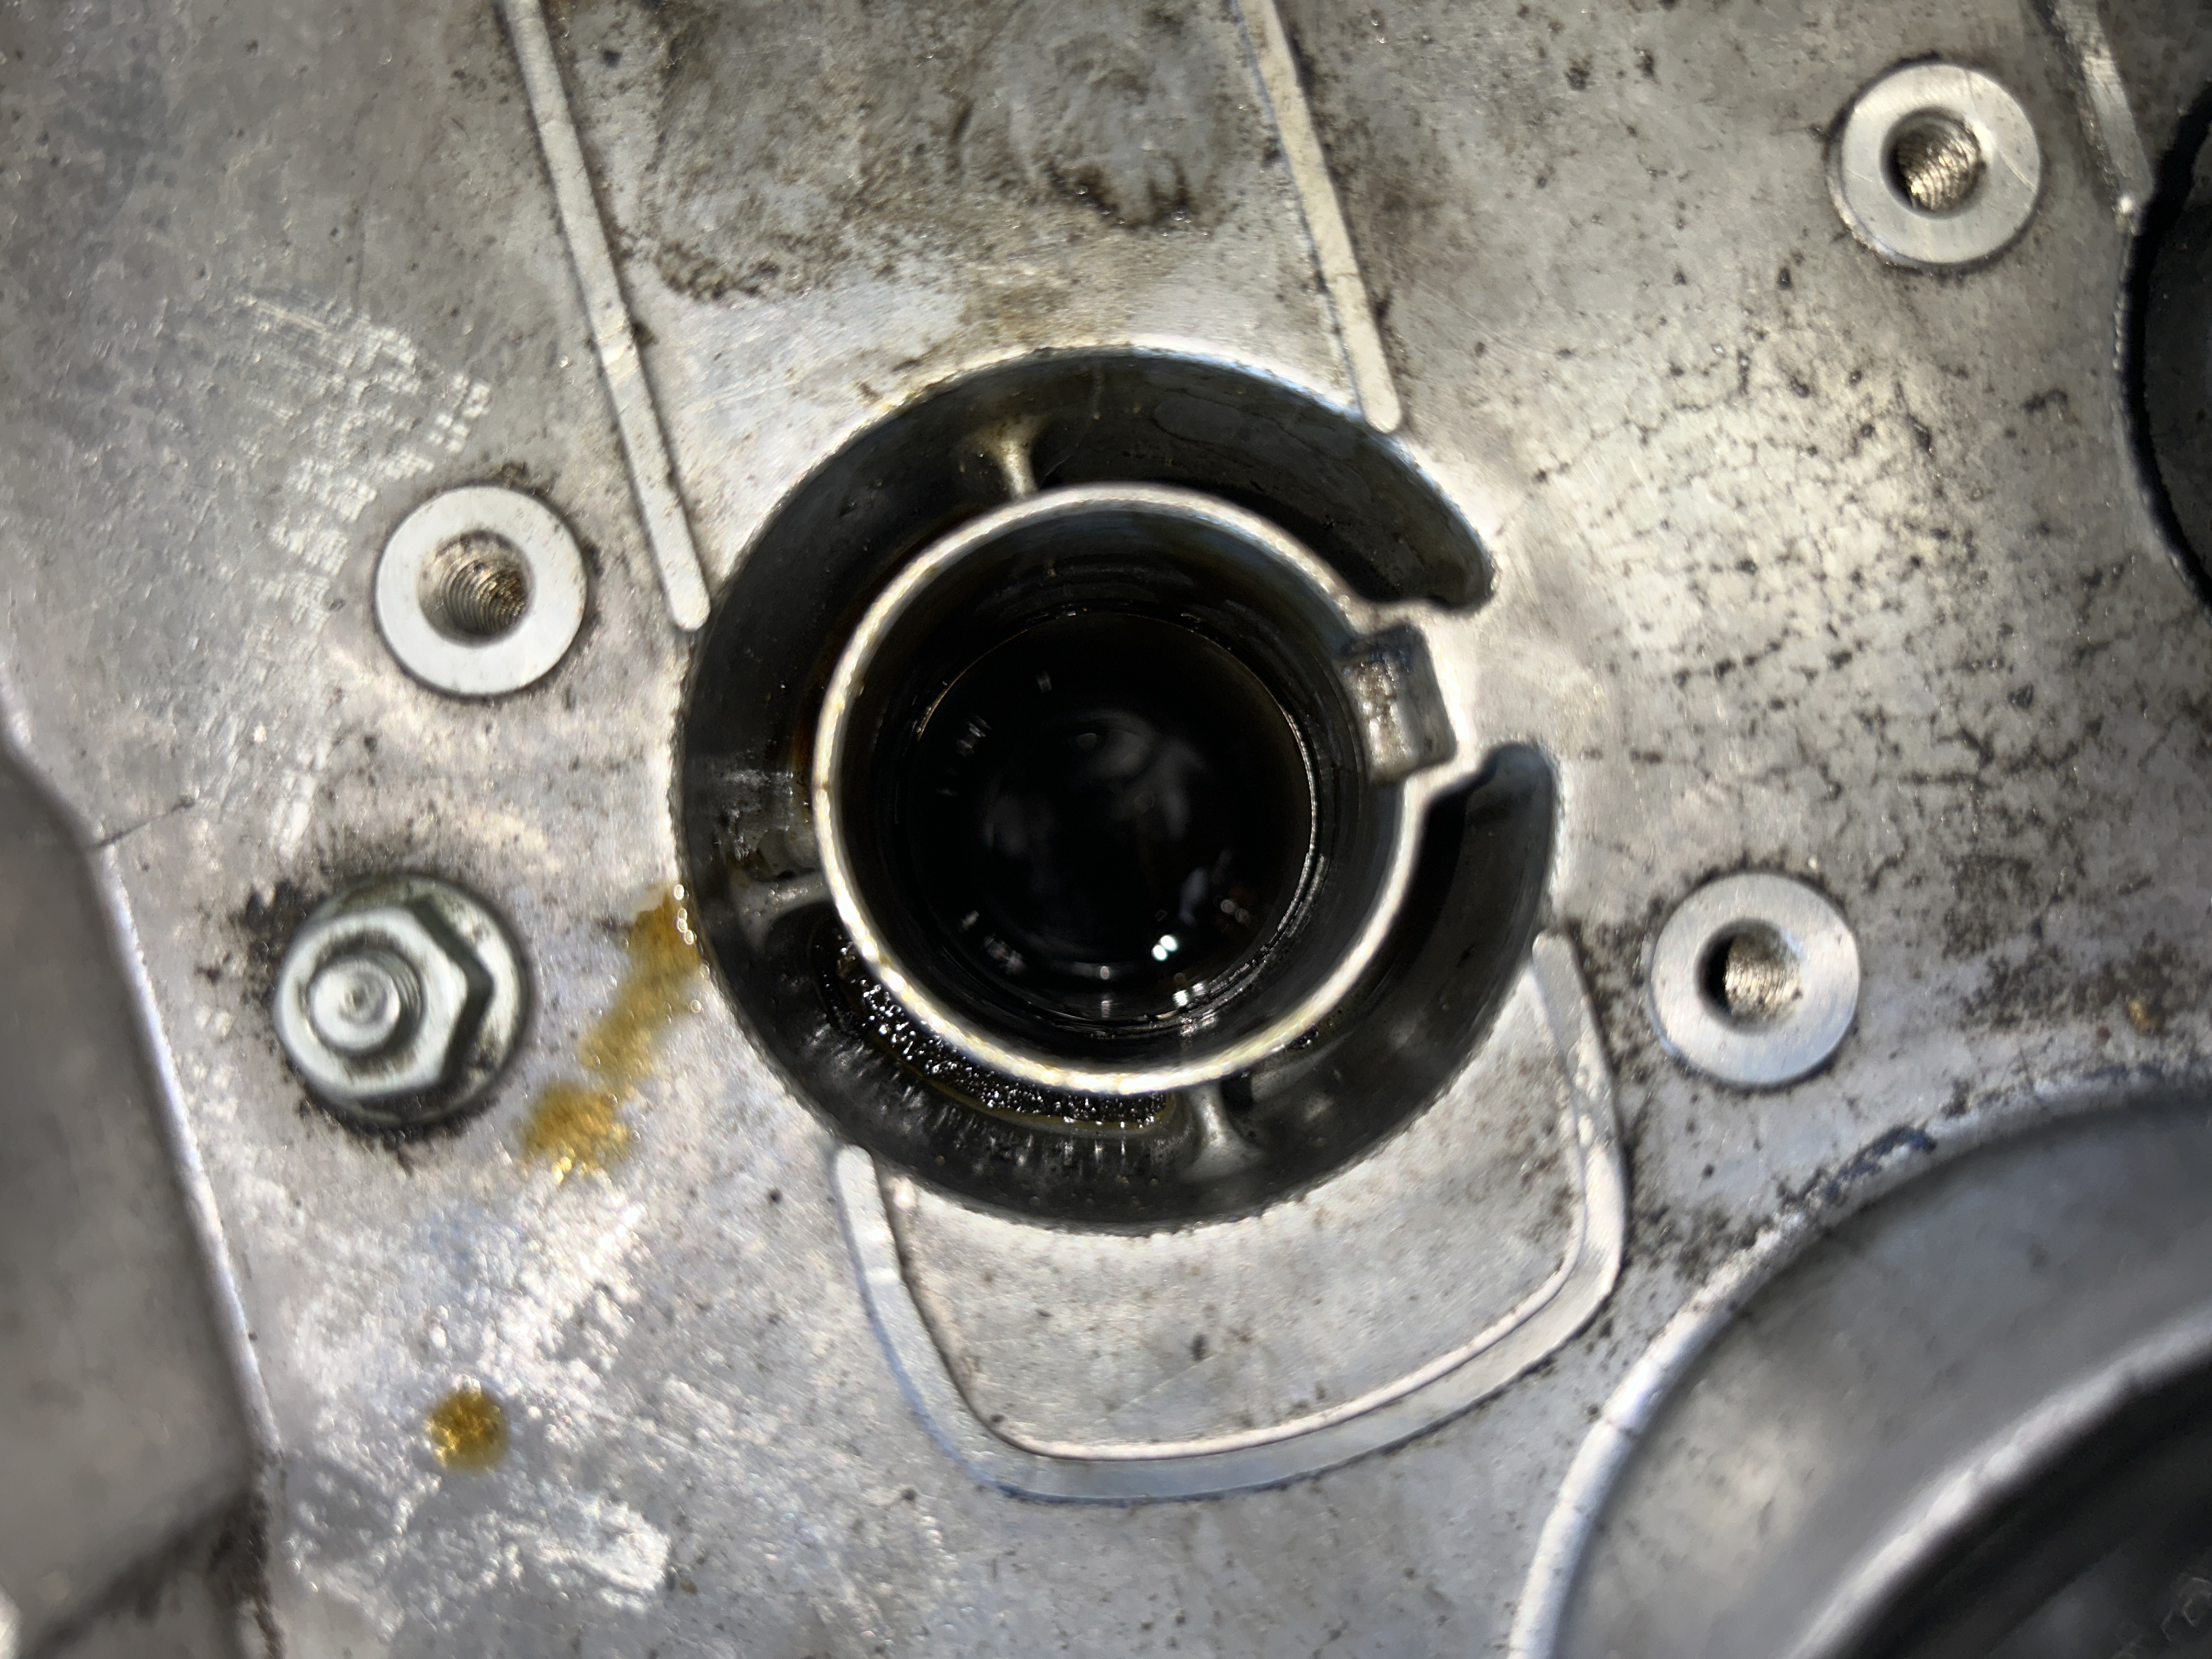
The valve cover gasket seals the upper and lower half of the engine with a gasket that goes around the perimeter of the valve cover. There are also spark plug tube seals that keep the oil inside of the engine and not allow it to leak into the spark plug wells. If you pull your ignition coil and find oil on the ignition coil itself or inside of the spark plug well, then you probably have one or more bad spark plug tube seals.

Another way of telling if you potentially have a leak in your valve cover gasket is if you pull the engine covers and take a close look around the lower half of your engine right below the valve cover. It may be difficult to tell, but sometimes you can see an active oil leak right below the valve cover running along the sides of the engine.
Tools/Materials
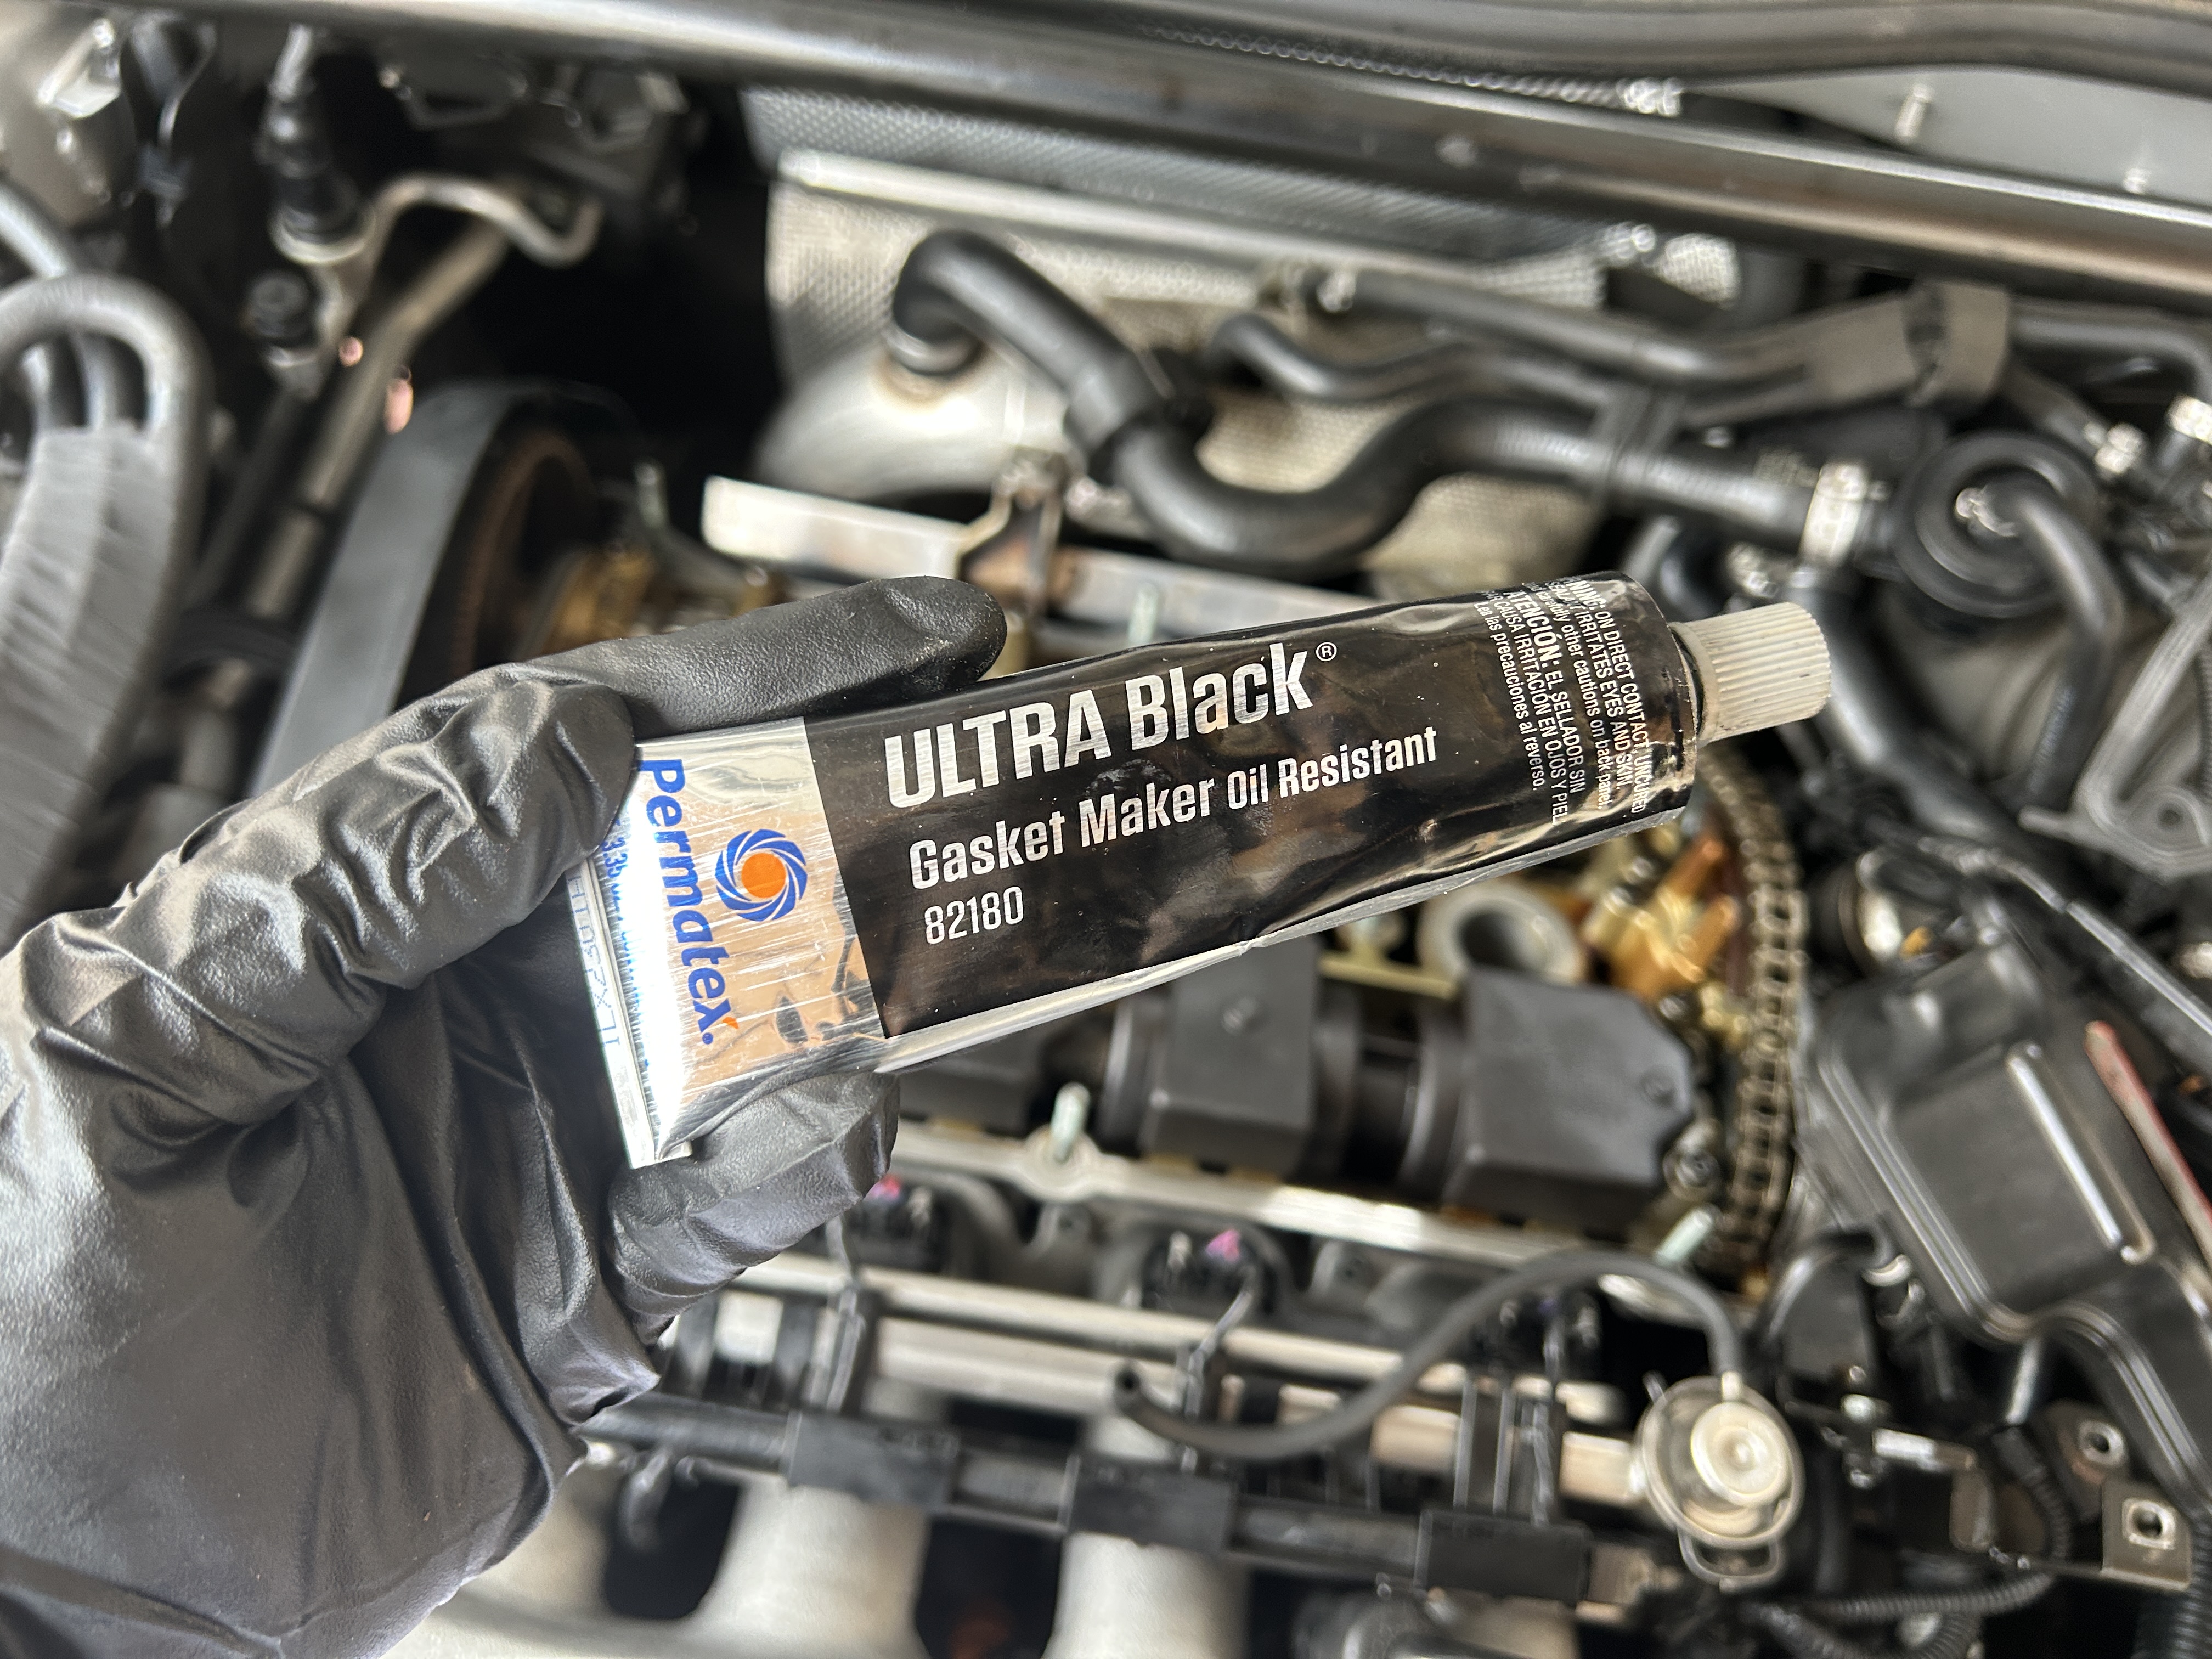
Replacing the valve cover gasket is not that difficult to do on these cars. There are a few items to remove prior to taking off the valve cover gasket, which is pretty simple. When installing a new valve cover gasket, ensure that you apply dabs of gasket maker at certain locations prior to installing the valve cover back on. I’ve posted some images pointing these locations out further down on this tutorial.
Tools and Equipment Used
Valve Cover Gasket for the MK1 Audi TT
The OEM part number for the valve cover gasket is 058198025A, which applies to all Mark I Audi TT’s (model years 2000-2006). I used a MAHLE VS50352 Valve Cover Gasket. I recommend using either an OEM one or similar. MAHLE, FEL-PRO, and Victor Reinz are popular alternative parts if you don’t go with OEM.
MAHLE VS50352 Valve Cover Gasket: Search results on Ebay
FEL-PRO VS50531R Valve Cover Gasket
Victor Reinz 15-31946-01 Engine Valve Cover Gasket
Gasket Maker
You will need gasket maker that is resistant to oil and has good high temperature resistance. I personally like the use of Permatex Ultra Black Gasket Maker for this purpose. You’ll need to apply six dabs of gasket maker during the installation of the valve cover.
Permatex 82180 Ultra Black Maximum Oil Resistance RTV Silicone Gasket Maker
Other Tools & Materials Used
Screwdriver set: CRAFTSMAN Screwdriver Set, Bi-Material, 8 Piece Set
Socket set: EPAuto 40 Pieces 1/4-Inch & 3/8-Inch Drive Socket Set
3/8″ Torque wrench: CRAFTSMAN Torque Wrench, 3/8″ Drive
Nitrile gloves: Inspire Black Nitrile Gloves 6 Mil – Sm / Md / Lg / XL / XXL
How to Replace the Valve Cover Gasket on a MK1 Audi TT
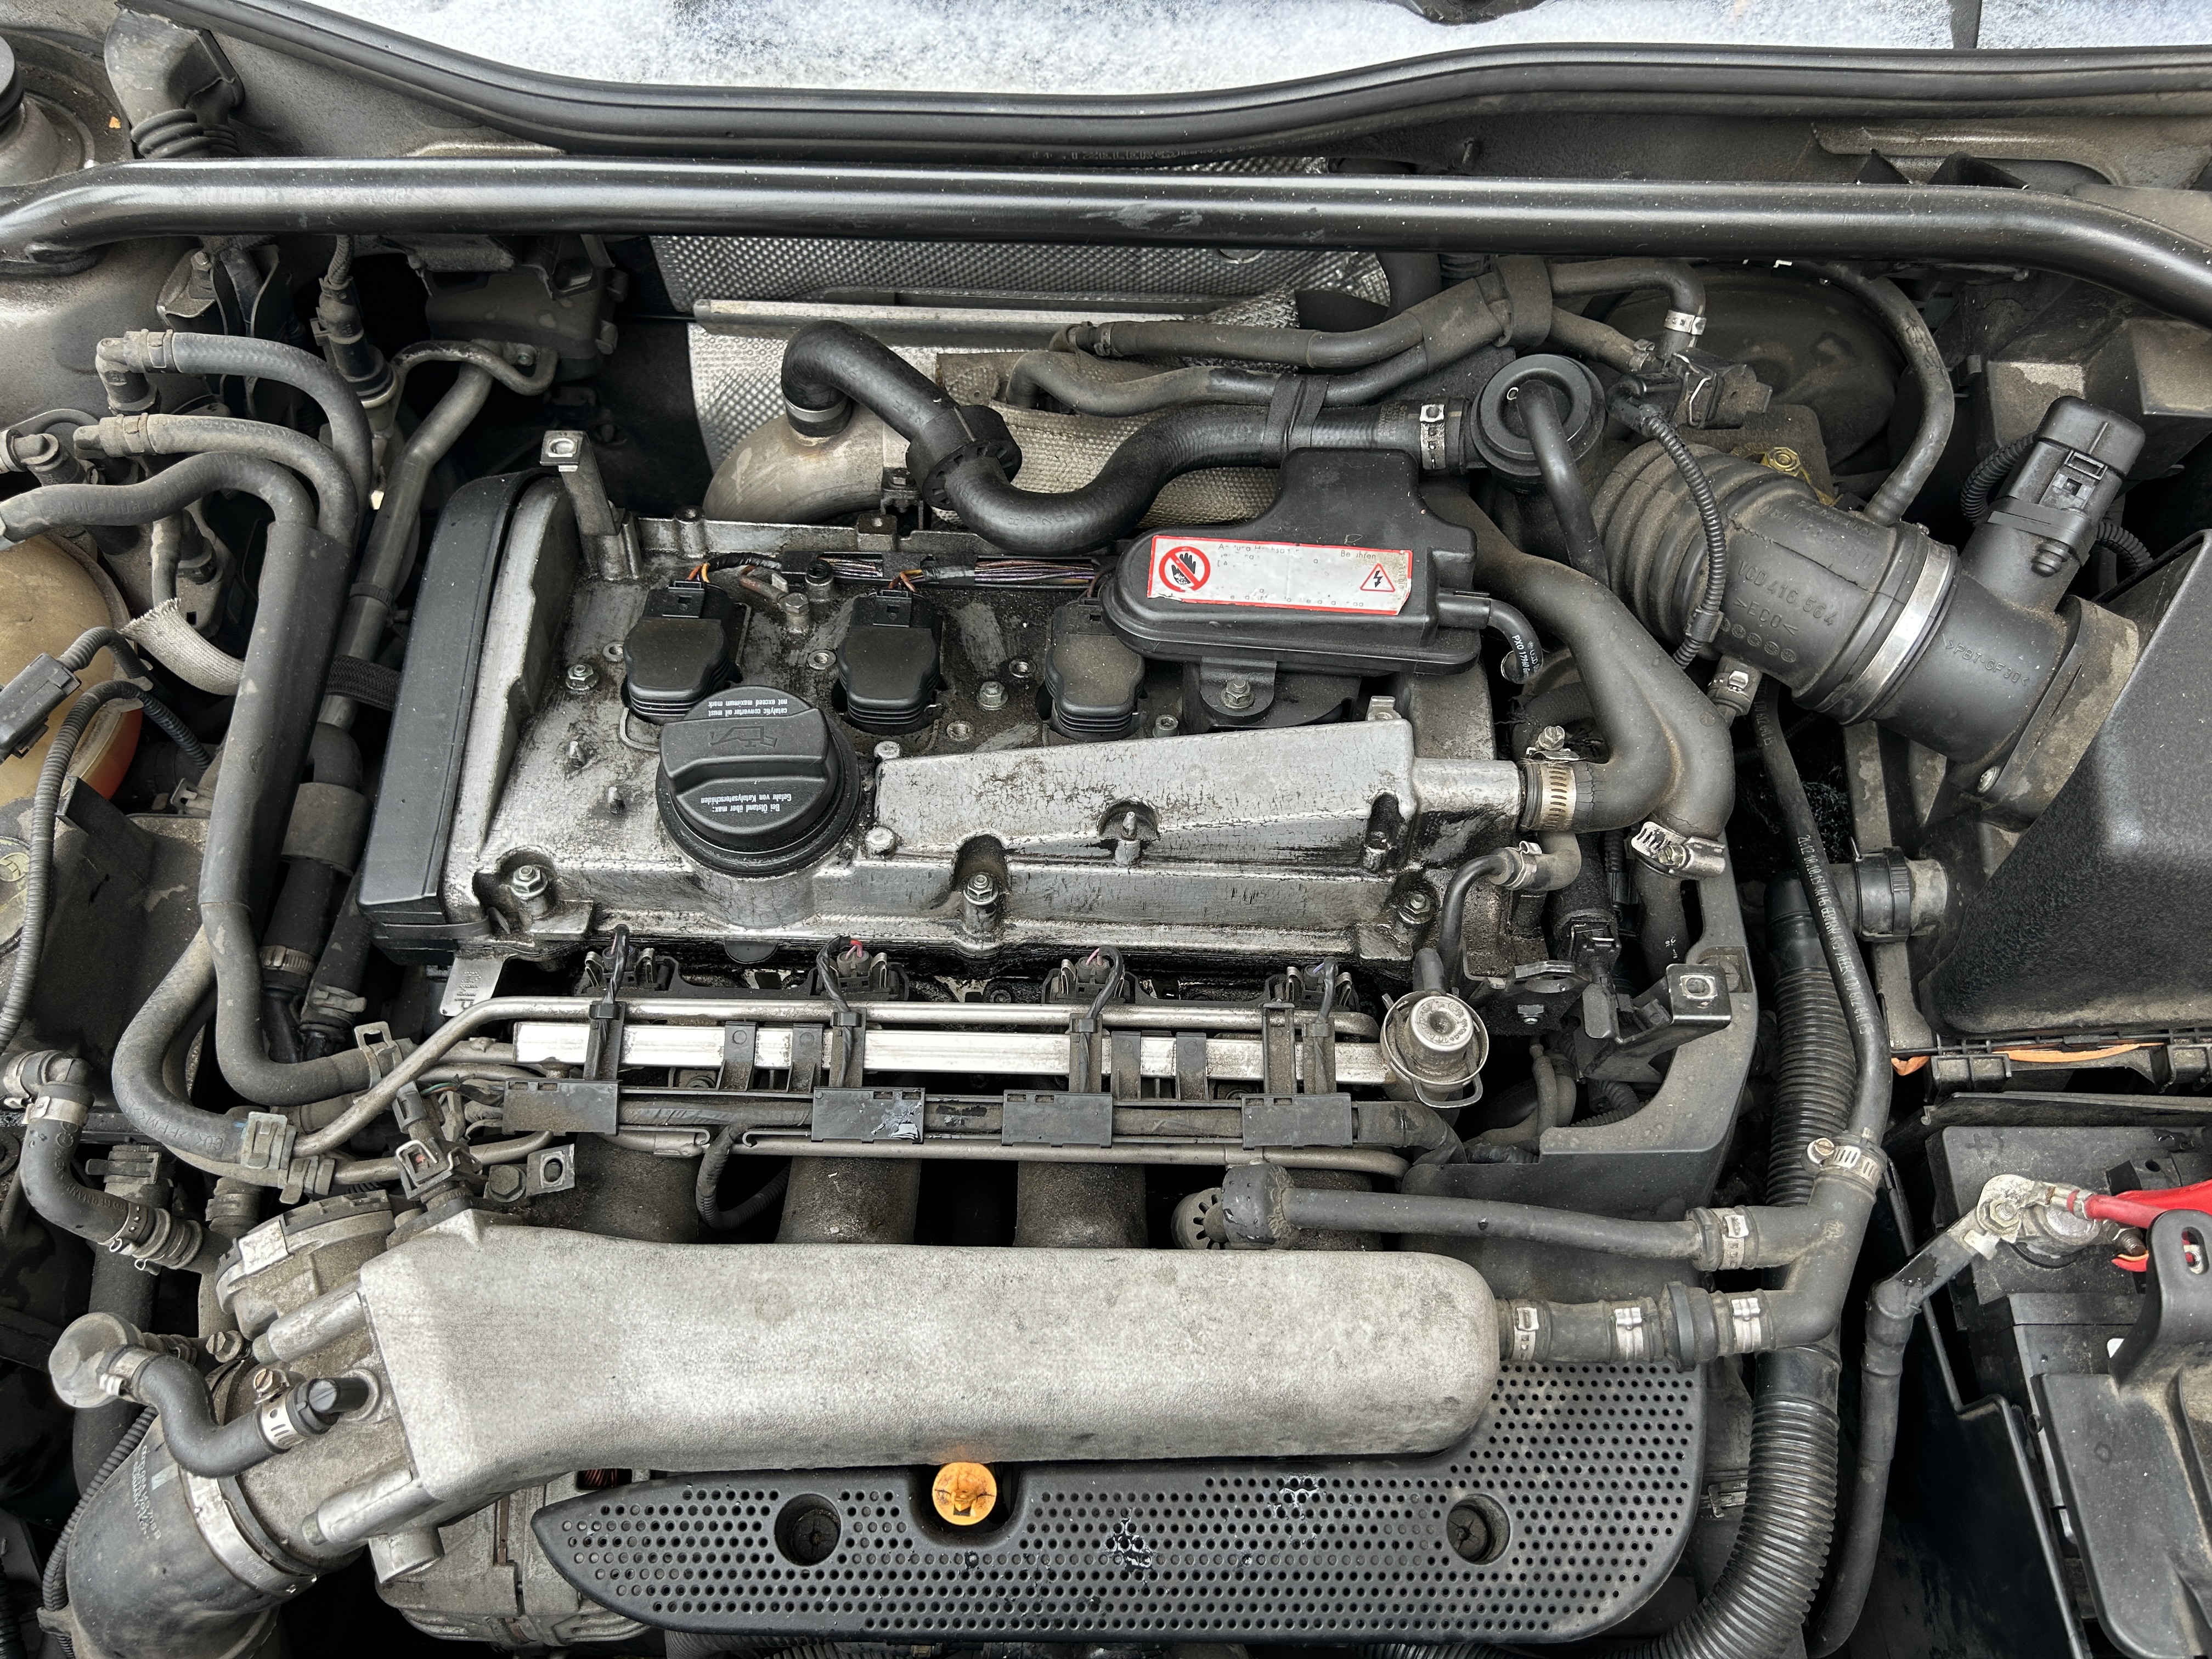
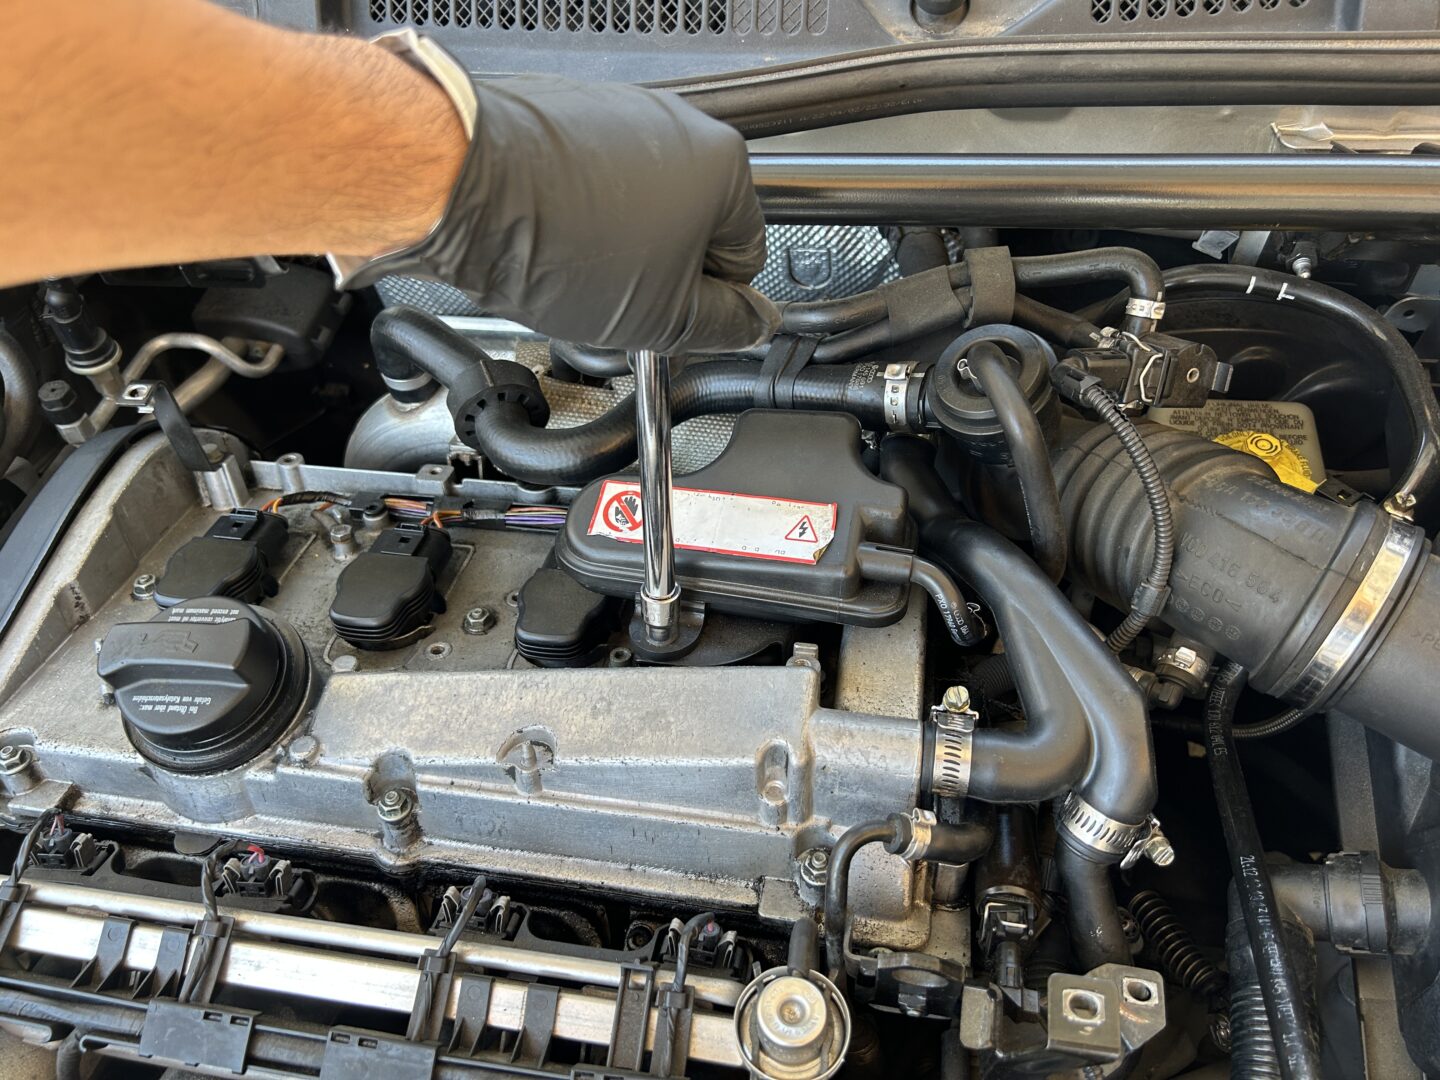
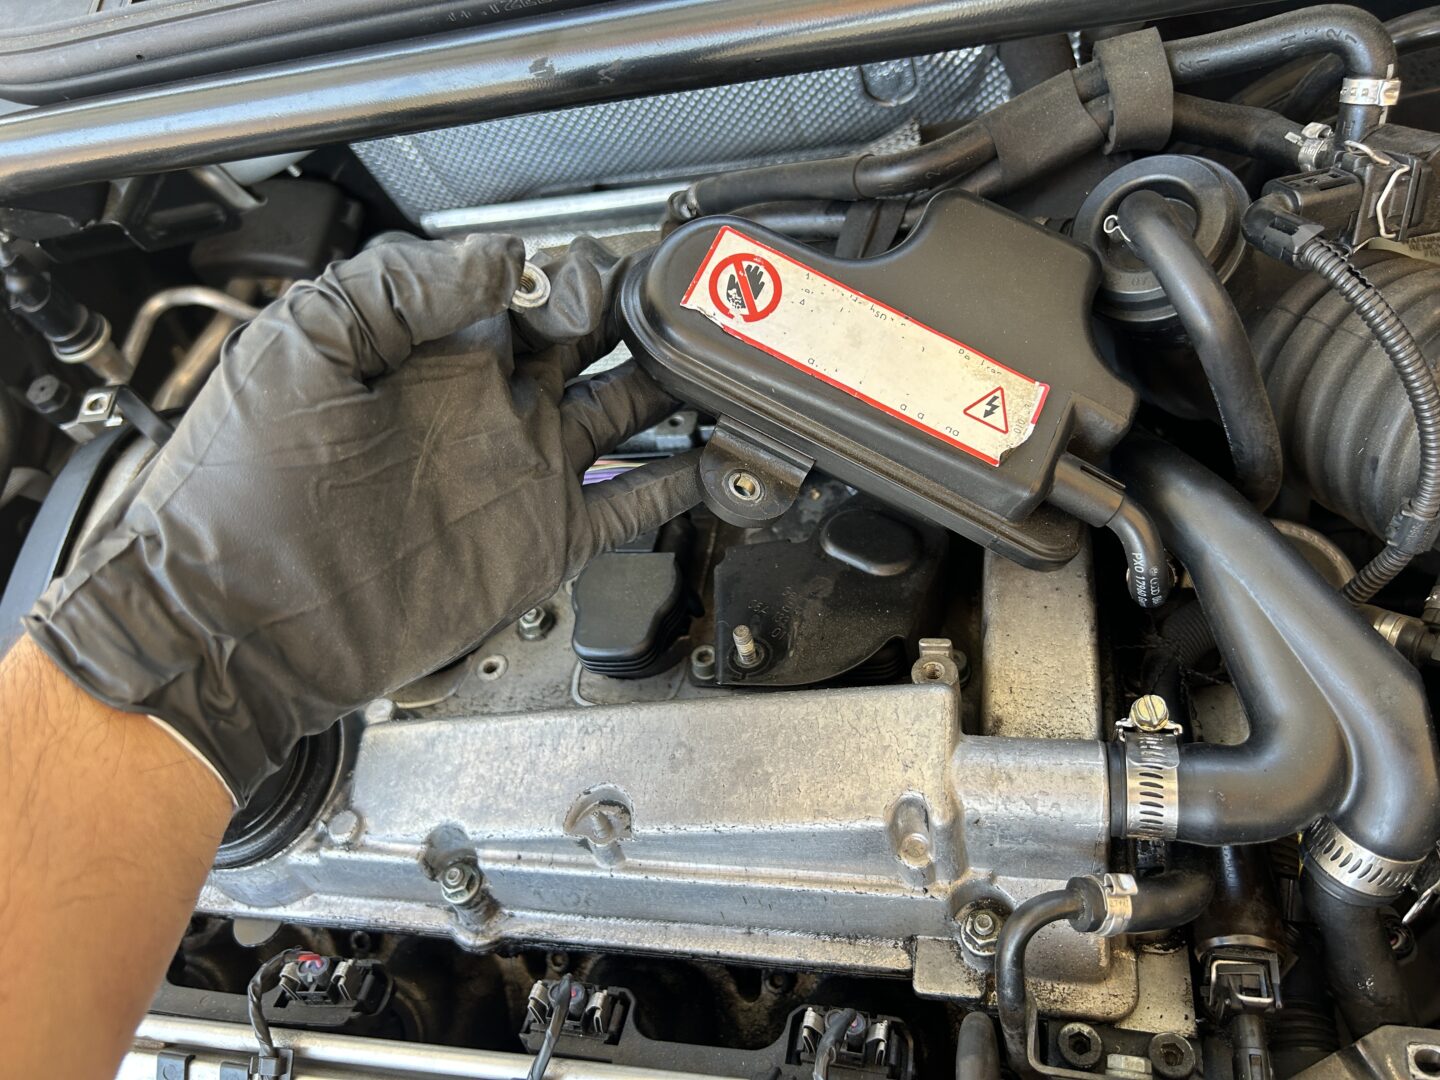
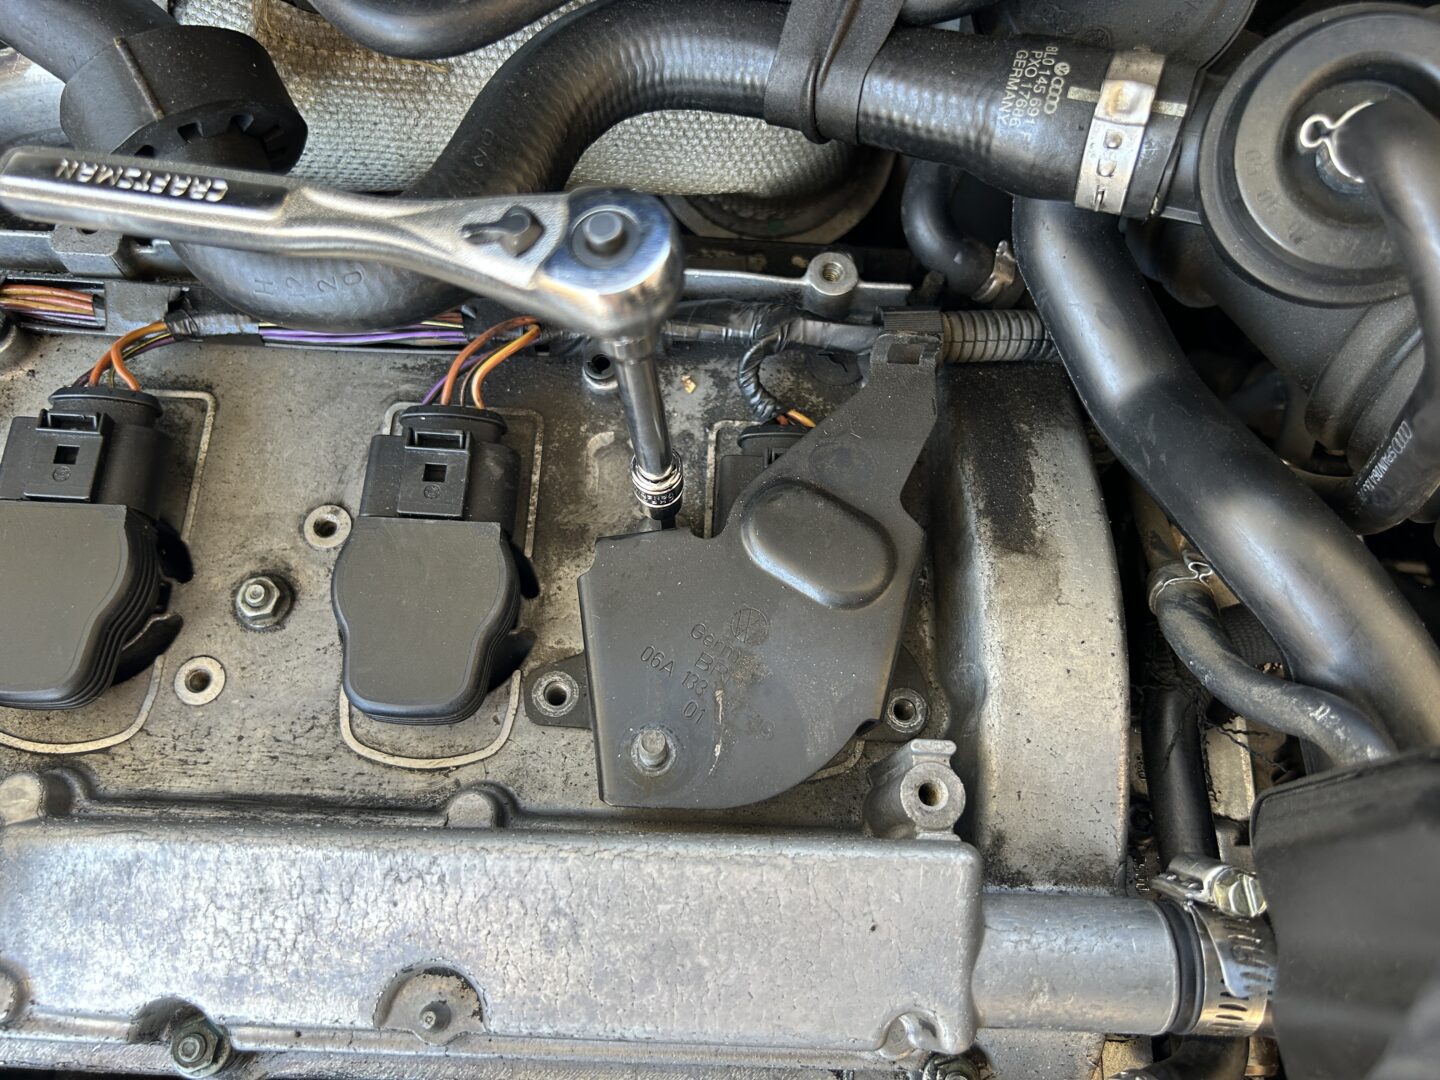
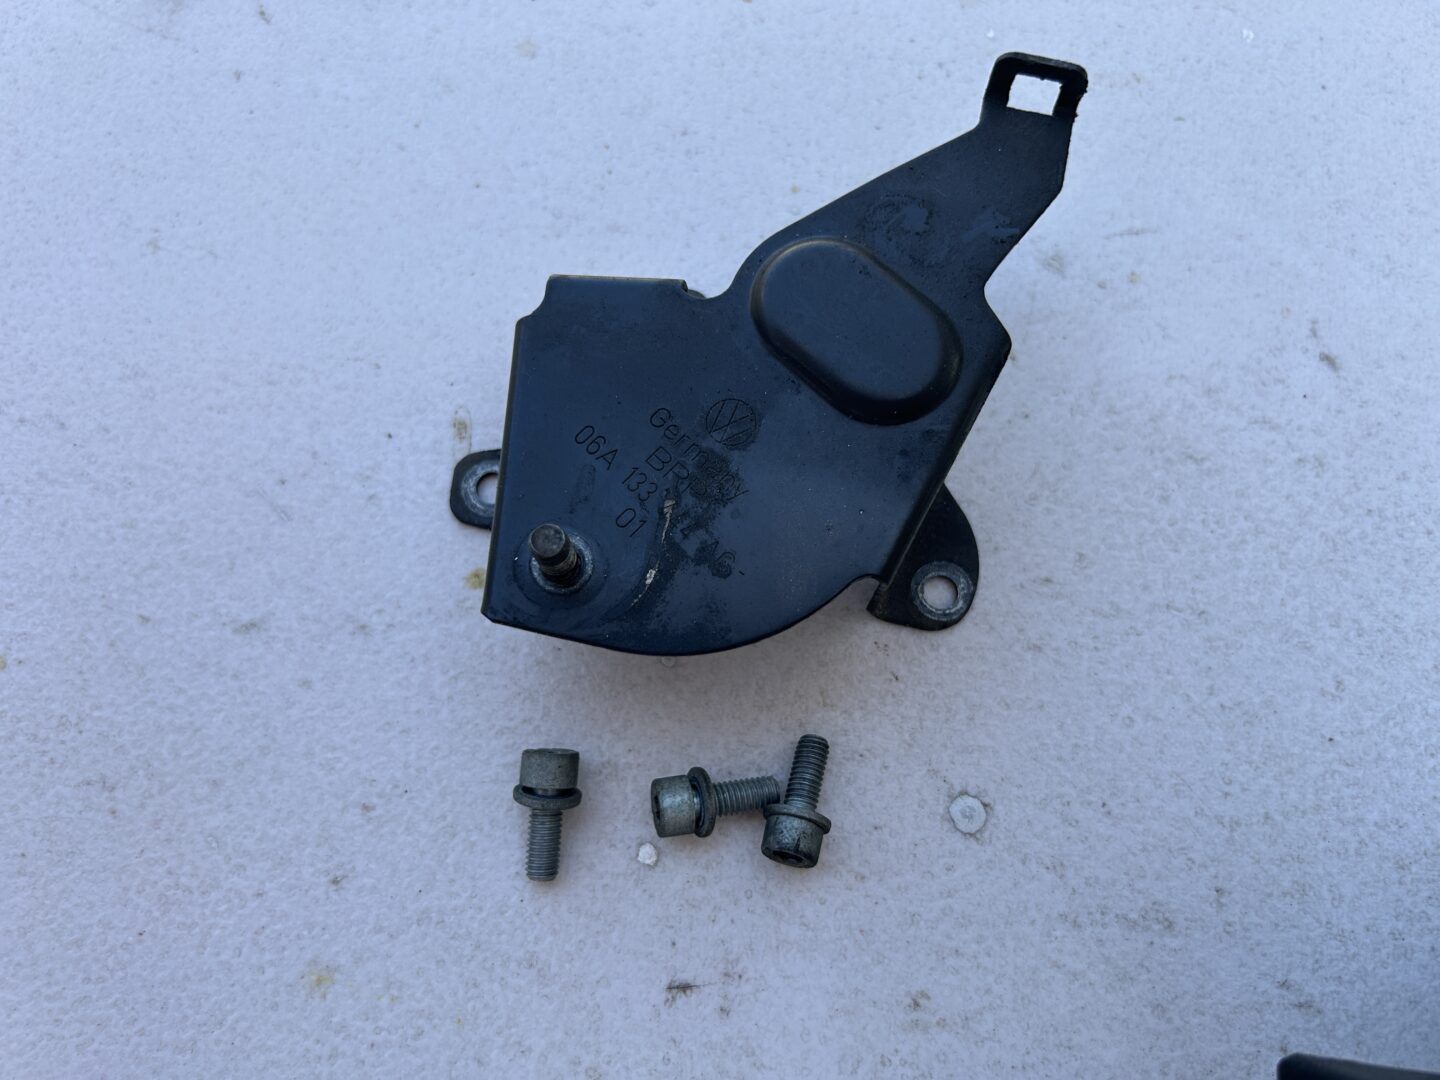
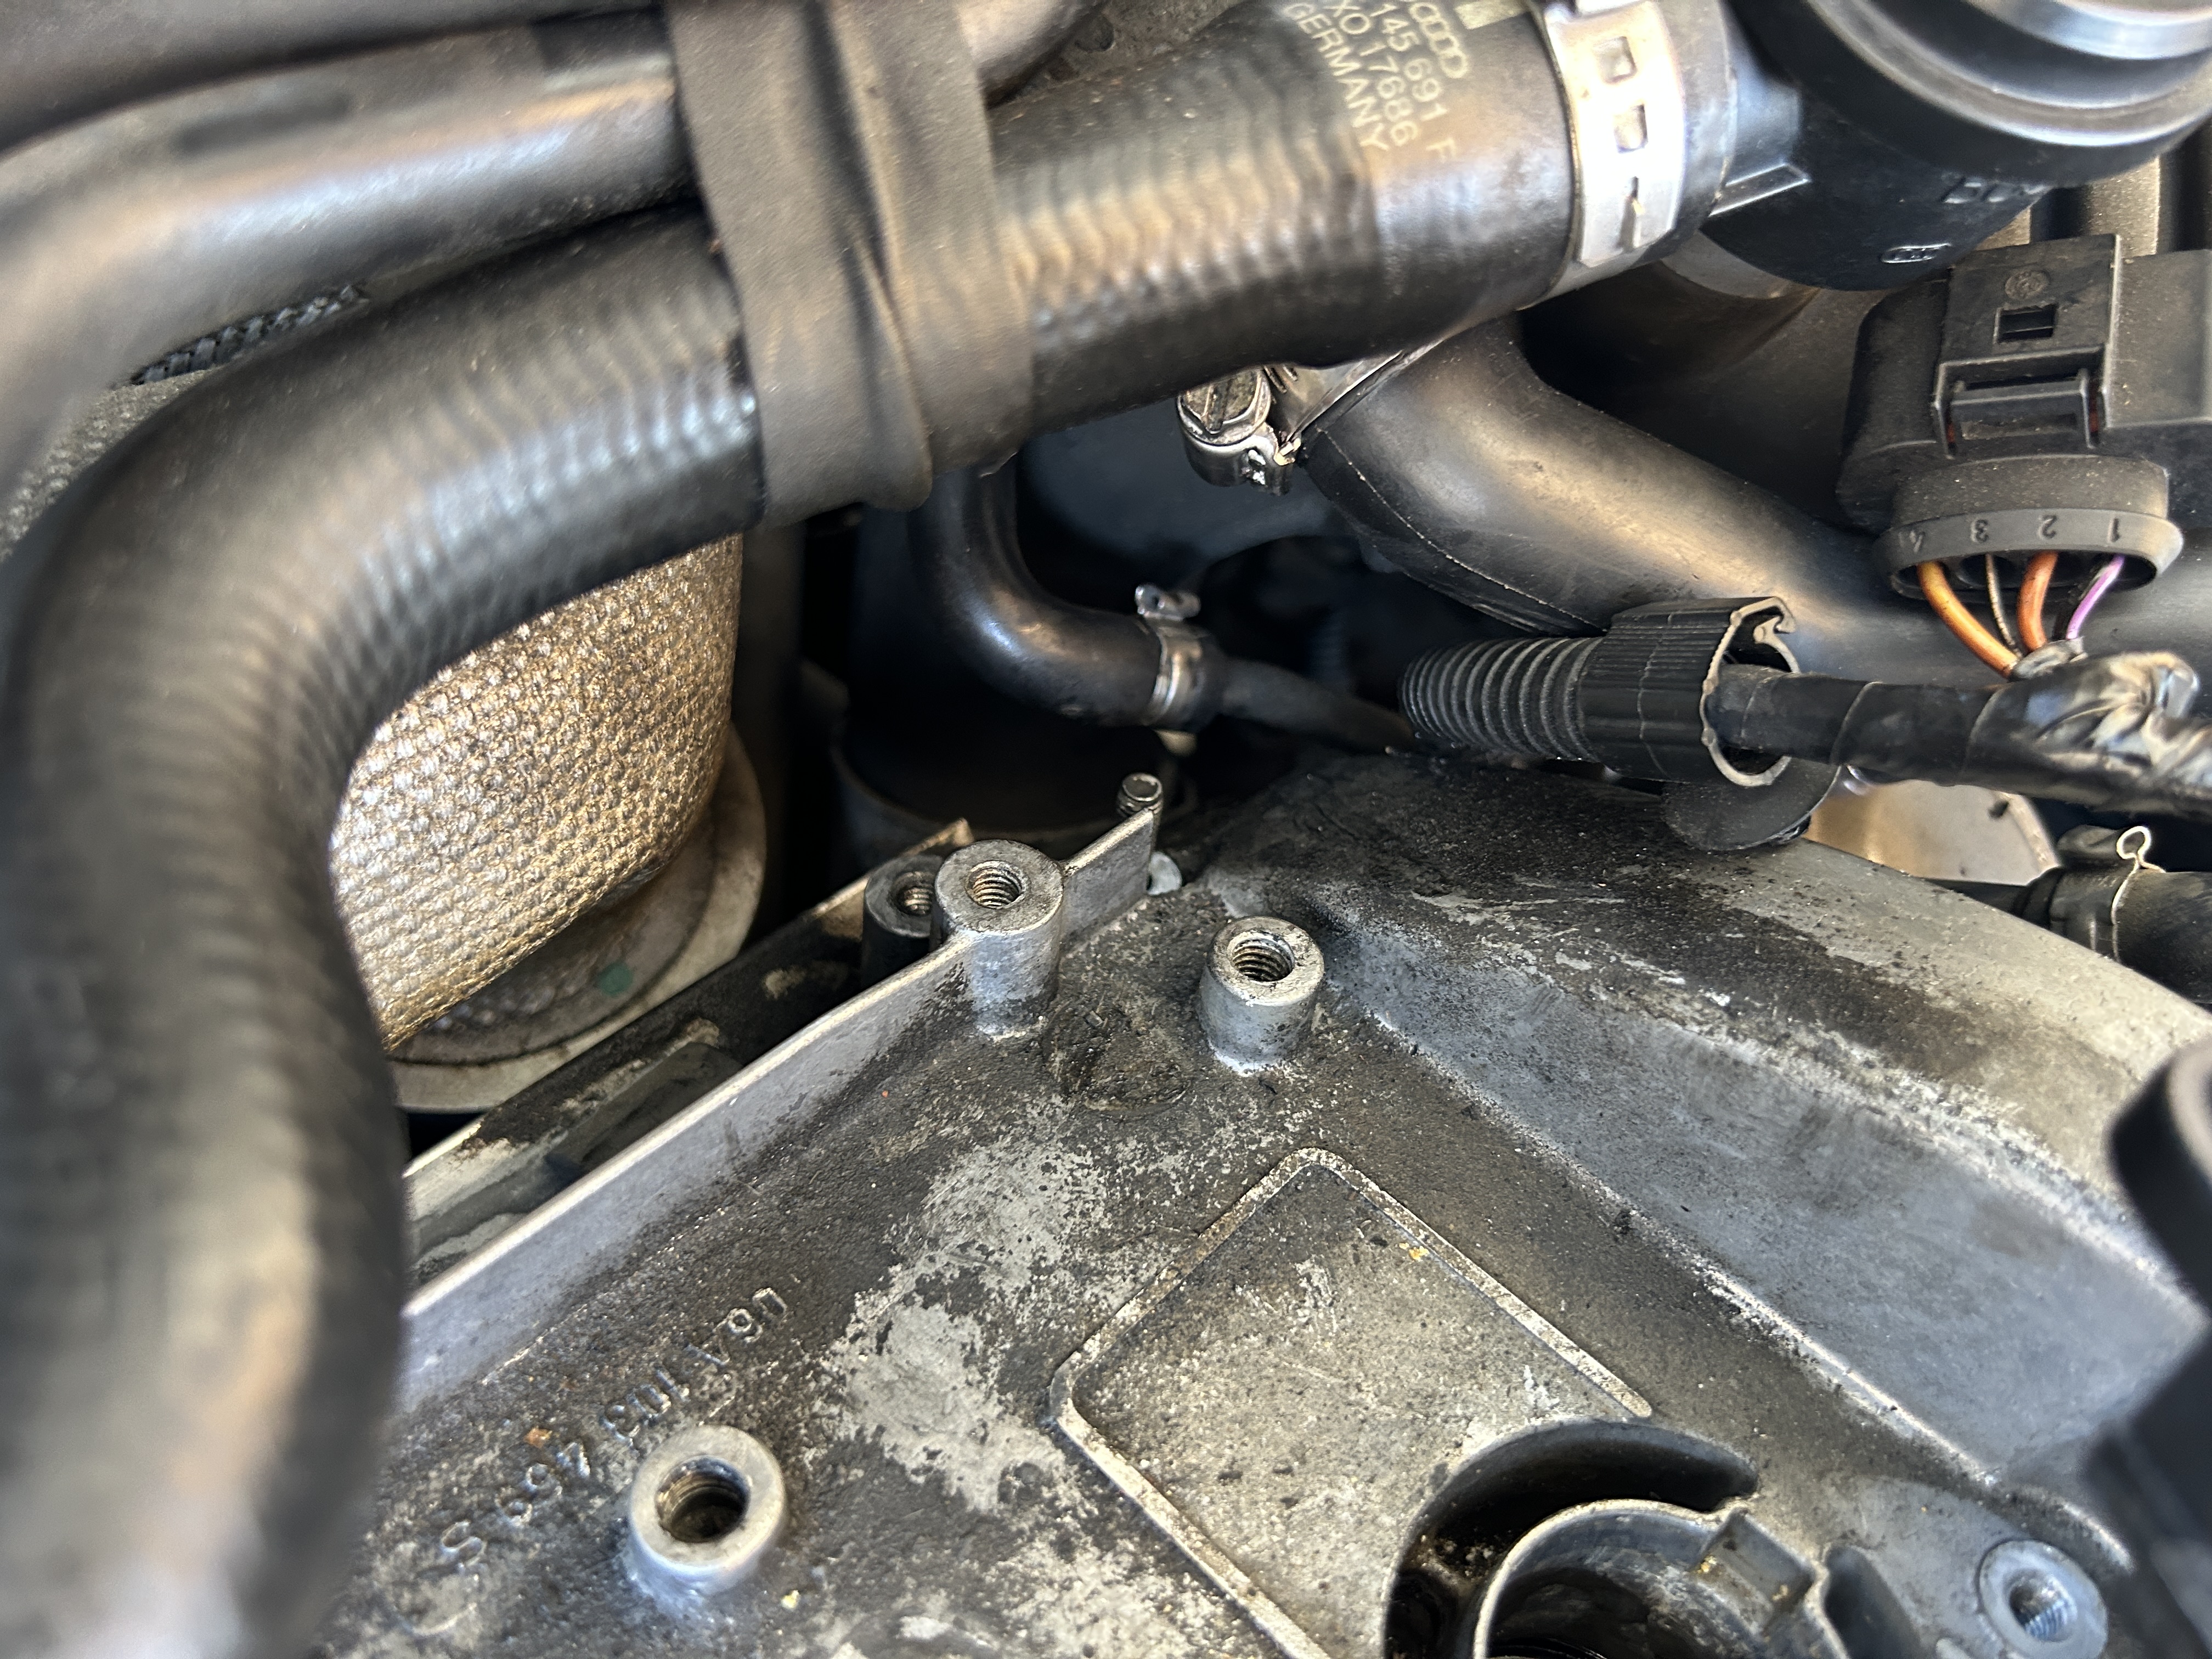
Start by removing the engine covers, then the vacuum reservoir on top of the engine via the (1 qty) nut. Then, remove the (3 qty) bolts for this mounting bracket.
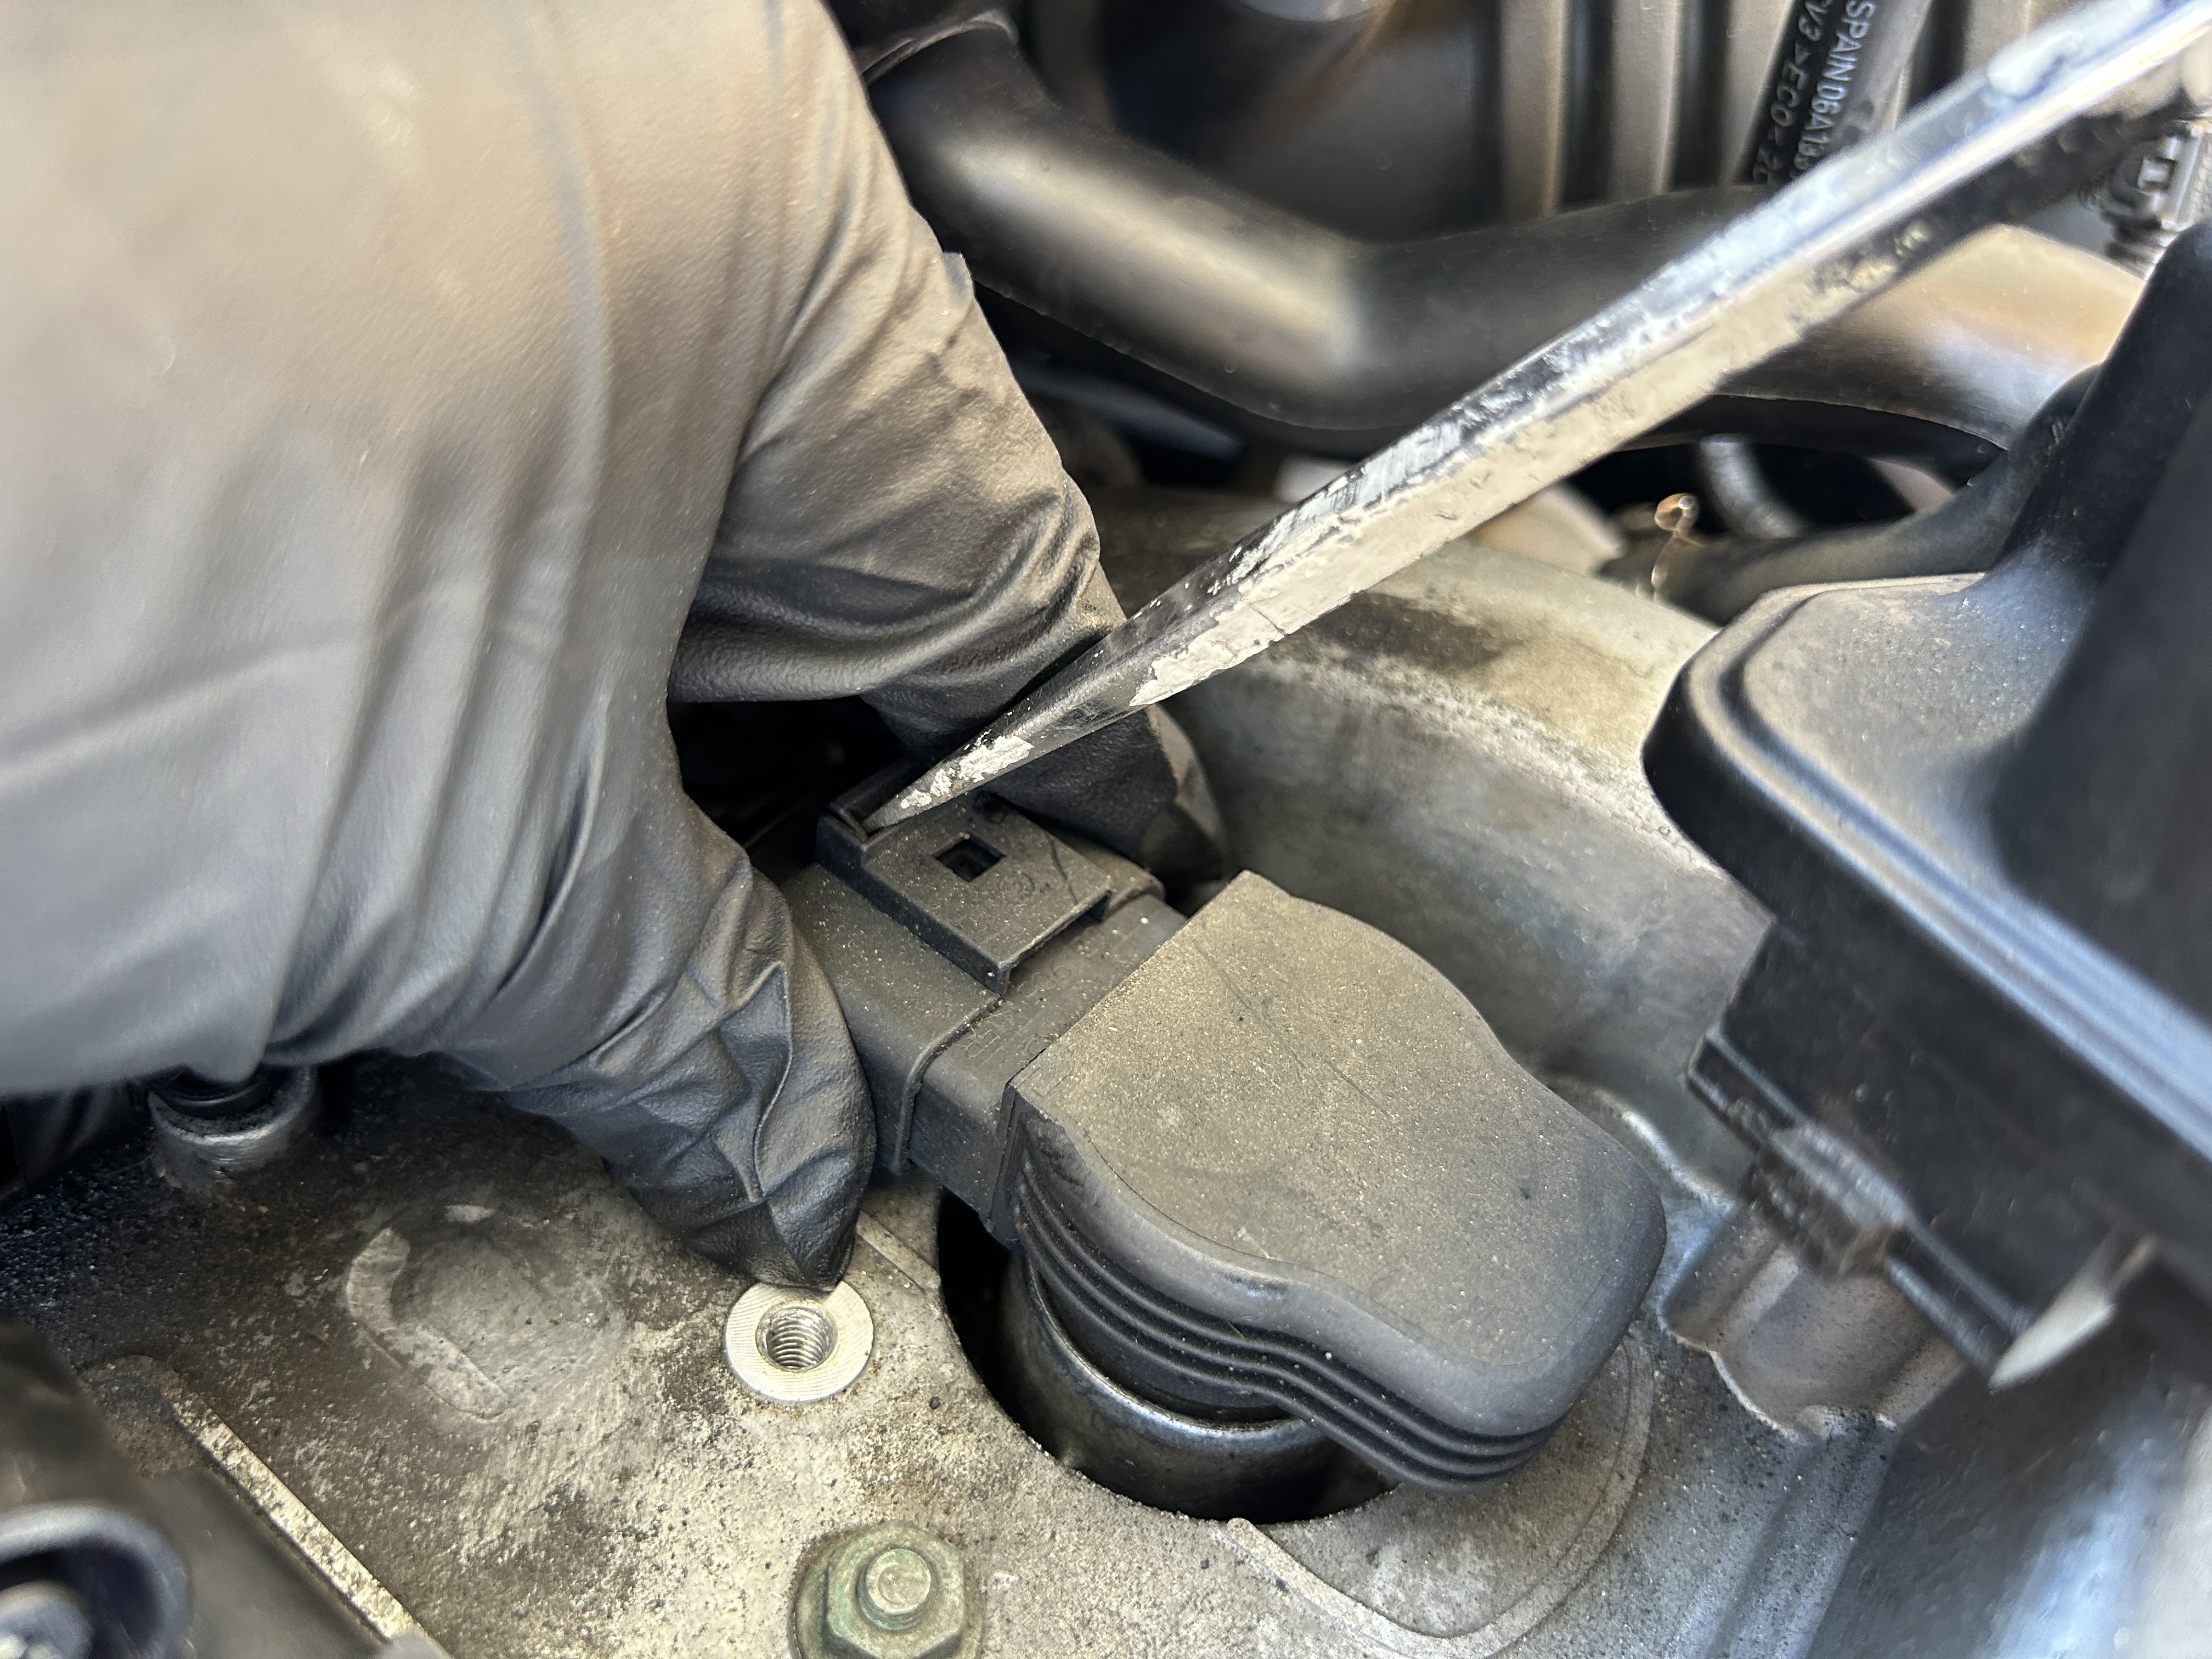
Remove the ignition coils by unclipping the electrical connectors–squeezing and pulling the connectors off of the ignition coils. Then, pull the ignition coil straight up out of the spark plug well. Remove all (4 qty) ignition coils and set them aside. When I removed my ignition coils, I immediately saw them soaked in oil, which was indication that the spark plug seals were no longer doing its job.
The MK1 Audi TT has seen different ignition coil parts over the years, so yours may look a little difference from mine. Some ignition coils are bolted in, so you’d have to remove those bolts prior to removing the ignition coils. On mine, the ignition coils simply pop in and out. Also worth mentioning is that these photos are from my 180hp TT, but if you have the 225hp TT, you’ll have to remove the charge pipe and various other components during this job.
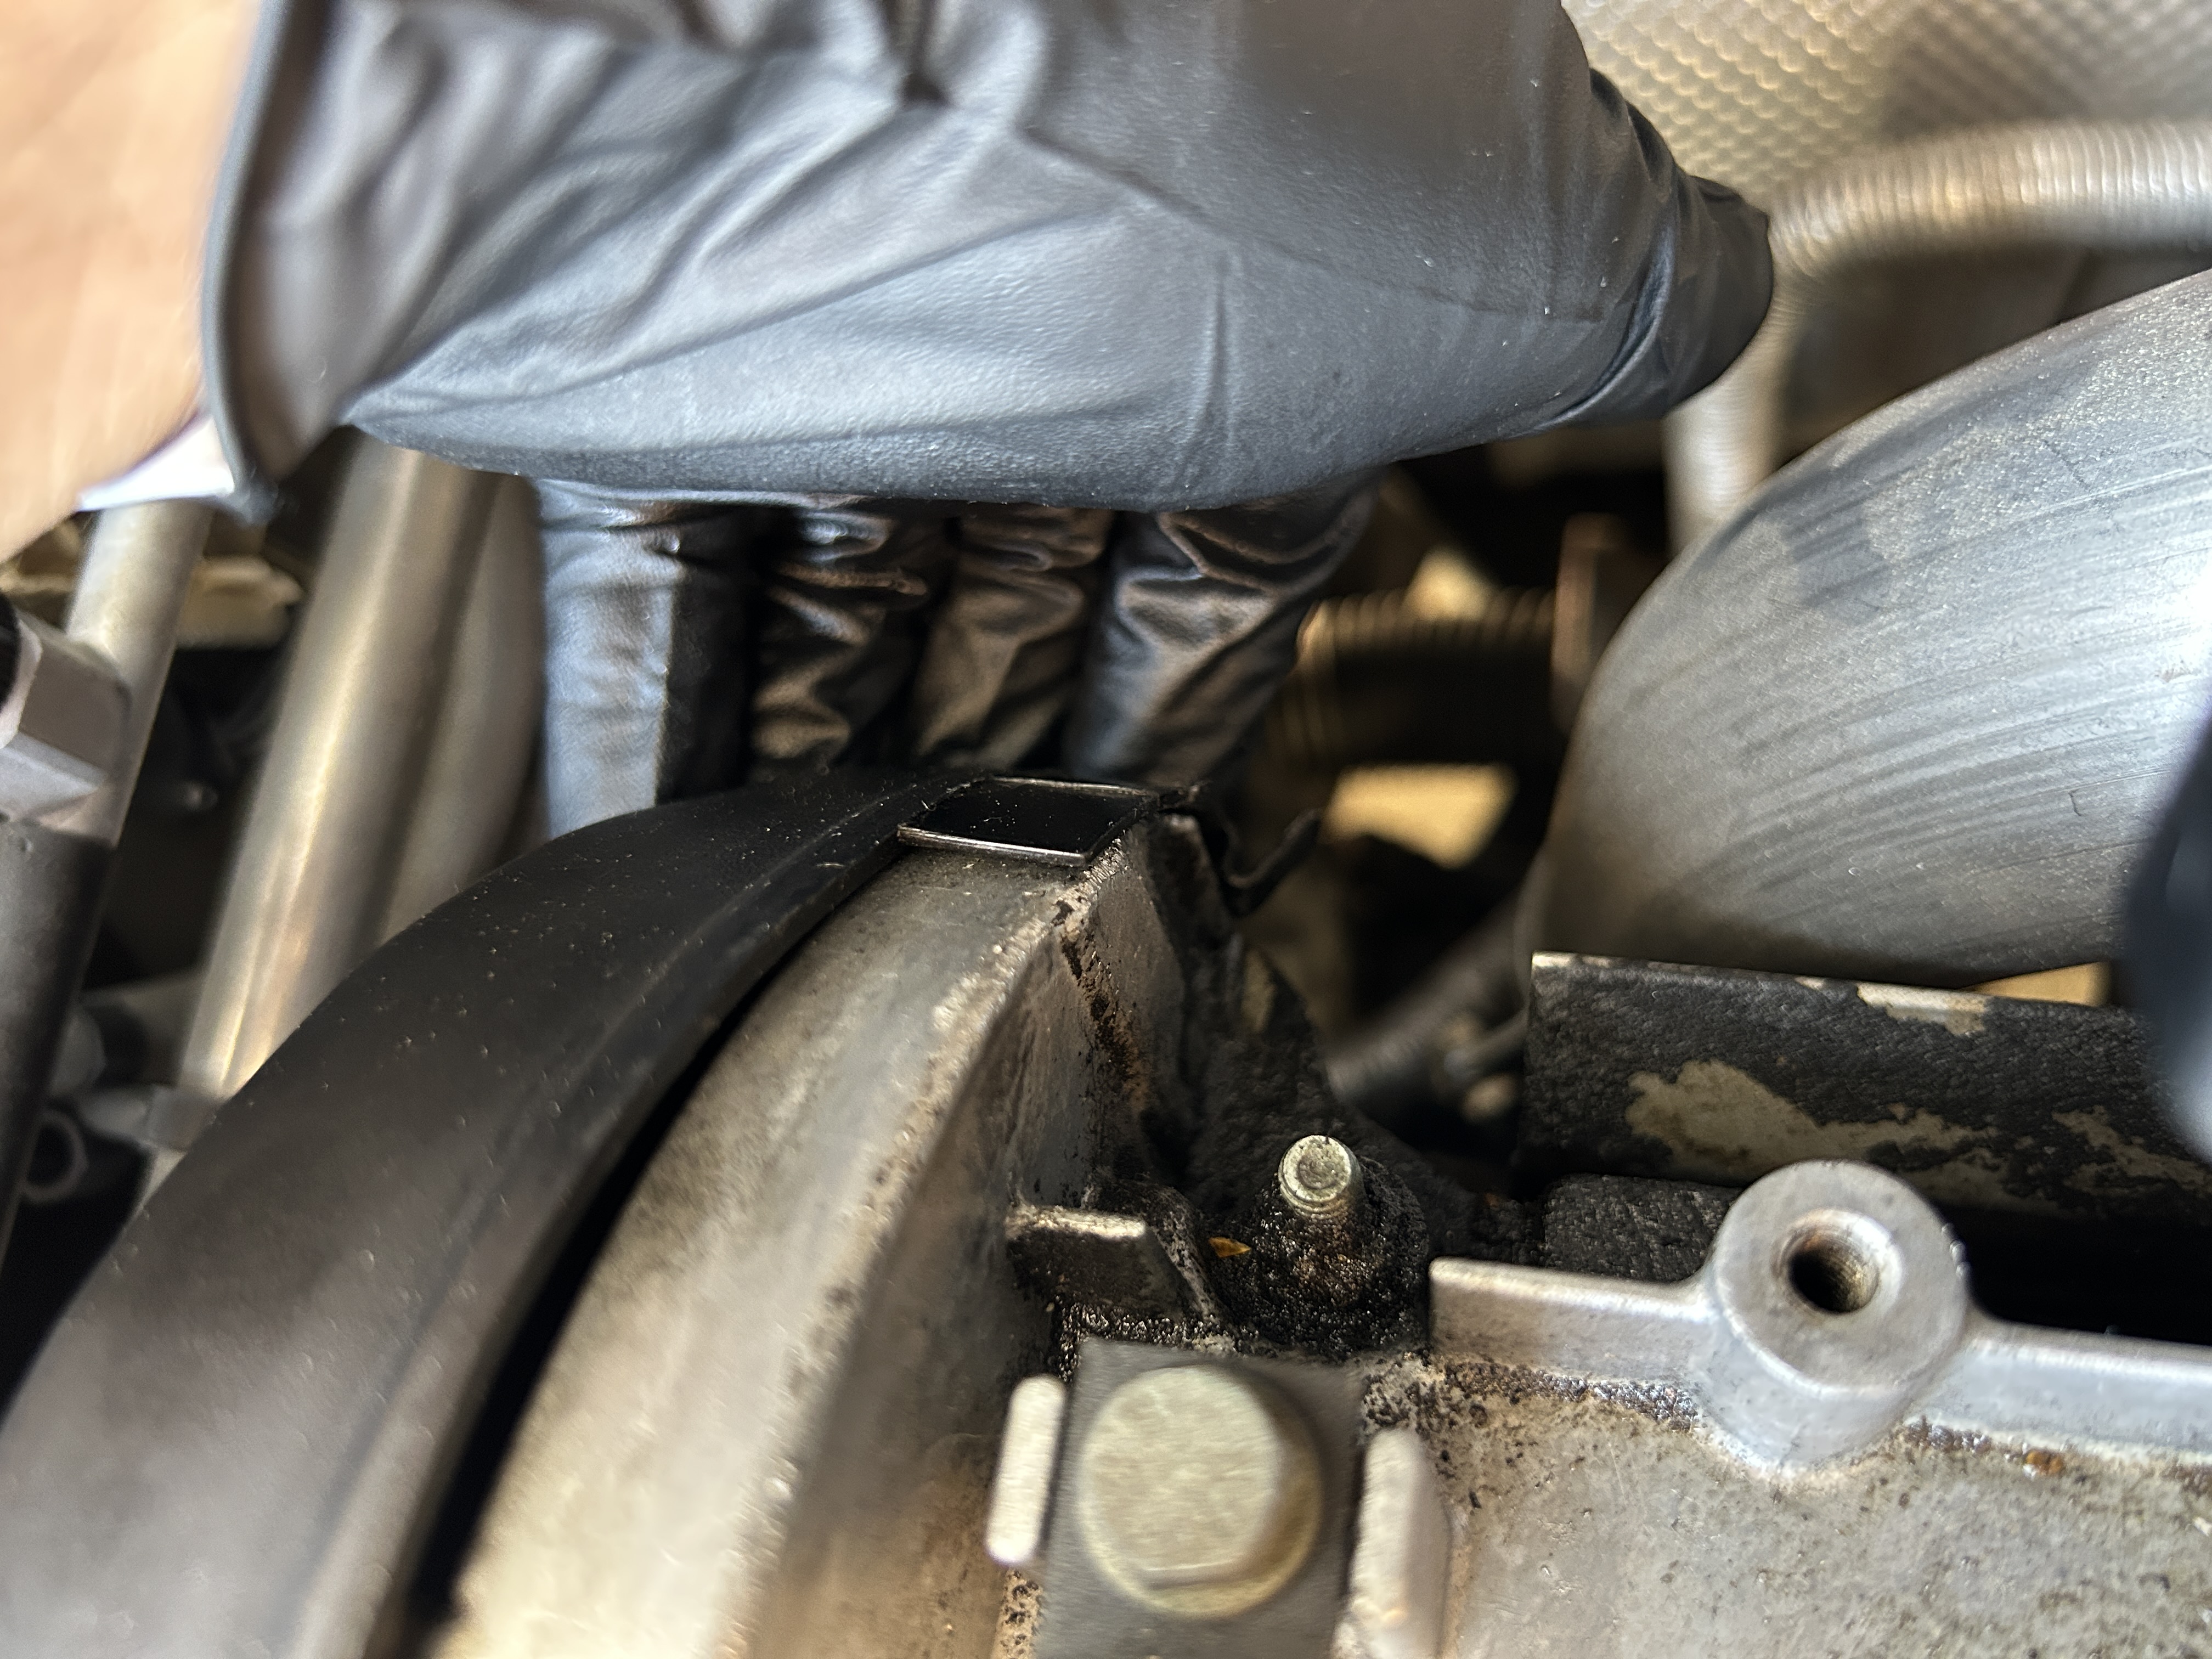
Undo the clips that hold the timing cover on. Then make sure that the timing cover can be pulled off to the side so that the valve cover is free to be removed.
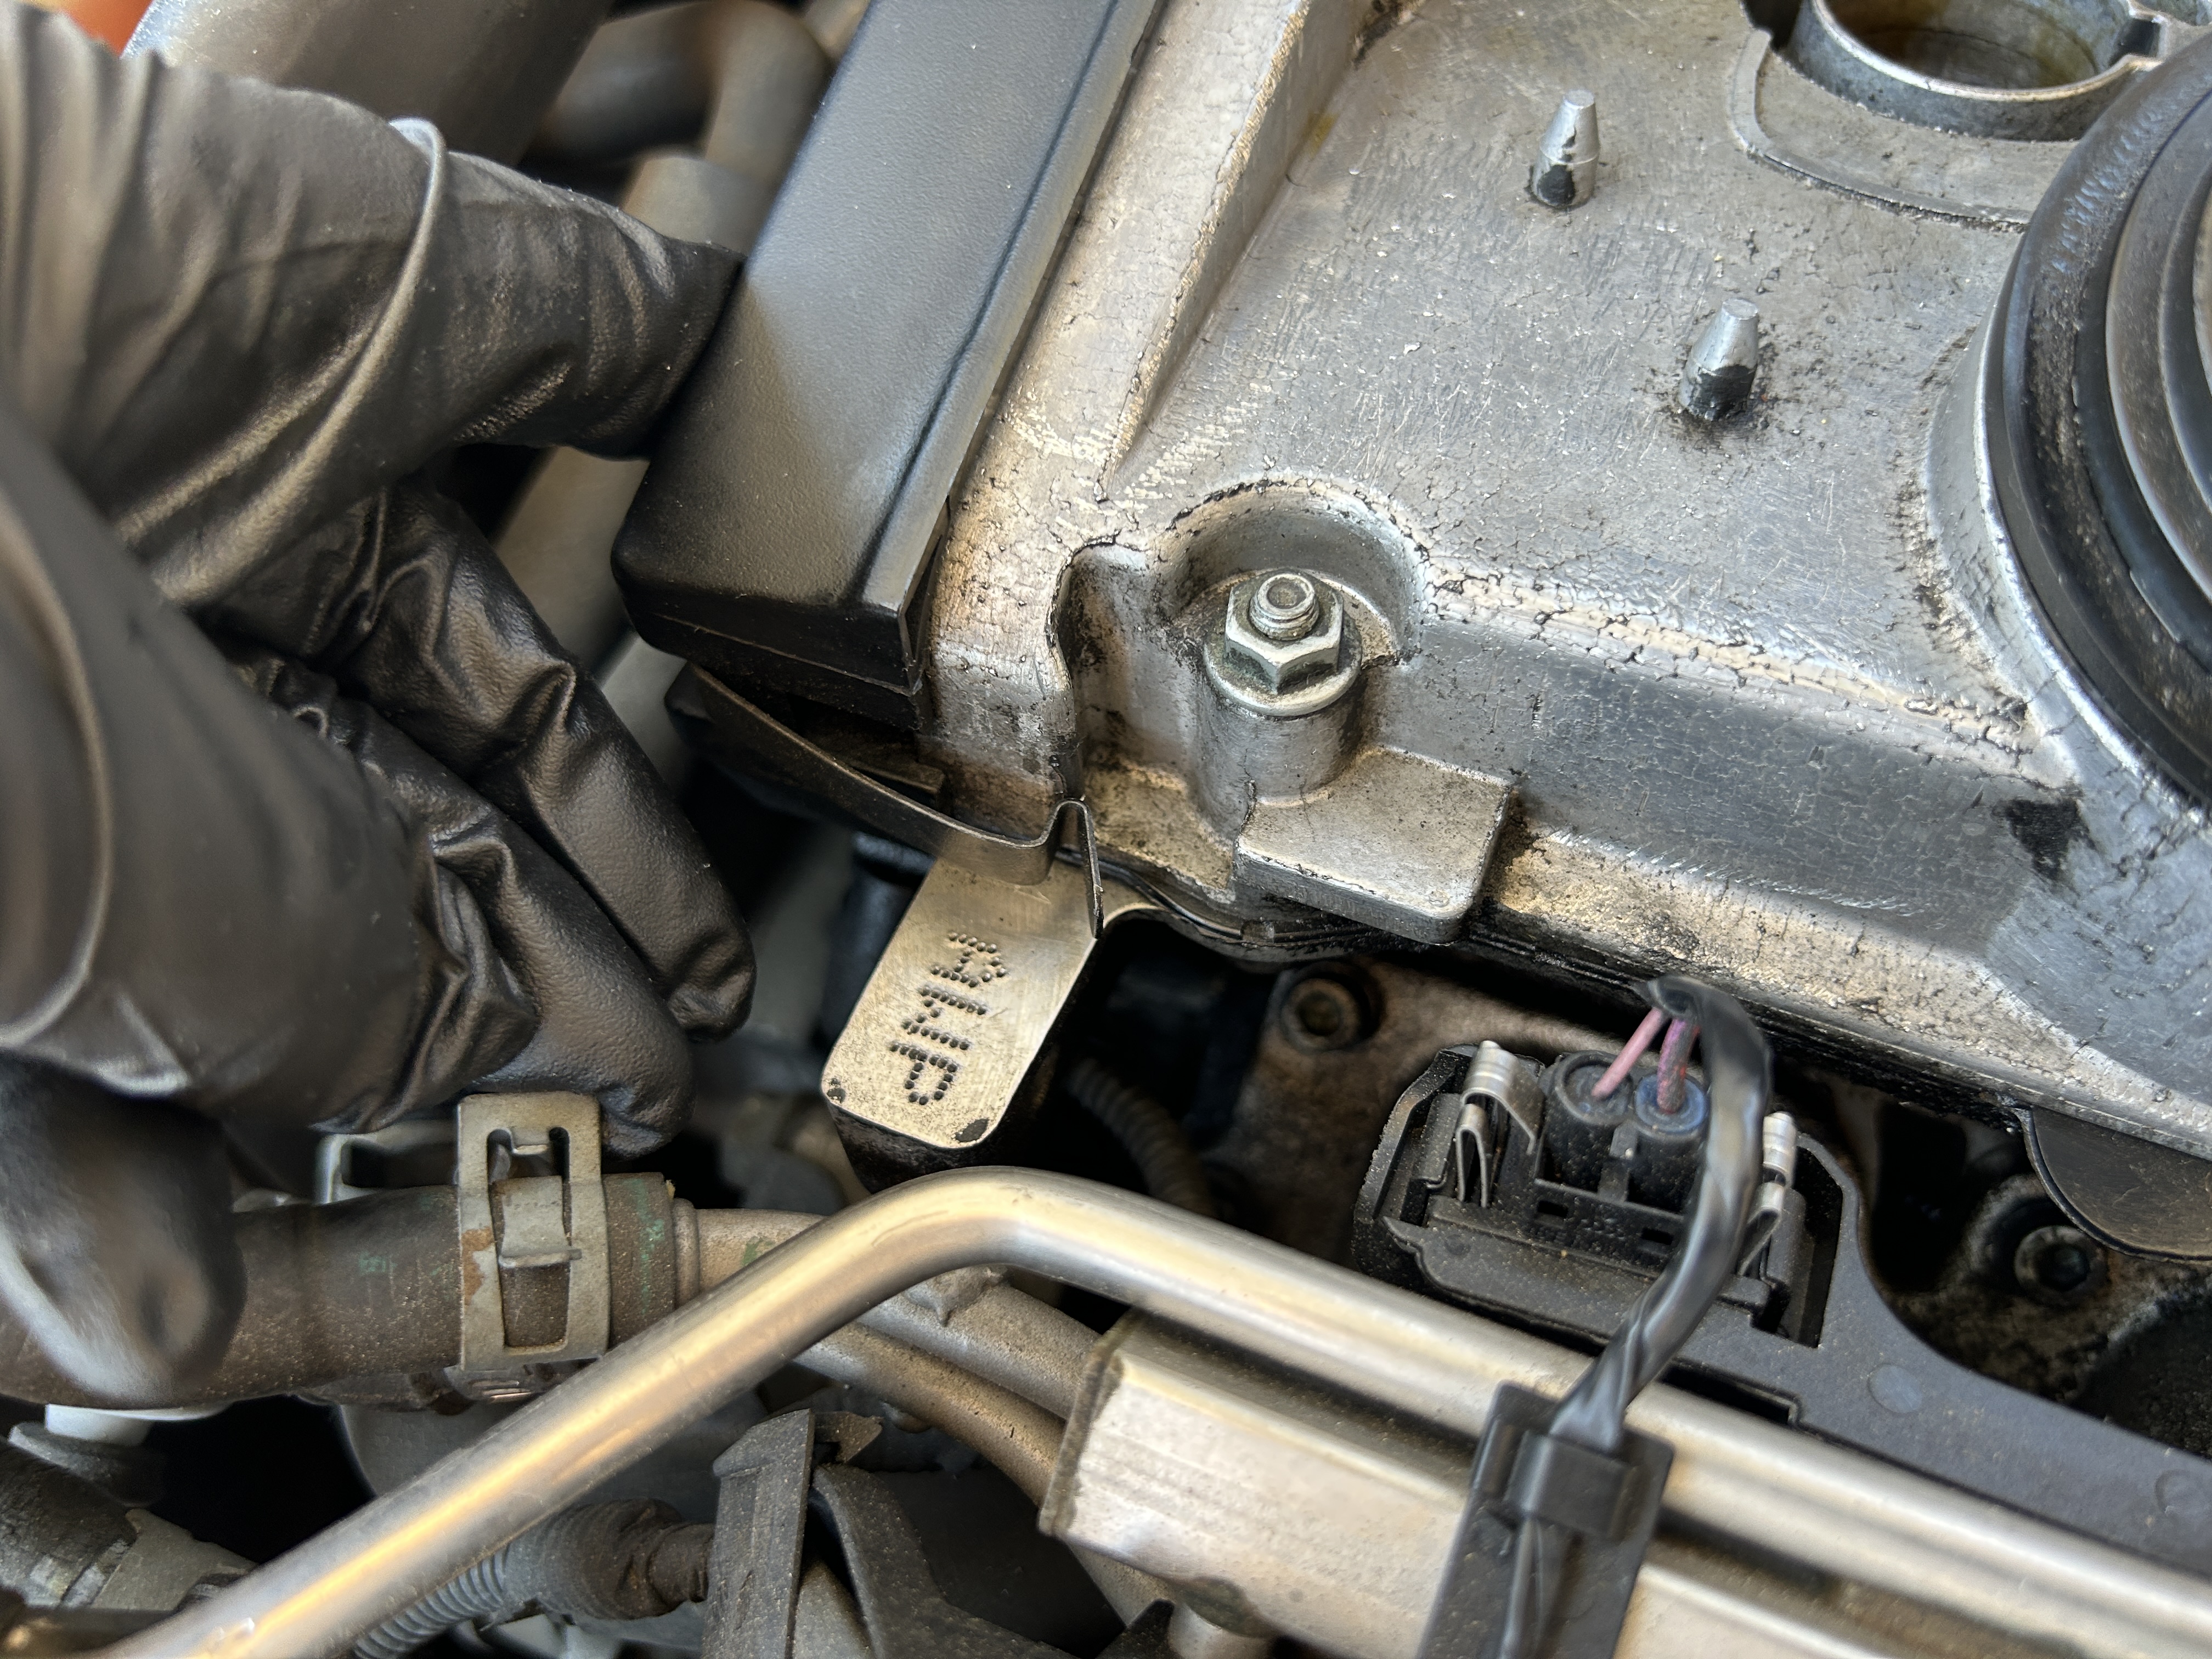
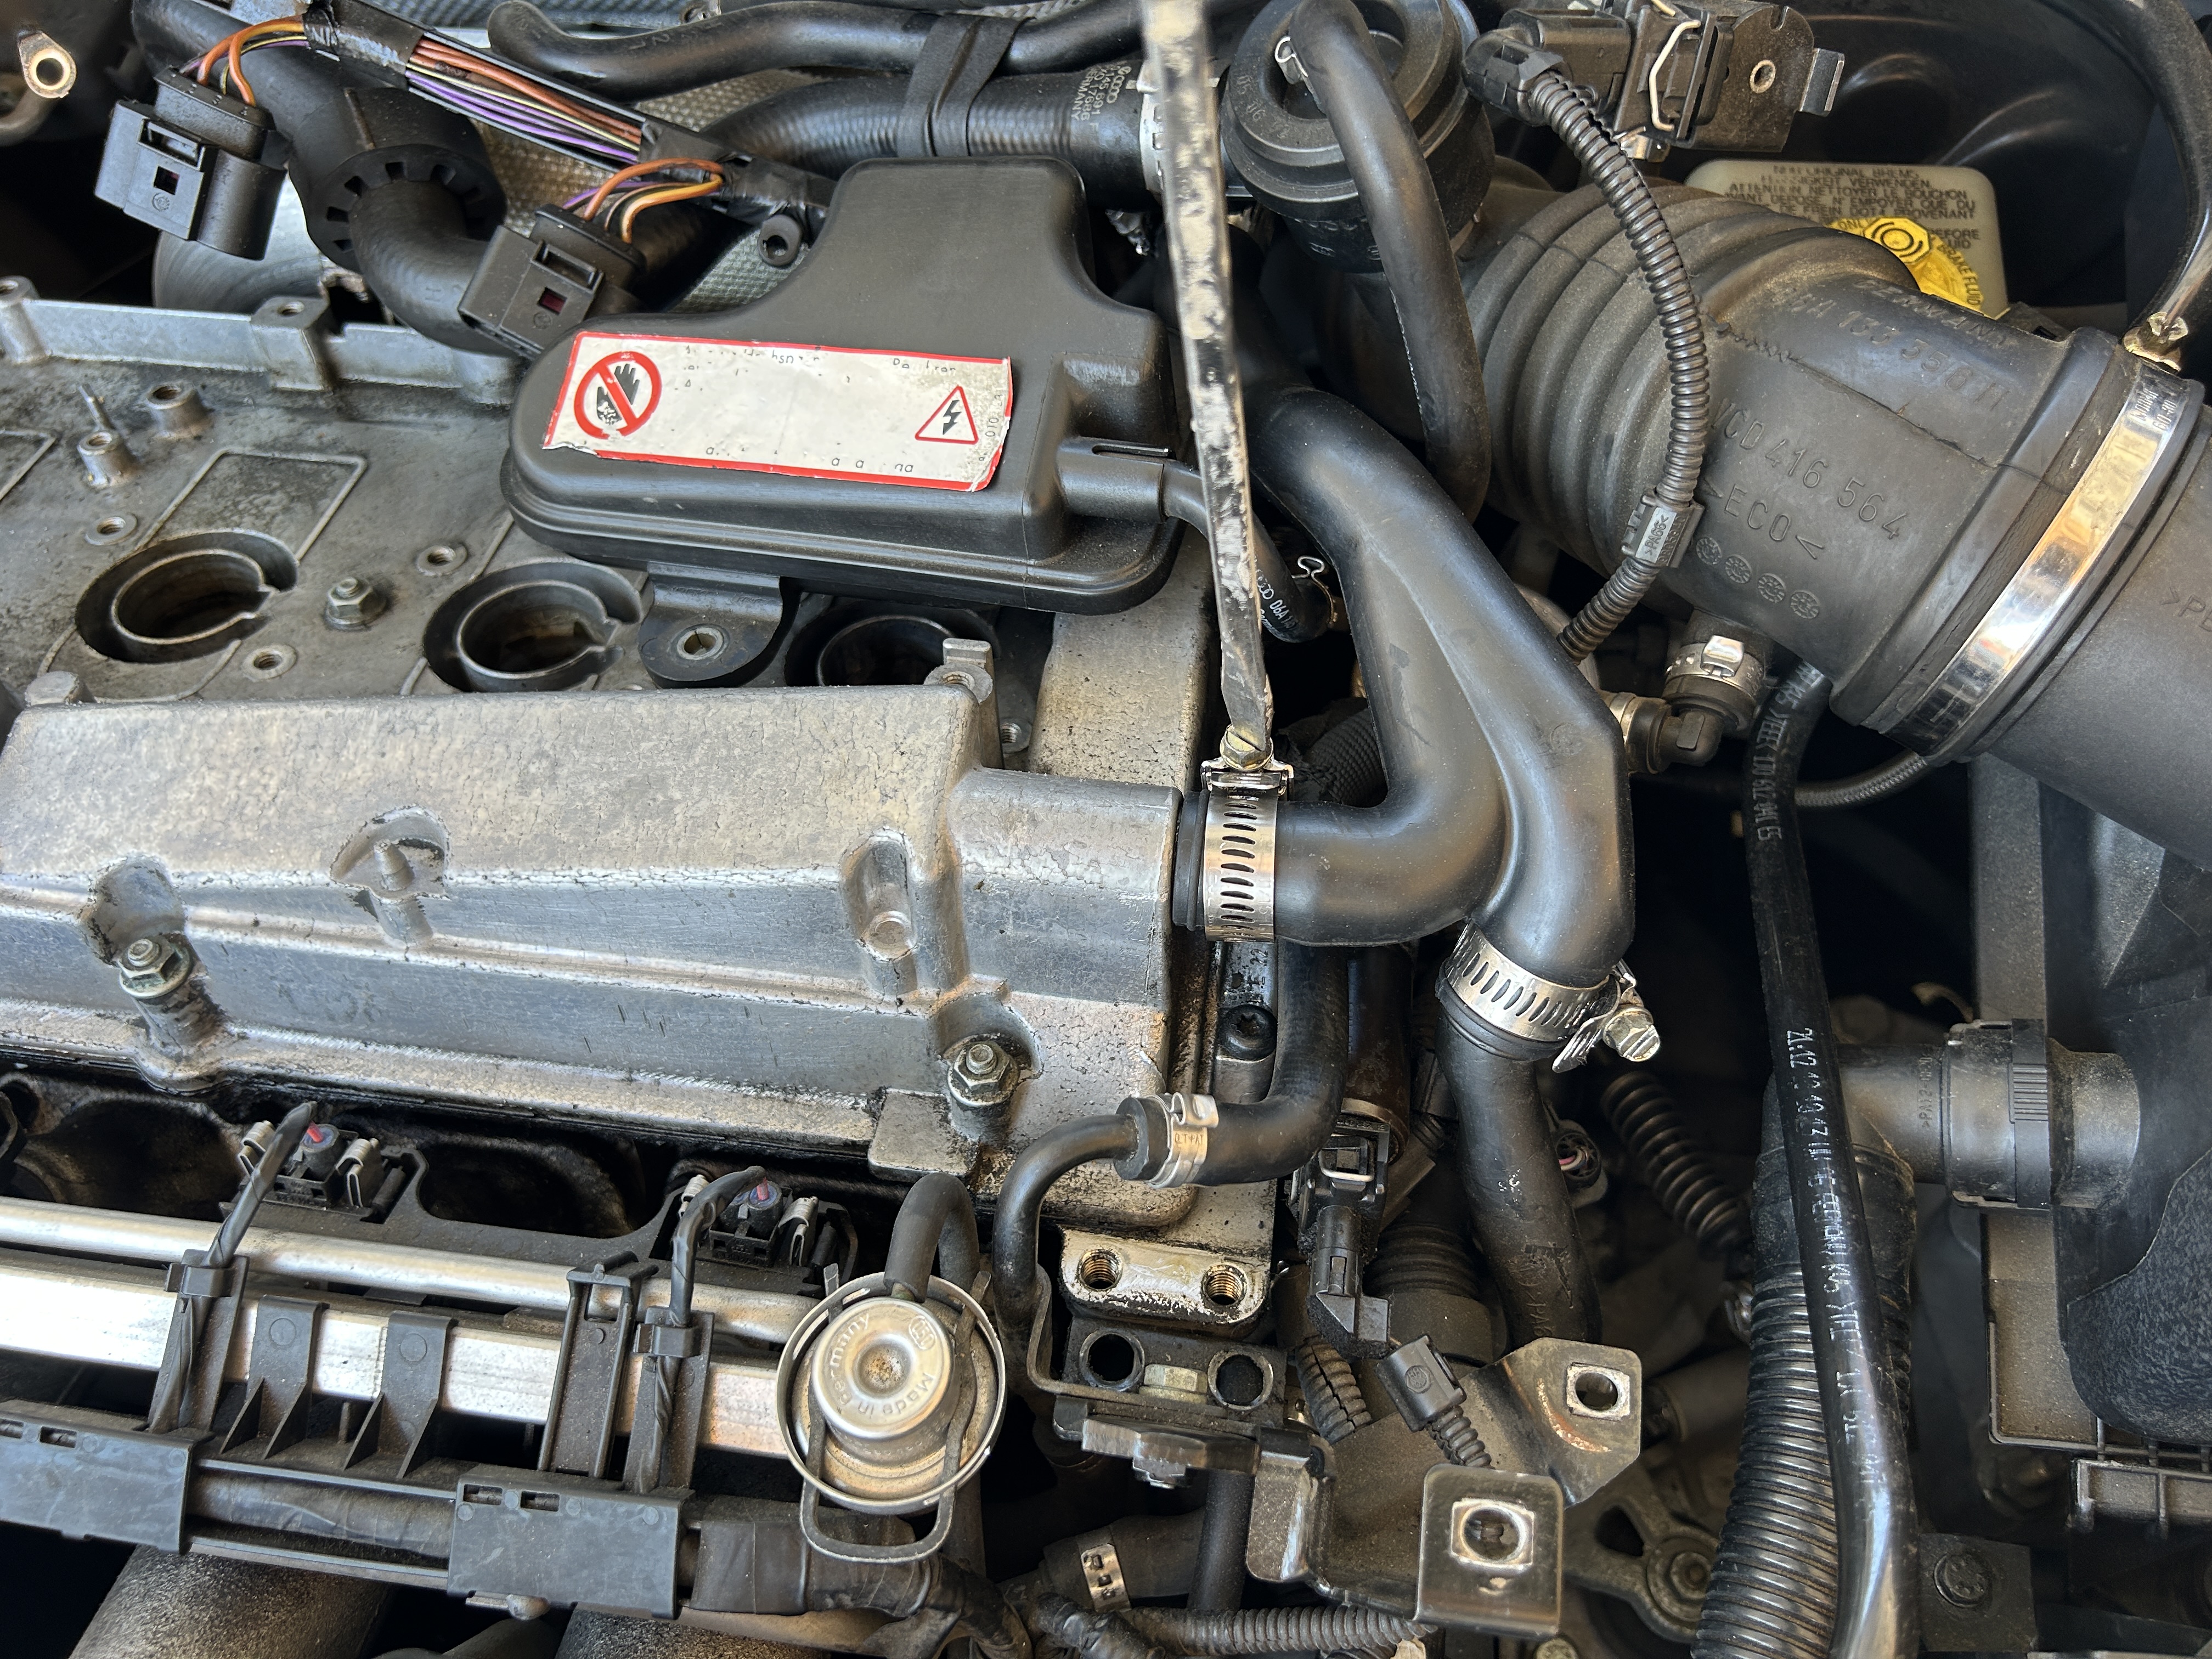
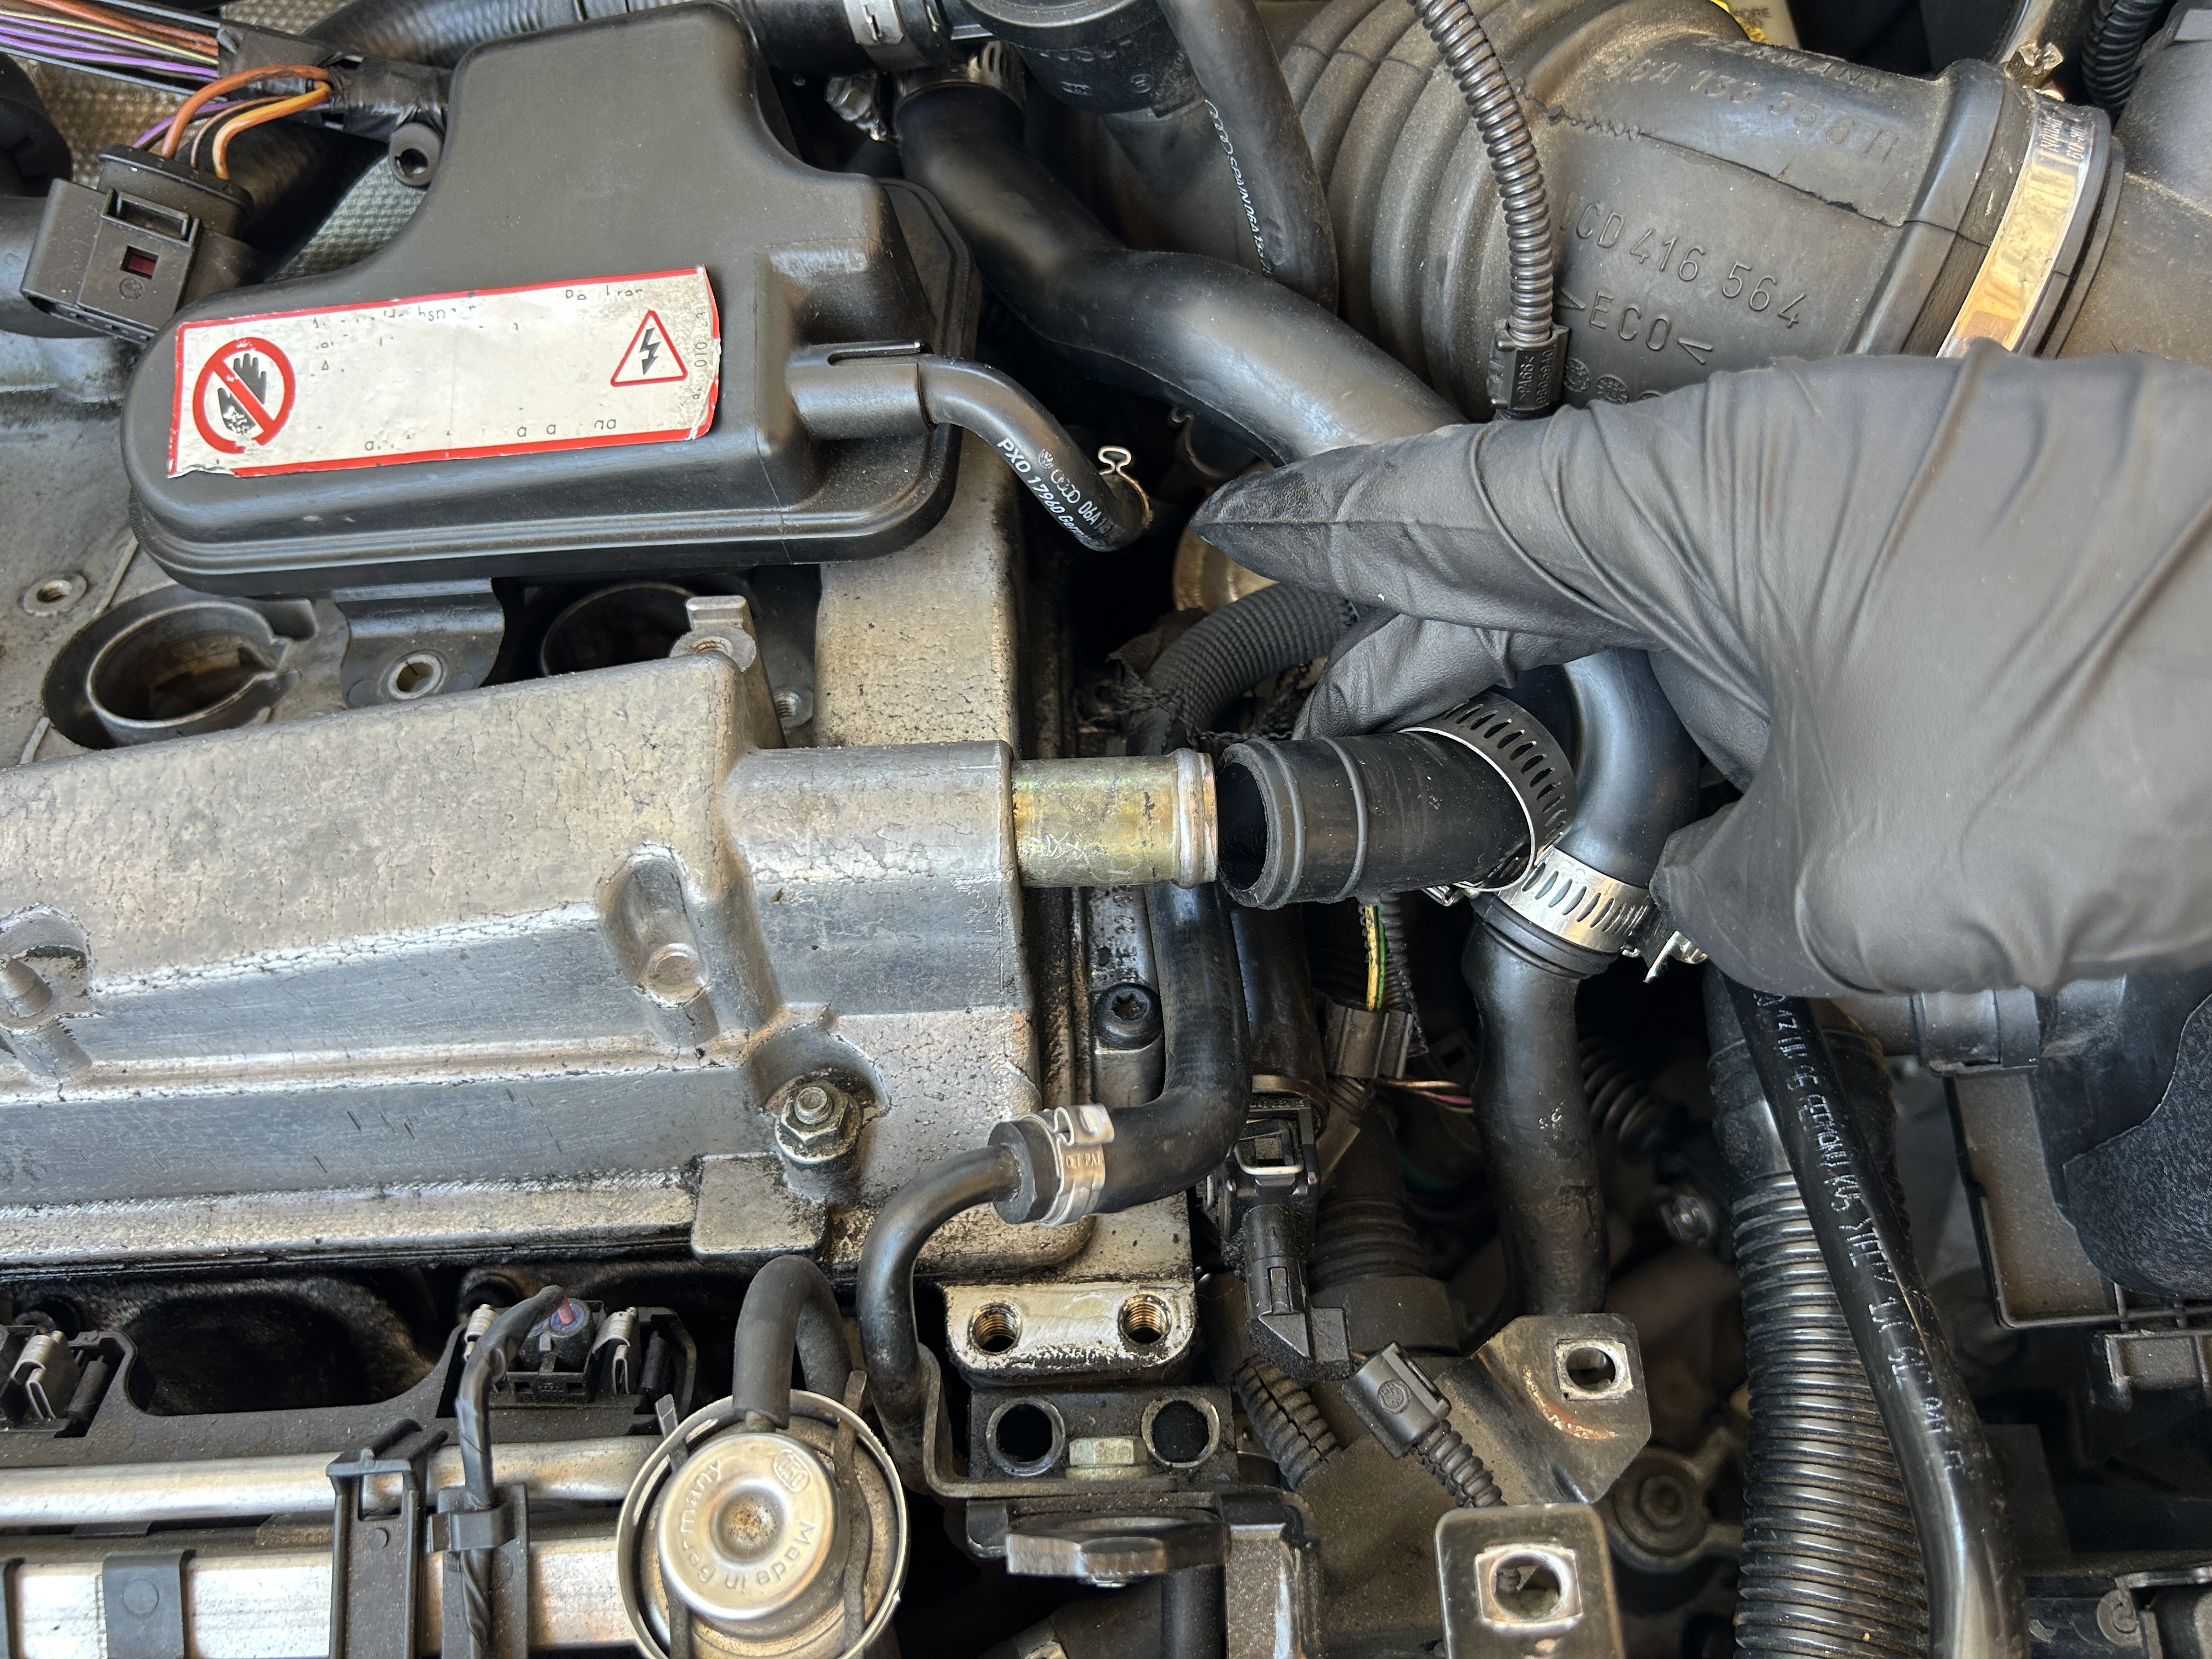
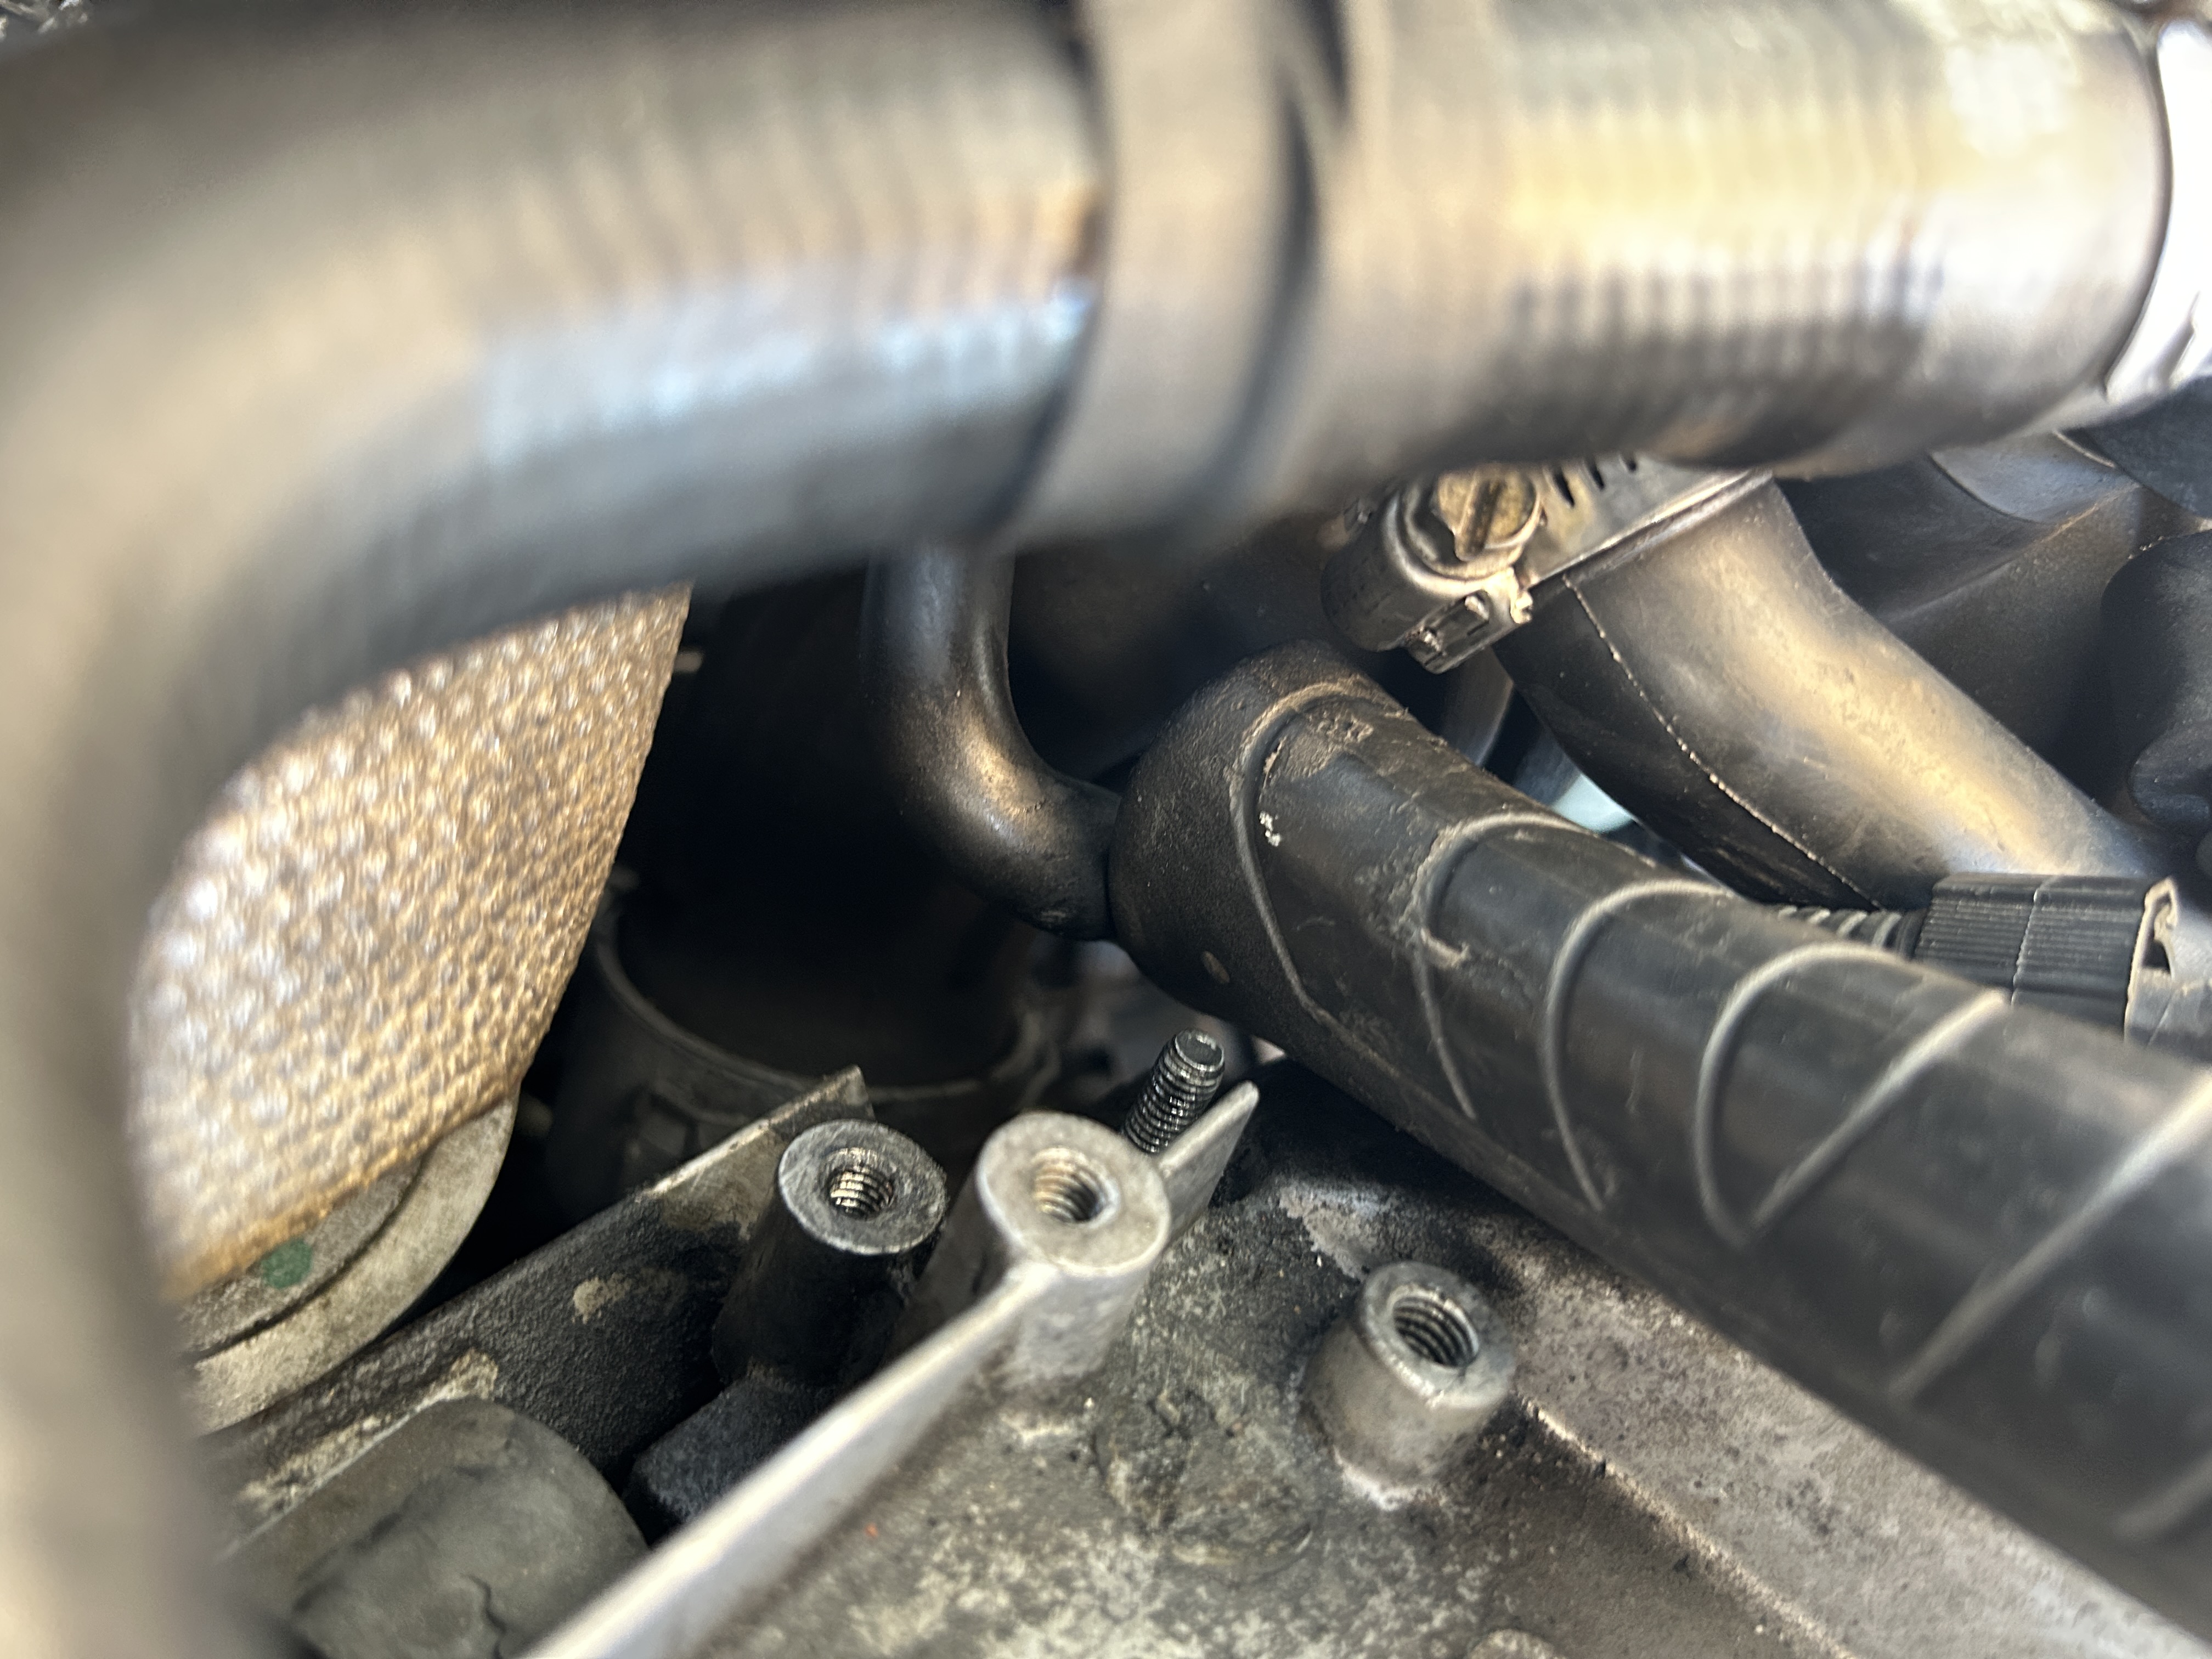
Remove the (1 qty) hose from the y-shaped breather hose that is connected to the valve cover. You’ll need to undo the hose clamp for this hose, which you can slide out of the way and re-tighten onto the hose to keep from losing it.
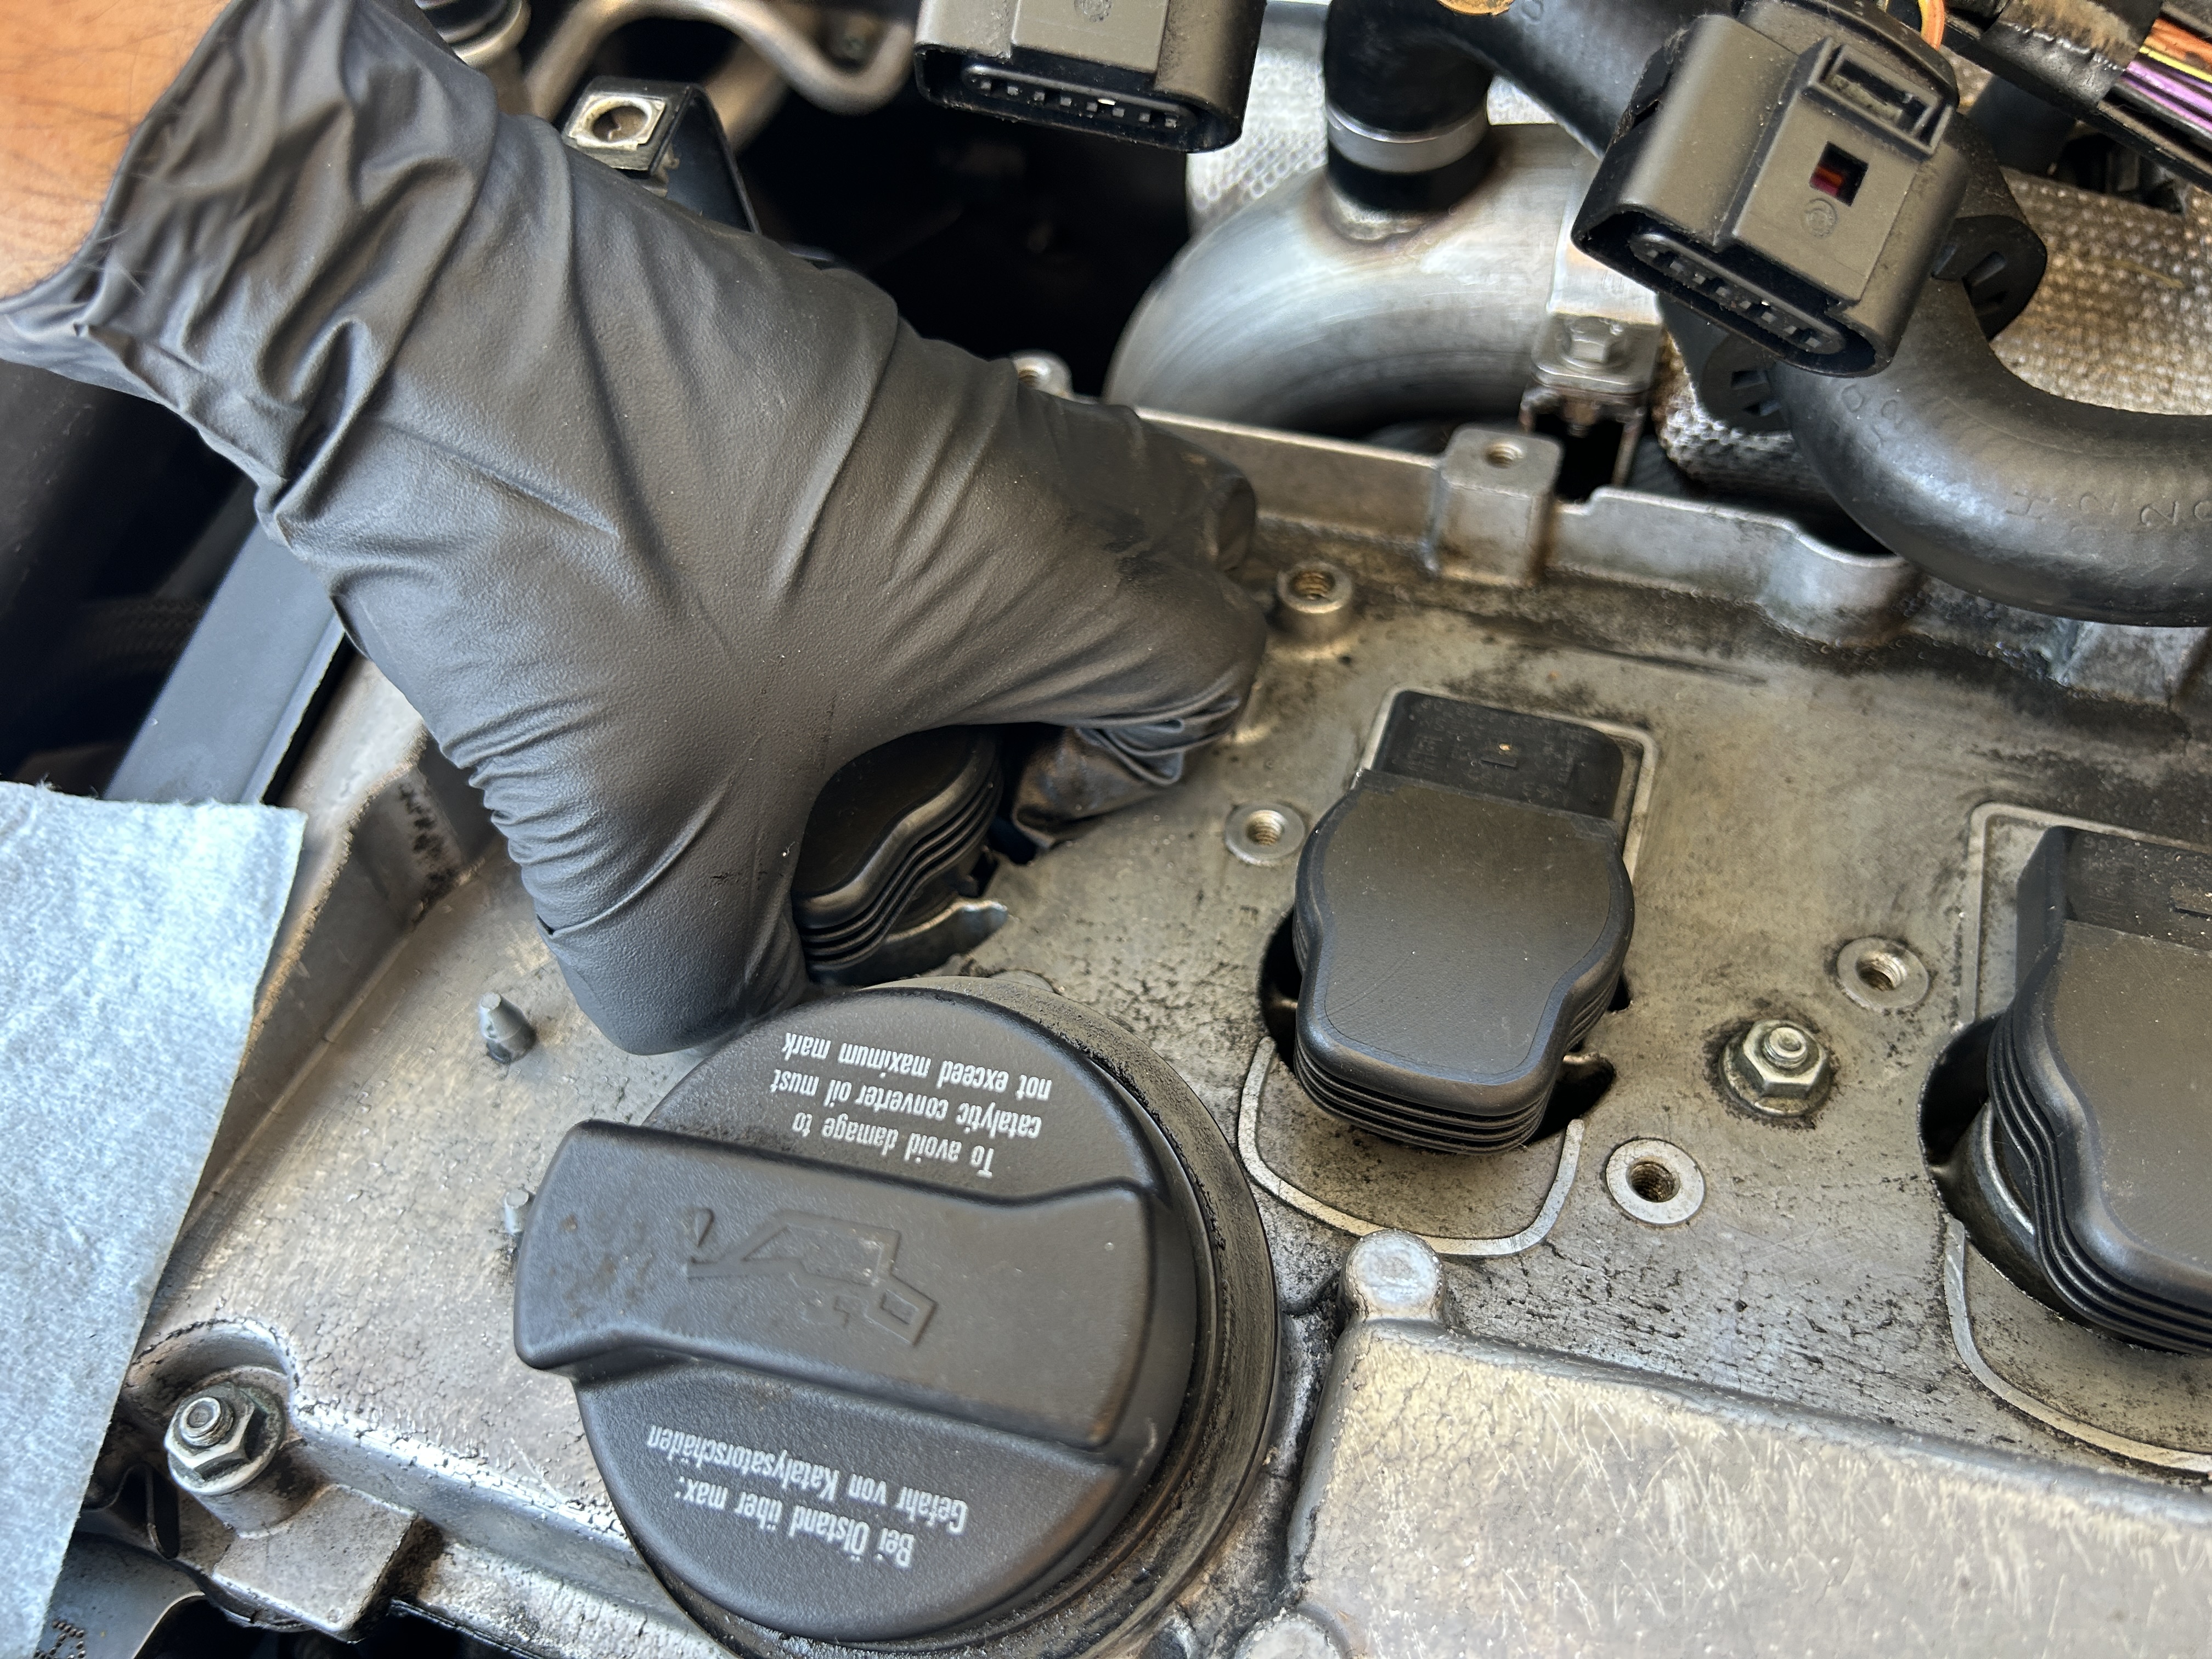
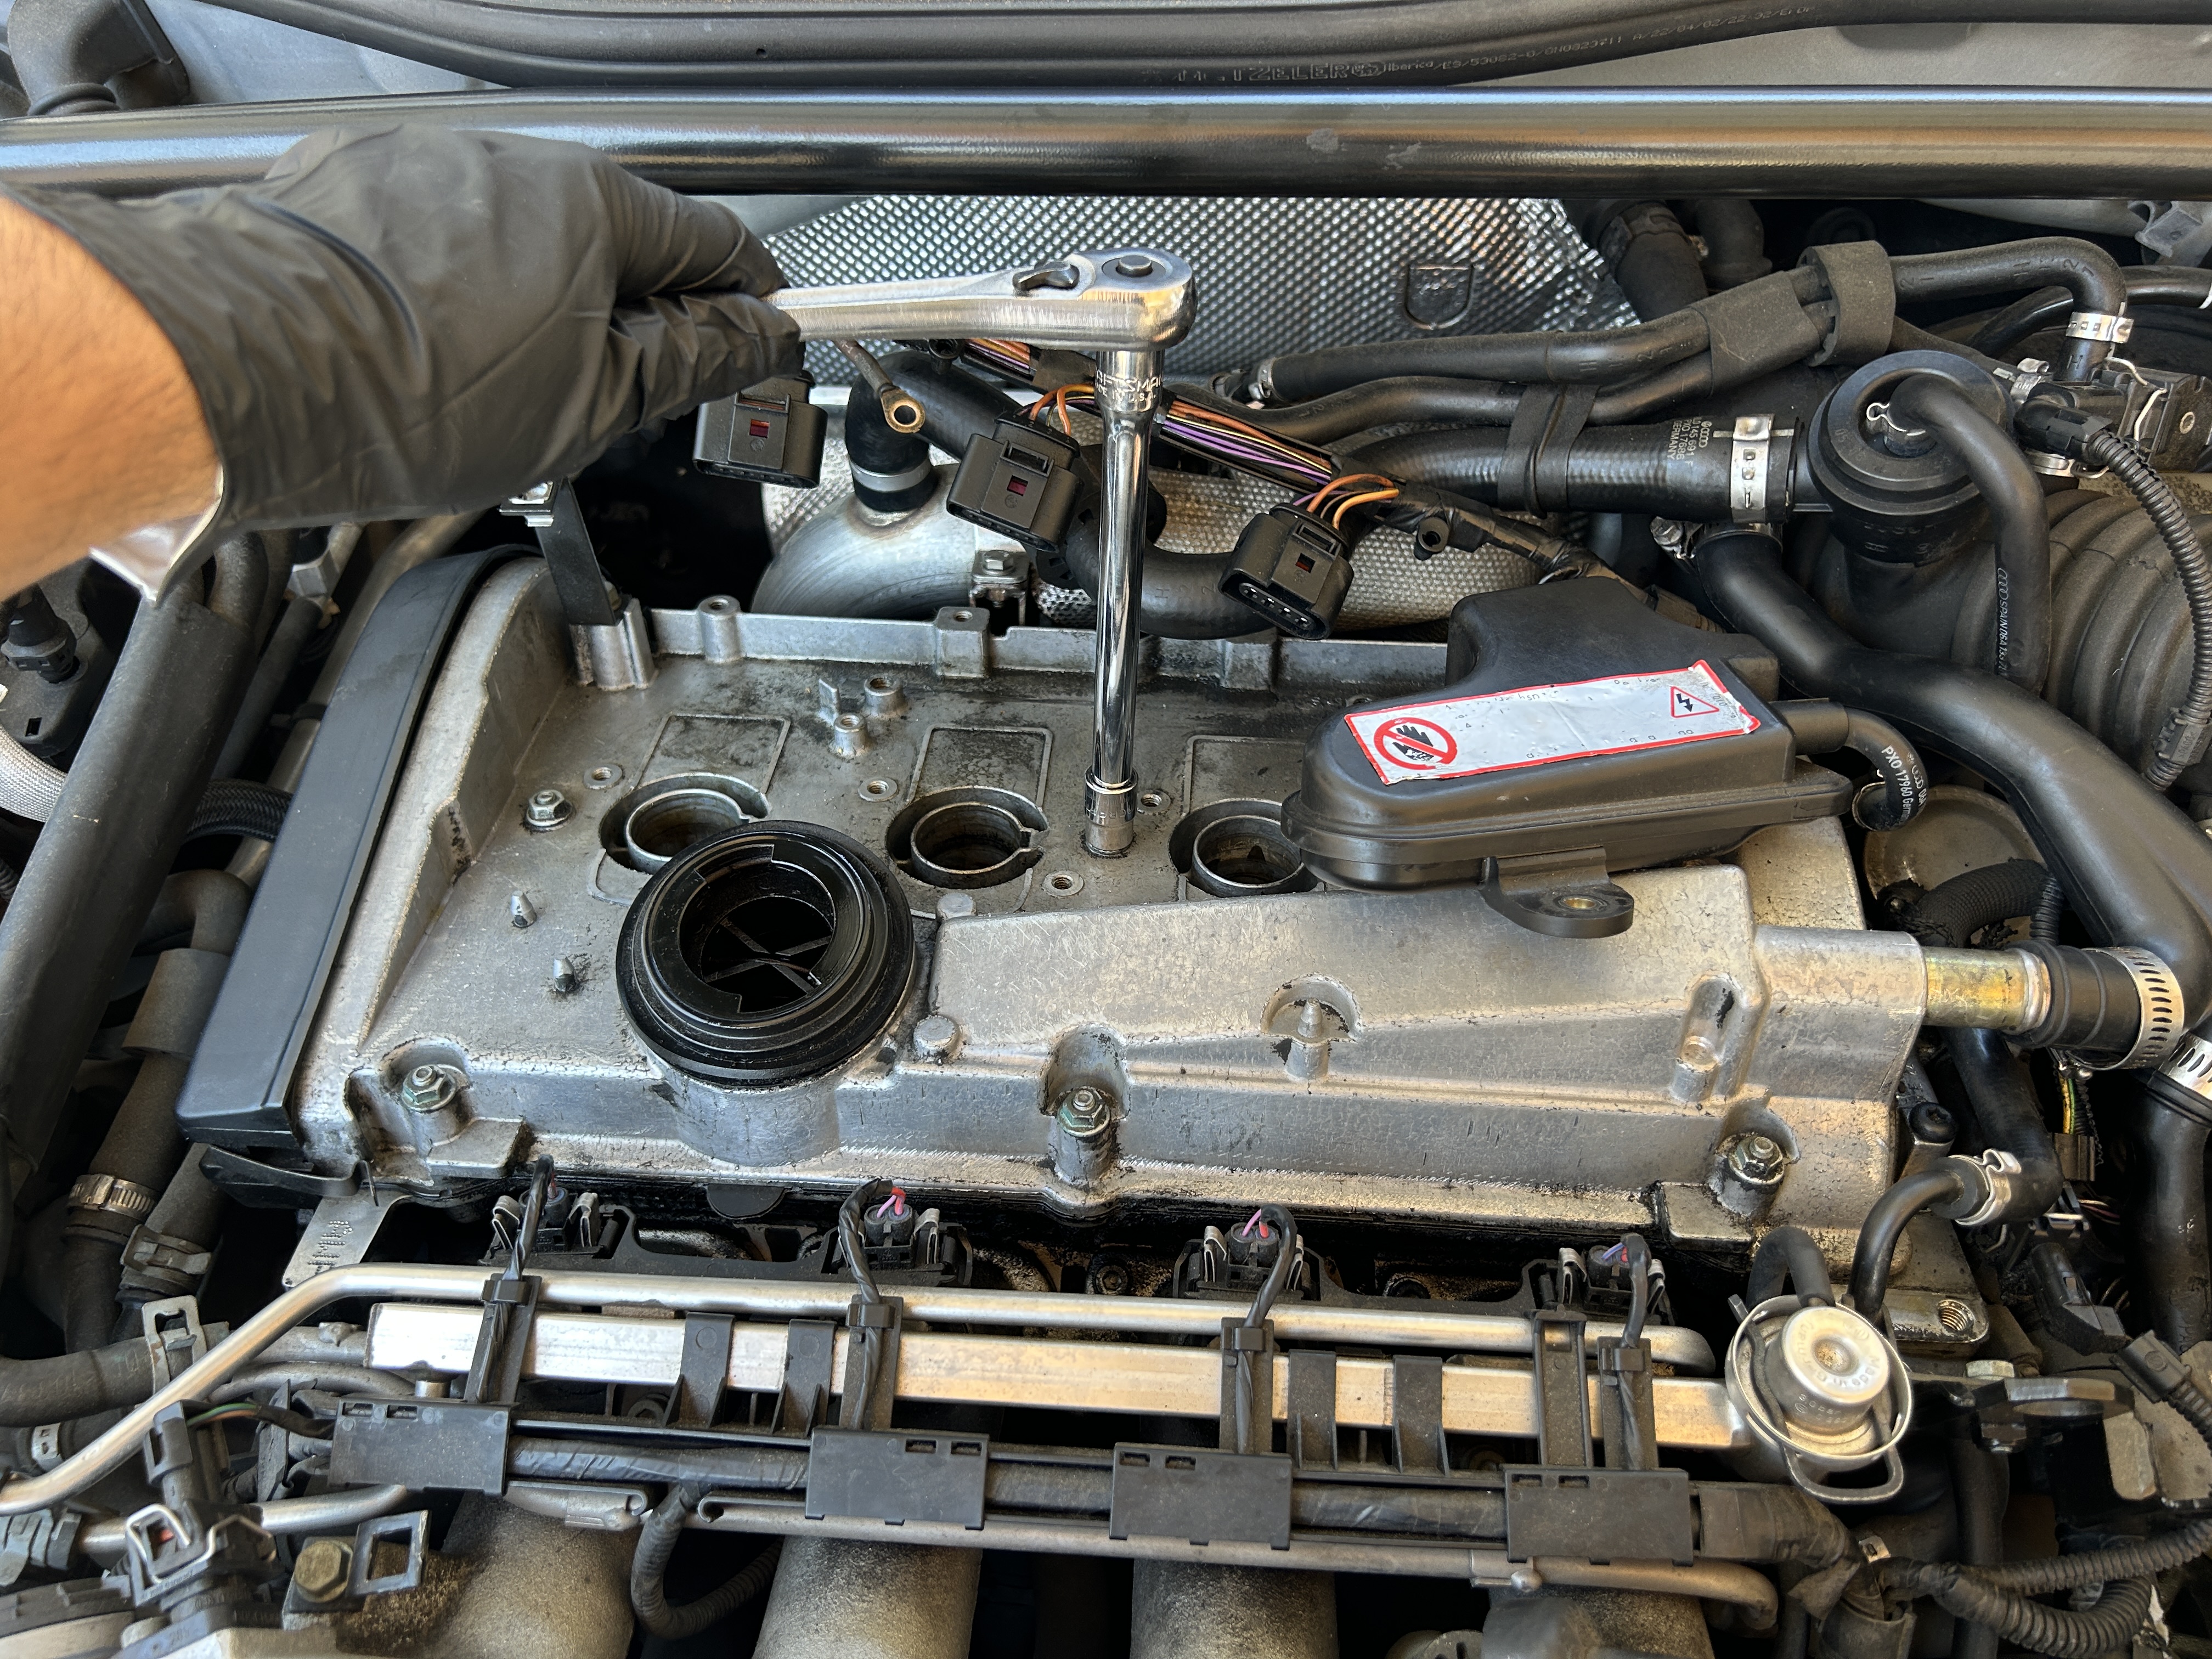
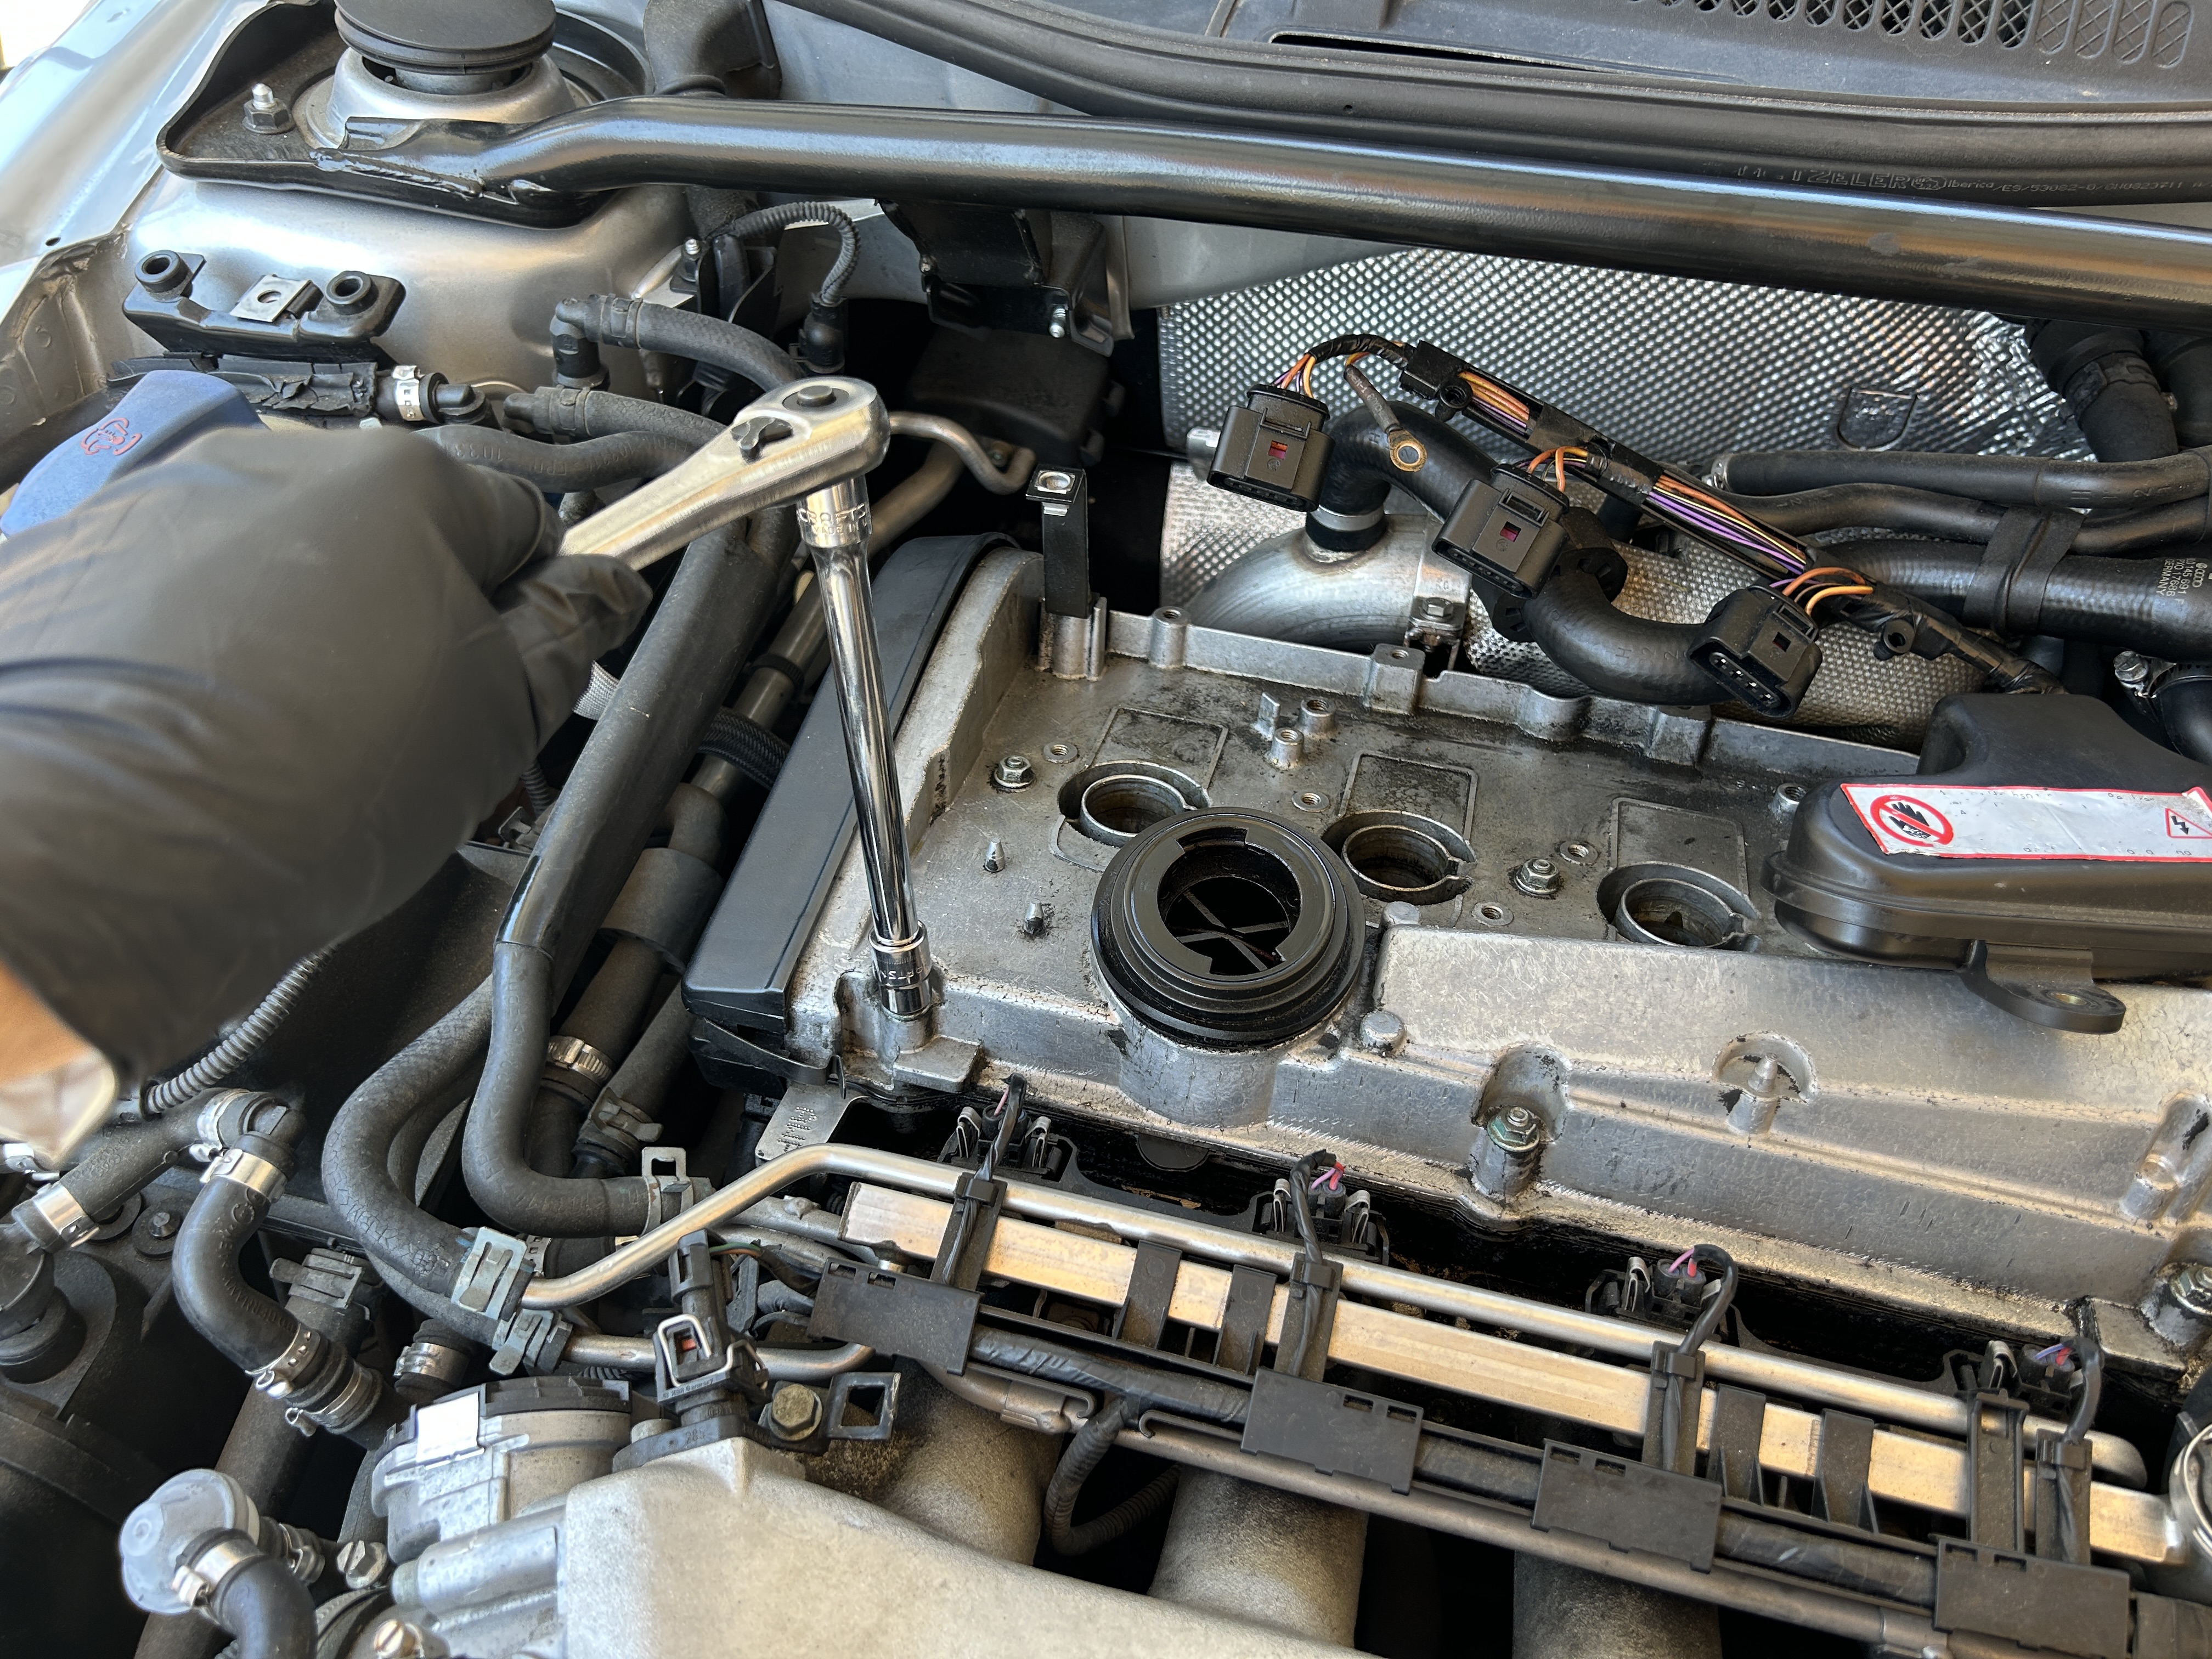
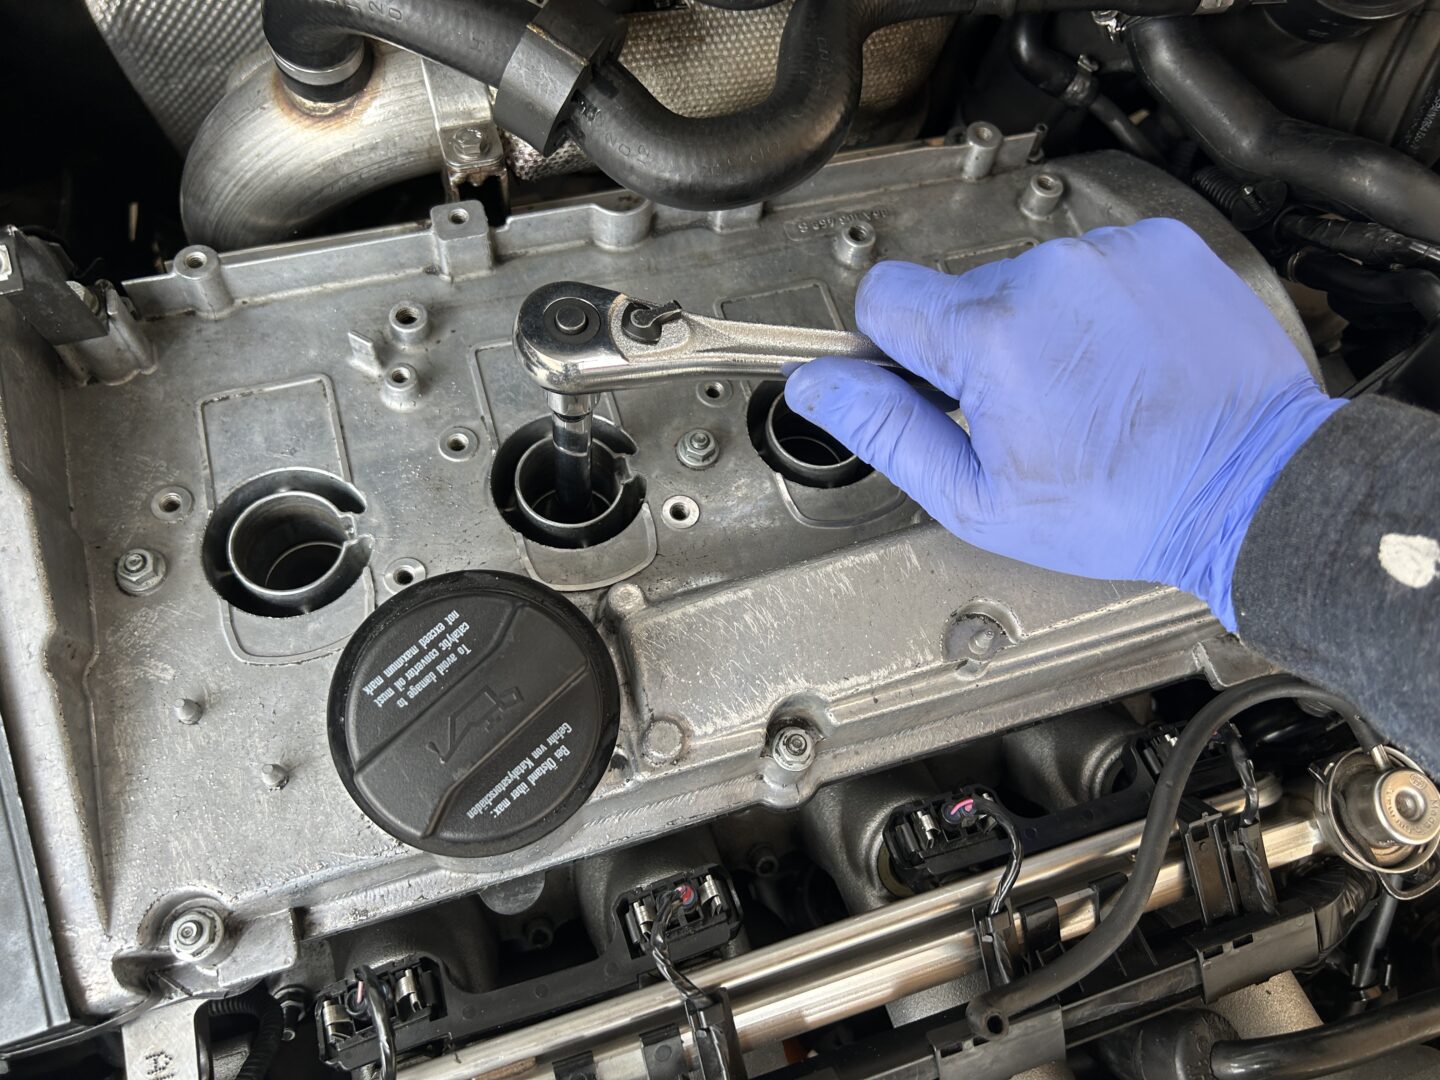
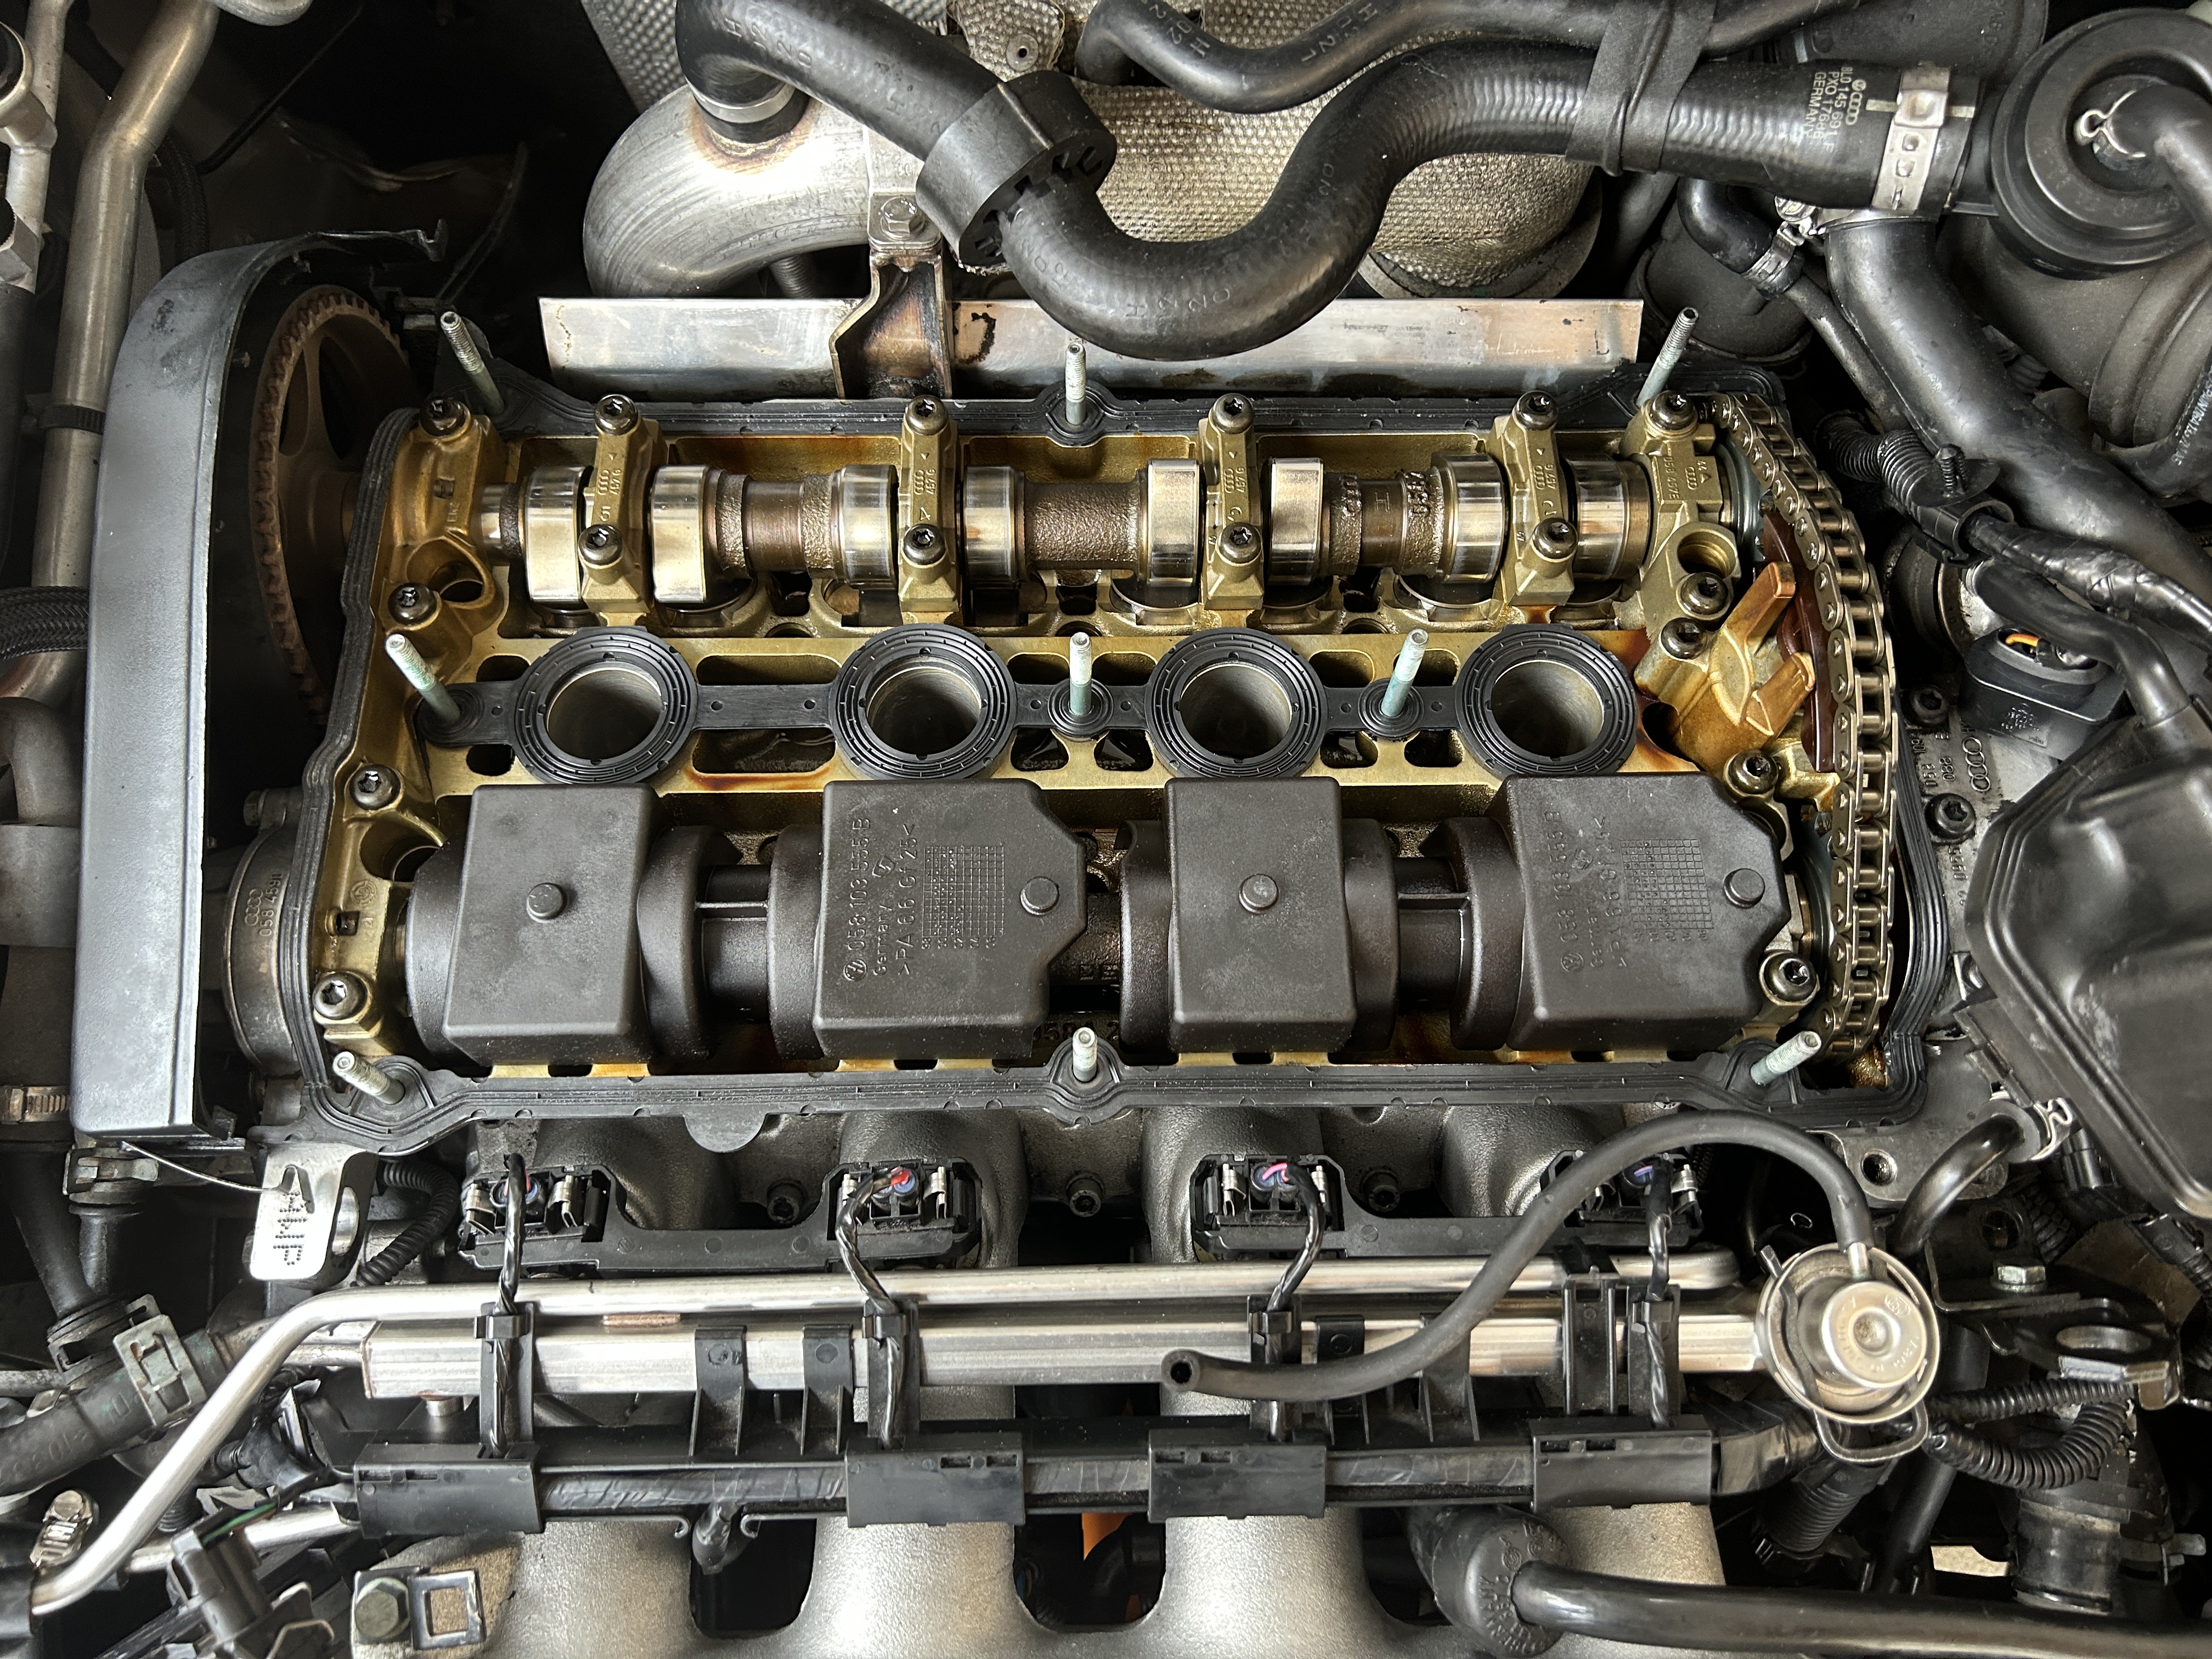
Using a socket wrench, remove the 10mm nuts around the perimeter of the valve cover, as well as at the center points of the valve cover. There should be (6 qty) nuts to remove around the perimeter and (3 qty) nuts in the center. Once you’ve confirmed all the nuts are removed from the valve cover, use a flat head screwdriver to carefully pry the valve cover off.

While removing the valve cover, I did encounter this one metal hose towards the back of the engine (near the firewall) that kept the valve cover from being removed. You may need to push this out of the way in order to remove the valve cover.
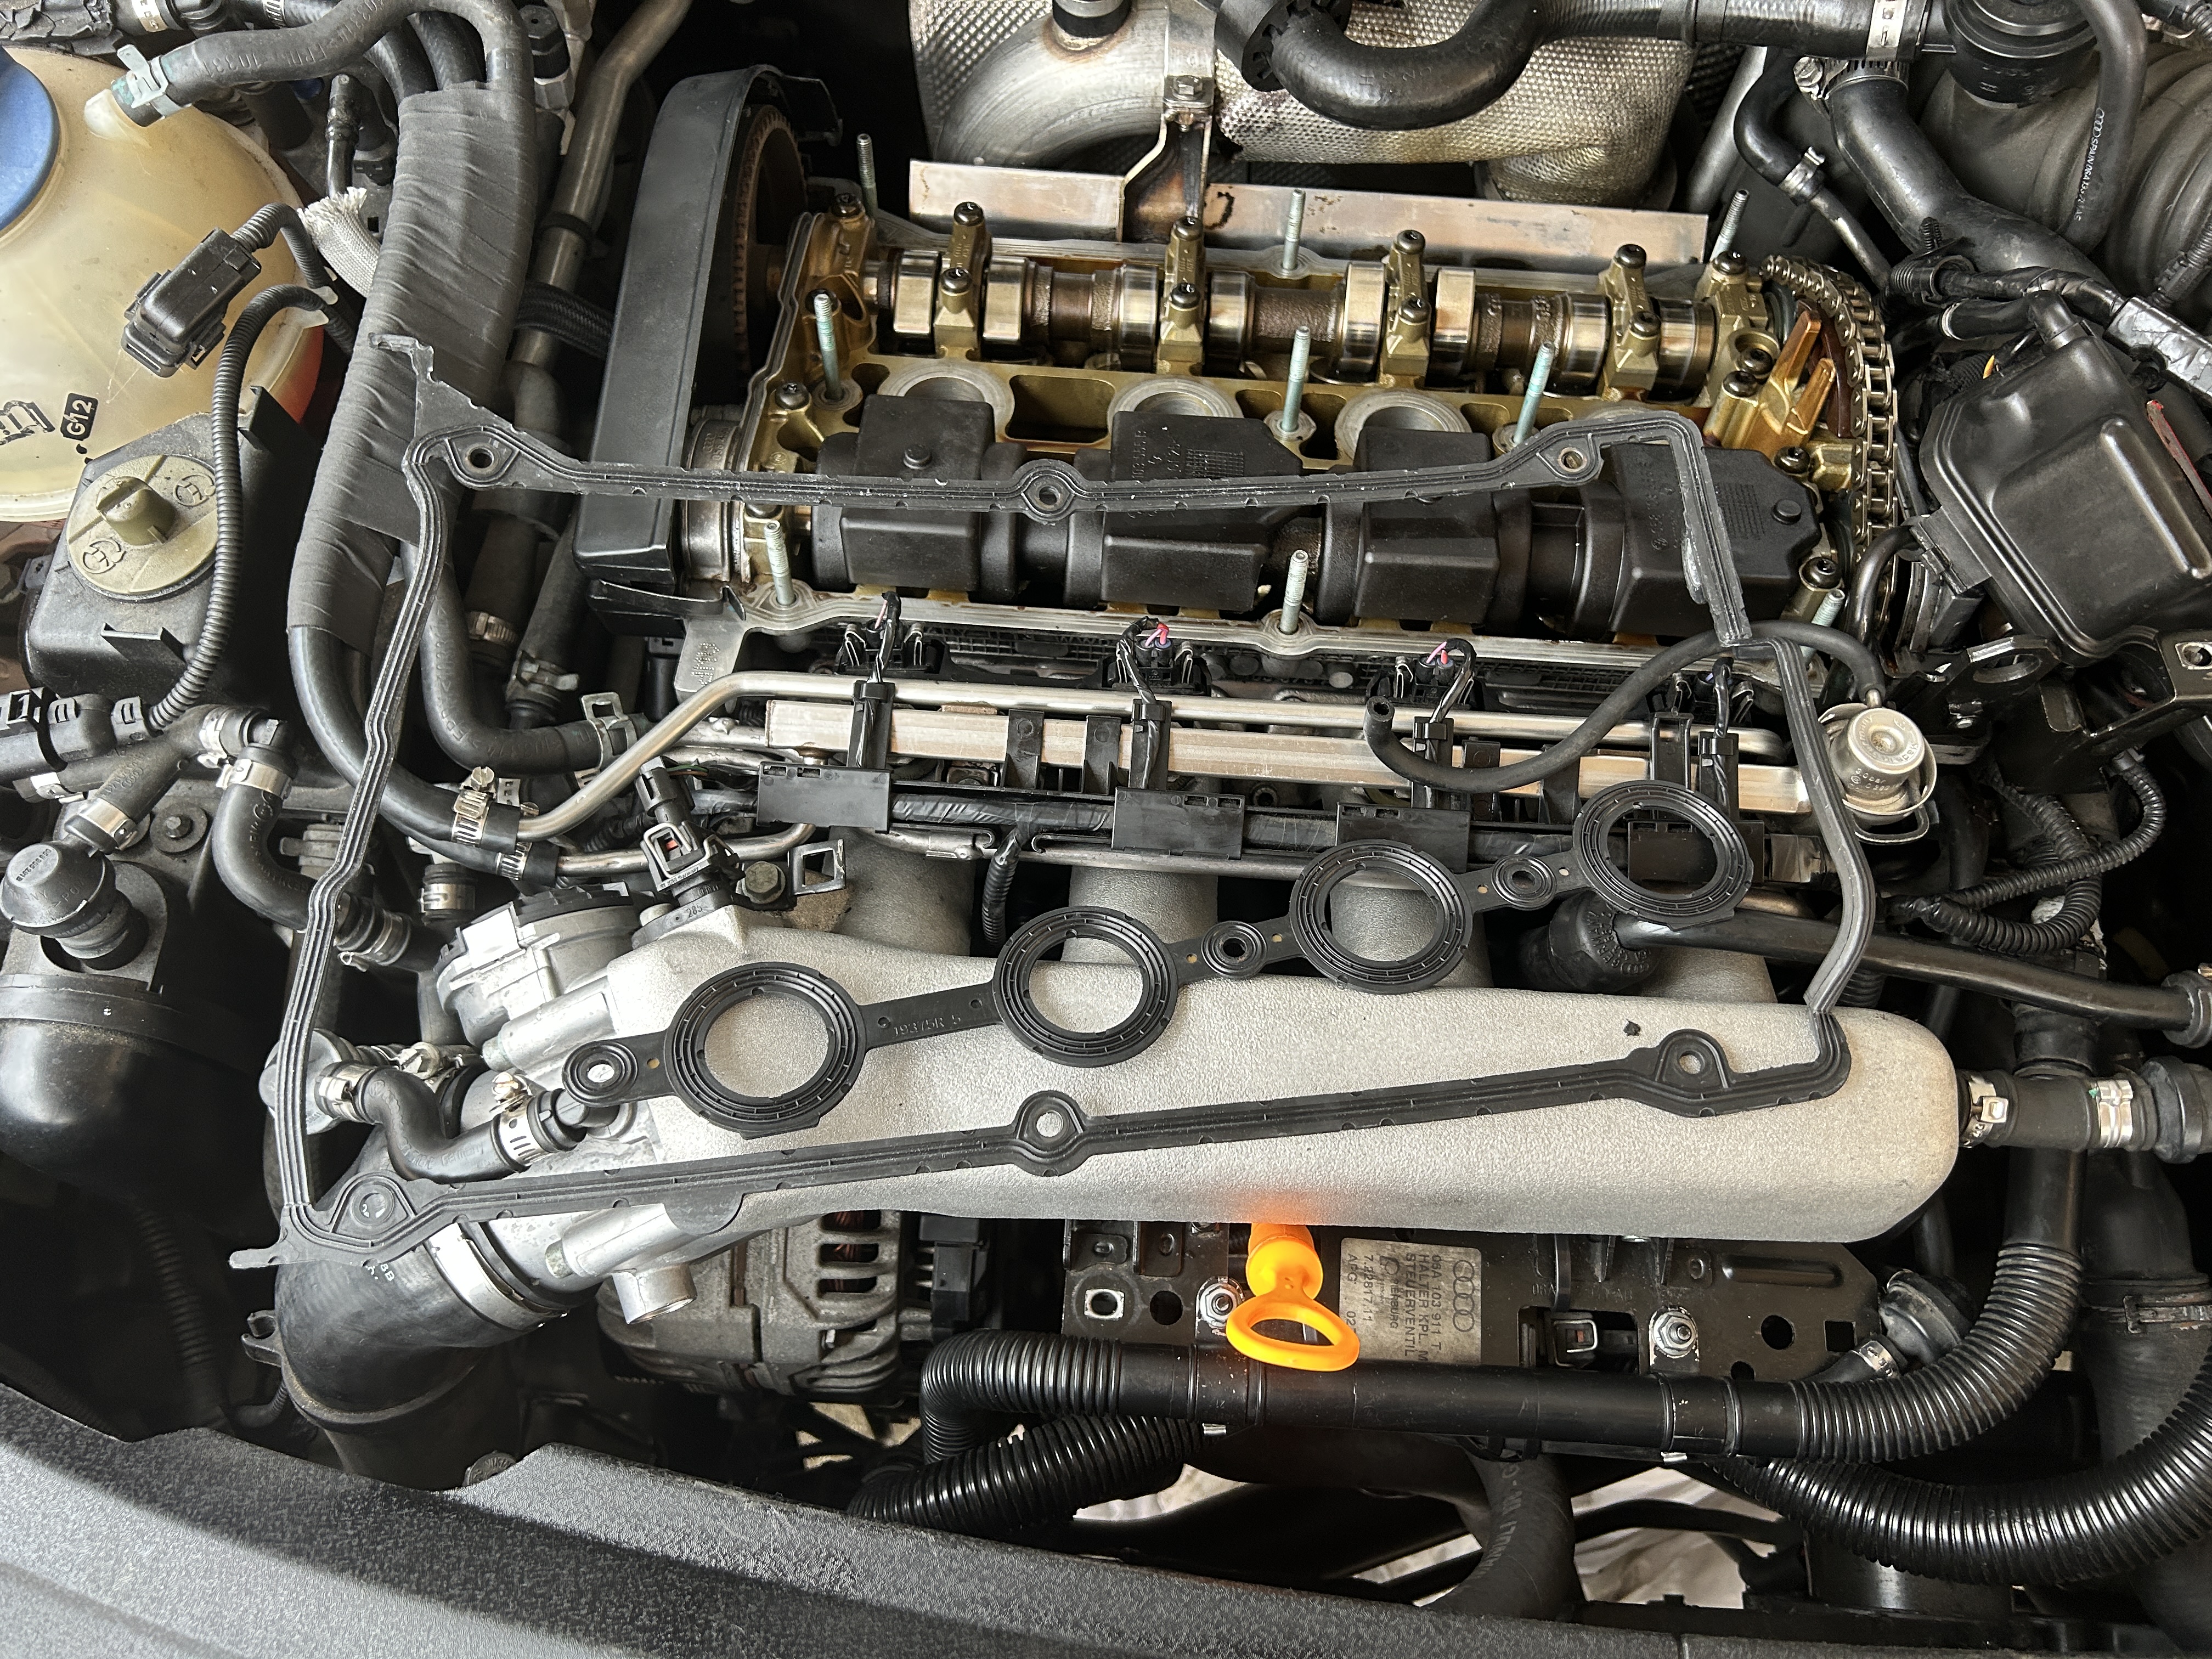
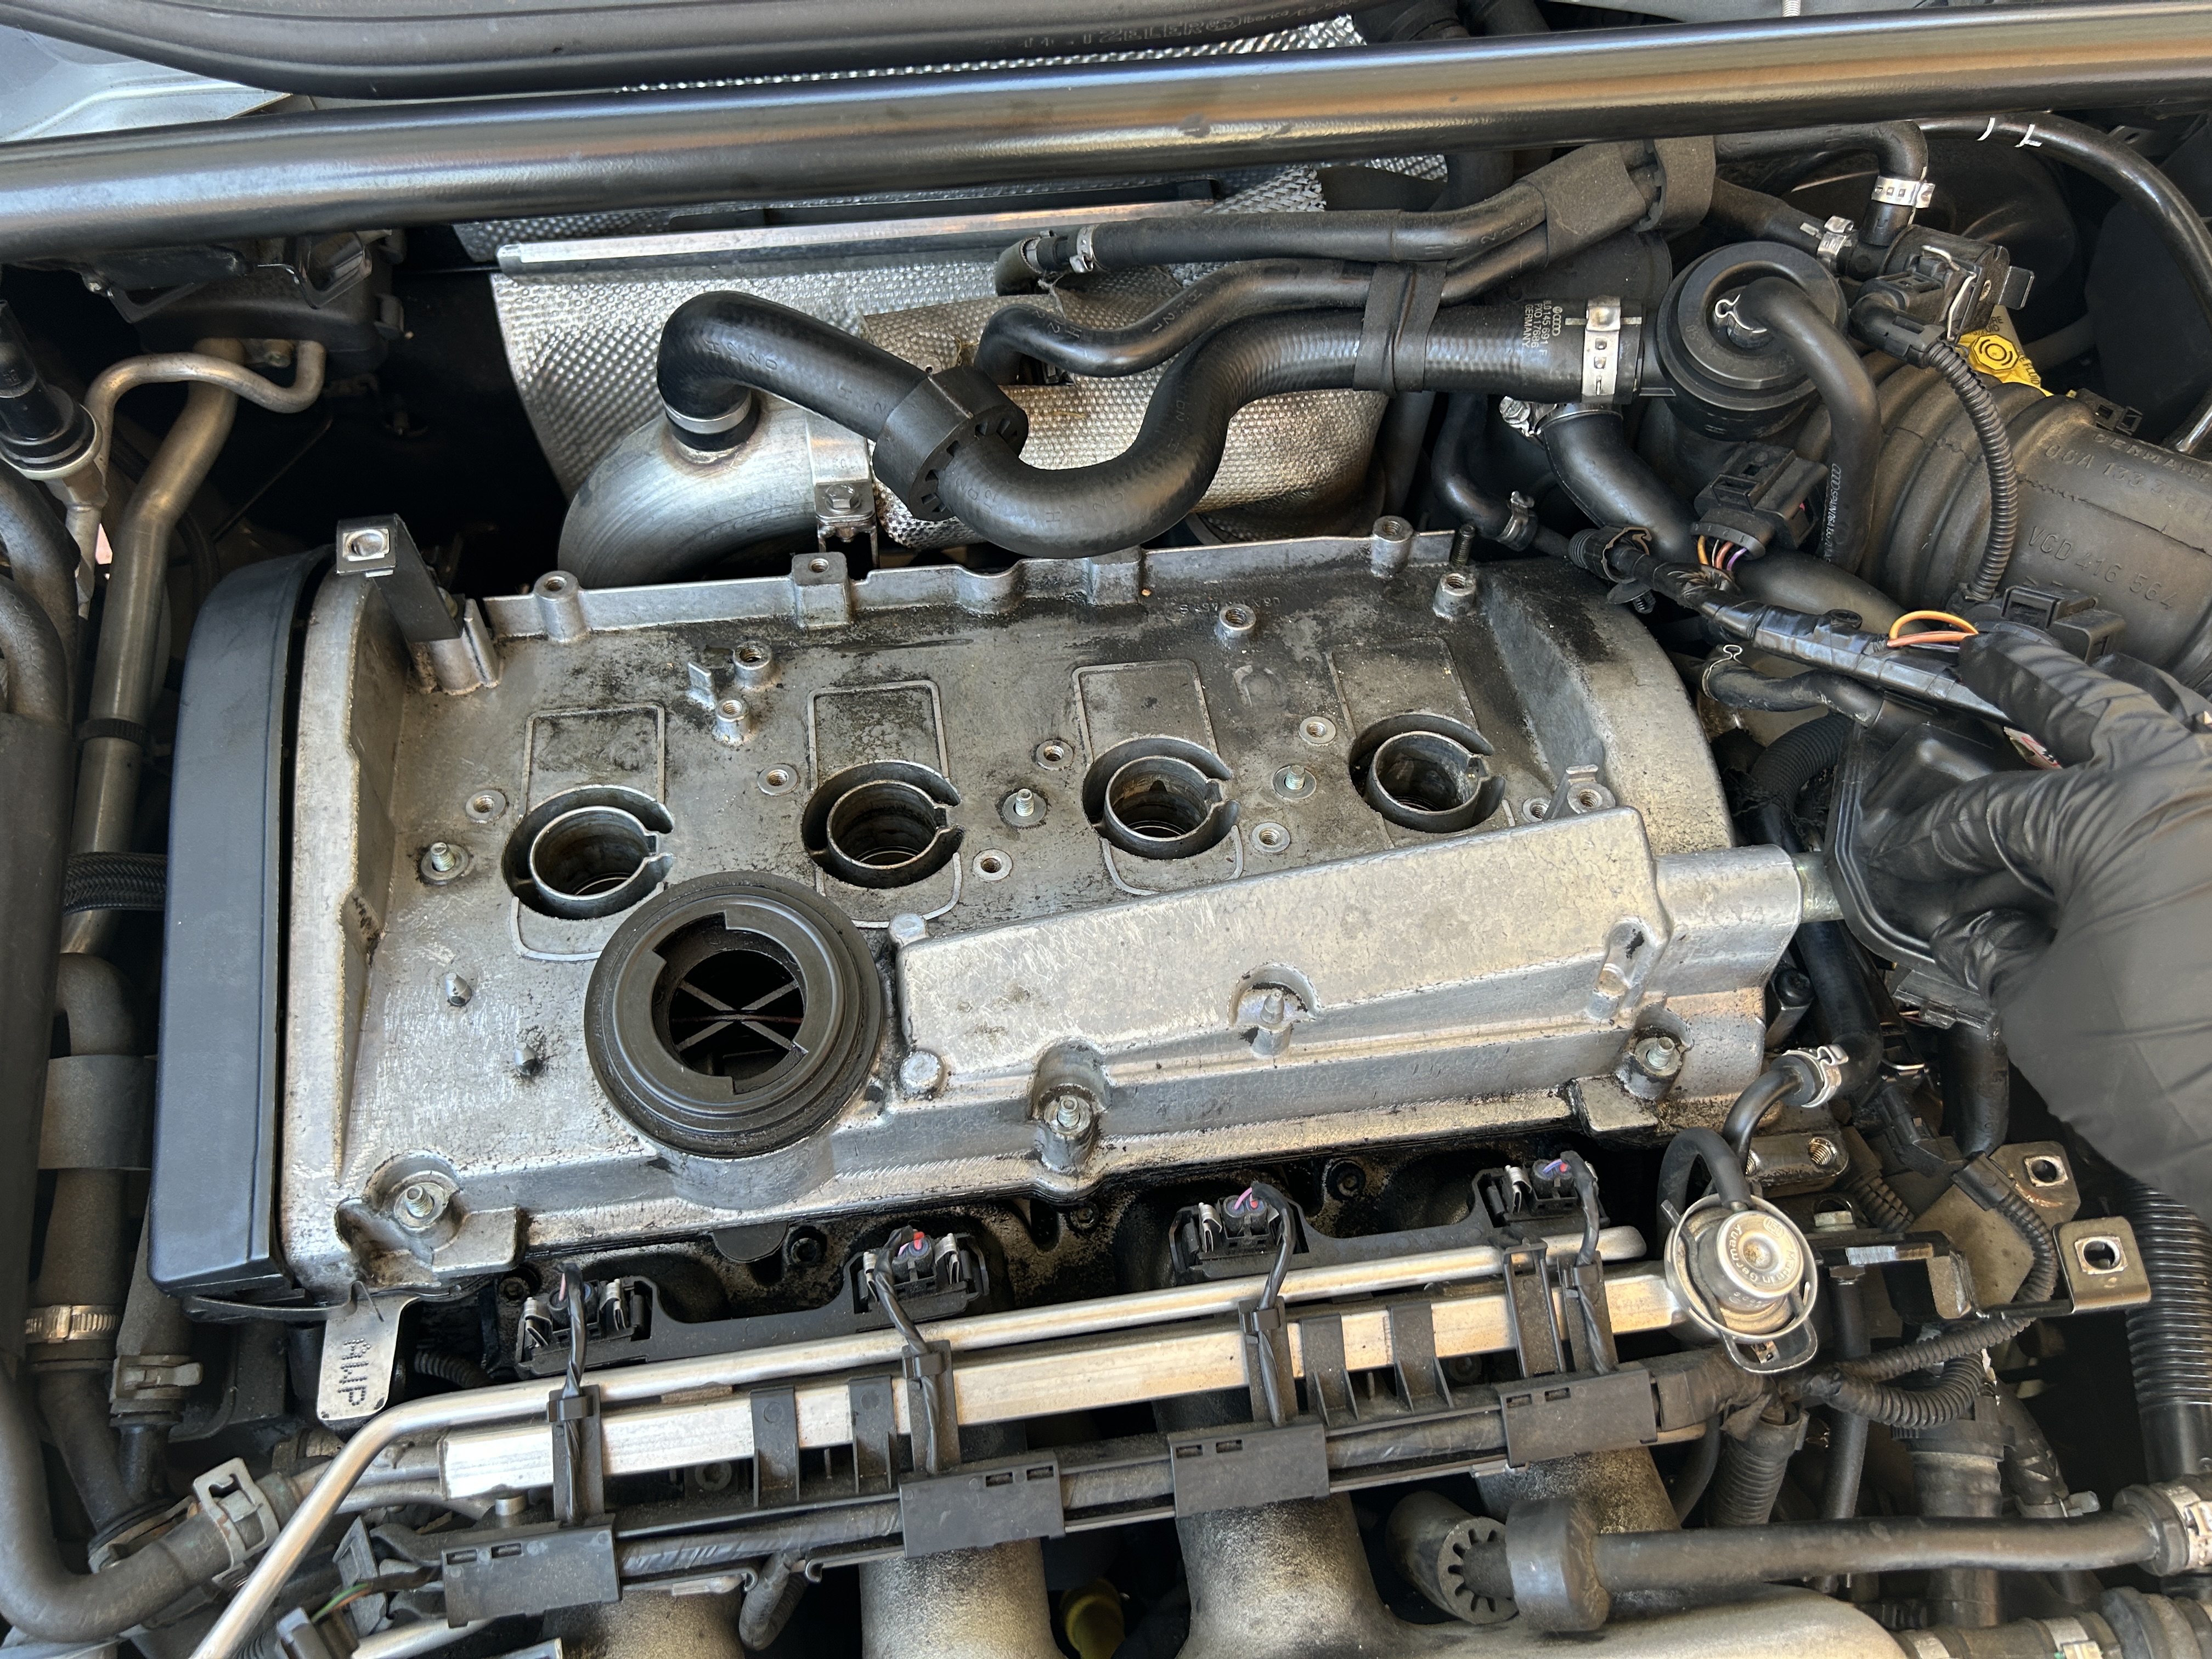
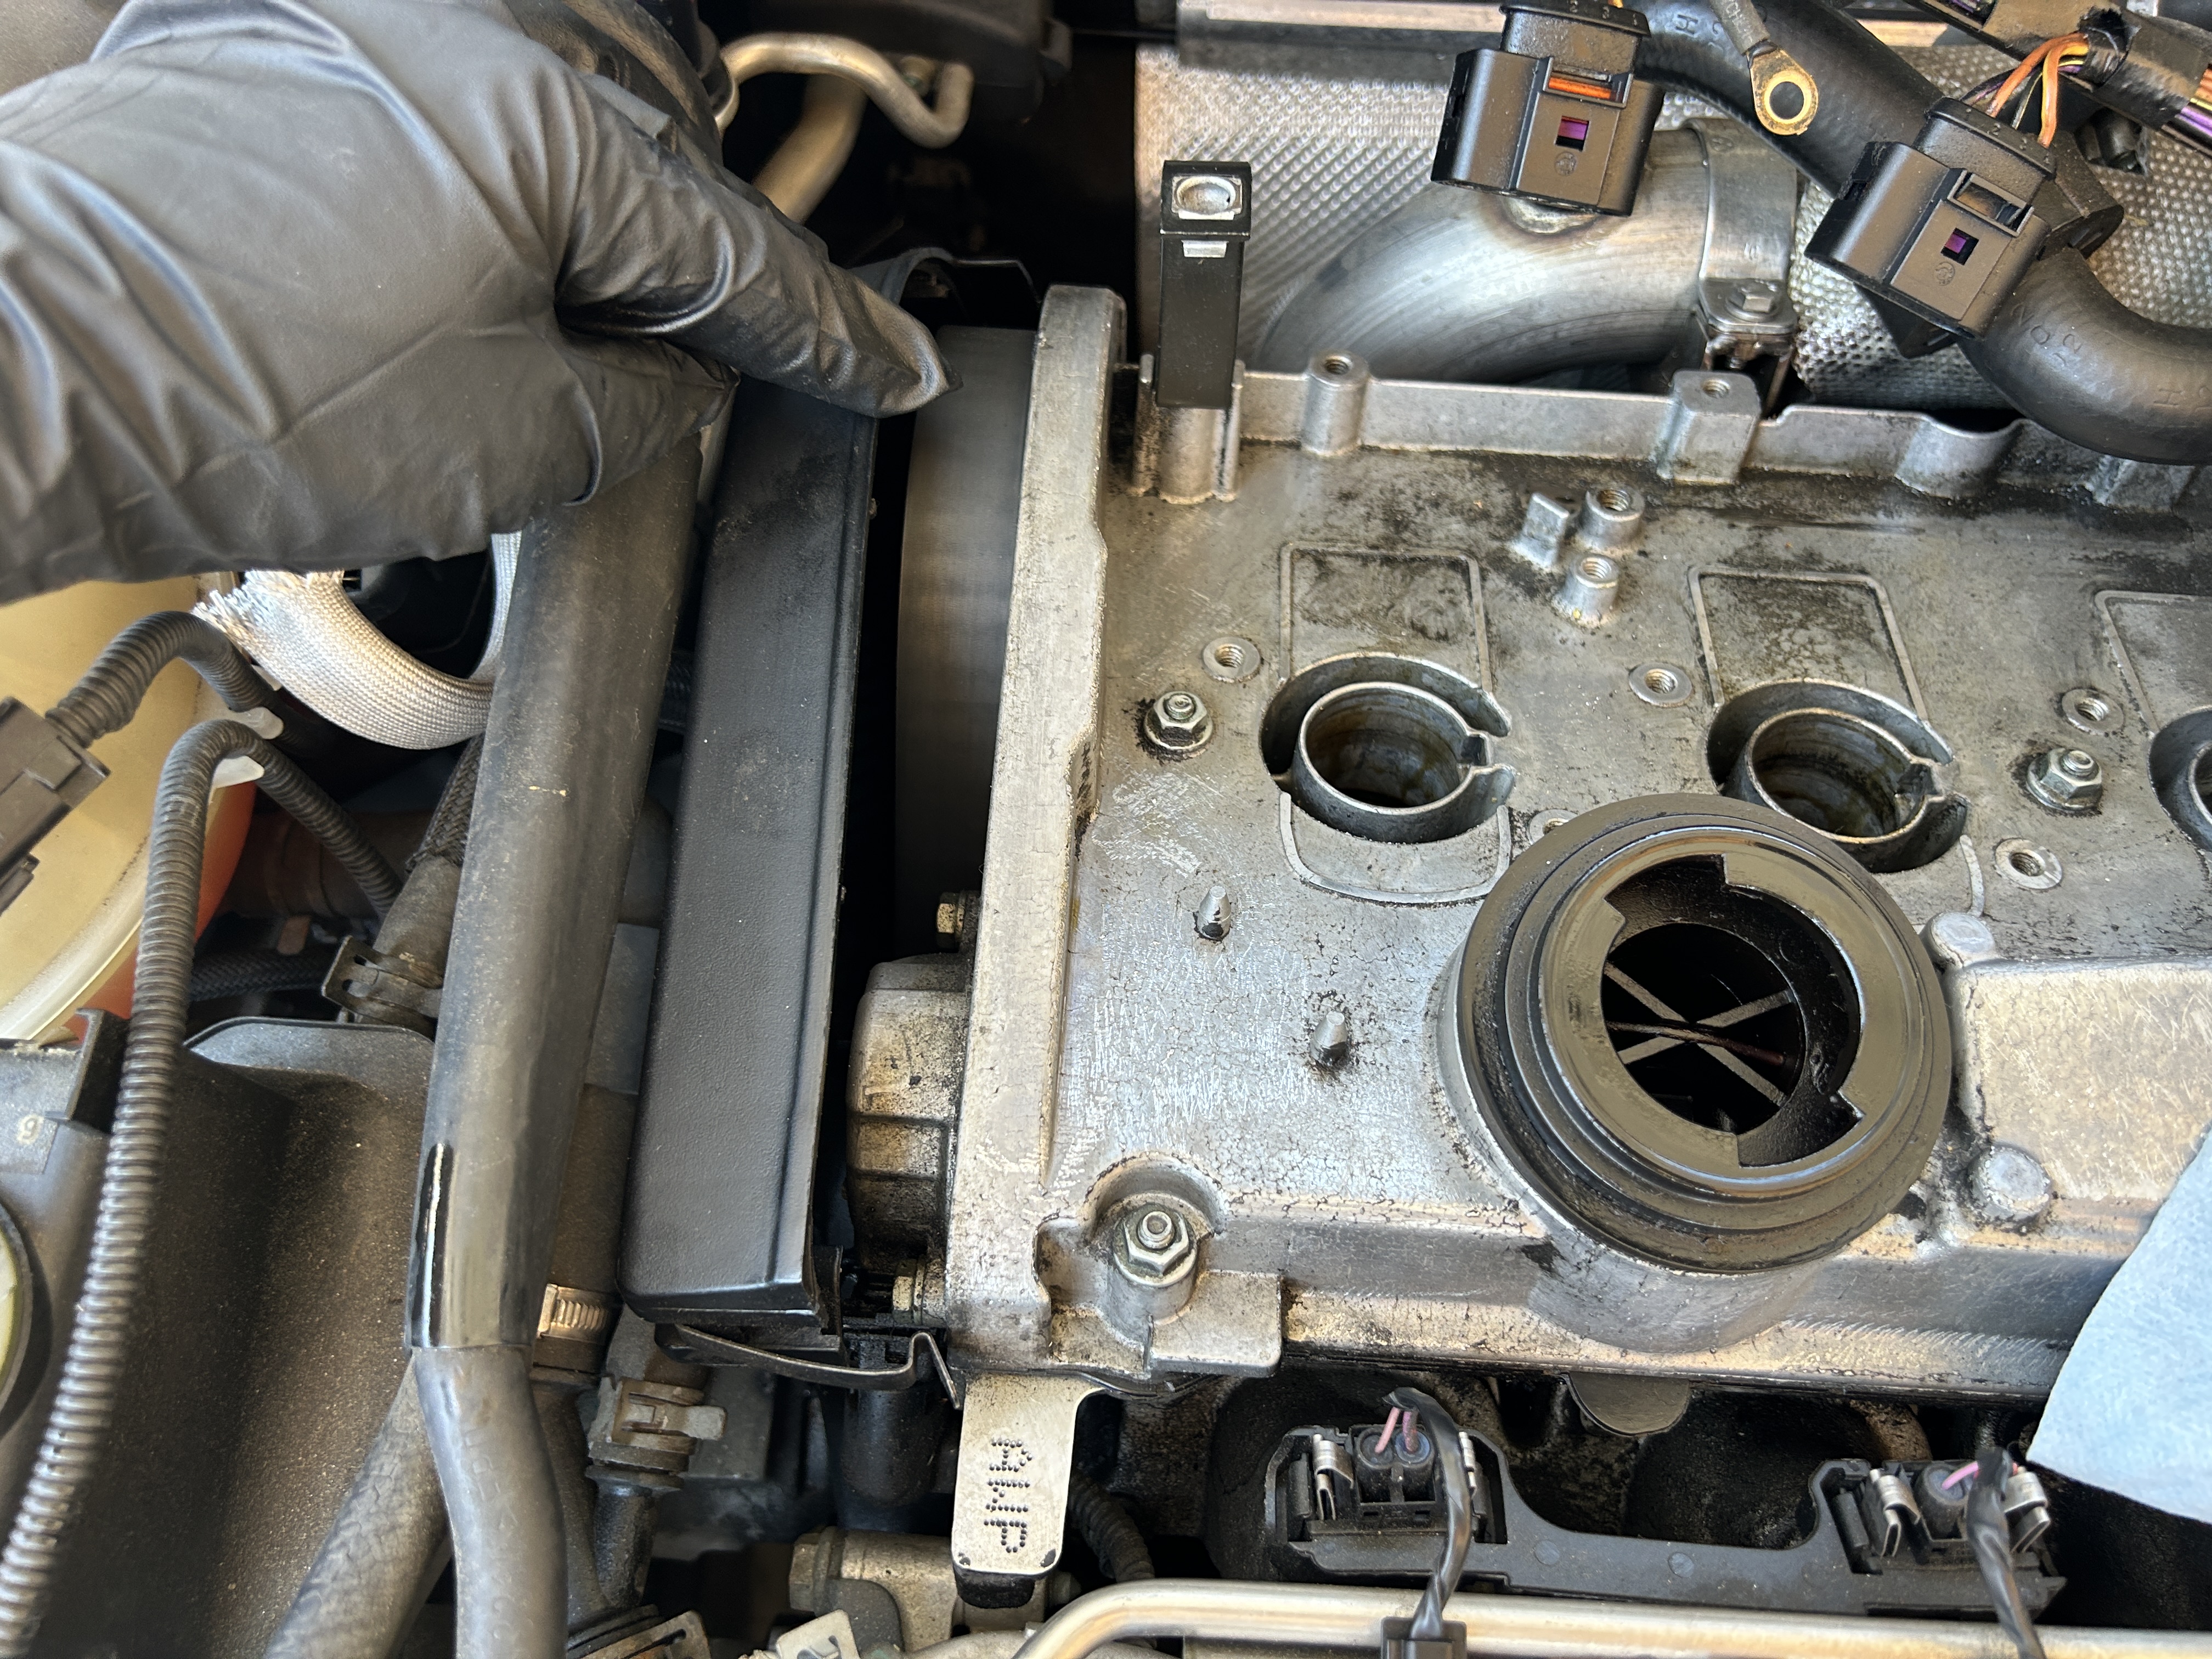
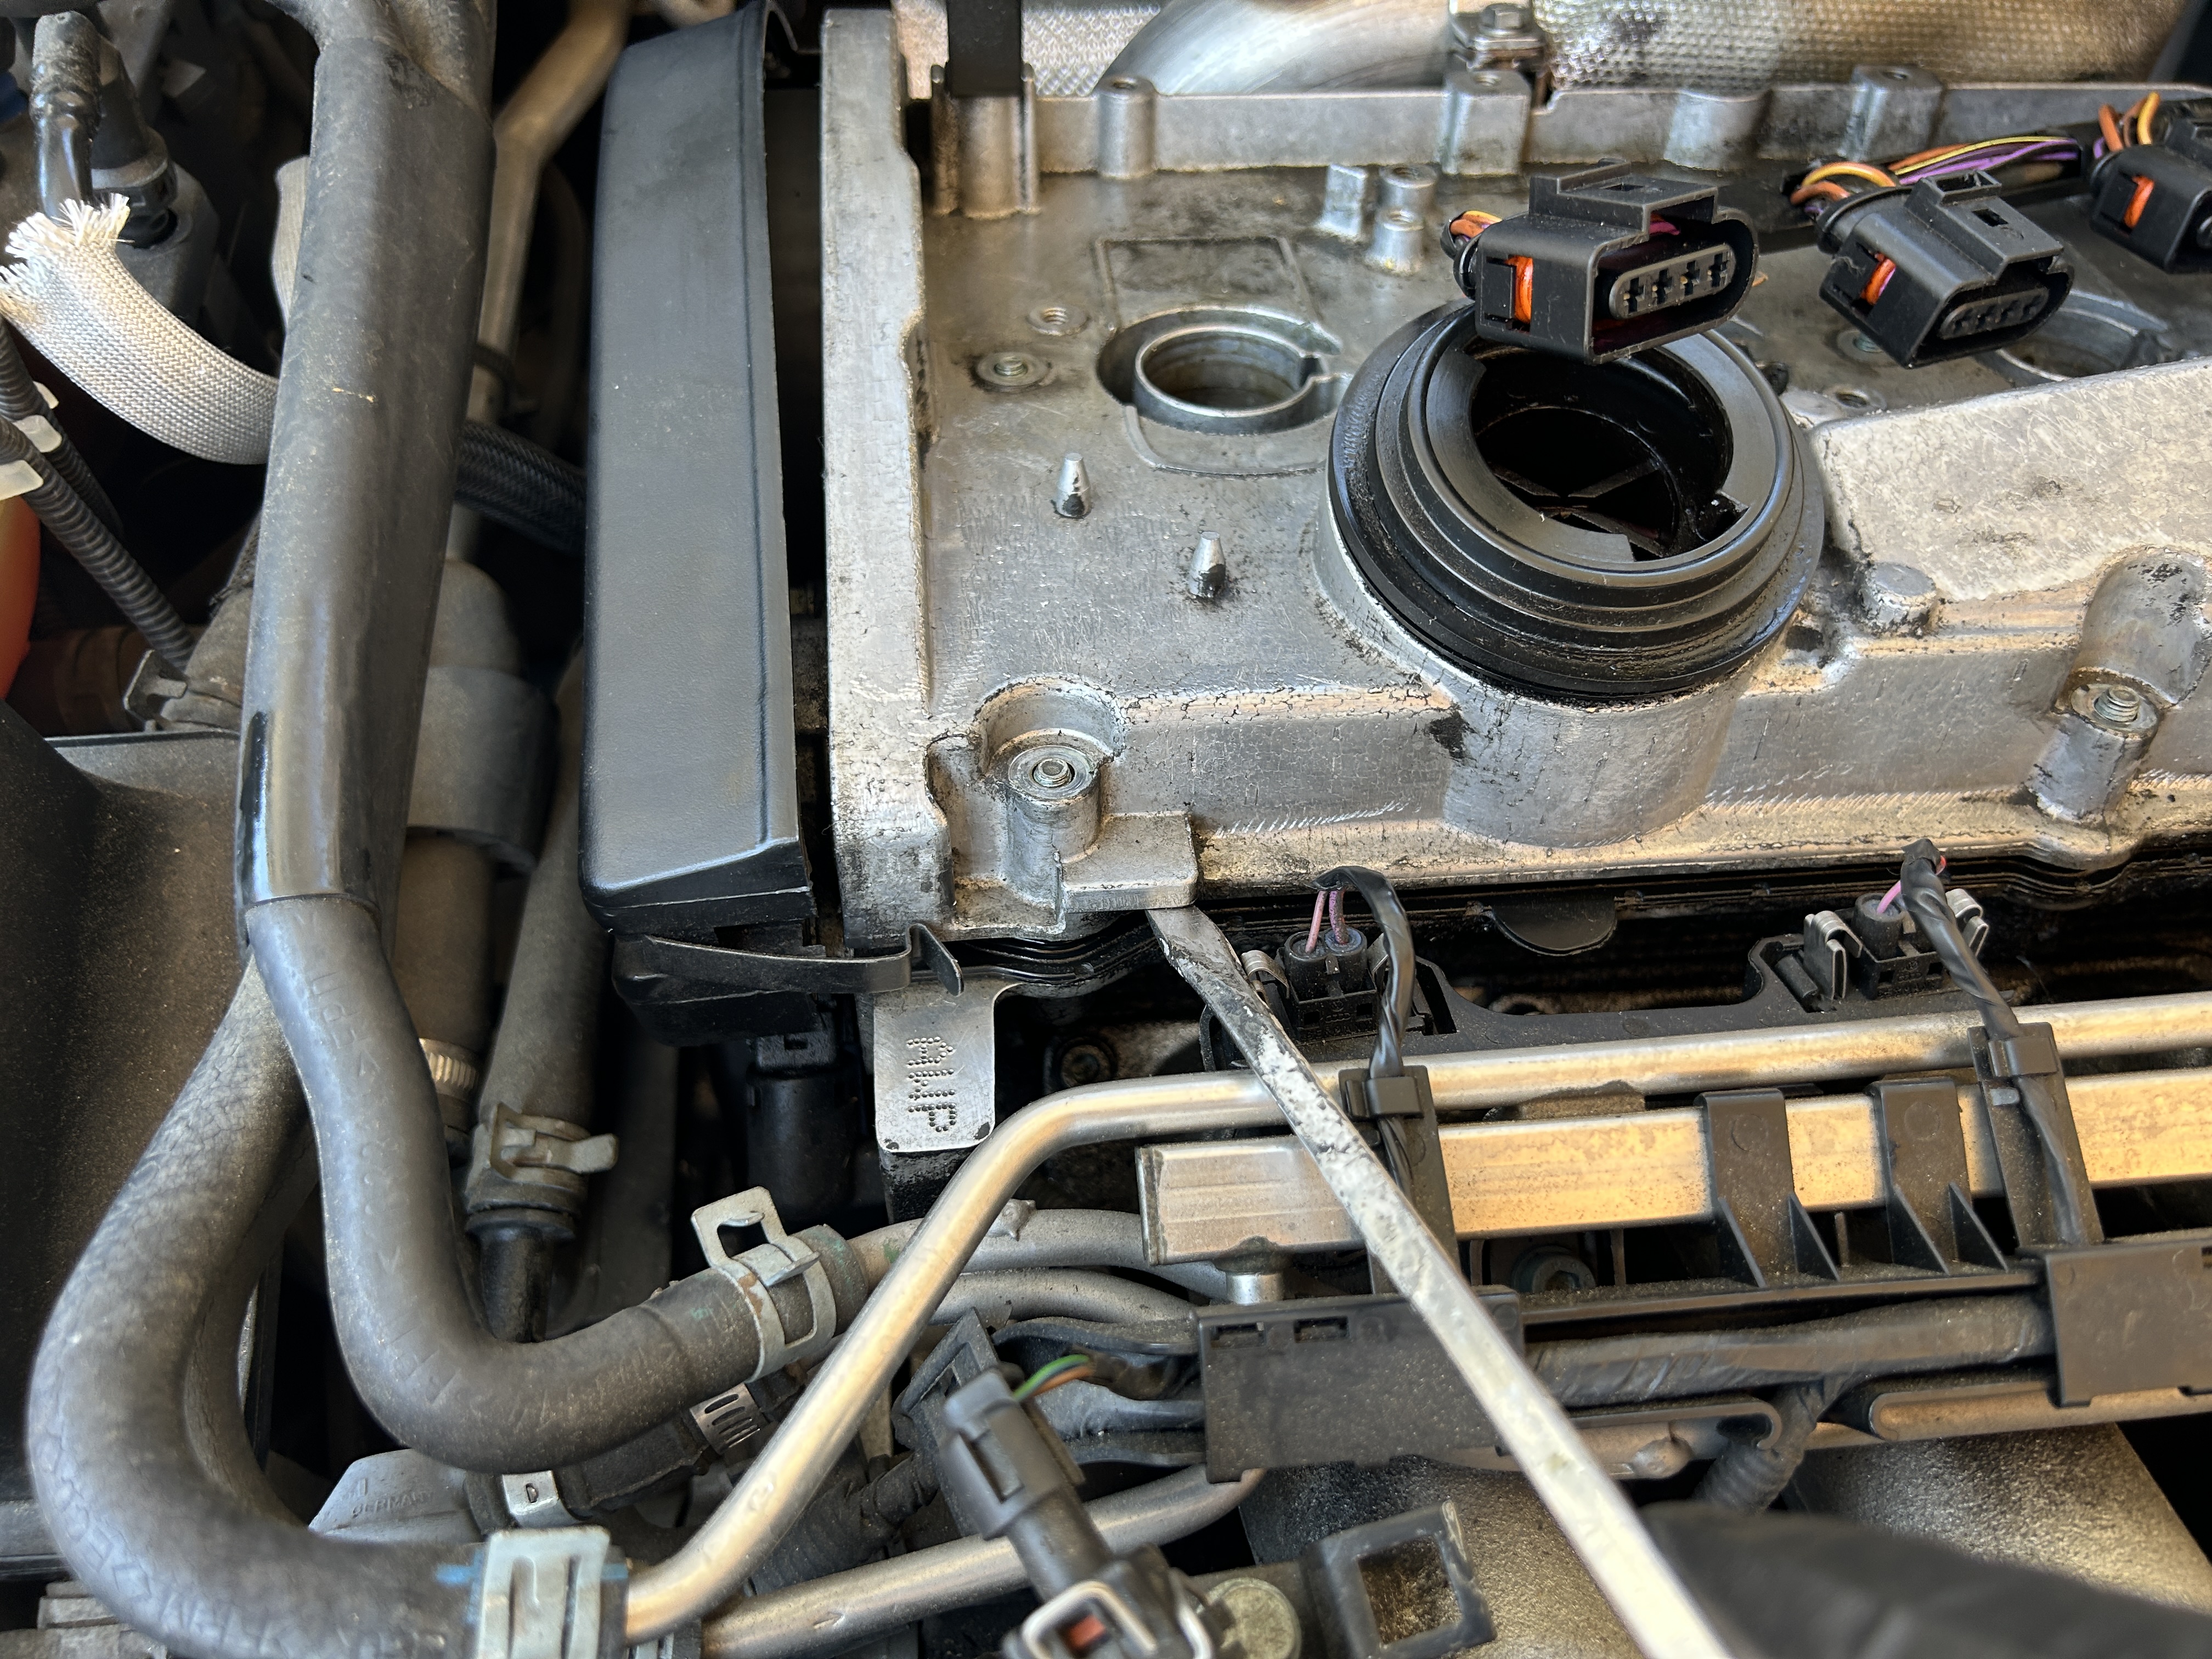
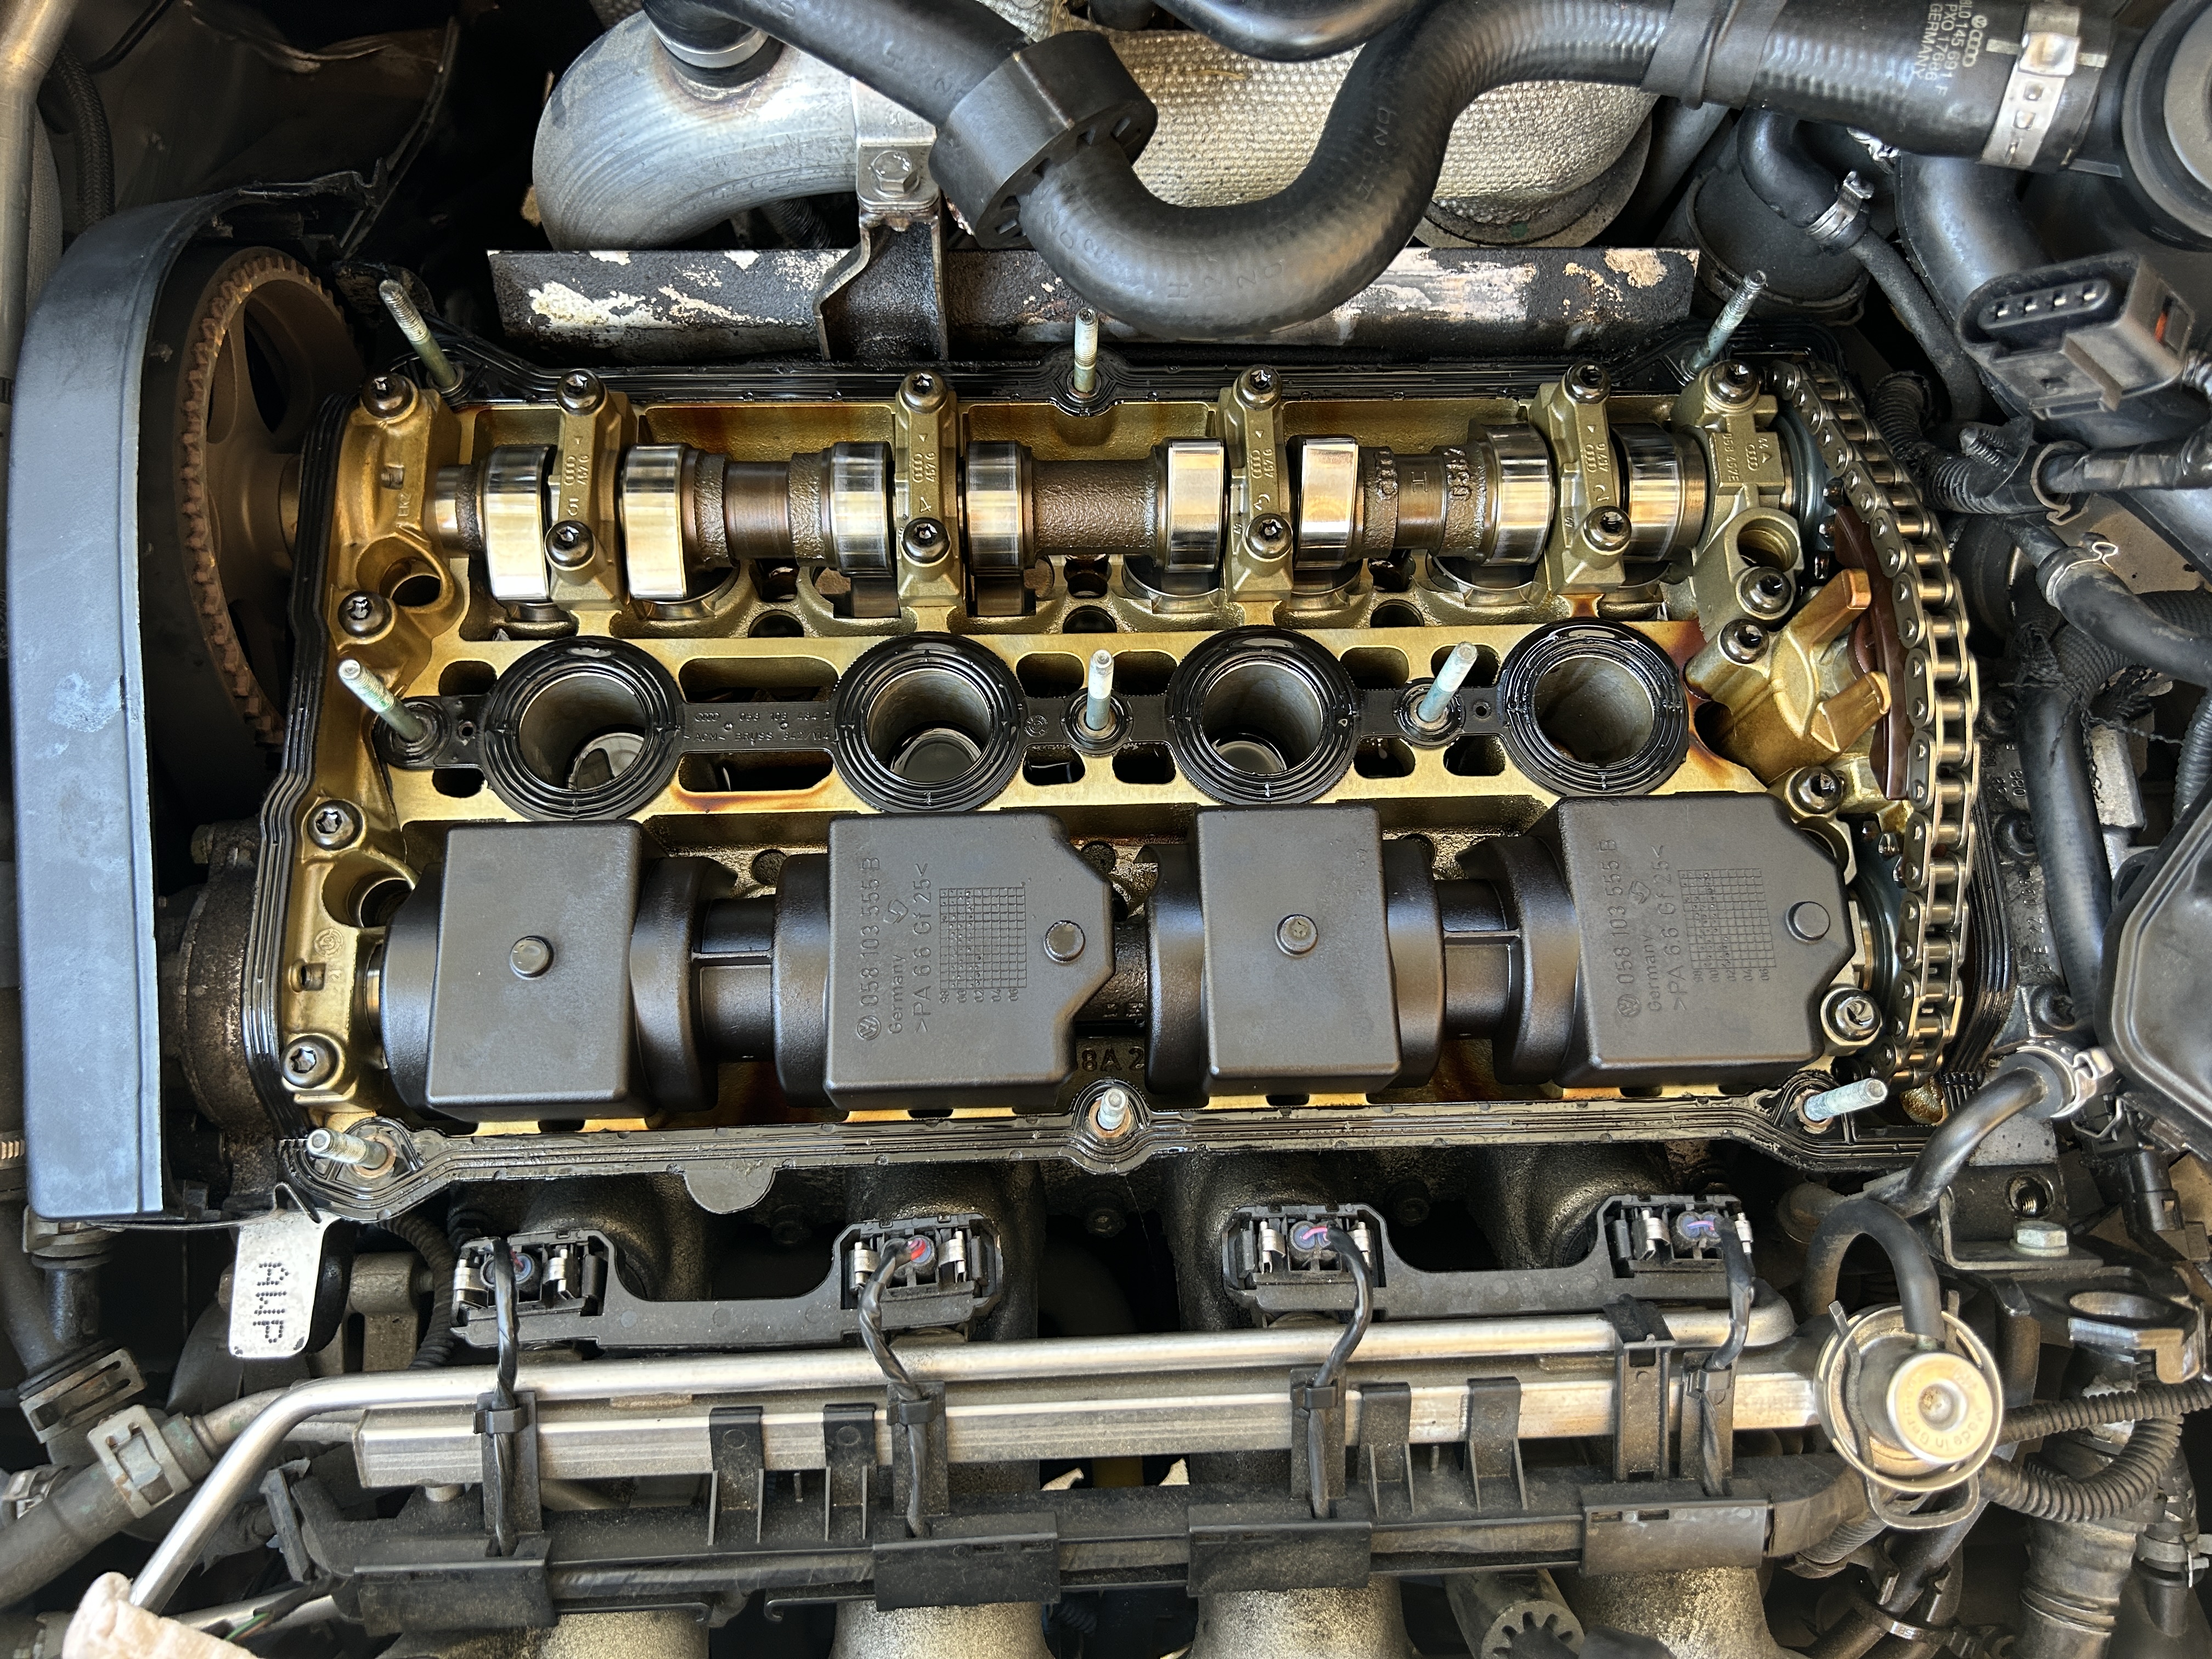
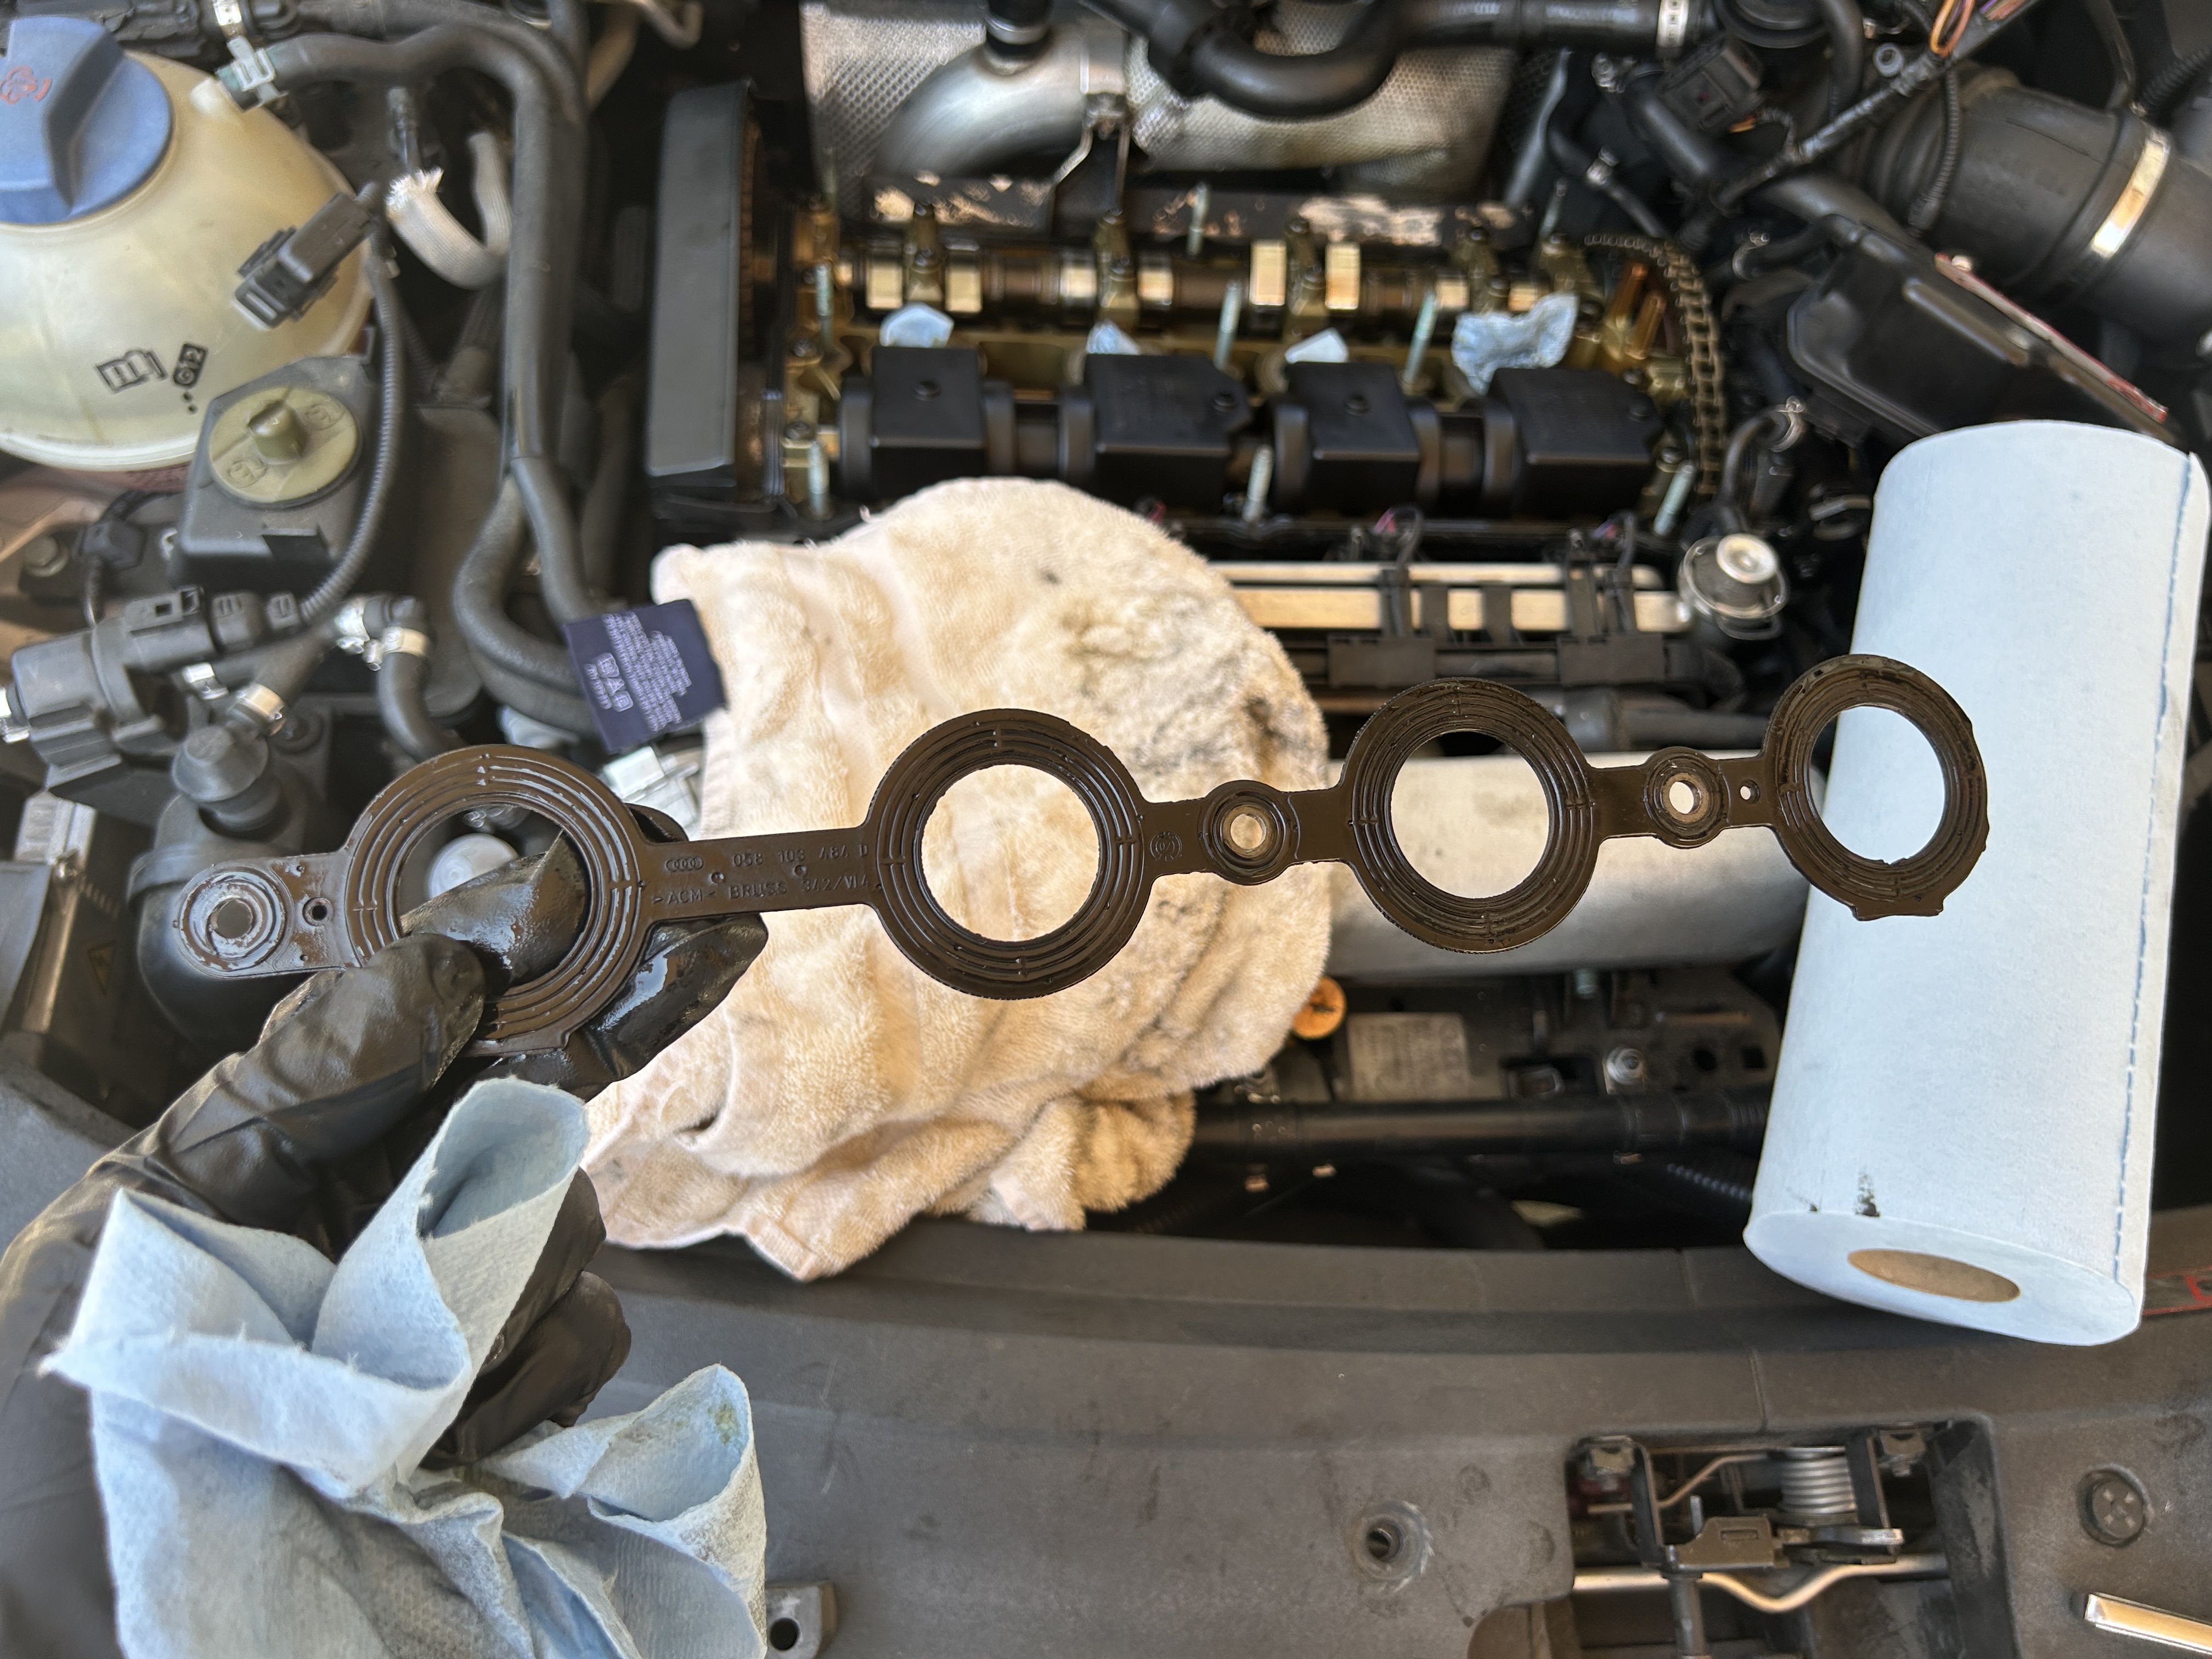
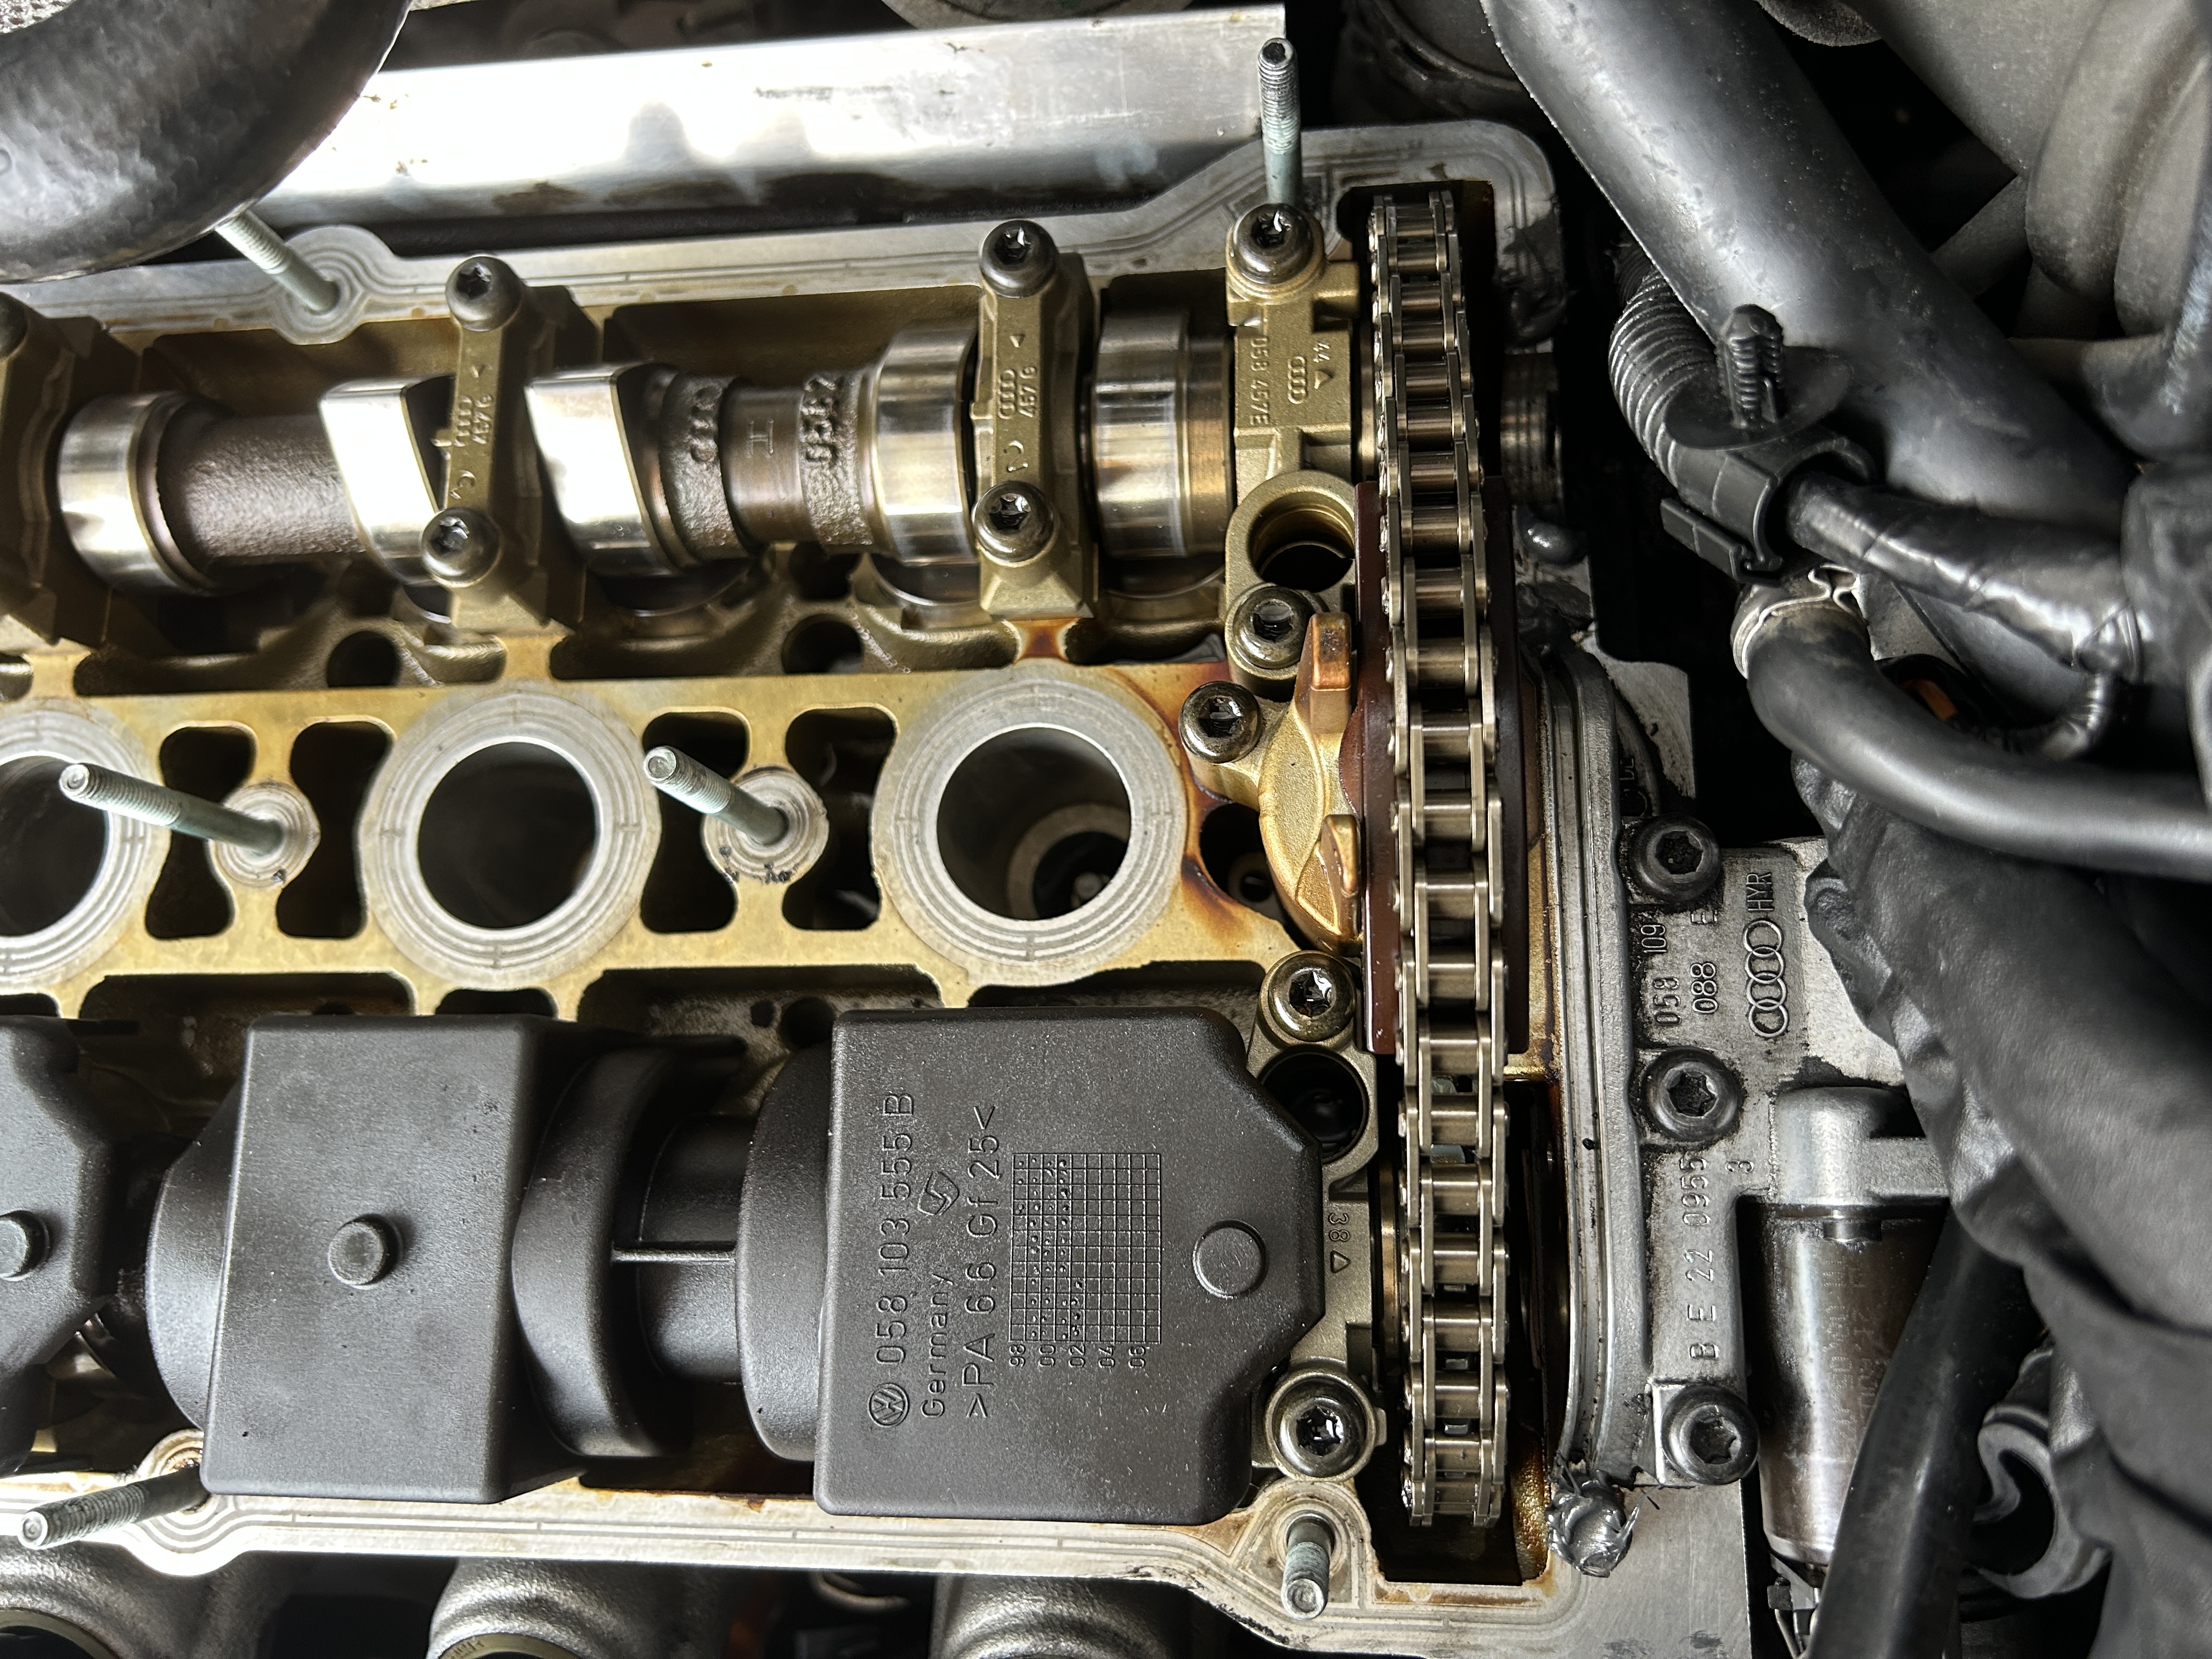
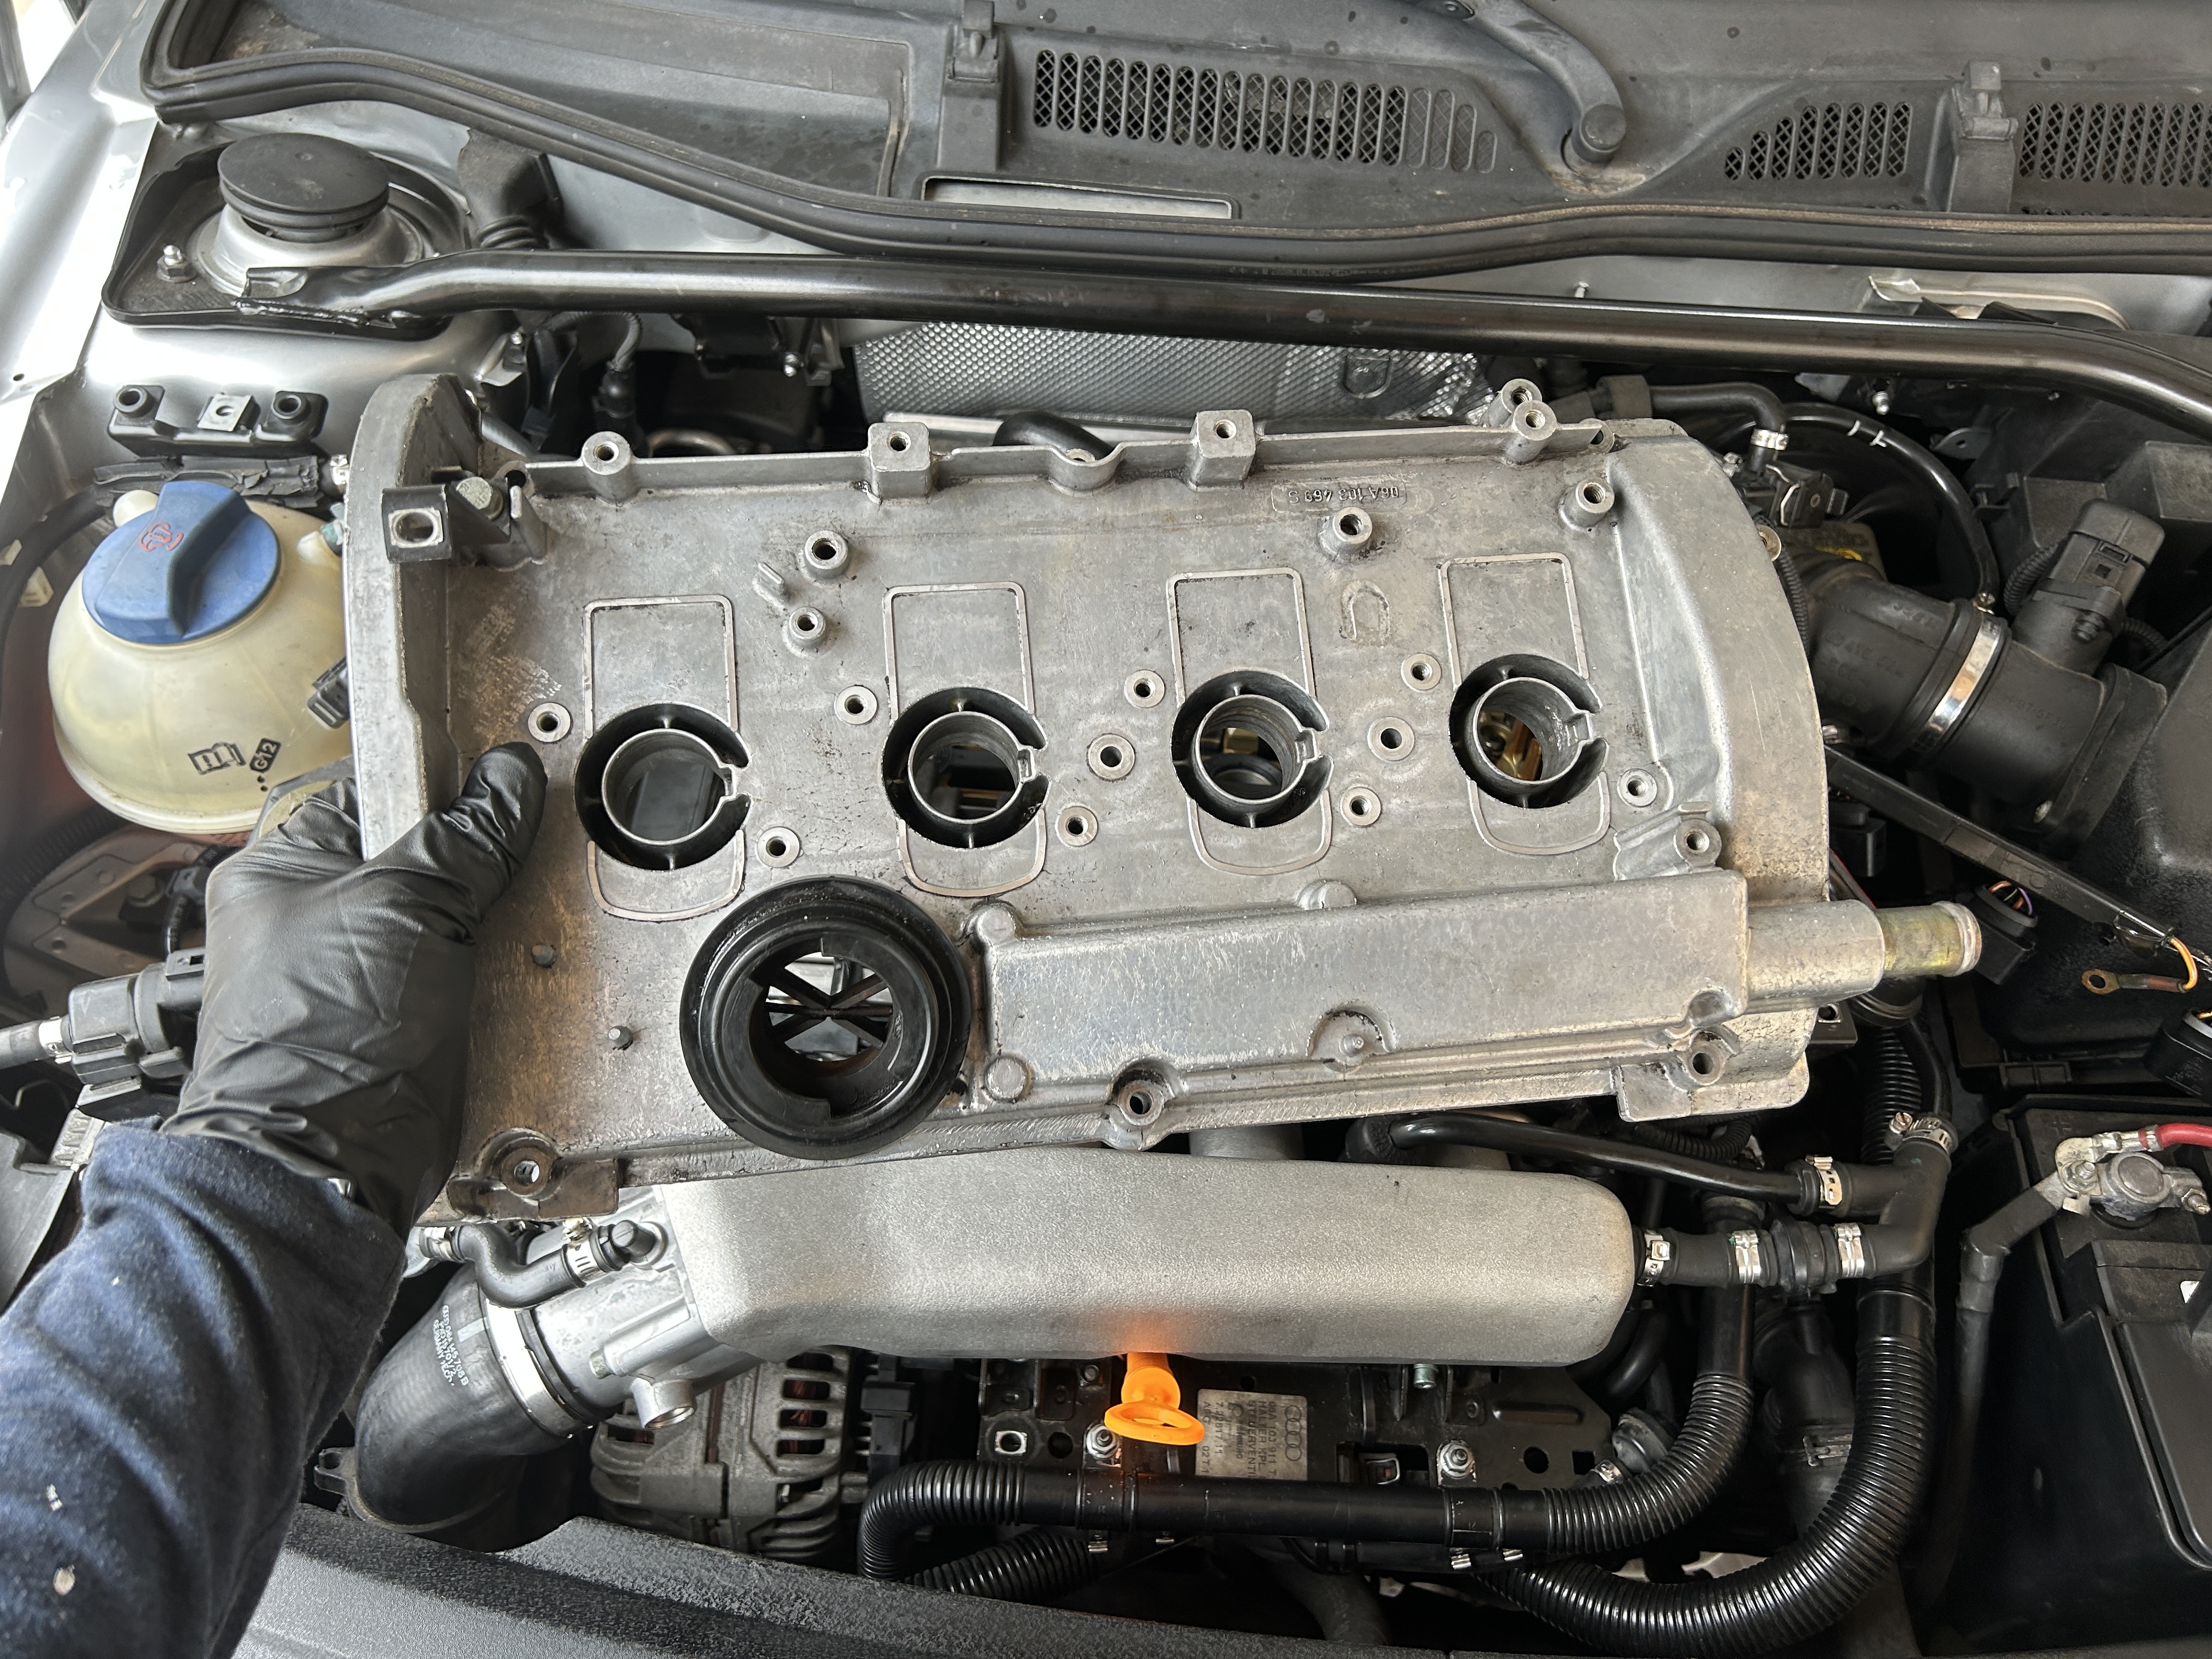
Remove the valve cover and set it aside. You will now be able to see the old valve cover gasket and spark plug seals. Evaluate the condition of everything and make sure there are no broken pieces that may have fallen into the engine head itself. These gaskets will get hard over time from constant heat and oil exposure, eventually turning brittle, and potentially breaking off.
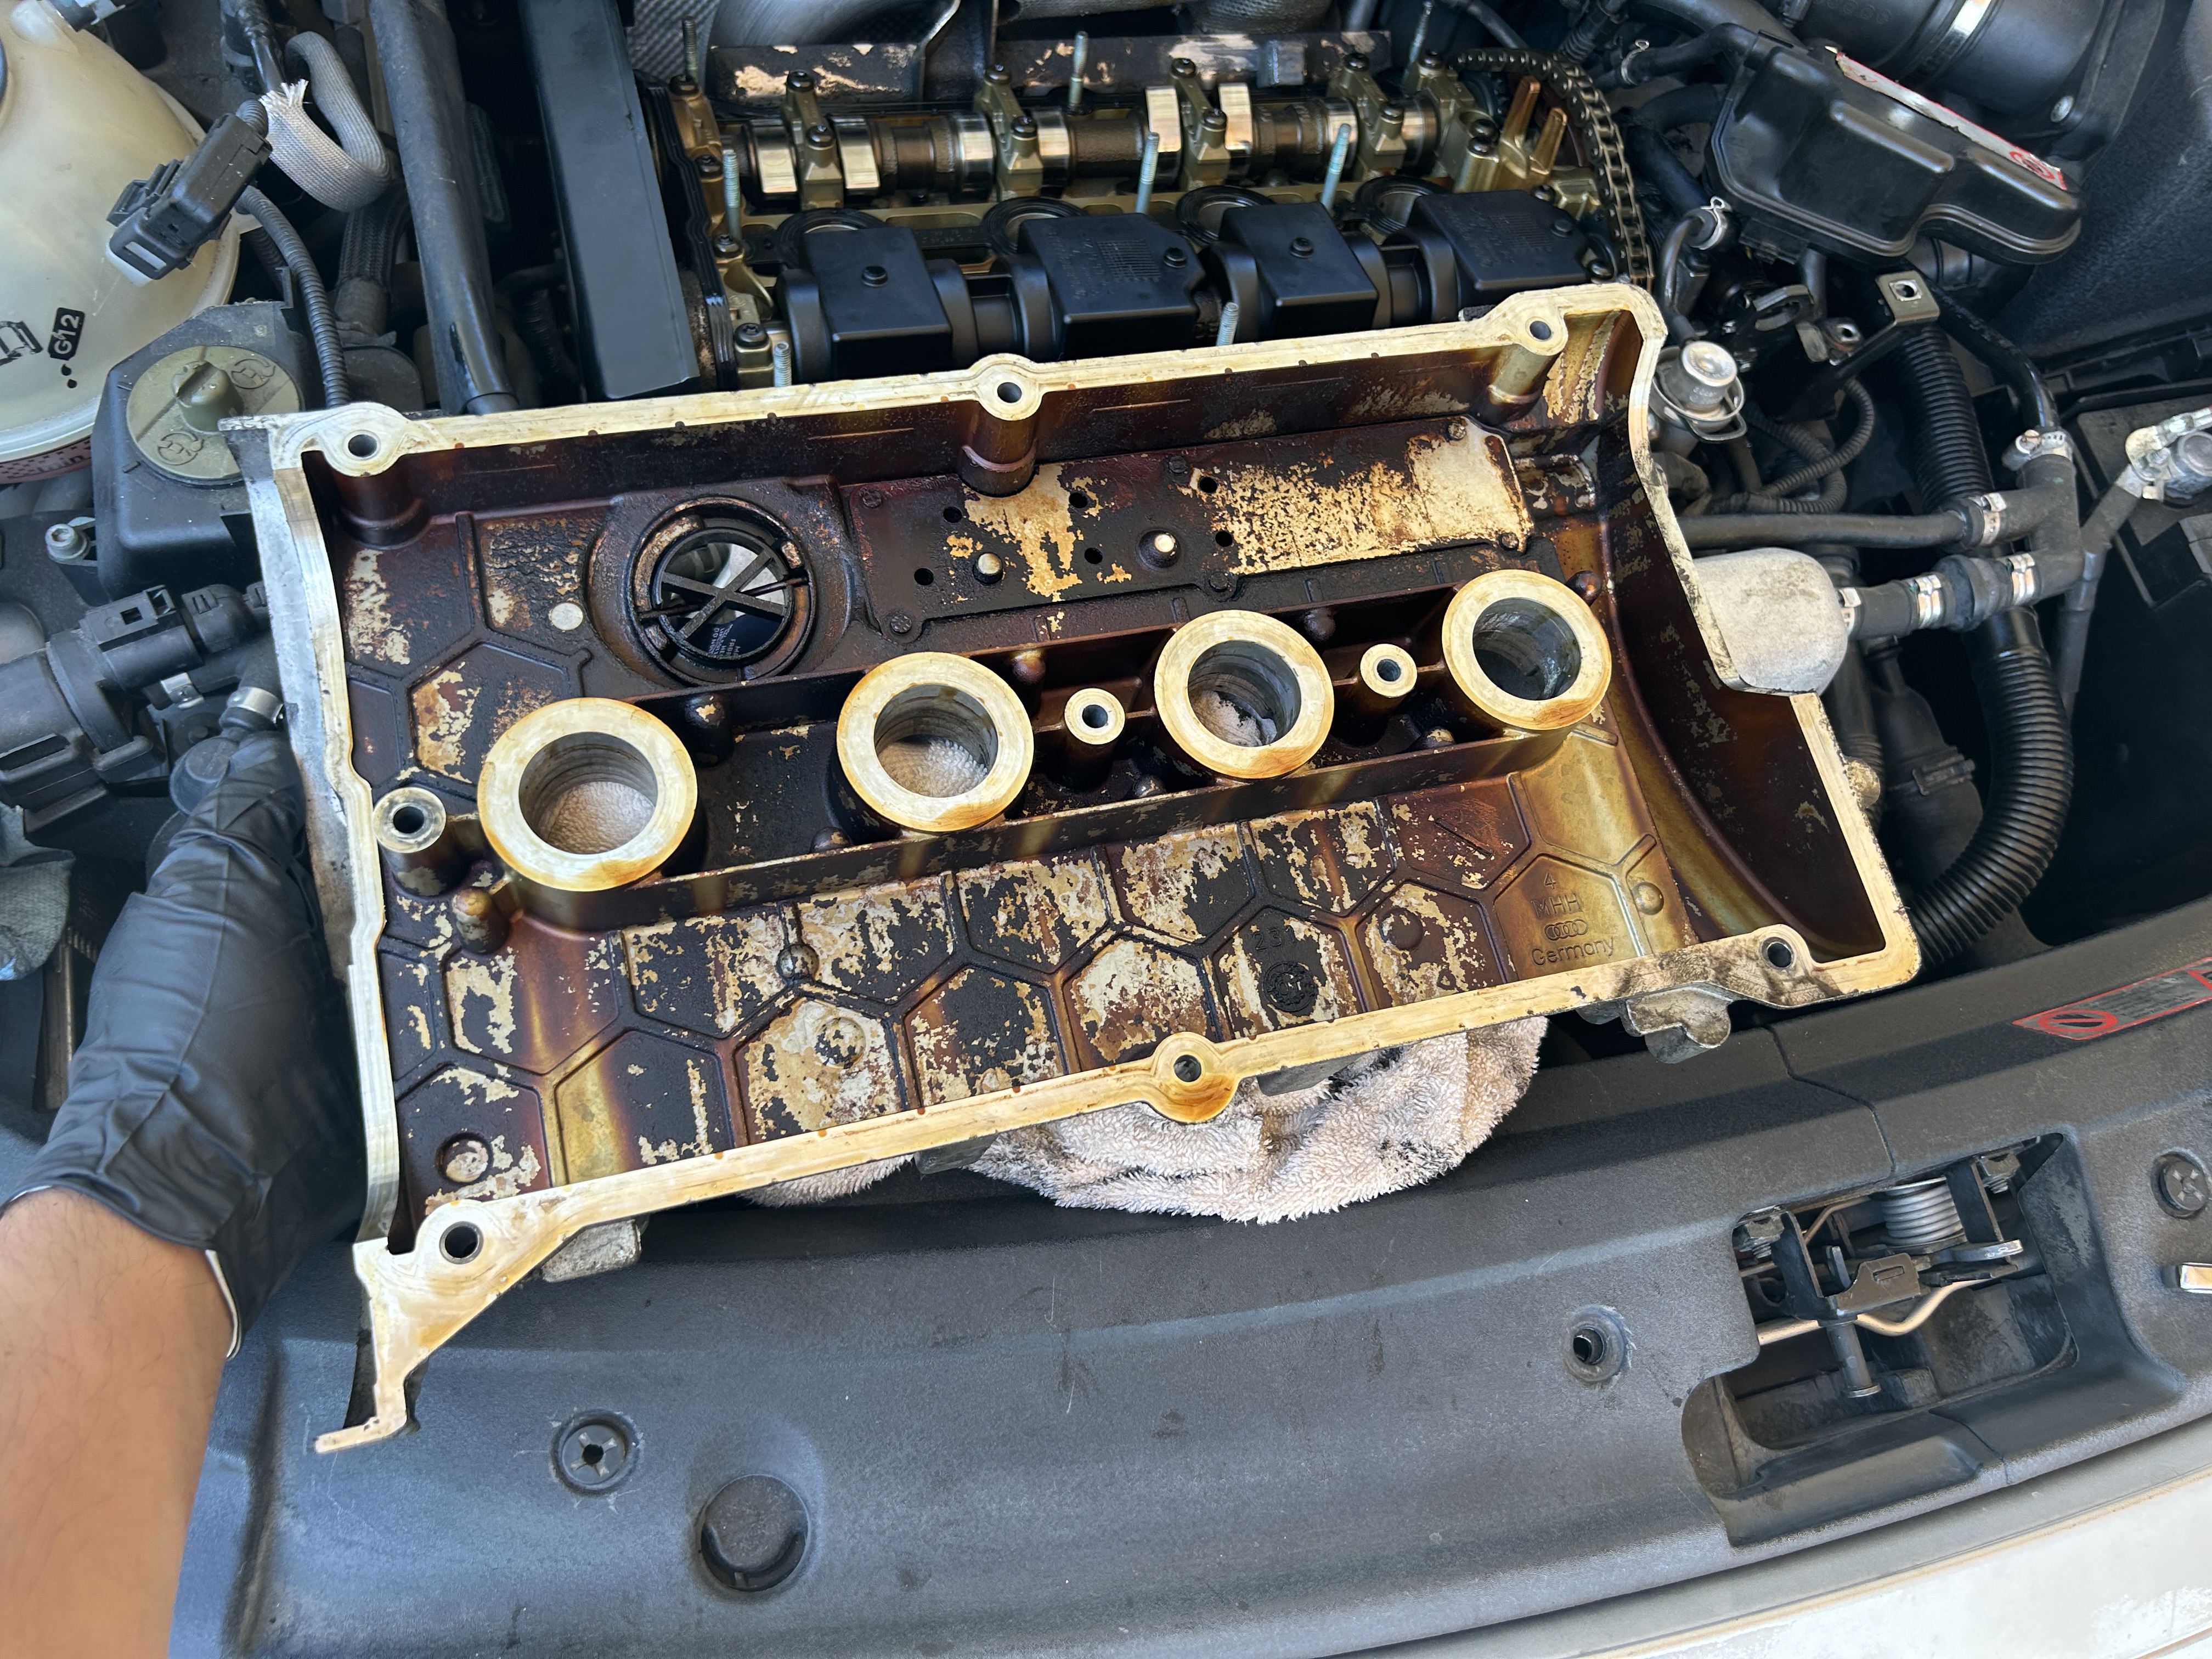
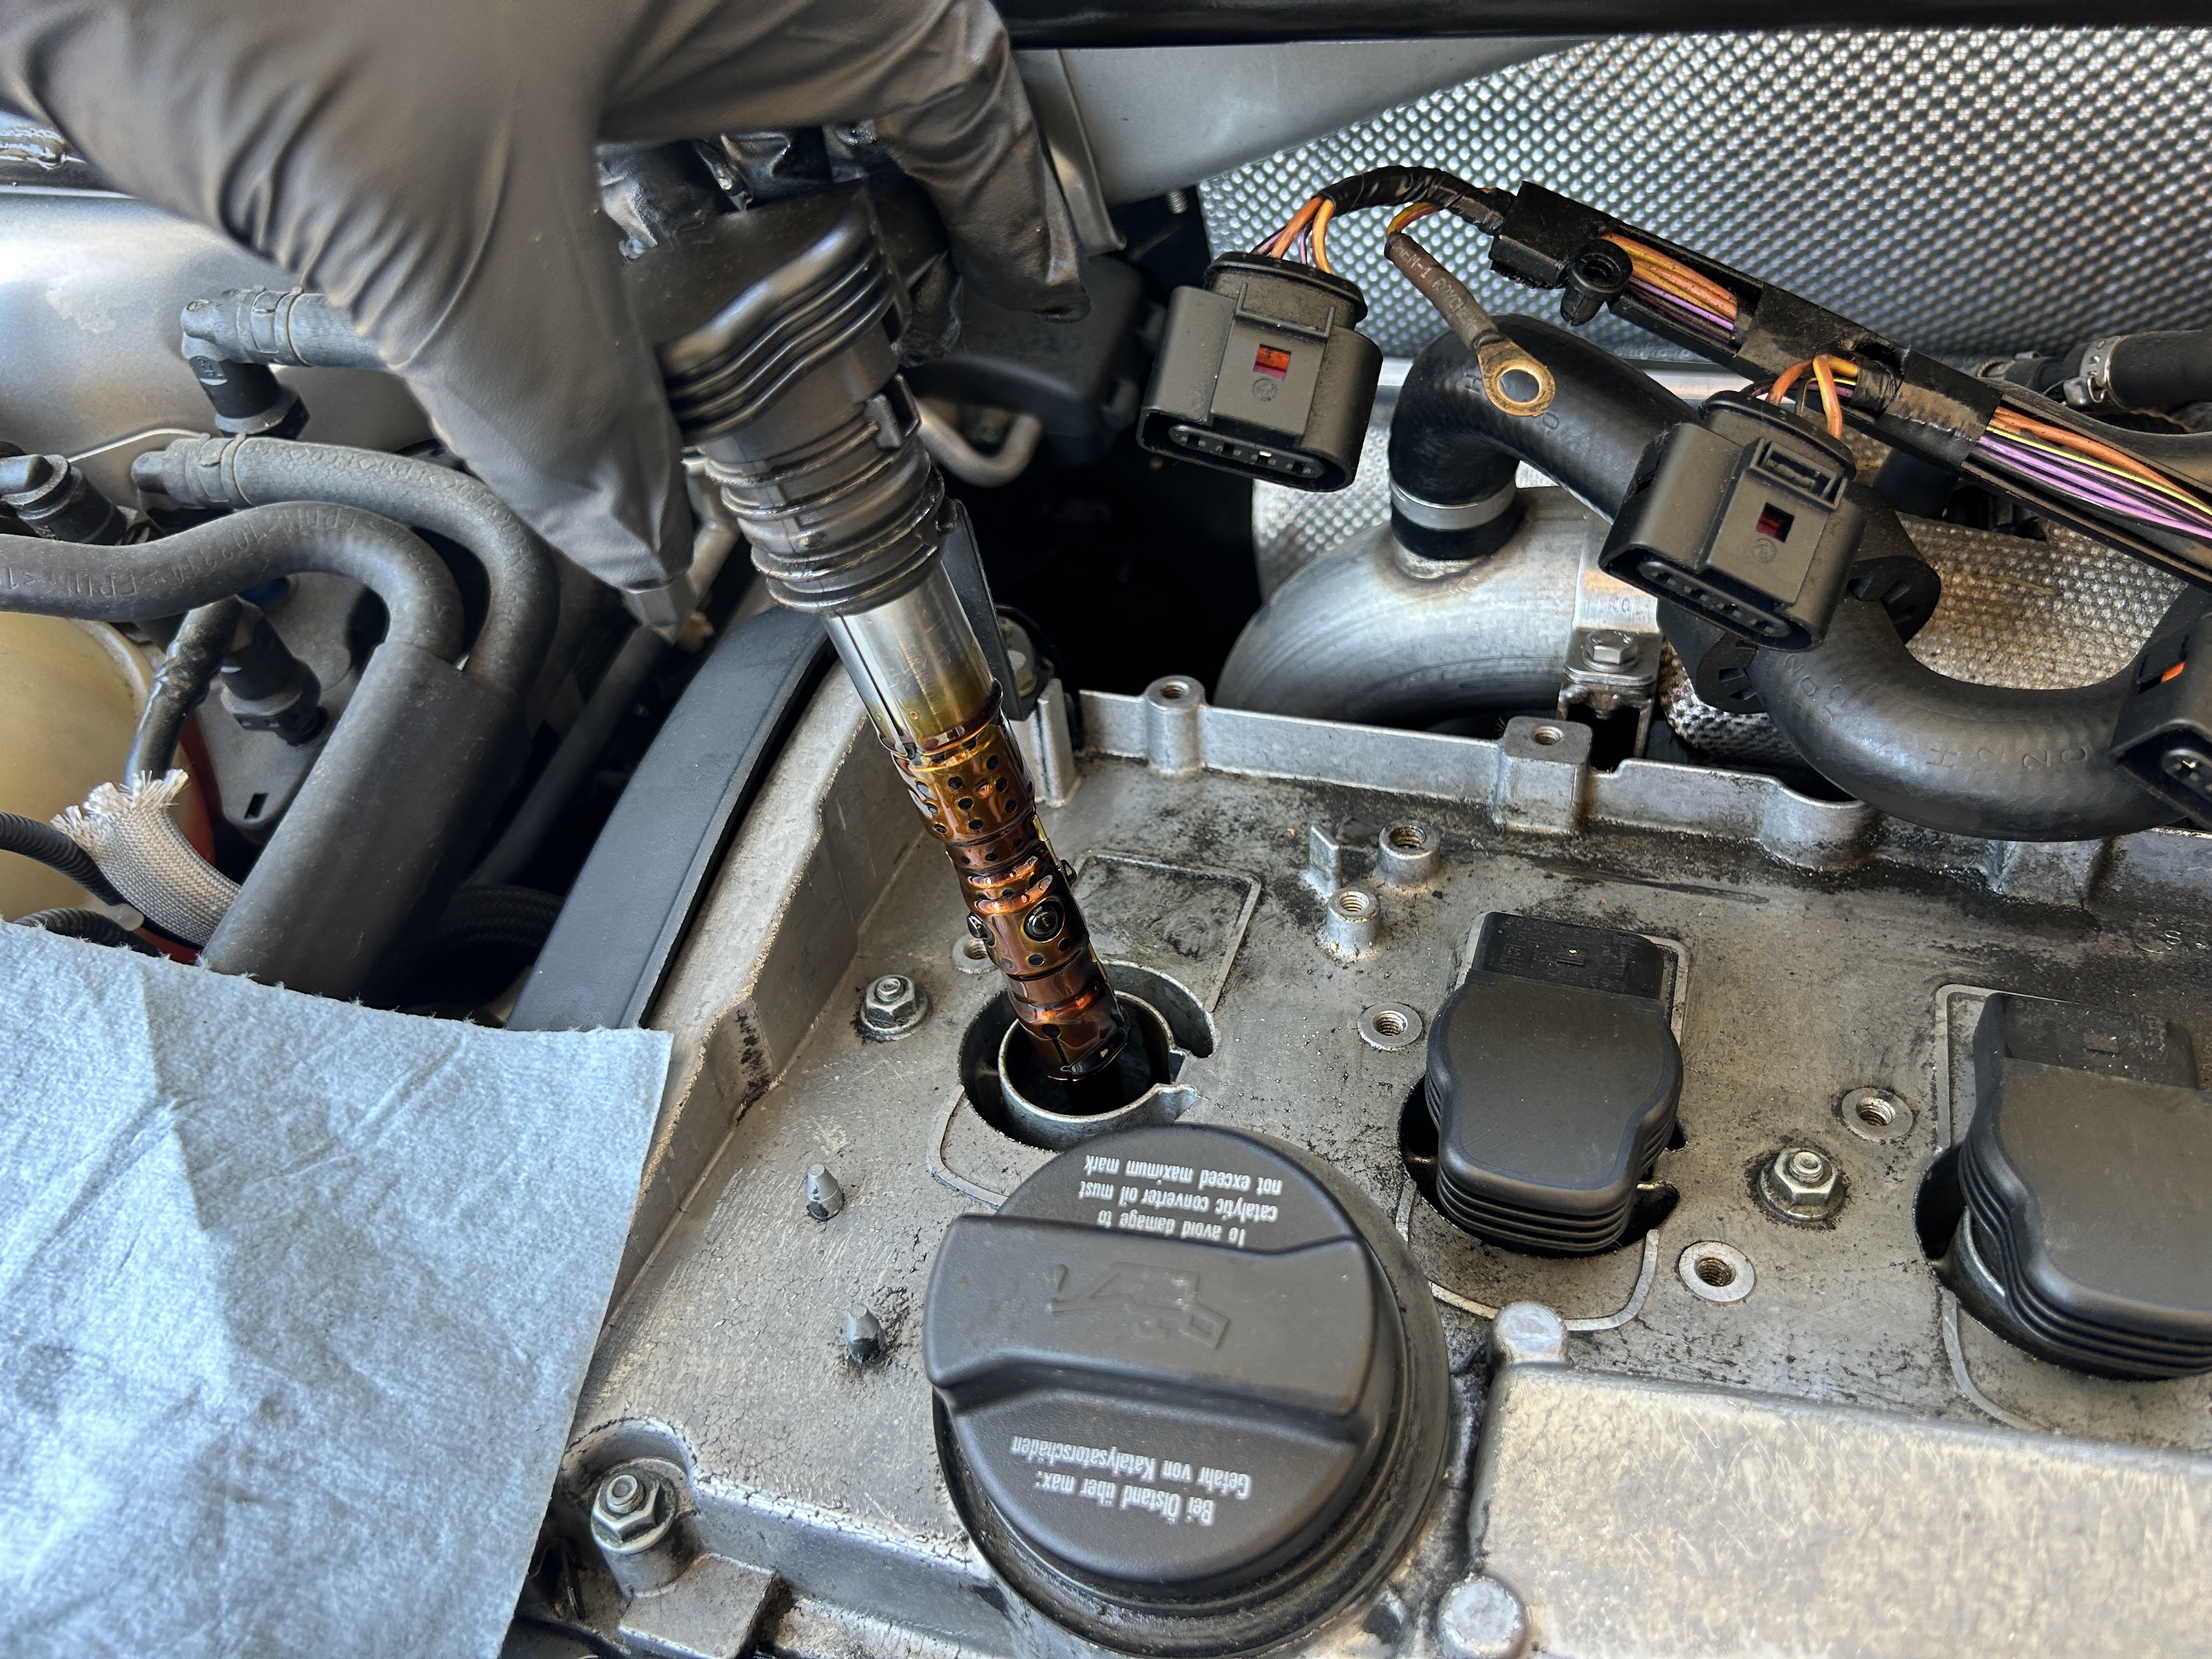
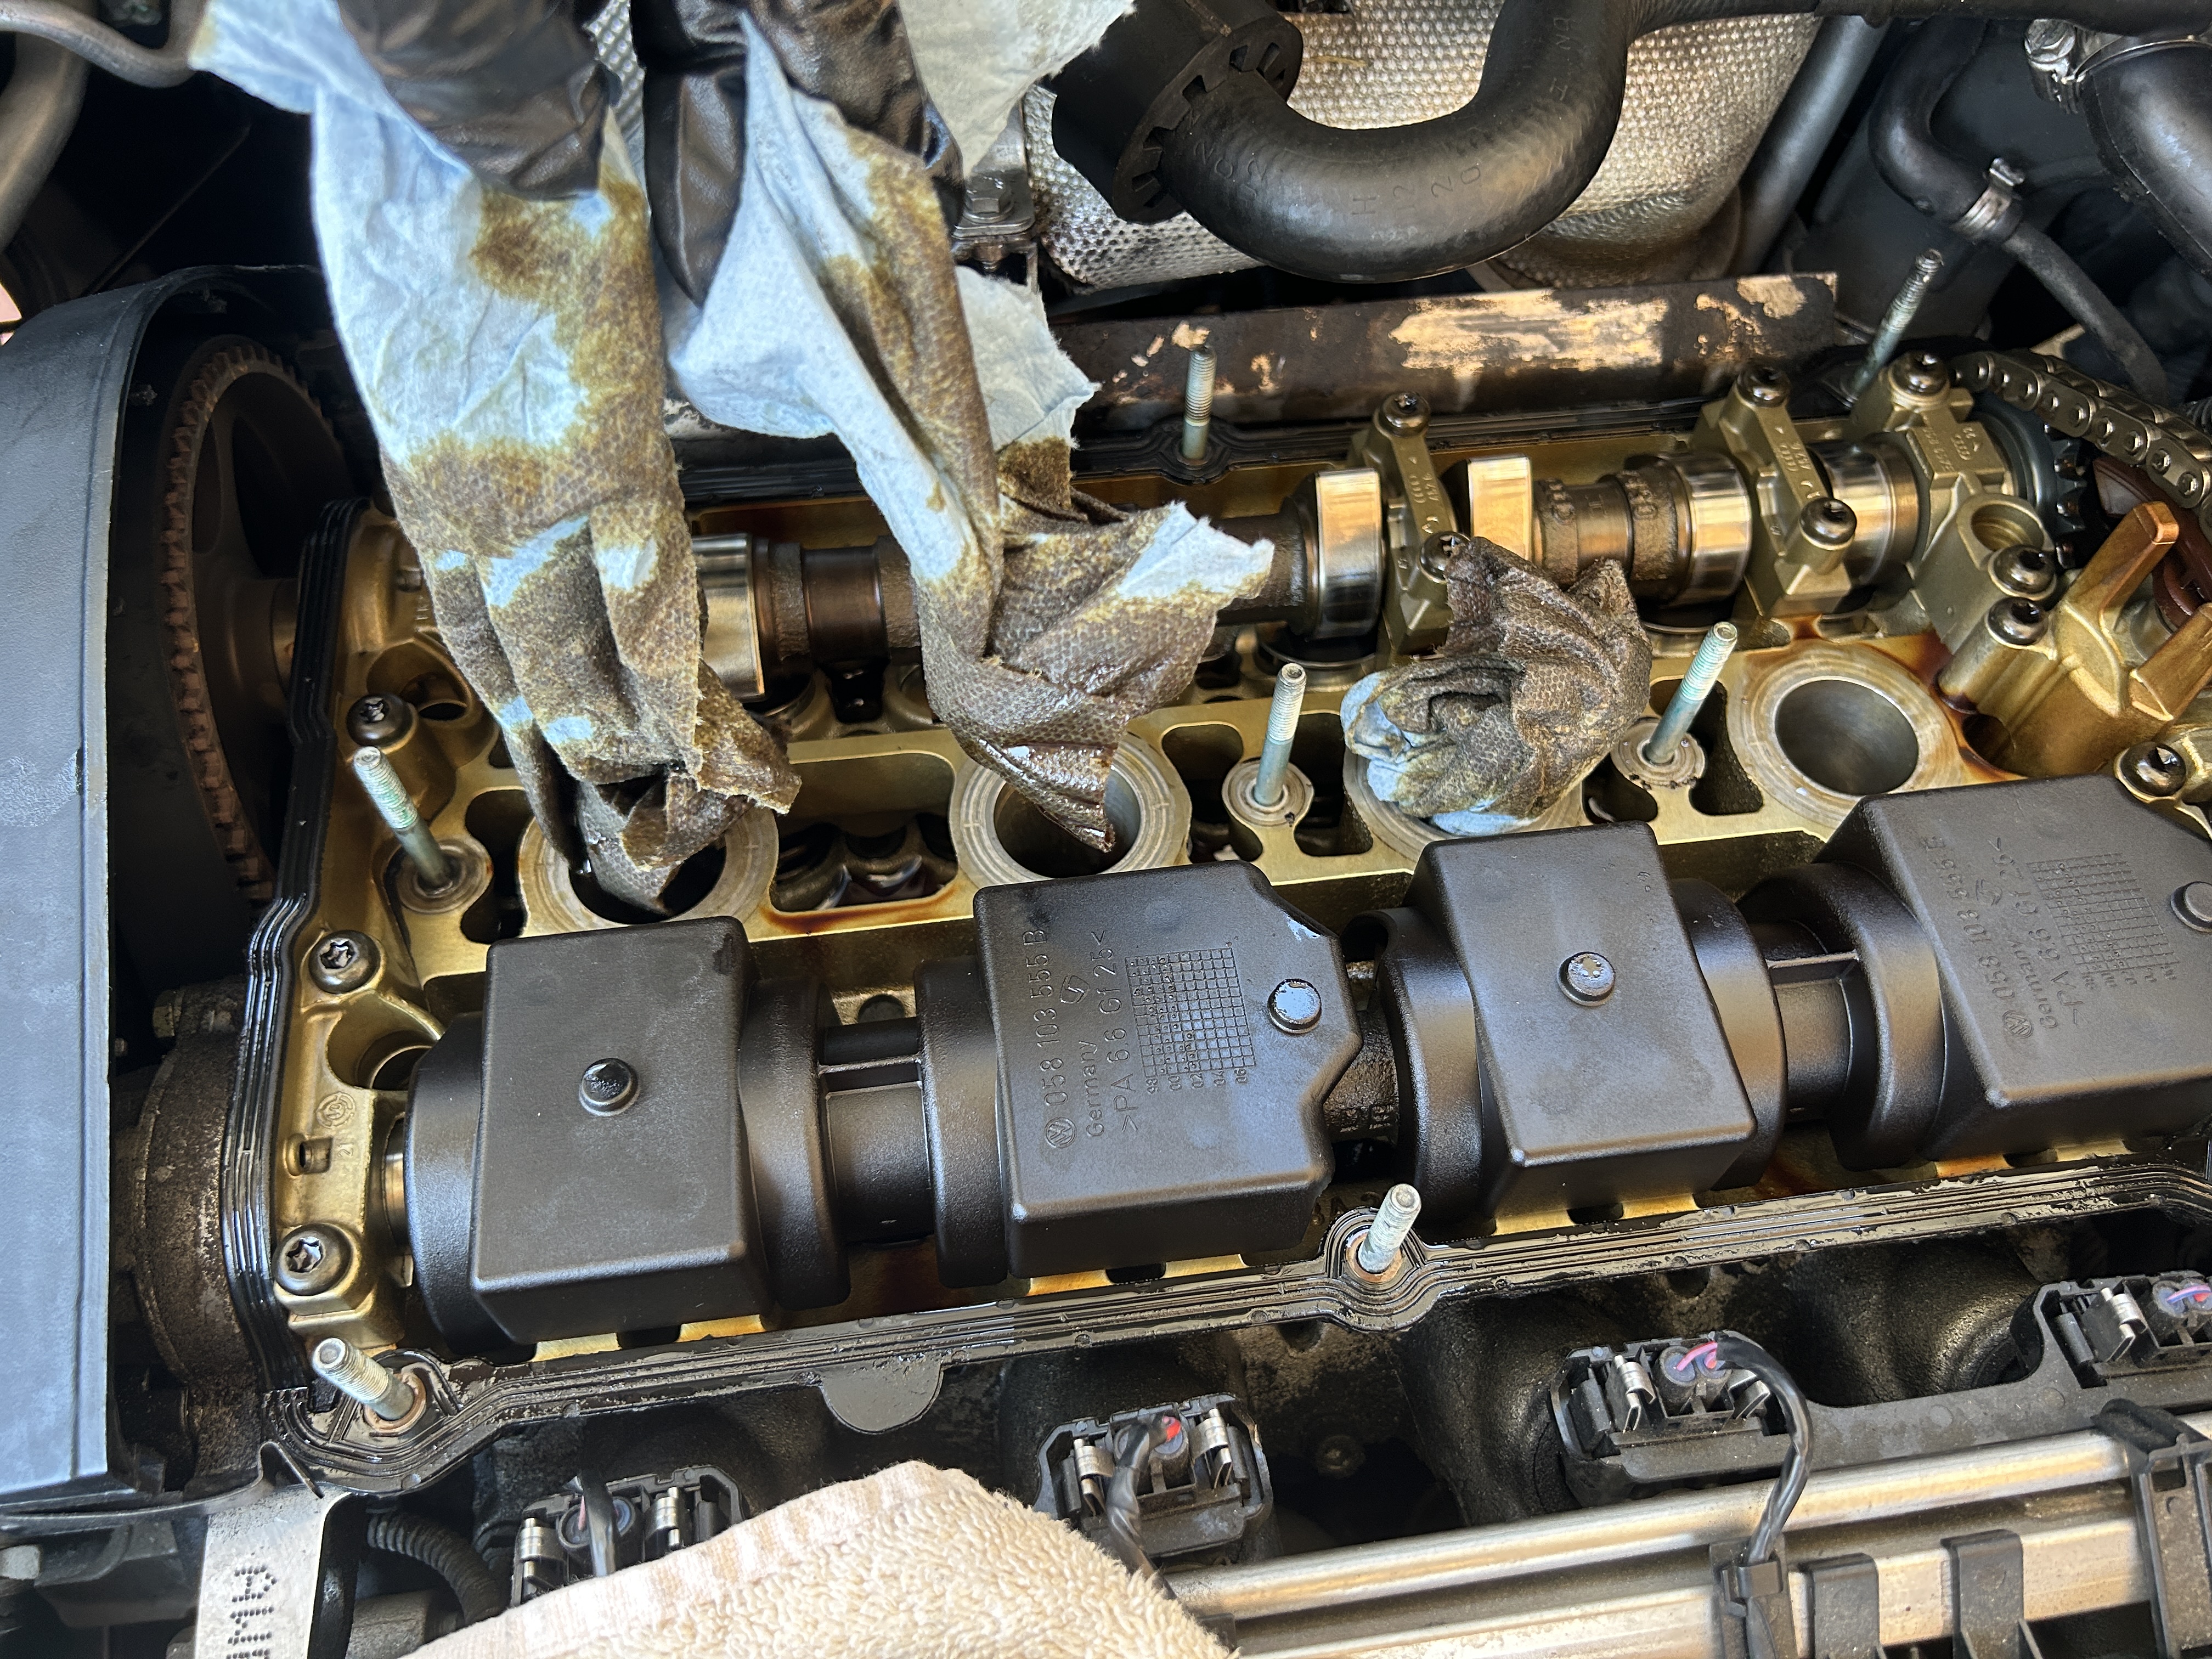
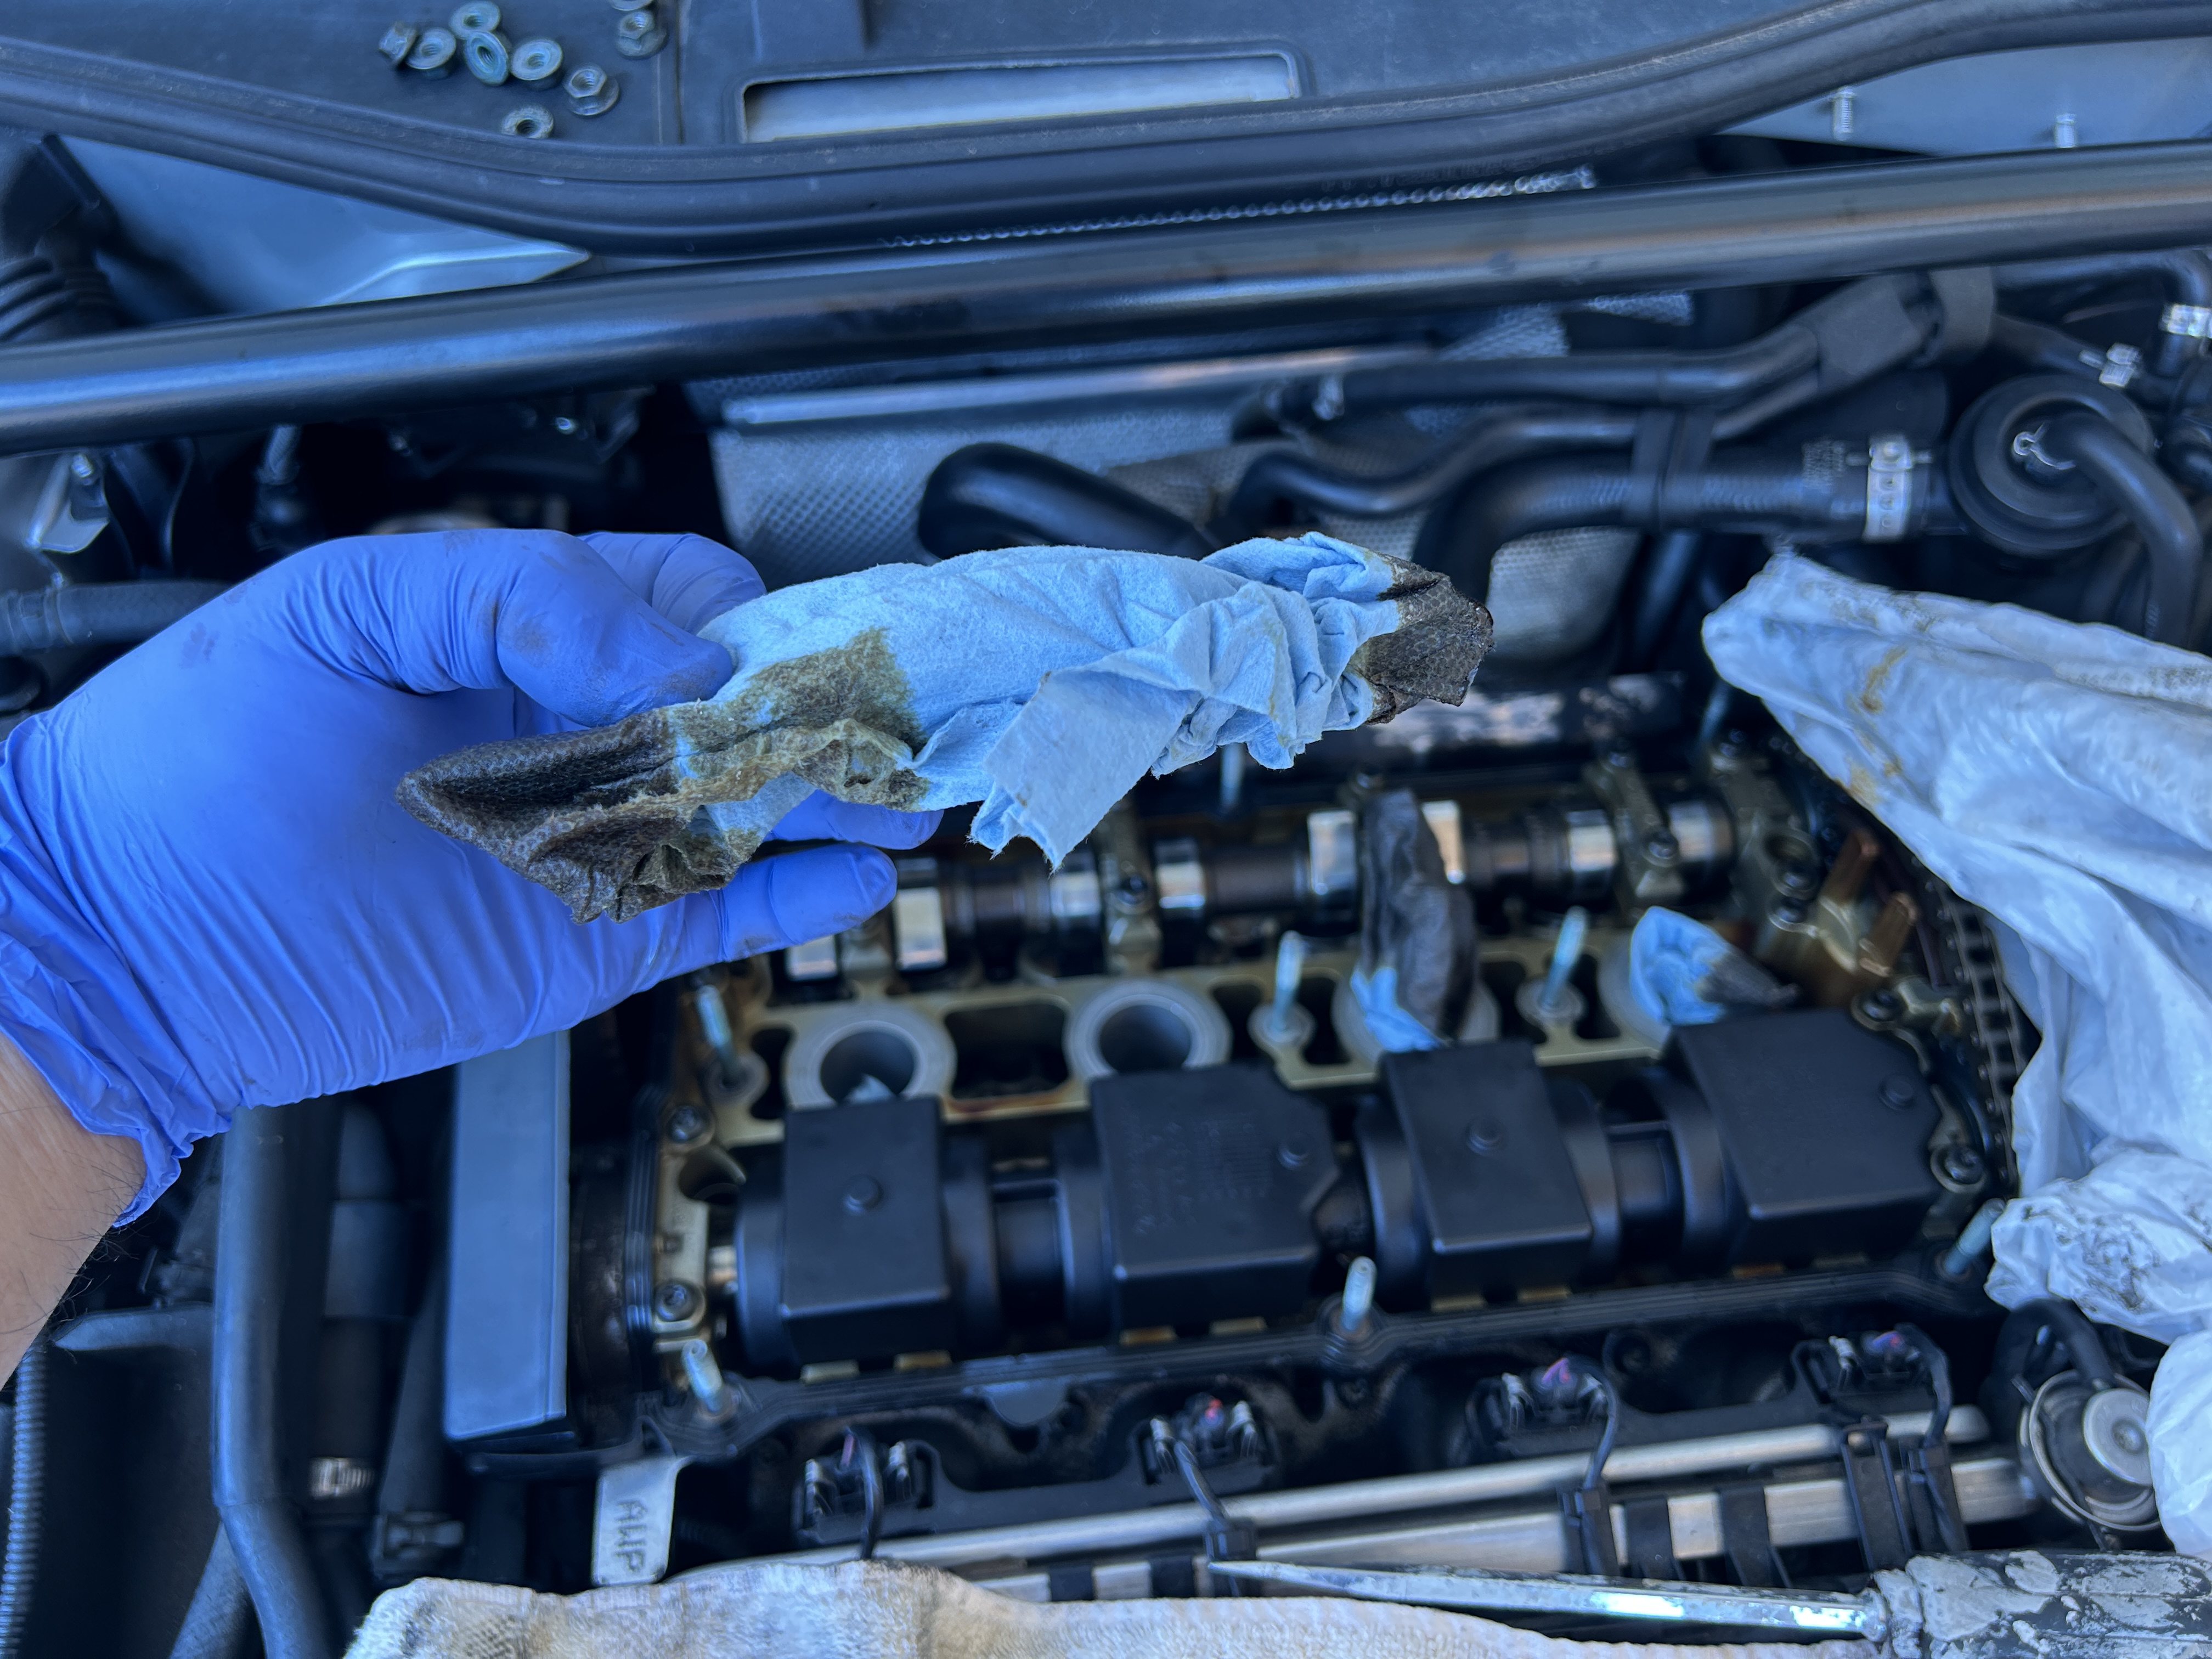
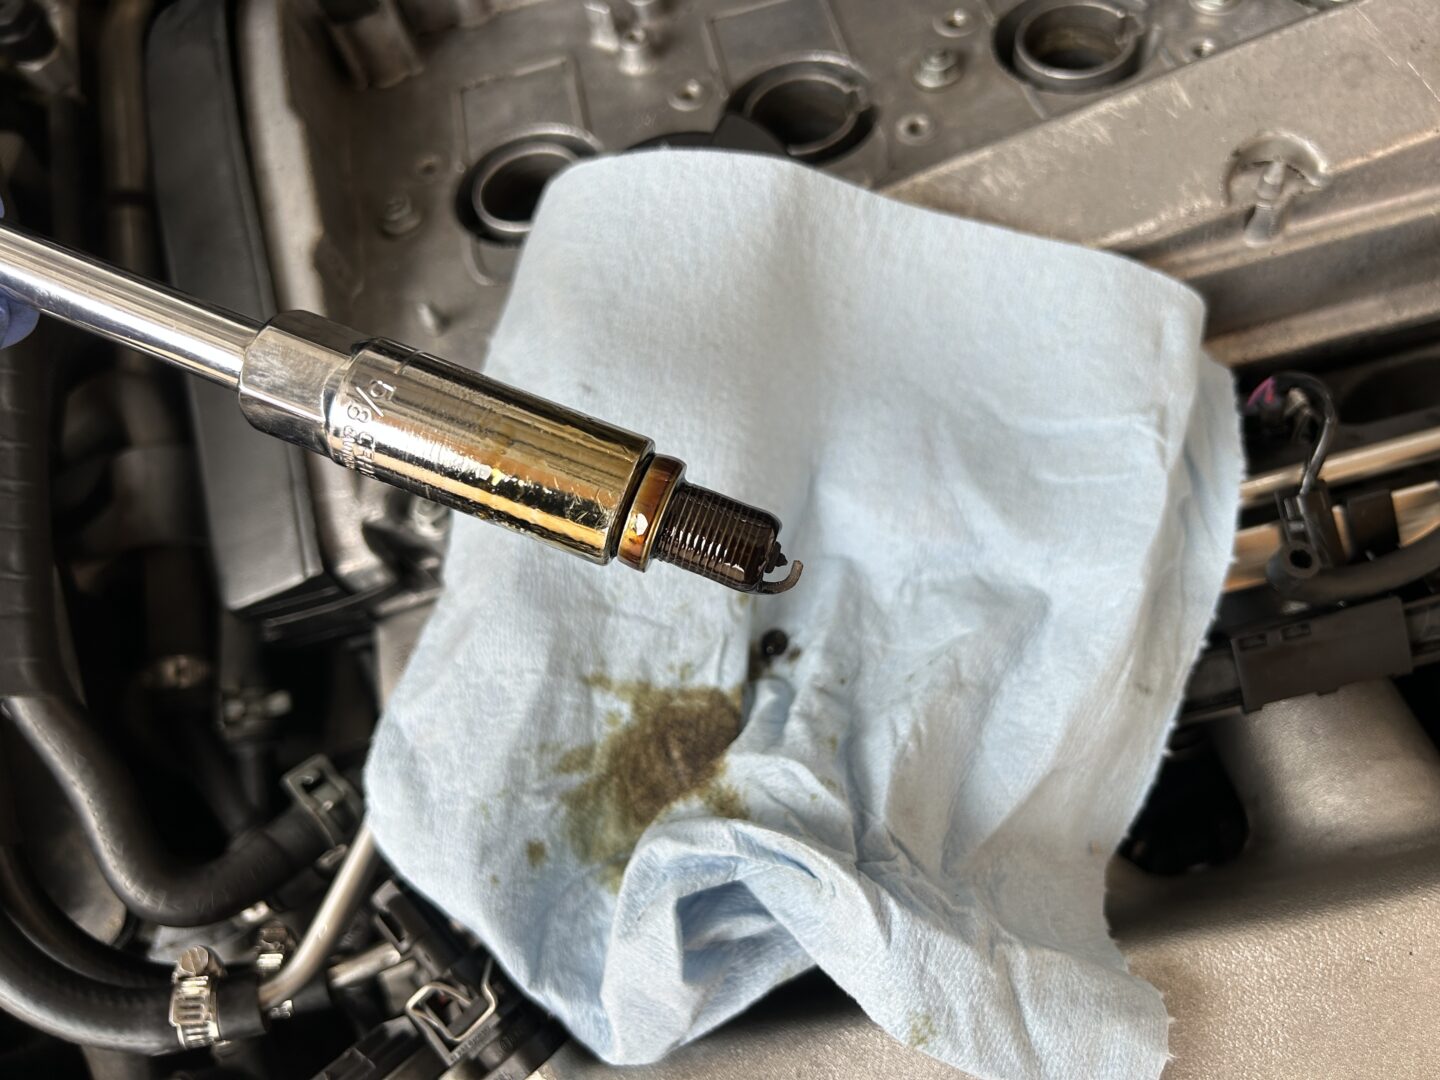
Remove the old spark plug seals, which comes out in one piece. Remove the old valve cover gasket. If you had an issue with the spark plug seals not sealing, then you might have oil inside of your spark plug wells. If you have oil inside your spark plug wells, this would be a good time to use shop towels to soak up as much of the oil in those spark plugs wells as possible. If you removed your spark plugs already, you may want to insert some shop towels inside each well to ensure nothing falls into the combustion chamber while the valve cover is off.
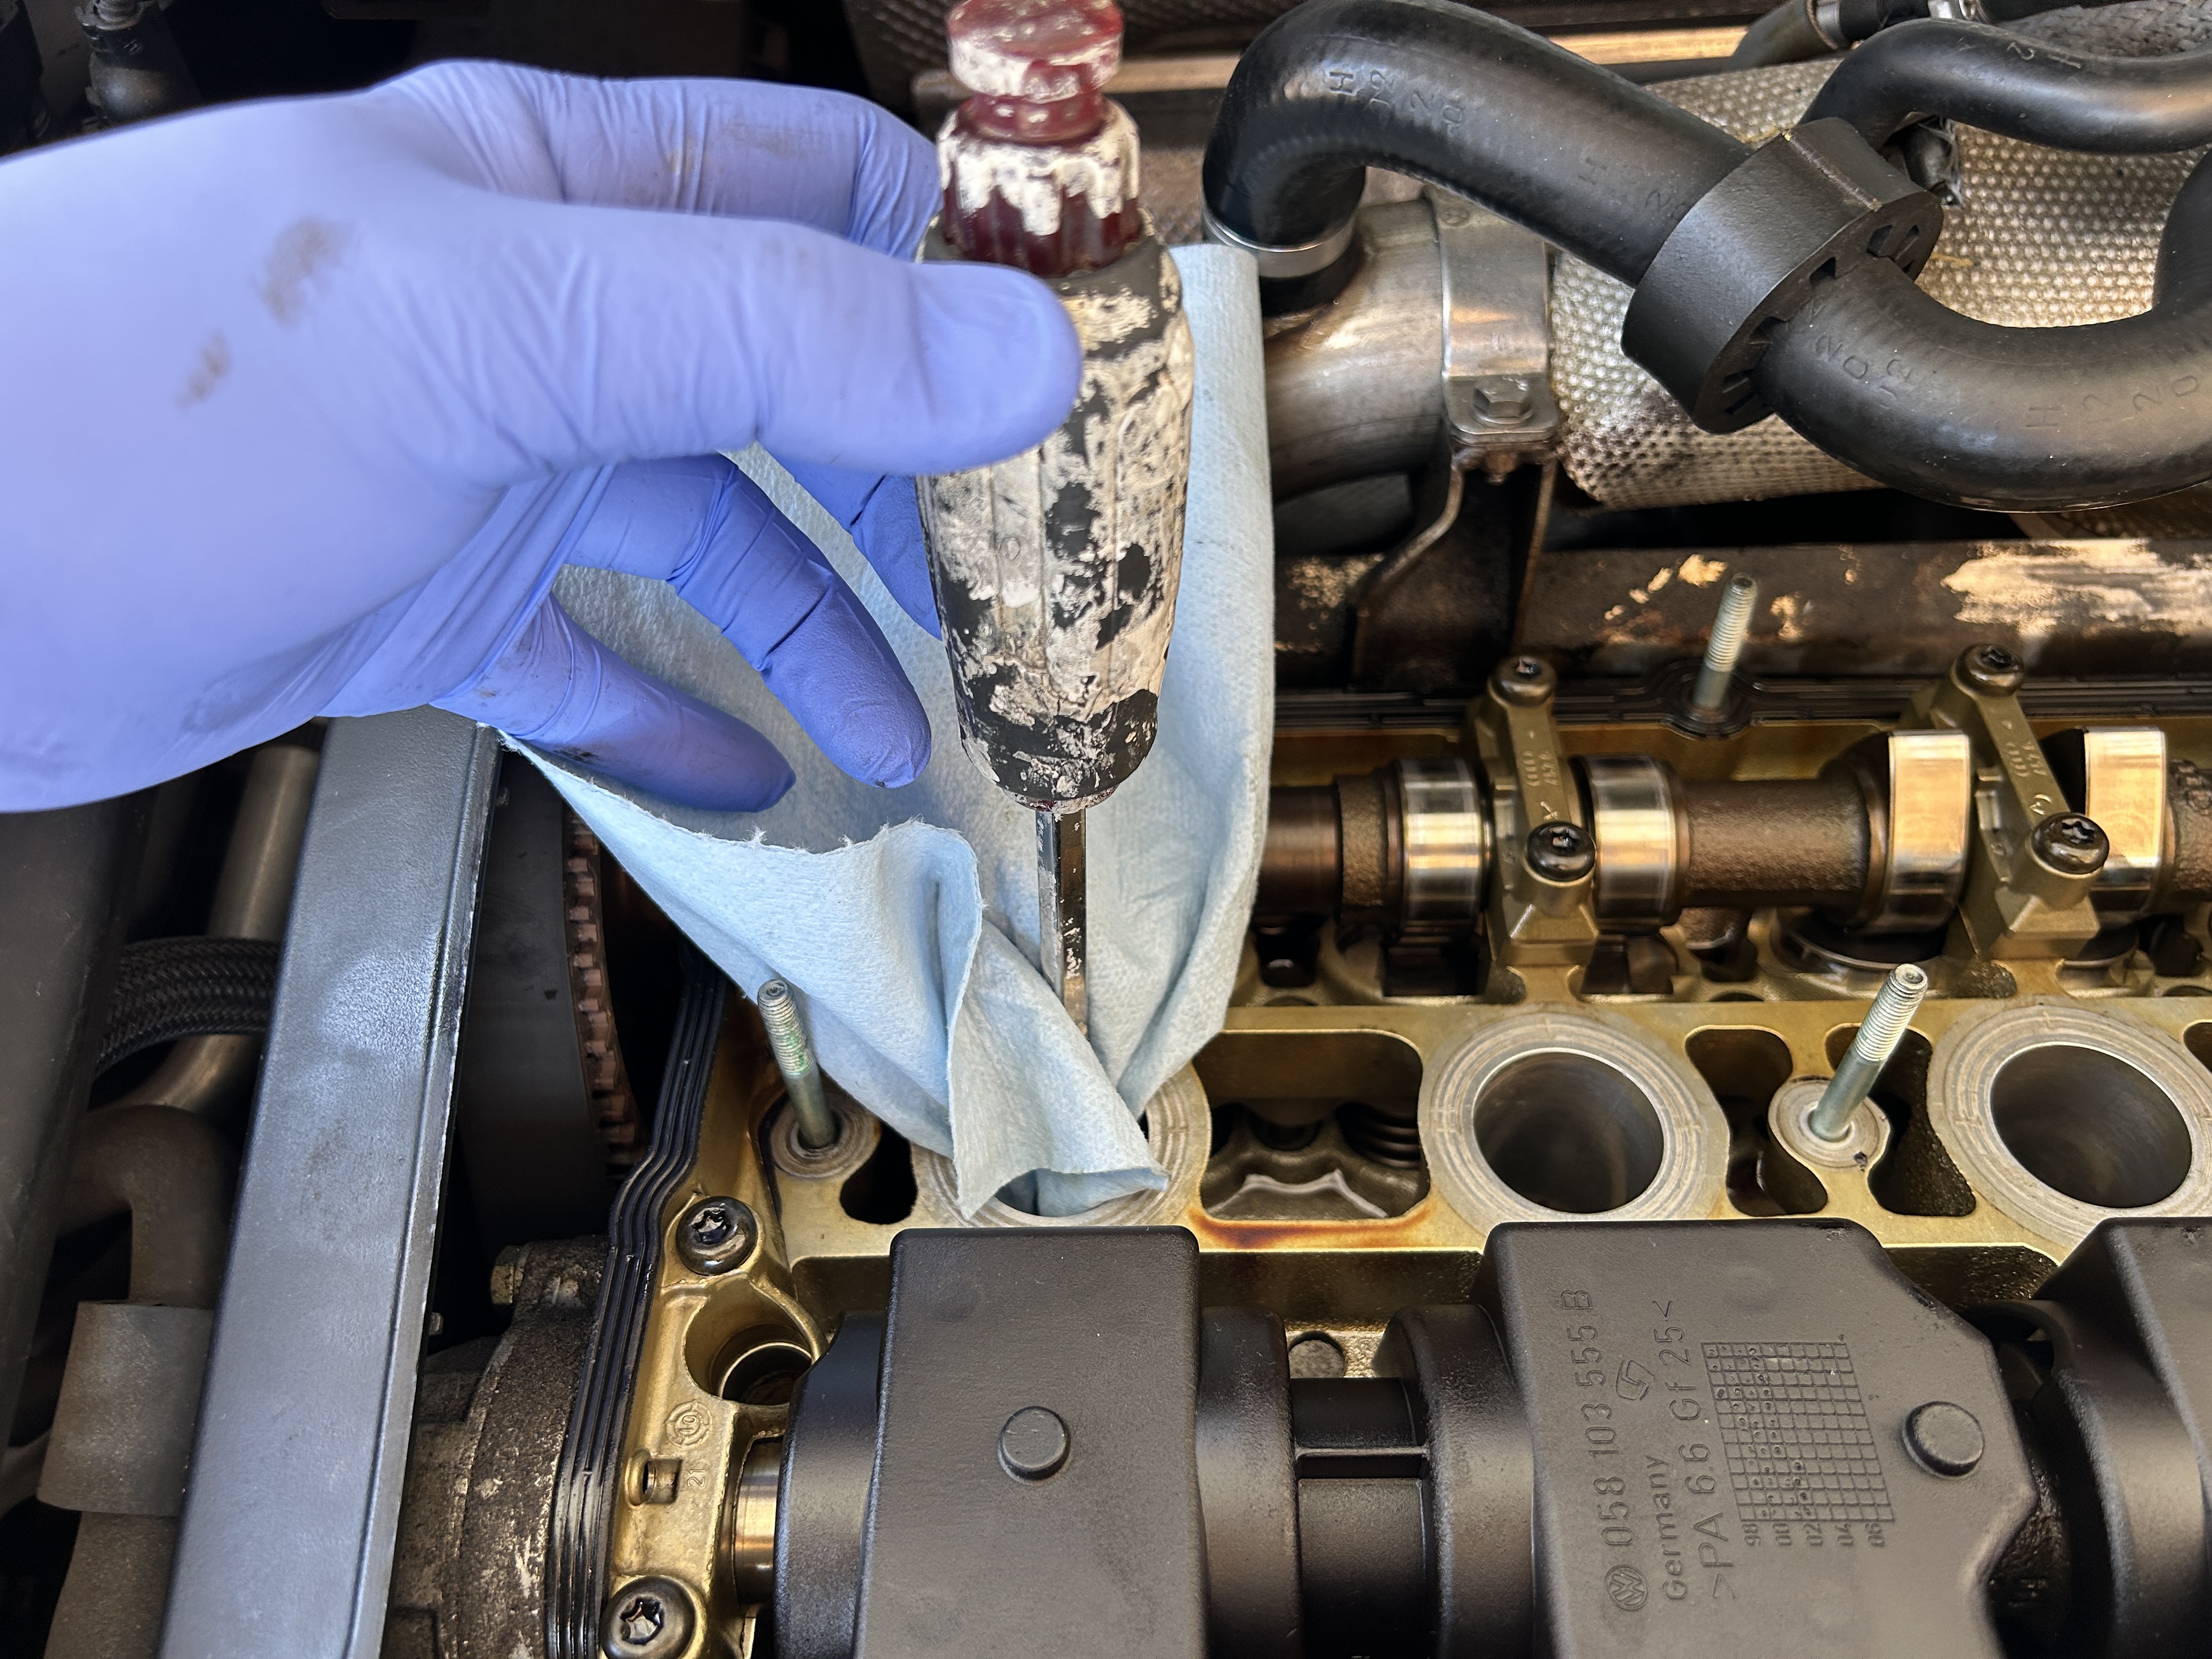
You don’t have to replace the spark plugs at this point, but if your spark plug seals weren’t sealing, then you might have oil all over your spark plugs and ignition coils. If this is the case, you may want to consider replacing the ignition coils and spark plugs now.
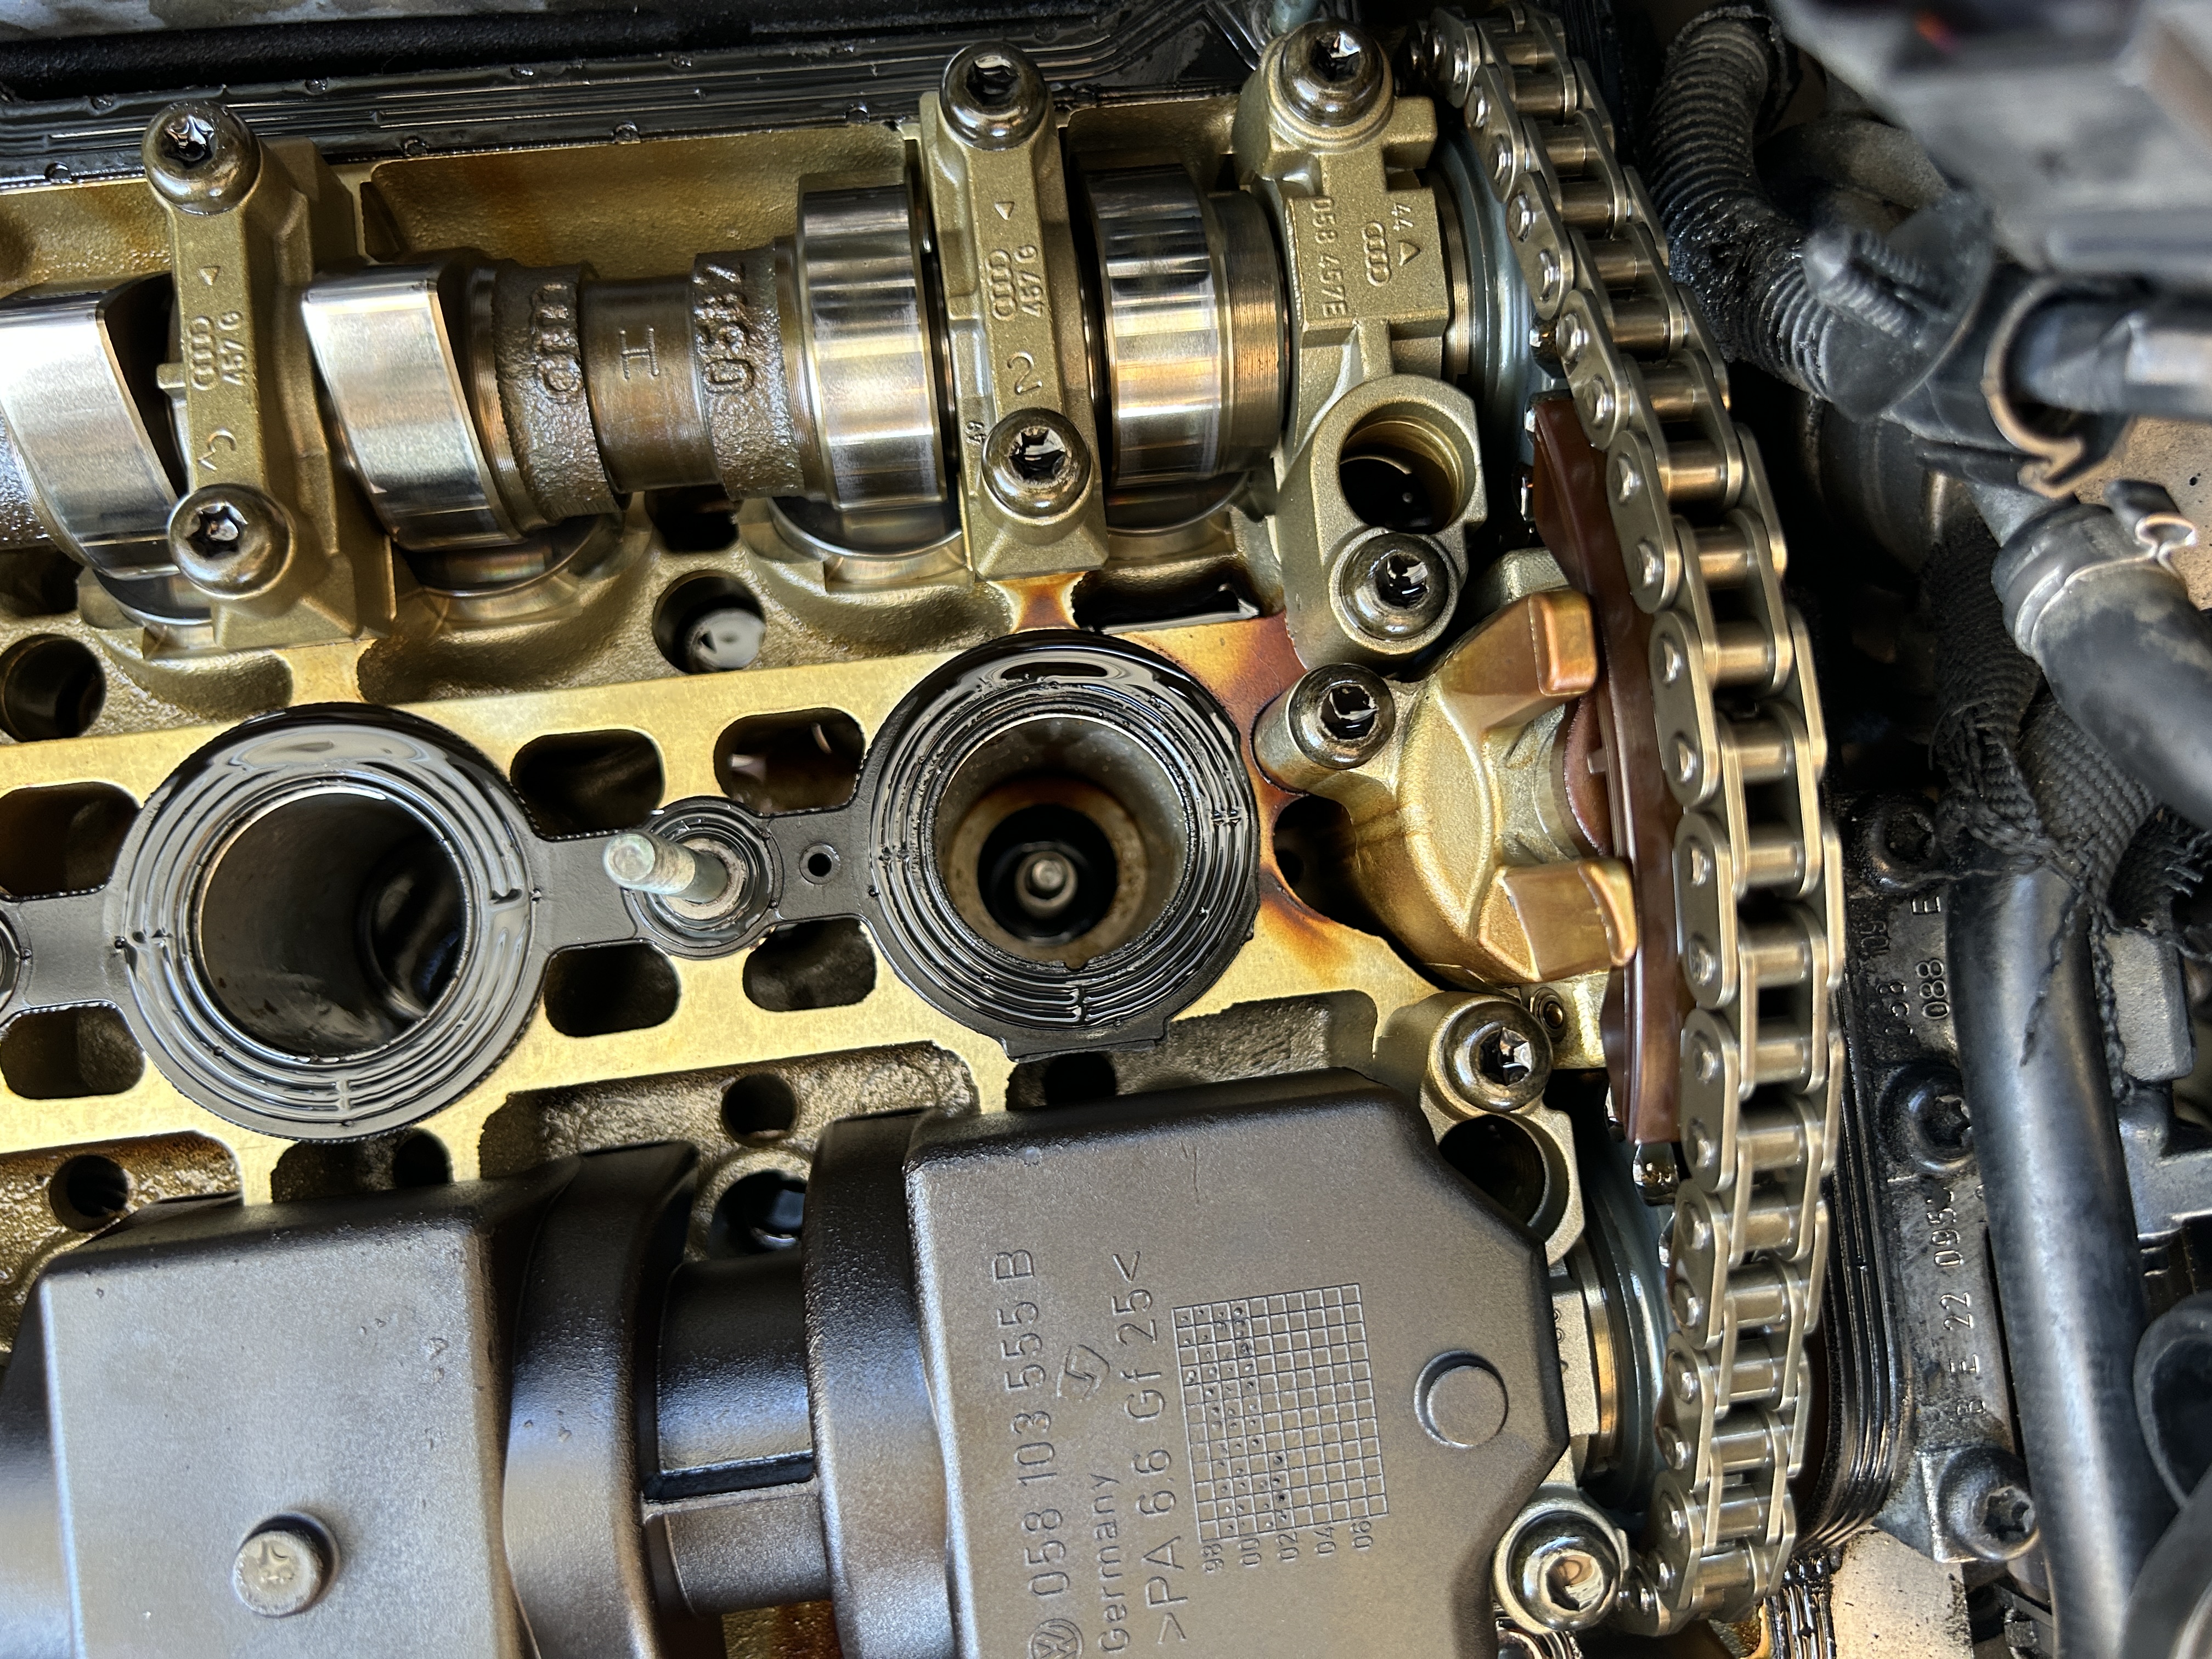
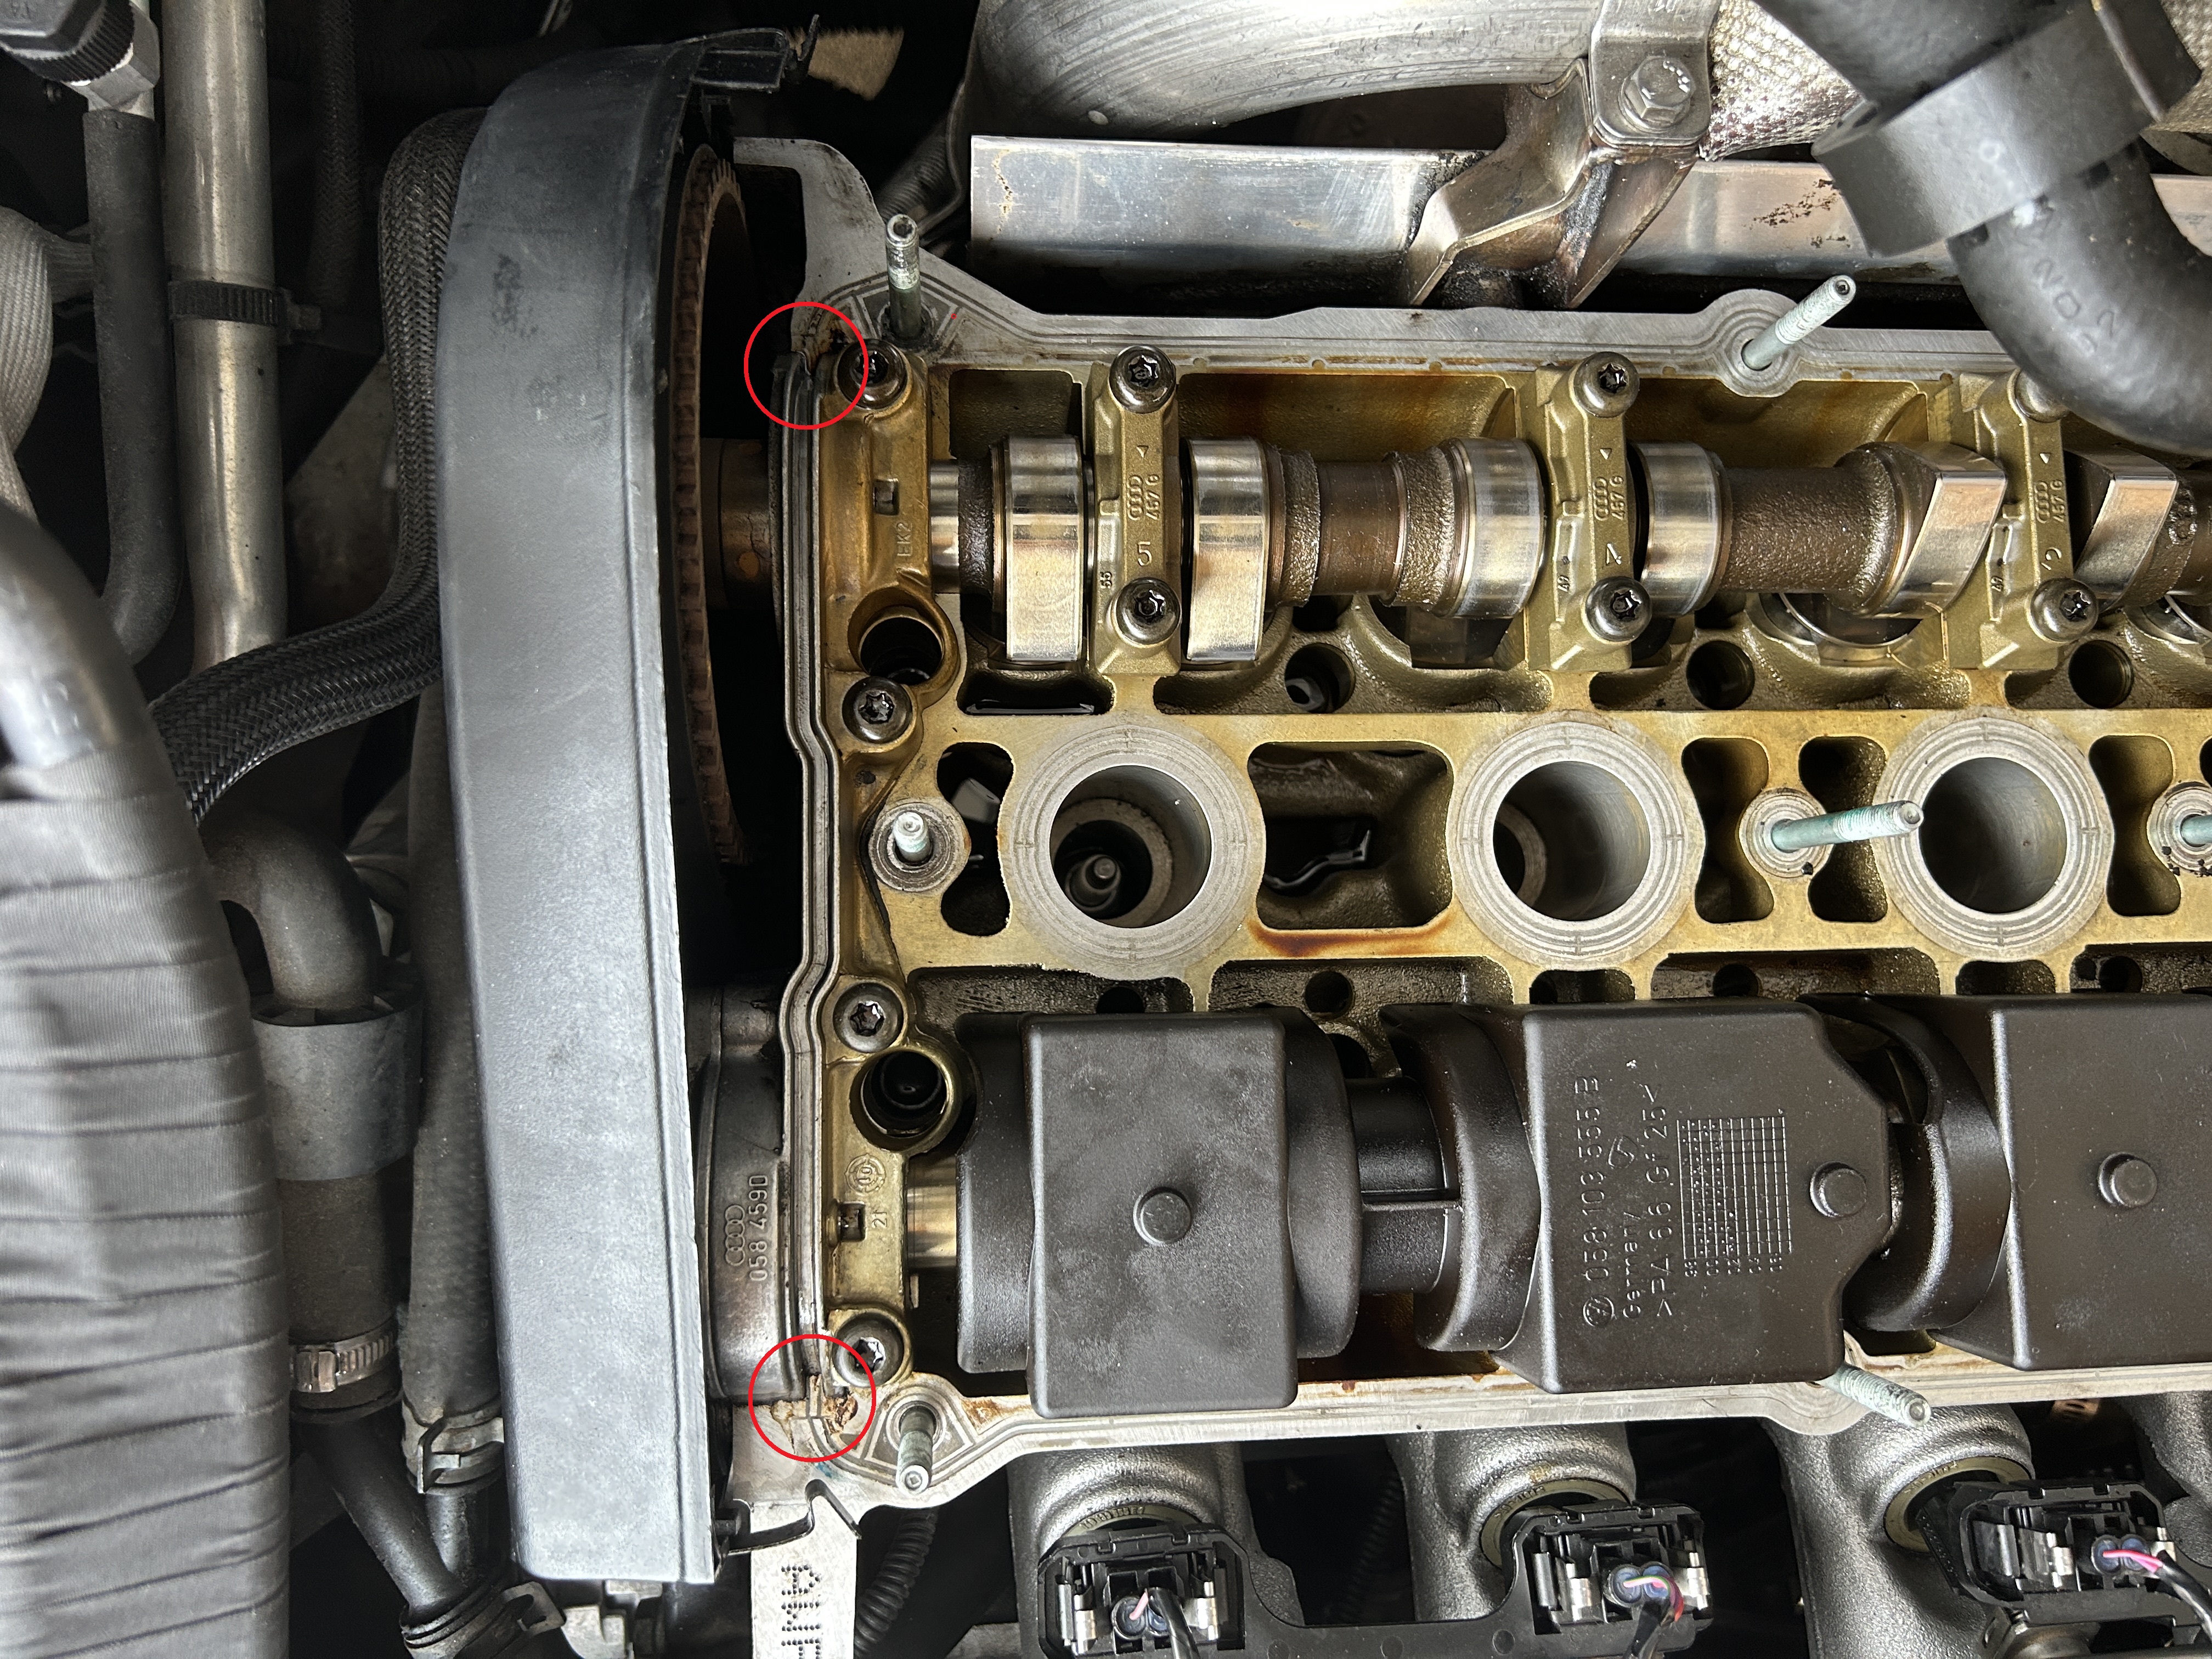
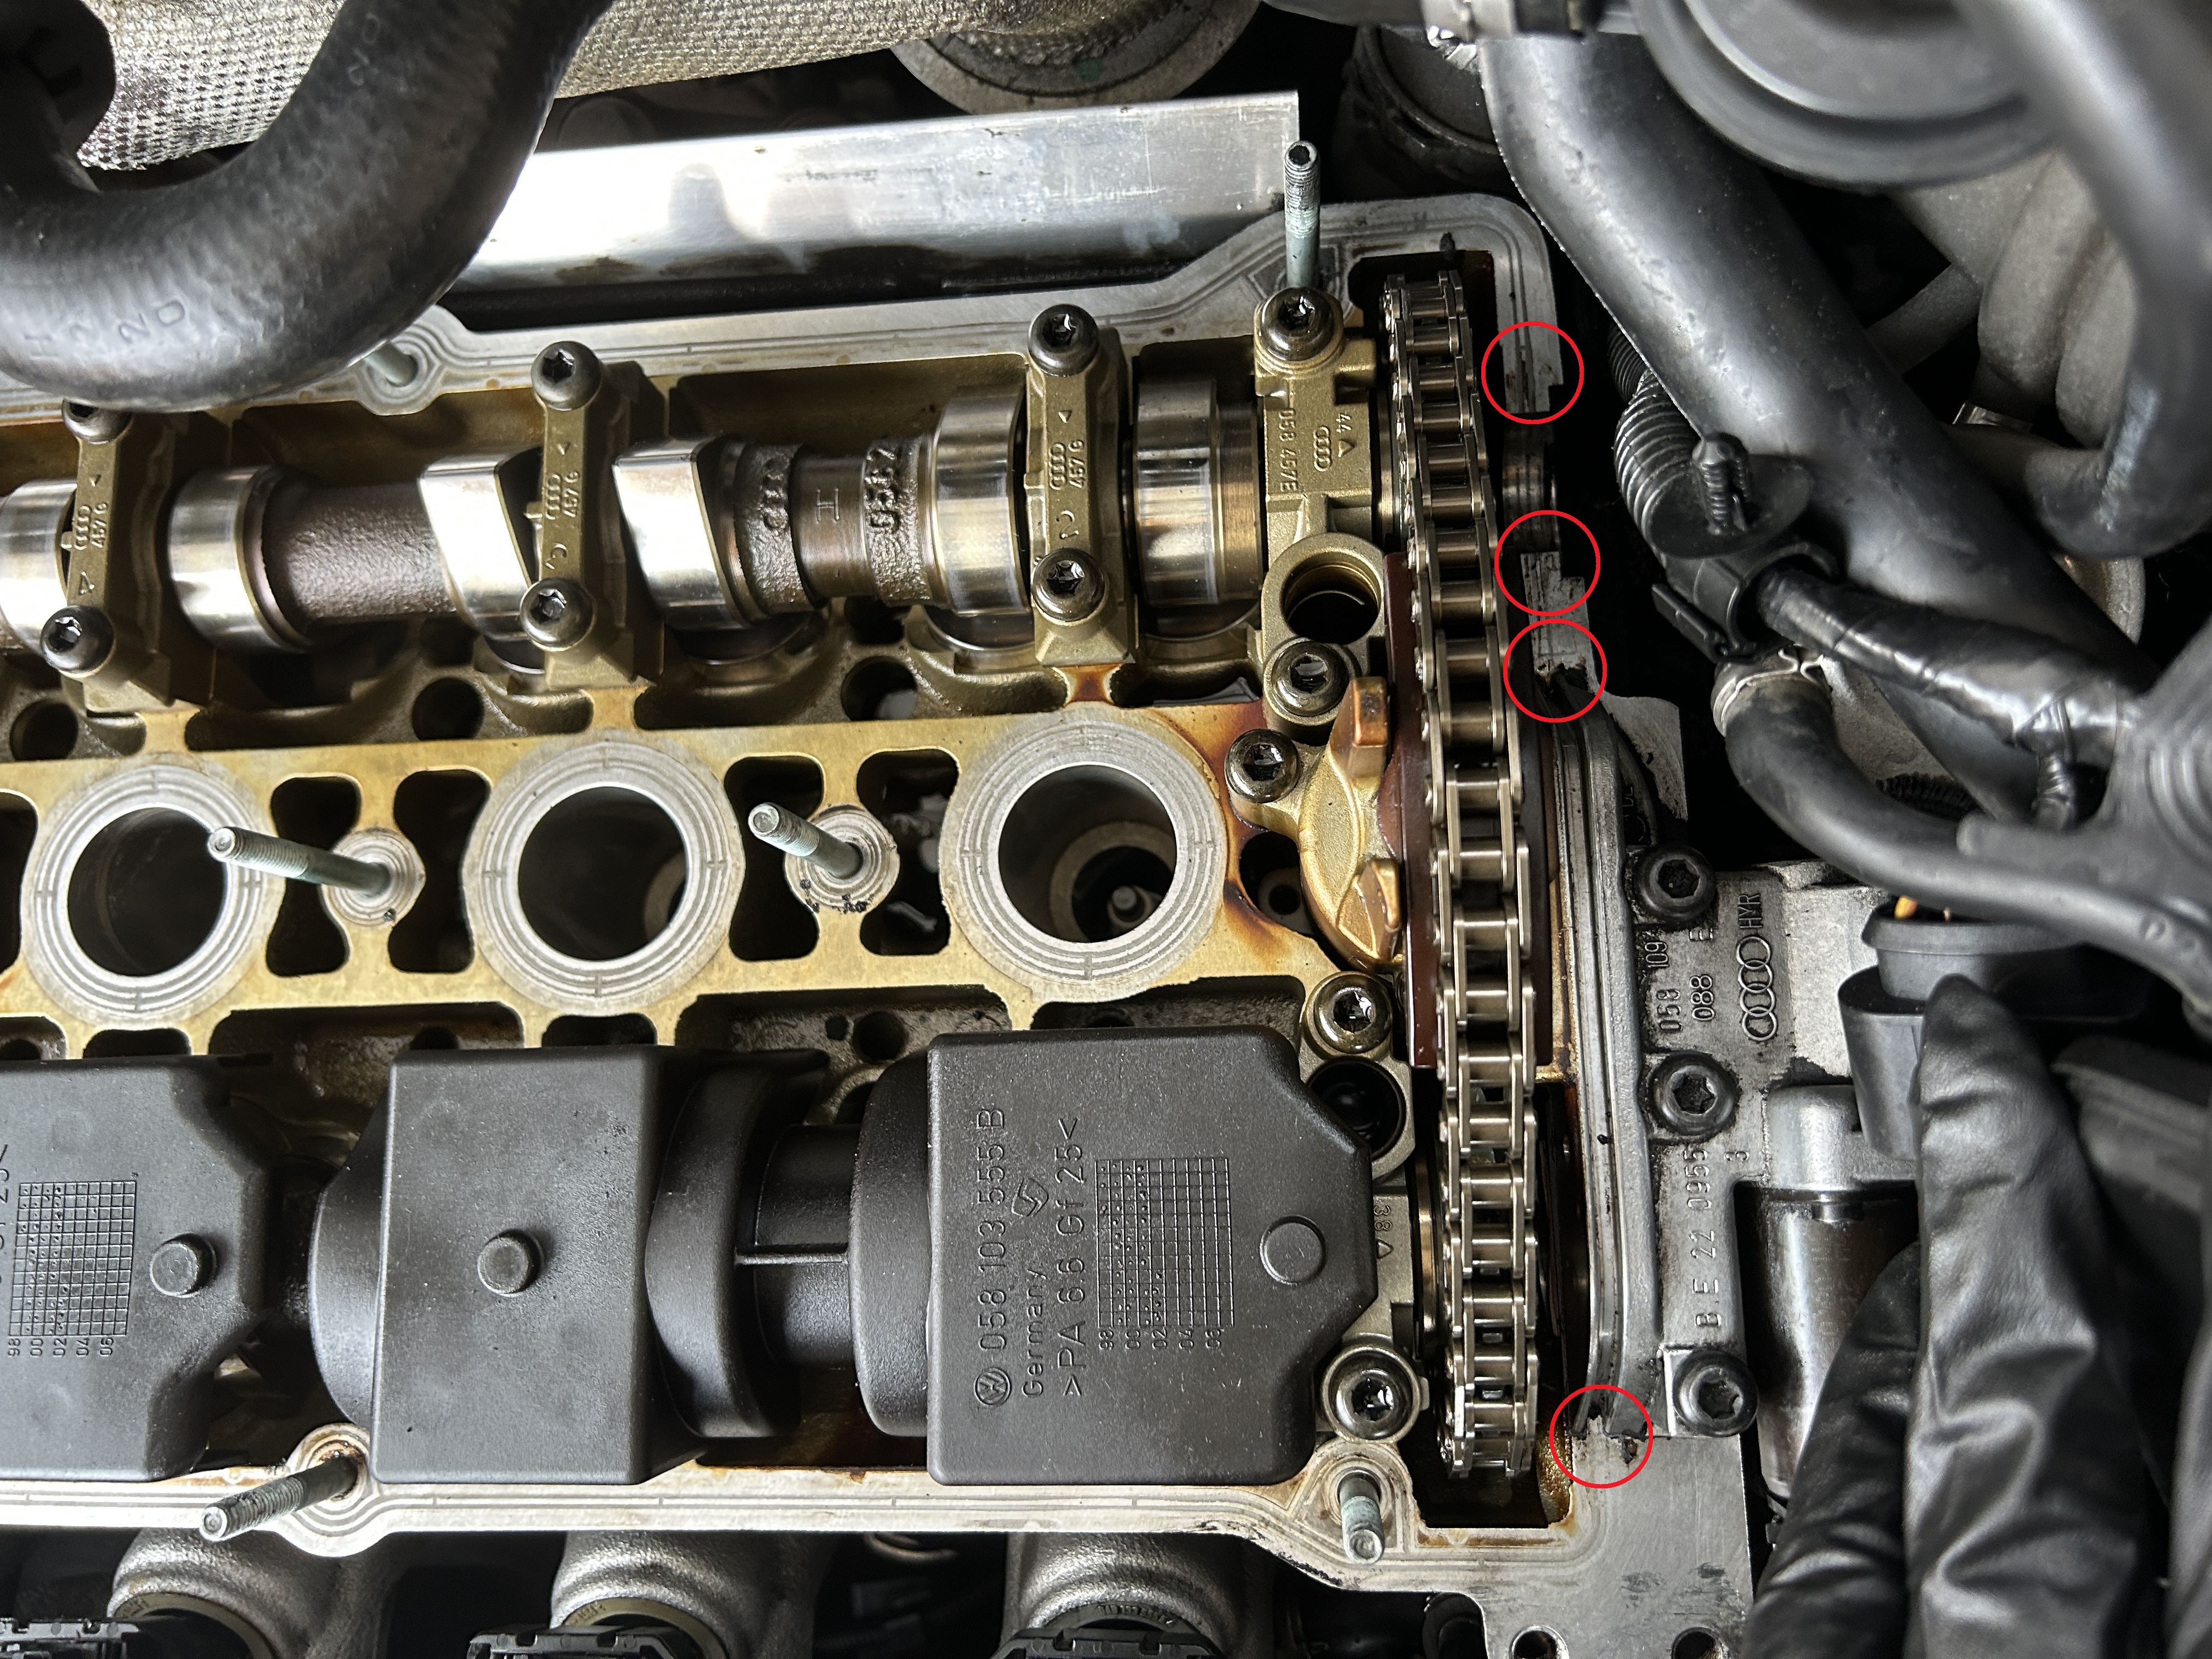
With the valve cover gasket and spark plug seals removed, clean the mating surfaces if needed. I’ve also circled the (6 qty) areas below in red that will need a small dab of gasket maker applied (the valve cover gasket is installed after applying it.) These areas tend to be at corners where the valve cover gasket alone may not provide an adequate seal.
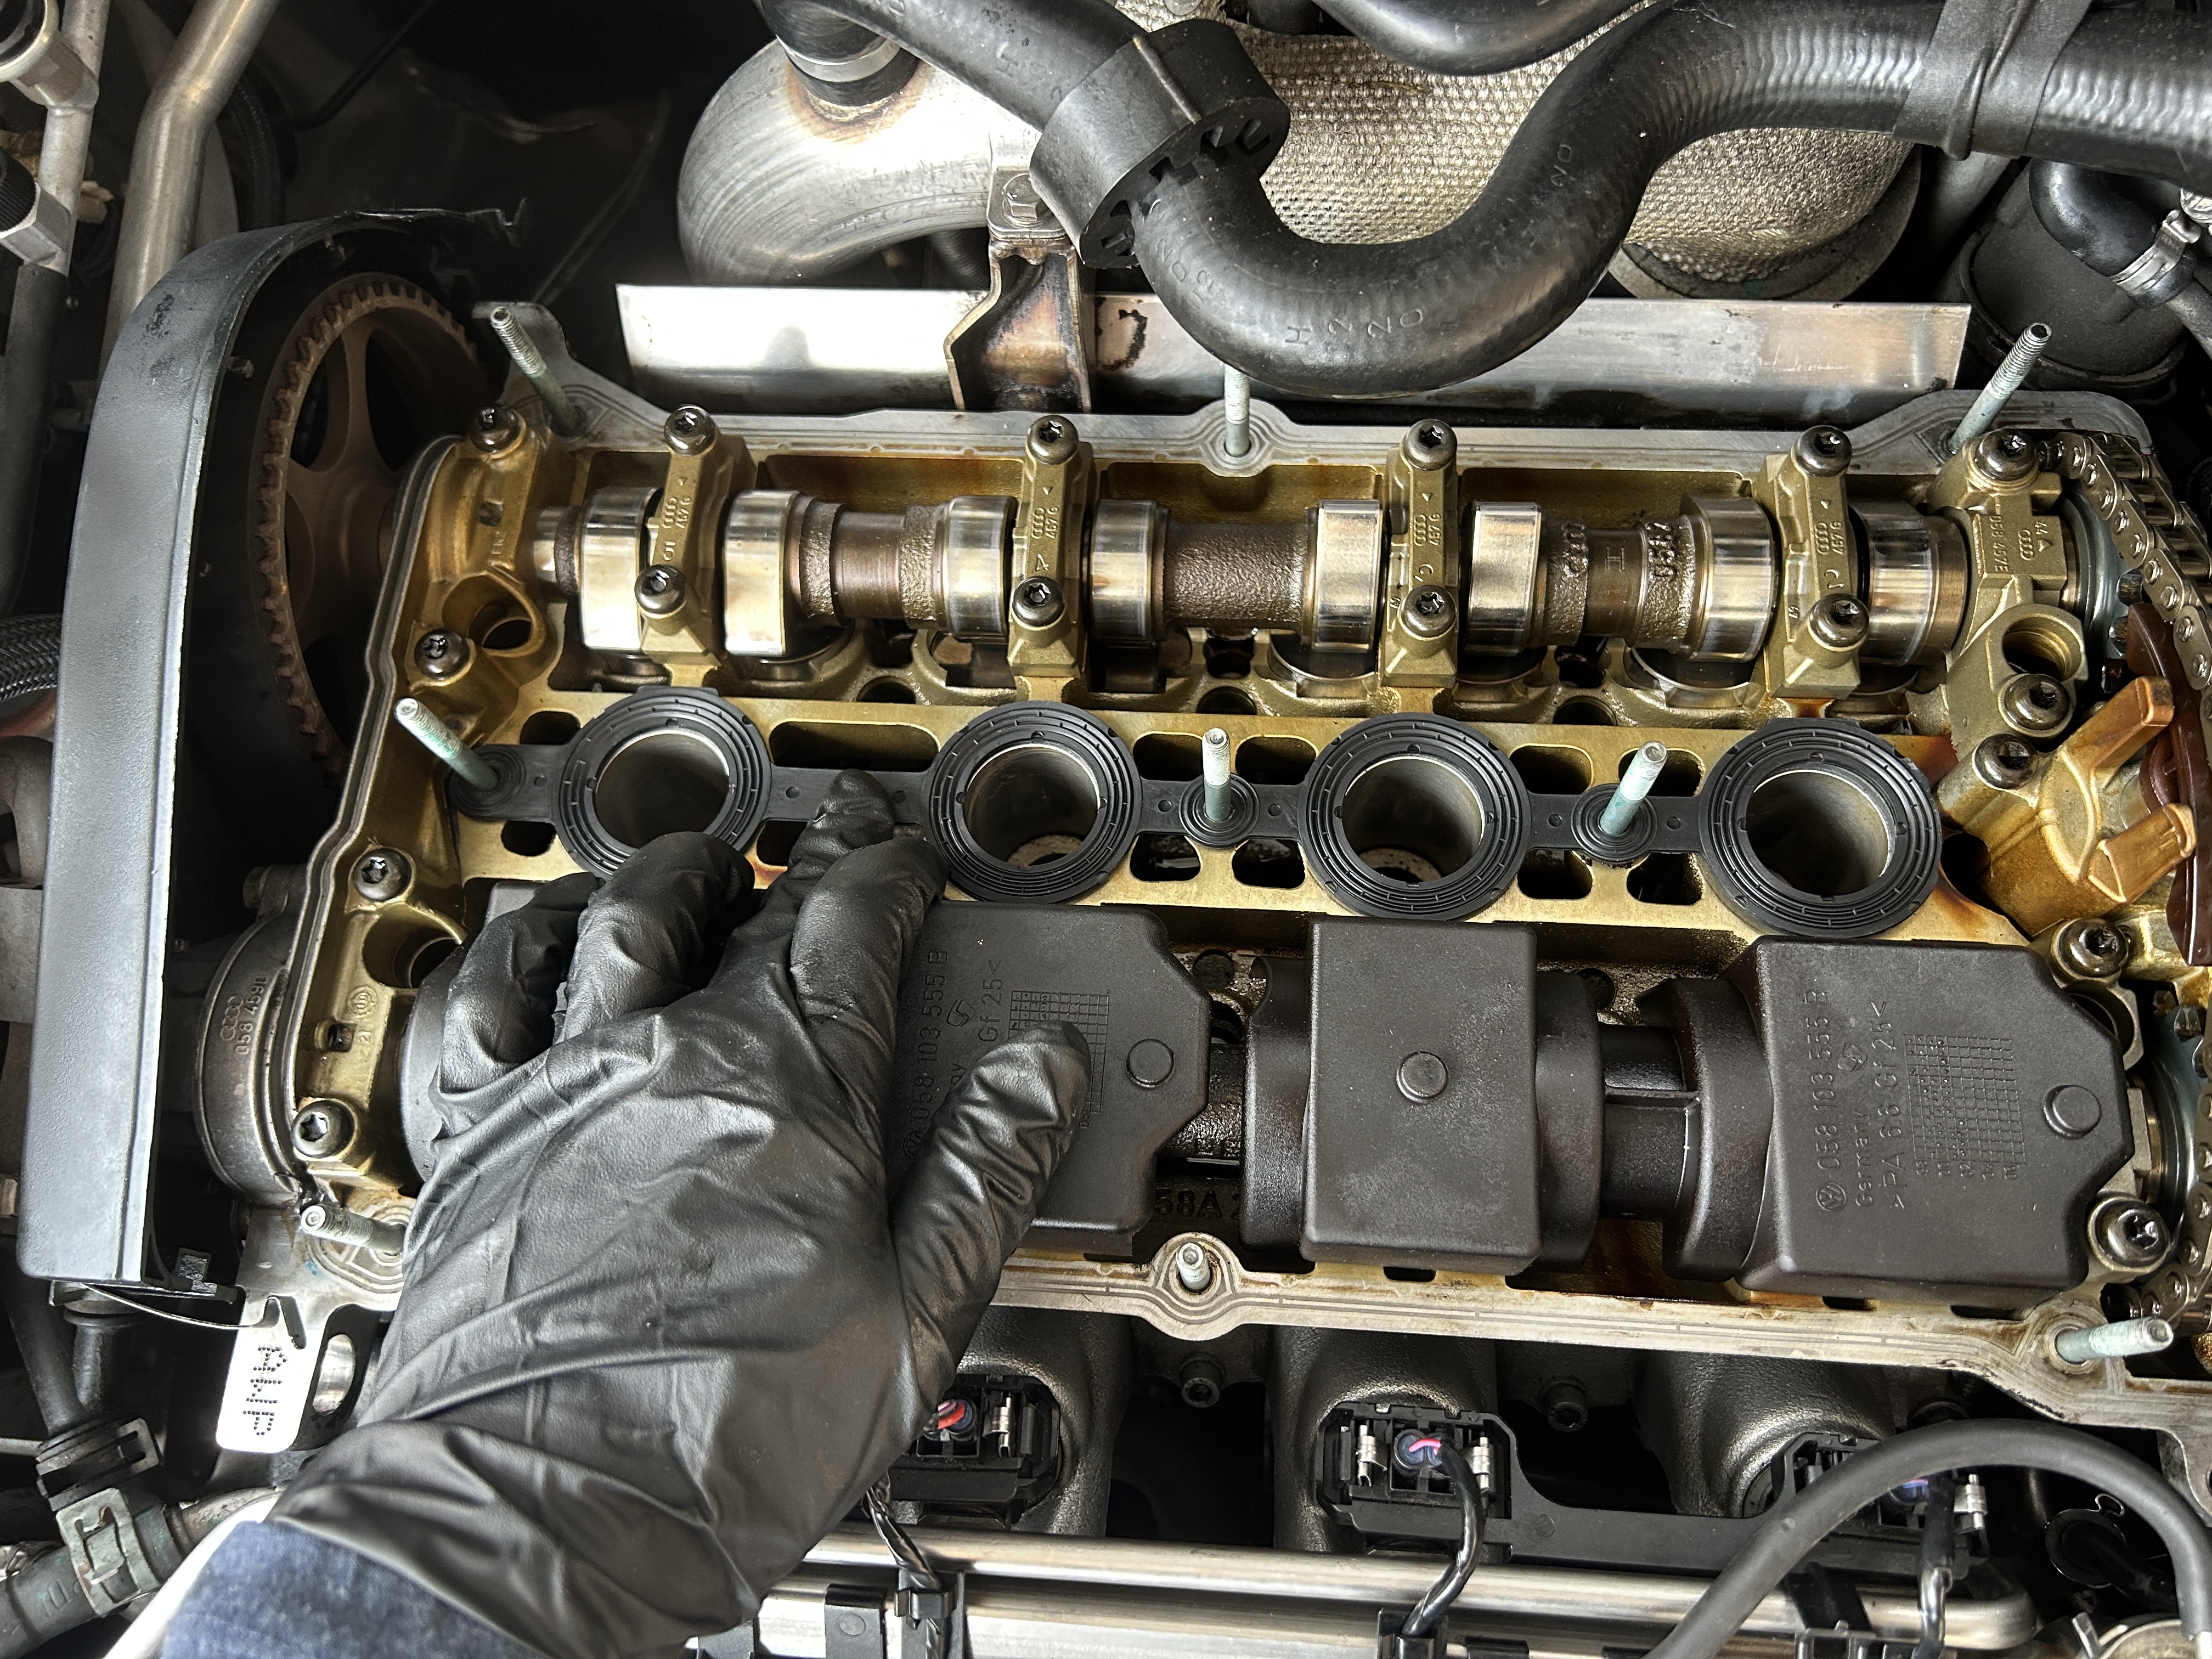
Now, place your new spark plug seals and valve cover gasket on. Make sure that everything is setaed properly before reinstalling the valve cover.

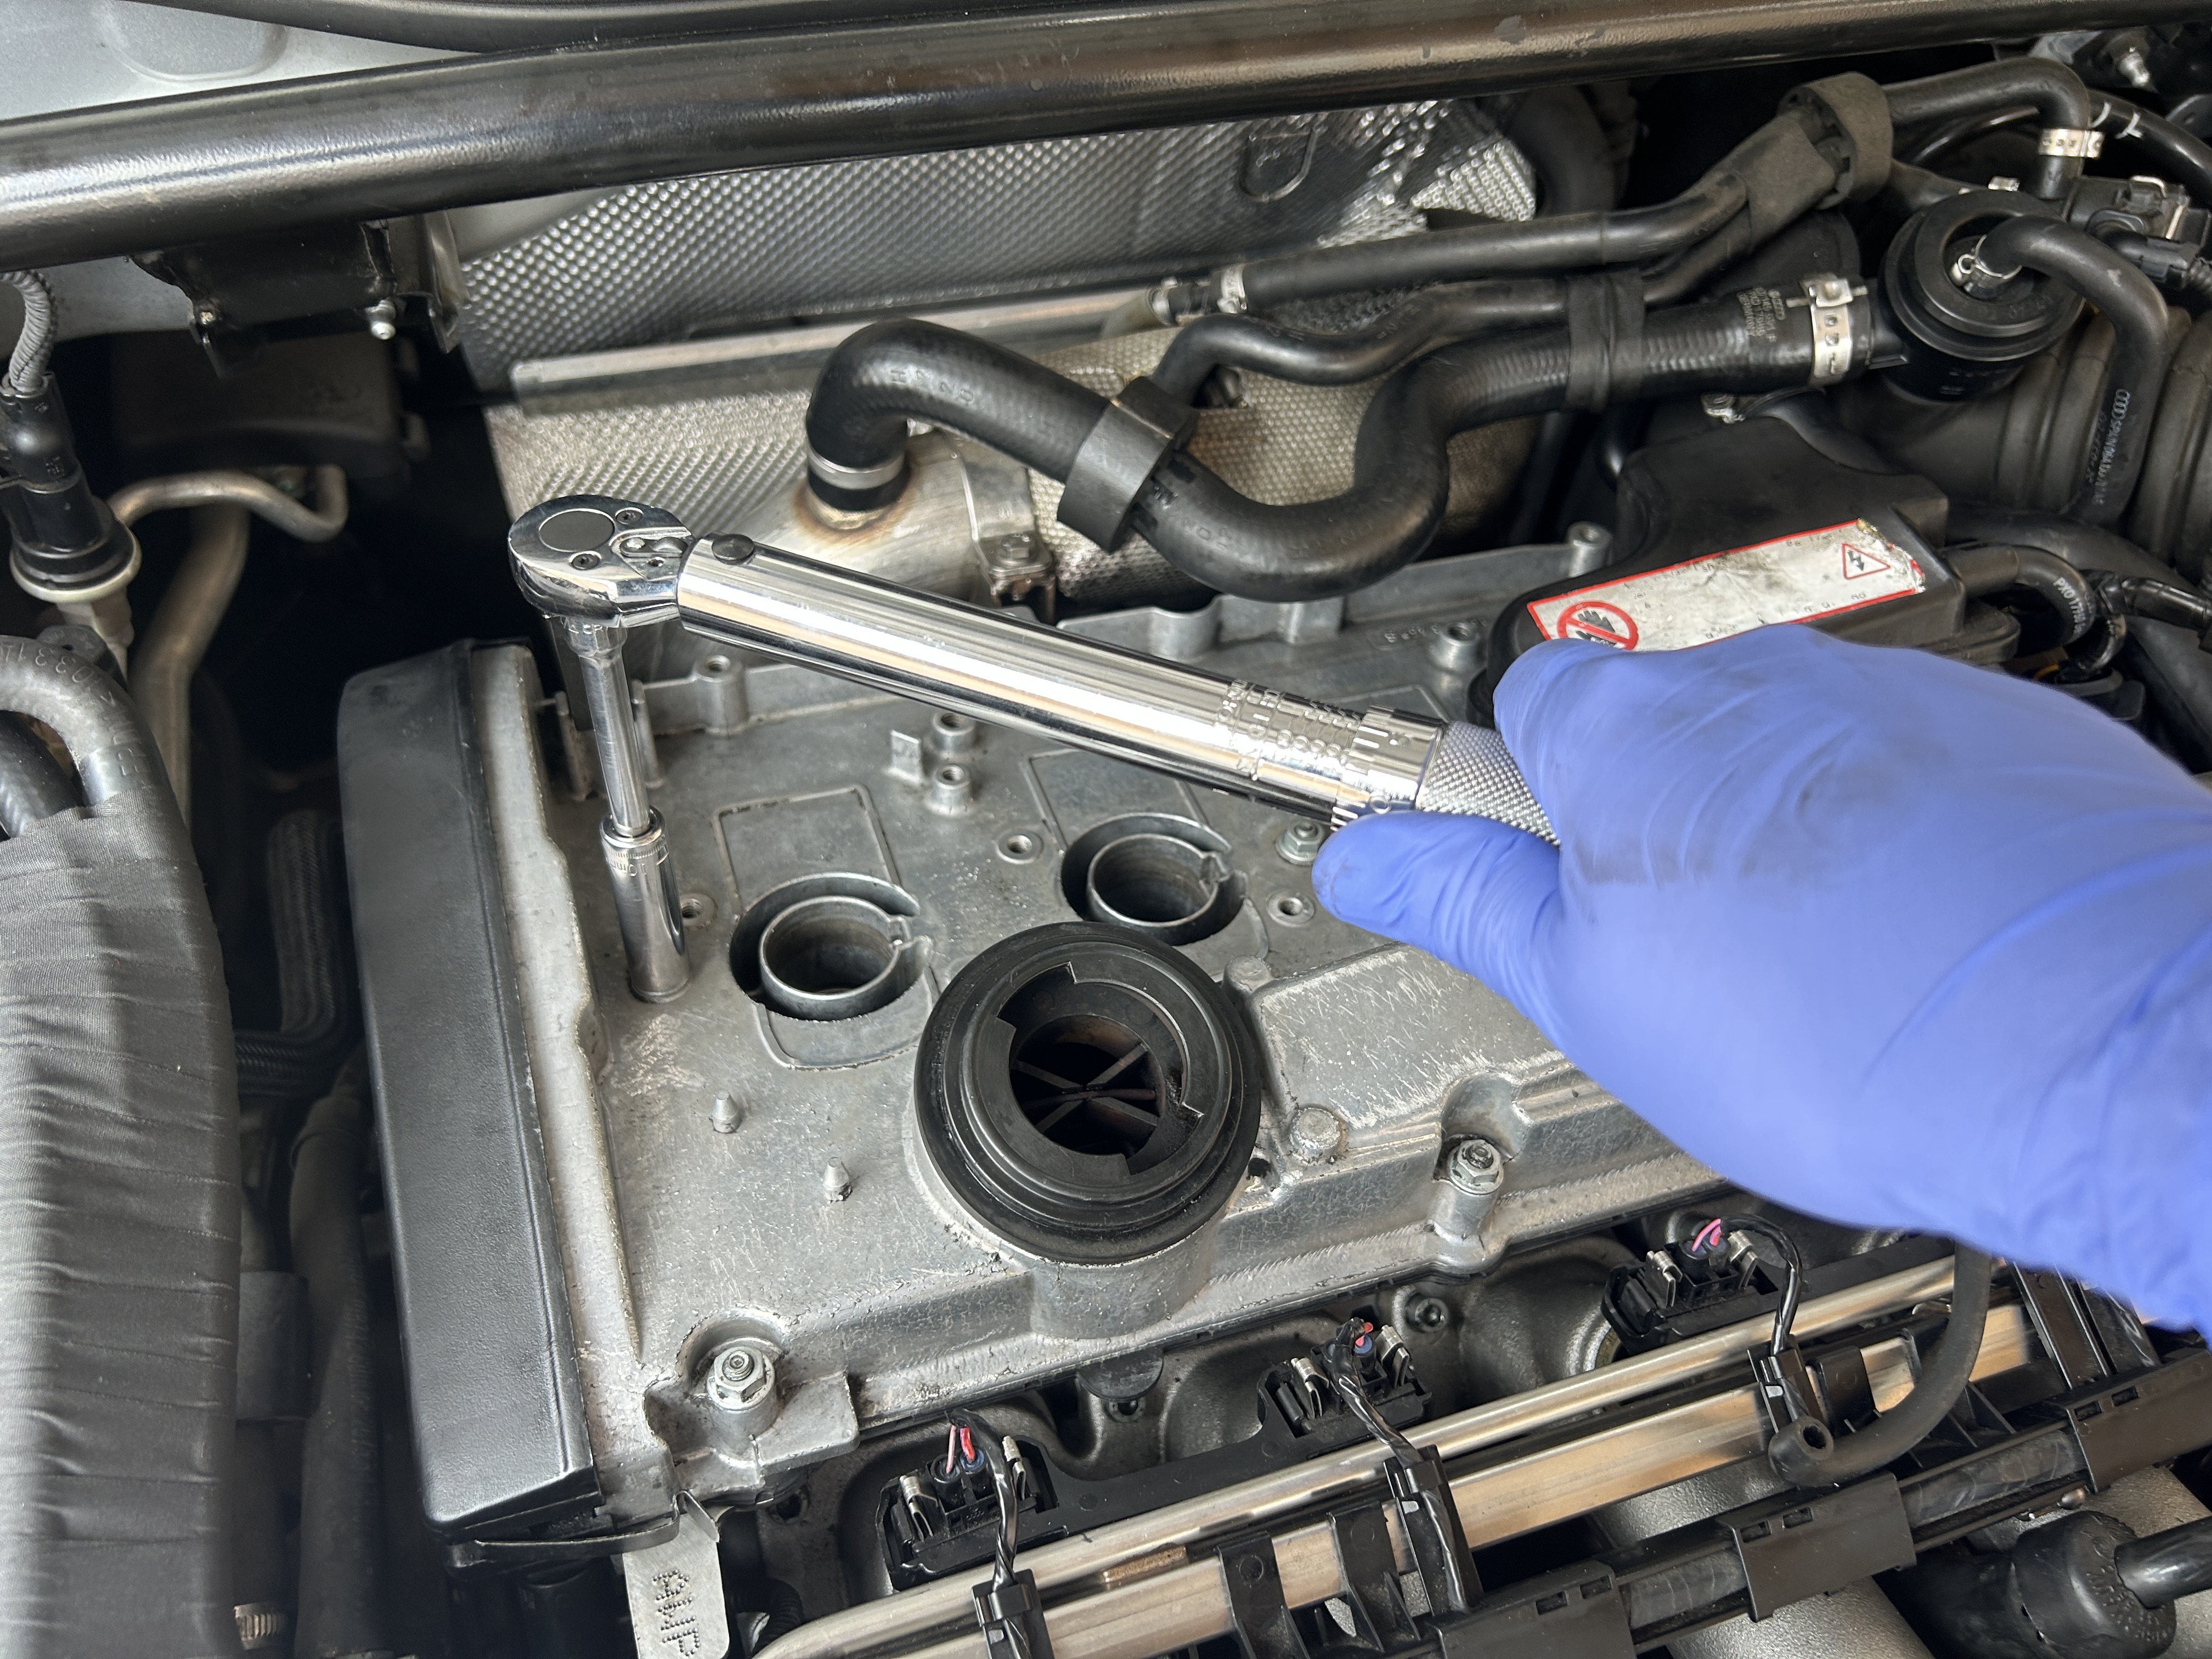
You will now be ready to reinstall your valve cover. Make sure the valve cover is clean so that it will seat onto the valve cover gasket without anything interfering with the seal. Reinstall all the valve cover 10mm nuts and torque them down to 7 ft-lbs (10Nm).
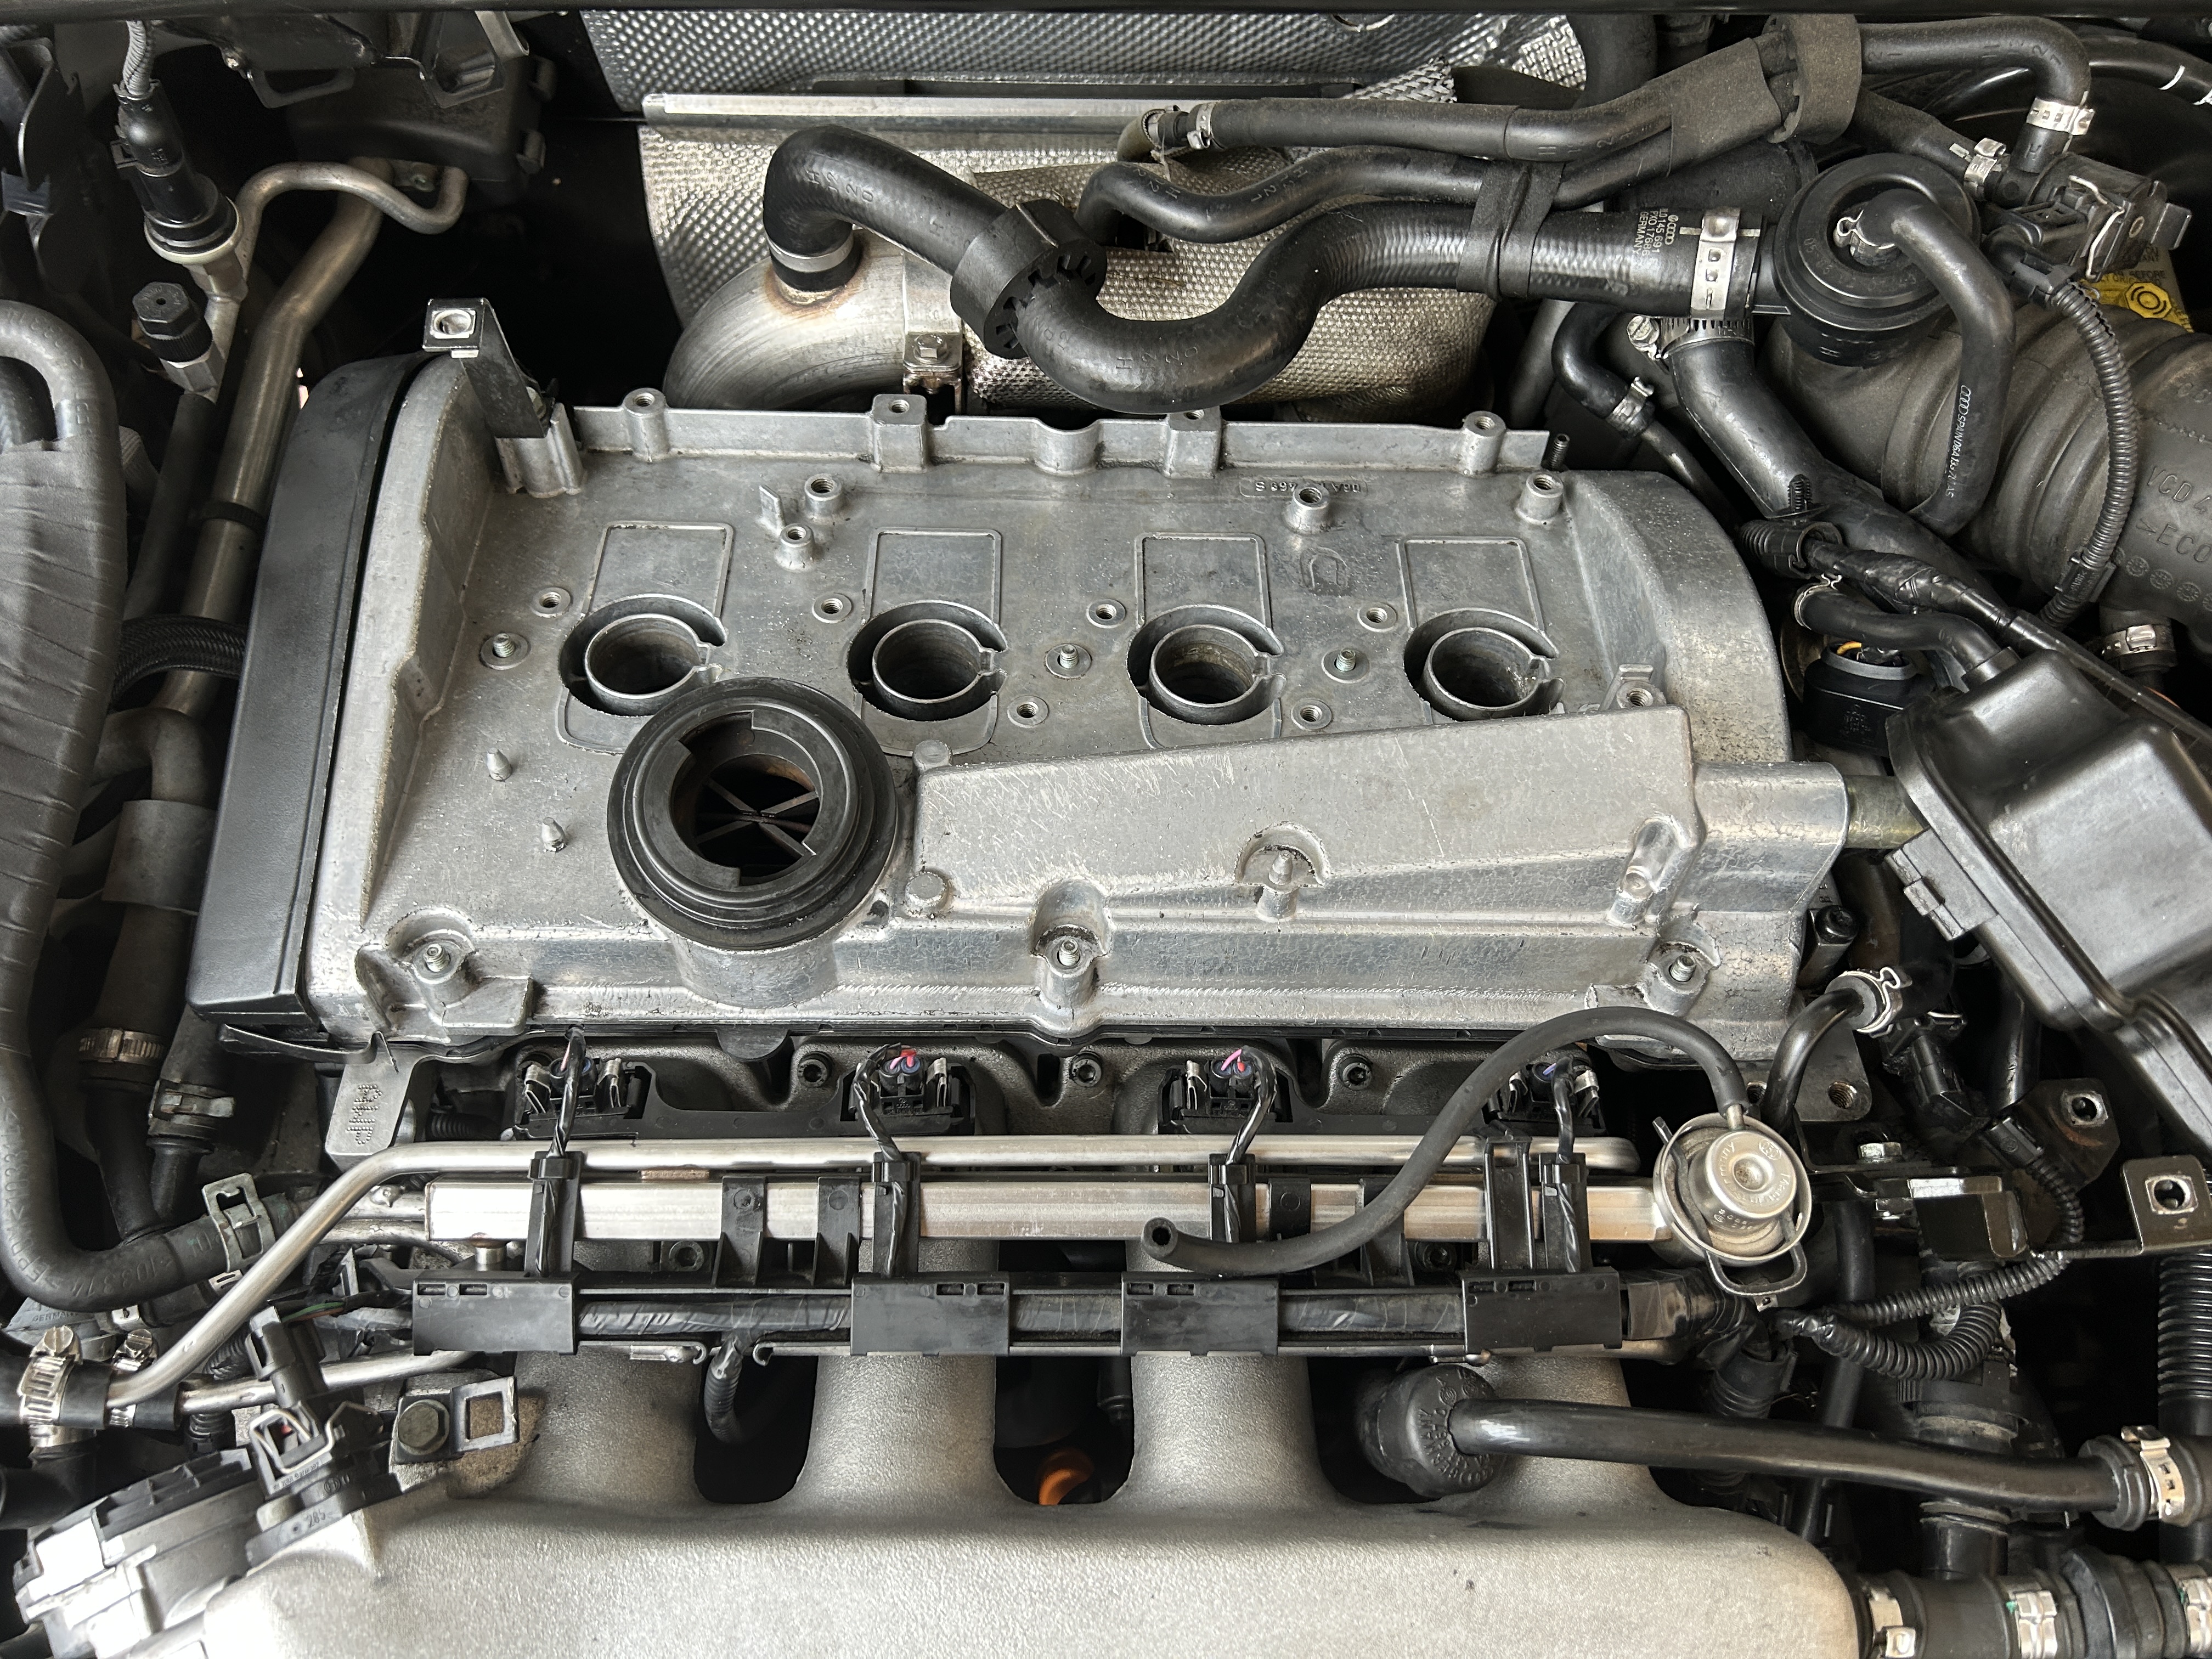
Replace the timing cover via the securing clips and then replace the remaining parts that you may have removed earlier: spark plugs, ignition coils, electrical connectors to ignition coils, breather hose, and vacuum reservoir.
Replacing the valve cover gasket is a pretty easy job to do on the MK1 Audi TT (model years 2000-2006) since you don’t have to remove too many parts to get access to it. After I replaced the valve cover gasket on my TT, I did a full engine bay cleaning. I then continued to drive my car like usual to see if any new oil leaks appeared. Thankfully, there were no more oil leaks from my TT, so it looked like the valve cover gasket was the culprit for the oil leak.
")
")
")
")
")
")
")
")
")