For all the time that I’ve had my 2002 Audi TT, it has been practically impossible to move the front seats forward or backward. Even when I pull up on the release handle in front of the seat and put all my strength into pushing the seat back or pulling it forward, the seat would barely move. Obviously something is causing the seat to not glide freely along the seat rails.
In order to get the front seats to glide smoothly again, you’ll need to clean off any debris that is stuck on the seat rails. You may find old grease, dirt, sand, and hair collected all into a sludge that obstructs the path of the seat rail. The best way to get access to the seat rails is to remove the seats from the car altogether. This way, you can fully clean out the gunk that is keeping the seats from moving and then you can apply a grease to get it to glide more freely.
Tools/Materials Needed
Mechanics Tool Set: EPAuto Mechanics Tool Set, 122-Piece
All Purpose Cleaner: Simple Green All Purpose Cleaner Concentrate
Degreaser: Spray Nine Heavy Duty Cleaner
Microfiber Towels: Amazon Basics Microfiber Cloths 16″ x 12″ (24-pk)
Sprayable Lithium Grease: WD-40 Specialist White Lithium Grease Spray
MedPride Nitrile Gloves (Box/100): Small / Medium / Large / X-Large
Getting the Front Seats To Slide Freely Again
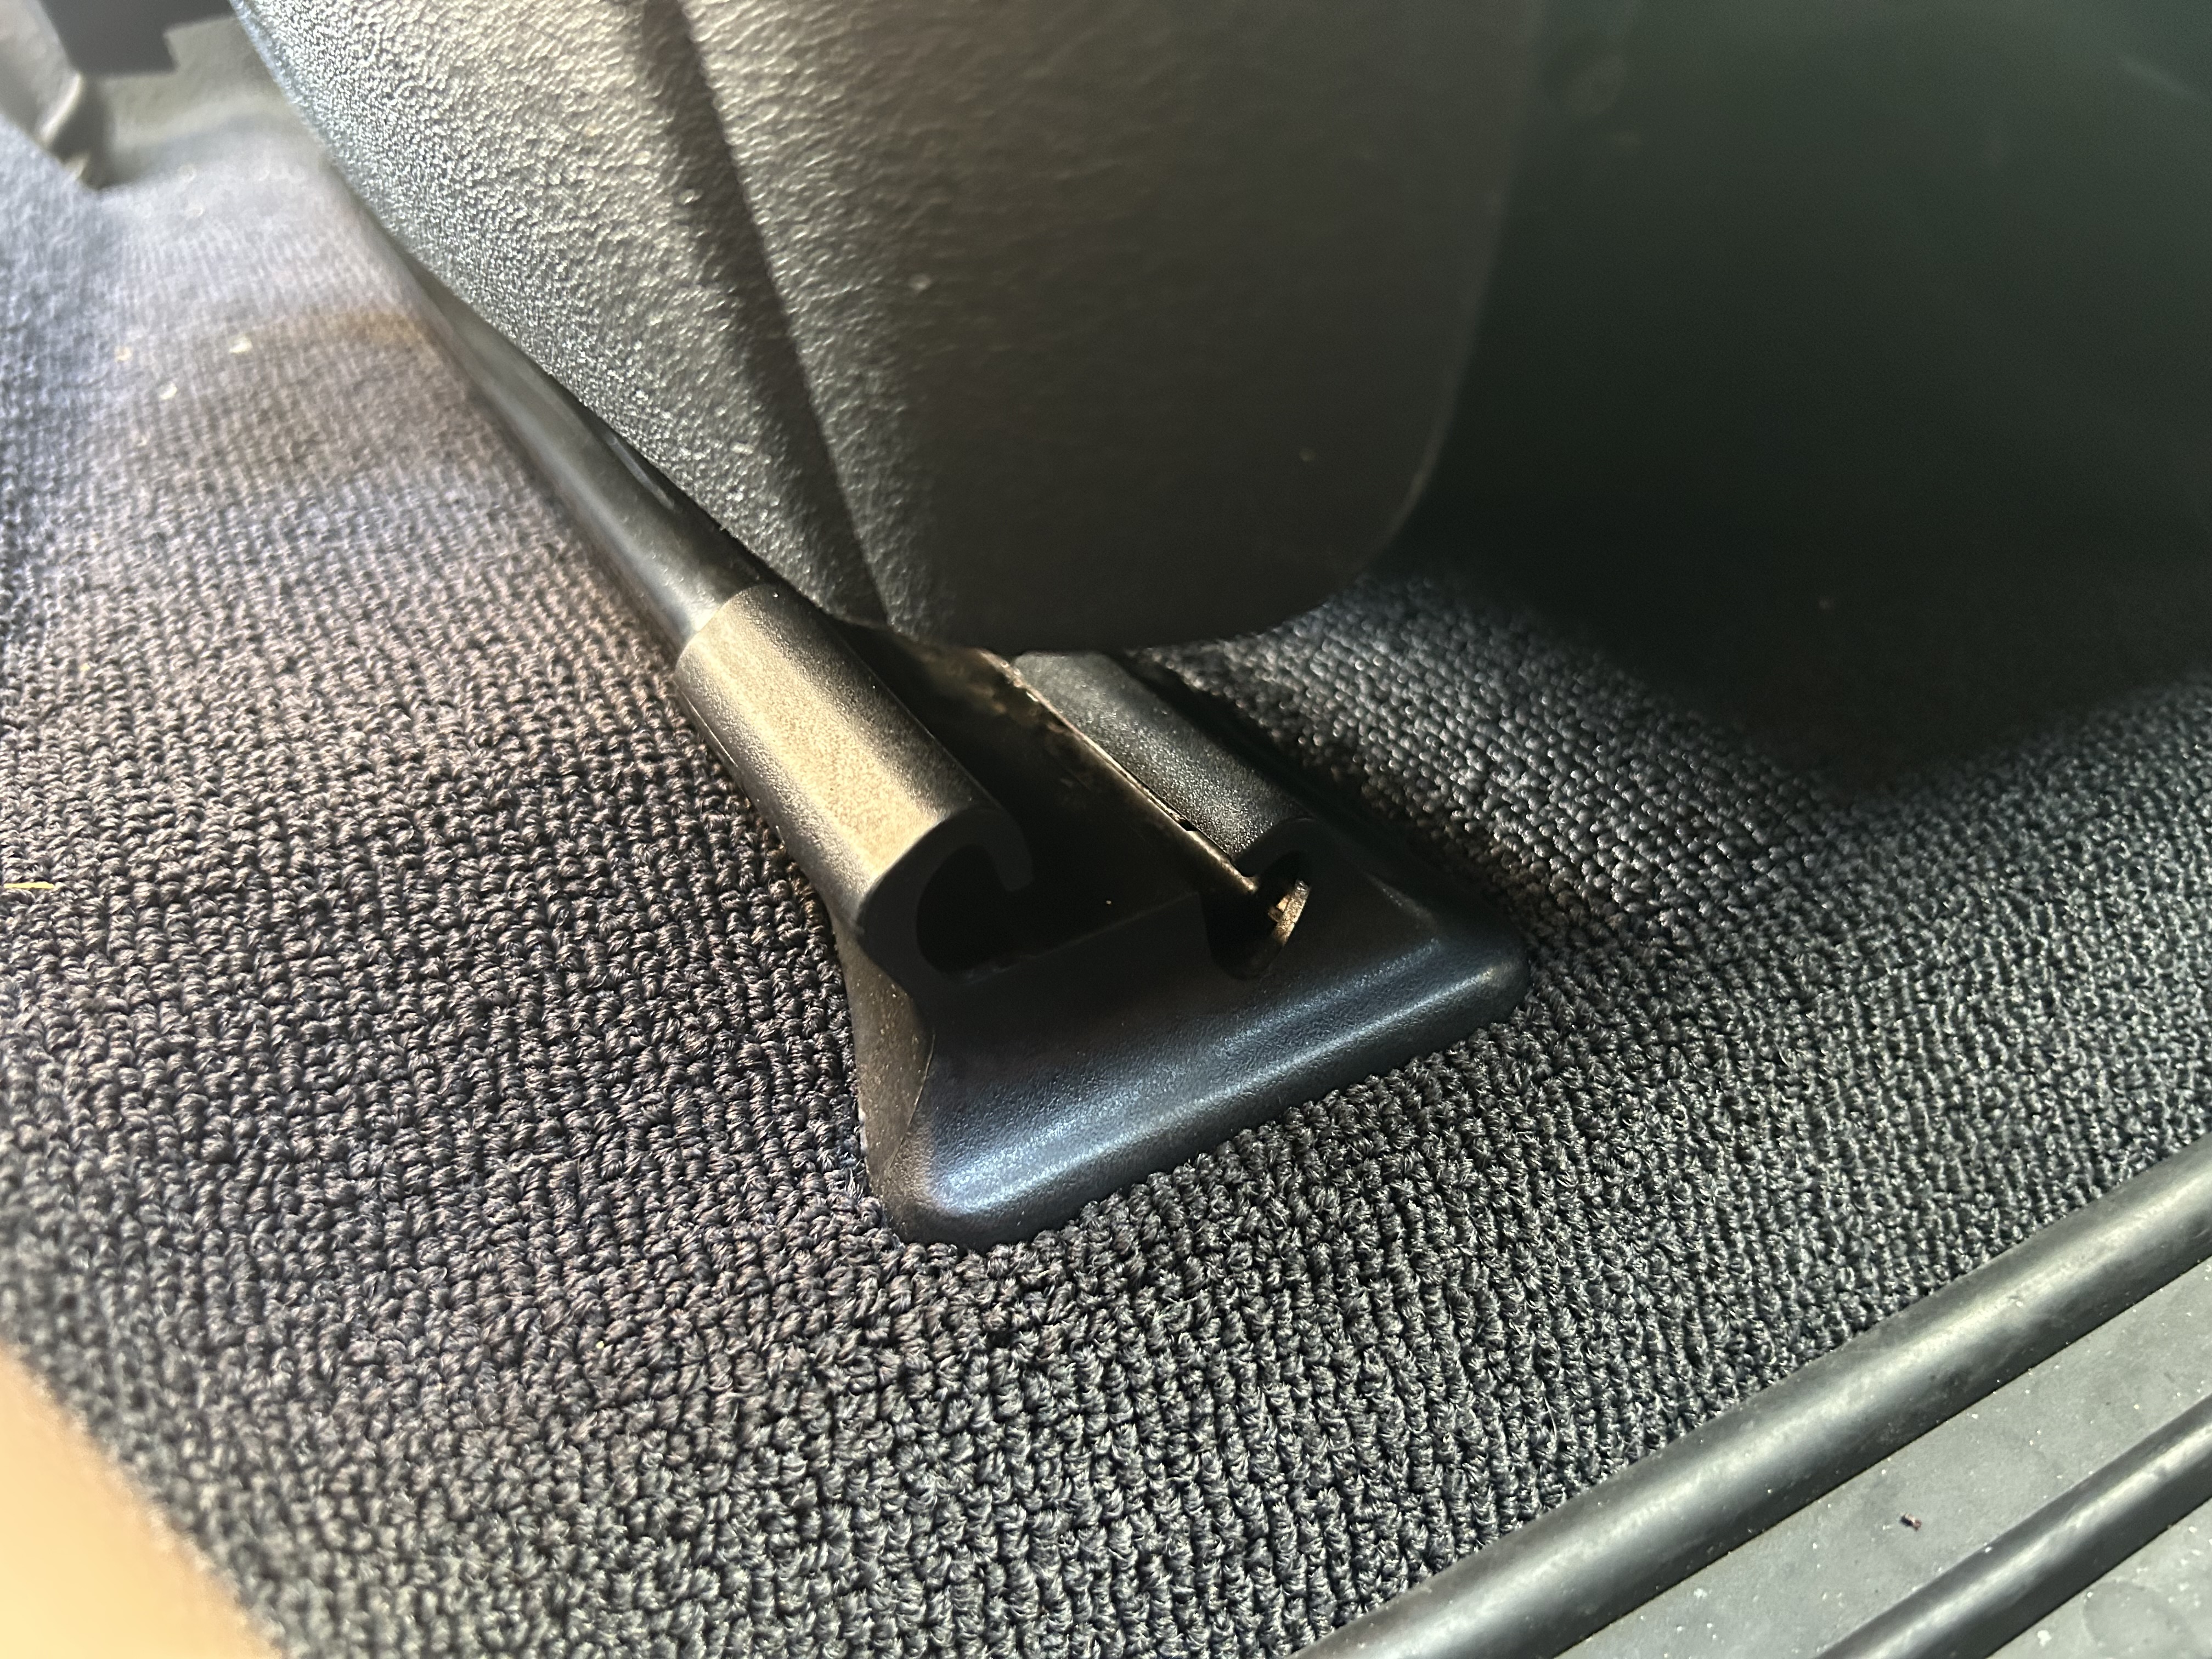
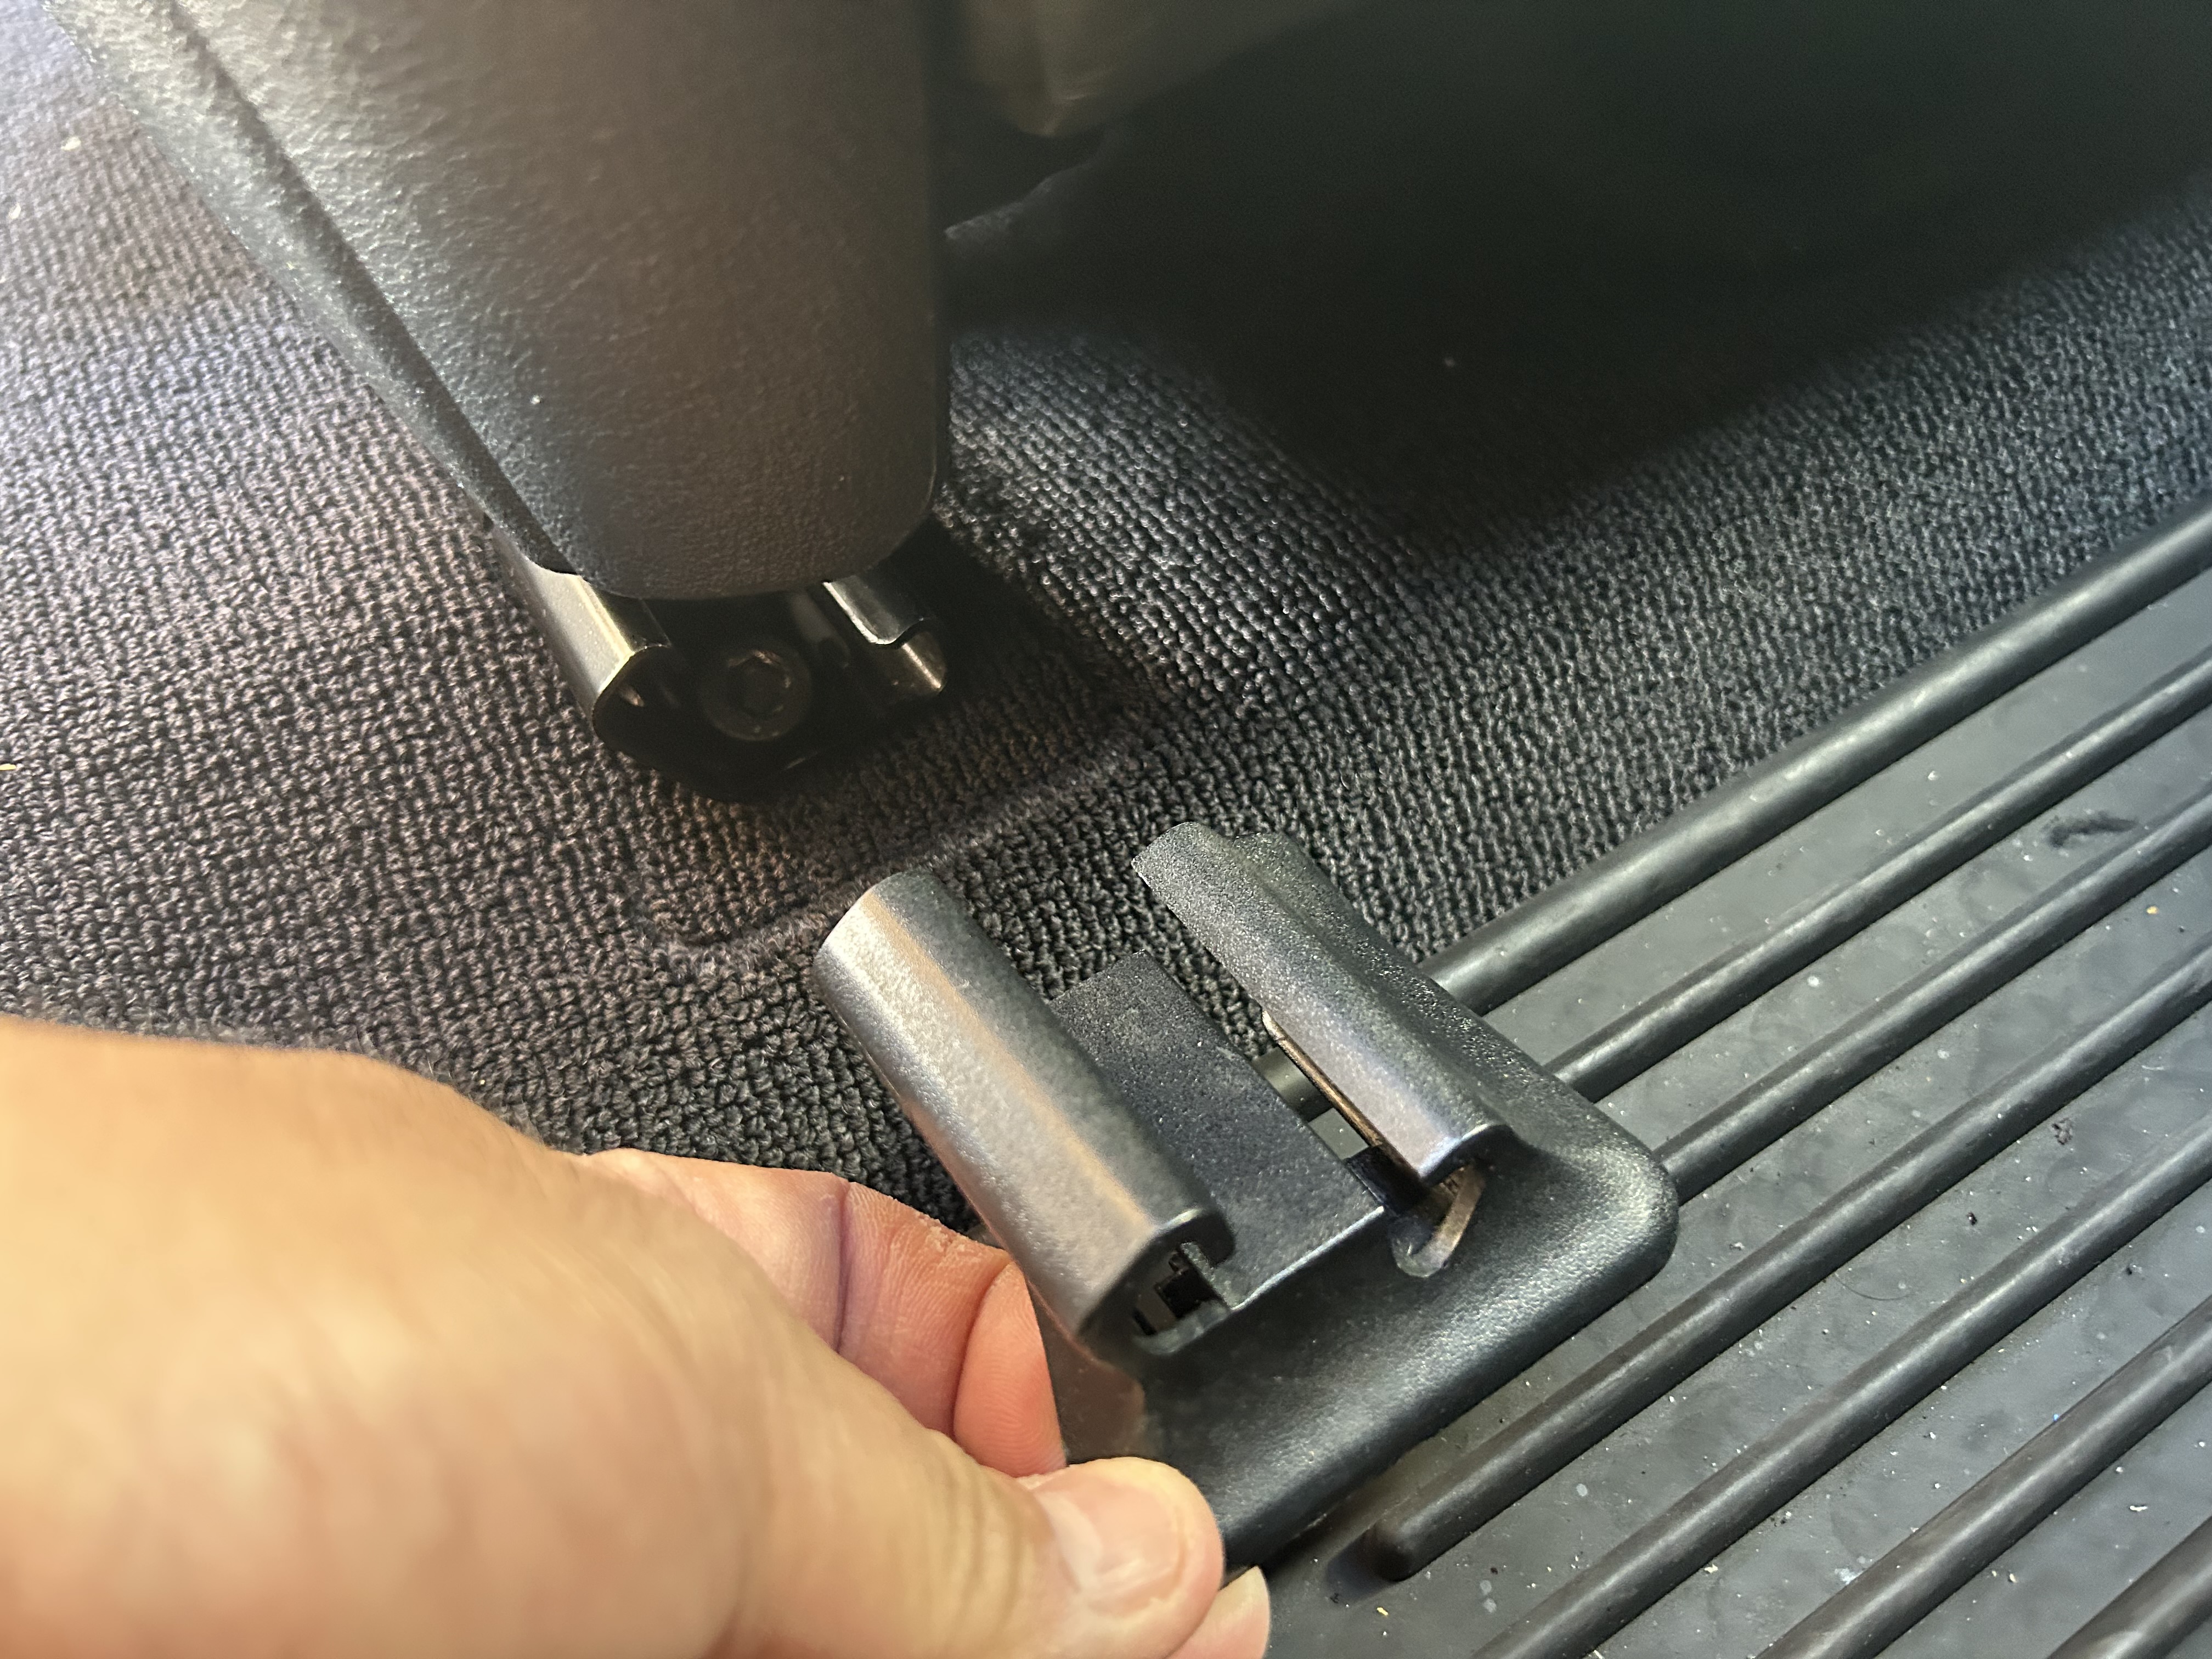
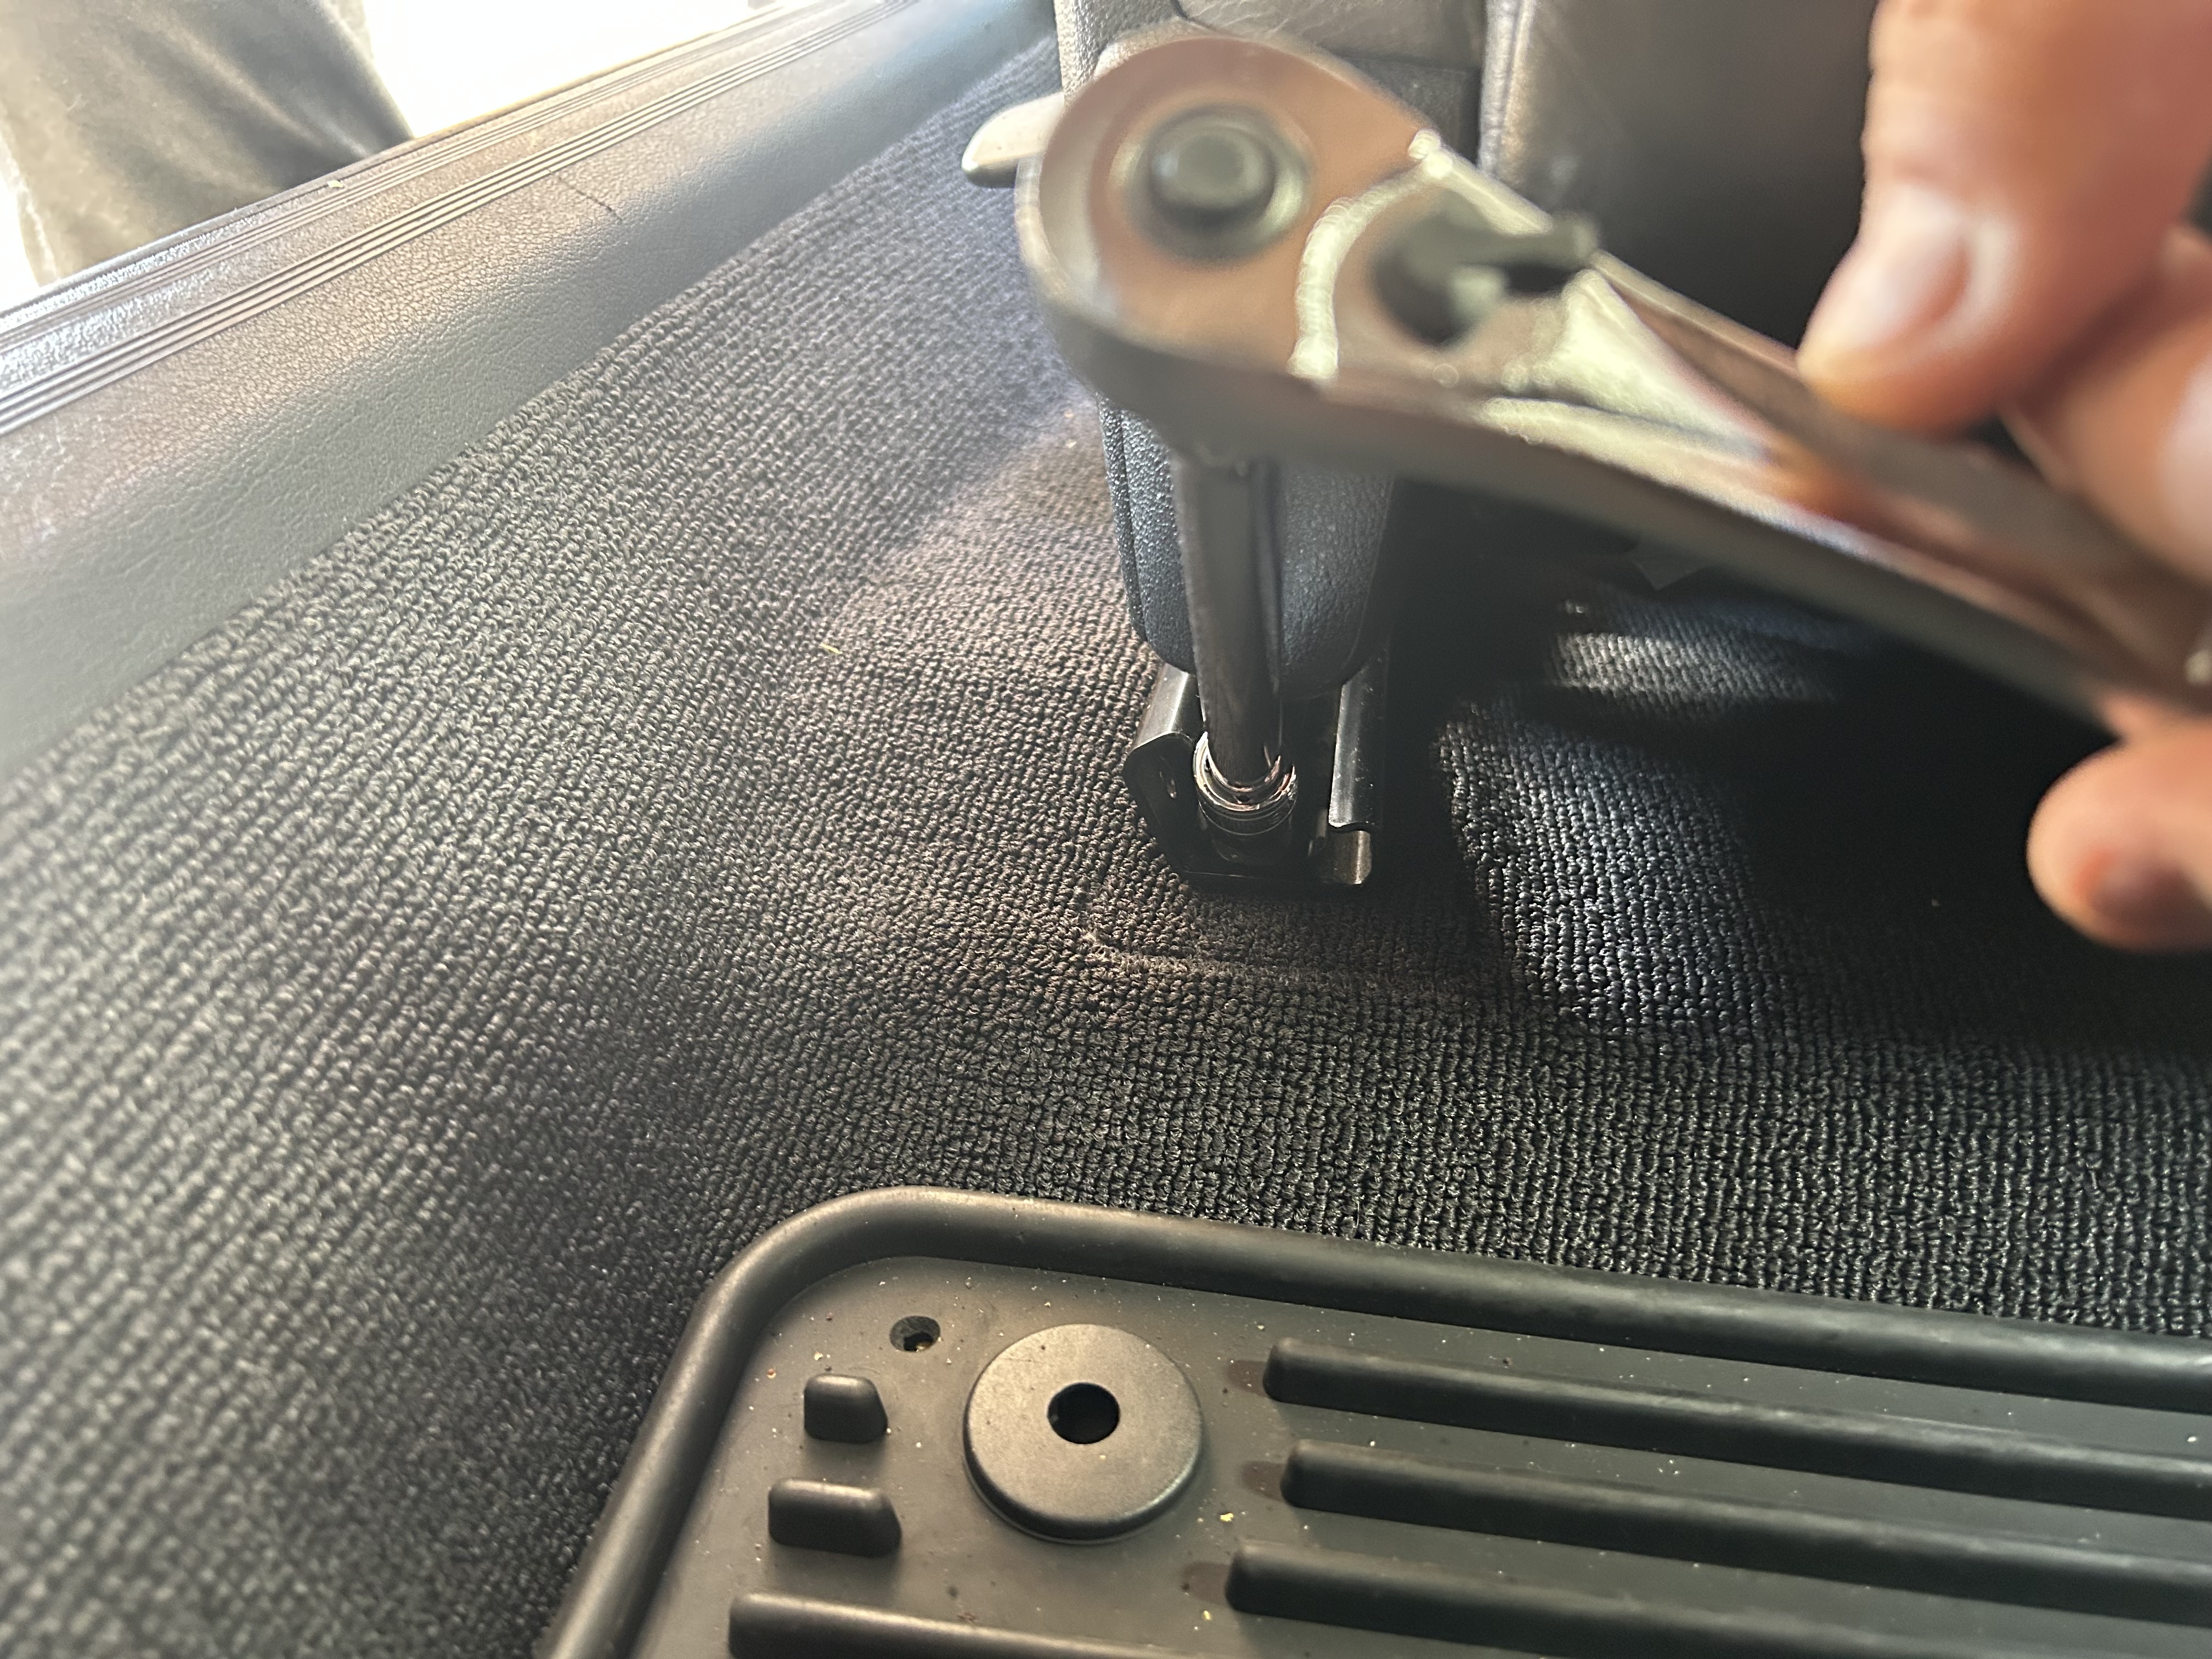
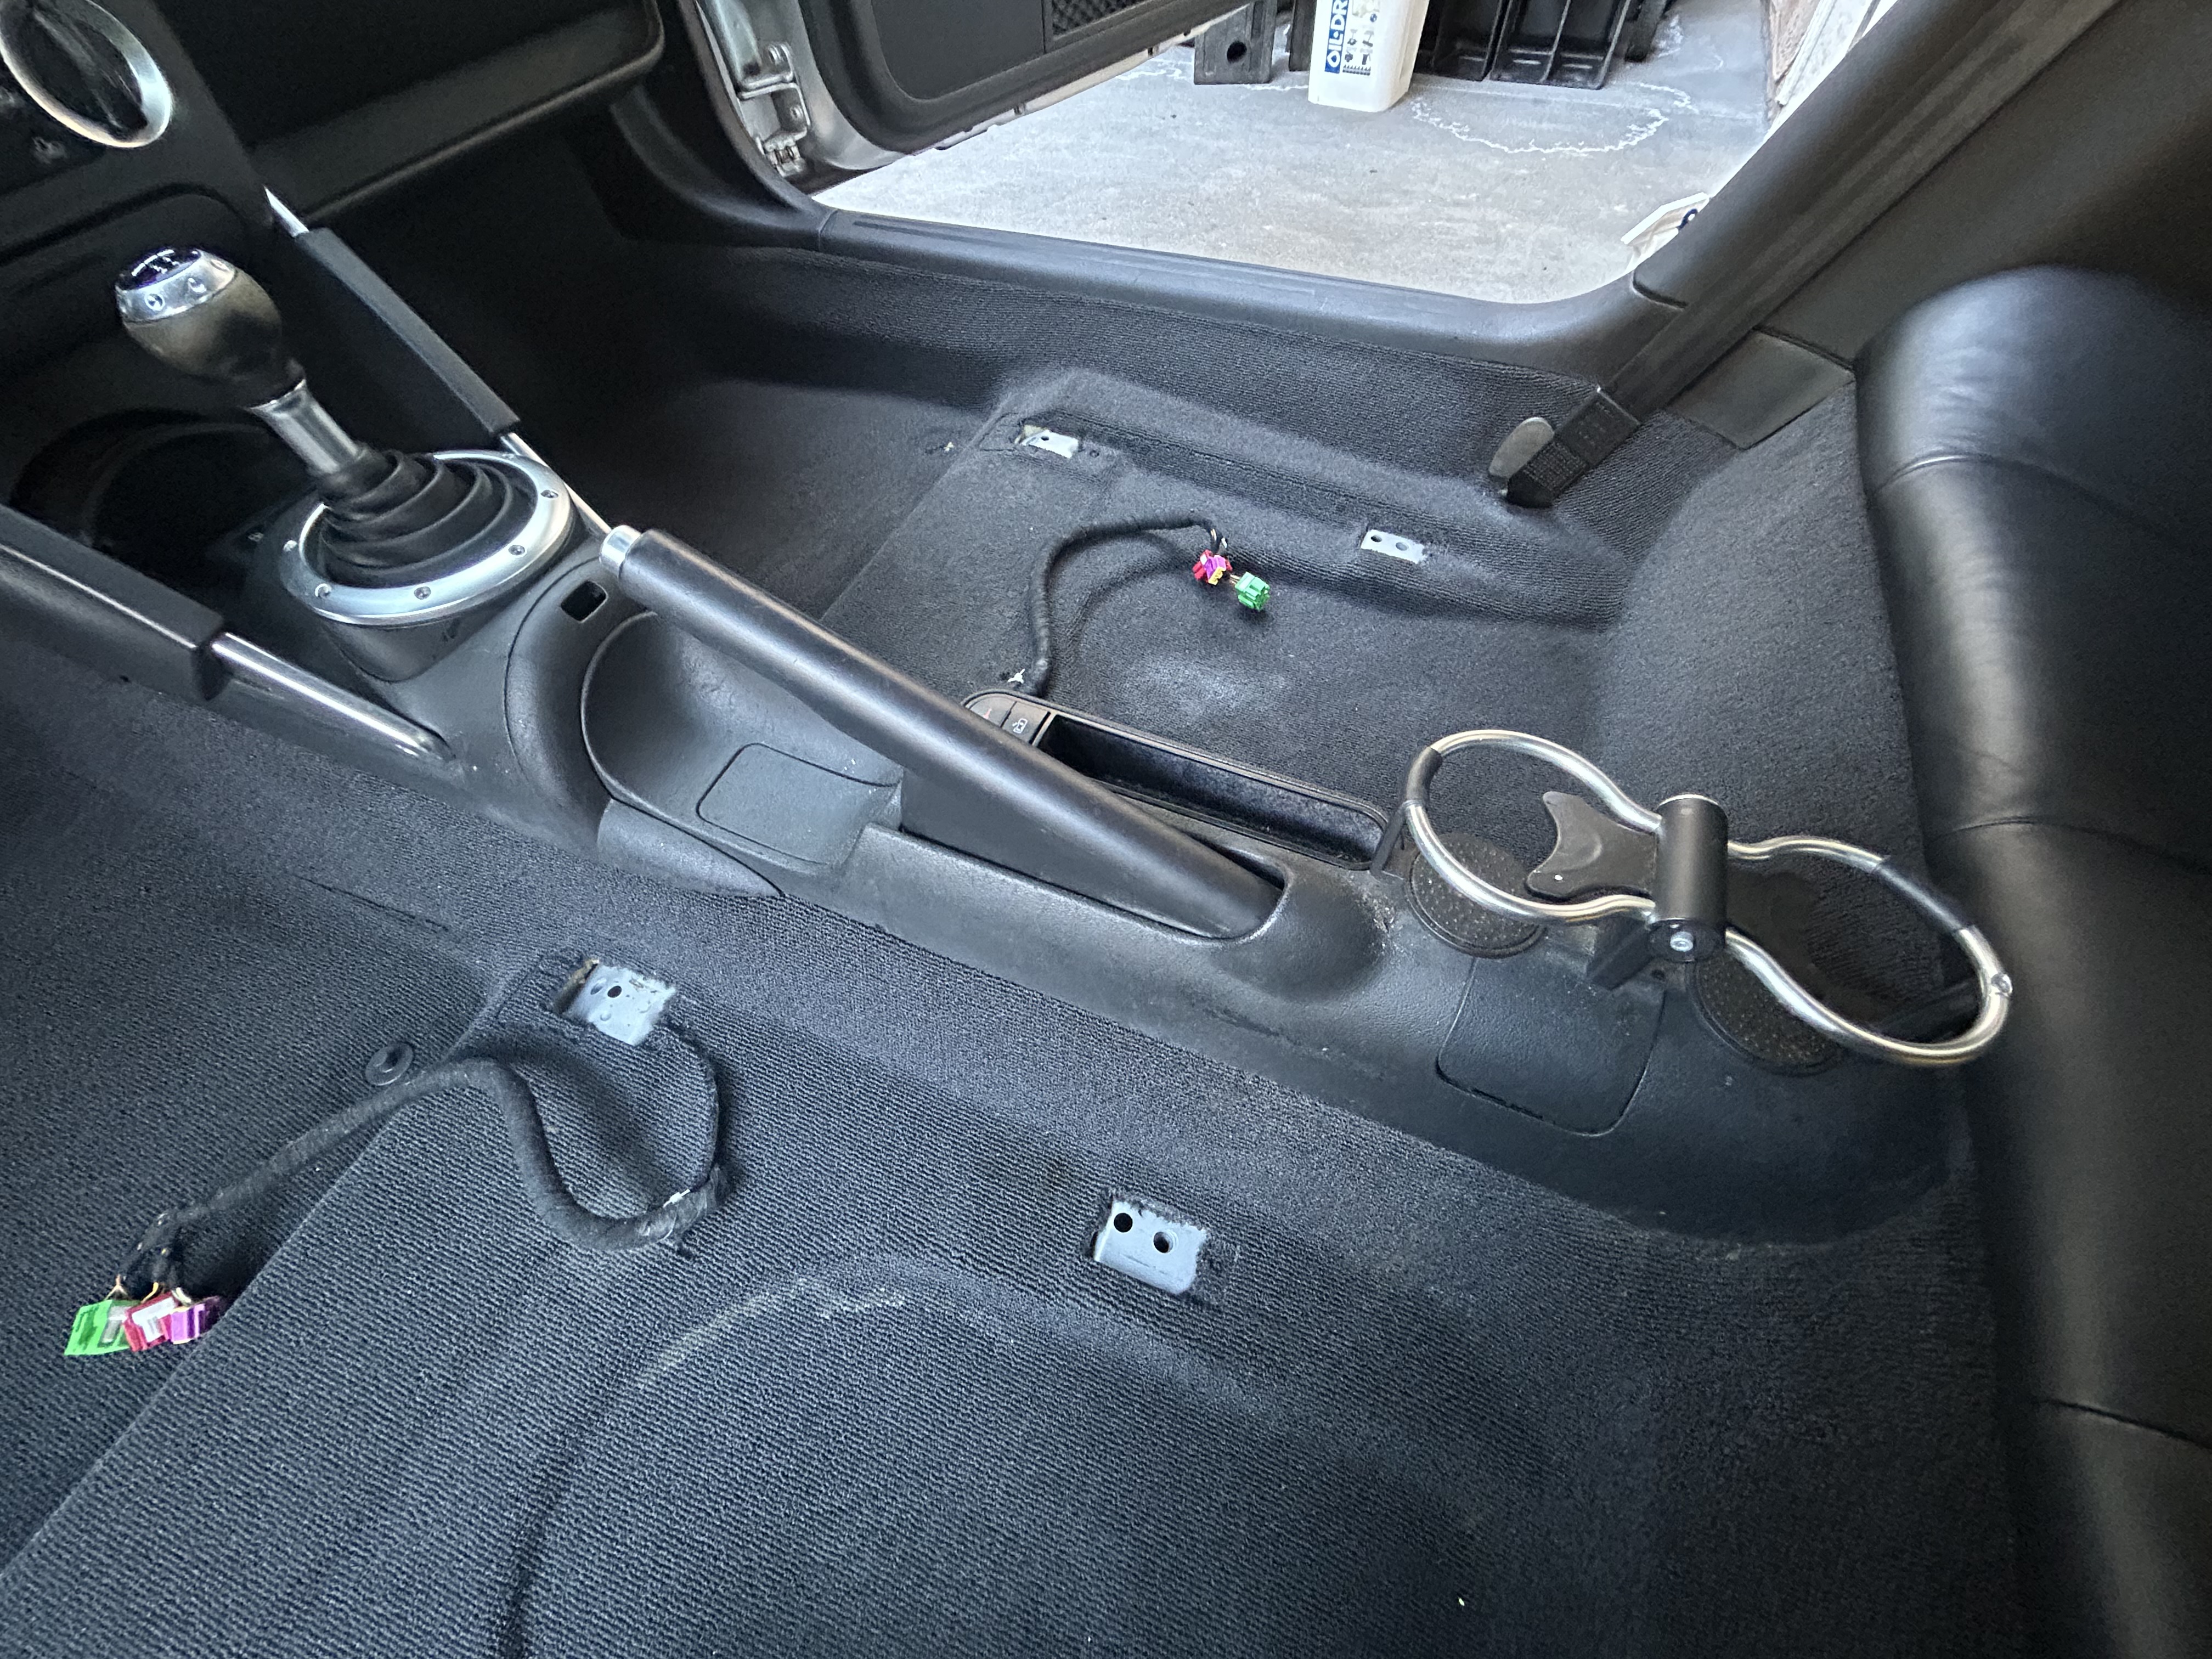
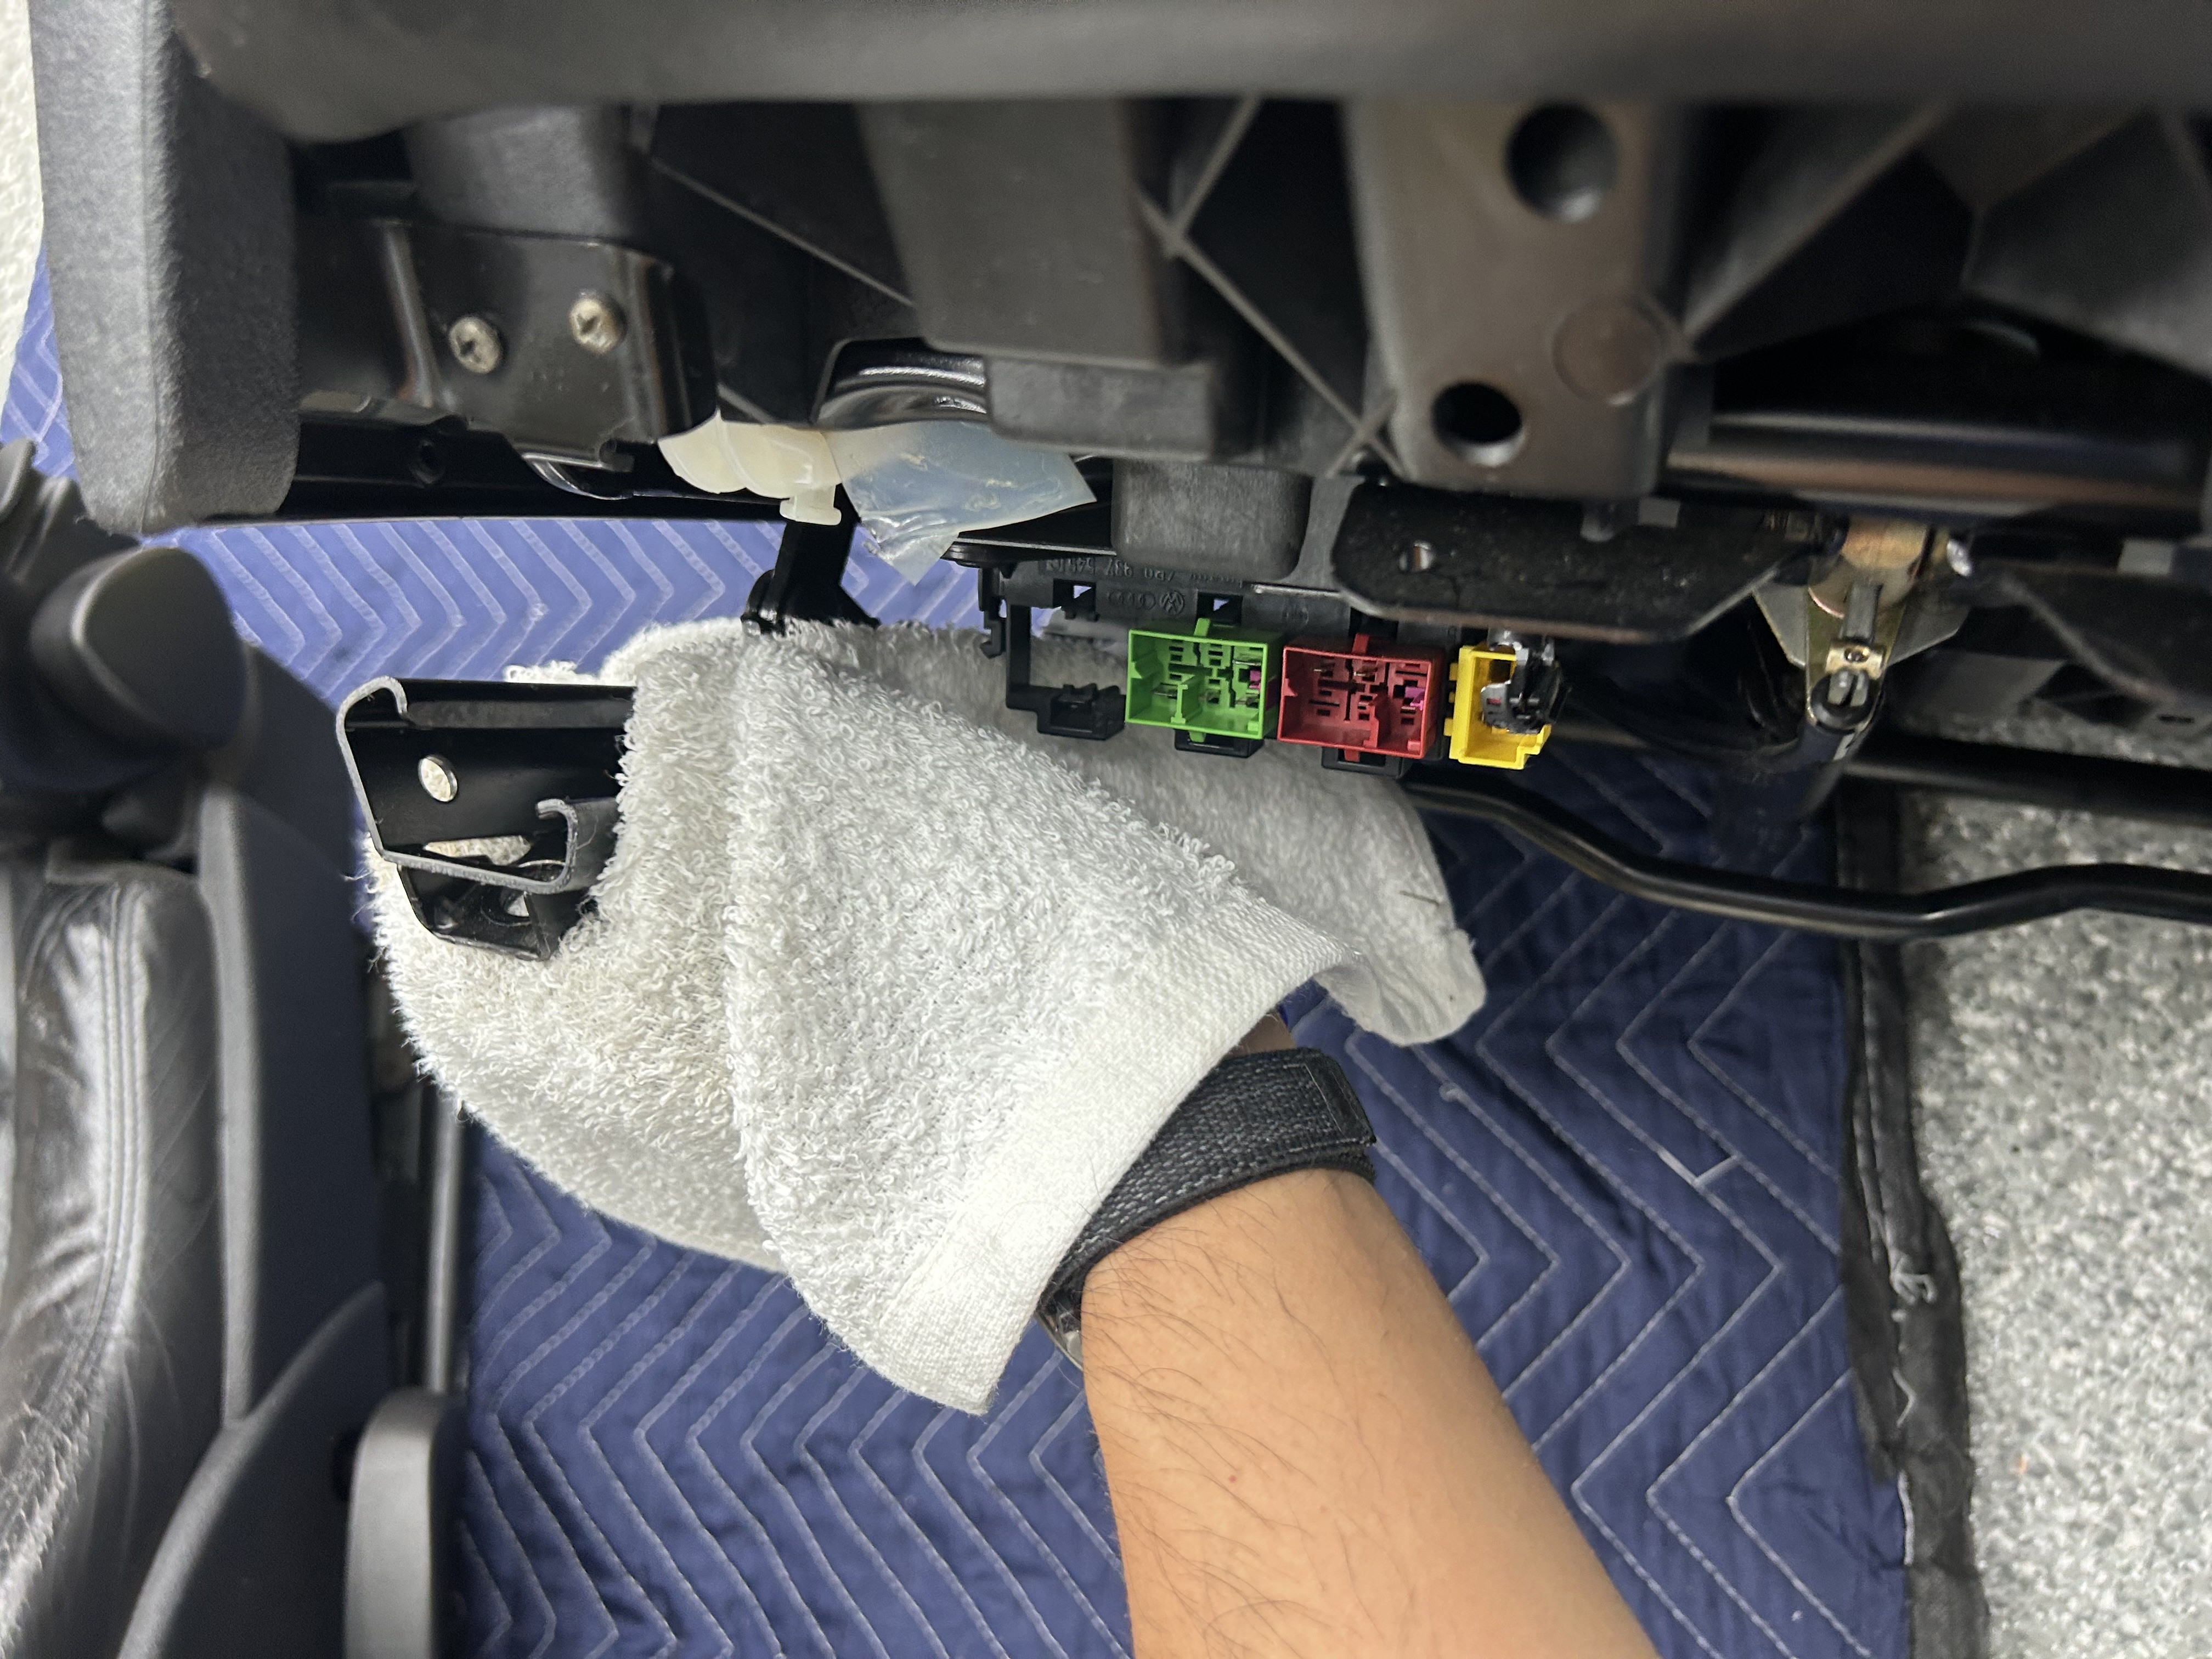
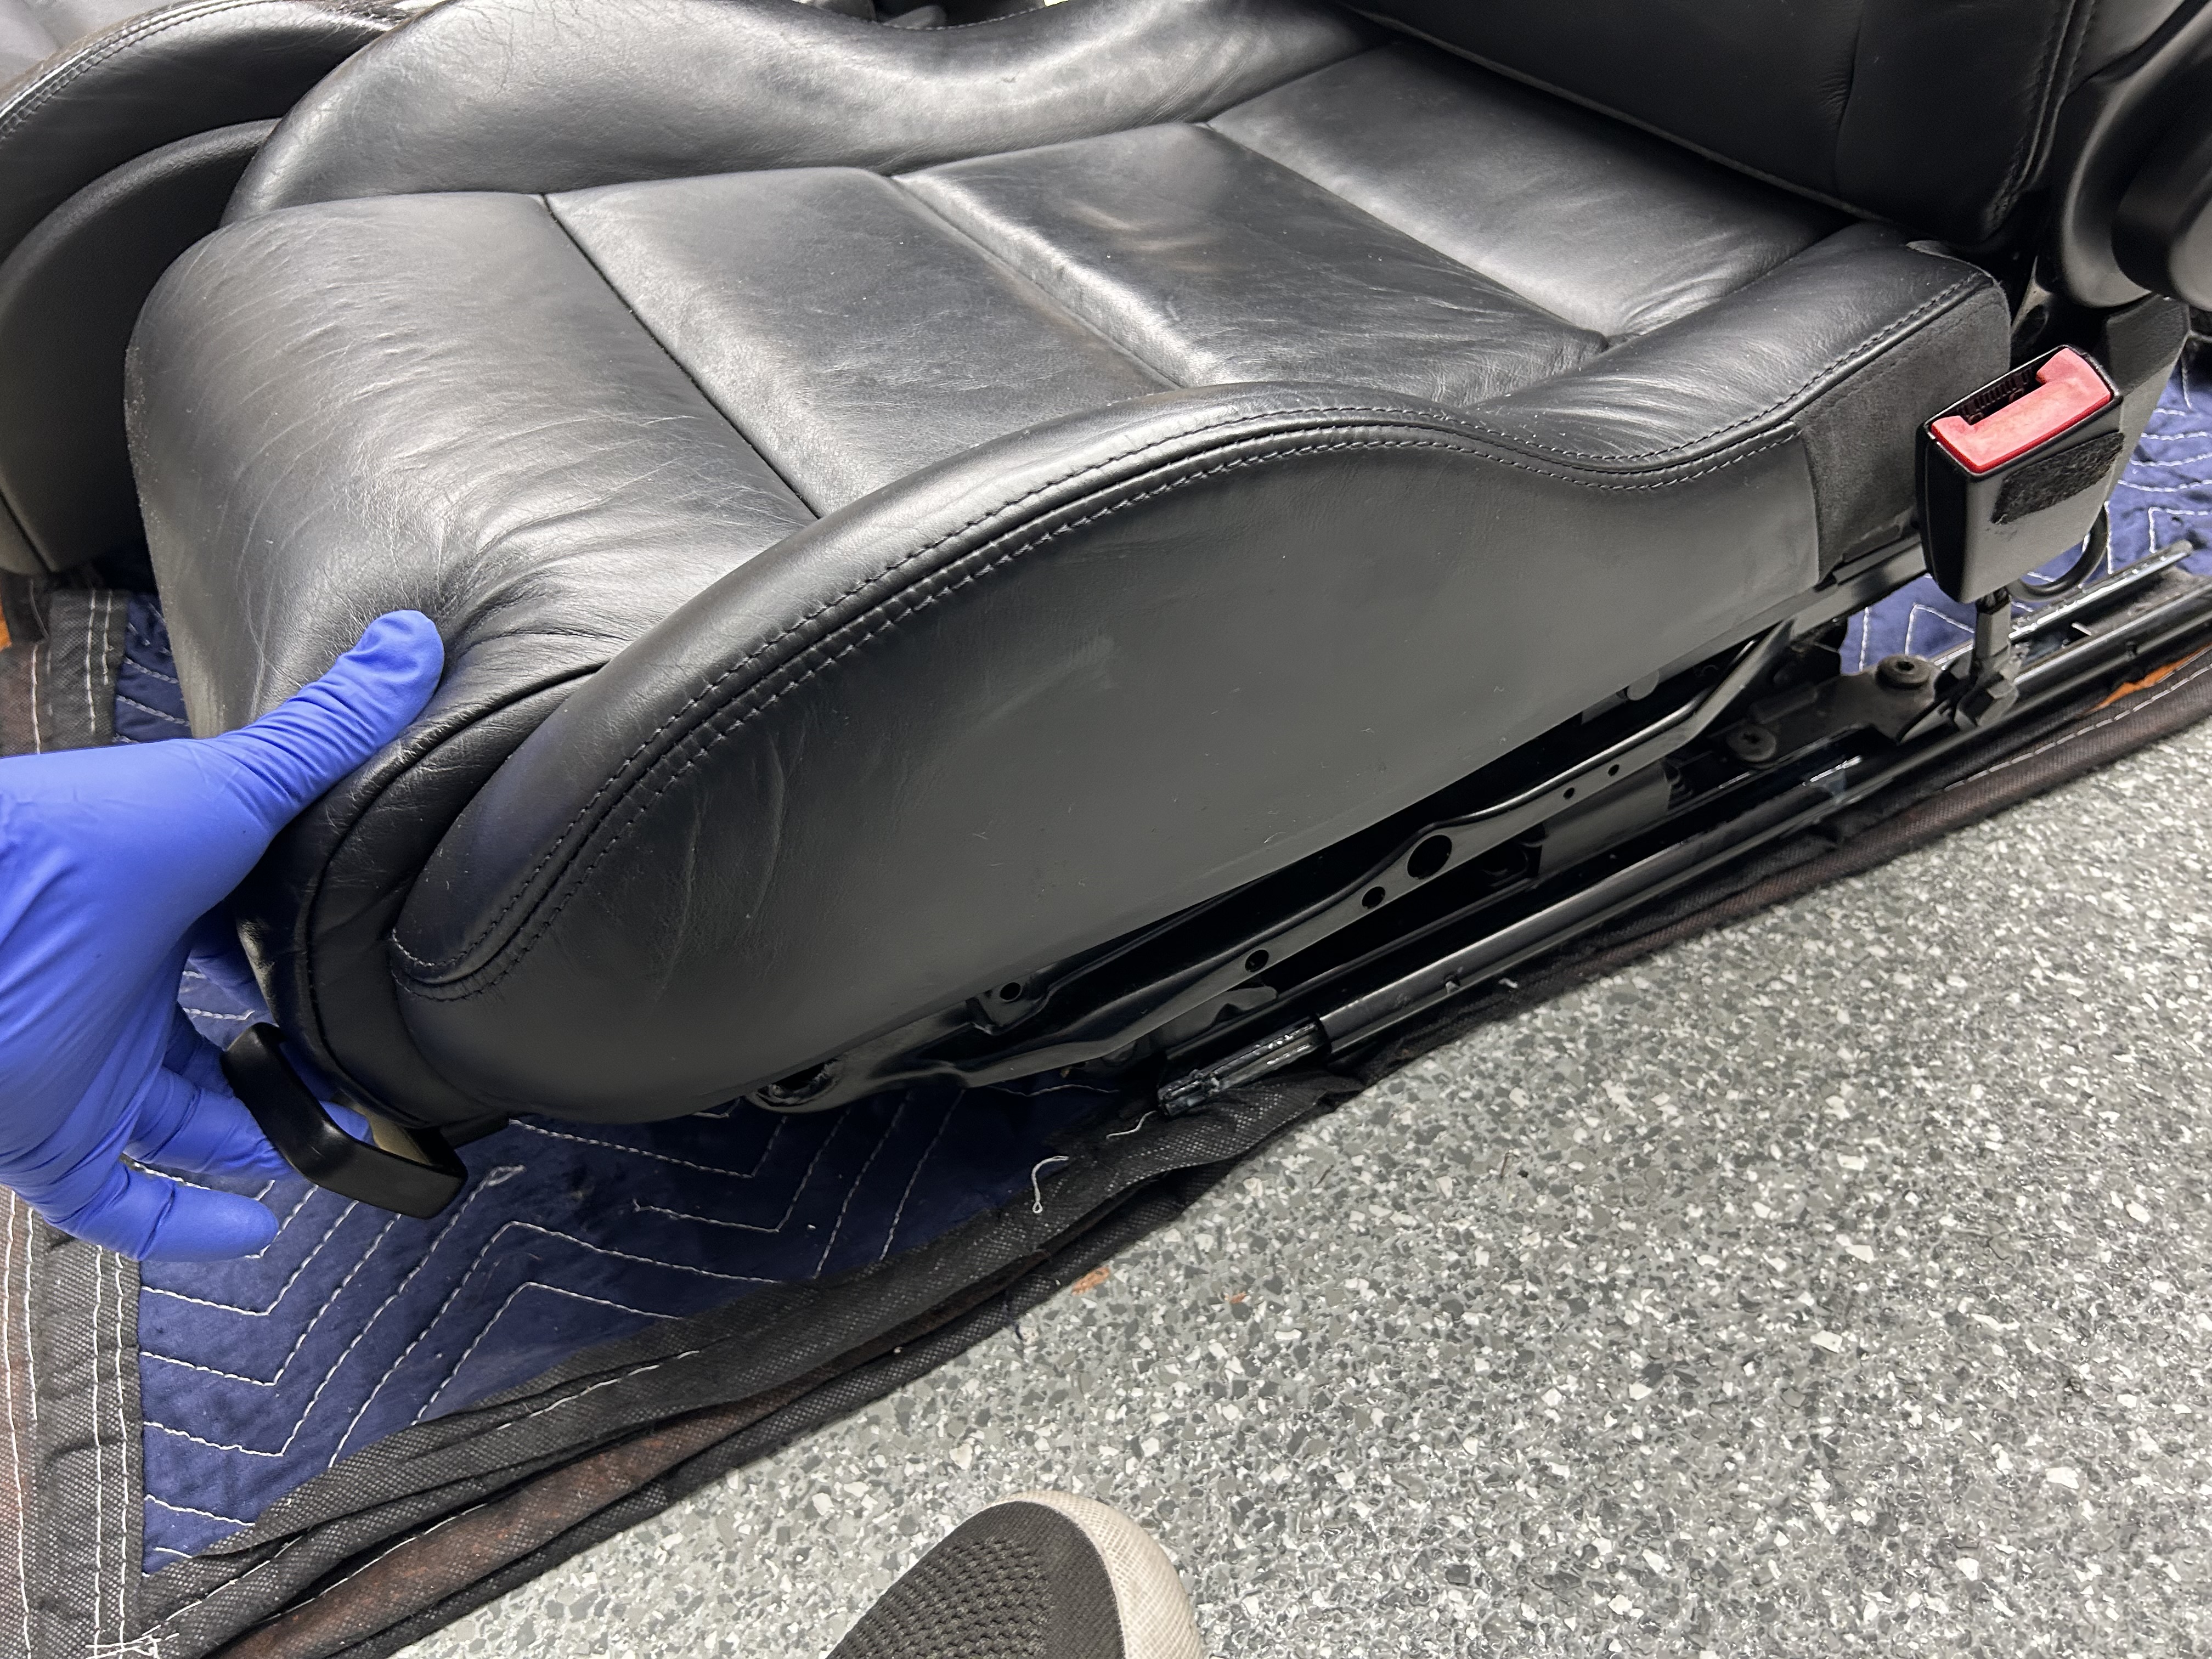
To first remove the seats, remove the seat mount trim covers. There are (4 qty) plastic trim pieces that cover each of the four corners of seat, which cover each of the (4 qty) 8mm hex bolts that secure the seat rails (and seat) to the frame. The trim covers are somewhat difficult to take out; you need to pull them apart slightly and then pull them out away from the seat. After that, remove the bolts holding the seat rails in.
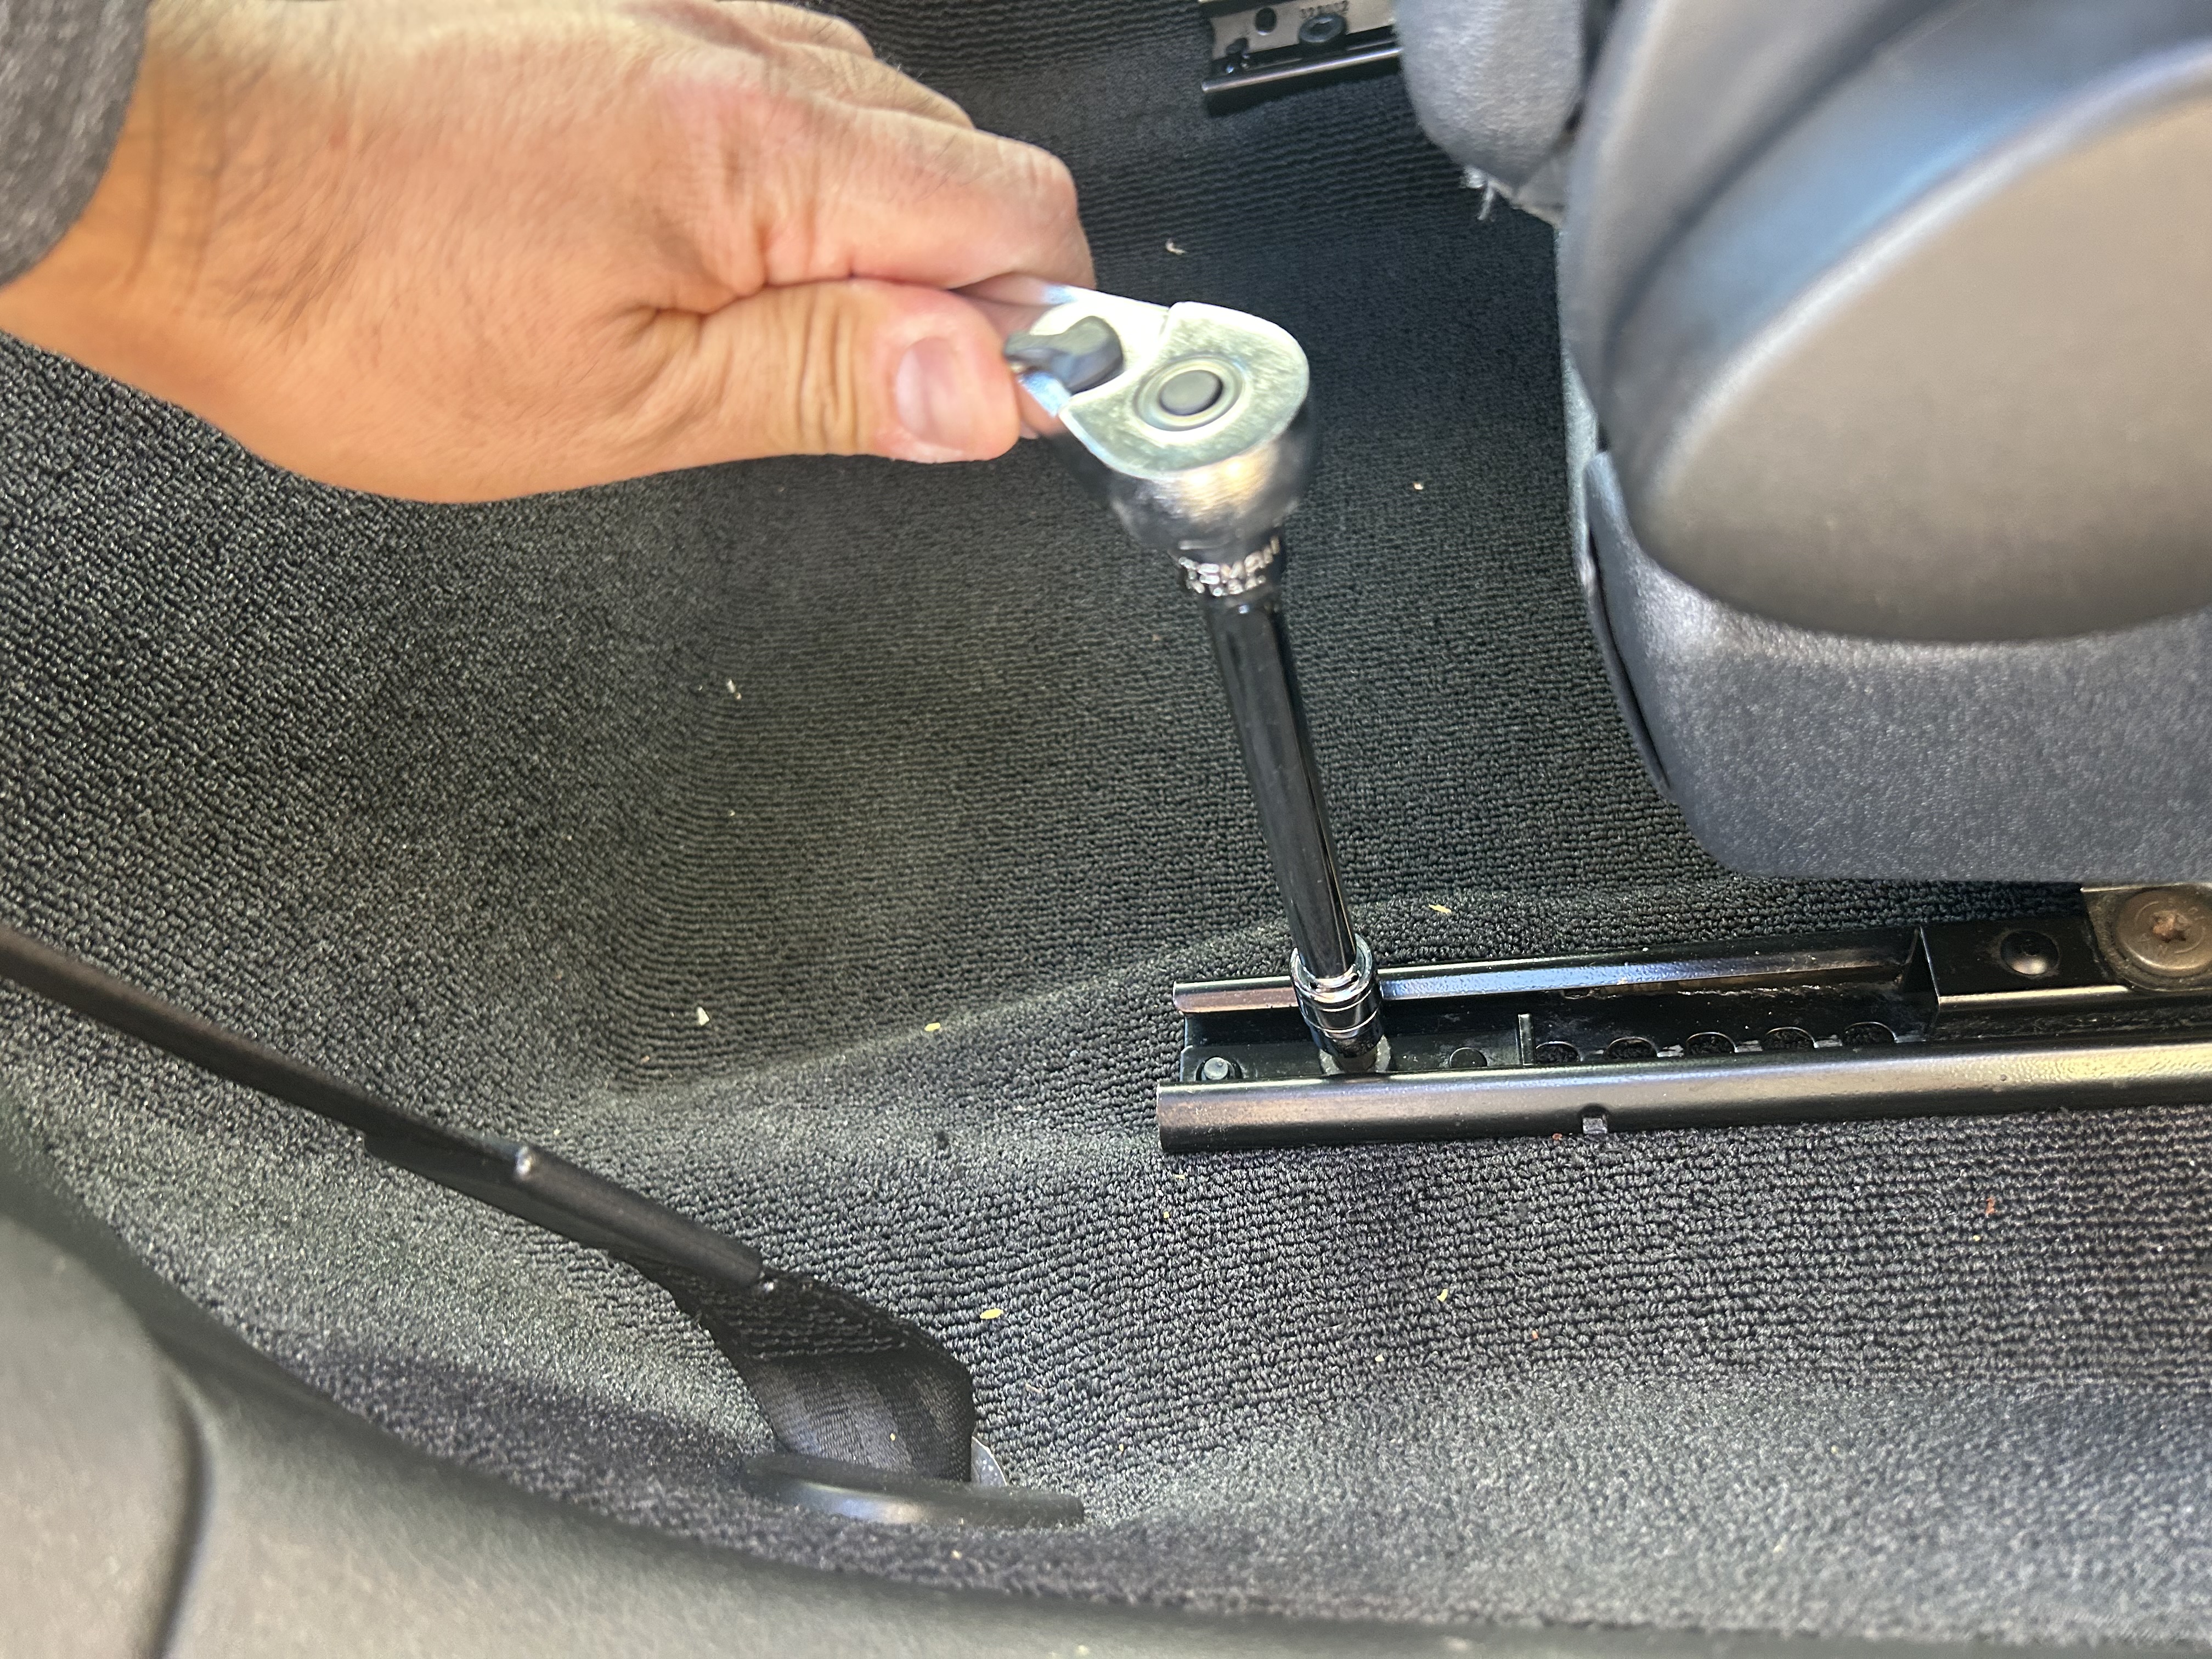
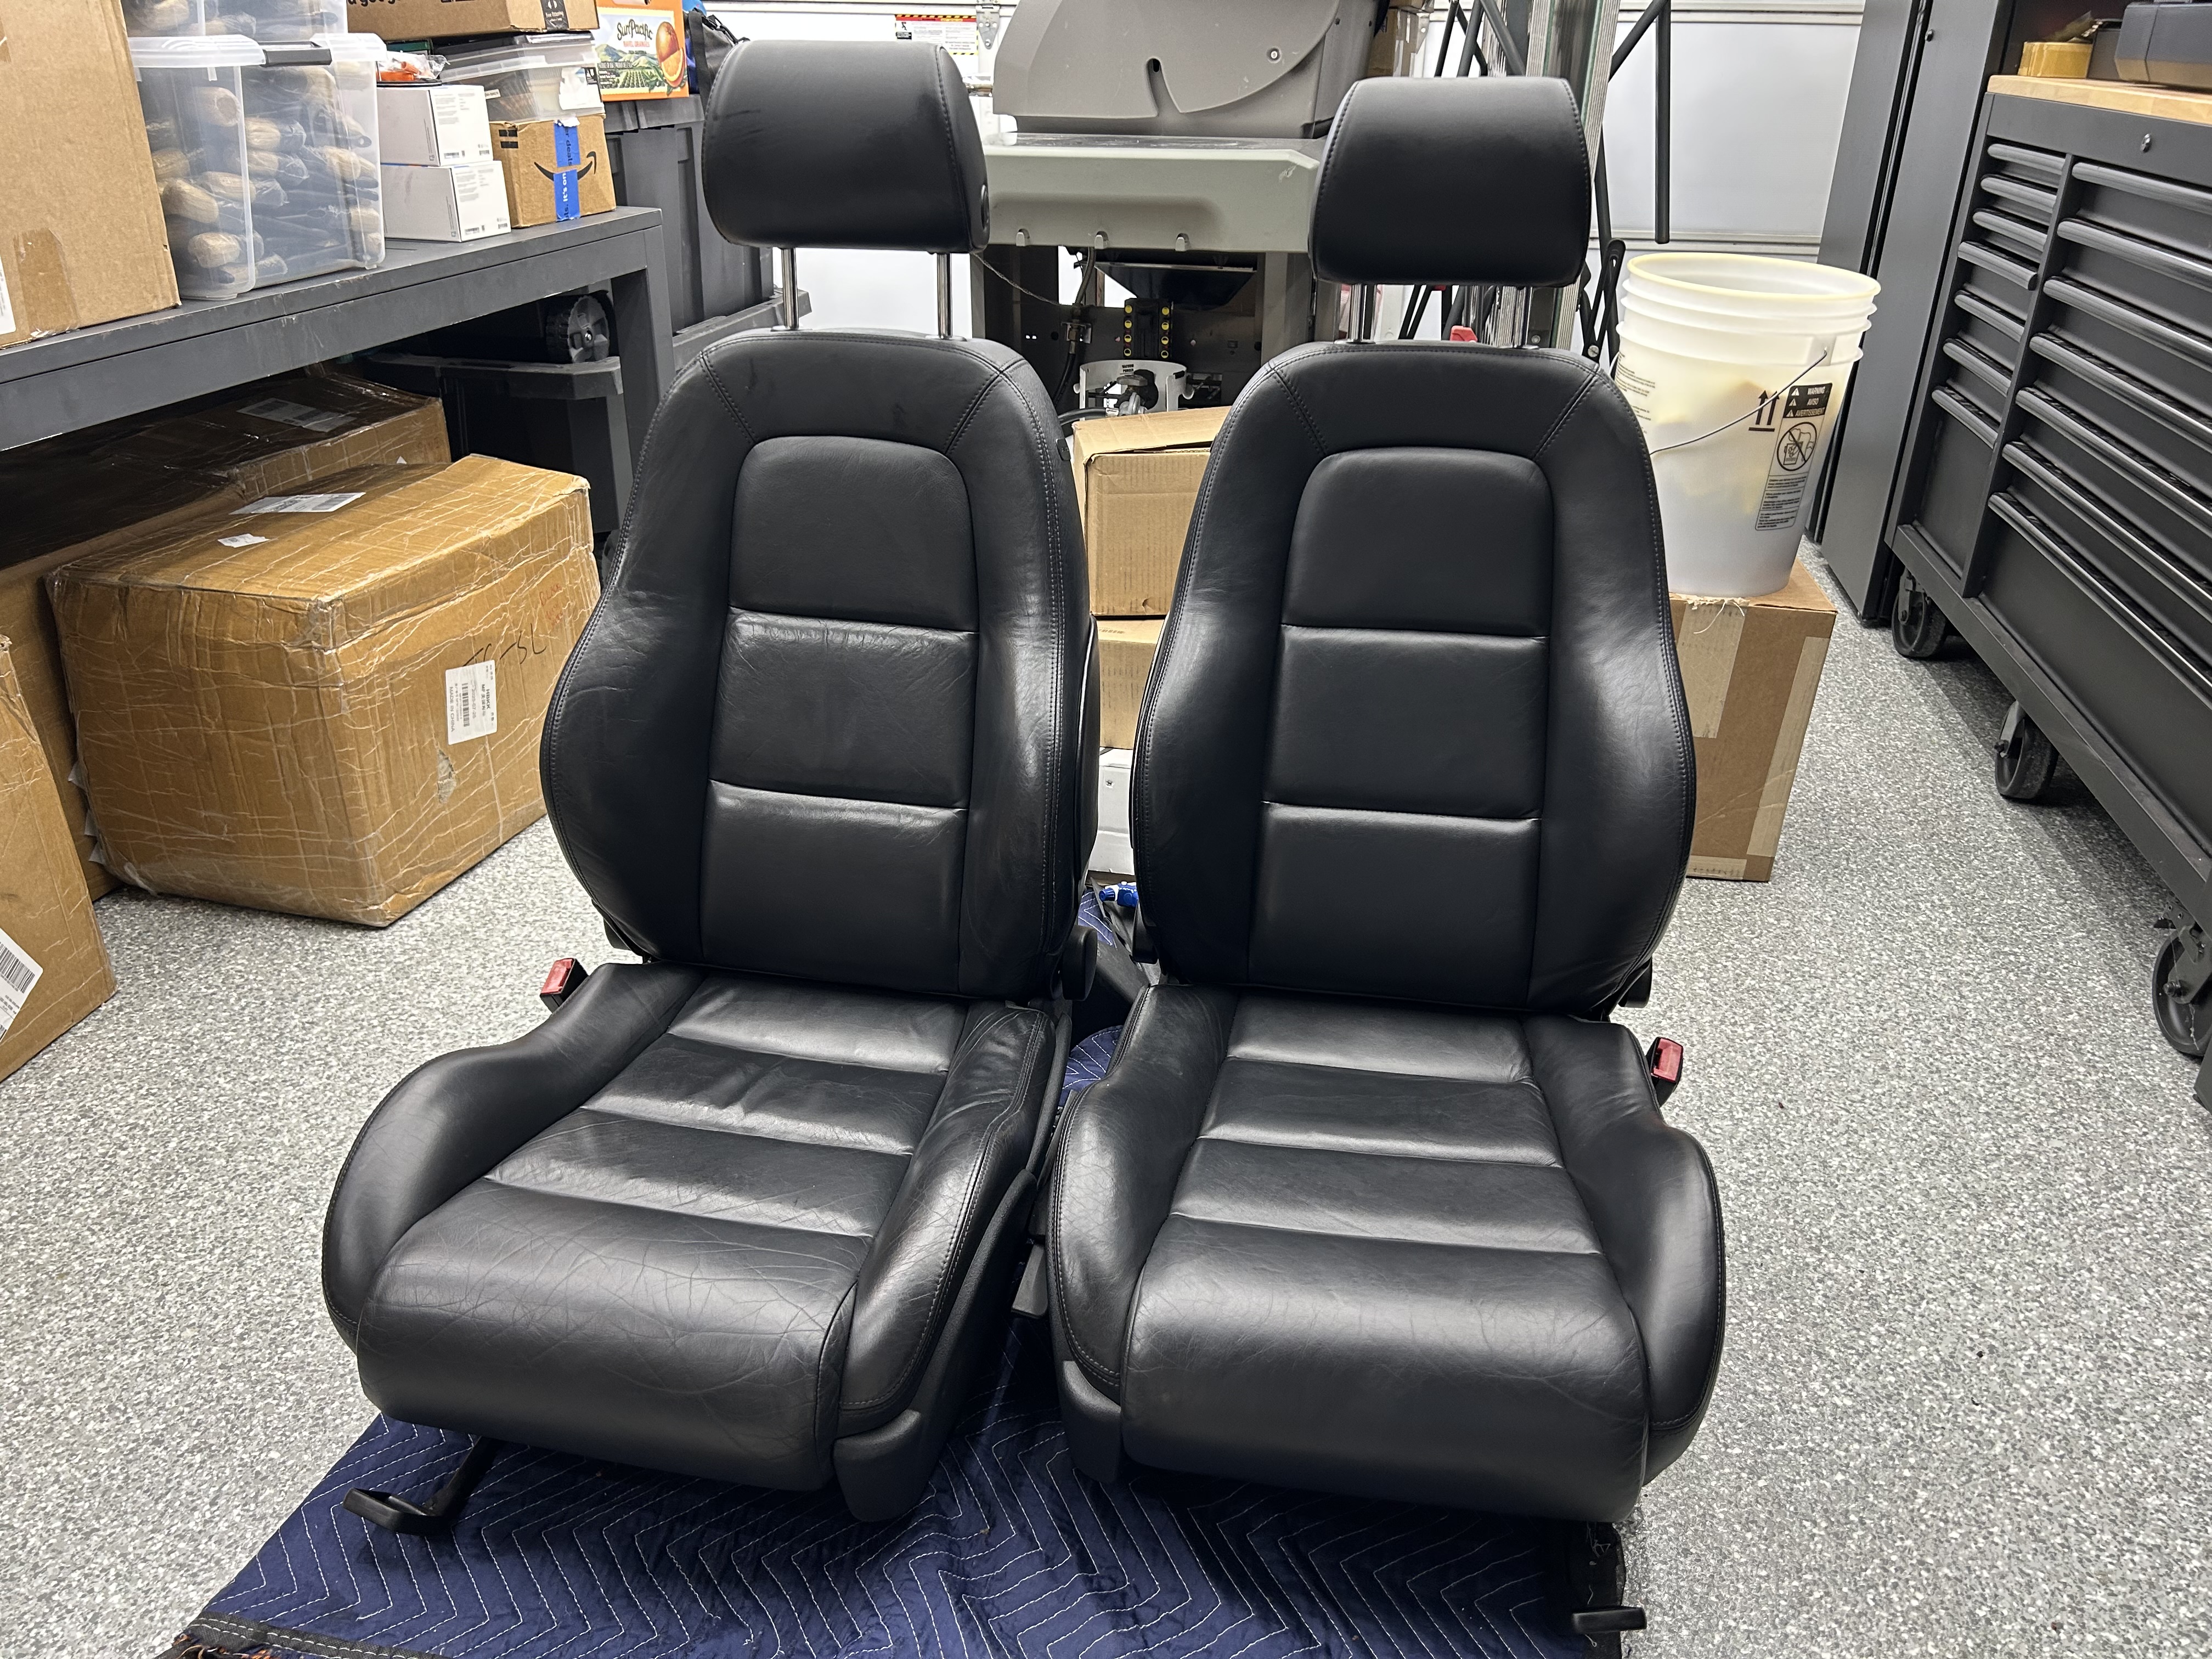
Be extremely careful removing the seats out of the car. Because the seats are so heavy, if any part of the seat hits the sides of the door opening, it can easily damage the interior part of the door opening.
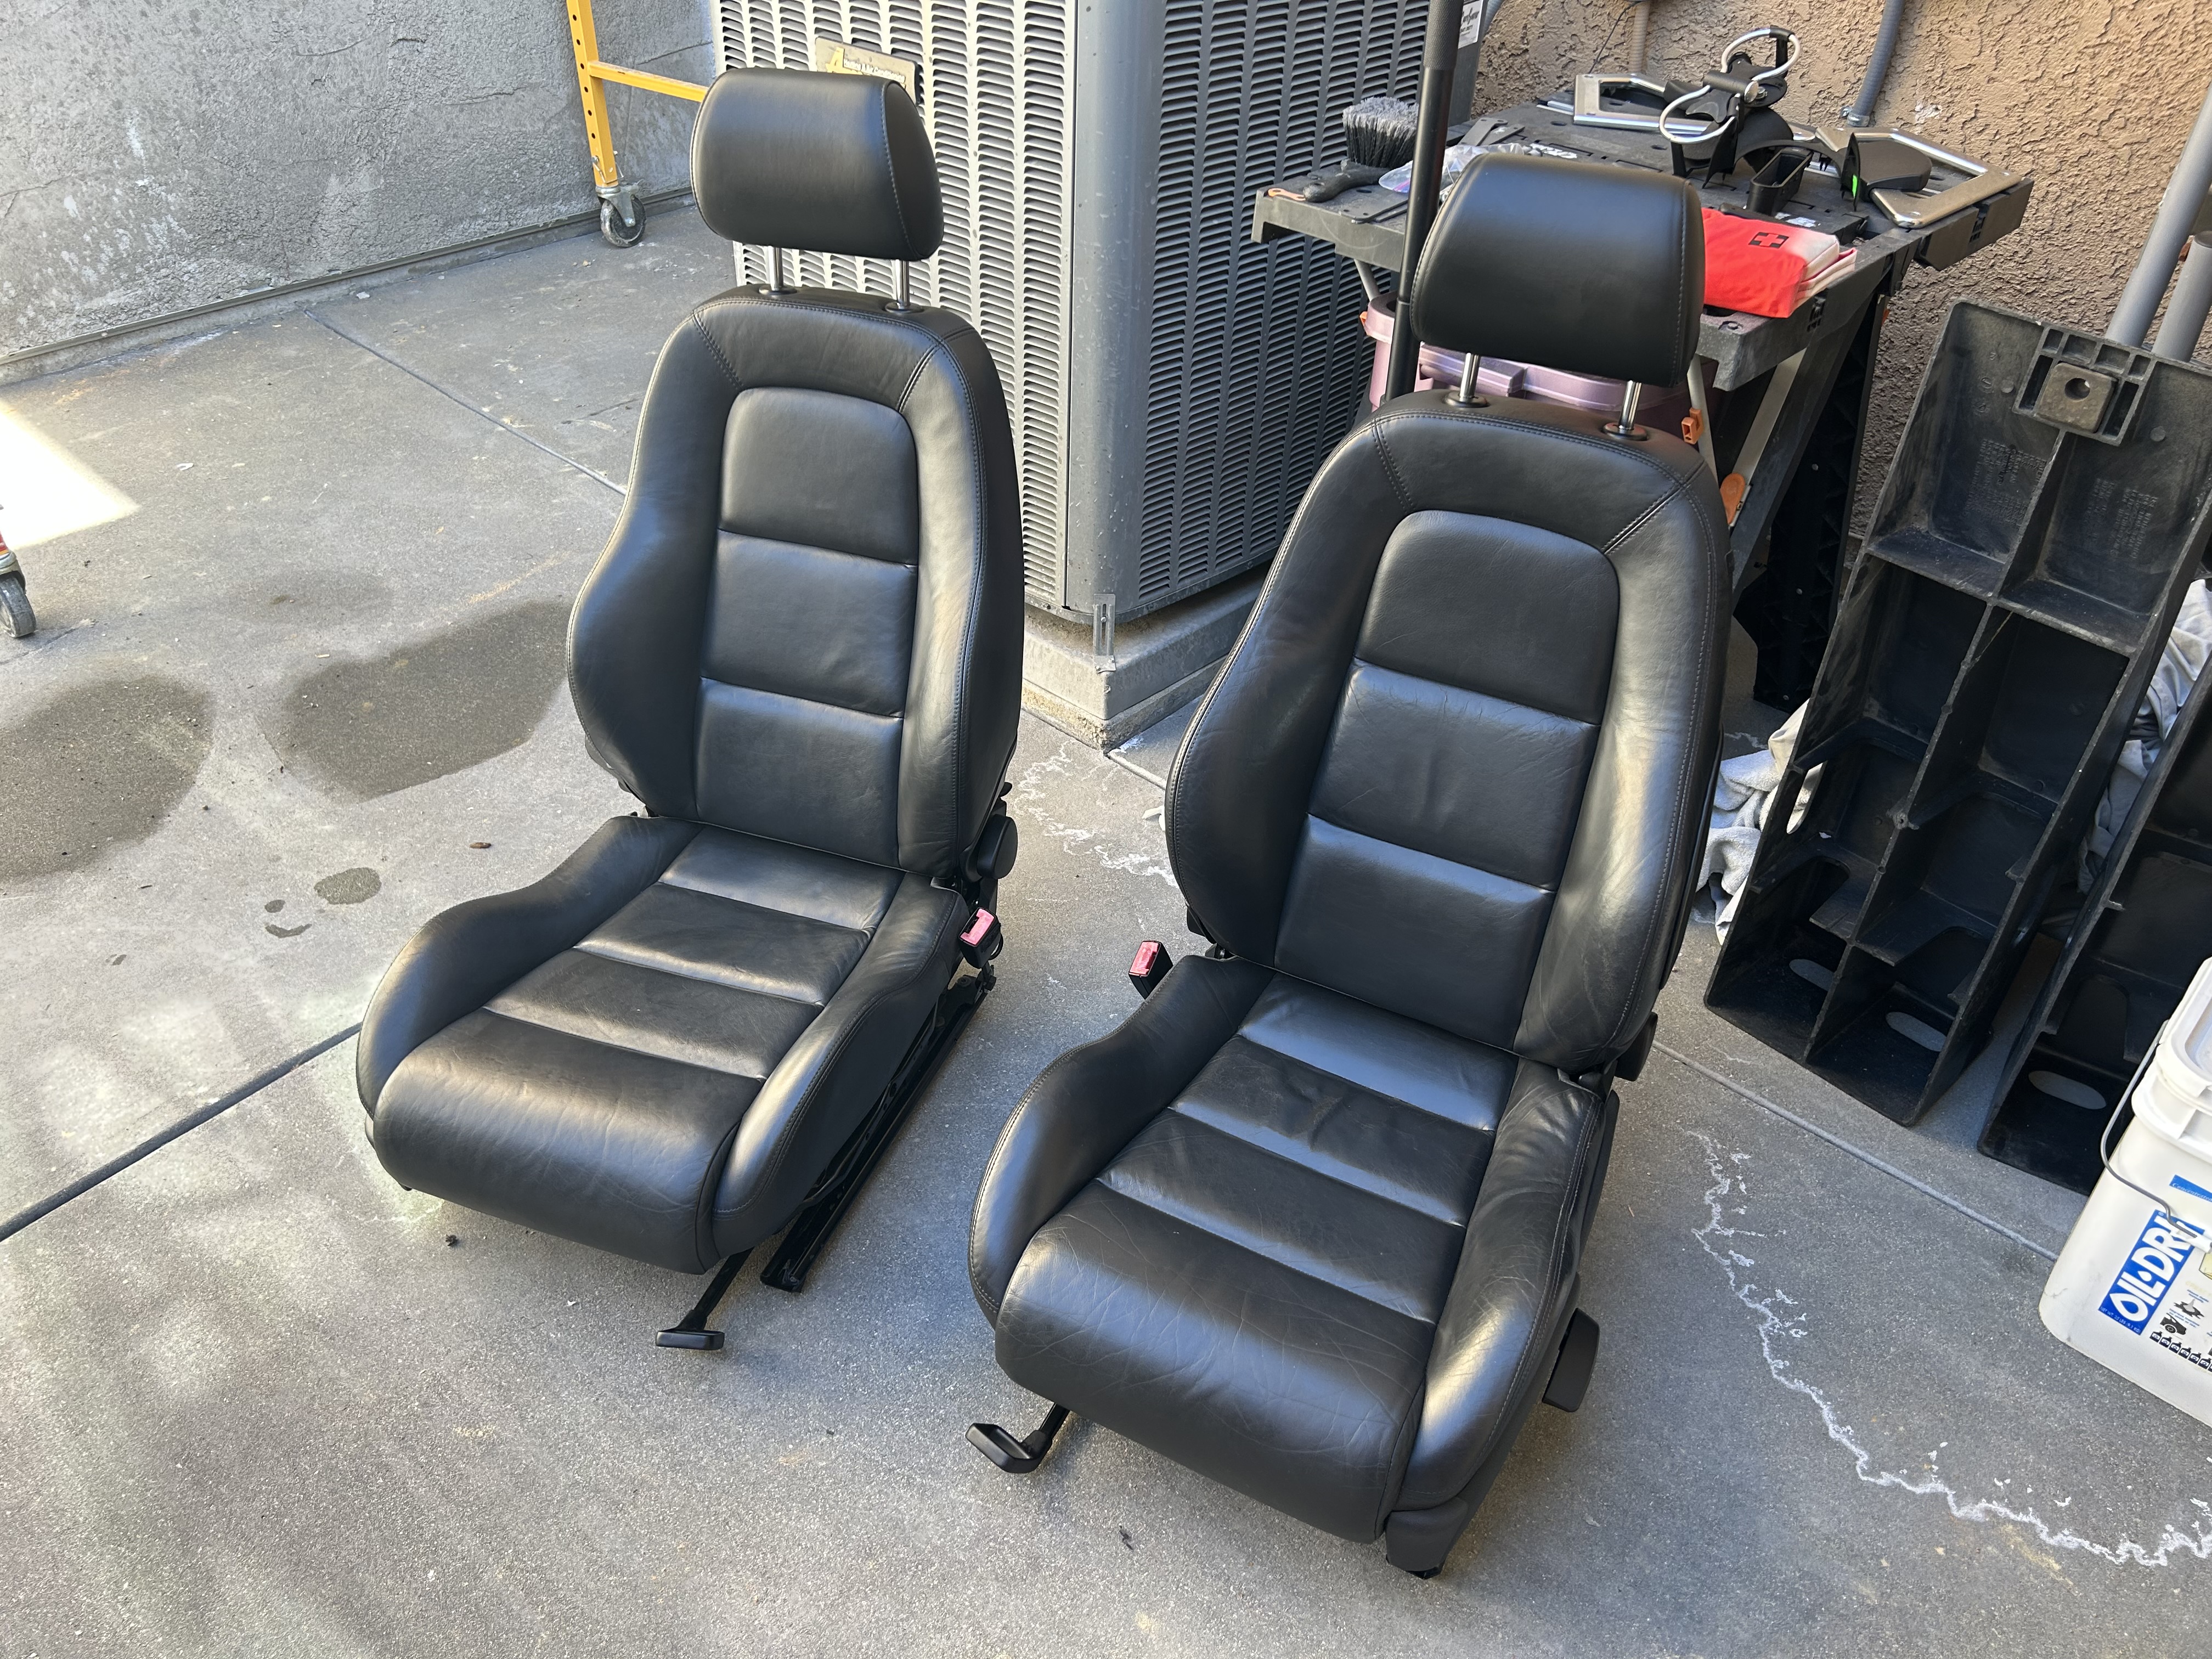
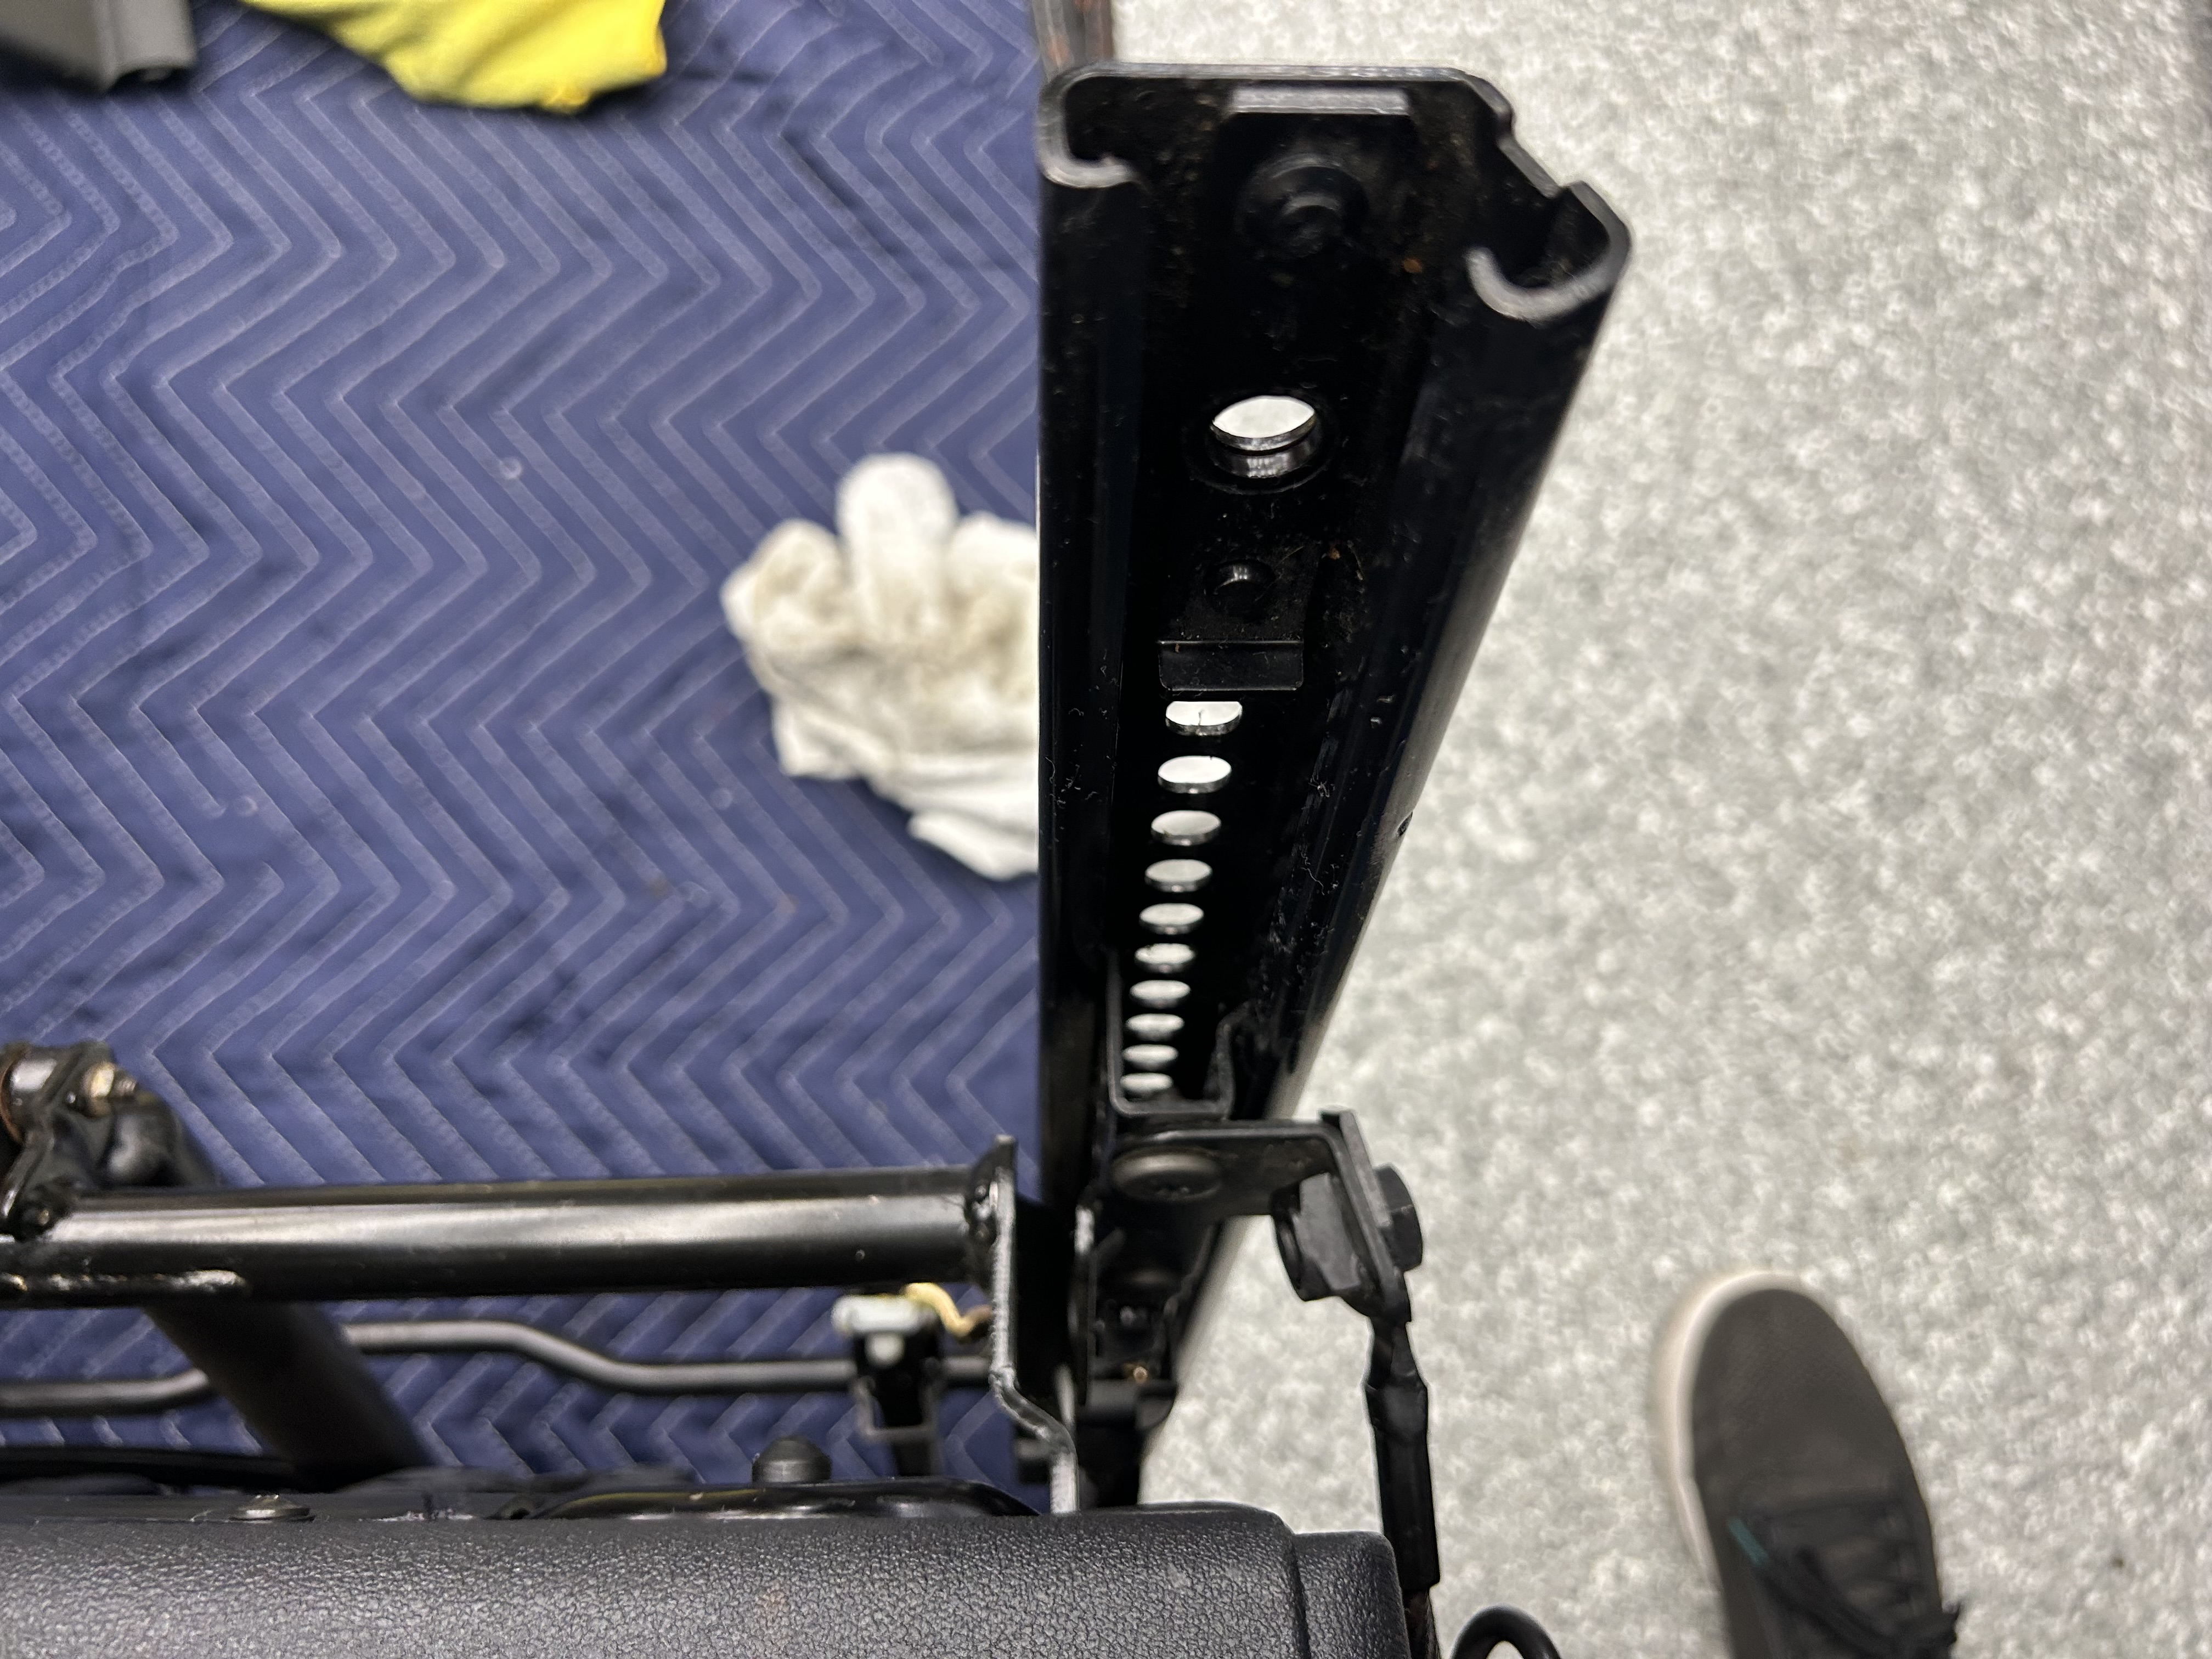
With the seats fully out of the car, place them on something like a blanket or towel to keep the seat rails from getting scratched up. Use a lint-free rag or a microfiber towel along with an all purpose cleaner or degreaser to clean the seat rails. I initially used one of these rags that wasn’t lint-free, which left a lot of lint behind as I was using it. This is the kind of stuff that can clog up your seat rails, so use a lint-free rag or a microfiber towel instead.
Make sure to slide your seat all the way to the front, then clean the seat rail all around and inside best you can. Then slide the seat all the way back and clean thoroughly on the exposed front portion of the seat rail. Do this until you’re confident that you’ve cleaned all the existing gunk that has kept the seat from gliding freely. The seat should be able to slide better already, although applying some grease will really allow it to glide even better.

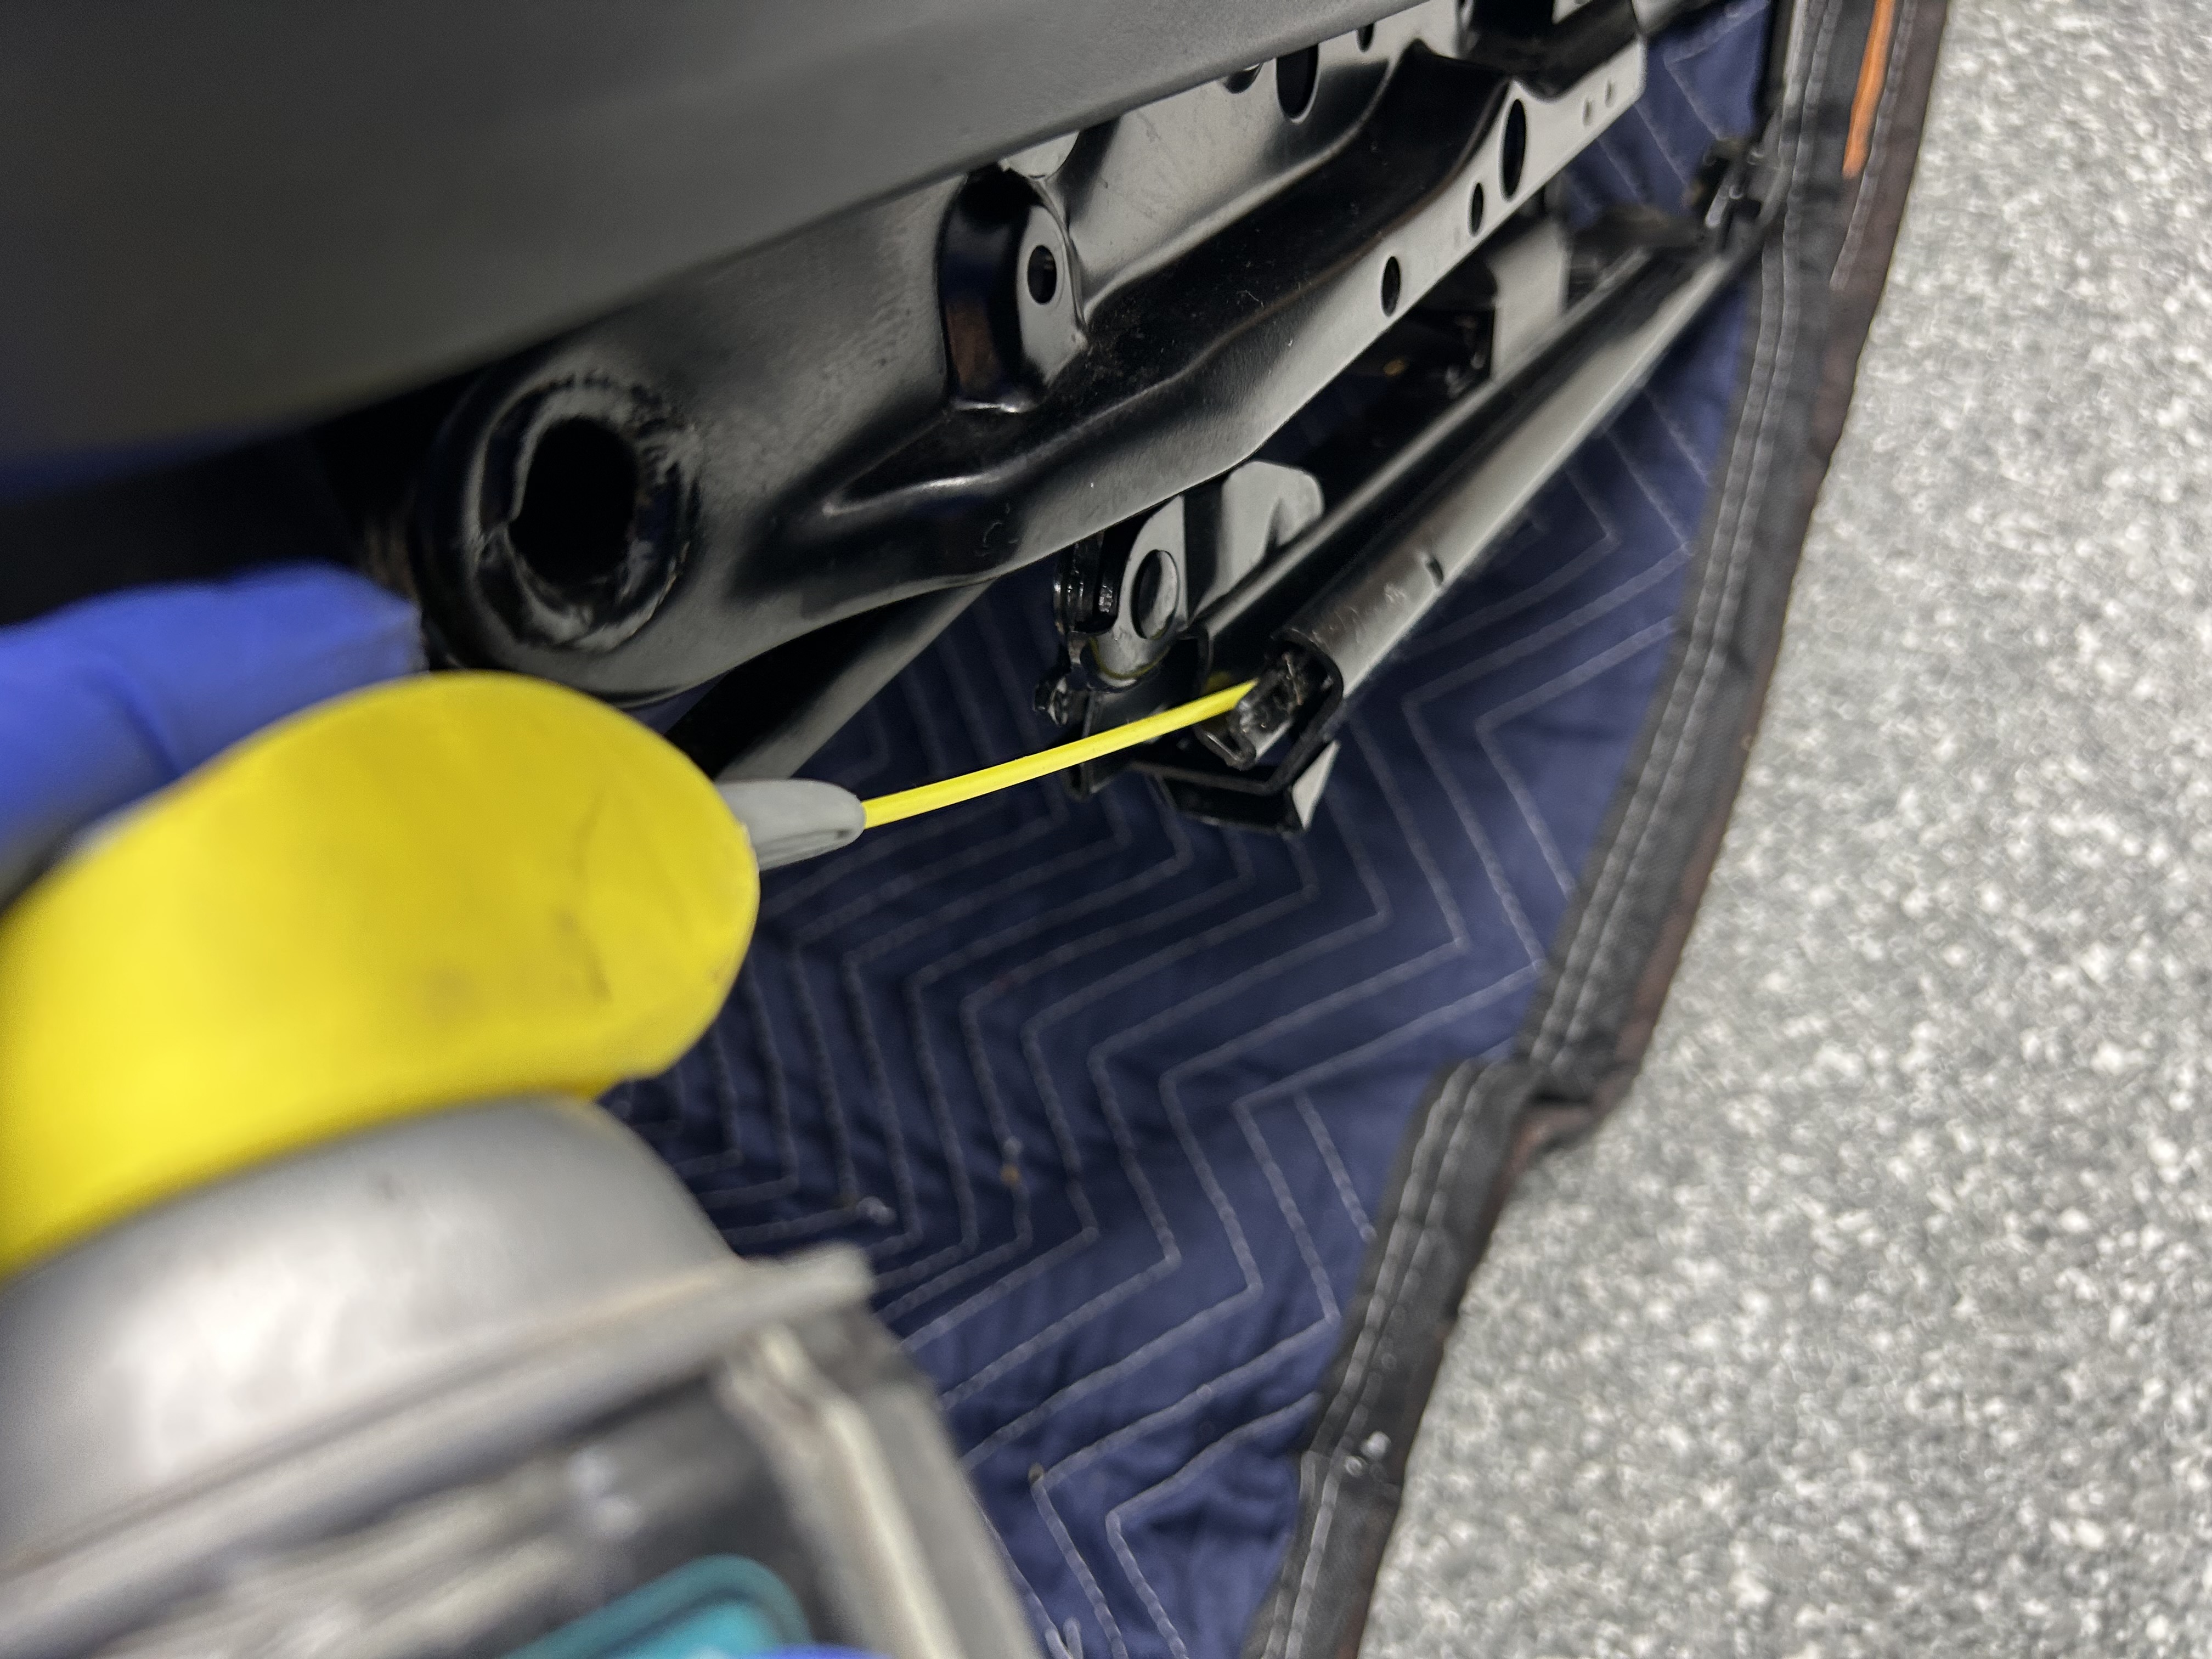
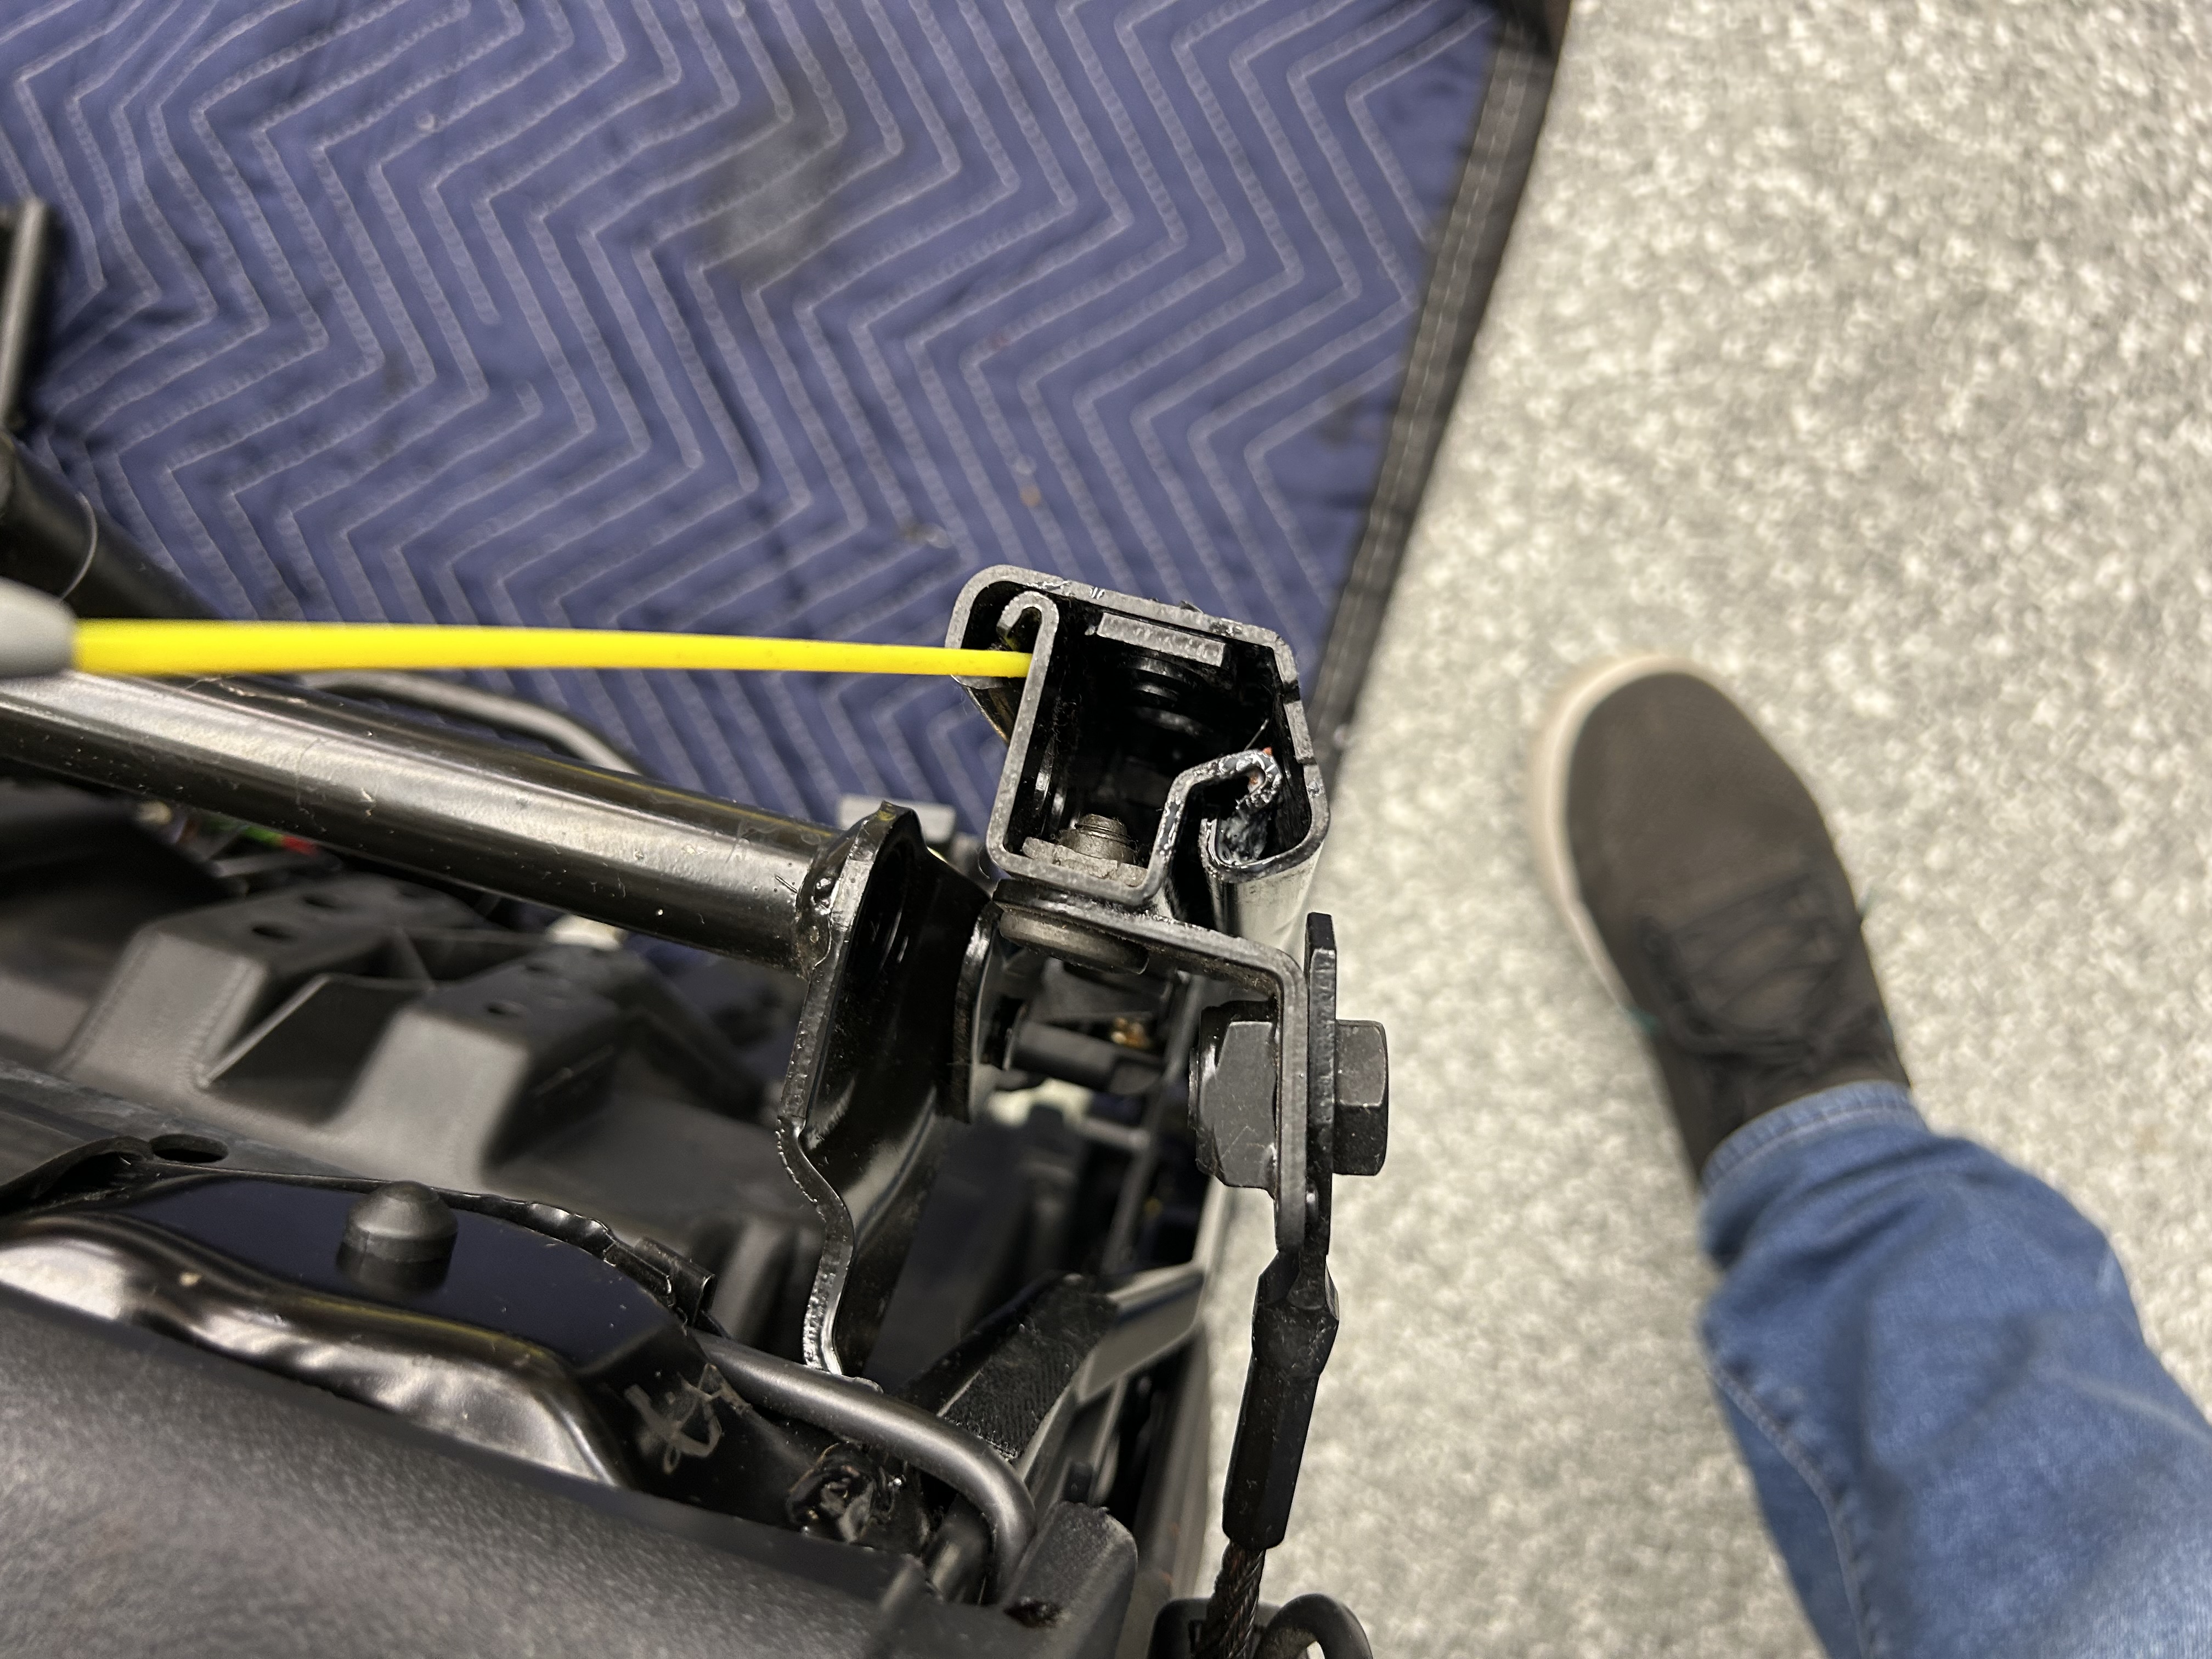
The grease that I used is a lithium grease, which is the appropriate type of grease for this type of metal-on-metal contact. I also used a sprayable form of this grease, which has a long spray tube that allows the grease to hit the hard-to-reach areas between the seat and seat rail. After spraying along the seat rail, operate the seat and slide it back and forth multiple times. After doing that, lubricate again and operate the seat back and forth again.
By now, the seat should be able to slide back and forth much easier. You will want to get your microfiber towel or lint-free rag and clean off all the excess grease off the rails all around. After doing this, slide the seat back and forth yet again multiple times. Then wipe down all the excess grease all around the rails (any areas outside of the metal-to-metal contact area) so that you know it will not leak out onto your carpet later after you’ve reinstalled it.
Reinstall the seats back, hex bolts for the seats, and plastic caps into your TT and rejoice! This is just a small project, but the difference it makes is huge. If you’ve been in the situation where you are trying to adjust the seat back or forth and it just won’t budge, then you’ll understand just how frustrating it is. If that’s you, then I hope this guide has successfuly helped to restore the normal operation of your sliding seats.

")
")
")
")
")
")
")
")
")