When you make purchases through links on this site, The Track Ahead may earn an affiliate commission. Also, these posts are based off my own experiences. I am not responsible for any action you take as a result of reading this. Learn More
About Draining, Flushing, and Filling Coolant
There are a number of ways to drain, flush, and fill the the coolant on our 1st generation Toyota Tacoma. Some ways being easier such as a drain and fill and others being more involved and requiring much more work. To replace most of the coolant in your system, at a minimum you should be draining the coolant out of the engine and the radiator and refilling accordingly.
In this guide, I drain out the coolant out of the radiator and the engine, flush the radiator with distilled water, and refill the coolant. This will replace most of the coolant in the cooling system with the exception of the coolant that runs through the heater core.
The 1st generation Tacoma has a variety of configurations that can make the coolant capacity differ slightly from one model to the next. As such, here are the configurations from the owner’s manual for the 1st gen Toyota Tacoma with the 5VZ-FE (3.4L V6) engine:
| 1st Gen Toyota Tacoma 5VZ-FE (3.4L V6) | Coolant/Antifreeze Capacity |
|---|---|
| 2WD Only – Manual Transmission | 9.7L (10.3 qt) |
| 4WD & PreRunner – Automatic Transmission | 10.0L (10.5 qt) |
| 4WD & PreRunner – Manual Transmission | 10.1L (10.7 qt) |
A Note on Safety:
It is wise to use protective gear while working with coolant/antifreeze. Safety glasses/goggles and gloves are recommended as coolant can irritate skin as well as the eyes. More importantly, coolant is toxic if ingested and therefore it is important to keep it away from animals and children. Because it can have a bittersweet taste to it, it can attract children and pets. Be aware of where you store coolant and protect your loved ones.
Parts/Tools for Coolant Drain & Fill
Coolant (Antifreeze)
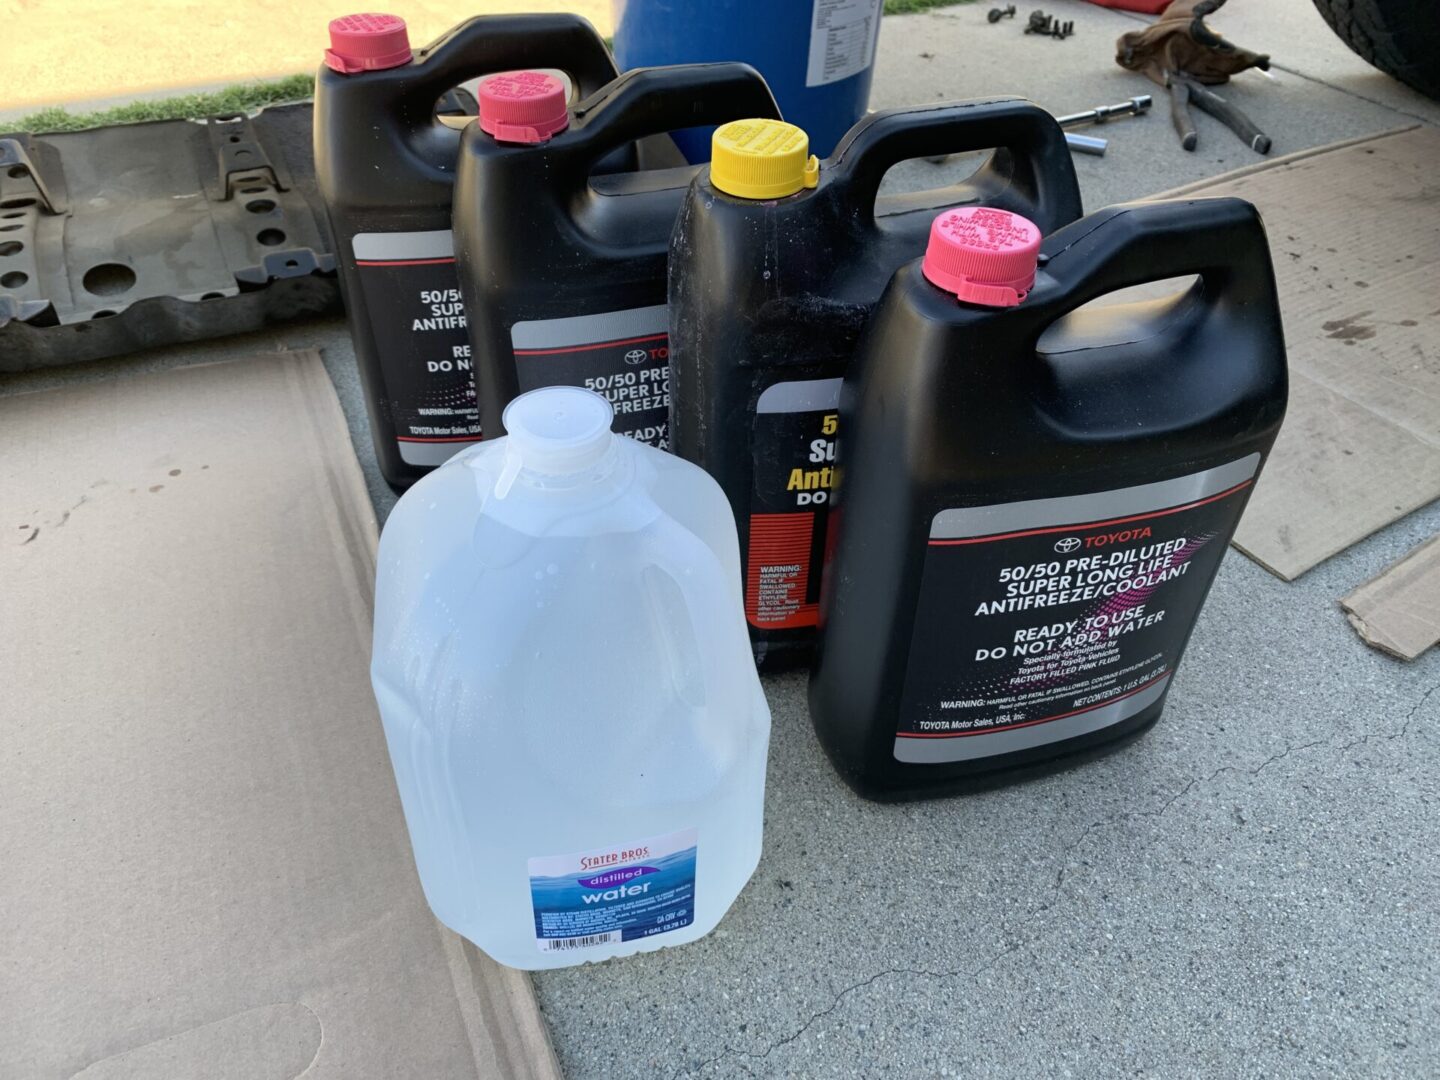
Toyota recommends Toyota Super Long Life Coolant, which is a 50/50 mix of coolant and deionized water. This coolant is pink/red in color and is the recommended coolant for the 1st gen Toyota Tacoma, as well as many other Toyota vehicle models. Follow the table at the beginning of the post for the amount of coolant needed. I personally had 4 gallons on-hand, but only used two full gallons and part of the third.
Toyota Super Long Life Coolant / Antifreeze (1 gal – 3.78L) / Set of 2
Distilled Water
Distilled water is used during the flushing process. I find it odd when I see the Haynes Repair Manual instructing to flush the cooling system with water from a hose. Water from municipal water sources can contain a number of minerals and deposits that can affect the optimal functioning ability of the cooling system. I recommended using distilled water (or de-ionized water) rather than tap water to flush the system. I typically get distilled water at the local supermarket, liquor store, or hardware store.
Arrowhead Brand Distilled Water
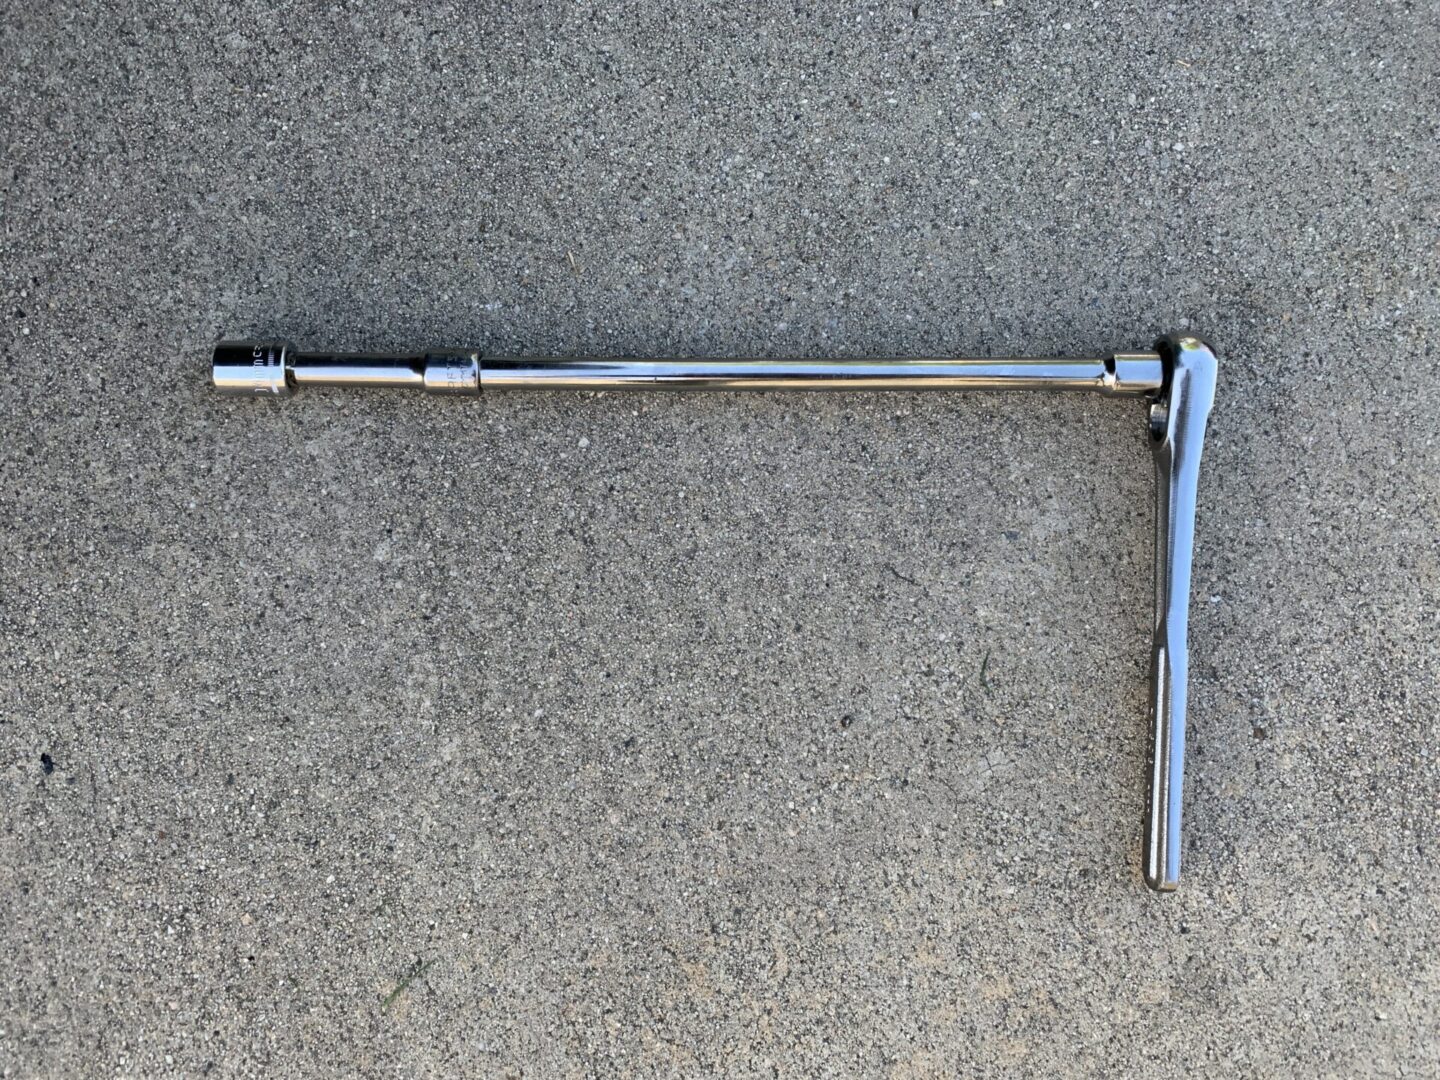
Socket Set
If you don’t have a mechanic’s tool set, you will need a socket wrench with 12mm and 14mm sockets, as well as a few extensions. If you are looking for a mechanic’s tool set, check out this guide to choosing the right mechanic’s tool set. A simple and affordable mechanic’s socket set can also be found here:
EPAUTO 45 Pieces 3/8″ Drive Socket Set with 72-Tooth Pear Head Ratchet
Fill Funnel
FloTool 10703 Spill Saver Radiator Funnel
Drain Pan(s)
Capri Tools CP21023 Portable Oil Drain Pan, Anti-Freeze, Green
3/8″ or 1/4″ Vinyl Tubing
This tubing is run from the engine coolant drain to your drain pan. It’s possible to drain the engine coolant without this hose, but this will probably make an absolute mess. From the information I’ve gathered, either a 3/8″ or 1/4″ tubing will work for fitting over the engine drain opening. I could not confirm which diameter tubing works best as I used some extra 1/4″ wire loom split tubing, which actually did the job.
Safety Glasses
3M Chemical Splash/Impact Goggles
Nitrile Gloves
Nitrile Disposable Gloves (100pcs) – Small | Medium | Large
How to Drain and Fill Coolant (3.4L V6): 1st Gen Toyota Tacoma
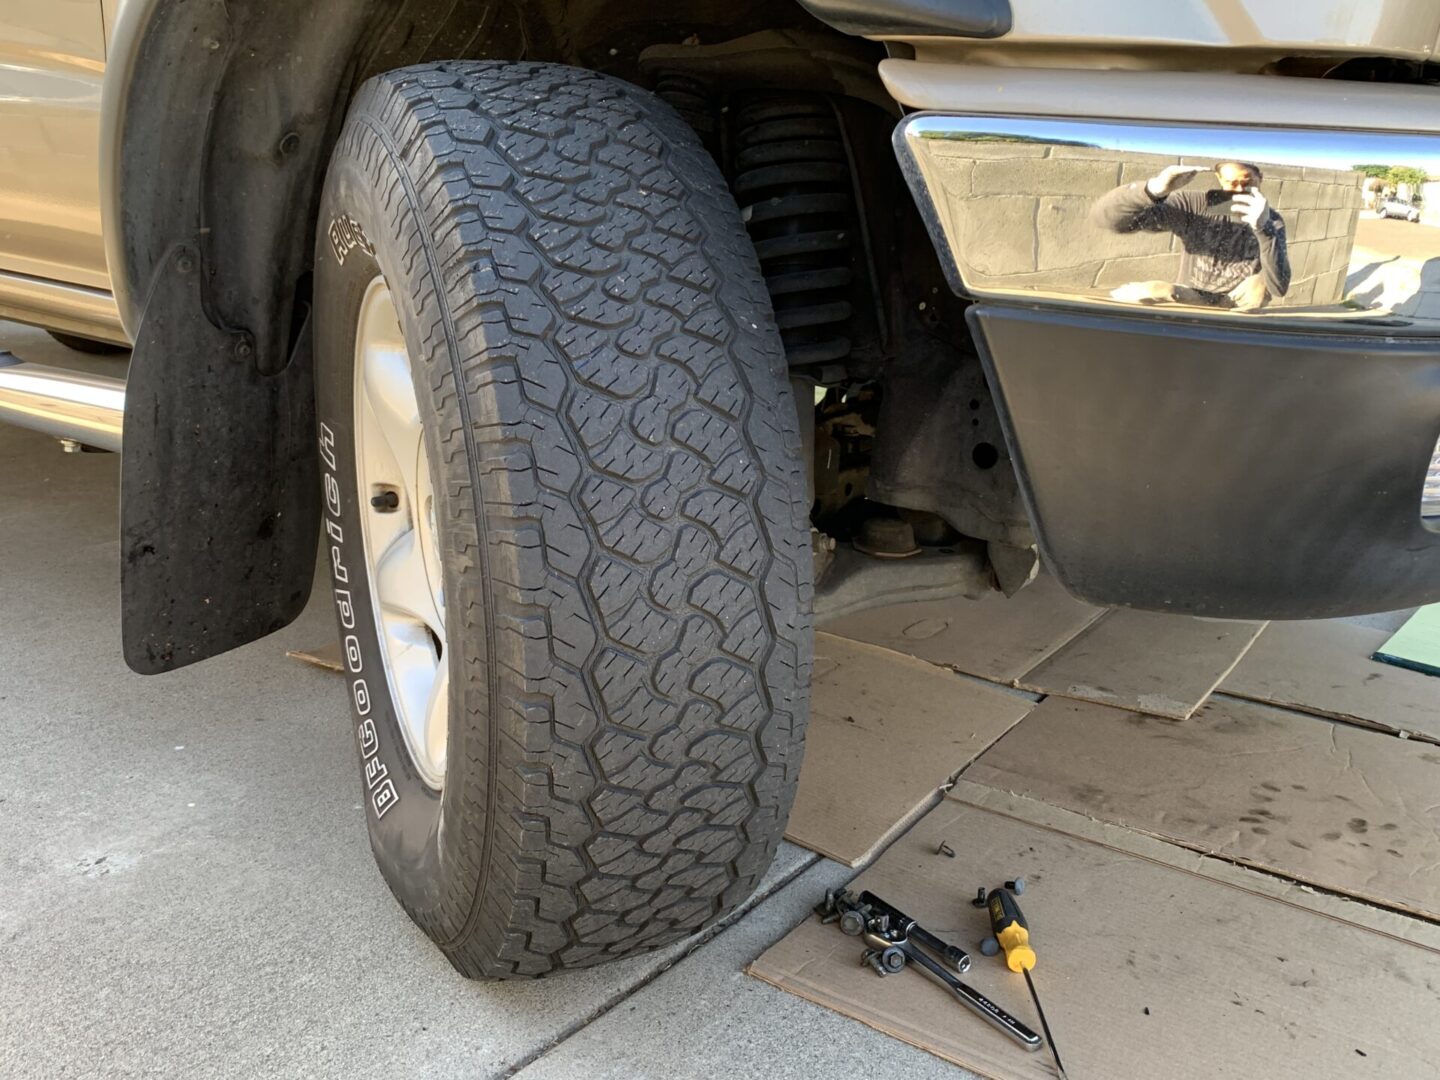
To gain access to the radiator drain plug, remove the bottom skid guard by removing the 12mm bolts holding it in place. This thing is heavy, so make sure to support it before removing all of the bolts; lower it down and out of the way.


Turn on the vehicle and turn the wheels all the way to the right. This will give you more access to the passenger side wheel well where you can access the engine coolant drain.
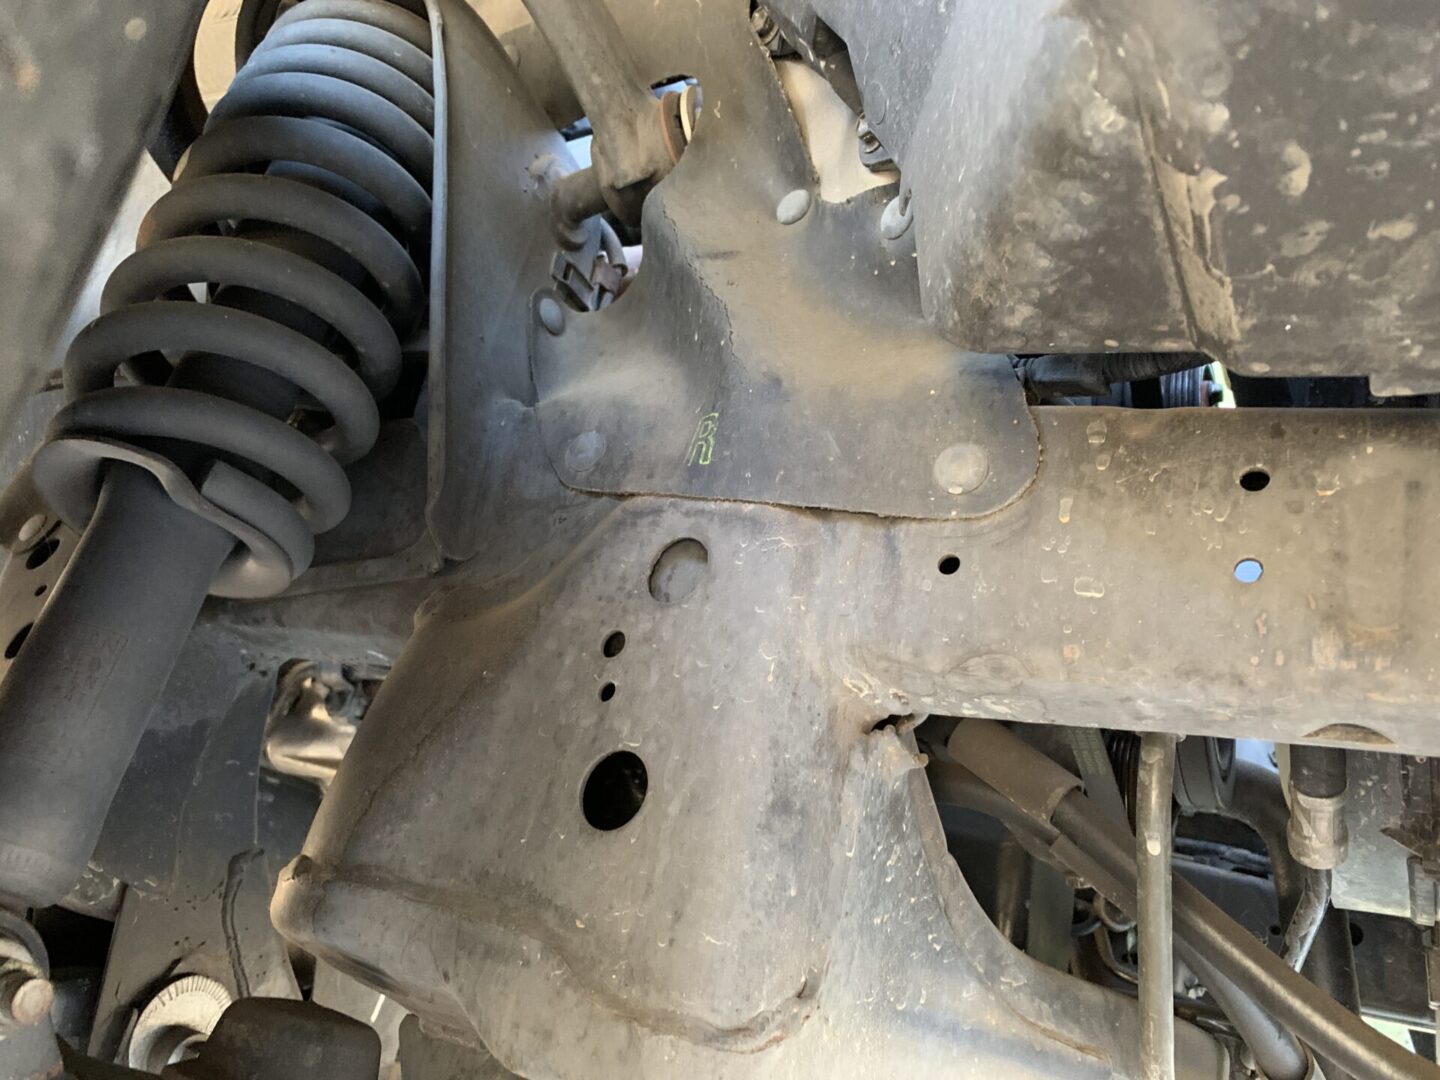
Turn off the vehicle and check the now accessible passenger side wheel well. You will see a rubber flap that is held in place with plastic retaining clips. You can pry these out with a flat head screwdriver. Once these clips are off, you can pull the rubber flap up to expose the engine coolant drain location.
Being aged, these clips can be brittle and can easily break when removing them. You can use a variety of push clips to replace them; I used these clips and although they may not be the exact replacement, they do seem to hold the rubber flap in place adequately.


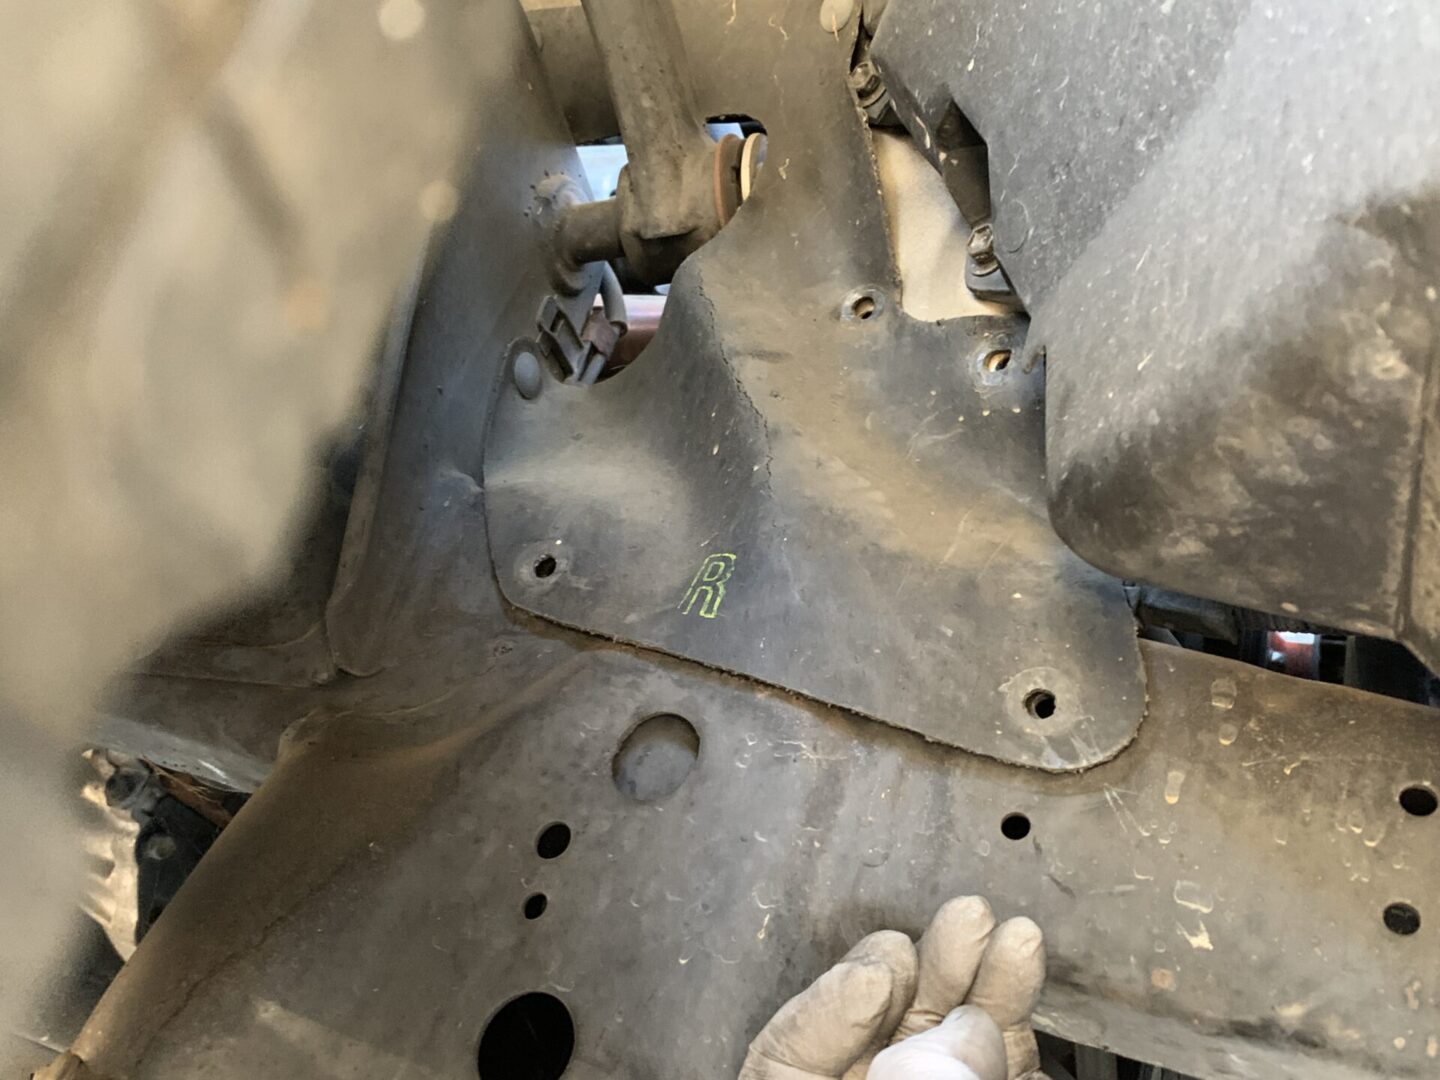
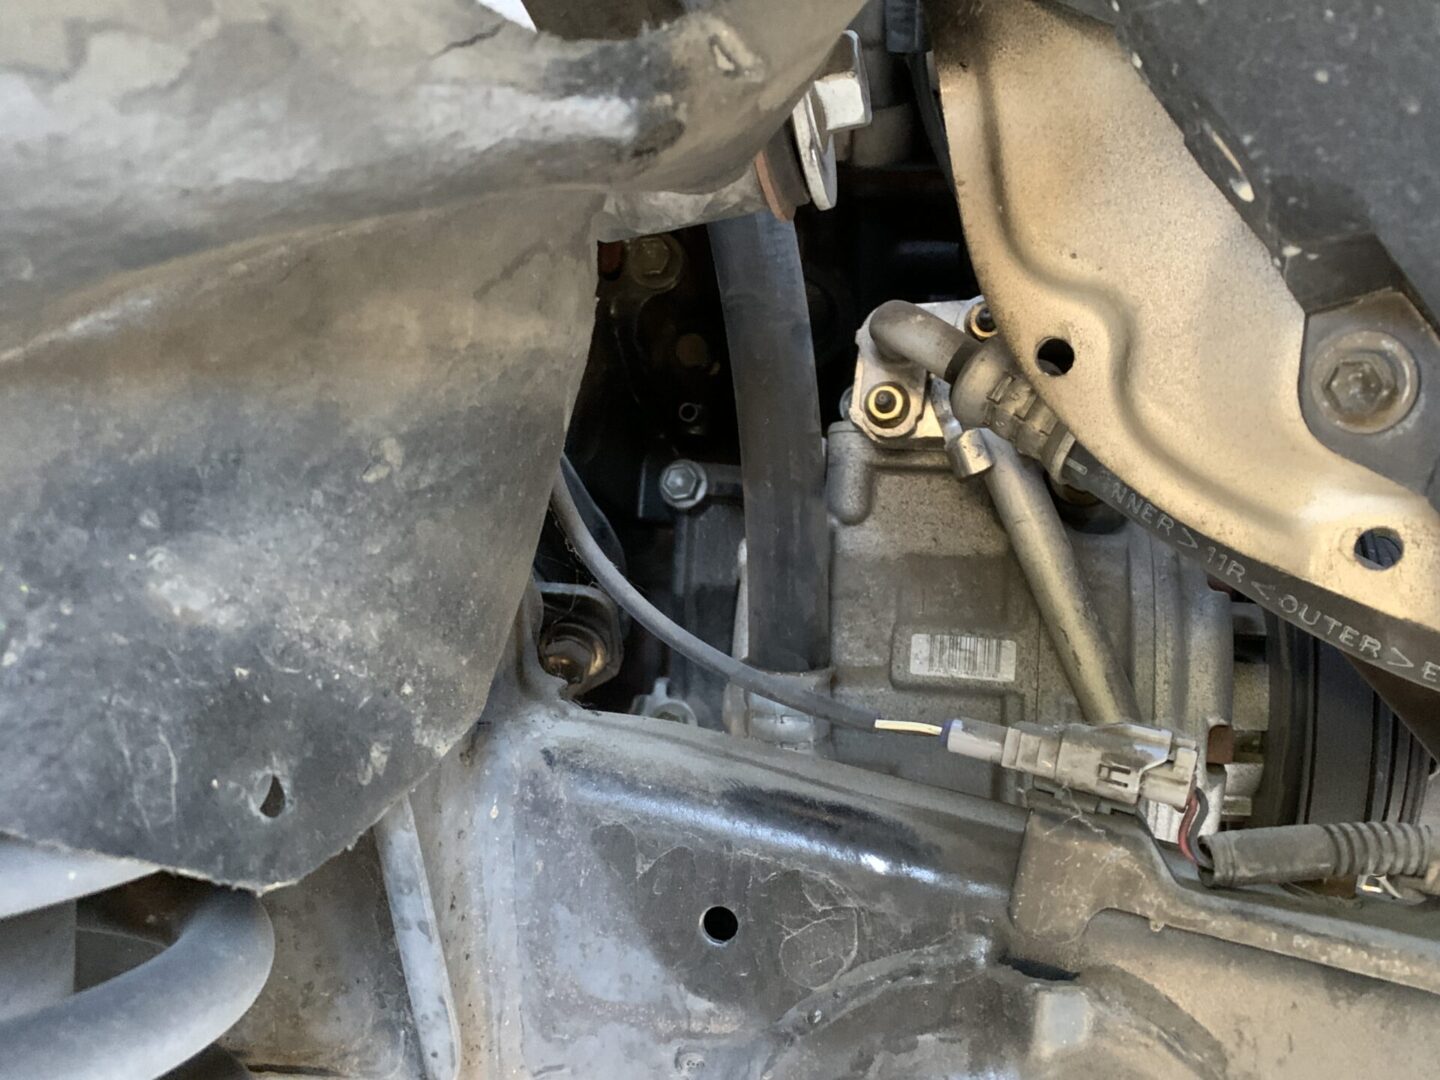
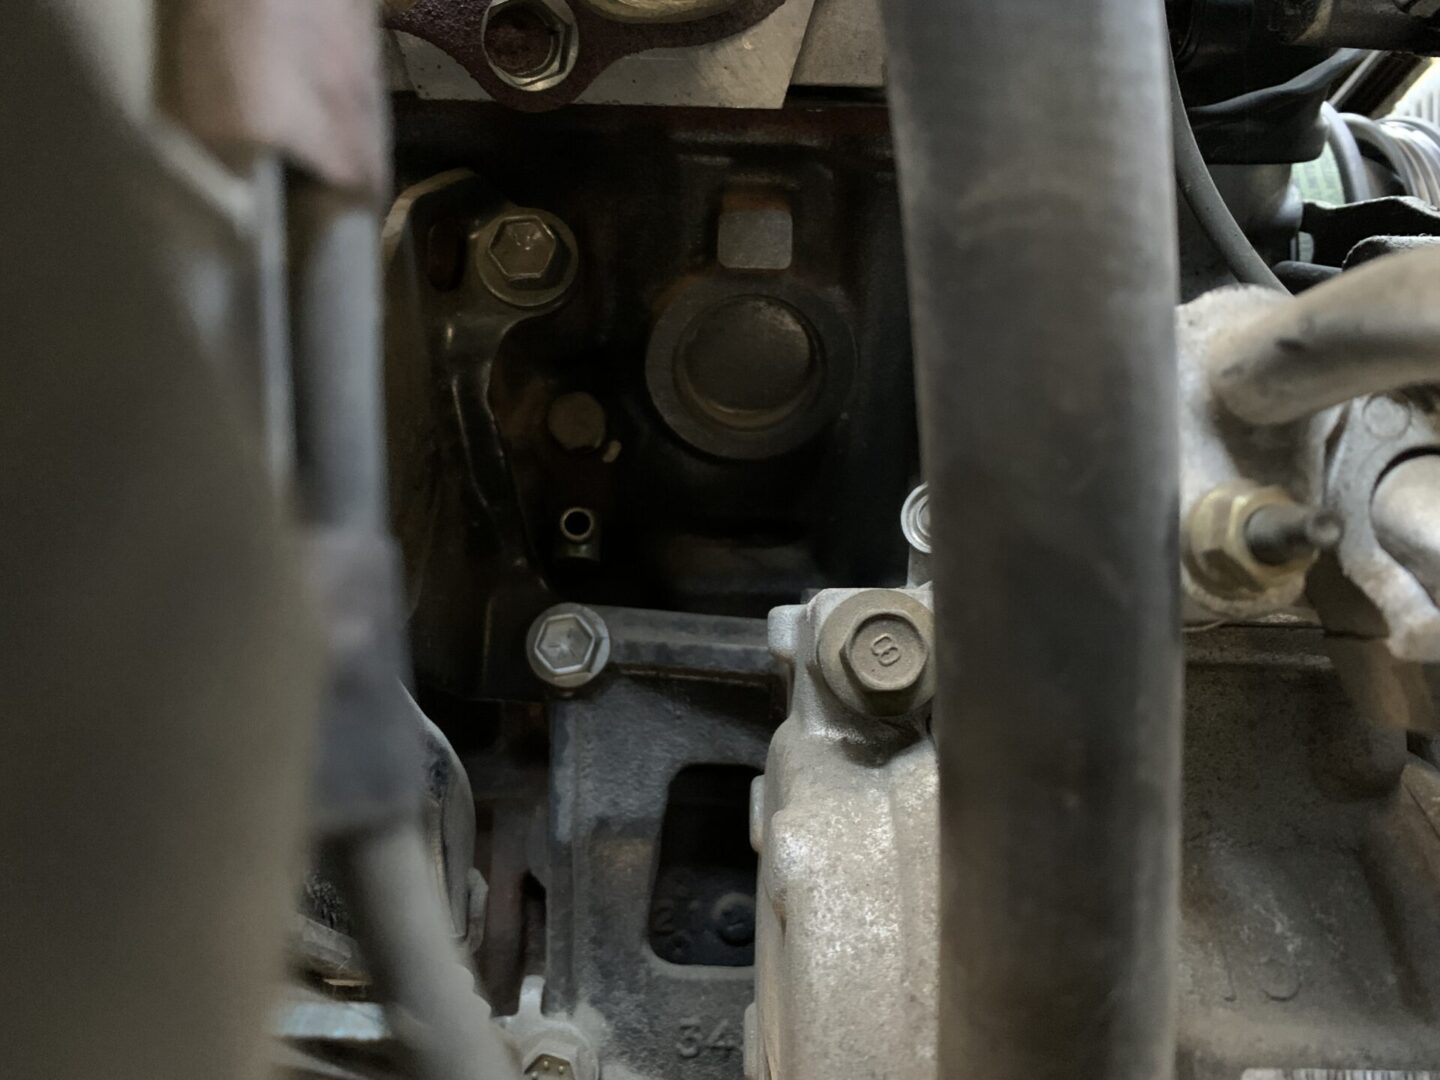
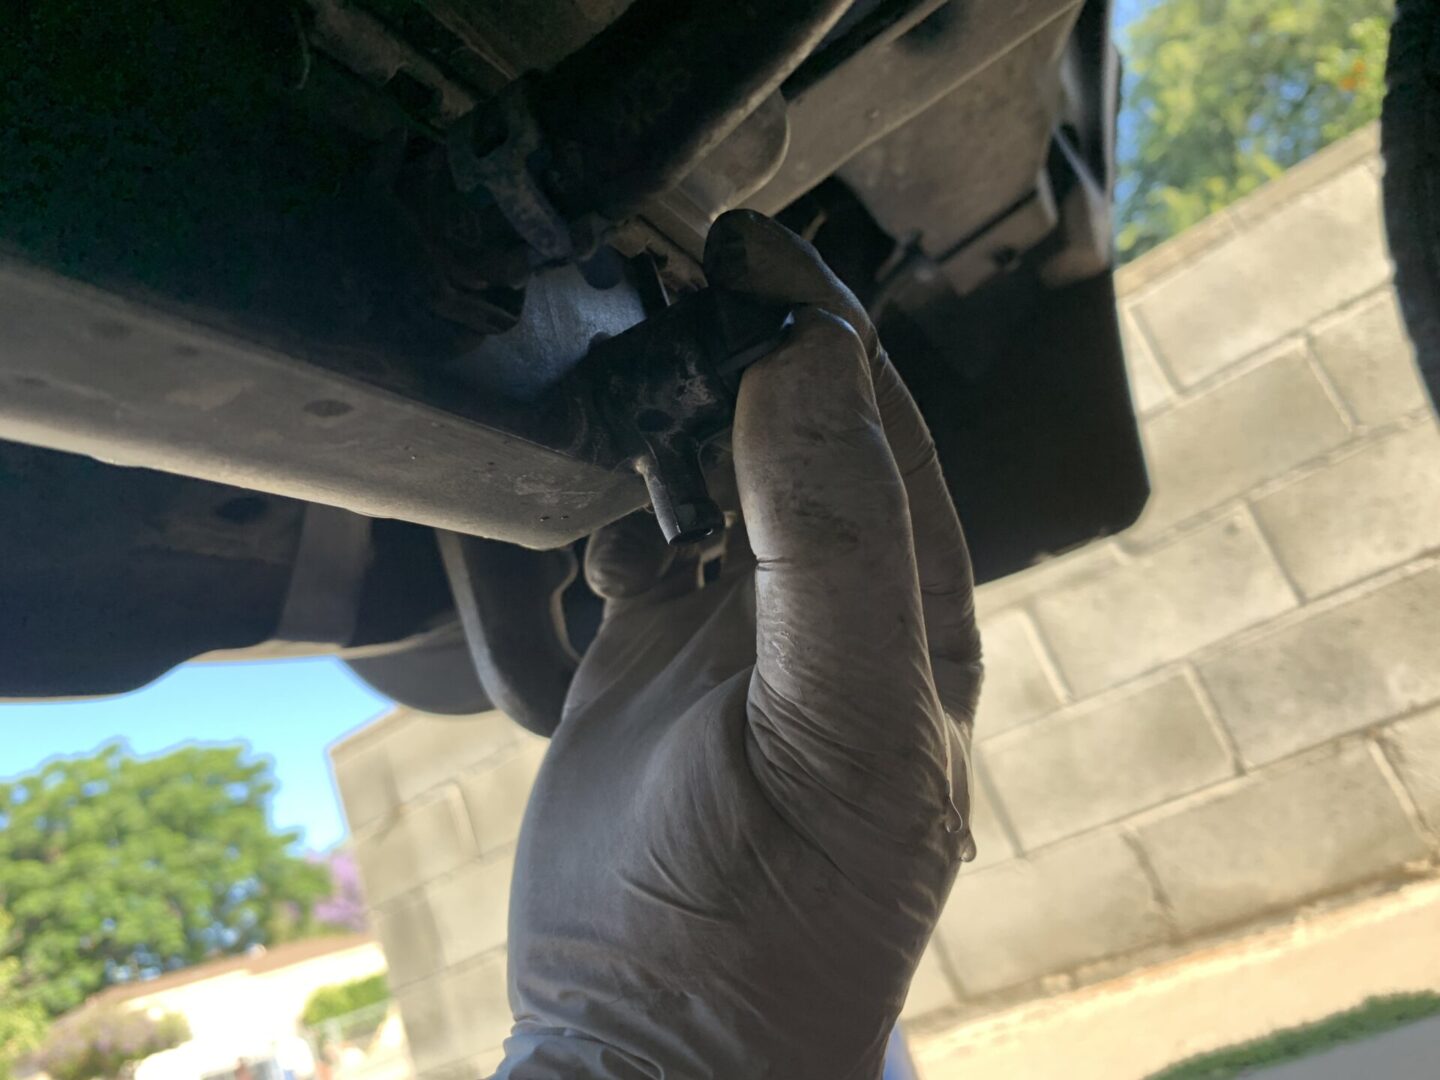
The following photos show the location of the engine coolant drain. Once the rubber flap is pulled back, look deep into this opening to see the drain (the dark opening in first photo below, close-up of the dark opening in second photo below). When you see the 14mm drain bolt right above the drain hole located against the engine block, you’ll know you’ve found it.
To make less of a mess, run some small tubing (3/8″ or 1/4″ diameter tubing from what I’ve read online) from the engine drain opening and run it all the way down to the bottom of the vehicle into a drain pan. I didn’t have a small diameter hose on-hand, so I used a 1/4″ wire loom split tubing that I had laying around it surprisingly worked well.
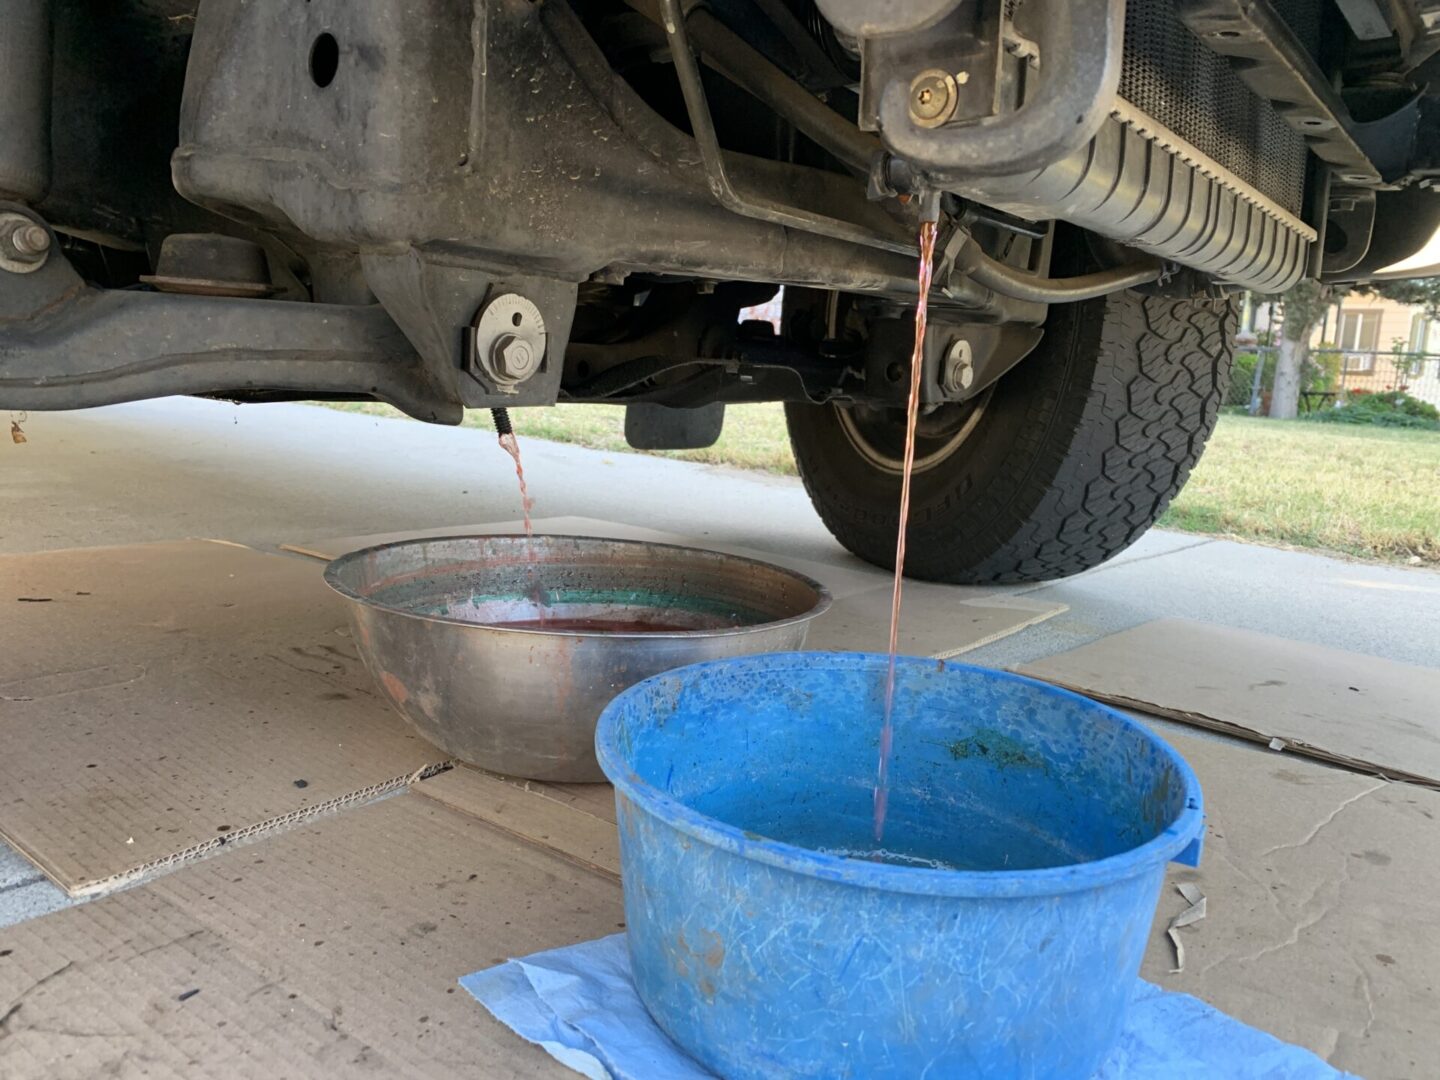
To drain the coolant, you will need to drain both the coolant from the radiator, as well as from the engine itself. This requires draining the coolant from two locations: the radiator drain and the engine coolant drain. It doesn’t matter where you drain first; I chose to drain the engine coolant first.
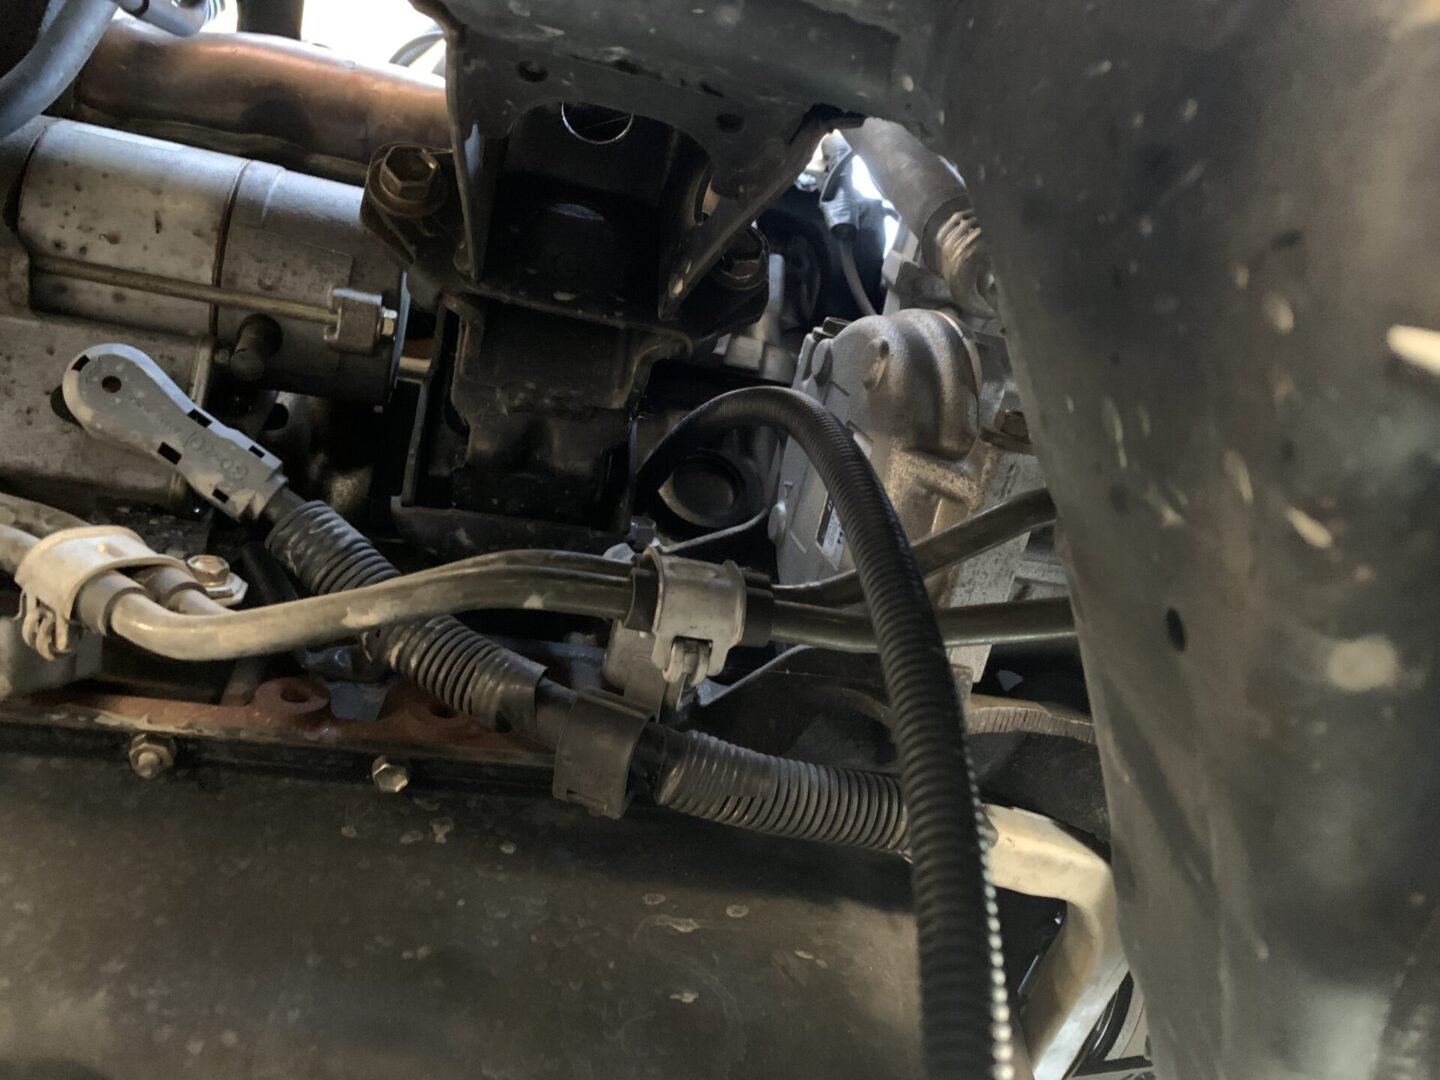
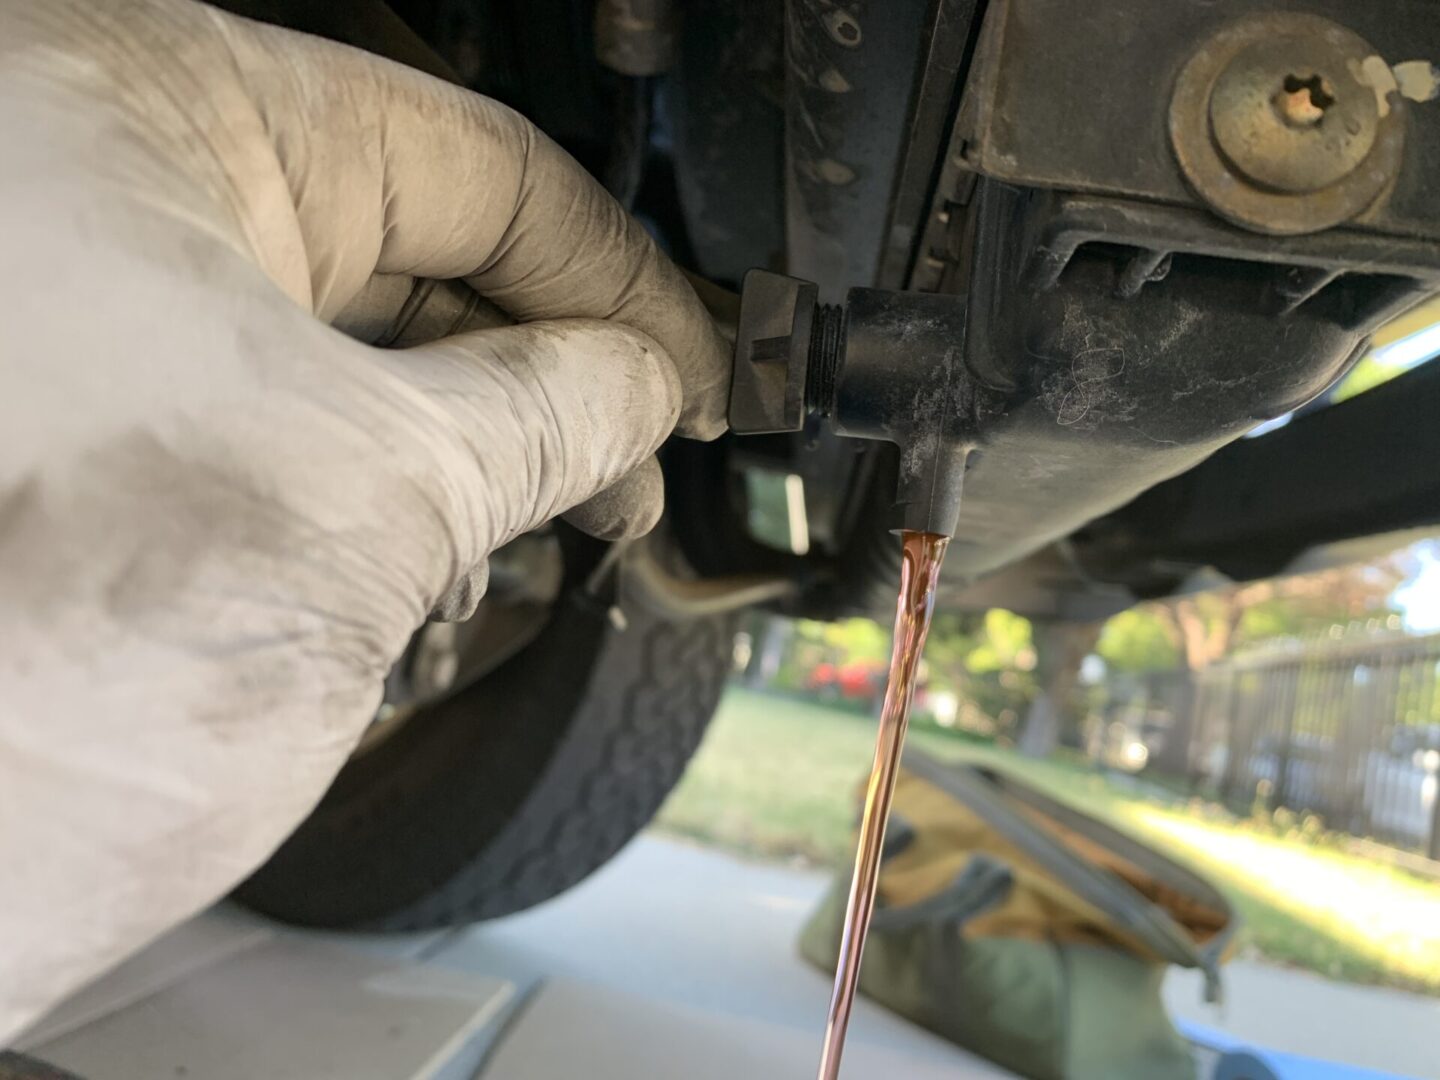
Ensure that you have a drain pan at the bottom of the vehicle and that there is a small hose that runs from the engine coolant drain opening down to the pan. The engine coolant drain is located far into the wheel well behind the rubber flap as explained previously. I used a couple of long extensions with a 14mm socket to reach all the way to the engine drain bolt, then loosened the bolt until the coolant began flowing through the tubing and drained into the pan.
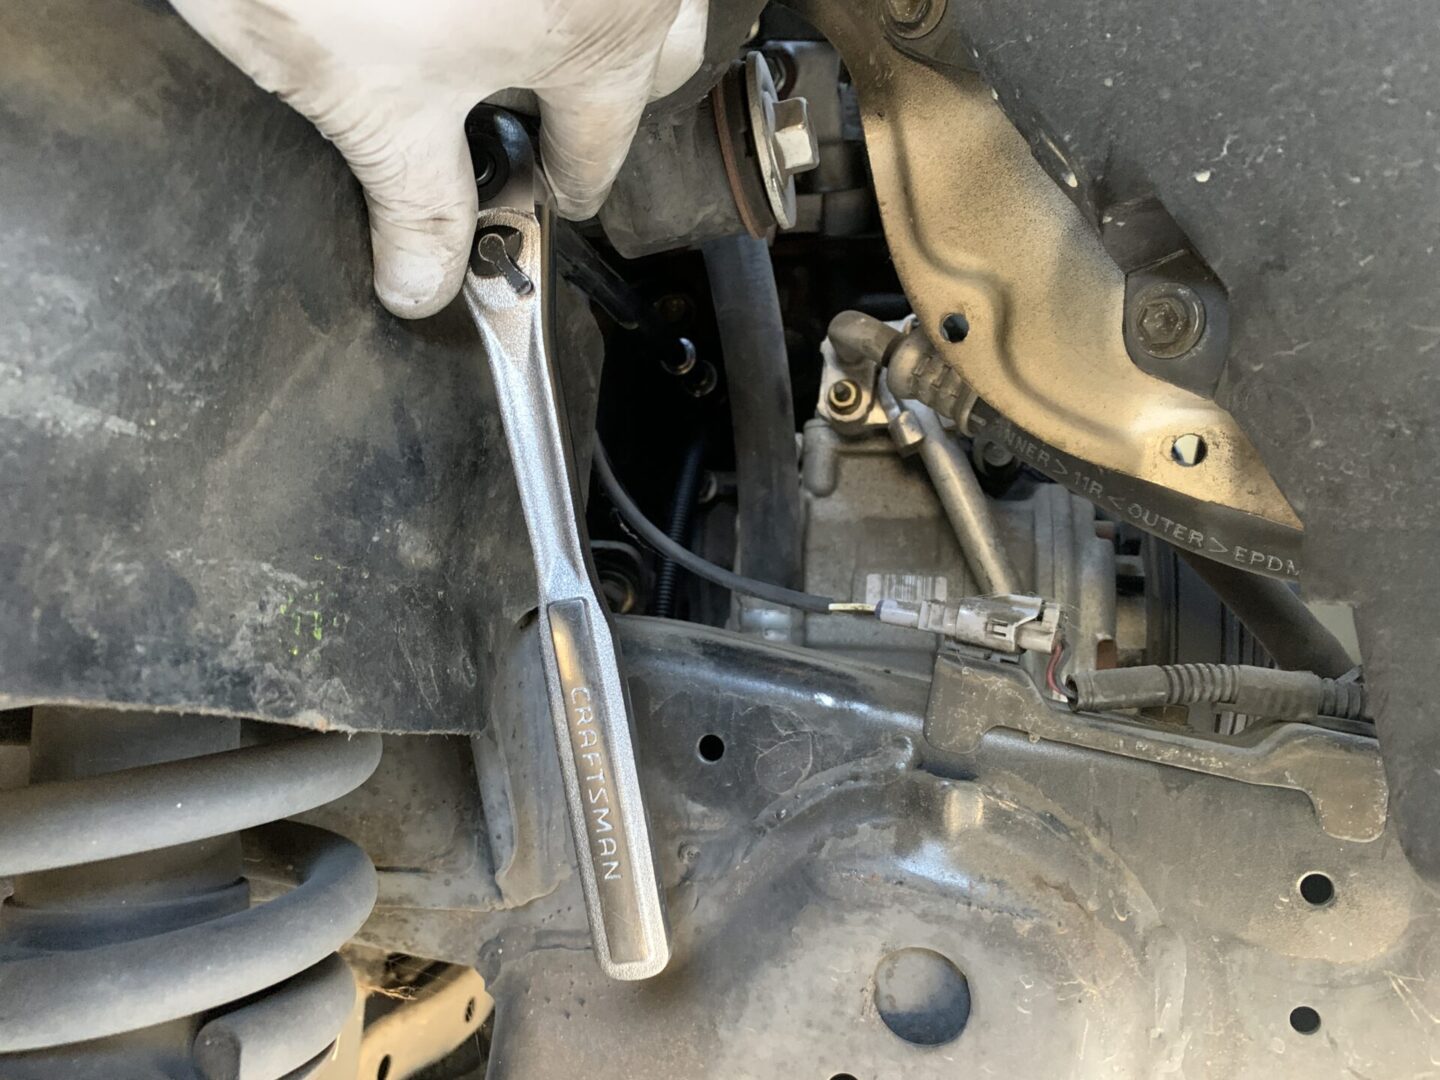
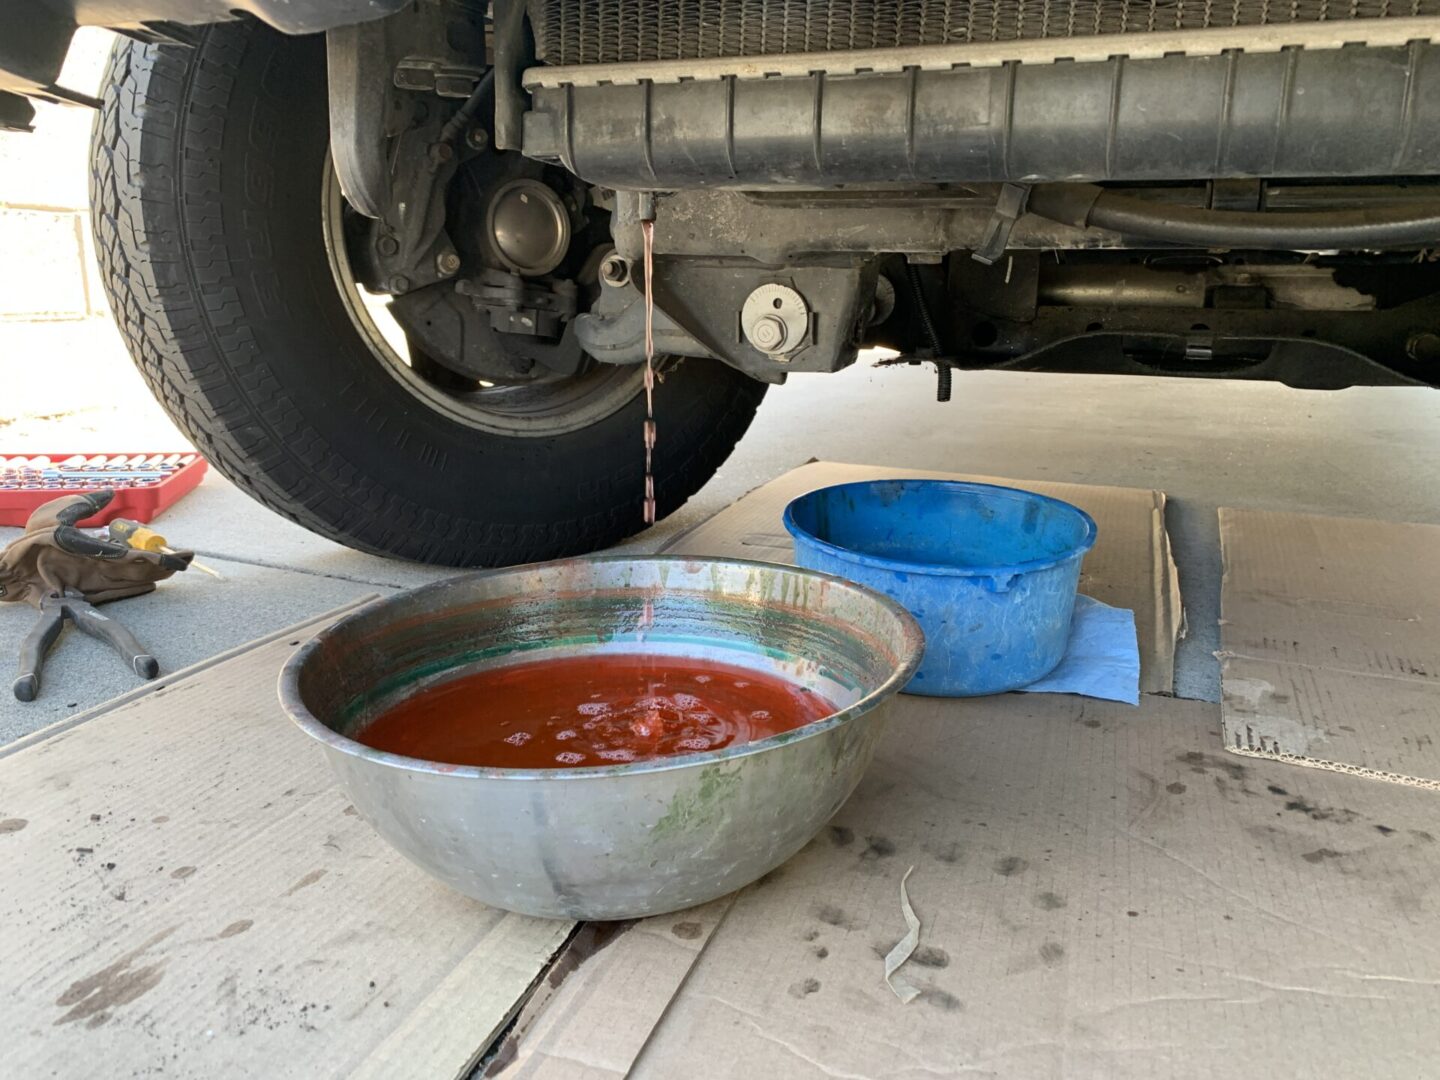
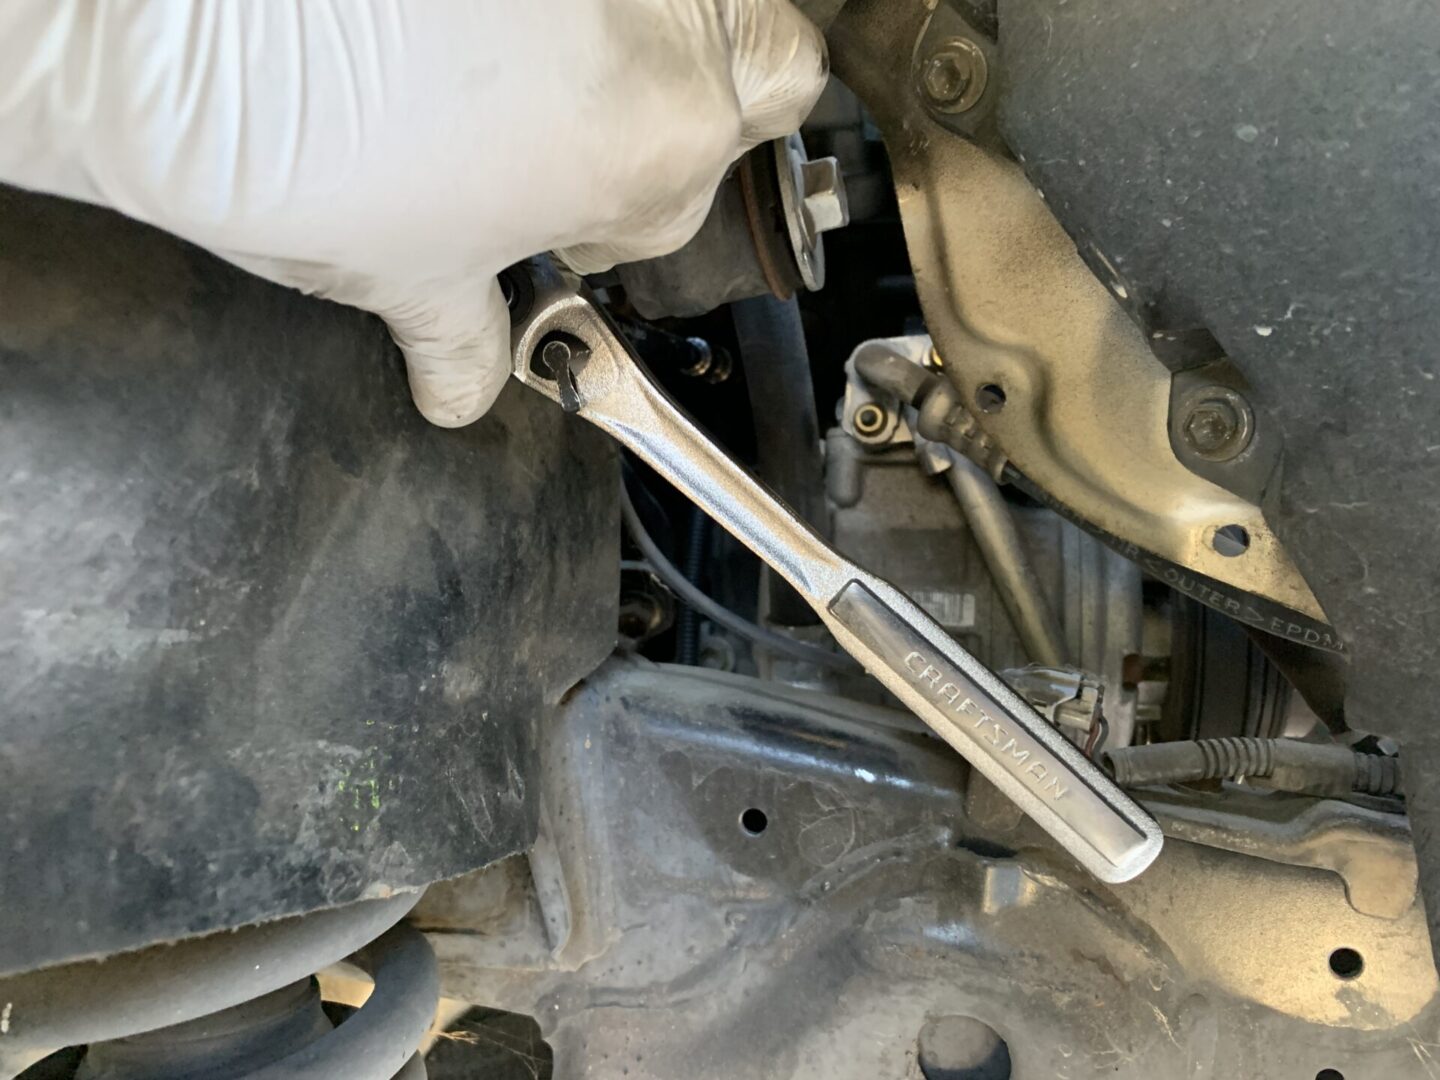
Next, I positioned another pan below the radiator drain plug. The radiator drain plug is much easier to access and to drain from, however you should know that radiator drain plugs are notorious for breaking. Since they’re typically made of plastic and are exposed to constant heat cycles from the radiator, they are typically very brittle. When people try removing these by hand, they find it difficult. The next set would then be to grab a set of pliers to break loose the plug; this results in breaking off the handle(s) of the plug.
The best way to break loose the radiator drain plug is to wrap it in order to protect it before using a set of pliers to break it loose. I had nothing but a mechanics glove, but it worked for protecting the drain plug from breaking. Once the drain plug is broken loose, loosen it further by hand and ensure that the coolant drains into a drain pan. Don’t pull the radiator drain plug completely out or the coolant will shoot out horizontally making a mess. You just need to loosen it enough for the flow to come out of the vertical drain opening.


To facilitate draining, open the coolant overflow cap on the radiator. Ensure you do not open this if the vehicle is hot.
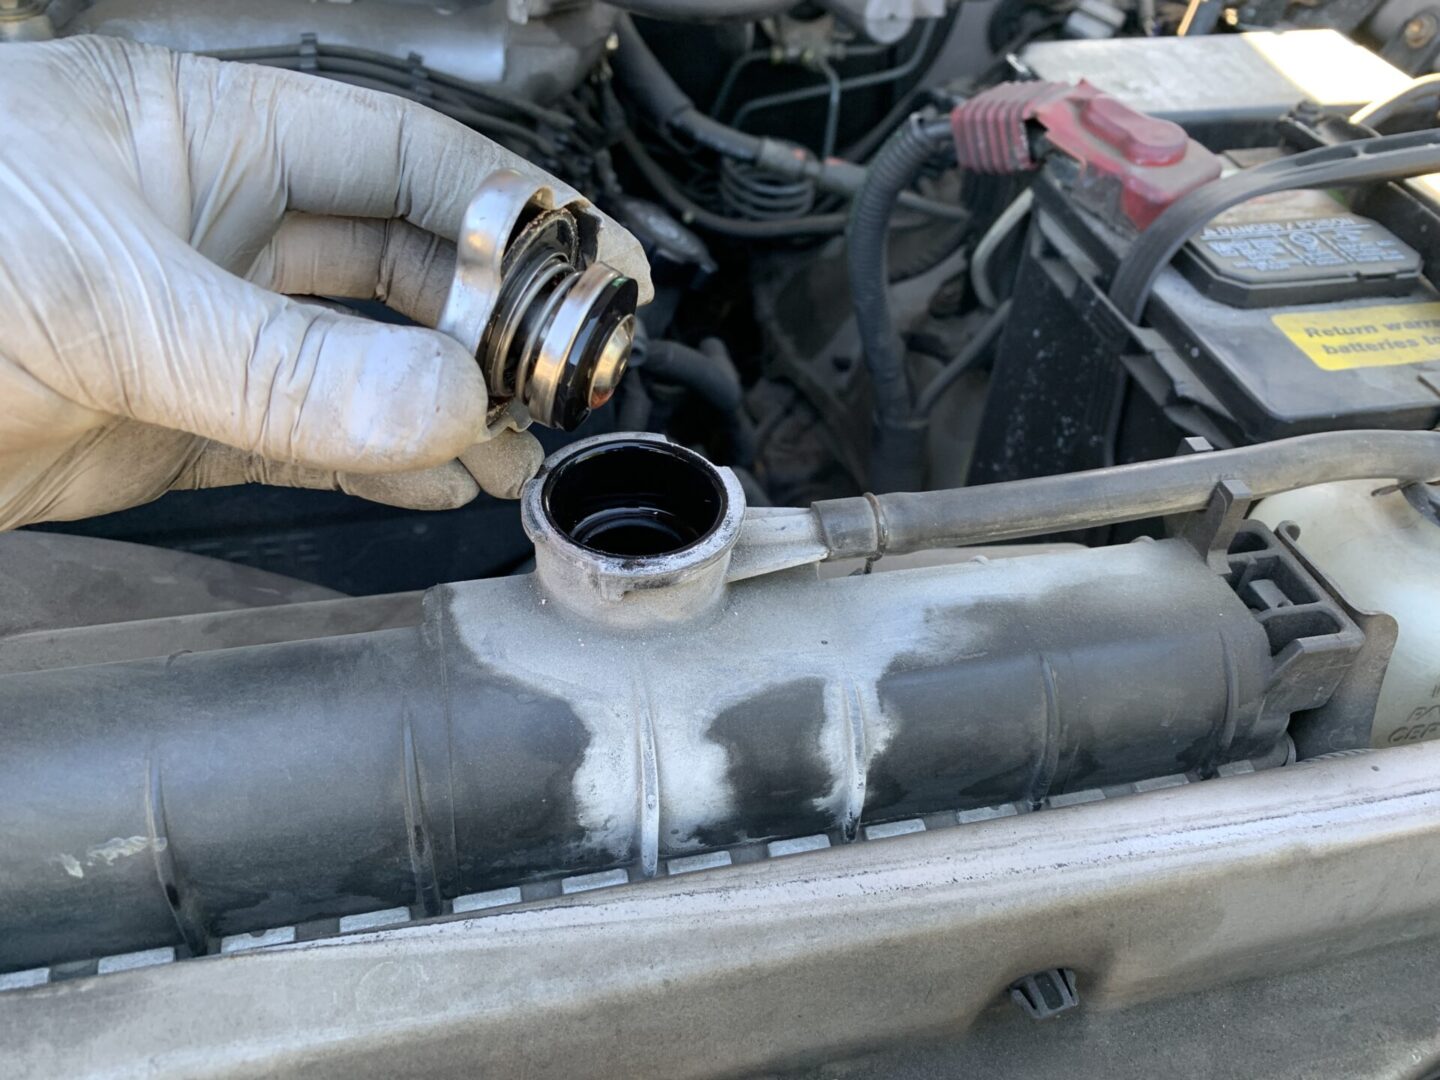
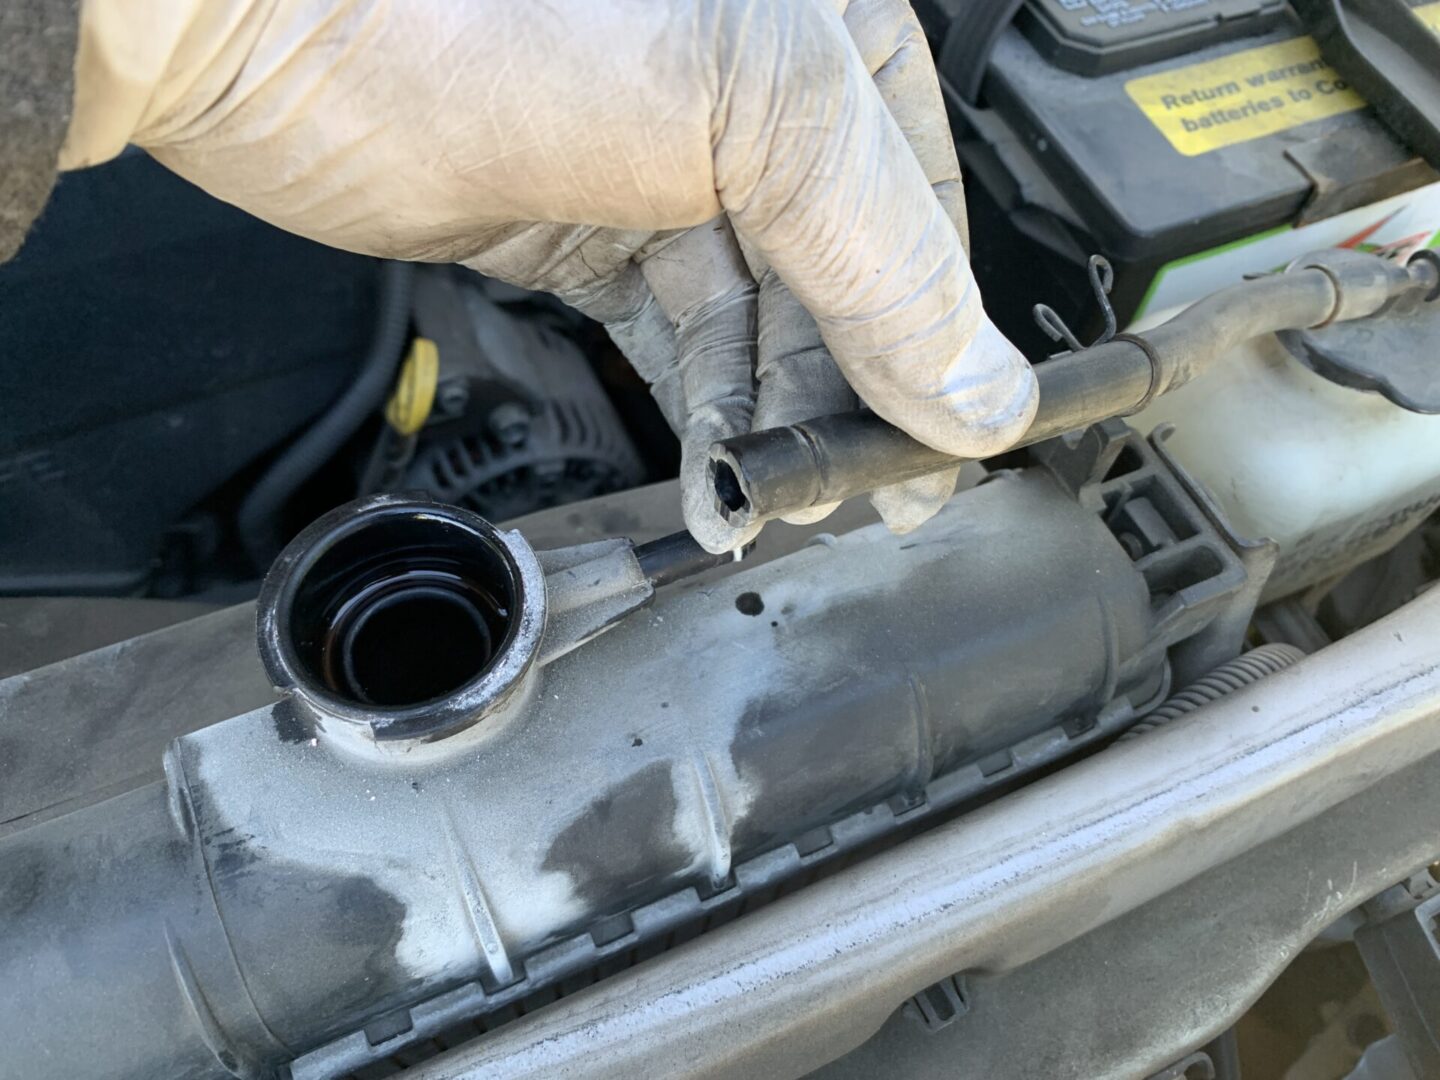
Go back to the engine bay and remove the coolant overflow hose from the radiator (by removing the hose clip and pulling off the hose) and remove the other end from the coolant overflow reservoir.
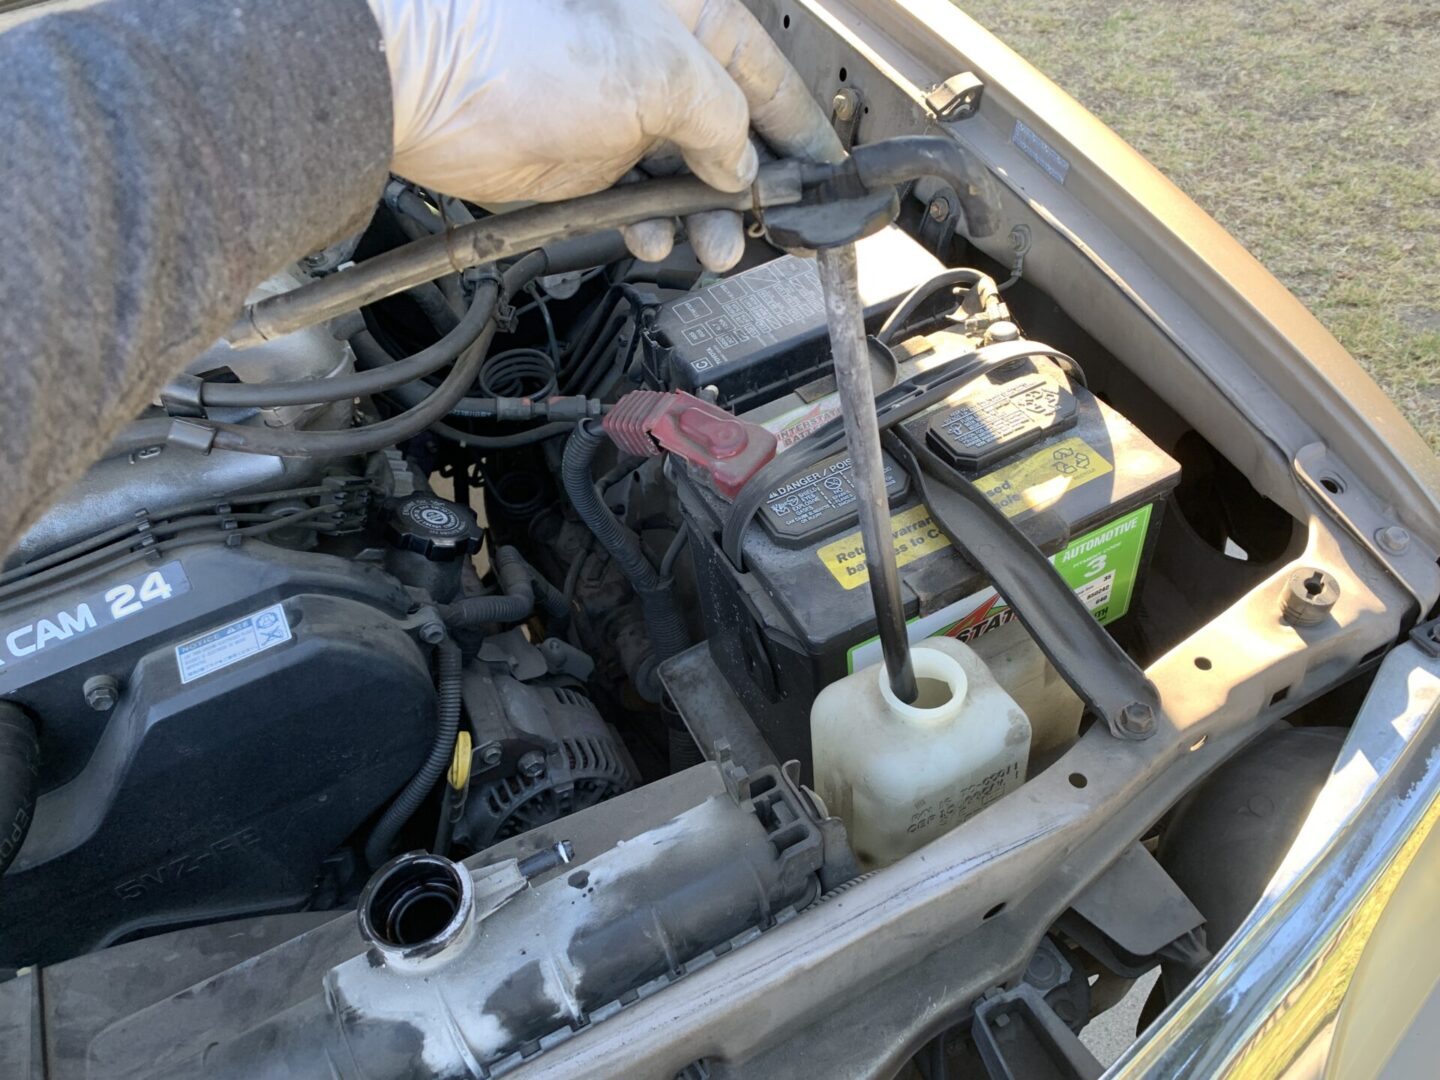
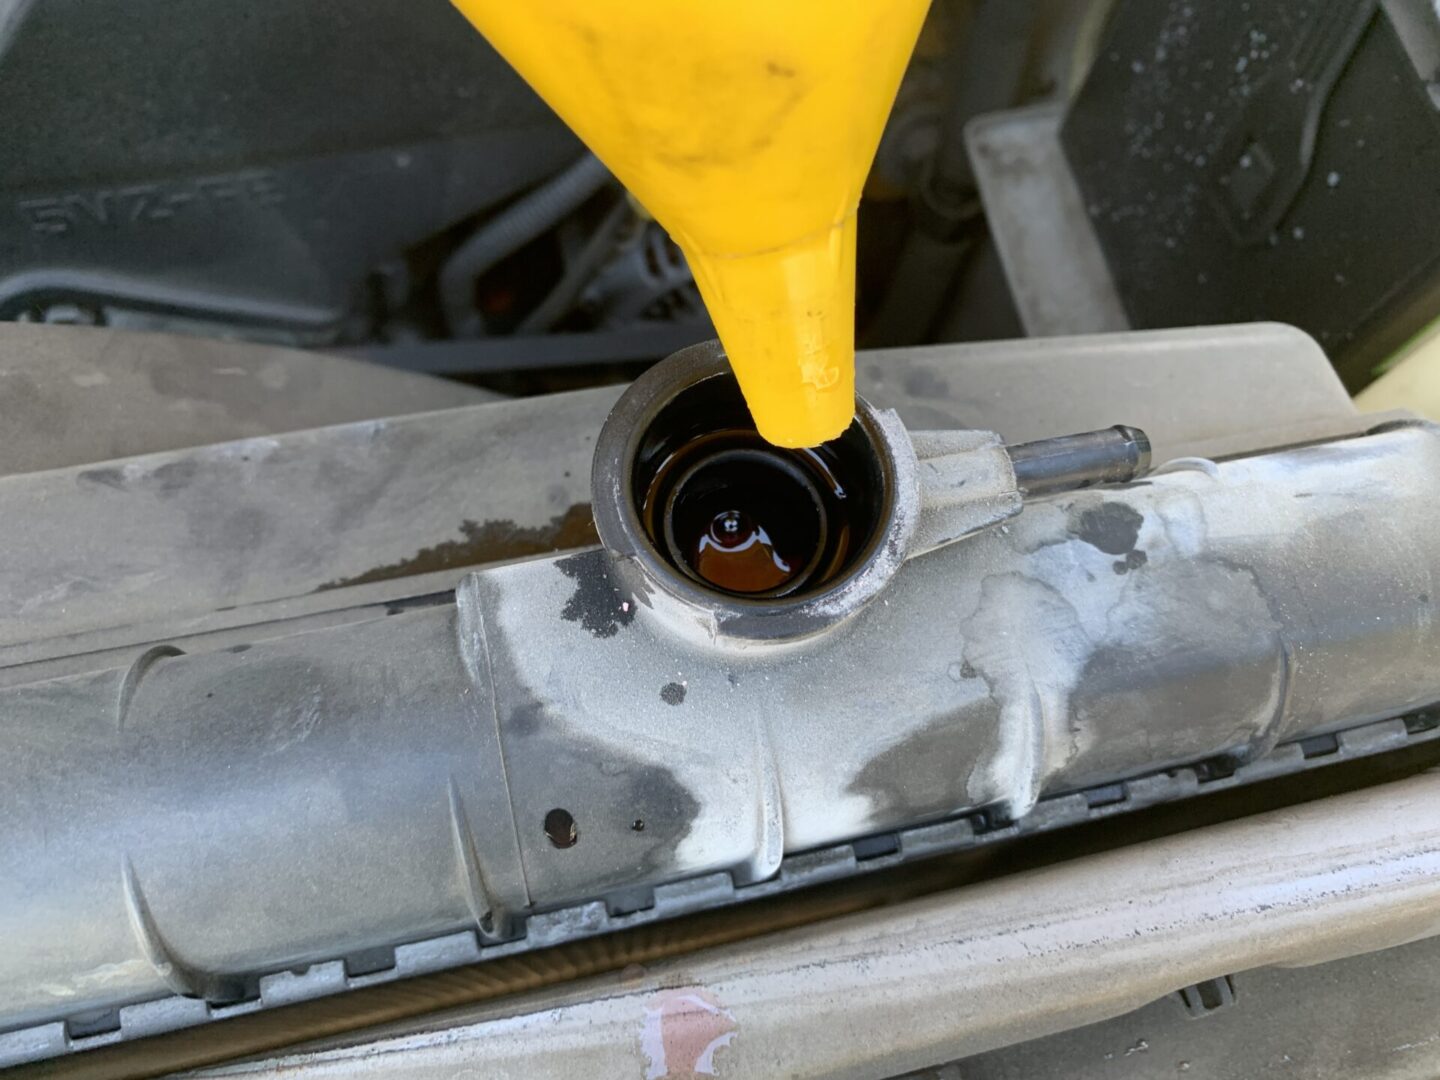
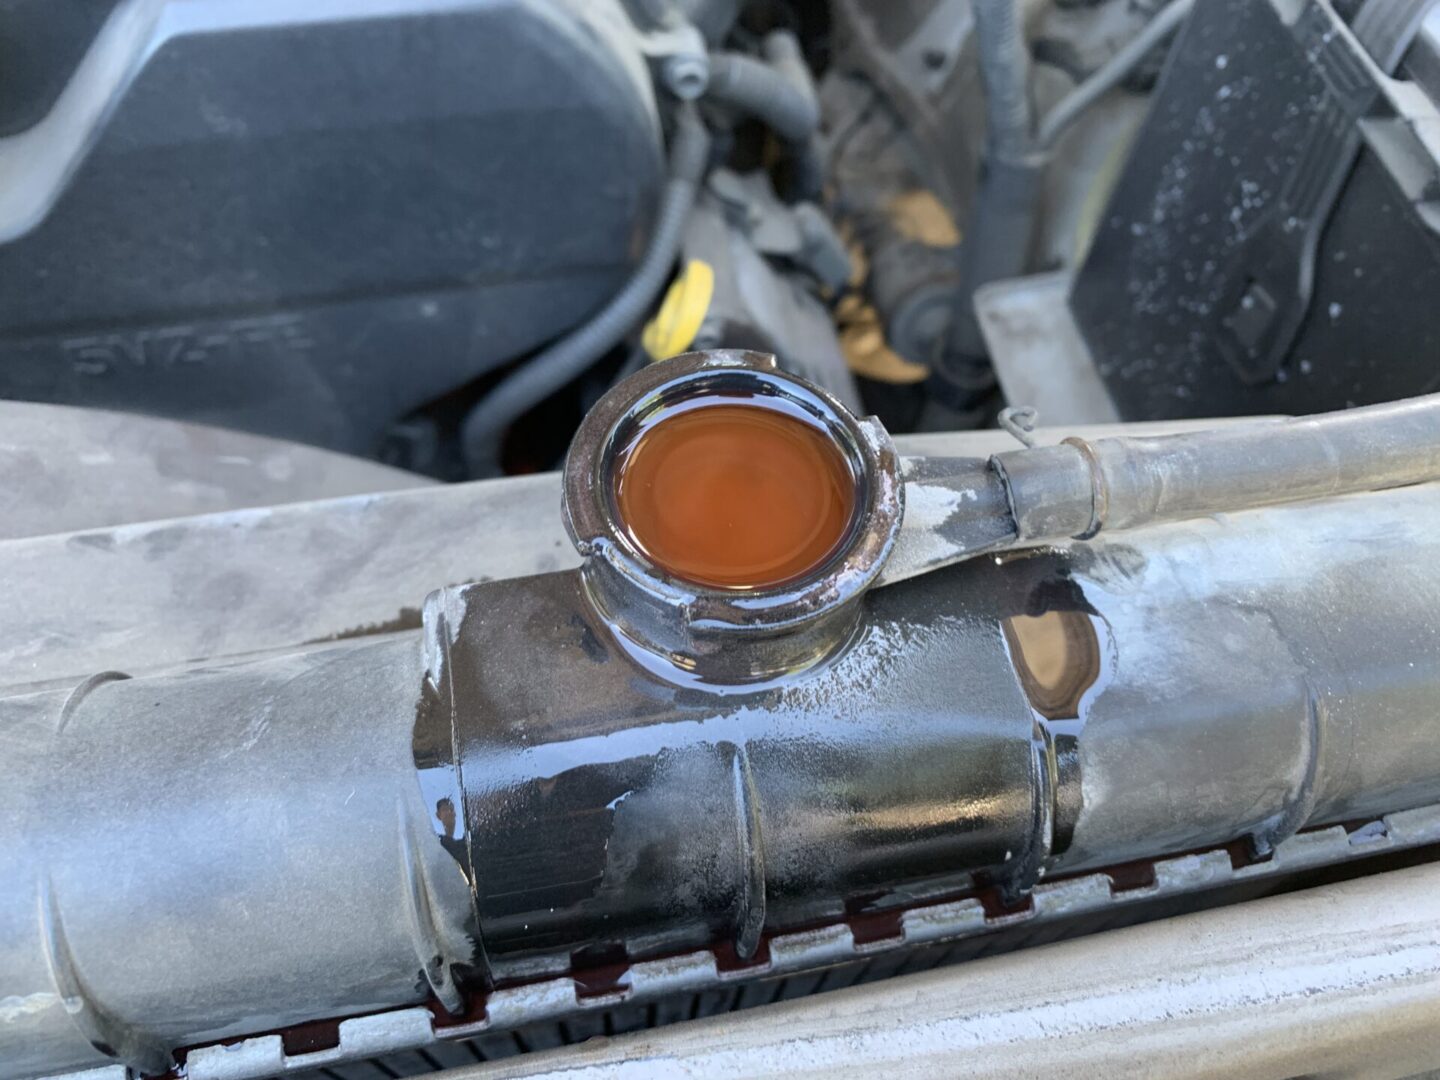
Place a funnel into the radiator opening and pour distilled water to flush the radiator. Pour until the coolant coming out of the radiator drain starts to become clear.

Now, tighten snug both the engine coolant drain with the 14mm socket and the radiator drain plug (by hand).
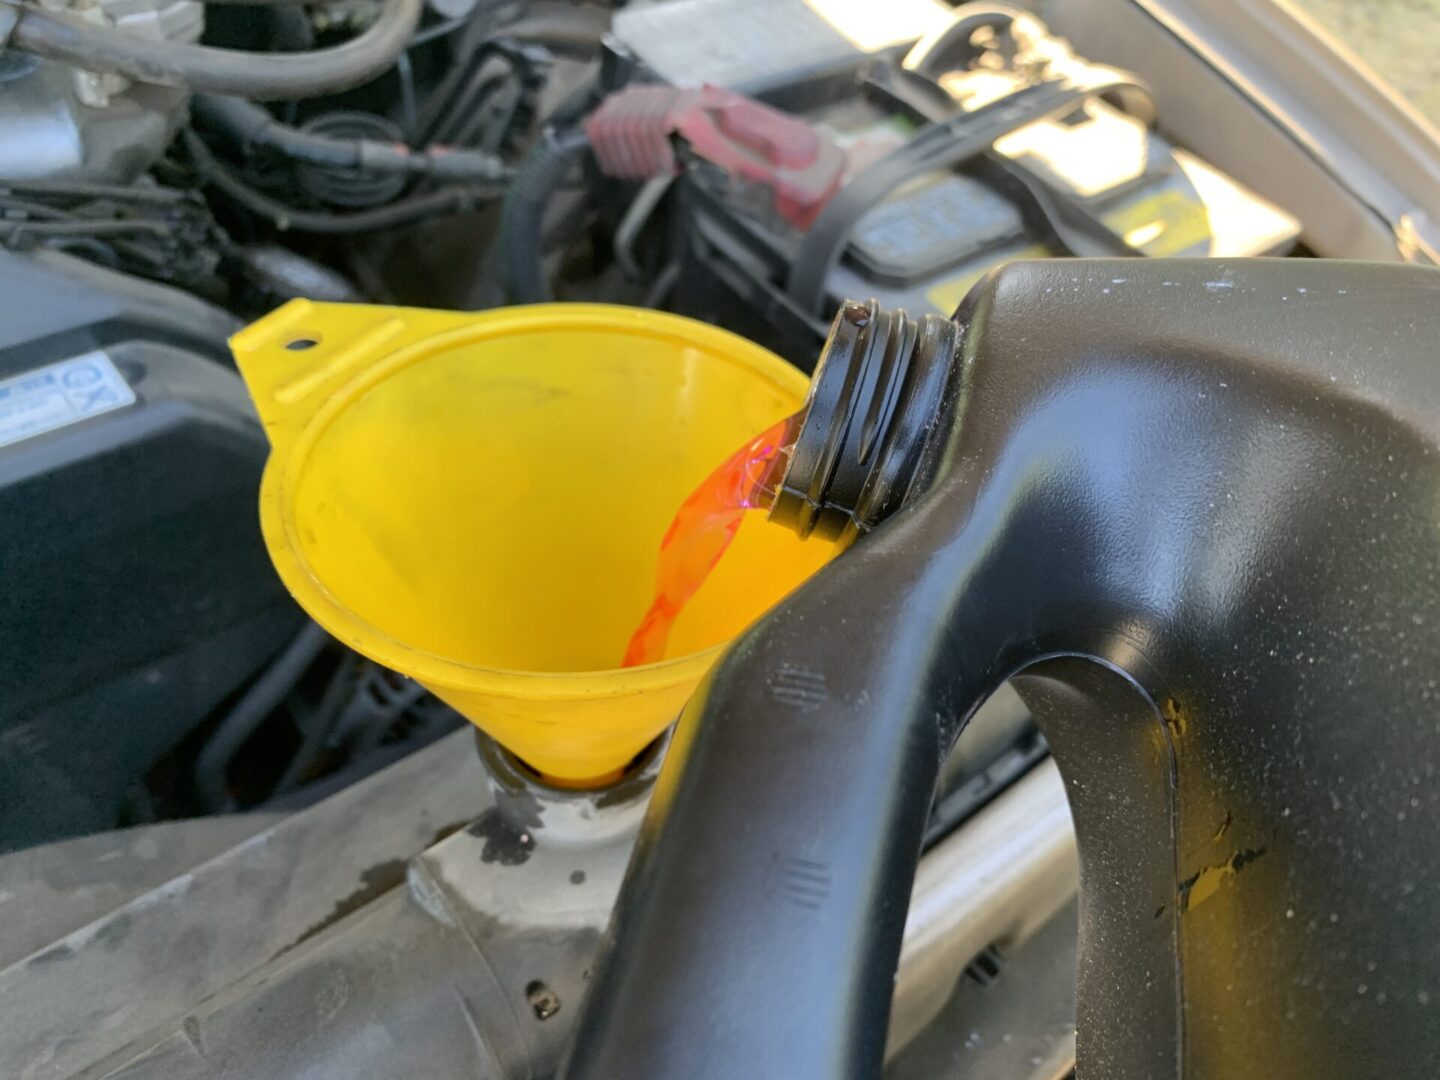
Now, refill the system with coolant and ensure there are no leaks. Fill until you begin to see that the radiator is practically full. At this time, the radiator is filled with coolant, however the engine has not gotten a chance to fill up as well. To fill the engine with coolant, the engine needs to be on and warmed up until the coolant flows through the engine.

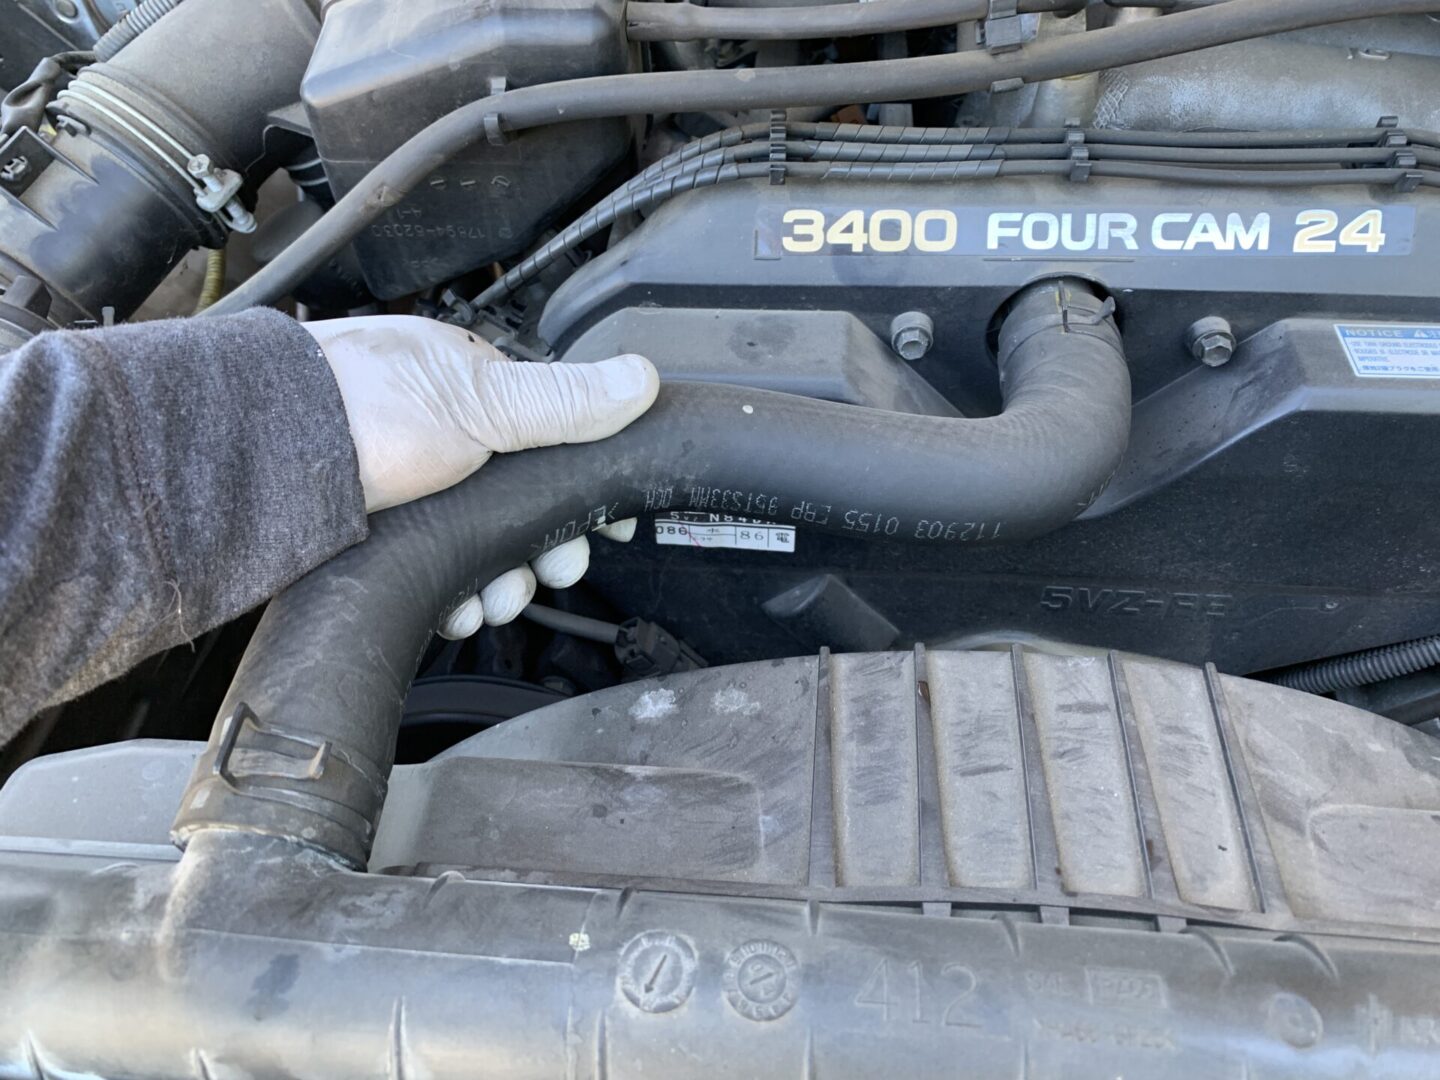
With the radiator cap off, turn on the engine and turn the heater on to HI. Give the vehicle at least a few minutes to completely warm up until the coolant flows through the engine. You will know when the coolant has begun cycling through engine when you feel the upper radiator hose is warm/hot. This indicates that the engine is already flowing through the engine and back through the upper radiator hose and again through the radiator.
Replace the overflow hose (the one you removed previously that goes between the overflow reservoir and the radiator cap). Once you confirm that the engine coolant has made its way through the engine by feeling for heat in the upper radiator hose, squeeze the hose several times to expel any air in the system.
Replace the funnel and refill through the radiator opening until the coolant is completely filled up to the opening. Then put the overflow cap back on and tighten. Some coolant should be displaced when you screw the cap back on; this is perfectly normal and expected.

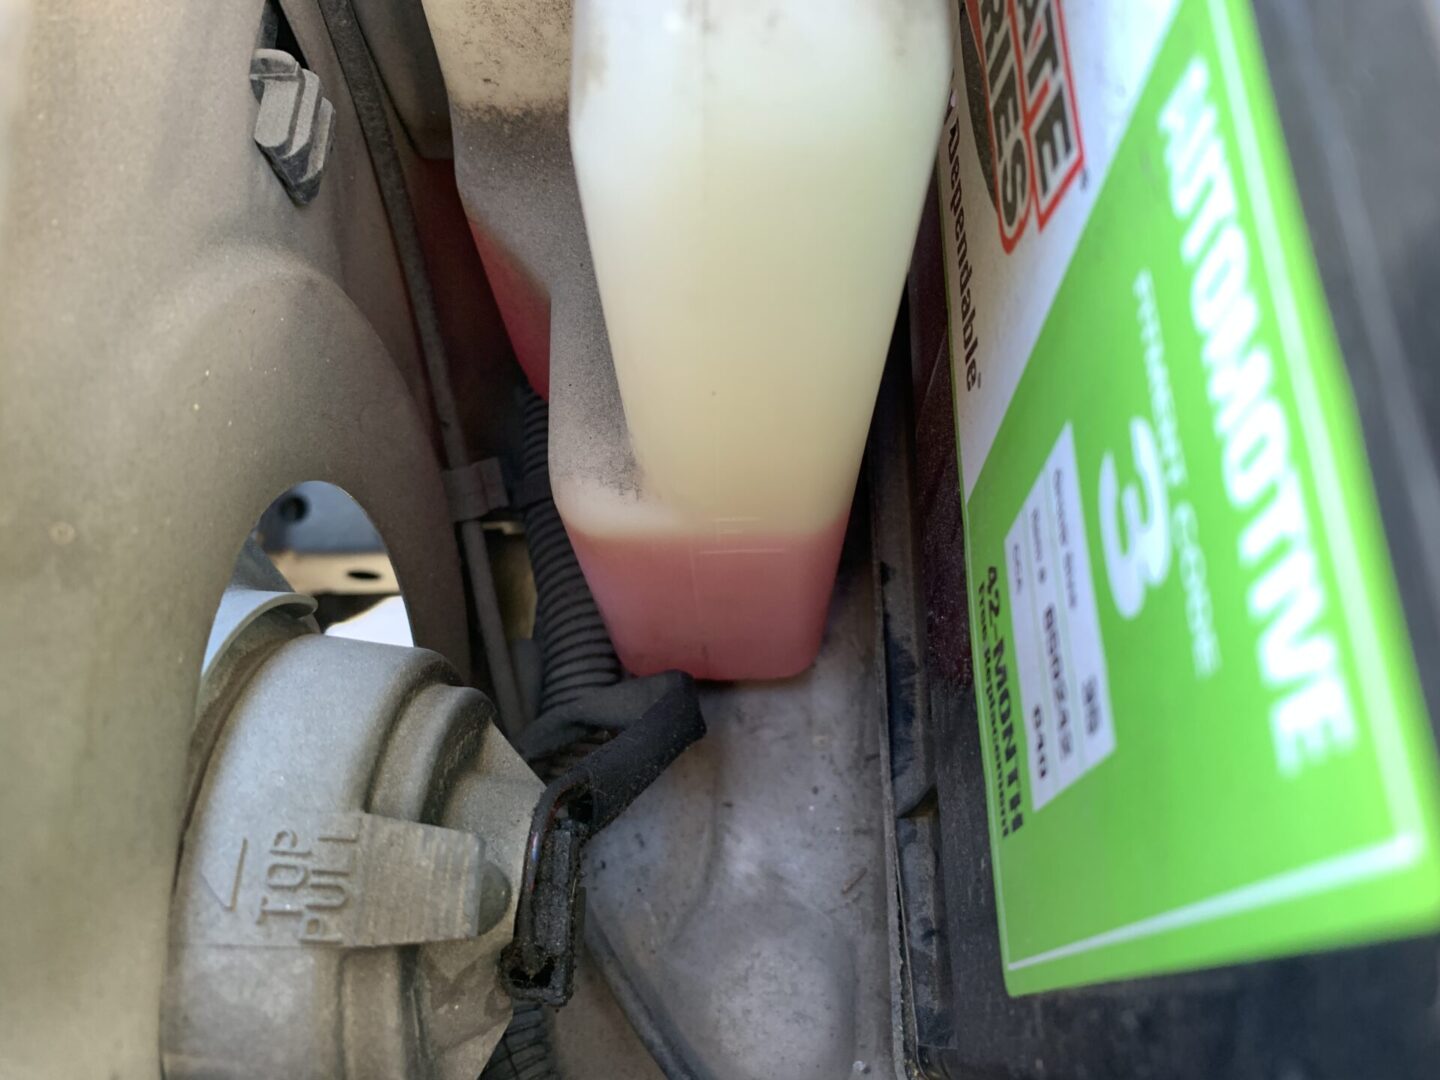
Wipe up the residual coolant and then refill the reservoir until the coolant level is at the full (F) mark. Replace the skid plate. Double check that you’ve retightened the drain plugs properly and check for leaks again. Finally, take a test drive and ensure that the temperature gauge is operating normally.


: 1st Gen Toyota Tacoma")

: 1st Gen Toyota Tacoma")
: 1st Gen Toyota Tacoma")

: 1st Gen Toyota Tacoma")
