When you make purchases through links on this site, The Track Ahead may earn an affiliate commission. Also, these posts are based off my own experiences. I am not responsible for any action you take as a result of reading this. Learn More
Rear Differential Fluid Replacement Info
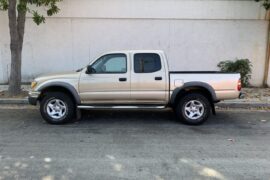
The 1st generation Toyota Tacoma PreRunner has a RWD drivetrain that uses a rear differential to transfer power from the transmission to the rear wheels. As opposed to a 4WD vehicle which employs the use of a front differential, transfer case, and rear differential to transfer power to all four wheels, a PreRunner with RWD only has a rear differential to service.
From what I can tell, the Toyota Scheduled Maintenance Guide for the 2004 Toyota Tacoma doesn’t have any particular recommendation for replacing the differential fluid unless you are doing towing or driving in harsher environments. In this case, you are to replace this fluid every 30,000 miles.
With regular driving, Toyota suggests inspecting the rear differential fluid every 15,000 miles. My Haynes Manual recommends to replace the differential fluid every 30,000 miles. On my parents’ Tacoma, they don’t do any towing. Their truck sits at a bit over 30k miles so I went ahead and did the first rear differential fluid change on this truck.
Specifically on a 1st gen Toyota Tacoma 3.4L V6 RWD, the rear differential has the following specifications:
| Differential Lubricant Type (above 0 degrees F) | API GL-5 SAE 90 hypoid gear oil |
| Differential Lubricant Type (below 0 degrees F) | API GL-5 SAE 80W-90 hypoid gear oil |
| Differential Fluid Capacity | 2.7 quarts |
| Fill & Drain Plug Size | 24mm (15/16″ is actually a better fit) |
| Fill & Drain Plug Torque | 36 ft-lbs |
Parts/Tools for Rear Differential Replacement
Rear Differential Fluid
Since I live in California and never see temperatures below 0 degrees Fahrenheit, the recommended gear oil to be used is API GL-5 SAE 90 hypoid gear oil. However, a straight 90-weight gear oil is not that common around here with most differential fluid available being 75W-90 or 80W-90. The differences with these may be minimal in a temperate climate such as California. The below are some popular gear oils used:
Valvoline SAE 80W-90 Gear Oil 1 QT
Valvoline SynPower SAE 75W-90 Full Synthetic Gear Oil 1 QT
Mobil 1 75W-90 Synthetic Gear Lube – 1 Quart (Pack of 2)
Royal Purple 75W-90 Synthetic Gear Oil , 1 Quart
These bottles are typically packaged in a narrow container with a cap with a spout. This makes it easy to refill the differential using the container, however you might just end up with a bit leftover as it is not always possible to expel the last 10% of the fluid in the container.
An alternative is a fluid pump. An example is the Plews Lubrimatic Fluid Quart Pump. This pump screws onto a standard quart-sized differential fluid bottle and will allow you to keep the quart-sized container upright while pumping the fluid into the differential.
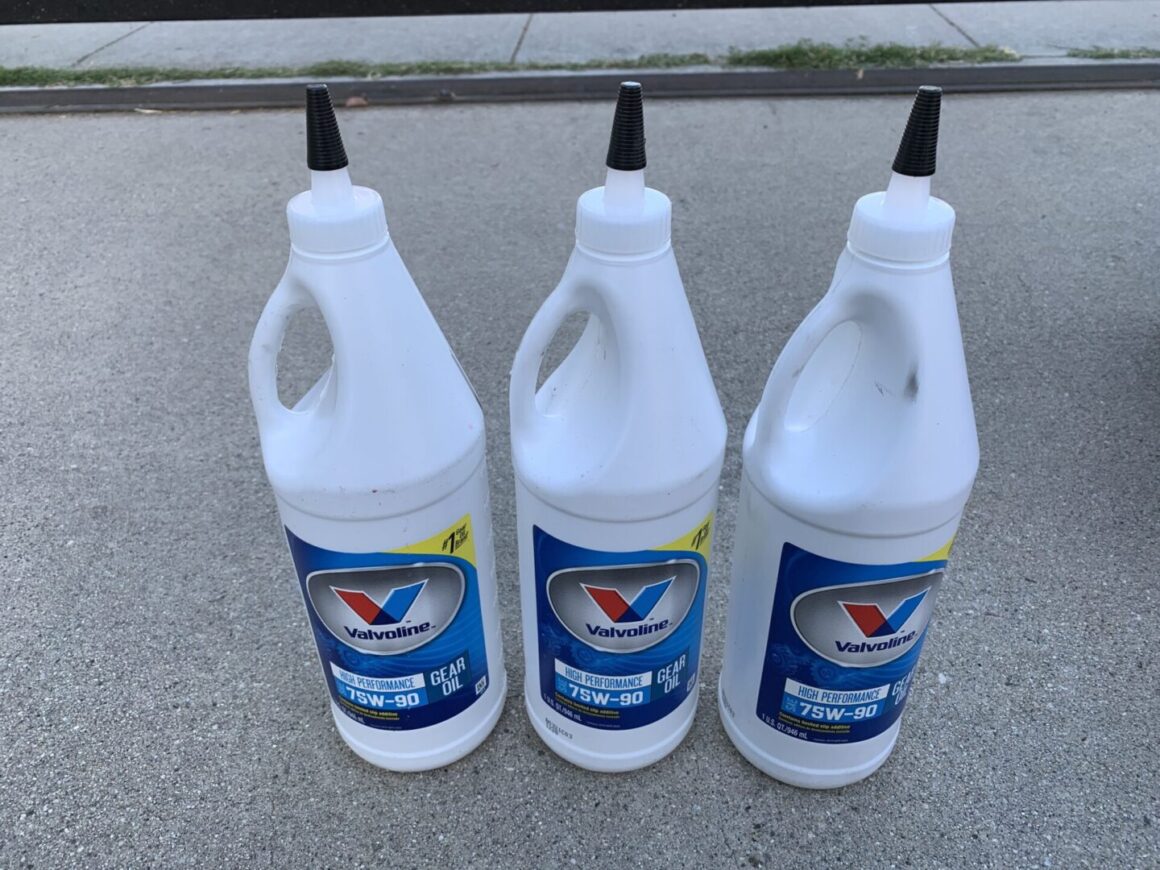
I purchased 3 quarts as the rear differential on the 3.4L V6 RWD Toyota Tacoma requires about 2.7 quarts.
Drain and Fill Plug Crush Washers (Part #12157-10010)
I purchased two crush washers that are used for the drain and fill plugs on the rear differential through my local Toyota dealership. The washers on both drain and fill plugs are identical and are the same part number. This is probably the easiest and most economical option if you live near a Toyota dealership with a parts department.
You may also find them on Ebay: Search Results for 12157-10010 Crush Washers on Ebay
Amazon also has some washer sets that include variety of different washers for the differential and transfer case. This may be useful if you have a 4WD system and need the washers for the front differential and transfer case. However, if you just need it for the rear differential such as in this example, you can just use the select washers in this set as the whole set is pretty affordable: Rexka 12pcs Transfer & Differential Service Gasket Kit
Socket Set
You will need a socket wrench with either 24mm socket or a 15/16″ socket. Some mechanics tool sets don’t go up to 24mm, but some do. I’ve found that a 15/16″ socket actually fits tighter on the drain/fill bolts than the 24mm does. Be careful so as not to strip the head of the differential drain/fill bolts.
This DeWalt set is a 1/2″ drive socket set that has both of these sizes: DEWALT Drive Socket Set, SAE/Metric, 1/2-Inch, 23-Piece. If you are looking for a mechanic’s tool set, check out this guide to choosing the right mechanic’s tool set.
Torque Wrench
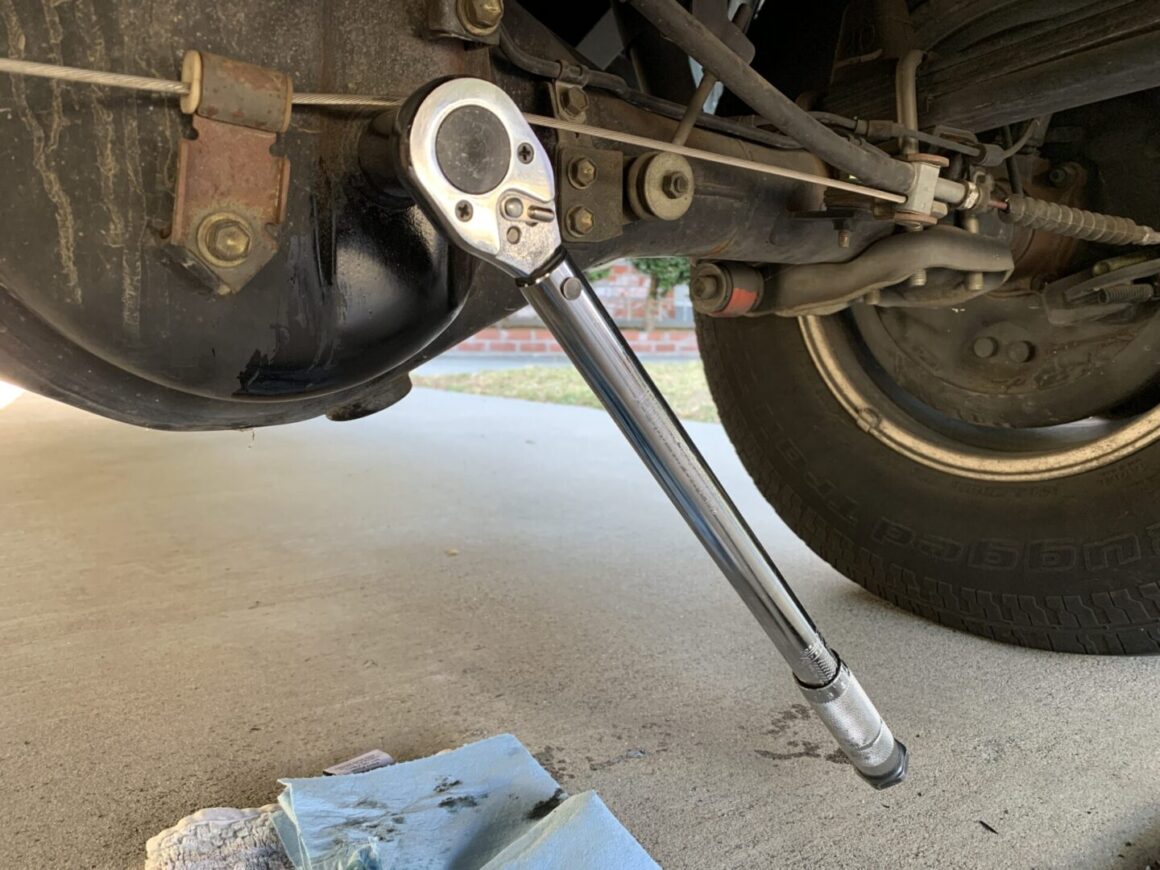
The drain and fill plugs will need to be torqued down to 36 ft-lbs when reinstalled. Some folks tighten by hand; I personally rather be safe and tighten to spec with a torque wrench.
EPAuto 1/2-inch Drive Click Torque Wrench
Breaker Bar
This makes it super easy to remove the drain and fill plugs. An alternative to using a breaker bar is to use a pipe over the handle of your ratchet wrench.
Neiko 1/2″” Drive Premium Breaker Bar 24” Length
Drain Pan for Differential Fluid
Custom Accessories 31118 Oil Drain Pan
Nitrile Gloves
Nitrile Disposable Gloves (100pcs) – Medium | Large
Rear Differential Fluid Replacement on a 3.4L V6 Toyota Tacoma RWD
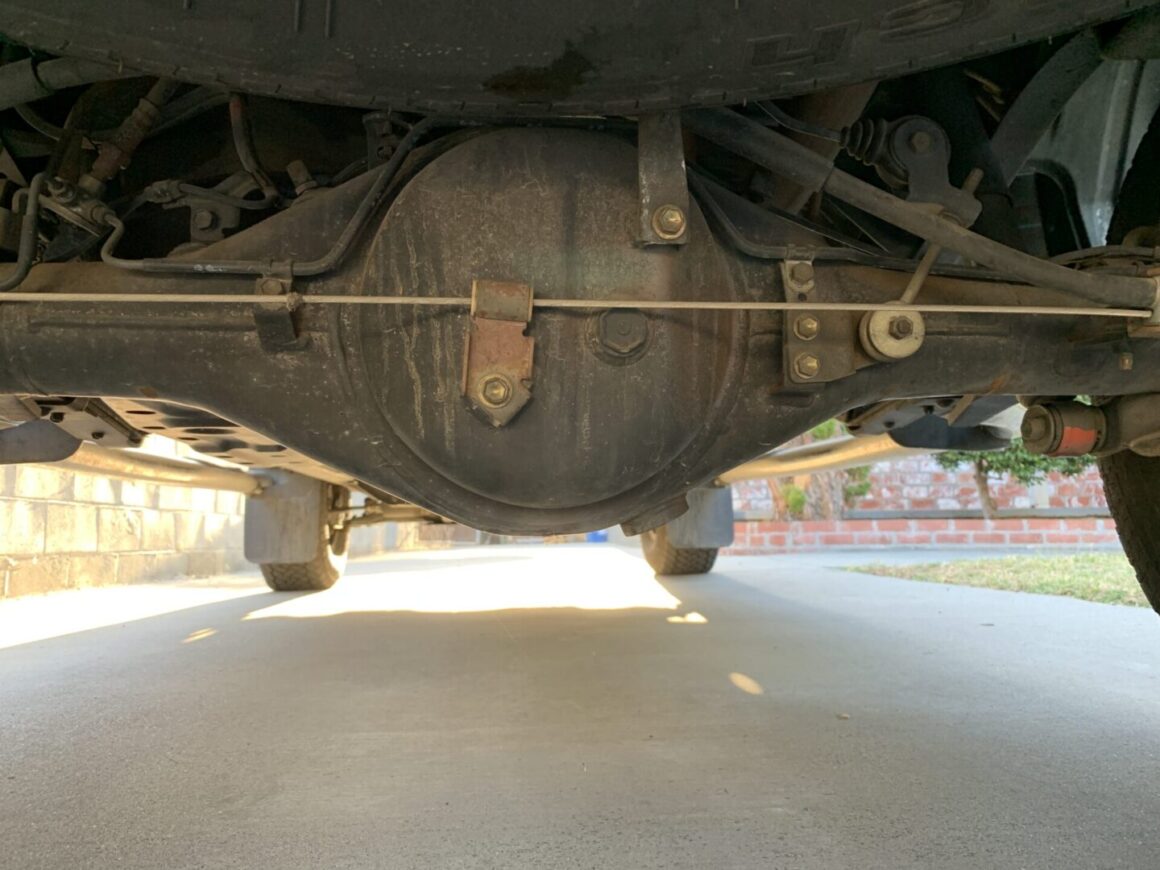
The rear differential is located at the rear of the truck, so it’s easily accessible. There is no need to jack up the truck, especially if your truck is a PreRunner, which sits slightly higher than stock.
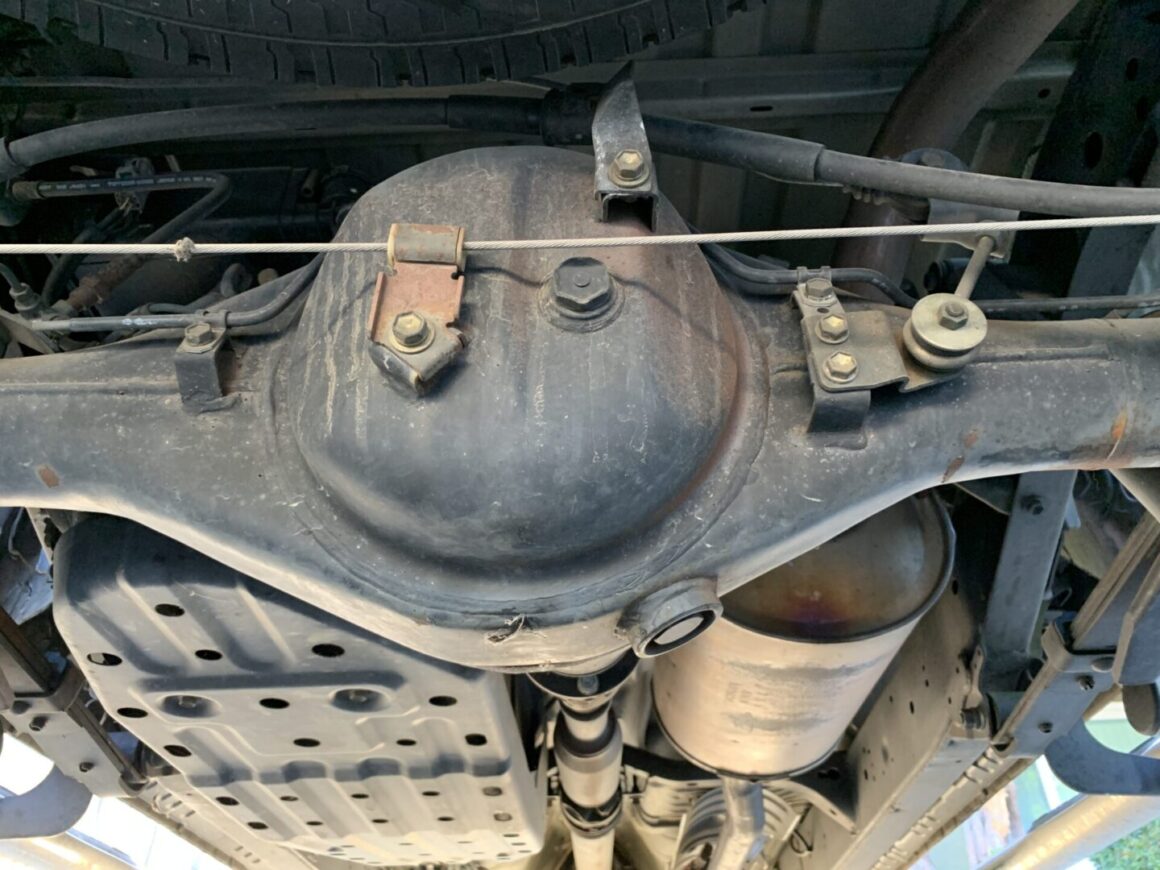
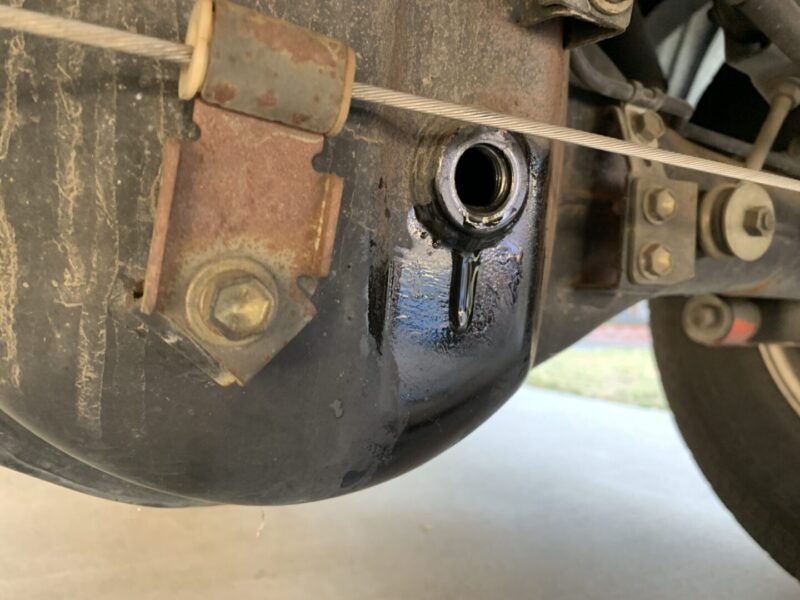
The below photo has a view from a lower angle where you can see the fill plug on the side of the rear differential, as well as the drain plug on the bottom right side.
Position a drain pan underneath the rear differential. Rather than removing the drain plug first, you should start by loosening the fill plug first and ensuring there is no problem with removing it. The reason for this is two-fold:
One, removing the fill plug allows the rear differential fluid to easily flow out of the drain hole when draining the fluid. This is similar to opening the oil fill cap when draining the motor oil.
And two but more importantly, you want to be sure that you can actually remove the fill plug. The reason is this: imagine if you removed the drain plug, drained all the fluid out of the rear differential, and then replaced the drain plug. Now, you move on to removing the fill plug in order to refill with fluid and you end up stripping the head or threads of the fill plug. You’re now basically stuck and your truck is now undriveable since there is no way you can fill fluid back into the differential with fluid.
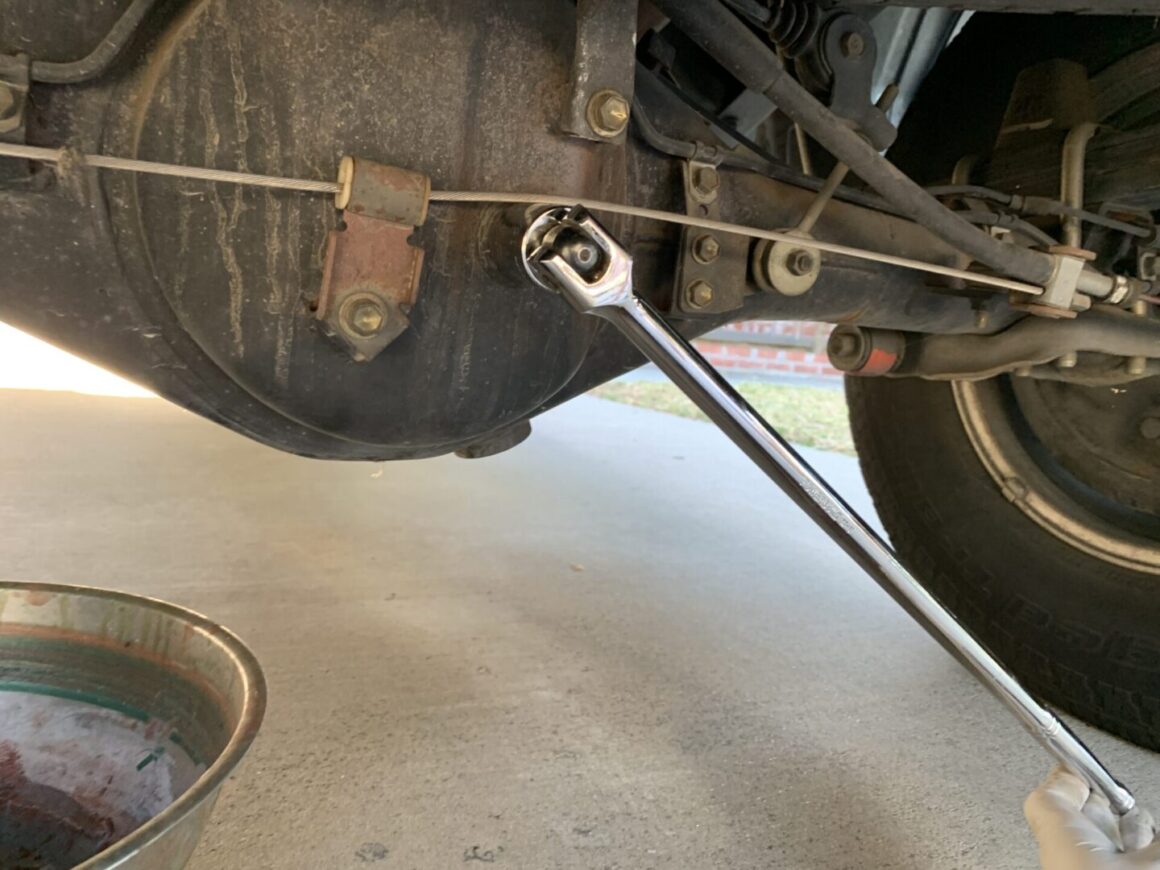
So start by breaking loose the fill plug with a 24mm socket. Keep in mind that a 15/16″ SAE socket fits tighter on the fill plug and therefore will have less chance of stripping the head. I used a 15/16″ socket because my tool set only went up to 22mm sockets.
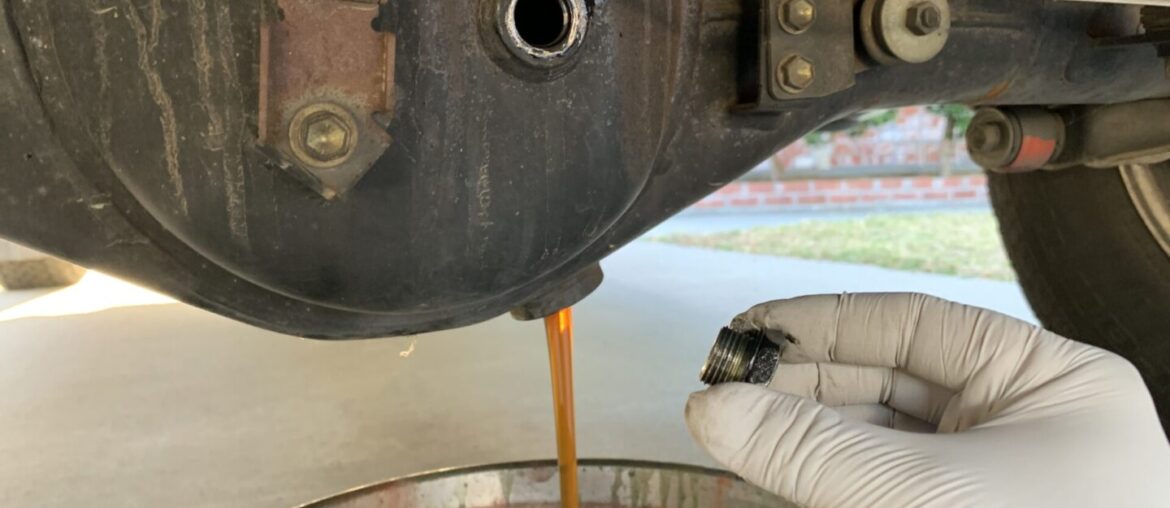
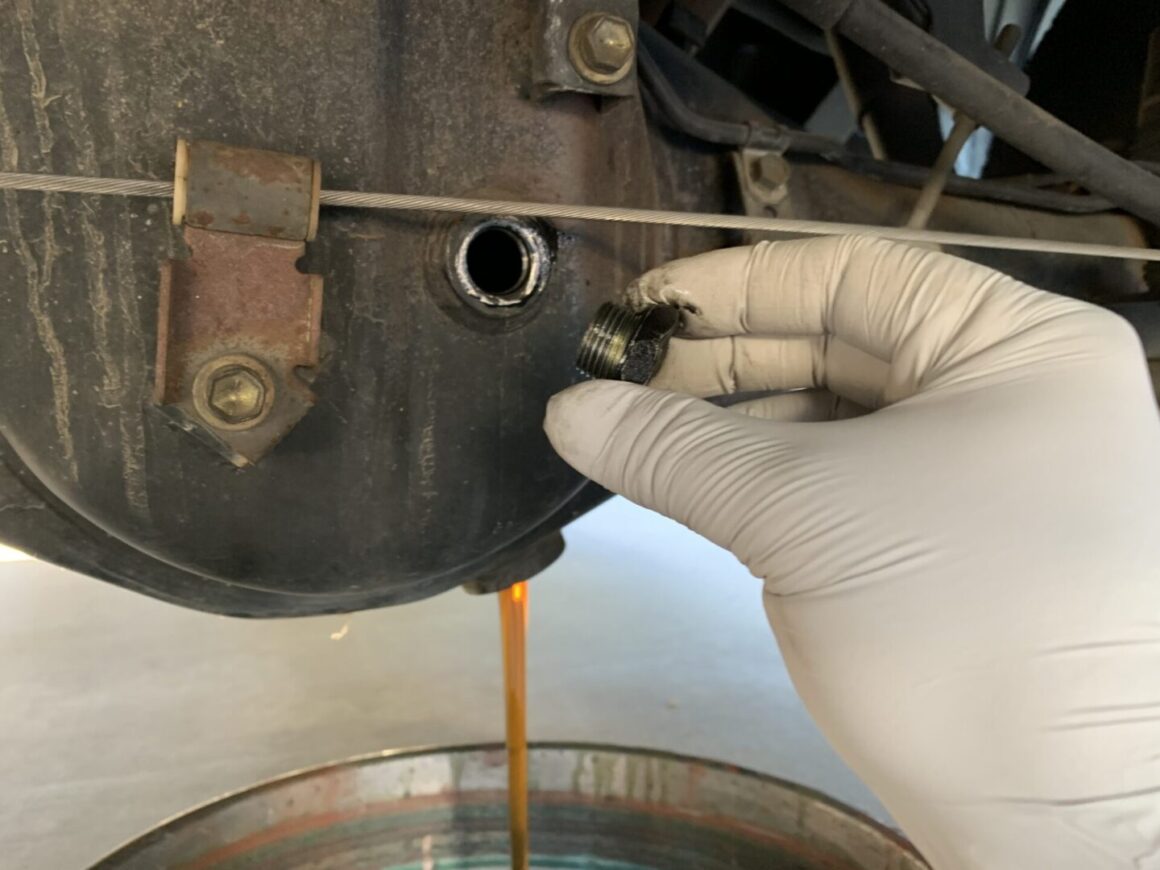
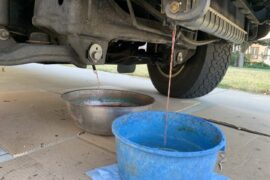
Then loosen and remove the bottom drain plug with a 24mm or 15/16″ socket, ensuring that the drain pan is located right underneath to catch the fluid. Remove the fill plug as well to allow for the fluid to freely drain.
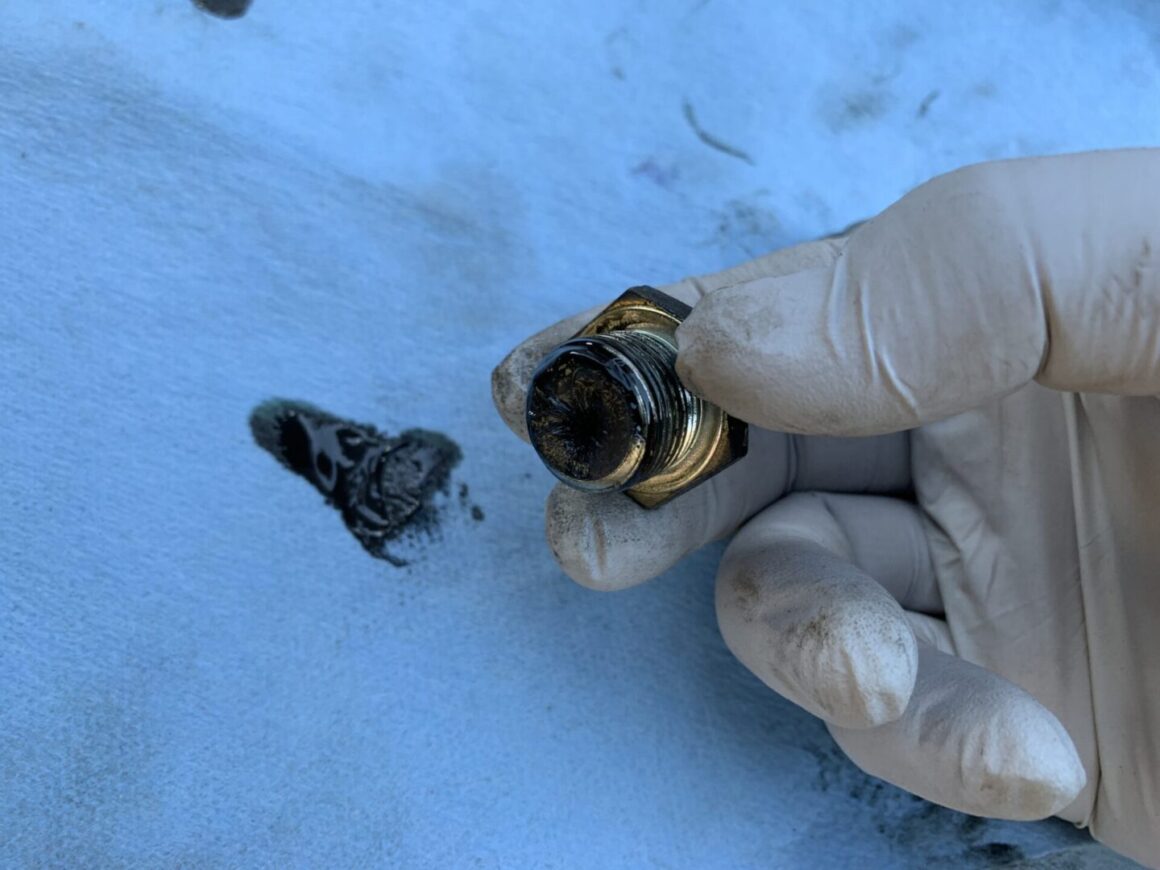
After letting the rear differential fluid drain out completely, clean off the drain plug. The drain plug is magnetic and will have caught any metal shavings coming from the differential. Clean this goopy mess off from the drain plug.
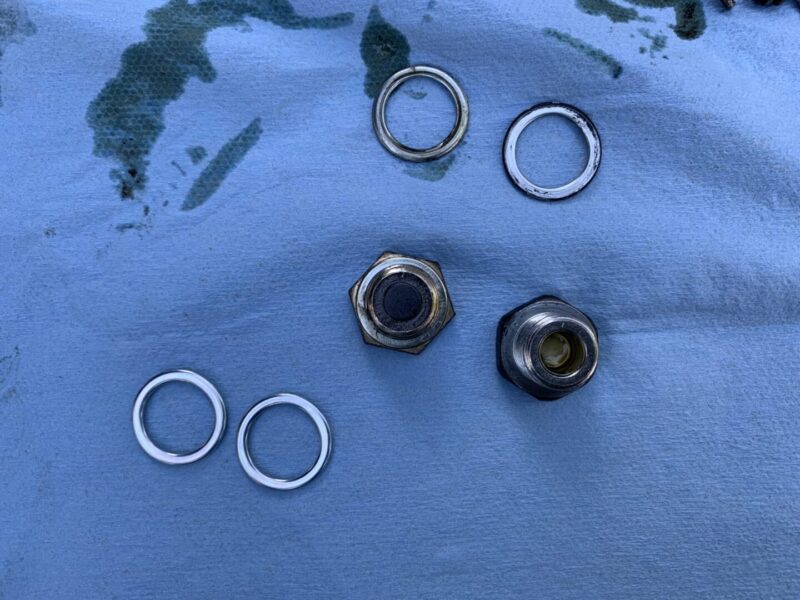
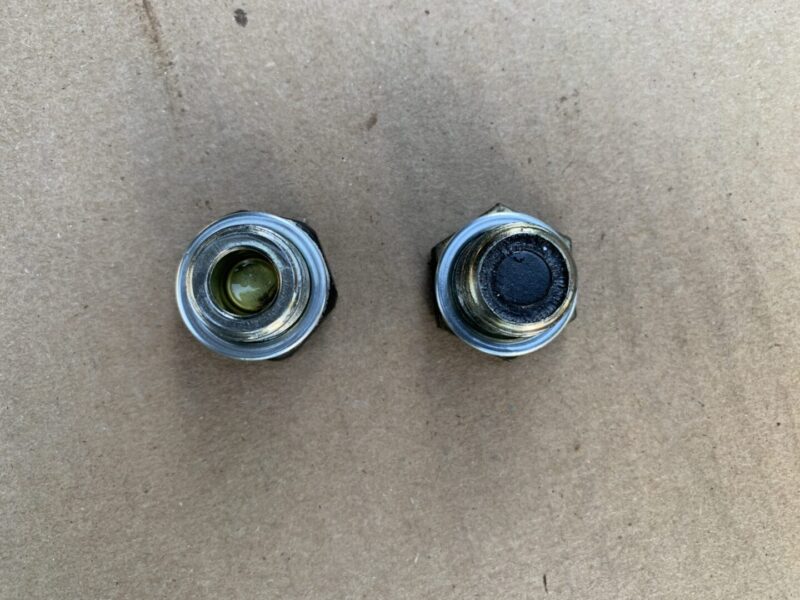
Prep both drain and fill plugs by cleaning them off and ensuring that the old crush washers are discarded and new ones are used. Used crush washers should never be reused.
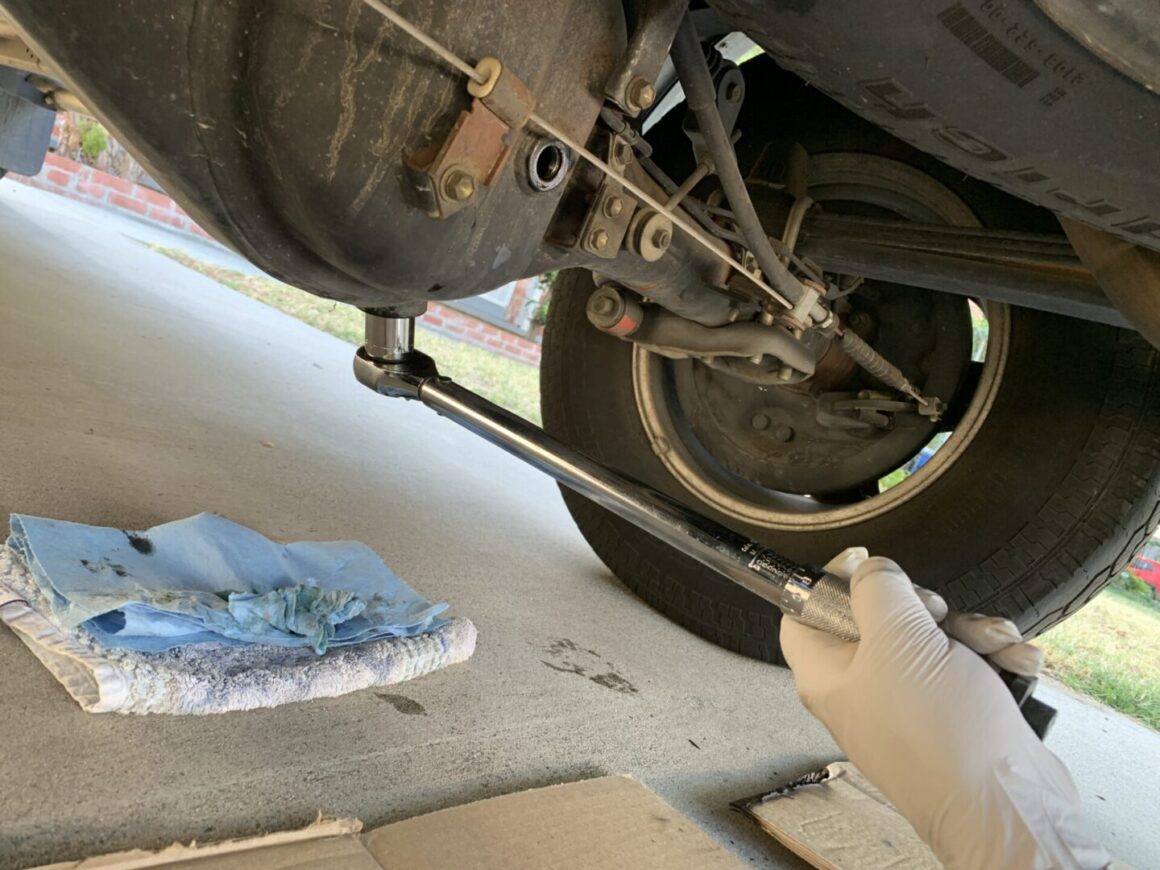
Install the new drain plug with a new crush washer and thread it in by hand. Then torque it to 36 ft-lbs.
With the new gear oil, unscrew the cap, puncture the seal for the bottle, and then screw the cap back on. Remove the cover (black-colored tip in photo below) and cut off the tip with a blade or knife so that the fluid can be poured out of the opening.
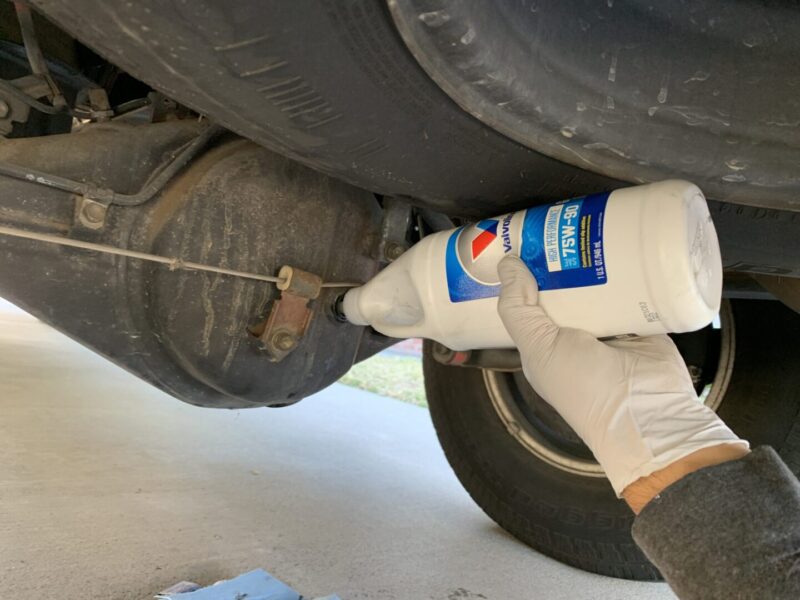
Make sure you still have your drain pan underneath. Fill the rear differential with the bottles until the fluid starts to flow out of the fill opening. You can be sure that the rear differential is adequately filled by reaching your finger into the fill opening and feeling if the fluid has filled up to the bottom of the fill opening. This means that it is full. Therefore, if you try to fill any more differential fluid into the opening, the excess fluid would just spill out of the opening.
Wipe the area down and install the fill plug with a new crush washer. Thread in by hand and then torque down to 36 ft-lbs. You are now complete with your rear differential fluid replacement.

