When you make purchases through links on this site, The Track Ahead may earn an affiliate commission. Also, these posts are based off my own experiences. I am not responsible for any action you take as a result of reading this. Learn More
I remember when I was a kid helping my dad wash his beige 1984 Toyota Corolla on the occasional weekend. I recall getting one bucket, adding car wash soap, filling the bucket with water, and then proceeding to wash the car with a rag. I remember at the end of it all, I’d have about a gallon of soapy water mixed with dirt and grime at the bottom of the bucket. I’d take this and throw the rest of it onto the very top of the car, because you know, you gotta get the rest of that soap on the car, right?
It makes me cringe now to think of throwing all of those contaminants back onto the car, since as you can imagine it would be likely to cause scratches in the car’s paint. The main goal of washing your car is not just to remove all of the dirt and gunk that has collected on the car’s surface, but to also keep it from being re-applied to the car during the wash. This is where the Two Bucket Wash Method comes into play.
What is the Two Bucket Wash Method?
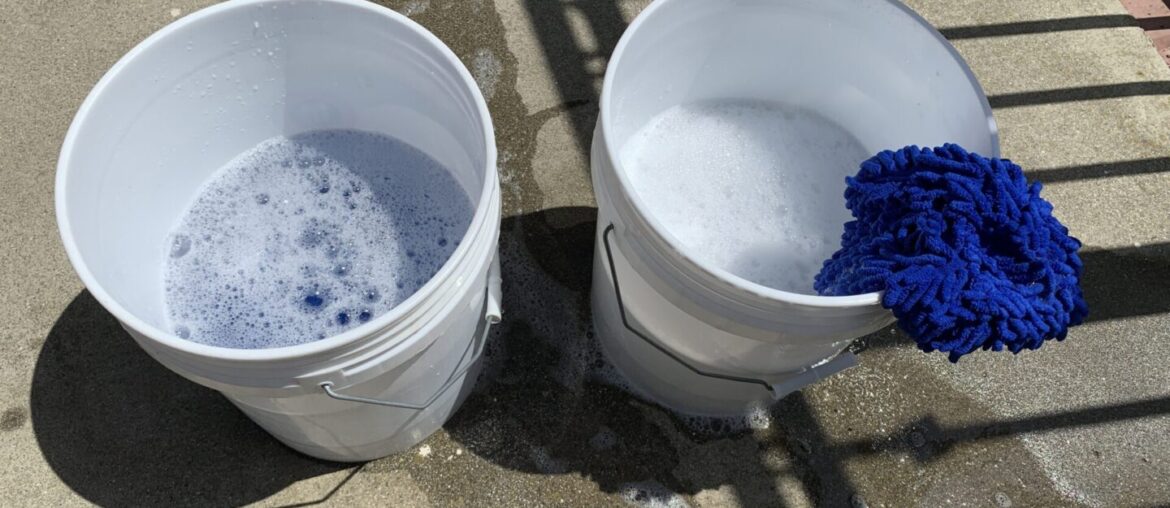
Simply put: the two bucket wash method is a way to hand wash your car that minimizes the chance of creating scratches or swirls on your car’s paint. It requires (as the name suggests) two buckets: one for washing and one for rinsing your wash mitt.

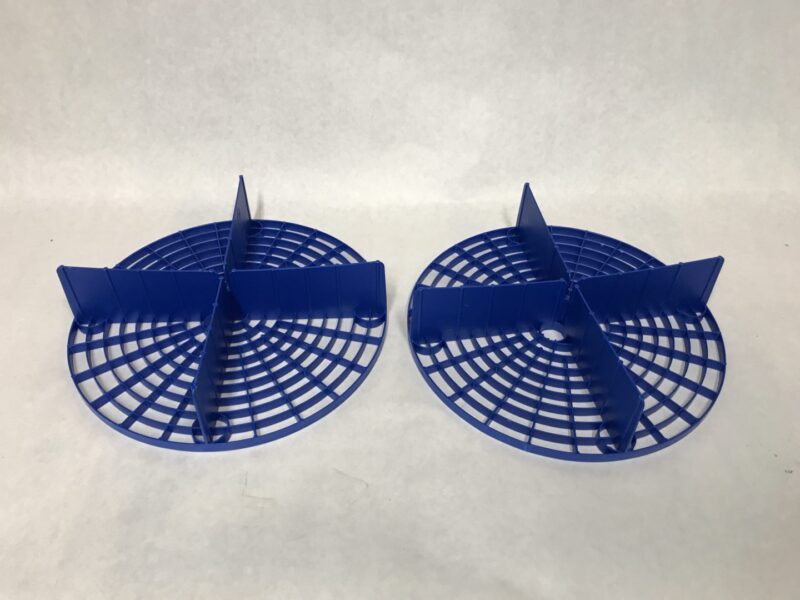
Each bucket should have a grit guard, which is essentially a plastic grille that sit at the bottom of the bucket to keep contaminants from floating back up and getting picked back up by your wash mitt. As you dip your wash mitt into each bucket, you’re rubbing the mitt onto the grit guards, which take the contaminants off of the mitt. These contaminants then float down below the grit guards and remain trapped between the grit guards and the bottom of the bucket.
The process of the two bucket wash is pretty systematic and may look something like this:
- Fill your two buckets with water, add car wash soap mixed with water into one bucket, and fill the other bucket with just water. Place grit guards into each bucket.
- Dip your wash mitt into the soapy water bucket, wash a portion of the vehicle.
- Take the dirtied mitt and place into the rinse bucket, rubbing the mitt against the grit guard so that the contaminants rub off and sink below the grit guard.
- Wring out the clean wash mitt.
- Dip wash mitt into the soapy water bucket, again wash another portion of the vehicle.
- Repeat this cycle until the car is finished.
Tools & Materials Used for a Two Bucket Wash
Car Wash Soap: Obviously any car soap will do. Some of the top recommended ones by detailers is on a list I put together of the top recommended car wash soaps from car detailers here.
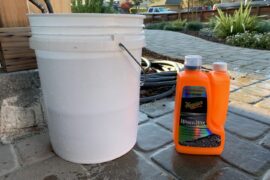
Wash Buckets (2 qty): Any 5-gallon bucket or similar works. Just make sure to have two of them. Chemical Guys
Grit Guard Inserts (2 qty): You should have one grit guard for each bucket. Make sure to read the description of whatever grit guards you get to ensure that it will fit the size bucket you have. Viking, Chemical Guys, Meguiar’s
Wash Mitt (2 qty): Wash mitts are excellent at pulling contaminants from the car and holding it within its microfiber piles so they don’t get dragged back onto the car’s paint. Relentless Drive Microfiber Mitt (2-Pack), AmazonBasics Microfiber Car Wash Mitt
How do you perform a Two Bucket Wash Method?
Fill up your two buckets with water, add the grit guards, and add soap into one bucket. Mix up the soap.
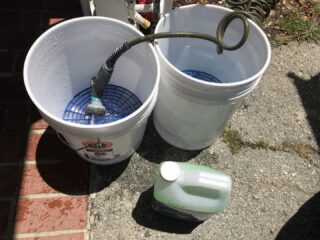
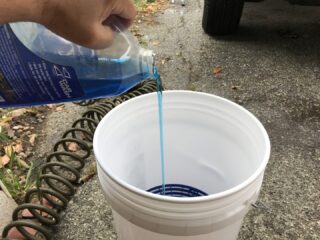
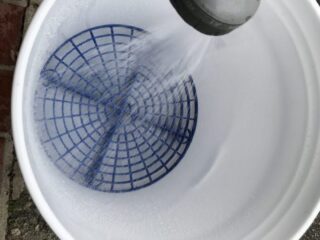
The purpose of applying soap is to help remove contaminants from the paint, but it also lubricates the surface to reduce the amount of scratching during washing.
The grit guards are elevated grilles that sit at the bottom of the bucket. When a dirty mitt is put into the bucket and is grazed against the grille, the dirt particles come off the mitt, fall through the grille, and get trapped below at the bottom of the bucket. The grit guard keeps the dirt from coming back up and getting back onto the wash mitt.

Essentially the two bucket wash method ensures that you reintroduce as little of the contaminants you wipe off the car, back onto the car. Every time you run the wash some of the car’s surface and collect dirt on your wash cloth/mitt, you may put this back on the car again when you wipe the next part of the car. The dirt and abrasives you’ve left on your mitt will continue to scratch the car’s surface over and over again, resulting in scratches and swirls in the car’s paint.
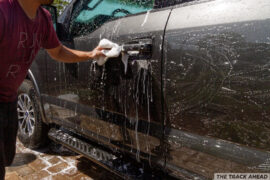
The two bucket wash method involves dunking your mitt into the soapy water, then running it over the car’s surface to remove contaminants from the car’s surface. You then take the mitt and dunk it into the water-only bucket and rub the mitt against the grit guard to remove as much of the contaminants as possible. This mitt (which should now be free of dirt/abrasives) can then be wrung out and put back into the soapy water bucket for you to start wiping down the next part of the vehicle.
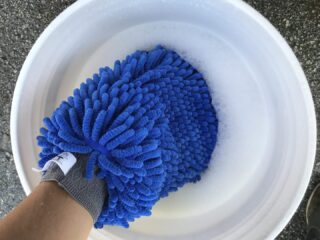
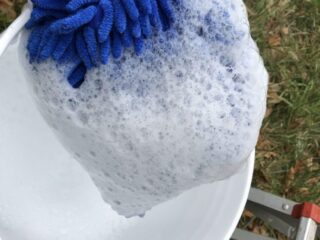
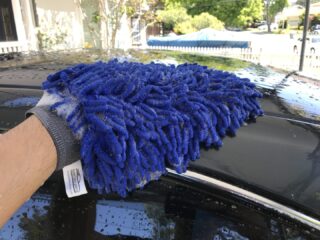
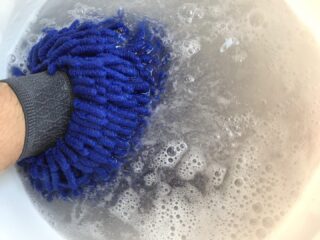
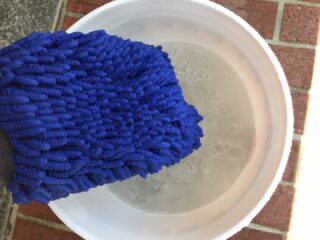
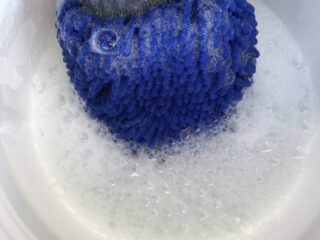
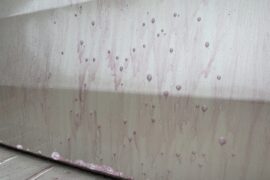
Once you start washing your car this way and seeing how much dirt and grime sits at the bottom of your bucket at the end of your wash (see below photos), you’ll see how much of these contaminants would have been re-applied to the car during a wash. If you are not performing a two bucket wash, you’re likely creating more scratches and swirls on the car’s paint with every wash.


After you’ve seen how much dirt and grime could have made it back onto your car’s paint while washing your car, you can see how using the two bucket wash method can prevent scratches in your paint. Furthermore, there are some other things you can do during a car wash that can help further reduce the chance of scratching your paint when washing your car.
Other Ways to Minimize Scratching during the Two Bucket Wash
There are other best practices when washing your car that can really help reduce the amount of cross-contamination, which will produce scratches in your car’s paint. Here are a few things that you should consider doing if you haven’t already been during your car wash.
Washing Wheels First or Using a Third Bucket for Wheels Only
Personally, I always wash my wheels first before starting my car wash. This is because I usually have to use a heavier duty wheel cleaner on the wheels since they are usually one of the dirtiest and hardest parts to clean on the car. If I washed the wheels later, I might get all of the contaminants (i.e. dirt, brake dust, etc.) splashed back onto the paint, which could potentially scratch the paint if I happen to run my wash mitt over the paint surface.

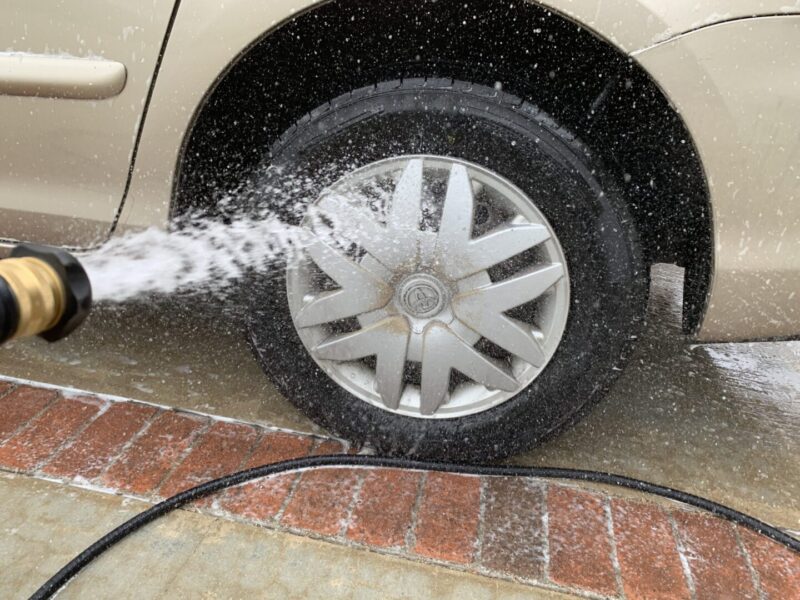
When I’m done washing the wheels, I will rinse the wheels down as well as all surrounding areas with water before I begin with the actual car wash. I also make sure to use dedicated wheel brushes (or a microfiber towel specifically used for the wheels only) so that I don’t get my wash mitt dirtied.
Alternatively, you can wash them all at the same time with car soap if your wheels can be cleaned with car soap alone. However, you should not share the same buckets as your wash mitt. It would be better to have a separate third bucket with a dedicated microfiber towel or mitt only used for the wheels. Again, you want to prevent cross-contamination between wheel cleaning and paint cleaning.
Drying Car with a Blower and/or Drying Microfiber Towel
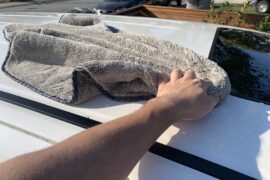
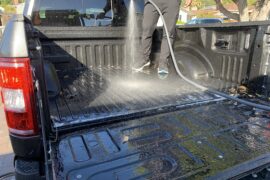
When you’re finished with washing your car and rinsing everything down, you’ll inevitably need to dry the car’s surface. Otherwise, you’ll end up with unsightly water spots from the dried up water on the paint. A good practice is to use a dedicated microfiber drying towel, which is made to not only dry the car’s paint, but to also minimize any trapped particles from dragging on the paint while drying.
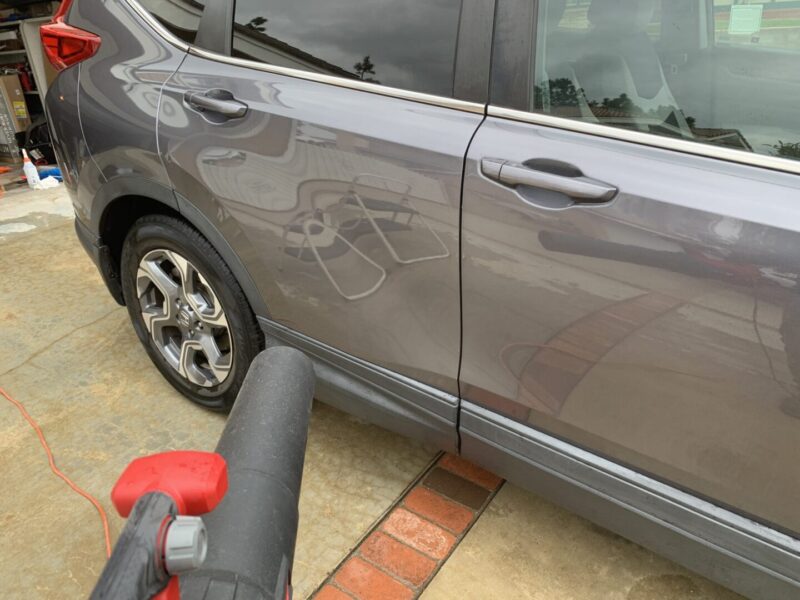
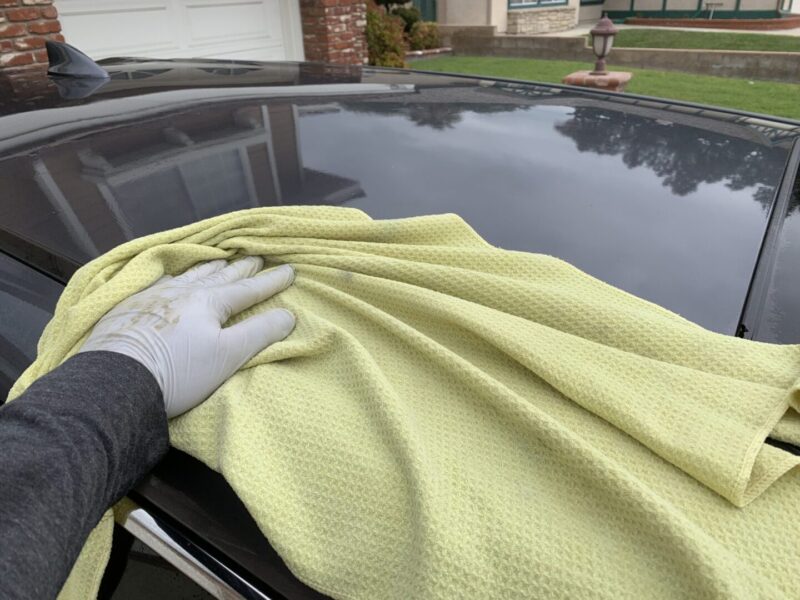
Furthermore, you can even use a powerful blower to dry the car to get as much water off of the vehicle as possible before finishing off with the drying microfiber towel. The reasoning behind this is that the less you touch your vehicle, the less likely you’ll introduce scratches into the paint. You just need to make sure you go with a blower that has a high CFM. Small air volume movers are too weak to be effective at drying a vehicle.
To further assist with the drying process, you might want to consider using a drying aid. A drying aid is simply applying a something to the car’s paint after washing and and immediately after rinsing off to provide some hydrophobic characteristics. This effectively reduces the surface tension of the water on the car’s paint. When rinsing off the vehicle again, the water will more easily sheet off of the vehicle, resulting in less water remaining on the paint surface to dry. The less water there is left to dry on the paint, the less drying you’ll need to do on the car.

Washing Car from Top-Down
Another good practice is to wash your vehicle from the top-down. This means that you start washing the roof, then work your way down the sides of the vehicle, and then save the lower portion of the car’s body for last. The reasoning behind this is that the bottom parts of the vehicles generally are more dirty than the upper parts, as it is simply closer to the ground and tends to get the brunt of everyday driving.
If you had washed the dirtiest parts of the car first with your wash mitt, then later washed the less dirty parts of the car, this again would lead to higher risk of scratching your paint. You’d be introducing contaminants from dirtier areas to less dirty areas. Rather, working from less dirty areas to the more dirty areas, you’ll reduce the risk of dragging contaminants from dirtier areas onto the cleaner surfaces.

