
When you make purchases through links on this site, The Track Ahead may earn an affiliate commission. Also, these posts are based off my own experiences. I am not responsible for any action you take as a result of reading this. Learn More
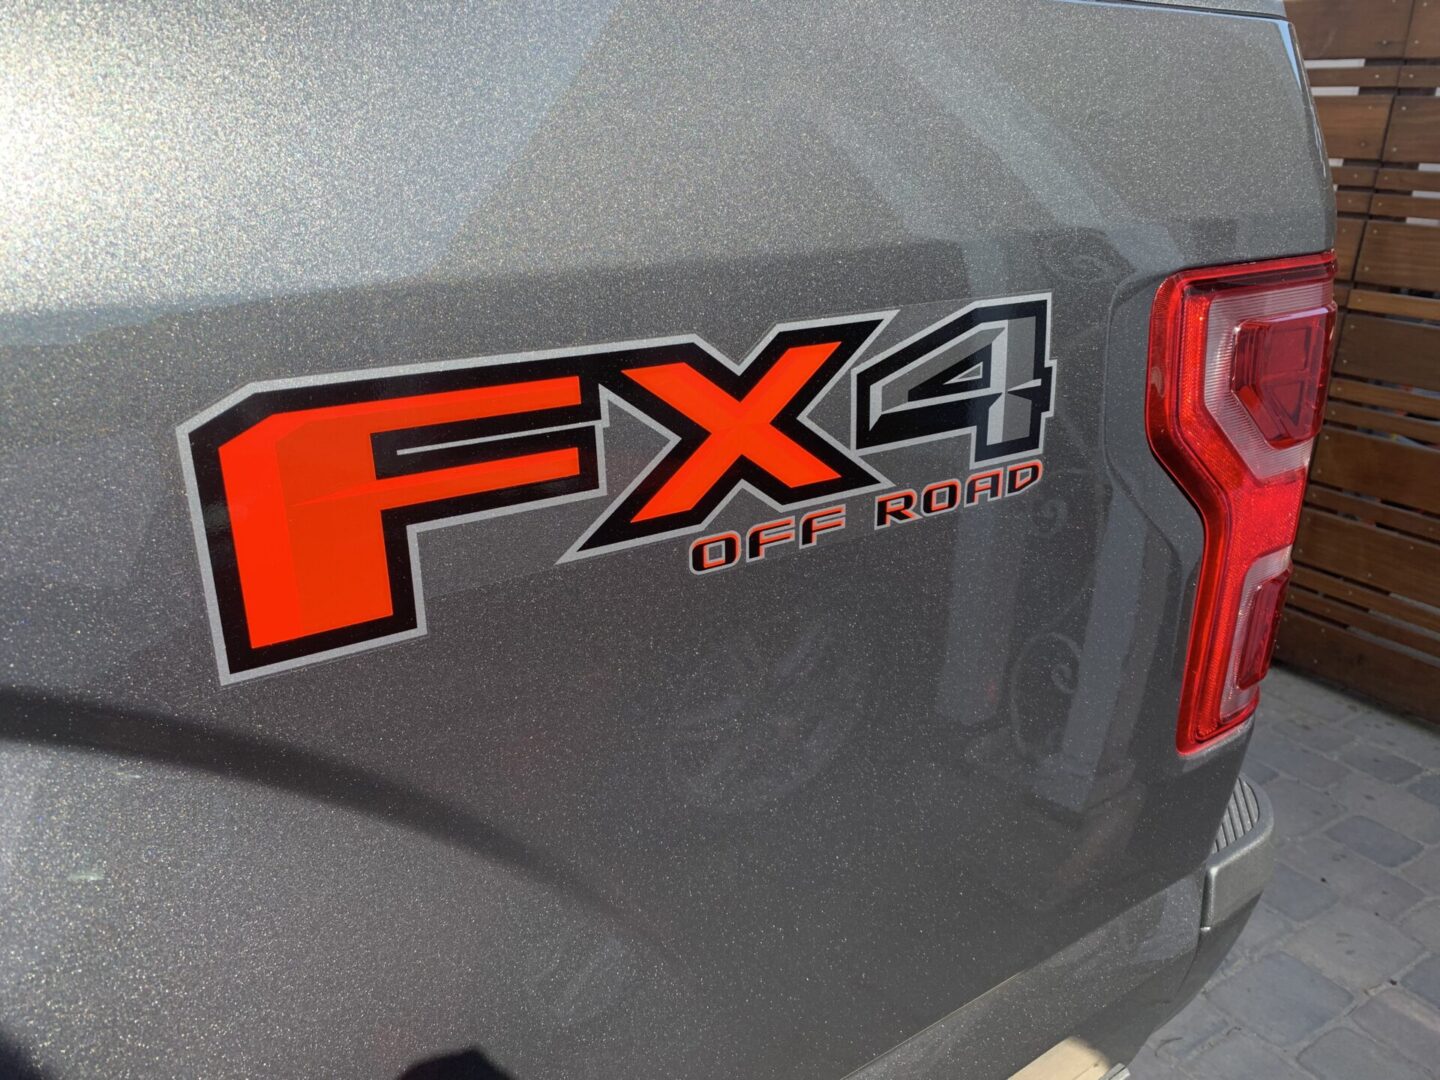
Removing Decals from your Car
Removing a decal from your car may seem like an easy task, however there are some particular things that you must know in order to properly remove decals. The main reason for removing decals is typically to change the appearance of the vehicle. Some reasons for doing this may include:
- car dealership stuck their own decal on your car and you want don’t want to give them free advertising.
- factory decal was installed incorrectly and/or it doesn’t look good to you.
- factory decal has aged and is yellowing or peeling.
Regardless of the reason for removing a decal, you want to be sure to properly remove the decal without damaging the car’s paint. And depending on whether you want to completely remove the decal, or if you want to replace it with another one, you must ensure that the surface is completely clean and clear of any remaining adhesive. In some cases of decals that have been on vehicles for many years, it is possible for the decal to leave etching or “ghosting” in the car’s paint, which will require further detailing to remove.
Tools & Materials
Heat Gun or Blow Dryer
A heat gun is probably the tool of choice for removing decals, as it provides more than adequate heat to facilitate the removal of the sticker from the car’s surface; you may also adjust the heat level by adjusting the temperature level or simply by moving the heat gun away or towards the decal. You may also use a blow dryer to apply heat if you have that laying around the house.
Heat Gun: Search results on Amazon
Adhesive Remover
I’d recommend having some of this on-hand if your decal is not brand new. Even if you’re removing a decal that is on a brand new car, there is a chance that some residue might be left behind so an adhesive remover will be useful to have around. Any of the below adhesive removers will work, it’s just a matter of preference what type you’d prefer. The 3M is an aerosol spray type and the Goo Gone formulas are offered in a spray gel or liquid type.
3M Adhesive Remover, Goo Gone Spray Gel, Goo Gone Liquid
Plastic Razor Blades
When the decal is extremely old or the sticker residue is very stubborn, you might need to use a plastic razor blade to scrape these remnants off. I wouldn’t suggest the use of this unless you really have to. There will be a higher chance of gouging/scratching the car’s clear coat and paint as you scrape the decal remnants off. Also, don’t use a metal razor blade; this will almost guarantee some major damage to your car’s paint.
If you are needing to use a plastic razor blade to scrape, work slowly and carefully. Any minor scratches introduced in the car’s clear coat during the scraping process is not so much an issue. If the decal is already in such bad shape and requires scraping with a plastic razor blade, it is likely that you’ll need to polish afterwards anyway.
Car Wash Products
After you remove your decal, you should give your vehicle a good wash down. This will allow you to get a better look to ensure there is no remaining residue and whether or not additional work needs to be done to remove etching or ghosting left from the decal. You may follow this guide for more information on washing your car.
How to Remove Decals your Car
Decals are essentially stickers that are stuck onto your car’s paint (in actually, it’s the clear coat on top of your paint.) So if you’re removing decals from your car, you’re really peeling the decal off of your clear coat. Knowing this, it’d be difficult to damage the car’s paint unless you are physically causing the damage by accident, or if you’re applying too much concentrated heat from the heat gun.
You should know that heat will be your best friend during this process. It is best to work on decal removal on a hot sunny day, where the heat from the sun will help to soften the decal adhesive for easier removal. In addition to the heat from the sun, using a heat gun will supplement and help with the decal removal. If you just can’t work when it’s sunny out or you just don’t have enough heat from the sun, the heat gun can provide you with all the heat you need.
First begin by cleaning the area with a cleaner or car wash soap, and then wiping it clean with a microfiber towel. This just makes for a nice clean slate to work with.
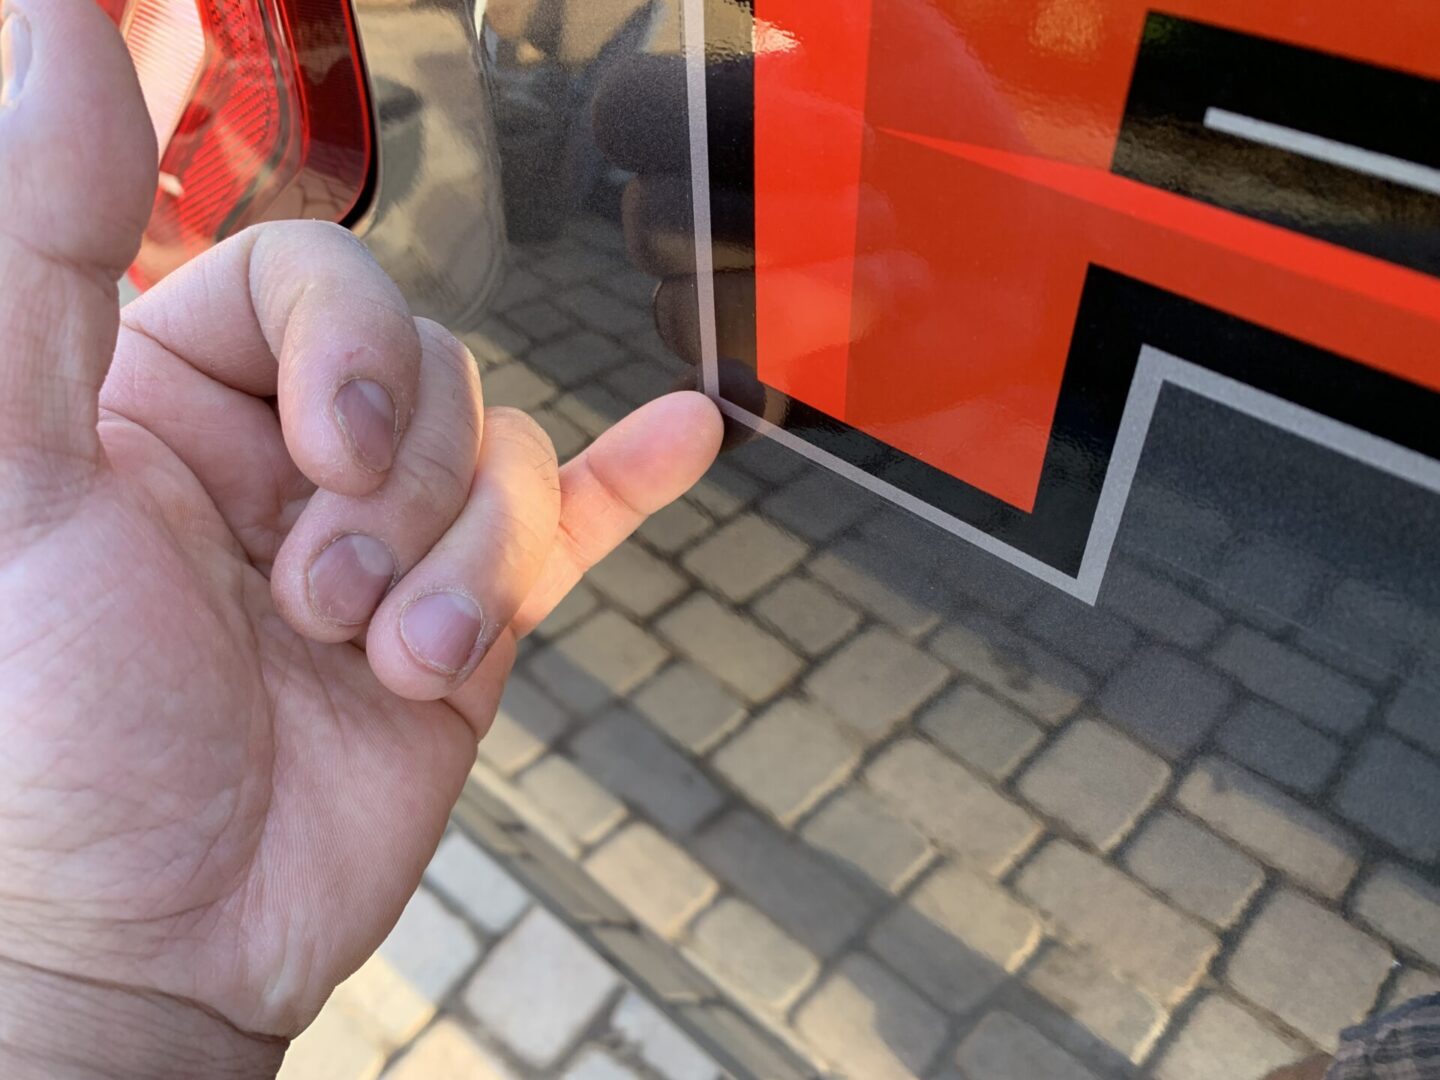
Using your fingernail, start with the corner of the decal and gently pick the decal off of the car little-by-little. Do it until you can see that you are able to remove the decal a small bit.
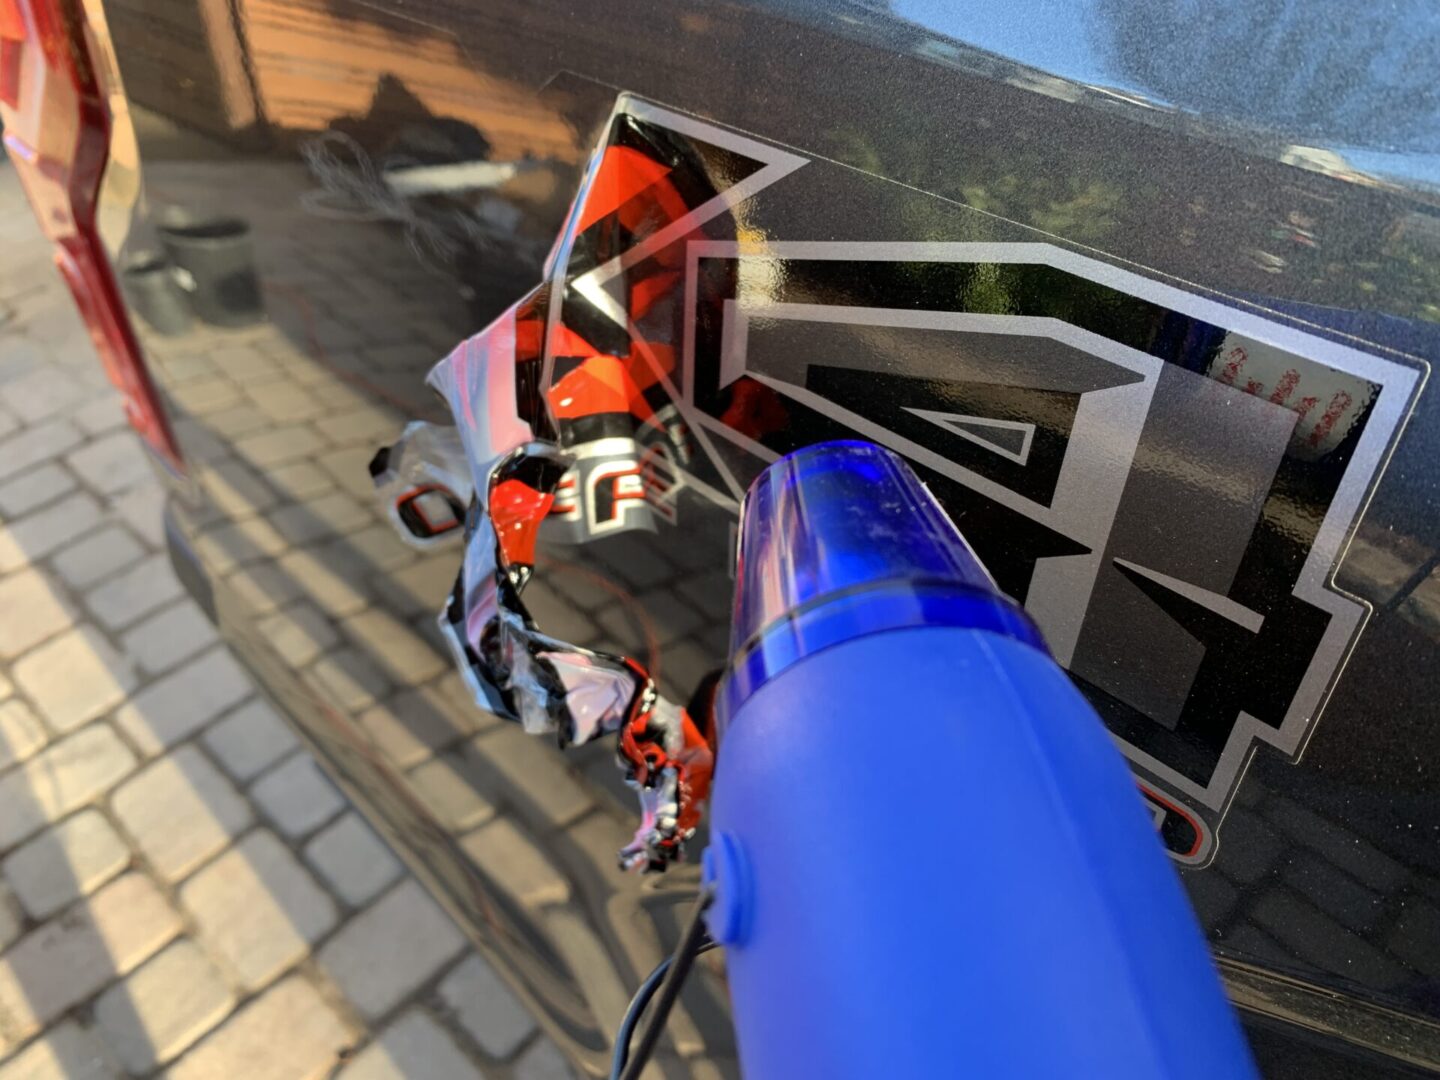
If you went ahead and removed the decal by peeling it all off without the use of a heat gun, you’re likely to leave behind a whole mess of residue or leave pieces of the decal still stuck to the vehicle. You’ll want to apply heat with your heat gun as you peel the whole decal slowly.
When using a heat gun, it’s important to never let the heat gun stay stationary and to never place the heat gun too close to the car. This will lead to damaging your car’s paint to some degree. Constantly move the heat gun at a safe distance until the decal is very warm or slightly hot as you peel the decal back.


I find it effective to heat the surface of the decal that you are going to peel back (the unpeeled portion of the decal) before peeling it. Then as you pull back on the decal, you should typically pull back somewhere between a 45-degree angle and 90-degrees (perpendicular) from the car’s surface. However, experiment a bit on the angle of the pull to determine what seems to work best for your application.


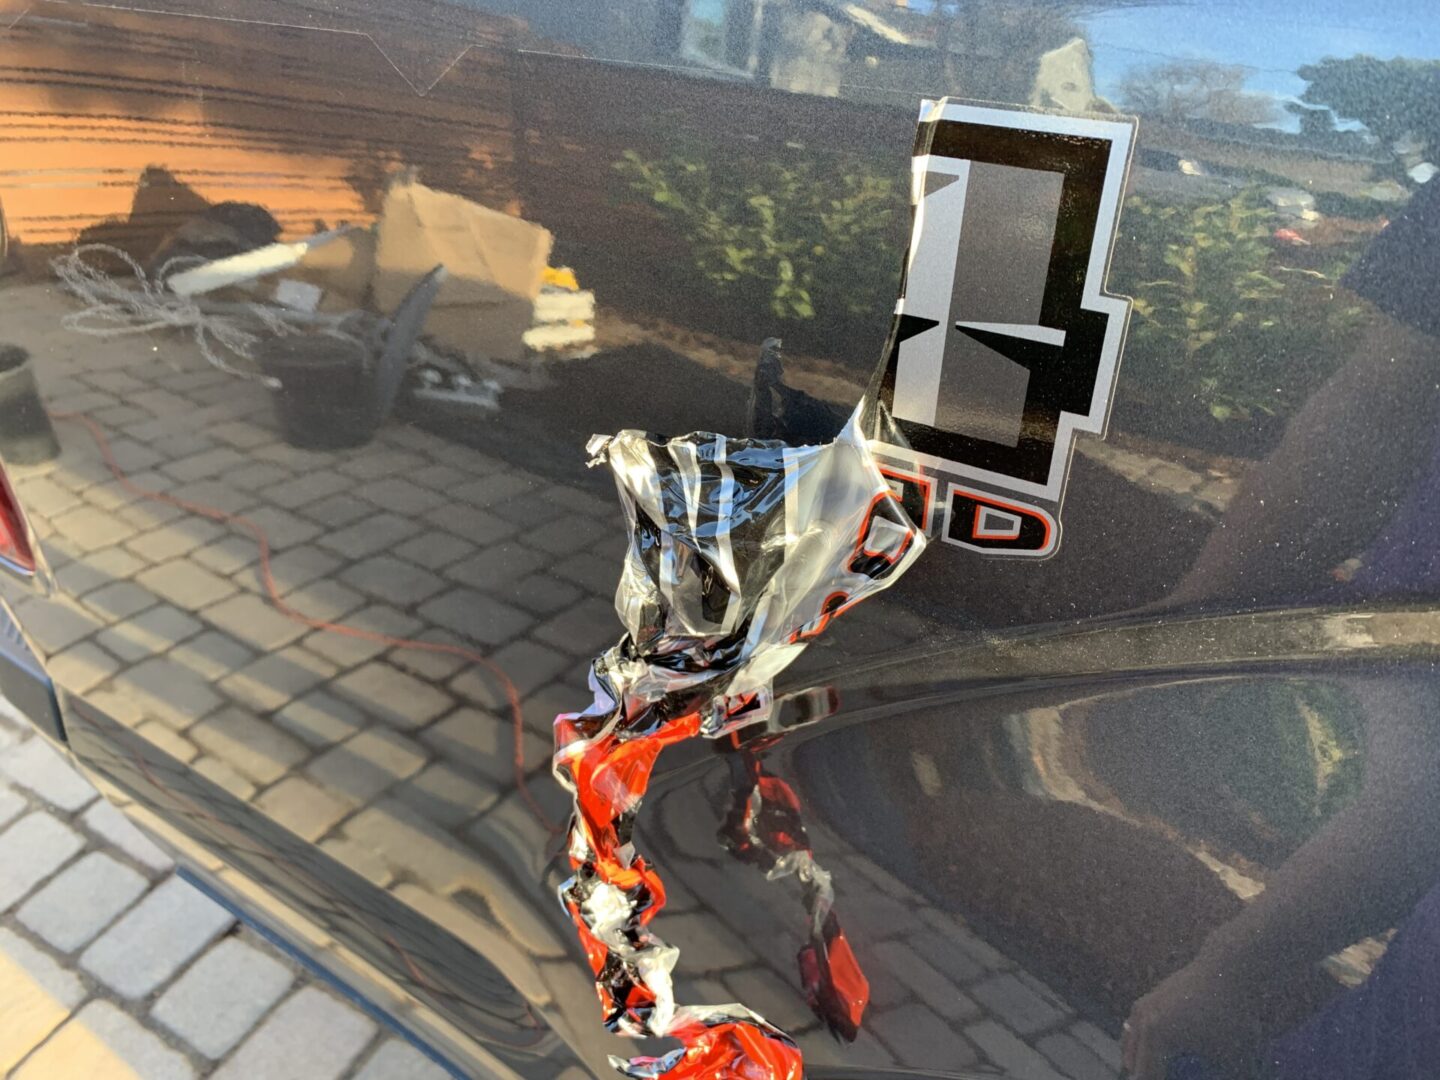
Try to rip the decal off as a whole piece. This provides you with more of the decal to grip so that you can pull back with. As you peel the decal back, it may rip. Just continue to apply heat with the heat gun and start again at a corner where it ripped and continue peeling back a little at a time.
With some patience, your decal will be off completely and you can then assess what’s left behind. Depending on how long the decal has been on your car for, you will have different results and subsequently a different process for cleaning what’s left.
Removing Decals on a New or Fairly New Car
If you have a brand new car (or almost new), the decal would not have had much time spent on the car. Therefore, you’ll likely be left with a line of dirt that outlines the area where the decal used to be. This can easily be cleaned up with a car wash or simply cleaning the area with a cleaner and a microfiber towel. If you have some sticker residue left, some adhesive remover with a microfiber towel will clean it right up.

Removing Decals on Older Cars
In the case where the decal has been on the car for a significant amount of time, you might have some notable sticker residue left on the car after removing the decal and cleaning off the remaining dust/dirt on the paint surface. In this case, use adhesive remover on the area to remove the sticker residue as needed.
If the sticker residue is stubborn, try applying the adhesive remover, and then place some saran wrap over the area, letting it sit for a few minutes before trying to remove the sticker residue again with a microfiber towel. Once the sticker residue is completely removed, clean the surface again to ensure it is completely clear of any adhesive. Only use a plastic razor blade if you have to.
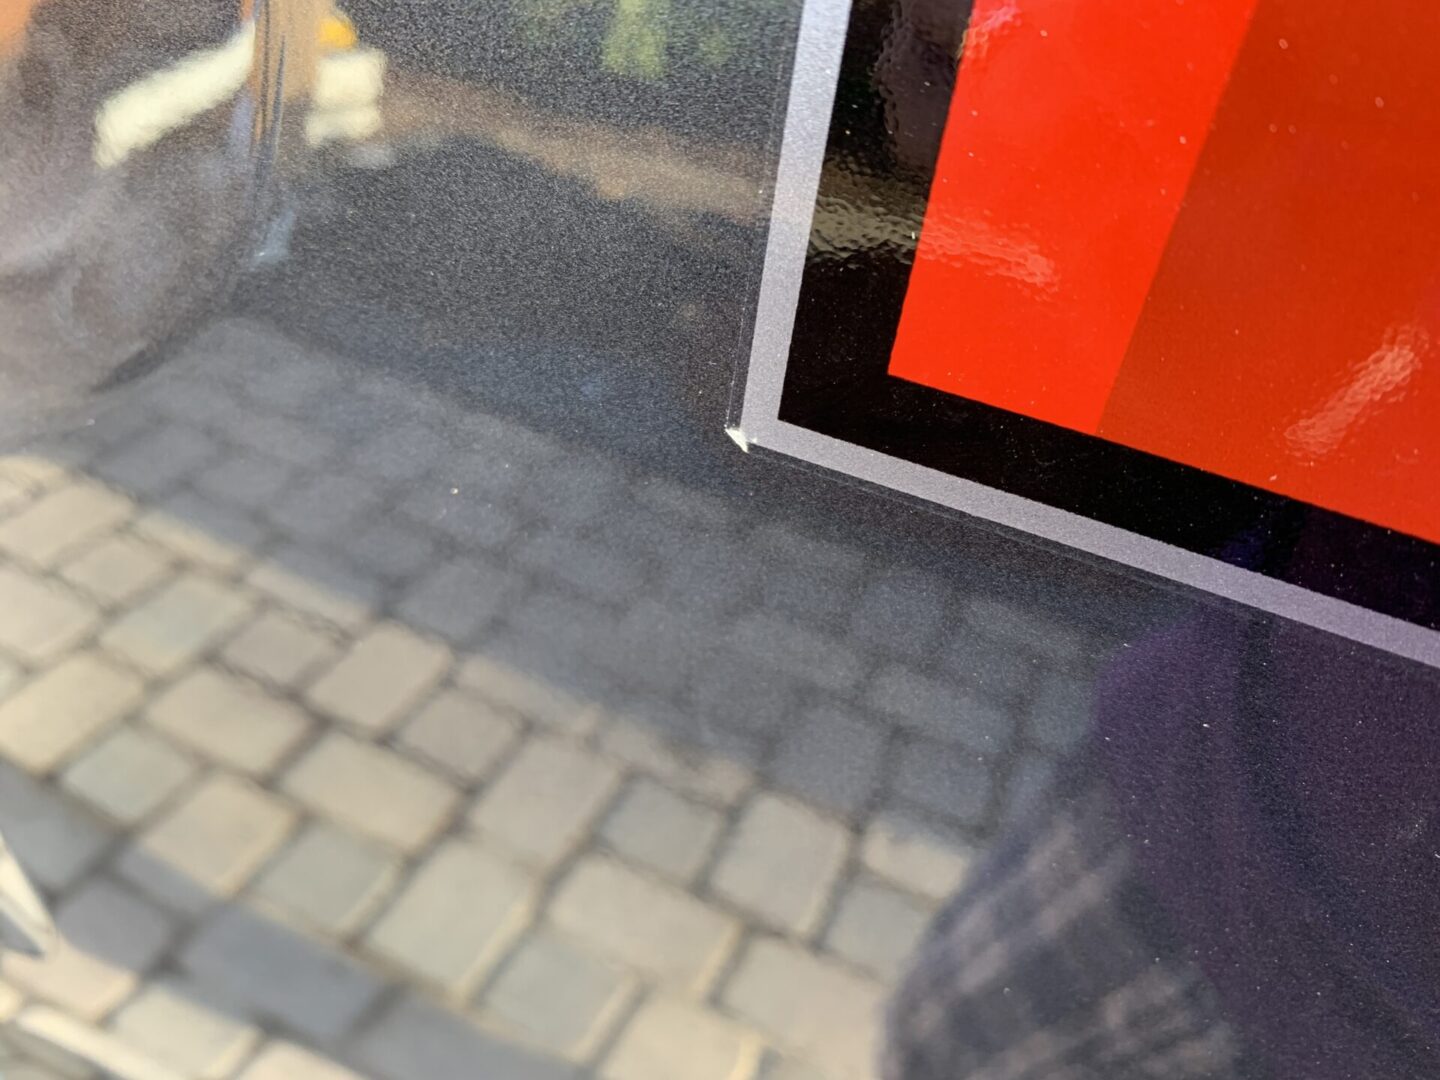
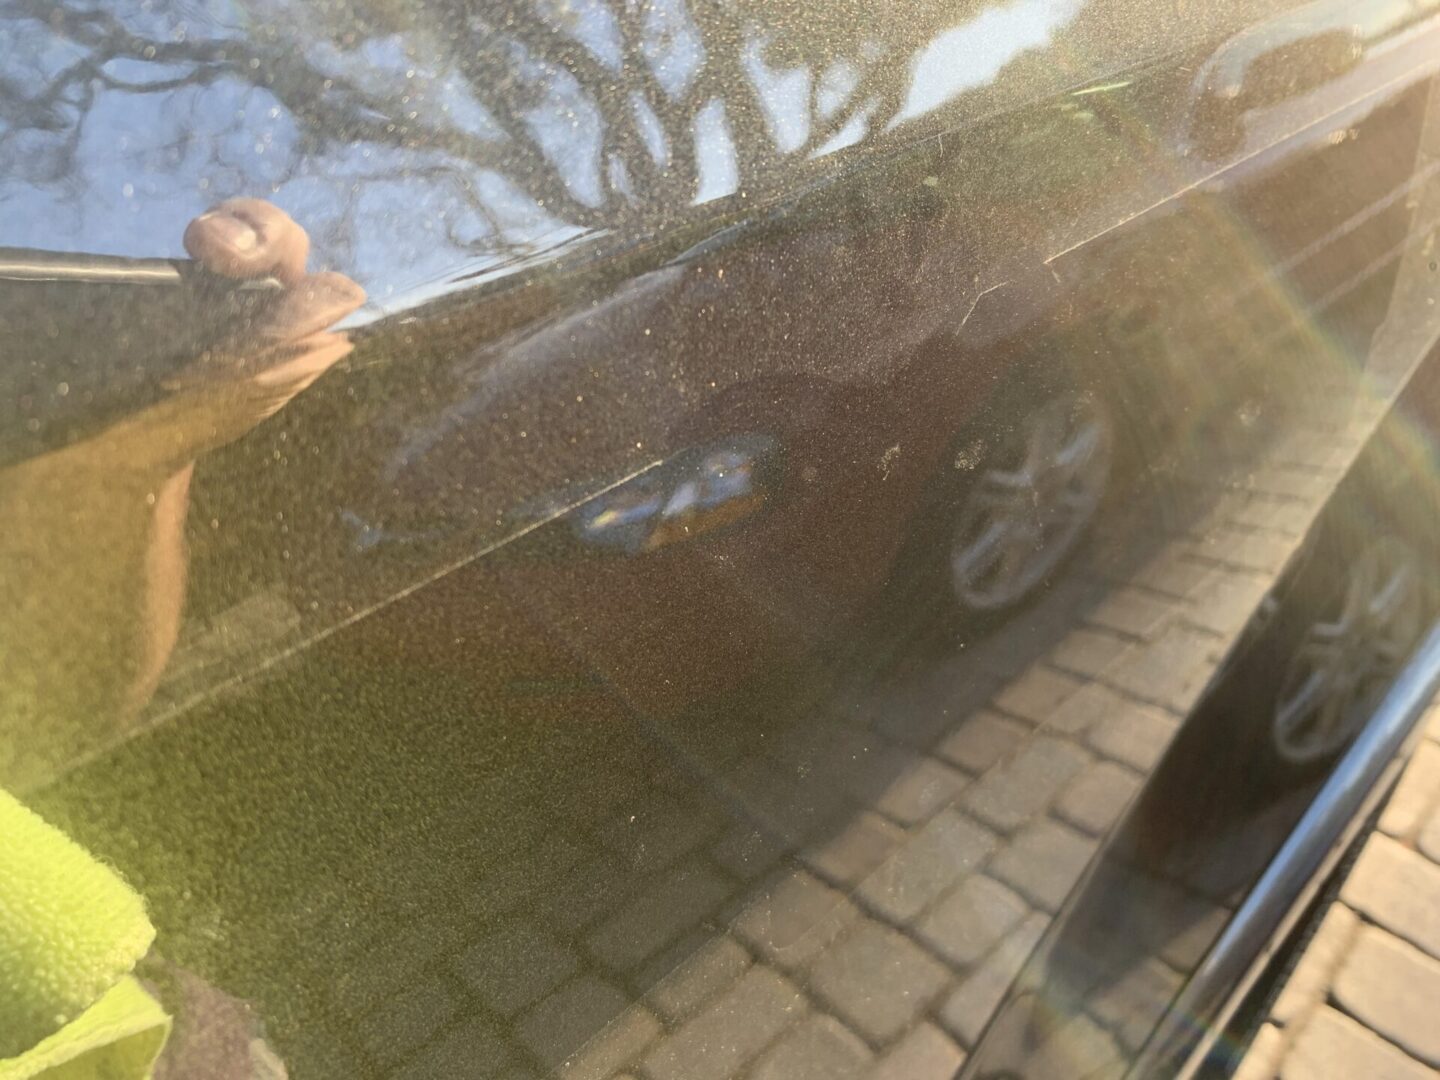
Finally, assess the car’s paint. Look at the sunlight’s reflection off of the paint to see if any permanent damage was done to the car’s clear coat as a result of having the decal there. If there is some light haze or “ghosting” of the decal left in the car’s clear coat, you may need to use a polish and polisher to remove that imperfection. This level of paint correction will usually handle a majority of the remainder left behind from the decal on the car’s paint.
After Removing Decals from your Car
When main goal of removing decals from your car is not to simply remove them, but to make it appear as if they were never there to begin with. Using heat and careful removal of the decals, you’re preventing as much sticker residue being left behind. Adhesive remover will chemically remove what’s left. And finally, any damage to the clear coat is addressed with further paint correction.
After taking these steps, you should wash your entire vehicle and take a good look at the area where the decal was removed. Many times, it may look great and you may believe that you’ve removed everything. But later down the road, you may catch a glimpse of a reflection shining off that particular area and see the outline of the decal you removed previously.
So carefully look over your vehicle once you’re done to guarantee the decal was removed completely and without anything left behind. Bear in mind that there are times when the decals have been on for so long that even extreme paint correction may still not completely remove the ghosting or imprint of the decal left behind. In this rare circumstance, my recommendation would be to simply go through the process of removing the decal, cleaning and polishing as required, and then simply replacing the decal with the same but new decal. For all other cases, you can typically get the area where the decal used to be, to look as if nothing was there to begin with.


