When you make purchases through links on this site, The Track Ahead may earn an affiliate commission. Also, these posts are based off my own experiences. I am not responsible for any action you take as a result of reading this. Learn More
If you’ve ever wondered whether or not you can apply a decal on your car when it already has a ceramic coating, the answer is yes but it may not last very long. Of course, you can physically stick a decal right over a ceramic coated car and it will stick on the ceramic coated paint, but because the ceramic coating is intended to be a barrier that repels water and other contaminants with its slick surface, it may be difficult for a decal to adhere properly and stay on for very long.
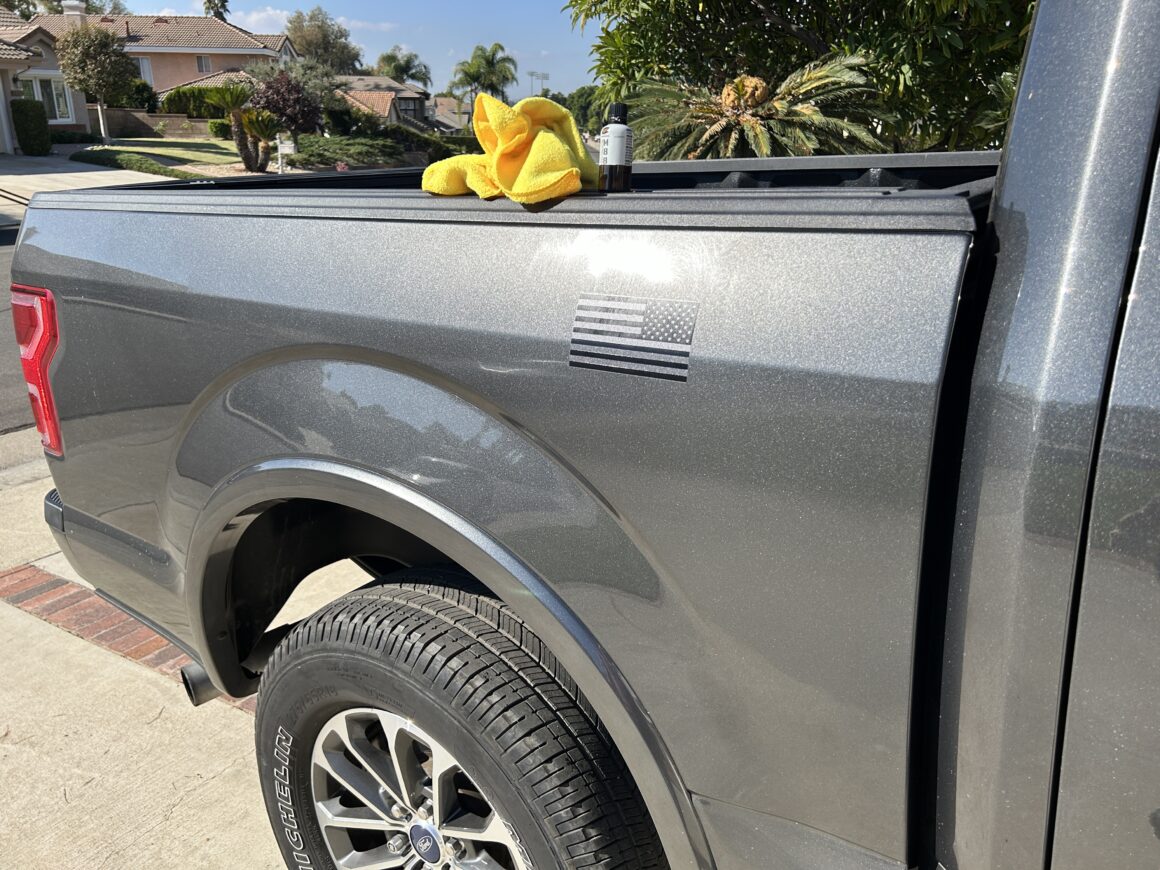
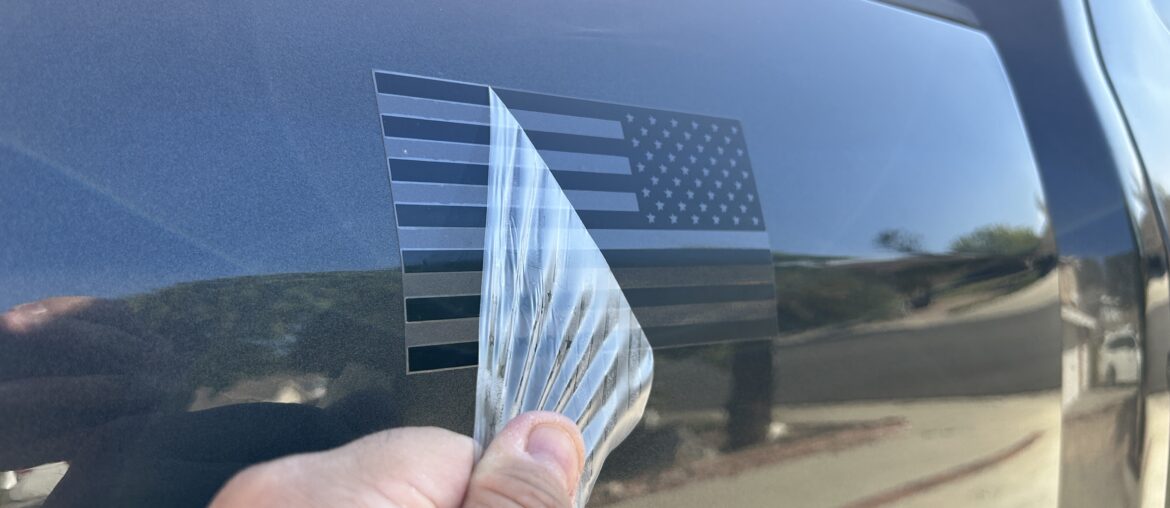
If you still wish to apply a decal on top of a ceramic coating, you can. Just keep in mind that it may not stay on your car as long as if you were to remove the coating at that location, apply the decal, and reapply the coating. Some people do report that they’ve been able to apply decals over ceramic coatings, but those accounts are mostly anecdotal. Who knows if the ceramic coating was still holding up or if it has worn off? Below, I have a newly cured ceramic coating on my truck, and I applied a vinyl sticker (what decals are made from), and it was incredibly easy to peel right off.
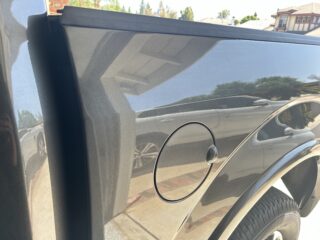
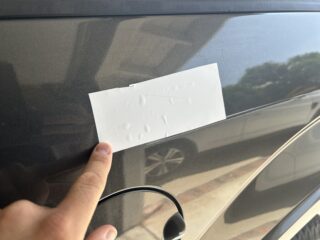
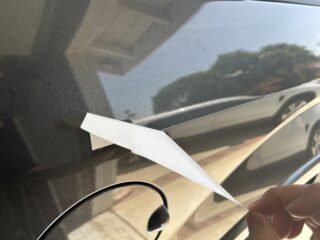
To properly apply a decal on a ceramic coating, you’d need to remove the ceramic coating in the area, apply the decal, and then reapply the coating. If someone else had installed the ceramic coating for you, then it would be difficult to do this especially if you don’t have the same ceramic coating to reapply later.
I’d say if someone else installed your ceramic coating, I would just apply the decal right over the coating (after cleaning the area of course) and expect it to have a shorter life span than expected. But if you’ve installed your coating (and still have extra) or you have the coating to reapply later, then you can follow this guide for applying a decal on a ceramic coated car properly.
Tools & Materials
Polishing Tools
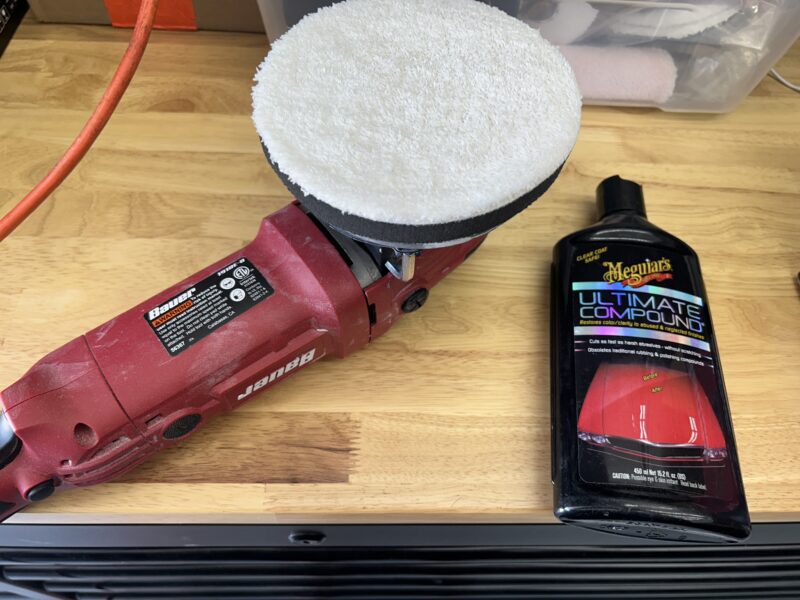
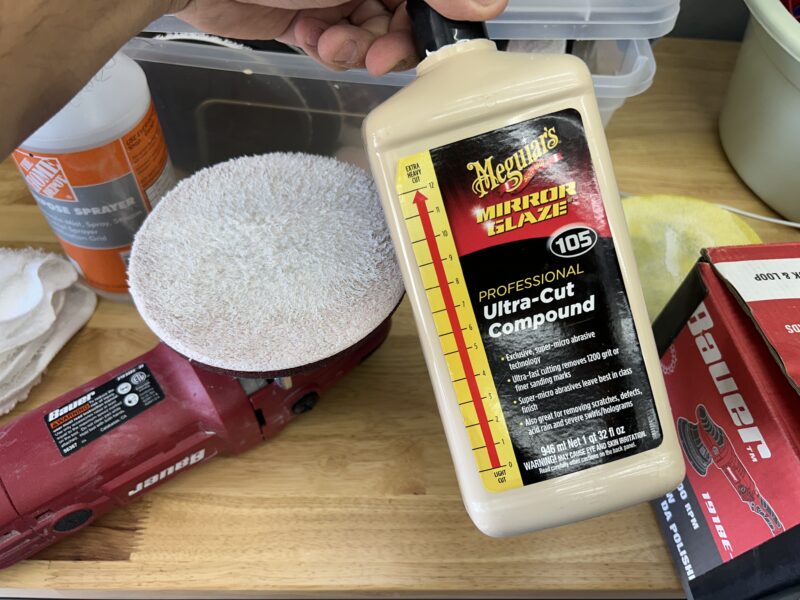
For best results, use a long-throw polisher along with a microfiber cutting disc and a heavy cutting compound like Meguiar’s M100 (similar to Meguiar’s M105) if you want to cut through the ceramic coating quickly. A regular DA polisher will also work along with your typical foam polishing pads and a more consumer-grade cutting compound like Meguiar’s Ultimate Compound. The brand doesn’t matter, but these are products I’ve had experience with and used for this guide.
It’s possible you could get away using polish rather than a more aggressive compound, but you may not want to spend more time than you need to as sometimes these ceramic coatings can be quite hard to remove. In this post, I’ve used a long throw polisher, a microfiber cutting pad, and a more aggressive cutting compound.
More aggressive:
Rupes LHR21ES Long Throw Polisher
Meguiar’s Microfiber Cutting Disc 5-in (2-pk)
Meguiar’s M100 Pro Speed Compound
Less aggressive:
Porter Cable 7424XP DA Polisher
Lake Country CCS 5.5 in (2pk) Polishing Pads
Meguiar’s Ultimate Compound
Microfiber Towels
These will be used to clean the area you’re working in, remove excess polish, and even level/buff off the newly applied ceramic coating.
Chemical Guys 16″ x 24″ Microfiber Towels (6-Pack)
Zwipes Microfiber Cloths (48-Pack)
AmazonBasics Microfiber Cloths (24-Pack)
Removing the Existing Ceramic Coating
I’ve used both a consumer grade compound (Meguiar’s Ultimate Compound), as well as a professional grade one (Meguiar’s M105, which is similar to M100) with my long throw polisher and a microfiber pad. Both works well for the purpose of removing an already installed ceramic coating, although the M105 or M100 will get the job done quicker.
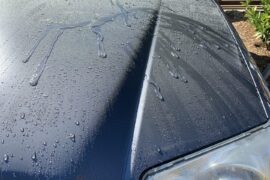
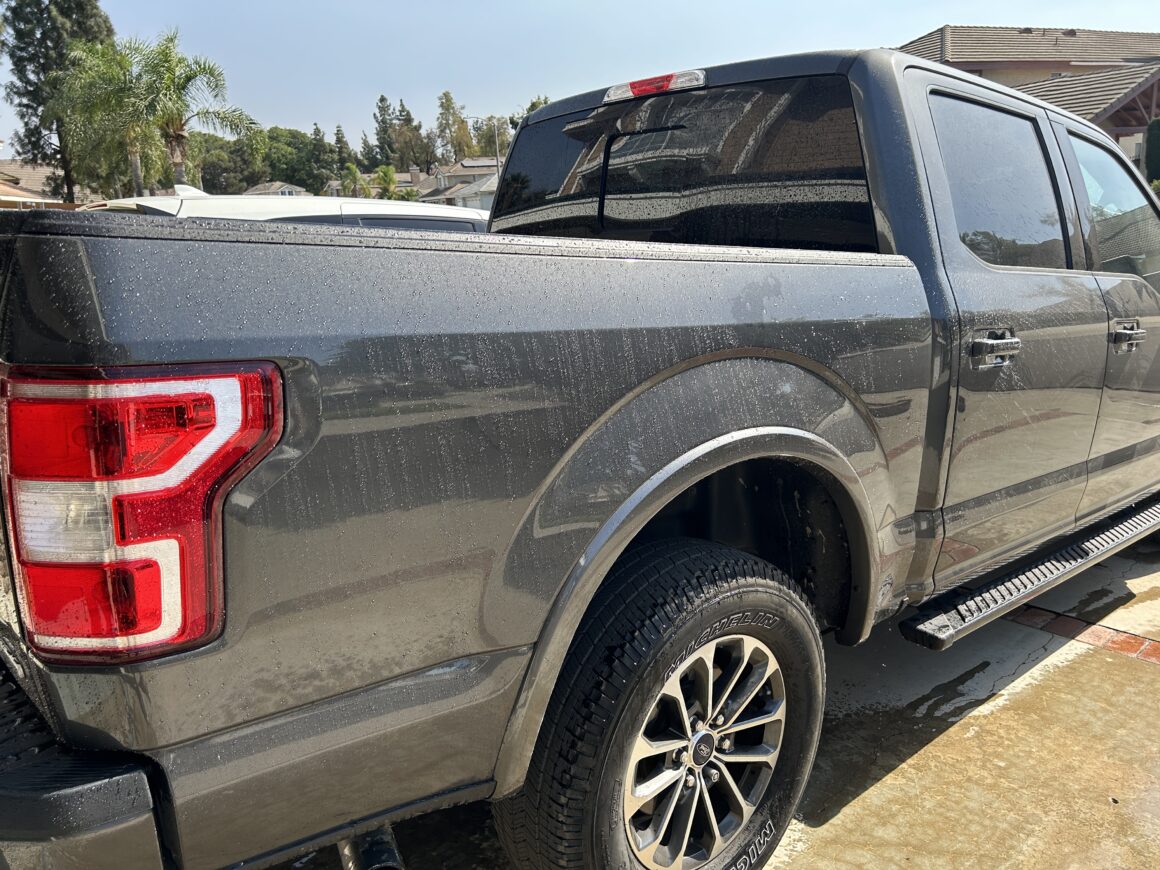
The first thing to do is to prep the area where you plan to apply the ceramic coating. Wash the area clean with soap and water. You can immediately see that the ceramic coating is doing its job, which is to repel water–apparent from the hydrophobic behavior of the coating.
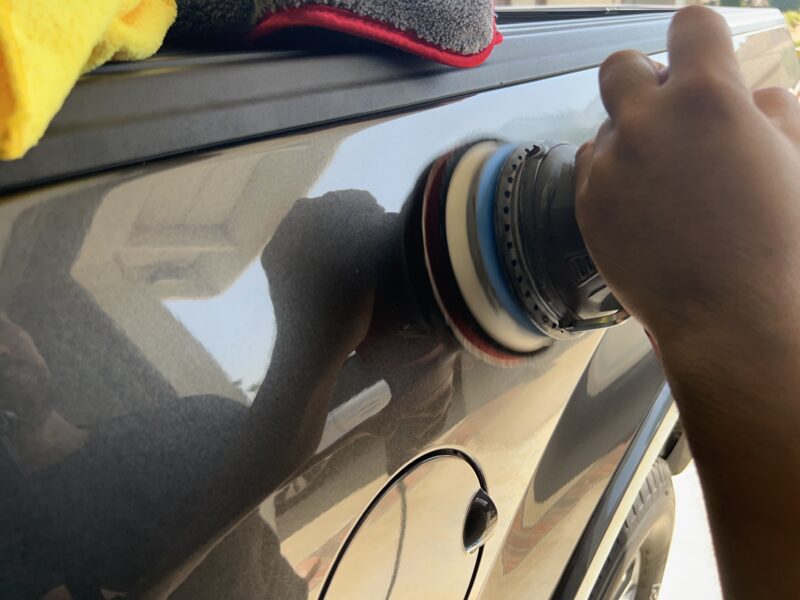
After drying the area completely, you can begin polishing the area. Following good general polishing practice, prime the pad (apply some compound to the pad itself), apply some compound to the area, then polish slowly and overlap your passes both left-to-right and up-and-down. Then, wipe away with a microfiber towel.
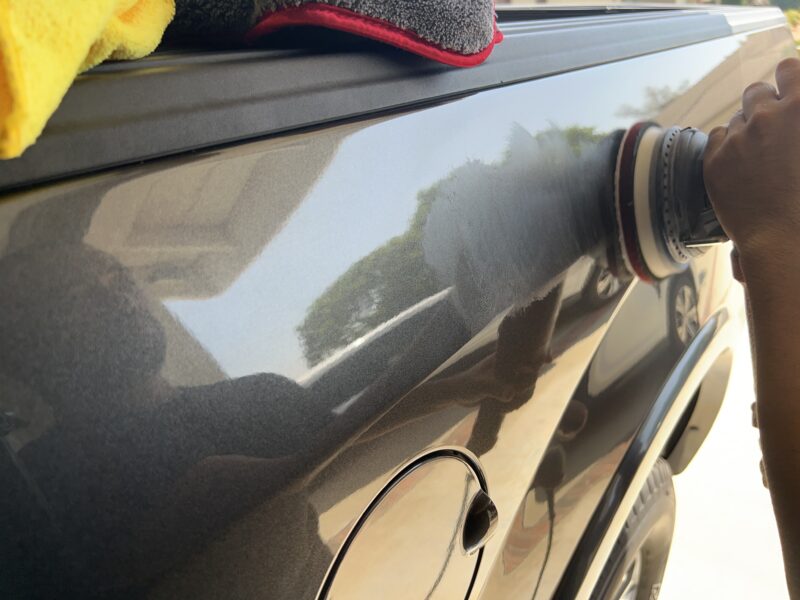
Spray some water onto the surface of the paint to see if the ceramic coating has been removed. It may take a number of passes to fully remove the ceramic coating in the area you’re polishing. It took me about 4-5 passes to fully remove my recently installed ceramic coating. After each polish, wipe away, spray water, and check the behavior of the water on the surface.
You should be able to see if the water starts to bead less and less. Don’t expect it to not have any beading at all because even if the coating is fully removed, it may still exhibit some beading due to the fact that if you polish a surface smooth, exhibit some beading still. Therefore, when you are checking with water after every time you polish, you just want to ensure that there is a difference in how it beads water. You can see this difference in the picture below from the center of the photo where the coating was removed, and the outside areas where water still beads up nicely.
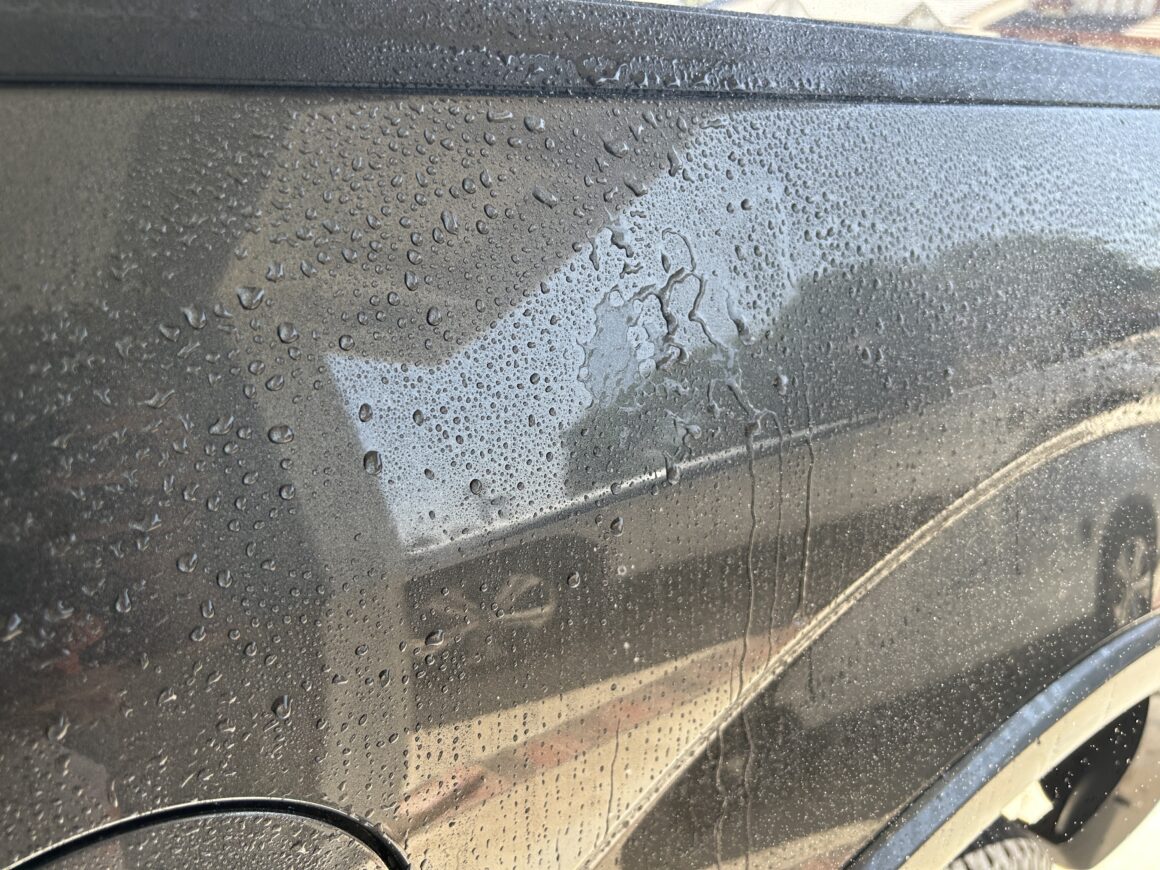
Sometimes you need to wait about a week after you’ve done the polishing before you can see some noticeable difference. I wouldn’t do more than 5 passes of polishing as you don’t want to wear down the clear coat of your paint. You don’t have to wait a whole week to apply the decal, but I want to illustrate that the ceramic coating may actually be removed from polishing even though it may not be very noticeable while you’re doing it.
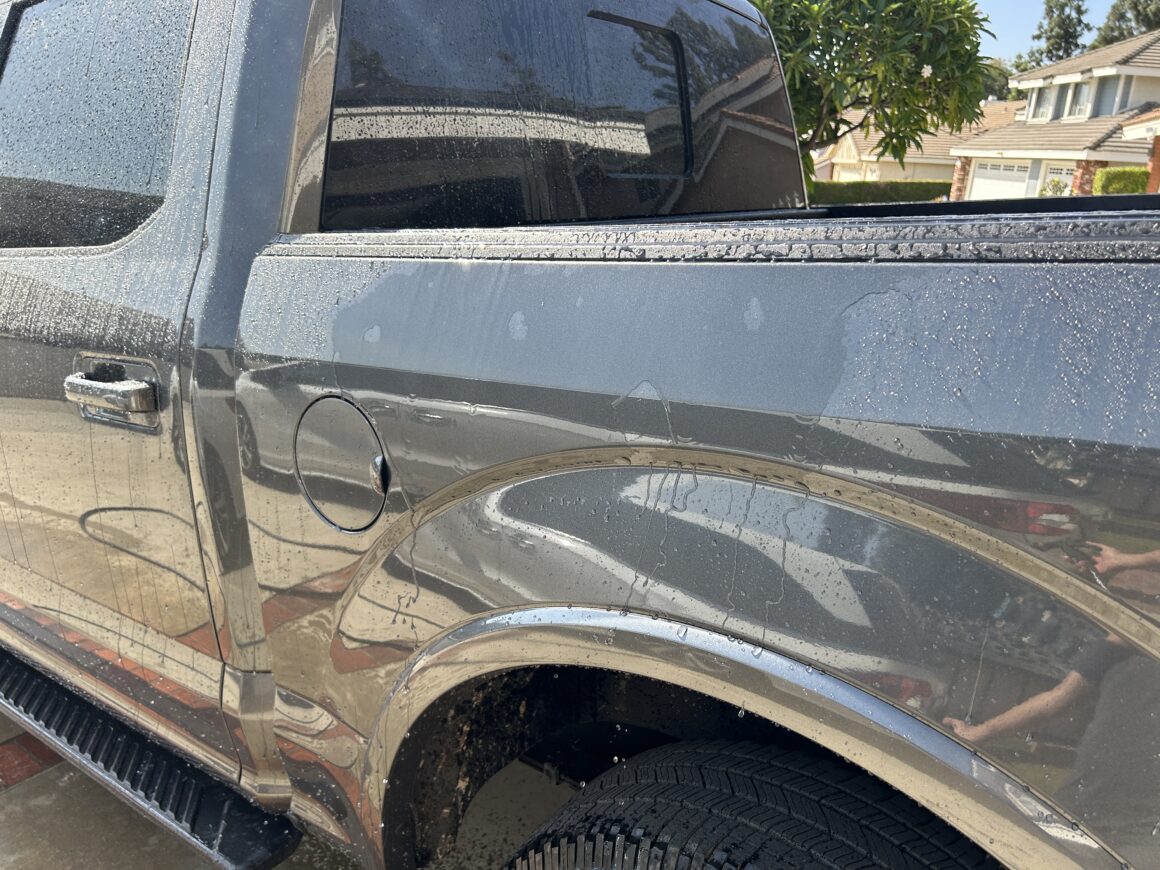
Now that you’ve confirmed that the area no longer has a ceramic coating, you are free to install your decal as you see fit. Ensure that the area is fully dried. Then use isopropyl alcohol and wipe it clean prior to applying your decal. This is the same kind of prep you’d do prior to installing a new smartphone screen protector.
After application of the decal, you can go right back and apply the ceramic coating. Ensure that the entire area (not just where the decal is) is fully cleaned and dried. Then apply the ceramic coating per the manufacturer’s instructions.
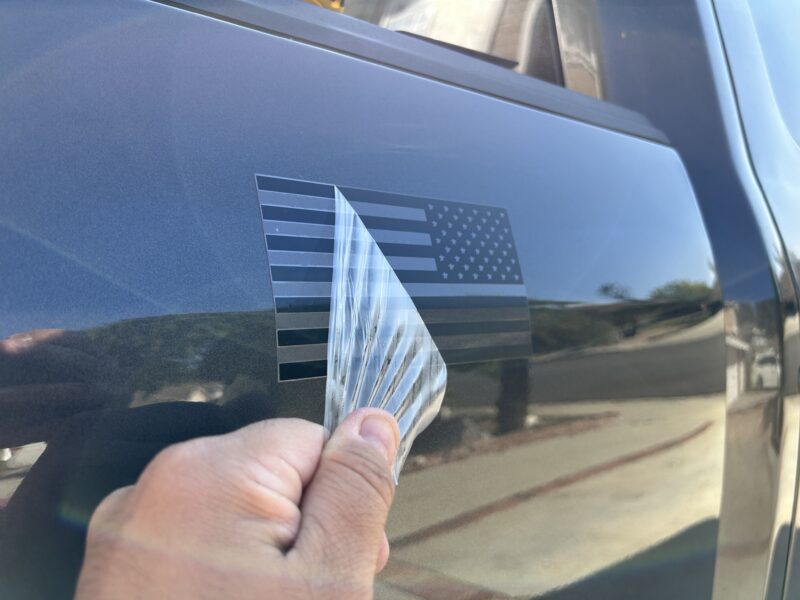
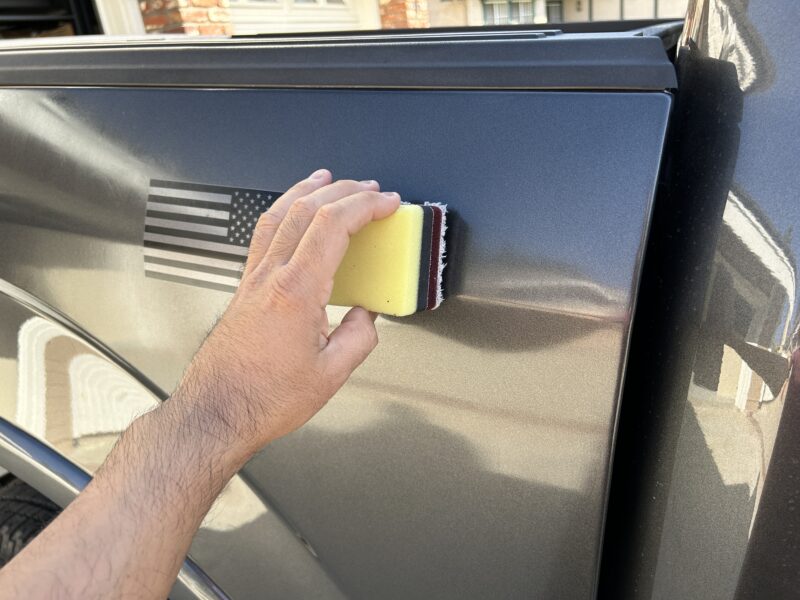
Finally, after the decal has been installed per your liking, go back with your ceramic coating and apply it over the decal as well as the surrounding areas that you previously removed the ceramic coating. As always, follow the ceramic coating manufacturer’s instructions for installation. If you want to know how to apply a ceramic coating, I have a tutorial here that guides you through the process.
