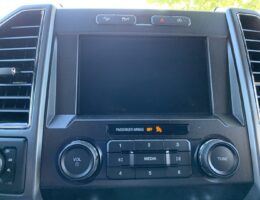
I’ve found glass screen protectors available for the 13th generation Ford F-150 that utilizes the SYNC 3 vehicle entertainment system. Not only do these screen protectors (as the name suggests) protect your screen, but it also gives a nice appearance of almost having no screen protector at all. In order to get the screen protector to appear almost invisible, you must install it properly to prevent visible air bubbles from being trapped between the screen and the screen protector.
Personally, I love my FX4 stickers on my new Ford F-150. Not only do I think it looks great, but it seems to fill the little space between the rear fender and the tailgate. But after taking a closer look at my truck, I started to notice that the FX4 logo on the passenger’s side looked very crooked. I knew that I’d either have to deal with the hassle of pressuring the dealership to fix it, or I could just handle it myself.
During the COVID Pandemic, my Acura CL-S has been sitting a lot more than usual without the opportunity for me to take it out for a long commute to work to get the battery properly re-charged. There was a long stretch of time where the car sat a little too long and the battery depleted completely. After I fully charged my battery with a battery tender, I tried starting up the car again and it would not start. It would crank, but it just wouldn’t turn over. After doing a quick search online, I found a common issue with many Acuras, Hondas, and other makes that use a relay called the PGM-FI relay.
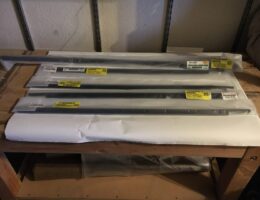
A common issue on these 4th generation Toyota 4Runners is the deterioration of the window moldings or weatherstripping over time. These are the rubber molding pieces that sit atop each of the doors (and liftgate) and between the door and window. Replacing these moldings is an easy job, however the cost of these parts can be a bit costly.
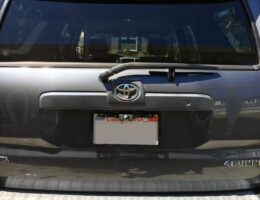
The 4th generation Toyota 4runner has a rear wiper blade that is easily replaceable. It sits on a support at the bottom of the rear hatch window when not in use, but uses a spring to press the arm against the window when it operates. The front windshield wipers get the attention usually, but if you use the rear wiper at all, you’ll realize after some time that it will need to be replaced eventually too.
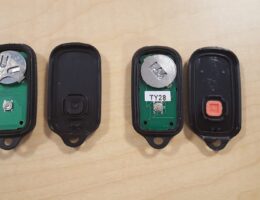
If you own a 4th generation Toyota 4Runner, you should have received a number of key fobs and keyless entry remotes with the car. I look at a variety of aftermarket key fobs and keyless entry remotes that I’ve purchased over the years to compare the quality of their build and operation.
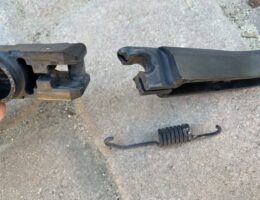
For years, my 4th generation Toyota 4Runner only wipe a portion of the rear hatch window when it should be wiping an entire half circle. It turns out that fixing this problem is very simple, and requires only a slight cut to the plastic rear arm to fix the issue of the rear wiper arm not making full contact with the window.
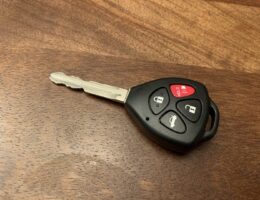
There are a couple options out there that allows you to use a 2-in-1 remote key for the 4th generation Toyota 4Runner. The best part of all is that you only need to buy a specific remote key for about $20, get the key cut for about $10, and then program the remote and program the key all by yourself for free.
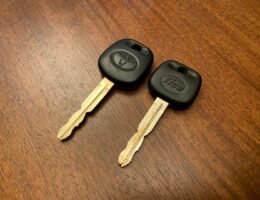
If you ever need an extra key for your 4th generation Toyota 4Runner and don’t want to to pay an arm-and-a-leg for the local dealership to do it, you can purchase a blank transponder key, get it cut at a locksmith, and program it yourself. Programming doesn’t require you to have any equipment or tools, so the only cost to you would be the purchase of a new key and to get it cut by a locksmith.

