
When you make purchases through links on this site, The Track Ahead may earn an affiliate commission. Also, these posts are based off my own experiences. I am not responsible for any action you take as a result of reading this. Learn More
Car Detailing: How to Clean and Detail Interior
When people talk about detailing cars, most attention is typically placed on the exterior of the vehicle. That’s the part of the car that gets seen most. And frankly, interiors aren’t as exciting to see and talk about as the outside of a car.
It can be argued that detailing the interior of a car is just as important, if not more important, than detailing the exterior. The reason being that if you are the owner of the car, you’ll be spending more time inside the cabin than outside. With the interior of the car cleaned and detailed, you’ll not only be able to appreciate the refurbished interior, but also prolong the life of the materials in the cabin for years to come.
Interior detailing can be summed up with the cleaning, dressing, and protecting of cabin materials. These cabin materials can include the carpet, seats, dashboard and door materials, and everything else in between. A complete interior detail can take just as long as an exterior detail, but it can net just as impressive a result in the end.
Tools & Materials
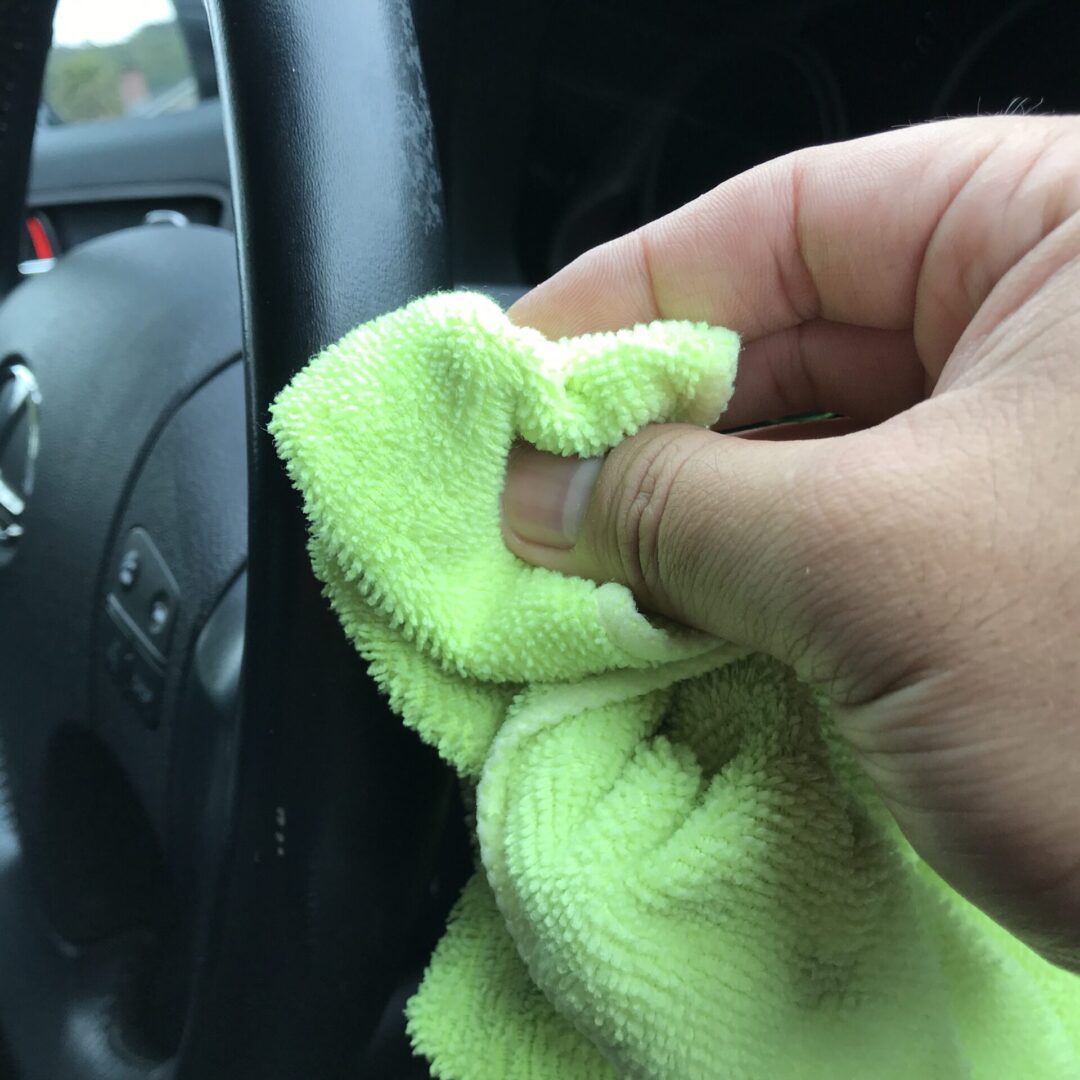
Microfiber Towels
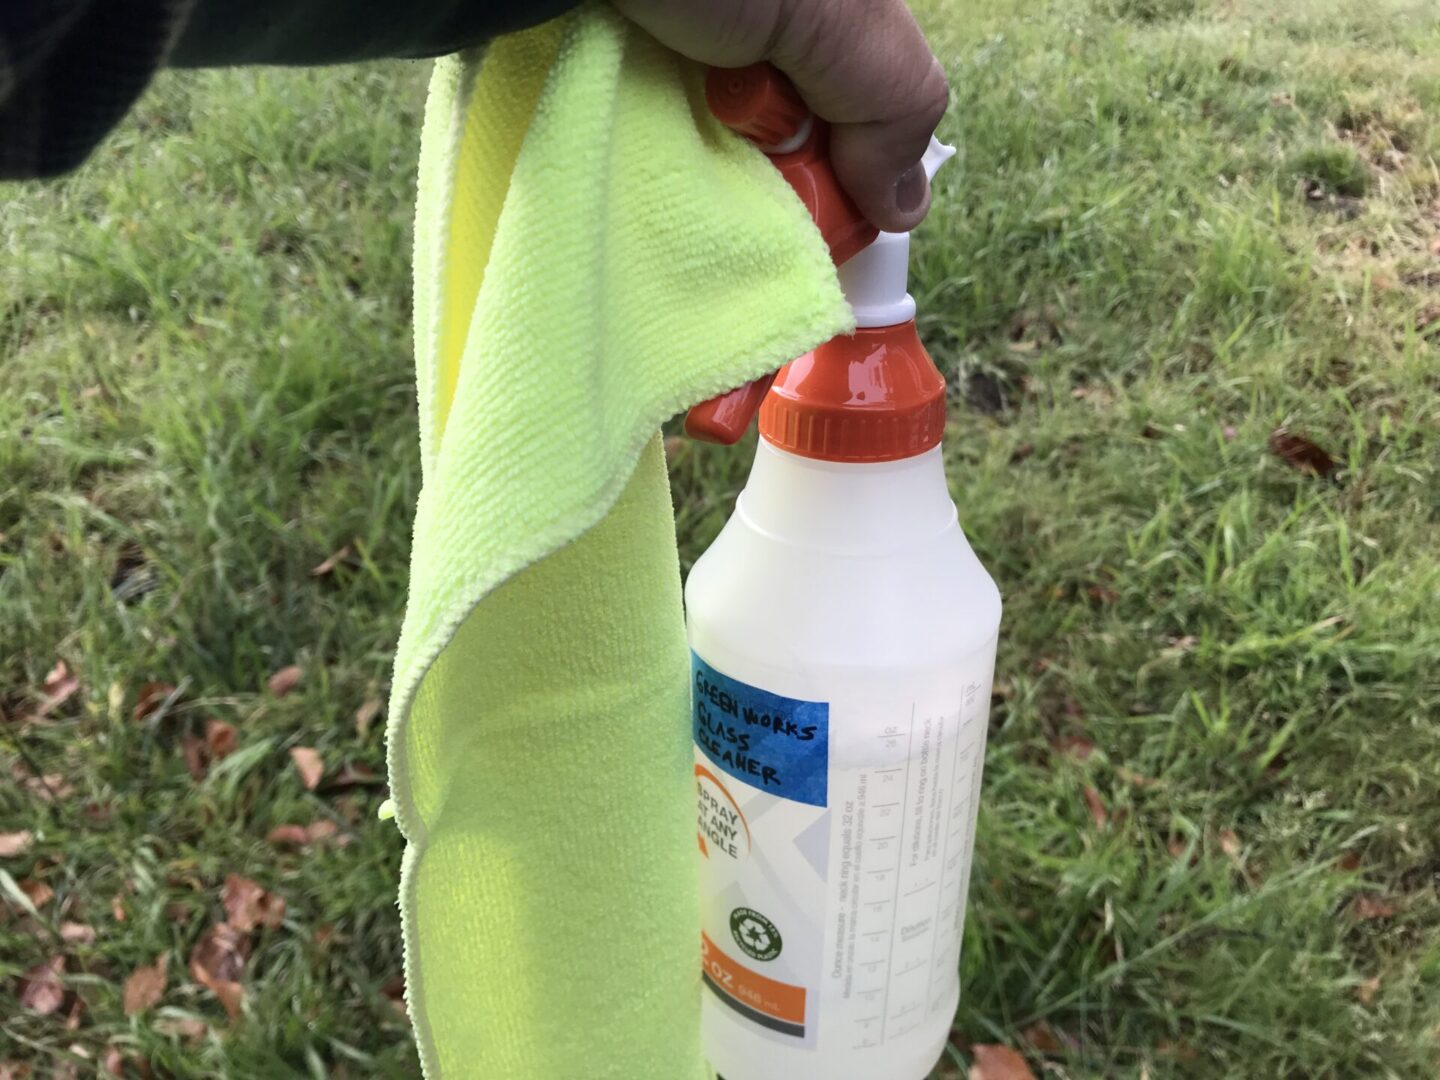
Microfiber towels play a big part in detailing the interior. It’s used to wipe down almost all materials with interior cleaner, cleaning glass with glass cleaner, wiping down excess cleaning materials, getting into hard-to-clean areas (with use of a tool behind it), and applying interior protectant. Ensure you are labeling your towels (I usually keep the tags on the cloths and mark them with a permanent marker) so that you are not mixing towels with different cleaning solutions.
Zwipes Microfiber Cloths (48-Pack), AmazonBasics Microfiber Cloths (24-Pack)
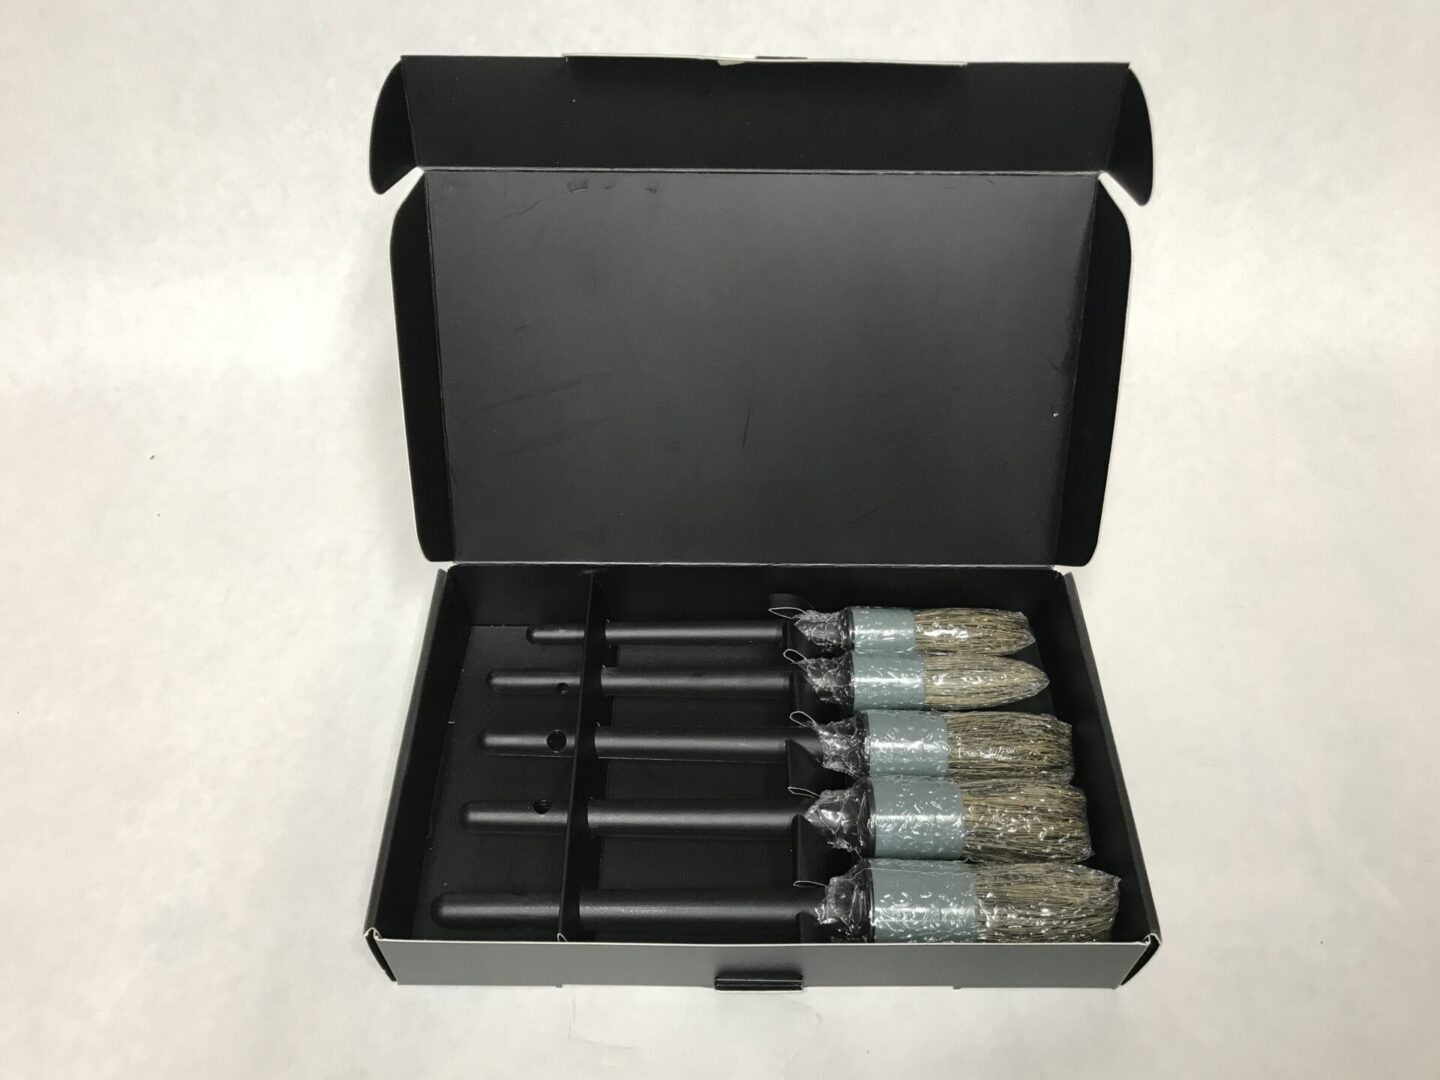
Detailing Brushes
Used for dusting and cleaning in hard-to-reach areas such as vents and around buttons on the dash/center console. It is also used for more aggressive brushing of cleaners onto cabin materials to extract dirt, sweat, grime, etc. I usually label my brushes so that each one has a specific use; just like other tools, don’t mix them up as you don’t want to cross-contaminate.
Detailing Brush Set – 5 Different Sizes – excellent reviews on Amazon, works great for cleaning tight spots
Another option: Off-Brand Detailing Brushes – essentially all the same, choose well-reviewed brands
Vacuum Cleaner
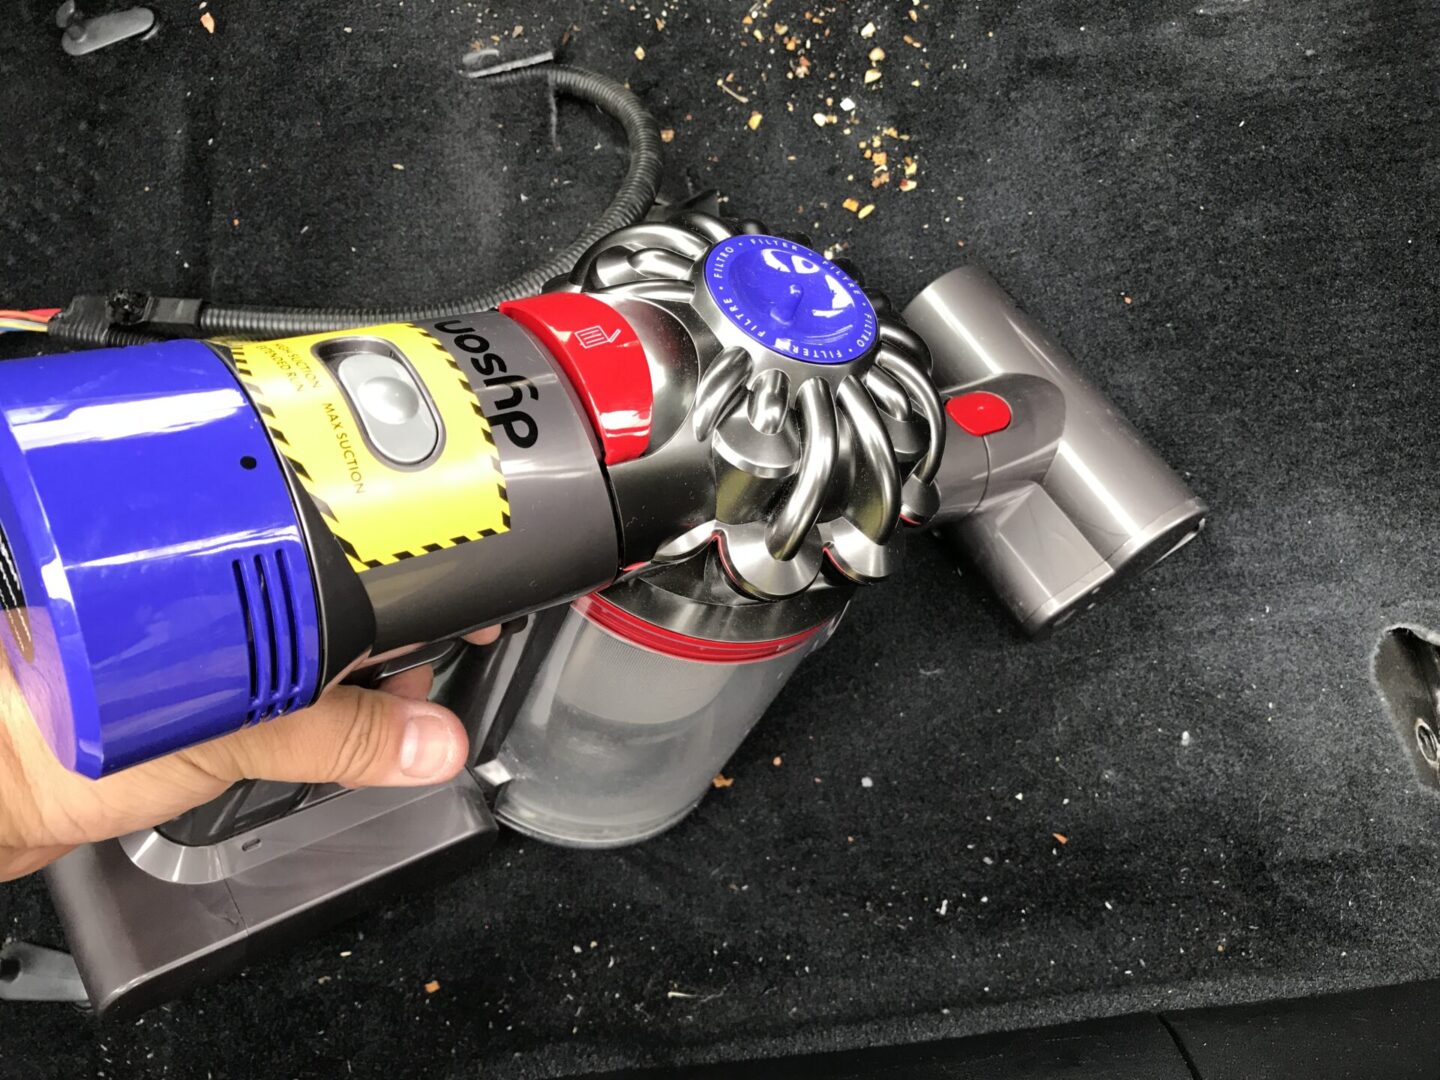
The most popular type of vacuums for cleaning car interiors are usually shop vacs. This is due to its more powerful vacuum and also its ability to usually handle vacuuming wet or dry materials. Since you will be usually cleaning the car interior with cleaning solutions, you will likely have residual fluid that needs to be extracted. Choose one that has a larger 2.5″ diameter hose for general cleaning, although it is sometimes a bit unwieldly. The smaller 1.25″ and 1.5″ diameter hoses are more adaptable to the car’s cabin and may be more adept at getting in tight spaces, but they take more effort for general cleaning.
There are also more mobile vacuums available on the market that advertise the flexibility of having a more mobile tool. However, I’ve found that these more mobile (smaller) vacuums tend to be weak in power and are not worth mobility they advertise.
There is one exception however, and that is the Dyson that I use for my home. My Dyson vacuum is plenty powerful and has a lot of attachments that allow it to be of great use during interior details. The downside is that it is expensive, but if you have one already for your home, it works pretty darn well for the car interior as well.
I suspect that other household vacuum cleaners work just as well, as long as they have adequate handheld attachments for the various spaces in the car interior. If you have one at home already, there’s no need to purchase another. If your vacuum cleaner is a standard vacuum cleaner and/or can only dry vac, then just use the vacuum for doing the dry vacuuming. You can then use microfiber clothes or rags to blot dry any remaining damp carpeting and cloth materials.
Shop Vacs on Amazon
Dyson Vacuums on Amazon
Window Cleaner
Use a non-ammonia window cleaner when cleaning the interior of the windows. Using a window cleaner that has ammonia in it can cause damage to tint if you have tinted windows, and can also damage interior trim if it gets onto those rubber/plastic surfaces.
I prefer the aerosol type of window cleaners as it tends to have less overspray than the standard spray bottles. I also feel that it may be more likely for standard window cleaner overspray to stain than the light spritz overspray of the aerosol sprays.
Invisible Glass – Glass Cleaner (Aerosol) – 2 Pack
Invisible Glass – Glass Cleaner (Bottle) – 2 Pack
Interior Cleaner/Quick Detailer
Interior cleaner is the probably the most important and versatile product for interior detailing. You might see it labeled as an interior detailer or interior cleaner; it is essentially a mild cleaner that is safe to use on the more delicate surfaces inside of the cabin.
Popular options: Griot’s Garage Interior Cleaner, Chemical Guys InnerClean, Adam’s Interior Detailer, 303 Interior Cleaner
A quick detailer is like an interior cleaner, except that it leaves behind a slight sheen for the purpose of quickly wiping down an already clean surface as a “quick detail”. It also provides some UV protection.
Meguiar’s Quik Interior Detailer
As an alternative to interior cleaner, you might be able to use a diluted all-purpose cleaner (APC) 10:1 or greater to clean the interior. However it may be harsher than a dedicated interior cleaner. Many have had success with using a diluted APC for their interiors, but be aware if you go this route.
Another option is to use Optimum No-Rinse (ONR) as an interior detailer. ONR is conventionally a no-rinse car wash solution, but diluting it to various degrees can net you a clay lube or interior detailer. ONR recommends a ratio of about 8oz to a gallon of water; basically a heavily diluted formula.
All-Purpose Cleaner (APC)
As mentioned above, an APC may be diluted as an alternative to an interior cleaner. However, it is typically used in an interior detail for getting out more difficult stains that your interior cleaner might not be able to get out. It’s always best to go with the most mild cleaners first and going with a stronger solution only when you need to. This reduces the possibility of damaging your interior more delicate materials with overpowering products.
Popular options: Meguiar’s All Purpose Cleaner, Optimum Power Clean, Mothers All-Purpose Cleaner
Leather Cleaner & Conditioner
Always use a separate leather cleaner and separate leather conditioner. Never use a 2-in-1 leather cleaner/conditioner as these will usually not perform well in a combined solution form.
McKee’s 37 Leather Shampoo (this says 70/30 cleaner/conditioner, but it works mainly as a cleaner)
McKee’s 37 Leather Conditioner
Personally, I like to buy the cleaner/shampoo & conditioner in a two-pack to make things easy. Lexol and Chemical Guys offers such packages:
Lexol Conditioner Cleaner Kit, Chemical Guys Leather Cleaner and Conditioner Kit
Carpet Cleaner Machine & Cleaning Solution (Option 1 for Upholstery Cleaning)
Bissell 3624 SpotClean Portable Carpet Cleaner – an excellent option for cleaning the carpets, upholstery, and floor mats. I personally use this one and love the portability of it as well as the fact that it is corded. There is a common problem of the hose being extremely fragile and so it will eventually tear. You either need to be very cognizant that you do not twist or bend the hose, or you can wrap some kind of tape around the length of the hose to reinforce it. The carpet cleaner comes with a small bottle of cleaning solution, but you can use Bissell Cleaning Carpet Shampoo when you run out.
Another option: Bissell 1400B Multi-Purpose Portable Carpet/Upholstery Cleaner
Upholstery Cleaner & Brush (Option 2 for Upholstery Cleaning)
If you don’t want to go out and purchase an upholstery cleaner, you can always use an upholstery cleaning solution spray along with a hand brush and then vacuum it up with a wet/dry vac.
Folex Carpet Spot Remover – Highly recommended upholstery cleaner
Other popular options: Chemical Guys Fabric Clean Shampoo, CarGuys Super Cleaner
A microfiber cloth my be used to agitate and wipe away the cleaning solution for general cleaning and/or milder stains. However, if you have more stubborn stains or need a deeper clean, you will need to agitate with a brush. Choose a natural hair or softer bristle brush so you do not damage the upholstery while scrubbing.
Brushes: Horse Hair Scrub Brush Set, Chemical Guys Horse Hair Brush
Interior Protectant
UV protection is very important in prolonging the life of your cabin materials. These materials can be vinyl, plastic, rubber, fiberglass, leather, etc. Without UV protection, these materials can break down and crack, tear, break, you name it.
303 Aerospace UV Protectant Spray
Other popular options:
Mothers Protectant, Meguiar’s Ultimate Protectant
Pet Hair Brush
If you have any pets, or perhaps you just purchased your car and the previous owner had pets like me, you’ll need a tool to remove this hair. A vacuum (even with a brush attachment) is not effective at removing pet hair from carpeting in the car.
Effective product I’ve used to remove hair: Evercare Magik Brush
Other products that get good reviews online, but I haven’t tried: Carrand Brush, Chemical Guys Brush
Before/After Car Interior Detail
Some folks detail the interior after doing the exterior, and others swear by the benefits of detailing the interior first. I fall into the latter camp. Here’s why I think it’s better to detail the interior before the exterior:
- If you are able to first shampoo your carpet, wash/shampoo floor mats, clean and condition your seats, then this gives you more drying time while you’re detailing the exterior.
- When you’re washing the exterior of the vehicle, you’ll tend to step on wet surfaces and track them into the interior of the vehicle. Therefore, if you complete your interior detail first, then you won’t have to worry about going back into the cabin anymore.
- Sometimes when you’re removing items from the inside of the vehicle and dusting/vacuuming, a lot of dust and particles are kicked up into the air. This can get onto your exterior paint. If you perform an exterior detail after you’re done with the interior, then you will be washing off all of the airborne particles that have settled onto your car’s paint surface.
If there is any pet hair, you’ll want to get rid of as much of this as possible from the interior before starting your cleaning/detail. Otherwise, you’re going to get hair all over your materials and cleaners and it will make the job more difficult. So use a pet hair remover tool and comb through your entire cabin before you begin any detailing.
How to Clean and Detail Car Interior
Clearing Out Vehicle and Removing Seats/Floor Mats
While detailing the car interior, it may be helpful to use disposable gloves. This helps in keeping the cleaning chemicals from irritating your skin, however these cleaning chemicals tend to be more mild since they need to be less harsh for the interior cabin materials. I definitely recommend using gloves when removing and re-installing the seats (if you choose to this for a better interior detail) because grease from the seat rails tend to always get on your hands when you’re doing this step. You don’t want this grease to transfer from your hands to any of the interior parts.
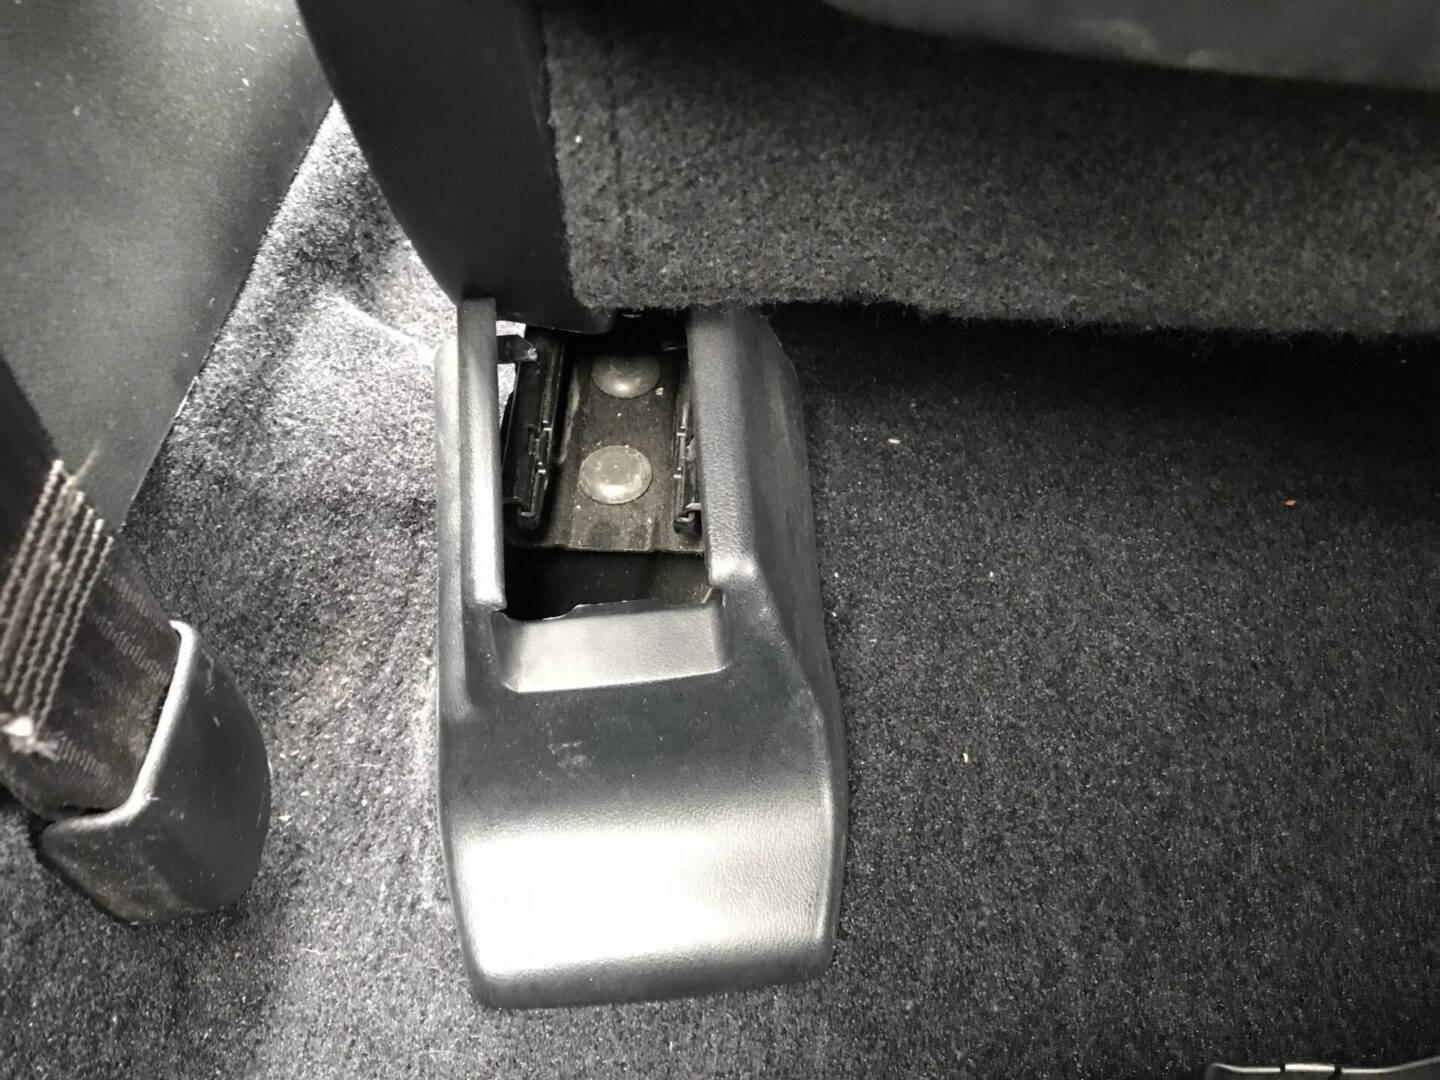
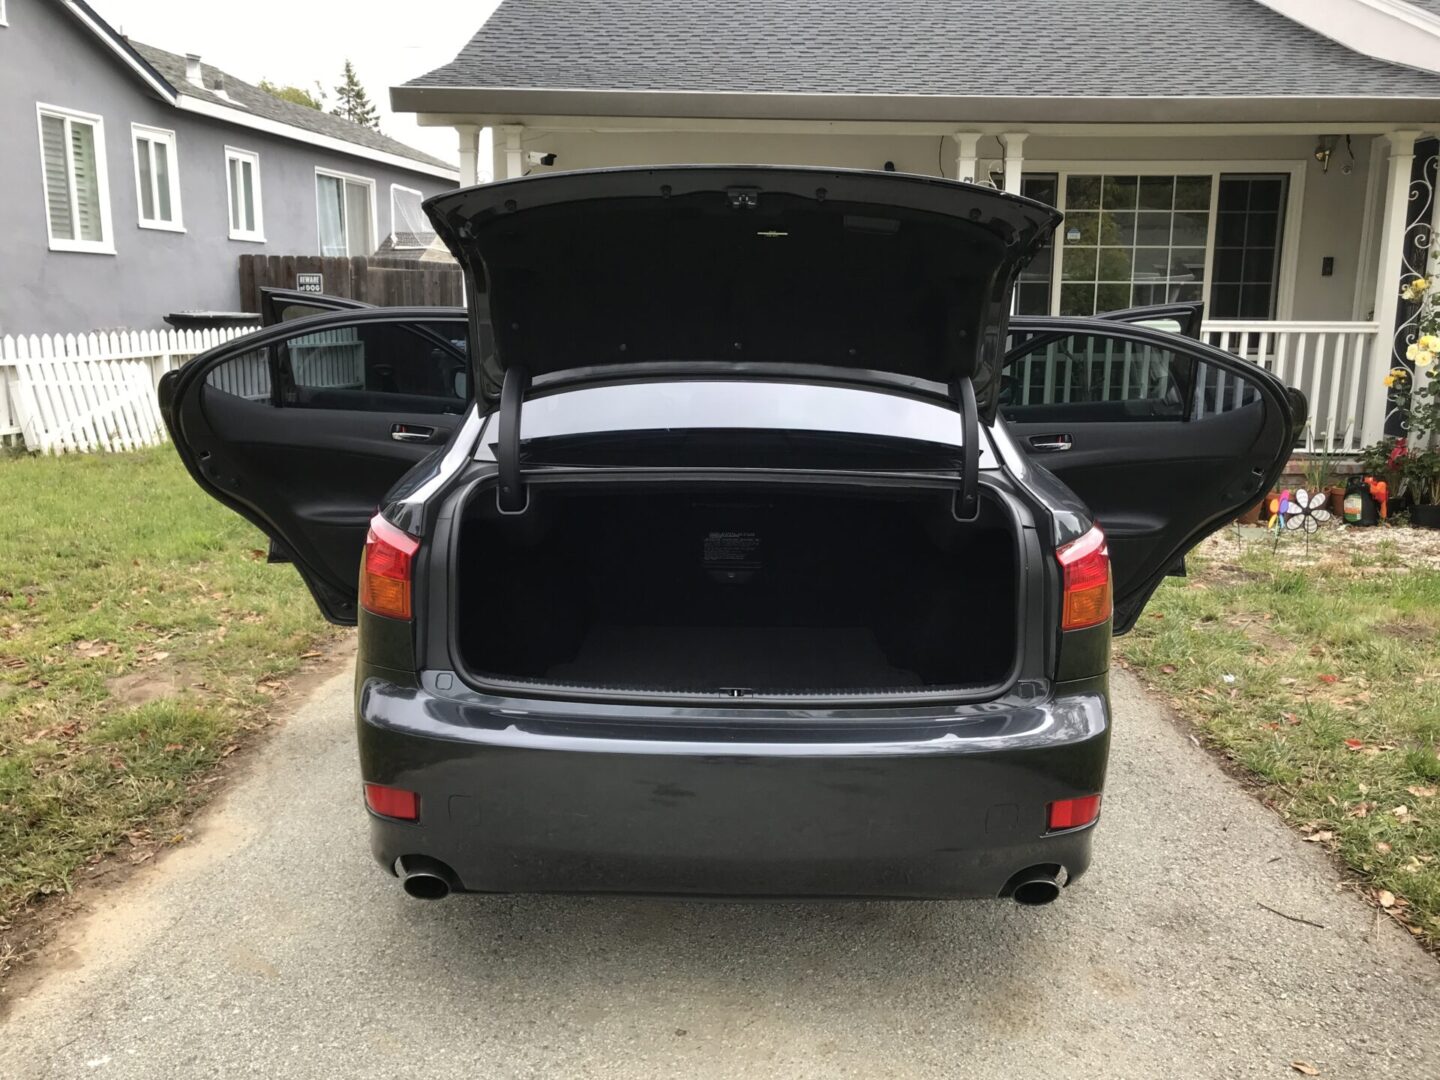
If you’re doing a quick detail or maintenance cleaning on your interior, you can leave the seats in place. However, if you want to make sure you get everything underneath the seats as well as gain full access to the sides of the seats and center console for cleaning, removing the seats is the best way to do that. You will be amazed at how much stuff can get trapped beneath your seats.
Don’t forget to clean out your car and remove material belongings and pretty much anything that may get in the way of cleaning. I will take a garbage bag and clean out the entire vehicle before beginning any sort of washing/detailing.


To remove the seats, there are several bolts that secure the seat rails to the floor of your vehicle. You’ll need to remove the trim pieces to gain access to these bolts. Remove the bolts that hold the seat down and disconnect any electrical connectors.
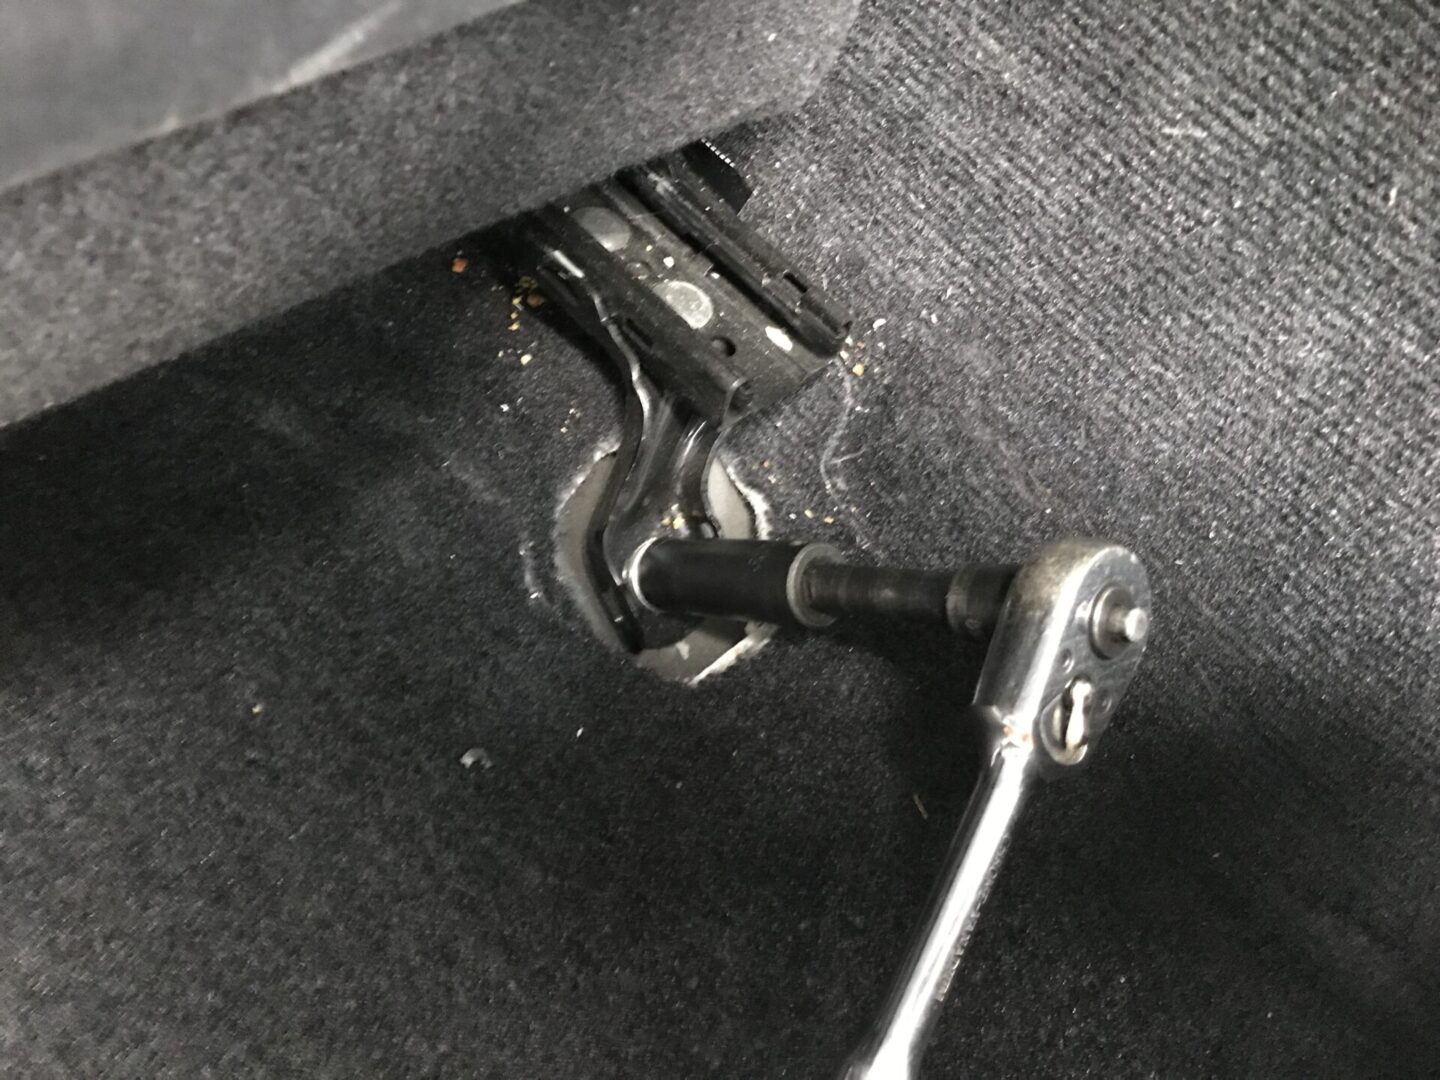

When you’re removing the seats from the car, go slow and be extra careful not to nick, scratch, or gouge any of your vehicle’s interior or exterior. While holding the seat’s weight and fumbling with its awkward shape, there is a possibility of damaging other parts of the car.

Also remove your floor mats and trunk/cargo mats and set them aside for cleaning.
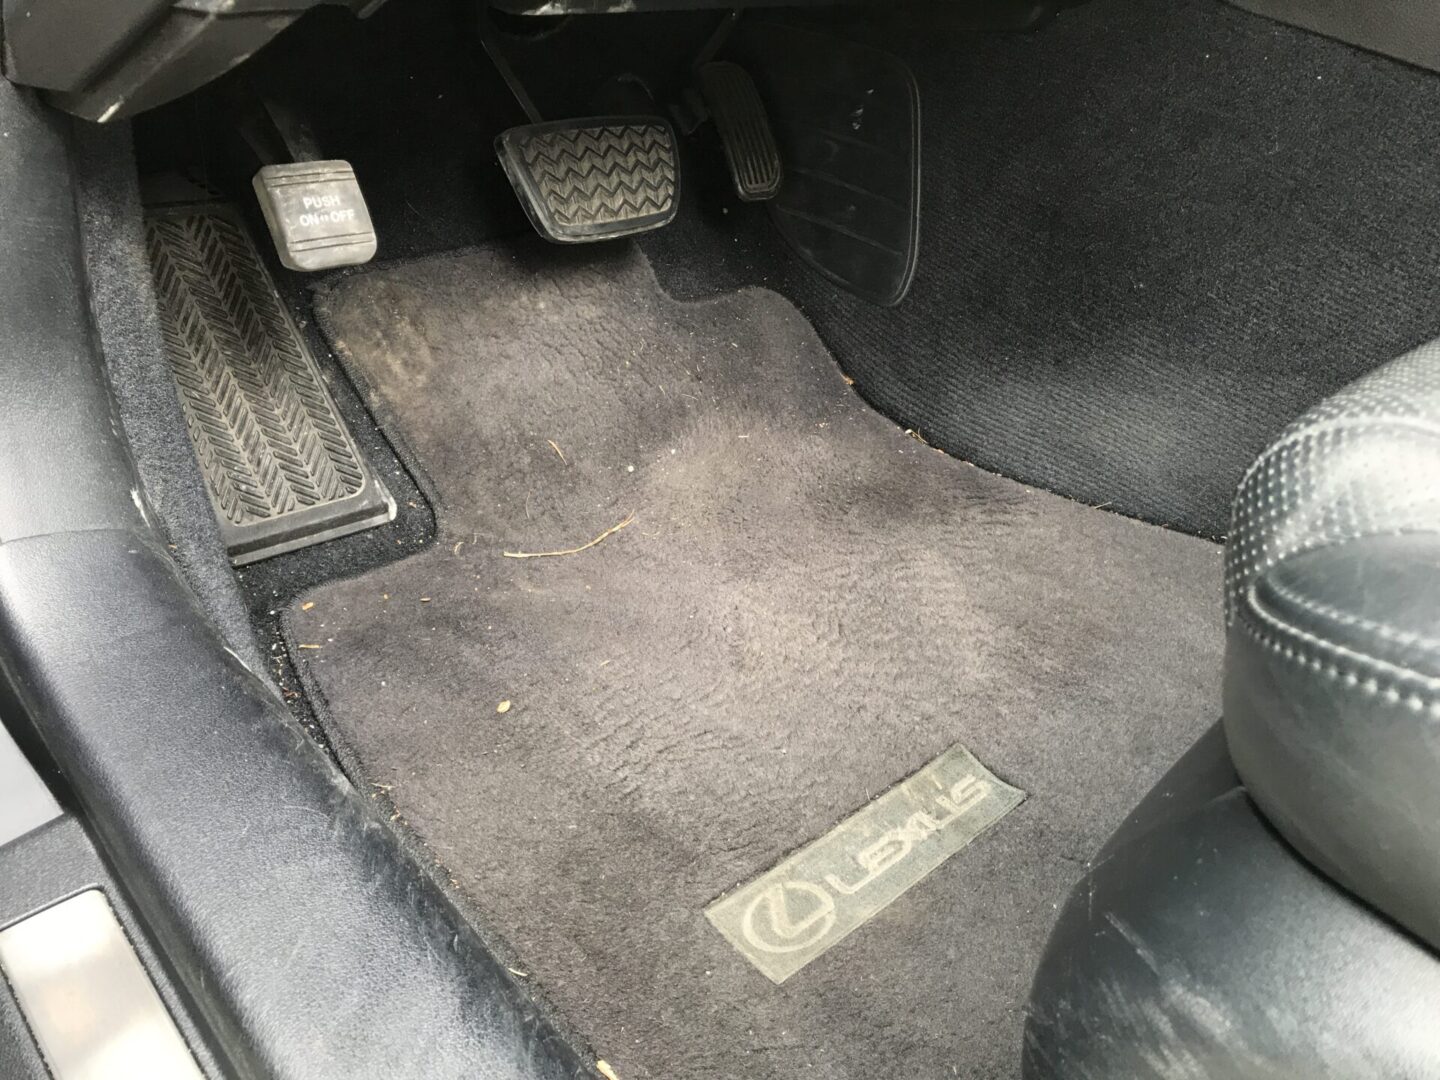
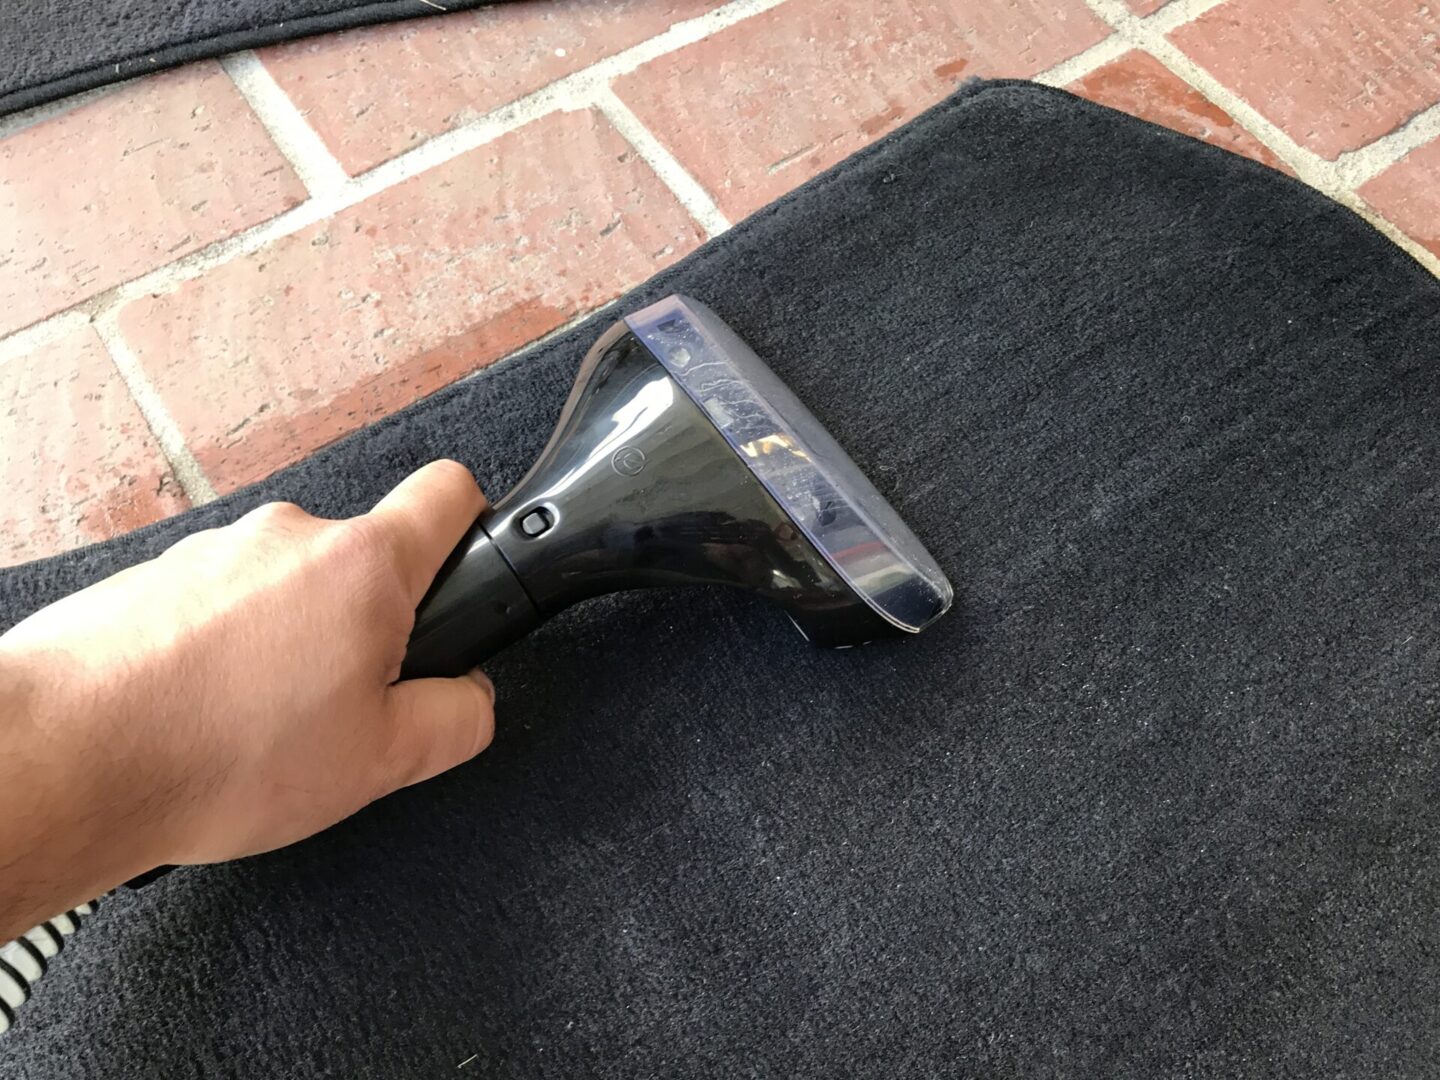
Vacuum Interior Carpet
Now with the seats removed, you’ll have pretty much full access to the interior carpeting. Now, begin with vacuuming every carpeted surface. This will include vacuuming your seat in all of its crevices whether you removed the seat or not.

Any vacuum works as long as it has attachment options that allow you to get to the different surfaces of your vehicle’s carpet. I’ve used normal vacuum cleaners (with attachments), hand-held vacuum cleaners, and shop vacs to do this. In my opinion, the best one here is a shop vac. Not only is it powerful, but they usually have a variety of attachments that tend to cover the wide gamut of surfaces of the car. On top of that, if you have a wet/dry vac, it can vacuum up remaining shampoo solution if you choose to shampoo your vehicle. This further dries the car allowing for a quicker dry time.

For more stubborn carpeting, you might need to use a brush attachment or use a separate hand brush to agitate. Scrubbing the carpet surface will loosen up more particles that are stuck in the carpeting. This will help you vacuum up more dirty particulates.
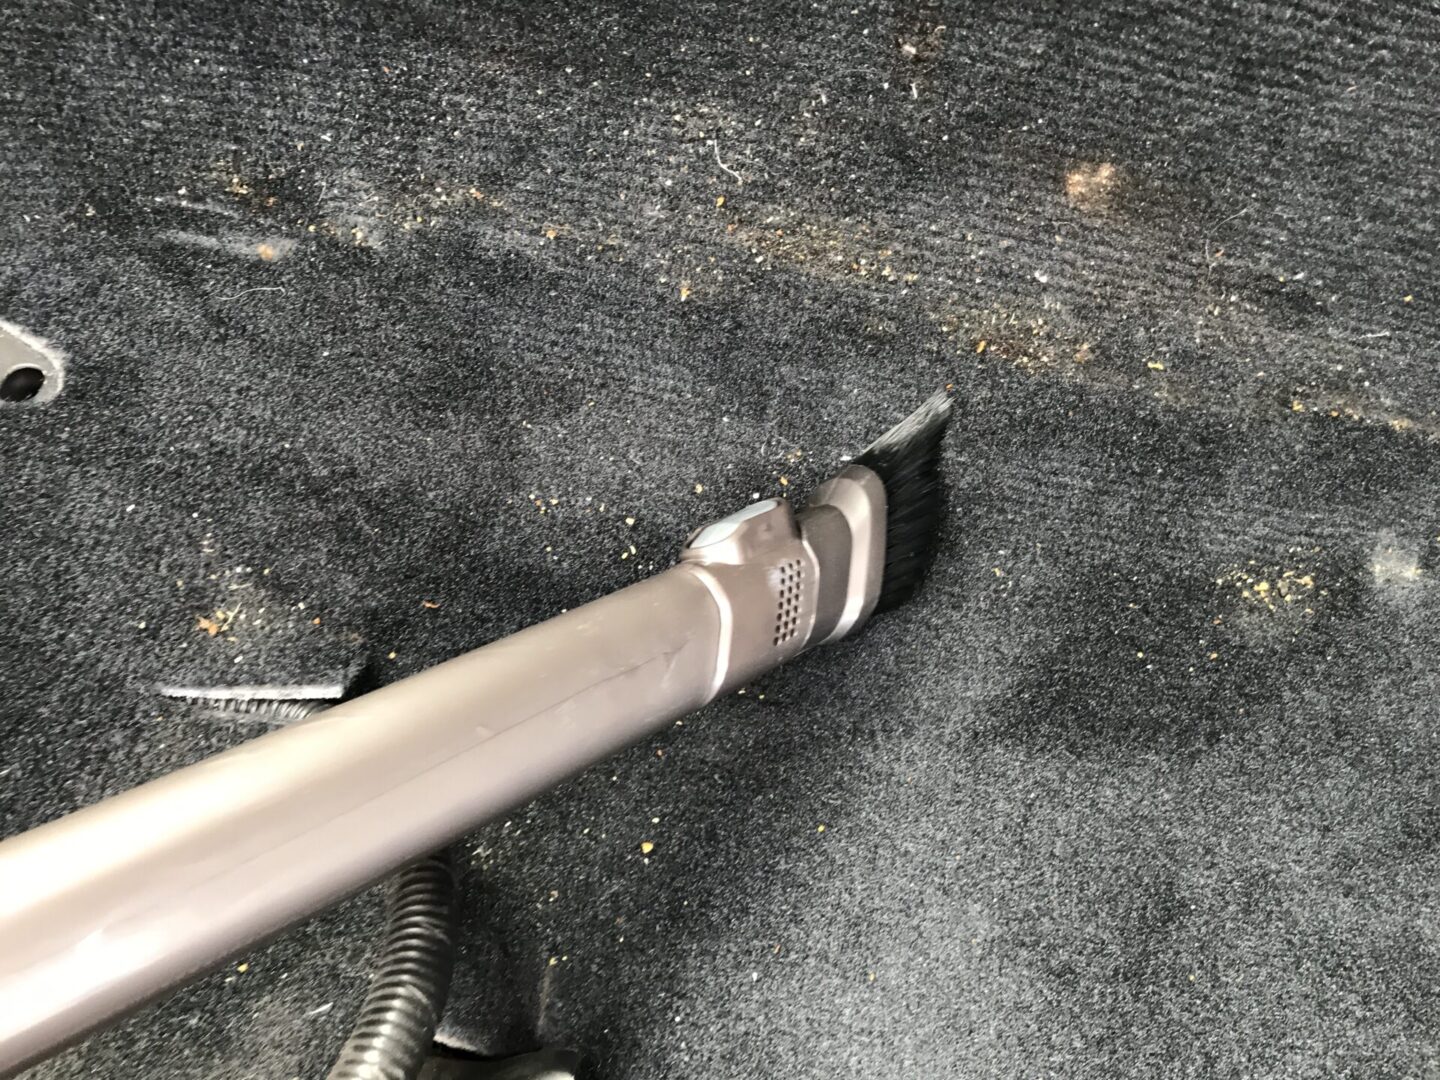
When vacuuming is complete, you may still have stains or stubborn areas that need further cleaning. However, it should look dust-free. The important thing with vacuuming is the remove all of the particles and dust from the carpet so that it looks clean (if you’re doing a maintenance/quick cleaning) and is particle-free (to do a carpet shampoo).
Clean Interior Glass
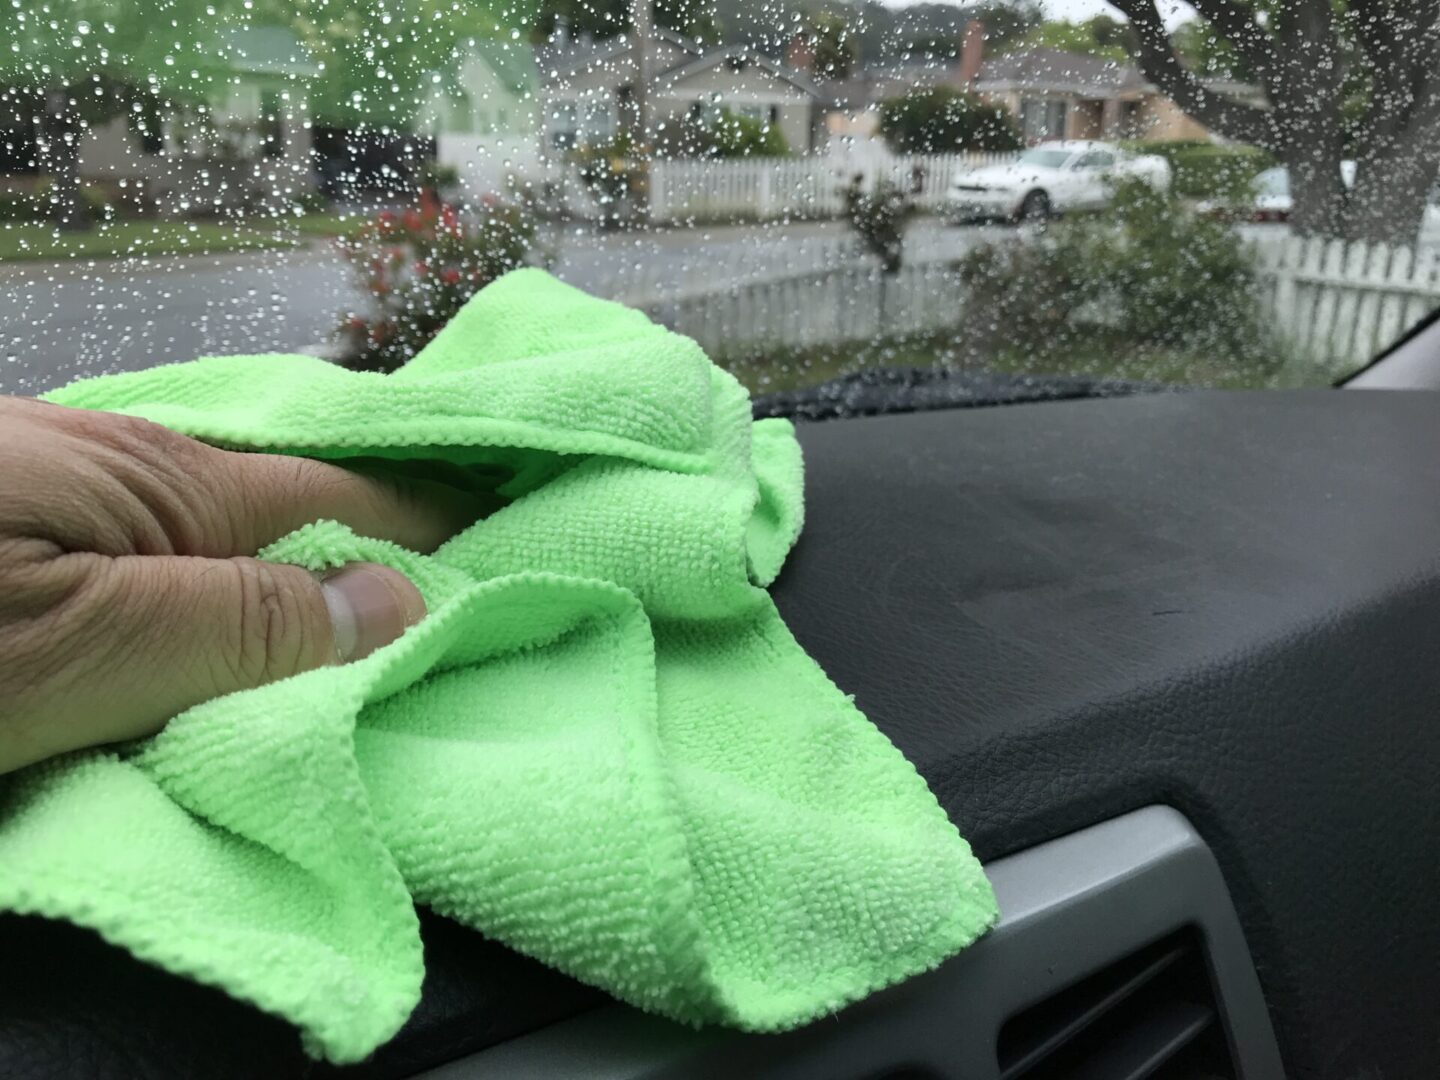
Instead of spraying the window cleaner directly onto the windows and risk getting overspray onto other surfaces of the interior, spray some into a microfiber cloth first. Then, use the cloth to clean the interior of the windows.
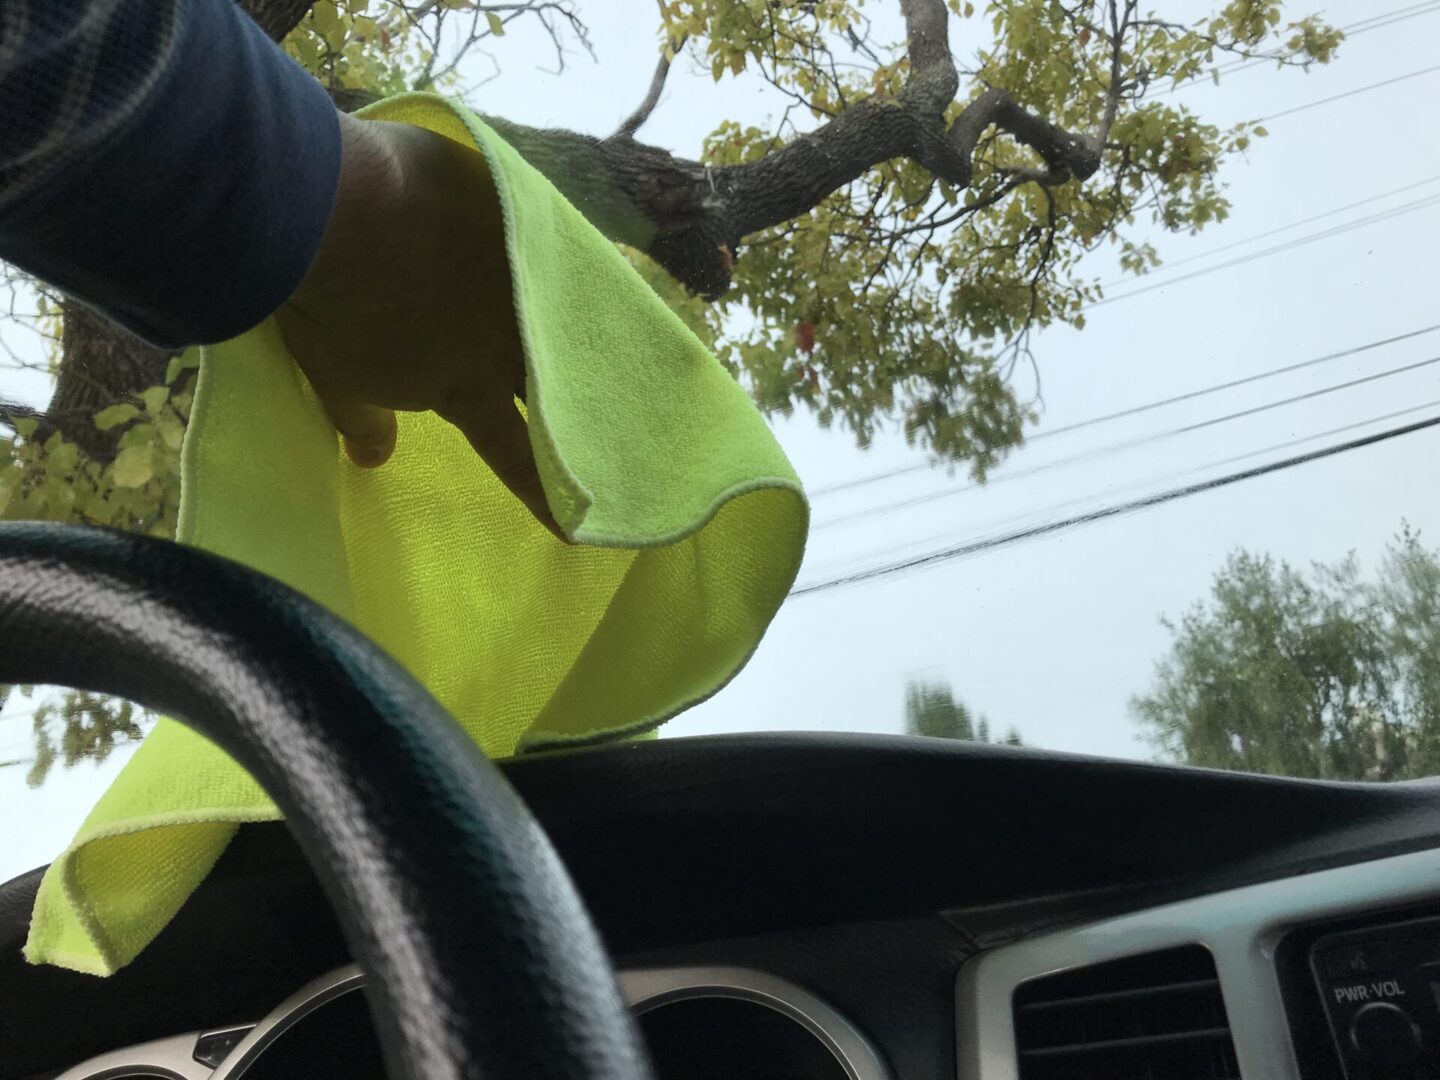
Work sections of the windows at a time with particular care given to the inside of the windshield. The interior of the windshield tends to harbor a lot of grease and residue left from offgassing of the dashboard.
If you haven’t washed your inside windshield in a very long time, I’d recommend getting a clean bath towel, make it slightly damp with water and ONR or interior cleaner, and wipe down the entire interior of the windshield before using microfiber cloths. I do this because usually when I wipe down the windshield on the first go-around, a lot of grease and grime comes off. If you use a smaller cloth, you’ll be more likely to just spread this gunk around the interior of the windshield without actually cleaning it.
Using a bath towel gives you a lot of surface area to work with, so always using a new section of the towel to wipe away the gunk on the interior of the windshield allows you to remove all of this stuff from the windshield. Now, you are able to use window cleaner on the inside of the windshield with a microfiber cloth.
Cleaning the windshield also presents the most challenging task of getting in the proper position to clean. Try to clean the windshield while sitting in the passengers seat so that you don’t have a steering wheel blocking your way. It also helps to place cleaning towel/cloth on the back of your hand and using the back of your hand to clean works a little better than using the palm of your hand.

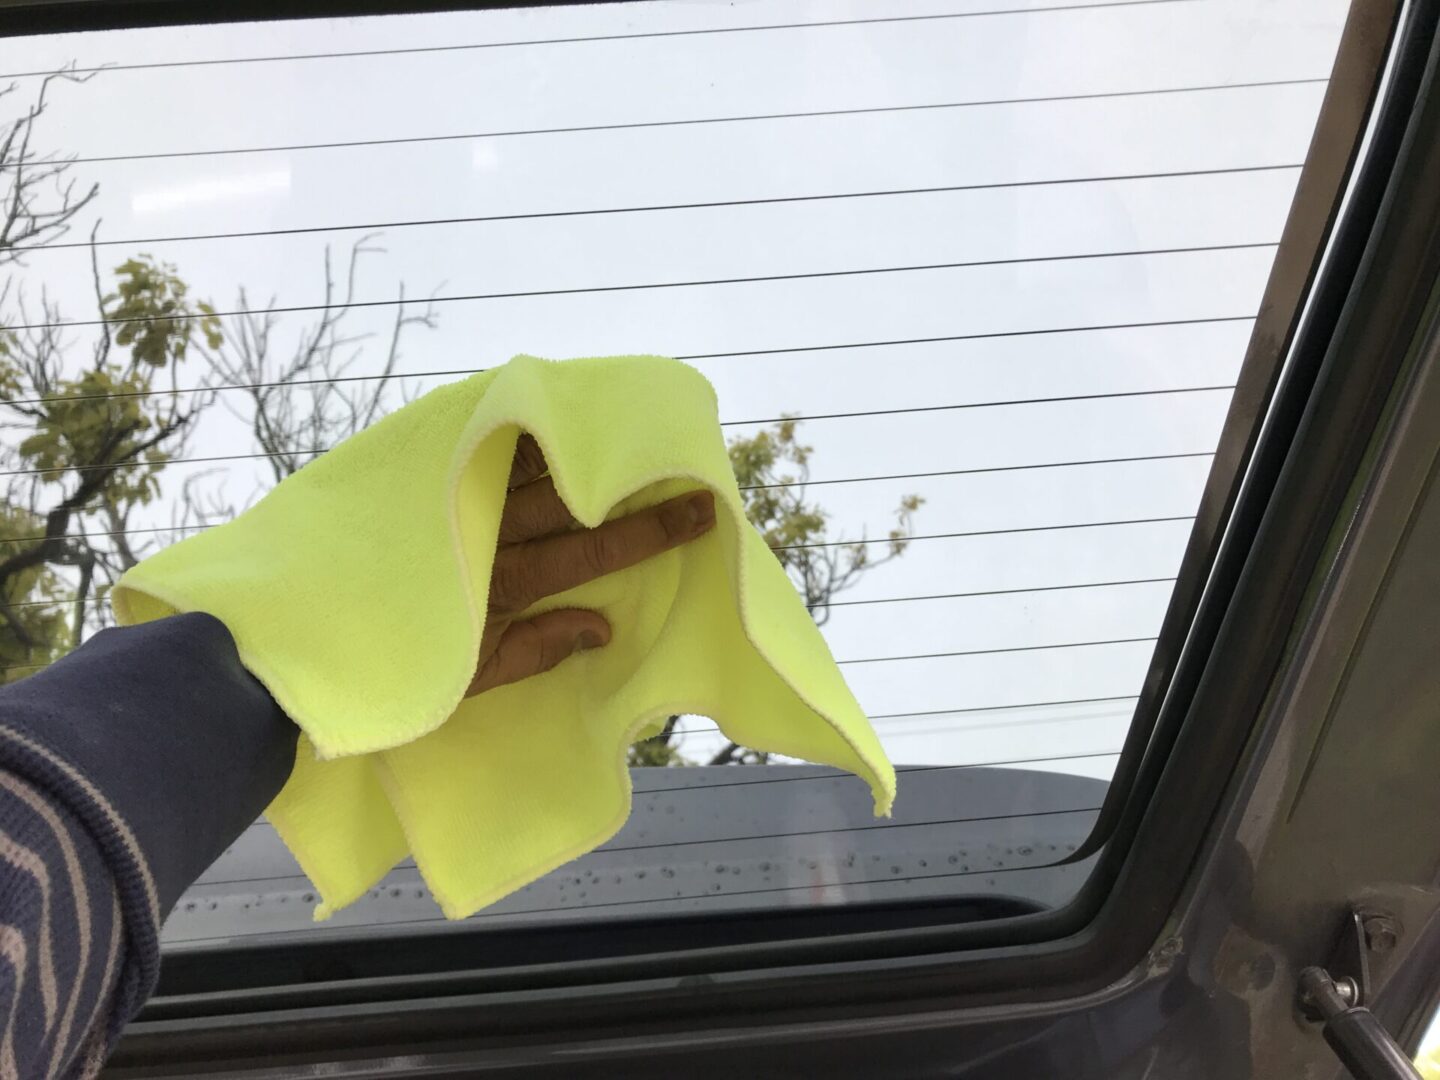
After cleaning the windshield, go around to the rest of the windows and clean them all too. The side windows, rear window, tailgate windows, etc.
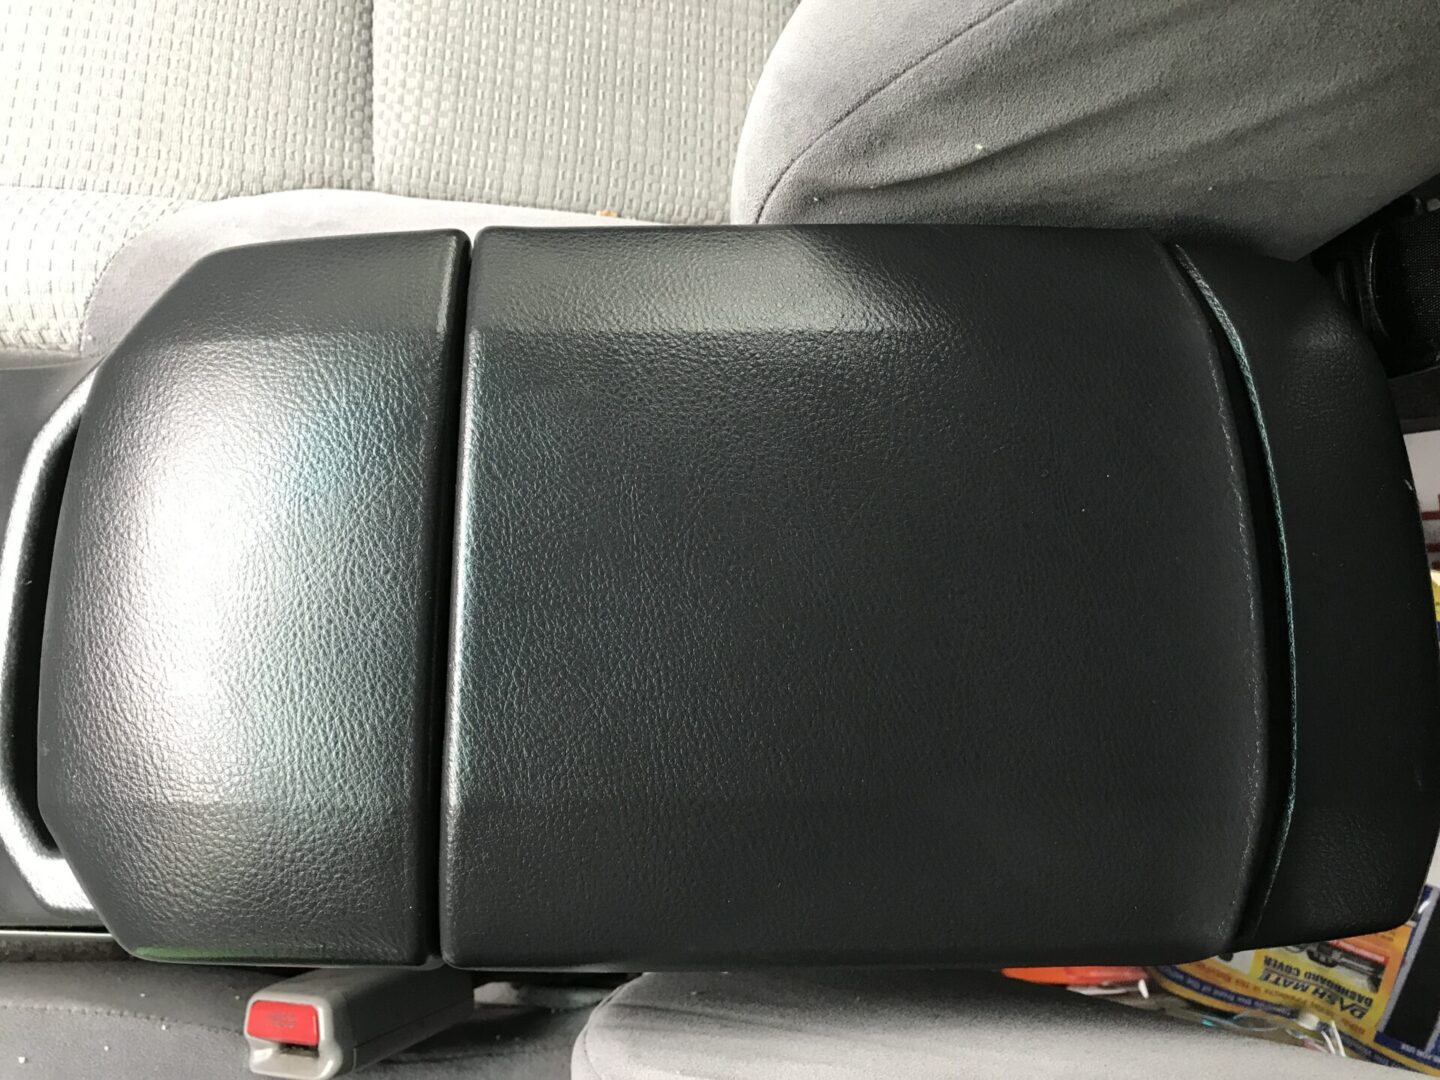
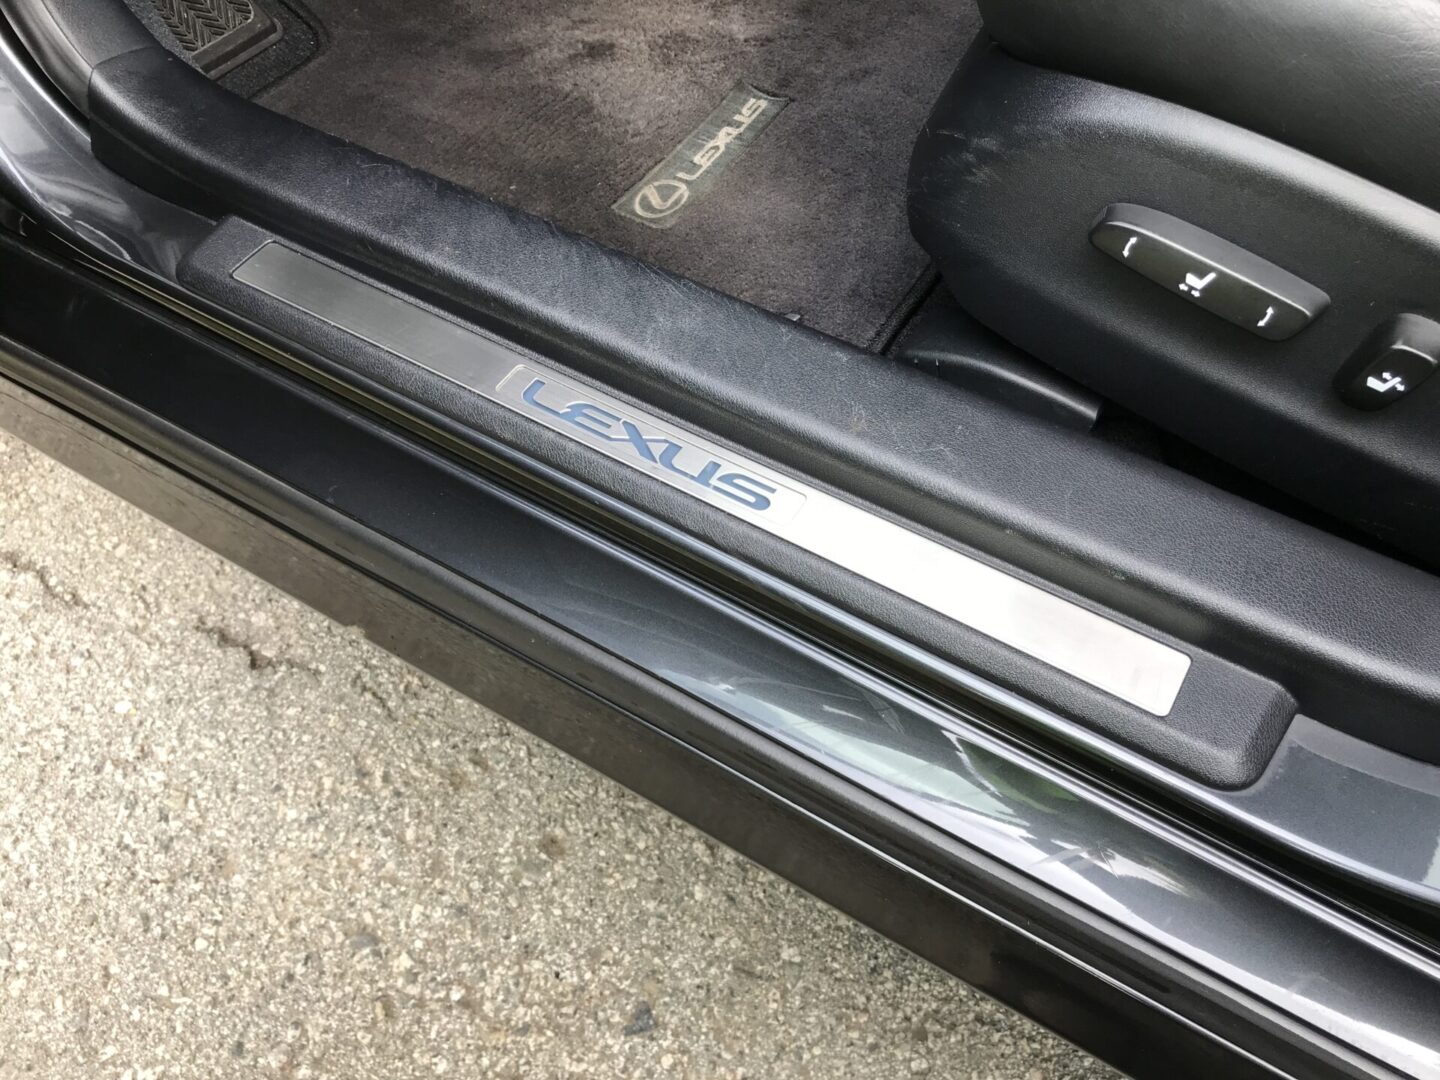
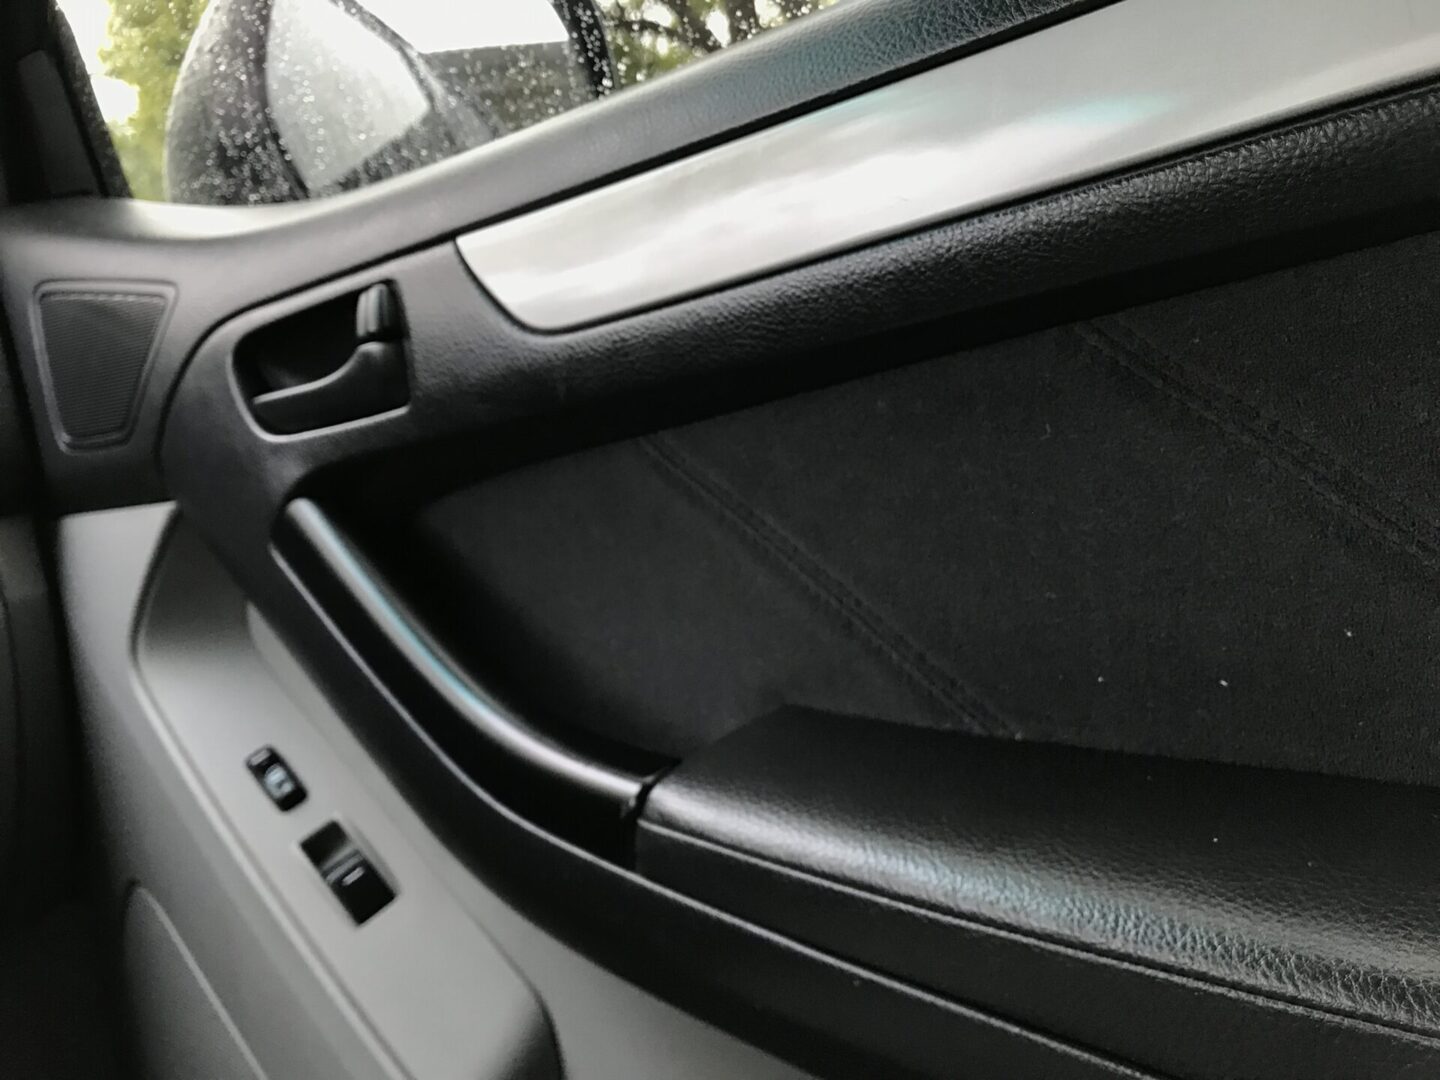
Clean and Brush Interior Trim
Before you begin with shampooing the carpeting and cloth/fabric seating (if you have it) and carpeting, you may want to wipe down all of the interior trim first. When you’re cleaning the interior, you’ll be sitting in the seats and stepping on the carpet. The last thing you’ll want is to be sitting on damp seats and tracking dirt from your shoes onto the carpet while you’re trying to clean the rest of the interior.
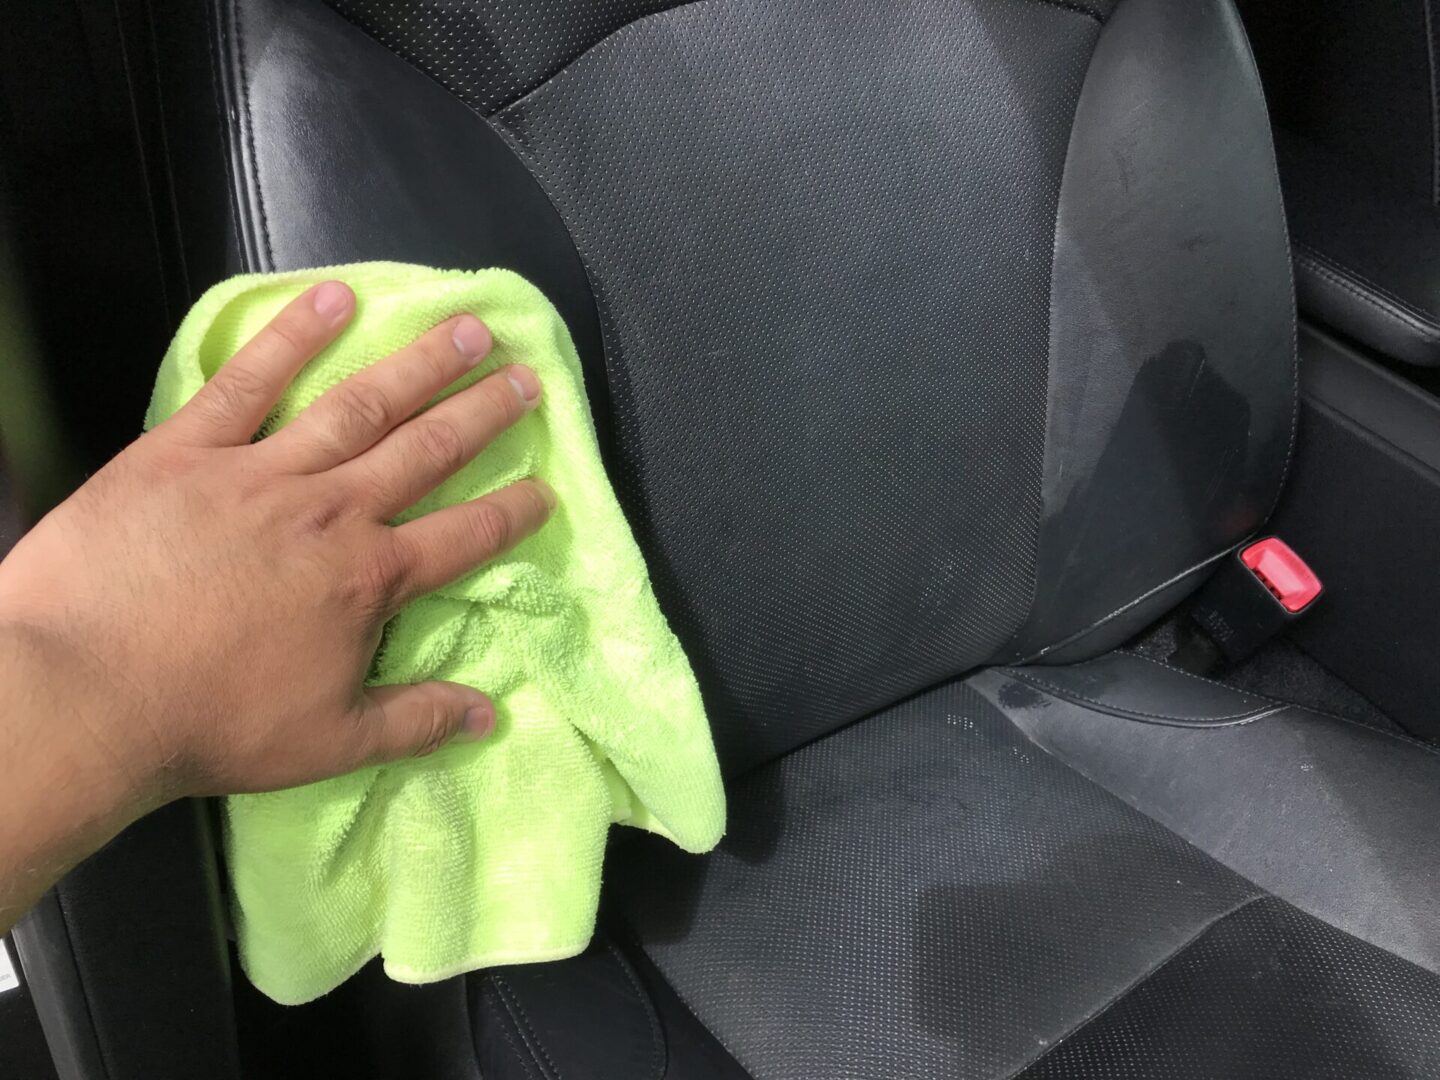
Using a microfiber or lint-free cloth and a bit of interior cleaner, wipe down all of the interior trim. Microfiber towels are excellent at picking up dust/dirt and holding it within its pockets, which prevent the debris from just being pushed around from one place to the next.

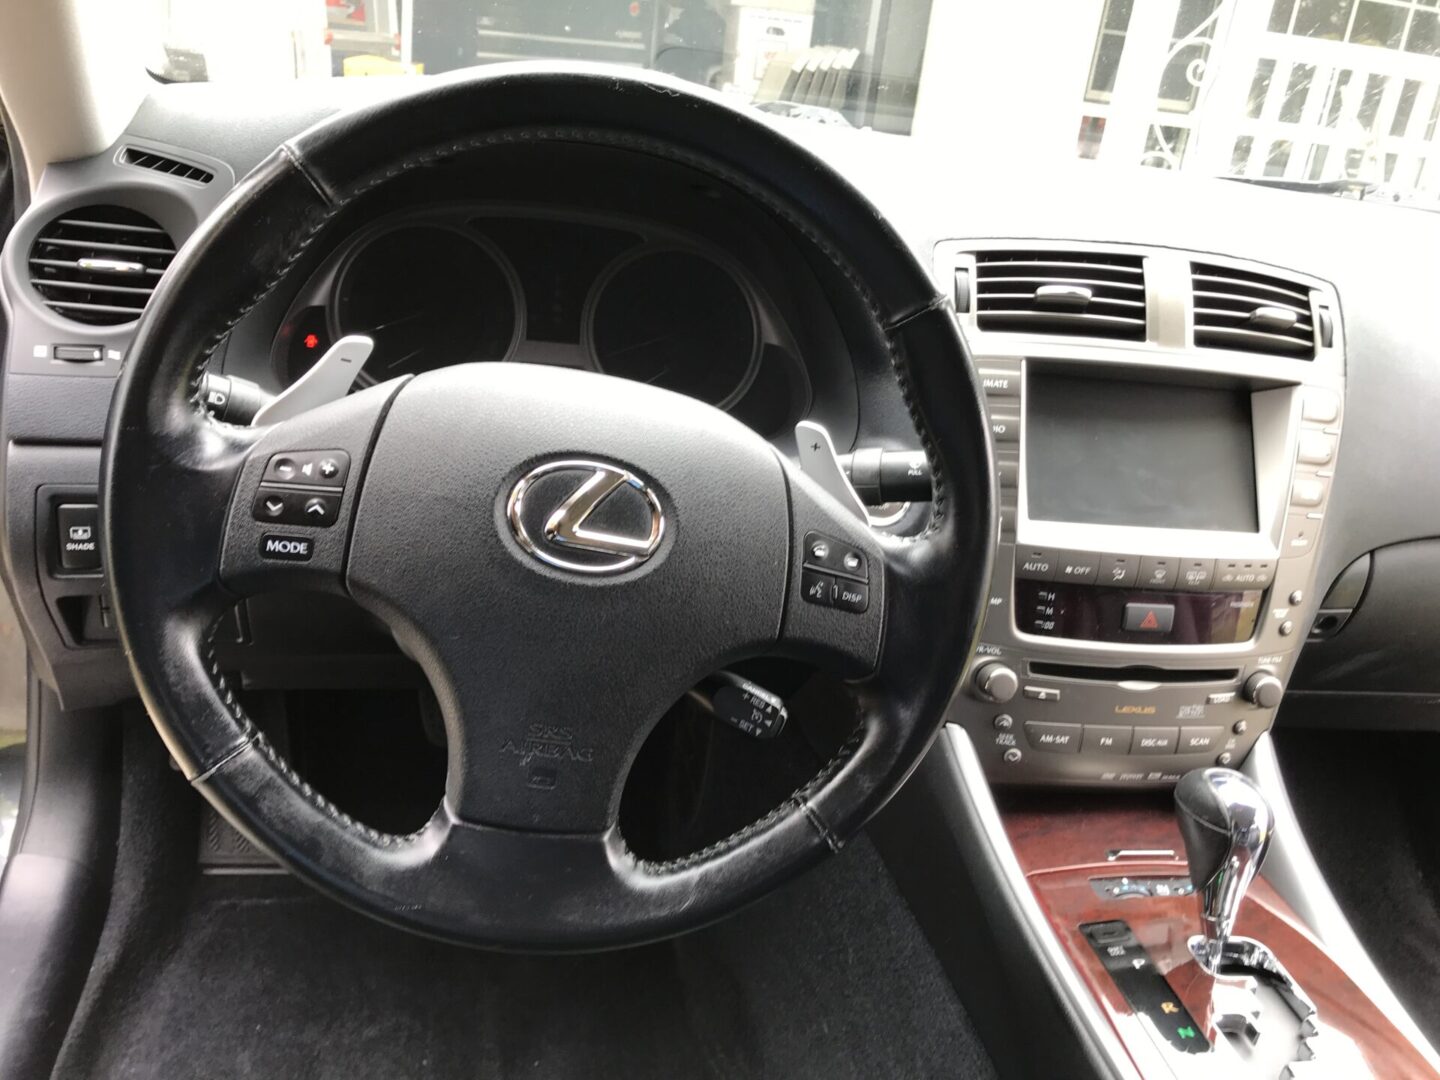
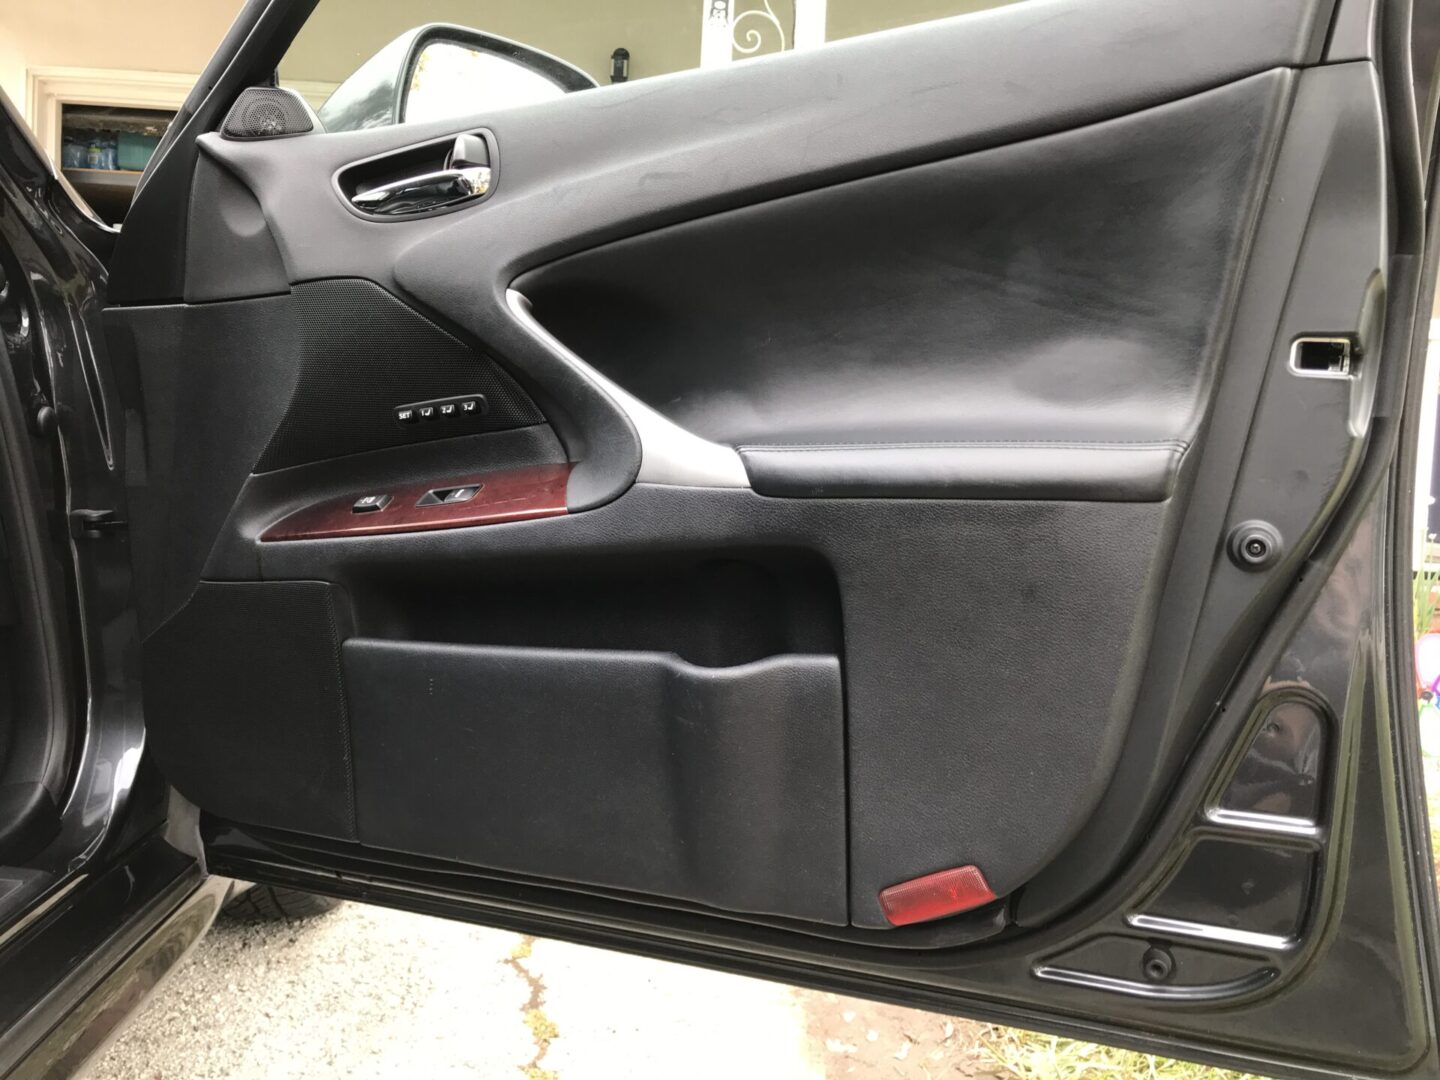
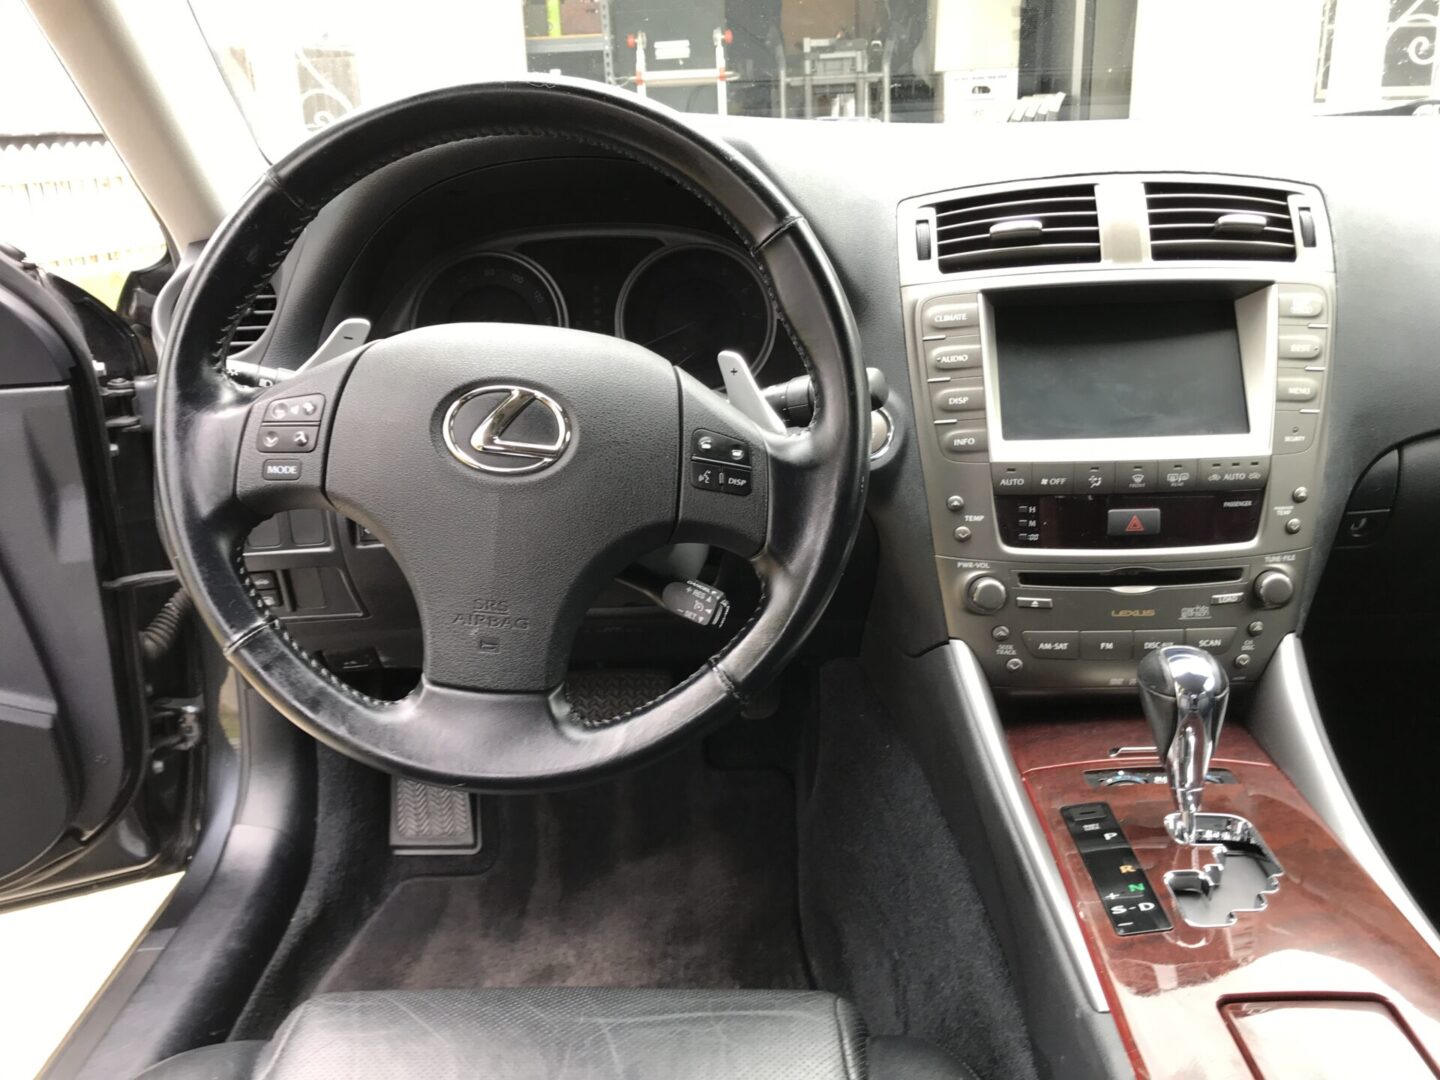
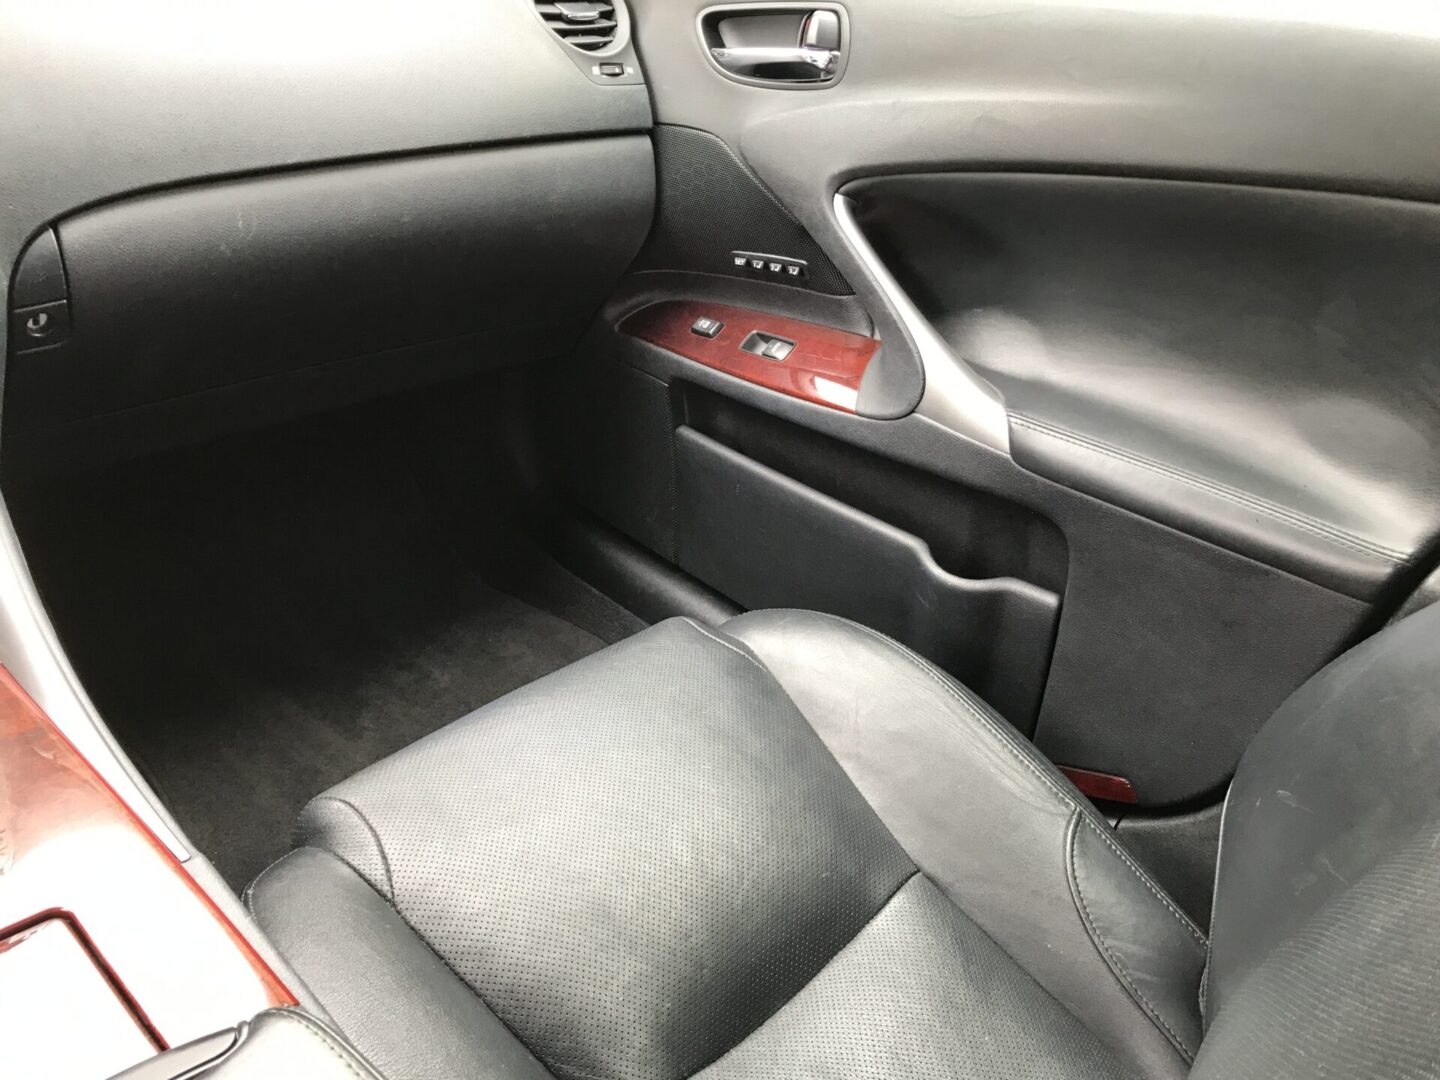
Now go through through every part of your interior trim: doors, center console, dashboard, steering wheel, and all other trim within the cabin and wipe it all down.


For the really hard to reach spots, you can wrap a tool like a plastic trim tool with a microfiber cloth (preferably not a screwdriver or anything with a metal tip that can poke through the cloth) and run it along those hard to reach areas. An alternative to a plastic trim tool are either toothpicks or skewers. Just use the non-sharp end so it doesn’t poke through the cloth while you’re wiping.
Be gentle as you you might cause damage from applying too much force. A bit of quick detailer spray (or a light mix of No-Rinse diluted with water) can be applied to the cloth to further assist with removal of dust/dirt.


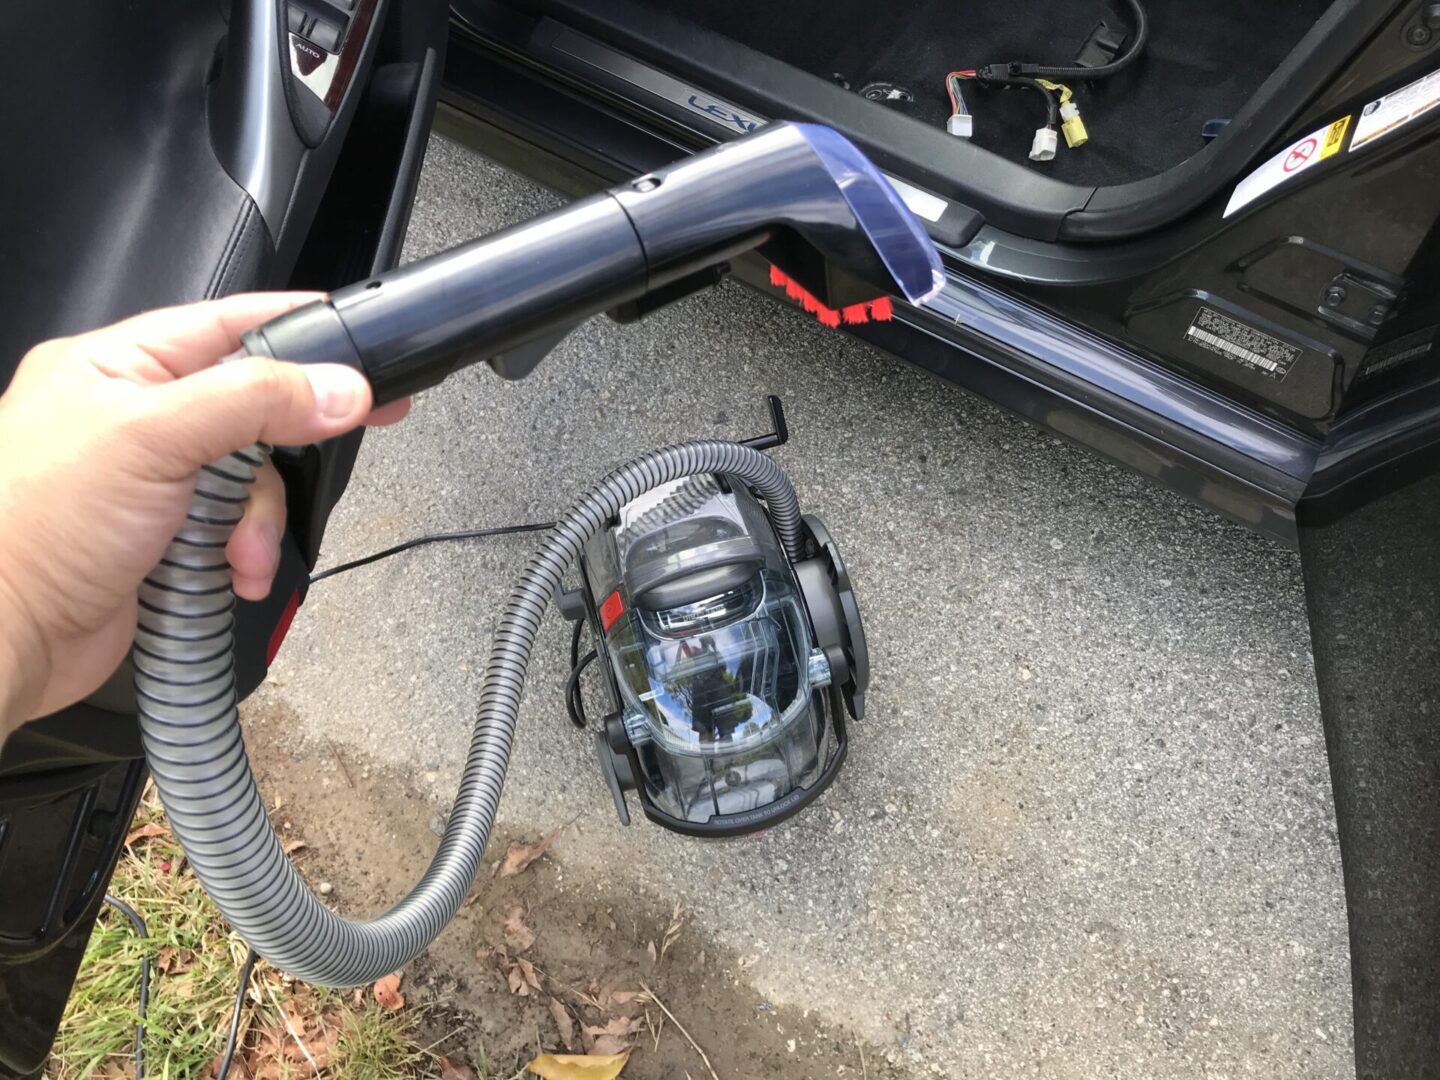
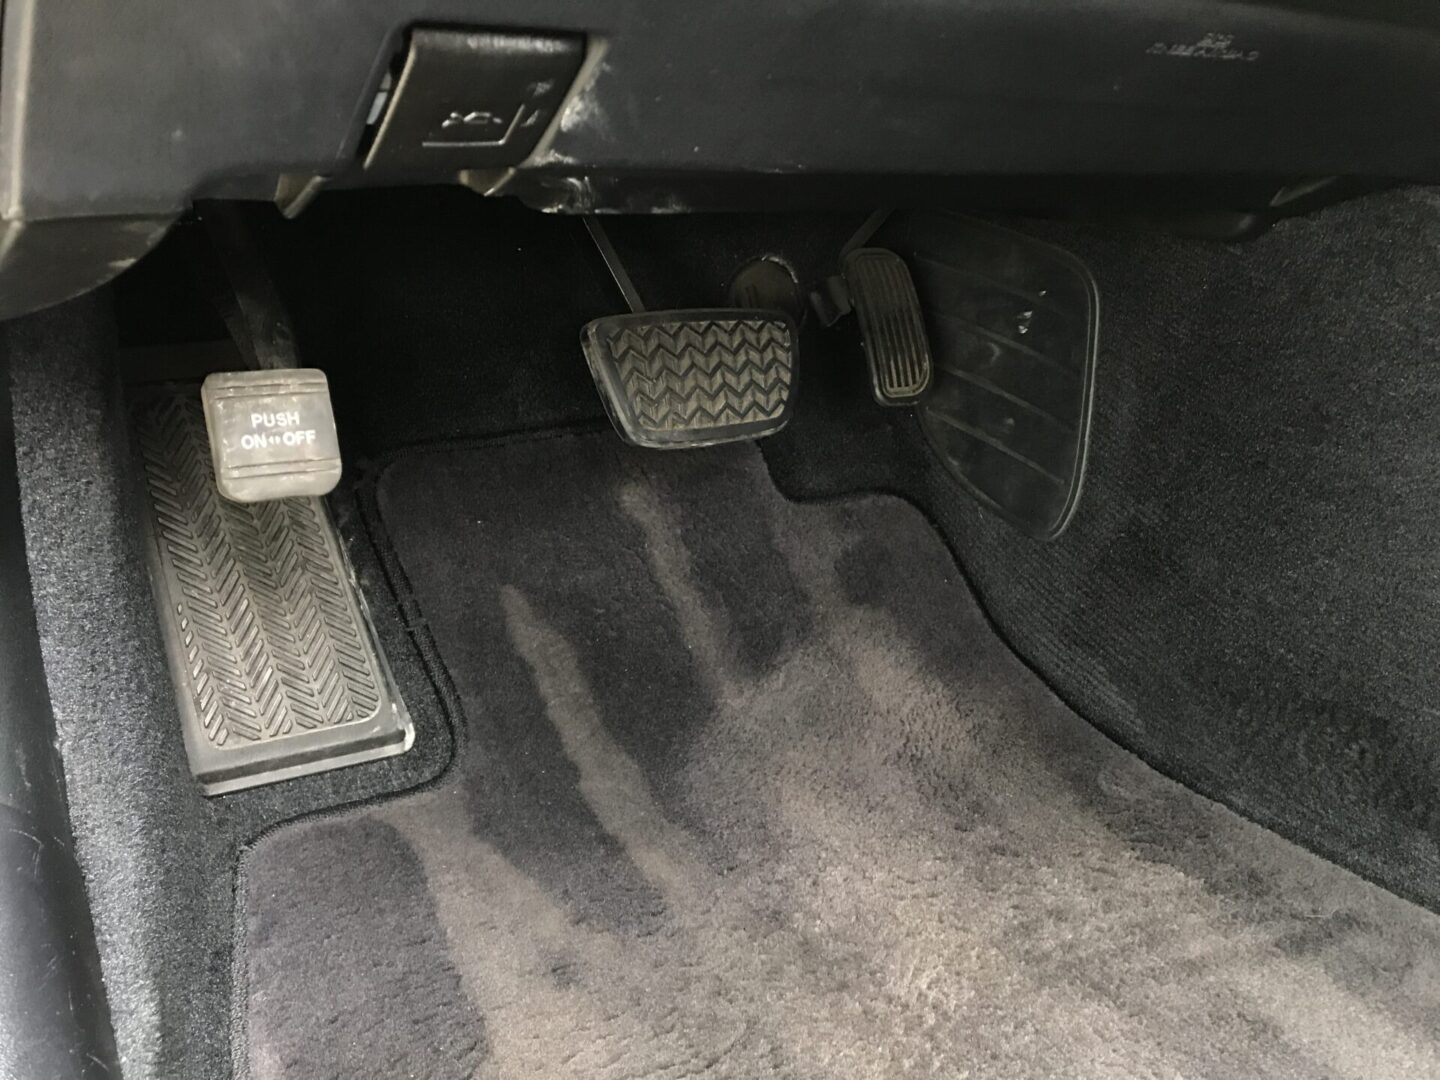
Another tactic that works for getting in hard to reach spots is to use a detailing brush with a bit of interior cleaner. Some of the difficult spots for me are the window controls, speaker grilles, and vents. To finish off, use a vacuum to suck out any excess fluid.
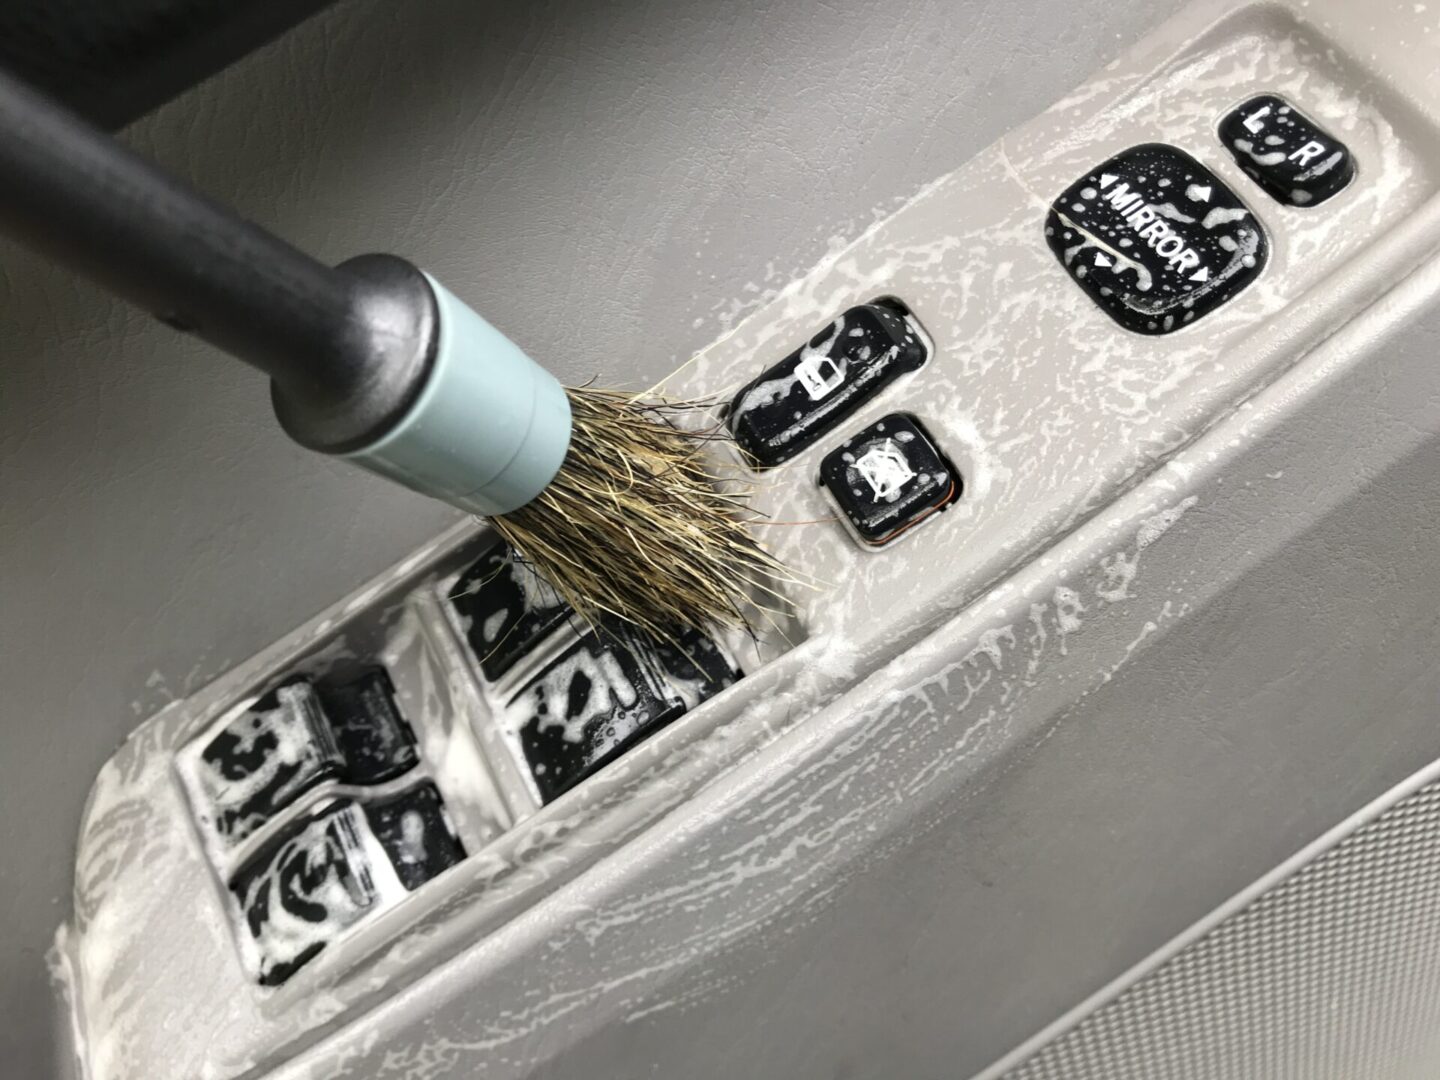

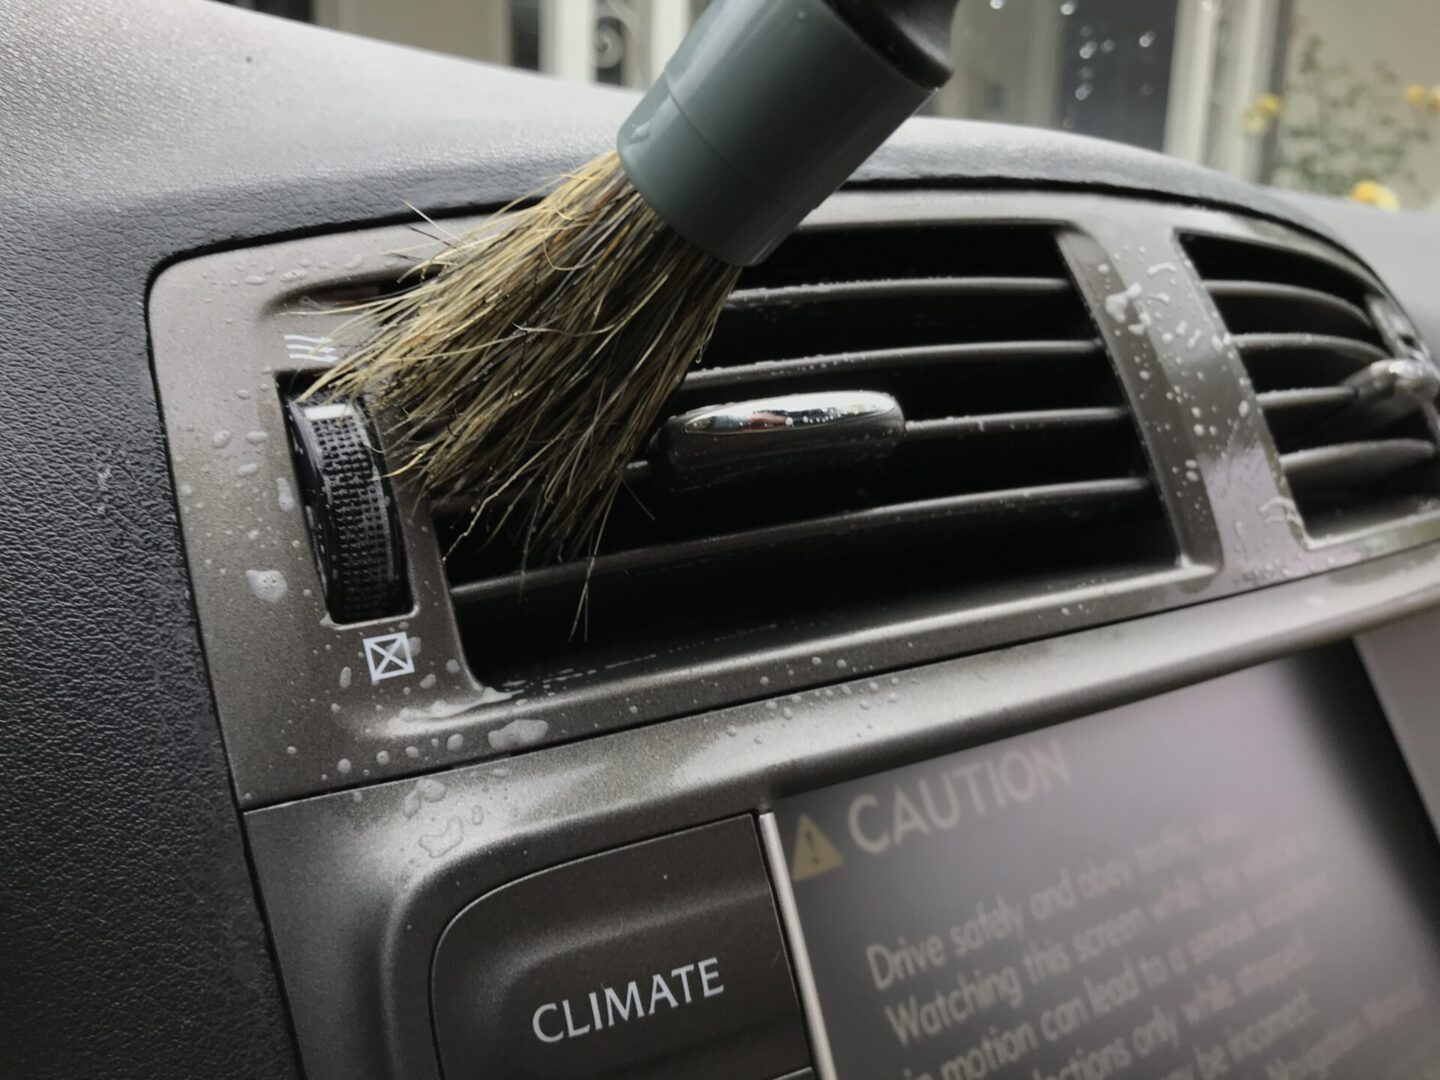
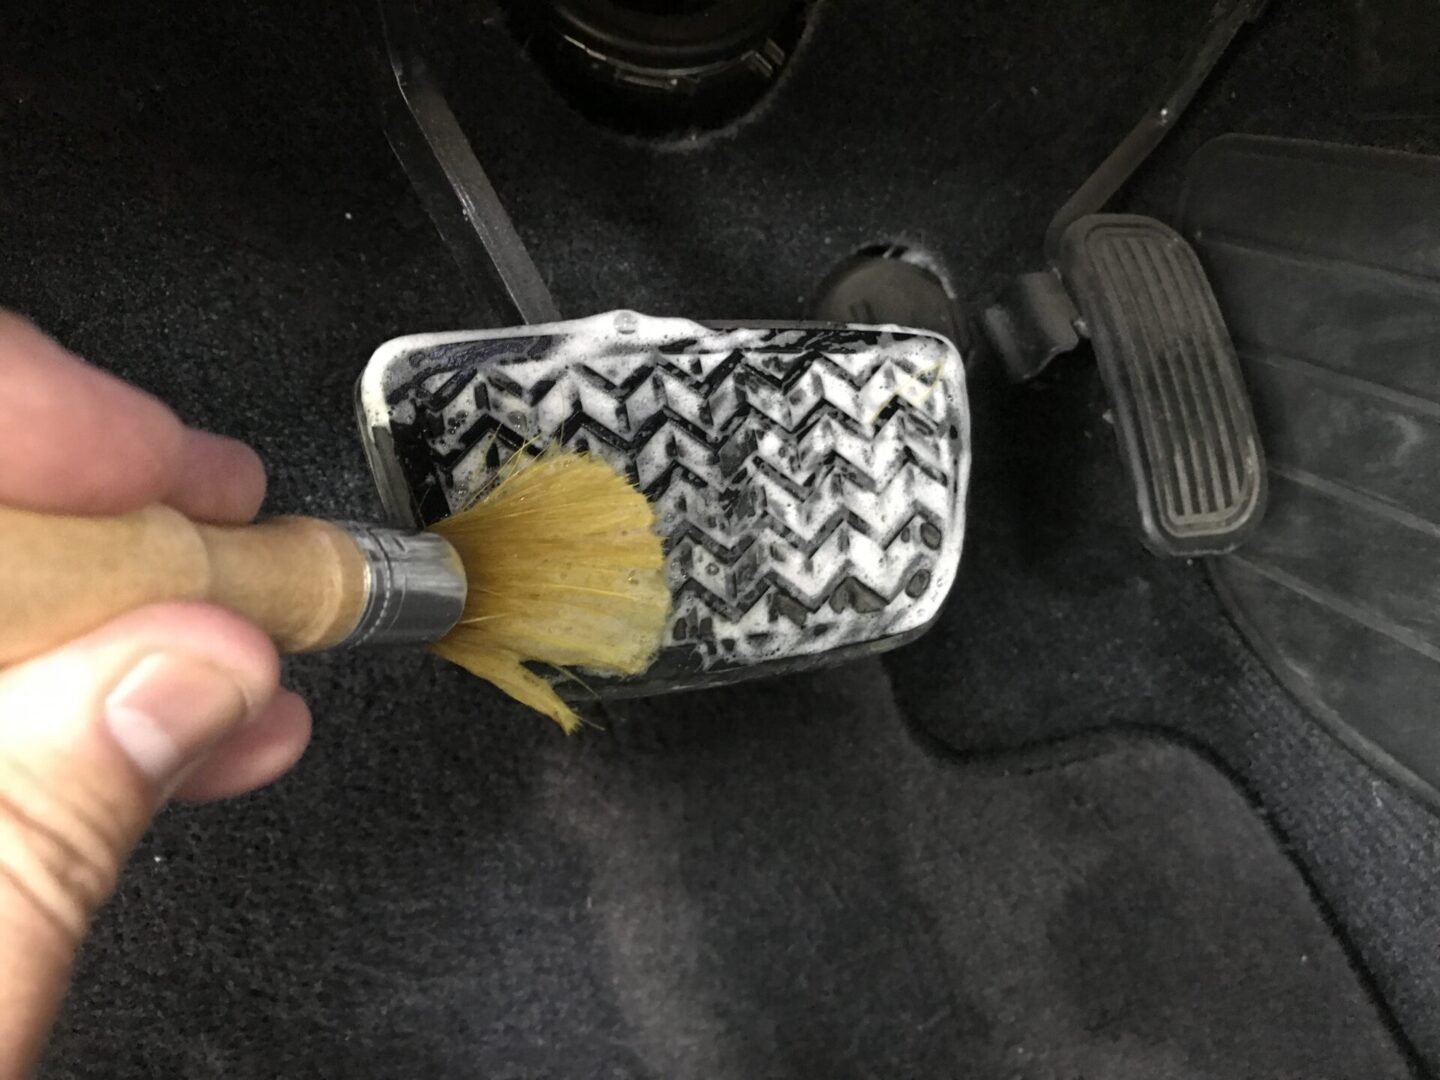
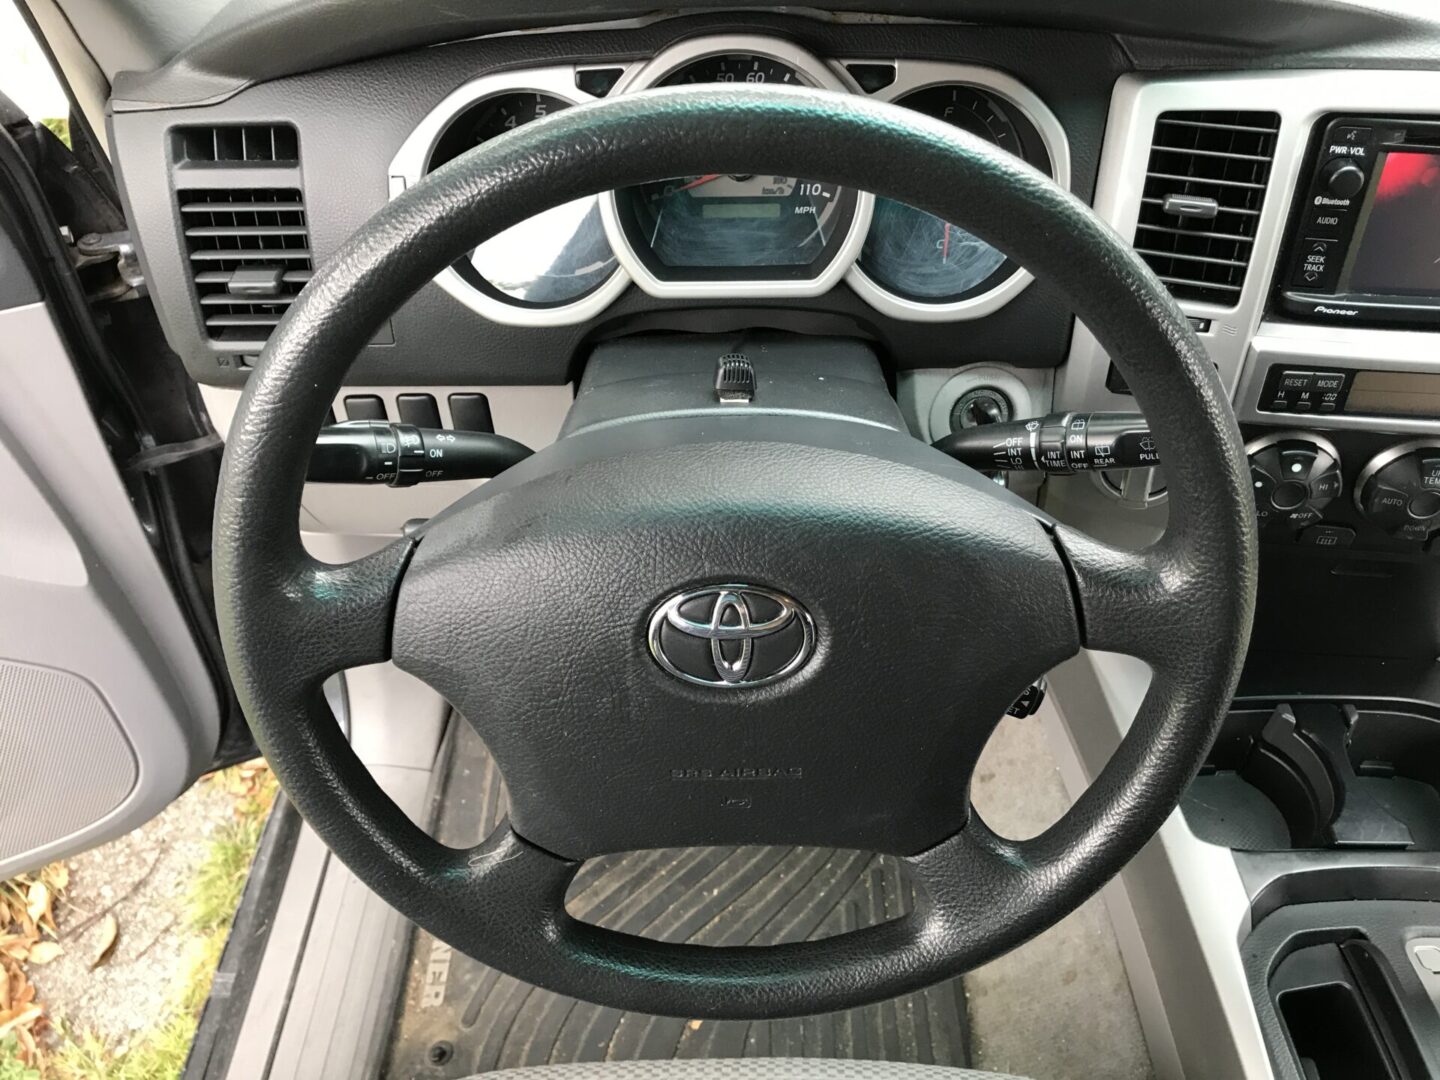
A detailing brush should also be used on harder surfaces that may accumulate dirt/grime baked into it. The steering wheel is a good candidate for this type of cleaning.
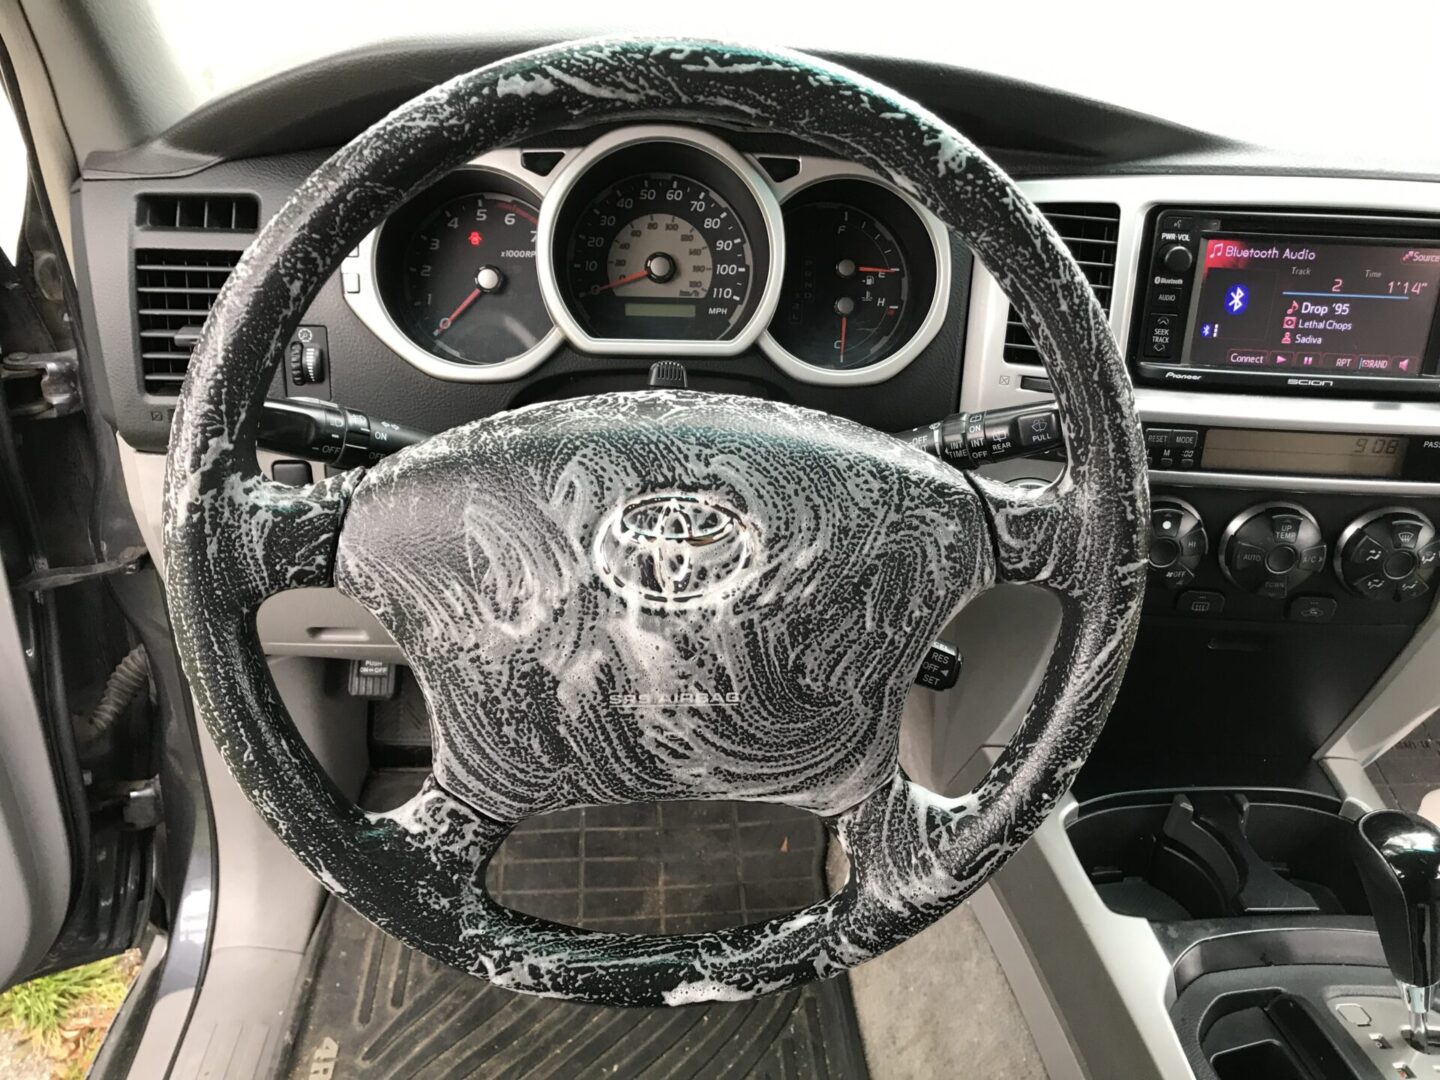
When using a brush to clean harder materials in the cabin, be mindful of how dirty the surface may be in order to prevent cross-contamination of your detailing brushes. for example, I wouldn’t use the same brush to clean the steering wheel as I would to clean the door sills and pedals. It is a good idea to label your brushes to eliminate the possibility of mixing up your brushes.

I’ve found a microfiber works best to wipe up any residual cleaning solutions left on the surface of the interior.


Leather Cleaning
Your seats and certain parts of the interior may be leather rather than fabric. Therefore, you will need to approach cleaning these materials a bit differently than you would with cloth.
Leather needs to be cleaned by using a leather cleaner (or an all-purpose cleaner) and agitating the surface of the leather. Leather is basically animal skin, and so you are cleaning it the same way you might clean your own skin. Using a cleaner will help loosen the dirt and dirty particles from the leather. Using it in conjunction with a microfiber cloth or even better a detailing brush, will further agitate and remove those particles from the leather.
When you’re finished cleaning all of the leather surfaces, you should find that the leather will exhibit a cleaner look and an even shade of color. Once the leather is cleaned, you will need to let it dry before you condition the leather.
Carpet/Upholstery Cleaning
This step may only be required if your car has never been detailed before, or if the carpeting is extremely dirty. Even if your car appears to be relatively clean, it’s not apparent how dirty your carpet flooring is until you remove the floor mats and seats. Furthermore, cleaning the carpet can vastly improve any odors if there are any present.
If you choose to go this route, you want to spend as little as possible, you can rent a carpet cleaner from a local hardware store or from some supermarkets. You will have to rent the carpet cleaner as well as the soap solution that goes with it. If you are willing to spend about twice the price of the rental, you can purchase a small carpet cleaner that will serve you for as long as you own the machine.
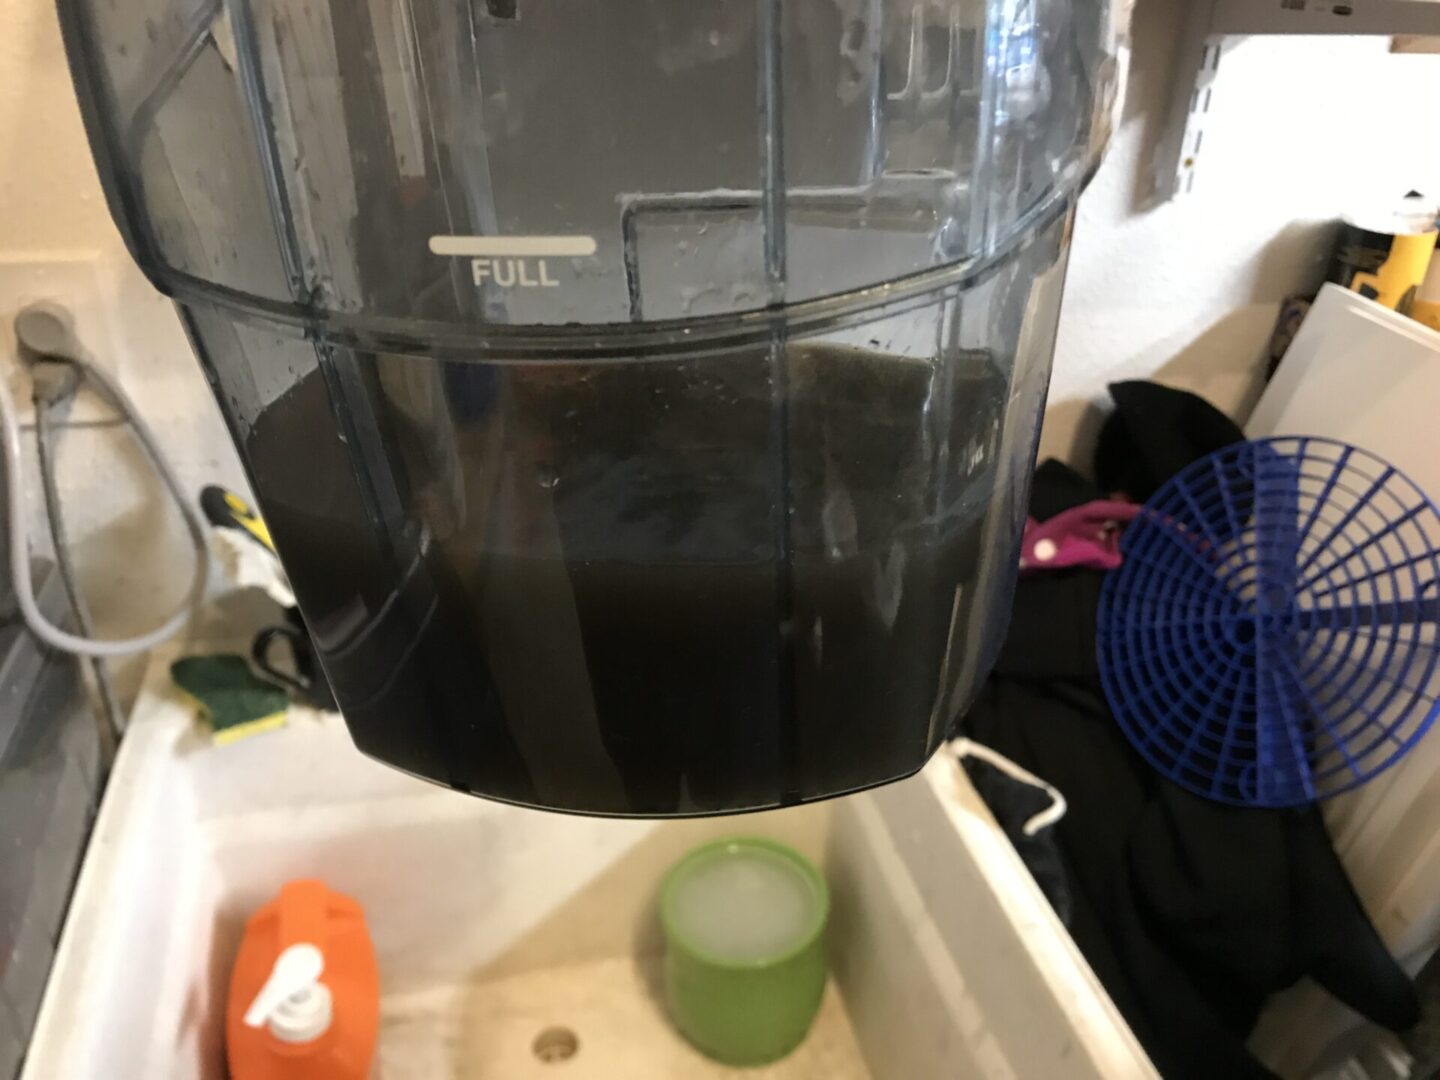
For either carpet/upholstery cleaners, hot water is mixed with the soap solution. This mixture is sprayed onto the upholstery/carpeting, while at the same time being vacuumed up into the cleaning machine. You’ll be amazed how how much gunk is pulled out of the carpeting when you’re done.

Removing the seats and floor mats will guarantee you have access to all of the upholstery. It may be necessary to remove head rests, fold down rear seats, and remove some trim pieces to get full access to all the areas you need to clean.
When you are finished with cleaning all the carpet and upholstery, roll all of your windows down and close your doors. Allow your car to dry out for a good part of the day to fully dry the interior. You can use a fan or blower to expedite the process. Just don’t leave your doors open during this process, otherwise you might return to a dead battery.
Cleaning Seats
While you’re waiting for the interior of the car to dry, you can use the carpet cleaner on the seats outside of the car (if you removed the seats from the car). If you did not remove the seats, then the seats will be drying inside the car along with the rest of the interior.
If the seats are outside of the car, this is a great opportunity to use clean the seats’ upholstery and then letting it air dry outside. Also with the seats removed, you’ll now have access to the underside and sides of the seats to further clean with all-purpose cleaner. Normally you would not be able to properly clean the sides and beneath the seats (along with all the trim pieces in these areas) when the seat is situated in the cabin.

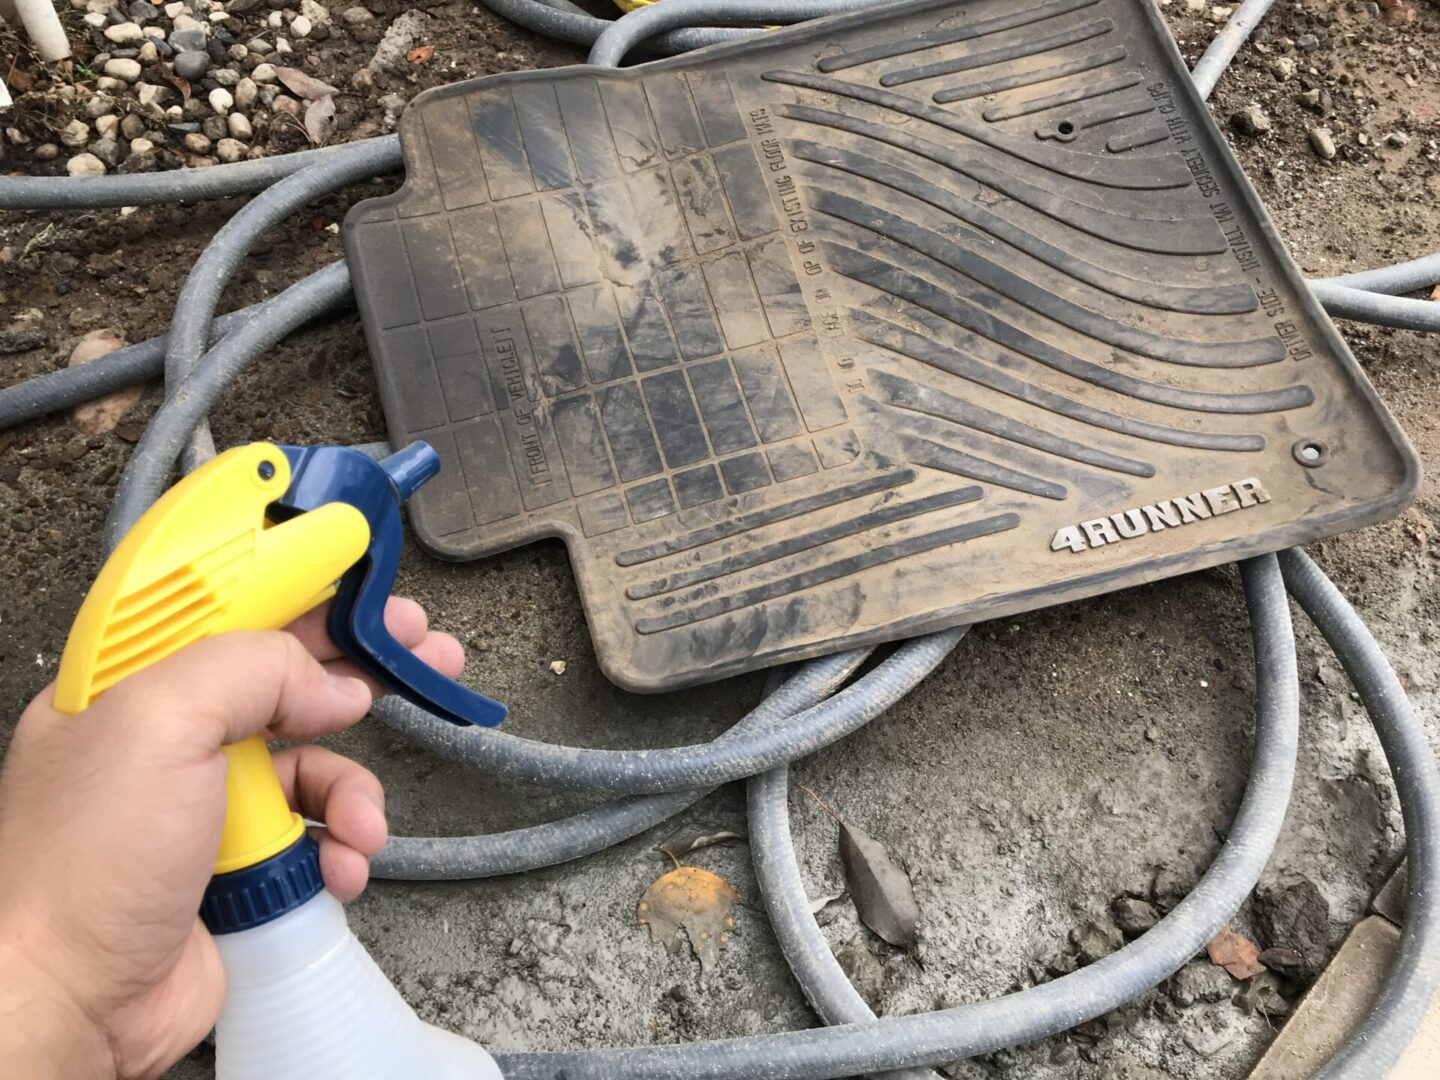
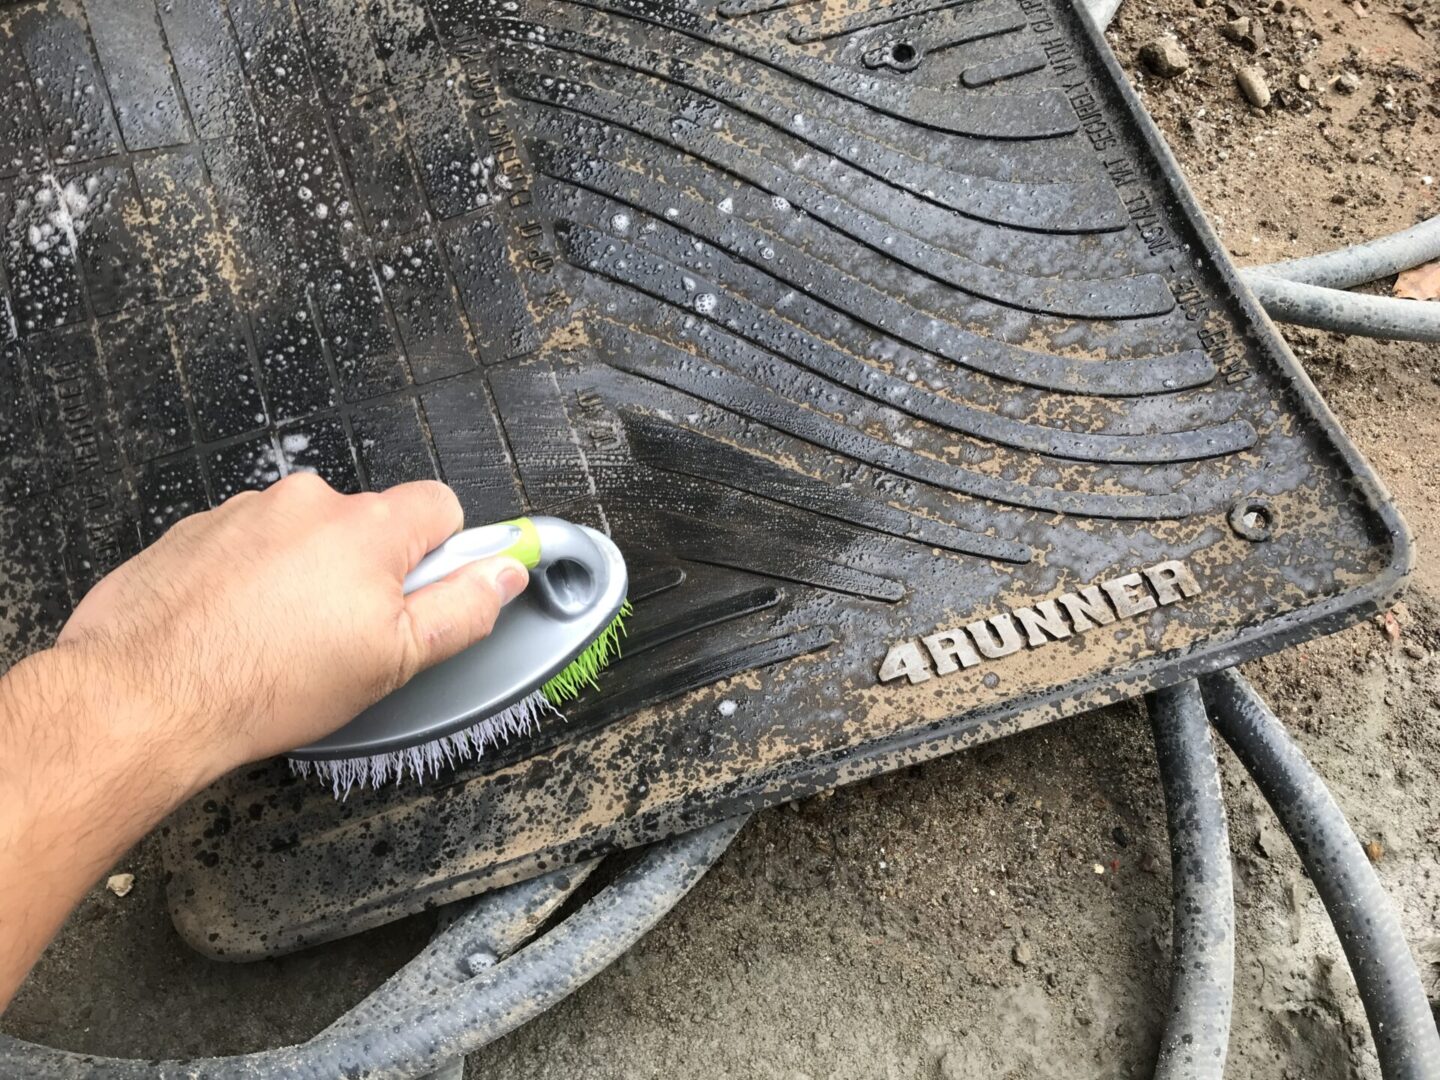
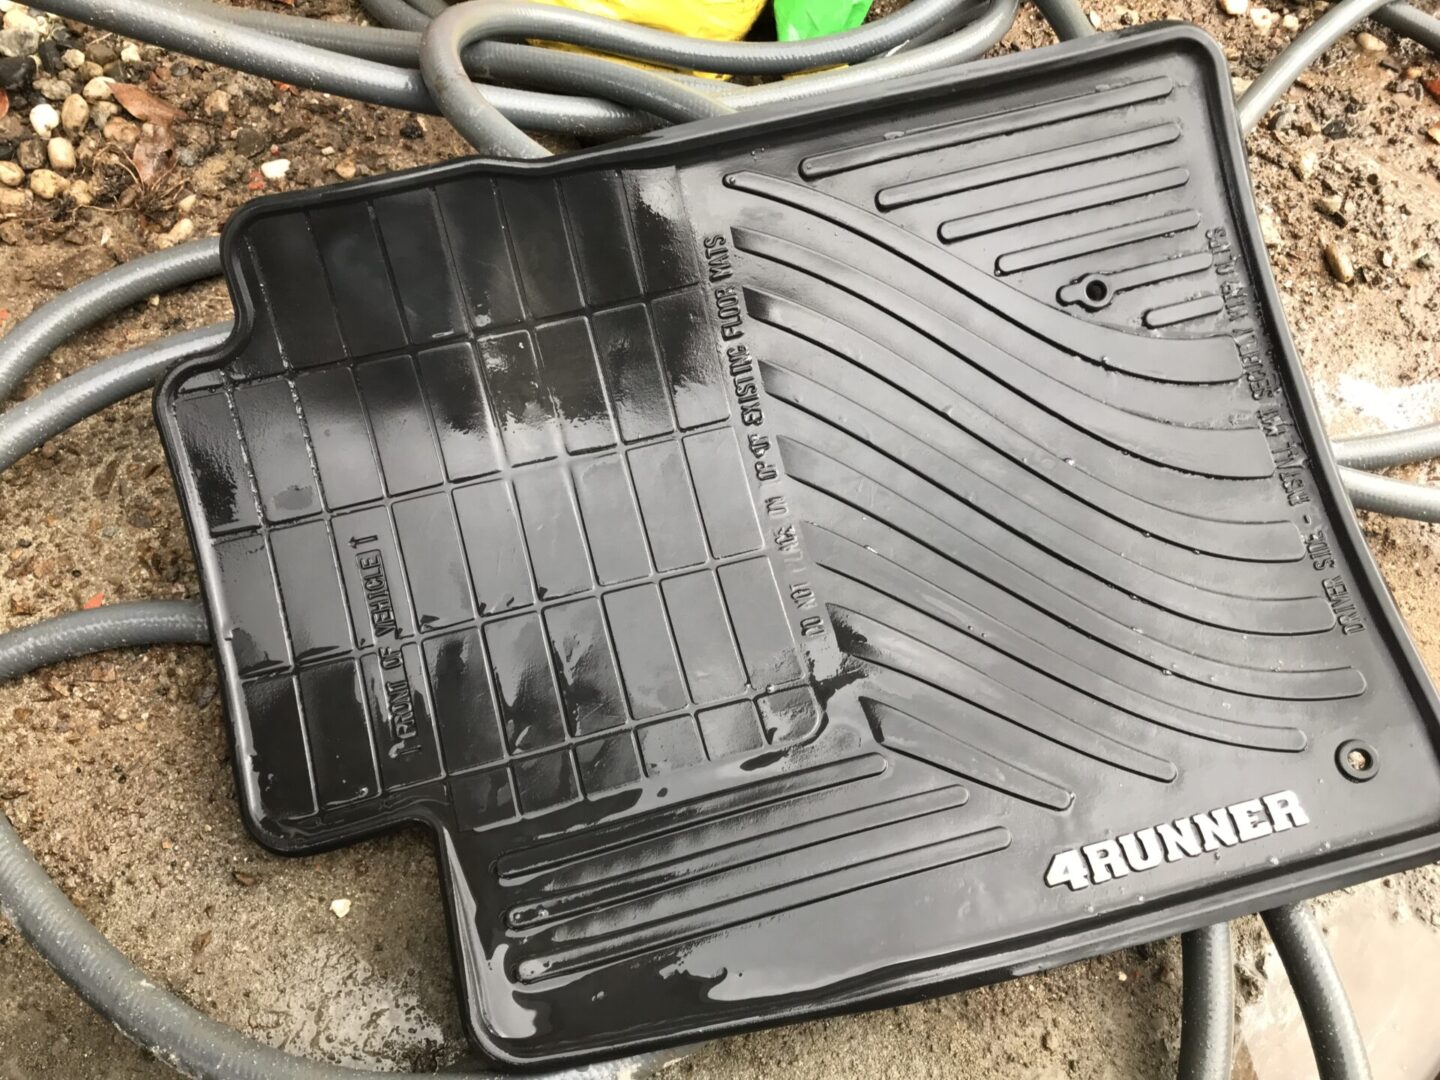
Cleaning Floor Mats
Floor mats and cargo/trunk mats can also be cleaned while outside of the vehicle while you’re waiting for the interior to dry. If the floor mats are carpeted, then use the carpet cleaner to give it a good cleaning; then let it out to dry for a few hours.

If the mats are rubber, vinyl, or any other hard material, use a hard-bristled brush that you would normally use for cleaning the tires or other dirty surface along with an all-purpose cleaner. If they are particularly filthy, you can opt for a stronger cleaner. Just be sure that it will not damage the material of your rubber mat by testing it out on a small portion of the mat.
Protecting Interior Trim
With the interior trim cleaned, you can now protect it by applying a protectant. Just as you would with the interior cleaner, spray the protectant onto an applicator or cloth and then apply it to the surface. The protectant uses UV inhibitors to protect these surfaces from the sun. So it may not be imperative to use this stuff on all surfaces of the interior, but mainly the dashboard, doors, and center console/dash.


There are plenty of good interior trim protectants, so if you go with one that is well-reviewed then you’re golden. Stick with the ones that have no sheen or very very little sheen. I personally use 303 Aersopace Protectant and am very happy with the look and protection it gives.
Just make sure to steer clear of ones that contain silicone. These are typically protectants that leave your interior trim and dash surfaces shiny or greasy. You don’t want to “dress” the interior up, you simply want to protect them. Greasy or shiny protectants may be more detrimental to the life of your interior. It also doesn’t feel good to touch anything in your interior and have it feel greasy.
Odors
In most cases, the shampooing of the carpeting can eliminate most odors inside your vehicle. There are cases where there are some extreme measures that must be taken in order to extract more heinous odors such as smoke, musty/moldy smells, and other strange odors. To deal with these odors, it may be necessary to use baking soda, moisture removal materials (e.g. DampRid), and an ozone generator.
Wrapping Up
By now, you’ve let the car air out and dry for most of the day and you’re ready to put everything back into the car. Re-install the seats (and plug in associated electrical connectors) and put back the floor mats.
Take a last look around in the cabin to see if you’ve missed anything. One spot I always double-check is the windshield as I always miss a spot or two when I’m wiping down the interior of the windshield.
The car interior detail is now fully complete. This depth of detailing is not a necessity every time you clean the interior. In fact, this should only be done once in a blue moon or if an interior detail has never been done. I do this whenever I buy a new car and maybe every few years.


Interior detailing maintenance is key to ensuring you preserve the interior. Maintenance will involve you busting out the interior cleaners and microfiber cloths and giving it a good wipe down to clear all surfaces of that thin layer of dust/dirt. Vacuuming will help get the larger particles that are tracked into the car. And finally using UV-protectant on the interior hard surfaces of your vehicle will continue to keep the interior is excellent shape.


