When you make purchases through links on this site, The Track Ahead may earn an affiliate commission. Also, these posts are based off my own experiences. I am not responsible for any action you take as a result of reading this. Learn More
A Little About AC Recharge Kits
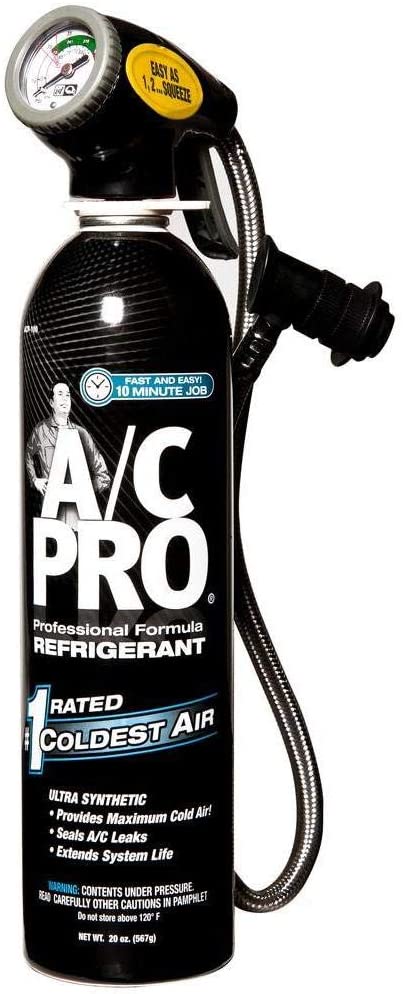
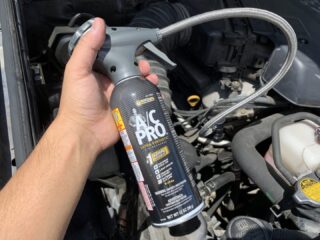
You may have seen one of these air conditioning recharge kits at your local auto parts store, which usually consists of a recharge hose with a gauge and some refrigerant. The way this AC recharge kit is advertised lends itself to appear as if it will take care of any issue you might be having with your air conditioning system. The reality is that a recharge kit such as the one pictured to the right will essentially fix only one issue: if the air coming through your vents is not as cold as it used to be.
If your air conditioning is not cold at all, there might be bigger issues (e.g. a leak somewhere in the system). Furthermore, the AC system consists of a low pressure side and high pressure side. Recharge kits usually include a hose that attaches to the low-pressure side port; this is meant to simply top off your refrigerant. Again, this “top off” is intended to simply add some more refrigerant if you’re a running a bit low, but it’s a silver bullet that will fix any air conditioning problem that you’re having.
Tools & Materials
AC Recharge Kit (R-134)
You may purchase a recharge kit that includes gauge/hose along with a can of refrigerant with as this one:
InterDynamics AC Pro Car R134A AC Recharge Kit with Hose and Gauge, 20 Oz, ACP200-6
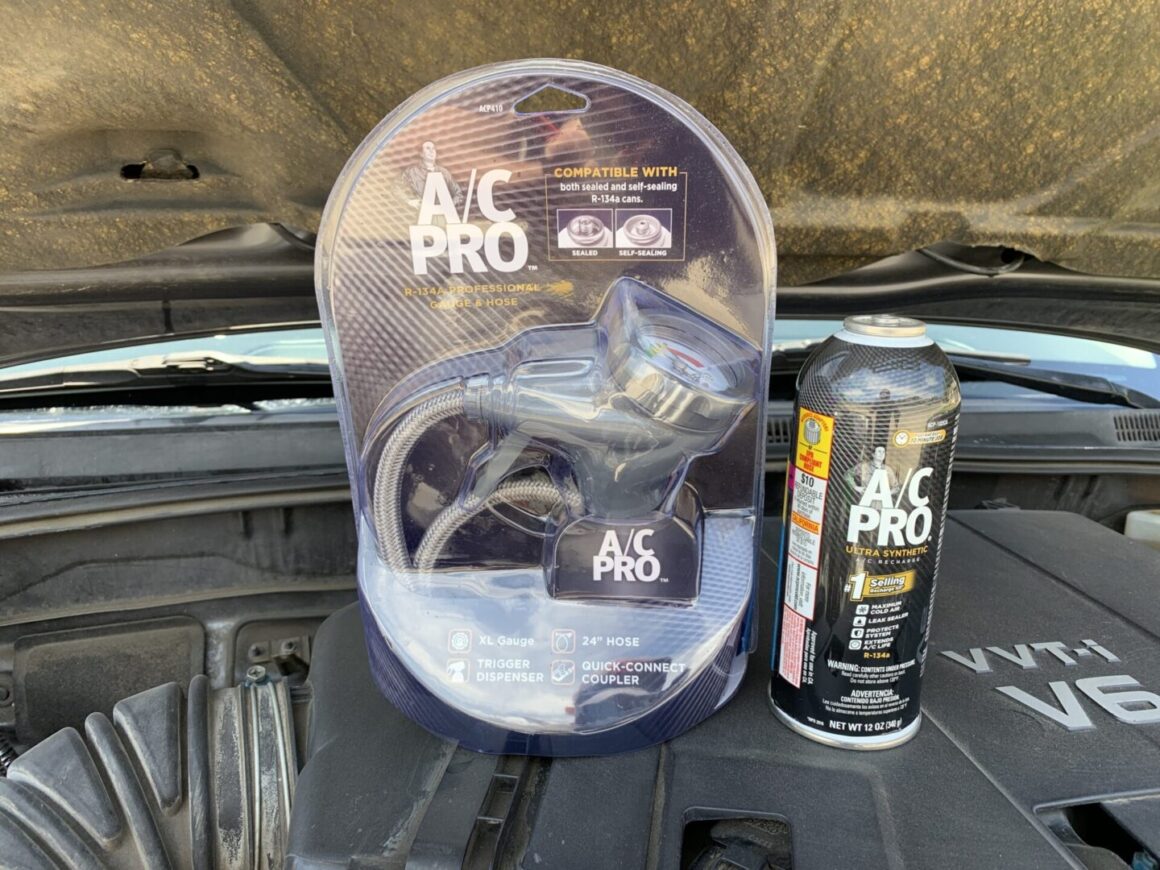
Another option is to purchase the gauge/hose separately from the R-134a refrigerant:
Gauge & Hose: InterDynamics AC Pro R134A Gauge and Hose, 24 in, ACP410-4
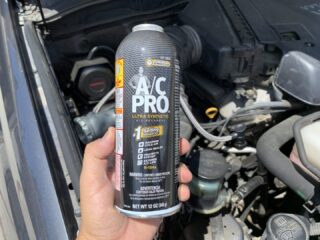
Refrigerant: InterDynamics AC Pro R134A Refrigerant, 12 Oz, ACP102-6
How to Recharge your R-134a Air Conditioning System with an AC Recharge Kit
Before we start, it’s important to always use safety glasses when you’re working on your air conditioning system. As a safety precaution, your eyes are protected in the case anything goes wrong. Also, you should follow your specific recharge kit’s instructions. Although most R-134a recharge kits tend to be similar in the way that it is used to recharge the AC system, it’s always best to follow the manufacturer’s instructions.
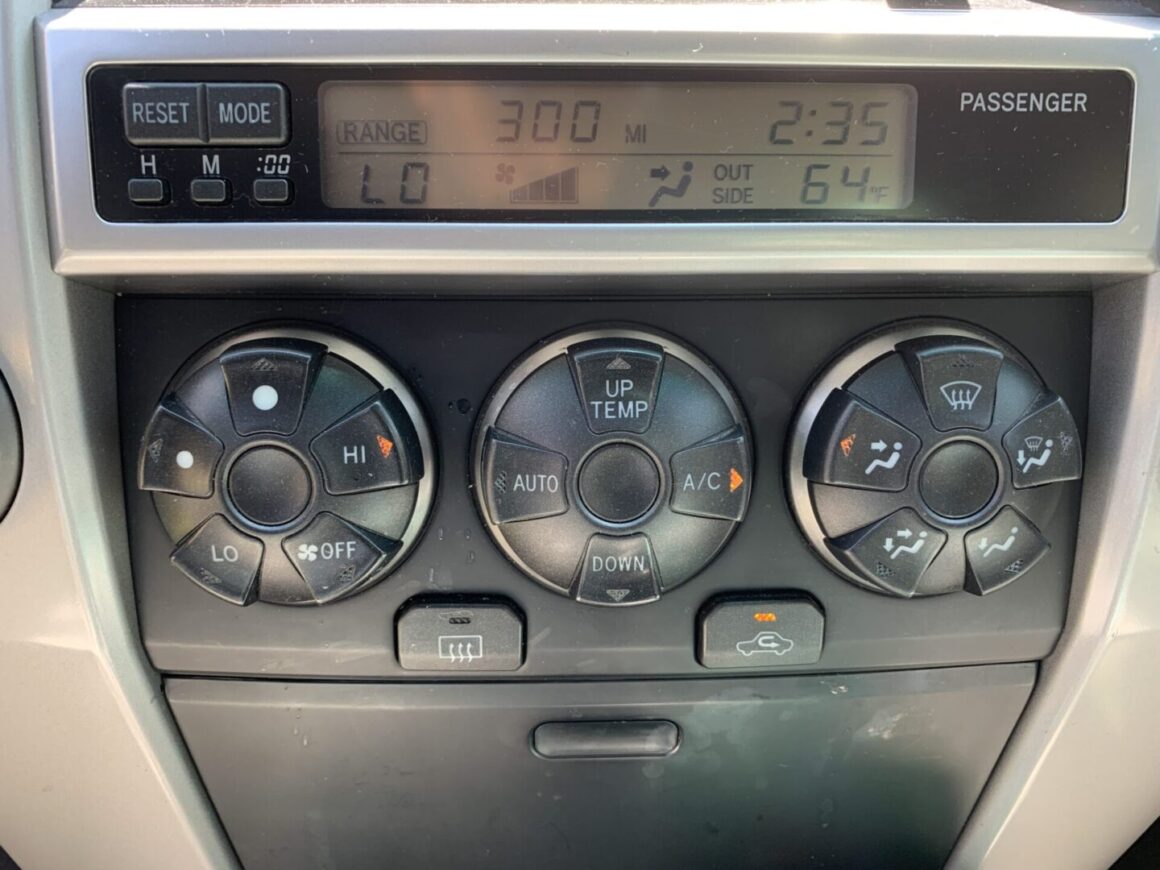
Start by turning on your car, and then setting your air conditioning on to the highest setting. The re-circulation function should be activated as well.
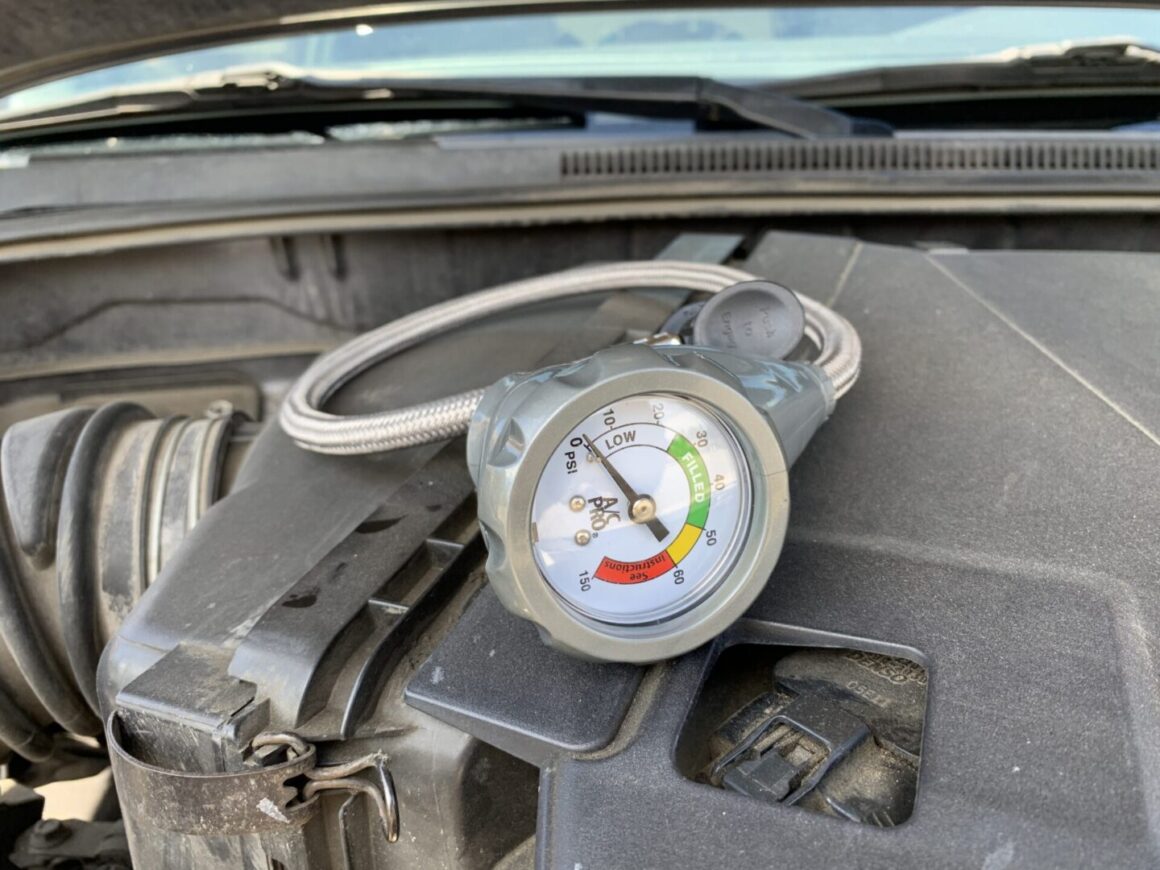
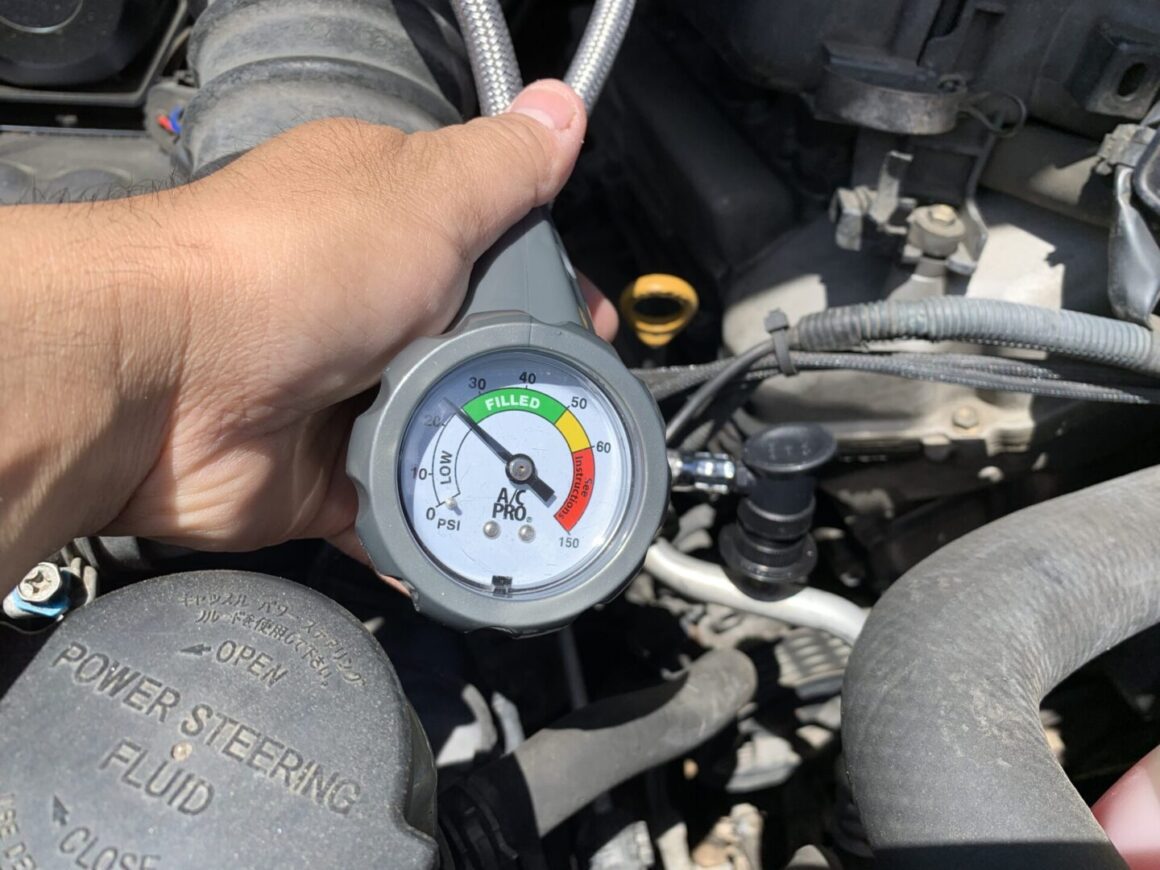
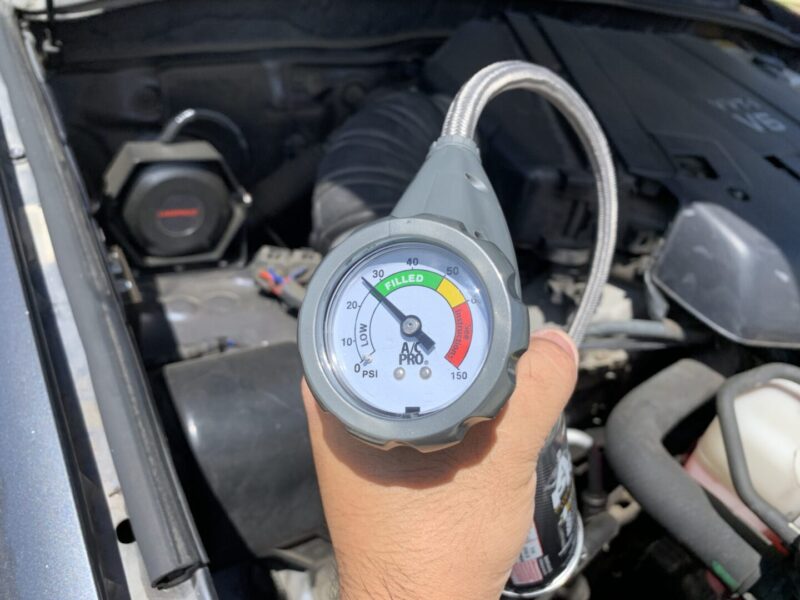
Under the hood, prepare your recharge gauge and hose. Familiarize yourself with the gauge as there are a variety of gauges out there with some differences amongst them. The one I have below is a fairly standard one showing a very generic display of pressures and whether the low-pressure system is low, filled, or in a problem state.
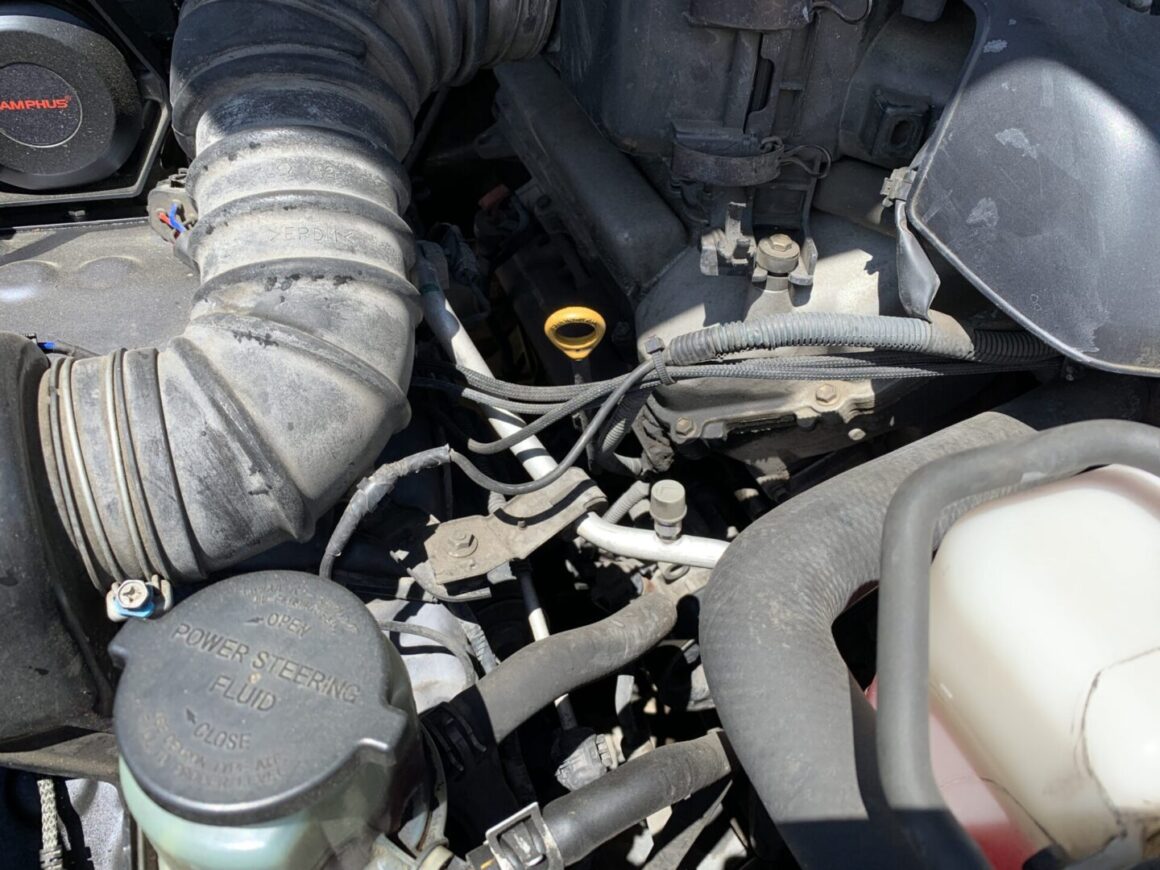
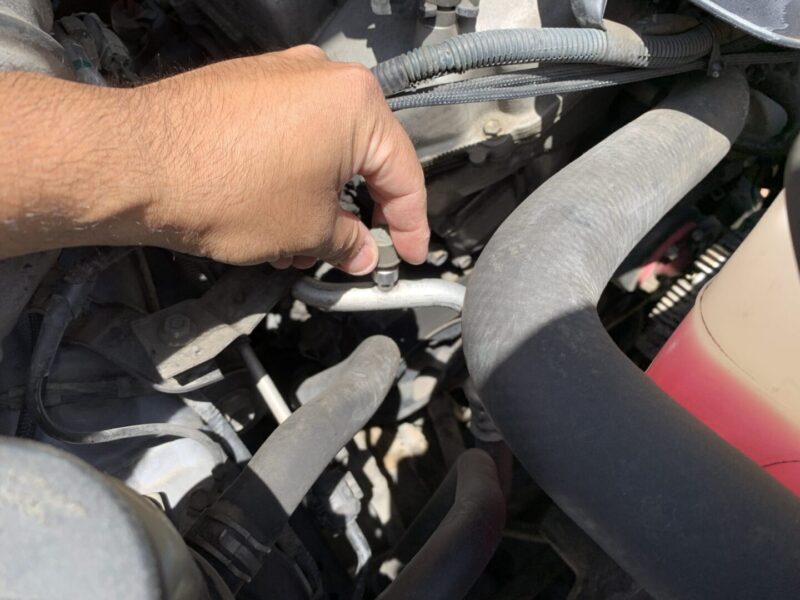
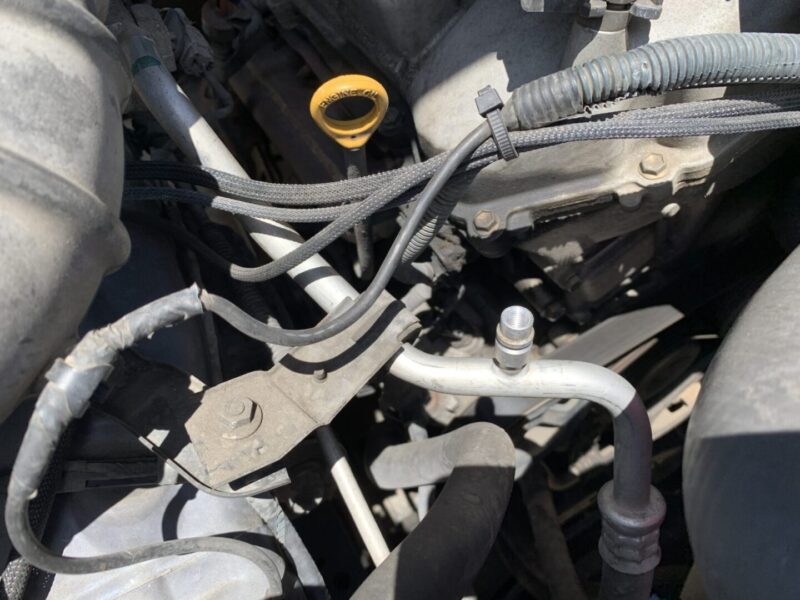
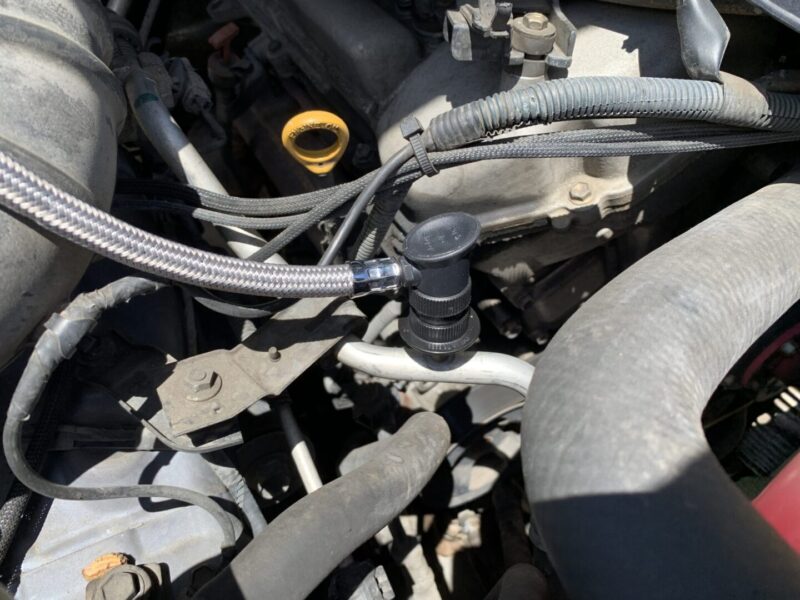
Locate your low pressure charging port, usually with a plastic cap with an “L” on it to indicate that it is the low pressure port. The low pressure piping that runs to and from this low pressure port is usually a larger diameter pipe than the high pressure line.
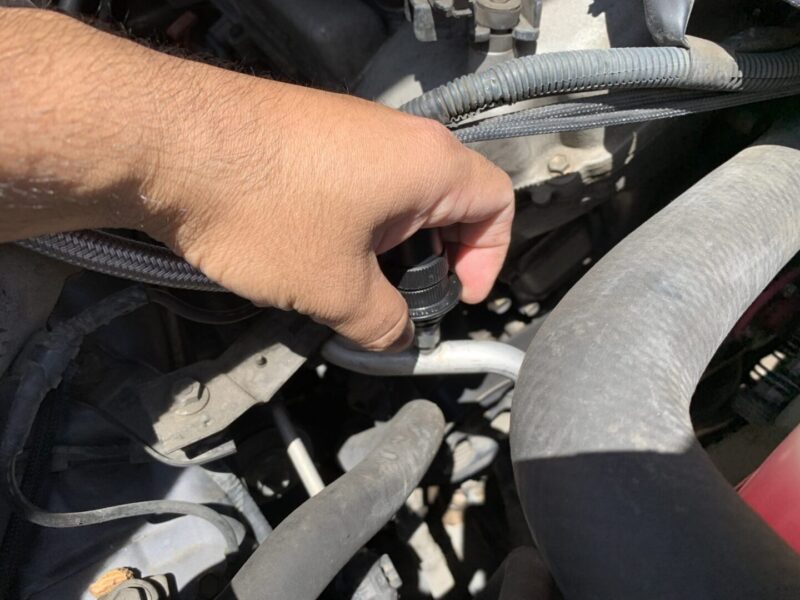
Unscrew and remove the low pressure charging port cap; store it in a safe place. Take your recharge hose attachment, lift back on the plastic connector and press onto the charging port to make sure it locks in. You can wiggle the connection a bit to ensure that it is locked into place.
Now with the pressure in the recharge hose, the gauge provides a reading of the low pressure side in your AC system. In my case here, I got a reading of 24psi which falls into the upper end of the ‘low’ reading.
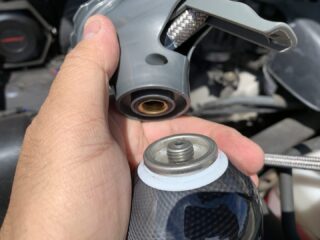
Since my air hasn’t been as cold as it once was, I wanted to refill the refrigerant to get it back to the ‘filled’ level. I screwed on the R134a refrigerant bottle (hand tight) onto the gauge hose.
Now, my gauge gives a simple reading for the low pressure side of my AC system. There are some gauges out there with a rotating dial where you can set the ambient temperature and it will provide you with a range of where your low pressure gauge should be reading.
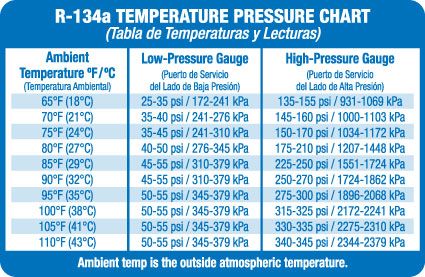
If you don’t have one of those types of gauges (like I didn’t), then you can reference the chart below. Since my ambient temperature was about 65 degrees F, I would need to be somewhere between 25-35 psi.
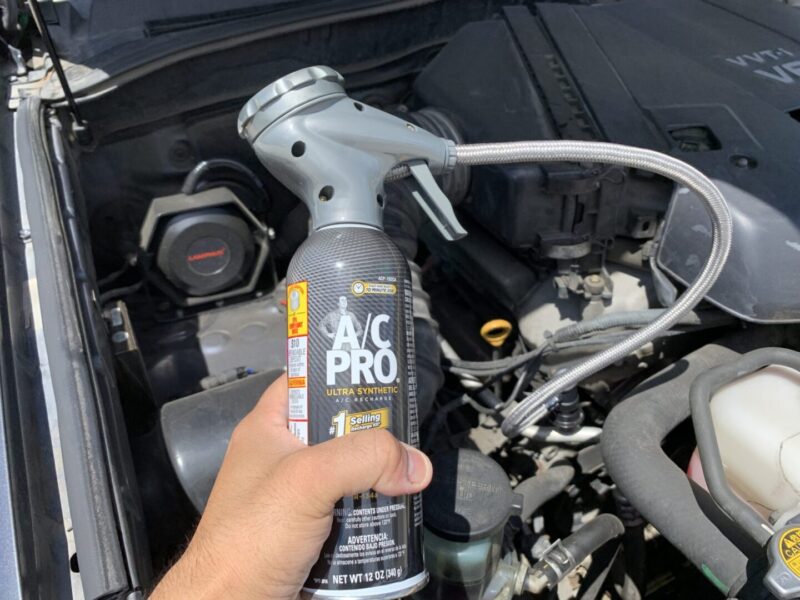
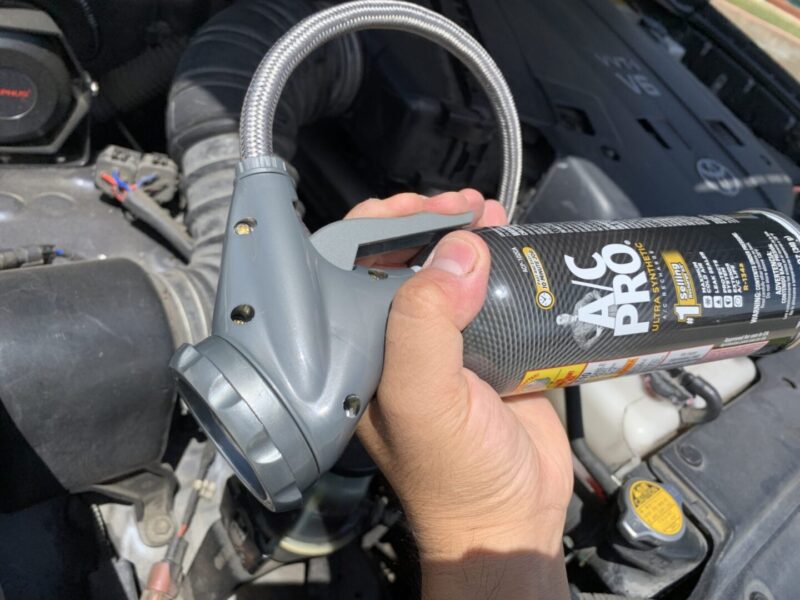
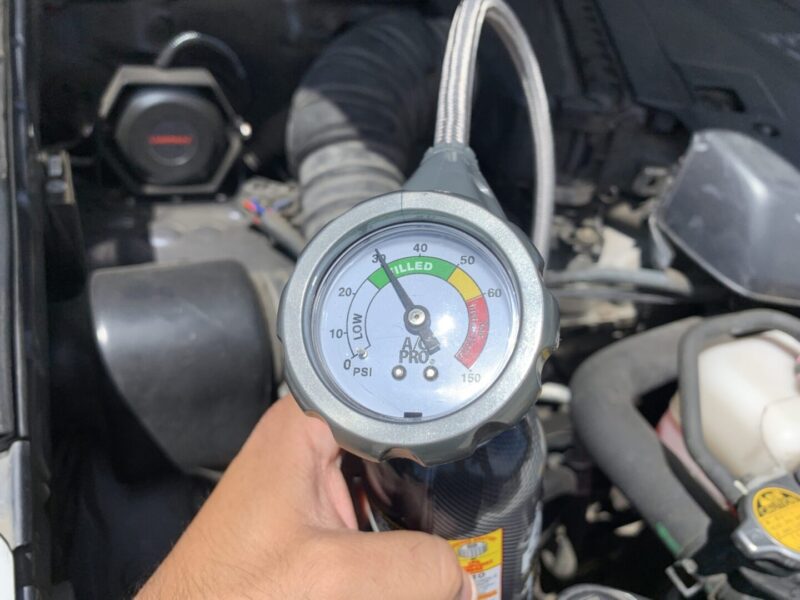
The A/C PRO recharge hose and refrigerant provides instruction on how to discharge the refrigerant. Shake the bottle up and down for a bit, then depress the squeeze trigger and hold for about 10-15 seconds. During this 10-15 seconds, rotate the can between the 12 o’ clock and 3 o’ clock positions to allow refrigerant to flow into the low side of the AC system. Finally, let go of the trigger and check your reading. I did this two times and ended up in the green with about 30 psi.
Keep in mind that you should keep an eye on your A/C compressor to see if it is on. You can tell if it is on if the compressor is spinning. The only time you should be squeezing the trigger to allow refrigerant into the system is if your A/C compressor is on. Do not refill while the A/C compressor is off.
Also, the recommend pressures given in the table above as well as the pressure shown on the gauge is based the pressure reading when the A/C compressor is on. What you’ll notice is that if your A/C compressor is ON, then the low pressure gauge will be lower. If the A/C compressor shuts OFF, then the low pressure gauge will show a higher pressure. So use the gauge reading along with the recommended pressures based on the A/C compressor running.
Once you’ve recharged your air conditioning adequately according to the gauge, then you can check the air inside of the cabin. Check the air in your car to see if the air coming through the vents is colder. Make sure not to overcharge the system as overcharging is just as bad as having an undercharged system.
A good way to be sure of the actual temperatures inside the cabin is to use a temperature thermostat that clips onto your vent. This will give you the actual temperature of the air coming in through your vent so you can be sure that the air is cold. Once you’ve confirmed that the air inside the cabin is cooler, you can remove the charging hose by pulling up on the attachment end and lifting off of the charging port.


