When you make purchases through links on this site, The Track Ahead may earn an affiliate commission. Also, these posts are based off my own experiences. I am not responsible for any action you take as a result of reading this. Learn More
A long time ago, I had a PA system installed on my work truck, which allowed me to alert other vehicles with warning/alert sounds, activate my light bar, and use the PA system. I found this system really useful, however over time my company decided to do away with company vehicles and to require us to use our personal vehicles. Since I now needed these features on my personal car, I was looking for a PA system that I could install myself.
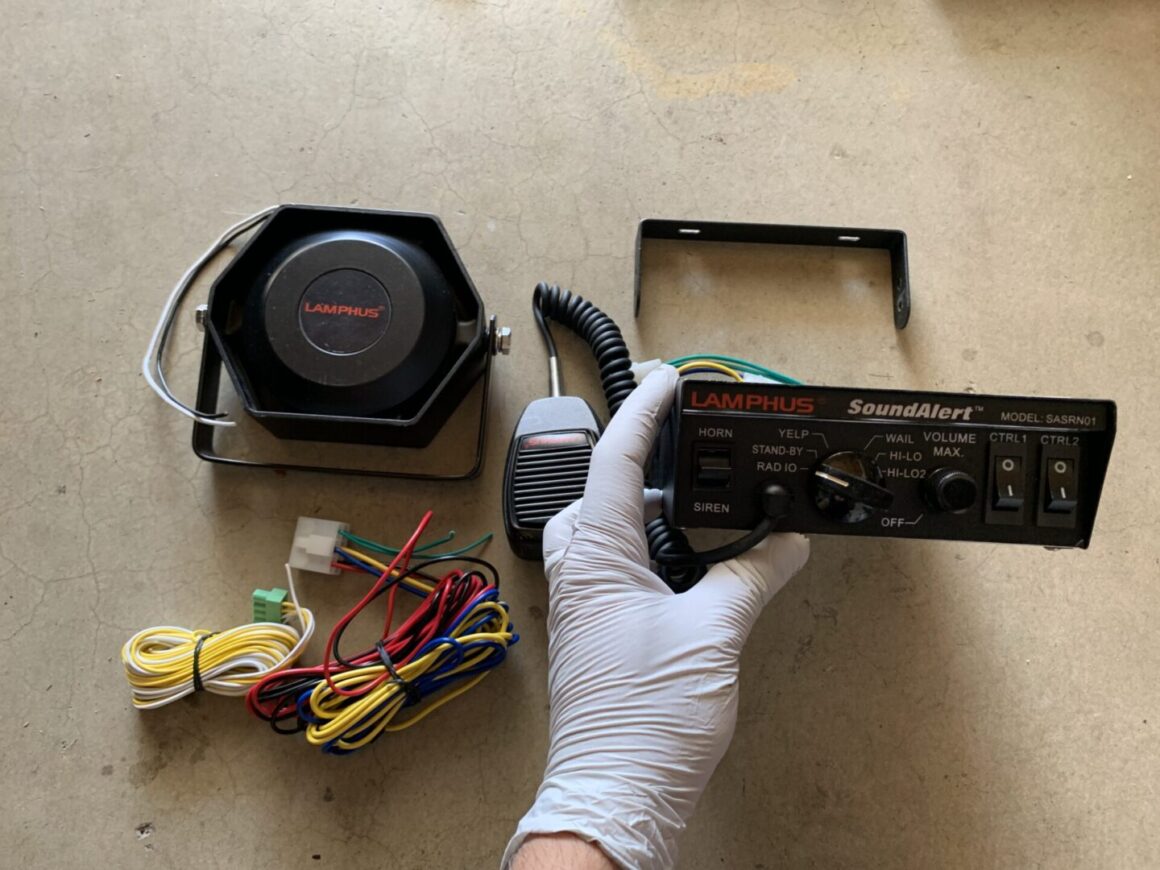
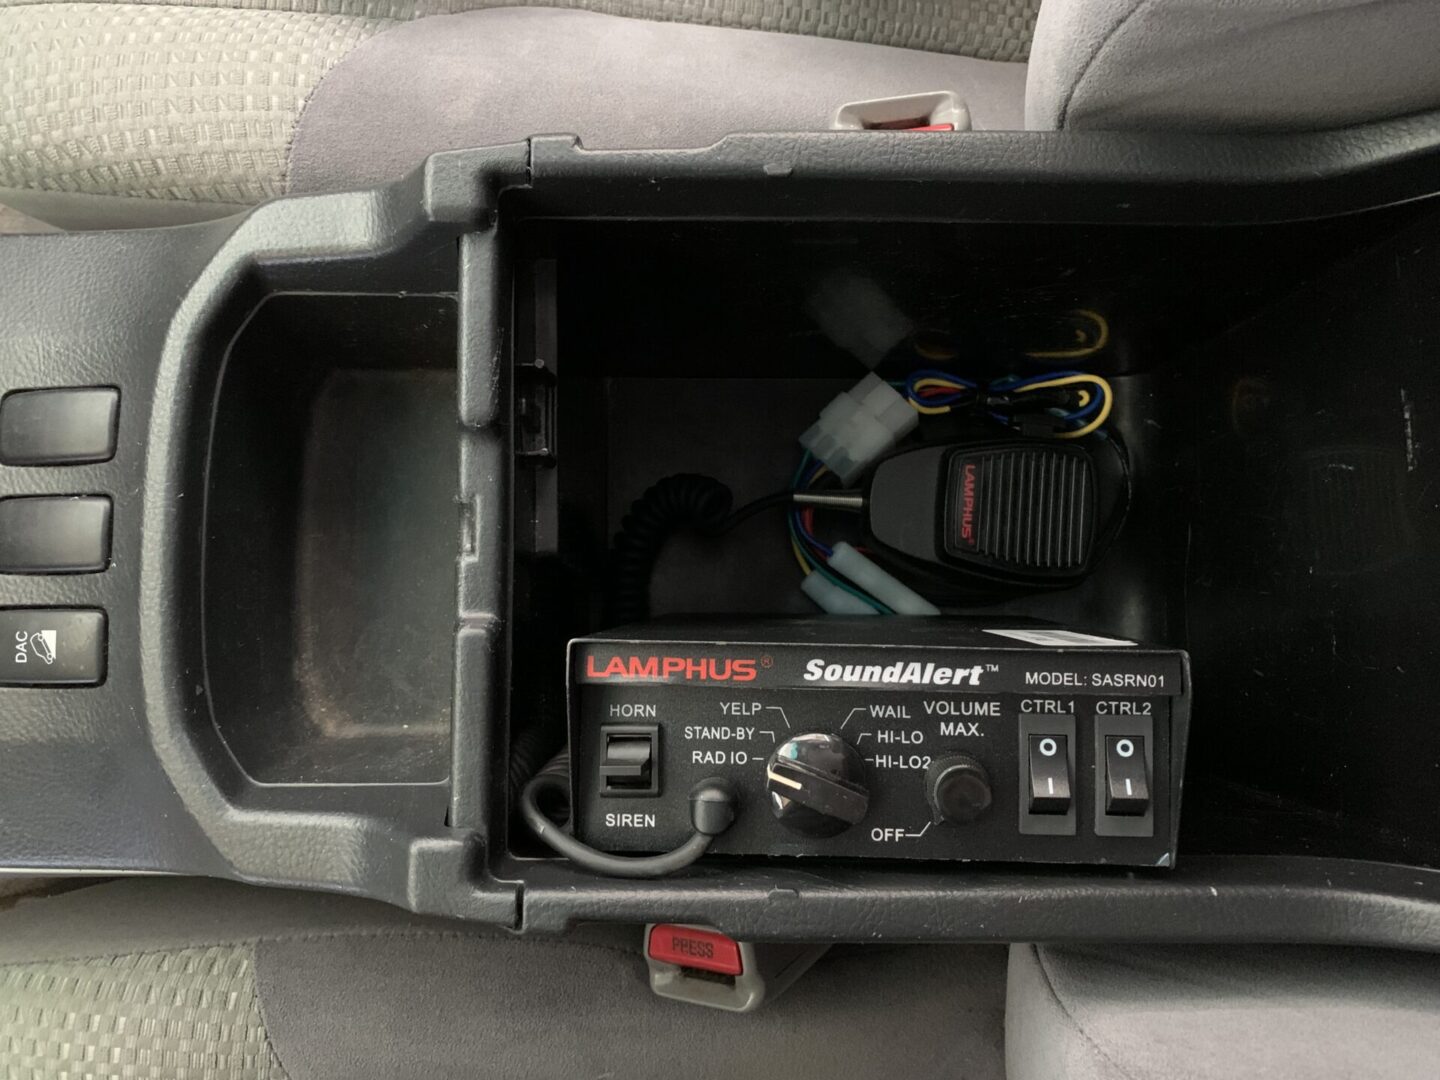
About 1-2 years ago, I found and purchased a used Lamphus SoundAlert PA System online for about $100. But, I never really got around to installing it until recently. I found the install to be much simpler than I originally thought it to be since the kit seemed to have quite a bit of different wiring. However, if you only need the sound alerting and PA system features, you don’t need to use all the wires provided. If you do need to hook up auxiliary equipment or want to connect it to your audio system, it may require some additional work to install.
I’ve written this guide for installing a Lamphus SoundAlert PA system, which should apply to almost any other vehicle. The vehicle I did this on was on a 2003 Toyota 4Runner. The more difficult parts of this install was getting wires through the engine firewall and figuring out which wires to tap off of for power and ground. I already knew where I could connect the ground and power wires to on my car, so if you don’t know where you can tap off for power and ground on your specific vehicle, you’ll need to do some further research. Much of the wiring that comes with the Lamphus SoundAlert PA kit looks intimidating, but half of it either gets taped off, or not used if you are planning to just use it for the alert functions and the PA system.
Tools/Materials Used
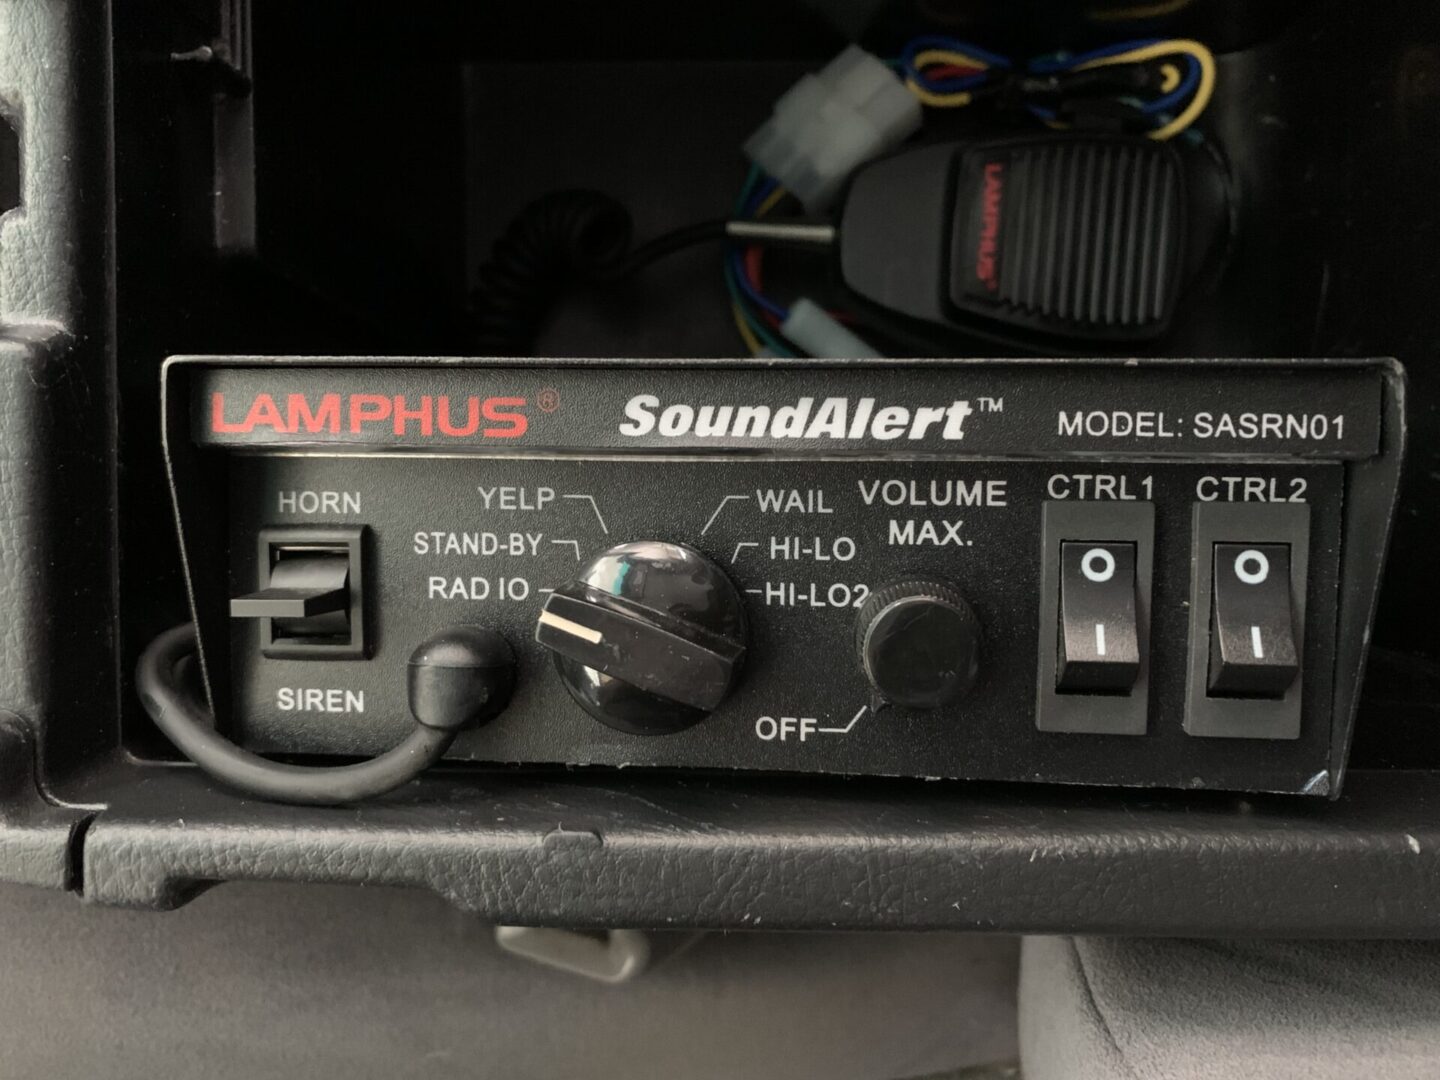
Lamphus SoundAlert PA System
There are plenty of options for PA Systems available; this Lamphus unit is one of the more popular ones I’ve found online. This particular one is a 100W mechanical siren paired with a 118-124db speaker. I’ve included two options below as Lamphus seems to have two models that appear to have identical specifications with the exception of one with an updated look.
SoundAlert 100W Police Siren PA System [118-124dB] – SASRN01
SoundAlert 100W Police Siren Kit [118-124dB] – SASN01 Rev.1 (updated model)
Also, since I purchased my unit used, the two green speaker wires seemed to have been cut off, so I needed to use some extra wire to make the splice between the PA unit and the speaker. I suspect that if you purchased this new, the speaker wires should be long enough for you to run through your vehicle and firewall into the engine bay.
Southwire 55667123 Primary Wire, 14-Gauge Bulk Spool, 100-Feet, Black
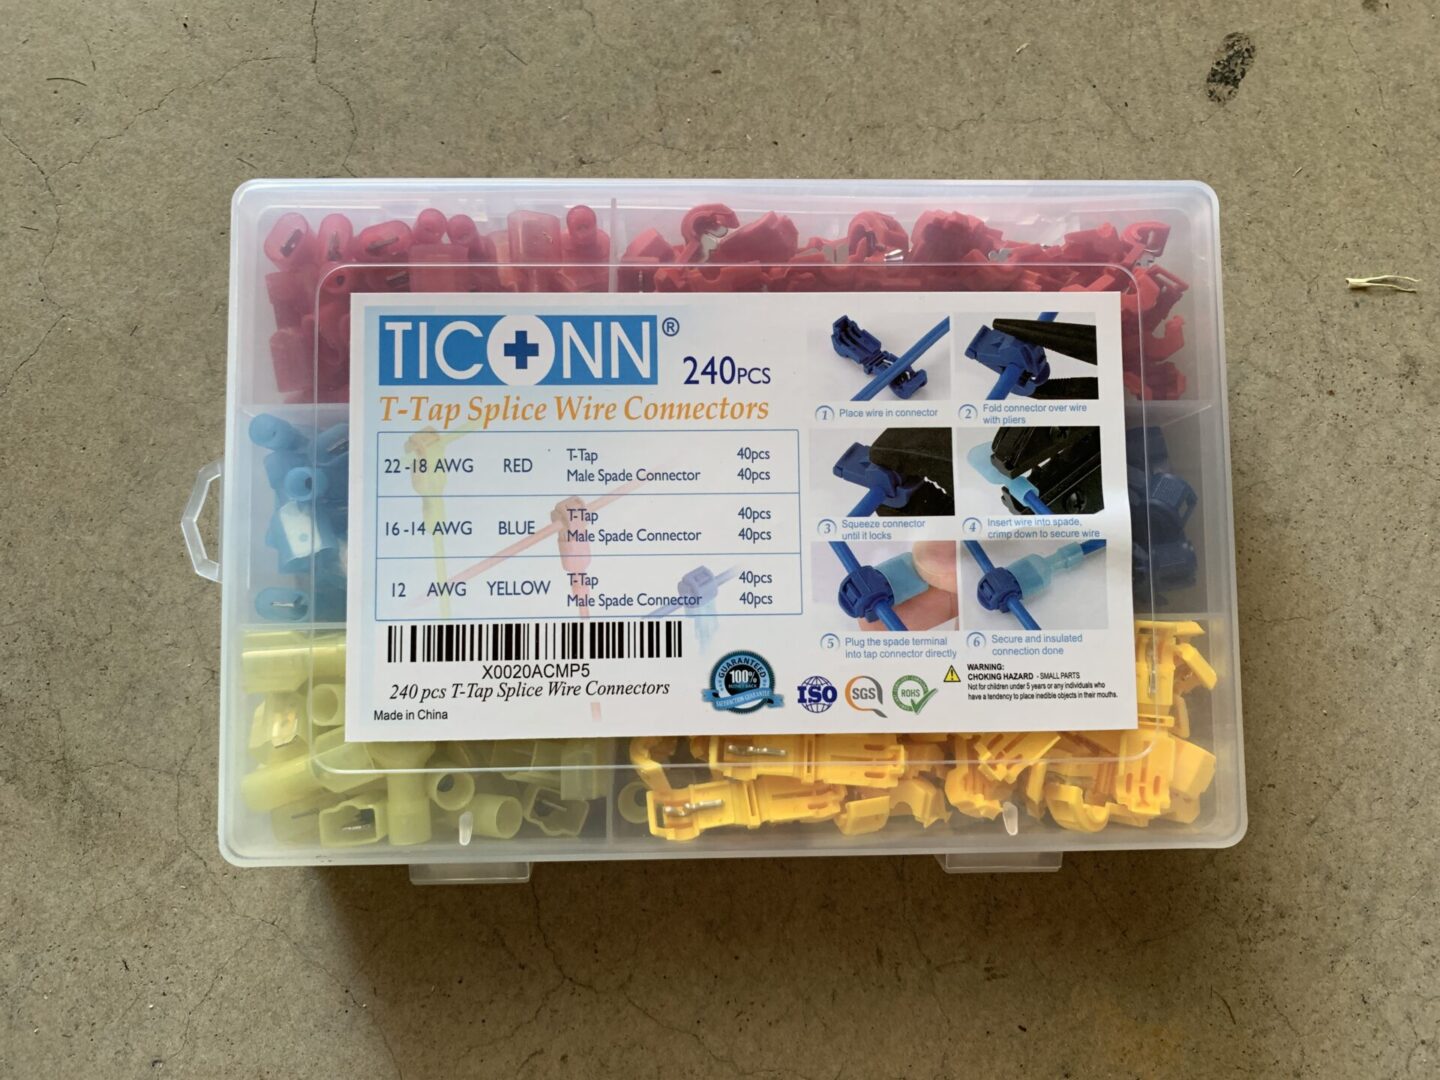
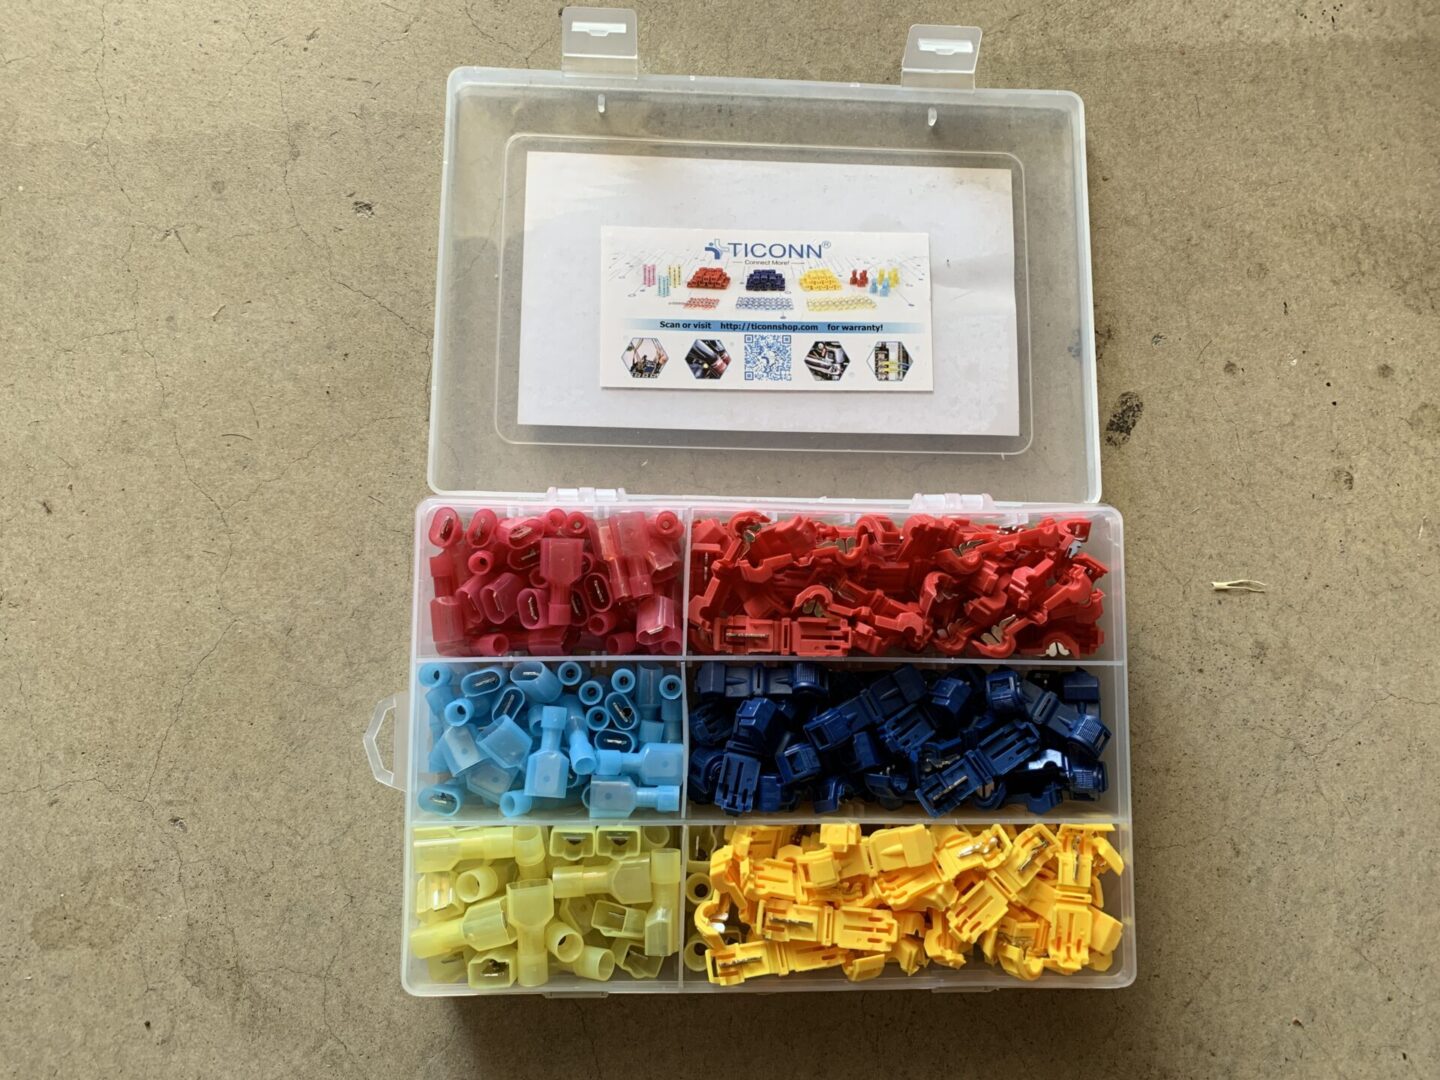
T-Tap Splice Wire Connectors
You will need to connect to PA system to power and to ground. There are different locations that you can tap power and ground from, but I simply tapped off wires located behind my radio head unit. I tapped off here because I was familiar with the wiring there and knew where I tap off of for ground and ignition-on power.
TICONN 240PCS T-Tap Wire Connectors (240 qty)
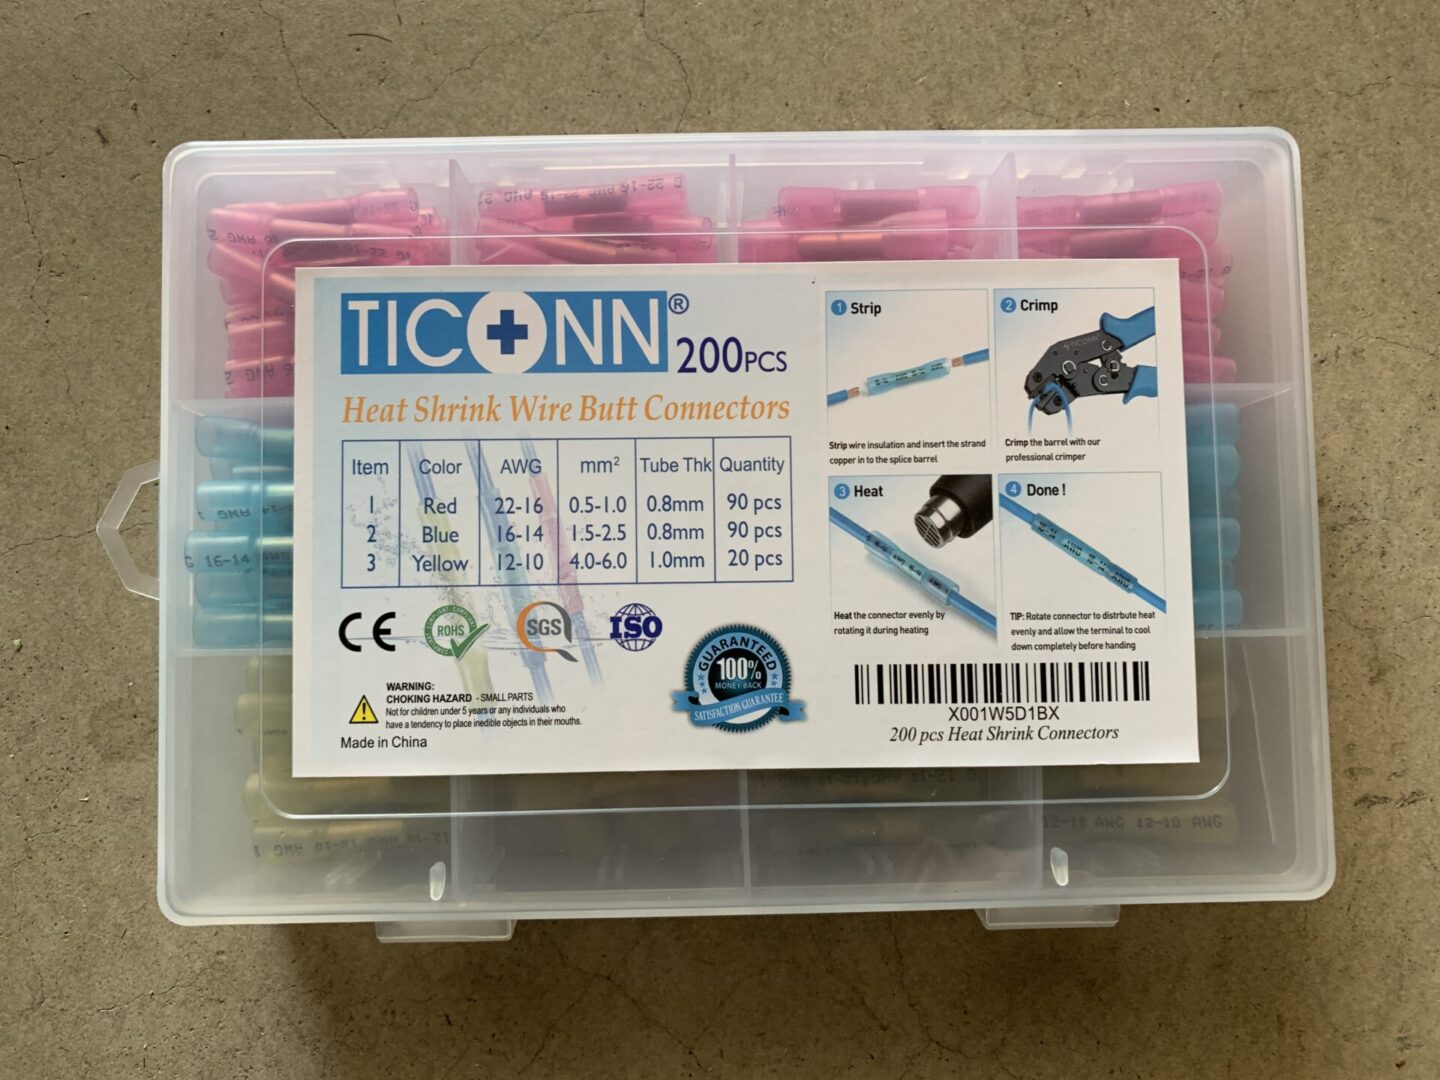
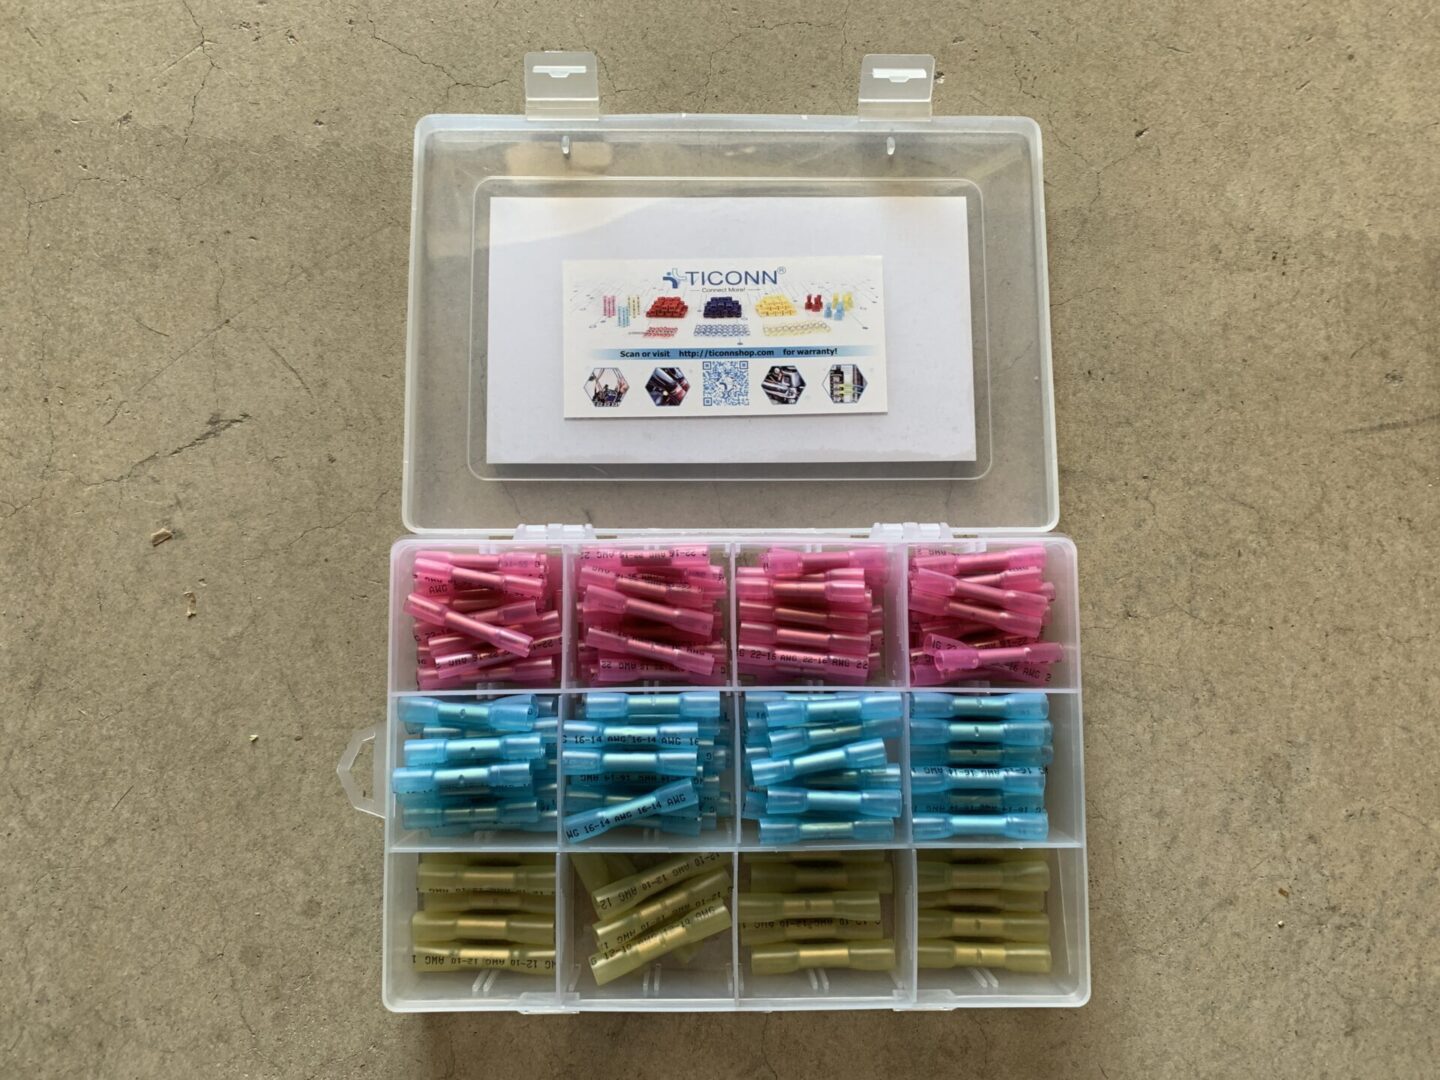
Heat Shrink Wire Butt Connectors
You will need butt connectors to splice two wires together. I had to use these in several locations during this install. I used a head shrink butt connector, which makes a nice sealed connection after applying a heat gun to it after crimping. If you choose to go with a non-heat shrink version, you can simply use electrical tape to tape up the connection when you’re done.
Heat Shrink Wrap: TICONN 200PCS Heat Shrink Butt Connectors Kit (3 Colors / 3 Sizes)
Non-Heat Shrink Wrap: TICONN 200 Pcs Insulated Electrical Butt Connectors Kit
Crimping Tool
This will be needed to crimp the various butt connectors and t-tap connectors.
Hilitchi Professional Insulated Wire Terminals Connectors Ratcheting Crimper Tool for 22-10AWG
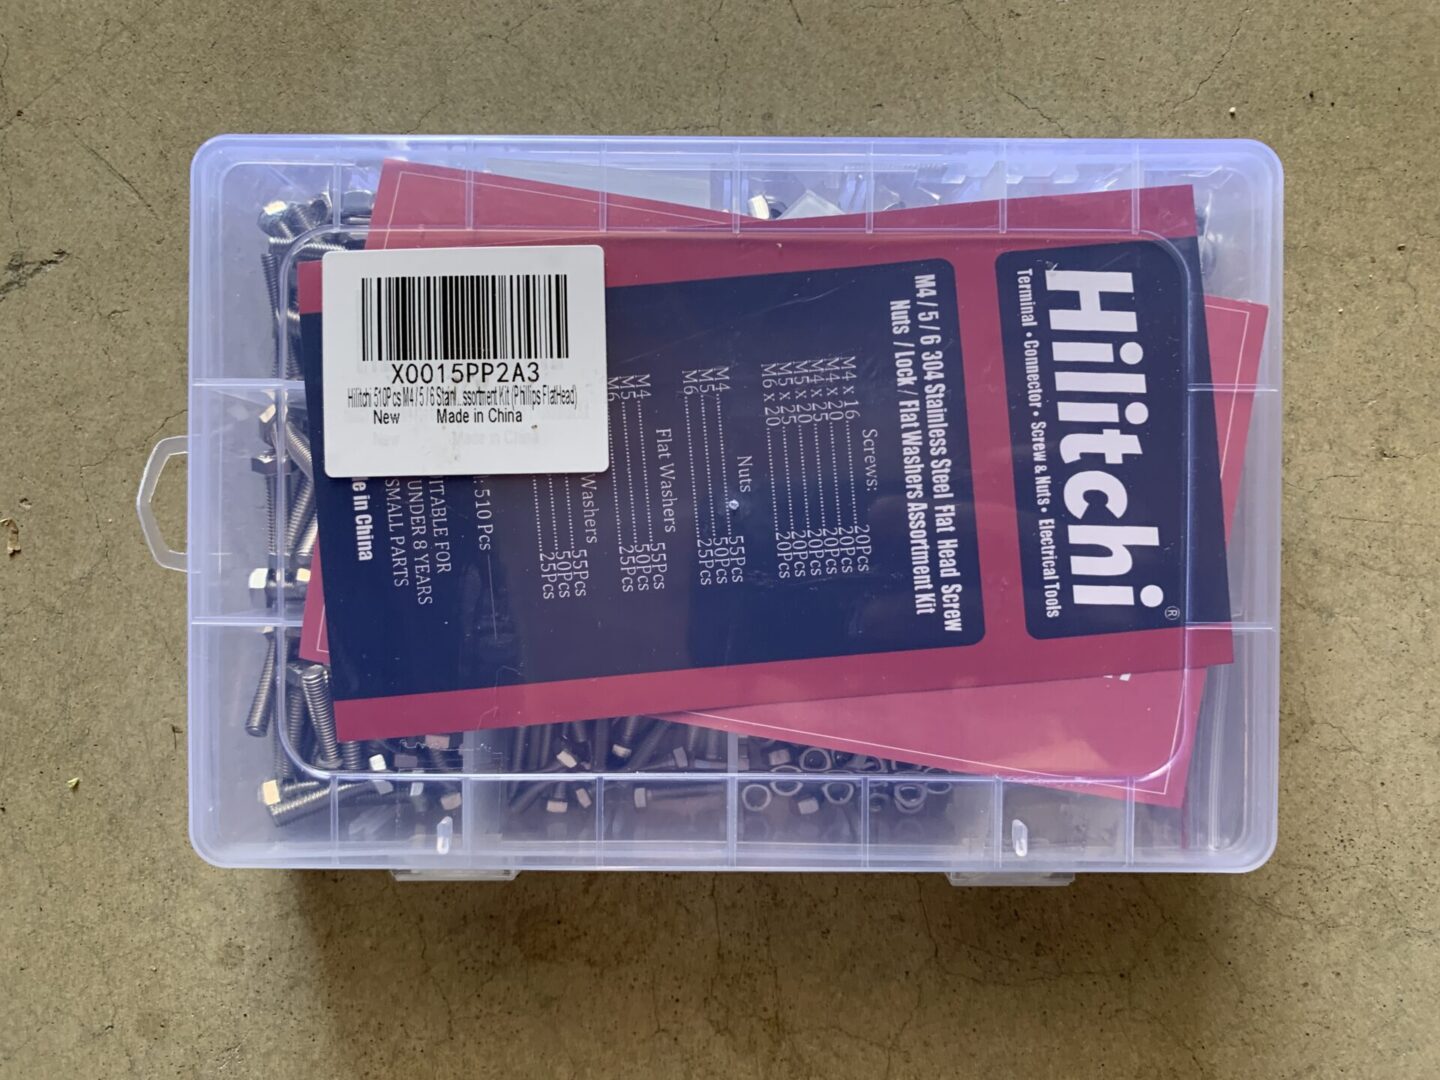
Assorted Hardware Set – Bolts, Nuts, Washers
There are different ways to secure the speaker inside of your engine bay, but I chose to install in a very open space that I had. I secured the speaker on the other side of the front wheel well within the engine bay using nuts, bolts, flat washers, and lock washers. These are all parts included in this handy-to-have assorted hardware kit.

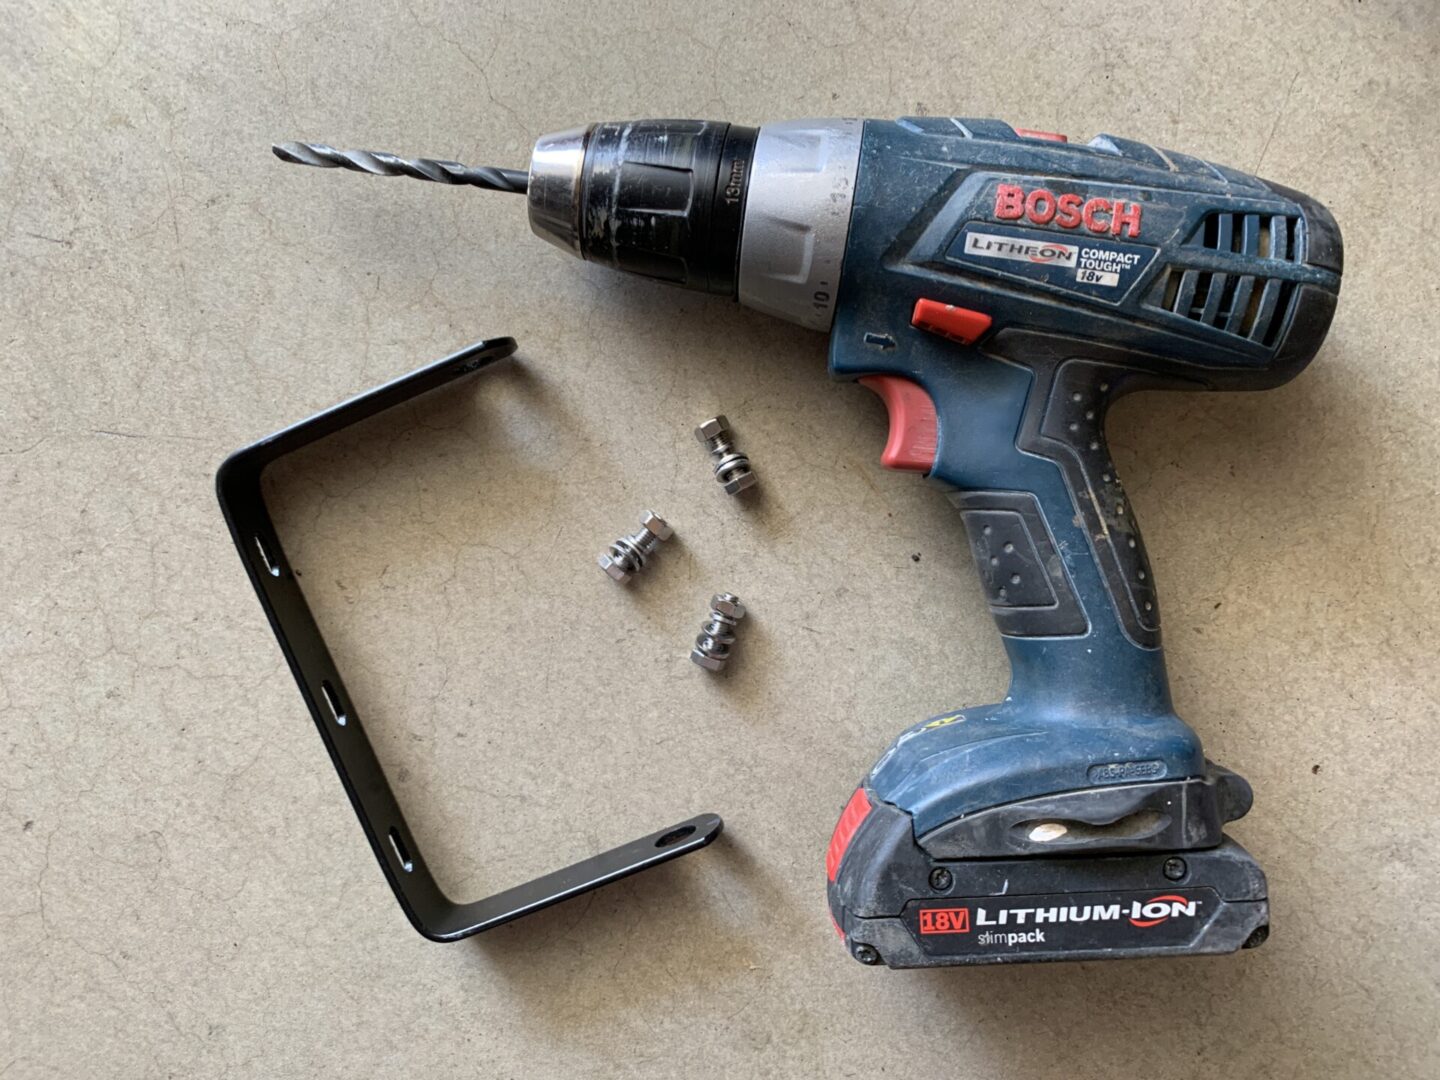
Power Drill with Metal Drill Bits
If you plan to drill holes to mount the PA speaker to the body of your vehicle, you’ll probably need a drill and some metal drill bits. The kit below includes a drill with a black oxide drill bit set, which can do the job. If you want more effective and durable drill bits, you can opt for a set of titanium bits to use with your drill.
Heat Gun (if using heat shrink butt connectors)
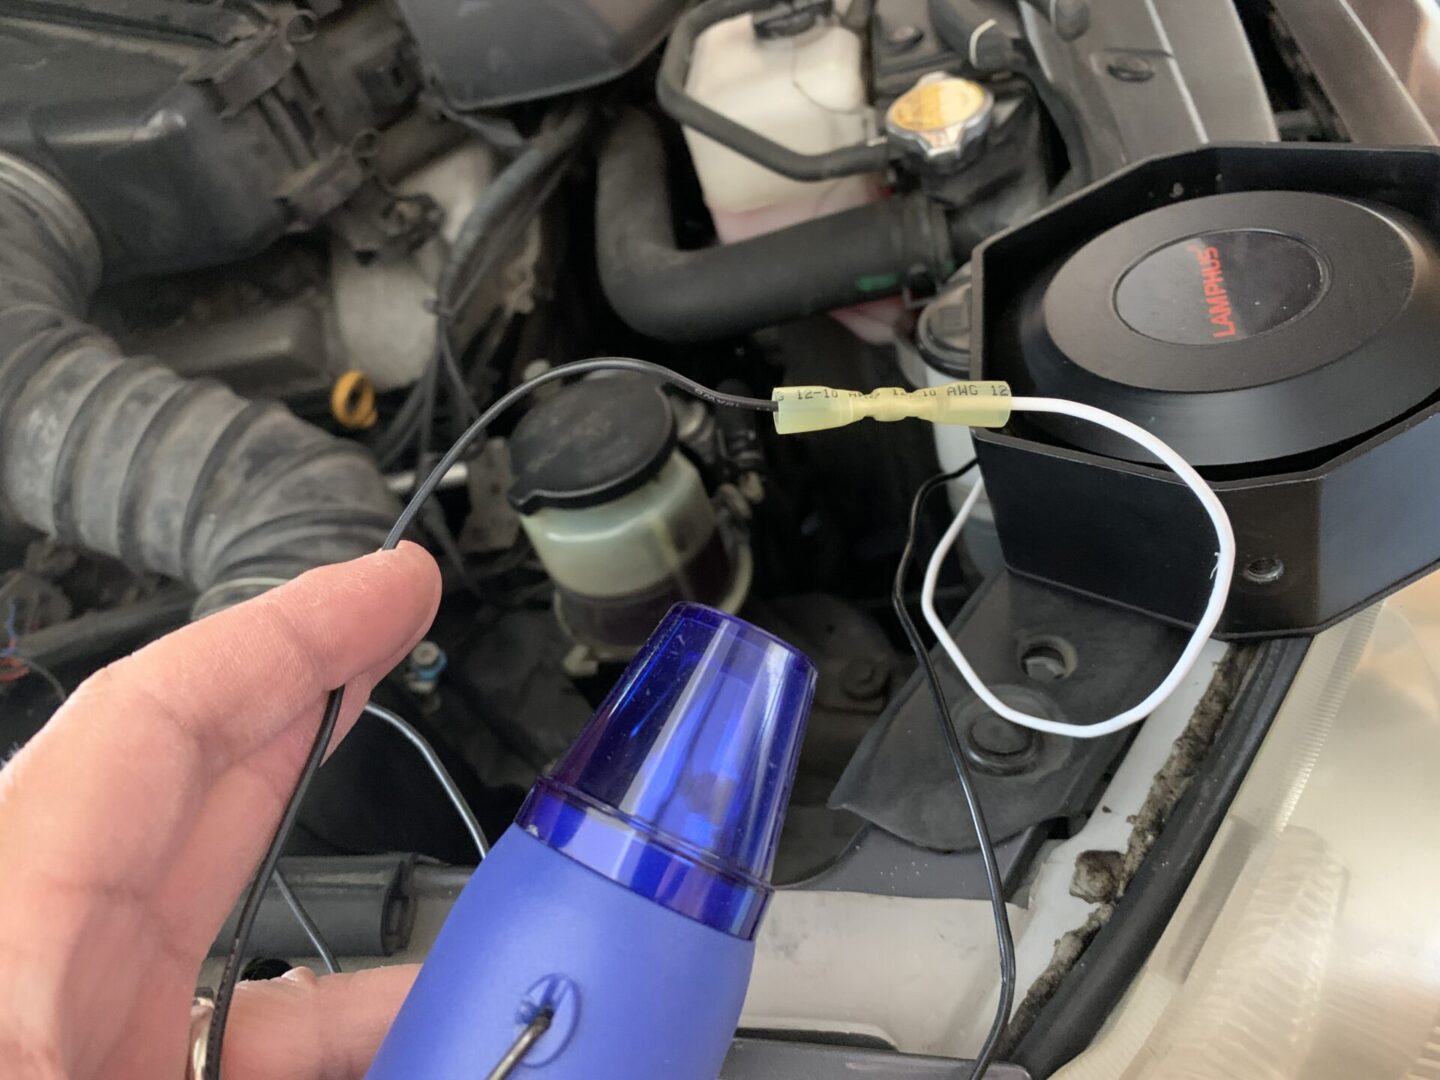
If you are using heat shrink wrap butt connectors, you’ll need a heat gun. I’ve tried using a blow dryer before on heat shrink wraps, but they just don’t produce enough concentrated heat to properly seal those connections. A dedicated heat gun will do the job well.
SEEKONE Heat Gun 1800W Heavy Duty Hot Air Gun Kit
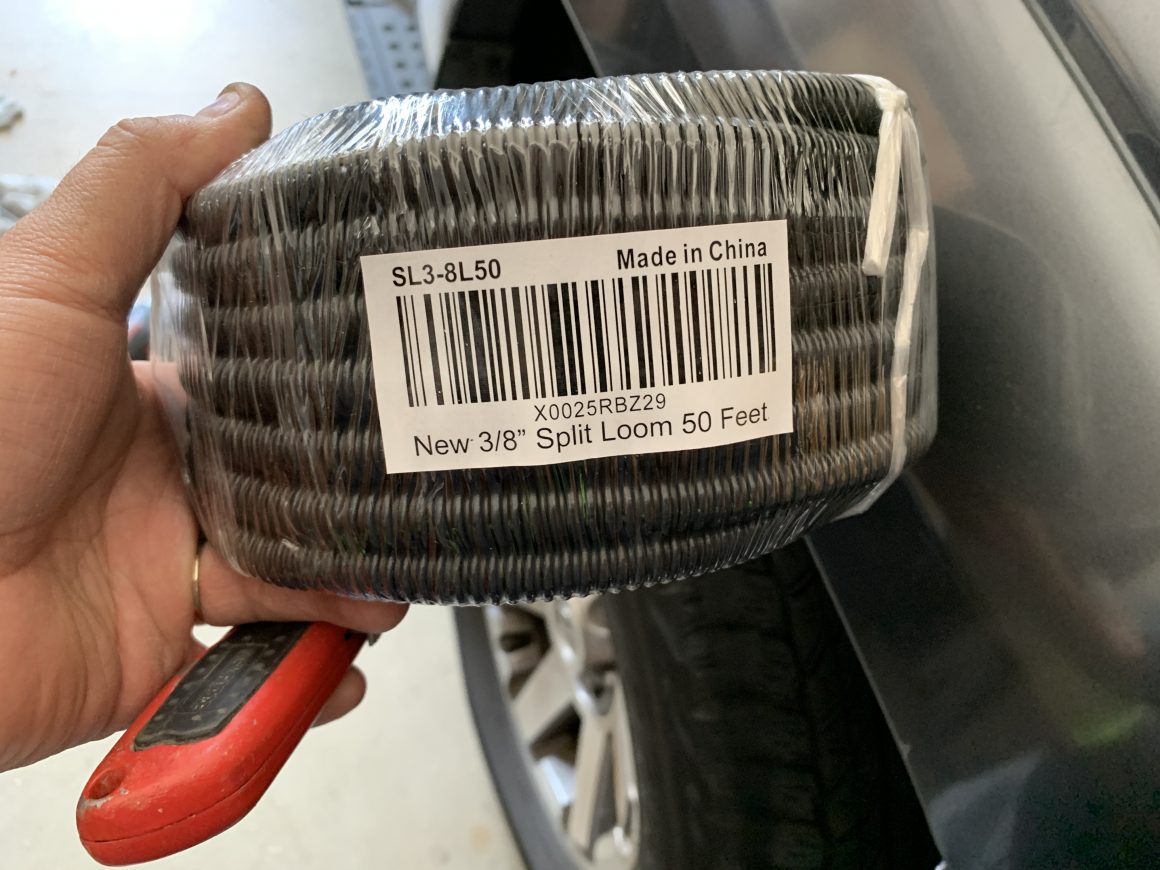
Wire Split Loom
Wire split loom can be applied around exposed wires in order to protect them from damage, as well as help to shield them from heat in the engine bay.
GS Power 3/8″ | 50ft Split Loom Tube
Wire Coat Hanger
Perhaps there are some special tools out there that are specially made to run wire through the firewall, but I’ve always used a wire coat hanger. You just need to be very careful about running the end of the coat hanger through the firewall as you can easily puncture or damage existing wires that run through the firewall.

Electrical Tape
I always have electrical tape on hand to wrap up electrical connections. I do this to help insulate and secure the connection from working loose in the future. I also use this to wrap the wire loom after wrapping wires with it.
Scotch Electrical Tape, 3/4-in by 66-ft, Black, 1-Roll
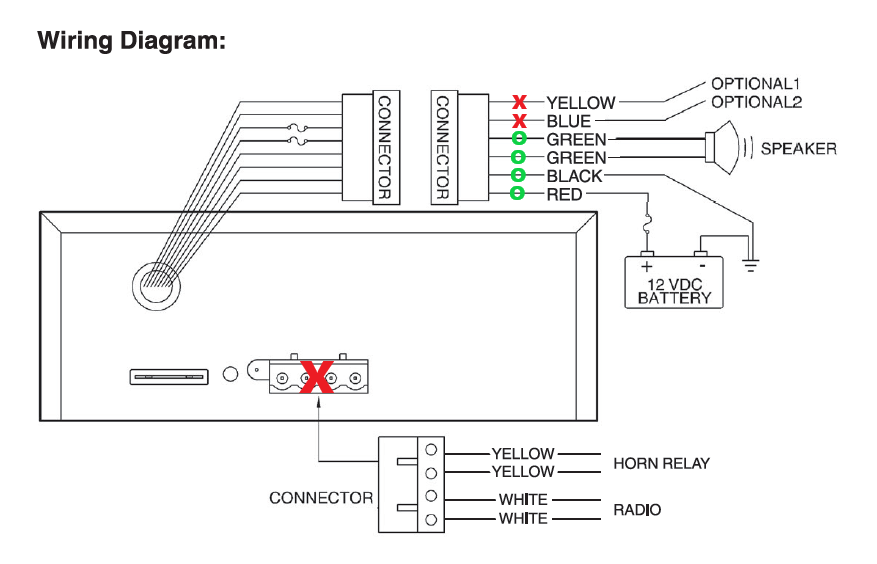
Electrical Diagram of Lamphus PA SoundAlert System
Below is a diagram that is provided with the Lamphus PA SoundAlert System. I’ve added red X’s for connectors/wires that I did not use for this install. I also added green O’s for wires that I did use for this install. I wanted to provide this information because it may initially seem like a lot of wiring that you might need to install, but if you’re only looking to use the PA microphone and warning alert features, you don’t need to connect all of the connections/wiring provided with the kit.
How to Install Lamphus SoundAlert PA System
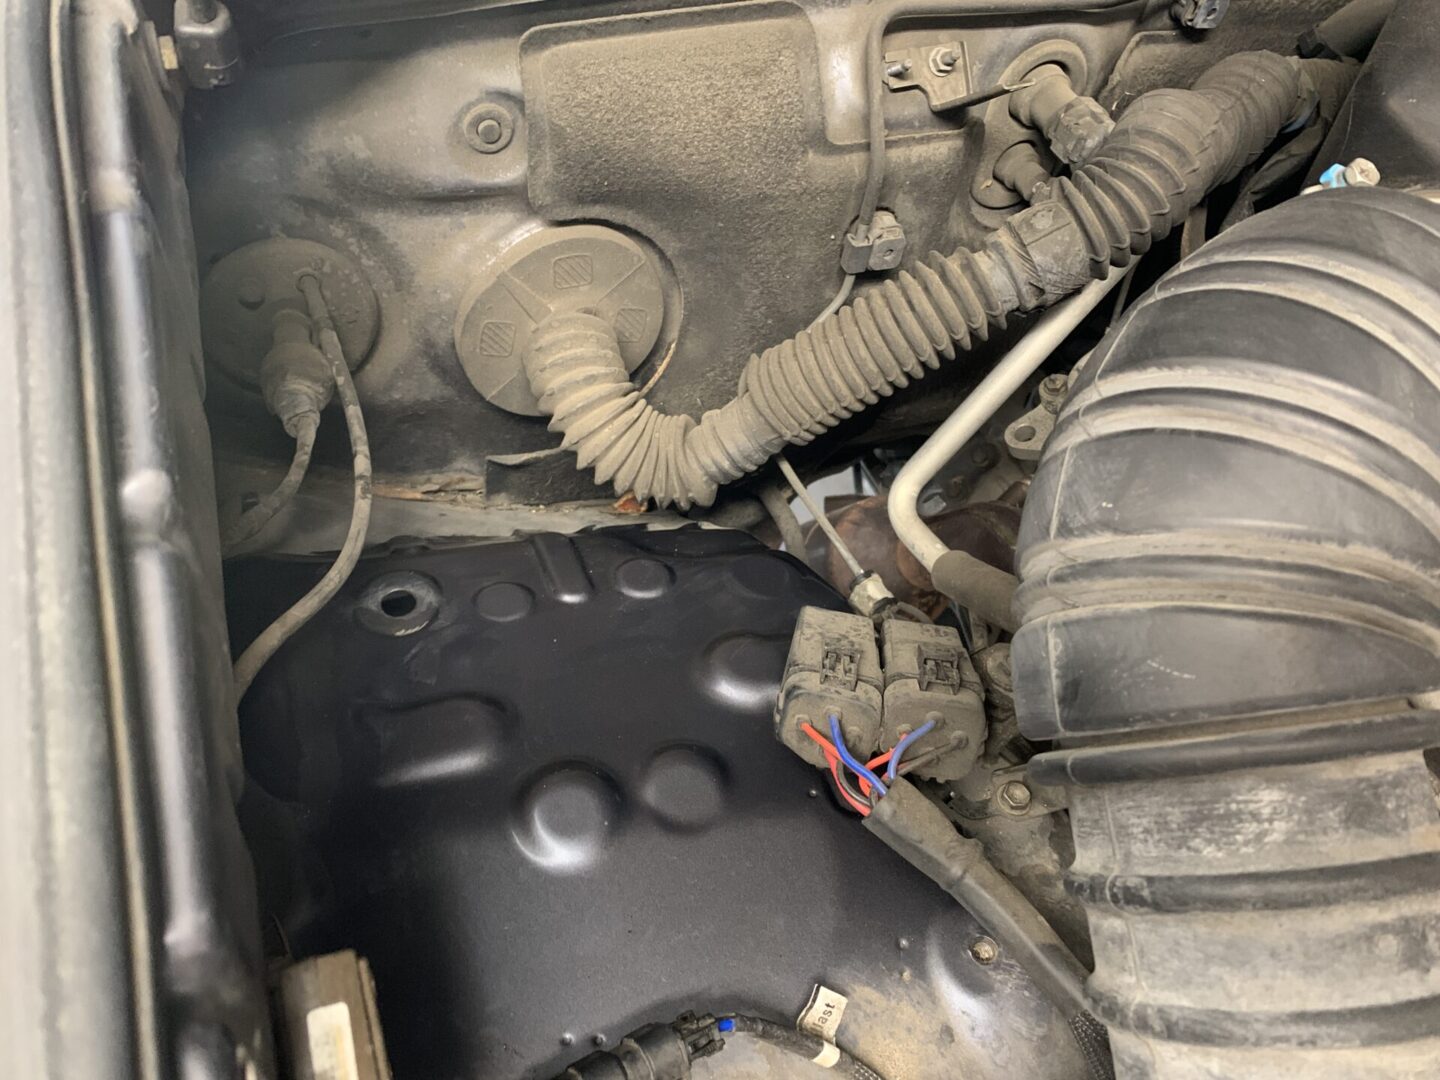
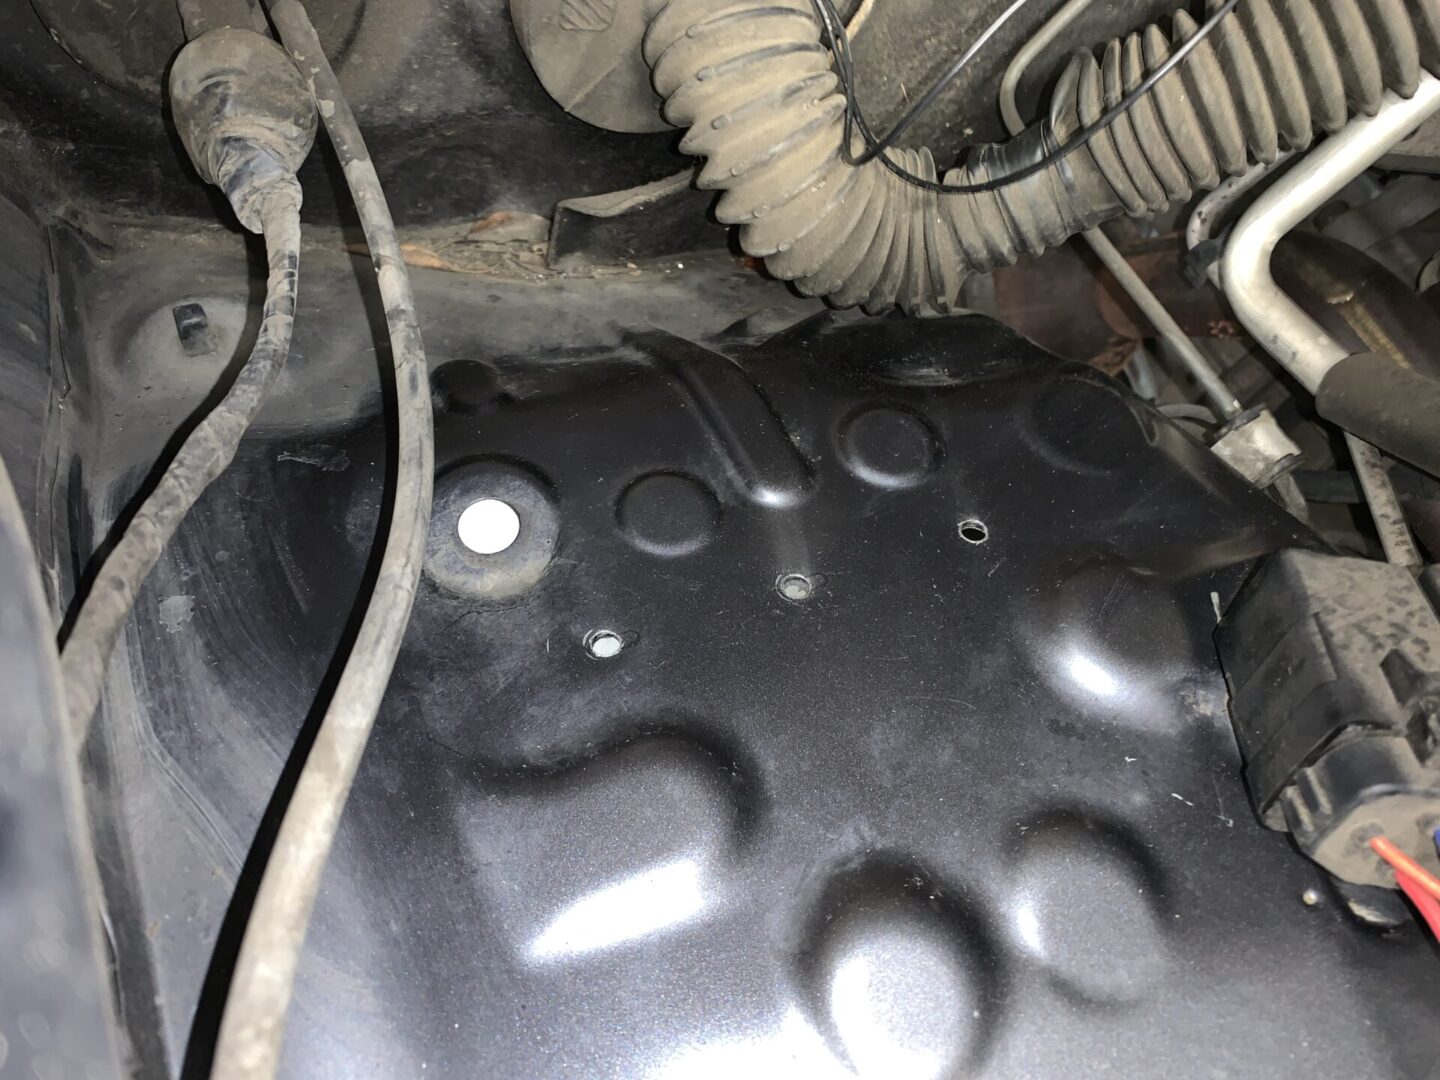
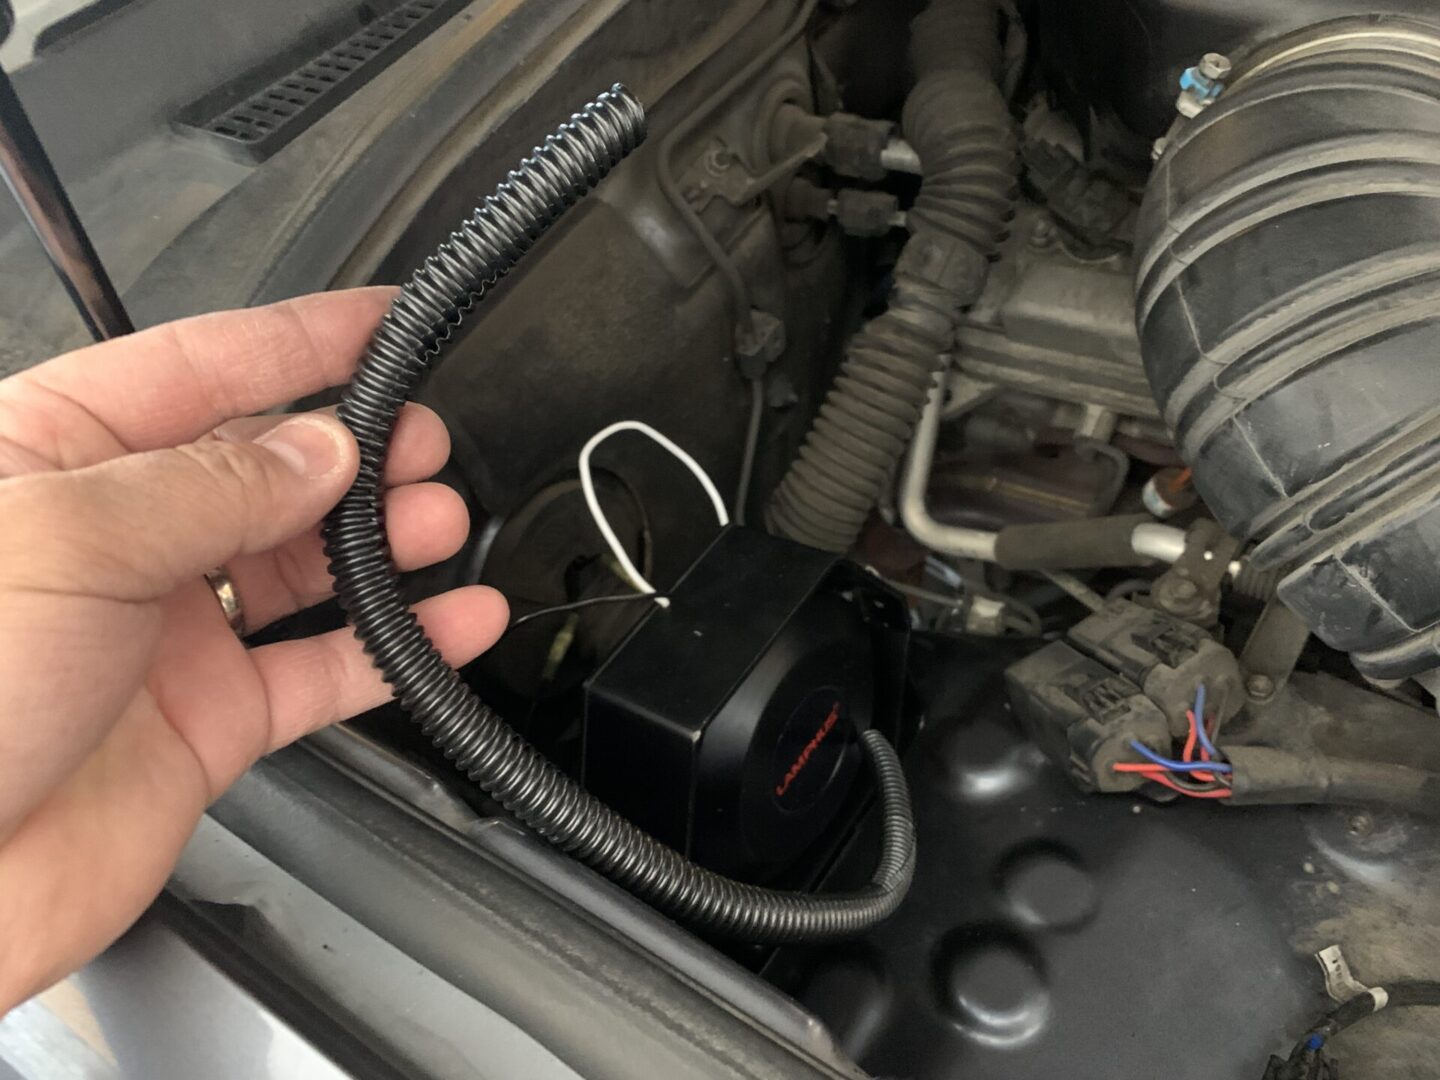
On my Toyota 4Runner, I found a nice open space in the engine bay for me to mount the speaker. I cleaned off the surface so that I would have a clean surface to mount to. I used this location simply because there was a lot of room to work with, it was easy to mount with hardware, and it is located right next to the firewall that I would need to run the wires through.
I would recommend if you want the want the most effective sound transmission of the speaker, you might want to consider mounting it near the front bumper as most car horns are mounted.

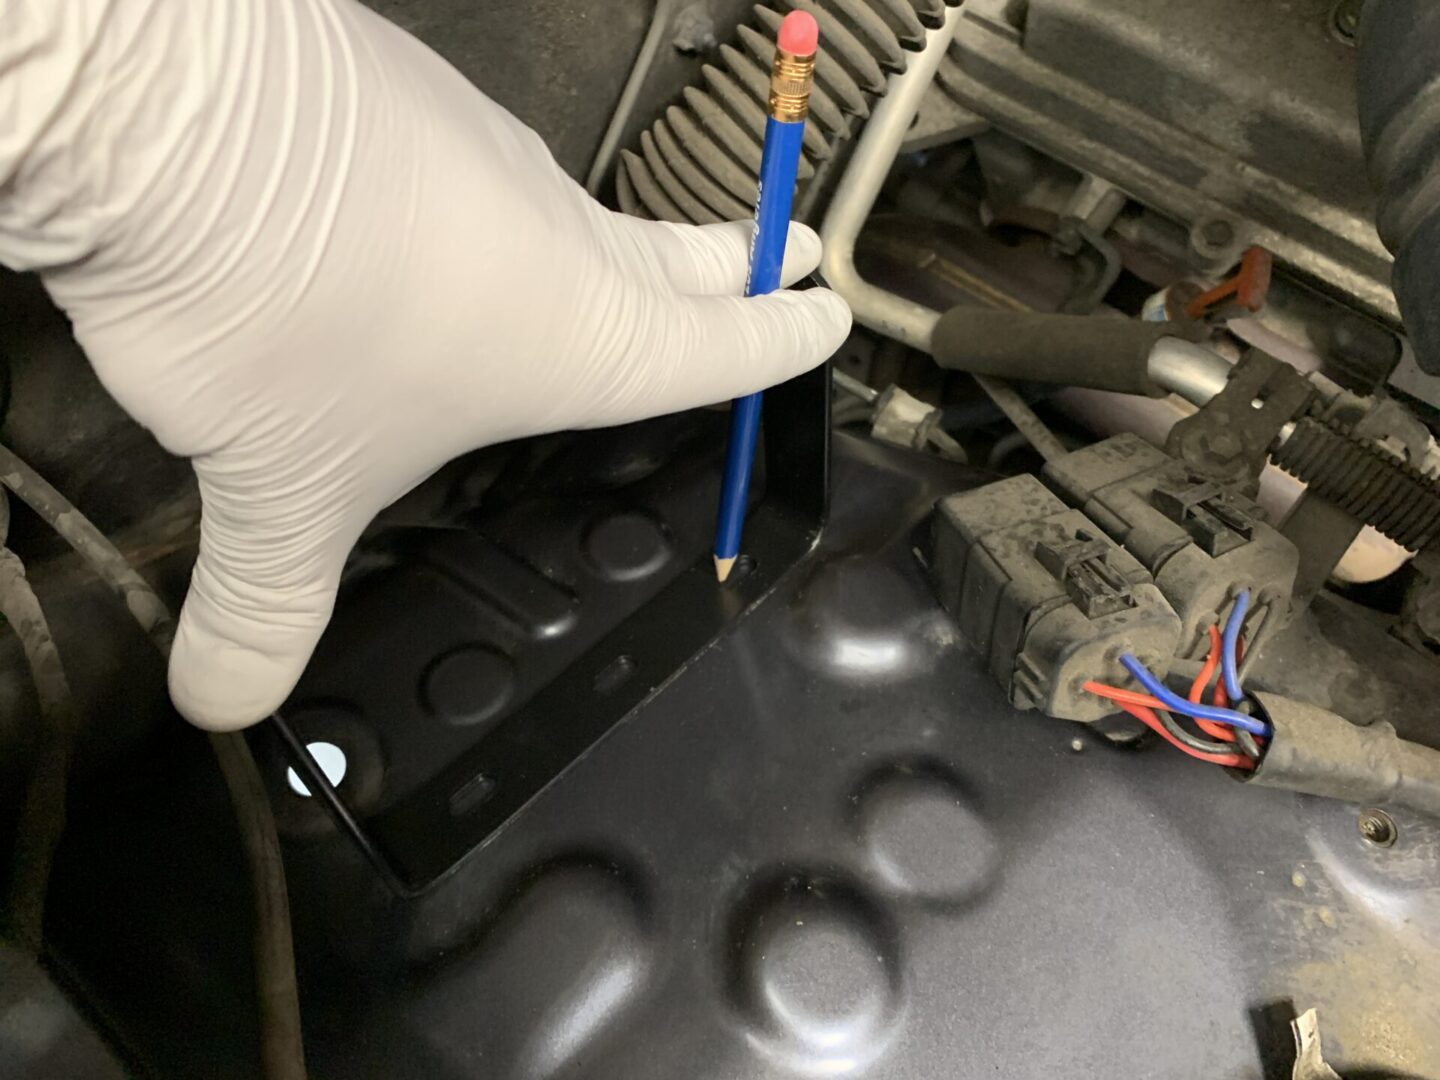
I took the mounting bracket from the PA speaker, and used a pencil to mark the three mounting hole locations. I then used a drill with a metal drill bit to drill holes into the wheel well. The bit diameter should be just larger than the shaft of the bolt so that the mounting bolt fits.

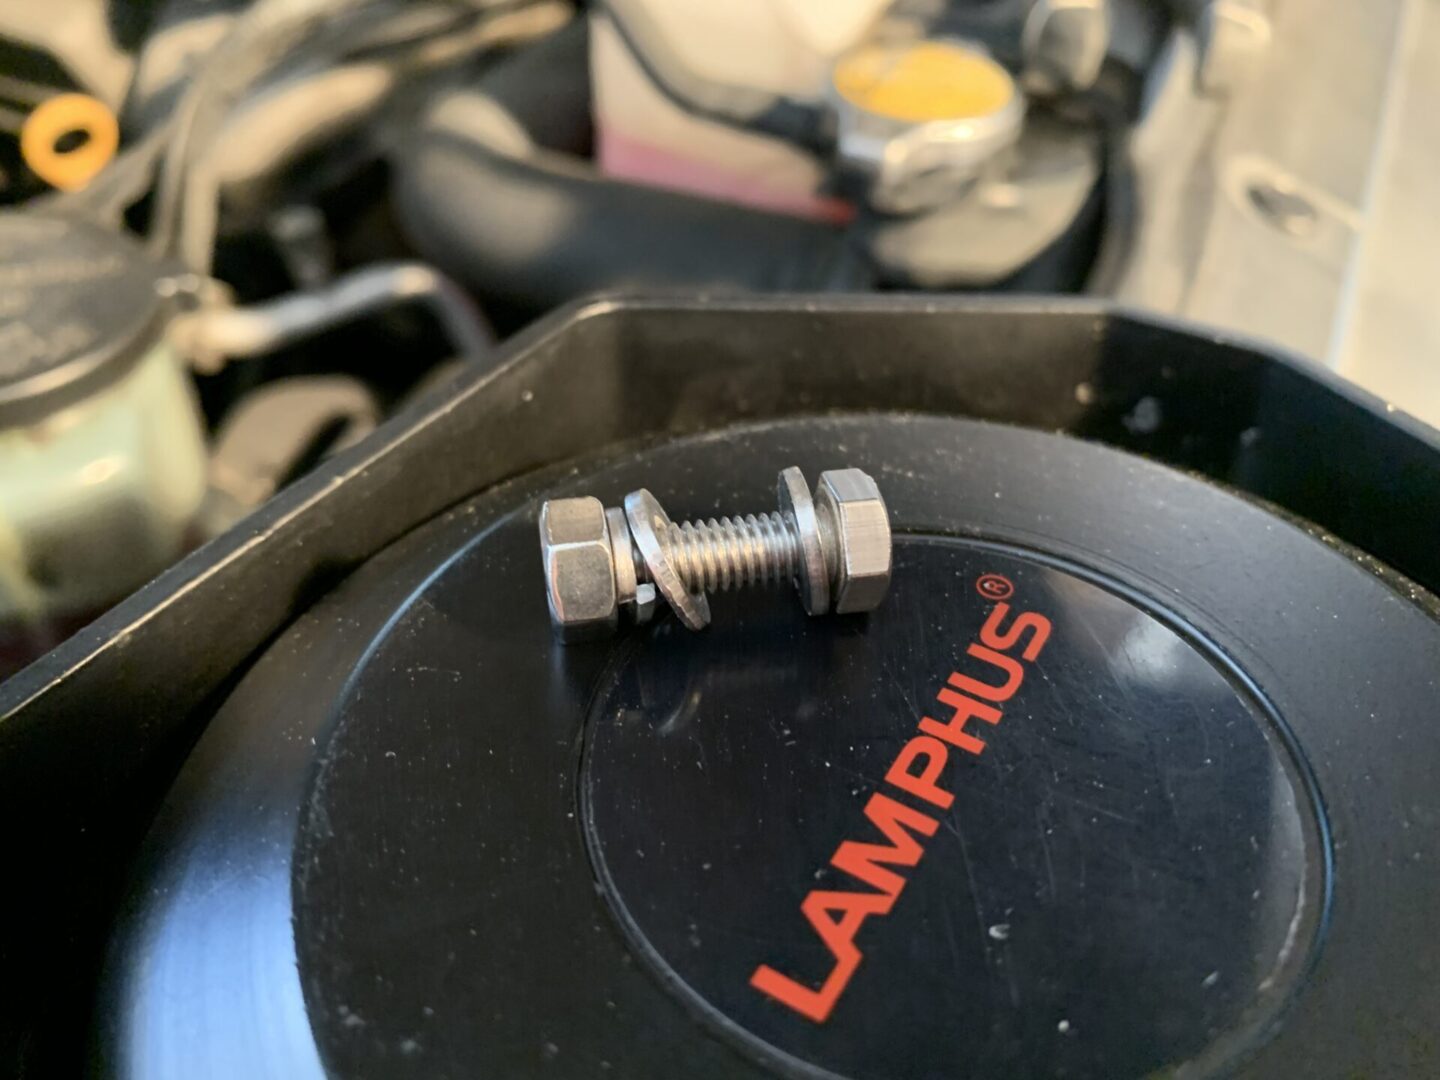
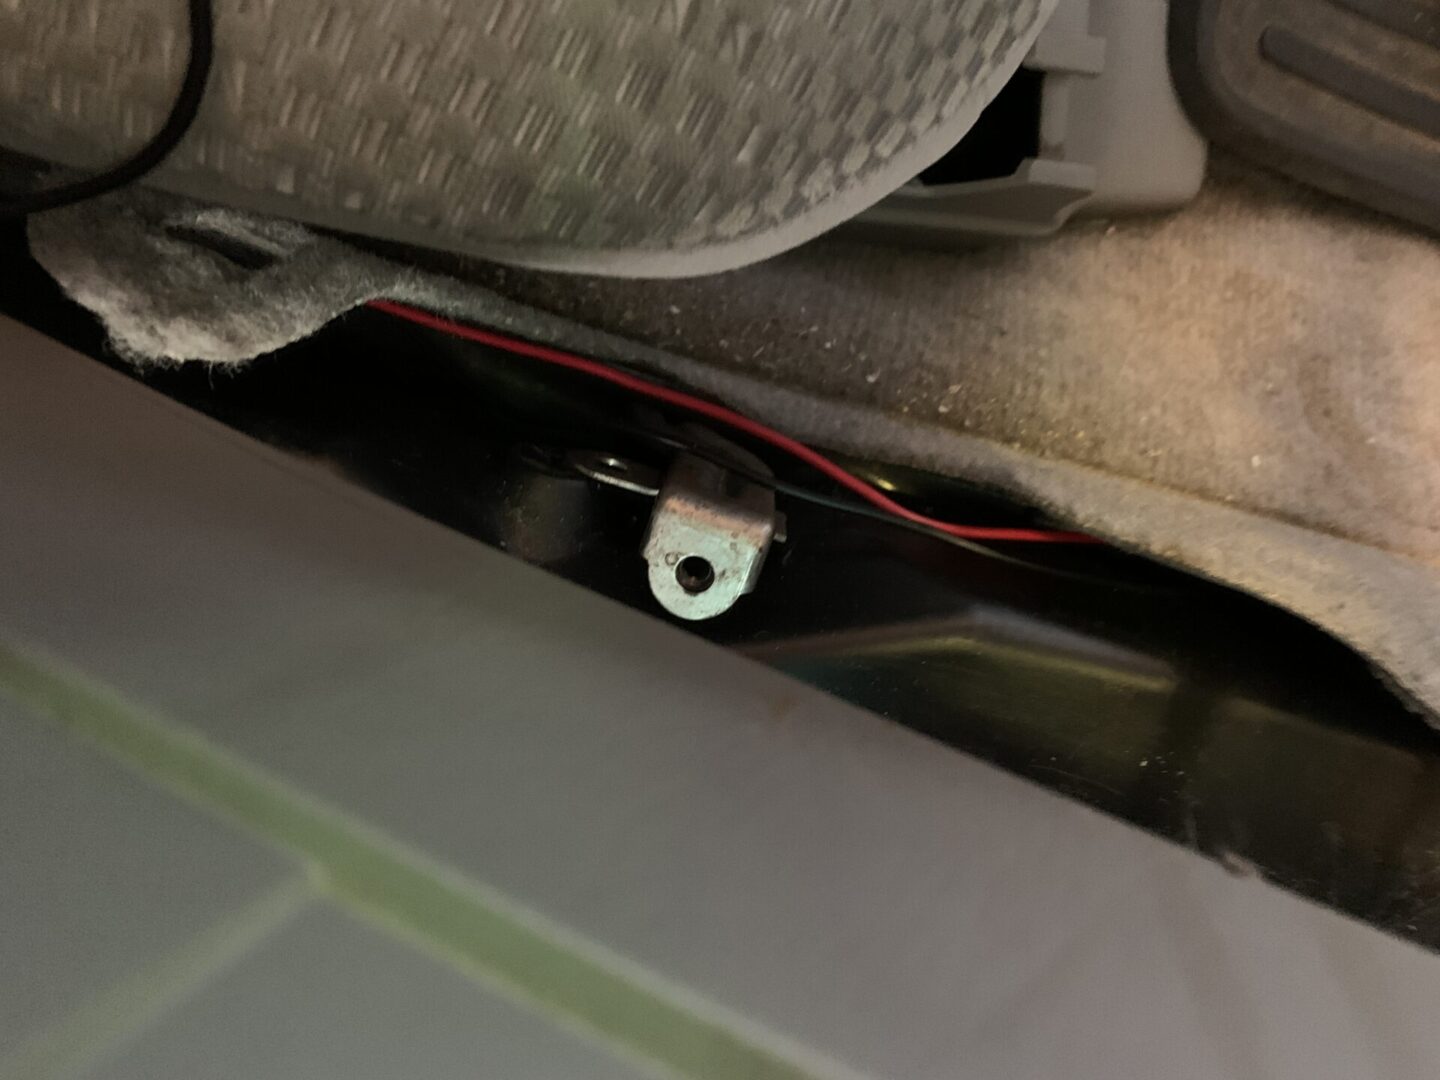
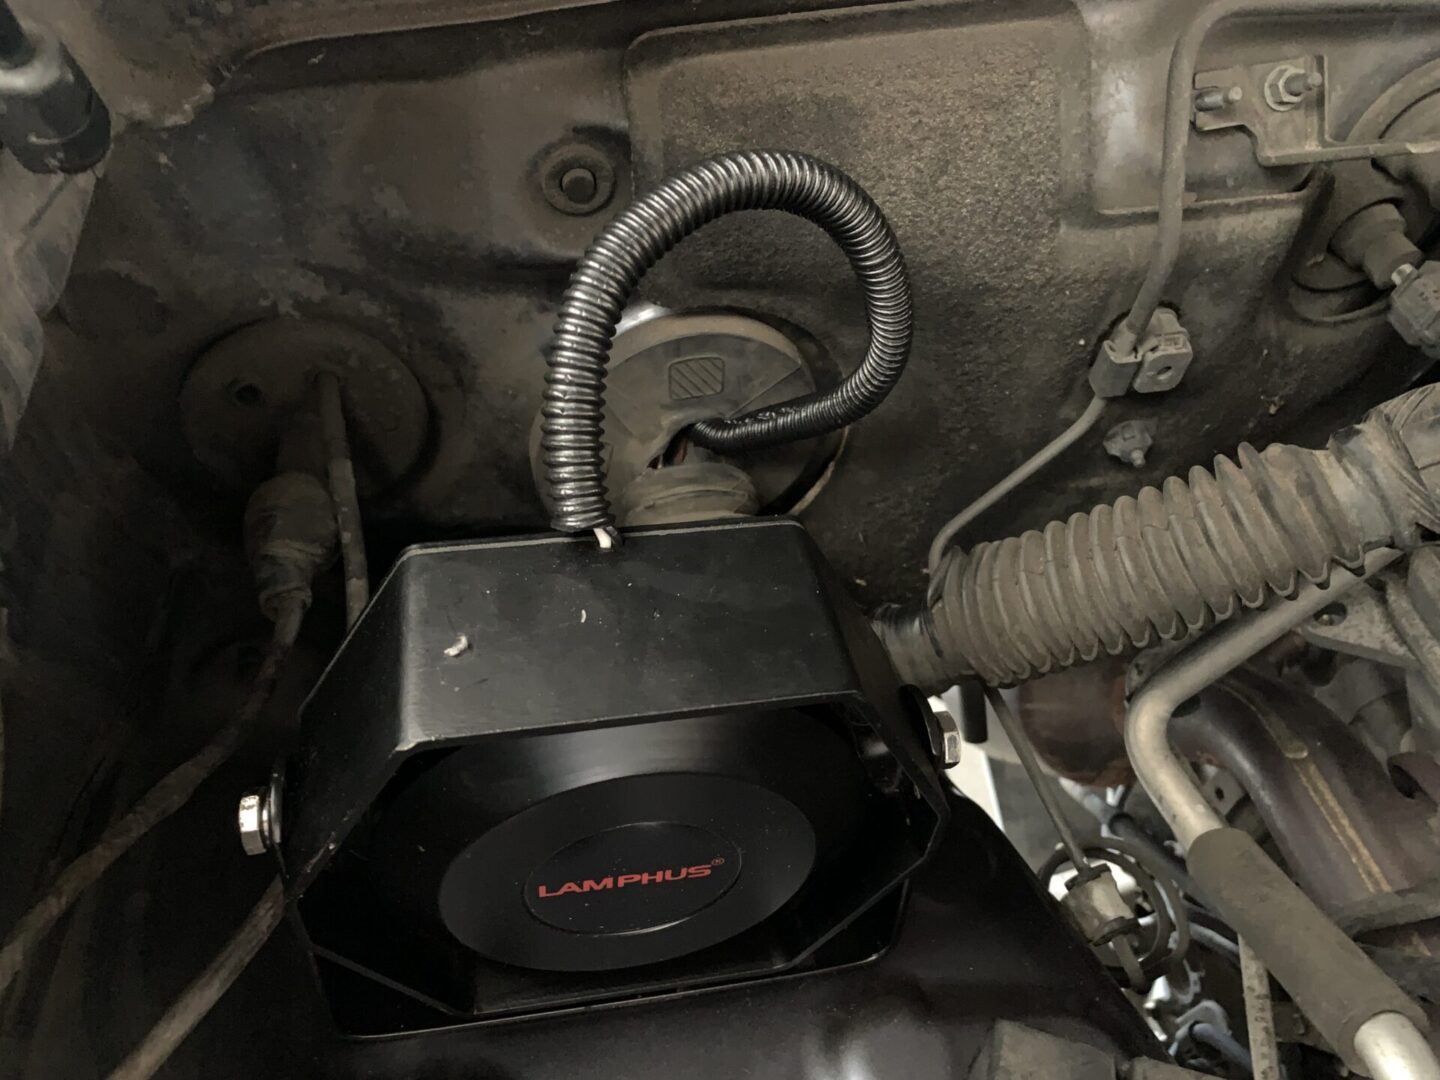
After drilling the holes, I inserted a bolt with a flat washer through the mounting bracket and wheel well, then added another flat washer, locking washer, and then nut. In the first picture below, you can see the hardware I used. The two flat washers sandwich the mounting bracket and wheel well. You’ll likely need to hold the nut in the wheel well to keep it from spinning when tightening the bolt head on the other side. Next, install the speaker onto the mounting bracket. The speaker should now be mounted with two wires (one black, one white) left to be spliced onto.

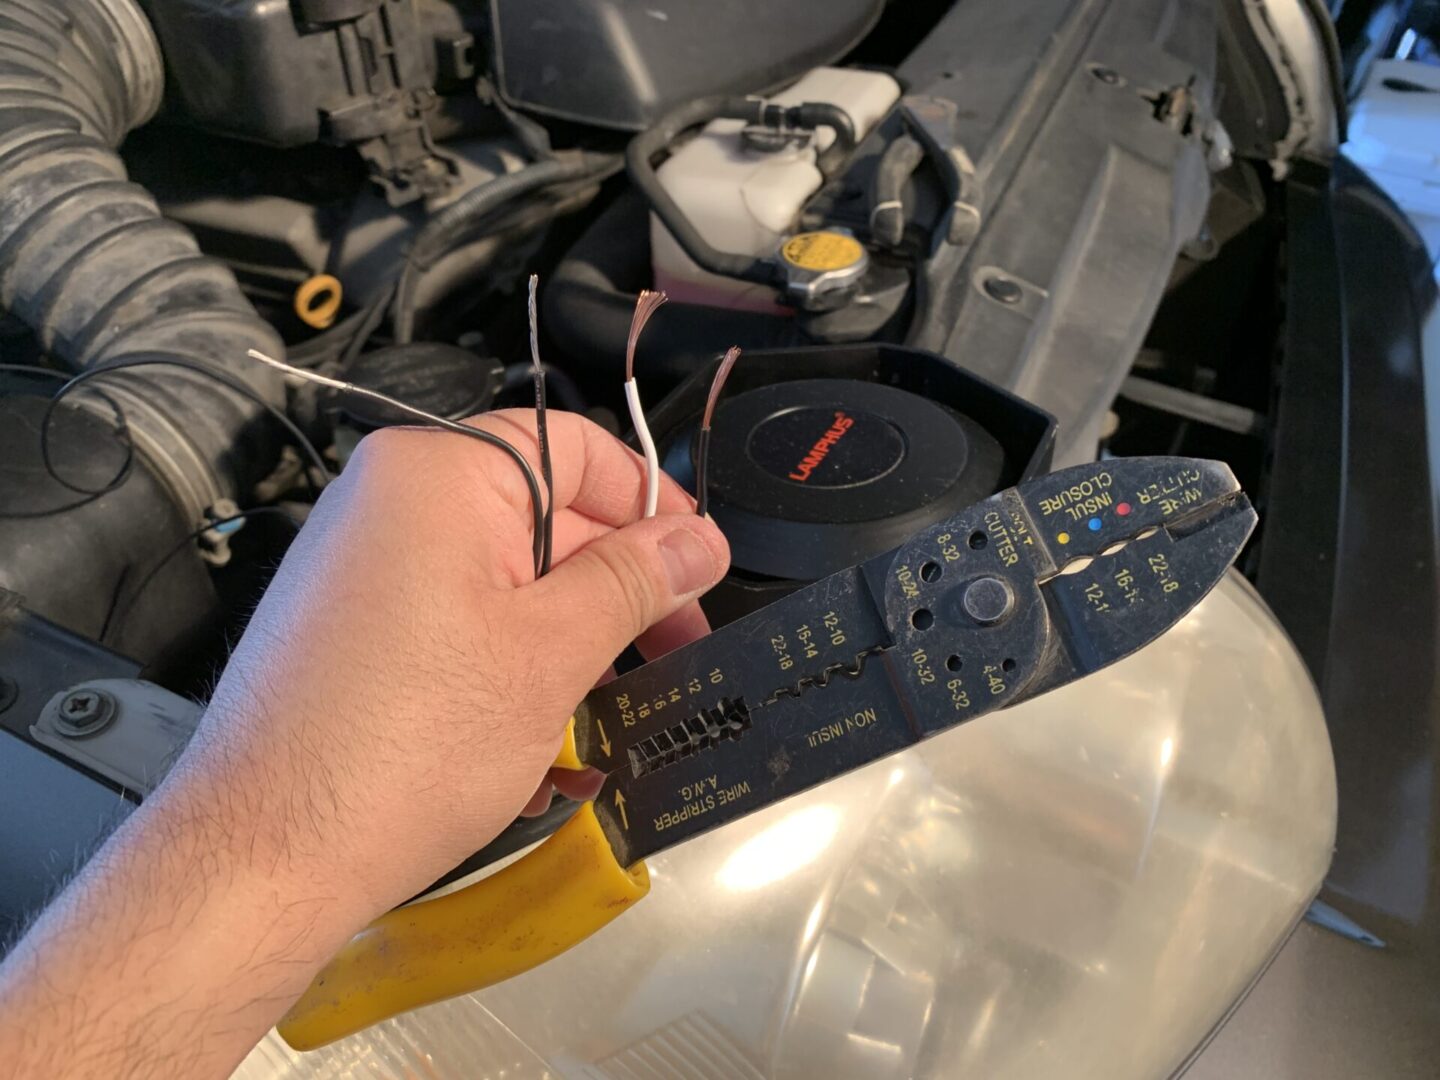
Now, the two speaker wires will need to be run through the firewall. If your two green speaker wires are long enough to run through the cabin, firewall, and to the speaker, then you can utilize this wiring. Otherwise, you can run two new 14-gauge wires through the firewall first and then splice on both ends: one end to the speaker and the other end to the two green speaker wires on the PA unit inside of the cabin. In my case here, the green wires were cut from whoever owned it previously, so I had to run new separate wiring through the firewall.
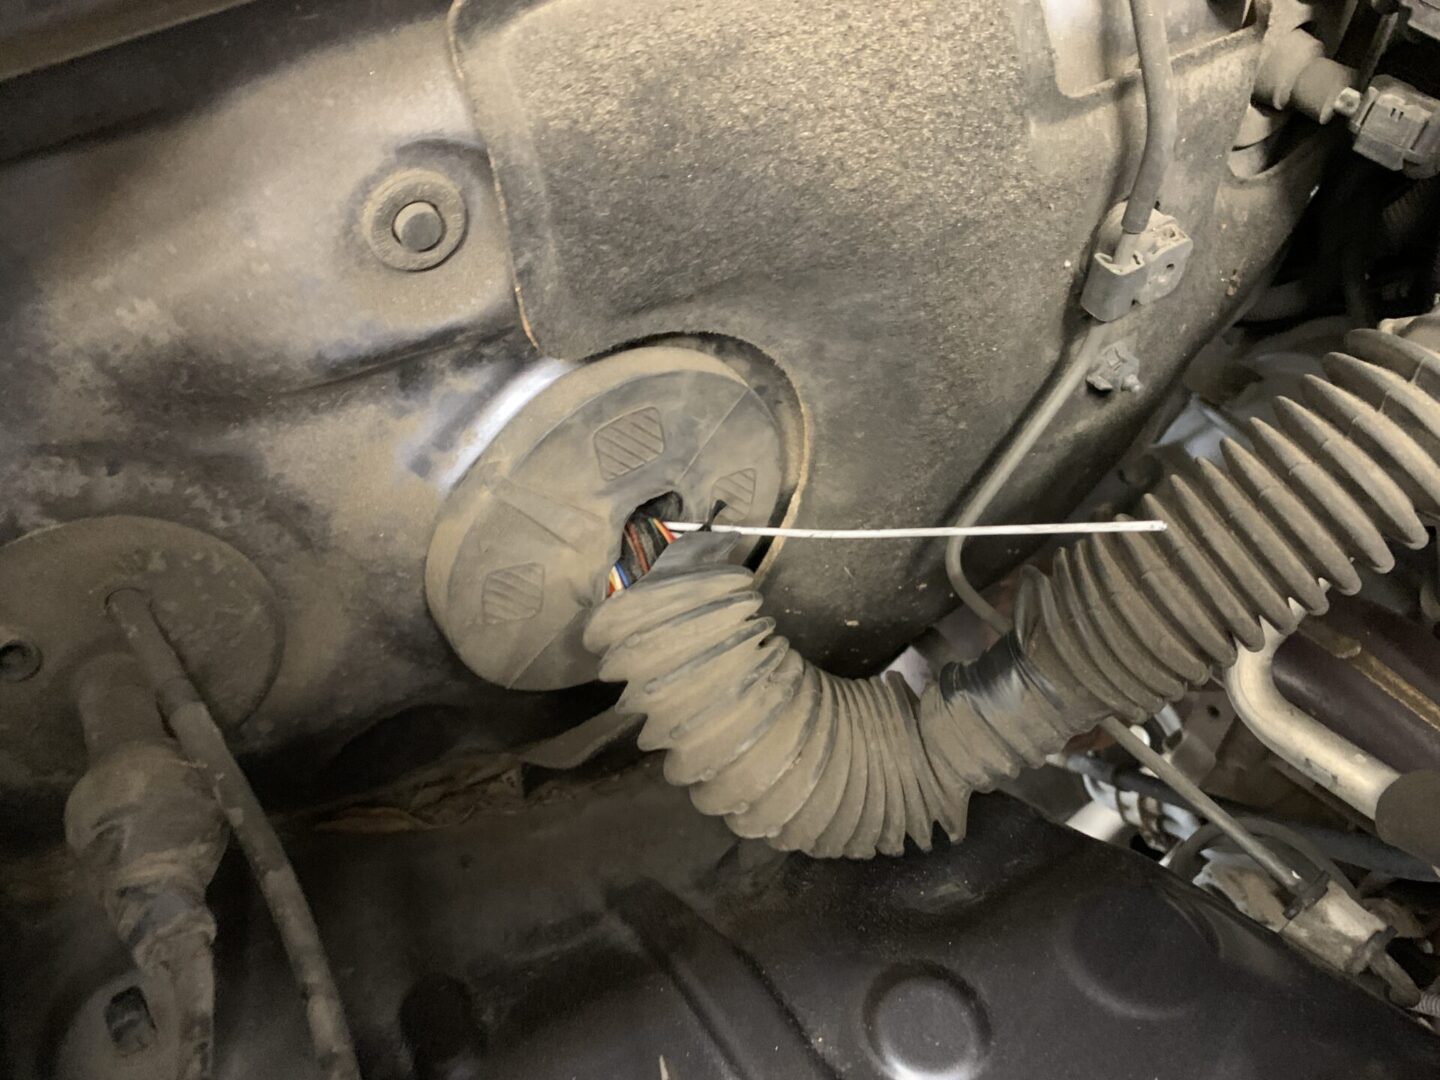
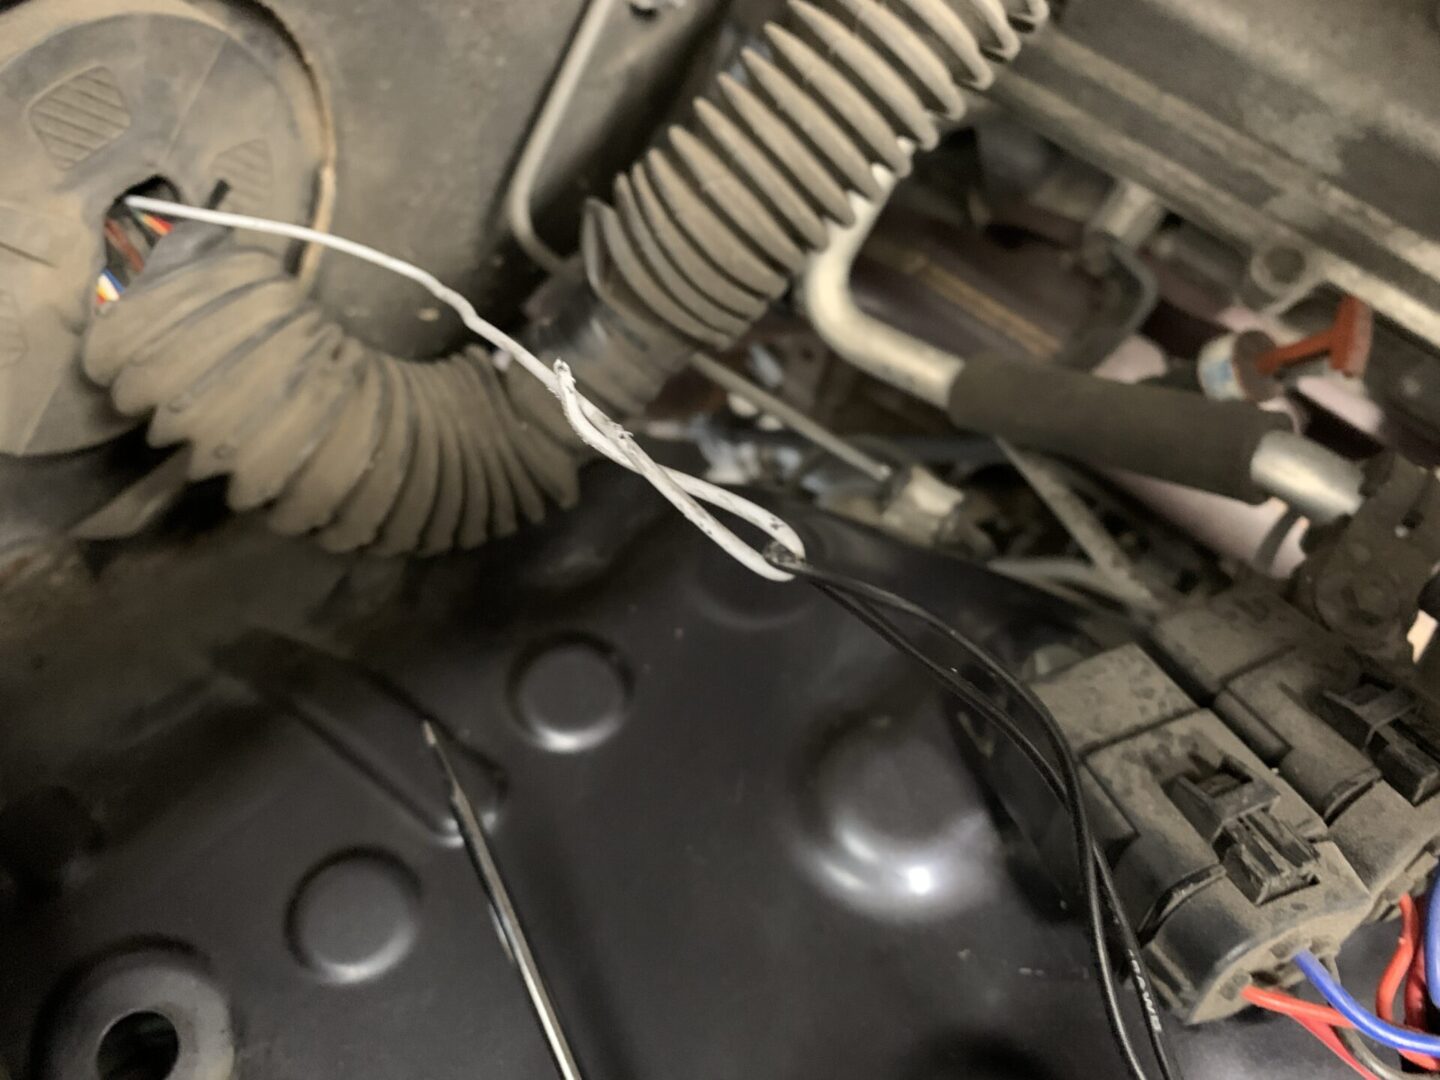
I used a wire coat hanger to go through the firewall; I unwound and bent the hanger until it was straight enough to penetrate the firewall. You might need to cut the end off so that it’s completely straight, but beware that the tip might need to be filed down as it might be so sharp that it damages wires already running through the firewall.

I went from inside the cabin and slowly and very carefully went through the firewall until it came out into the engine bay. Be extremely careful when doing this as it can easily puncture or damage wires that are already running through the firewall. Try to run the hanger through the firewall path, but along the side of the wiring harness to avoid damage to the harness wiring.
After it comes out on the other end of the firewall in the engine bay, I then bent the end backwards, and looped the wires I wanted to pull through as shown below. I taped it all with electrical tape to make sure it stays put and then pulled the two wires through. The wire loom protector ripped apart really easily as the rubber on my car was so old.
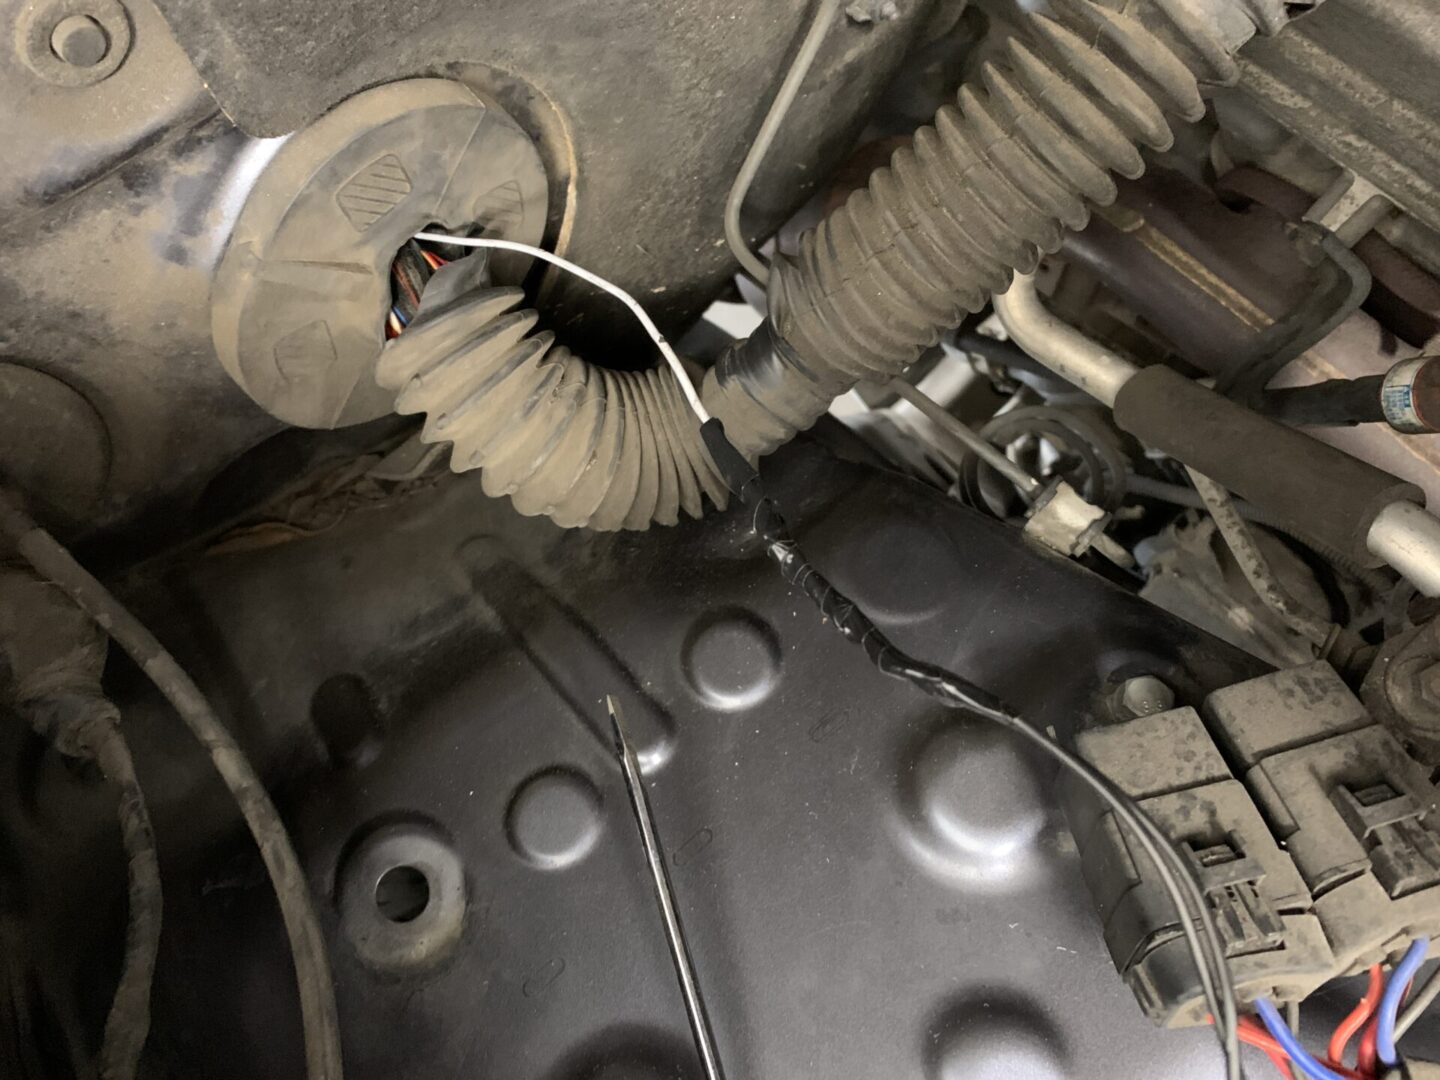
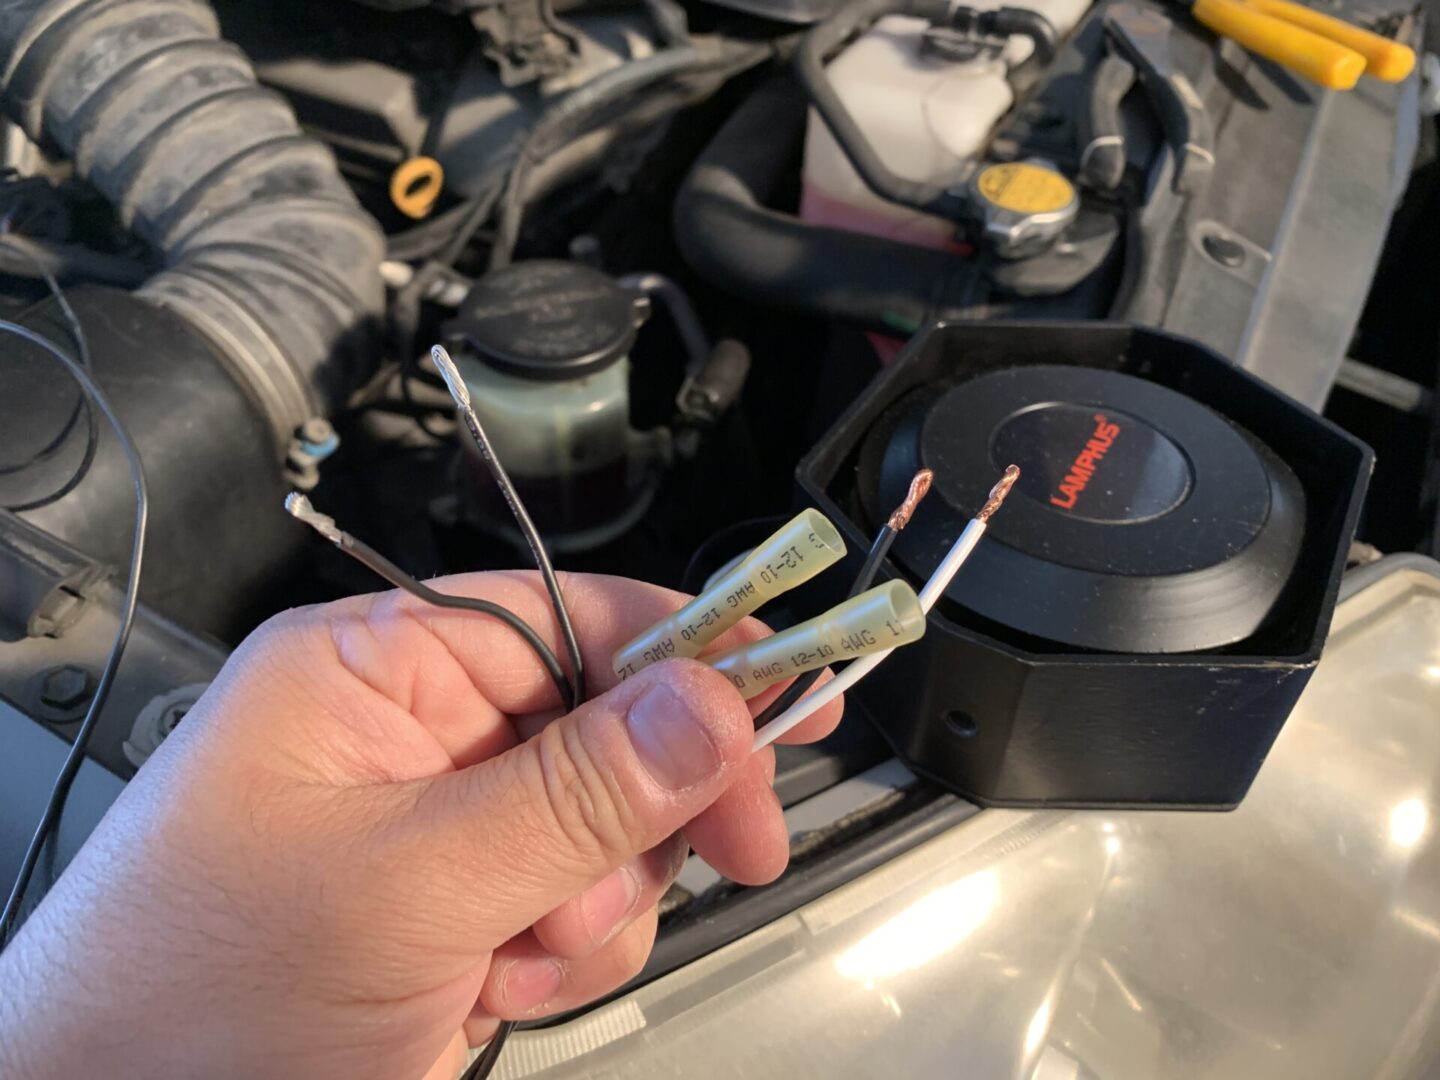
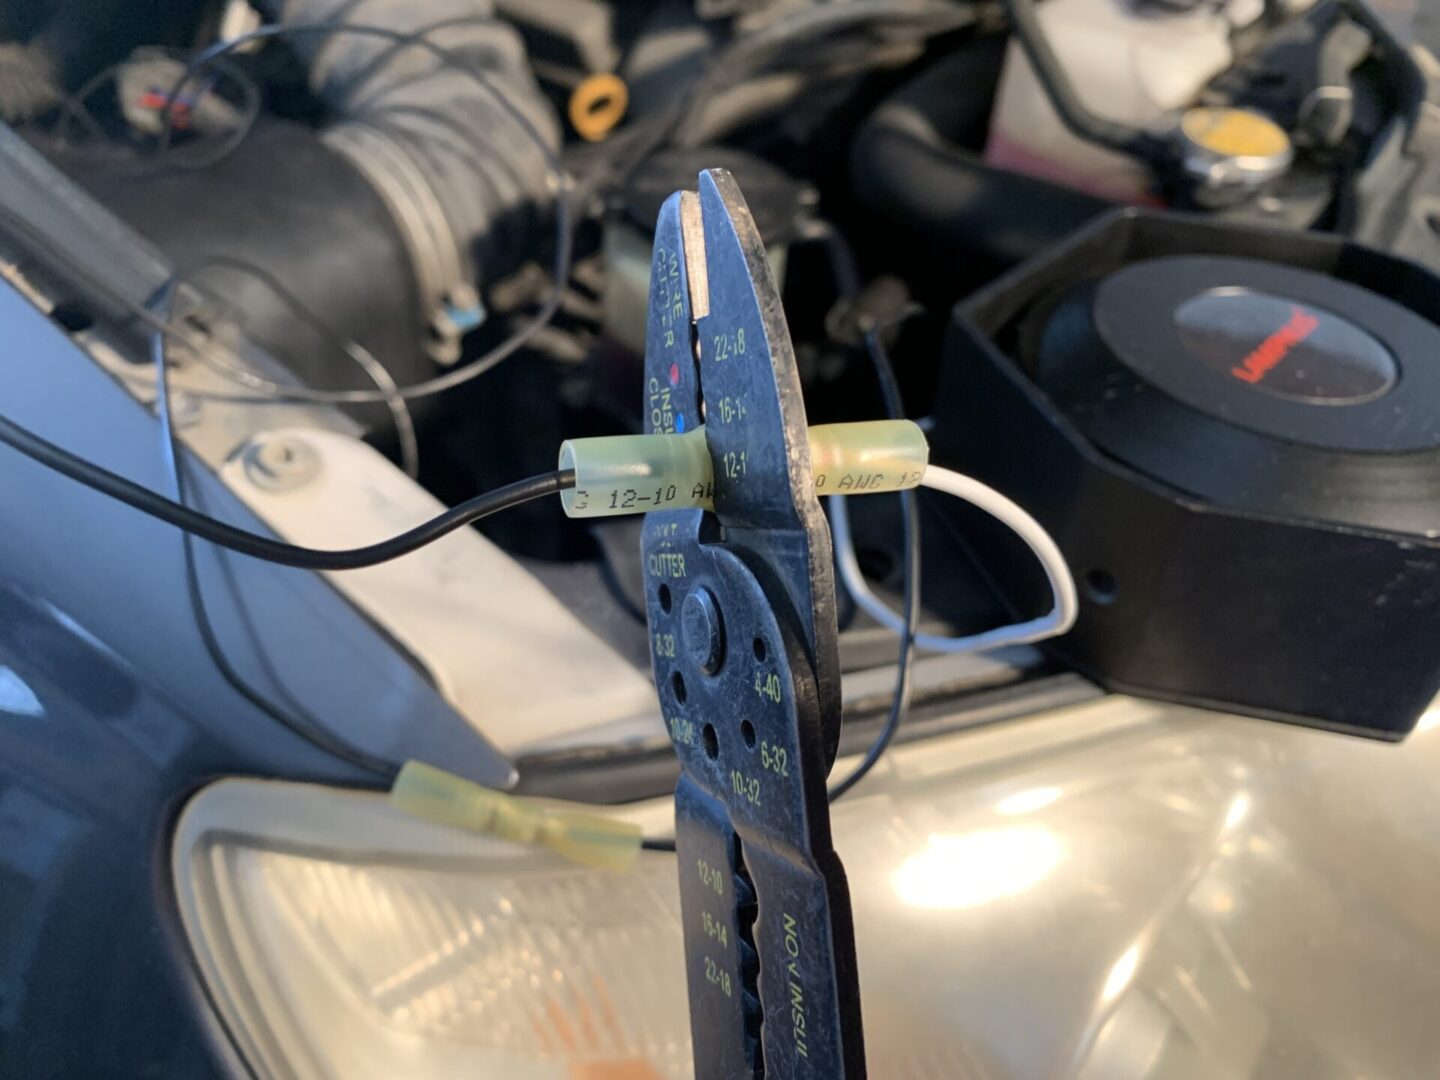
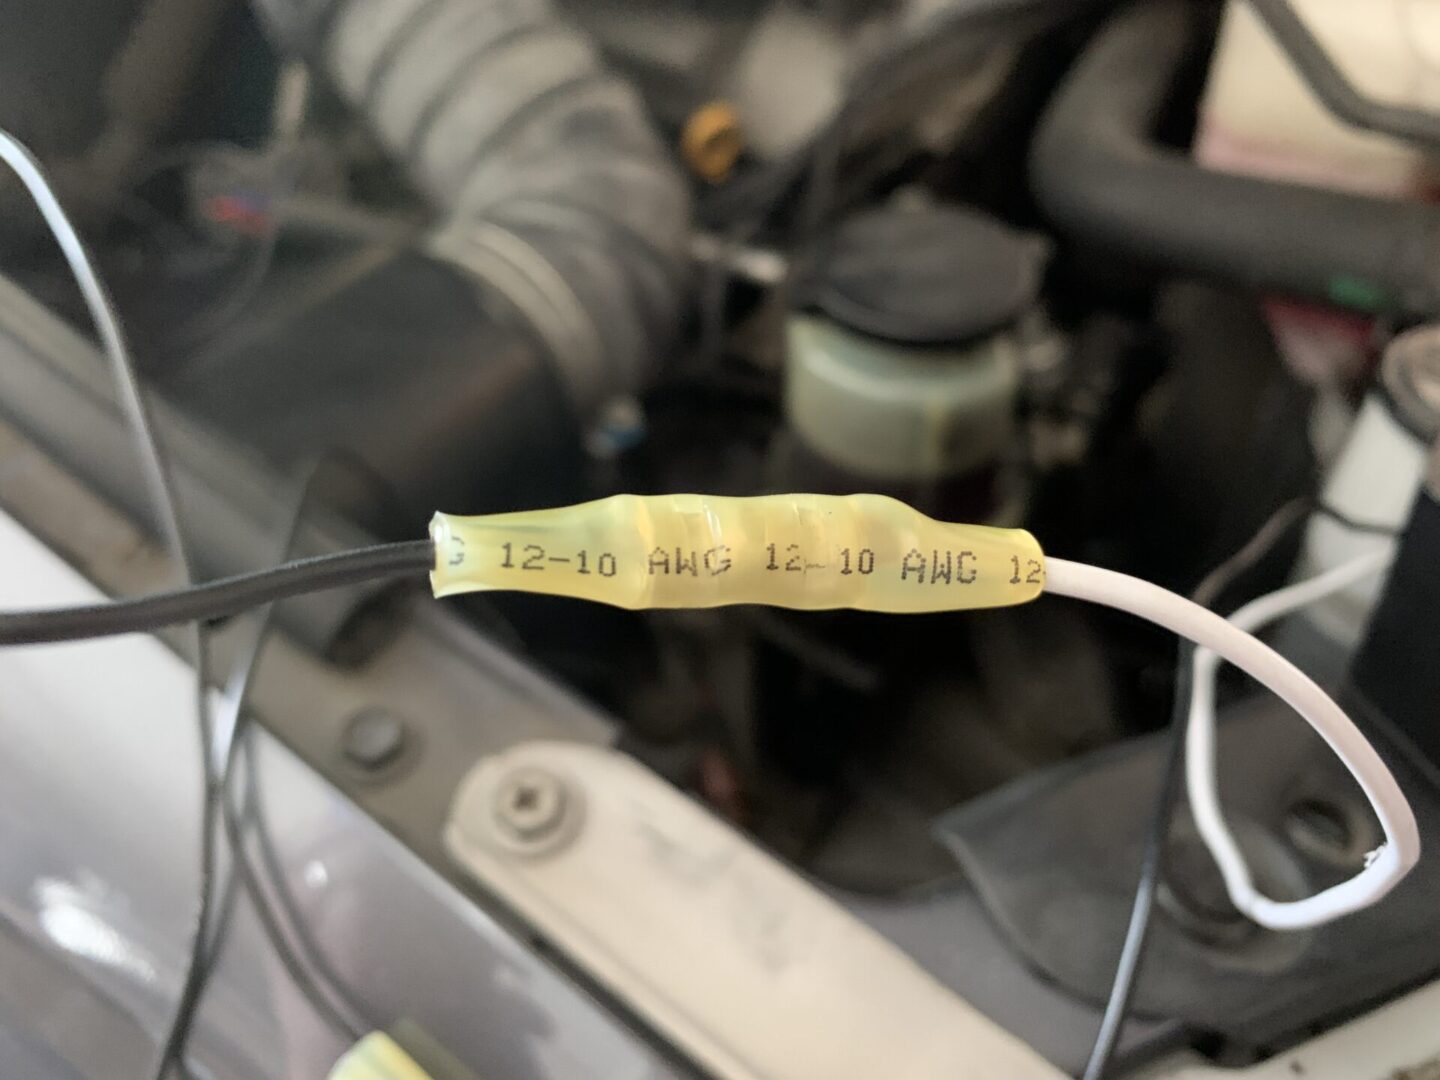
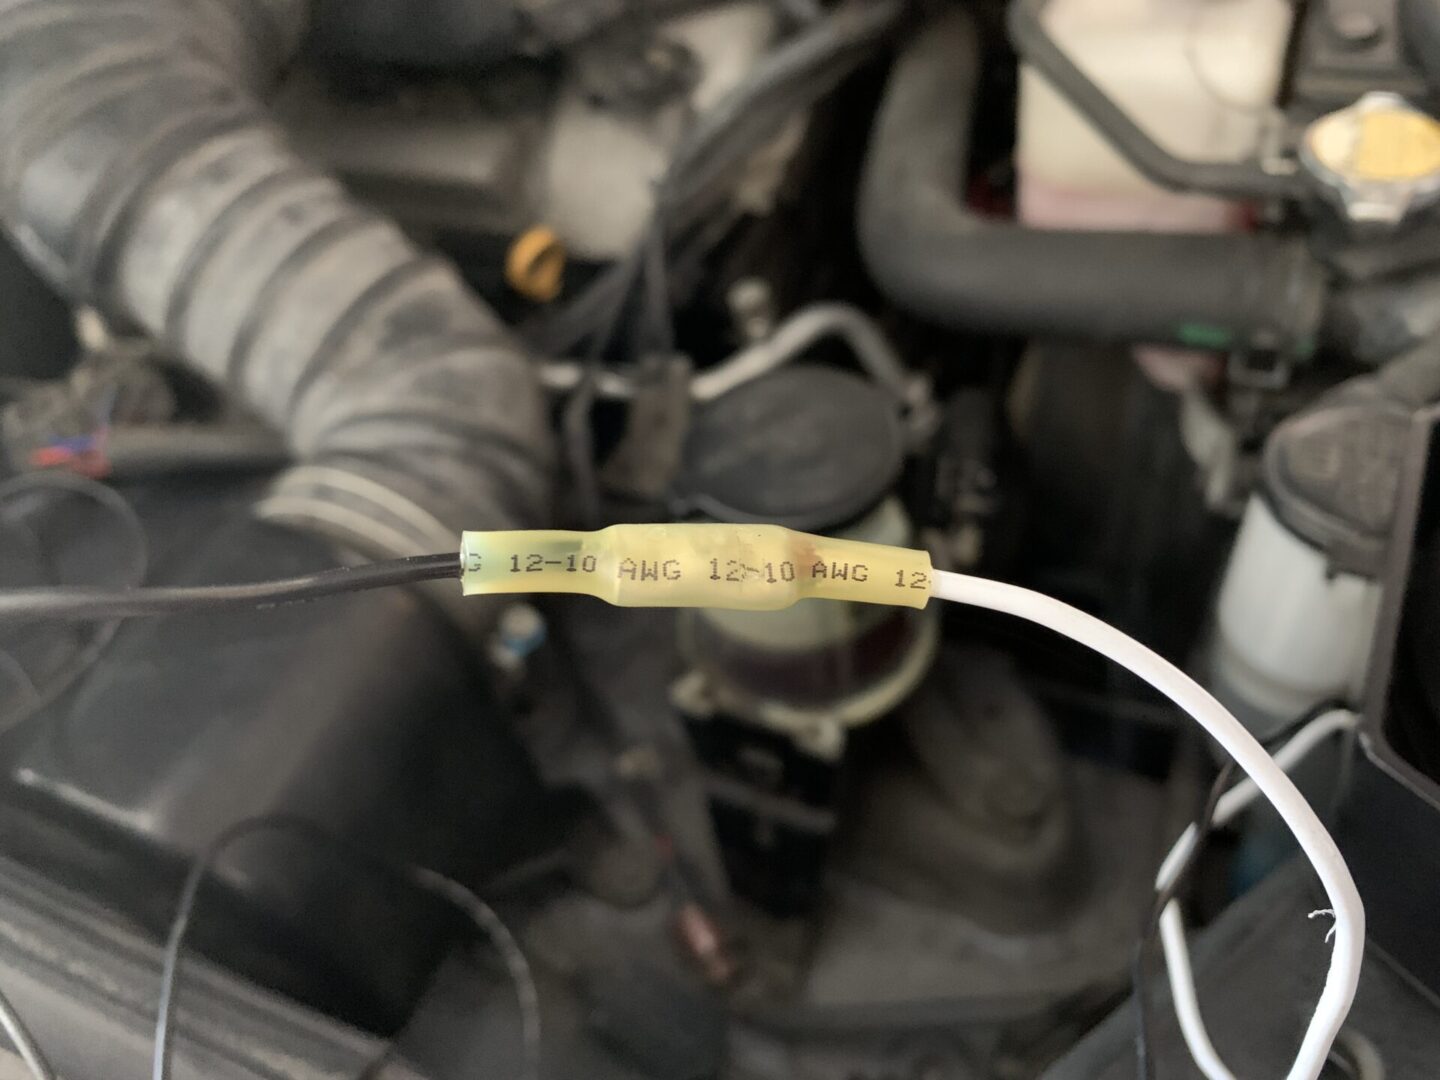
Now with the two wires already run through the firewall, I had to splice the two wires to the speaker wires of the PA speaker in the engine bay. I used two heat shrink wrap butt connectors here. I crimped them together and then used a heat gun to seal the connections.
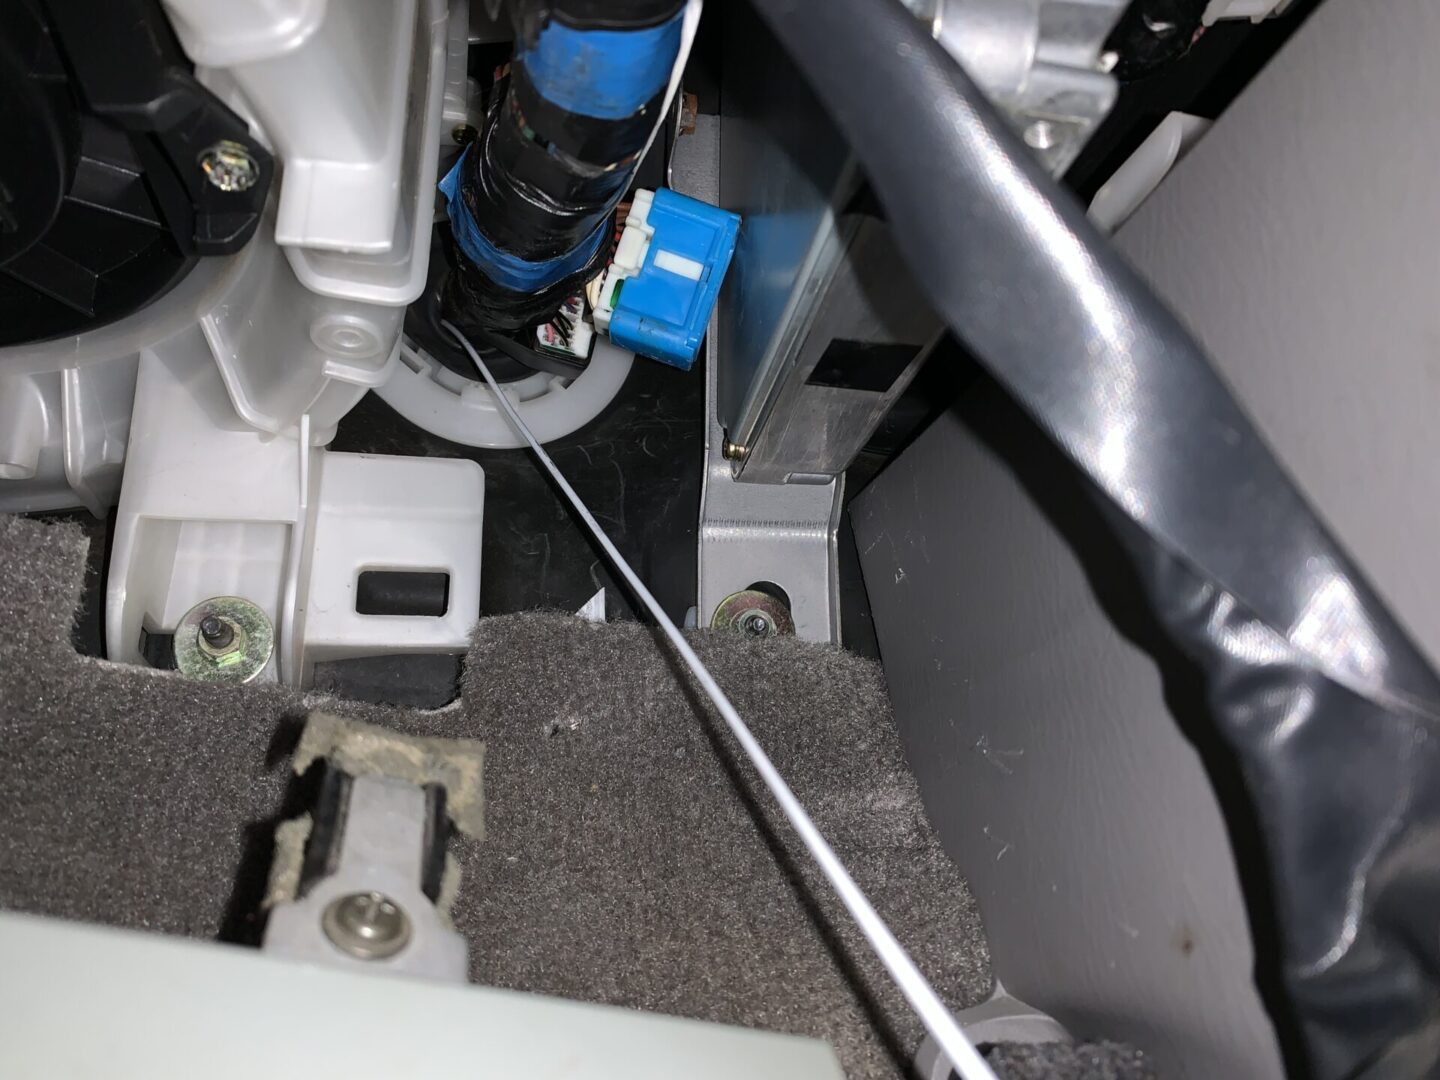
With the two speaker wire spliced to the PA speaker in the engine bay, we need to run the wires on the other end of the firewall to the location where the Lamphus SoundAlert unit will be mounted. Since I planned to mount my control unit in the center console, I ran the two wires from the firewall grommet behind the carpeting and center trim to get to the center console. You can use split wire loom here if you want to have the wires protected as it sits behind the carpet and trim pieces.
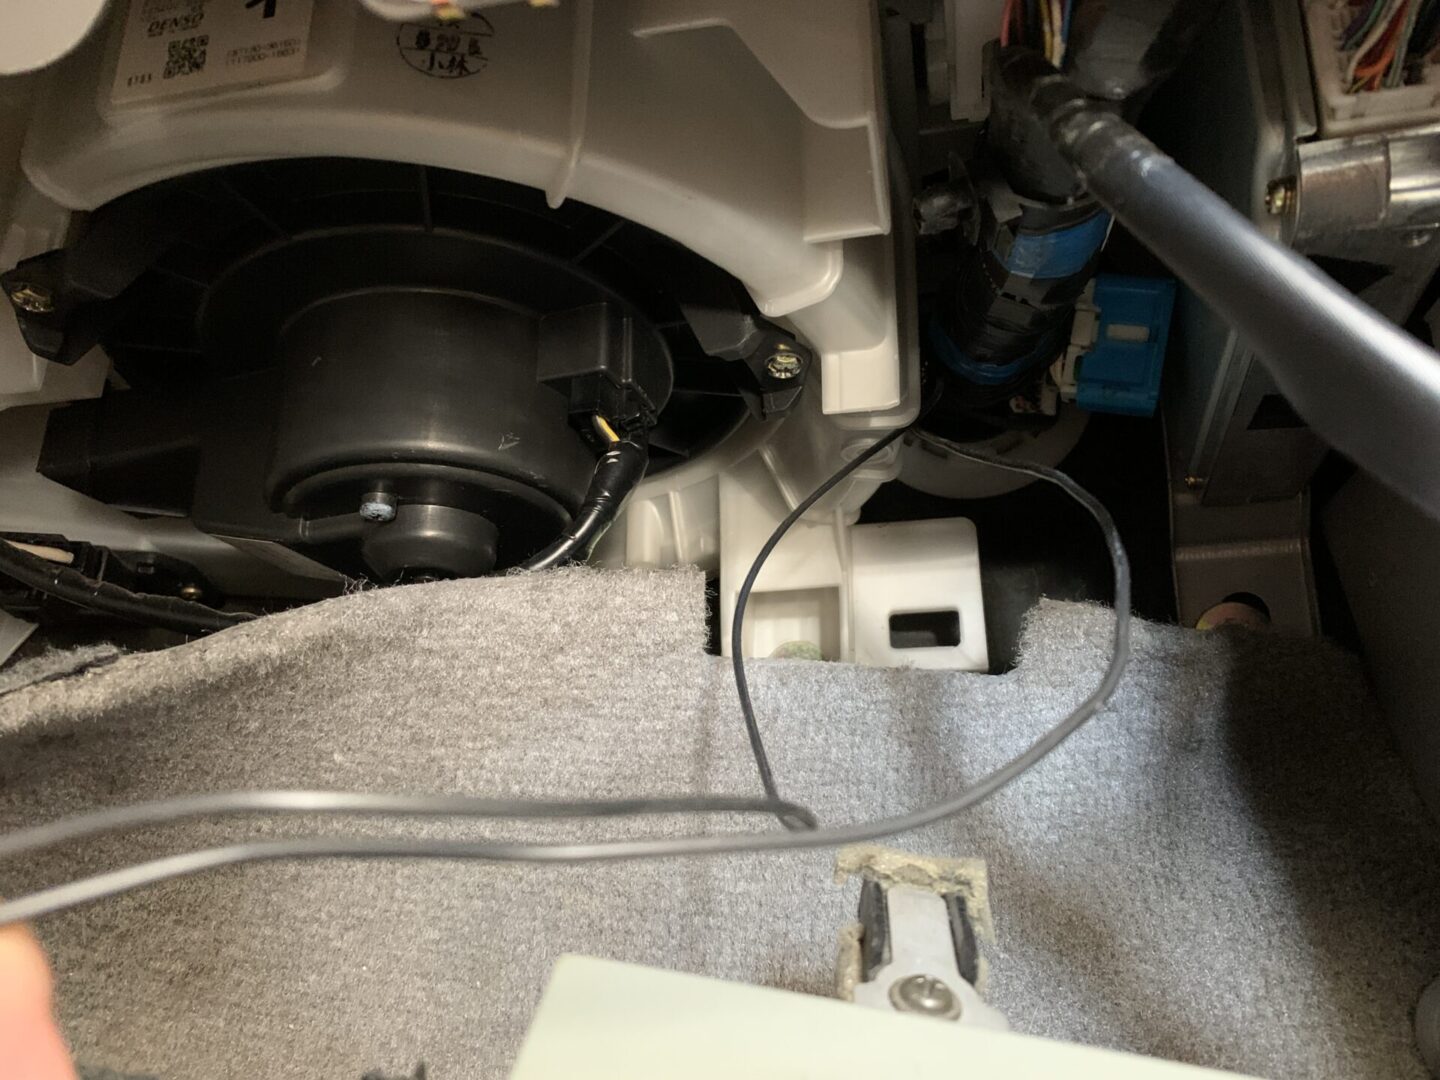
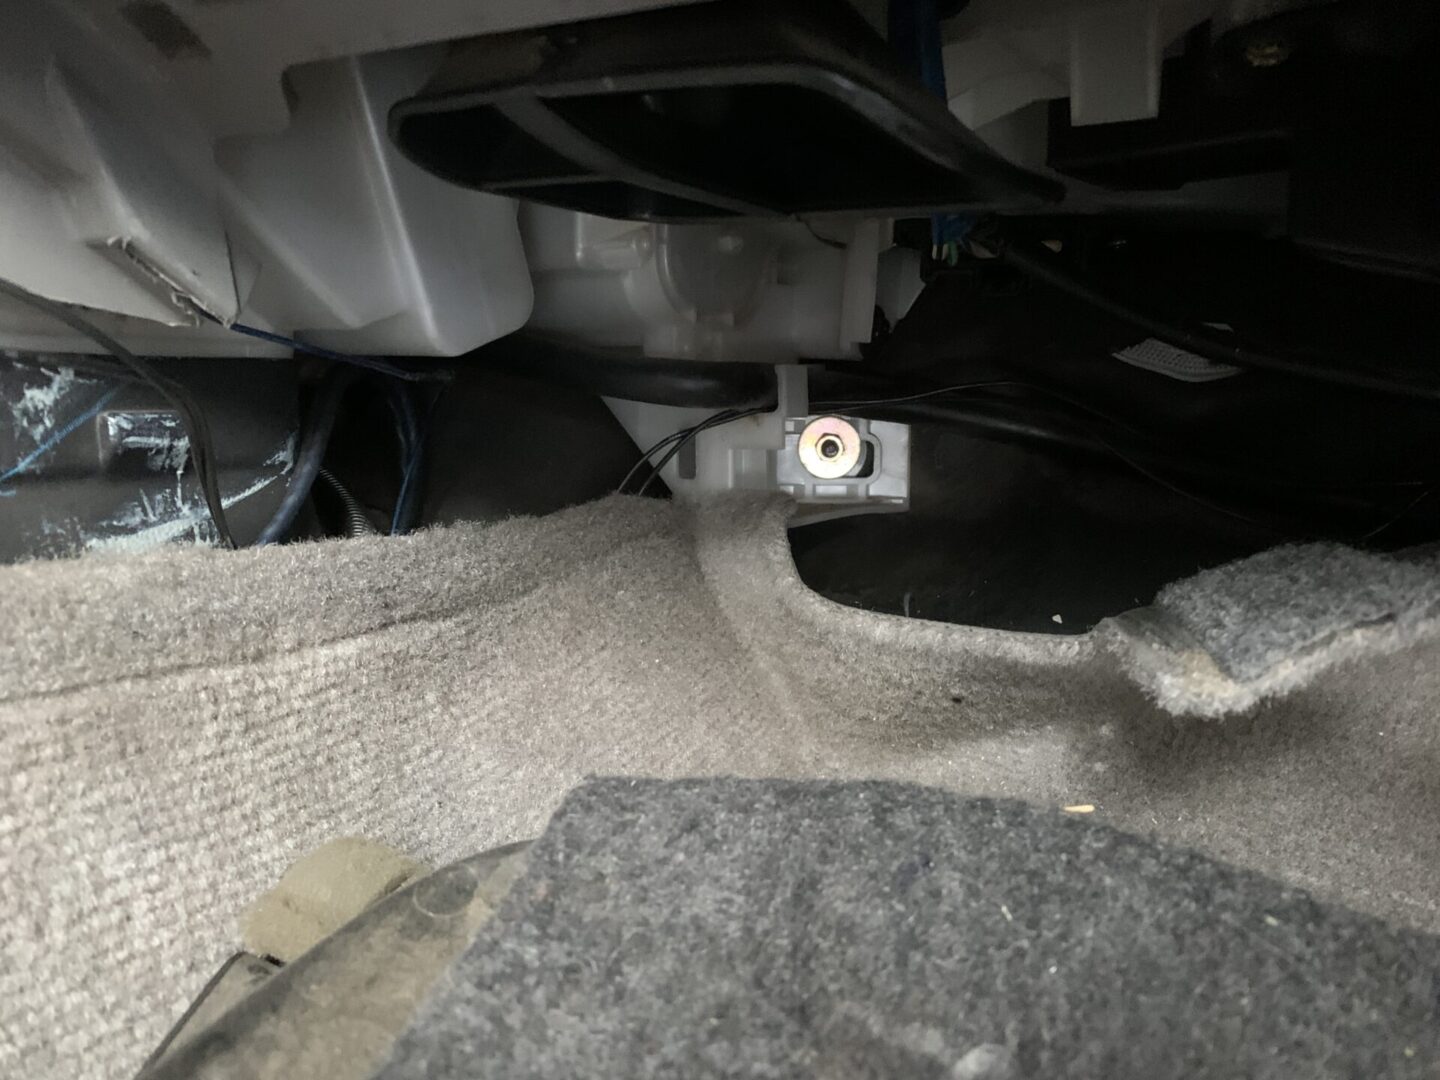
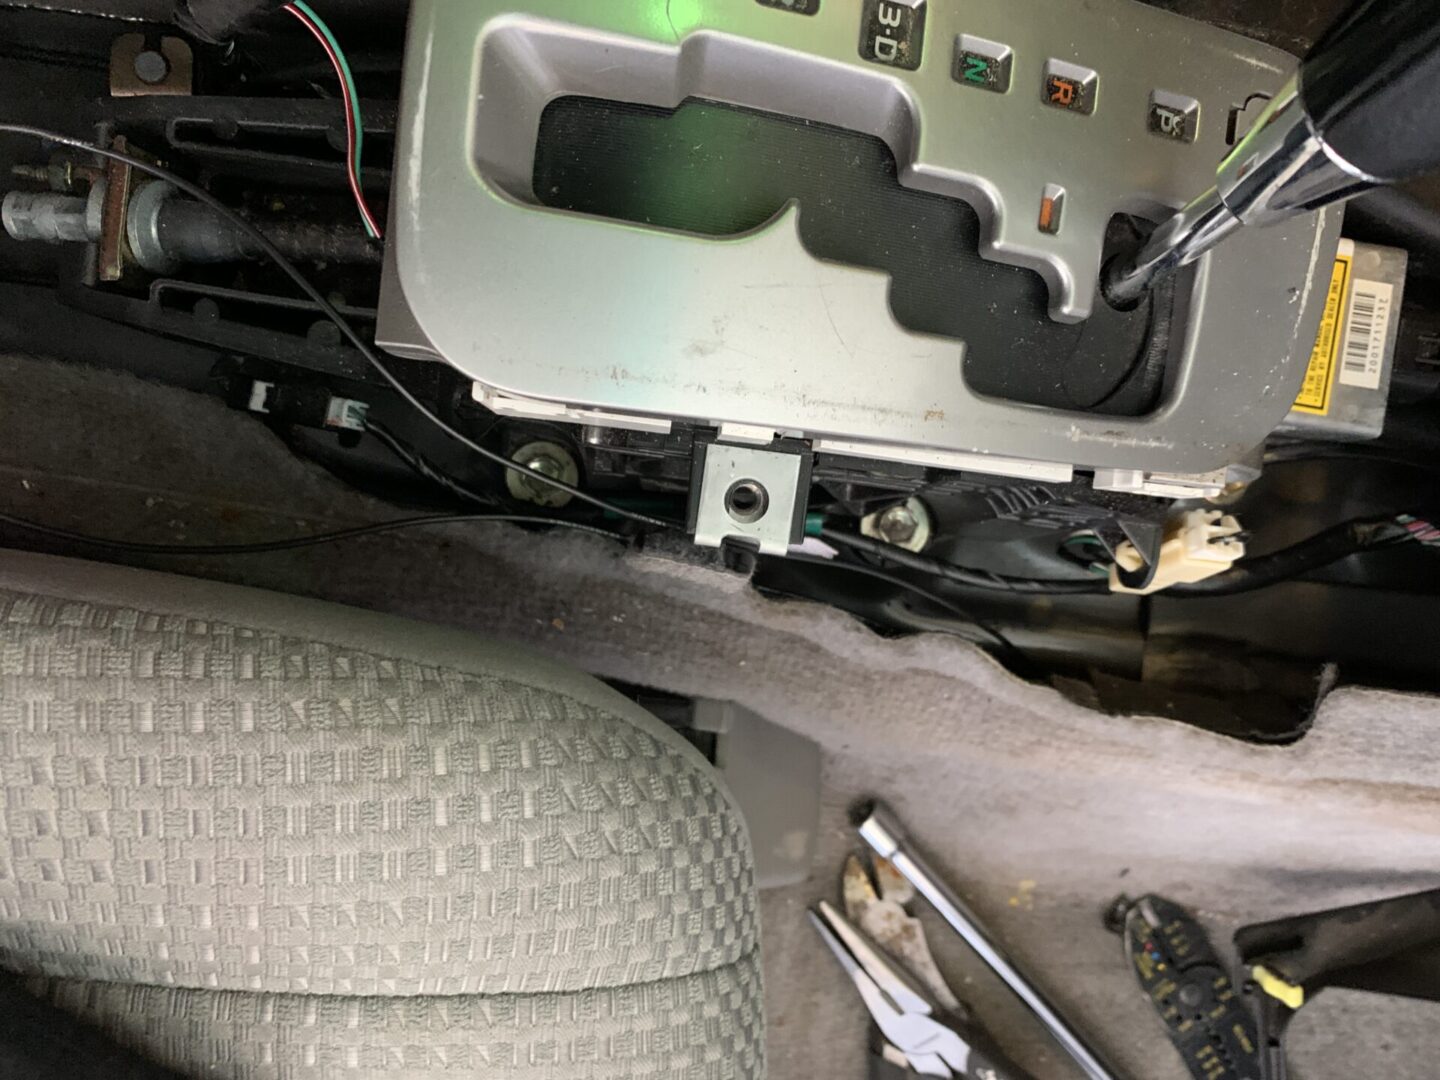
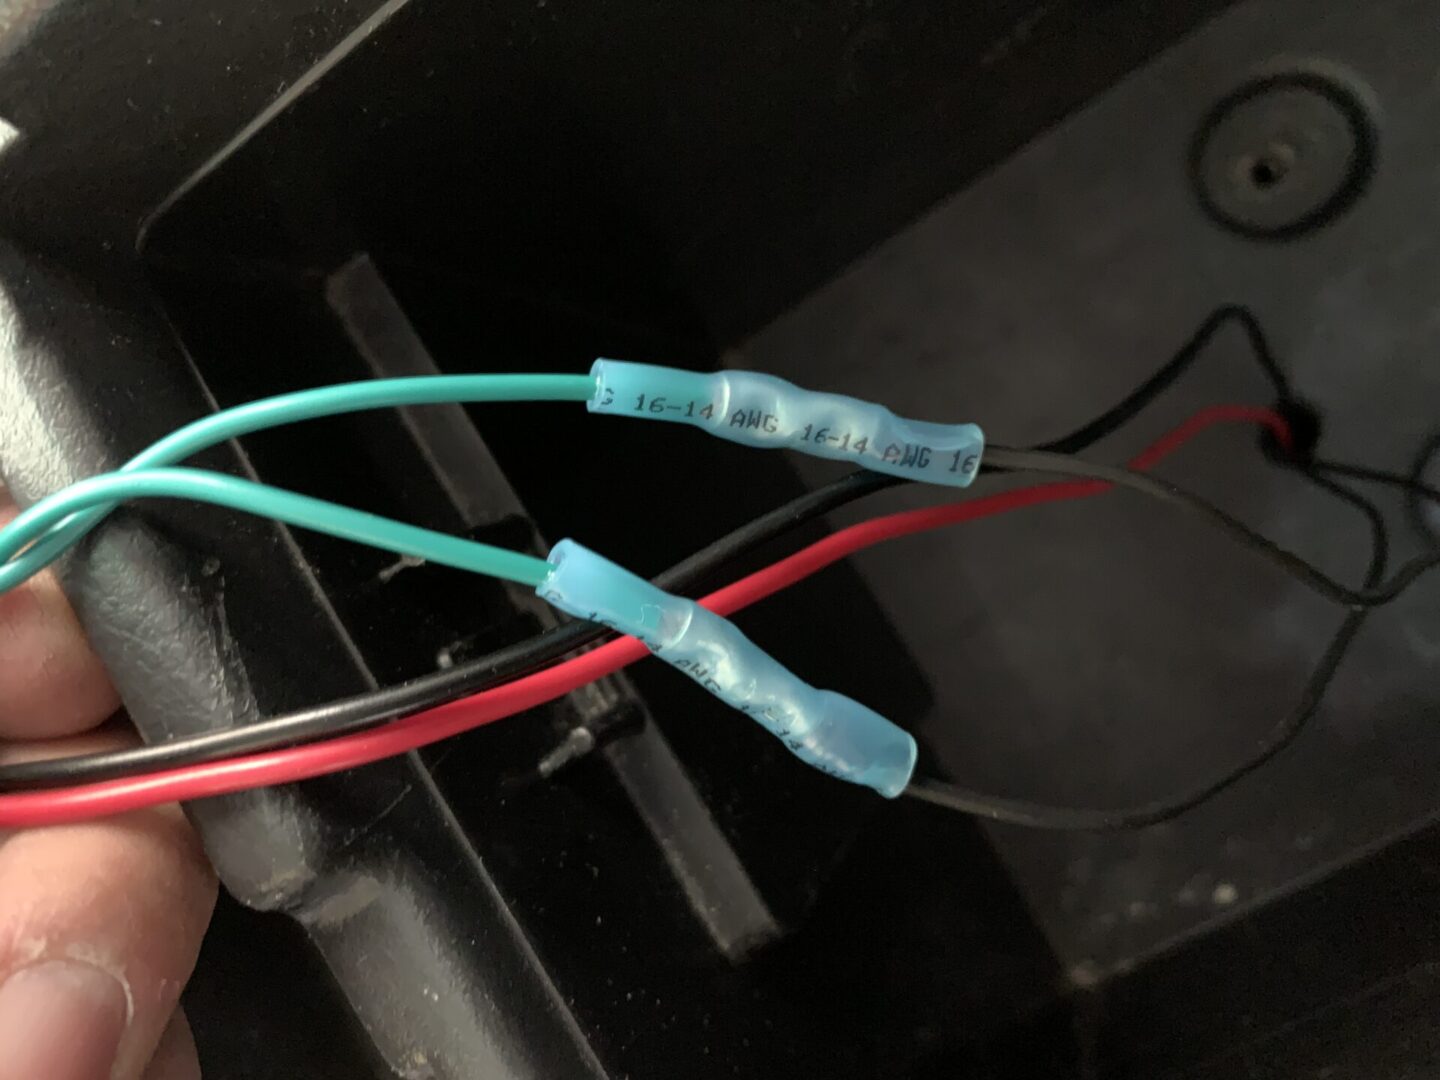
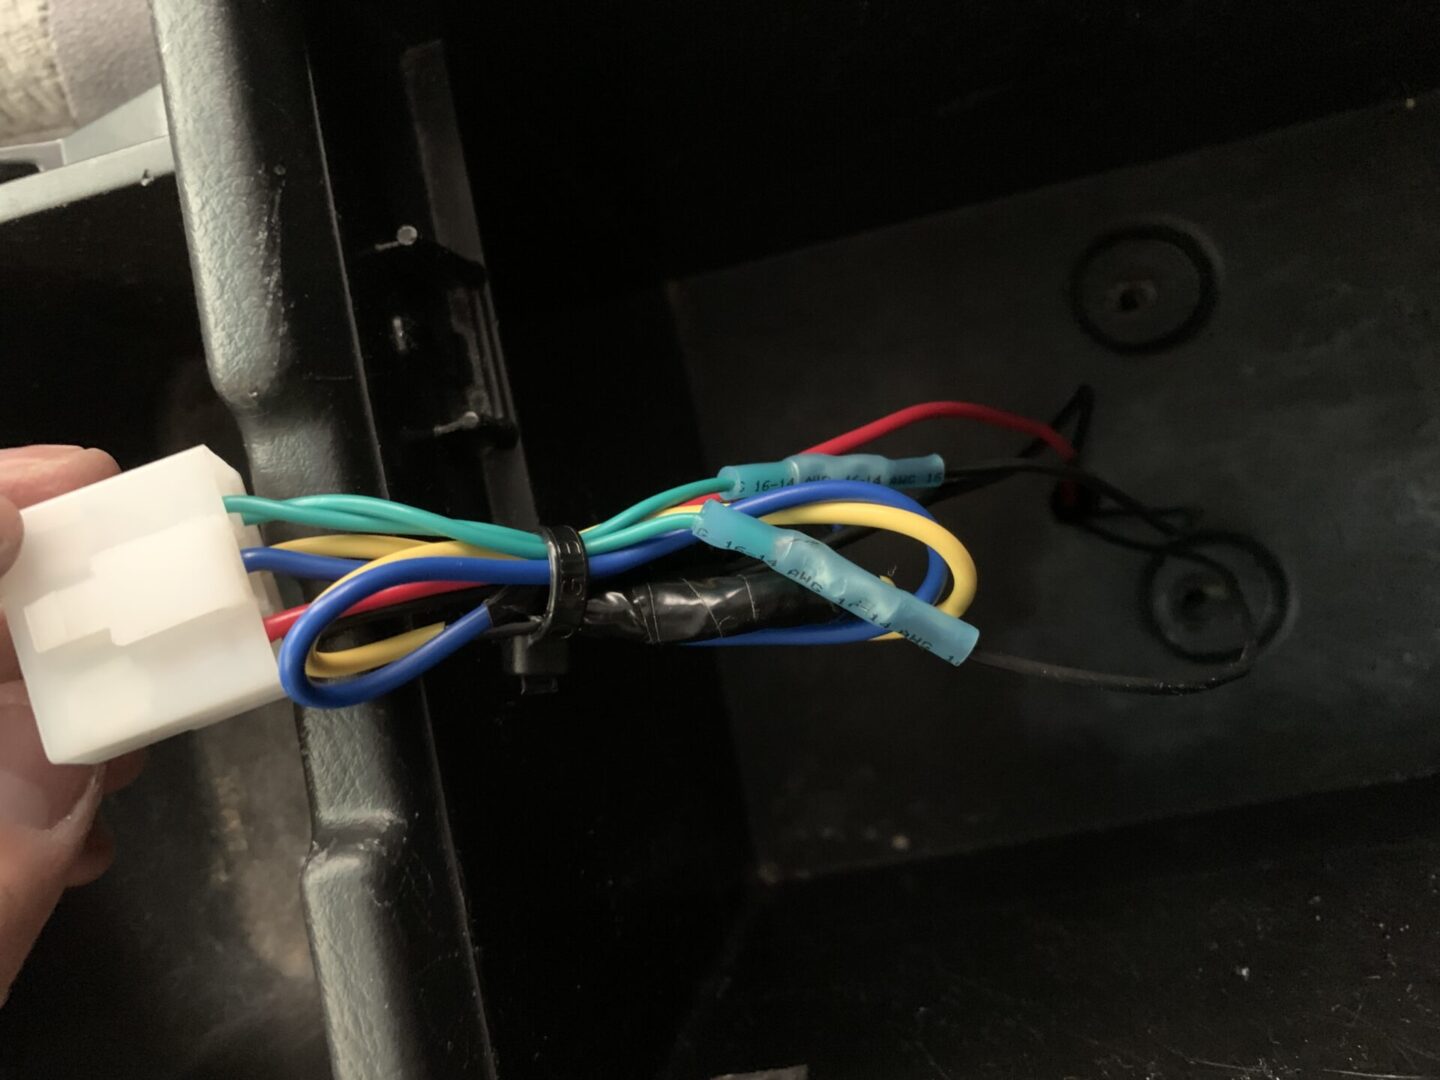
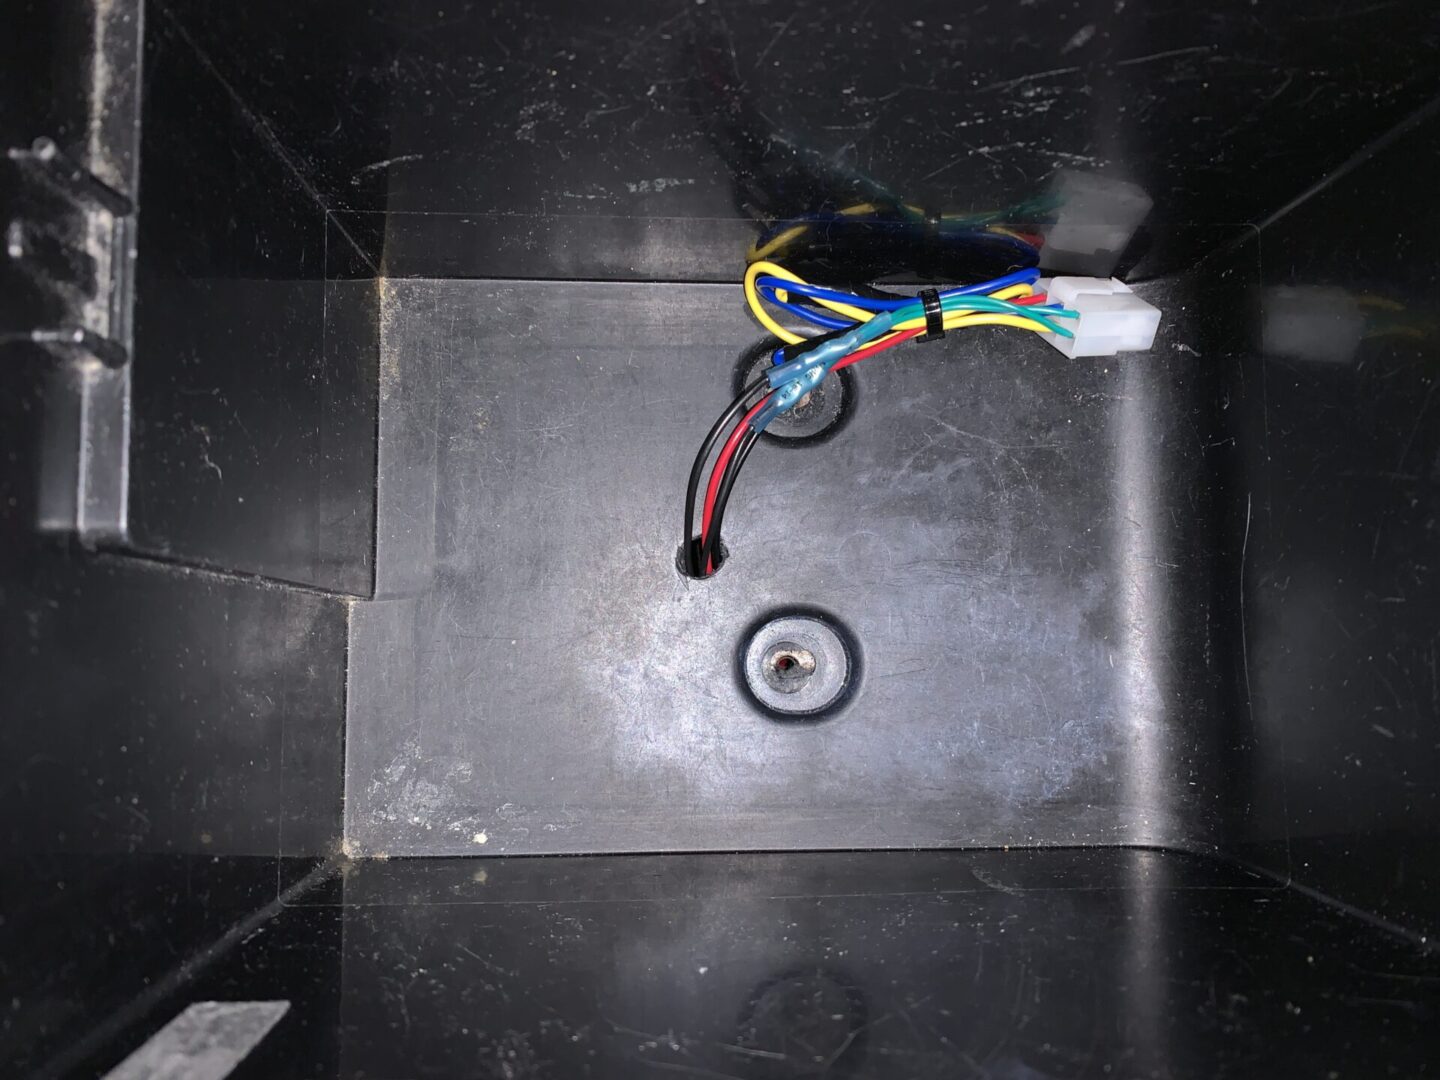
I drilled a hole in my center console bottom to allow for the wires to go to my control unit. The two speaker wires come up through this hole and are spliced onto the existing green speaker wires of the PA unit. Again, heat shrink butt connectors are used here to connect them together.
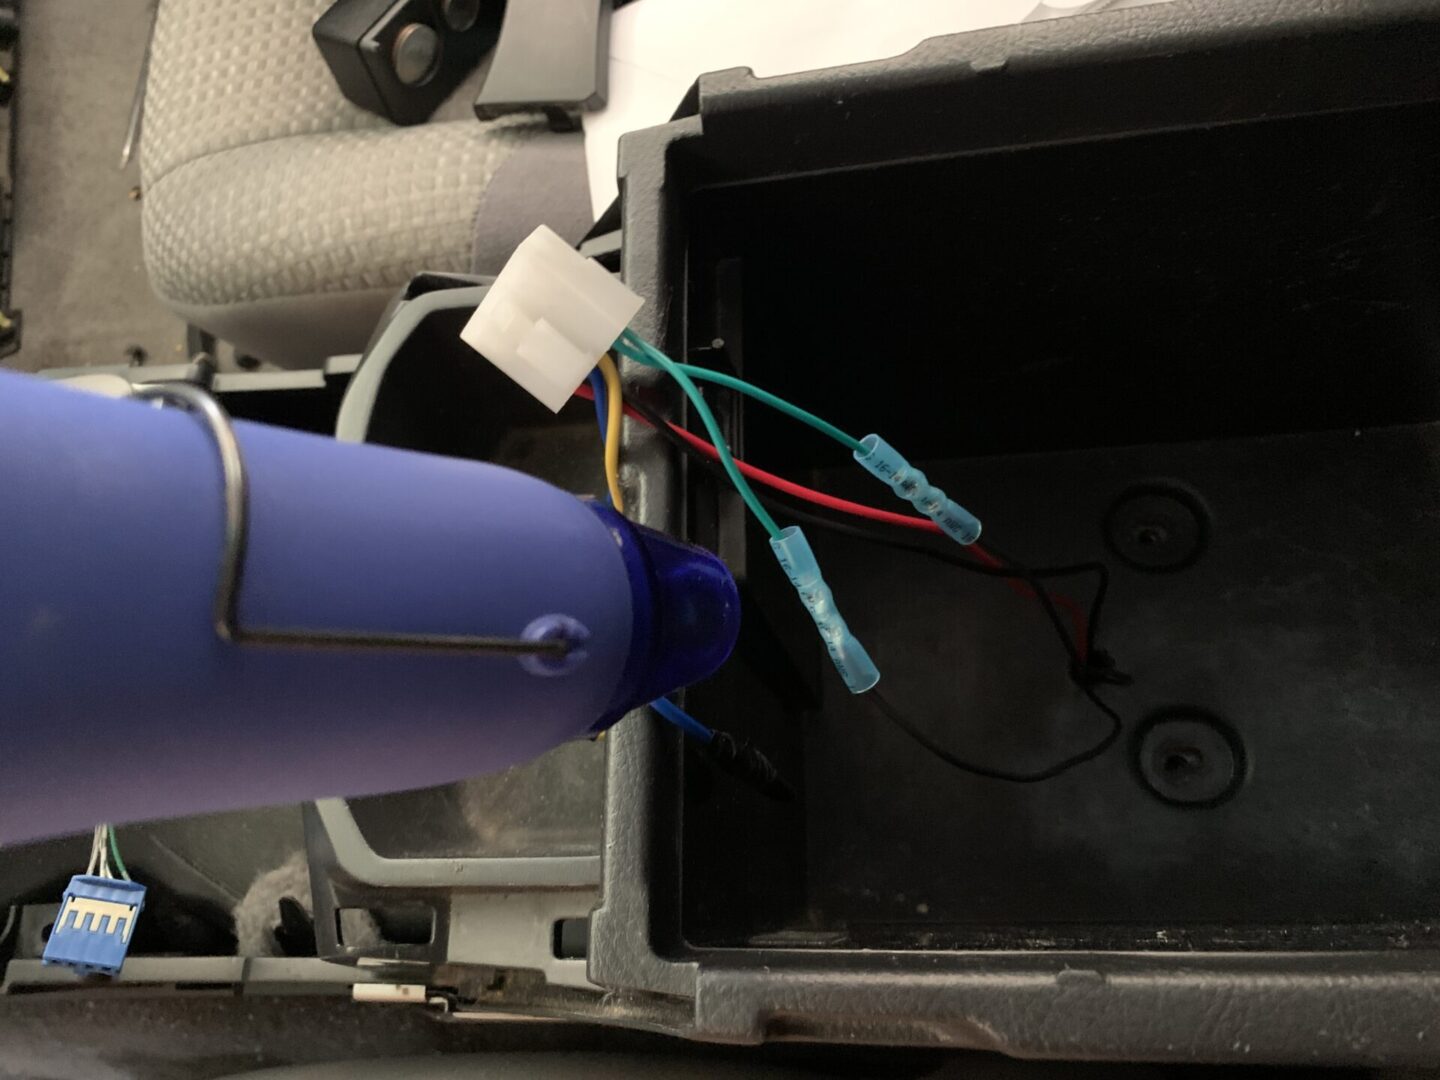
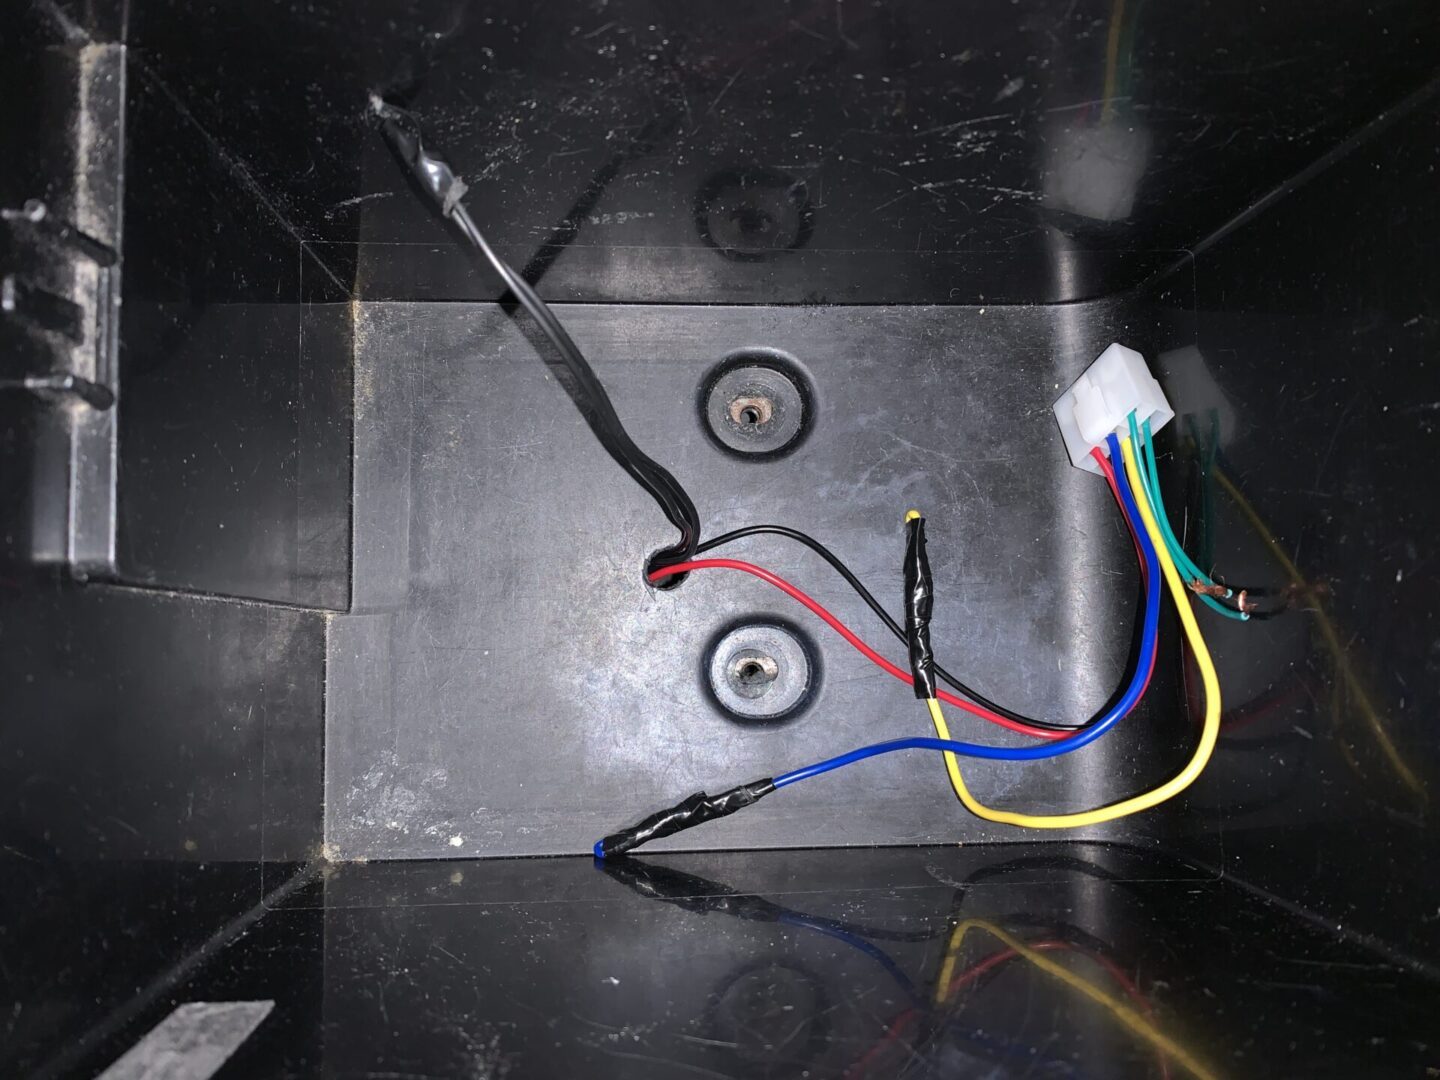
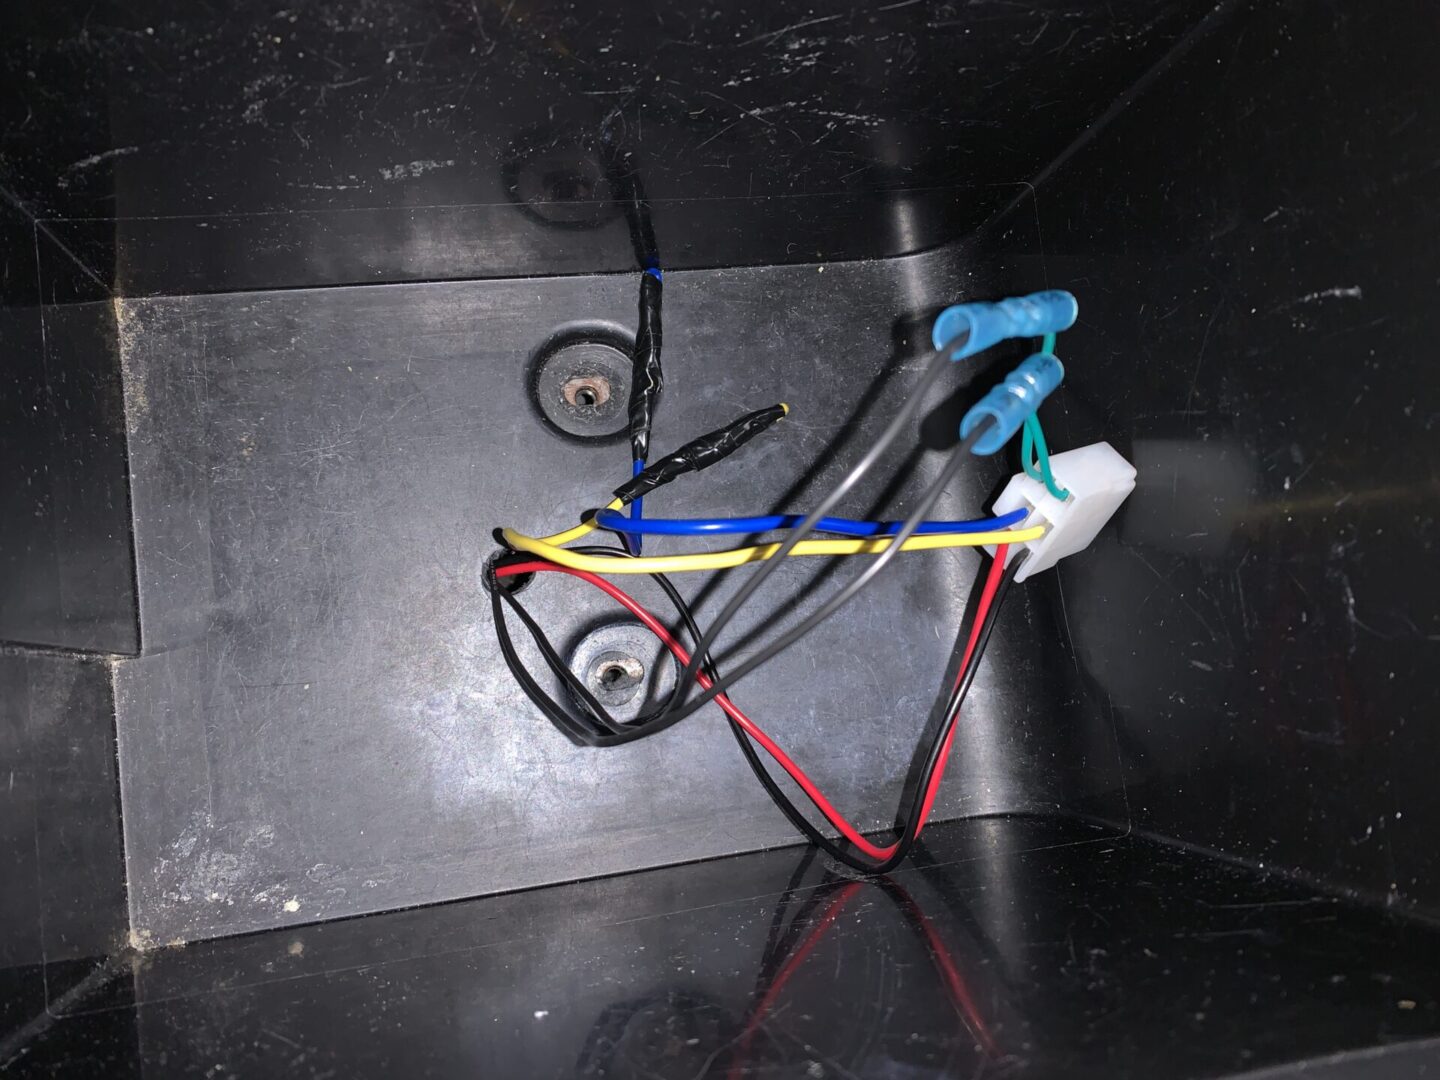
The white connector shown above, which will eventually be plugged into the control unit also has two wires that come out of it: a yellow and a blue wire. These two wires are for optional equipment if you choose to hook them up. In my case, I did not have any other equipment to connect so I taped them off with electrical tape.
Finally, there are two more wires that come out of this connector: a red wire that needs to be connected to 12V+ power, and a black wire that needs to be connected to ground. I ran these two wires through the hole in the center console, which will be run over to my radio head unit where I will tap into existing power and ground wires. I then zip-tied this bunch of wires to make it neat and tidy.
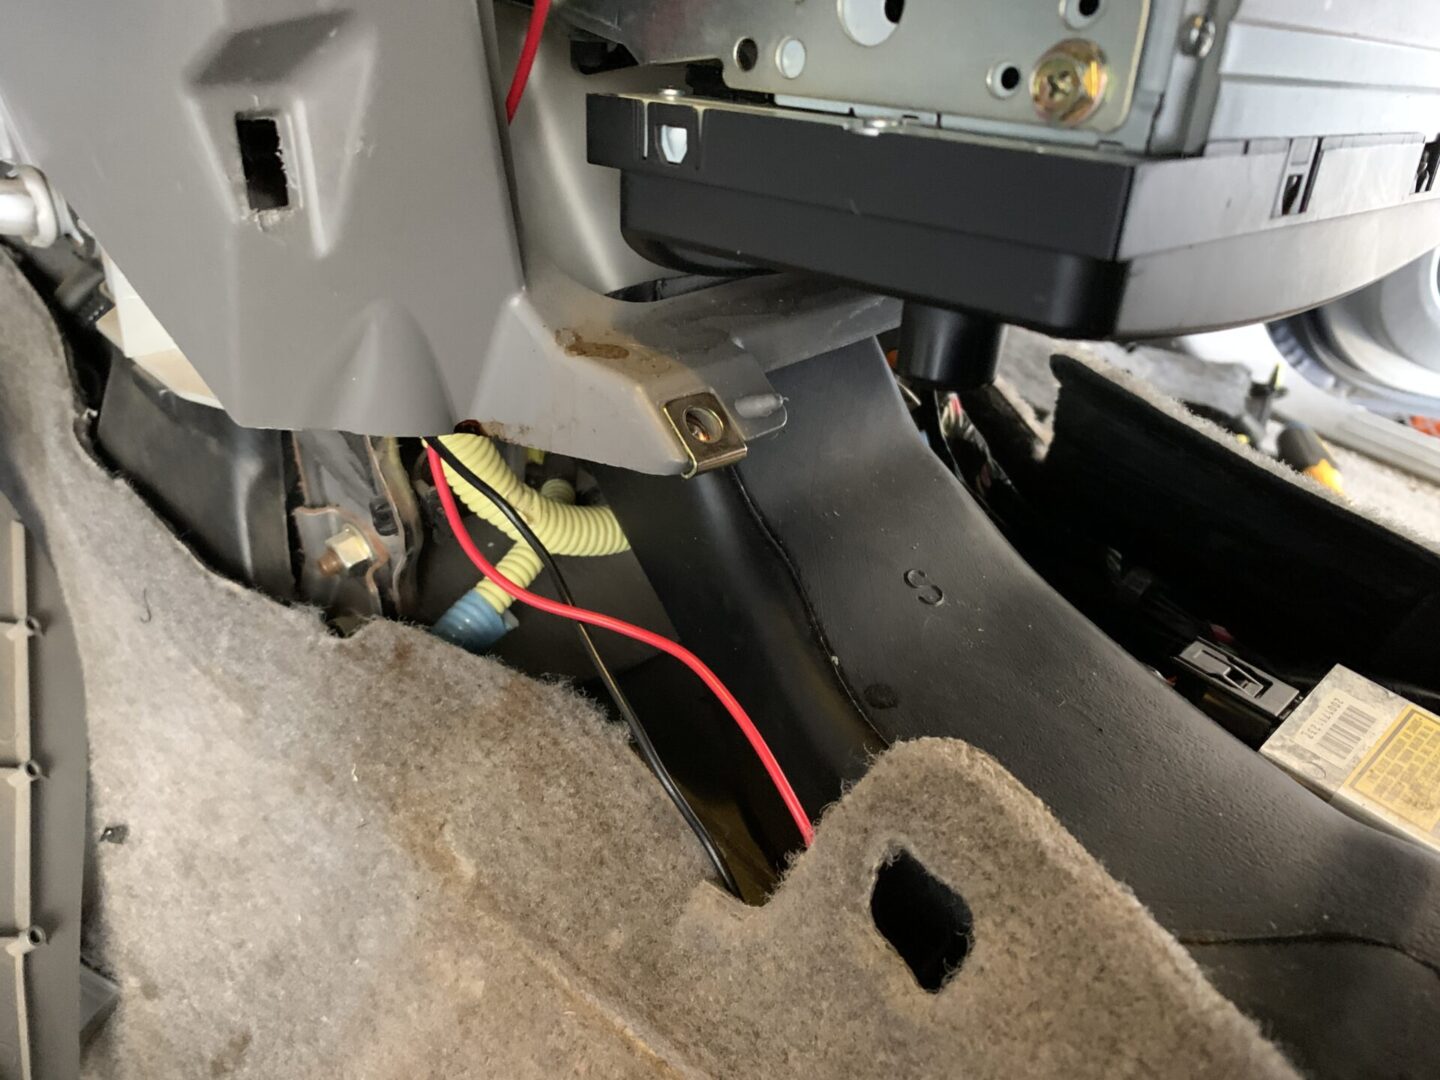
The red power and black ground wires that come out of the center console are then run behind trim and carpeting until it gets to the final location where it will be tapped into the power and ground wires of my car. Again, with these runs, use split wire loom if you wish to protect these wires.
As I’ve mentioned previously, you should research your specific vehicle to know which wire in your car provides 12V+ power when the ignition is switched on and which wire is the ground wire. I may be stating the obvious, but do not connect the red power wire to any wire that has 12V+ constant power (always on even if key is not switched to ignition ON); this will cause the PA system to always be on, draining your battery and eventually leaving you with a dead battery.
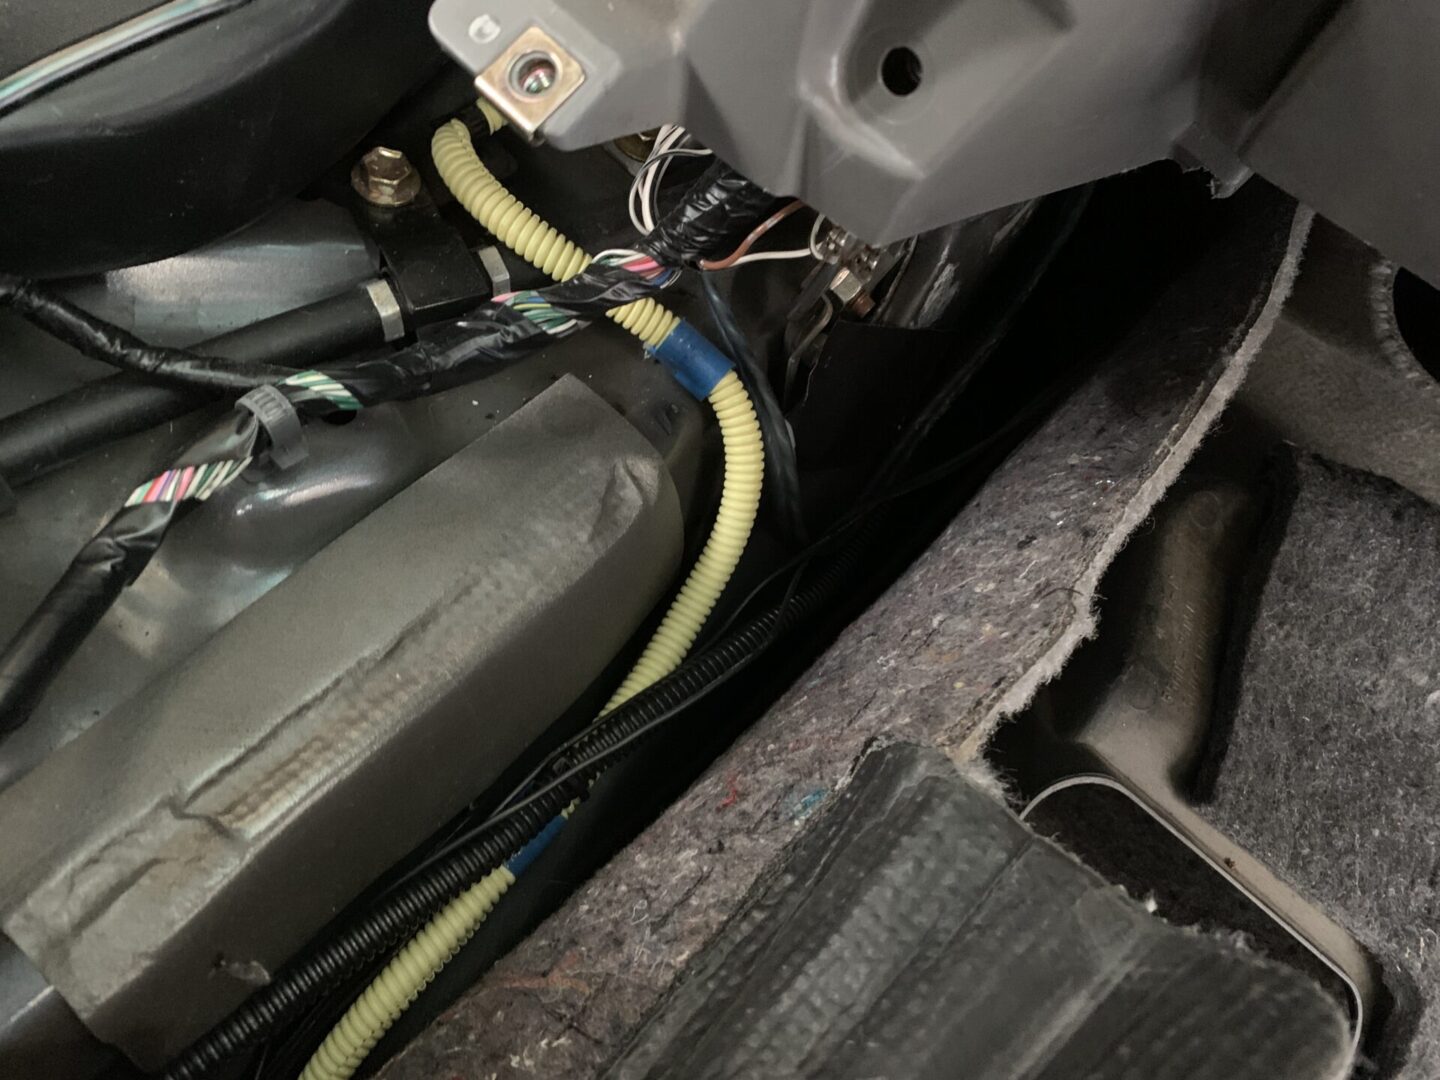
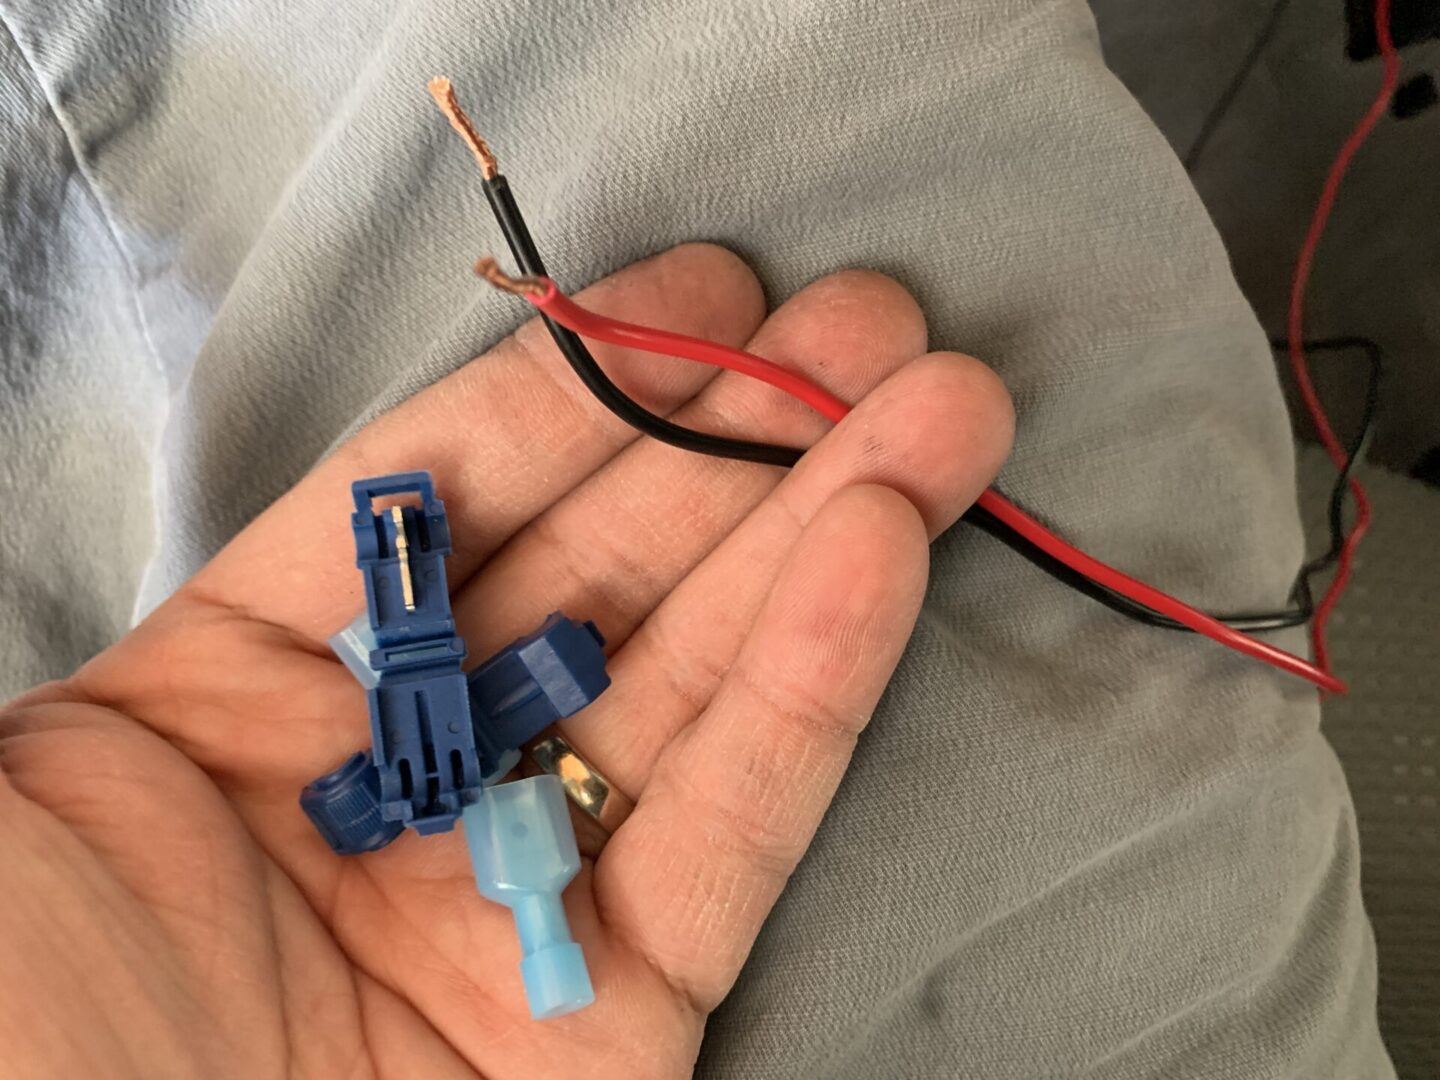
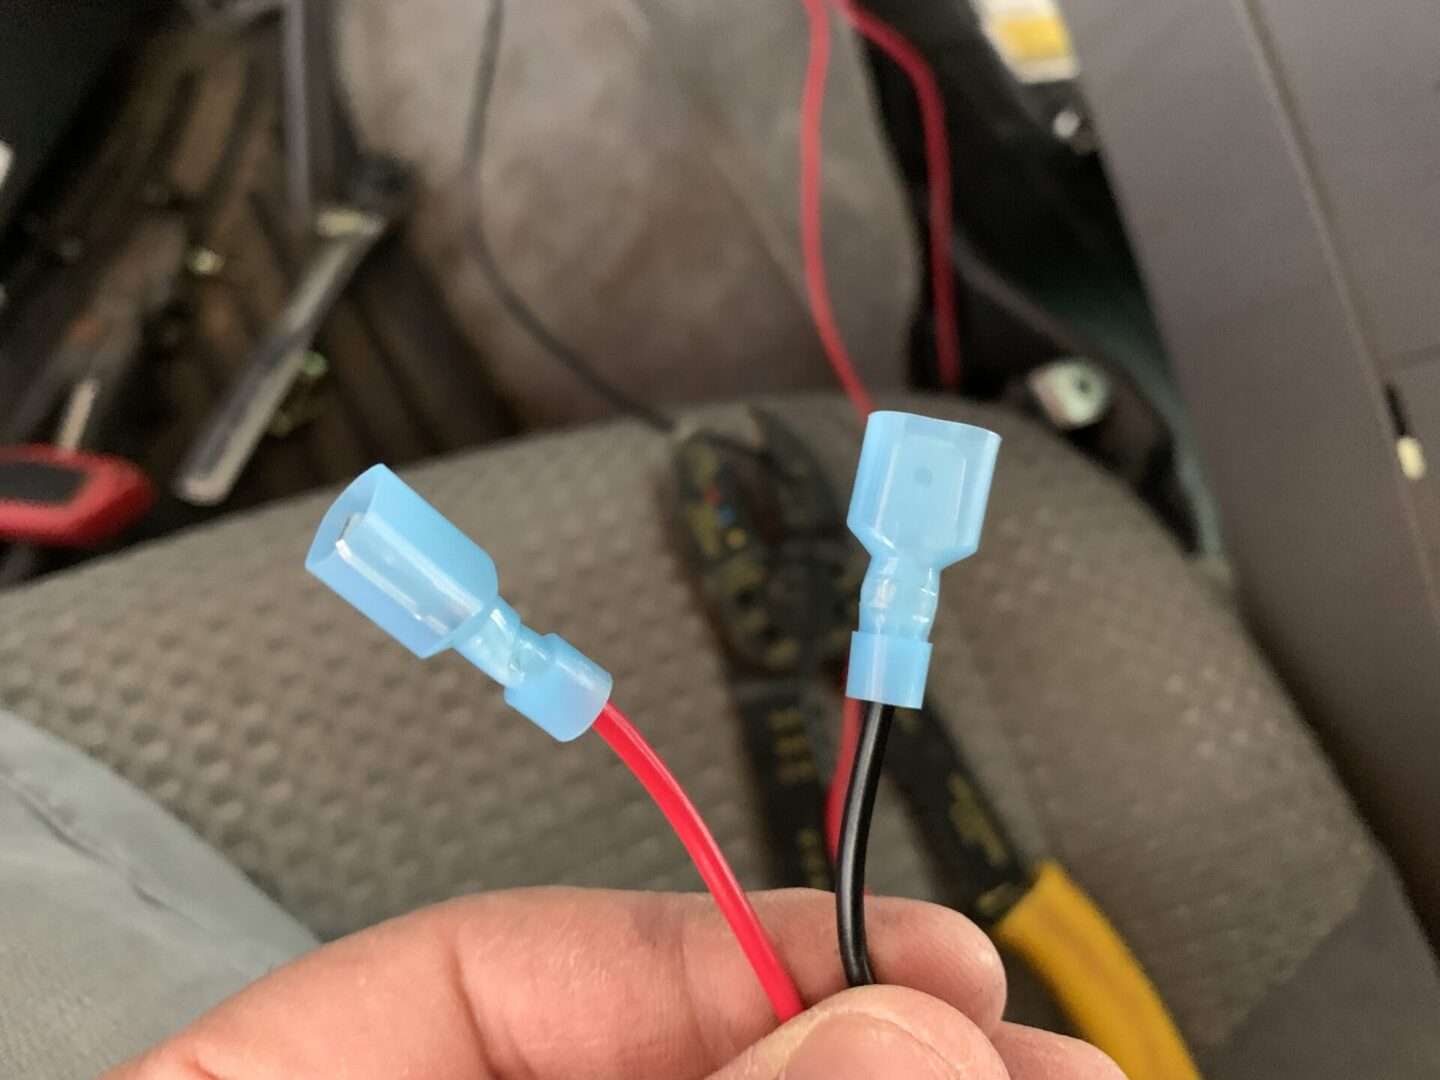
The red wire and black wire are then run to behind the radio head unit where they will be spliced. Use the male spade connector in the T-tap connector kit to crimp onto each red and black wire. This will eventually be plugged into the T-tap connector.
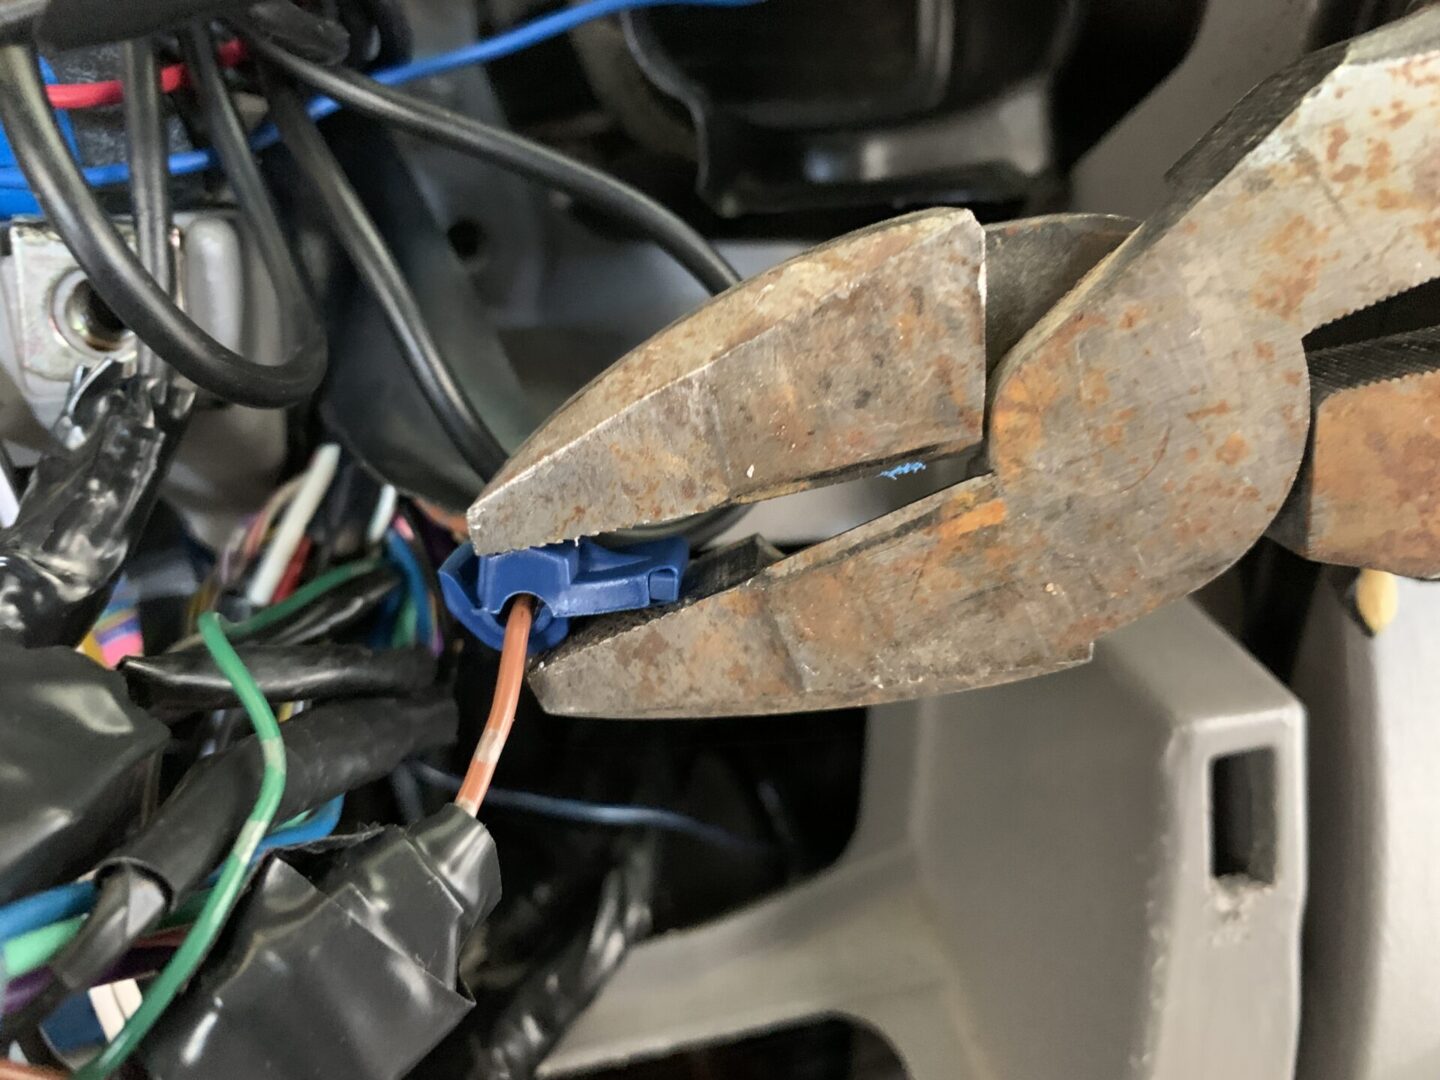
On my Toyota 4Runner, I know that the brown wire is a ground wire and the blue wire with yellow stripe is the 12V+ ignition power for my head unit based off electrical wiring diagrams for my specific vehicle. I used the T-taps to clamp and lock onto the existing wire using a set of pliers. Then, the red wire with male spade connector is plugged into the power tap. The black wire with male spade connector is plugged into the ground tap.


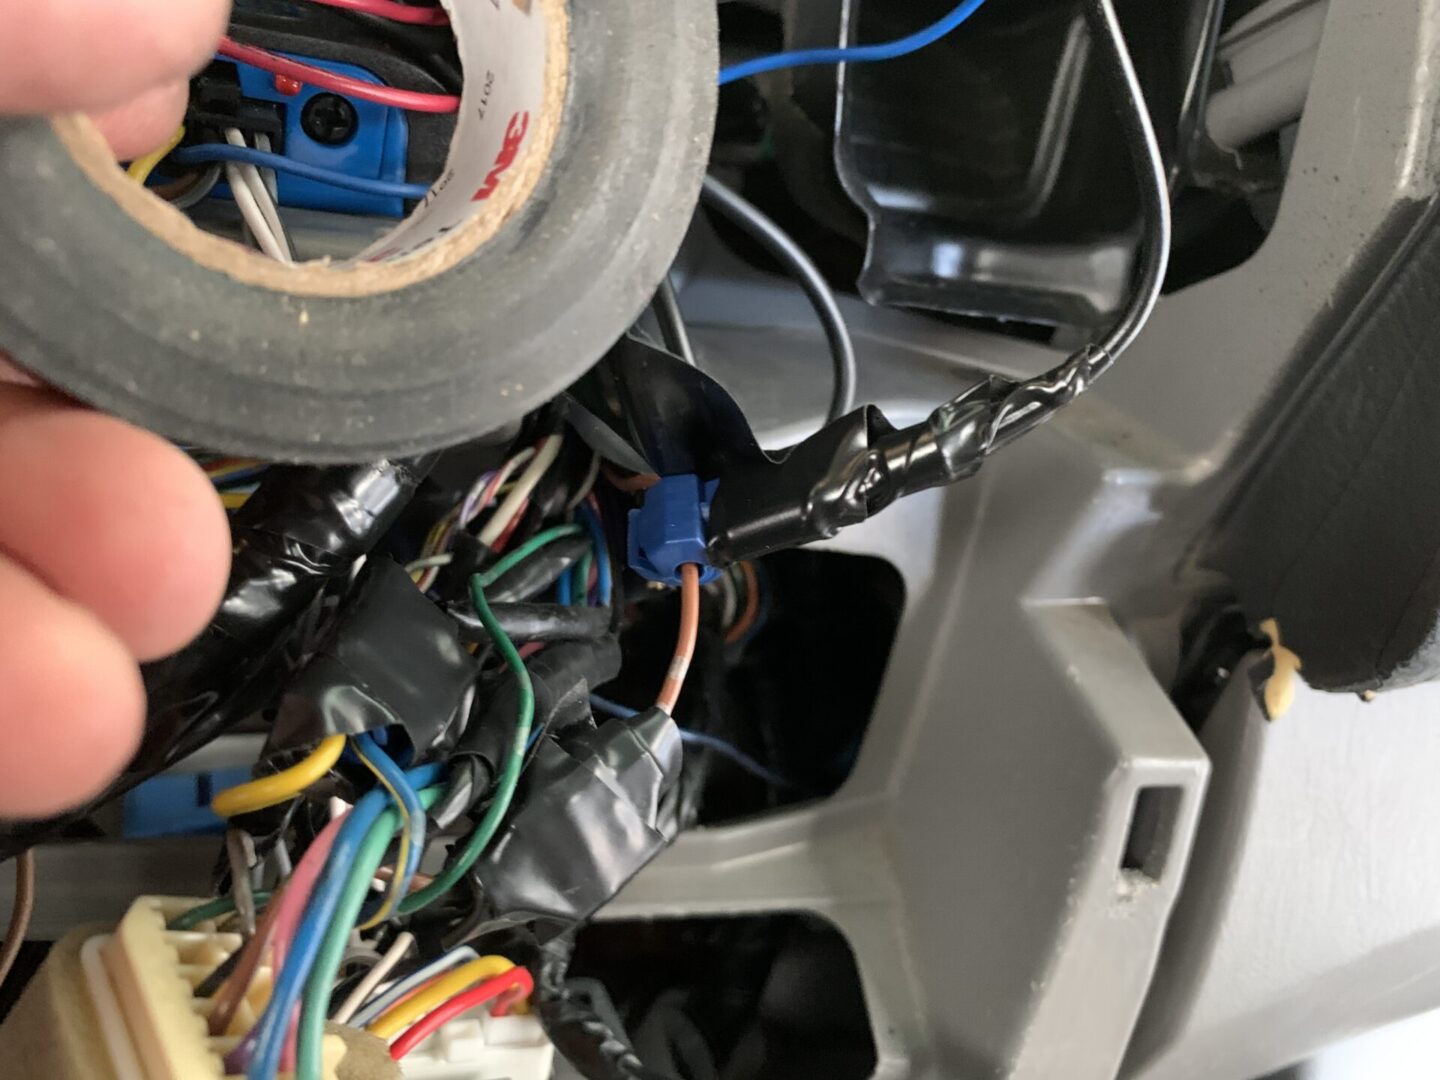

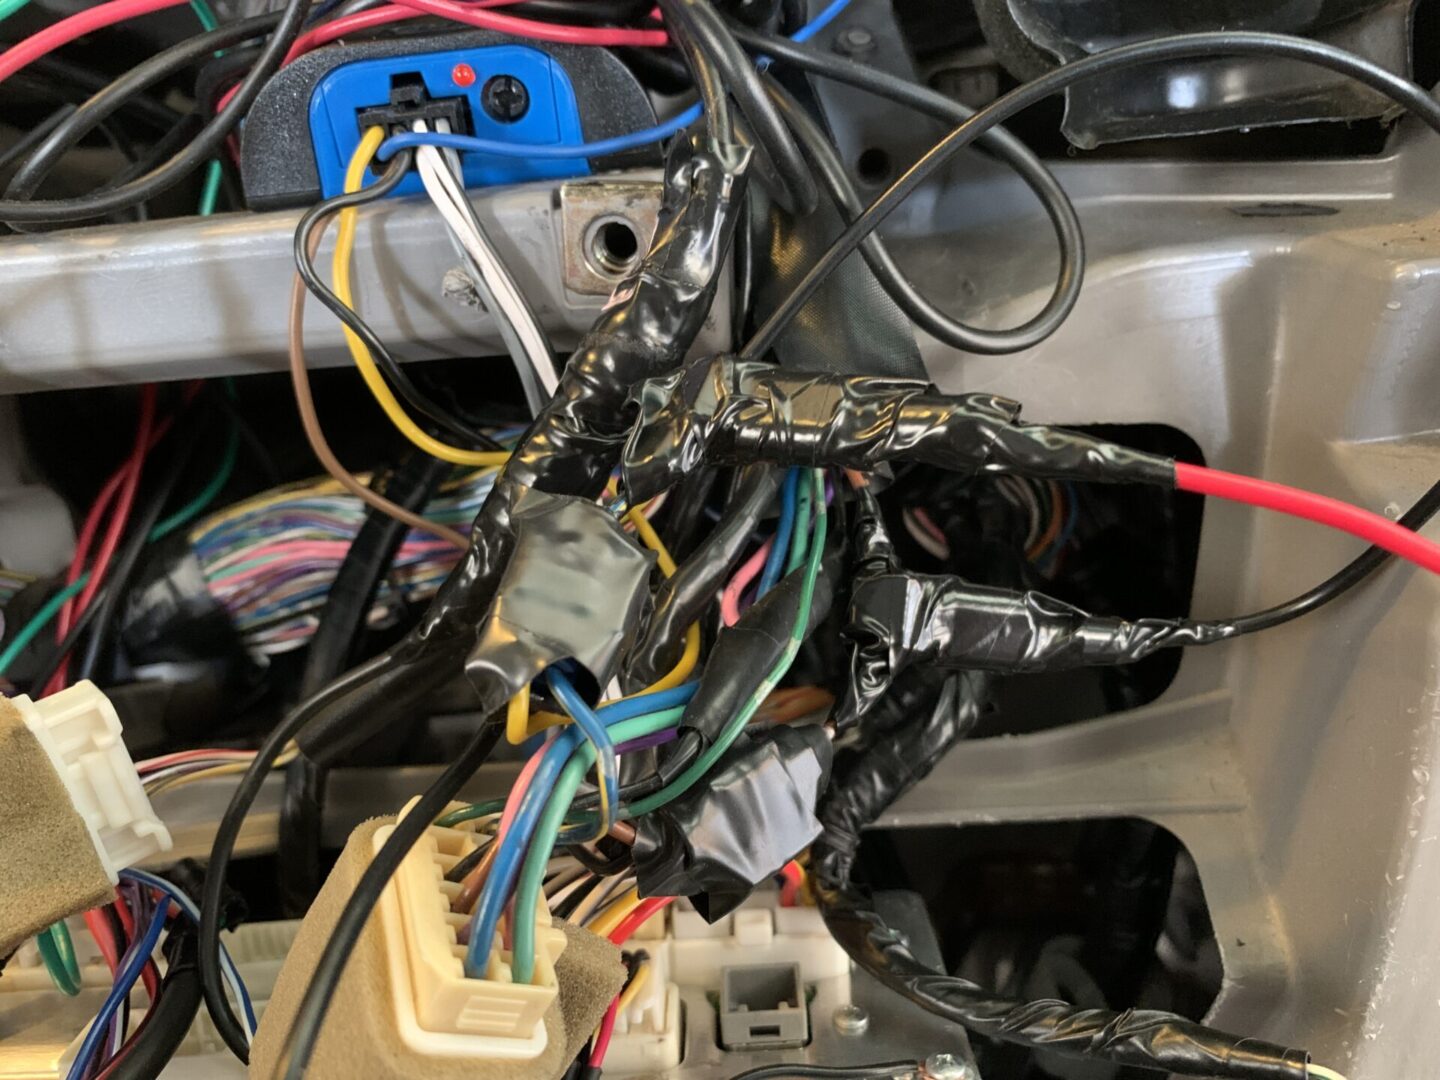
I then wrap these connections up with electrical tape to hold the connection together nice and secure. At this point, you should be able to plug in your Lamphus SoundAlert PA control unit via the white connector, and then test out all of its features. Since everything is electrically connected at this point, everything should work at this point (with key turned to ignition ON if you hooked up the power cable that way.) Once you can confirm everything is working as it should, you can start putting all of the trim and carpeting back into place.

Finally, I used a bit more split wire loom cutting it to length and protecting the exposed speaker wires that are located in the engine bay. It is then taped up with electrical tape to hold it in place.

And that concludes the install of the Lamphus SoundAlert PA system. With the PA system installed, I was able to resume the use of the warning/alert functions, as well as the use of the push-to-talk microphone for my personal vehicle when I use it for work. The unit is loud enough if you are at a standstill or if you’re driving at low speed, but it just doesn’t seem to have the power to alert other vehicles if you’re driving at a higher speed. However for my purposes for use at slow speeds and at a standstill, the Lamphus SoundAlert PA system does a decent job and was not too difficult to install.