When you make purchases through links on this site, The Track Ahead may earn an affiliate commission. Also, these posts are based off my own experiences. I am not responsible for any action you take as a result of reading this. Learn More
If you’ve ever had a headlight bulb go out on traditional halogen headlights, it’s usually as simple as changing out your bulb with a new one. With HID’s, you can have a HID bulb go out and may need to be replaced as well. However with HID headlights, there are several components that make up the HID headlight system which can fail and require replacement.
If your vehicle came from the factory with HID headlights and one of them went out, I’d almost always suspect the HID bulb needs replacing. However, if you’ve previously installed an aftermarket HID kit, you may want to check the other components of the HID system as well.
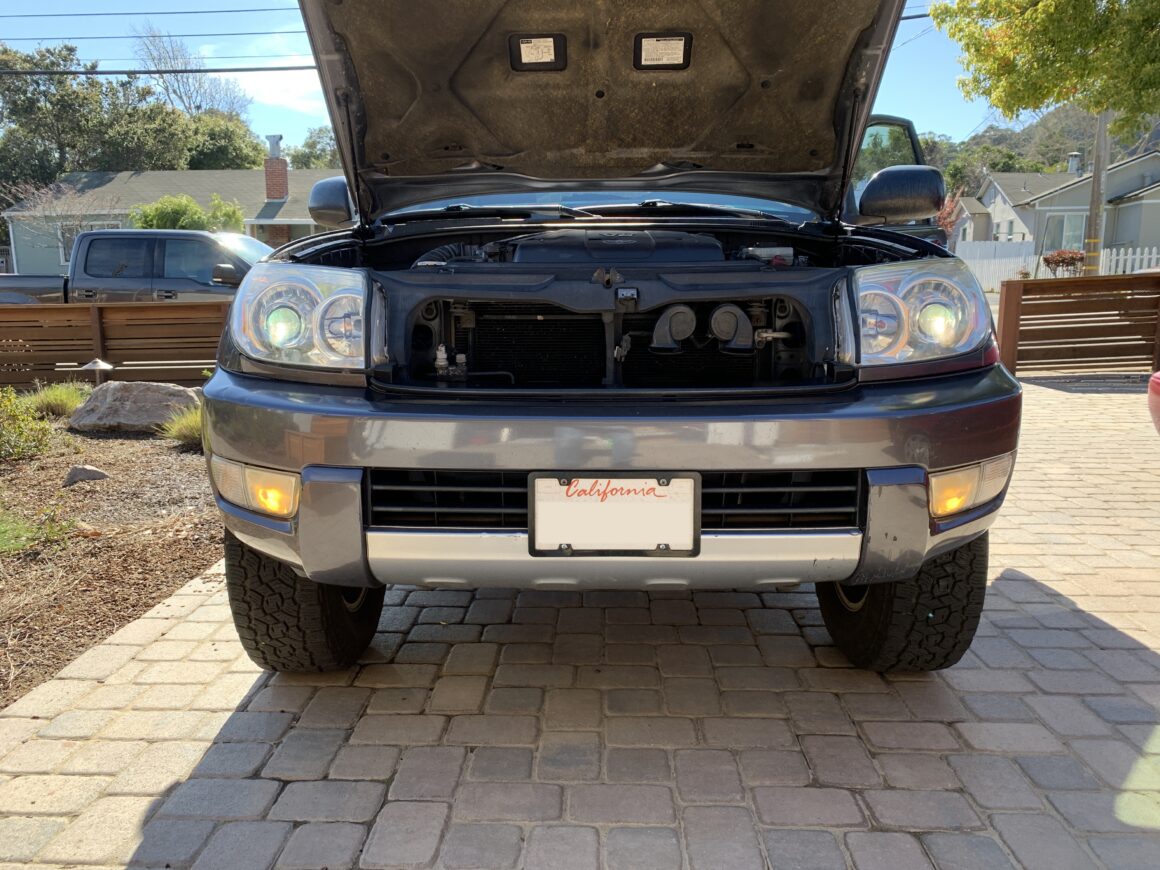
For this guide, I’ll be troubleshooting my own vehicle: a 2003 Toyota 4Runner that originally had halogen lights, but with an aftermarket ACME Universal HID Kit installed with a projector retrofit done to it. I will be running through the process of troubleshooting the various components of an aftermarket HID kit, which includes checking the headlight fuses, HID wiring harness, relays, ballasts, and bulbs. After troubleshooting the HID system, you should be able to successfully identify and fix the problem causing the HID headlight issue.
Tools & Materials Used
General Tool Set
You may need a variety of tools depending on your HID headlight system. I’ve used pliers for the fuse and bulb removal, and the other screwdrivers and sockets for the removal of various parts in the engine bay. This Craftsman set has a nice assortment of tools perfect for this type of work.
CRAFTSMAN Home Tool Kit / Mechanics Tools Kit, 102-Piece
Multimeter
If you plan to test voltage across various components of the HID system, you’ll need a multimeter. I used a multimeter to check if each component was outputting the proper voltage.
Multimeter Test Leads Set
Along with a multimeter, it is necessary to have a set of different leads and connectors so that you can attach to the various connections. This keeps your hands free from contact when turning on the HID’s for testing. This is a must for dealing with higher voltage components such as the ballasts.
Electrical Multimeter Test Leads Set
HID Parts
Once you determine which part(s) needs replacing, then you’ll have to find the replacement part(s) for your specific make and model. The HID kit that I am testing in this tutorial is an ACME Standard 35W HID Kit that uses amp-style wiring.
I also have another post where I detail more on these budget universal 35W HID lighting components and my experience working with and using them.
Process for Troubleshooting HID Headlights
When you start trying to troubleshoot why your HID headlights have stopped working, it’s important to note whether only one headlight stopped working or if both headlights stopped working at the same time. Since it is unlikely that both bulbs would have burned out at the exact same time, your troubleshooting approach may differ depending on what situation you have.
If only one HID bulb went out, then you’d be almost certain that that particular bulb has burnt out and needs to be replaced. If this is the case, simply proceed straight to taking that bulb out and inspecting it. Replace the HID bulb as required and it should fix your problem.
Now if both HID bulbs have gone out, you may have a different situation on-hand. Since it’s unlikely that both bulbs have burnt out at the same time, you may have an issue with something further upstream. The problem could lie with the fuses, relays, ballasts, wire harness, or the more unlikely case where both bulbs have burned out.
Finally, I’d like to add that if your HID headlight system is aftermarket, there is a higher chance of failure of the HID components other than your headlight bulbs. Factors such as the quality of the parts and the install can play a big role in the longevity of the HID system.
When you’re troubleshooting the HID system, you should be very cautious when working with HID’s. The bulbs themselves can create a significant amounts of heat and light, and the ballasts can output a very large voltage. Therefore, being careless while troubleshooting an HID system can potentially harm your or even kill you. With that said, take extra precautions to not contact the leads or connections during this process and be careful to not touch or mishandle the delicate HID bulbs. Also, check and double-check when the headlights are on so you know when the system is energized or not.
Here are the ways to troubleshoot your HID headlights depending on if one side is not working or if both sides are not working.
How to Troubleshoot HID Headlights if One Side is Not Working
Probably the safest and easiest way to troubleshoot your HID headlights if only one side is not working is to swap the driver and passenger side bulbs. If the problem follows the swapped part, then that is likely the culprit. The main parts of the HID system that can be checked this way are the bulbs, ballasts, and sometimes the relays. The rest of the HID system is usually shared and therefore is more likely the issue if both headlights go out at the same time.
Here’s an example of troubleshooting the HID bulbs if only one side is not working:
- Driver side light (bulb A) is not working, passenger side light (bulb B) is working
- Turn off headlights, swap the bulbs (driver side to passenger side and passenger side to driver side)
- Turn on headlights and check the lights again.
- Scenario 1: If passenger side is now not working (bulb A) and the driver side is now working (bulb B), then you know that it is indeed the original driver side bulb (bulb A) that is bad.
- Scenario 2: If passenger side is still working (bulb A) and the driver side is still not working (bulb B), then the problem is probably upstream with one of the other components on the driver’s side.
If you find yourself in Scenario 2, then you should try swapping the ballasts the same way to test if the ballast is the issue. Since each passenger and driver side each have their own ballast, you can swap and perform the same test to see if the problem lies with the ballast itself. And finally, if your vehicle has a dual-relay setup where each one powers each side’s ballasts and bulbs, you can try swapping the relays using the same test.
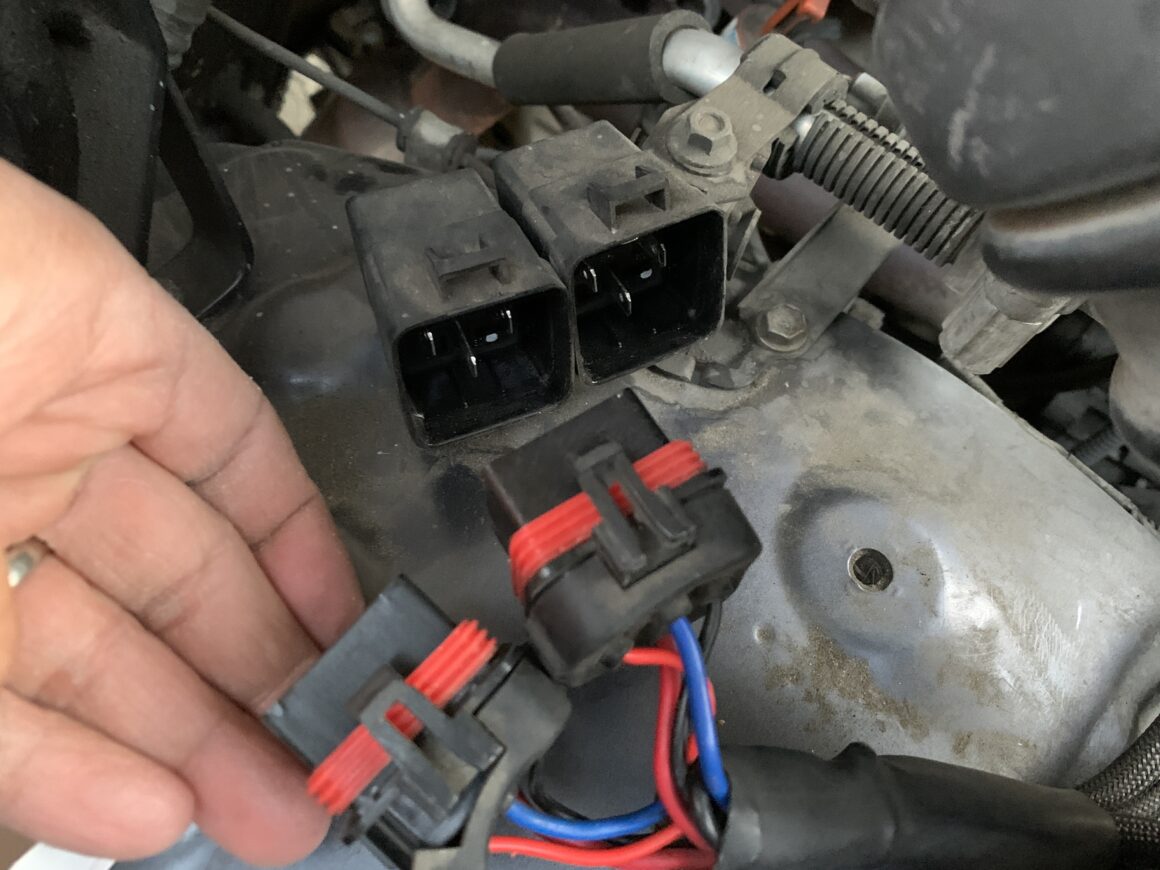
After all of these swapping tests, if the problem still stays on the same side of the vehicle, then you may start looking at the rest of the HID system with the rest of the troubleshooting steps shown below.
How to Troubleshoot HID Headlights if Both Sides are Not Working
With both headlights going out at the same time, it is unlikely that the individual driver side bulb/ballast and passenger side bulb/ballast have independently failed at the exact same time. Therefore, with both HID’s going out at the same time, you should be looking at components of the HID system which power both sides such as fuses, relays, and the wiring harness. You should also troubleshoot these components if you had one side that is not working and already have gone through the troubleshooting steps in the first part of this post.
Headlight Fuses
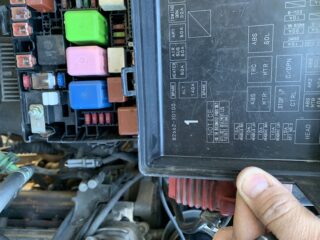
The easiest thing to check and replace is the headlight fuse. There should be a fuse that protects the entire HID lighting system; the location and size of this fuse can differ depending on your particular make and model vehicle. In my engine fuse box located under the hood, I have four fuses; each powering left and right sides’ low and high beams.
If the fuse is bad, you will see a broken link within the fuse (see second photo below). Simply replace the fuse with the same-sized fuse. Make sure you replace with the same type of fuse as well; there are some types that are most common. After replacing the fuse, check your headlights to see if they work. If not, continue on with troubleshooting.
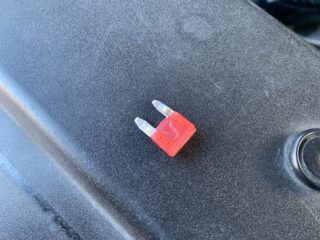
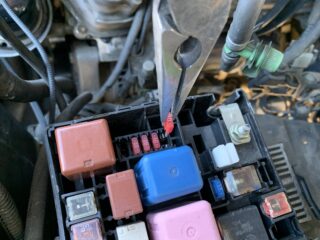
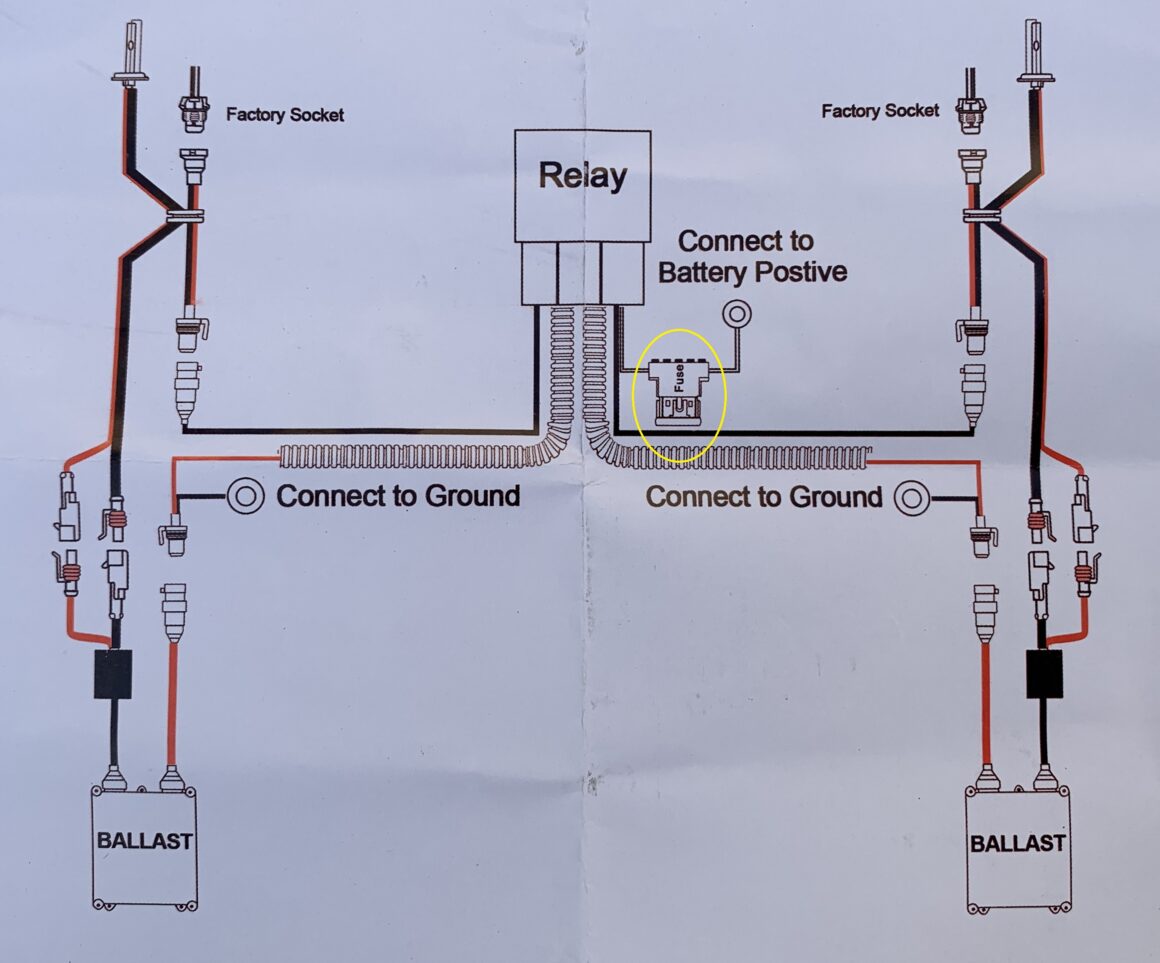
There should also be a fuse that is inline with the wiring between the relay and the positive terminal of the battery. Inspect this fuse as it is another quick-and-easy fuse check that could potentially be the cause of both headlights not working. Replace this fuse if it is blown, otherwise if it is still good, continue on.
Relays
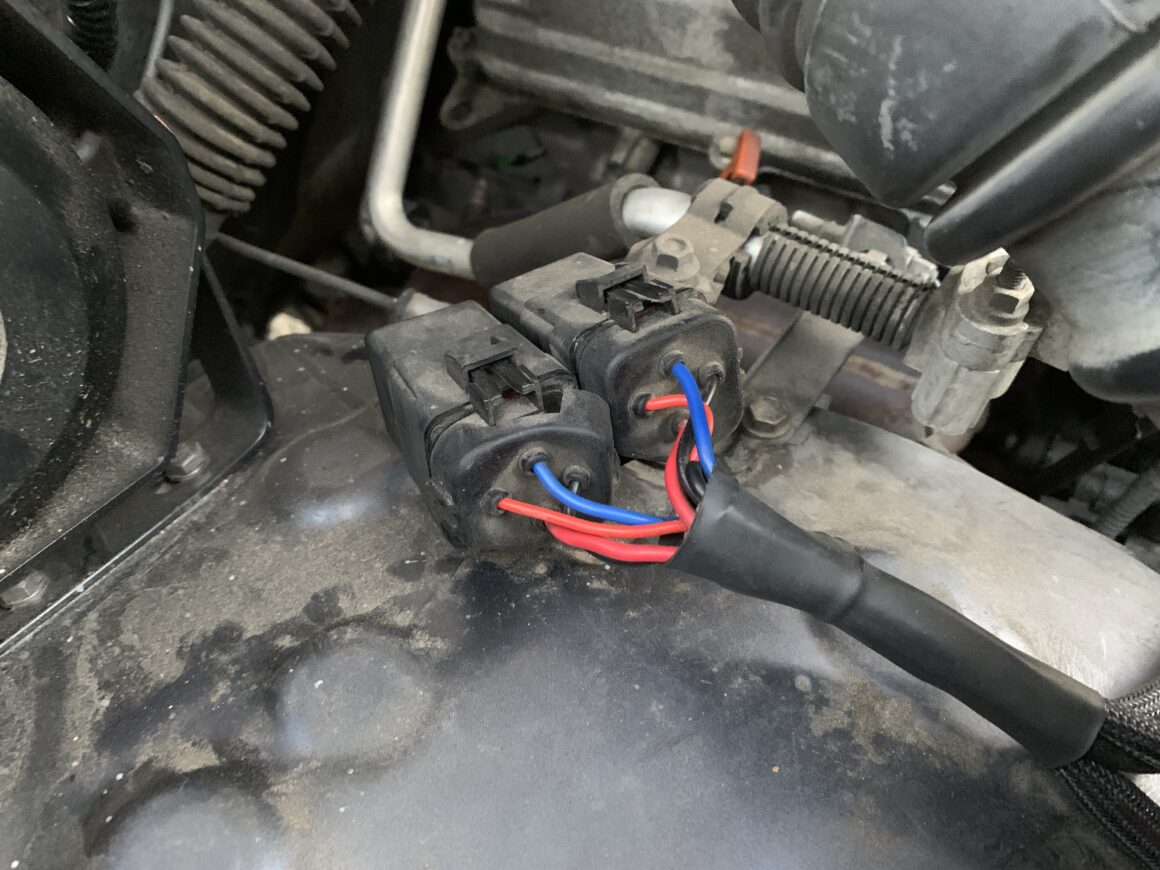
The next thing to check are the relays as sometimes these things can have issues with a loose connection, corrosion, or other problem. Some HID systems will have a single relay powering both ballasts and bulbs, and some have dual relays with each powering each side’s ballast and bulb. Whether you have a single or dual-relay setup, see if there is any issue with the connections here. If there’s a problem with a loose connection, secure it. If there is a corrosion issue, you can try cleaning the corroded area with baking soda and water, otherwise if that doesn’t work, replace it.
Wiring Harness
The last part of the HID system before it connects to the input signal from the vehicle is the wiring harness that ties in the HID lighting system all together. The harness runs between the vehicle’s input wiring and the relay(s). It also ties into the power at the battery and may possibly be grounded here as well. Check all of these connections to make sure they are secure and that nothing has been compromised. Look along the length of the wires to see if anything has gotten snagged or damaged in any way. Replace the wiring harness if you find any issues.
Final Check of HID Ballasts and Bulbs
If you’ve checked the fuses, relay(s), and wiring harness, and still haven’t found any issues, then you may arrive at the conclusion that either both ballasts or both bulbs coincidentally have gone out at the same time. You may want to turn on the headlights and listen to the ballasts on each side to hear if there are any irregularities that deviate from normal operation. You can also take the HID bulbs out to inspect them as well.
Checking the condition of an HID bulb is not as straight-forward as checking a halogen bulb where you can simply look for a broken piece of filament in the bulb. With an HID bulb, you might be able to see burnt or melted damage to the bulb, which can be an indicator that it has burnt out. However, it is difficult to tell whether there is damage or not. Remove the HID bulb for inspection. Below, my bulb is held in with a wire clip as shown in the photos.
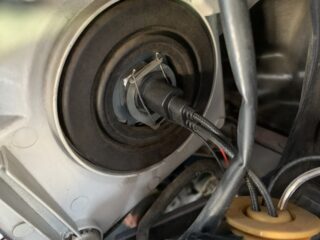
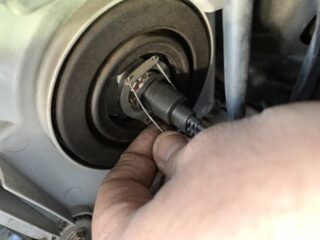
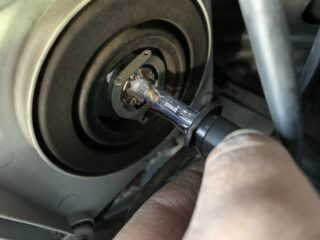
Take a close look at the HID bulbs and see if there is any significant damage. As I mentioned earlier, it’s not always easy to tell if something has gone wrong with an HID bulb. Even a brown or milky-colored bulb is not an indicator that the HID bulbs are bad.
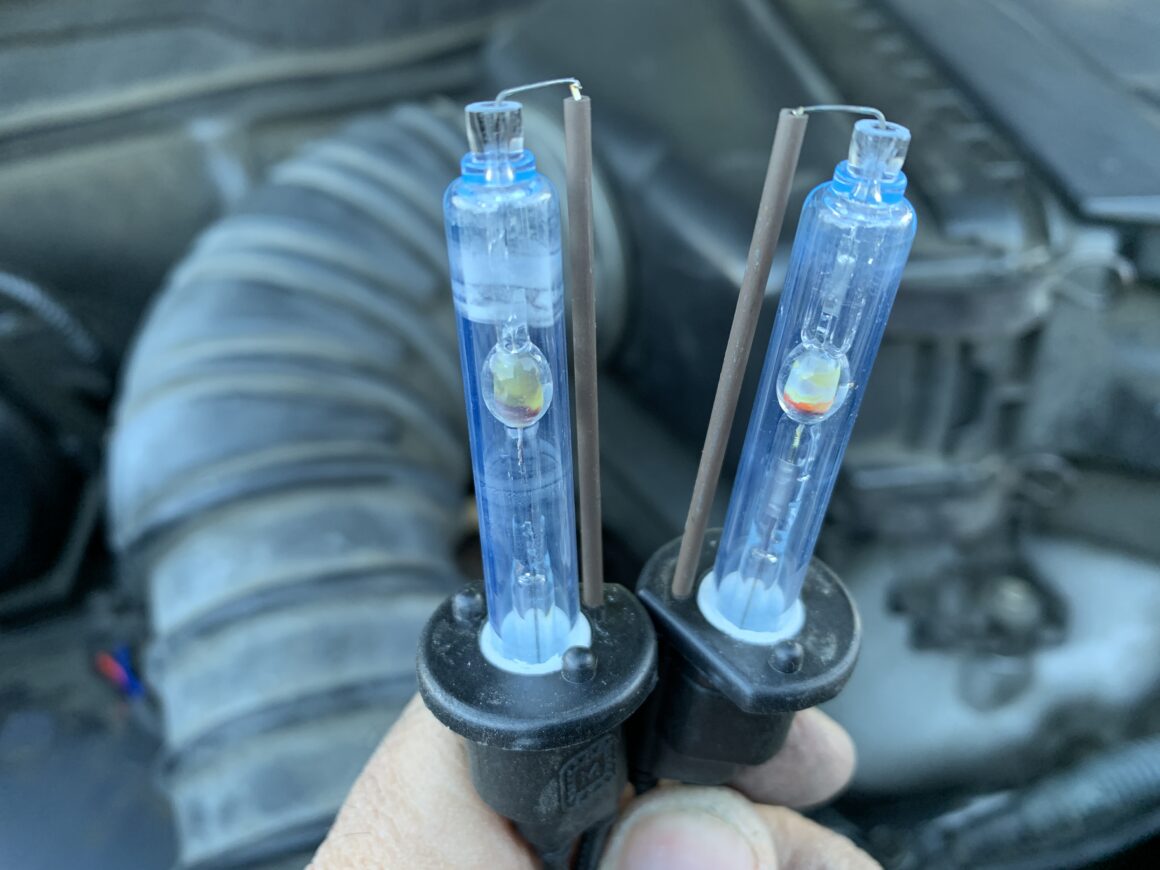
Doing all of the swapping and checking of parts up to this point will handle a majority of the HID issues where either one side or both sides have stopped working. If for some reason you still cannot identify why one side or both sides are not working, then the next step would be to do some voltage testing.
Checking Voltage throughout HID System
If you are still having trouble finding out why your HID lights are not working, you can try checking the voltage throughout the system to see where the problem might be. I leave this voltage testing part last because of the dangers that come with working with HID lighting. Since you will need a multimeter to connect to different parts of the wiring and connections, there is a risk of contacting leads (especially with the ballasts which bumps up the voltage up significantly). Be very careful and take proper precautions when working with the high voltage if you decide to proceed with this route.
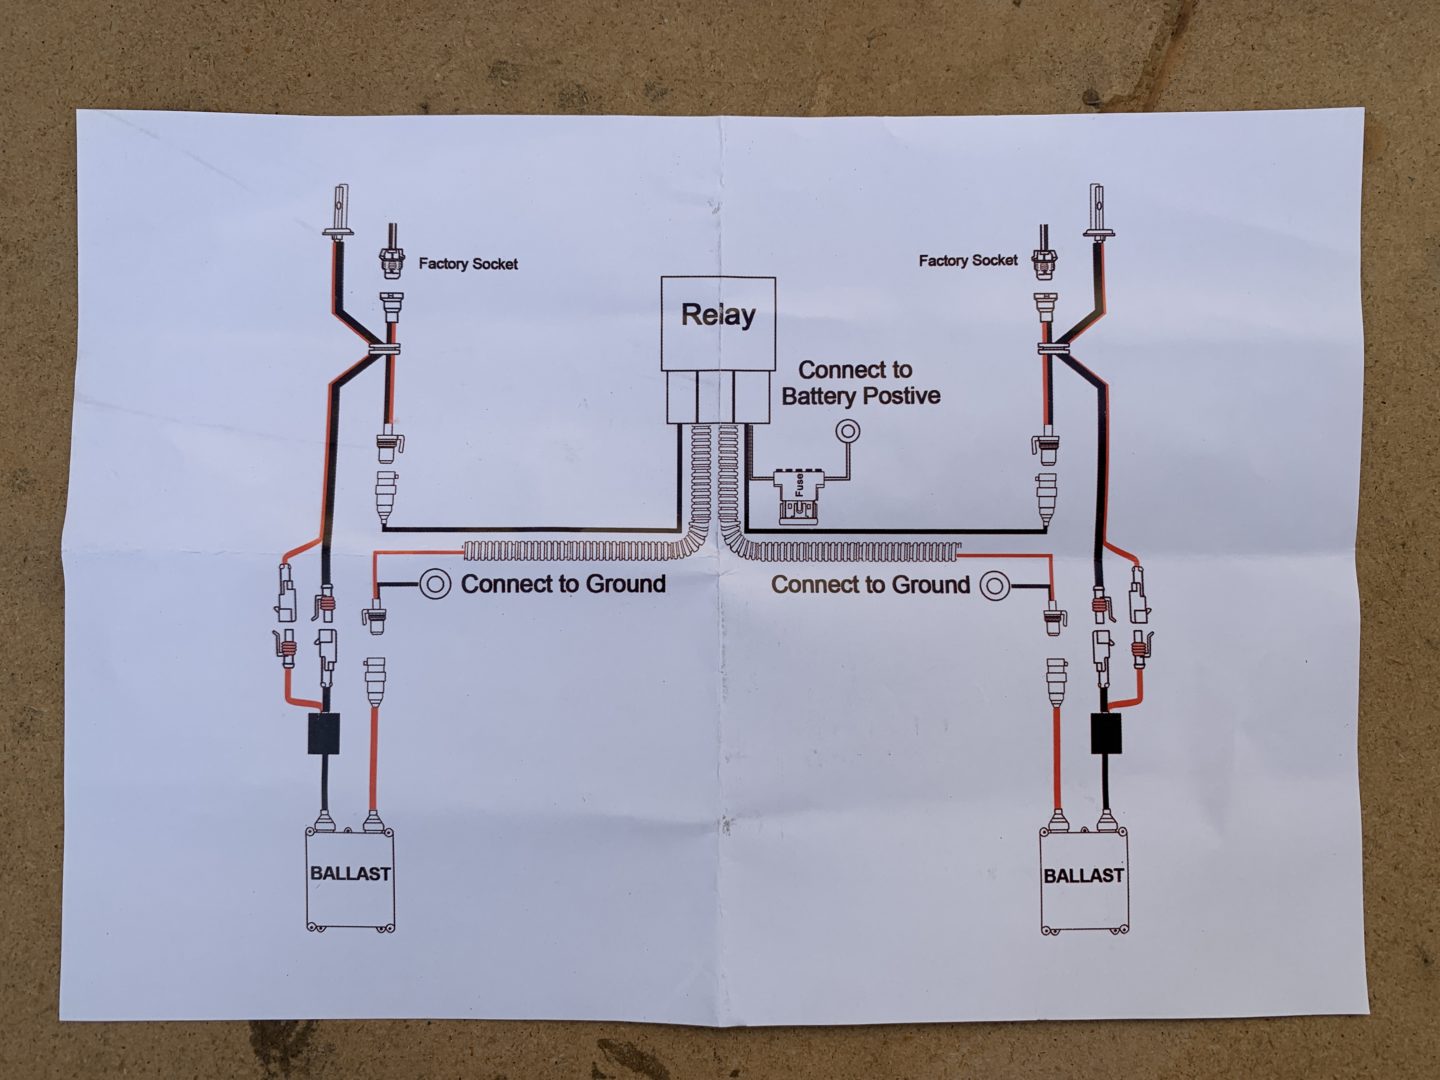
I’m using a multimeter on each part of the HID system, to narrow down the problem area. Here is a general diagram of the components of an HID kit that uses a single relay and bulbs with amp wires. Some setups will look slightly different, but the general outline should be the same. The goal is to check the voltage starting at the input signal from the vehicle, and move further down the line, component-by-component to identify the issue.
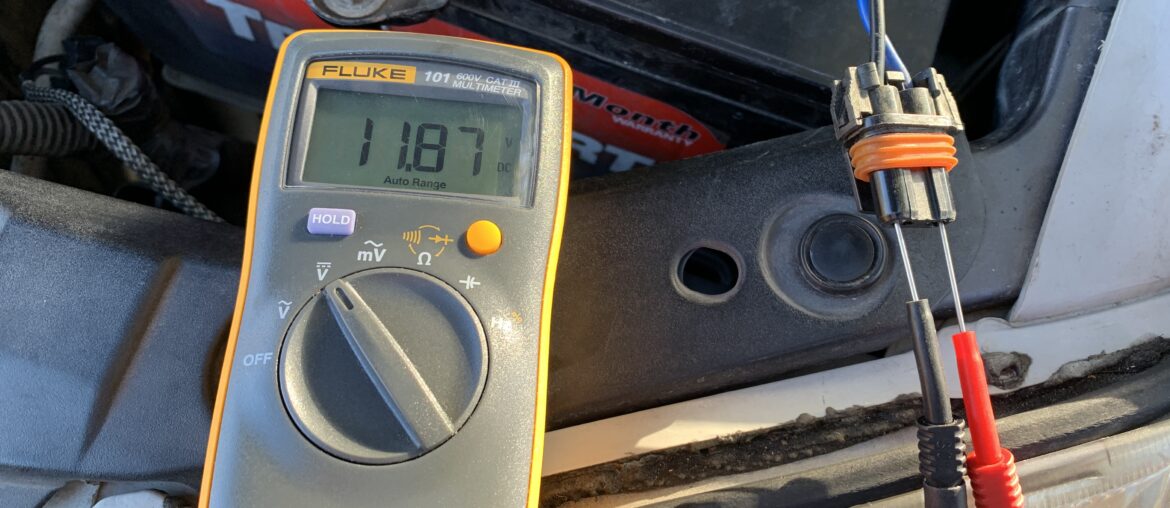
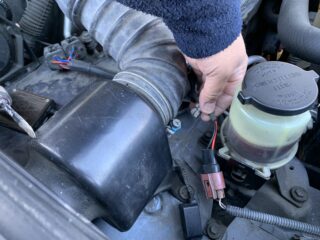
My HID lighting system gets its input from the headlight signal, which is the wire below with the brown connector. Using a multimeter, I set it to read DC voltage and check the input wiring. It should read 0 volts without the headlights switched on, and read about 12 volts when you switch the headlights on. If the voltage is still 0 when you switch the headlights on, then the issue is not with the HID lighting system, but further upstream on the vehicle side. If you’re getting the proper voltage, switch off the headlights and continue.
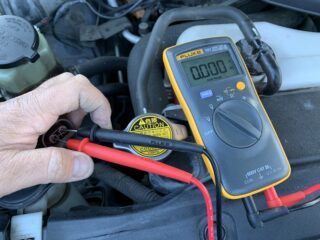
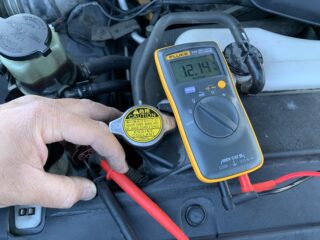
Moving on, I turn off the headlights, plug the wiring harness with the relays in (along with the proper connections to the battery. Then I turn on the headlights and check voltage. I’m still getting 12 volts, therefore the wiring harness and relays are good. If you don’t get 12 volts now, but got 12 volts at the input earlier, then the problem may be the relays/harness. If you’re getting proper signal, turn off the headlights and continue.
Another way to see if your harness/relay(s) is indeed the issue is to bypass the harness by connecting some leads between the positive and negative battery to the leads of the input of the ballasts. If the HID’s power up and work fine, then your relay(s)/harness may need to be replaced.
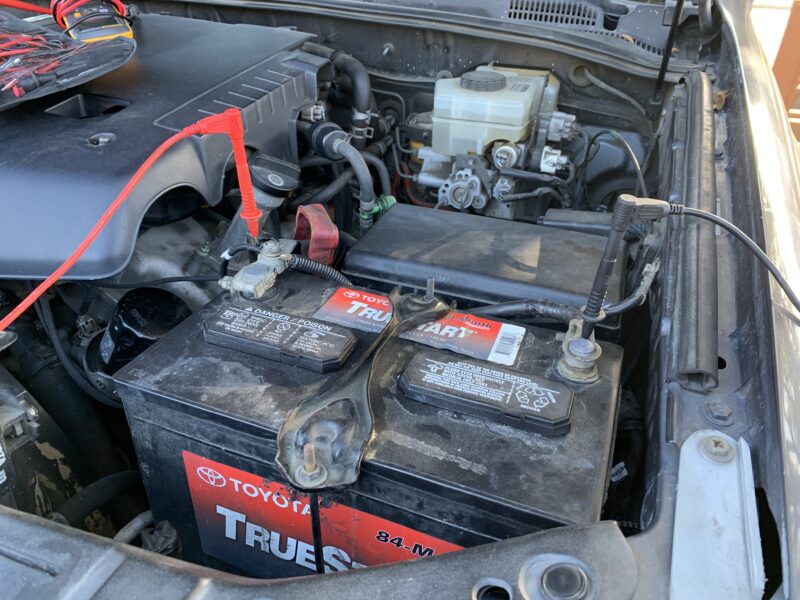
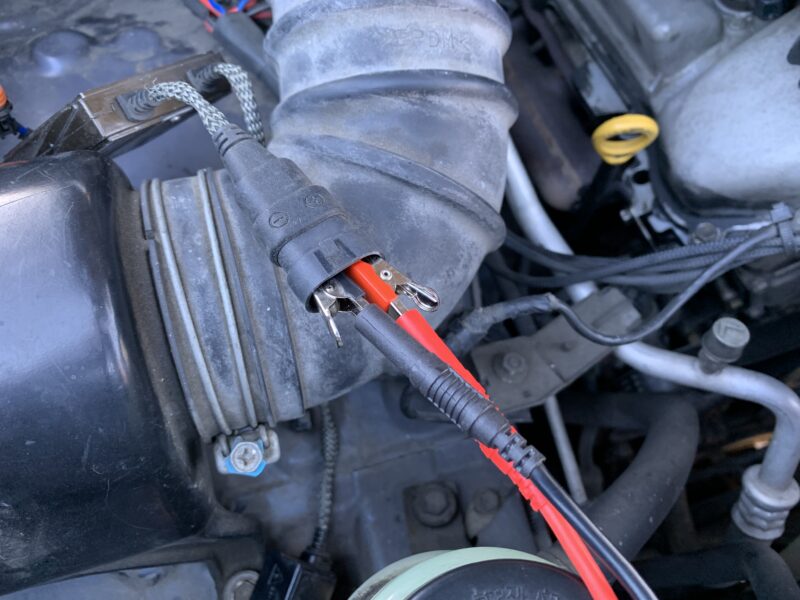
If the harness/relay(s) test good however, continue on with the troubleshooting process.
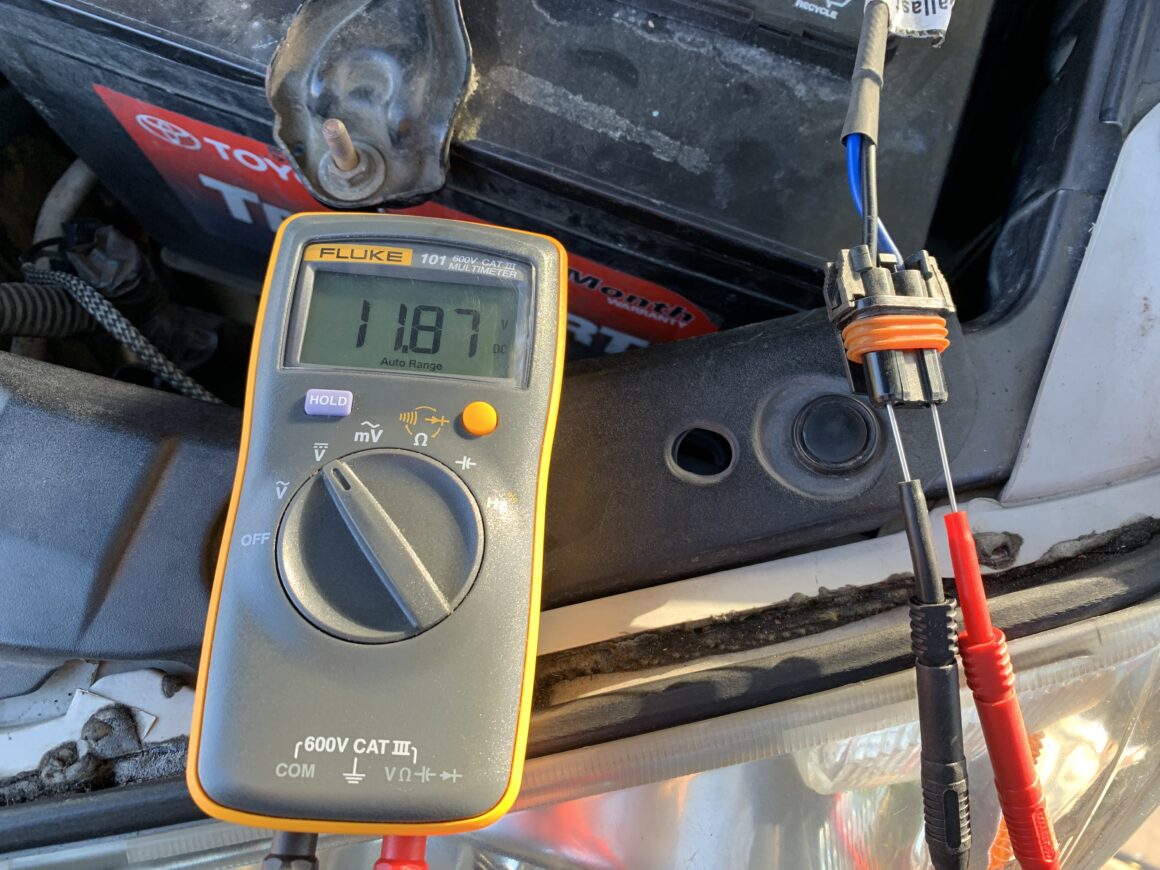
This is where things start getting riskier as we are now getting to the HID ballasts. I’m extremely careful when testing at this point and on. Plug in the ballasts, and then check the voltage. It should be 0 volts since the headlights are not on. I’m using multimeter connections that will stay connected to the ballast output leads, so that I don’t have to touch anything after I turn the headlights on.
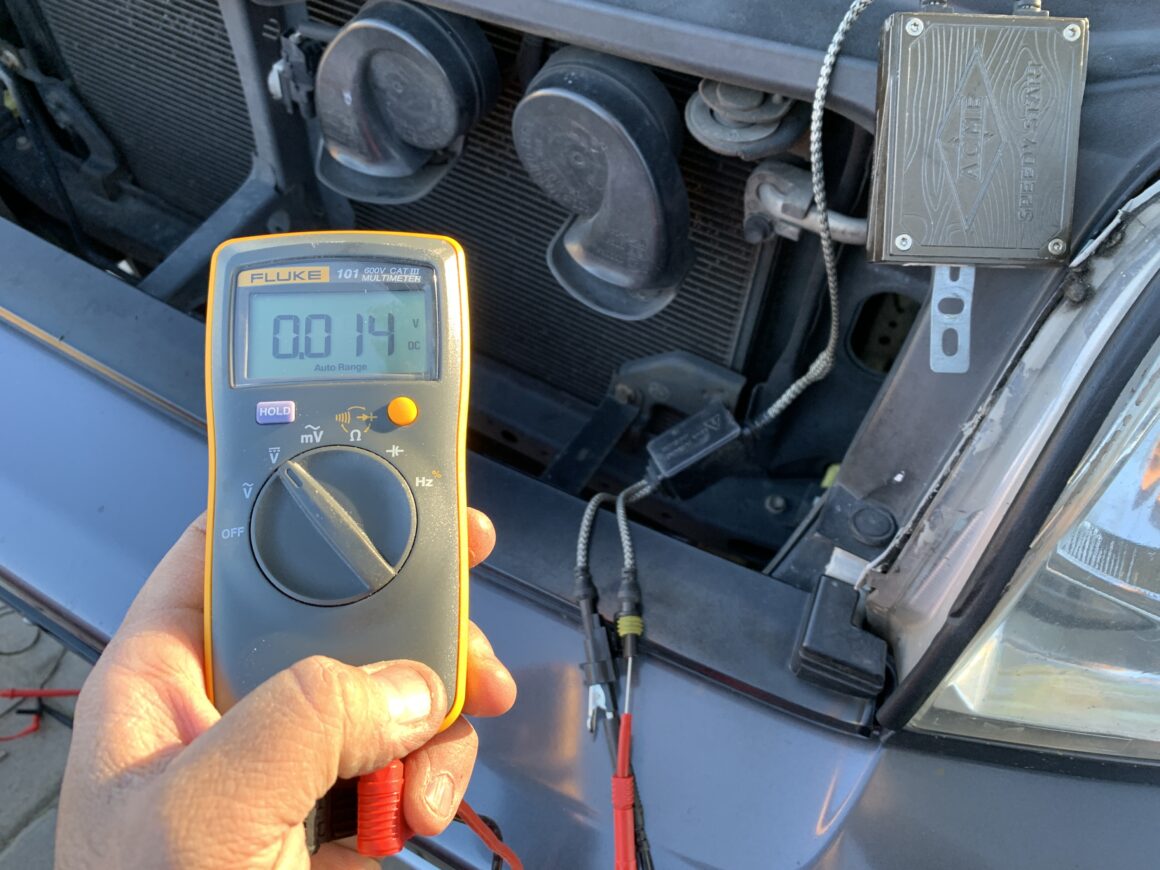
Turn on the headlights and check voltage. I’m getting 270+ volts on both ballasts, so there is a huge step-up in voltage. I have the same reading on both driver and passenger side ballasts. If you are not getting a huge step-up in voltage or are getting no voltage, this may indicate a bad ballast. If things are testing good, continue on. Turn off the headlights.
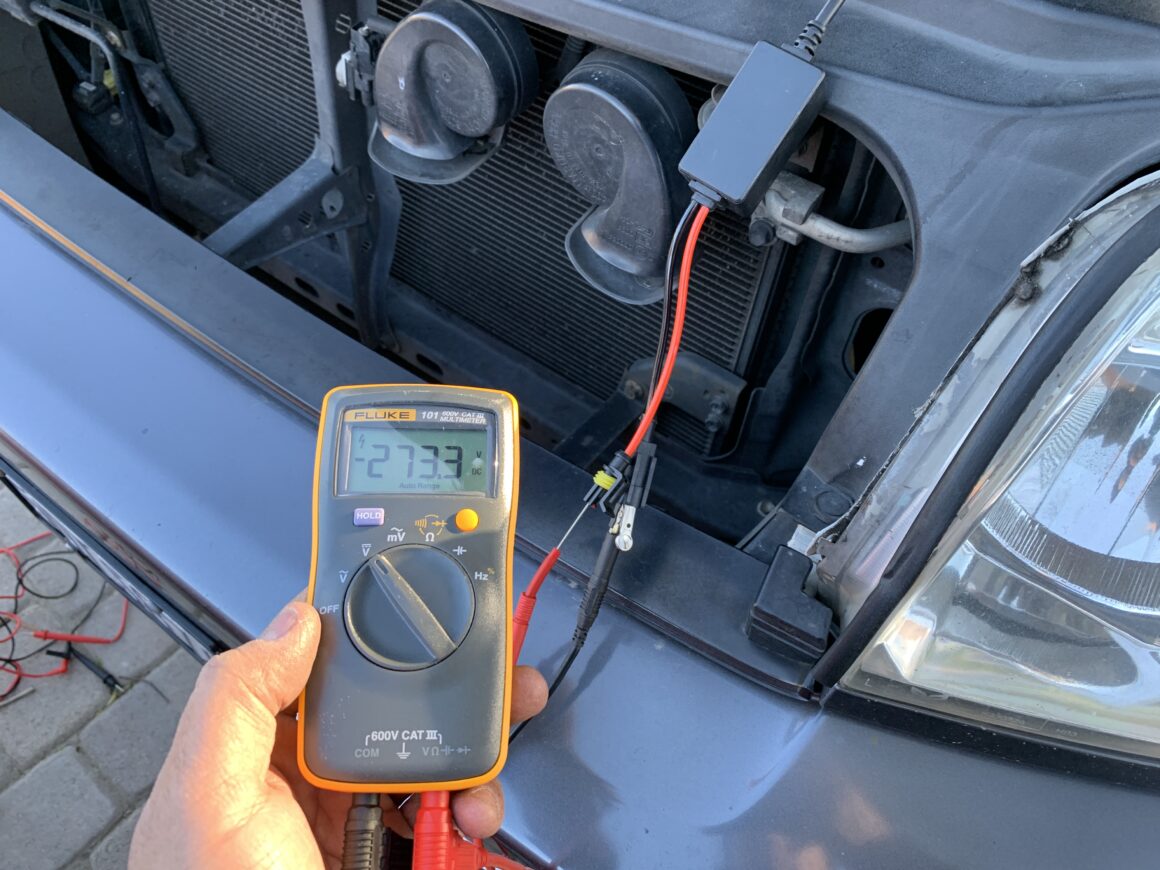
If you get to this point, and you’re getting the proper output voltage from the ballast, then you’re left with only one component which is the bulb. I’d suggest replacing the HID bulb out at this point. Since you’re getting the proper voltage right before the HID bulb, it is plausible that it is just the bulb that need replacing.
With all of these troubleshooting steps, you should be able to identify the problem area of your HID system. I hope this troubleshooting guide has helped you pinpoint the failed component(s) of your HID system so that you can get your HID headlights working again.
