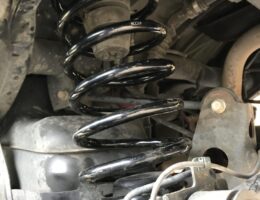
There are a variety of reasons for needing to change out rear coils on any car, but there are typically two main reasons for changing them out on the 4Runner. One is to simply replace damaged or worn coils for factory stock coils. The other is to lift the vehicle to a higher ride height. Changing out the rear coils is very easy to do and doesn’t require much time nor tools.
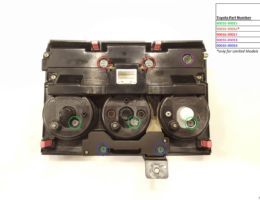
Pretty much every 4th generation Toyota 4Runner owner will find themselves with climate control bulbs that go out. I’ve provided some diagrams together showing what part numbers would be needed depending on whether you have the SR5/Sport or Limited model, as well as what bulbs power what on the center dash. You may choose to replace the bulbs whole (bulb with bulb holder) or you might want to save some money by wiring up bulbs to the existing bulb holders. I’ve shown both methods below as well as the products you’ll need whichever way you choose to proceed with.
If you’ve owned your vehicle for long enough, interior bulbs going out won’t be an uncommon occurrence for you. On my 4th generation Toyota 4Runner, I’ve had my fair share of interior bulbs burn out, but recently half of the climate control LCD screen went out. This is the screen that displays the trip computer, clock, outside temperature, and climate control information. The fix is extremely easy and doesn’t require many tools to replace. Just make sure to order the right part and you can switch the bulb(s) out in less than 5 minutes.
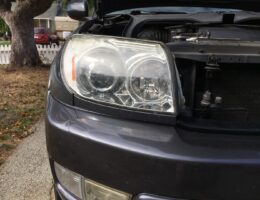
This HID projector retrofit write-up pertains to the ’03-05 model years of the stock 4th generation Toyota 4Runner. These stock halogen headlights work adequately for lighting up the front of the vehicle, but there is much more left to be desired. This is Part 2, which covers the installation of the wiring harness, ballasts, and HID bulbs, as well as the final calibration of the whole setup.
This HID projector retrofit write-up pertains to the ’03-05 model years of the stock 4th generation Toyota 4Runner. These stock halogen headlights work adequately for lighting up the front of the vehicle, but there is much more left to be desired. This is Part 1 which covers the disassembly of the headlights, installation of the projector, and re-assembly of the headlights.
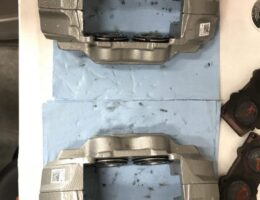
The 4th generation Toyota 4Runner OEM brake calipers are notorious for becoming seized over time. This can lead to symptoms as minor as uneven brake pressure while depressing the brake pedal, to something more extreme such as the brake caliper completely seizing up. I’ve outlined the process for replacing the brake calipers on my 2003 Toyota 4Runner.
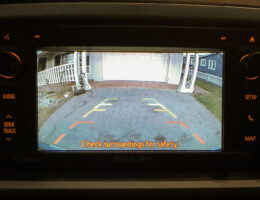
I finally decided to take a step up from the previous Ebay backup cameras I’ve used, to a better camera and a more refined display system. The Rydeen backup camera and Scion T10015 head unit pairs up nicely. The install was a bit complicated at times, but the seamless operation of the backup camera function makes it all worth it.
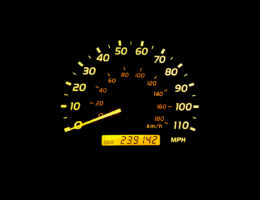
I purchased my 2003 Toyota 4Runner on 6/29/2013 for $10,000 with 139k miles on the clock. 5-1/2 years later, I’m happy to still be trekking on with the same car with 240k miles on the clock.
Over the many years of owning my 2003 Toyota 4Runner, I’ve gone through my fair share of windshield wipers. I’ve tried various aftermarket ones made by Bosch, Anco, and Rain-X. Even the OEM wiper blade inserts never worked out for me. Finally, I found the perfect wiper blade replacement for my 4th generation 4Runner!

