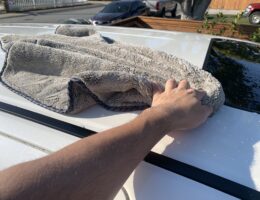
When we wash our cars, there are some things to adhere to, to ensure you effectively wash it. There’s also the aspect of washing to ensure that you minimize the amount of scratching that occurs while you’re doing so. Finally, after you’ve washed your car, you’ll need to dry your car. There are a number of ways to dry your car, but I’ll tell you what I think is the best way to do so.
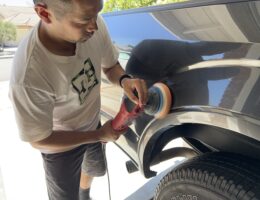
Cars will inevitably endure all kinds of scratches over time. Sometimes they can be major scratches that require touch up or re-painting, but most of the time what you’ll find are minor scratches. You can remove minor scratches pretty easily with a machine polisher and a compound of some sort. You can even get away with using a polish instead of a compound if the scratches are very minor.
You’ve just picked up your brand new car and you want to figure out how to protect your brand new vehicle. I’ll go and say it out right away, don’t opt for any of the services that the dealership offers you in terms of car care or paint protection. These services are highly overpriced, and in my opinion, you can do better. If you want to hire someone, you have many businesses who will do the work for less and of higher quality.
If you want to do the work yourself, it’s a much more rewarding experience to perform the work all on your own. You’ll probably spend more time and care since you’ll be working on your own vehicle. It’s not terribly difficult to care for your own car, but there are certain steps you need to take to ensure that you prep and detail your car properly.
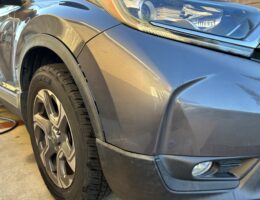
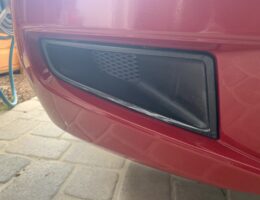
Bumpers tend to get the brunt of minor bumps and fender benders to vehicles. As a result, the bumper can get dented, broken, cracked, or scratched. Out of all these types of damage, the easiest to remove is a light scratch. I would also add that sometimes these “scratches” might actually be paint transfer, where paint has rubbed off of another vehicle onto yours. Paint transfer and light scratches are both easily removable with a machine polisher and compound/polish. If the paint from your bumper comes off, then you will need to resort to either a bumper respray or touch-up paint.
When you apply compound or polish on your car, you might take the extra step of taping off the trim to prevent the compound/polish from getting stuck on your trim. To prevent this, taping off the trim can be an option, albeit it can be a time-consuming step. It’s also not totally necessary to tape off the car prior to polishing your car; you just have to know how to remove the polish if it does get on the trim of your car.
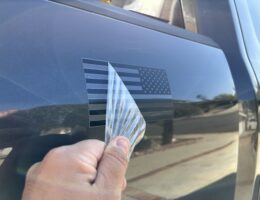
If you’ve ever wondered whether or not you can apply a decal on your car when it already has a ceramic coating, the answer is yes but it may not last very long. Of course, you can physically stick a decal right over a ceramic coated car and it will stick on the ceramic coated paint, but because the ceramic coating is intended to be a barrier that repels water and other contaminants with its slick surface, it may be difficult for a decal to adhere properly and stay on for very long. To properly apply a decal on a ceramic coating, you’d need to remove the ceramic coating in the area, apply the decal, and then reapply the coating.
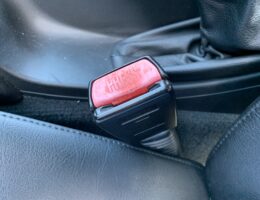
Car detailing is sometimes really all about the details. These small details when looking at them individually may seem inconsequential, but taking a step back it can make a dramatic difference. Take the typical seat belt buckle with the little red button on it. These little plastic buttons look great when they’re new, but over many years, the plastic oxidizes and eventually the red color fades. Then, you’re left with a faded red seat belt button that is commonly found on older vehicles.
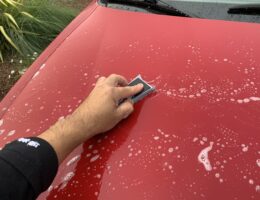
On this guide, I’m focusing on removing heavy orange peel and the techniques used to do this. Typically the process involves sanding or wet-sanding the vehicle from lower to higher grit, then following up with an aggressive compound to buff/polish the small scratches out. I will be demonstrating both dry and wet-sanding techniques, as well as following up with a Meguiar’s compound, microfiber cutting pad, and a long throw polisher to finish it off.
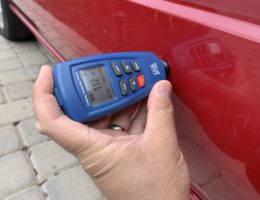
Instead of spending hundreds to thousands of dollars on an ultrasonic paint thickness gauge, we can instead use an affordable magnetic/Eddy-current gauge as long as we have an understanding what the typical layers on a modern day car are, what the thickness of these layers are. By knowing the typical thickness of each layer that encompasses a “paint job”, we can have a general idea of how much clear coat we have before we wear down to the paint, primer, or even substrate.

