If you’ve been following The Track Ahead, you’ll know that I recently picked up a 2002 Audi TT (MK1) as a project car. Normally, I start my restorations with the maintenance items when I first get the vehicle, however on this particular car I have a couple of major issues that need to be addressed first. First and foremost, when I start the car, it sounds like a jet engine is starting up. As soon as the car starts, you hear an ear-numbing whistle coming from the engine bay.
It goes on like this for about 1-2 minutes, and then goes away. The next time I start the car up again, it starts whistling again. It is so loud and obnoxious that I worry my neighbors will complain every time I start the car. The culprit for this loud shrieking noise that sounds like a jet engine is the secondary air pump (a.k.a. the secondary air injection pump).
If you also have the check engine light on with the P1432 Diagnostic Trouble Code on your Mark I TT, replacing the secondary air pump will likely resolve this issue. The P1432 DTC code means: ‘Secondary Air Injection Solenoid Valve: Open Circuit’.
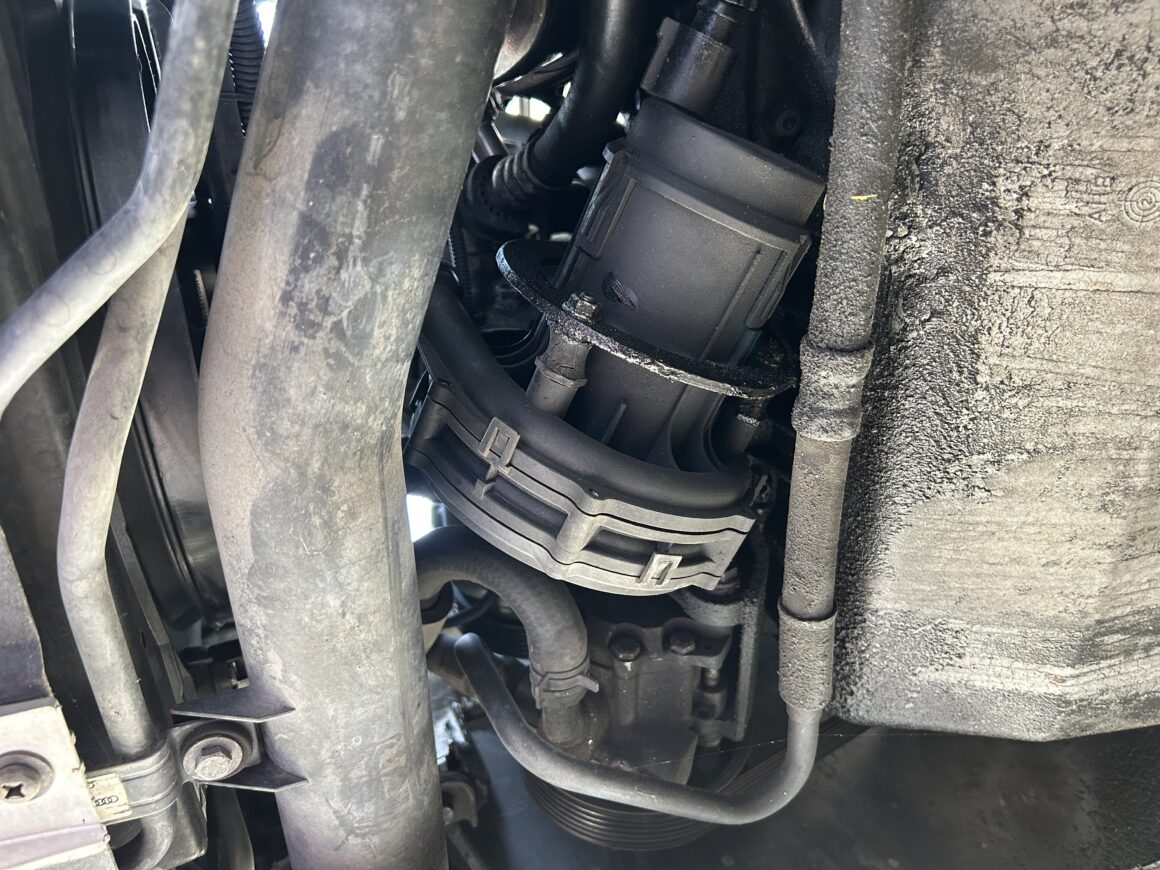
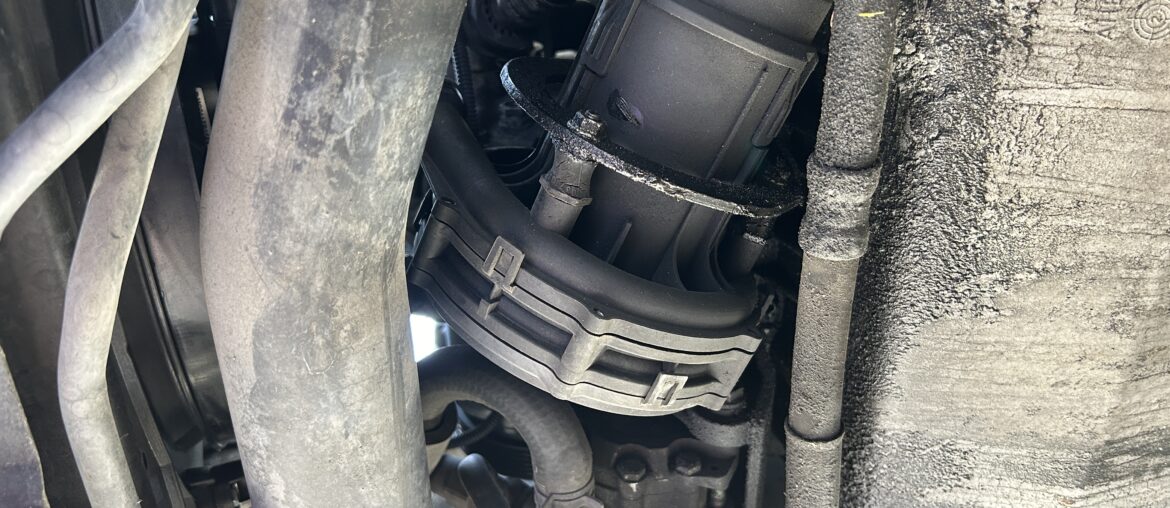
The secondary air pump is located at the bottom of the engine bay right in front of the engine. If you look underneath your vehicle, you’ll see the secondary air pump at the front between the engine and the grille/fan. Sometimes the failure is due to an air leak on the casing of the unit, but other times there is no sign of damage externally as there may be a failure internally.
It’s necessary to look at a parts diagram for the secondary air pump (#1 below) because the mounting ring (#2 below) that is used to secure the air pump to the engine frame has mounting bolts that are extremely difficult to get to.
There are also three threaded dampers that secure the air pump to the mounting ring, and three more bolts that secure the mounting ring to the engine. There are also a couple of rigid plastic air hoses that attach to the ports on the air pump, as well as an electrical connector that plugs into it.
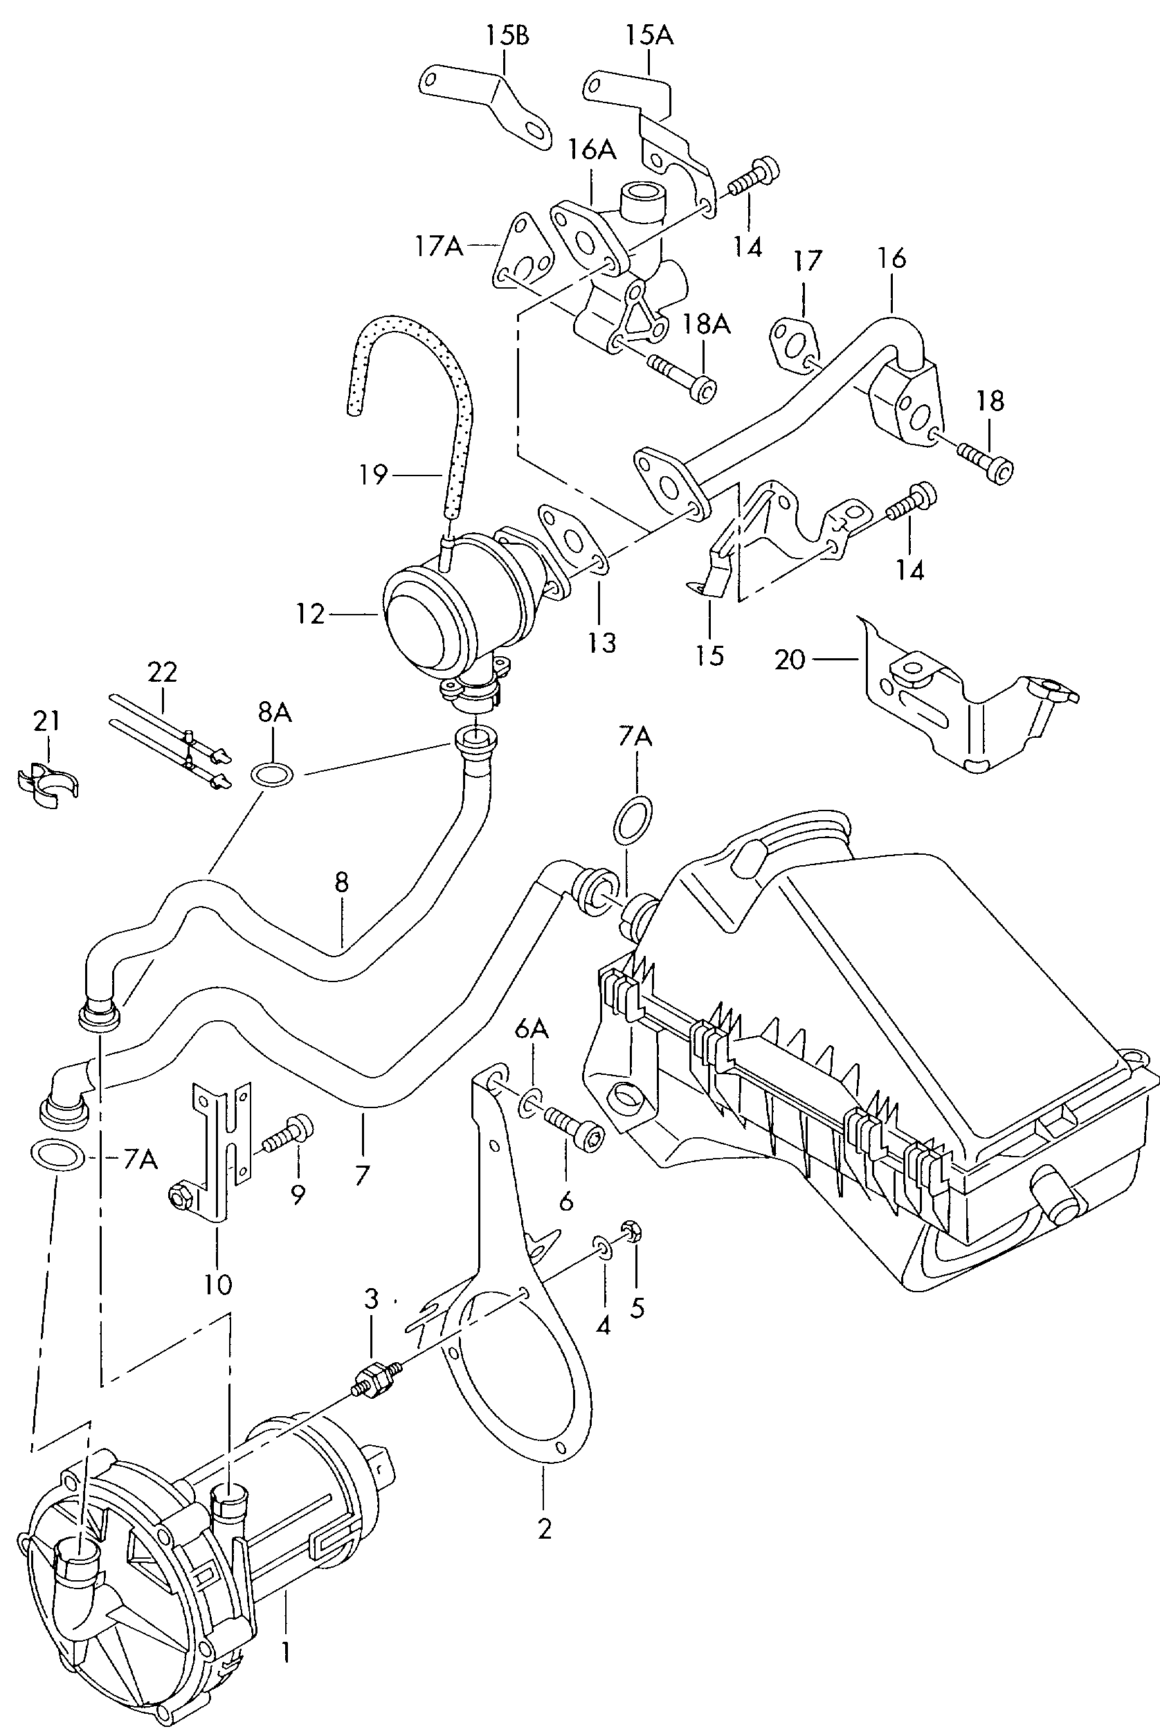
This job shouldn’t be difficult to do, but because of the limited room for access for your hands and tools, it is a really hard job to do. Essentially what you are doing is removing the secondary air pump (#1 above) from the mounting ring in order to replace it. But there is no room to simply remove the threaded dampers (#3) and pull the secondary air pump out directly.
You need to loosen/remove the two mounting bolts at the middle of the mounting ring (bolts not shown on diagram above), and loosen the top mounting bolt (#6) in order for the mounting ring to swivel out of the way and give you enough room to pull the secondary air pump (#1) out.
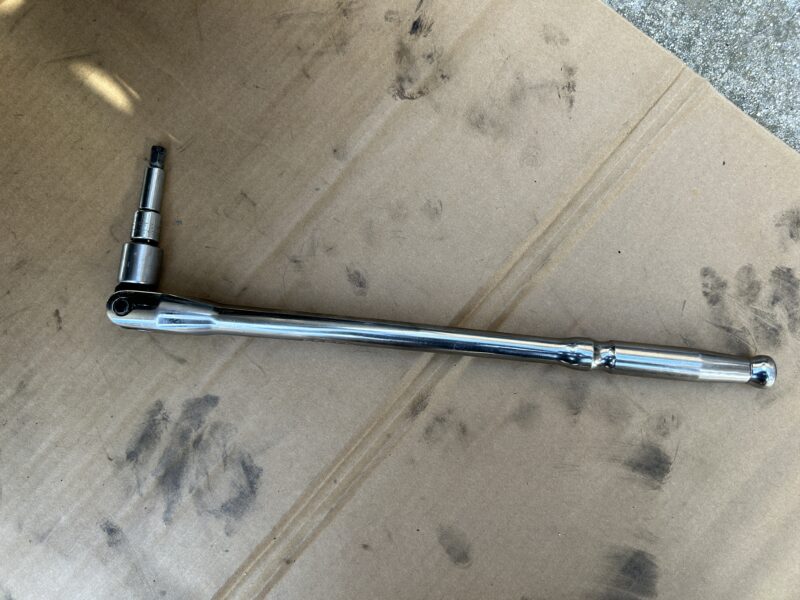
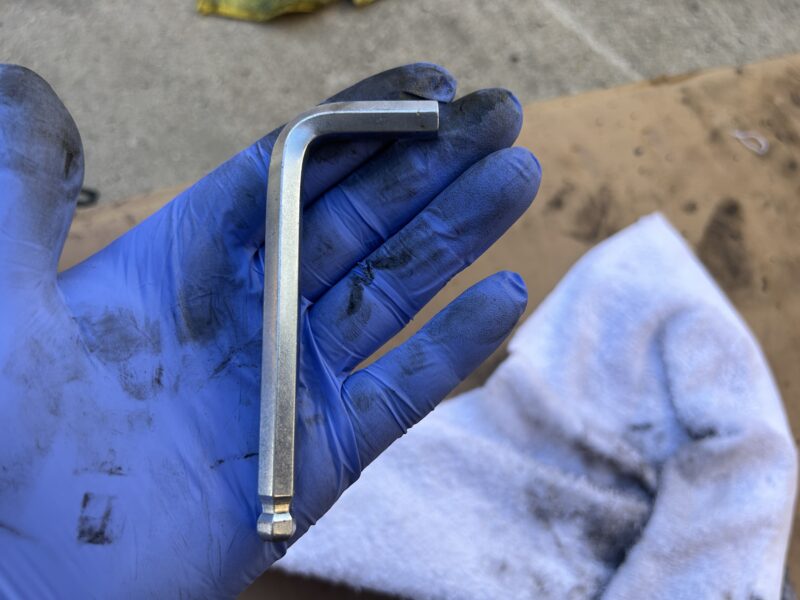
In addition for the secondary air pump itself, you will also need a ratchet, breaker bar, and a large variety of sockets, swivel sockets, extensions, and Allen (hex) wrench attachments. I also used this hex key with a ball end that instrumental for certain hard to reach positions.
Parts & Tools Used for This Job
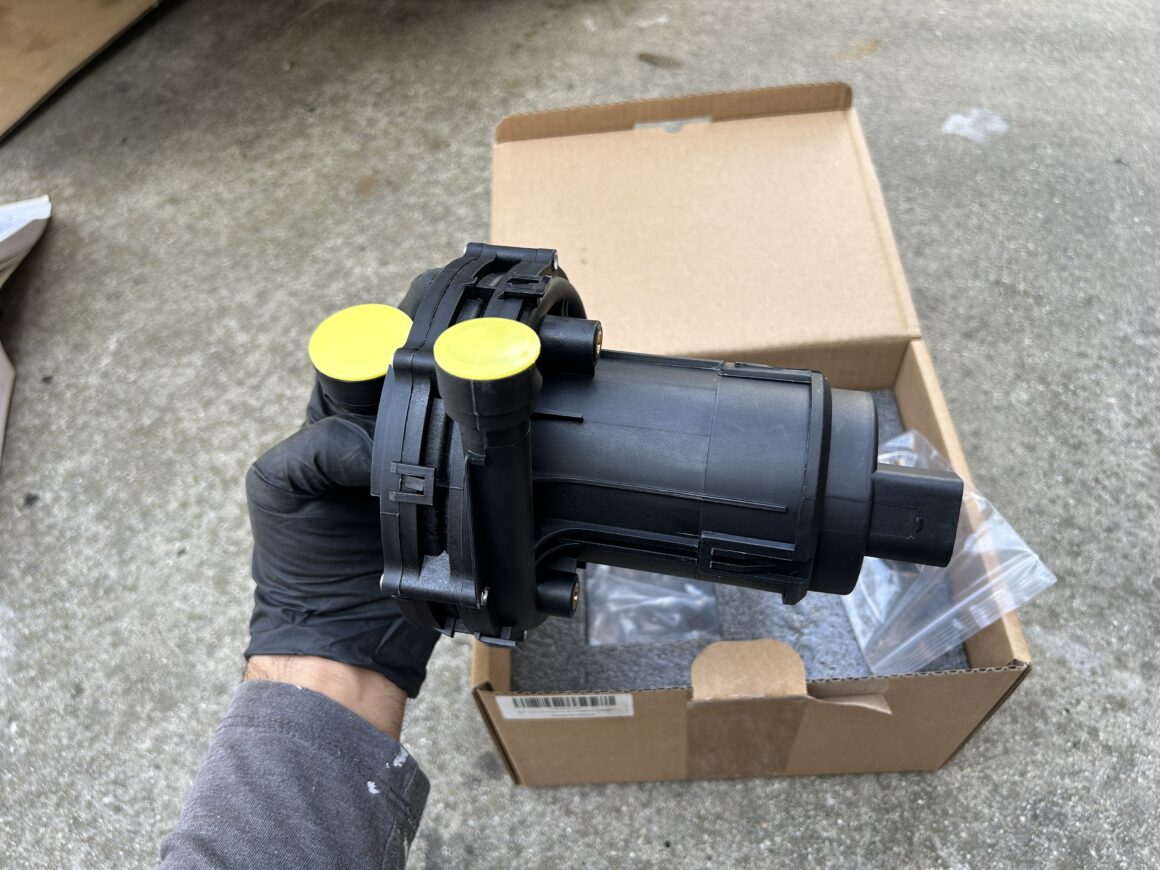
Secondary Air Pump (Part #: 078906601M)
Bapmic Air Pump (used in this post) / URO Parts Air Pump
Tools Used
Ratchet/Socket Set: EPAuto 40 Pieces 1/4-Inch & 3/8-Inch Drive Socket Set
Breaker Bar: Capri Tools 3/8 in. Drive 18 in. Extended Leverage Breaker Bar
Swivels and Extensions: 4-Piece 3/8 Inch Drive Extension Bar Set
Allen Wrench (Hex Key) with Ball End: Disen 13 Piece Hex Metric Ball End Set
Nitrile Gloves: MedPride Nitrile Exam Gloves (100 qty) – Small | Medium | Large
Shop Towels: Scott Shop Towels Original, Blue, 12 Rolls/Case, 660 Towels/Case
Vehicle Ramps: FloTool RhinoRamps (12,000lb GVW Capacity)
Wheel Chocks: MAXXHAUL Heavy Duty Black Wheel Chock (2-Pack)
Jack Stands: BIG RED Torin Heavy Duty Steel Jack Stands: 3 Ton (6,000 lb) – 1 Pair
Super Glue: Gorilla Super Glue, Four 3 Gram Tubes
How to Replace the Secondary Air Pump
You will need to be able to access the vehicle from the engine bay, but also from underneath as well. So safely jack up your vehicle, install jack stands, and chock the wheels. Once you’ve ensured the vehicle is raised safely, you can continue with the process of replacing the secondary air pump.
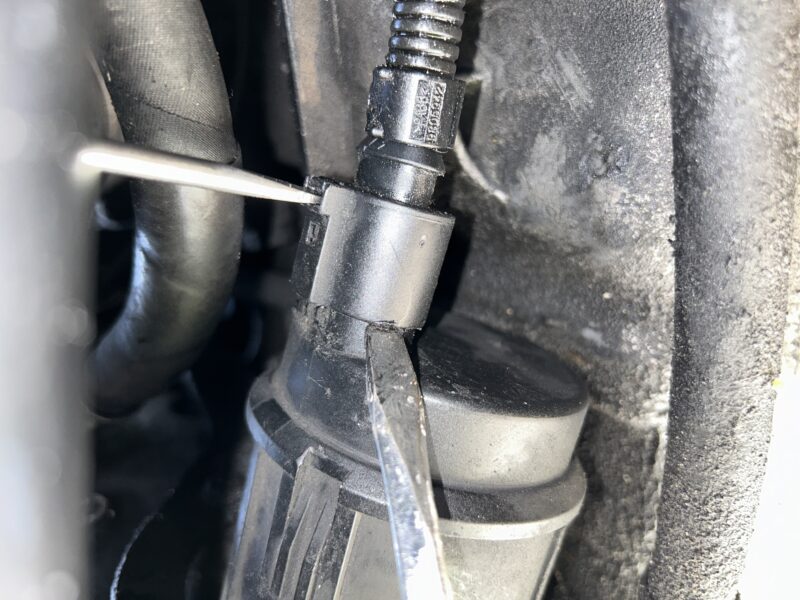
Start by disconnecting the electrical connector to the secondary air pump. This requires pressing in on the release with a flat head screwdriver and pulling the connector off. If you have trouble getting the connector off, you can use a second flat head screwdriver to carefully pry the connector off while depressing the release.
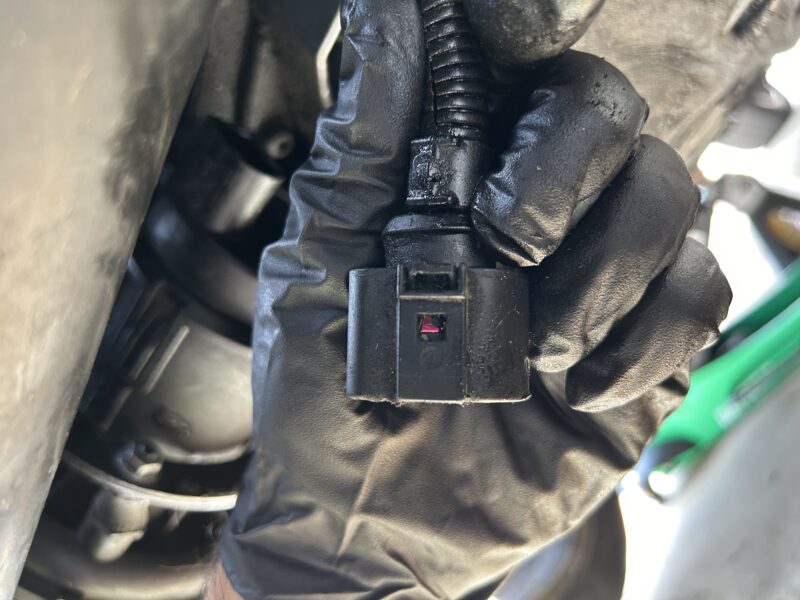
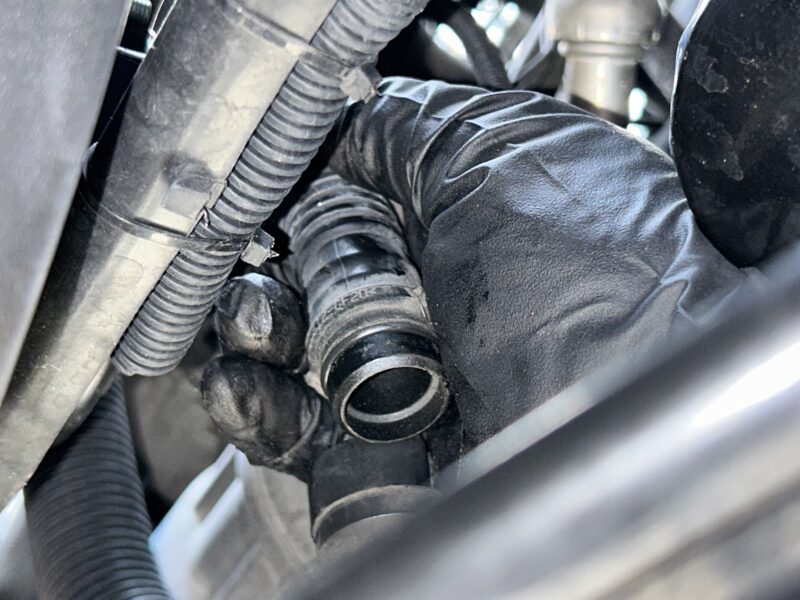
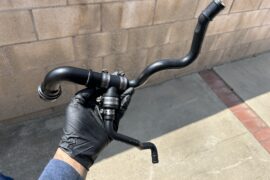
Disconnect the two air hoses by pressing the (fragile) plastic releases and pull the hoses off of the air pump. These plastic releases notoriously break all the time, which may be a hassle to deal with. If the plastic release breaks, just take them out along with the hoses and put them together; we will either have to glue them back later or replace the hoses outright.
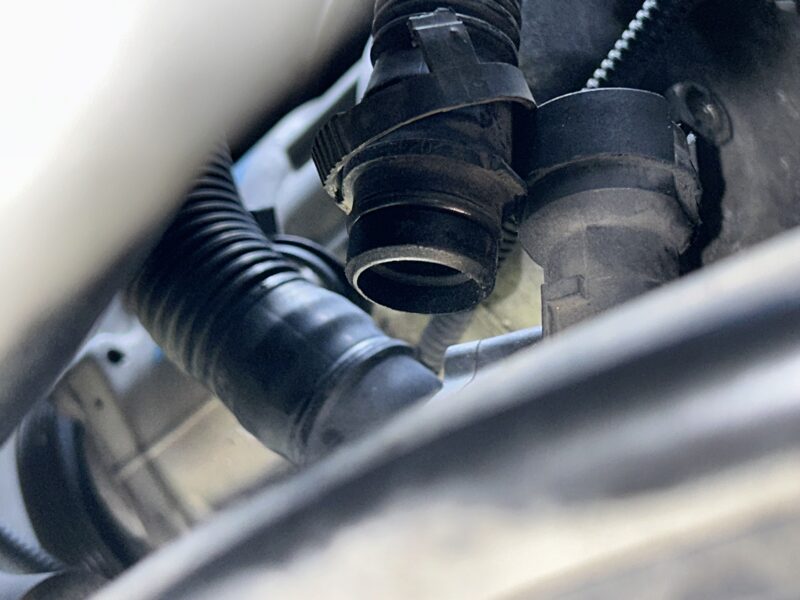
Now, let’s remove the (3 qty) washers and 10mm nuts that connect the air pump to the mounting ring. These three nuts are fairly accessible and can be removed easily with a wrench or ratchet. Also remove the threaded dampers, which will make it a bit easier to maneuver the air pump out later.
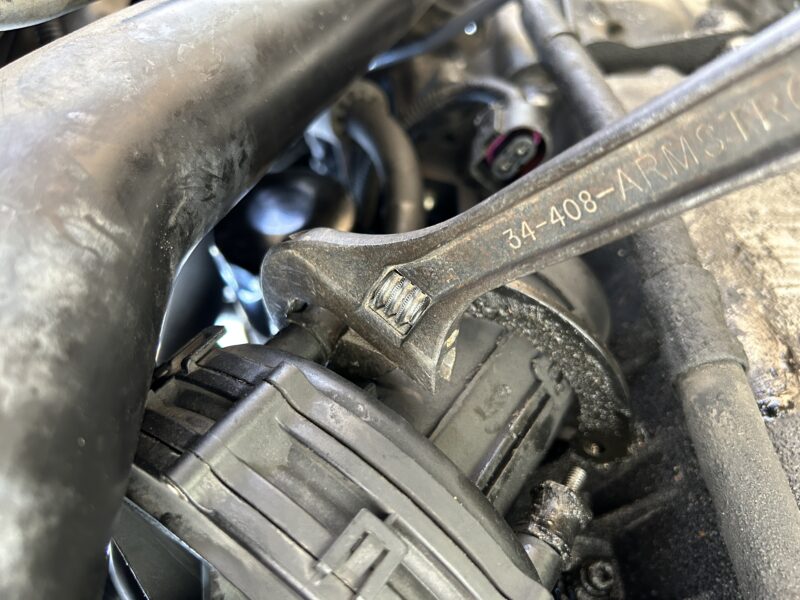
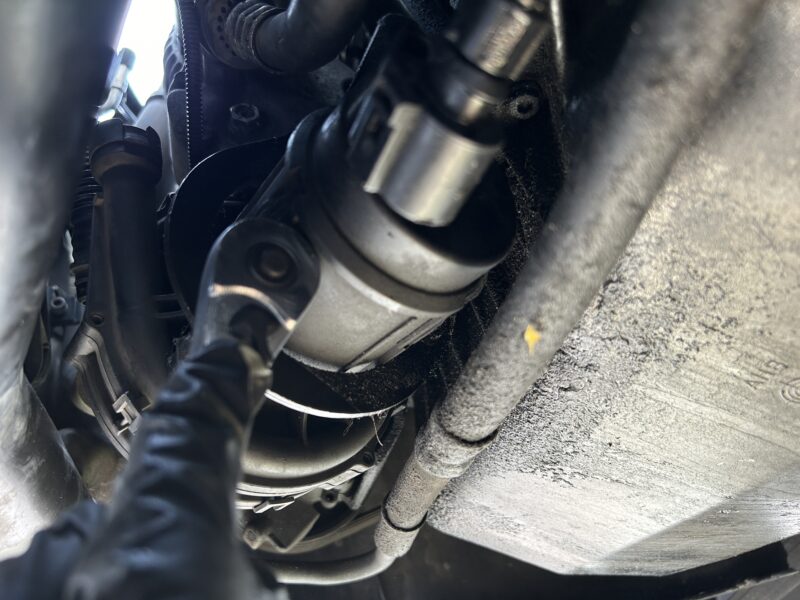
Now, with the mounting ring, there are (3 qty) 8mm hex bolts that attach it to the engine. It’s useful to reference the parts diagram at the top of this post to see where these hex bolts are. The very top one should only be loosened, because the mounting ring will swing/pivot about this bolt so that you can get the air pump out. If you actually remove the top bolt, it will make it more difficult for you when reinstalling everything back later. Again, because of the access issues, it will be very difficult to get your hand/arm in there, while getting the mounting ring in place and screwing in the mounting bolt.
Access to the top bolt is very difficult. You can either go from above the engine bay or below, although it is probably more accessible from above. You have to try a variety of socket extensions and swivel attachments on your ratcheting wrench or breaker bar to get to this hex bolt. I was able to get to the top hex bolt from above the engine bay, using a breaker bar and some extensions with the hex bit.
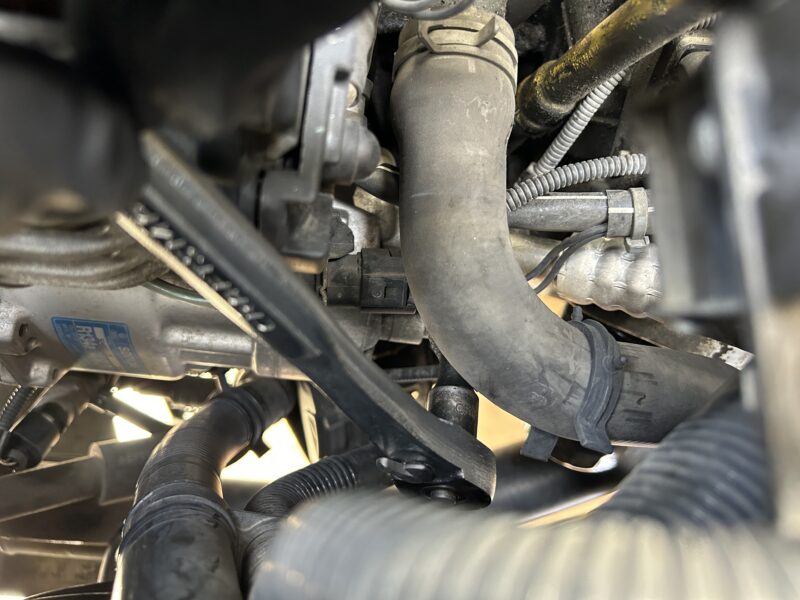
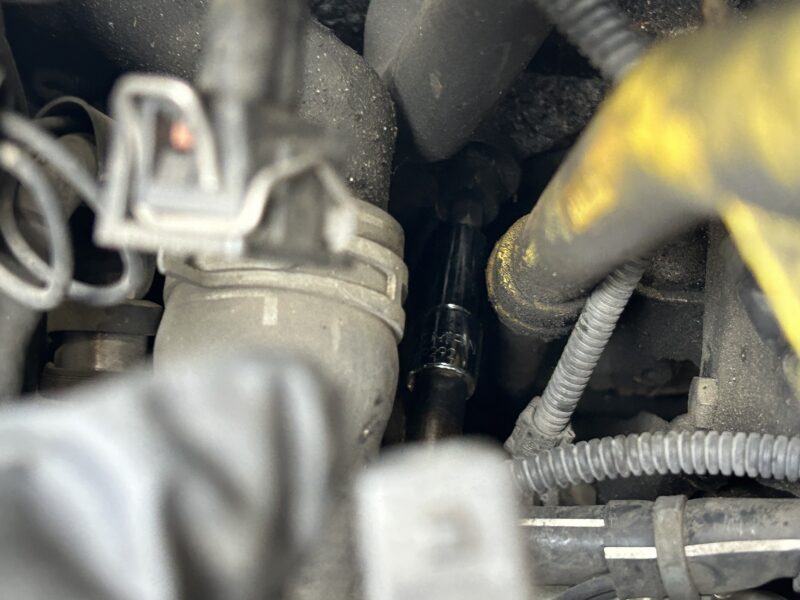
The other two hex bolts lower on the mounting ring needs to be either removed or loosened. One of the bolts only needs to be loosened because the mounting ring is open and will allow you to swing it out of the way as long as the bolt is loosened. The other bolt will require you to remove it in order to move the whole mounting ring. Use a ratchet, extensions, swivels, and hex socket to remove the two mounting bolts here from underneath. You might also be able to reach these two bolts from the top of the engine bay.
Now, with the top mounting hex bolt loosened, one of the middle mounting hex bolts loosened, and the other middle mounting hex bolt removed, you should be able to slide and move the mounting ring out just enough so that the secondary air pump can come out. Personally, I found it necessary to remove the two middle hex bolts completely, and loosening the top hex bolt, before the mounting ring could swing out of the way enough for the air pump to come out.
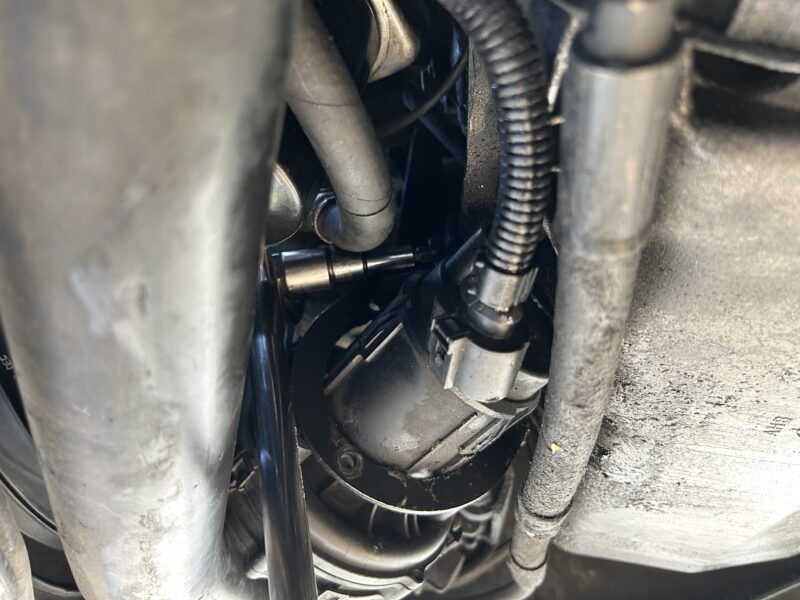
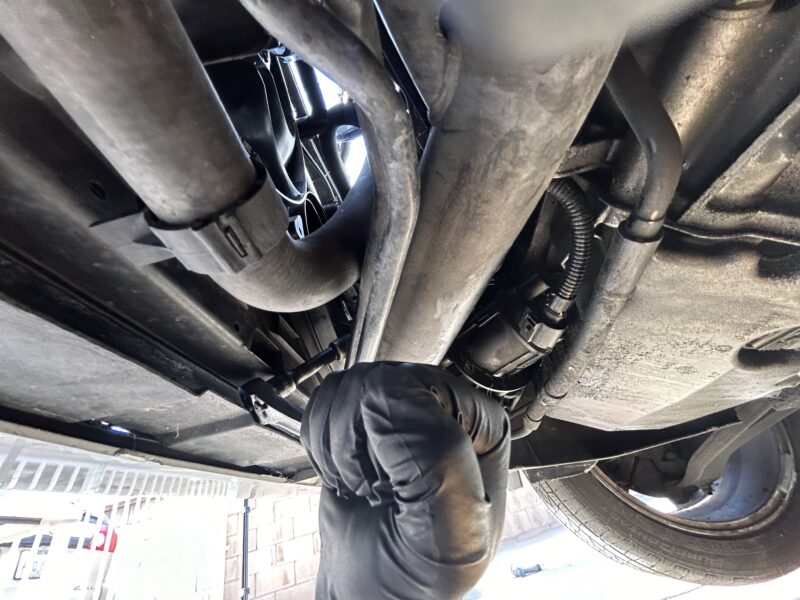
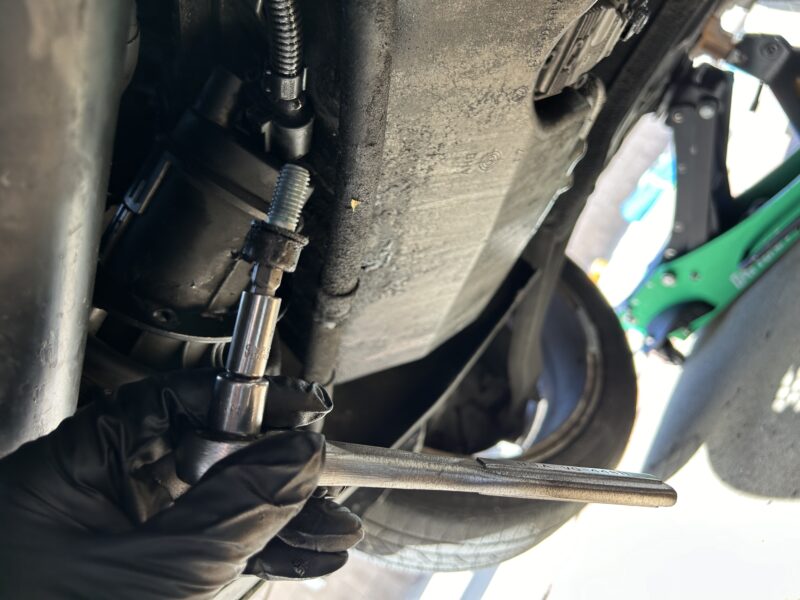
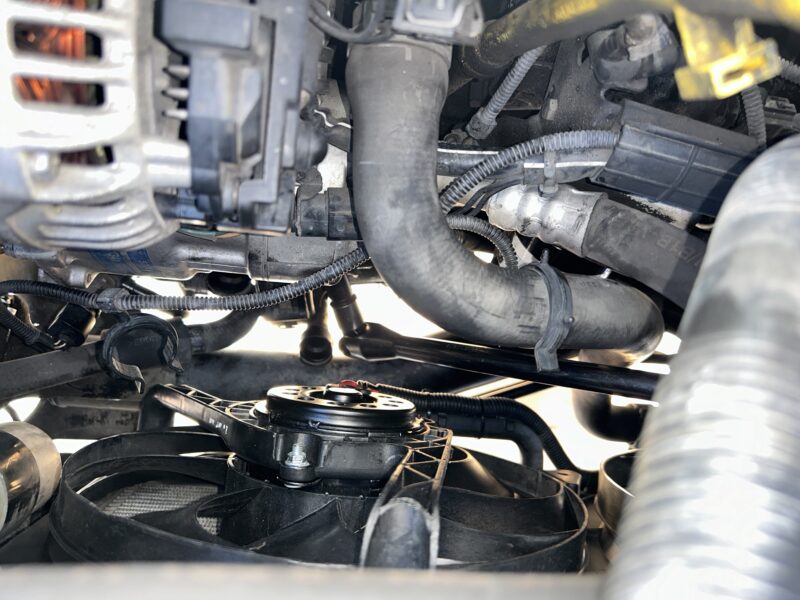
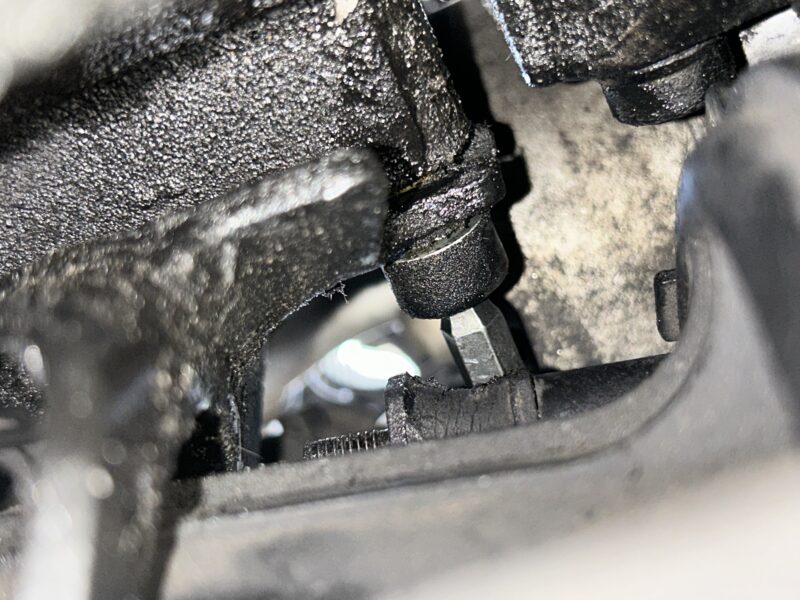
Ensure that the two air hoses and electrical connector are already removed prior to taking the air pump out.
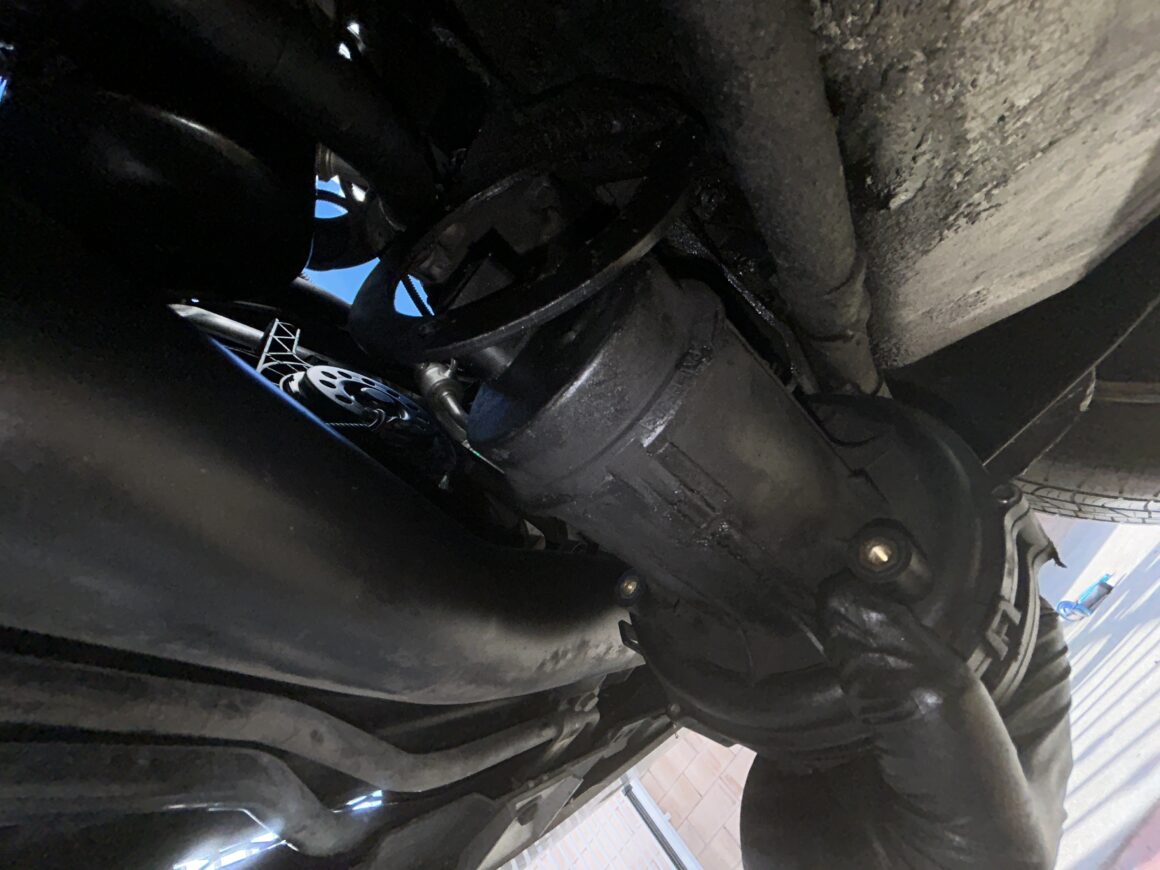
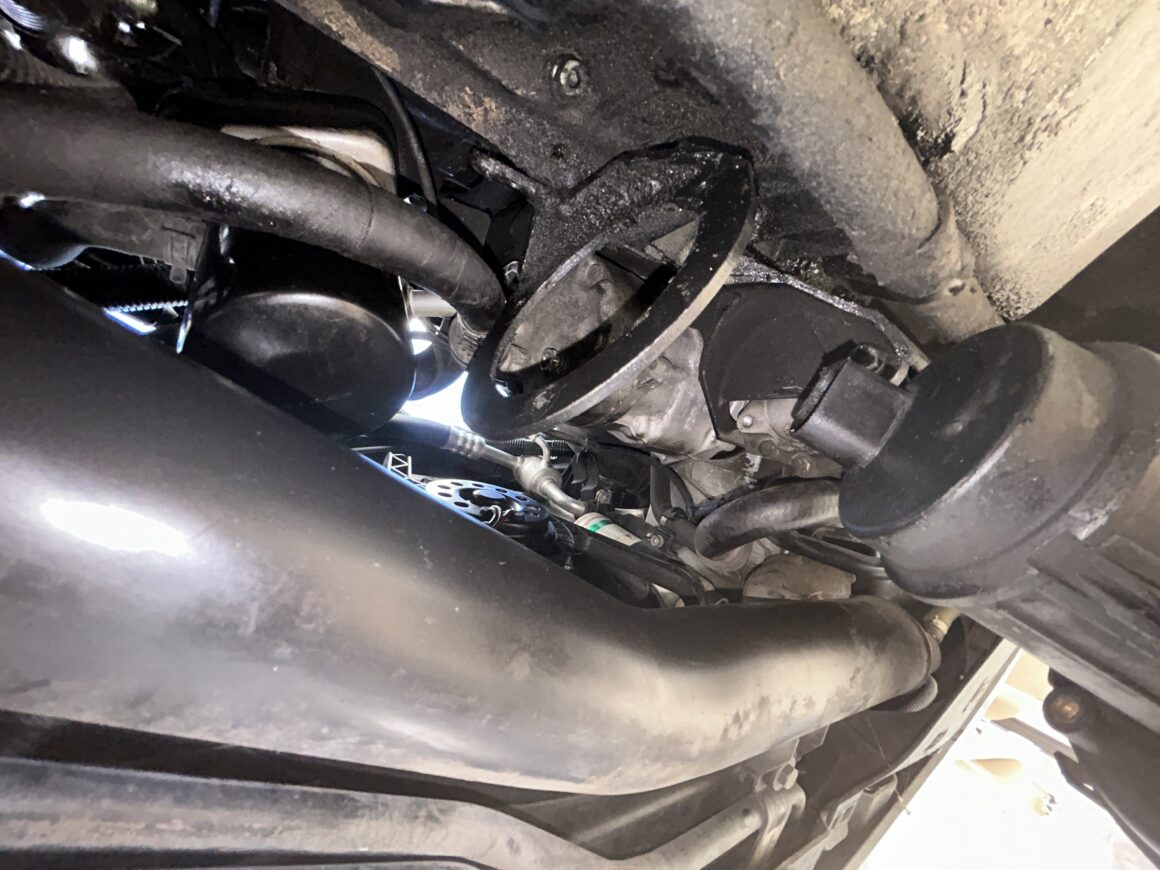
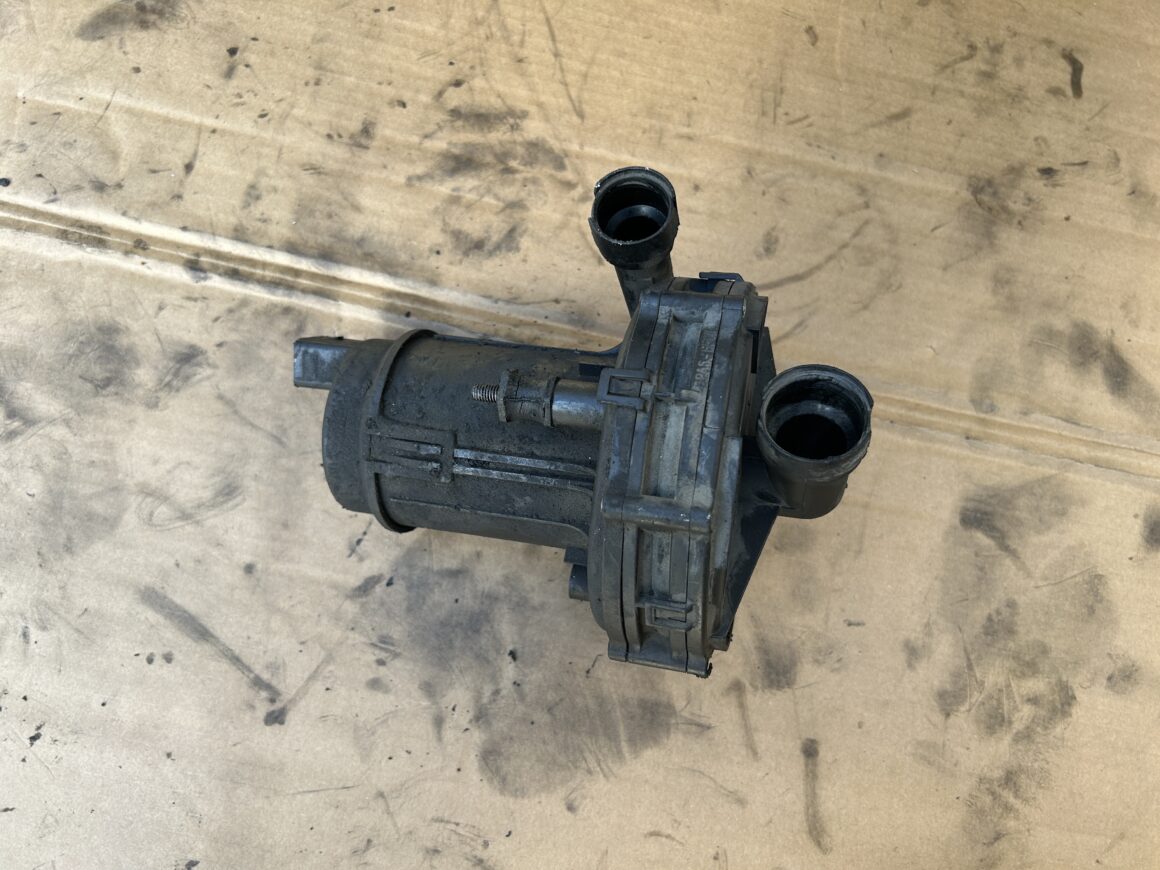
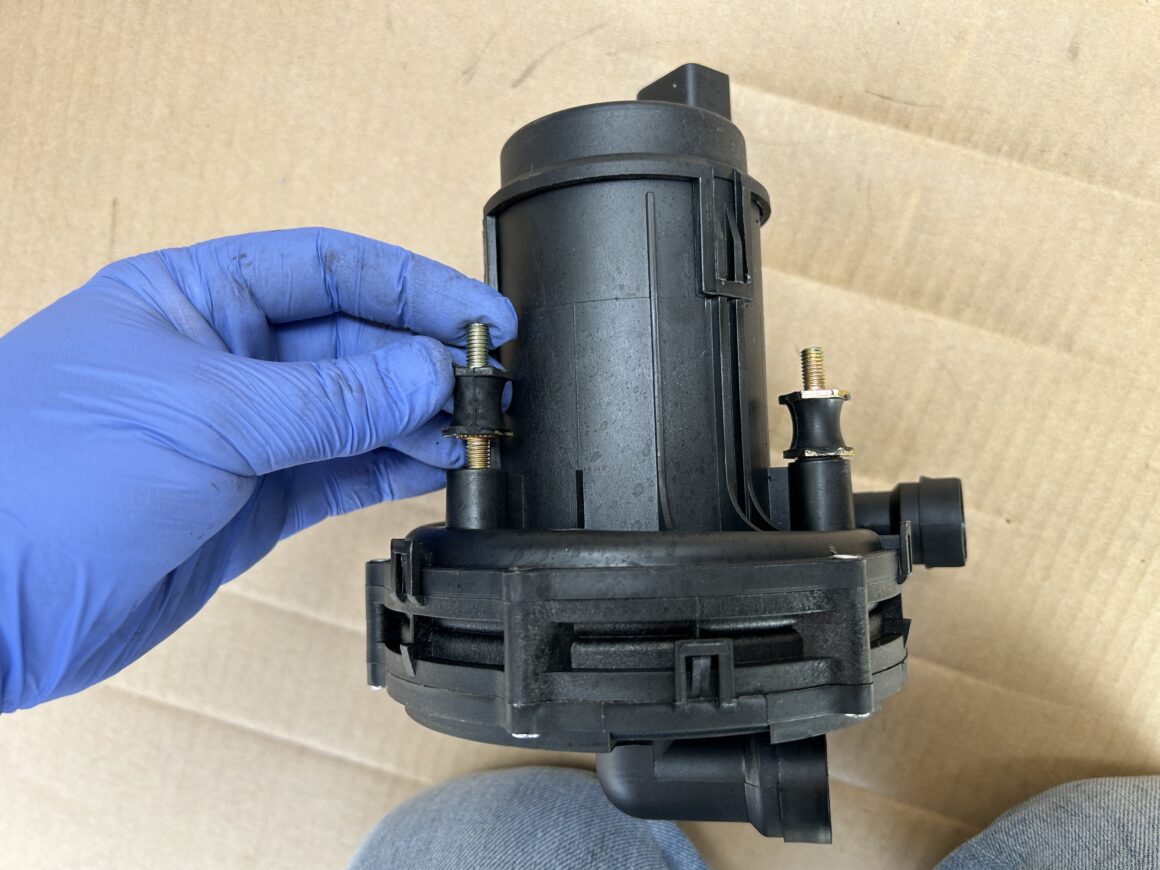
The new secondary air pump should come with new threaded dampers that replace the old ones. Install the new threaded dampers on the new air pump and tighten with a wrench. Bring the new pump into the mounting ring location and keep it here for now, while you reinstall the mounting ring to the engine.
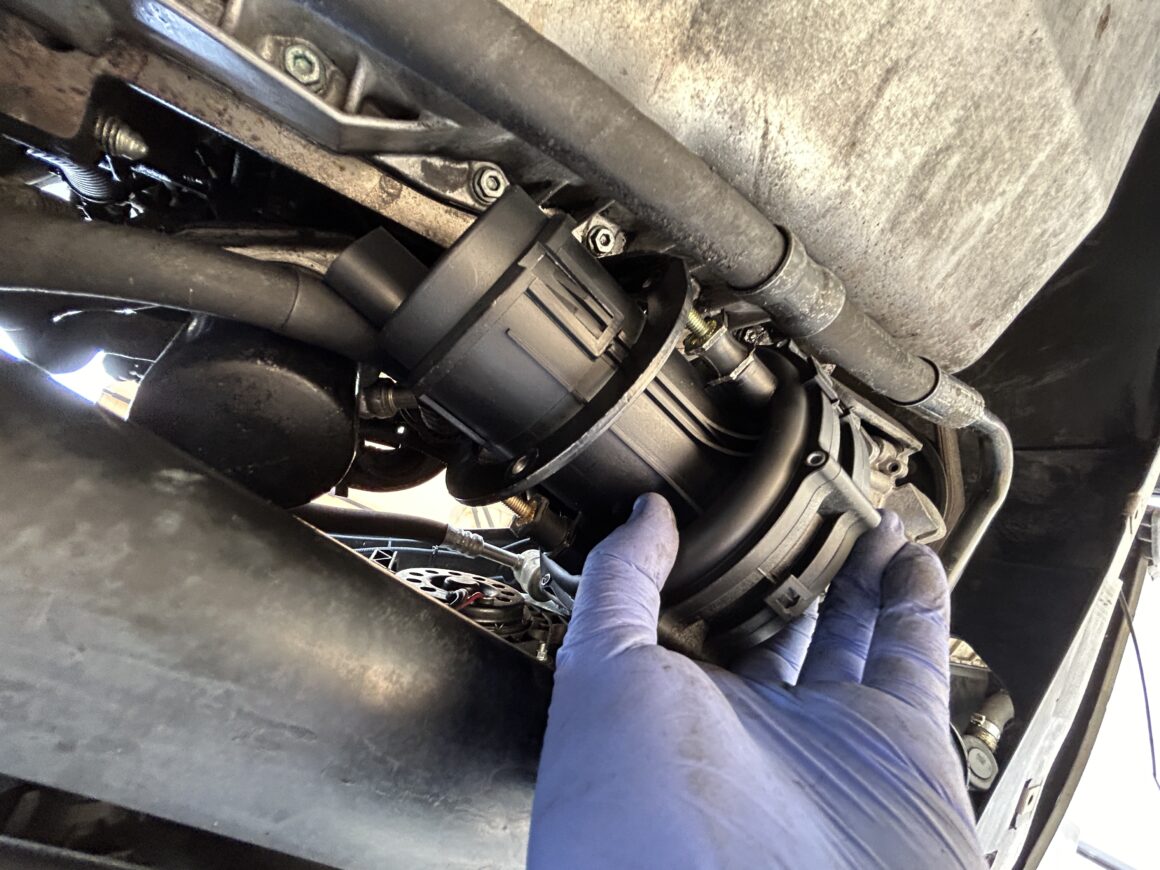
The installation of the mounting ring hex bolts can actually be more difficult than the removal. You need to get the perfect combination of socket extensions and swivels on your ratchet to adequately reach and tighten all of the hex bolts snug. Once the mounting ring is re-mounted to the engine, move on to the next step.
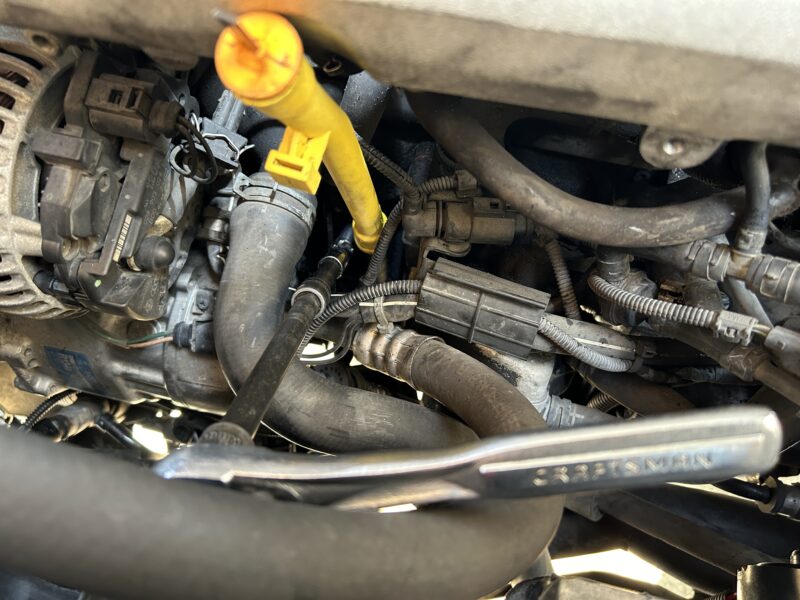
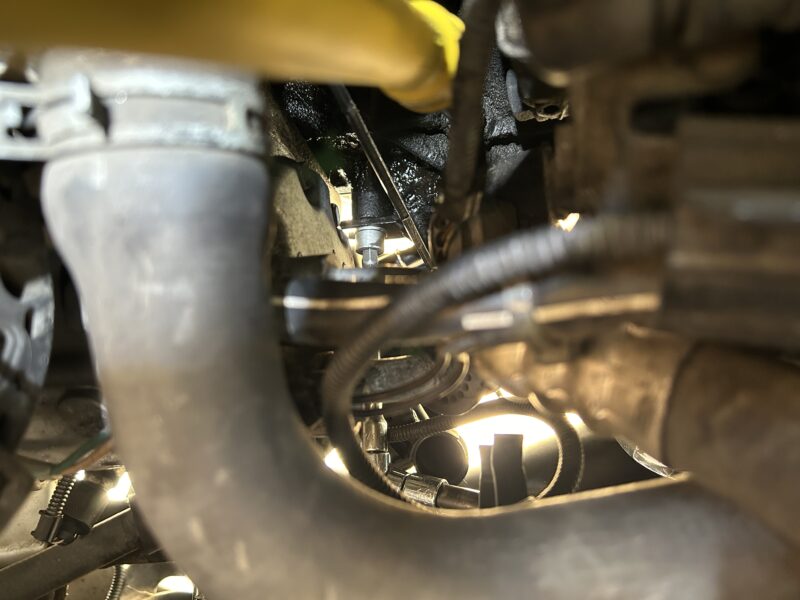
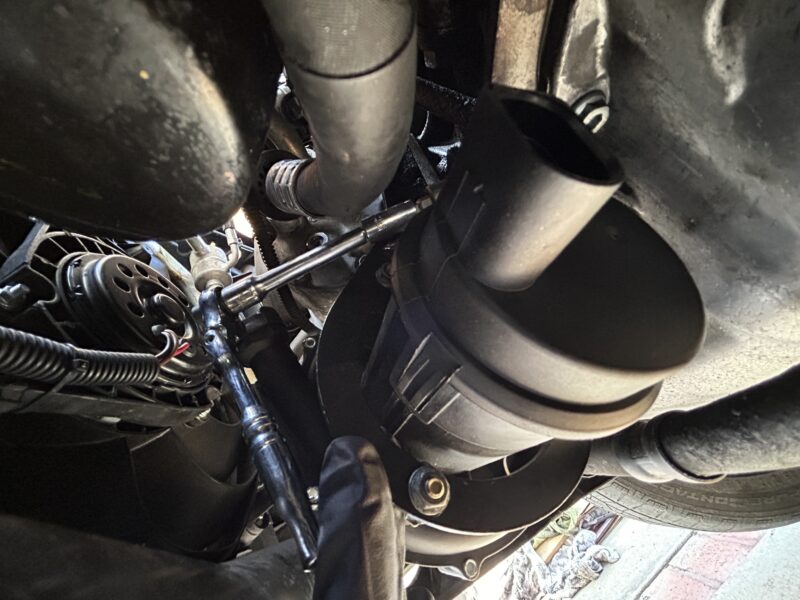
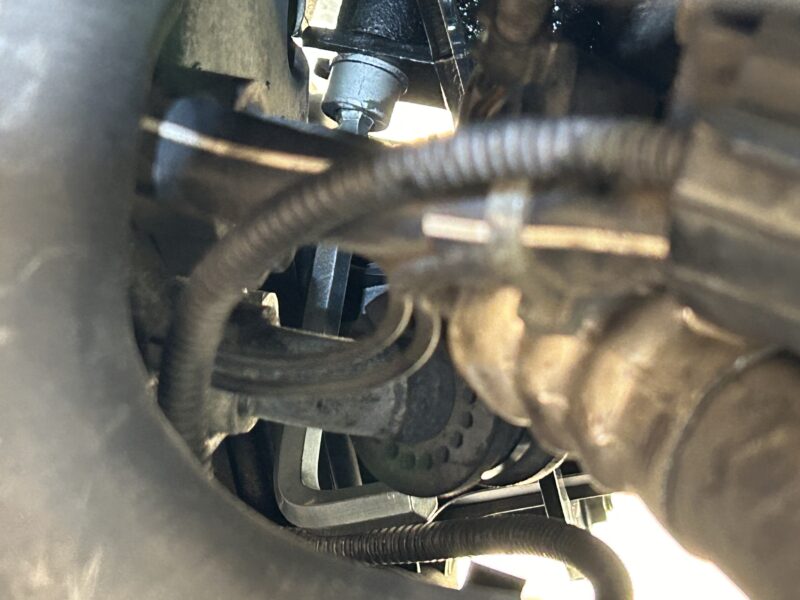
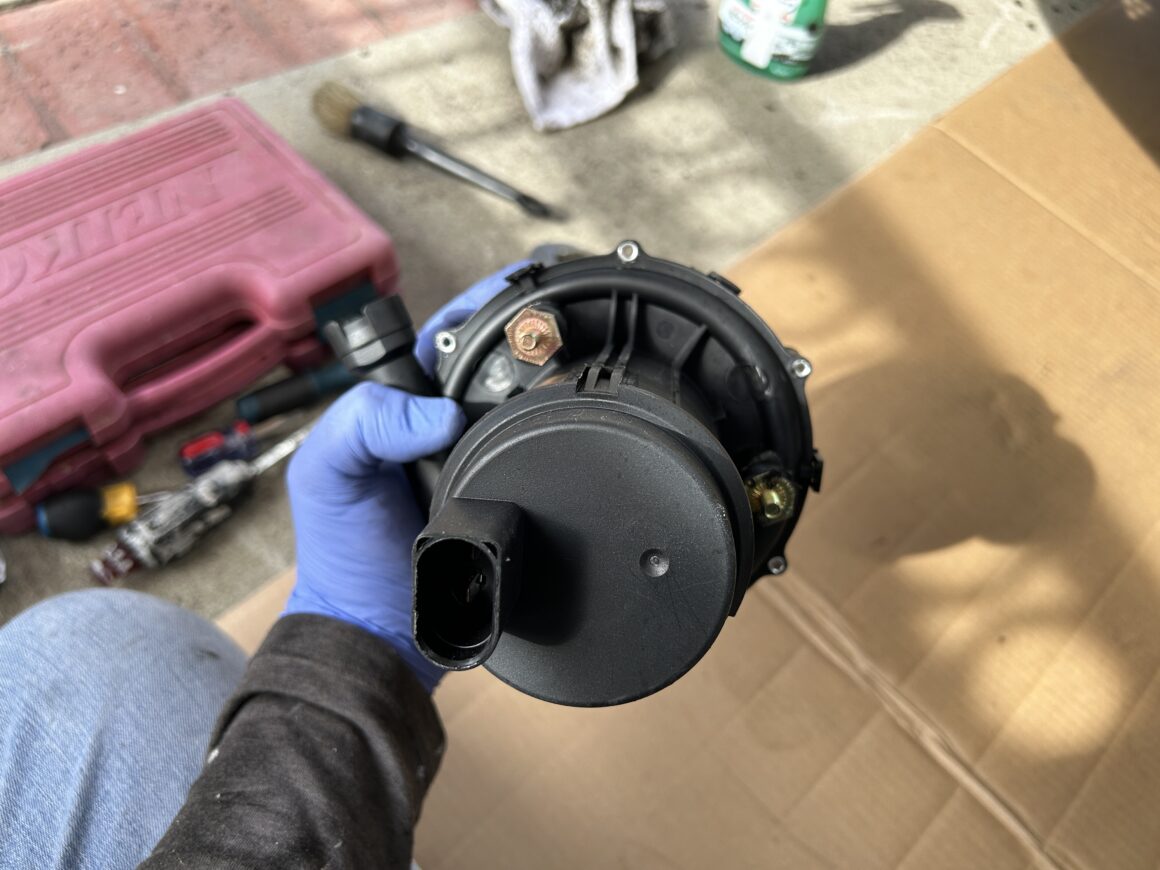
At this time, the secondary air pump should be inside of the mounting ring via the threaded dampers, but nuts not reinstalled. The mounting ring should also be reinstalled to the engine. Now, you will need to reinstall the (2 qty) plastic hoses and electrical connector to the new secondary air pump.
A common thing you’ll find on the clips on the ends of the plastic breather hoses is that they break off because they are so fragile. If you still have the broken off piece, you can salvage it by cleaning the broken surfaces with rubbing alcohol, applying super glue while holding it in place, and then allowing it to fully cure before reinstalling.
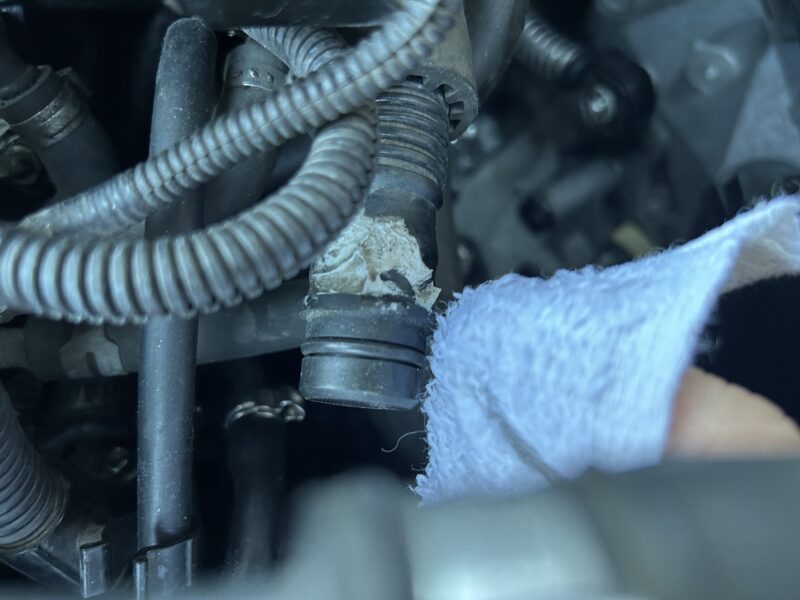
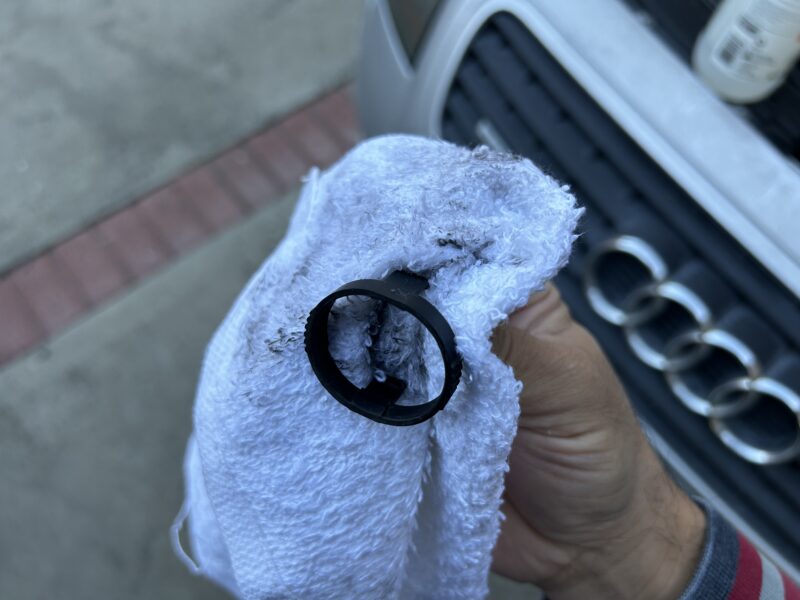
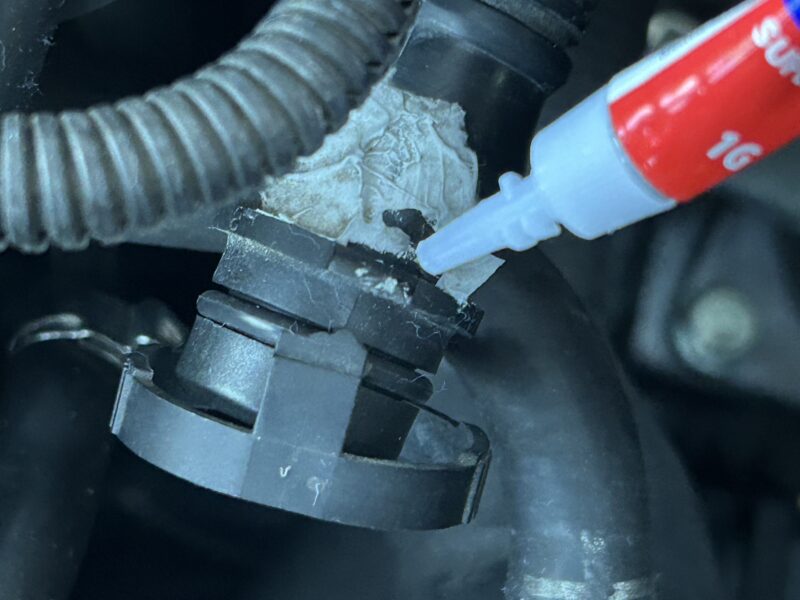
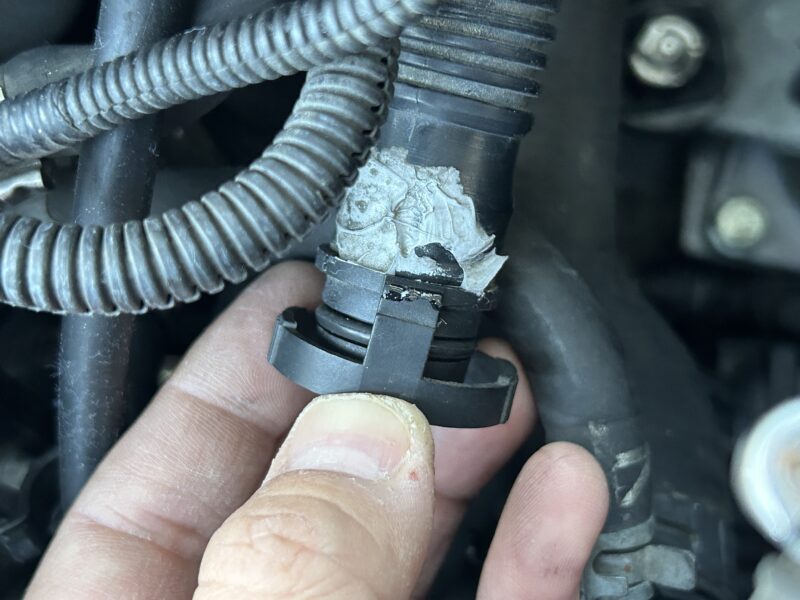
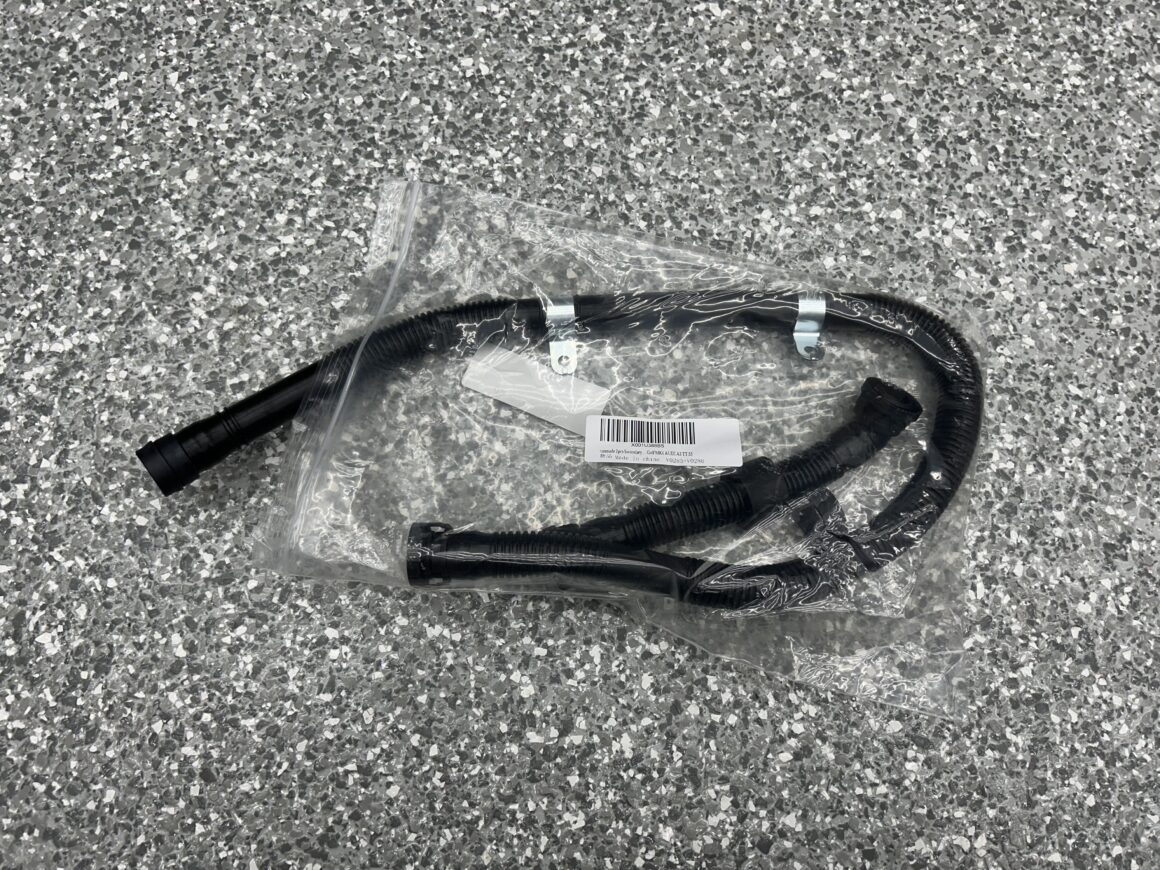
If super glue doesn’t work for you, you can try ordering new secondary air injection pump hoses. You can usually find a set of these two hoses on Amazon. One is much shorter because it replaces the section of the hose that actually has the clips on it.
Runmade Secondary Air Injection Pump Hose Set (2 pcs)
The way that these clips work is that you squeeze them on the sides to widen the opening, which allows you to remove the hose. When you reinstall the hose, it just clips into place without having to squeeze both ends again. You can tell where you need to squeeze by looking for the little ridged portions.
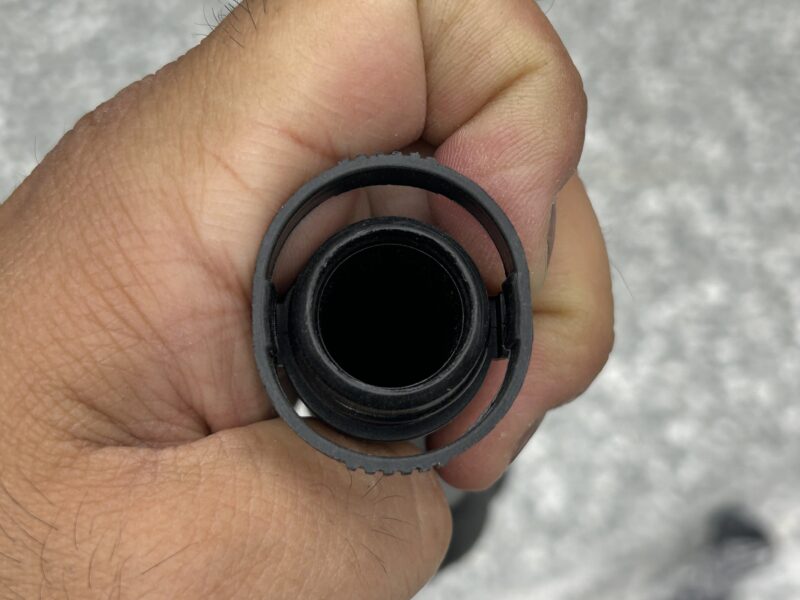
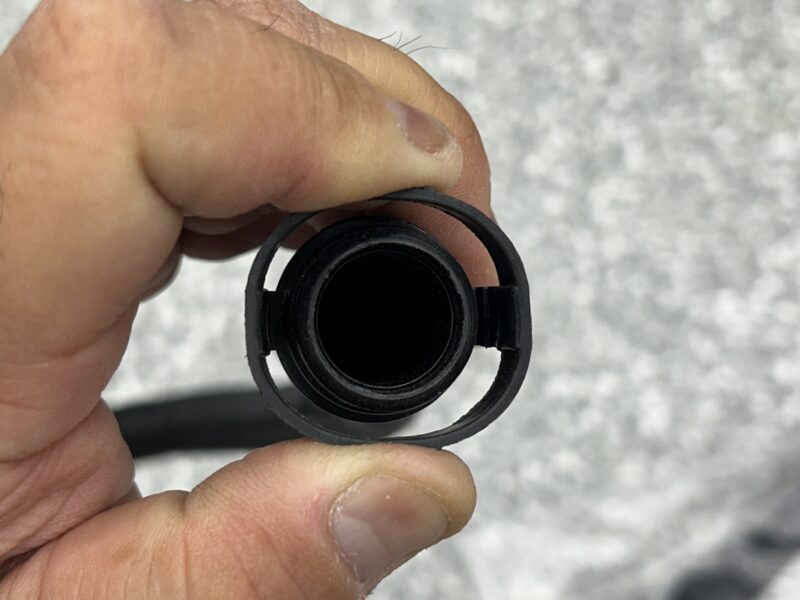
Proceed to reinstall the existing or new secondary air pump hoses and proceed onto the next step.
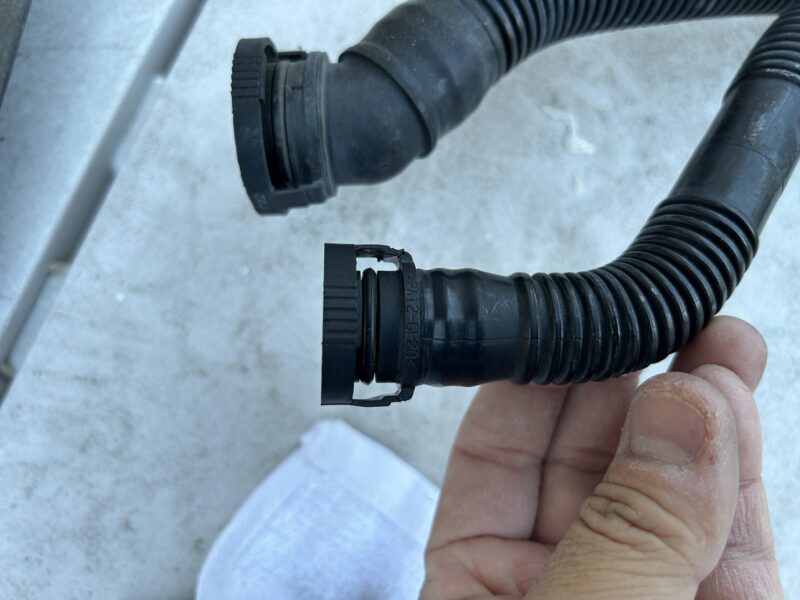
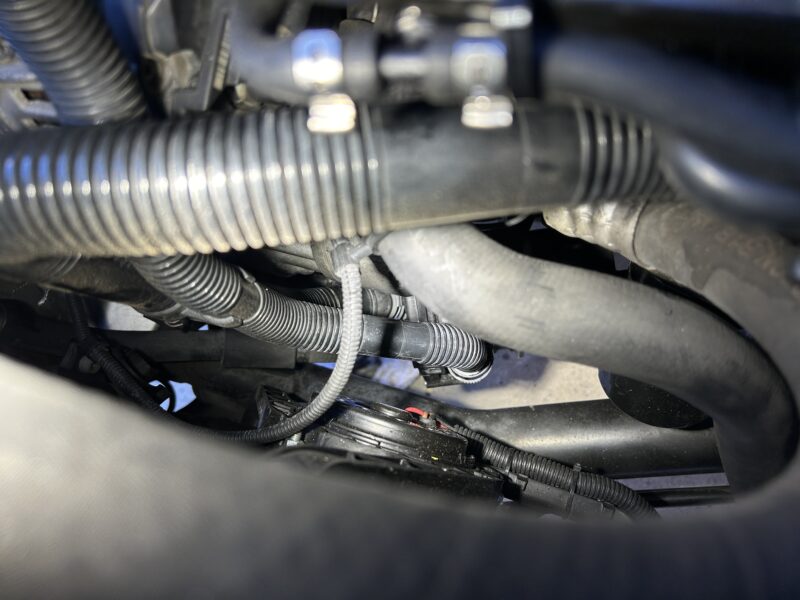
Finally, reinstall the (3 qty) washers and 10mm nuts back onto the secondary air pump to mounting ring connection. Tighten these up snug to complete the install.
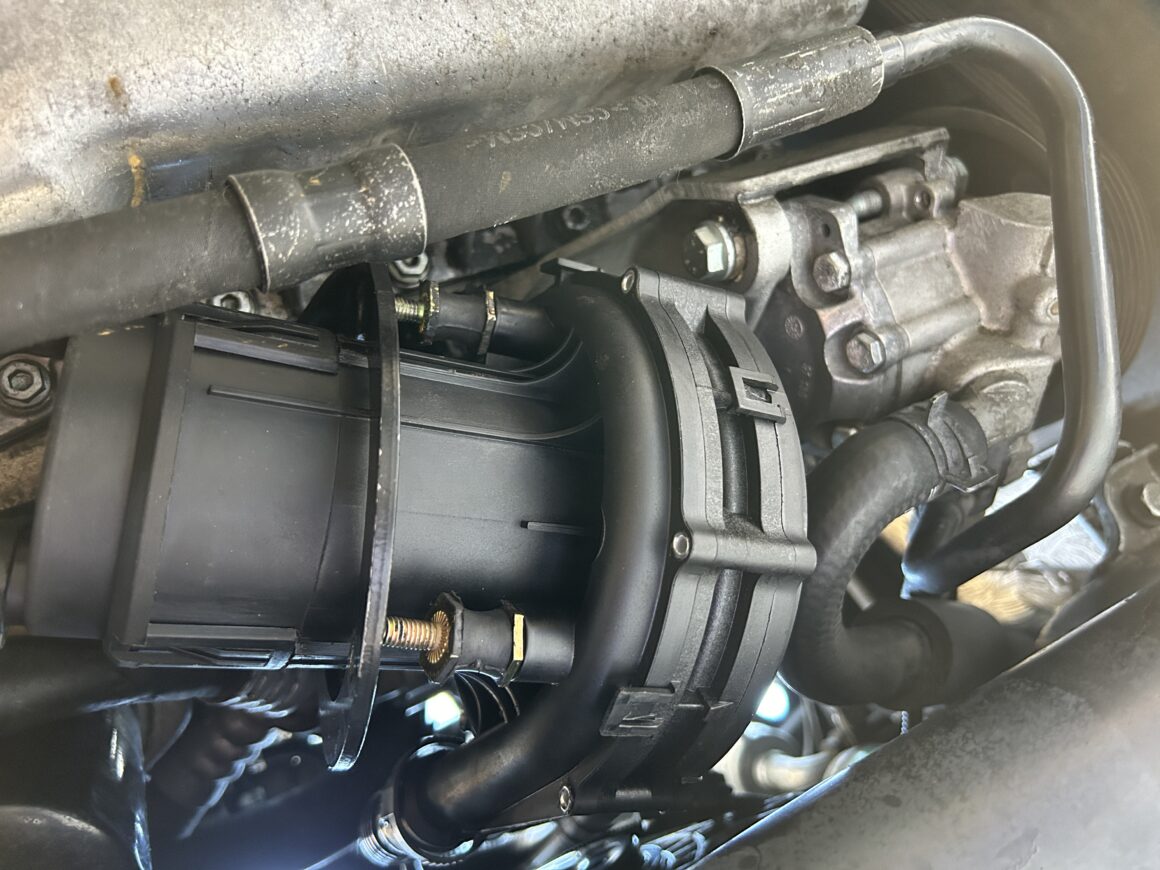
Replacing the secondary air pump really should not be a difficult one, but by golly was it a pain to do. The access to the various mounting ring bolts was cramped and that made it a nightmare to do. Make sure you have plenty of time to do this job and stay persistent. You really do have to find the perfect combination on your ratcheting wrench to reach these inaccessible spots.
After I finished the replacement, the jet engine noise upon start-up finally disappeared and my P1432 DTC code was also gone. Now that I’ve got that issue taken cared of, it’s time to move onto the other problems on my TT. I hope this guide was of help to you if you’re having the same problem on your car.

2 Comments
Thanks for our help Scott… gonna start on removing my air pump today… still don’t understand how those clips on the air hoses release
You’re welcome, Jeffrey! I added some more photos and info on the post, to show the clip of the air hoses. There are ridges on the perimeter–opposite of each other. You have to squeeze those parts together to release the clip and allow you to pull the air hose off of the connection. Good luck with the job!

