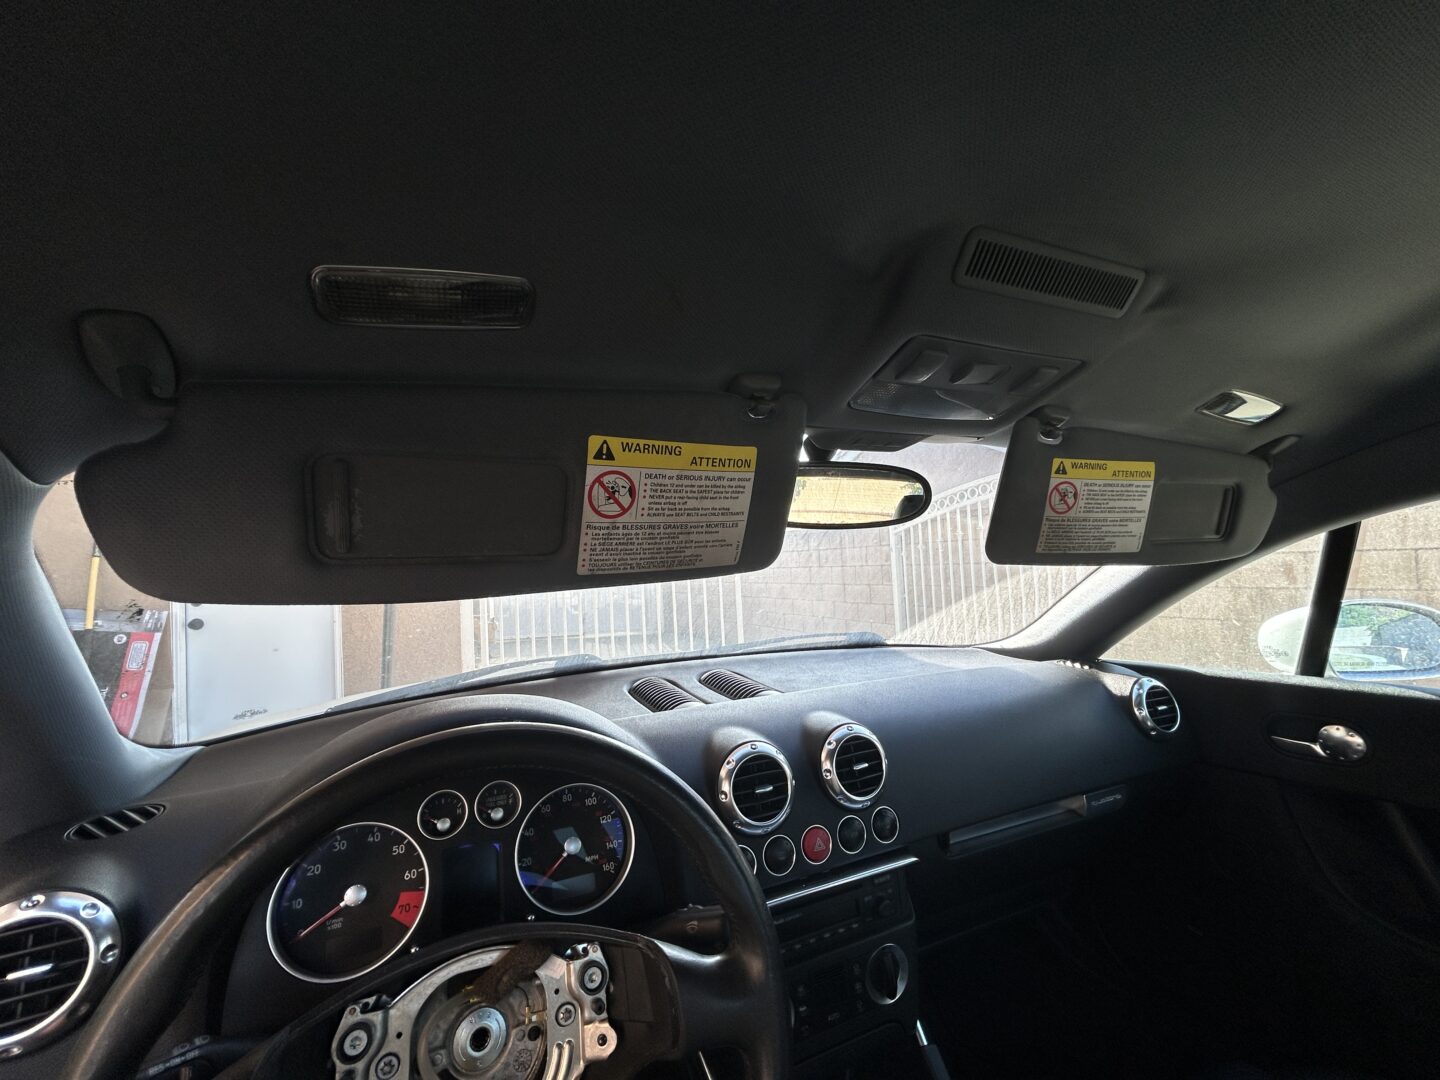
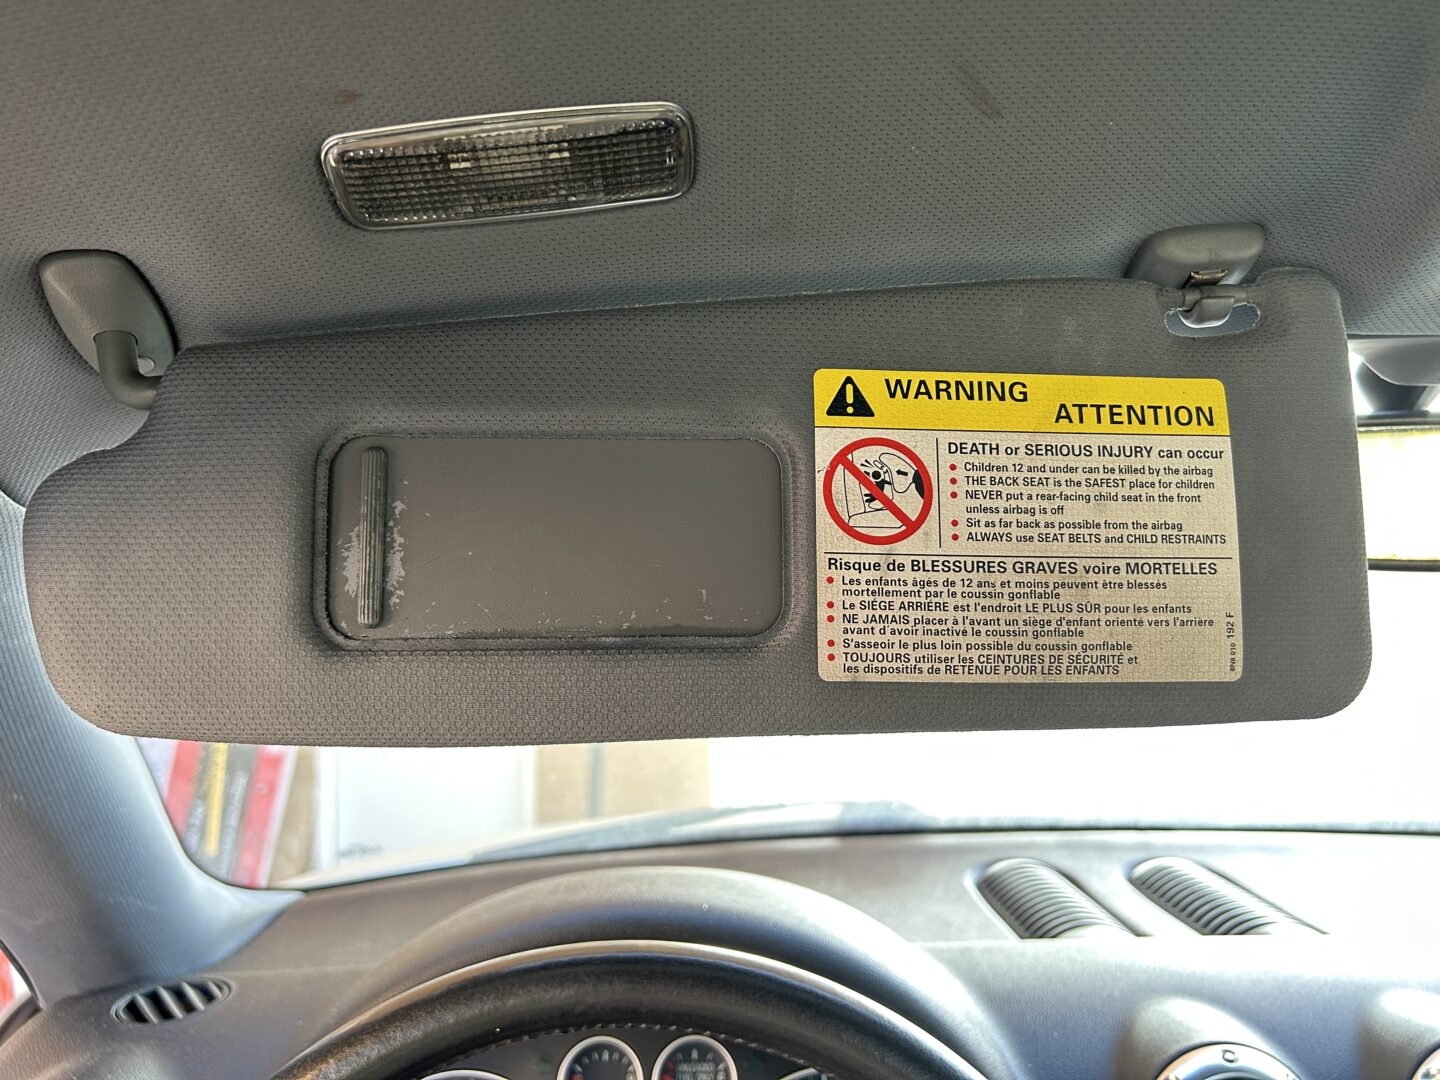
One of the things that I love to do when I pick up a new project car is to make a list of all the parts that need to be replaced. On my 2002 Audi TT (MK1), there were all kinds of interior bits that needed to be replaced. One of the things on the list was the damaged and extremely dirty sun visors. The mirror portion of the sun visors were smeared with what looked like a grease.The paint on the plastic parts also appeared to have rubbed off in some spots.
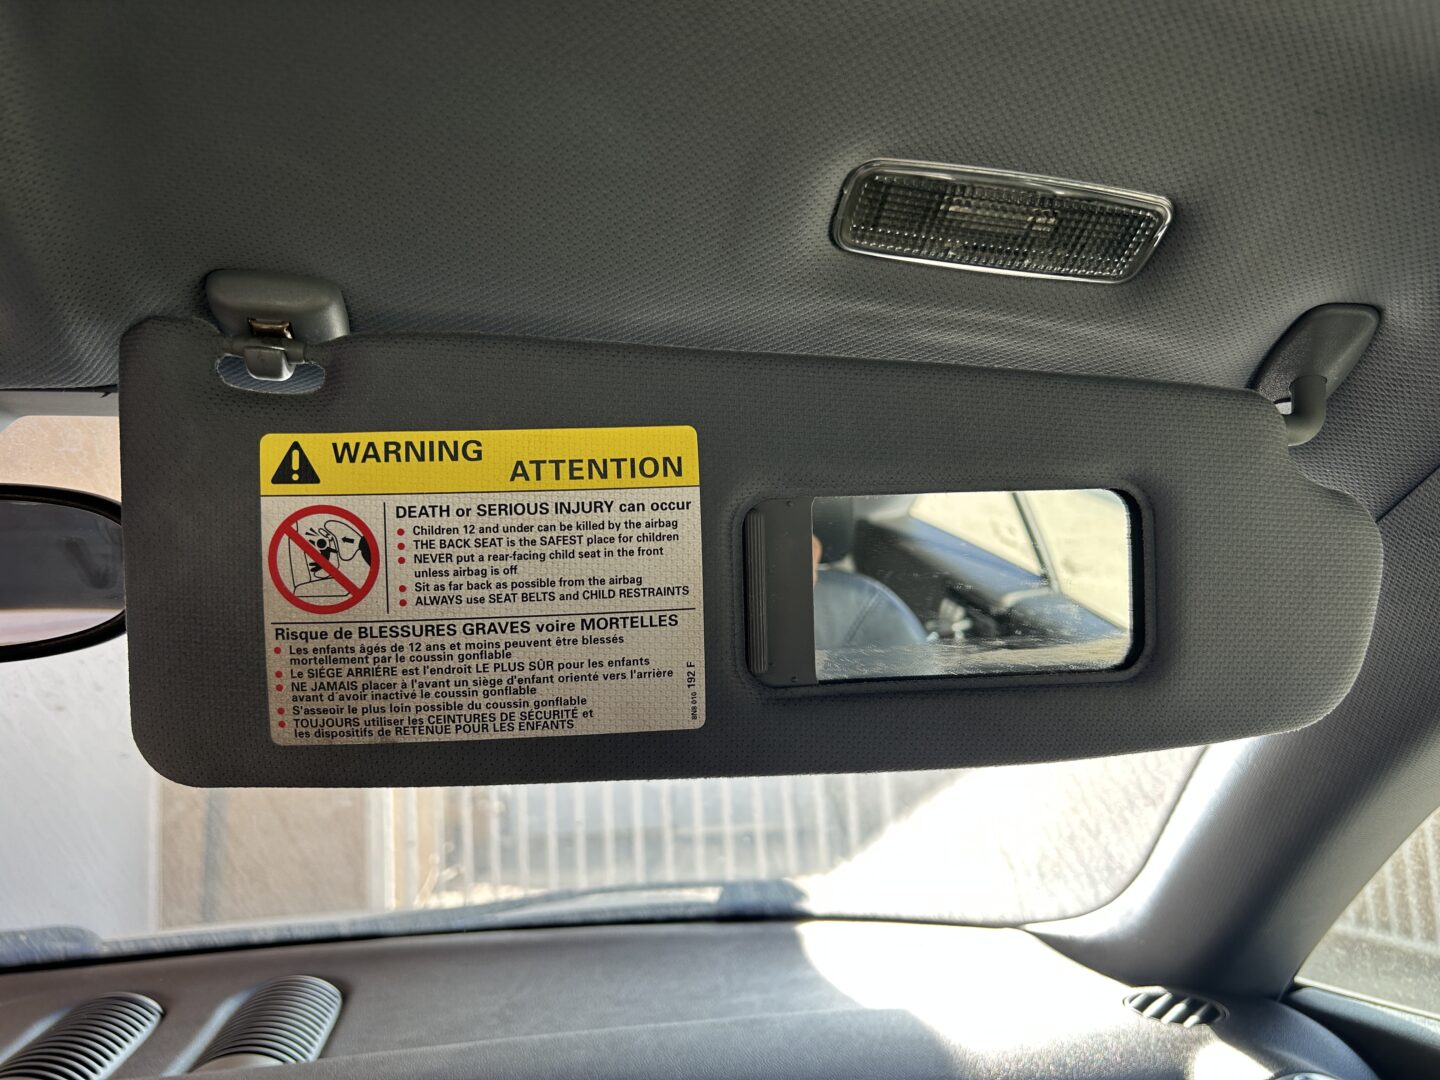
Because it would have been difficult to refurbish the sun visors (especially with the paint damage), I simply replaced them with ones that I found at the junkyard. As an added bonus, the sun visors I picked up didn’t have those unsightly warning labels on them. This post will go through the removal of the sun visors so that you know how to safely remove/install them, whether you plan on replacing them or taking them off to do a proper cleaning.
Sun Visors for the MK1 Audi TT
If you intend on replacing your sun visors, you’re probably not going to find brand new ones considering these cars are over 20 years old now. Your best best might be to find a set of used sun visors either at your local auto parts yard, or on Ebay. Just make sure to inspect the condition and to make sure you pick the correct color to match your car’s interior color.
Find Used Sun Visors for MK1 Audi TT on Ebay
How to Remove the Sun Visors on the MK1 Audi TT
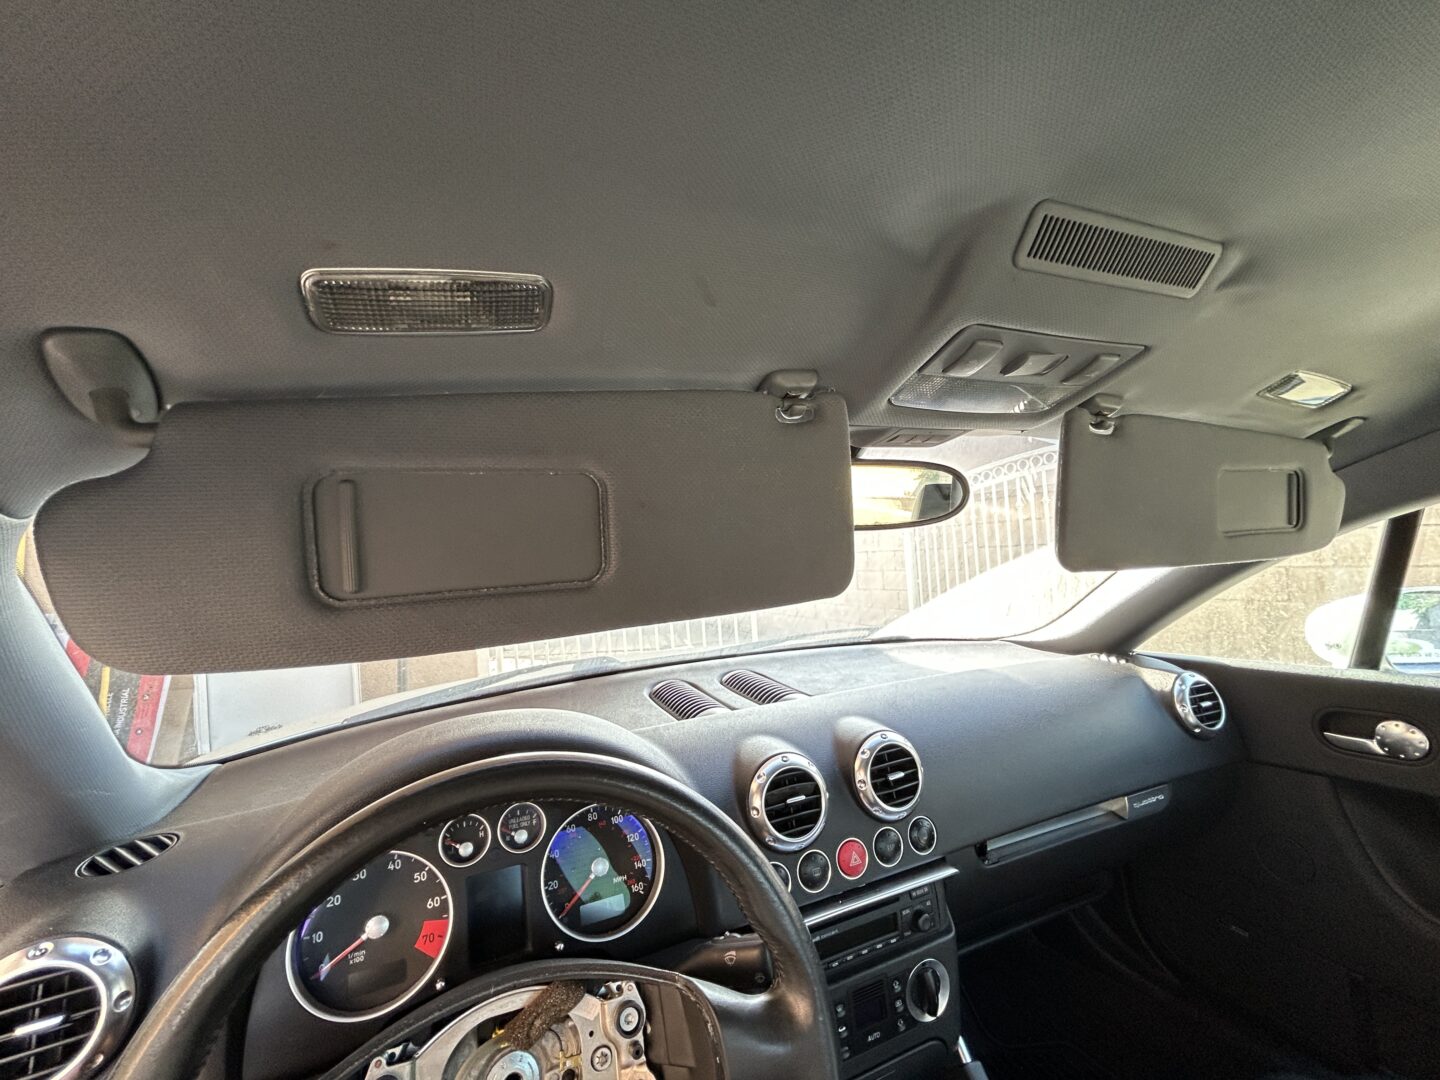
These are the original sun visors on my Mk1 Audi TT. You might be able to see how dirty the sun visors are, but the more difficult part about restoring these is the paint on the door that slides back and forth. The paint has worn off, which could only be restored by repainting. Since I found a good condition pair of sun visors at the junkyard, I could just replace them without any additional hassle.
The sun visors can be removed via one mounting location where the sun visor rotates around. I think this removal guide will help you if you have never removed the sun visors before on your Audi TT.
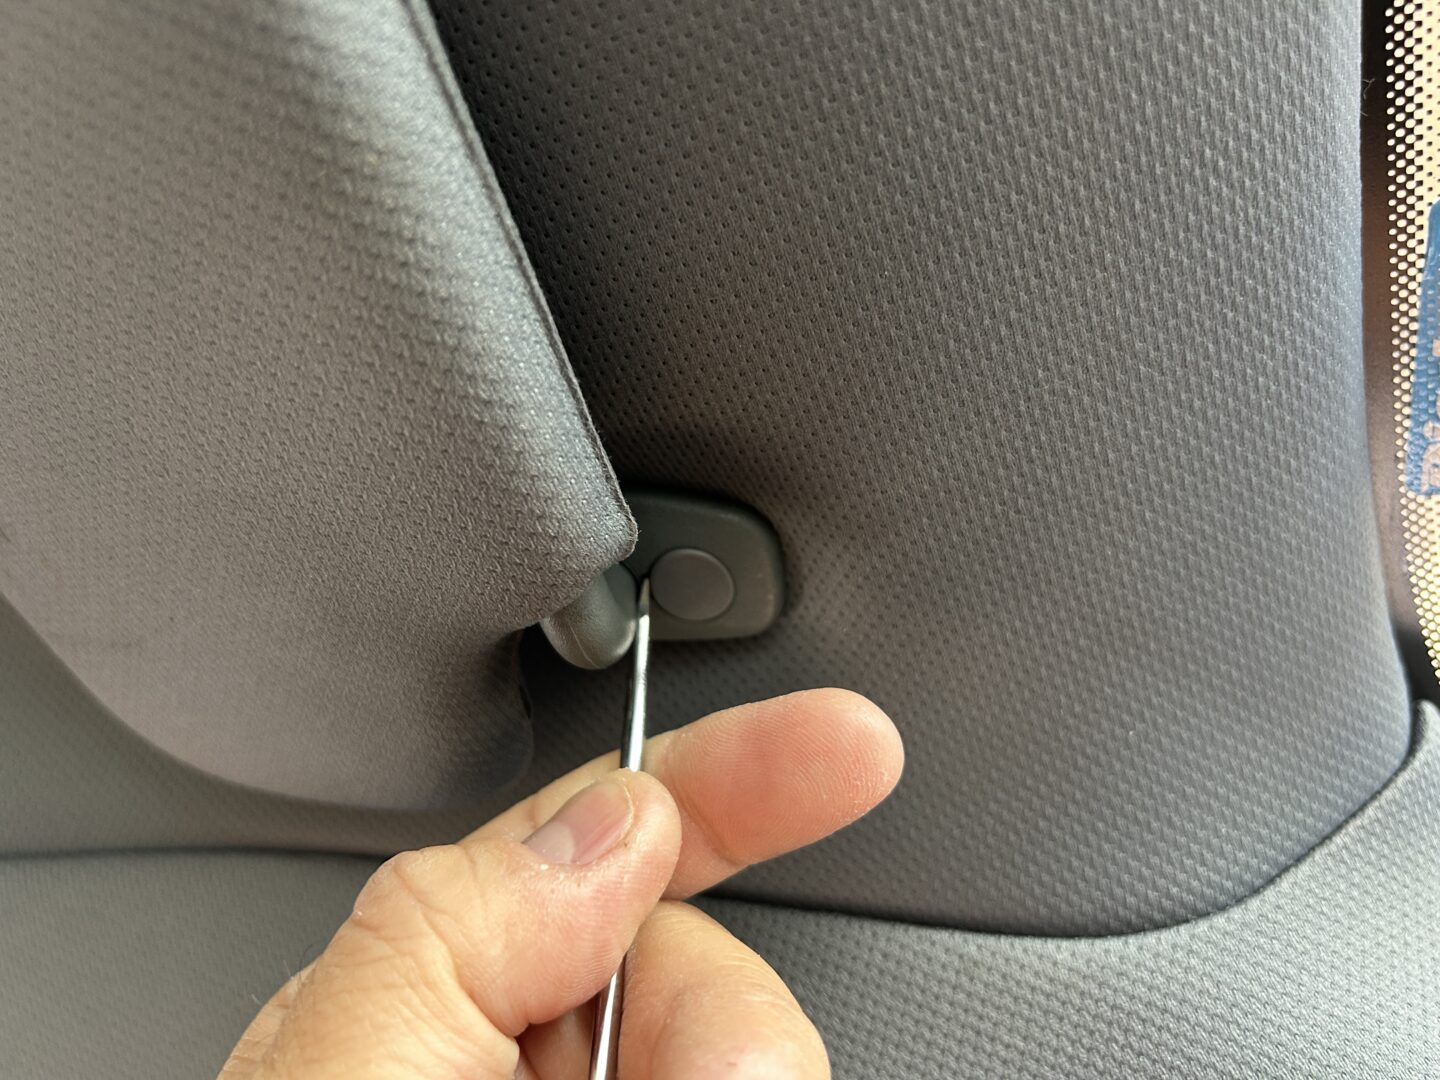
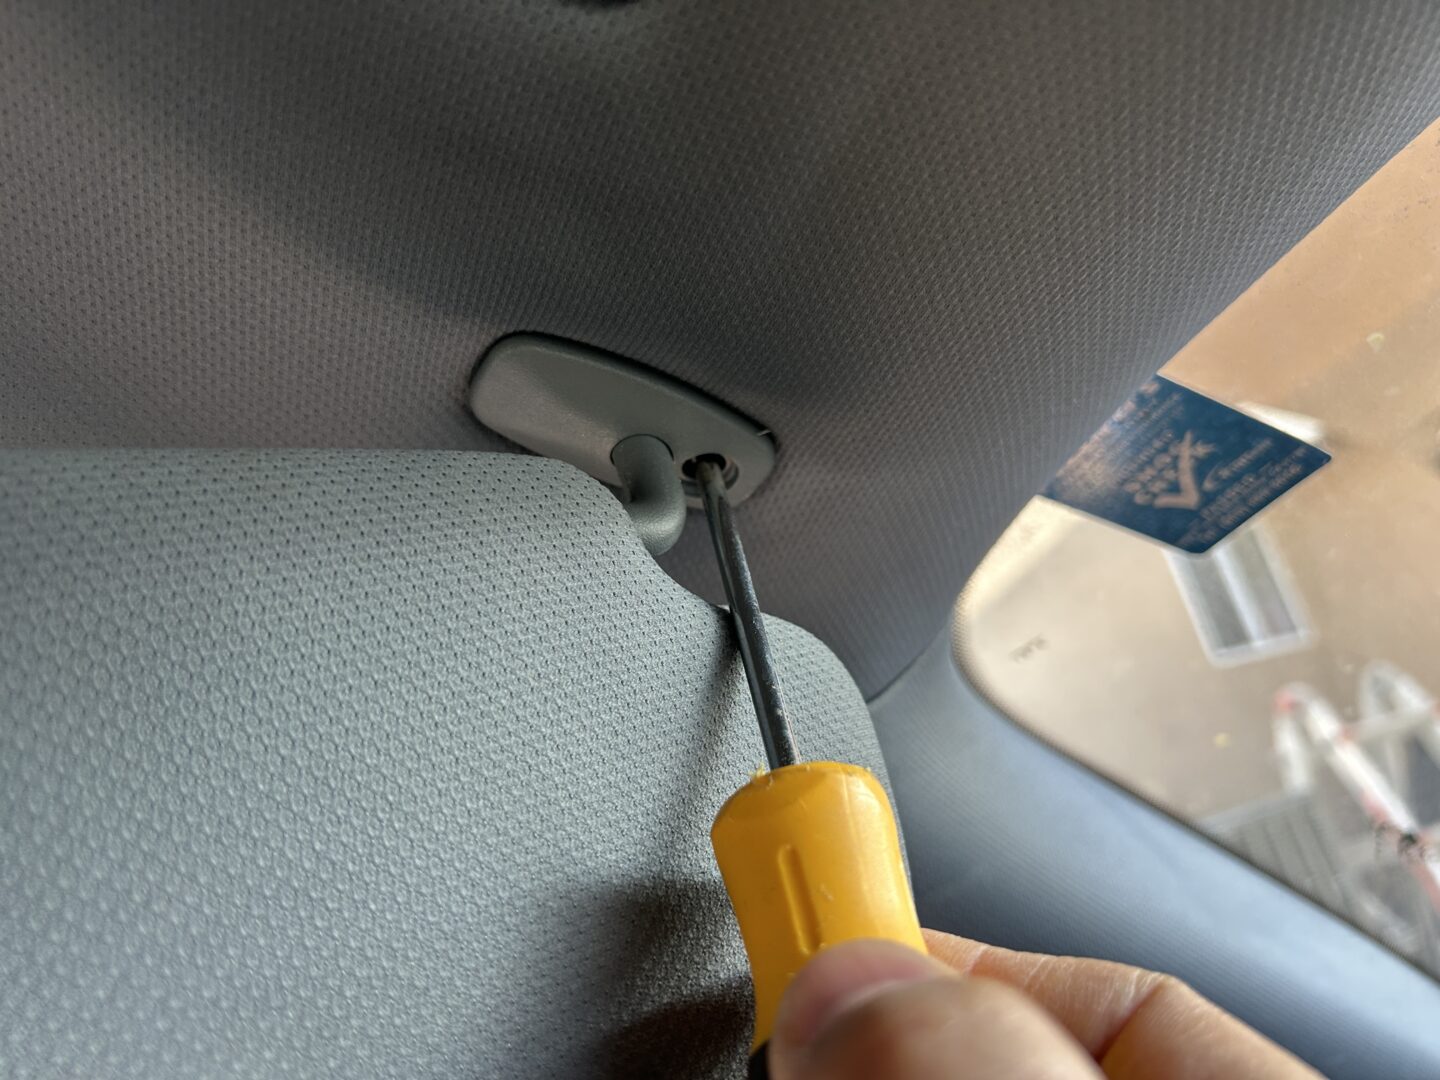
Each of the sun visors is held in place by one Phillips head screw. In order to access it, you need to pop this little cap off, which can be done using a smaller flat head screwdriver to pry off the small round cap as shown below. With the cap removed, you can unscrew the Phillips head screw. Then, you will need to take the whole sun visor, and rotate it out (towards the back of the vehicle) so it separates from the roof. Finally, unclip the electrical connector for the light.
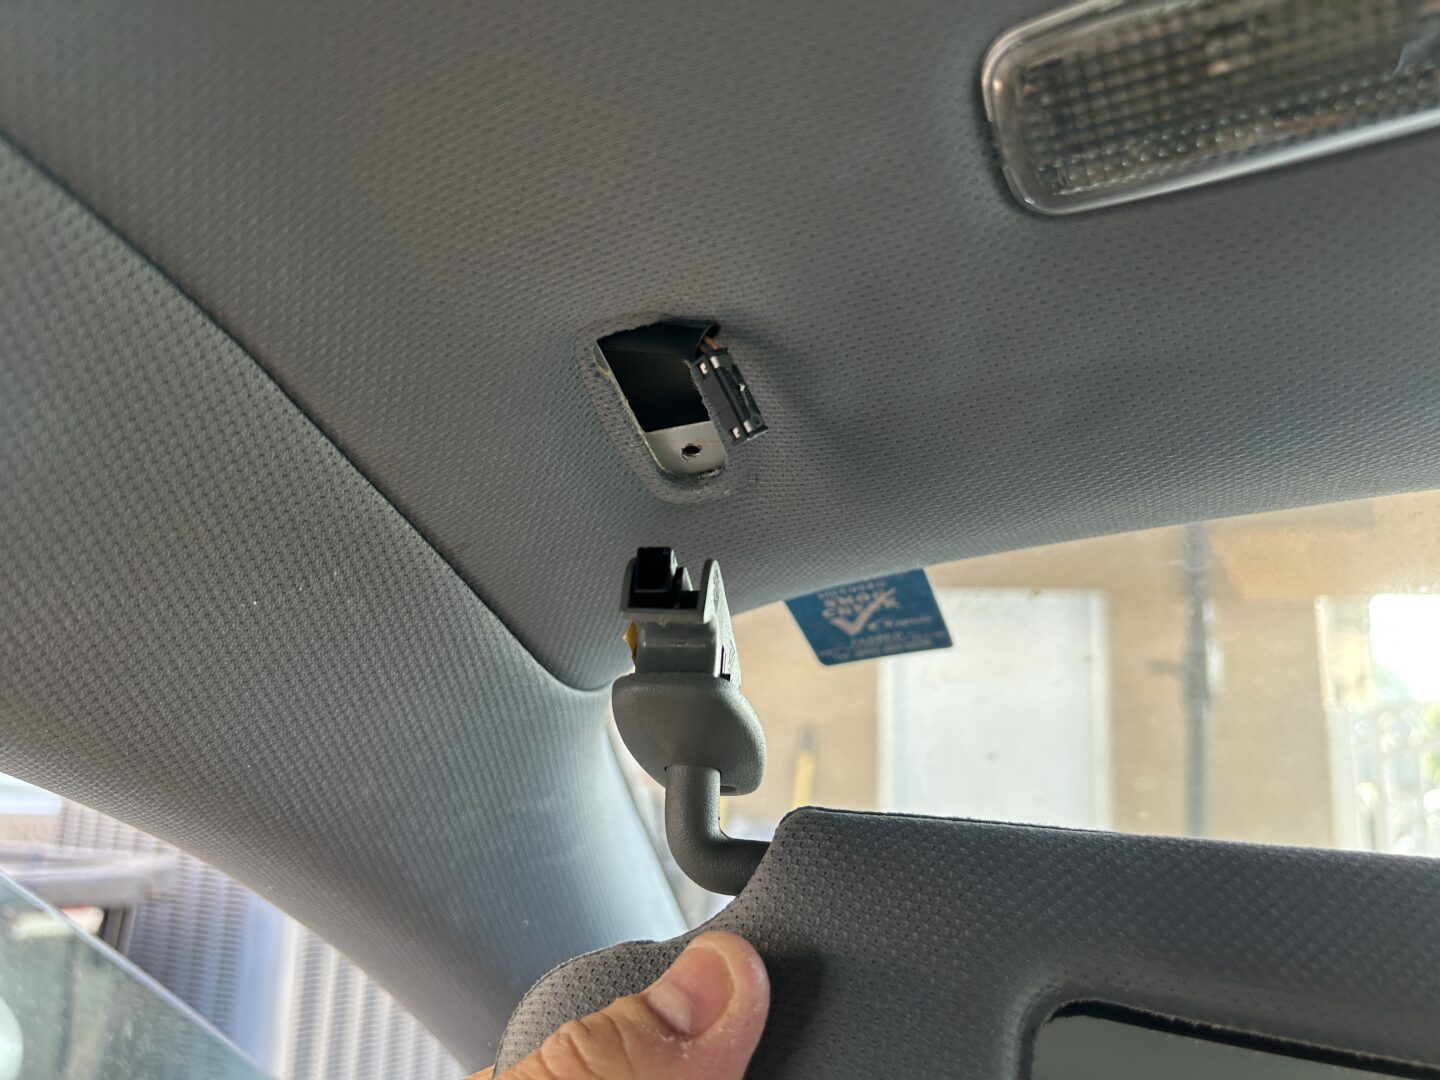
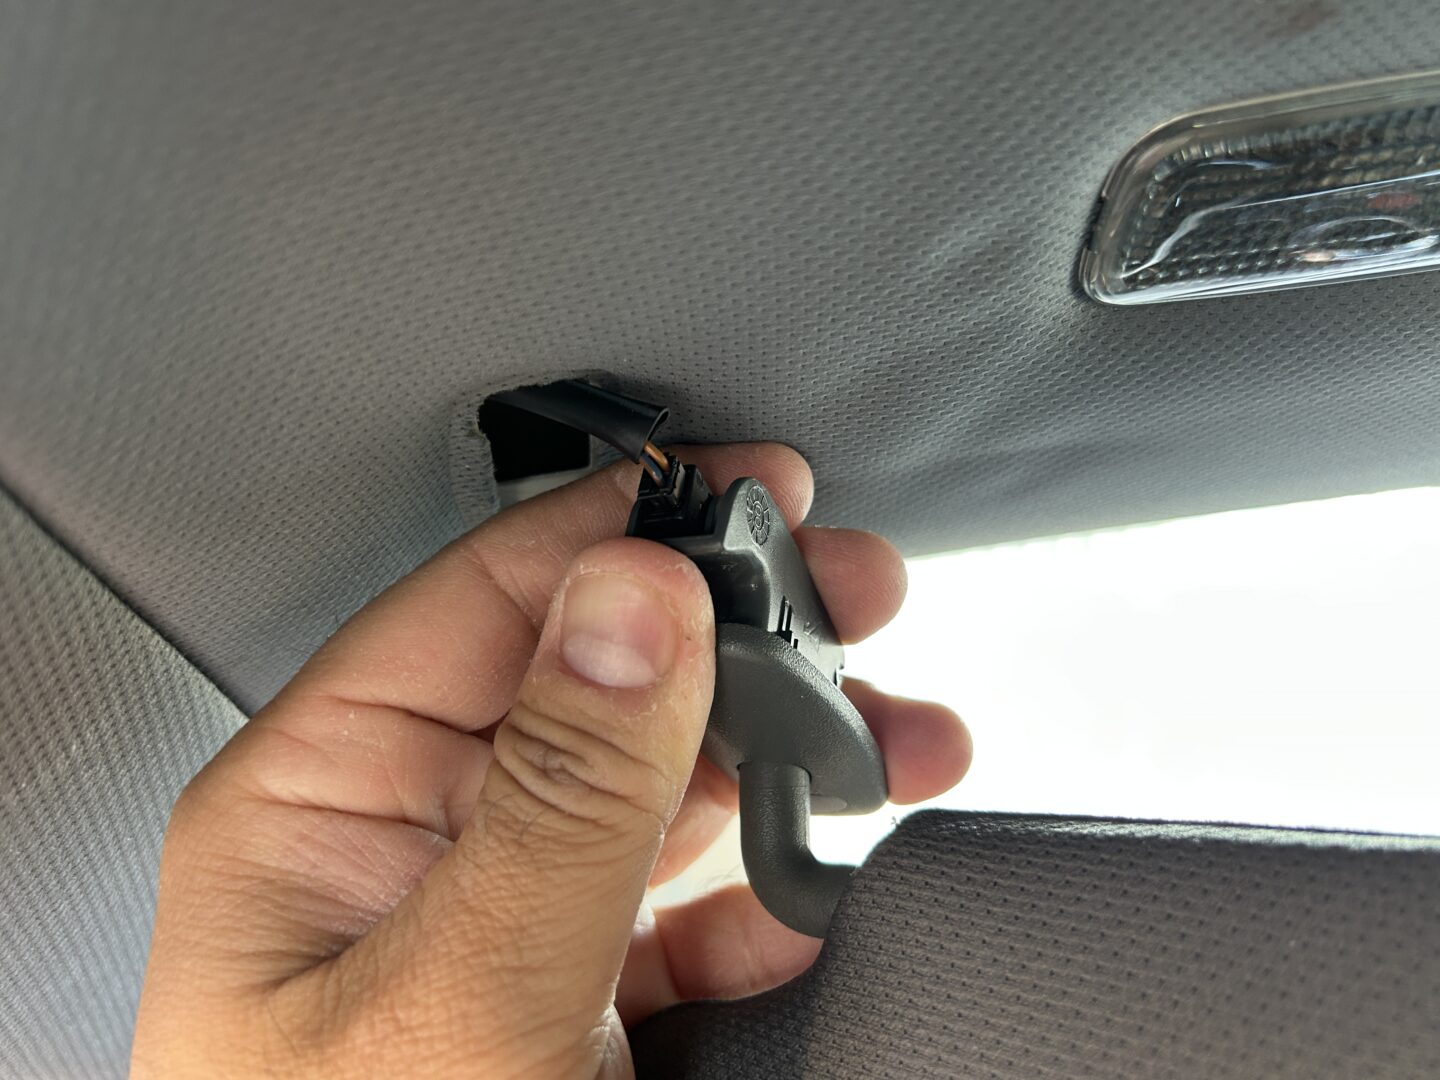
If you have a close look at the way the visor hooks into the opening, you can see how it rotates in and out of place. The reinstallation is in the reverse order: bring the sun visor up in place, connect the electrical connector, rotate the hooked mount into place, screw in the Phillips head screw, and then replace the little cap.
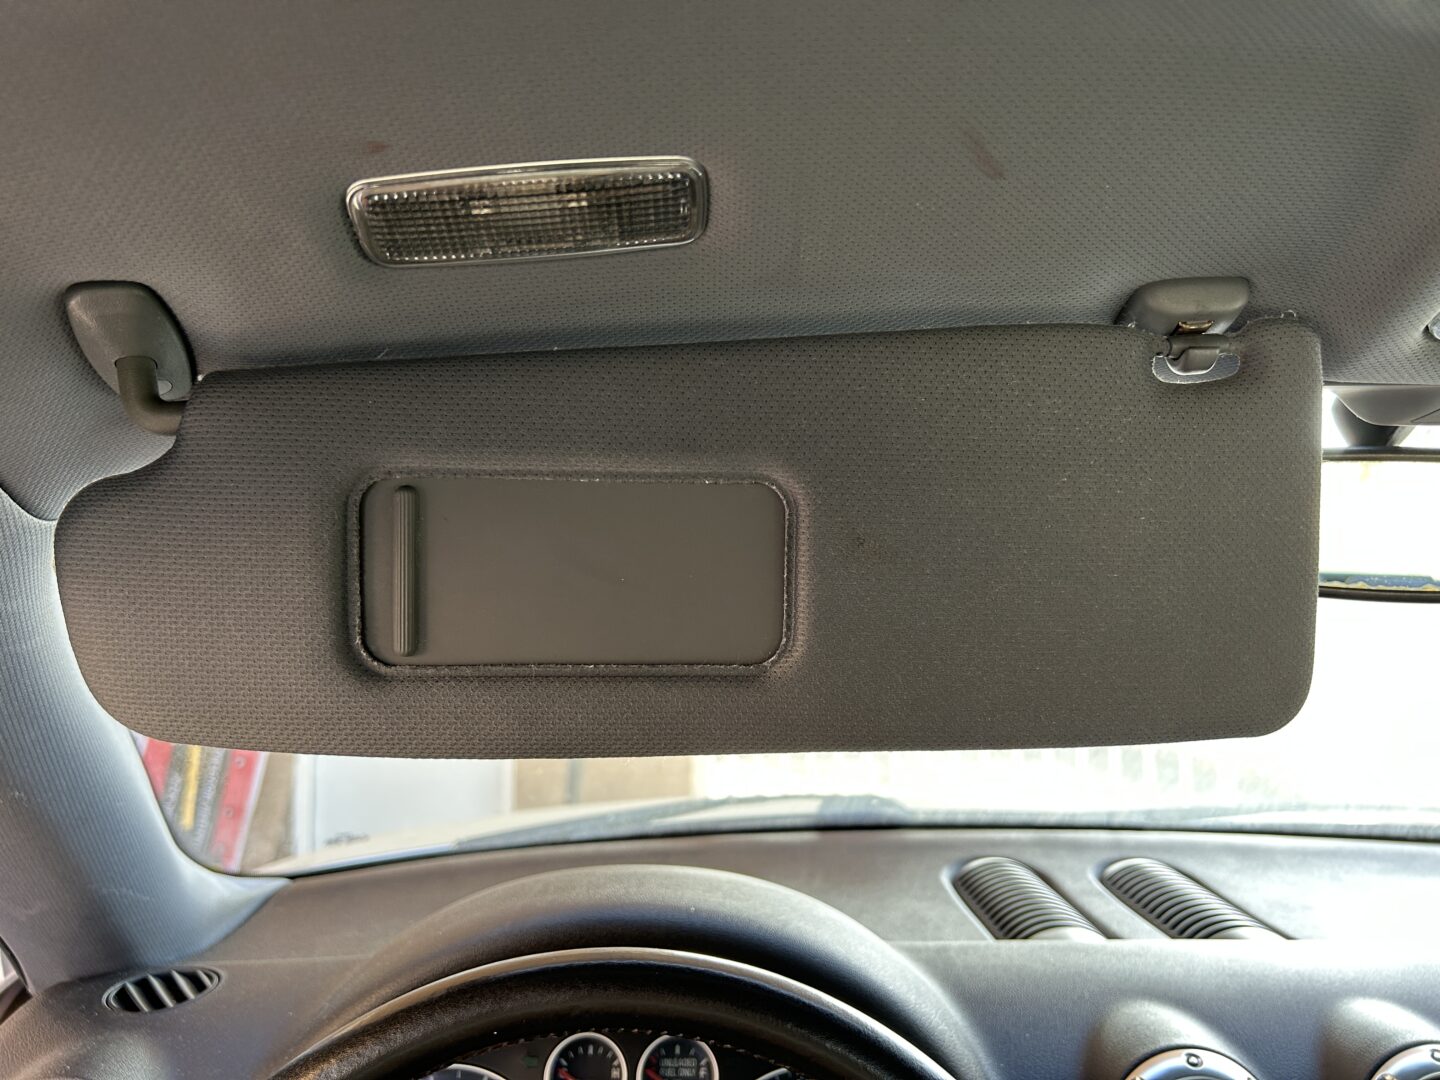
As you can see, even though this is another used sun visor, it looks a lot better than my previous one. It also looks really clean without the eye sore of the warning labels. If you don’t want to remove the sun visors, you can definitely clean the sun visor without removing it, but if you need to do some deep cleaning, you may want to remove it completely to do so.
As you can see, the removal of the sun visors is actually not difficult, but knowing the steps it takes to do so helps you remove it in a safe manner. I’m really content with the change in the look inside of my TT. It looks a lot cleaner without the warning labels and without the paint damage that I had before.
")
")
")
")
")
")
")
")
")