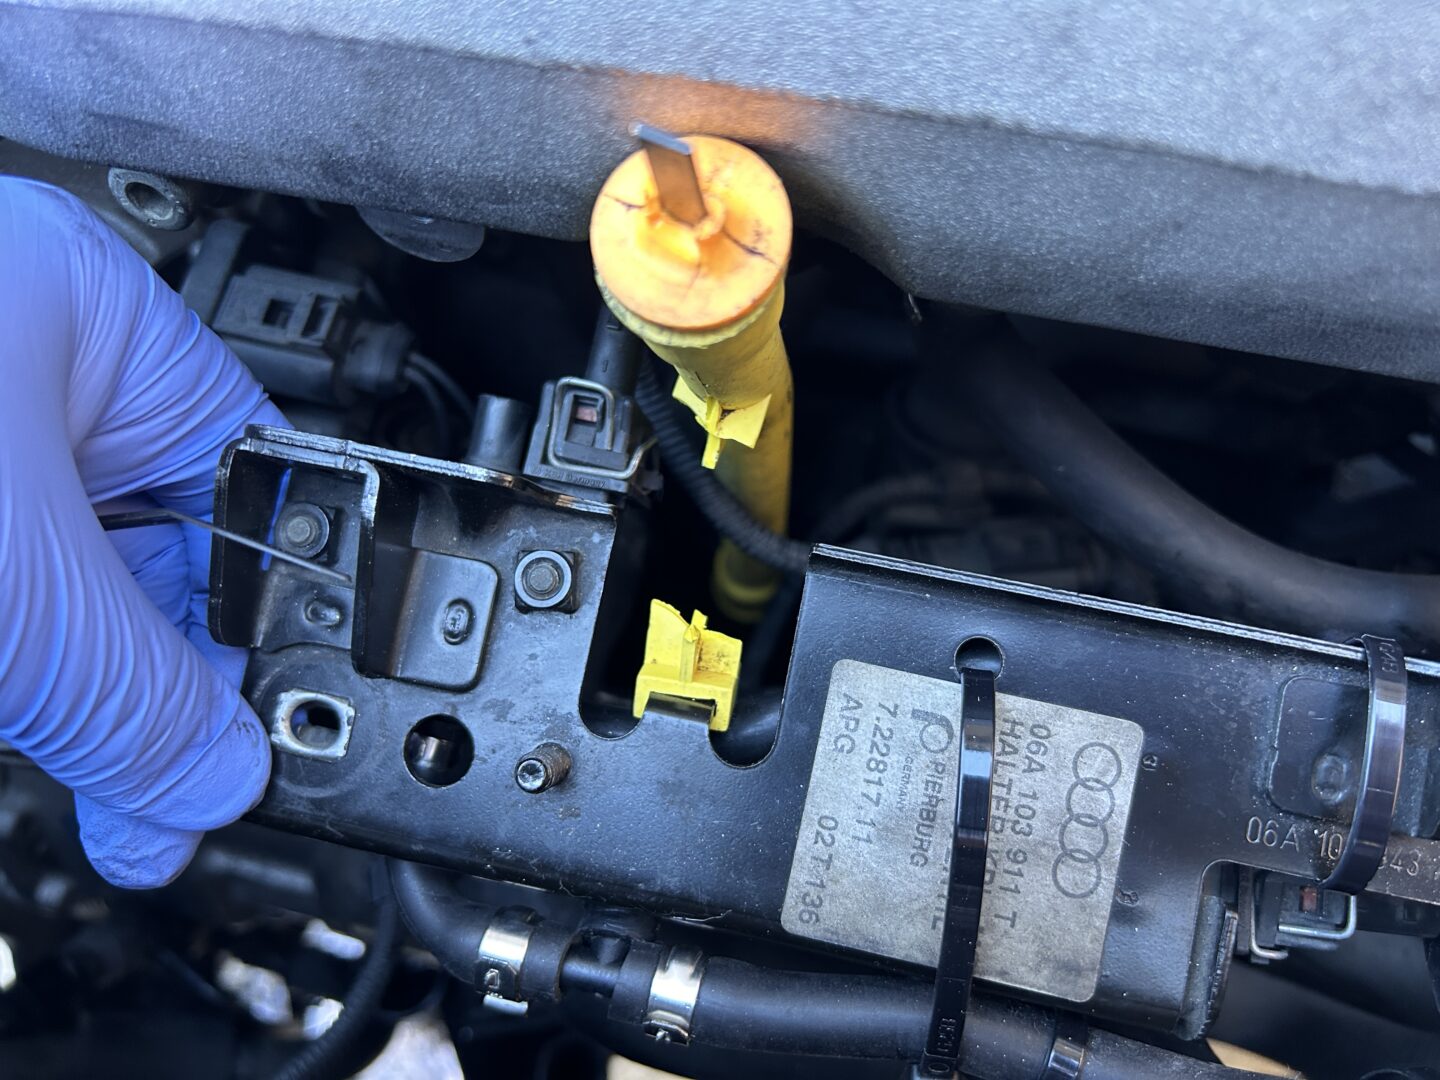
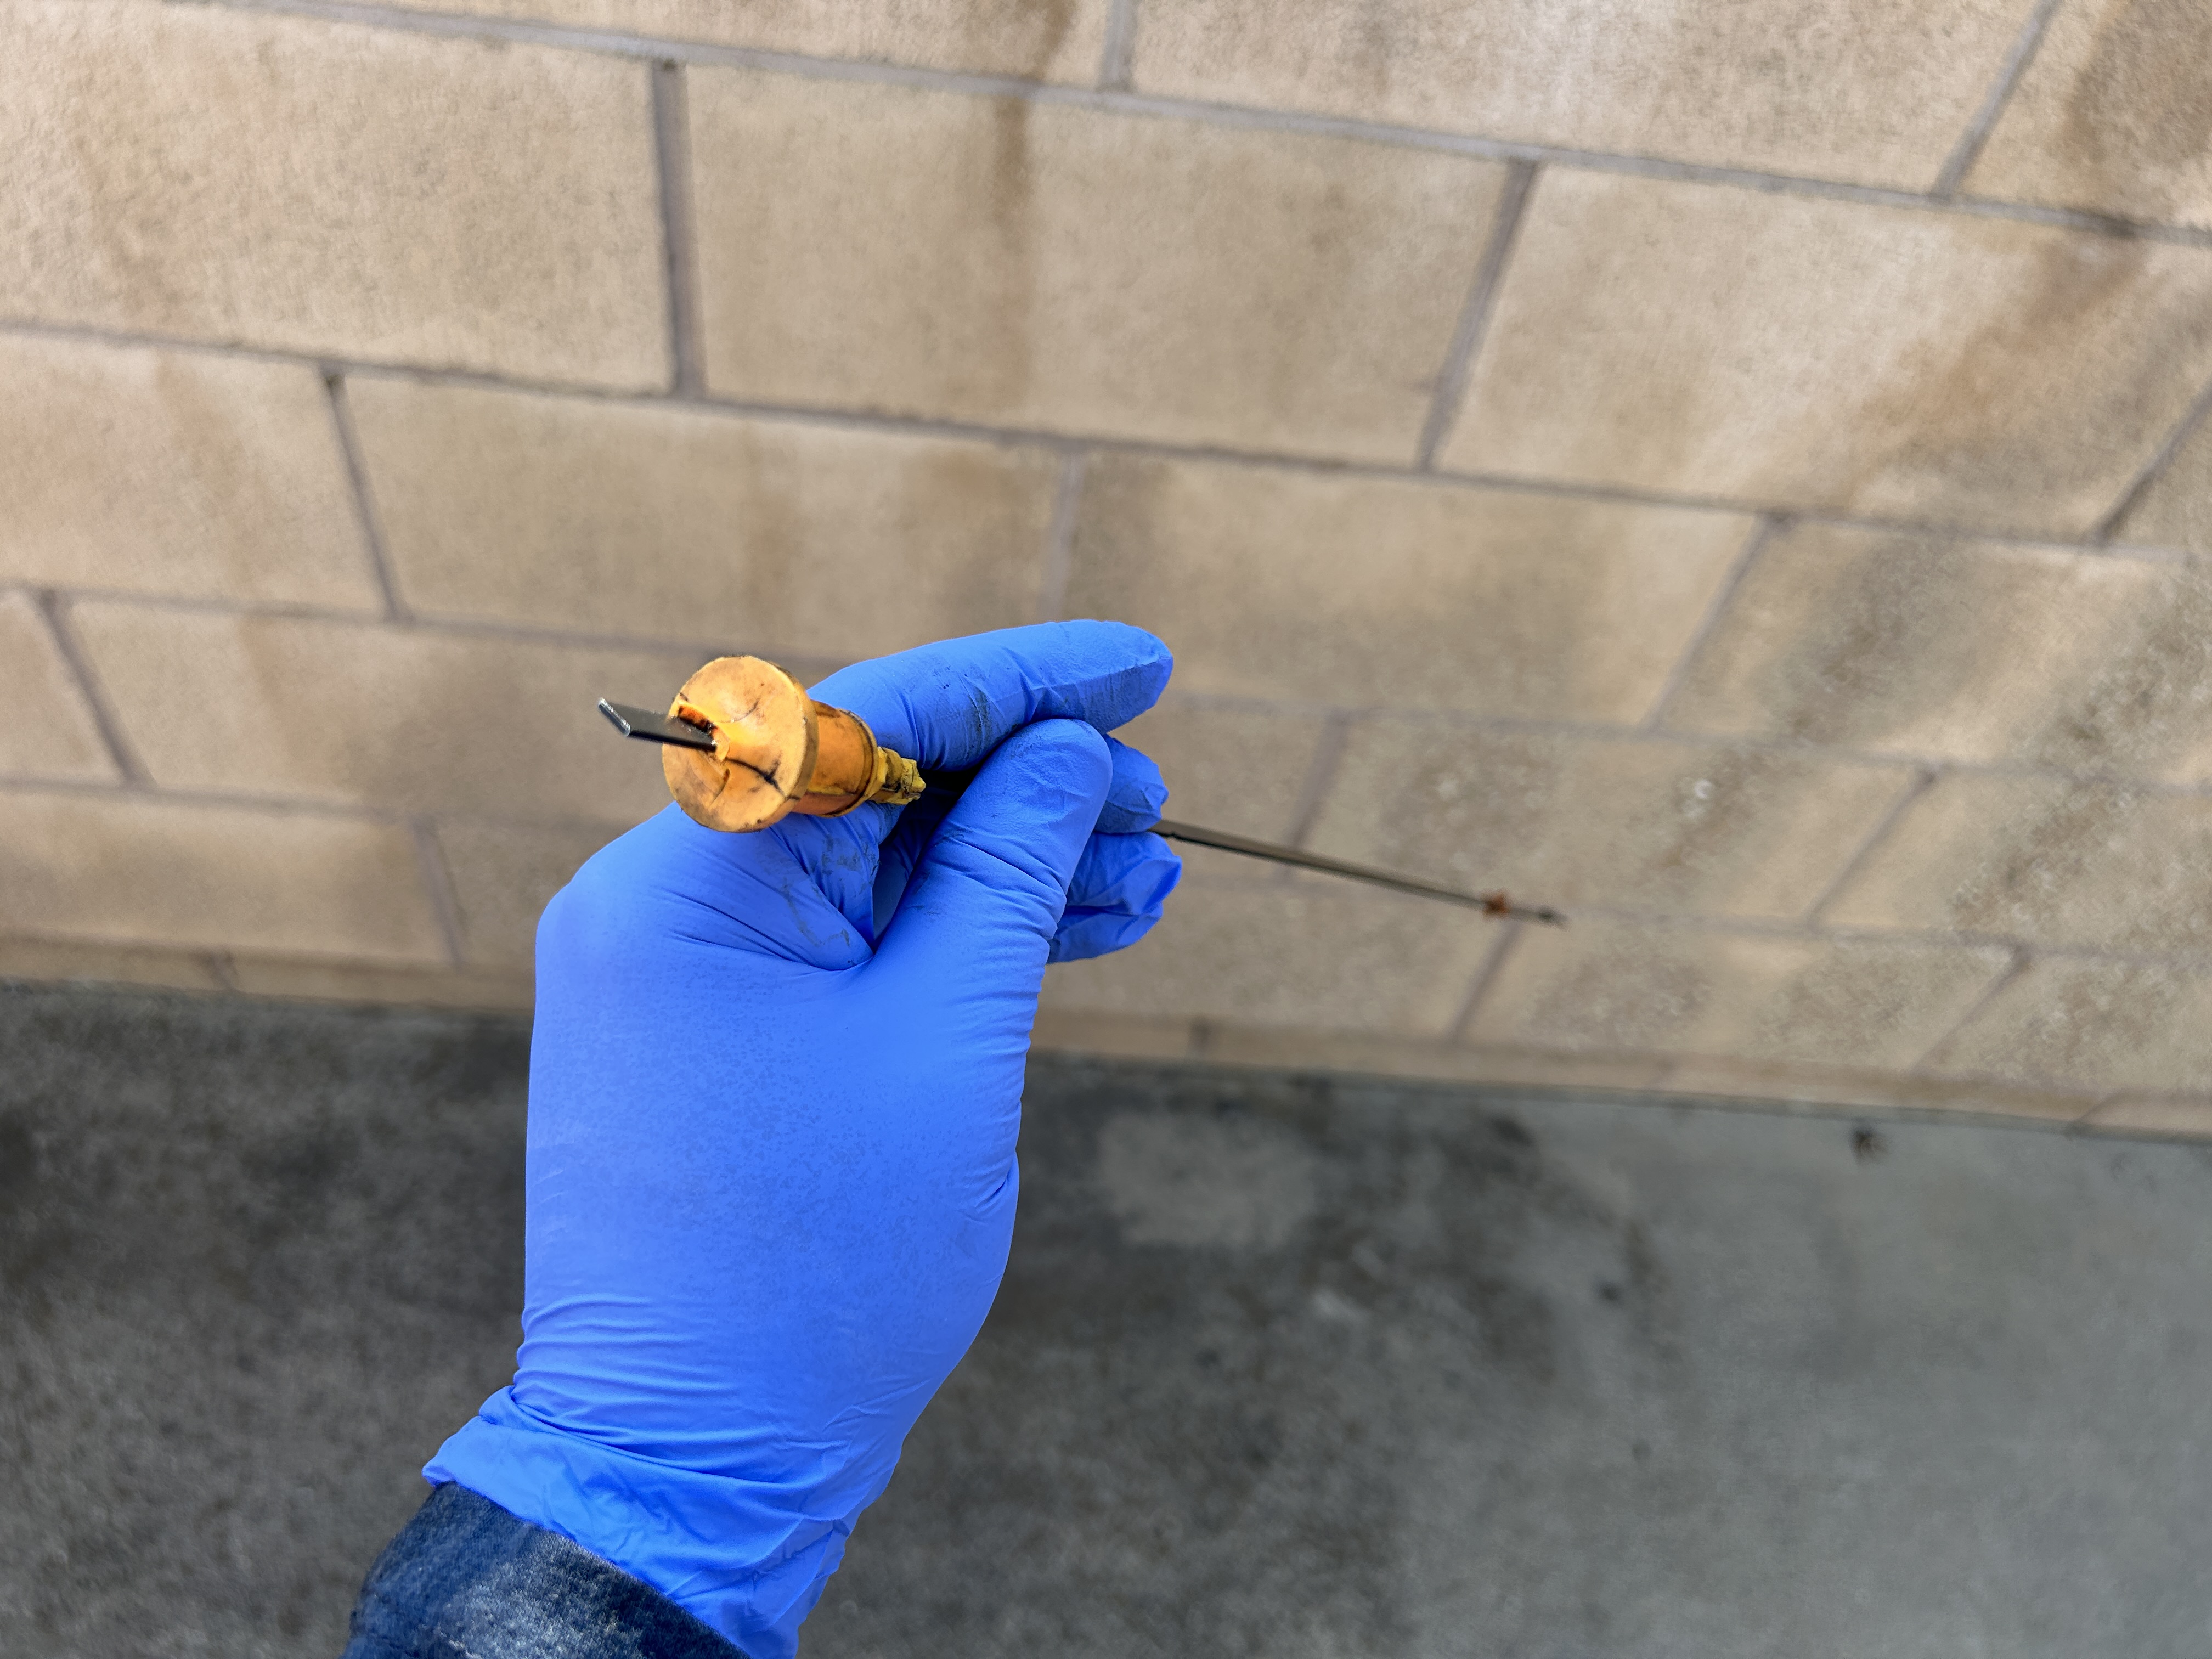
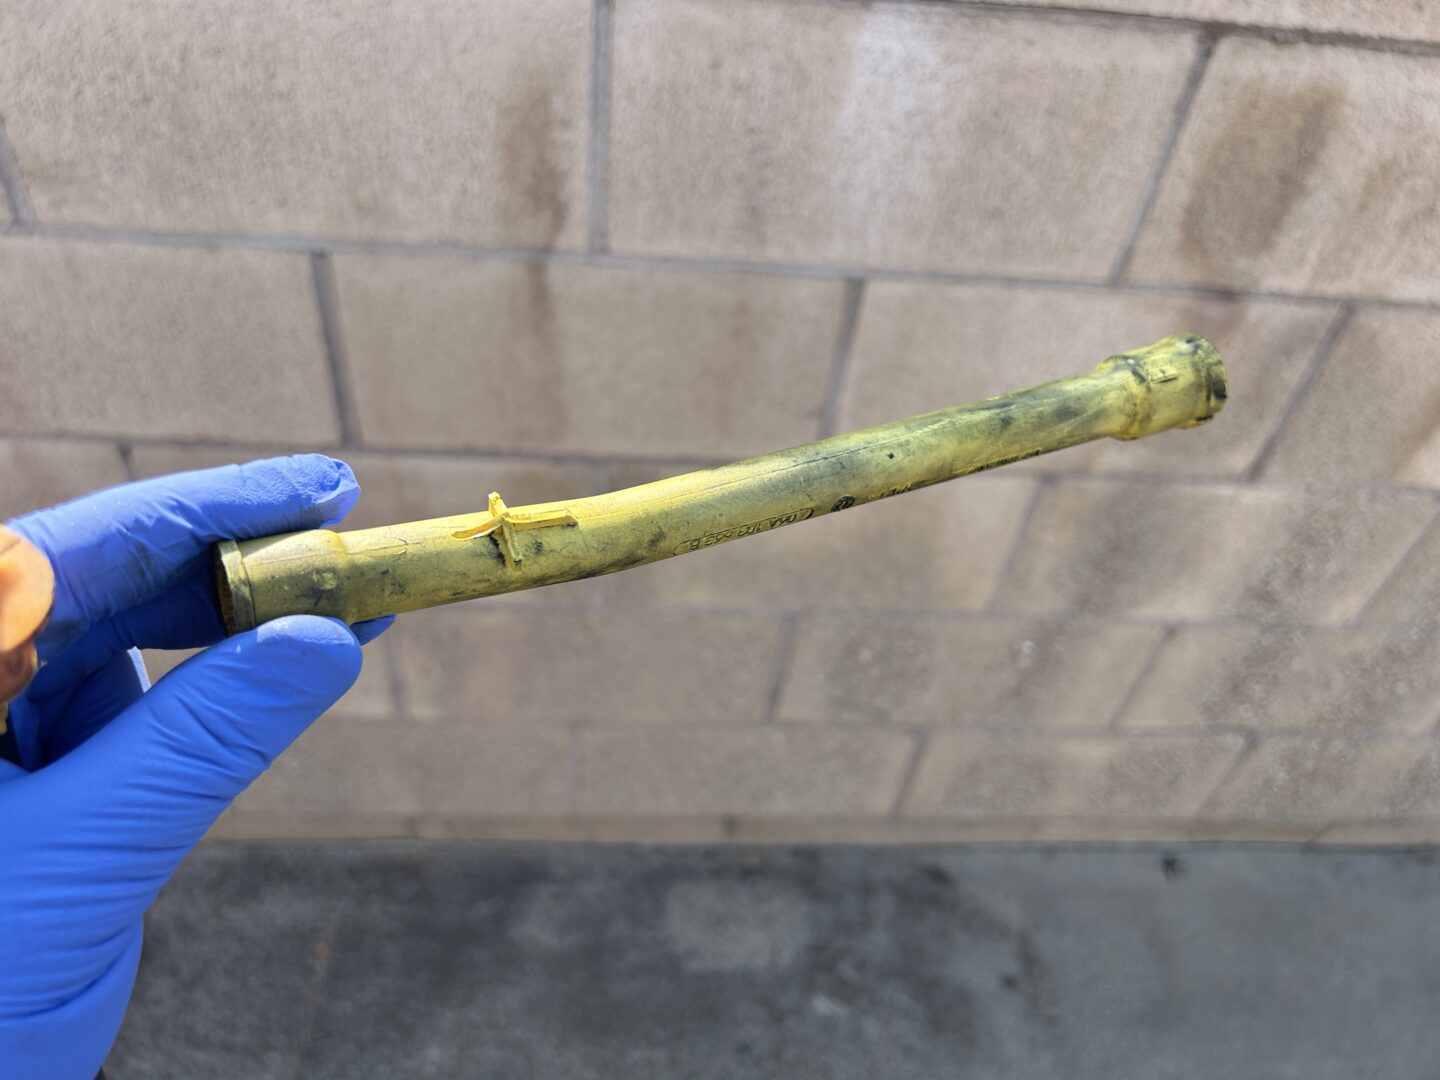
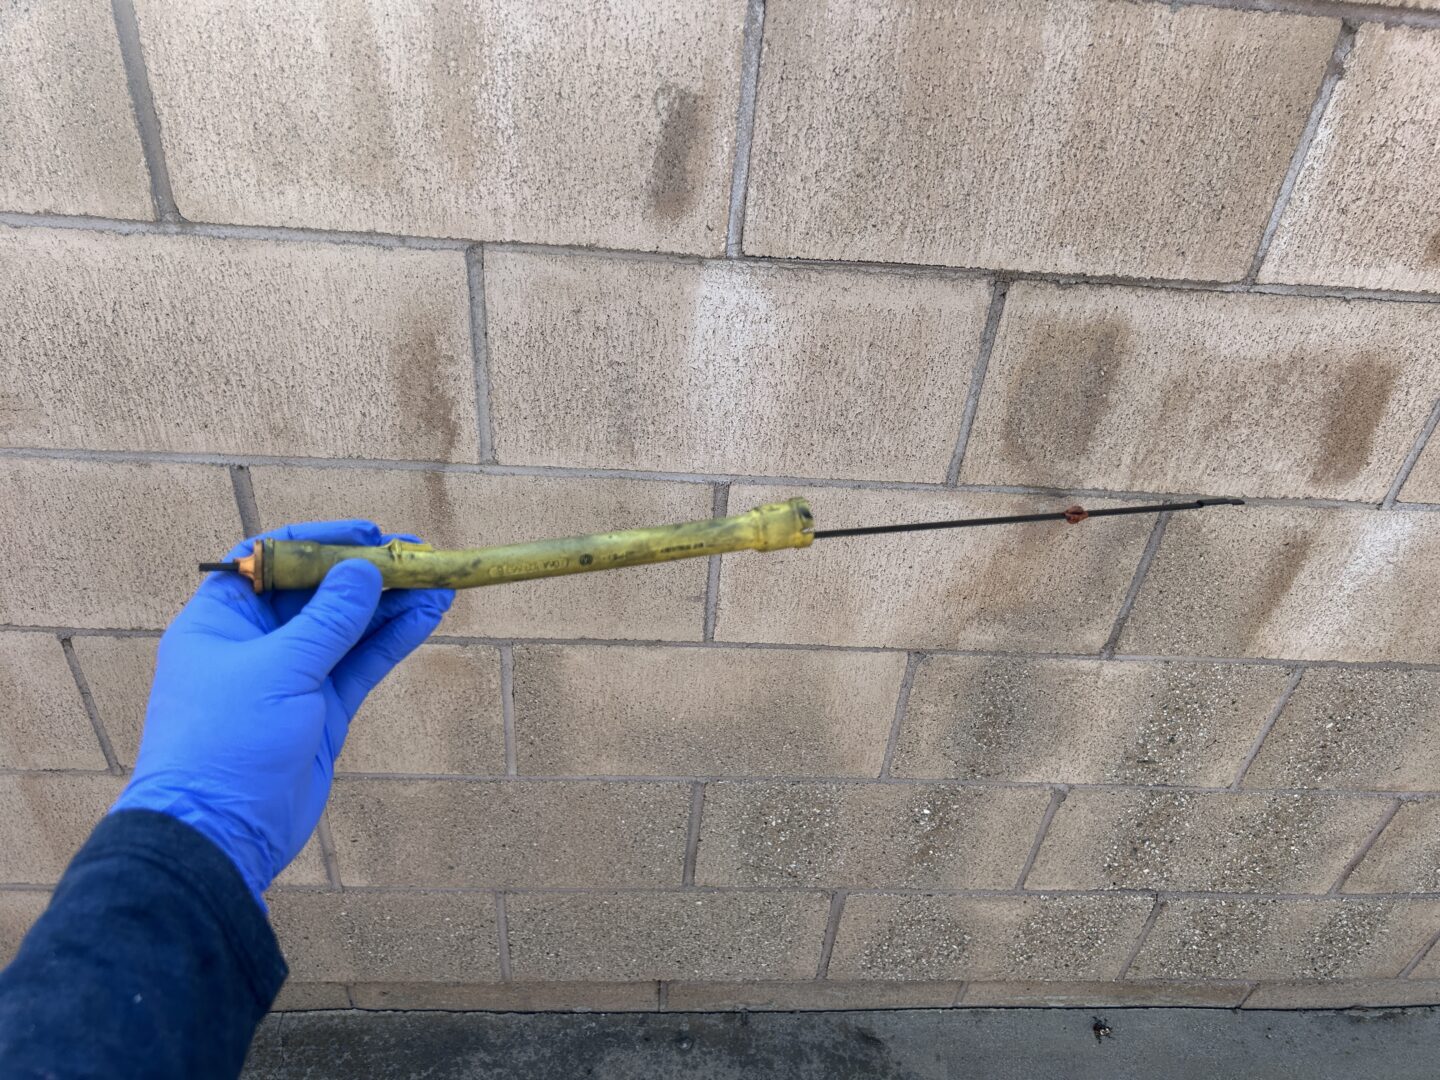
From the moment I bought my Audi TT, I had a hard time pulling the oil dipstick because the handle on it had broken off. To make matters worse, when I replaced the broken N249 hoses under the hood, the oil filler tube broke off when I was removing the N249 bracket. It’s probably no surprise that these parts break since they are plastic parts that are constantly exposed to heat in the engine bay.
Even without replacing these parts, the car would still run just fine. But, I am in the middle of restoring my TT, so every broken part is getting fixed or replaced. I’ll be detailing the replacement of both the oil dipstick and dipstick tube in case anyone else out there wants to know how to go about it and figure out what parts they need.
Parts to Replace
These are the two parts that needed to be replaced on my car, the oil dipstick and the oil dipstick tube. Obviously changing out the oil dipstick is as simple as replacing it, but changing out the dipstick tube requires you to remove the N249 bracket.
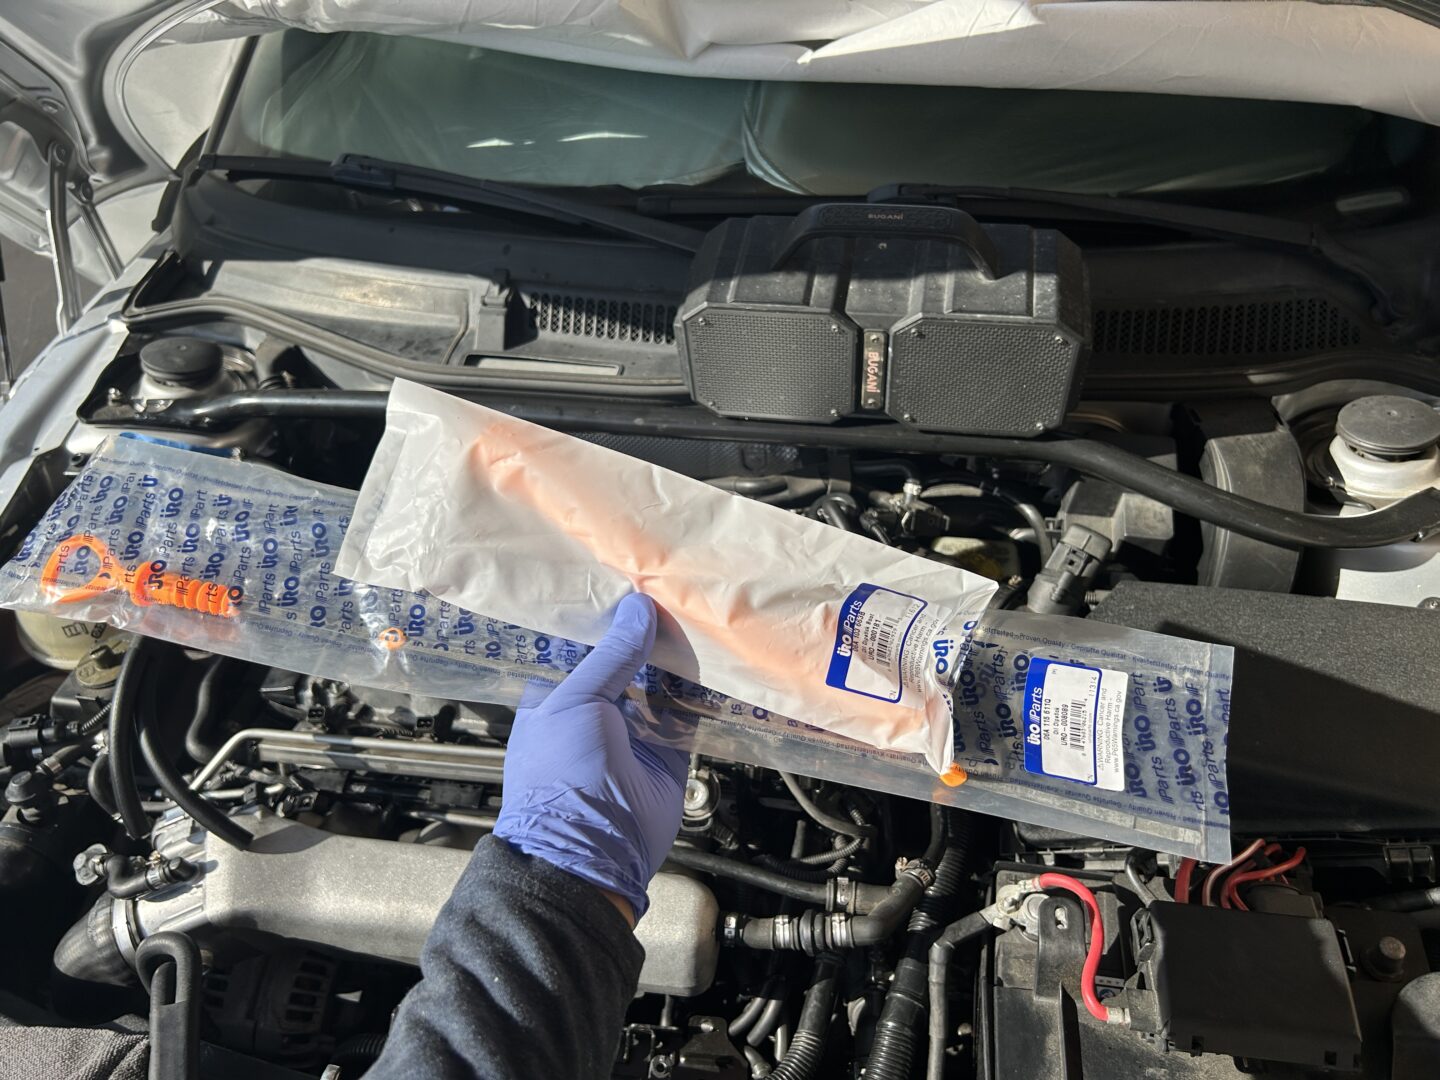
The replacement parts I used are made by URO Parts, a brand I trust with a lot of the replacement parts on my Audi TT.
URO Parts Oil Dipstick – 06A115611Q
URO Parts Oil Dipstick Tube – 06A103663B
Replacing the Broken Oil Dipstick and Oil Dipstick Tube
So if you just need to replace the oil dipstick, then you can just pull out the old one, and replace with with the new one–easy peasy. But if you need to replace the oil dipstick tube, you’ll need to remove the N249 bracket, which the dipstick tube is mounted to.
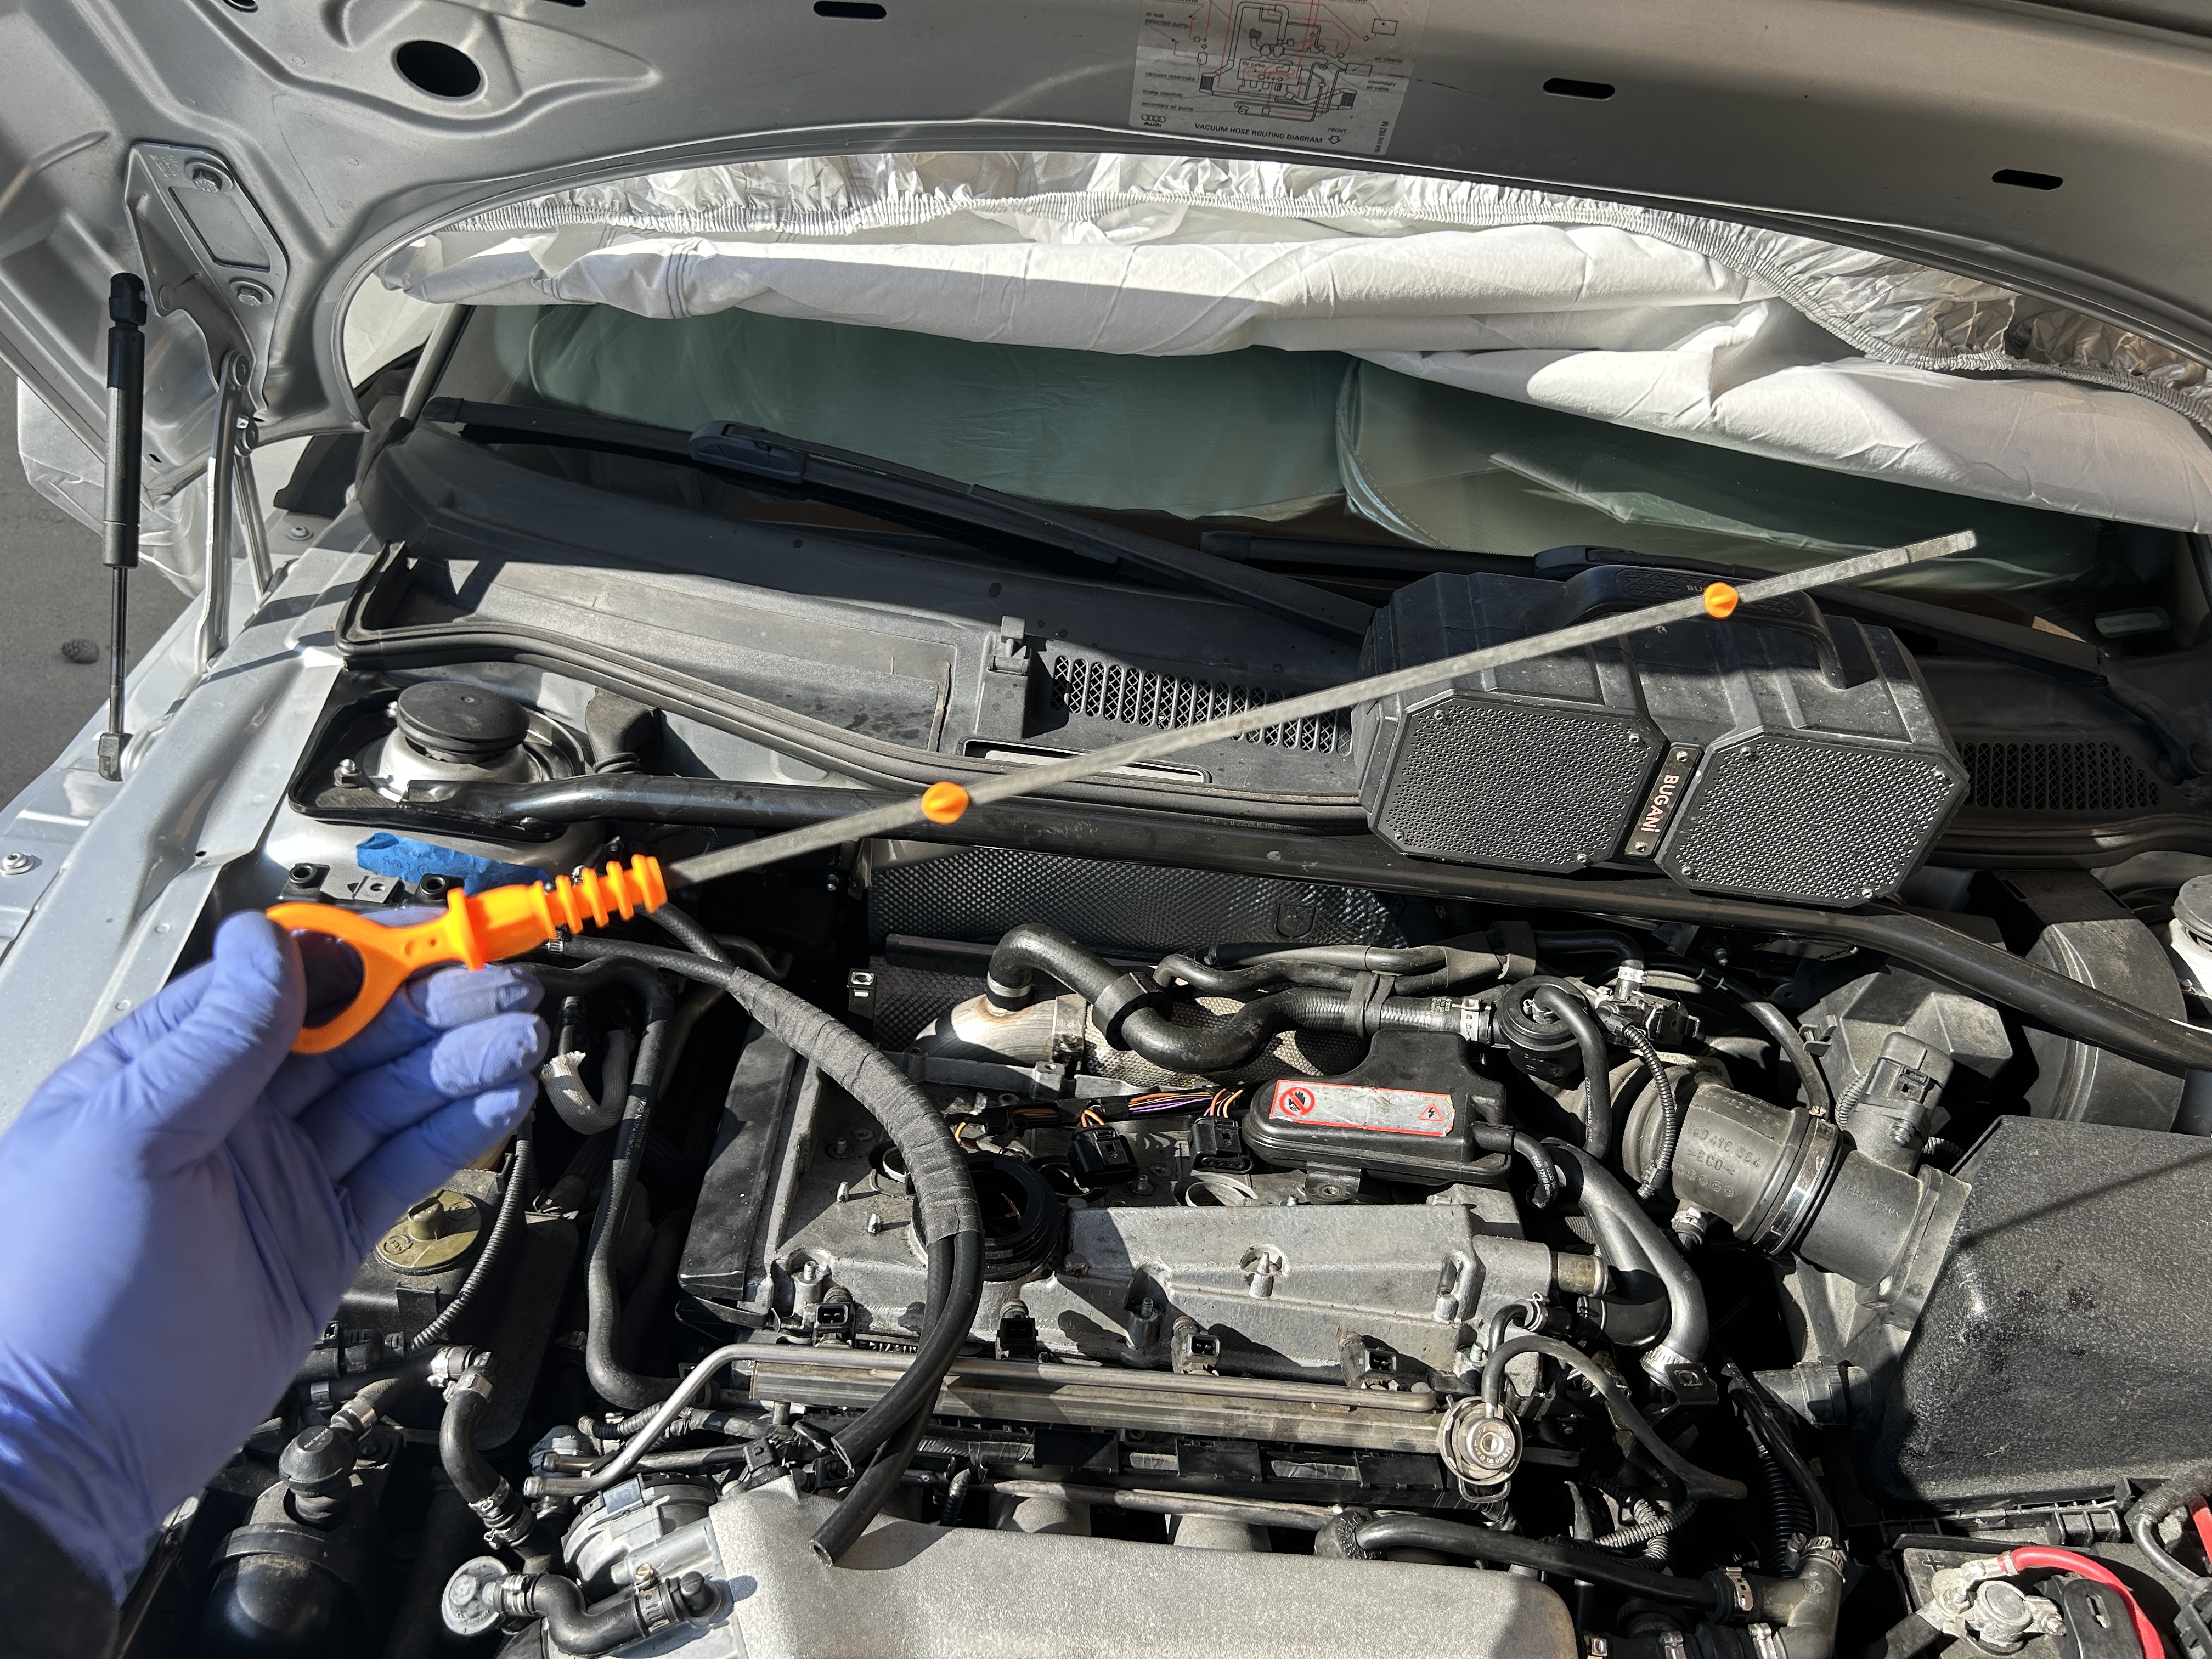
Remove the perforated cover in front of the engine via the (3 qty) plastic screws.
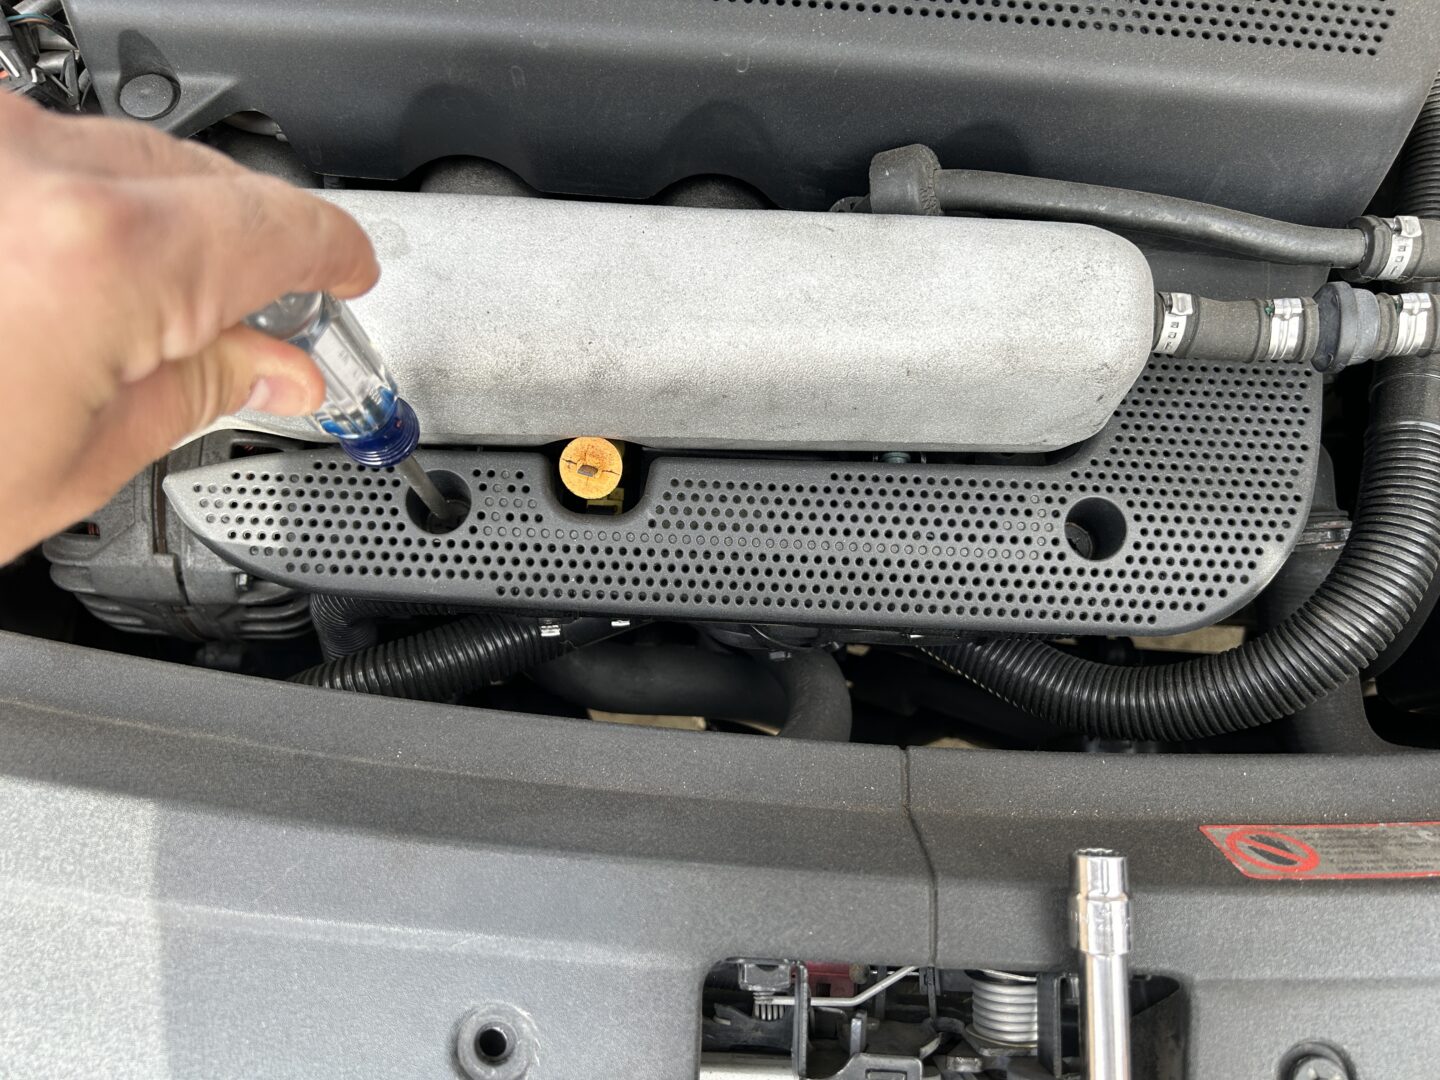
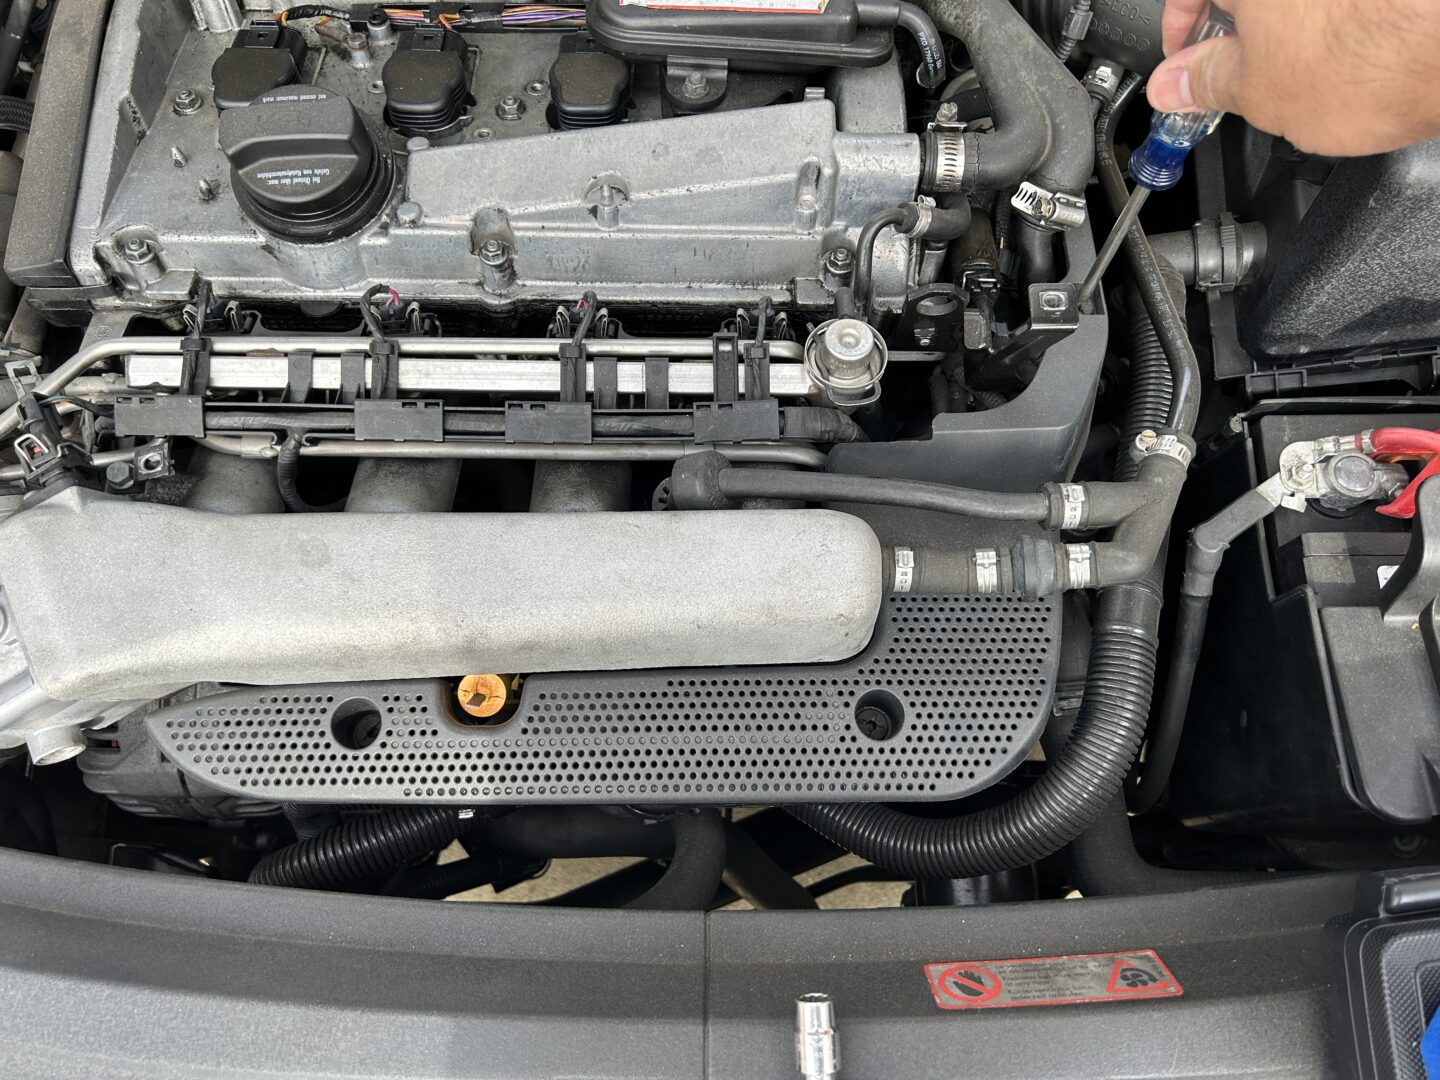
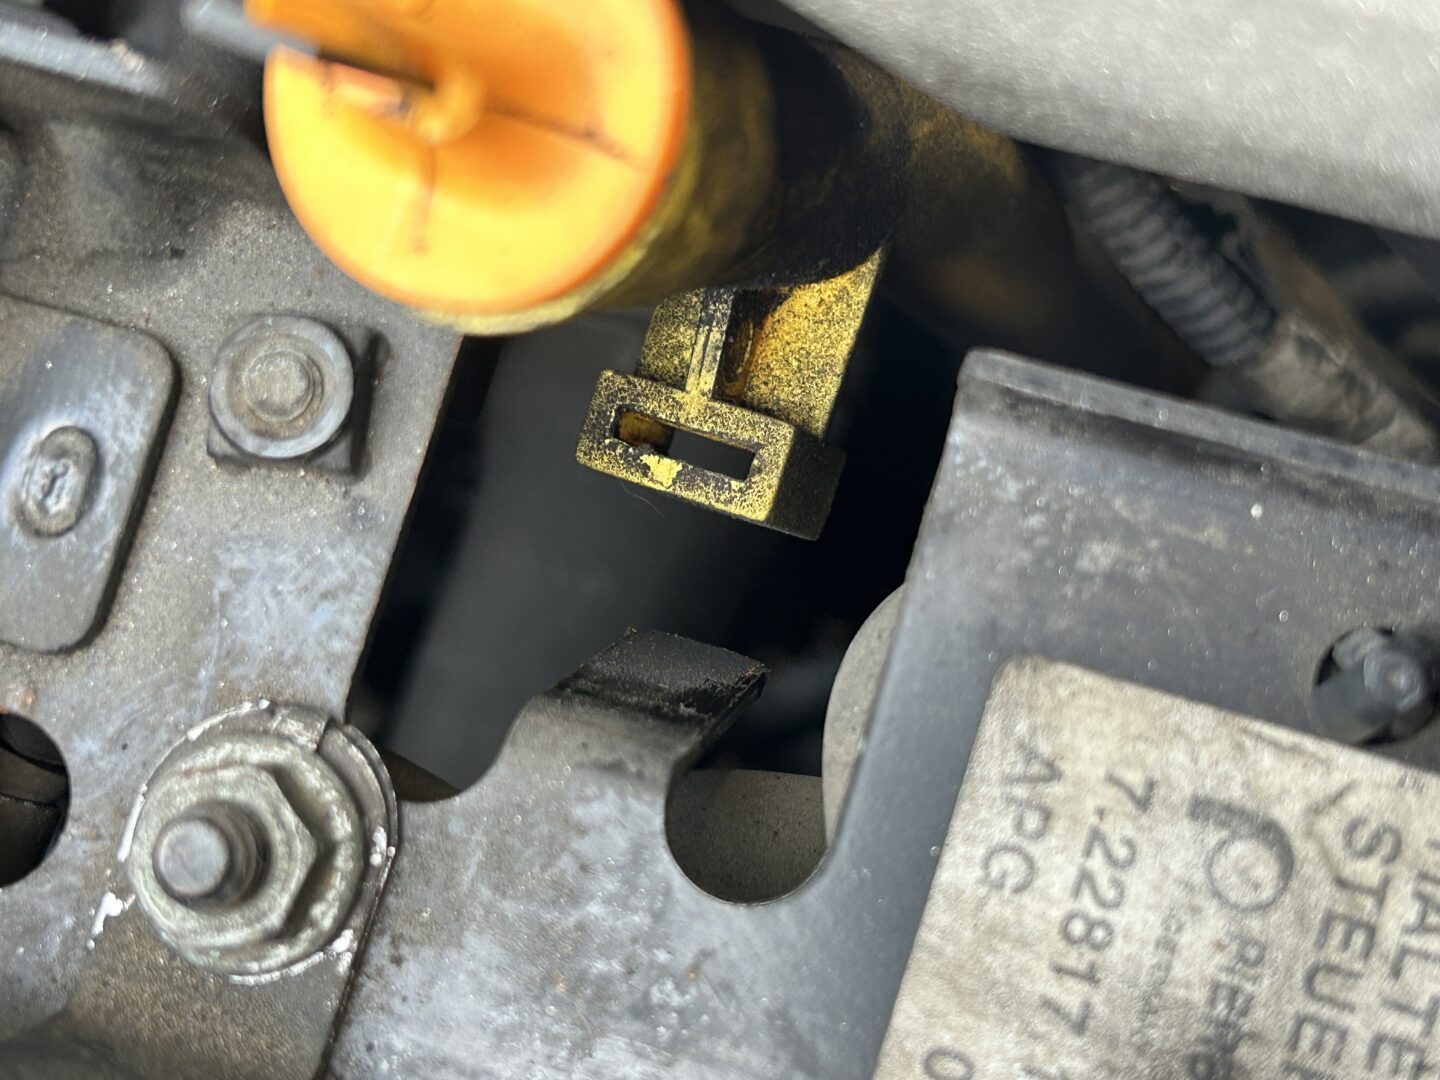
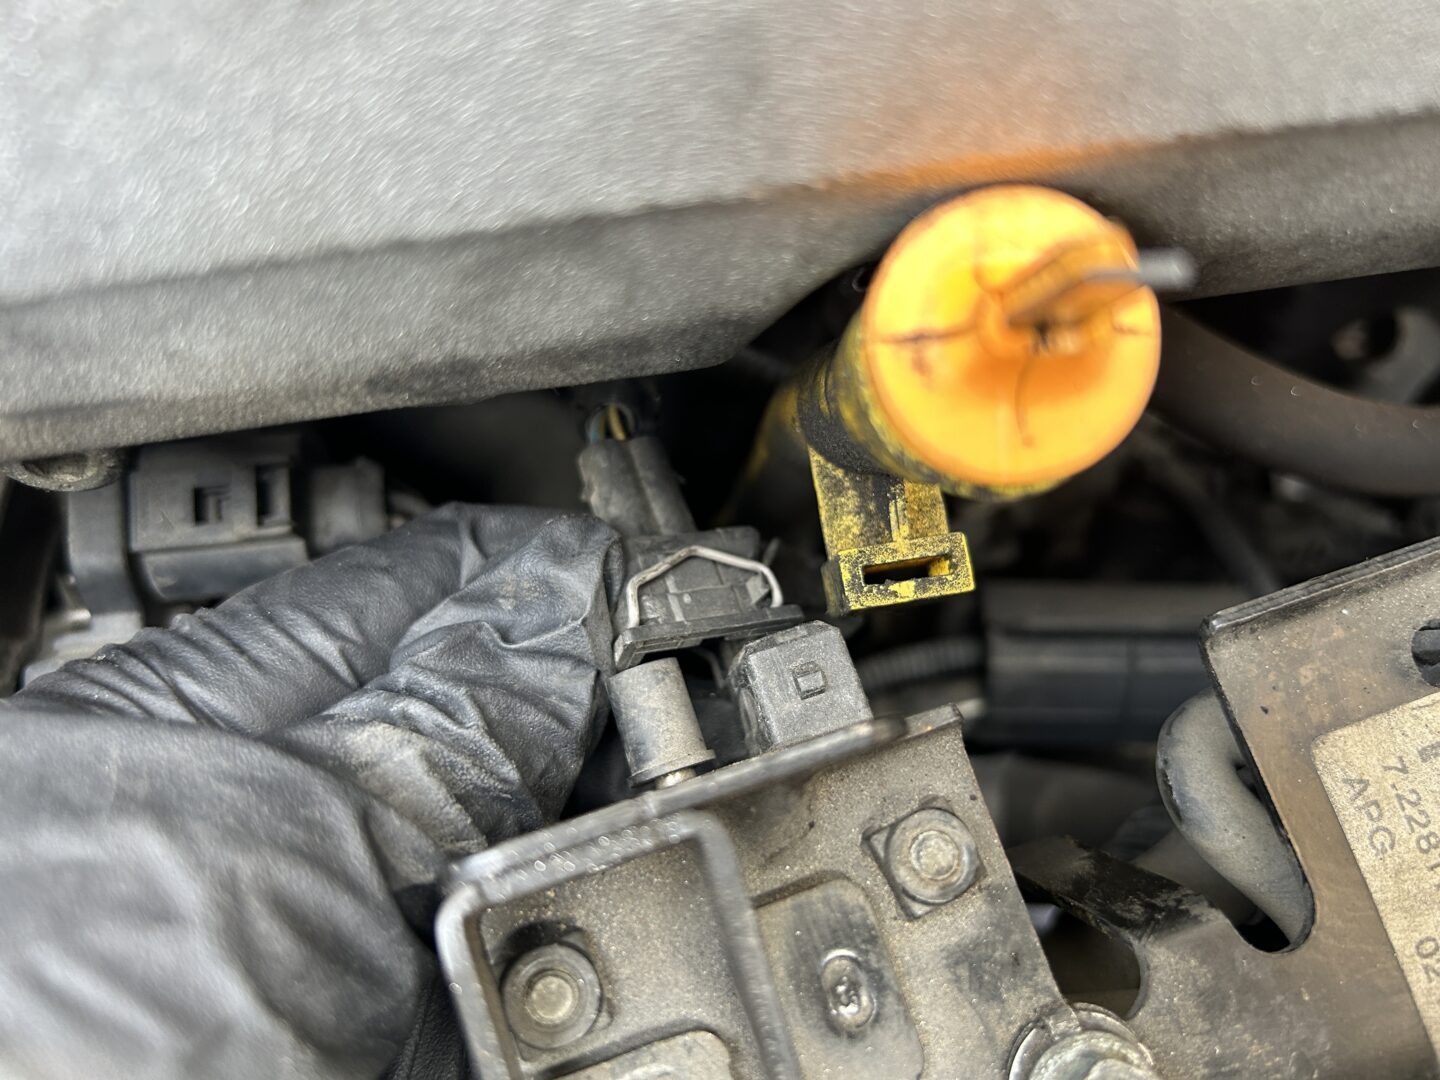
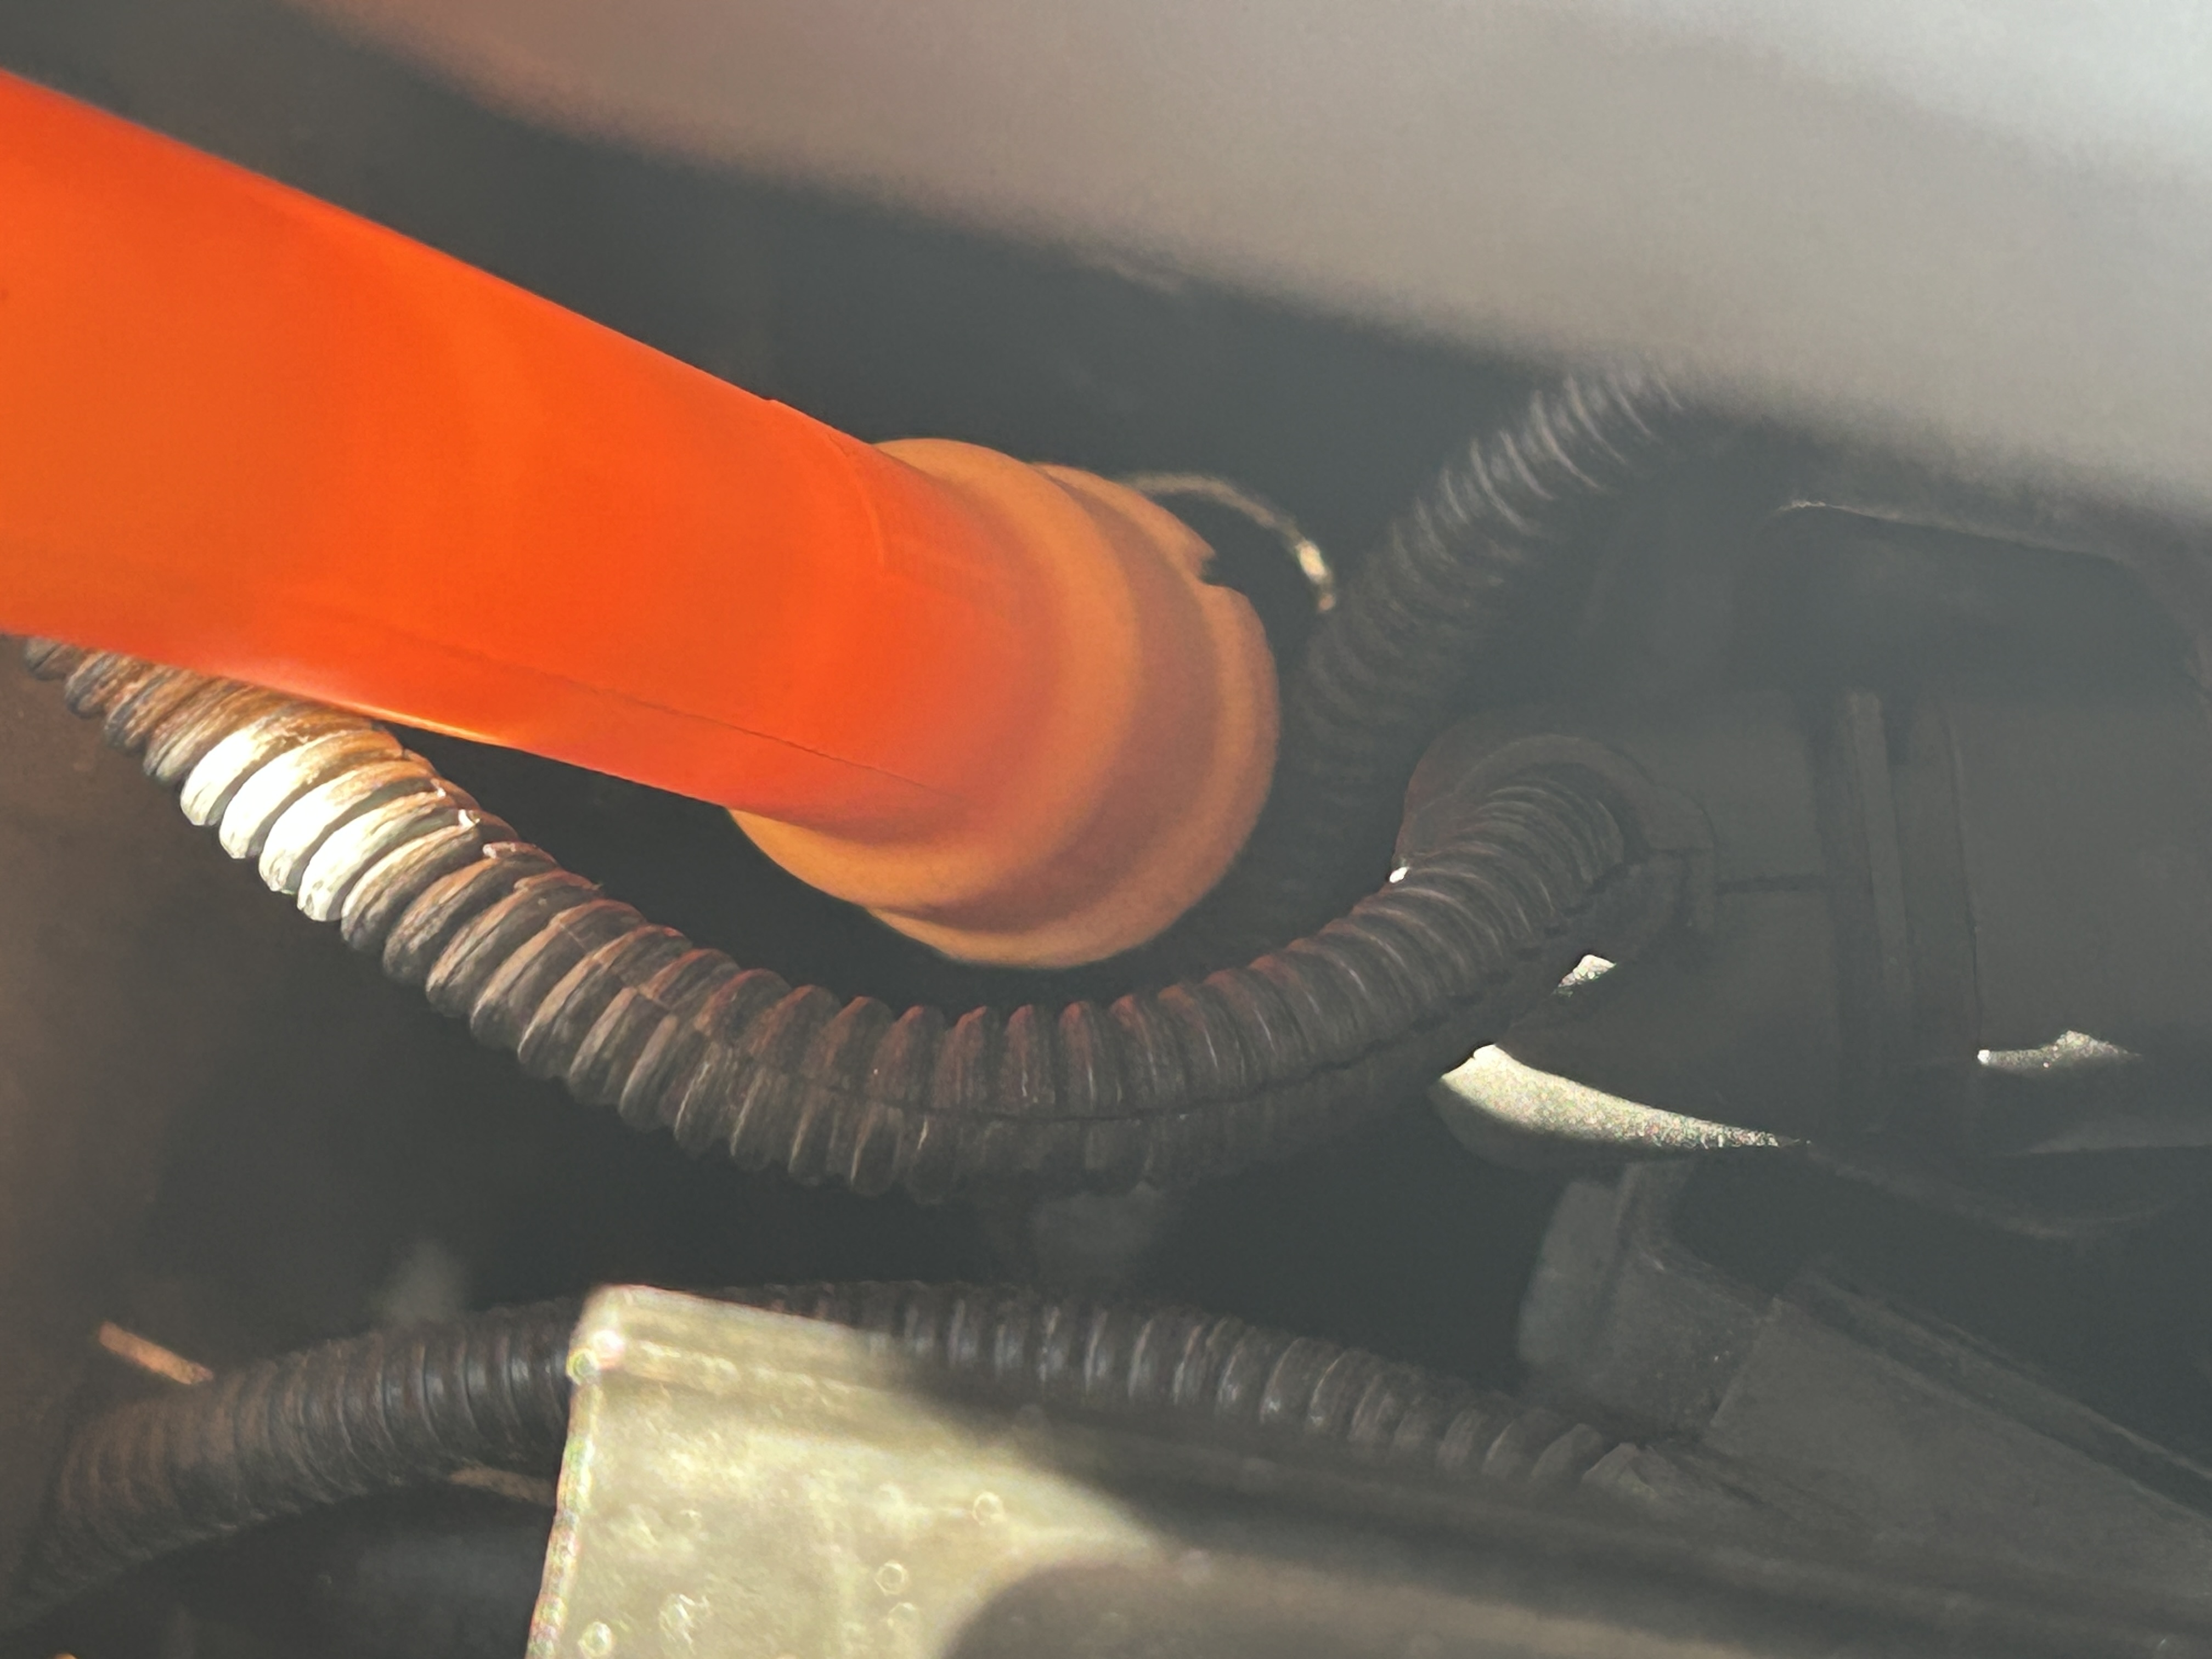
Next, remove the (2 qty) size 5 hex bolts for the N249 bracket. As you remove the bracket, hold the oil dipstick tube and pull the metal tab up and off of the dipstick tube.
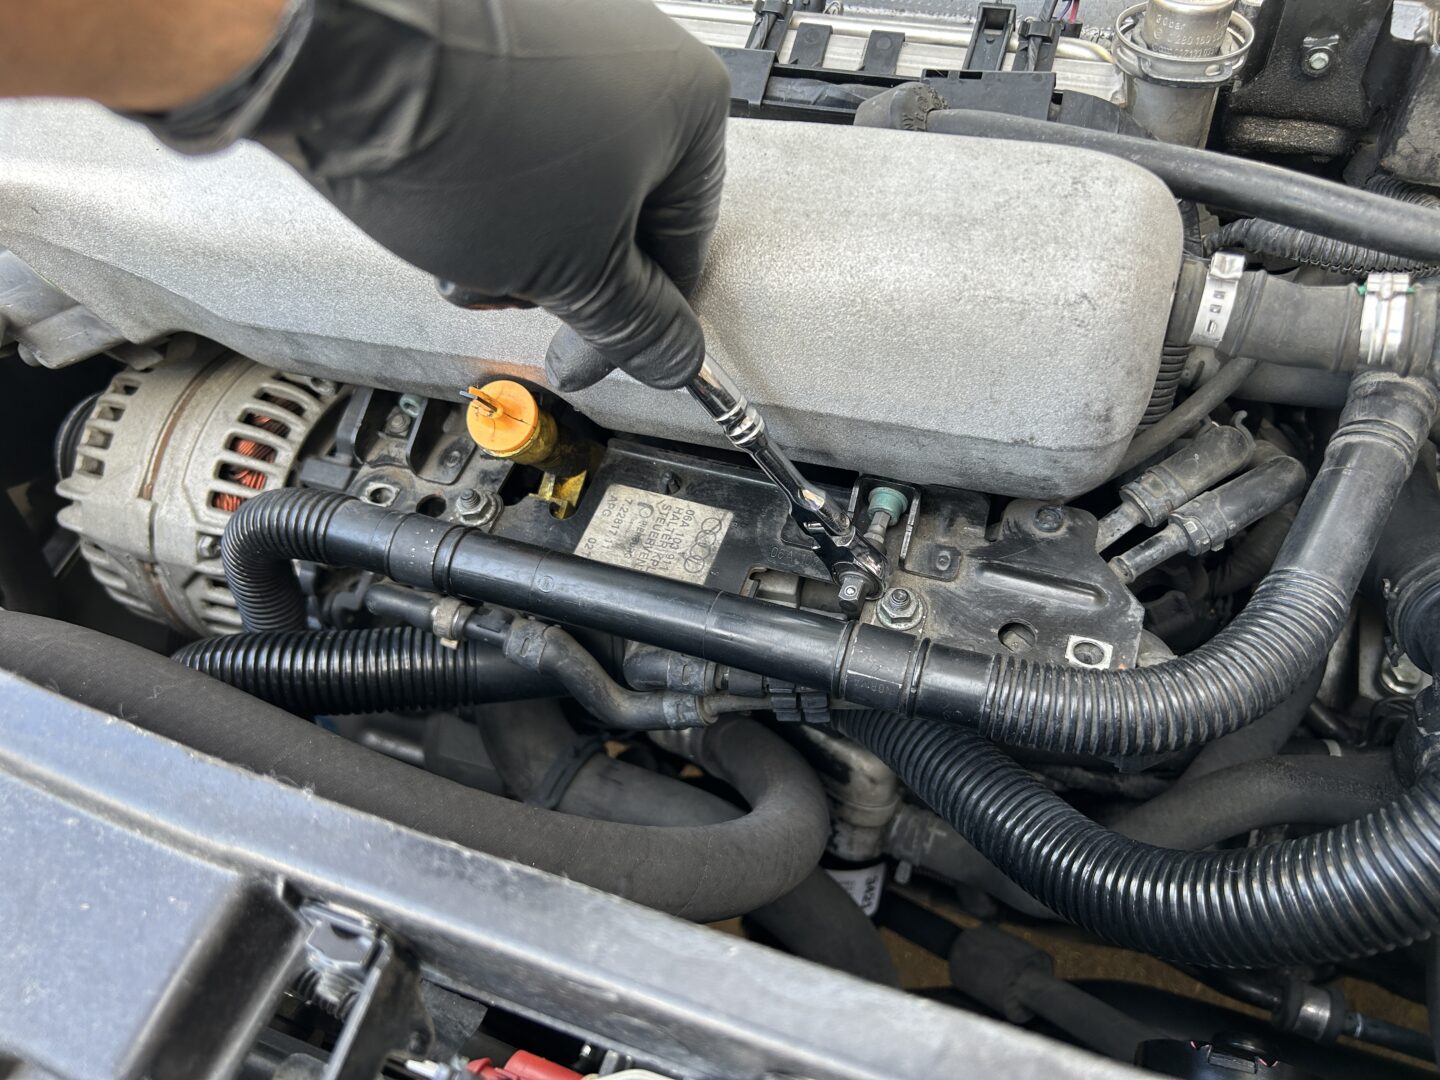
Now, simply pull the dipstick tube out and it will pop right off (along with the dipstick if you haven’t removed it yet.)
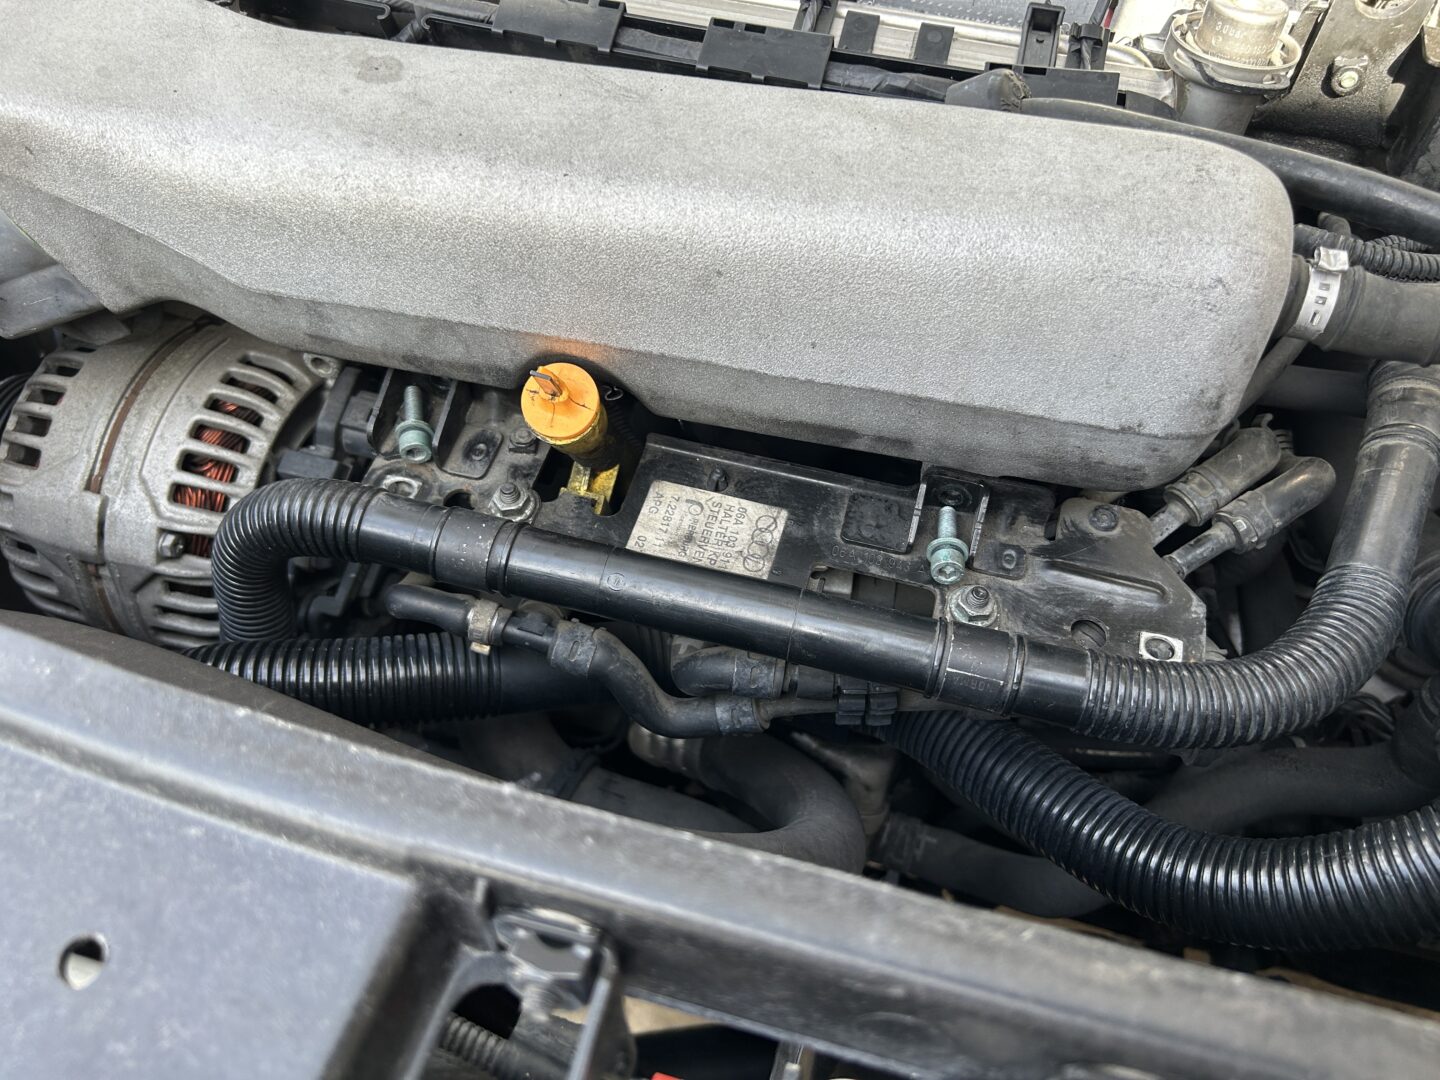
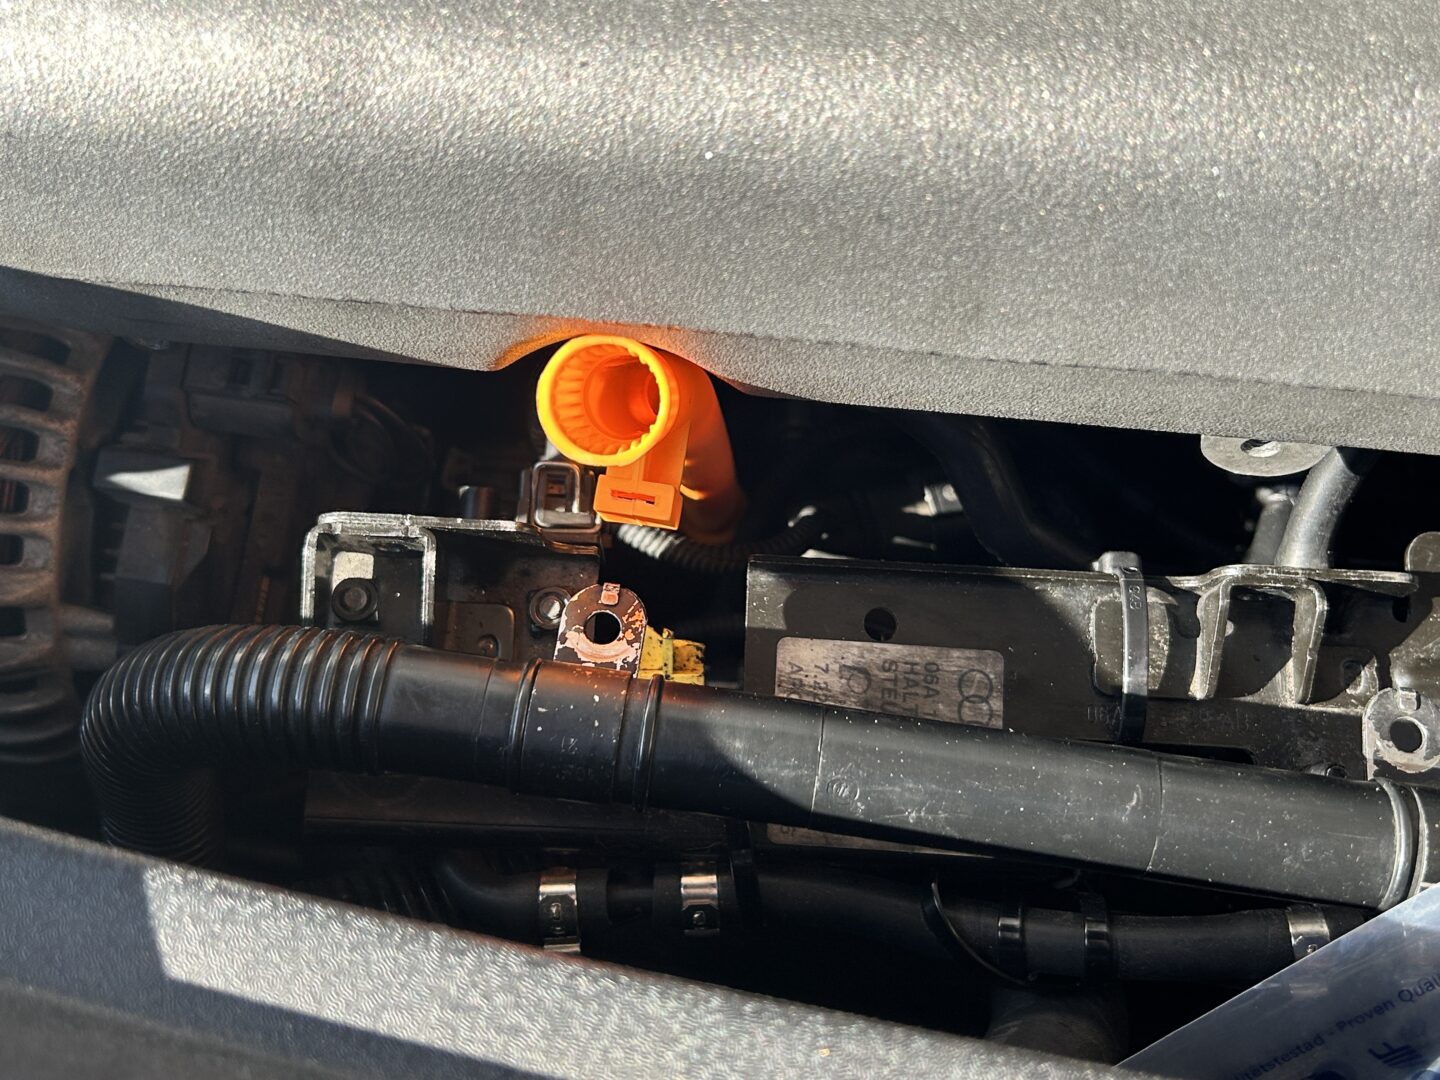
When you install the new dipstick tube, simply reinstall it with the mount (where the tab of the N249 bracket will fit into) facing away from the engine towards the front of the car. Lower the tube down until it fits over the opening into the engine.
It should fit securely onto this opening and the whole tube should sit nicely within that little groove in the intake manifold. You can then reinstall the N249 bracket, making sure that the metal tab goes into the opening of the plastic dipstick tube.
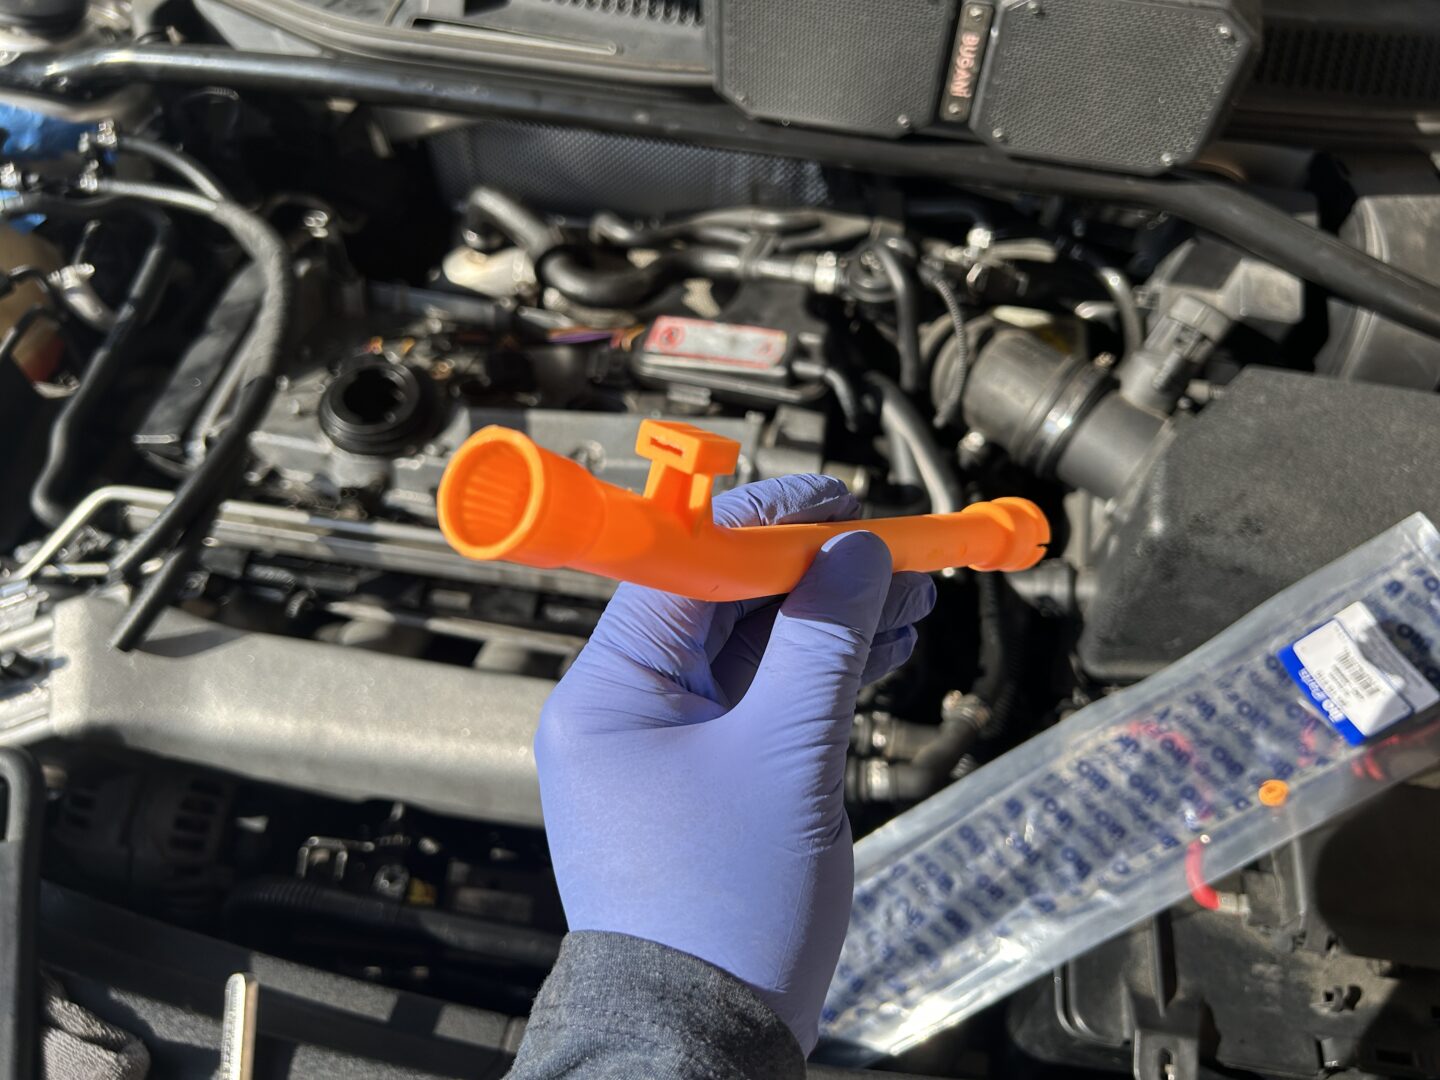

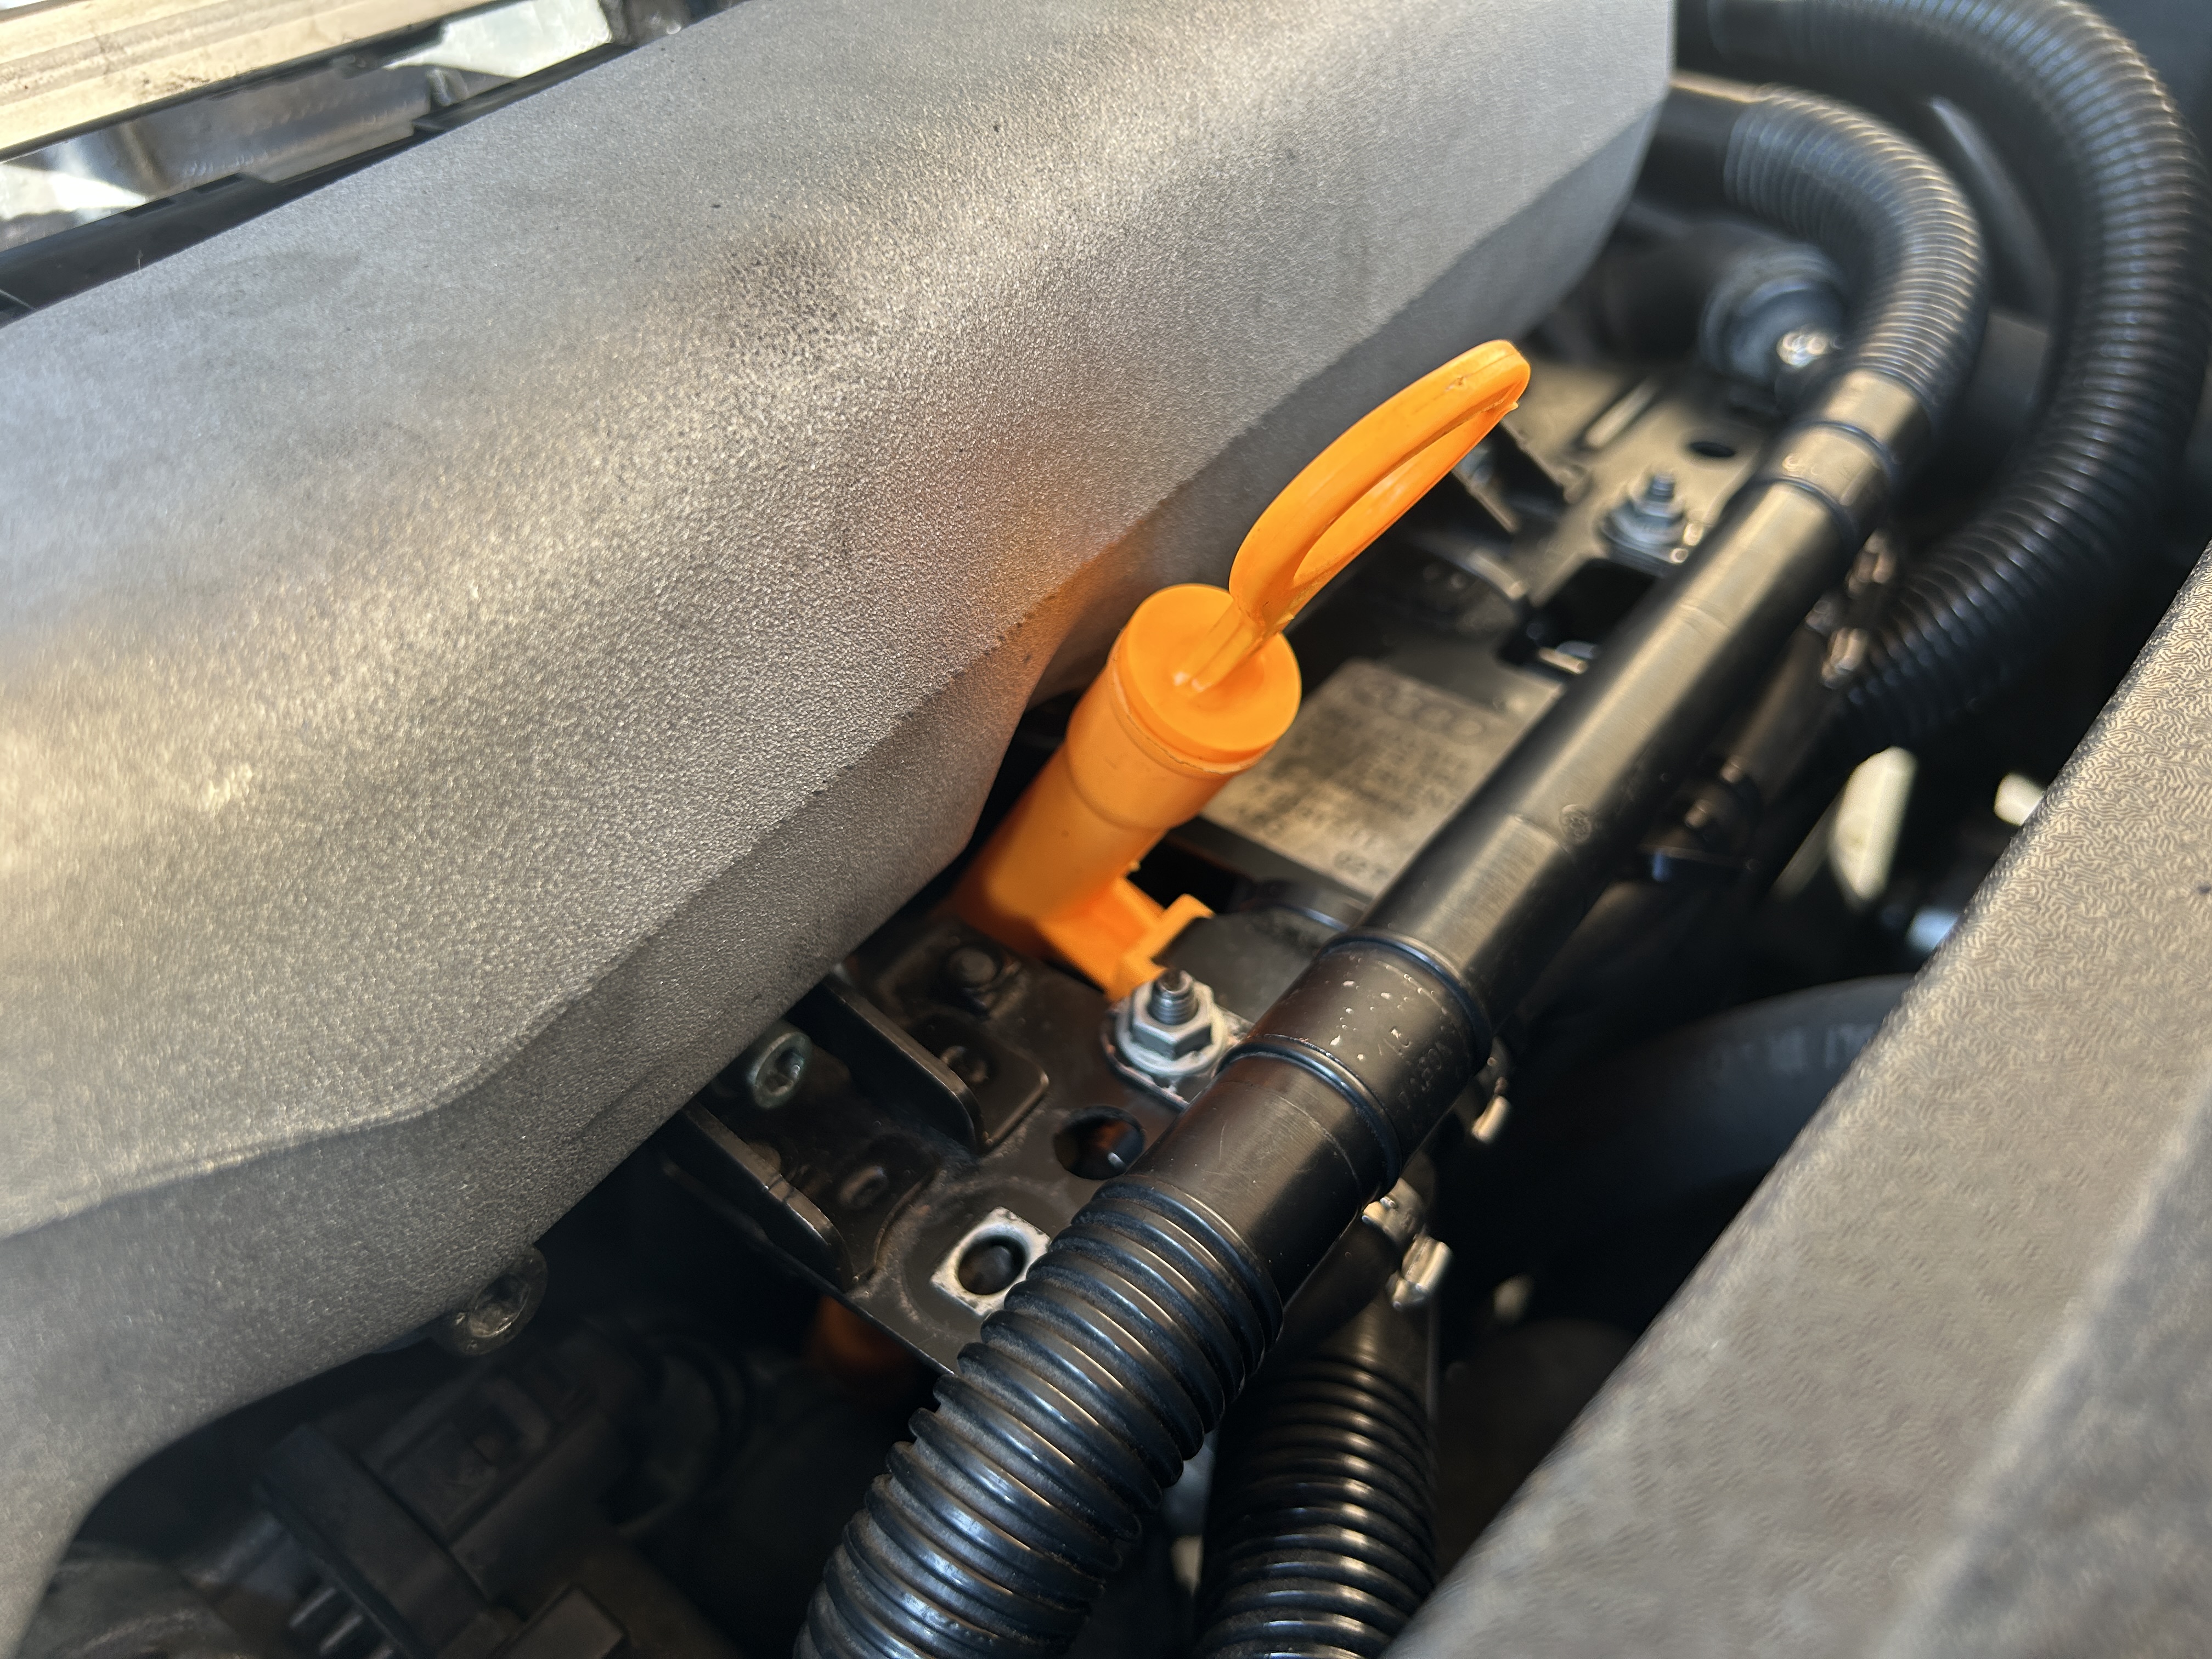
And here is the brand new dipstick going into the dipstick tube.
It’s a simple job to perform, but worth doing considering the parts are cheap (both dipstick and dipstick tube costed me less than $20 total). It’s also fully operational now when I need to check the oil level. And lastly, it looks so much better now compared to how it looked before.
")
")
")
")
")
")
")
")
")