When you make purchases through links on this site, The Track Ahead may earn an affiliate commission. Also, these posts are based off my own experiences. I am not responsible for any action you take as a result of reading this. Learn More
What is Crow’s Feet and How Does It Happen?
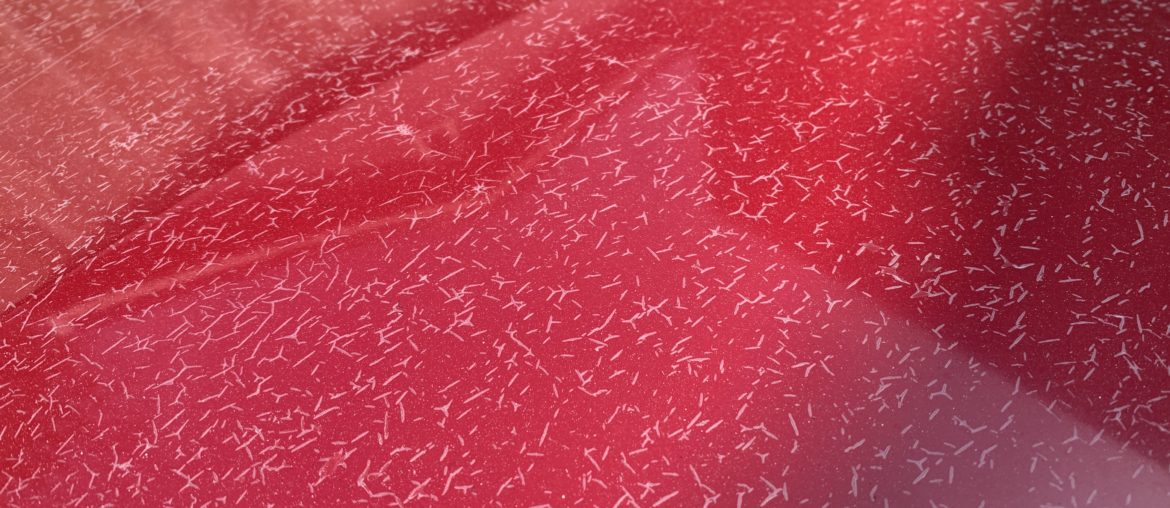
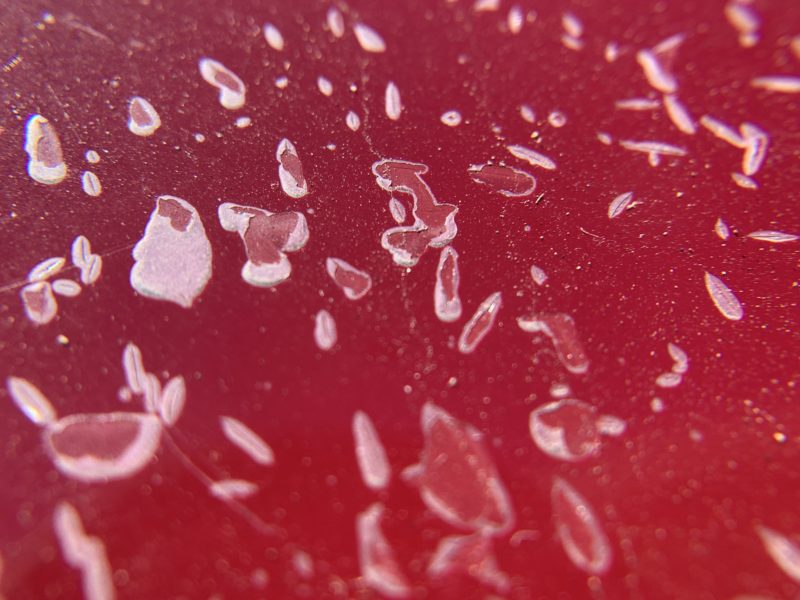
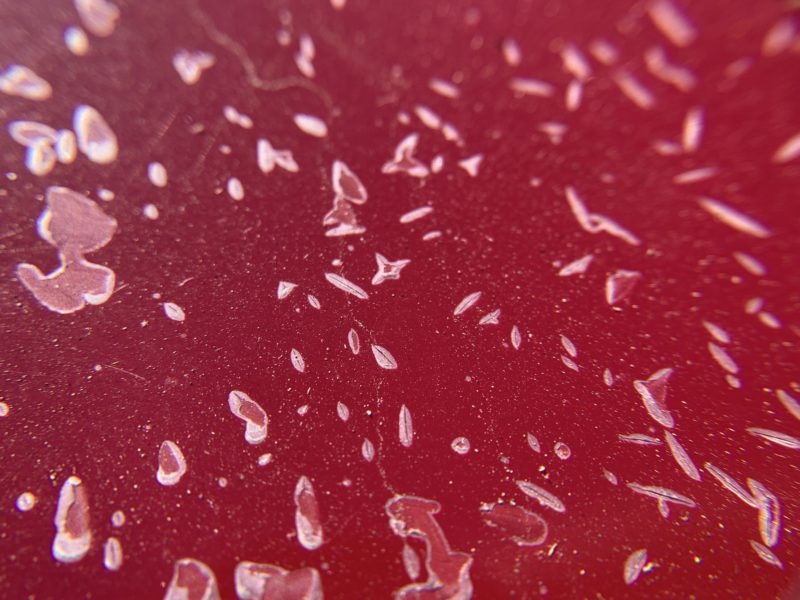
Crow’s feet is a type of clear coat failure where you’ll see a number of cracks in the clear coat in a modern day car. The cracks in the clear coat tend to form in a network, which resemble a crow’s feet, but there are also cracks that can appear in a single formation as well. The actual areas where you see crow’s feet is clear coat that has separated from the underlying paint. In certain areas, the paint and primer may have chipped away too, which leaves behind bare metal that can be vulnerable to rust.
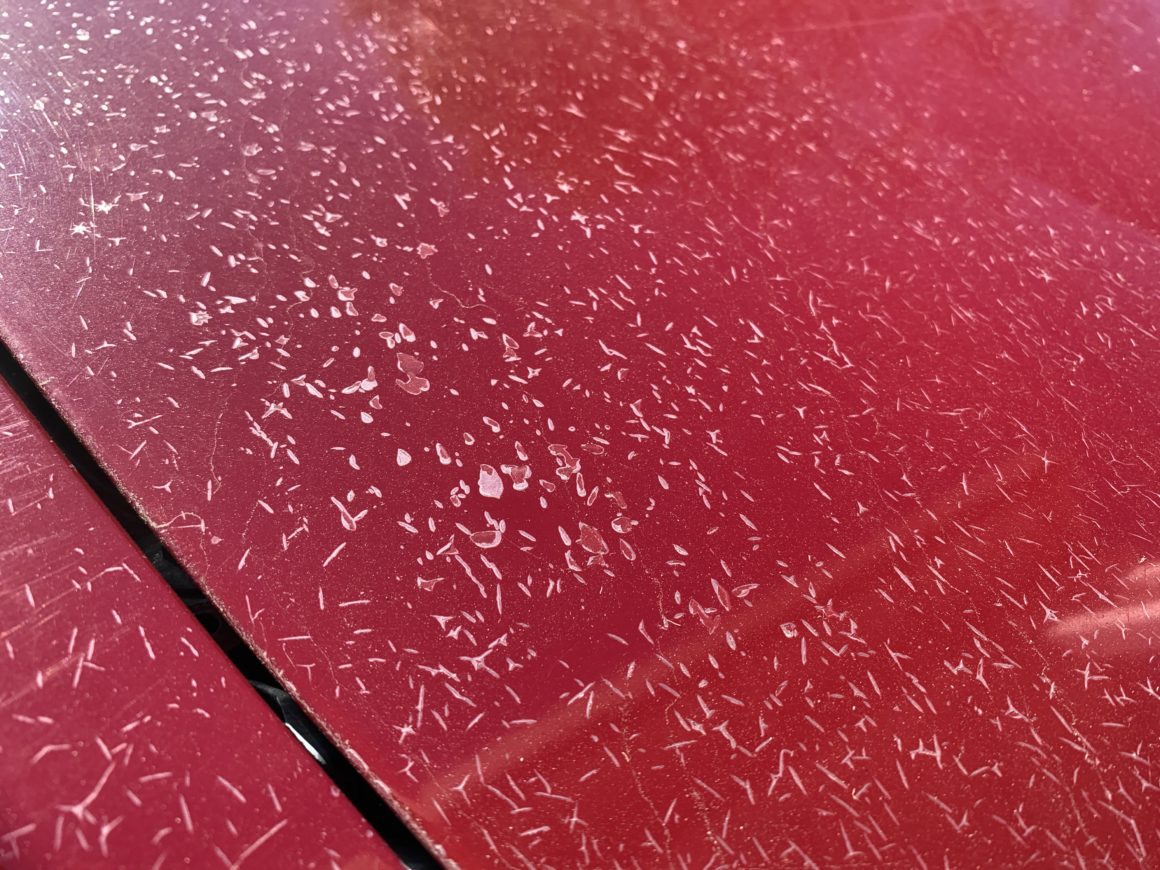
On older vehicles with single-stage paints (paint with overlaying clear coat), the lacquer or enamel paint used is more porous than your modern clear coat and is more susceptible to drying out, which causes this issue. This can occur throughout the entire vehicle.
With modern-day vehicles that have paint and a clear coat applied over it, crow’s feet can still occur but you’ll typically see it on and/or near the hood of the car. The reason why it appears here is due to the heat generated from the engine. With the constant cycling of heat from the engine bay (combined with the sun), and cooling when the engine is off, the paint and clear coat expands and contracts constantly over time. With many, many years of this occurring, the paint and clear coat separate in this type of formation, leaving you with what we call crow’s feet.
Below are some macro images of what crow’s feet looks like up-close.
Can You Fix Crow’s Feet in Car Paint?
The question that is always asked is, can you repair crow’s feet? The short answer is no, you cannot just repair it. Typically people ask if they can repair crow’s feet with the idea that it could potentially be polished, filled in with something to improve the appearance, or basically do some quick fix to resolve the issue. This is simply not possible as crows feet is the phenomenon where the clear coat has delaminated from the underlying base coat. The only way to fix crow’s feet in car paint is to sand down all of the loose clear coat, and to repaint the panel.
Can You Do A Quick Fix?
The reason why you really can’t just repair it is because there are hundreds, possibly thousands of these small cracks scattered all over the place. Where those small cracks are, is clear coat that has separated from or chipped off the paint. It would be practically impossible to fill in only those damaged areas and somehow make the entire clear coat layer look uniform (which would give the appearance of the crow’s feet looking repaired.)
If you’ve ever tried to look up a quick-fix for crow’s feet, you might have come across some quick-fixes like spraying clear coat or rubbing on some kind of product that reduces the unsightly appearance. The thing with spraying or rubbing on something that is supposed to fill in the missing clear coat areas is that when you’re doing this, you’re not just filling in the spots with missing clear coat.
If you’re using a rub-on product that is supposed to make it looks better, it’s probably some kind of polish that is polishing the paint where your clear coat has come off, and it is making that dull paint more glossy. Because those areas are more glossy, it may look like it’s an improvement, but your paint will dull again and look terrible again. In fact, using polish may actually make your paint look worse sometimes because the polish will get stuck inside of the chipped/peeled clear coat. This will leave white residue within the crow’s feet, making things look worse than before.
Spraying clear coat over the entire surface might actually slightly improve appearance of crow’s feet; and might even add some protection to the already chipped-off clear coat, but it’s not going to look very good. Because you’re spraying clear coat over everything and not just areas where there is clear coat missing, you’re leaving behind some areas with some clear coat and other areas with basically a double-layer of clear coat. Because the top coat is not totally uniform and smooth, you’ll still see the crow’s feet behind your sprayed-on clear coat.
Ultimately, if you can’t afford an auto body shop to fix it for you or you can’t invest the time to repaint the affected panels yourself, then maybe one of these quick fixes could help, but usually these quick fixes do more damage than good. The other option is to simply leave it alone and apply a paint sealant or ceramic coating to protect the paint damage from getting worse.
Can You Use Paint Correction to Fix Crow’s Feet?
I mentioned just earlier that polishing the paint (paint correction) is not going improve crow’s feet much and might actually make it look worse if the polish gets stuck within the cracks of the crow’s feet. The only time where I think it might be more effective is if you had crow’s feet where all of the exposed paint has totally oxidized. Because of the oxidation, the exposed paint areas would all have extremely dull paint, which would be very apparent when looking at the car.
If you used a polish to restore the gloss of the damaged areas in the paint, it could potentially make the overall appearance look better. But again, because of the nature of the damage (cracks running in random directions), it’s difficult to achieve this and you run the risk of it looking worse off than it did before you start your paint correction.
Methods for Repairing Crow’s Feet
Most people who know that you can’t repair crow’s feet with a quick fix will immediately say you need a repaint. This is basically a true statement. If you’re not doing it yourself, you basically send it off to the auto body shop and they will strip down and repaint the damaged panel for you for a hefty sum of money.
If you’re doing it yourself, you could save yourself some money. If you’re working on a car with a modern day clear coat (basically most cars today where you have layers of clear coat over layers of paint), you may be dealing with just the hood as this is where you typically see this issue. And because of that, you can easily take the hood off of the car and do a full repair and repaint of the hood.
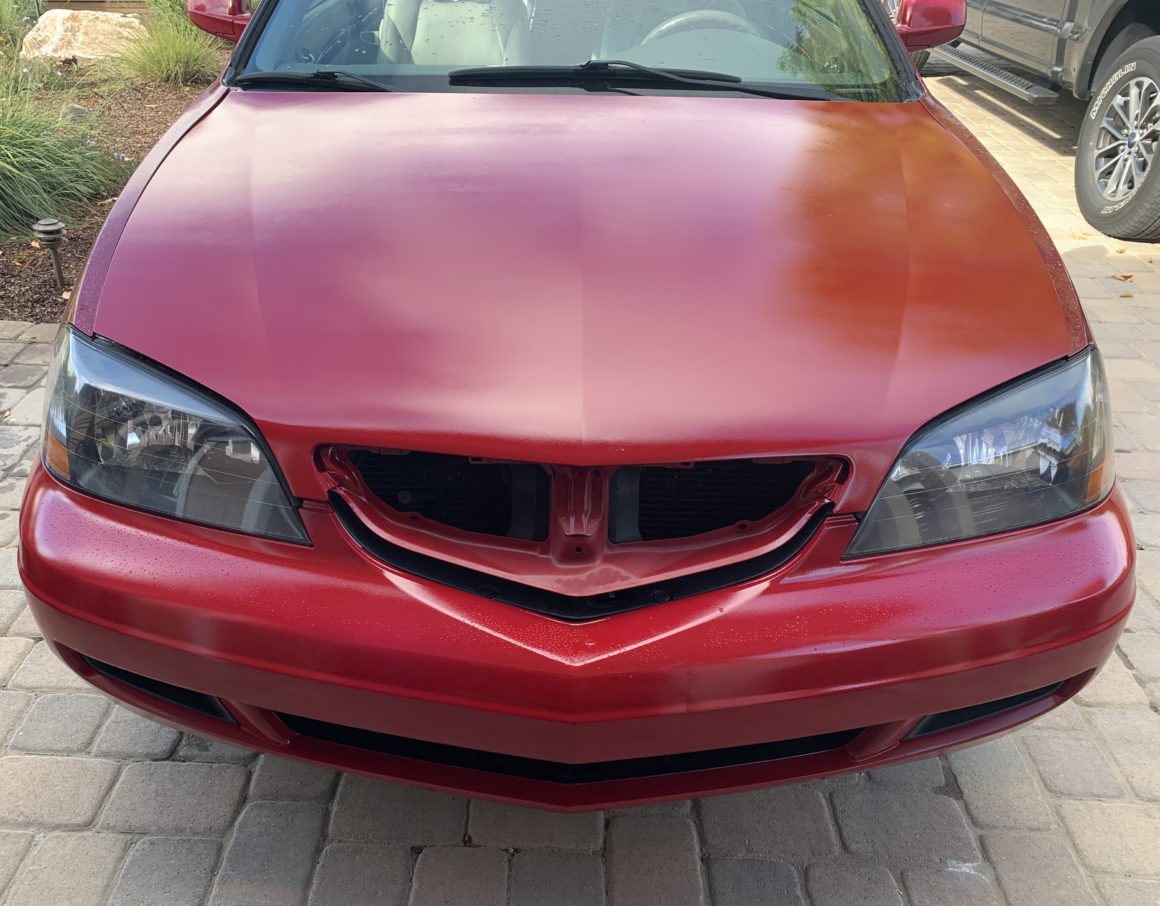
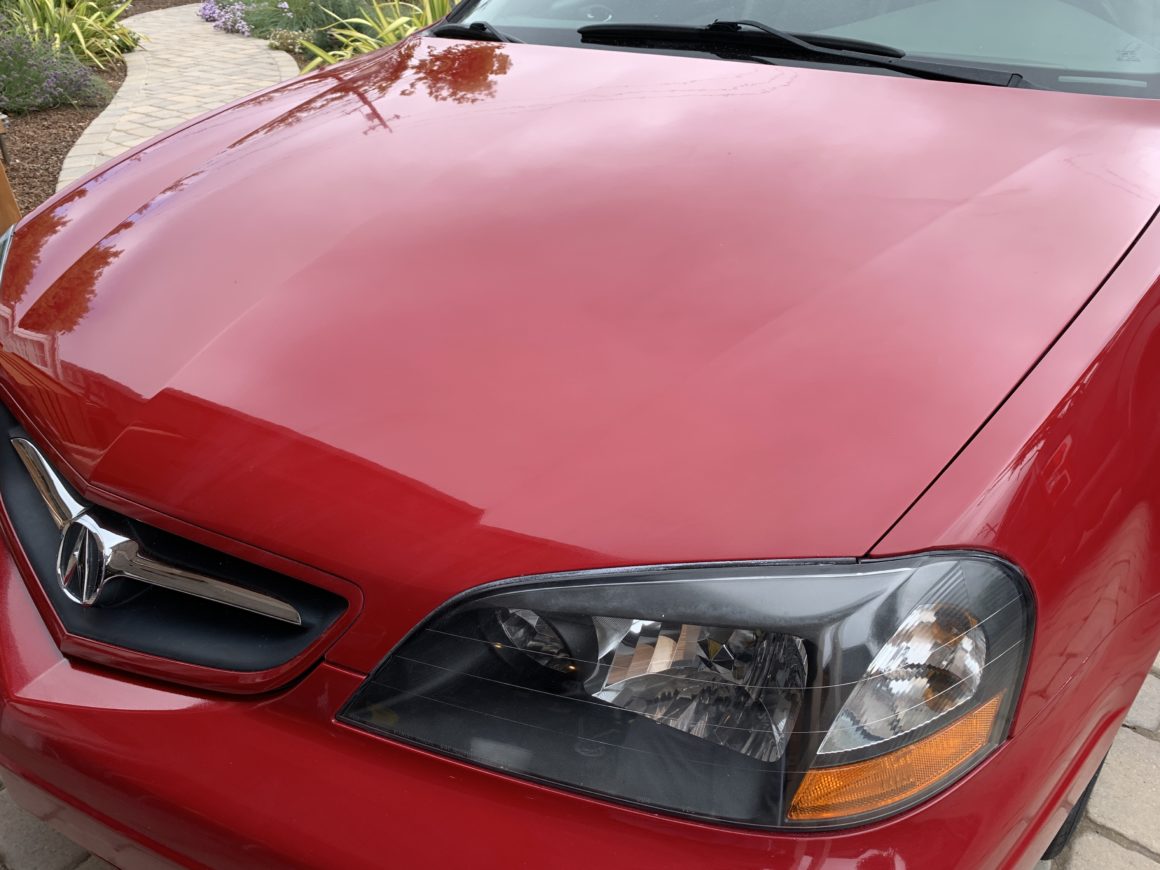
However, one thing to note is that you may have the same crow’s feet damage spread out to the front fenders as well. Let’s say you only paint the hood; you will have a perfect-looking hood with crow’s feet still all over your front fenders. The photo below shows a hood that was recently painted, but the top of the front fenders still has the crow’s feet issue. Obviously, this still looks terrible especially if you’re looking at it from a side angle. If you have crows feet that has spread out to other areas besides the hood and to ensure everything looks good, you will probably have to repaint the other affected panels as well if you have clear coat damage there too.
I want to show how to repaint yourself so that you can get rid of those unsightly crow’s feet. For this tutorial, I’ll be working on the hood of a car that has crow’s feet all over the surface. This car has your typical modern day clear coat (primer, base coat, and clear coat.)
Essentially what you need to do is remove all of the damaged clear coat, prep the surface, repaint the hood, and then spray clear coat again. While doing this, you should consider repairing rust areas, deep scratches, and small dings while repainting the panel. I will be working on this hood and will be referring to the hood throughout the repair process.
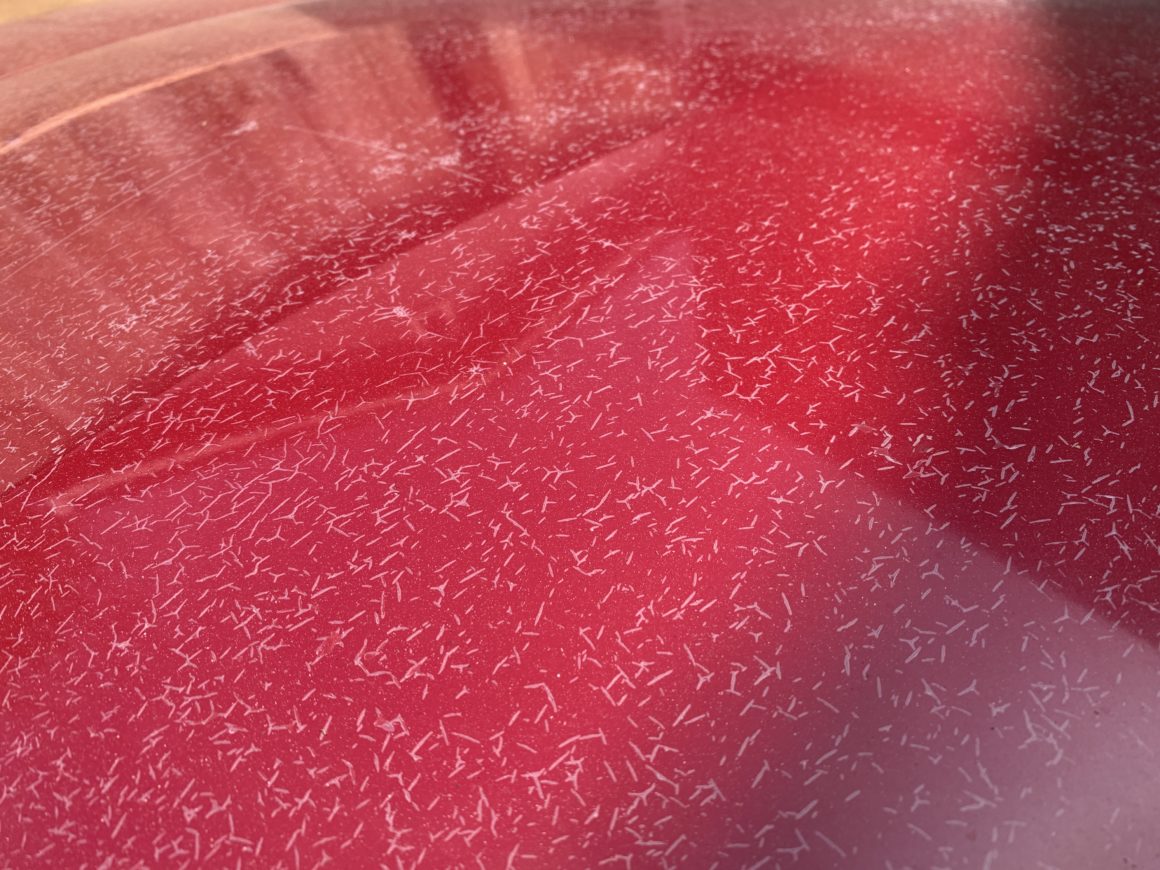
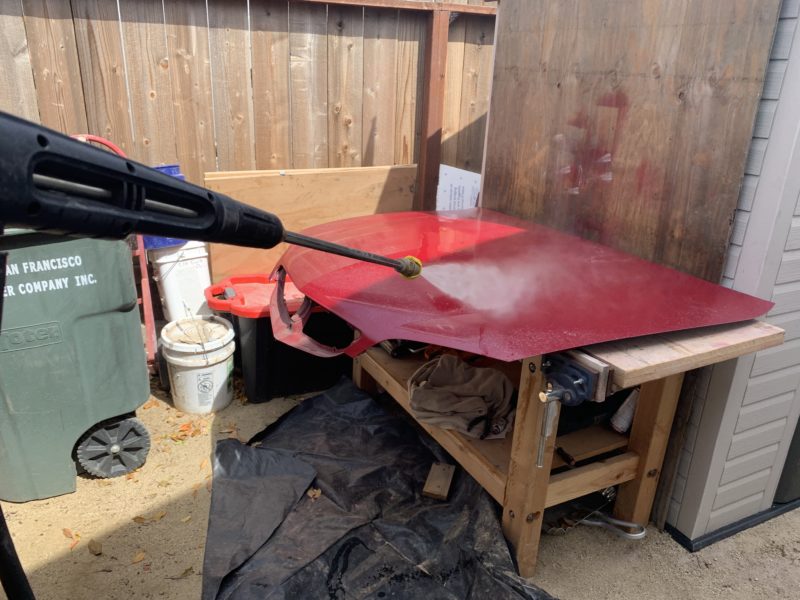
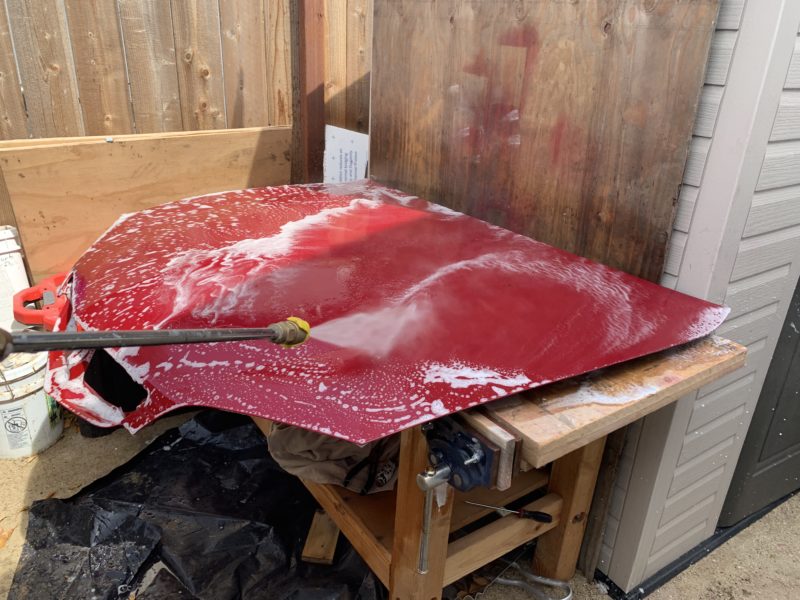
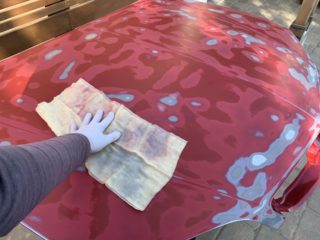
The first thing to do is to wash the hood. A pressure washer works great because you don’t have to worry about damaging the paint or clear coat with the pressure. In fact, you are using the pressurized water to spray off as much of the loose clear coat as possible. This will make your job easier when you’re sanding.
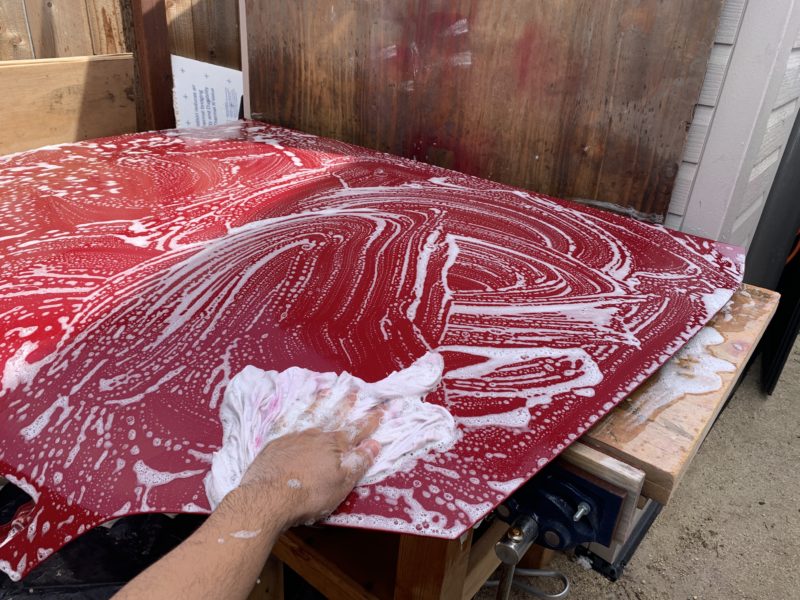
When washing, I prefer to just use a simple soap with no gloss enhancers or waxes in it. I prefer to just use dish soap and a rag to clean off the entire surface. Wash off entirely and dry. You should consider washing the underside of the hood as well. Even if you’re not painting the bottom of the hood, it may have a lot of dirt and debris trapped there that could get onto the top of the hood during the painting stage.
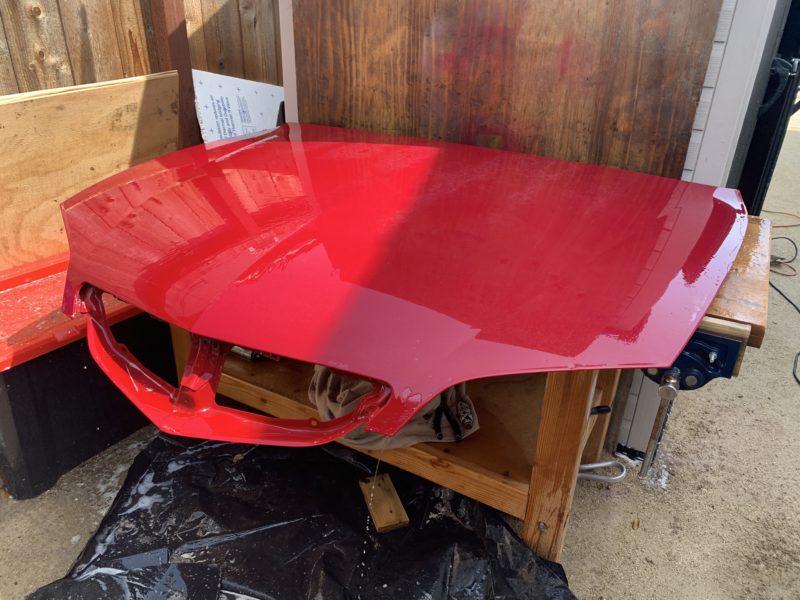
When your hood is completely wet, it actually looks pretty good. This is because water is acting like a clear coat and covers the hood exhibiting a uniform surface for light to bounce off of. It looks great wet, but once it dries it will look ugly again. This is also why you should be wary of “quick fixes” as sometimes the product can look great at the beginning when it’s wet, but will just eventually look bad again when it dries or when the product wears off.
I want to stop at this moment to talk about how far you want to go with repairing the hood. If you want a perfect and the most long-lasting finish, it’s best to sand down the entire hood down to bare metal. If you do this, you’d apply new, uniform layers of primer, base coat, and clear coat, which will give you the optimal and most long-lasting results possible. For most people, you can still get very good results if you sand everything down to 400-grit sandpaper and paint directly over the 400-grit sanding scratches.
For this DIY tutorial, I won’t be sanding everything down all the way down to bare metal, but I will be repairing rust, using body filler to fill in areas that need it, sanding repaired areas with 180-grit and 320-grit, sanding the entire hood down with 400-grit, and then applying primer, base coat, and clear coat over the entire hood. I’ll be using spray paint that comes color-matched from Paintscratch to repaint the hood. This process still yields great results as long as you have good prep, have a very good color-match, and use 2K clear coat.
Tools & Materials
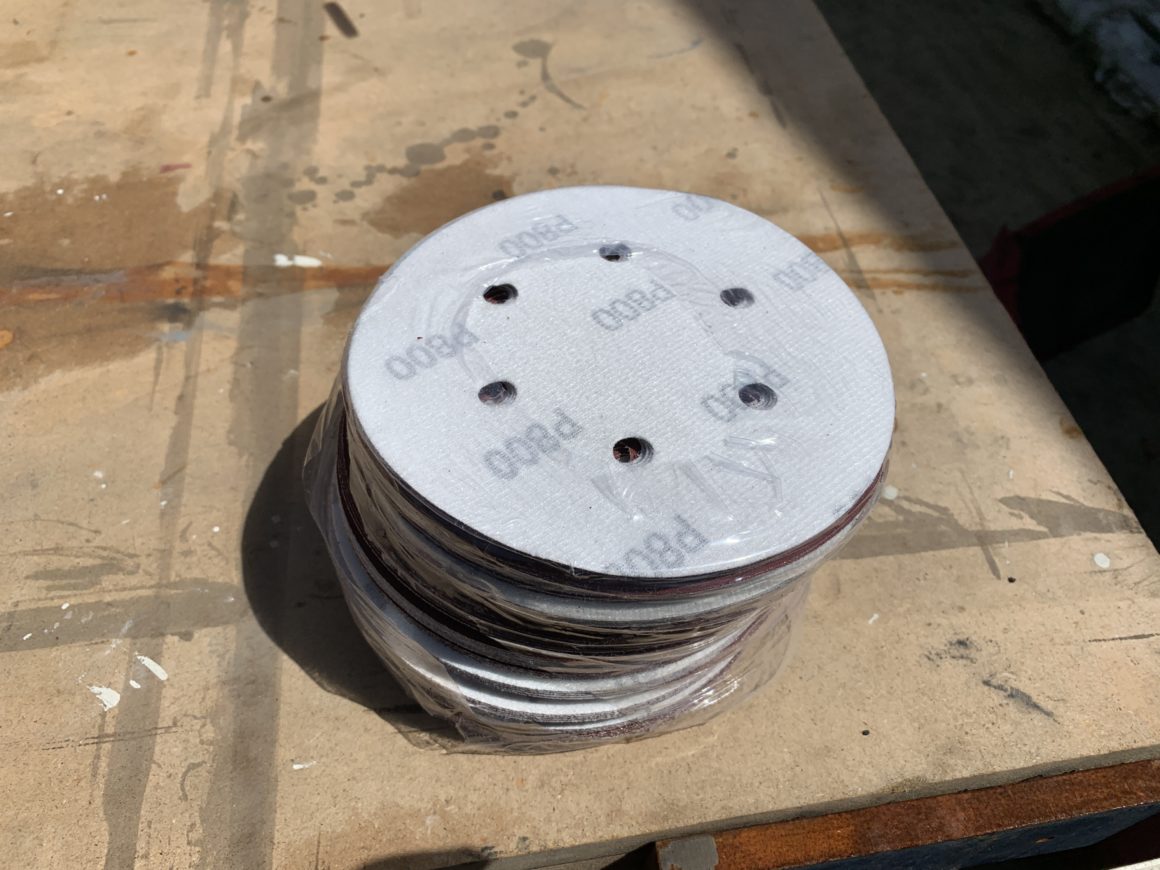
180-Grit, 320-Grit, 400-Grit, 600-Grit Sandpaper
You’ll need a variety of sandpaper with differing grits to sand down the crow’s feet damage. 180-grit is used for areas with damage filled in with body filler, which will then be sanded out to 320-grit, and then 400-grit. The rest of the panel will be sanded to 400-grit to prepare it for primer/paint. 600-grit sandpaper is used to sand the primer coat in preparation for paint. Ideally you want to use orbital sander sanding discs with a machine sander.
165pcs Orbital Sander Sanding Discs 5-Inch 8-Hole, 40-600 Grit, Hook and Loop
Sanding Blocks
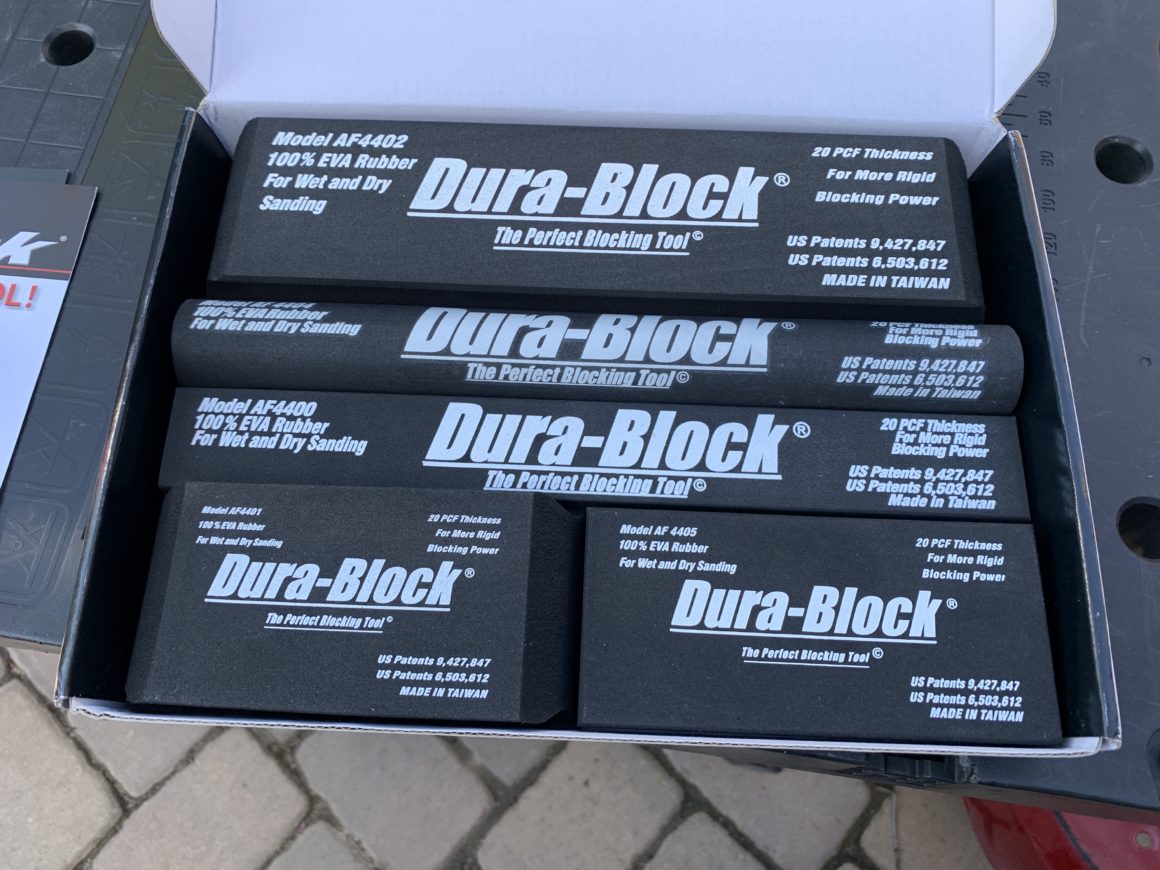
Sanding blocks are used as a backing for the sandpaper for uniform sanding and to produce a smooth finish. This Dura-Block set provides you with plenty of different shapes and sizes, but the long flat blocks to be extremely useful on large panels to knock down the crows feet damage in the clear coat.
Dura-Block 6-Piece Sanding Block Set
Random Orbital DA Sander
Using a machine sander, you can get much quicker results than to simply sand by hand. It can get really tiring sanding by hand especially since you have to sand with different grit sandpaper. You also have less chance of seeing the straight line sanding strokes if you do it by hand. I personally use an electric sander, but pneumatic is much more prevalent in the automotive world; both will do the job.
Search for Random Orbital DA Sander on Amazon
Dremel Tool
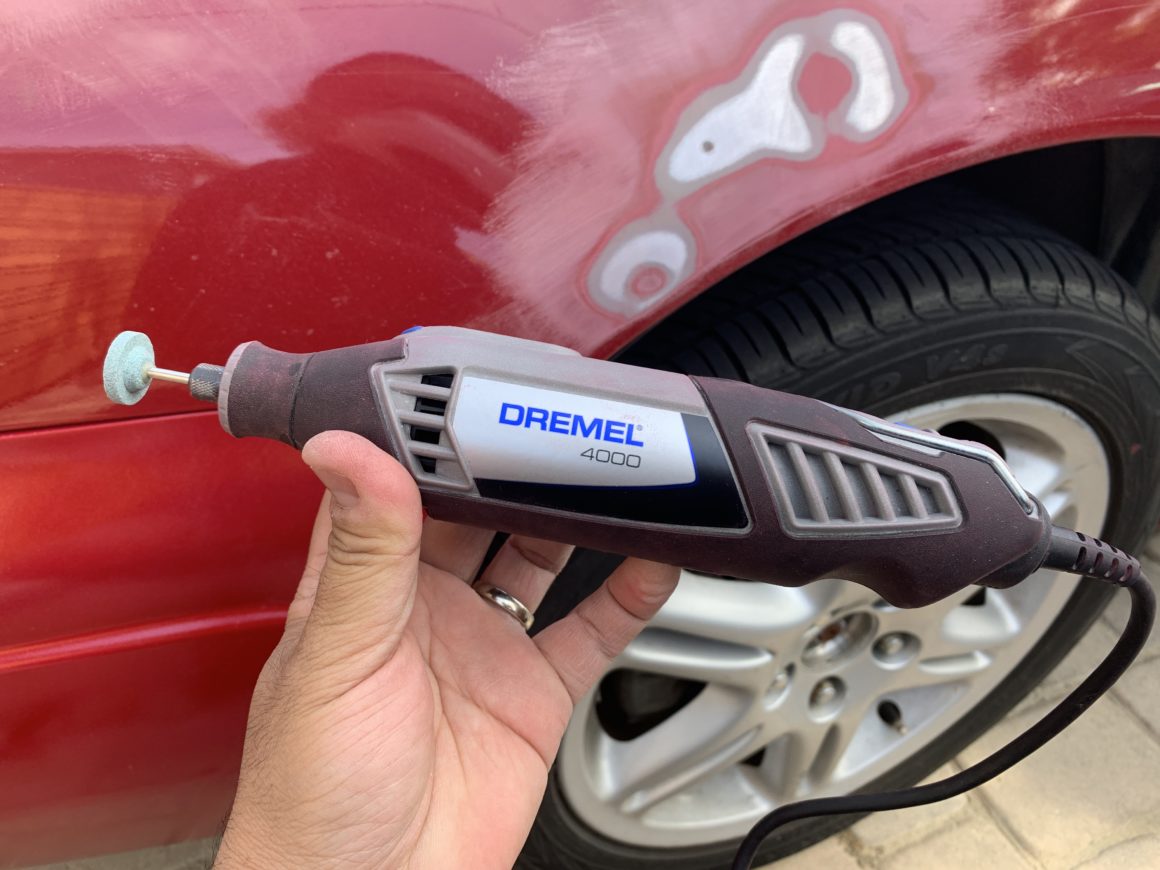
You could probably use a wire brush to repair rusted areas where the crows feet is severe. However, my tool of choice is to use a Dremel Tool with a grinding attachment. It just makes it quick and easy and it allows you to grind out a very small area to minimize damage to your panel.
Dremel 4000 Variable Speed Rotary Tool Kit
Grease & Wax Remover
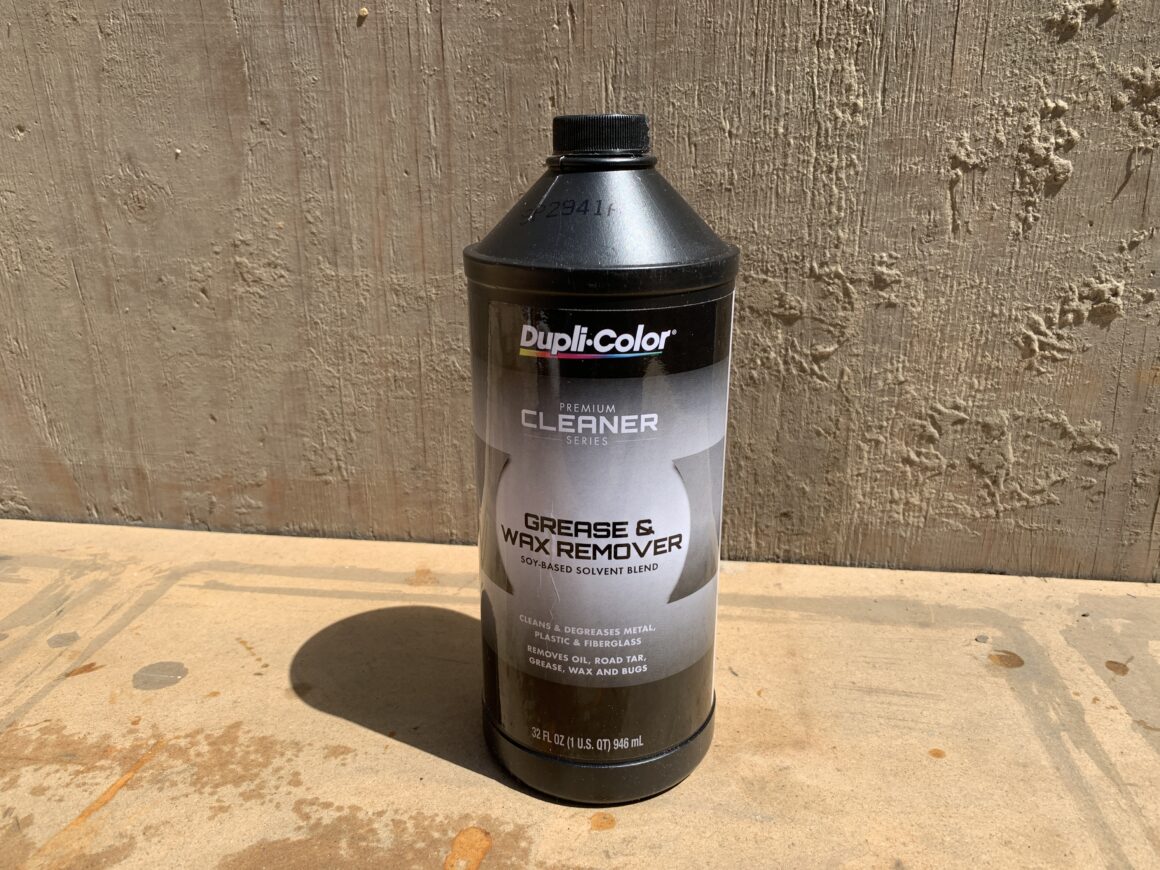
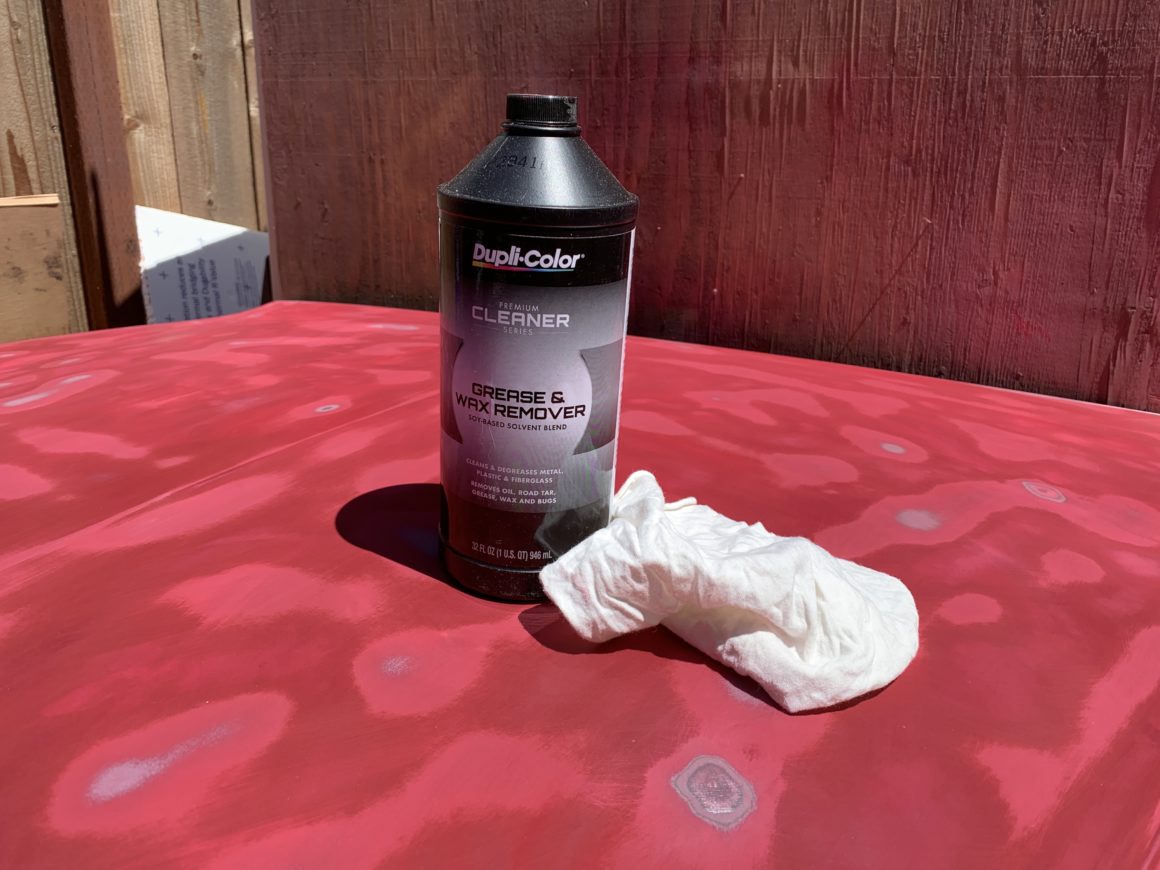
A grease and wax remover is necessary for removing oil-based contaminants. Since you want the best adhesion for your paint, this will remove unwanted greases/waxes that may weaken the bond between the panel and the primer/paint/clear coat.
Dupli-Color Grease and Wax Remover, 32 oz.
Alcohol-Based Cleaner
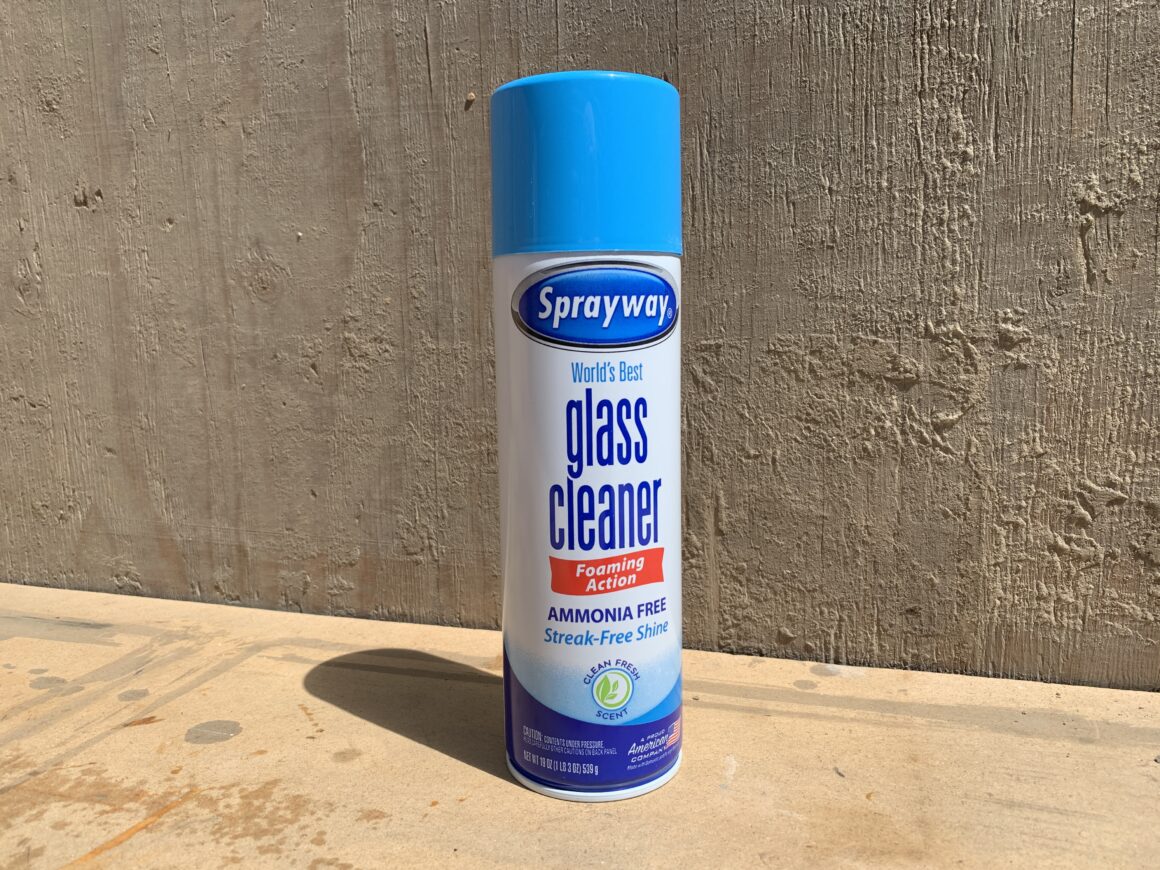
Alcohol-based cleaners are used in addition to grease and wax remover to clean water-based contaminants such as fingerprints, sweat, etc. A popular product in auto body shops is Sprayway Glass Cleaner, which is used for this purpose.
Sprayway Glass Cleaner Aerosol Spray, 19 Oz, Pack of 2
Lint-free Rags
You’ll need something to clean your panel with, used in conjunction with the grease and wax remover and the alcohol-based cleaner prior to primer and paint. You’ll still use a tack cloth between wiping the panel down and spraying primer/paint, so what you use to wipe down with should not leave much lint behind. An old T-shirt could work well here too.
VALENGO Lint Free Rags- 100% Cotton Rags 17”x17”- (7 Pack)
Abrasive Surface Prep and Maroon/Grey Scuff Pad
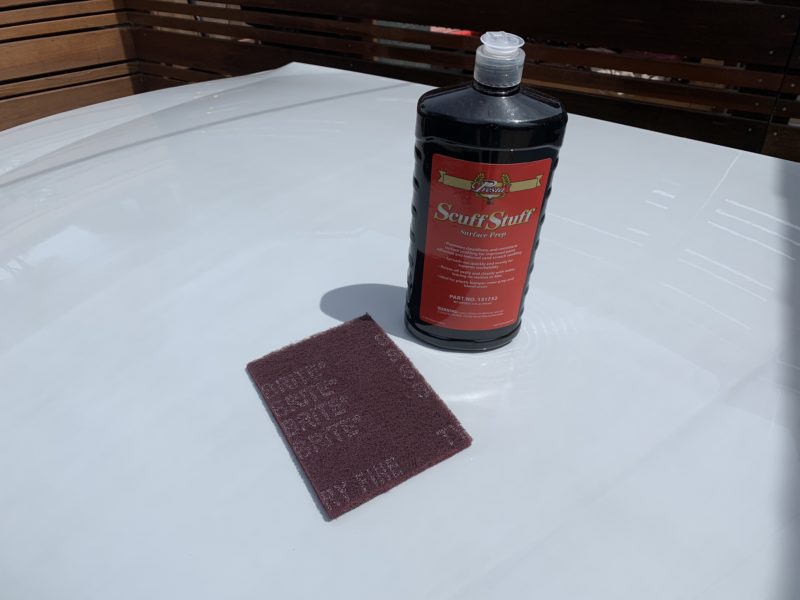
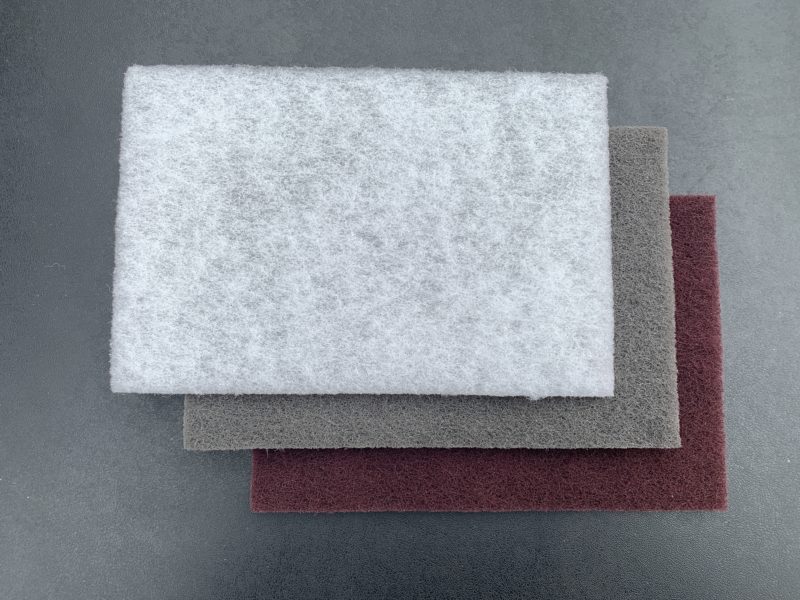
The use of an abrasive surface prep and maroon scuff pad gives you a final prep of the surface after sanding to cover any edges and corners that you might have missed with sandpaper in preparation for primer. A grey scuff pad with surface prep similarly does the same for the primer coat prior to the application of paint.
Presta Scuff Stuff Surface Prep, Quart
3M Maroon, Grey, White Scotch Pad Set (5 of each)
Body Filling Glaze
To fill small imperfections, a finishing glaze works great. A really good one is 3M Platinum Plus Finishing Glaze. I don’t cover repairing any larger-sized damage to the body panel on this guide. If you do have larger sized dings or dents, you may have to pull the dent out or fill in with a body filler prior to using body filling glaze.
3M Platinum Plus Finishing Glaze
Mixing Board
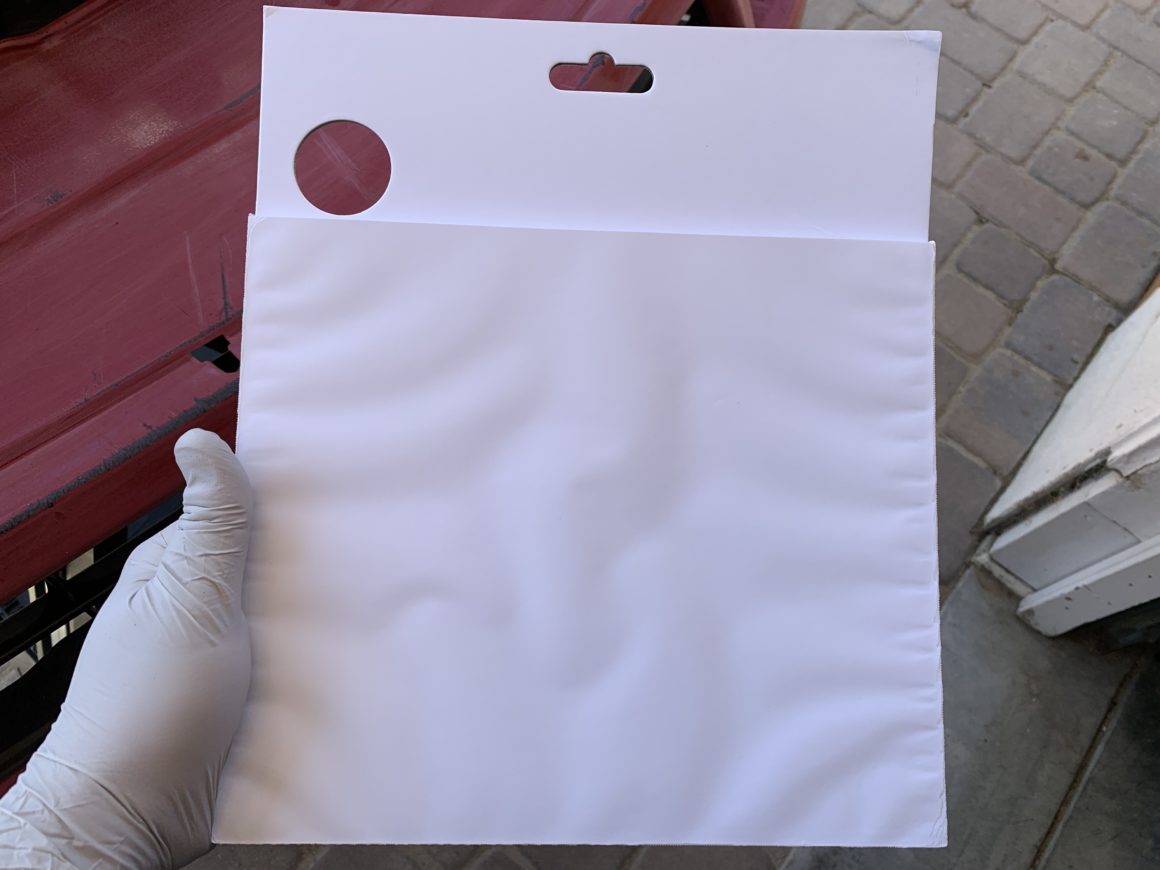
A mixing board is a board with many specially-formulated sheets of paper that avoids soaking up resins and solvents. It’s a time-saver if you’re mixing up batches of body filler. If you don’t want to buy one of these, you can use a plastic sheet taped down over a piece of cardboard, but in my opinion the mixing board is a much better option.
Custom Shop Body Filler Mixing Board Sheets (100 Sheets)
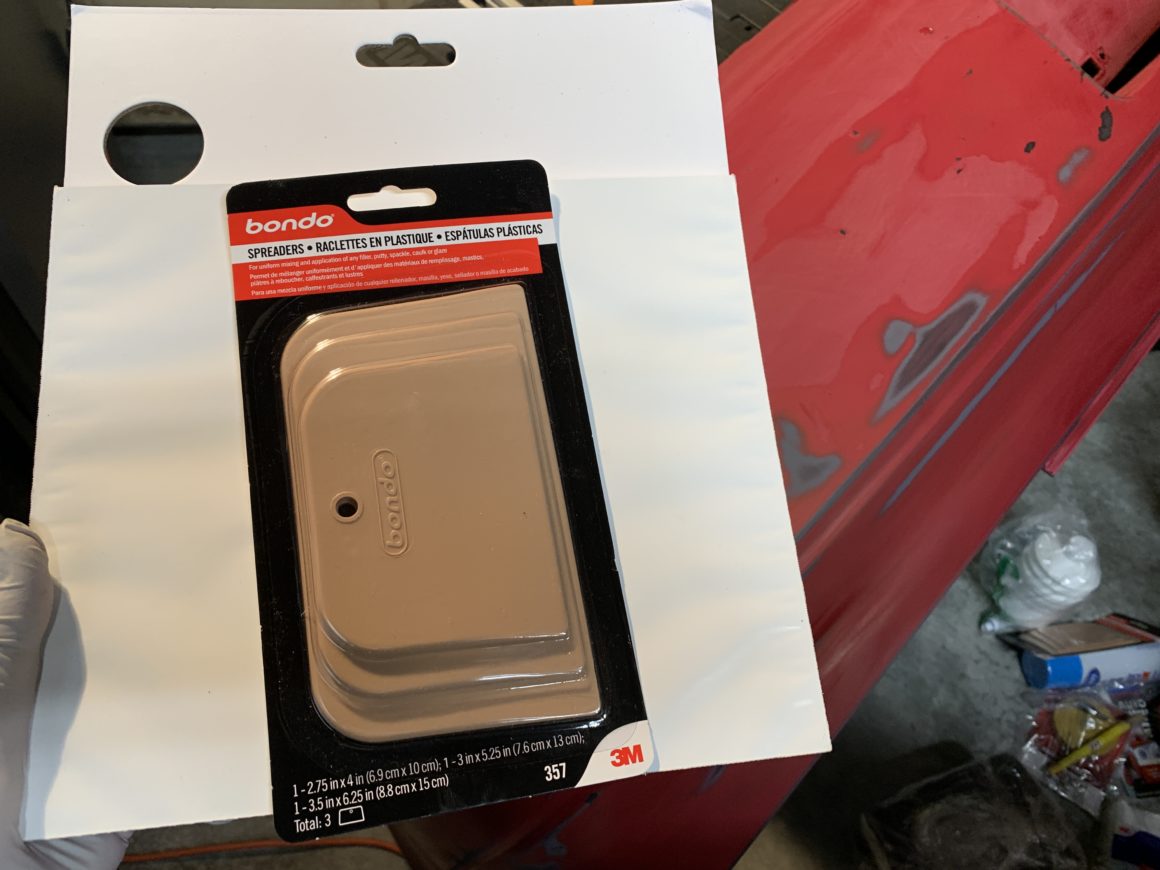
Body Filler Spreaders
Super cheap product that has a nice material perfect to applying filler to damaged areas.
Bondo Spreader 3-Pack, 3 Sizes Per Pack
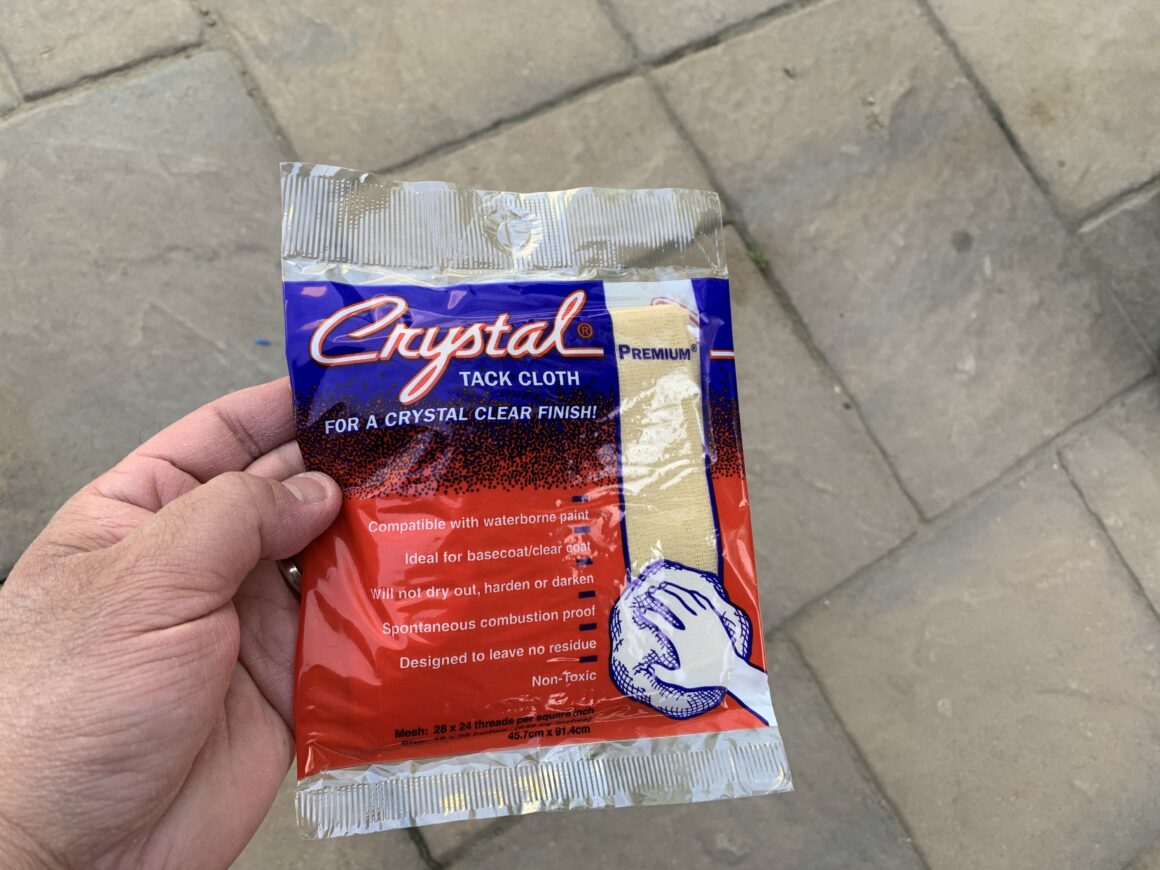
Tack Cloths
A must-have for doing a final wipe-down right before spraying primer, paint, and clear. This ensures no lint is left behind and removes any other remaining dust or miscellaneous debris to provide a clean surface to spray primer, paint, and clear coat on.
Premium Tack Cloths, Bond Crystal Brand 18″ x 36″ 12 Cloths Per Box
Automotive Tape
Automotive masking tape is needed for masking off the areas you don’t want to get paint onto. Painters tape works well for this as well, but automotive tape holds up better.
3M Automotive Refinish Masking Tape, 24 mm x 55 m
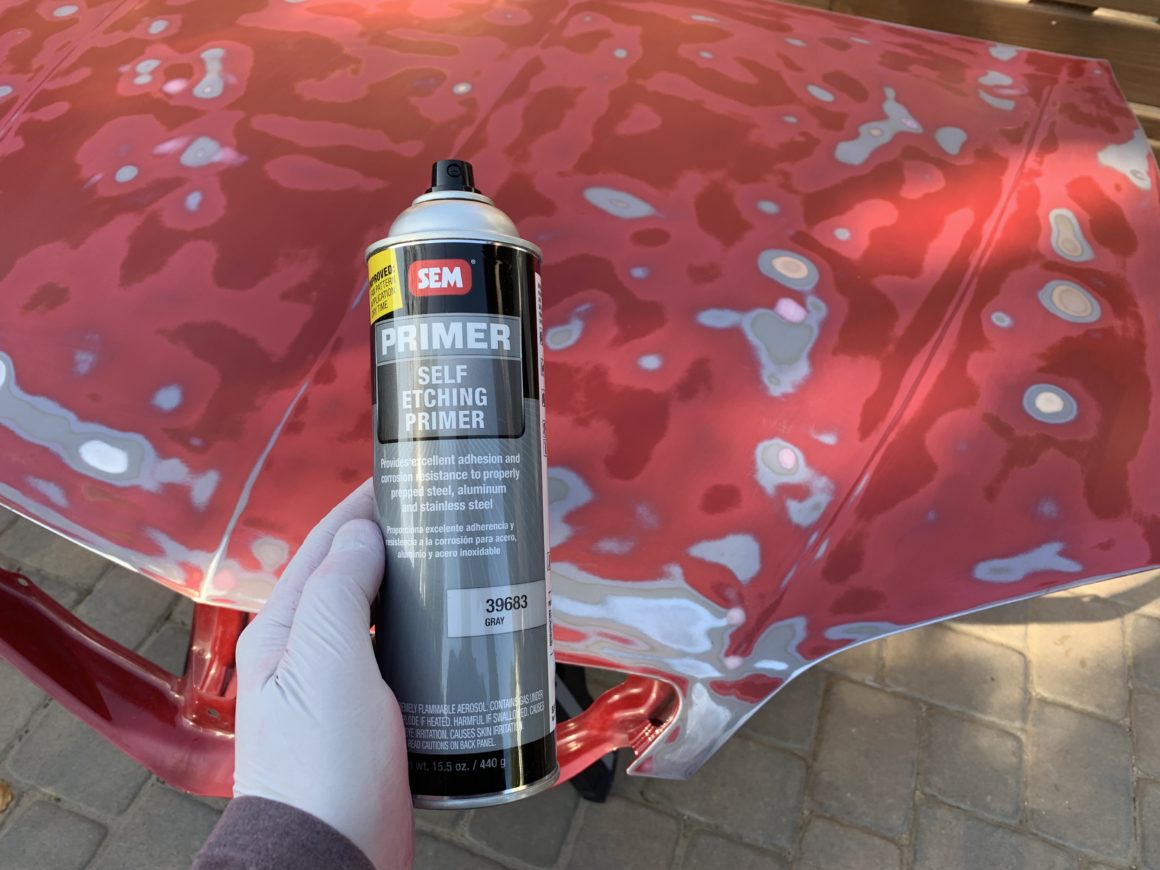
Self-Etching Primer
If you have any areas that you’ve sanded down to bare metal, it’s recommended that you apply self-etching primer to these areas prior to laying down primer and paint. Primer alone doesn’t always adhere well directly to bare metal.
SEM Grey Self Etching Primer – 15.5 oz.
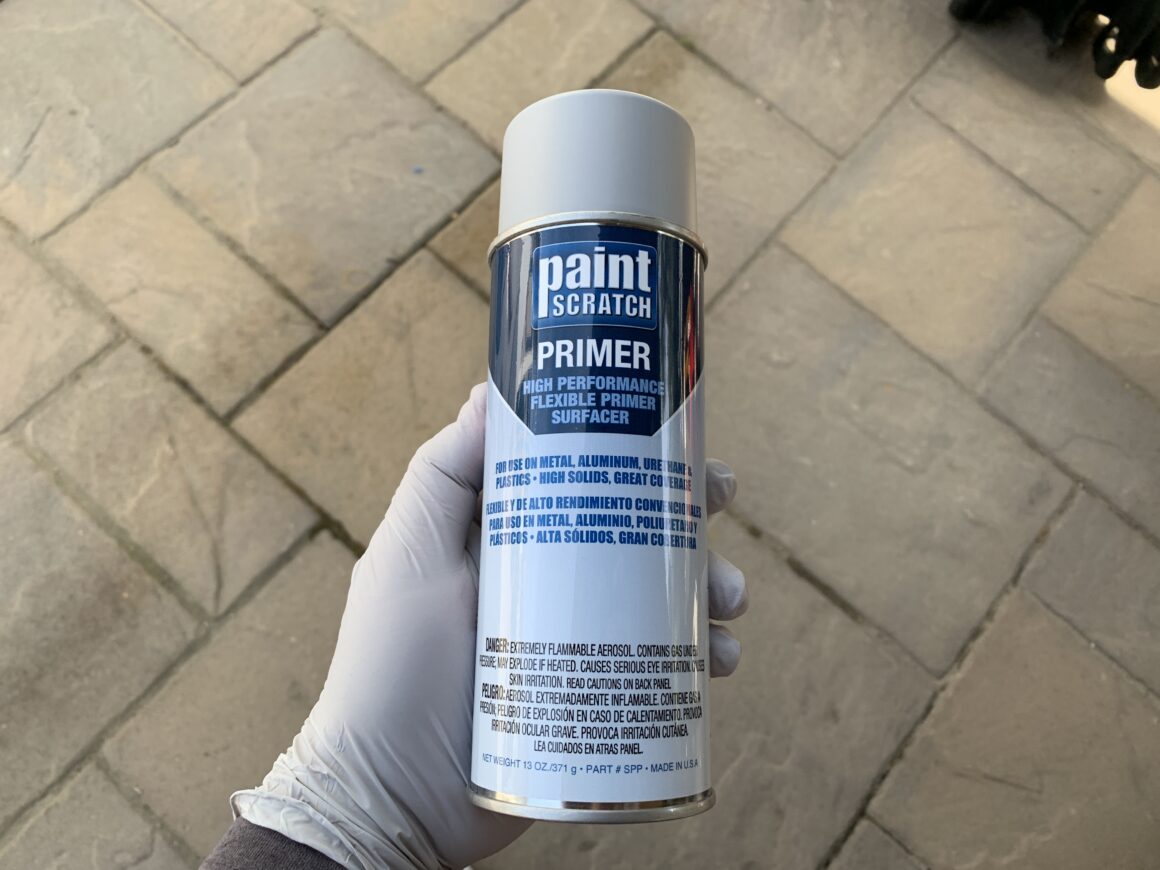
Primer
Although I know you can buy 1K primer almost anywhere, I chose to buy from Paintscratch since I was already buying the color-match paint from them. From what I’ve heard, it’s best to stick with the same brand when you go with a primer and paint as you can be rest assured that they are compatible. This specific primer sprays on grey.
These 12.5 oz spray cans cover about 4 square feet of area if you’re applying 2-3 coats of primer. I used around 3-4 cans for the hood.
Color-Matched Base Coat Spray Paint
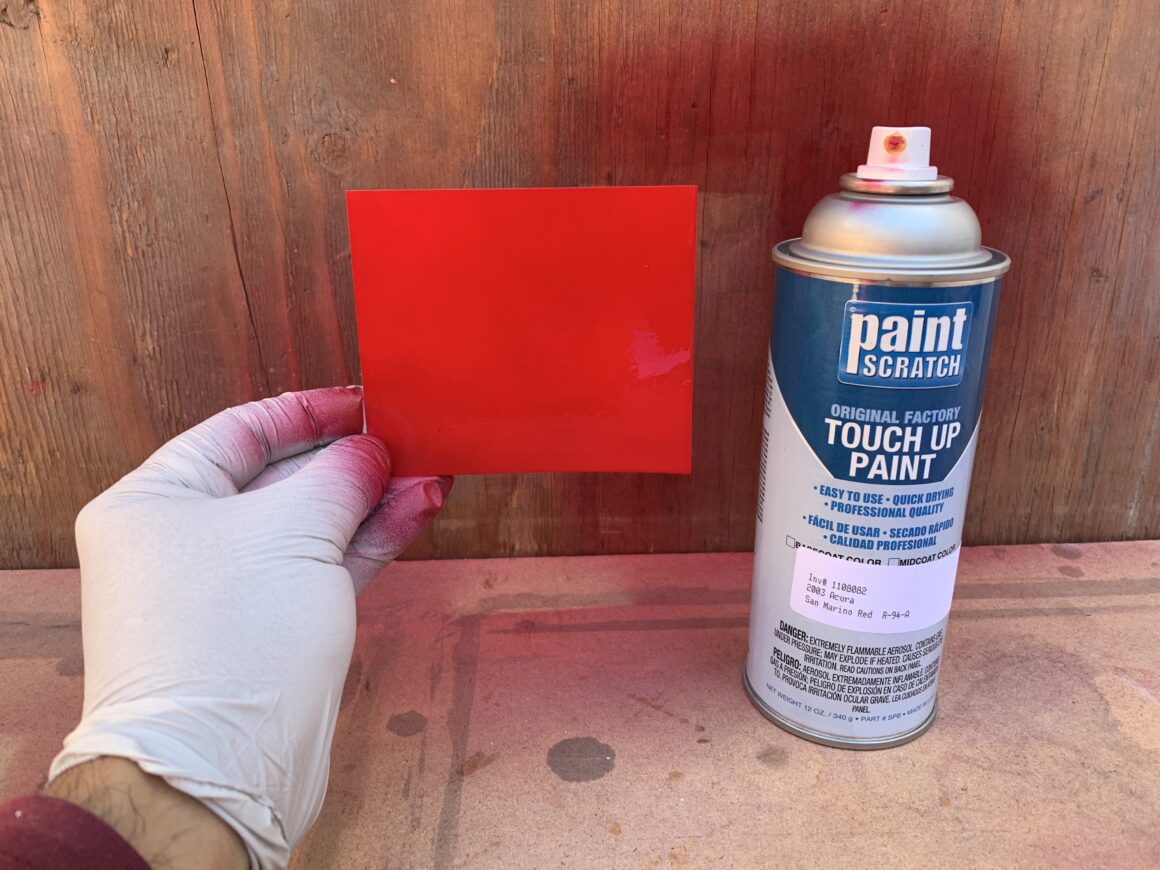
The touch-up paint I purchased was also from Paintscratch. Similar to the primer with these 12.5 oz spray cans, they cover about 4 square feet of area if you’re spraying 2-3 coats of paint. I use around 3-4 cans for the hood.
I needed slightly more paint than the primer for the same area because I needed to ensure there was enough coverage of the paint more so than the primer. Furthermore, when you get to the last bit of paint in the can, you start experiencing some splatter. So, you may end up having to stop spraying base coat before you get to the very last bit of paint in the cans. As a result, you’re using about 90% of the paint in the spray can, but you avoid paint splatter on your paint surface from the spray can spitting out paint from the bottom of the can.
2K Clear Coat
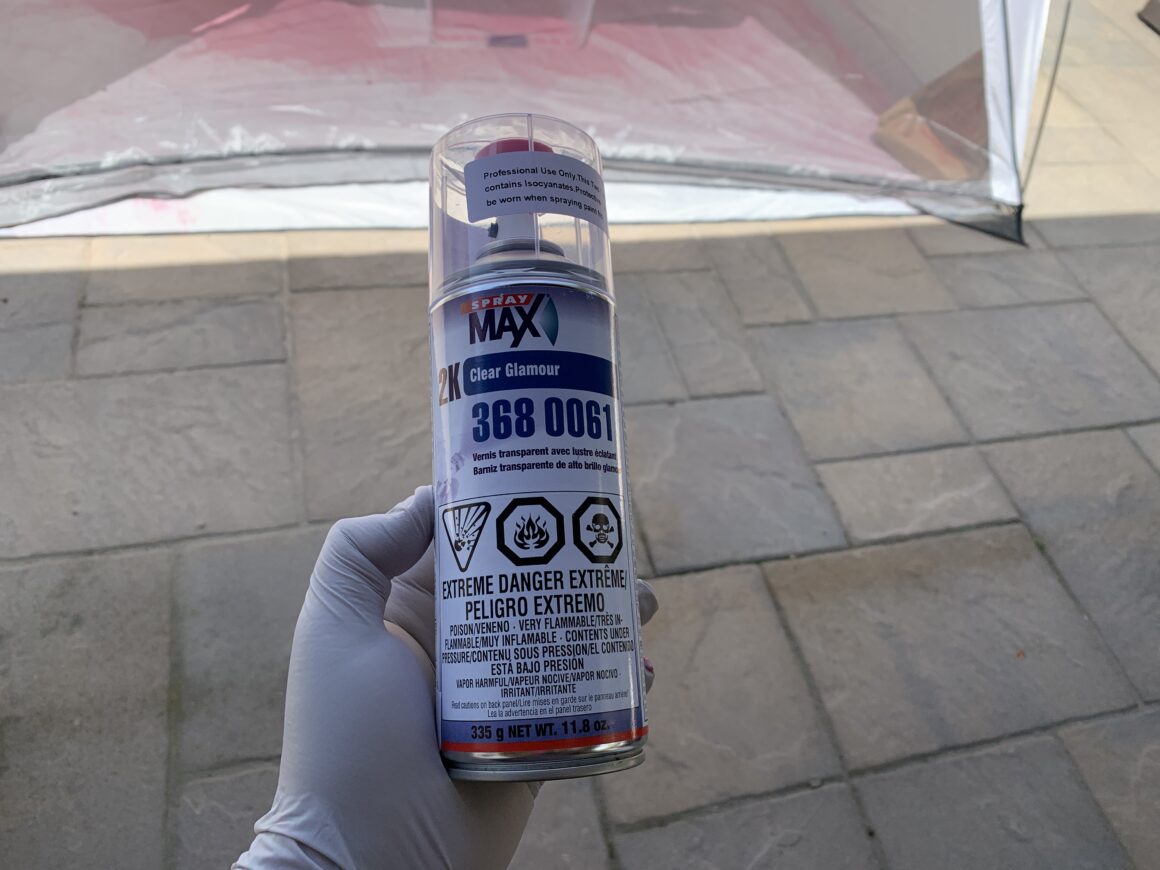
This is the stuff that truly makes your paint pop at the end. It is a 2-part clear coat, which is activated by pressing the provided red cap into the bottom of the can before using. This activates the hardener and is what allows you to get that professional-looking automotive finish.
SprayMax 2K High Gloss Clear Coat: 1pk / 2pk / 4pk / 6pk / 12pk
How to Fix Crow’s Feet By Repainting
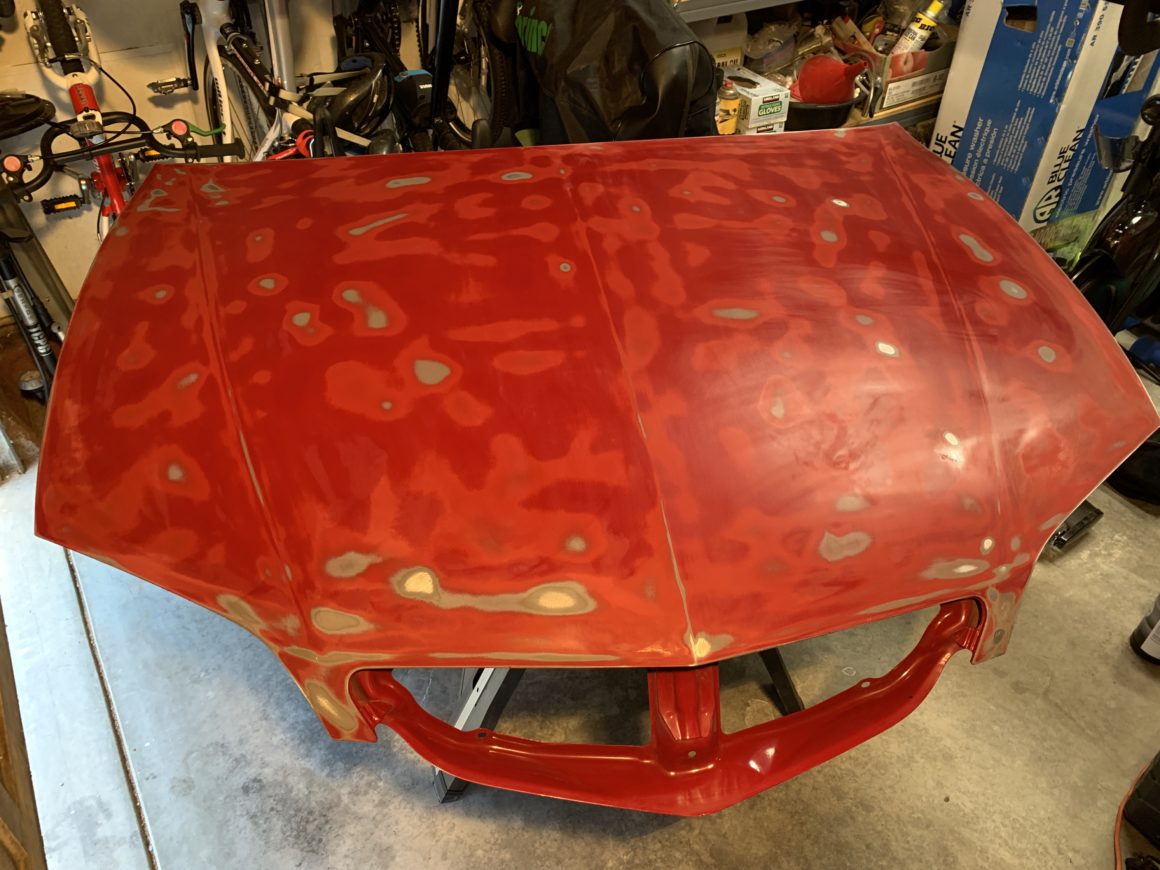
The first thing I would do is to identify the areas that require repair. Examples of this would be rust, small dings, and large scratches. However sometimes there is so much crow’s feet all over that you can’t tell if you actually have body damage to the panel.
If you sand the entire hood with 400-grit sandpaper, you can remove all of the loose and damaged clear coat, but you’ll also get a better look at whether or not you have damage that you weren’t able to see before. It doesn’t matter if you sand down to clear coat, base coat, primer coat, or even bare metal, the goal is to create 400-grit sanding scratches for the primer or paint to adhere to. You also want to ensure that all of the clear coat that was delaminated or loose from the crow’s feet is all sanded away smooth. You don’t want to be painting over loosened clear coat, which could easily crack and peel off again.
If you can manage to just sand down without getting too far down to the primer and bare metal, that may be better as you won’t have to deal with extra preparation steps–plus, you will have a more uniform thickness of paint in the end. You will notice as you’re sanding that those areas where the clear coat has already failed, you will be sanding the paint itself. Sanding in these areas will more easily sand through to the primer coat and to bare metal. So, be careful in those areas as well as near the edges of the panel.
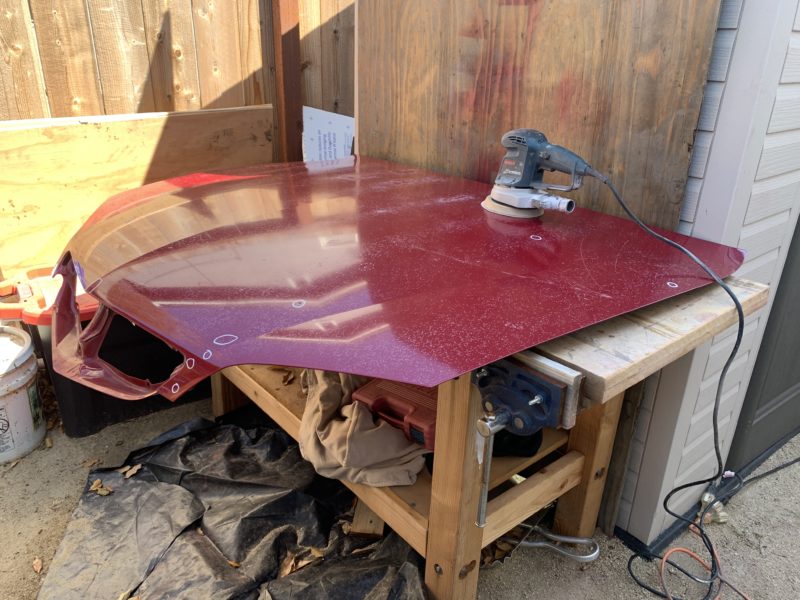
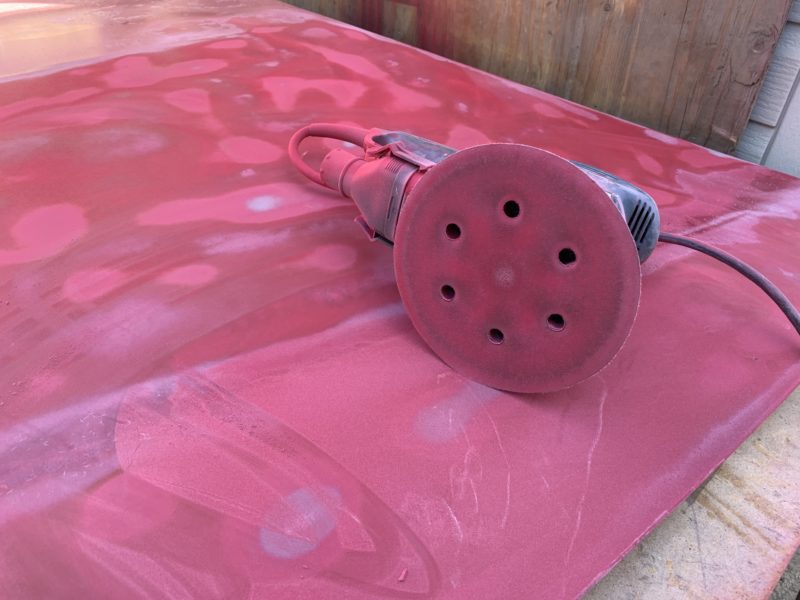
For areas where you have rust, you can use a grinding attachment on a Dremel tool to grind away the rusted areas. You’ll know that you’ve sanding the rust damage completely away when you don’t see any blackened areas in the bare metal. Grind with the grinding attachment until you see only bare metal and no black within the damaged area.
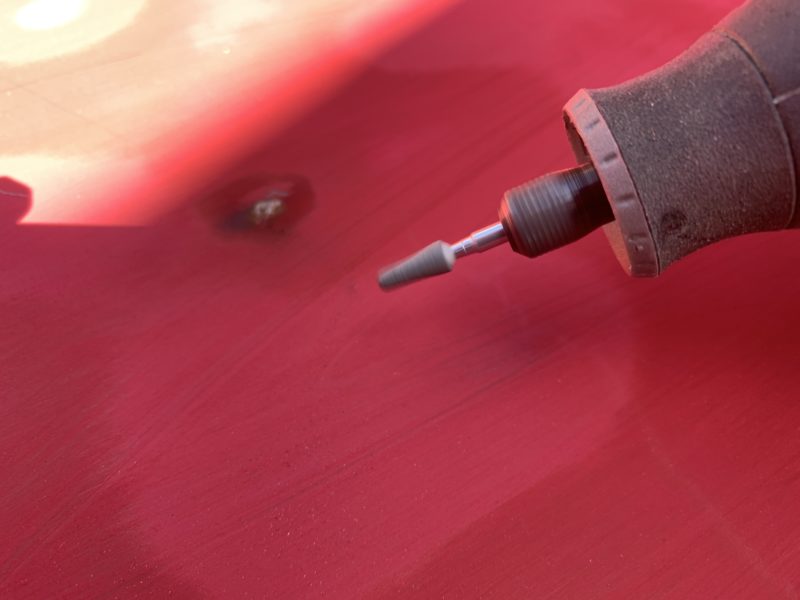
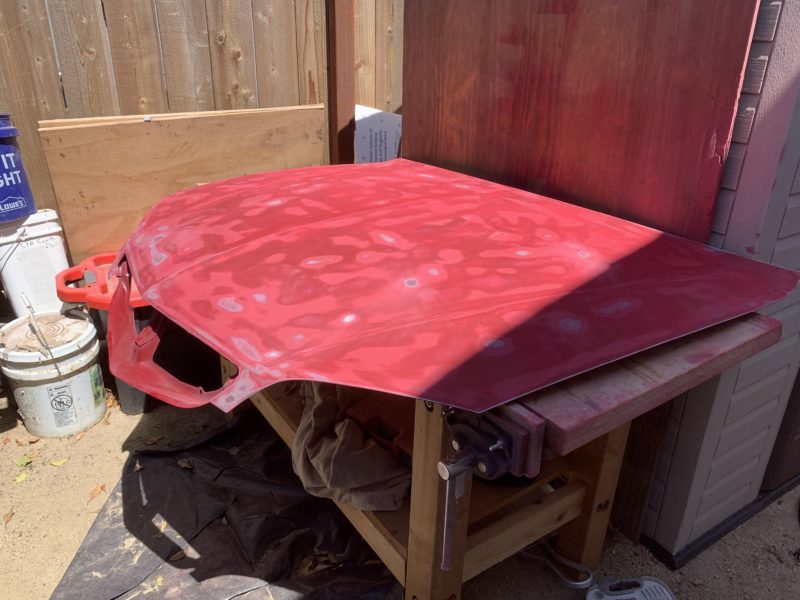
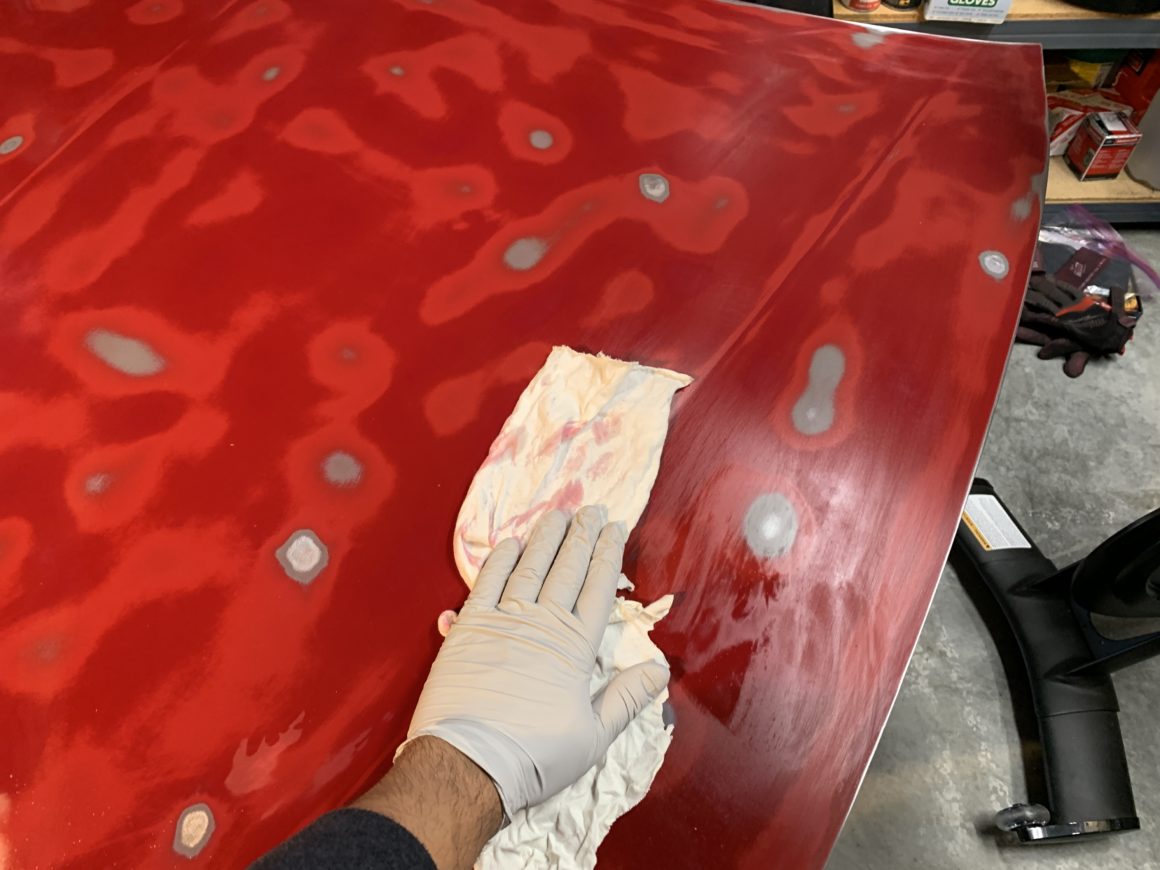
When you’re finished, the entire hood should be sanded with the rusted areas ground away. The hood is ready for the cleaning and application of body filling glaze. Clean off the hood with grease and wax remover and a lint-free rag to remove oils, fingerprints, etc.
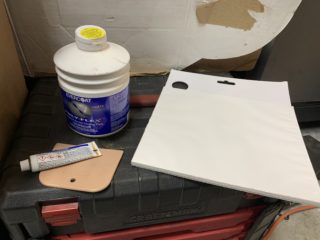
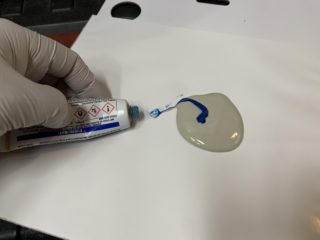
Next, mix up some body filling glaze on a mixing pad. I have a few spots on the hood that need to be filled in. Squeeze out enough filler that is needed and then apply a half-line to full-line of hardener, then mix up thoroughly with a spreader.
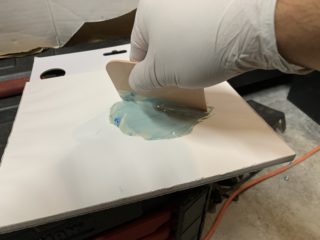
Do a last wipedown of the hood with a tack rag to remove any remaining lint or dust. Then spread the body filler onto the recently repaired areas or areas that have dings or scratches where the void needs to be filled. Using the spreader with mixed-up filler, press it into the void, then spread it evenly across the area. Since the product will shrink slightly, it’s actually better to have a slight buildup over the area as you will still need to sand it down smooth.
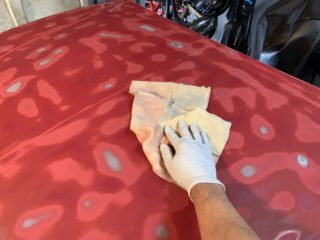
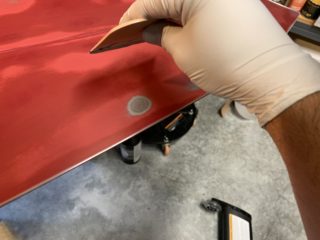
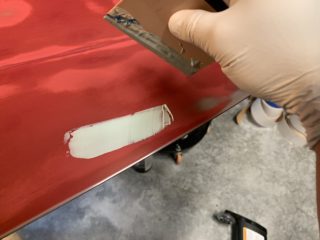
After the body filler has fully dried per the manufacturer’s instructions, use a sanding block with 180-grit sandpaper. If you’ve spread the body filler thinly, 180-grit sandpaper should take it down easily. If you have too much of a build-up of body filler, you can use 80-grit to more easily knock it down, but ensure you don’t sand it on surrounding areas or you’ll have a tougher time sanding away those coarser scratch marks.
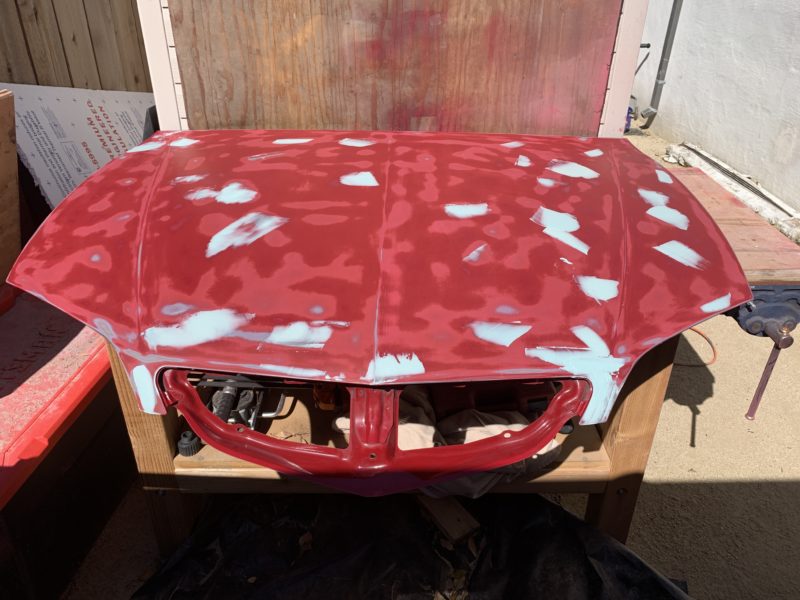
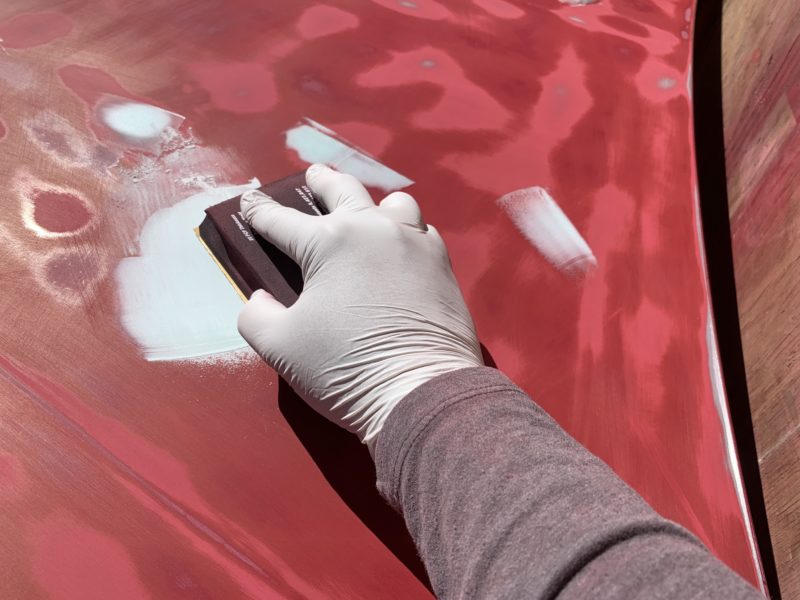
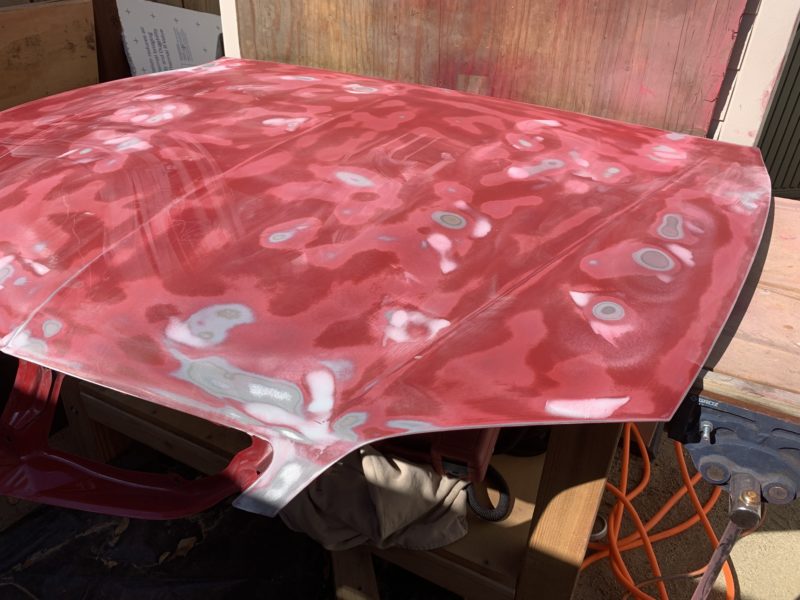
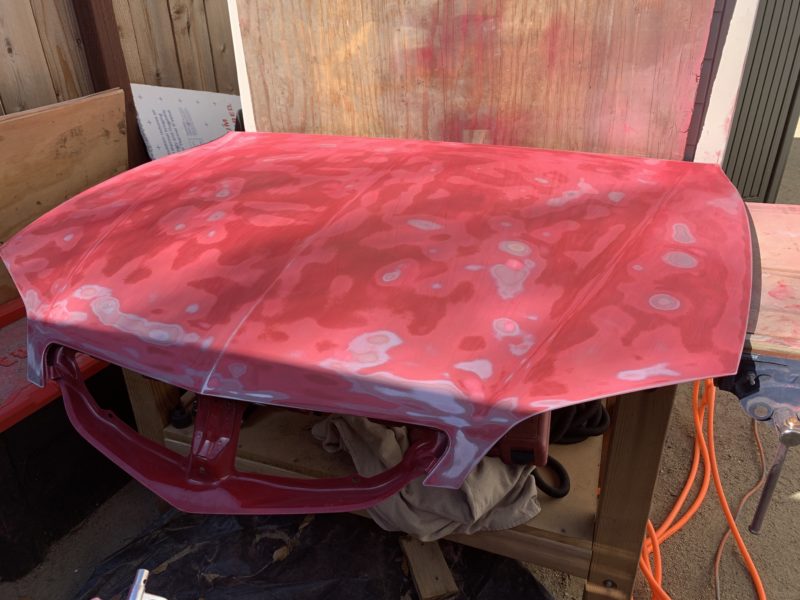
After sanding down the body filler with 180-grit sandpaper, you’ll be left with localized areas filled with the filler depending on the voids you have in your panel. At this point, you’ve filled in the areas on the hood with glazing body filler so that the surface is now totally level. You may also need to do this step a second or third time if you have deeper voids that need filling as glazing body filler repairs usually shouldn’t be thicker than ~1/8″ thick.
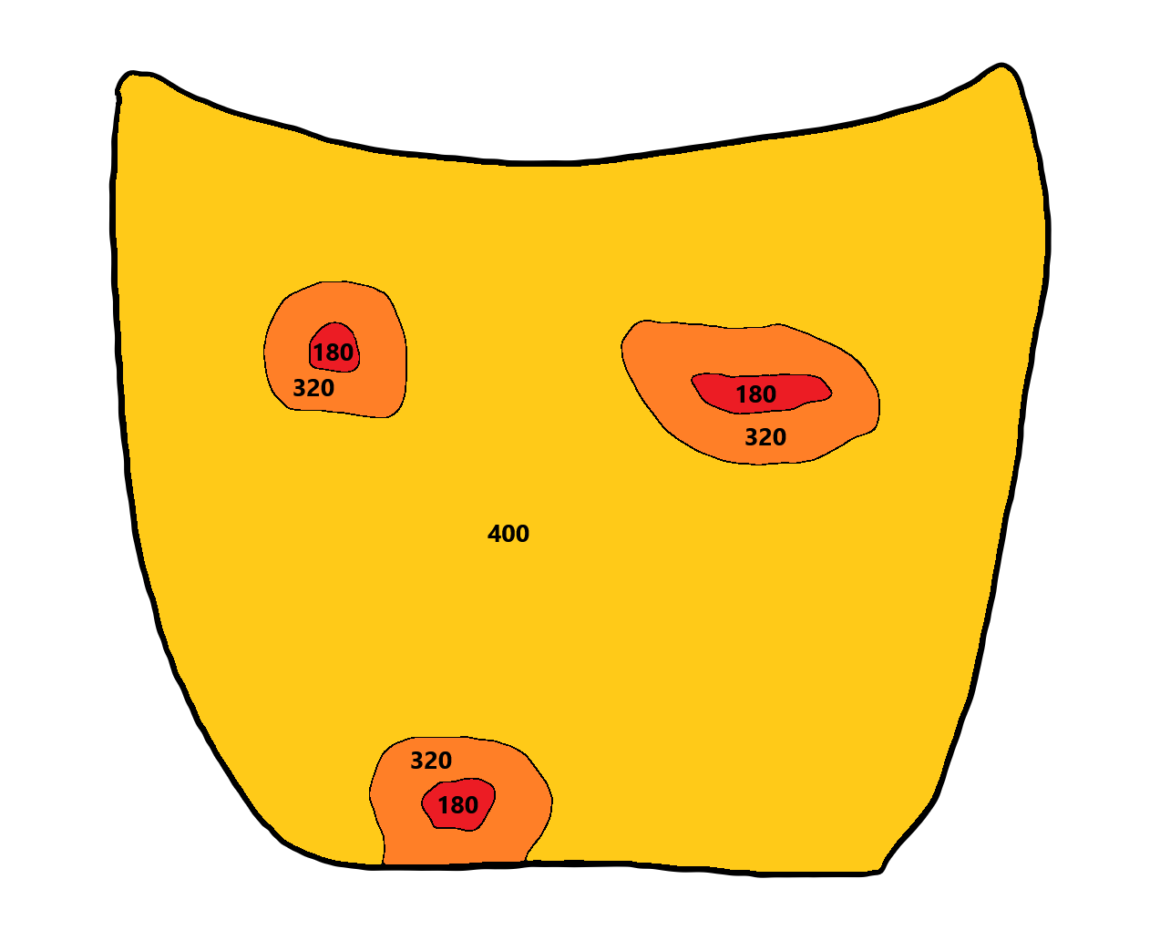
Next, using 320-grit sandpaper, sand over the previously sanded areas and fan out about an inch from those areas. Then, using 400-grit sandpaper, sand over the entire surface of the hood, which will all be primed and painted. Ensure that all previously-sanded 180-grit areas are sanded with 320-grit and then 400-grit. If you have an inspection light, use it to check the entire surface carefully to make sure you’ve sanded everything to 400-grit.
Below is a drawing I made showing the localized repair areas that would have needed to be sanded down with 180-grit (after applying glazing body filler.) Then, it would be sanded down to 320-grit (sand the previously sanded 180-grit area and spread out at least an inch all around.) Finally, the previously sanded 180-grit and 320-grit areas would then be sanded down to 400-grit as well, including the rest of the hood.
With the hood fully sanded down to 400-grit, inspect the hood again to ensure that it is totally smooth. Next, wipe down the entire panel down with grease and wax remover. Follow up with an alcohol-based cleaner.
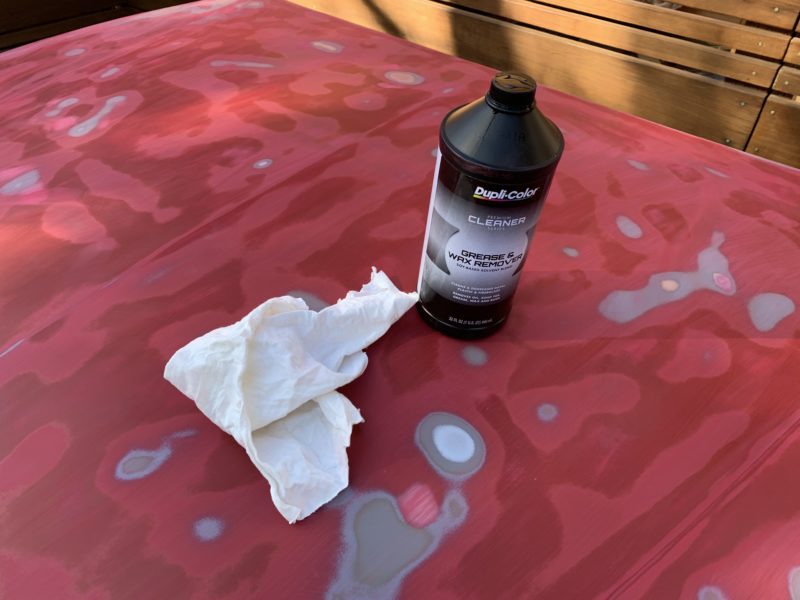
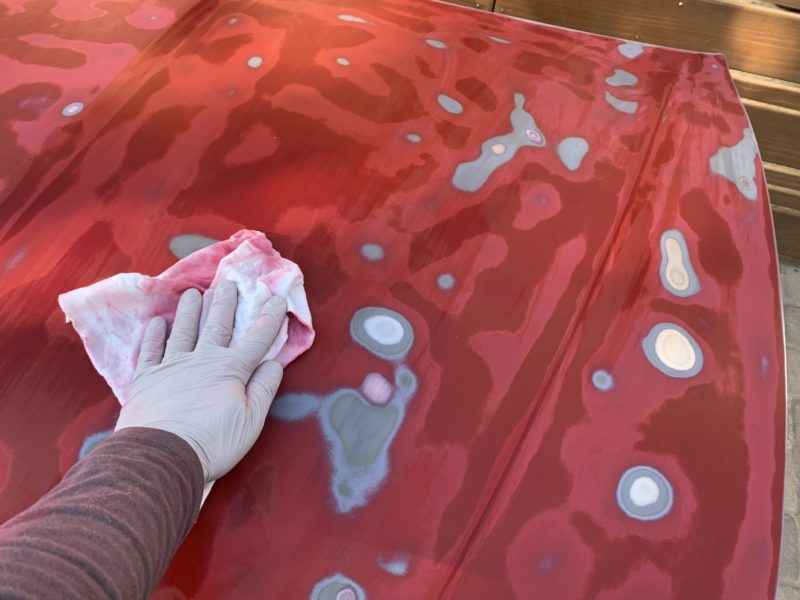
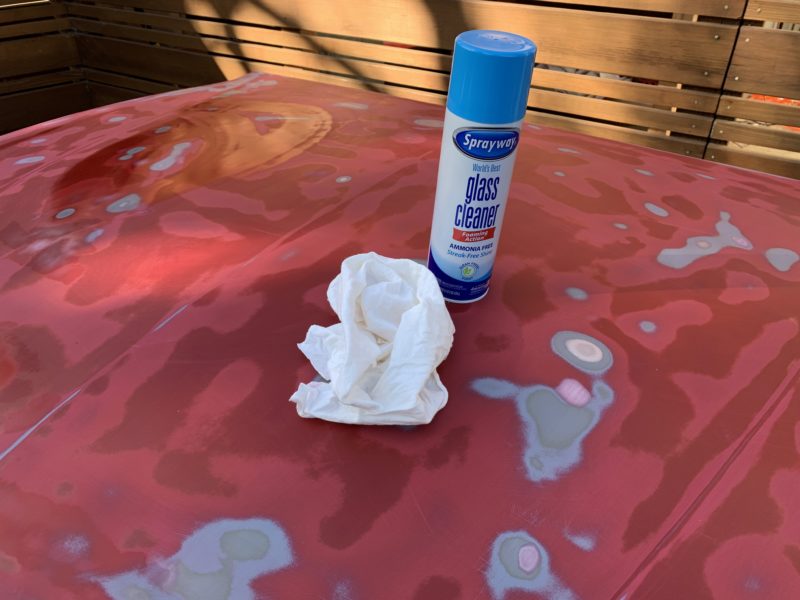
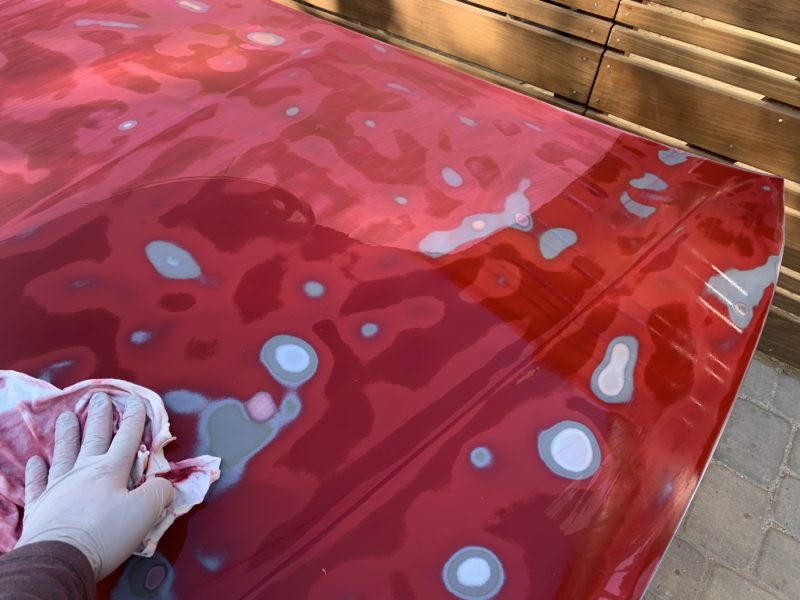
At this point, your hood is fully sanded down to 400-grit sanding scratches which is a great base for spraying primer. The primer will adhere well to 400-grit sanding scratches so that you have a long-lasting paint job. There may be some areas that have bare metal showing and you will need to spray self-etching primer shortly after before it begins to rust again.
Use a tack rag to remove any remaining dust and lint. Tape off any areas that you don’t want primer or paint getting on using automotive tape. You could also use painter’s tape as well, but automotive tape is more durable and holds up longer and better.
With the hood now clean and dry, spray a couple of thin coats of self-etching primer on areas where bare metal is showing. Primer alone does not usually bond well to bare metal, so a self-etching primer facilitates the bond by etching into the bare metal. It also provides rust and corrosion protection as well.
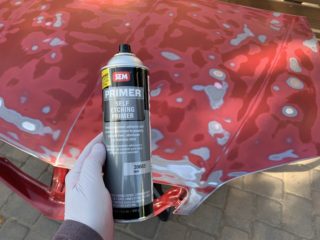
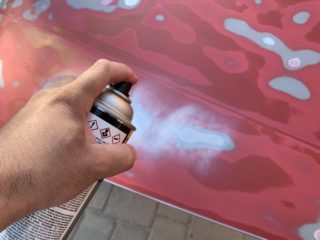
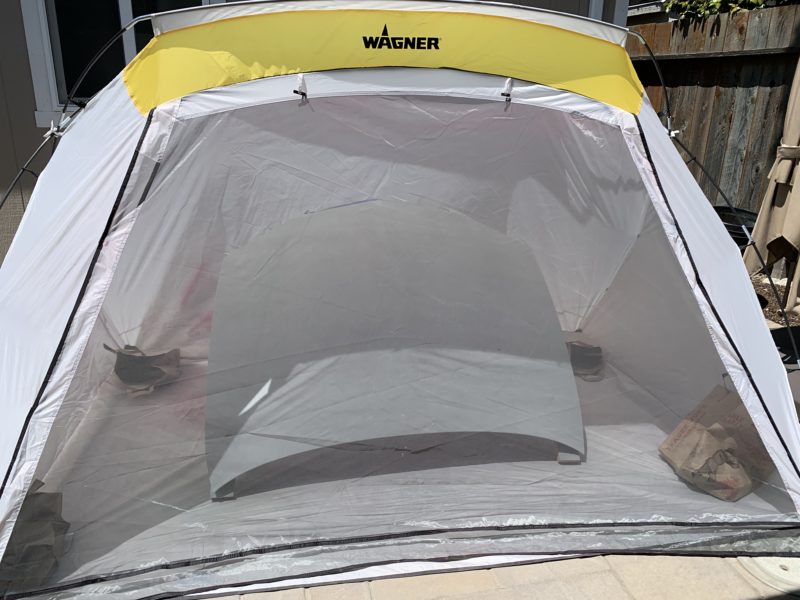
It is actually possible to forego the primer and to spray base coat directly onto your 400-grit sanded panel, however I chose to spray on several coats of primer first for a better bond since I already had the hood off of the car. I sprayed three coats of primer about 15 minutes apart from one another. This Wagner Spray Paint Tent came in handy for spraying certain parts of the car like the hood in this case.
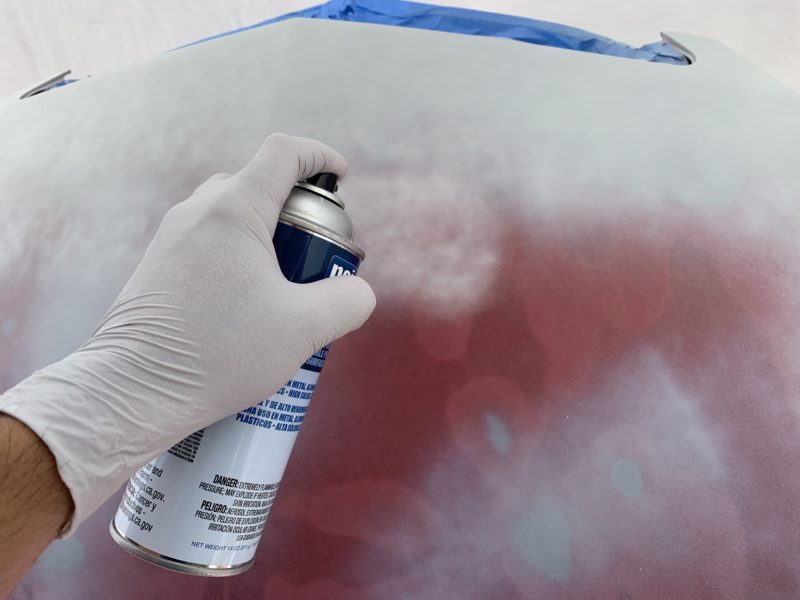
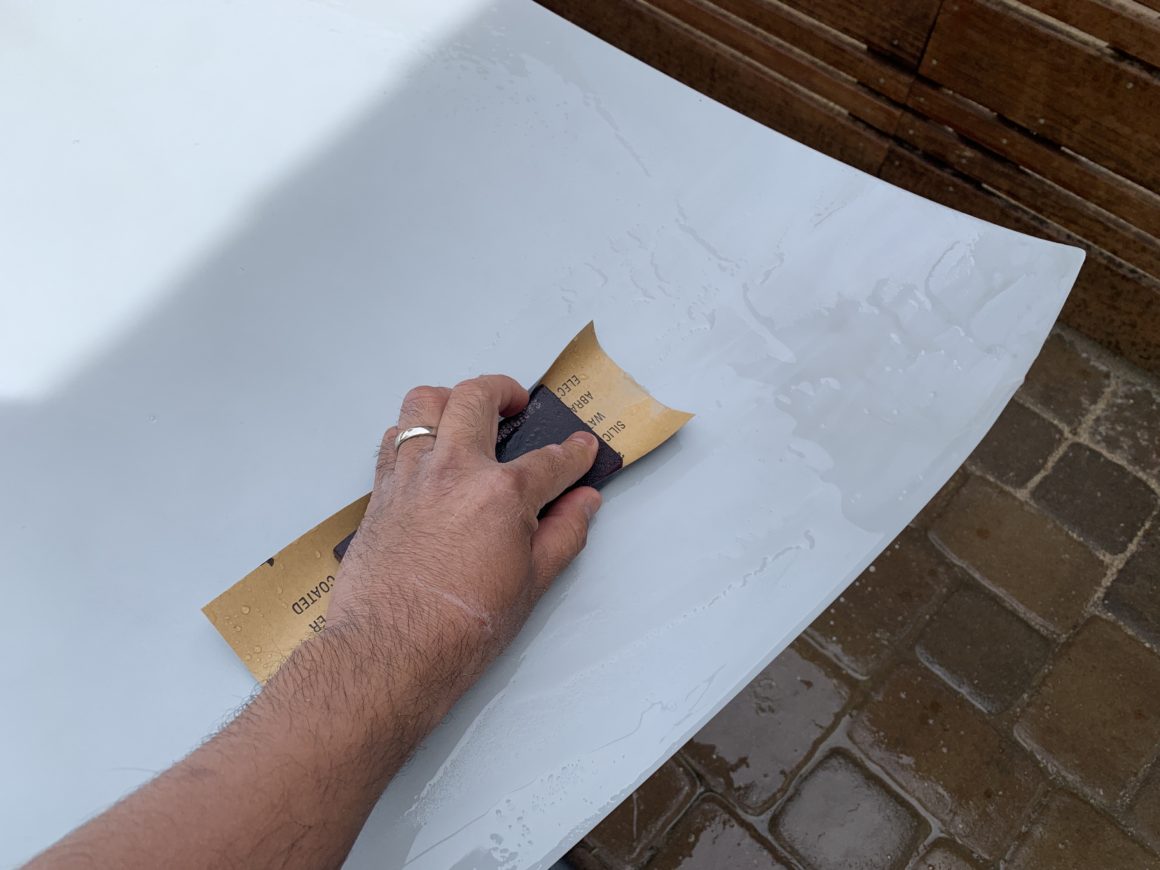
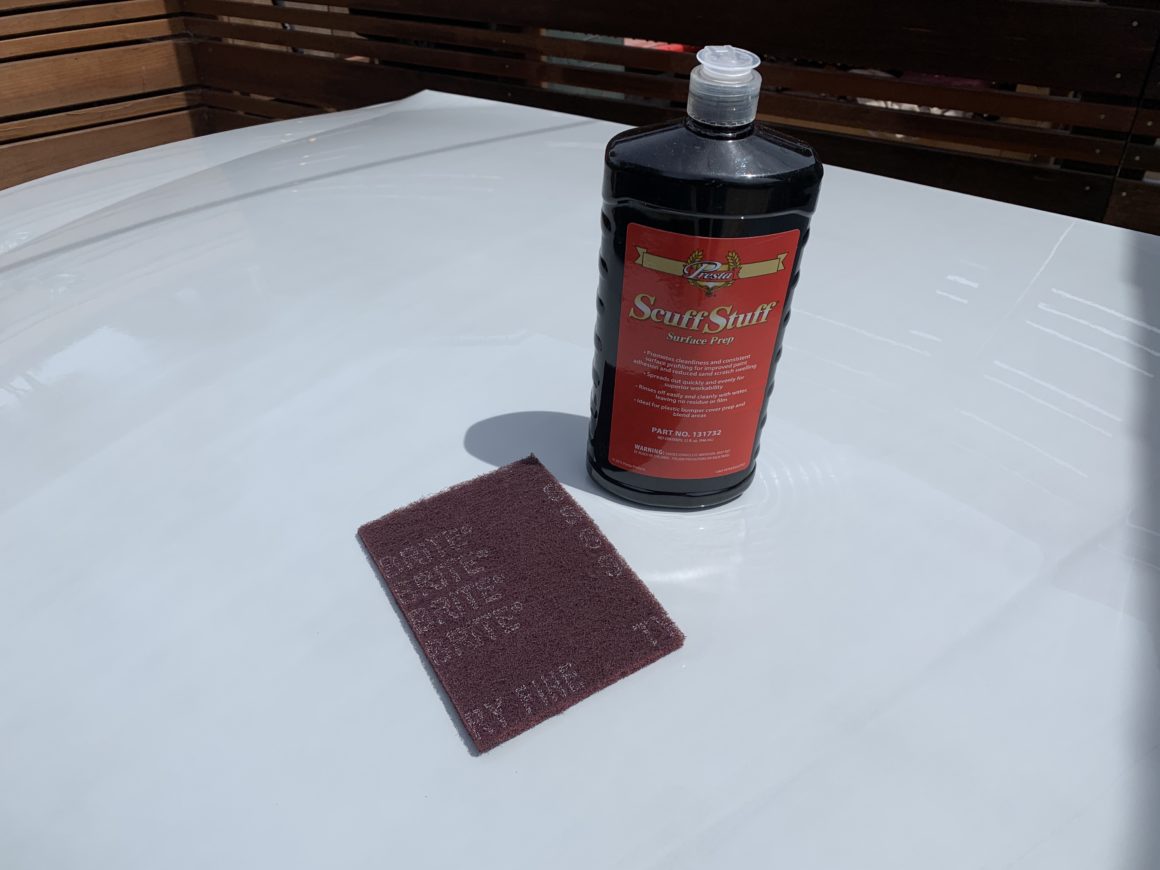
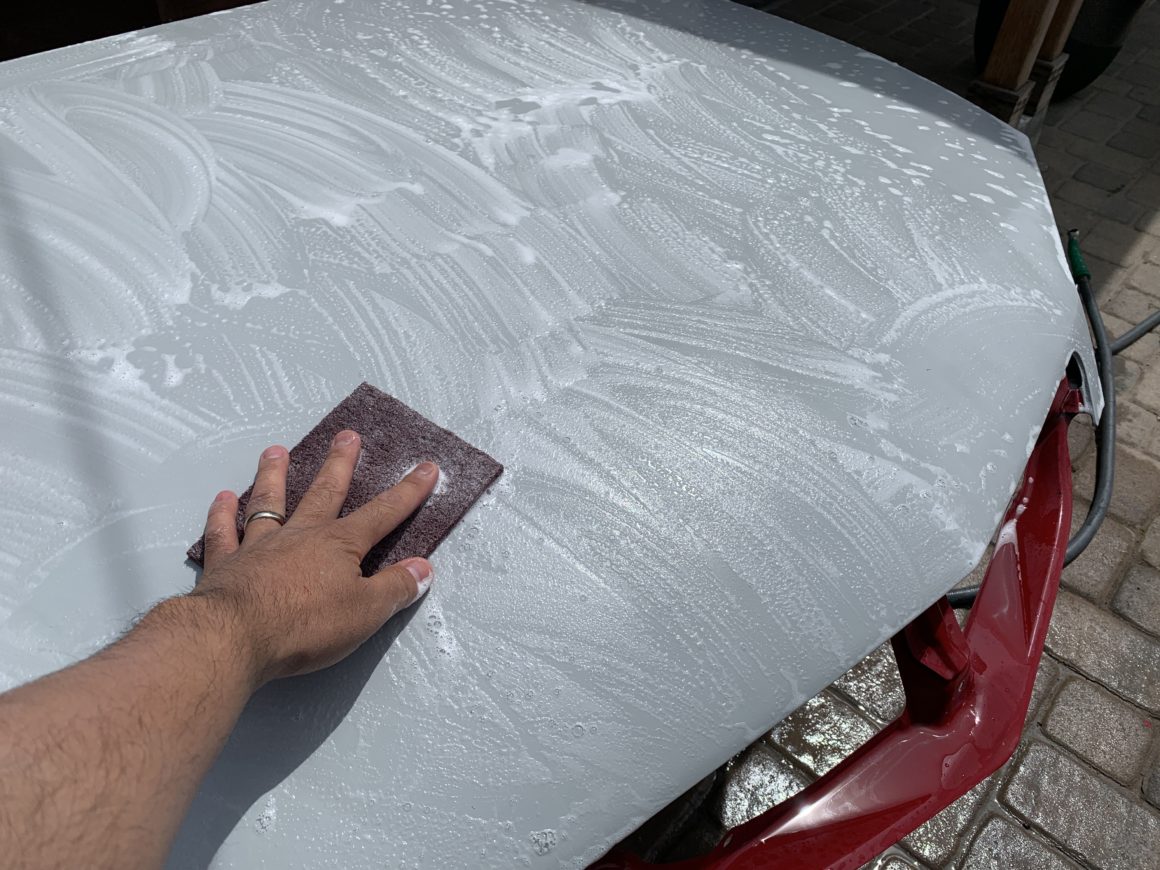
The primer will need to dry overnight as it can shrink down a bit during the drying process. The next day, I used 600-grit sandpaper and lightly sanded over the entire primed surface. Afterwards, I used Scuff Stuff along with a maroon scotch pad to scuff up the entire surface as well as lightly over the edges. Rinse it all away with water and let it dry.
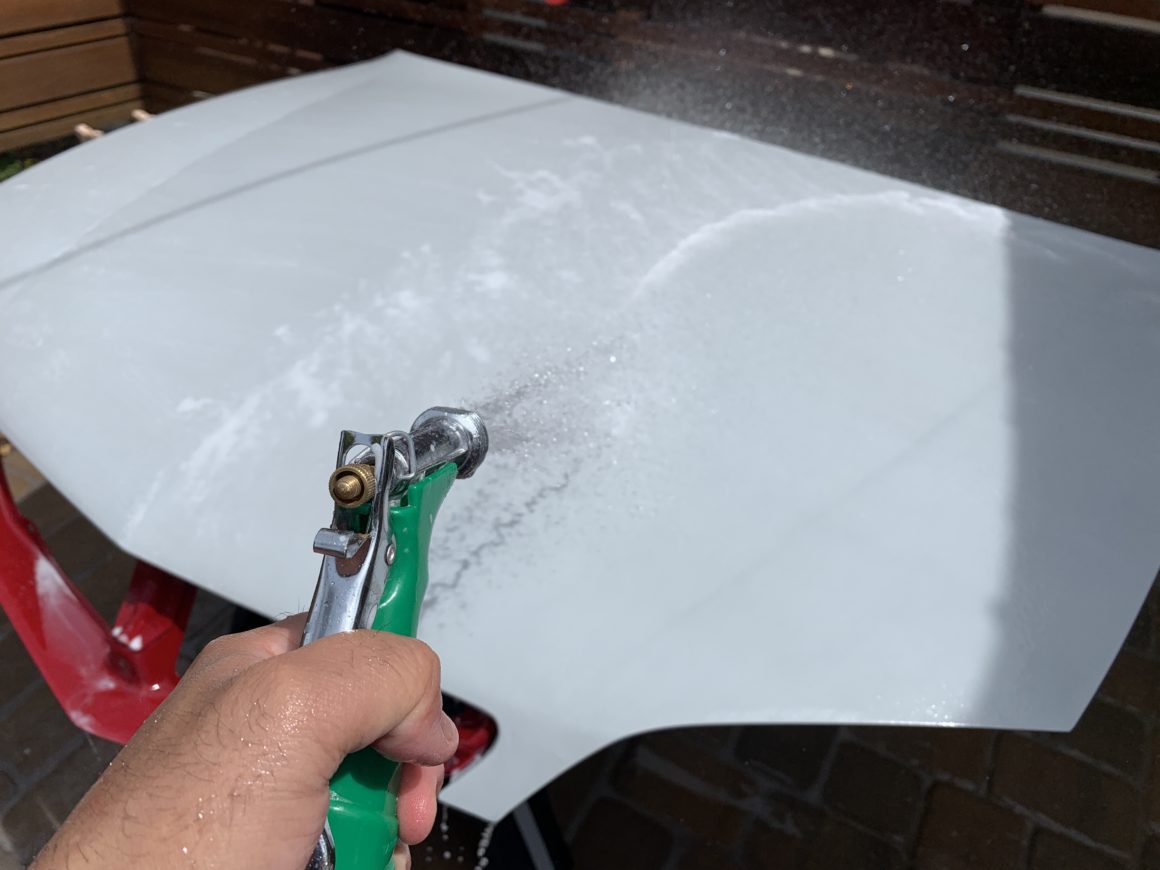
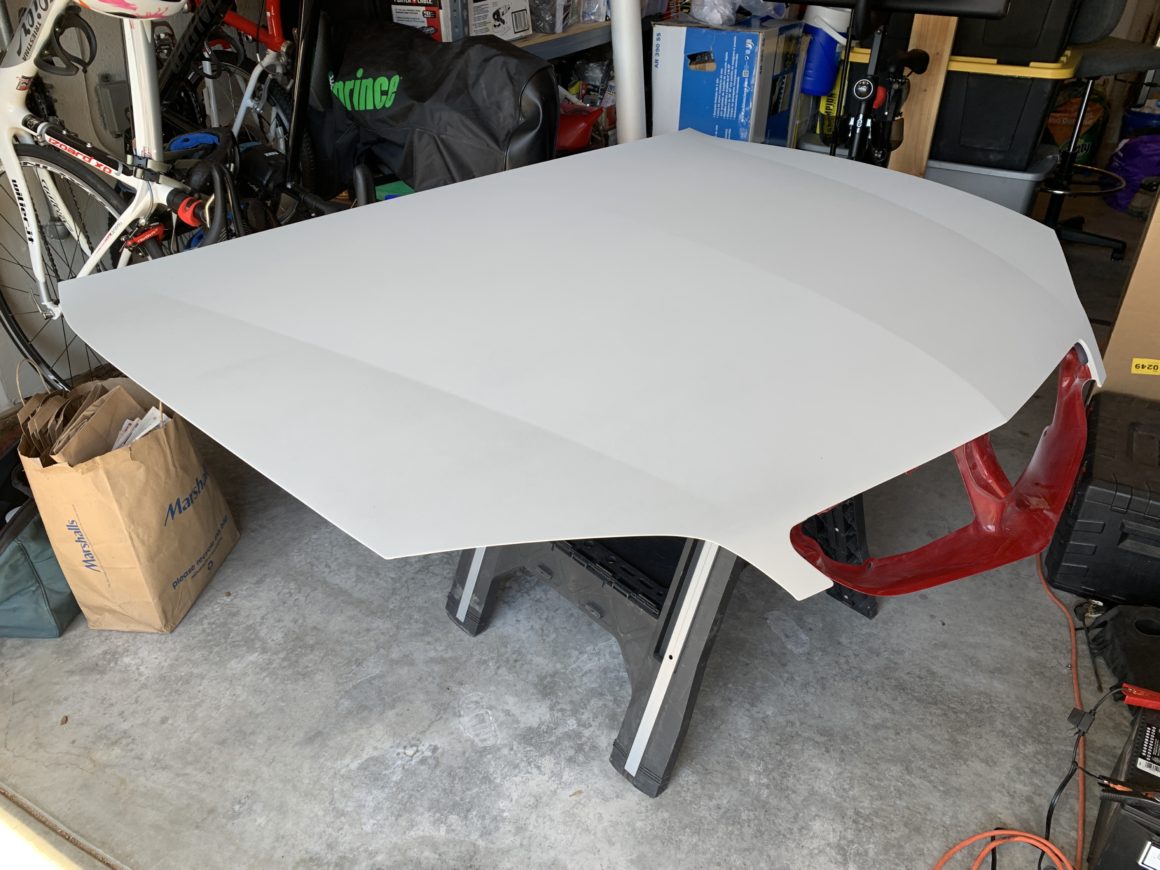
Prepare the hood at the location you will be painting it in. Use grease and wax remover, water-based cleaner, then finally a tack rag. Then spray 2-3 coats of base coat at about 4-6 inches away for good cover. Overlap the passes and ensure it dries for about 10 minutes between coats. You also want to keep the paint wet–meaning, spray in small sections at a time so that the painted area stays wet. If you paint it on too dry, it won’t give you enough coverage and won’t leave you with a uniform painted surface. Lastly, you can do a dust coat on the very last coat to minimize the appearance of tiger stripes and to give a more uniform texture.
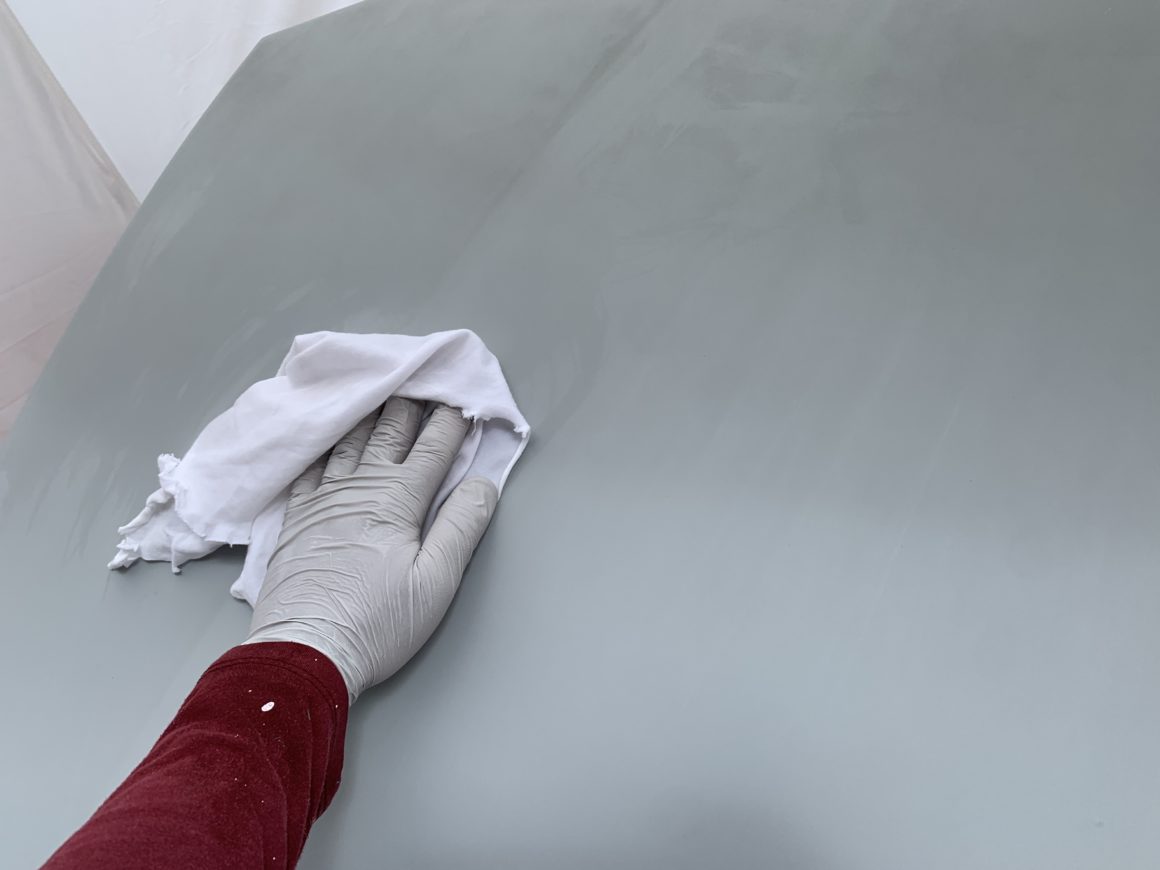
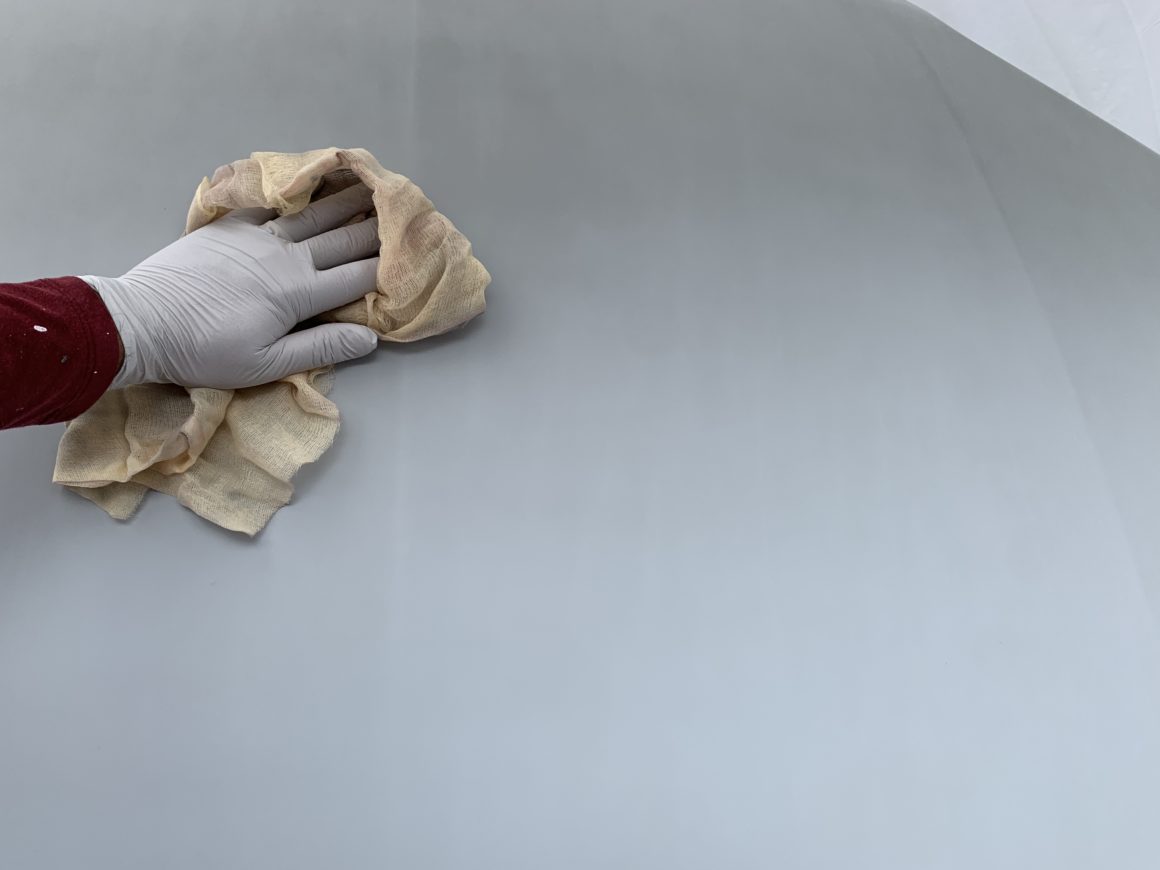
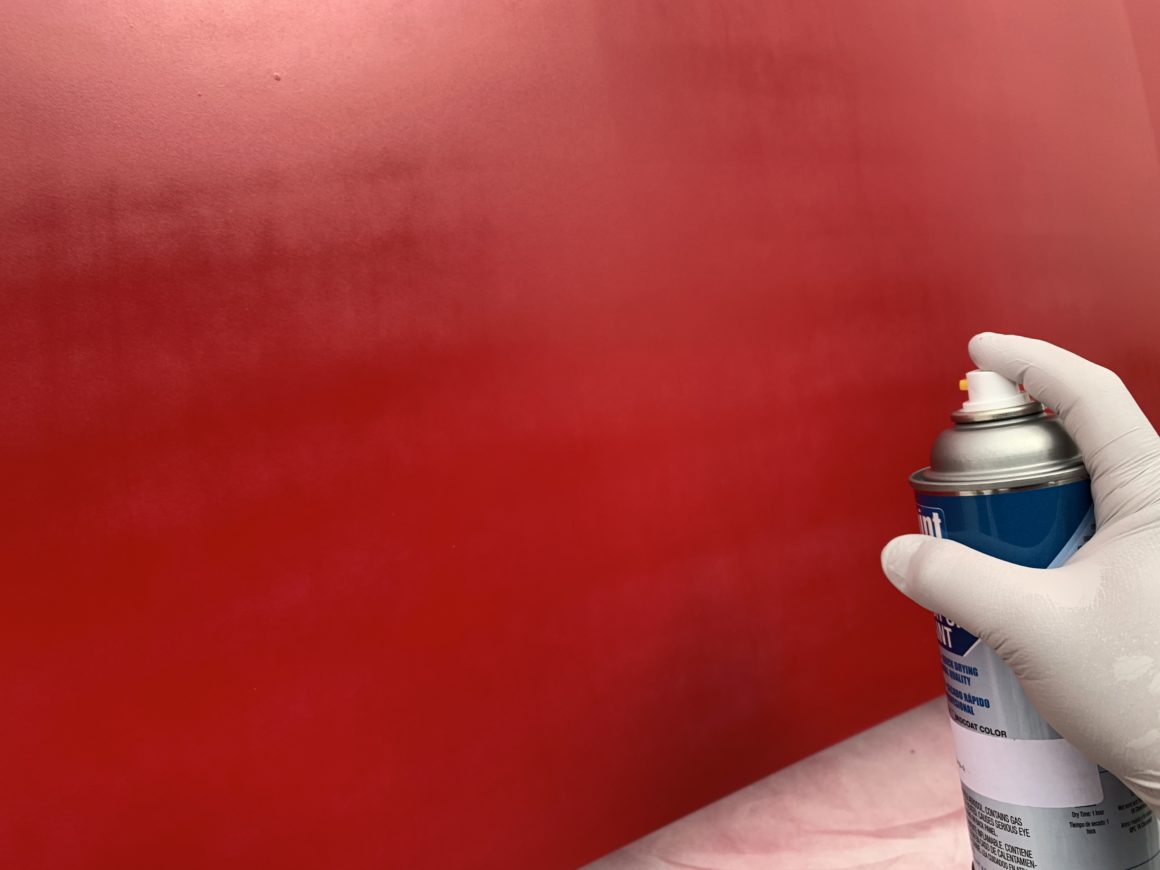
After the base coat has dried for at least an hour, it’s time to apply the 2K clear coat. The clear coat can be sprayed on similarly to the base coat with at least three coats, waiting about 10-15 minutes in between each coat. Usually, you’ll start seeing the incredible gloss from the 2K clear coat starting at the 3rd or 4th coat.
After you’ve sprayed your last coat of clear, ensure you don’t touch the surface for at least 12 hours. Definitely do not try to budge or adjust the panel during this time. Even a slight touch with your finger will leave a permanent fingerprint in the clear coat. So leave it for a whole day if you can, or wait at least 12 hours before moving to a more permanent place for drying.
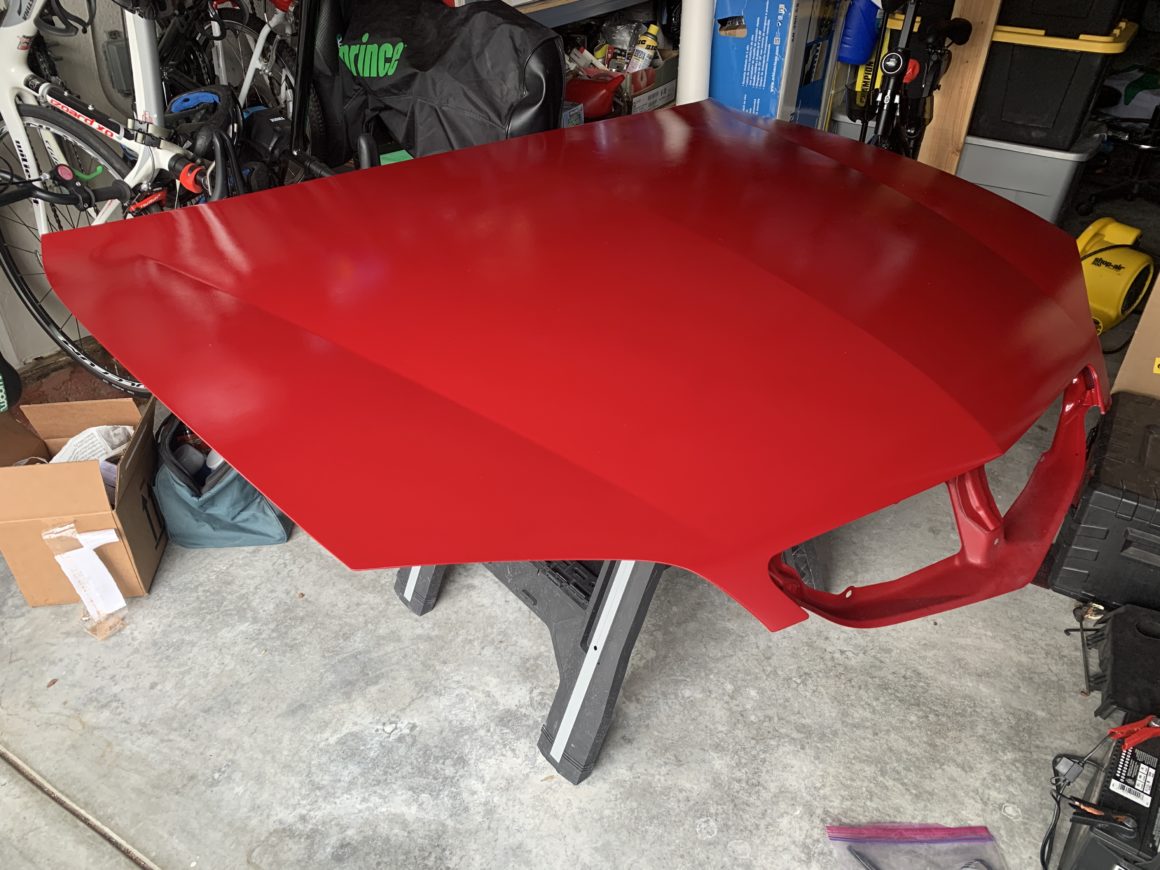
After you’ve allowed it to fully dry, it may look glossy but may exhibit significant orange peel. At this point, doing a wet sand and compound/polish will get it to a mirror finish. If you find yourself with orange peel after you’ve spray painted your car, here’s a tutorial to help you remove the orange peel: How to Remove Orange Peel from Car Paint
Obviously, it is a bit hard to explain painting technique using spray paint cans (rattle cans), so I’d like to point you to several YouTube videos from Paint Society that are great tutorials for showing you good spray paint technique.
I hope this guide gives you some insight into how you can repaint your car if you have crow’s feet in your paint. It’s very possible to be able to repair it yourself with good results, but you should evaluate if it’s worth it to do yourself depending on your budget, time, skill level, and if you have the space to do such a job. If this DIY solution doesn’t work for you, you may want to have a body shop do the job to obtain the best-looking and longest-lasting results possible.

