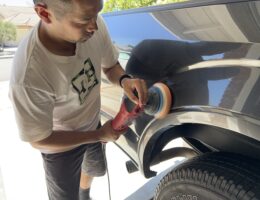
Cars will inevitably endure all kinds of scratches over time. Sometimes they can be major scratches that require touch up or re-painting, but most of the time what you’ll find are minor scratches. You can remove minor scratches pretty easily with a machine polisher and a compound of some sort. You can even get away with using a polish instead of a compound if the scratches are very minor.
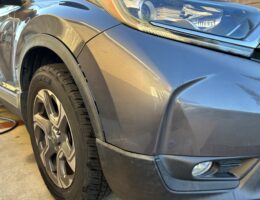
Bumpers tend to get the brunt of minor bumps and fender benders to vehicles. As a result, the bumper can get dented, broken, cracked, or scratched. Out of all these types of damage, the easiest to remove is a light scratch. I would also add that sometimes these “scratches” might actually be paint transfer, where paint has rubbed off of another vehicle onto yours. Paint transfer and light scratches are both easily removable with a machine polisher and compound/polish. If the paint from your bumper comes off, then you will need to resort to either a bumper respray or touch-up paint.
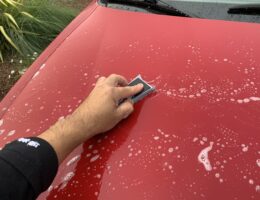
On this guide, I’m focusing on removing heavy orange peel and the techniques used to do this. Typically the process involves sanding or wet-sanding the vehicle from lower to higher grit, then following up with an aggressive compound to buff/polish the small scratches out. I will be demonstrating both dry and wet-sanding techniques, as well as following up with a Meguiar’s compound, microfiber cutting pad, and a long throw polisher to finish it off.
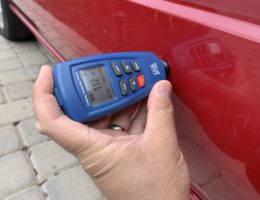
Instead of spending hundreds to thousands of dollars on an ultrasonic paint thickness gauge, we can instead use an affordable magnetic/Eddy-current gauge as long as we have an understanding what the typical layers on a modern day car are, what the thickness of these layers are. By knowing the typical thickness of each layer that encompasses a “paint job”, we can have a general idea of how much clear coat we have before we wear down to the paint, primer, or even substrate.


