Permatex 09103 Windshield Repair Kit: Amazon / Advance Auto Parts / Ebay
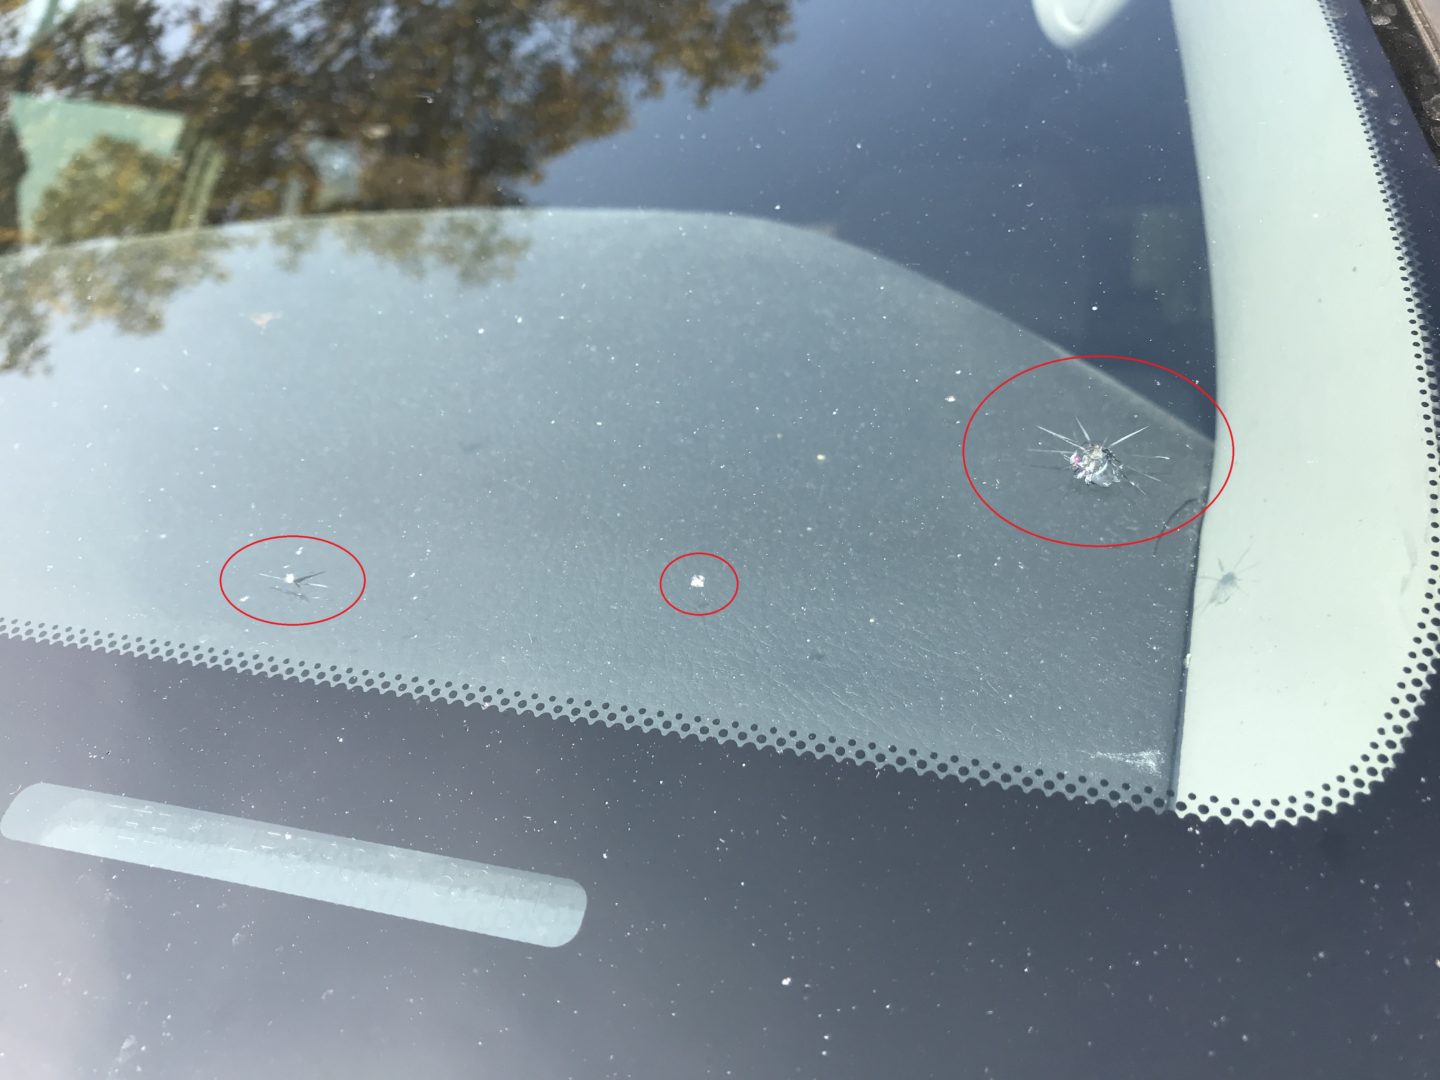
Recently on my way home from work, a truck kicked up some gravel which hit my windshield. I heard an incredibly loud “THWACK” sound on the glass in front of me and I quickly spotted the damage: a large, medium, and small chip all side-by-side from one another.
One of the important things about repairing damage to the windshield is to address it as soon as possible. The longer you wait, the more likely that dirt and other particles will get trapped within the crack, making it hard to repair later.
I picked up a Permatex Windshield Repair Kit (#09103), one of the few windshield repair kits available at the local auto parts store. I’ve used this kit in the past and it has worked effectively at reducing the sight of minor chips to about 80% of the original chip.
When opening up the repair kit, you’ll find the following items as seen below: instruction sheet, alcohol prep pad, push pin, resin, syringe, razor blade, curing strip, pedestal, and adhesive disc.

I found the instruction sheet a bit confusing to follow, but in essence the process is a simple one: prep the surface, pull out all loose particles within crack, inject resin and let cure.
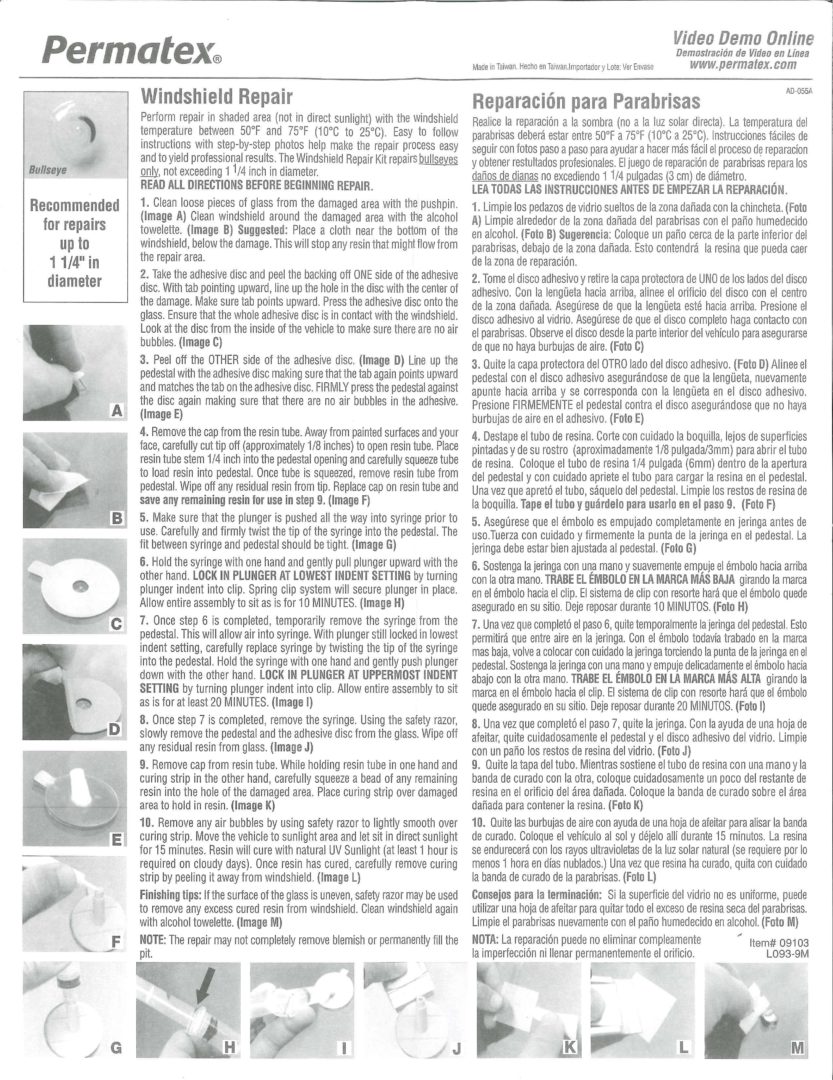
Each of the included items in the kit is necessary to repair the damaged windshield. It is important to note that this repair kit is meant to repair any damage up to 1-1/4 inch in diameter. The following outlines the procedure for using the Permatex Windshield Repair Kit:
I prepped the glass with a push pin by scraping out all of the dirt and loose glass. I then blew on it to clear the glass, and then wiped it all down with the provided alcohol towelette.


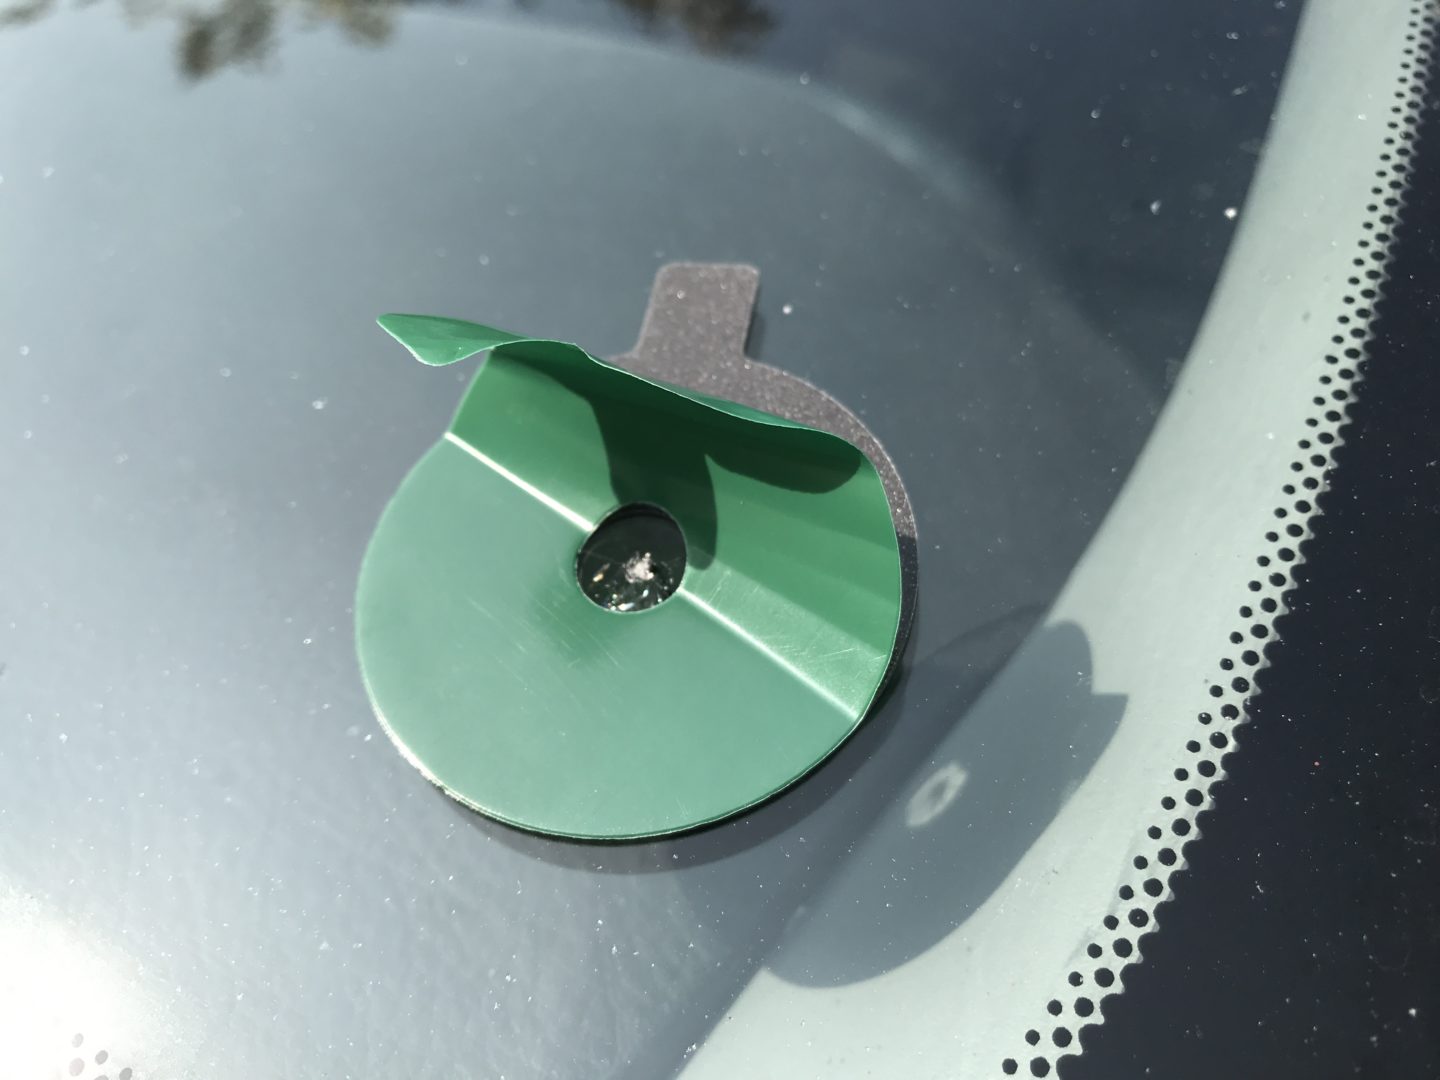
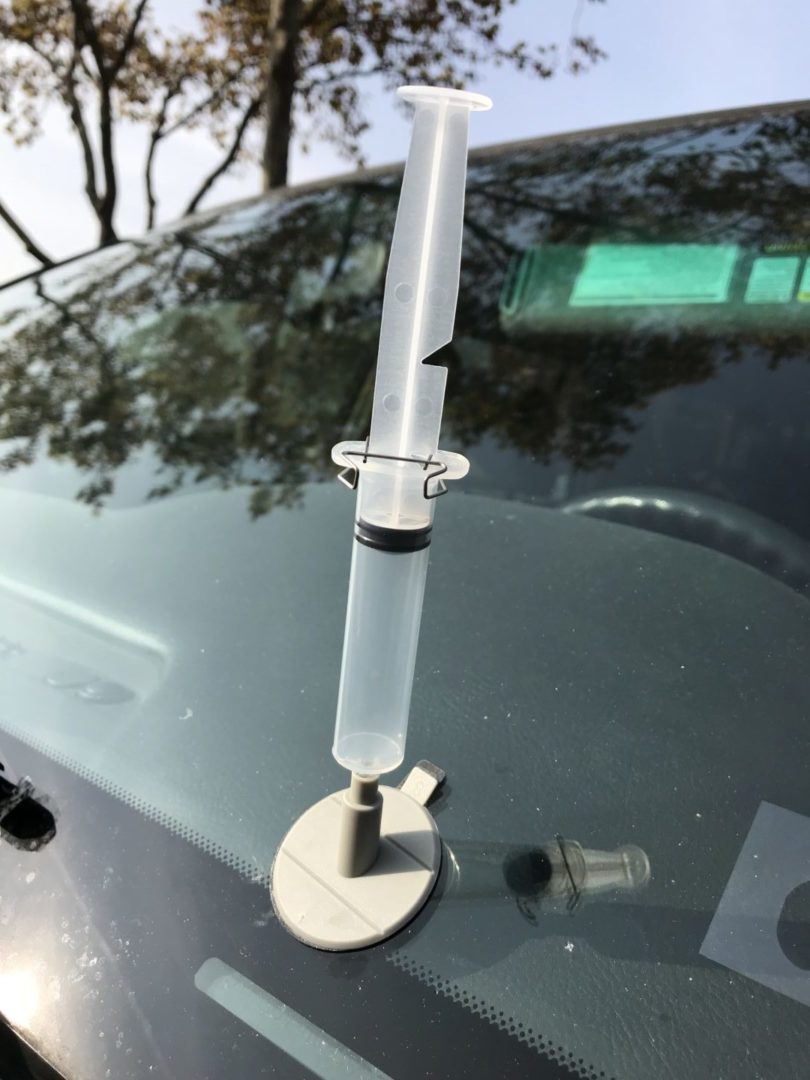
Now, it’s time to install the apparatus for the repair. This involves installing the apparatus disc by sticking one side to the glass centered over the damaged glass. Since the disc is sticky on both sides, the other side is stuck to the plastic pedestal.
Using the supplied resin, I squeezed a bit into the apparatus opening, then inserted the depressed plunger.
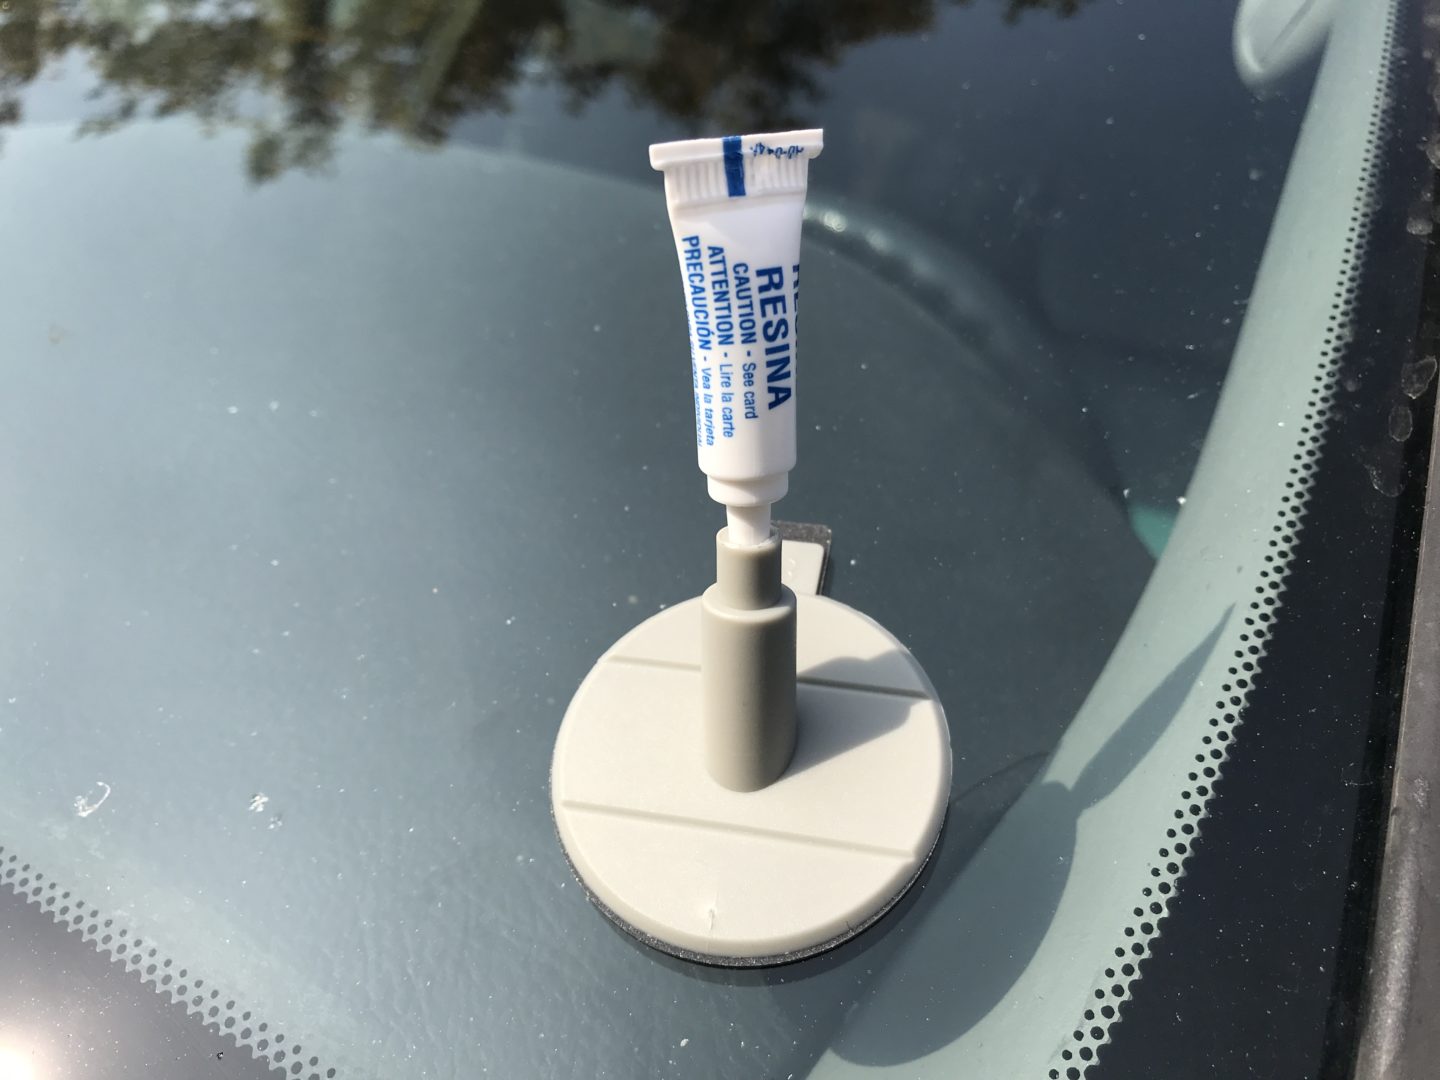

The next step is to apply suction by pulling the plunger in the syringe up until the metal clip snaps into the upper-most notch. What is happening here is the suction is pulling out any excess air within the crack/chip.
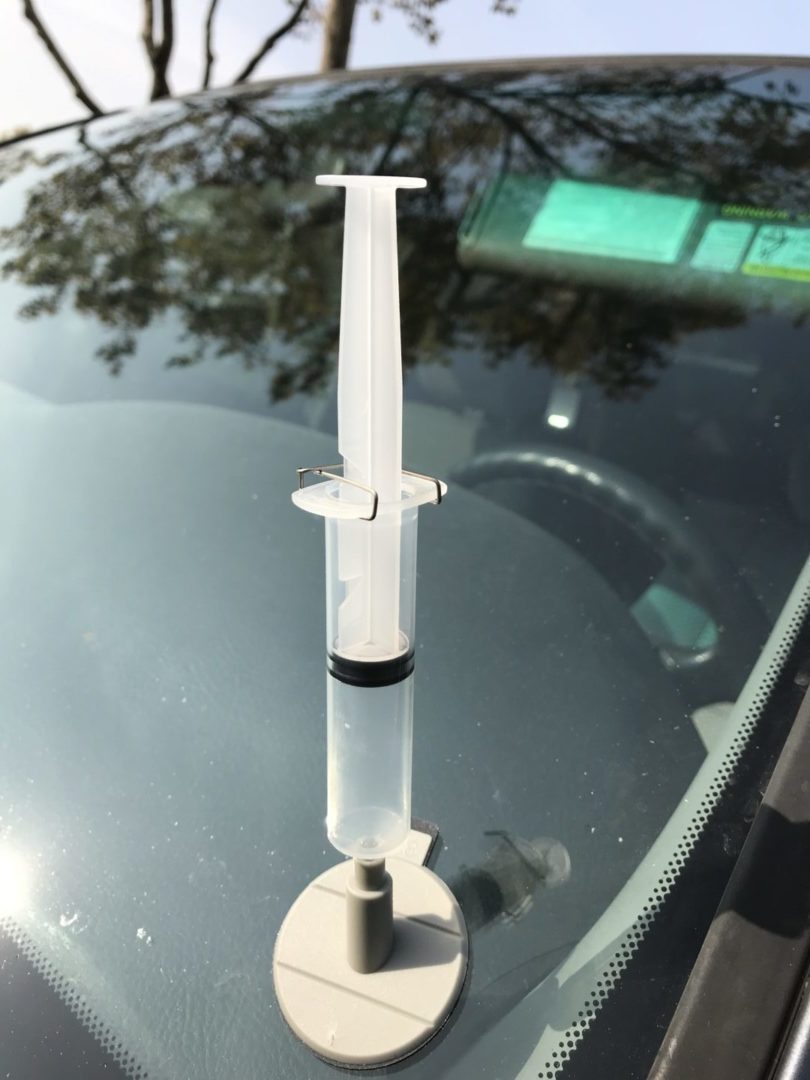
After 10 minutes, the plunger is removed, and some more resin is applied.

The plunger is then re-inserted into the apparatus. The plunger is then depressed until the clip locks into the bottom-most notch. This pressure applied forces the resin to inject itself into the void of the damage.
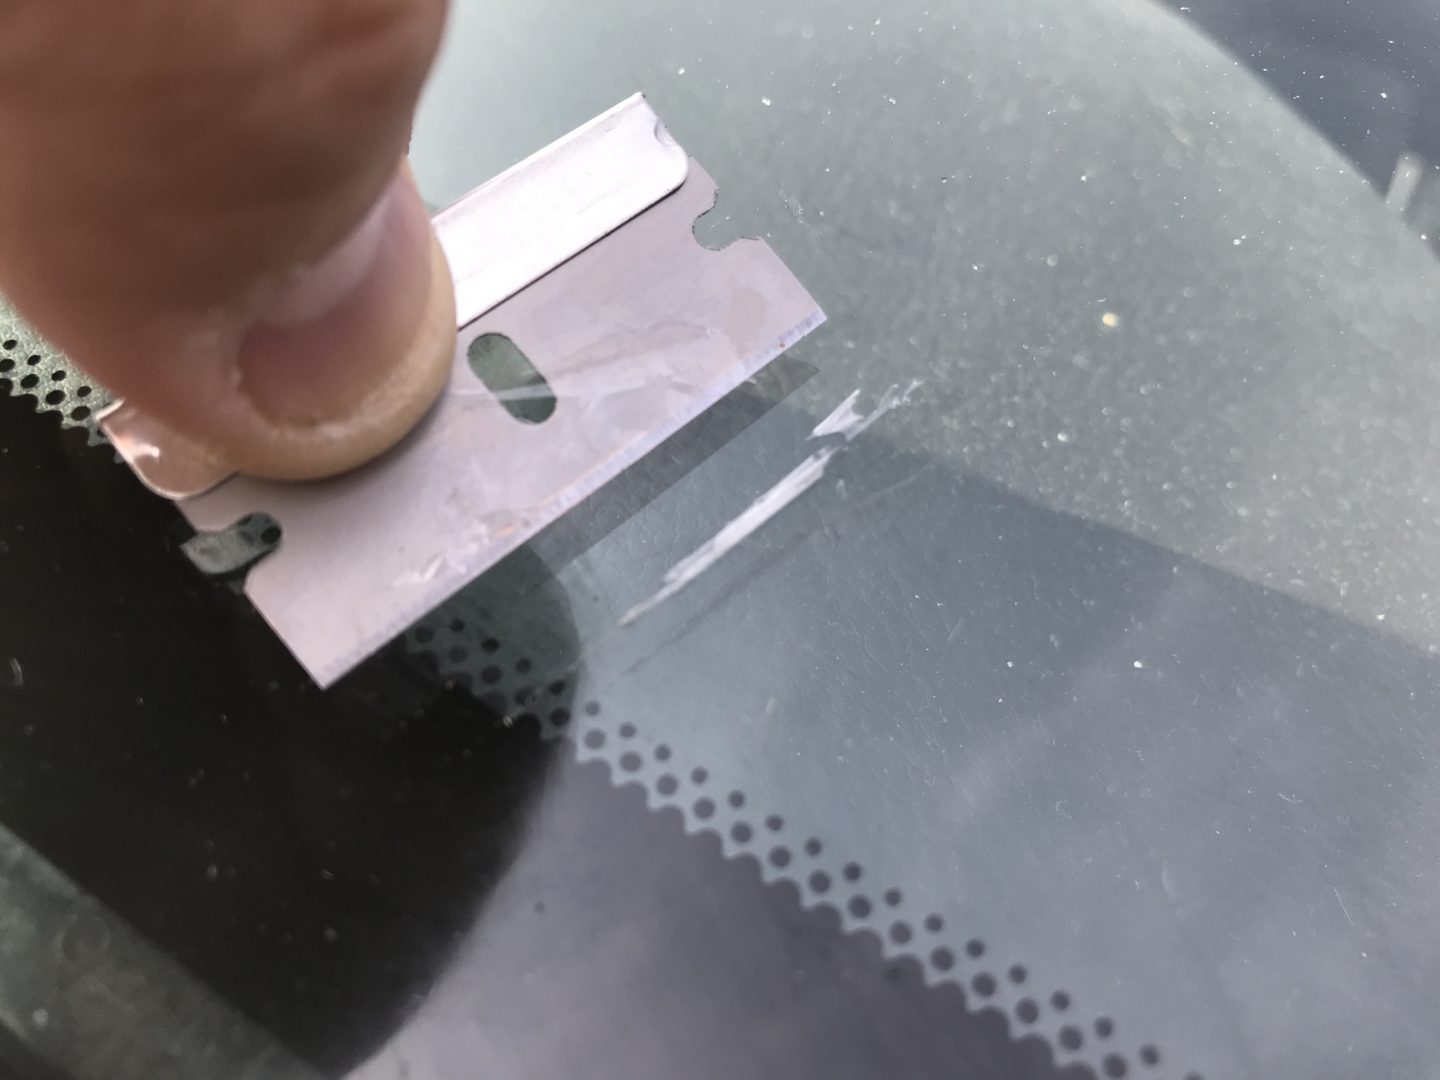
20 minutes later, the plunger is removed again and the entire apparatus is removed. I then applied a dab of resin on the repair location, then the curing strip (basically a thin sheet of plastic) is left on the dab of resin to cure. The best results typically occur when the curing resin is left out in direct sunlight. After 15 minutes, the resin should be fully cured.
The razor blade is used to scrape off the hardened resin that sits above the repaired spot(s).

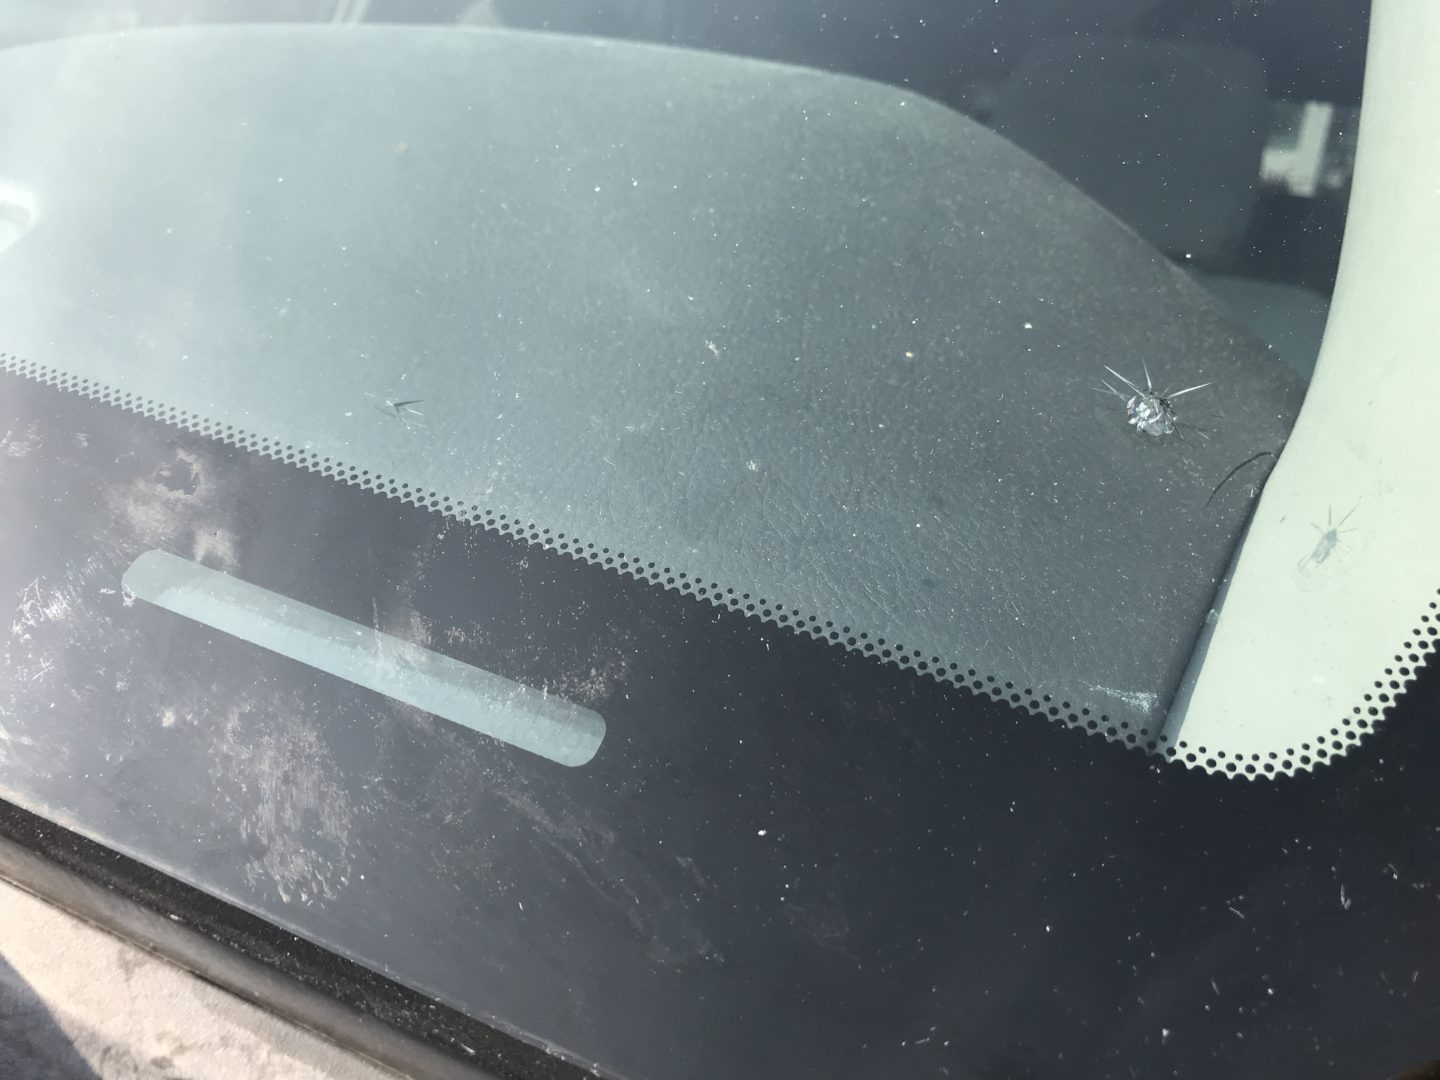
As you can see below, the large crack on the right is still very much visible. The medium-sized one on the left is a bit less visible, and the small one in the middle has almost disappeared.
I have mixed feelings about this Permatex Windshield Repair Kit. In the past, I’ve had really good experiences with this kit. I’ve made many repairs with this kit and I’d say the majority of the damage difficult to spot unless you look closely.
In this situation, I don’t think that I had the same good results due to one major reason. There was so much positive and negative pressure induced by the syringe and plunger that the double-sided tape on the adhesive disc came loose. There was a loss of pressure because of this, and therefore there was insufficient pressure for the kit to work as it was intended to.
Once the apparatus lost pressure and the double-sided foam tape came apart, the resin got everywhere (including the adhesive surfaces). As a result, there was no going back as the adhesive disc was essentially useless now.
I spent about $15 on this kit buying it from a local auto parts store. It is about $5 cheaper online on Amazon.com. For these types purchases, I normally rely on buying at a local store so that I can make the repair as soon as possible. But, I learned that these kits are not always in stock and you end up spending time going to more than one store to hope that an overpriced kit is in stock. Plus, with Amazon Prime you can guarantee a relatively quick delivery time.
The disc needs to be stronger in order to hold up to the high pressures that it may experience. Furthermore, there could be more than one adhesive disc (these are cheap parts– double-sided foam tape) so that this kit is not just a one-time use kit. What if you had more than one repair to make or you ended up getting another chip in your windshield a week from now?
The Permatex Windshield Repair Kit can tackle the job of making that chip/crack less unsightly, but remember that this kit (and any other kit out there) is not guaranteed to make it completely disappear. The bottom line is that this kit does do the job. Just don’t expect to get more than one use out of it.
Permatex 09103 Windshield Repair Kit: Amazon / Advance Auto Parts / Ebay
3 Comments
Pingback: Permatex Windshield Repair Kit · The Car Devices
I think reason why it didn’t stick well was that you have to do the initial steps in the shade and start with a cool windshield between 50-75F (10-24C), once all is done, only then move the car to direct sunlight for the curing process, having a cool windshield also allows you to apply heat on the inside (heat gun/lighter) to aid wicking the resin into the cracks by capillary effect.
Also, the plunger position seems wrong, unless you got the pictures mixed up as your text is correct.
Thanks and good luck for your next repairs!
That’s a really good tip and makes total sense. The next time I do some windshield repairs, I’ll definitely try that. I think I may have mixed up two of the pictures, thanks for pointing that out!
Appreciate you taking the time to comment, take care!