
When you make purchases through links on this site, The Track Ahead may earn an affiliate commission. Also, these posts are based off my own experiences. I am not responsible for any action you take as a result of reading this. Learn More
With my 2003 Toyota 4Runner hovering around the 200k mile mark, I decided that it was time to replace the transfer case fluid. I followed an excellent write-up posted by snowbizx on T4R.org here, which includes both the process for replacing the transfer case fluid as well as the front and rear differential fluids. I’ll put up a separate post for the differential fluids at a later time.
About the Transfer Case
The transfer case can be found on vehicles that utilize all-wheel drive or four-wheel drive. It essentially transfers power from the transmission down to the front and rear axles and can regulate among the different modes– in the case of this 4Runner: H2, H4, and L4. That would be high speed 2-wheel drive, high speed 4-wheel drive, and low speed 4-wheel drive, respectively.
The fluid in the transfer case normally lives a pretty easy life under normal driving conditions. The gear changes only happen when actually shifting into the different gearing (which is occasional during normal driving), minimal heat builds up. The only thing is that there is no filter for this fluid, so there is no way for particles within the transfer case to be trapped.
My vehicle is at about 200k miles and although I do not offroad much, I believed it to be time to replace the fluid.
Accuracy and Safety First
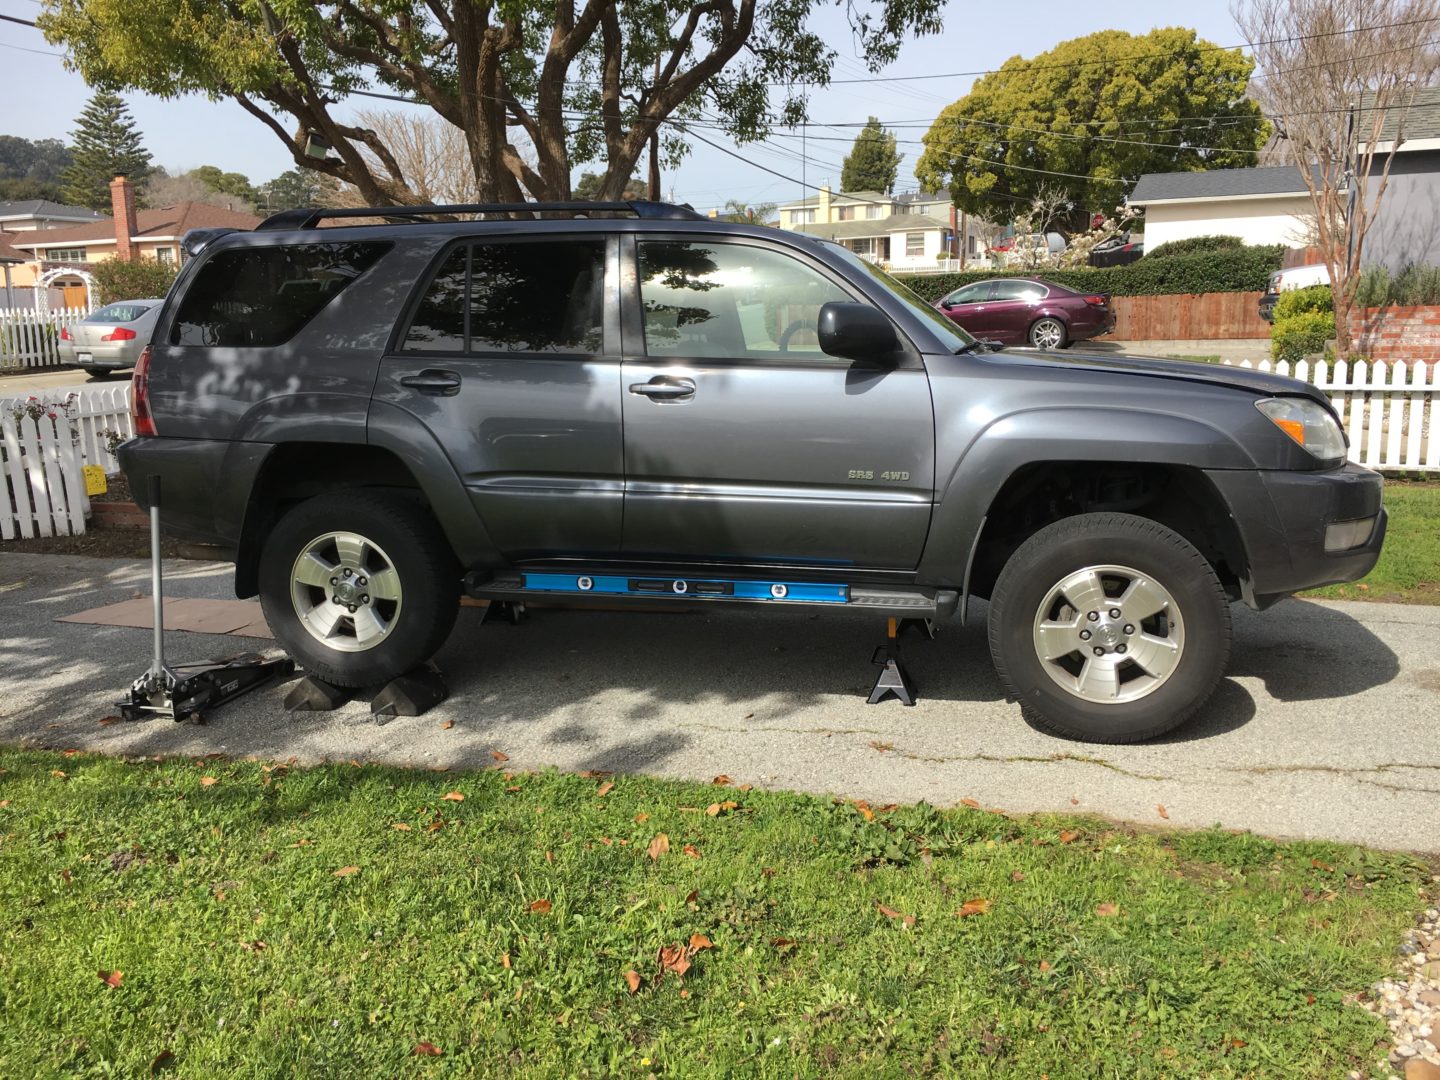
I started by making sure the car was level which I did by raising it up with a floor jack, supported it on jack stands, and used a level on the running boards to make sure it was level. Wheel chalks were put down to prevent the car from moving anywhere.
Draining the Transfer Case
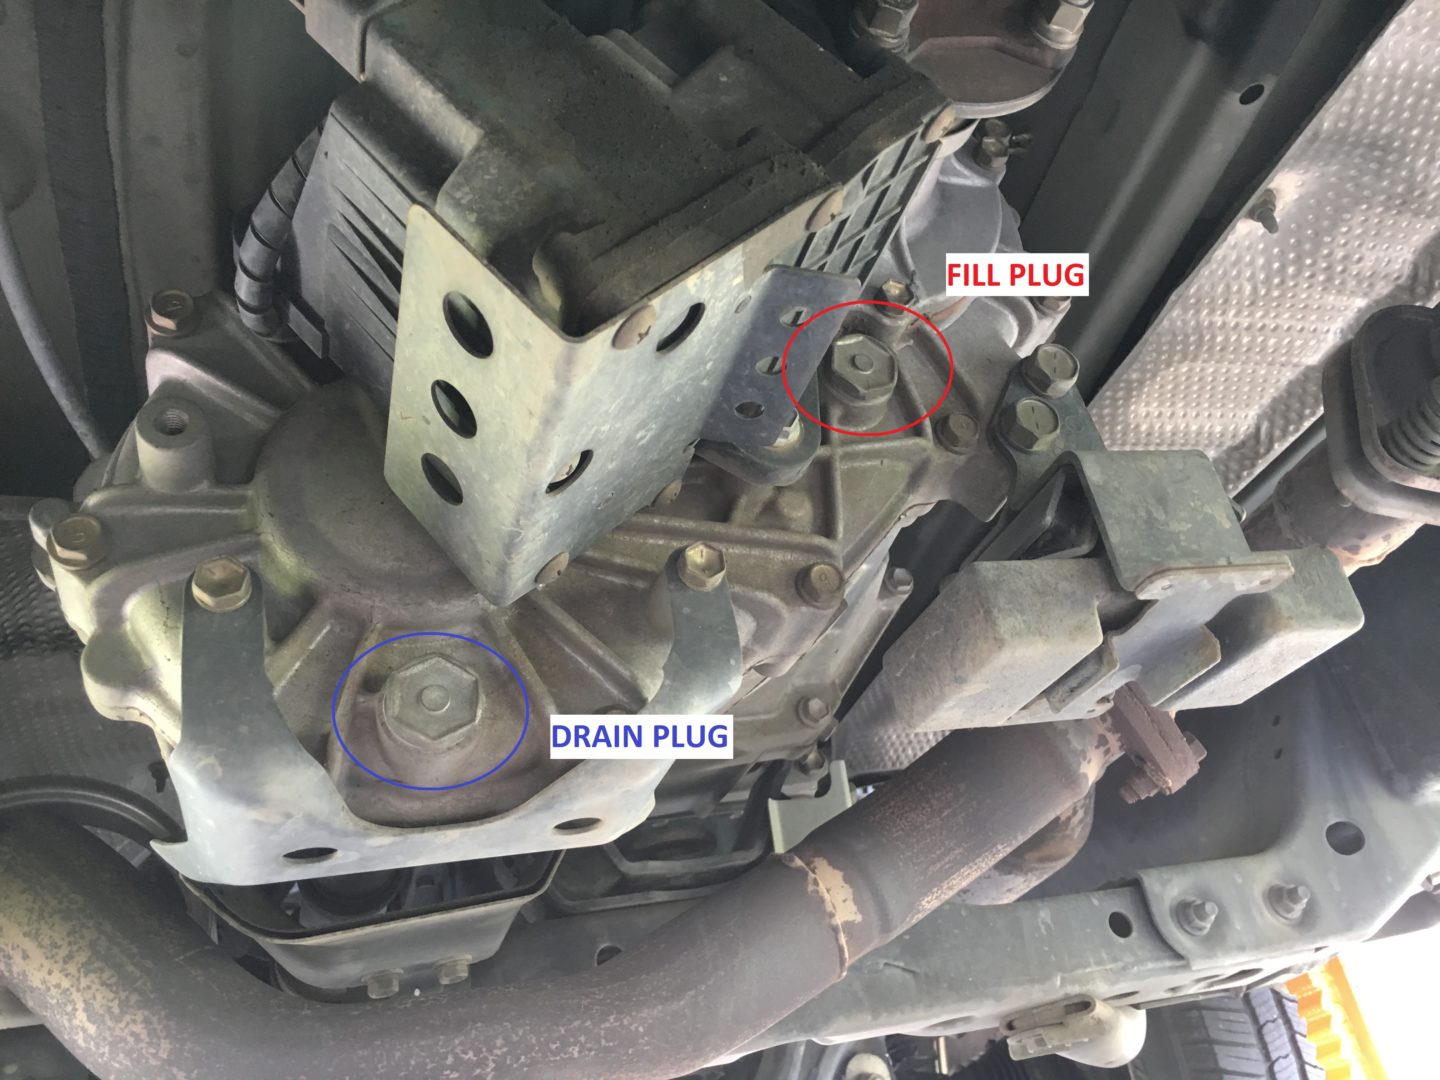
Remember to remove the fill plug first before removing the drain plug. First, it helps with air flow in draining the fluid. More importantly, you want to make sure that you don’t drain the fluid and then find out you can’t remove the fill plug. You may end up getting stuck with a transfer case with no fluid.
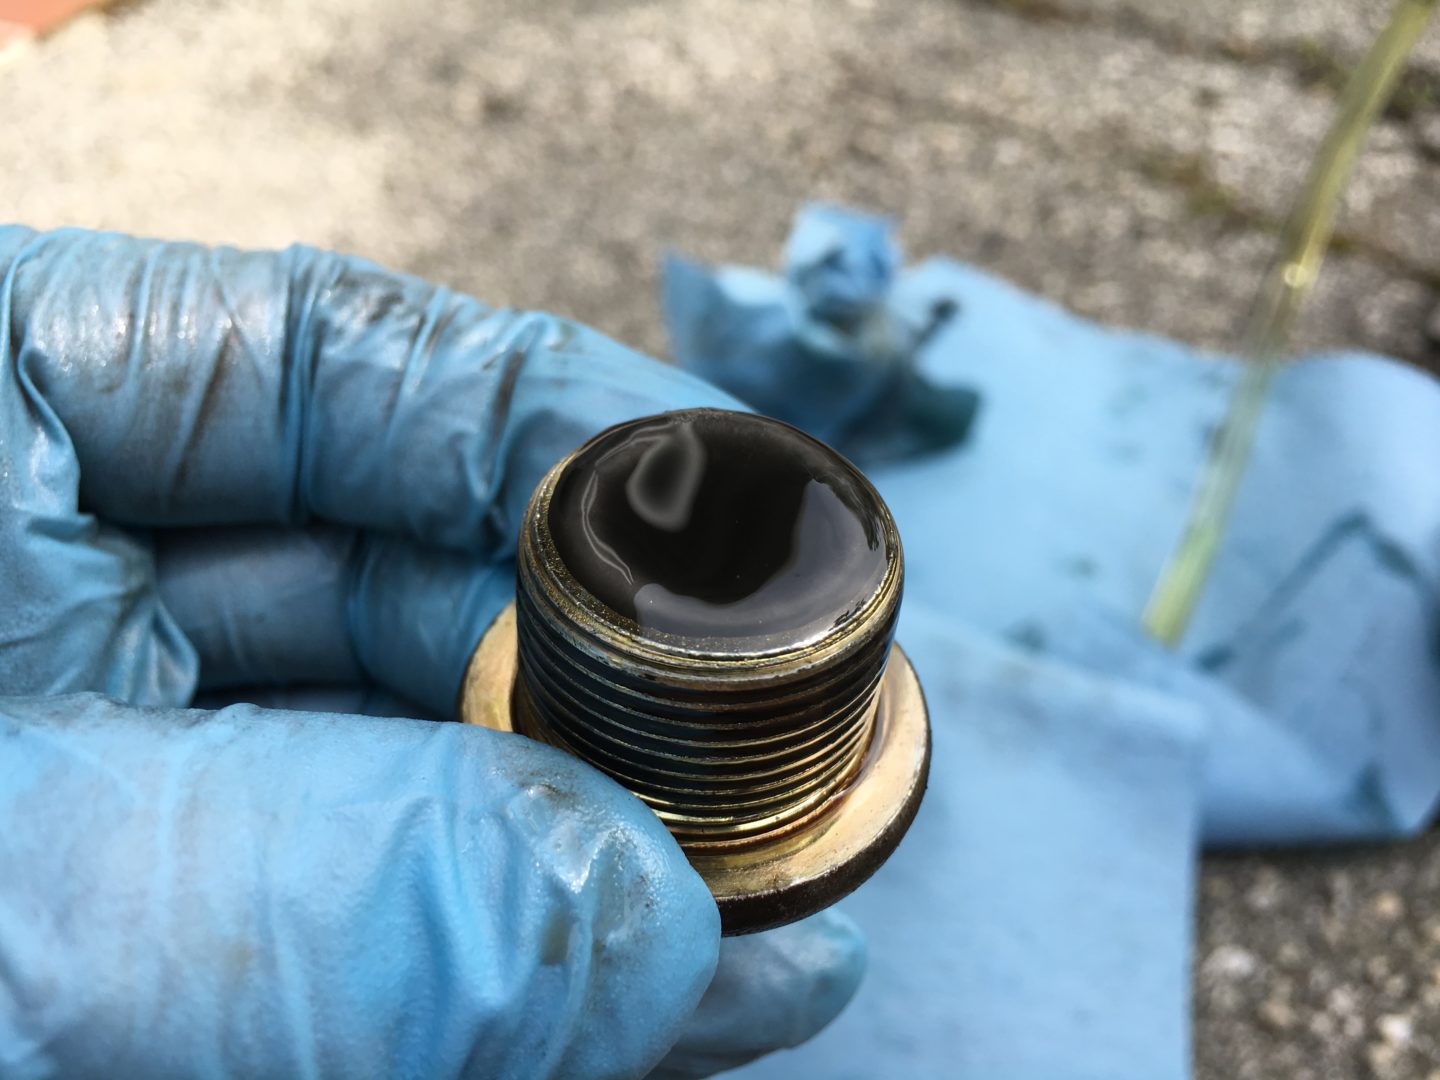
Removing the magnetic drain plug leaves you with this goopy mess, which was so satisfying to clean.

Drain and fill plugs cleaned up and ready to be reinstalled.
Parts Needed for Transfer Case Fluid Replacement
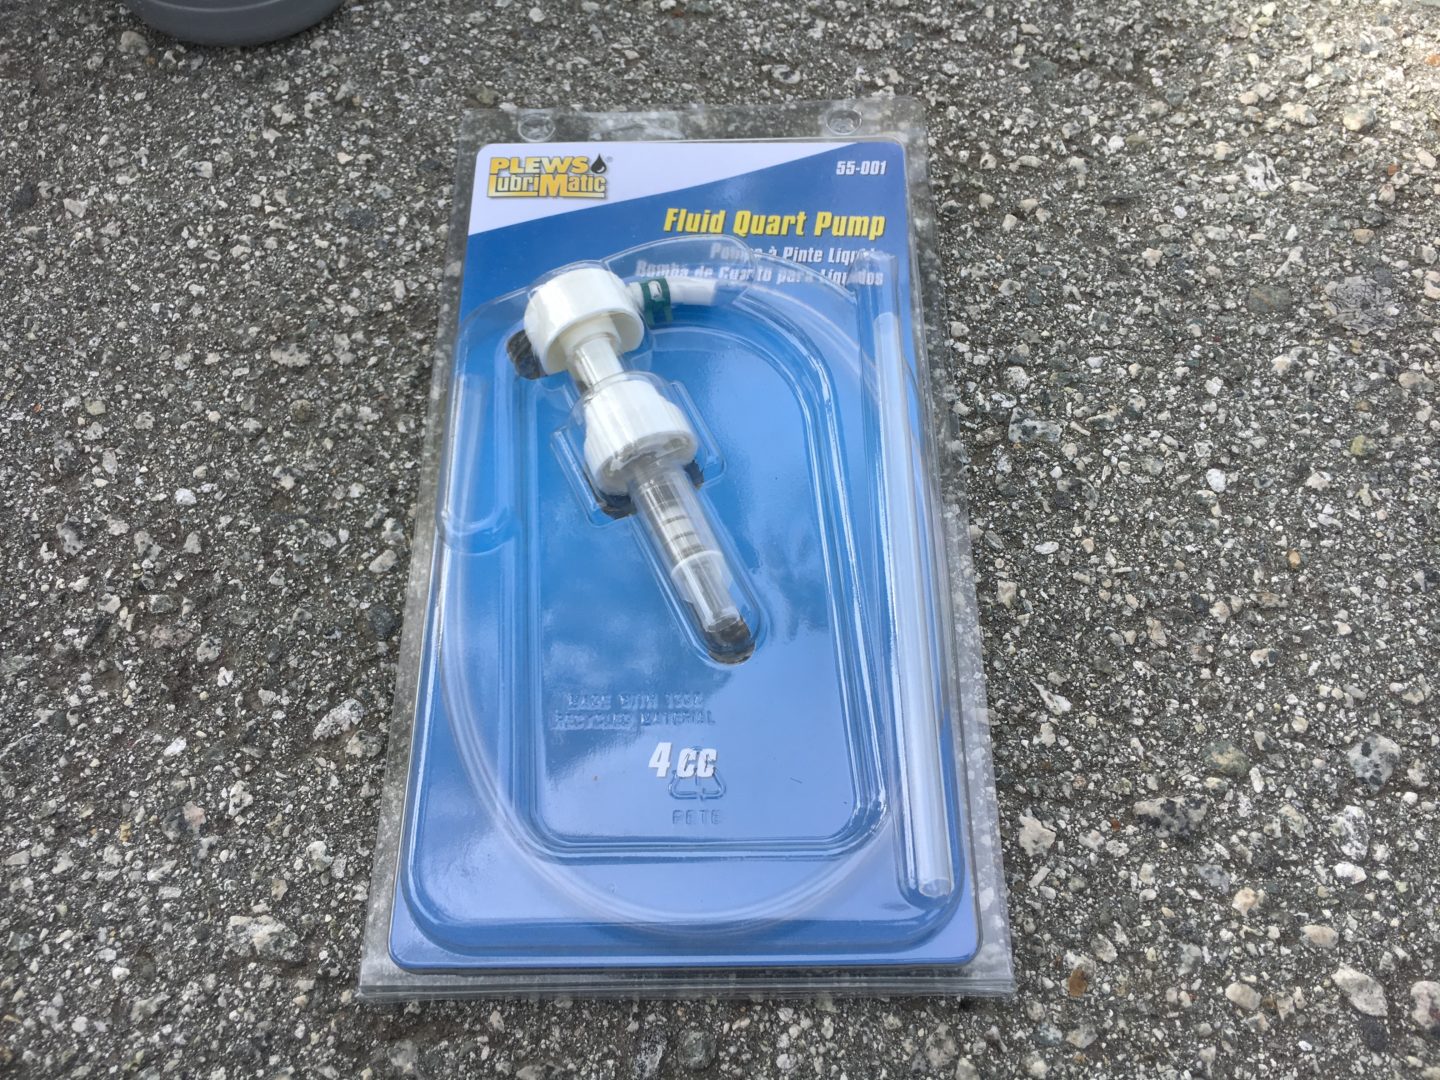
This fluid quart pump makes the job easy since you have to move the fluid from the bottle up into the transfer case fill hole. You can purchase this through Amazon through the link below:
Plews 55001 Lubrimatic Fluid Quart Pump, Fits Standard Quart Bottles
Specifications of Lubricant
The original specifications for the 4th Gen 4Runner calls for the following: SAE 75W-90, Gear Oil API GL-4 or GL-5. I ended up going with the commonly used and readily available, Mobil 1 Synthetic Gear Lubricant LS 75W-90. The owner’s manual states that there is a transfer oil capacity of 1.5 qt.
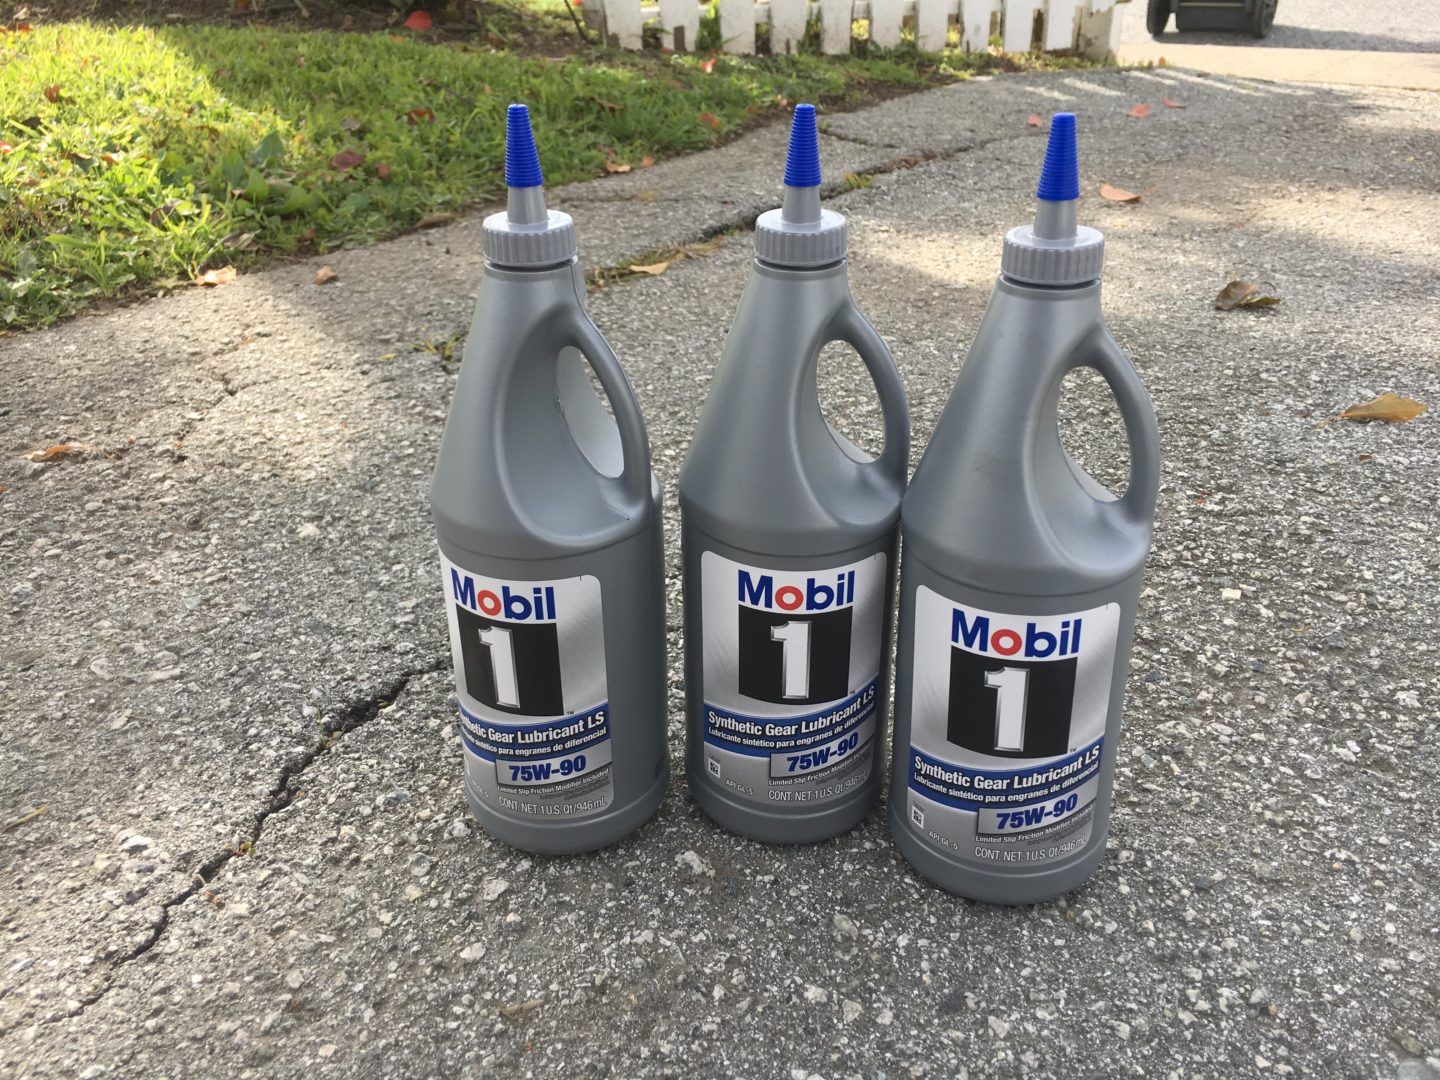
These bottles can be bought through the affiliate link below:
Mobil 1 104361 75W-90 Synthetic Gear Lube – 1 Quart
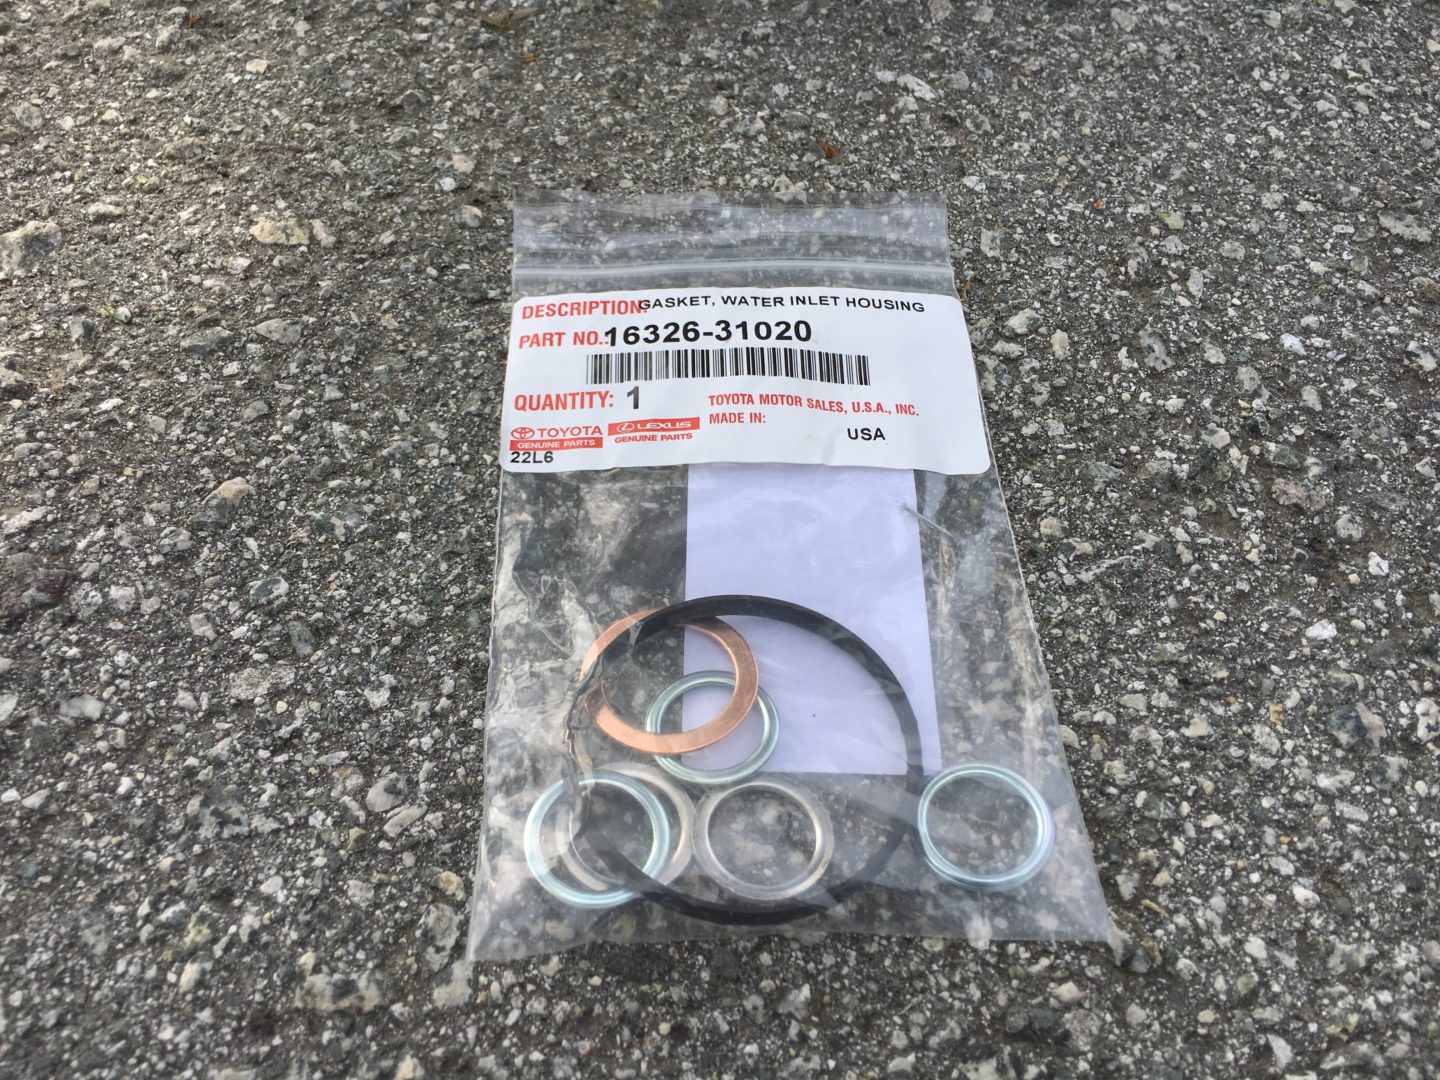
Ignore the part number above, the Toyota dealership parts department put all of my plug gaskets into one bag. I usually recommend getting your parts at the local dealership unless you can find a good deal online that doesn’t try to gouge you on shipping costs. Part numbers for what you might need are listed the link to the forum thread at the top of this page.
Filling the Transfer Case Back Up
Make sure the drain plug is connected and torqued correctly. Using the pump that goes directly on the quart bottles, it’s pretty easy to pump the fluid up into the transfer case through the fill hole. Keep pumping the fluid in until it begins to overflow out of the fill hole. When this happens, the transfer case is full and the fill plug can now be re-installed and torqued.
References
http://www.autoblog.com/2006/04/01/autoblog-maintenance-101-transfer-case-fluid-change/
http://bb4wa.com/2016/12/01/simply-put-4×4-transfer-case/
")
")
")